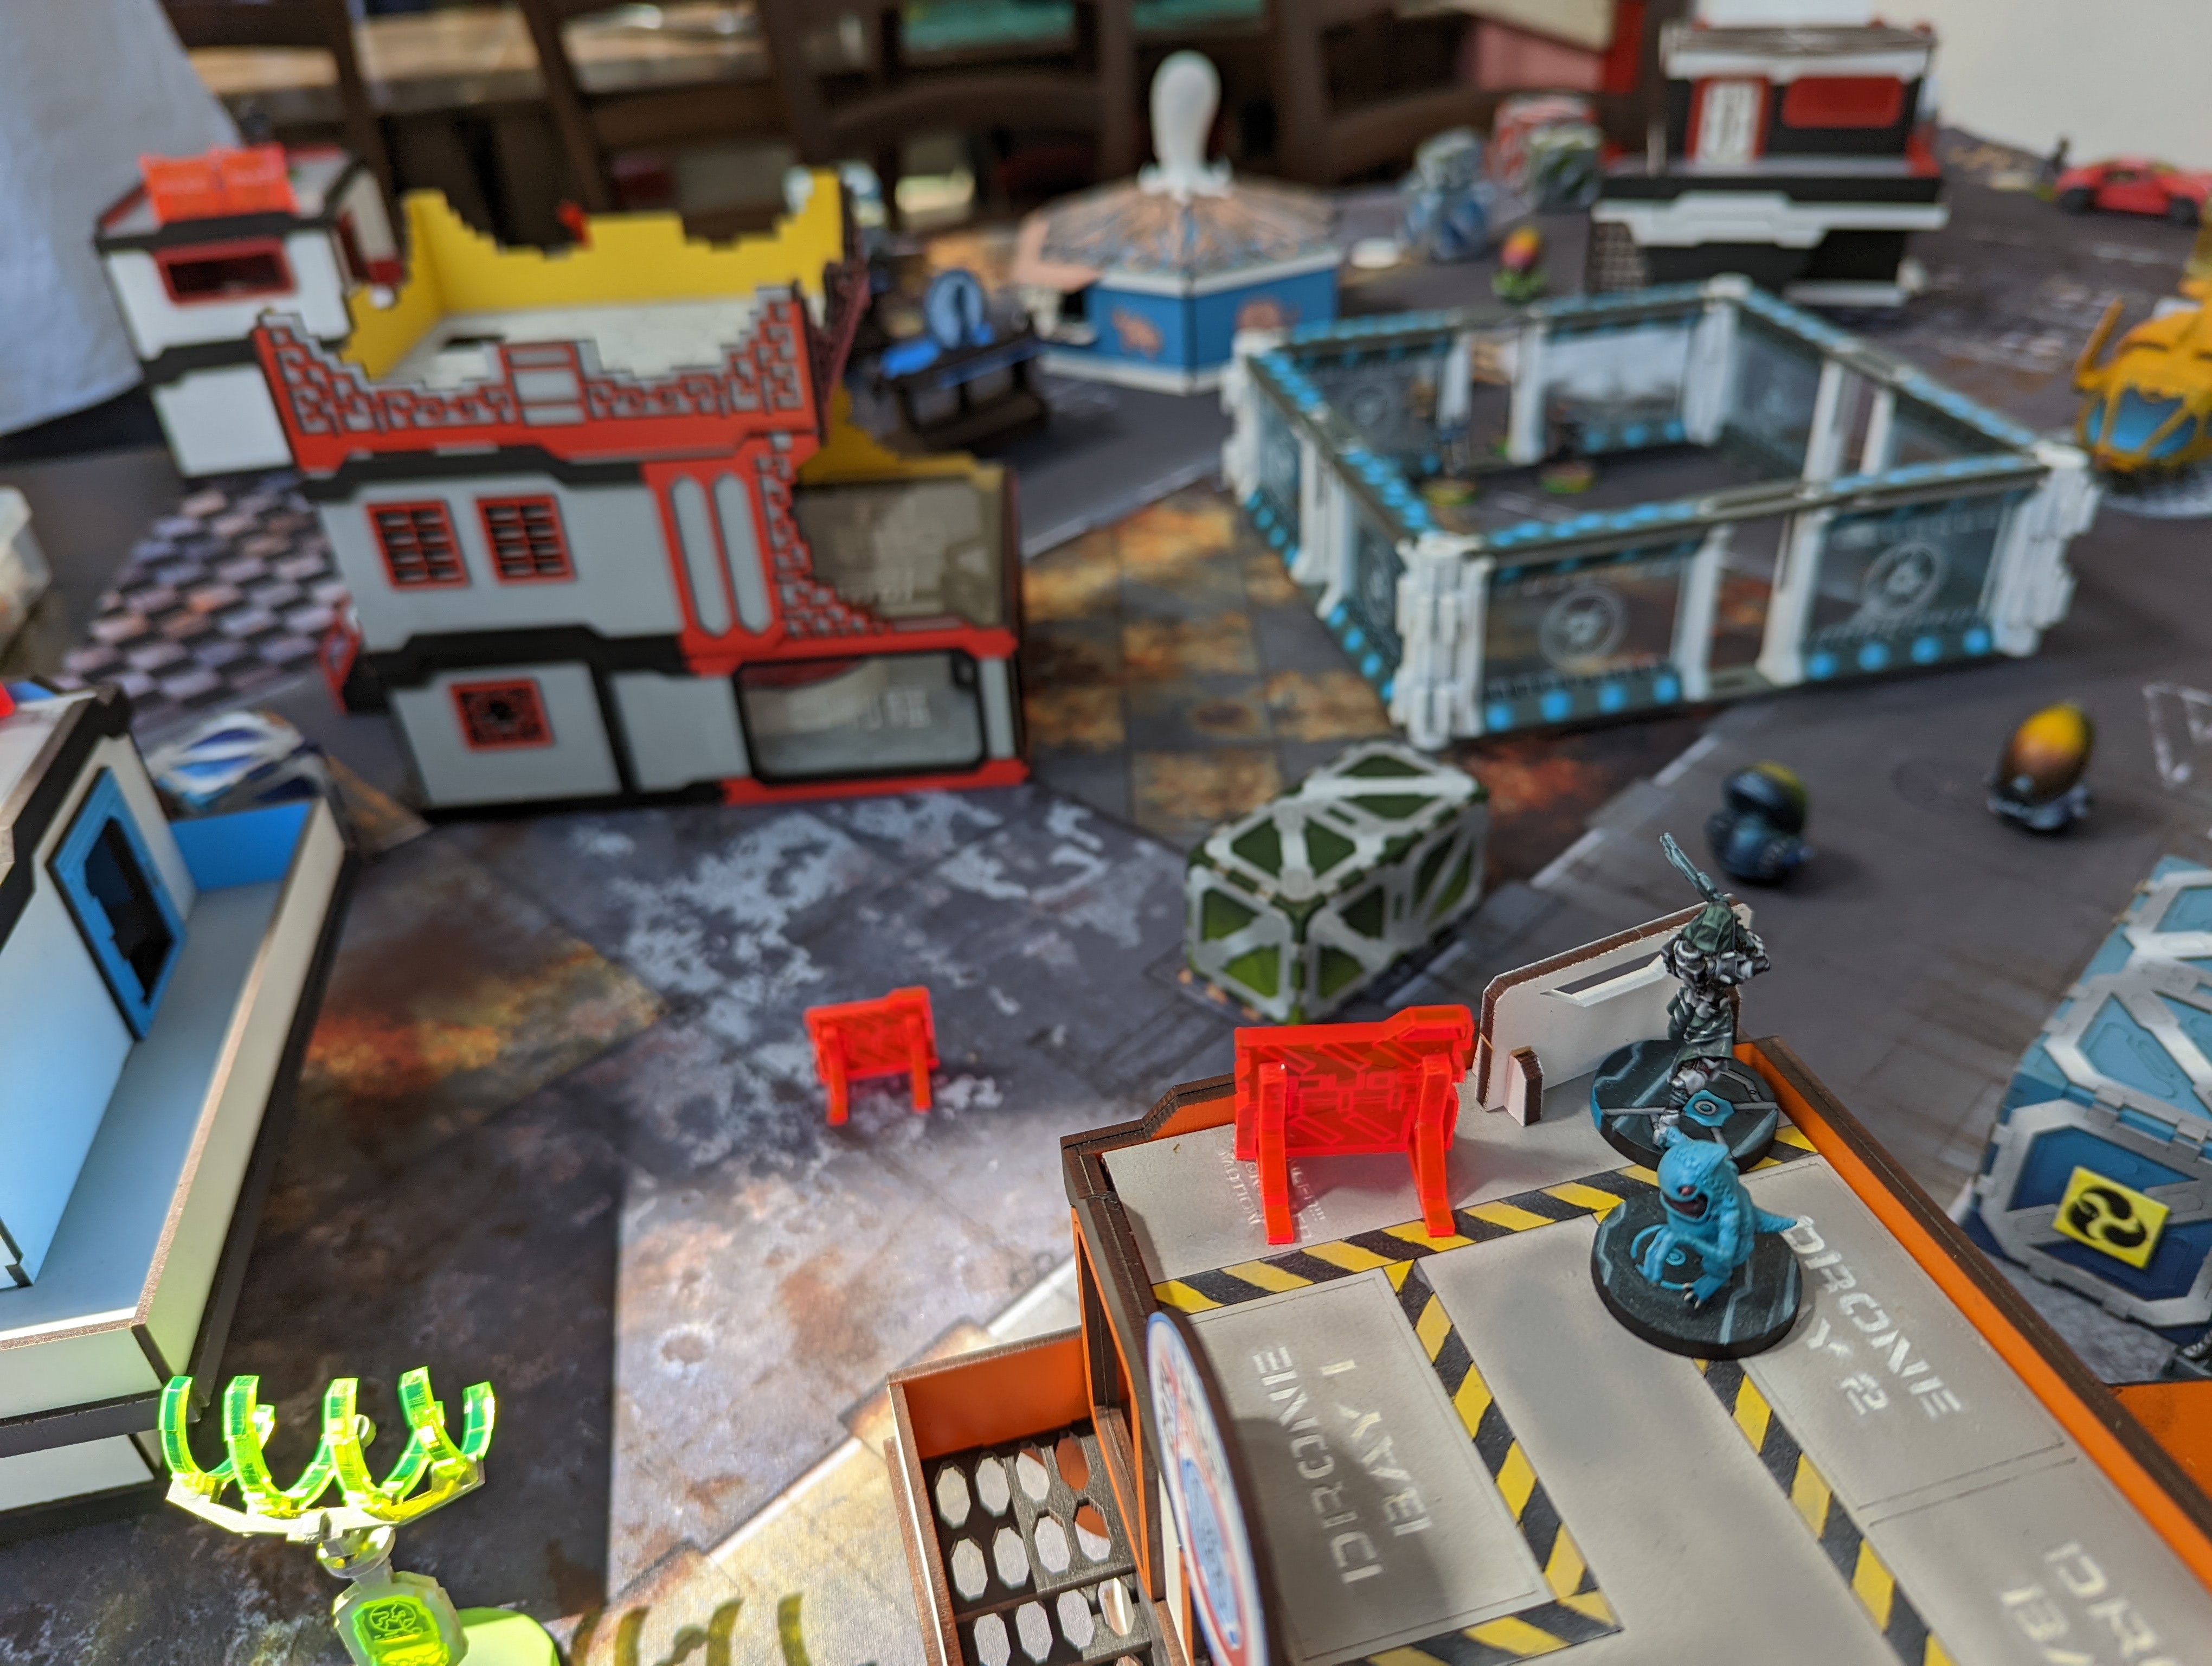
Fought At Zebu Research Center: Symbiosamples Storage Area
651 days 6 hours 28 minutes ago
Don't Panic Mr Tohaa!
View Linked Report - CLICK HERE 300 POINTS300pts – Haqqislam vs Tohaa – Panic Room
Tohaa won the Lt roll, chose to go second.
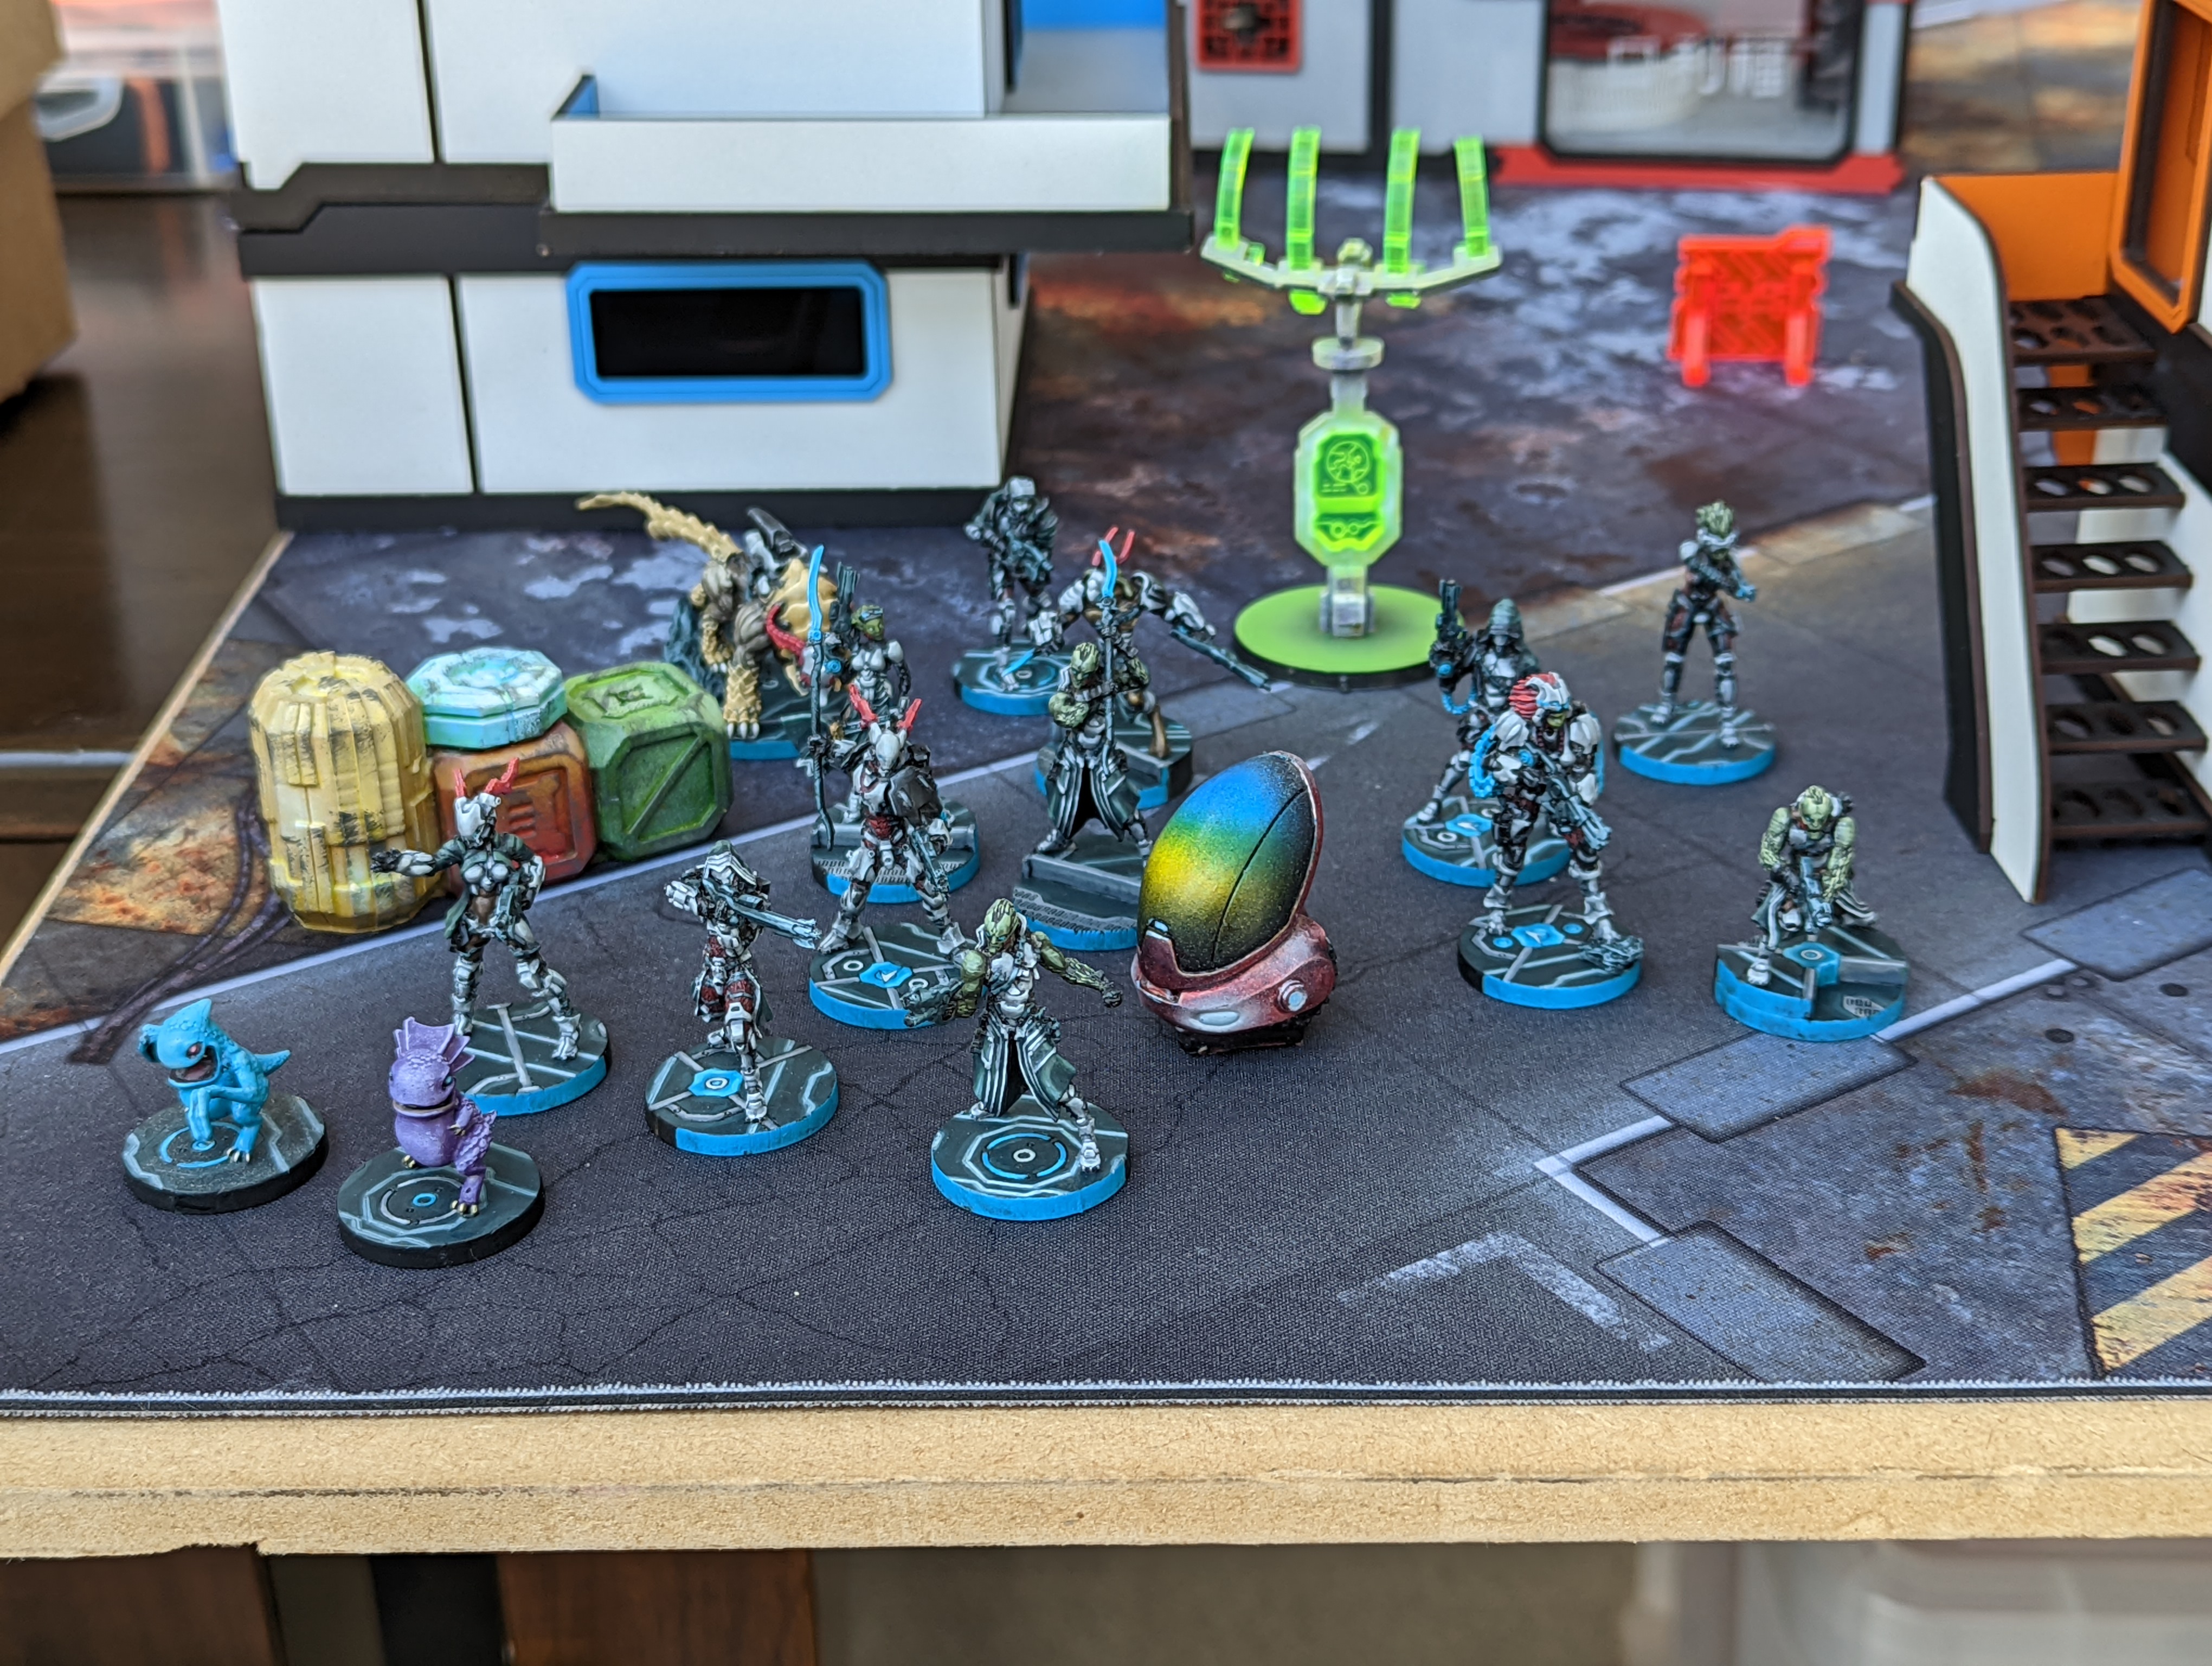
The Tohaa fireteams were divided up as follows:
– Aggressive Triad 1 – Neema, Taquel, Makaul
– Aggressive Triad 2 – Ectros HMG, Kumotail, Makaul
– Support Triad – Gao Rael Spitfire, Kaeltar, Makaul
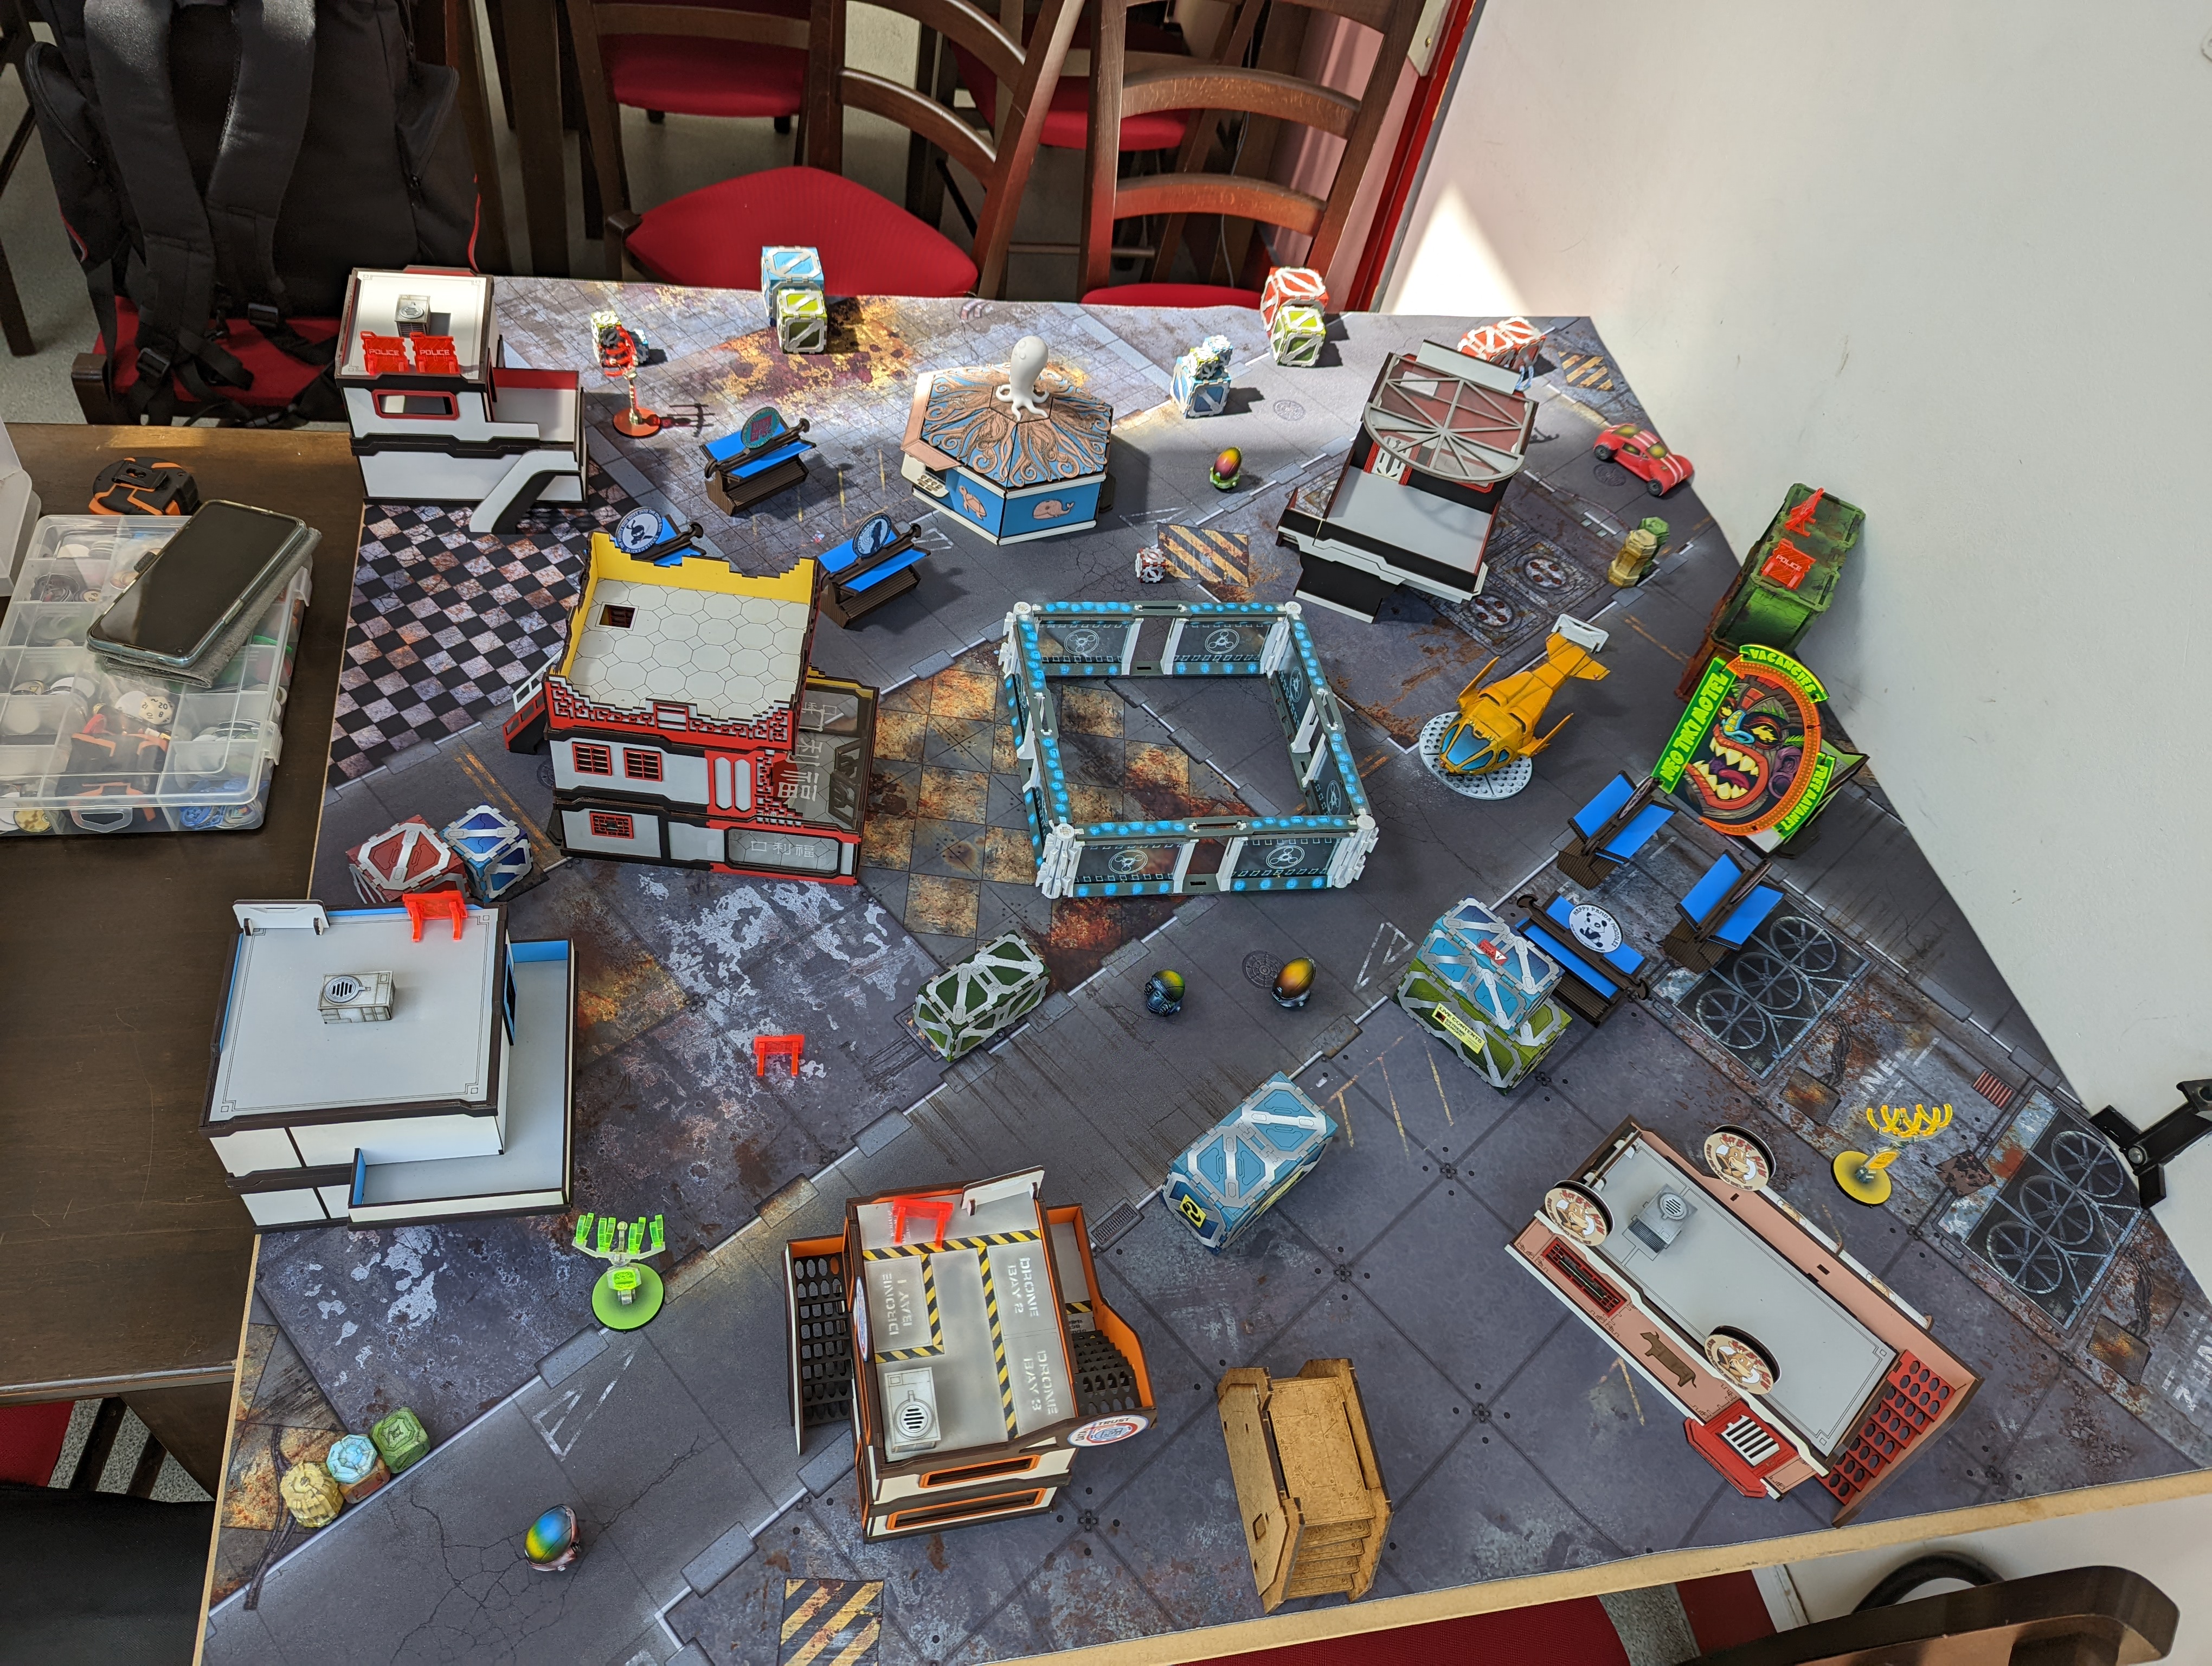
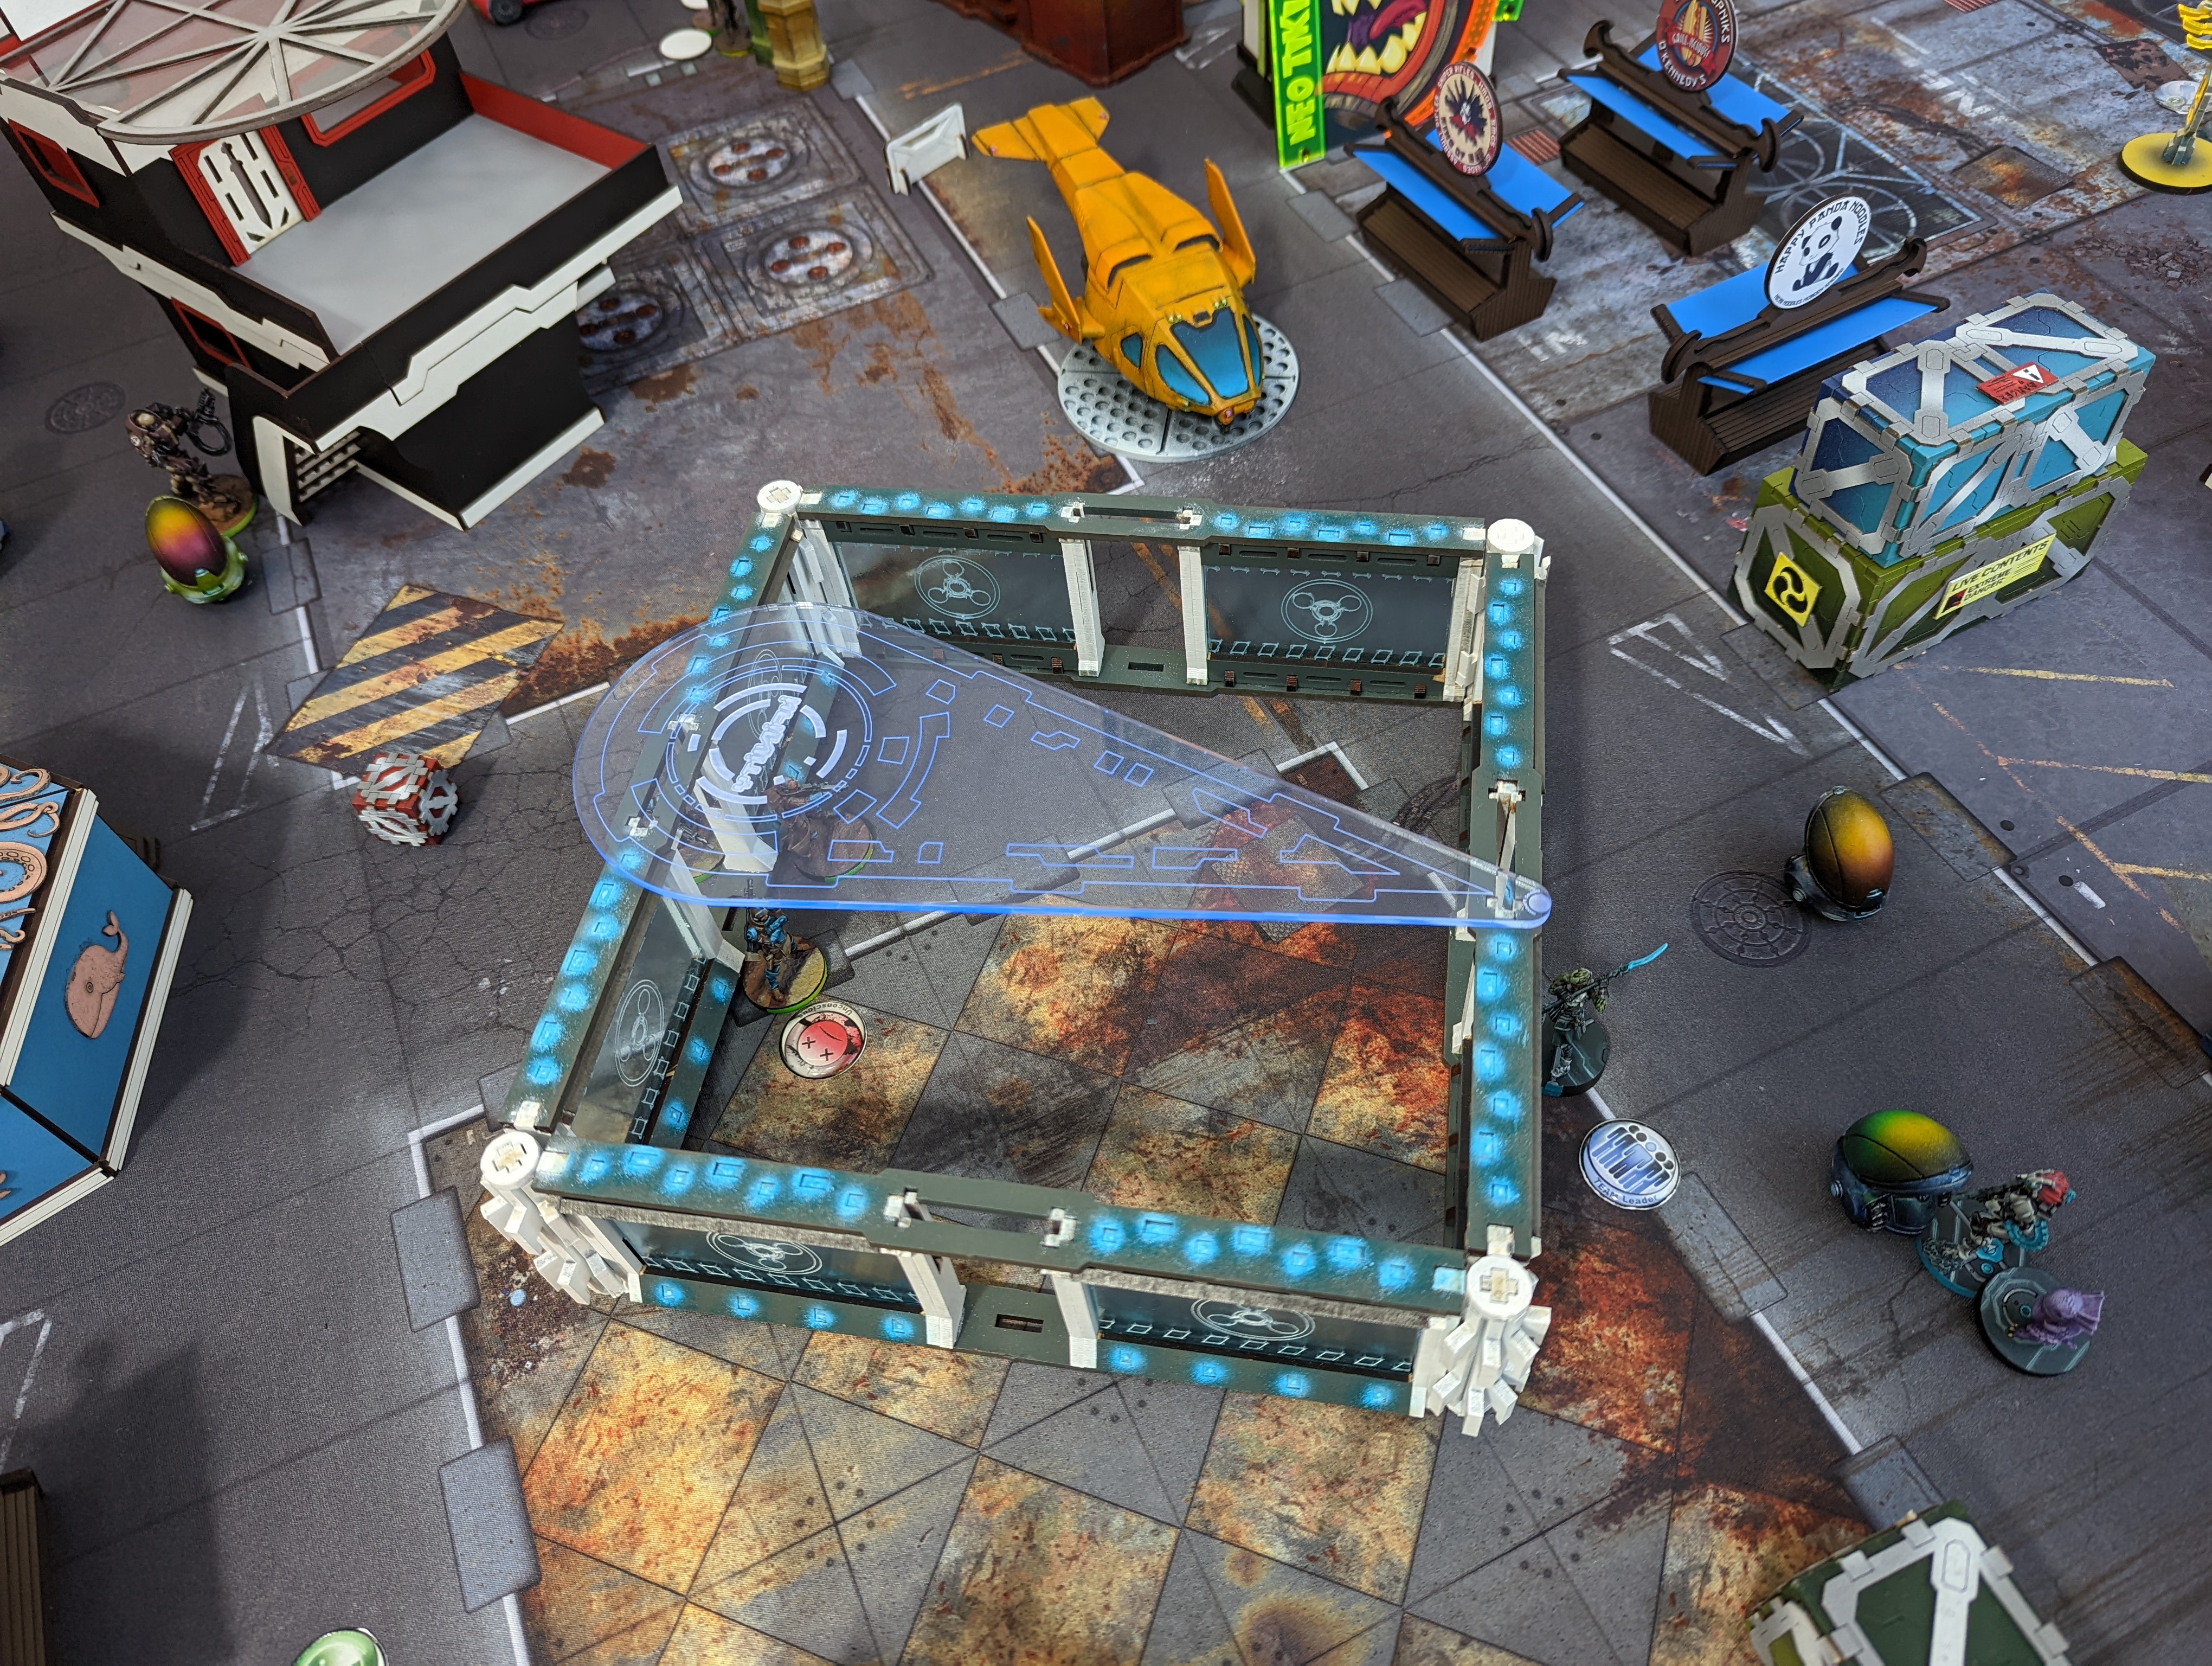
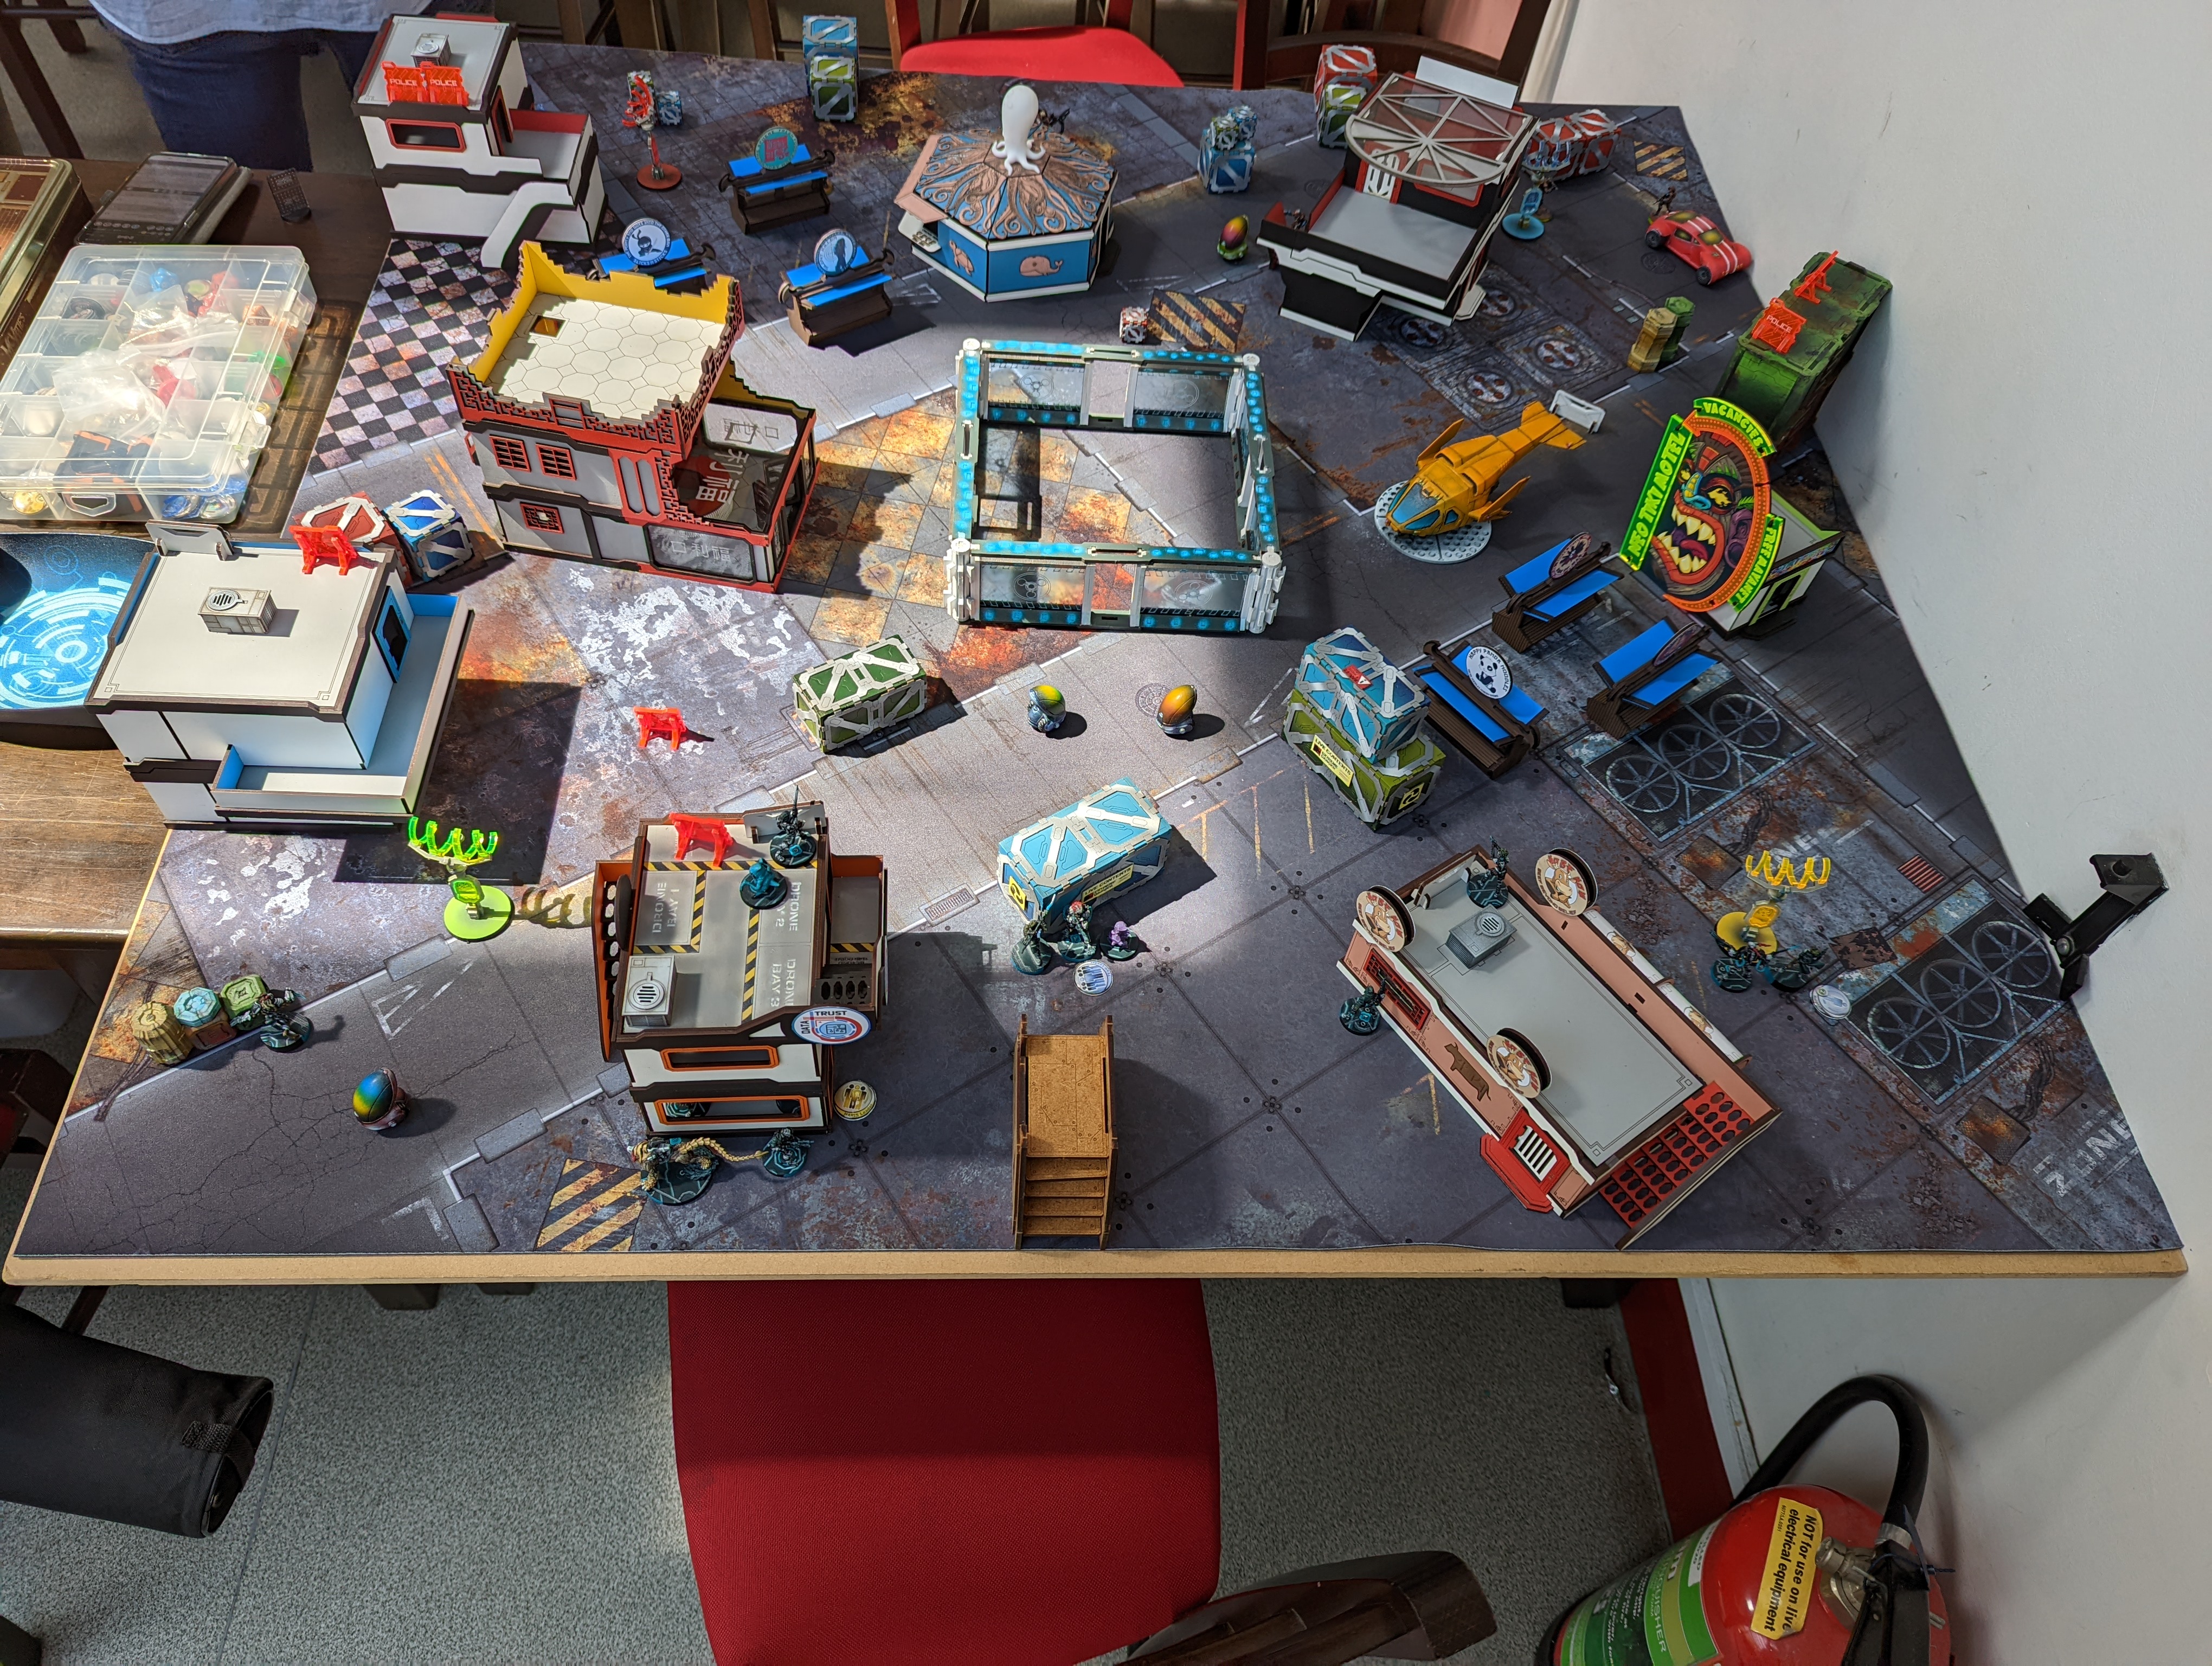
Deployment
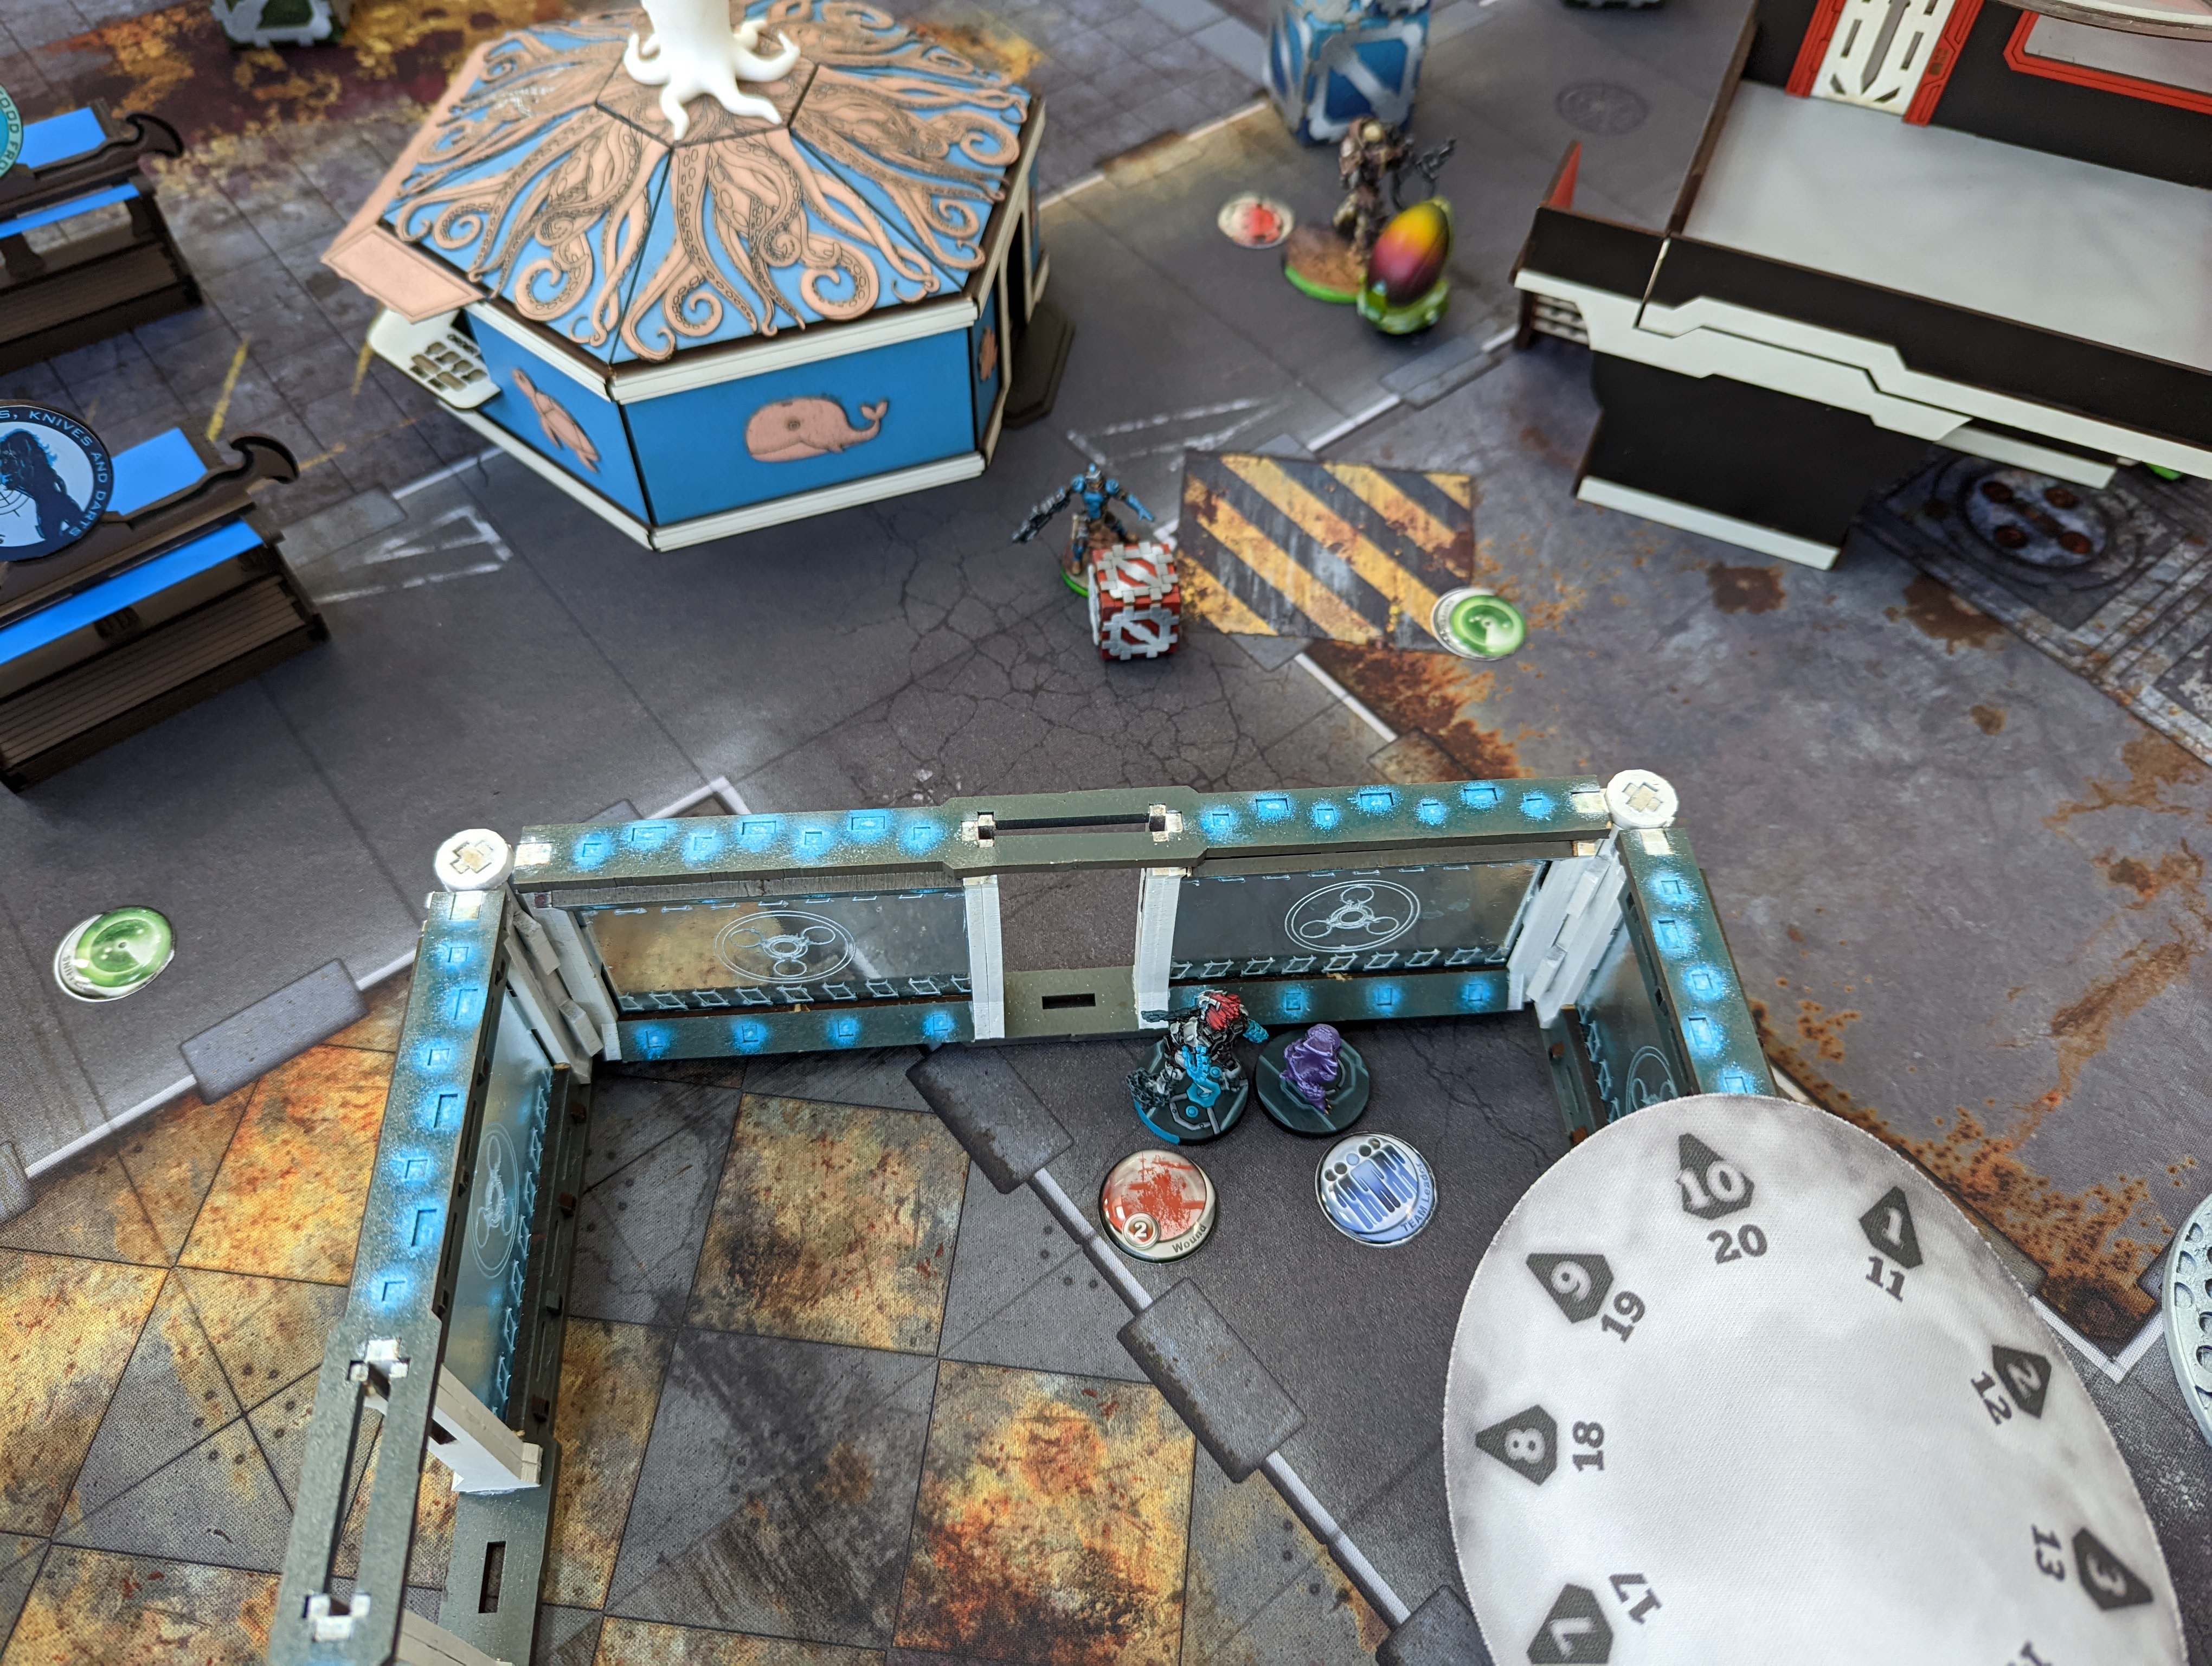
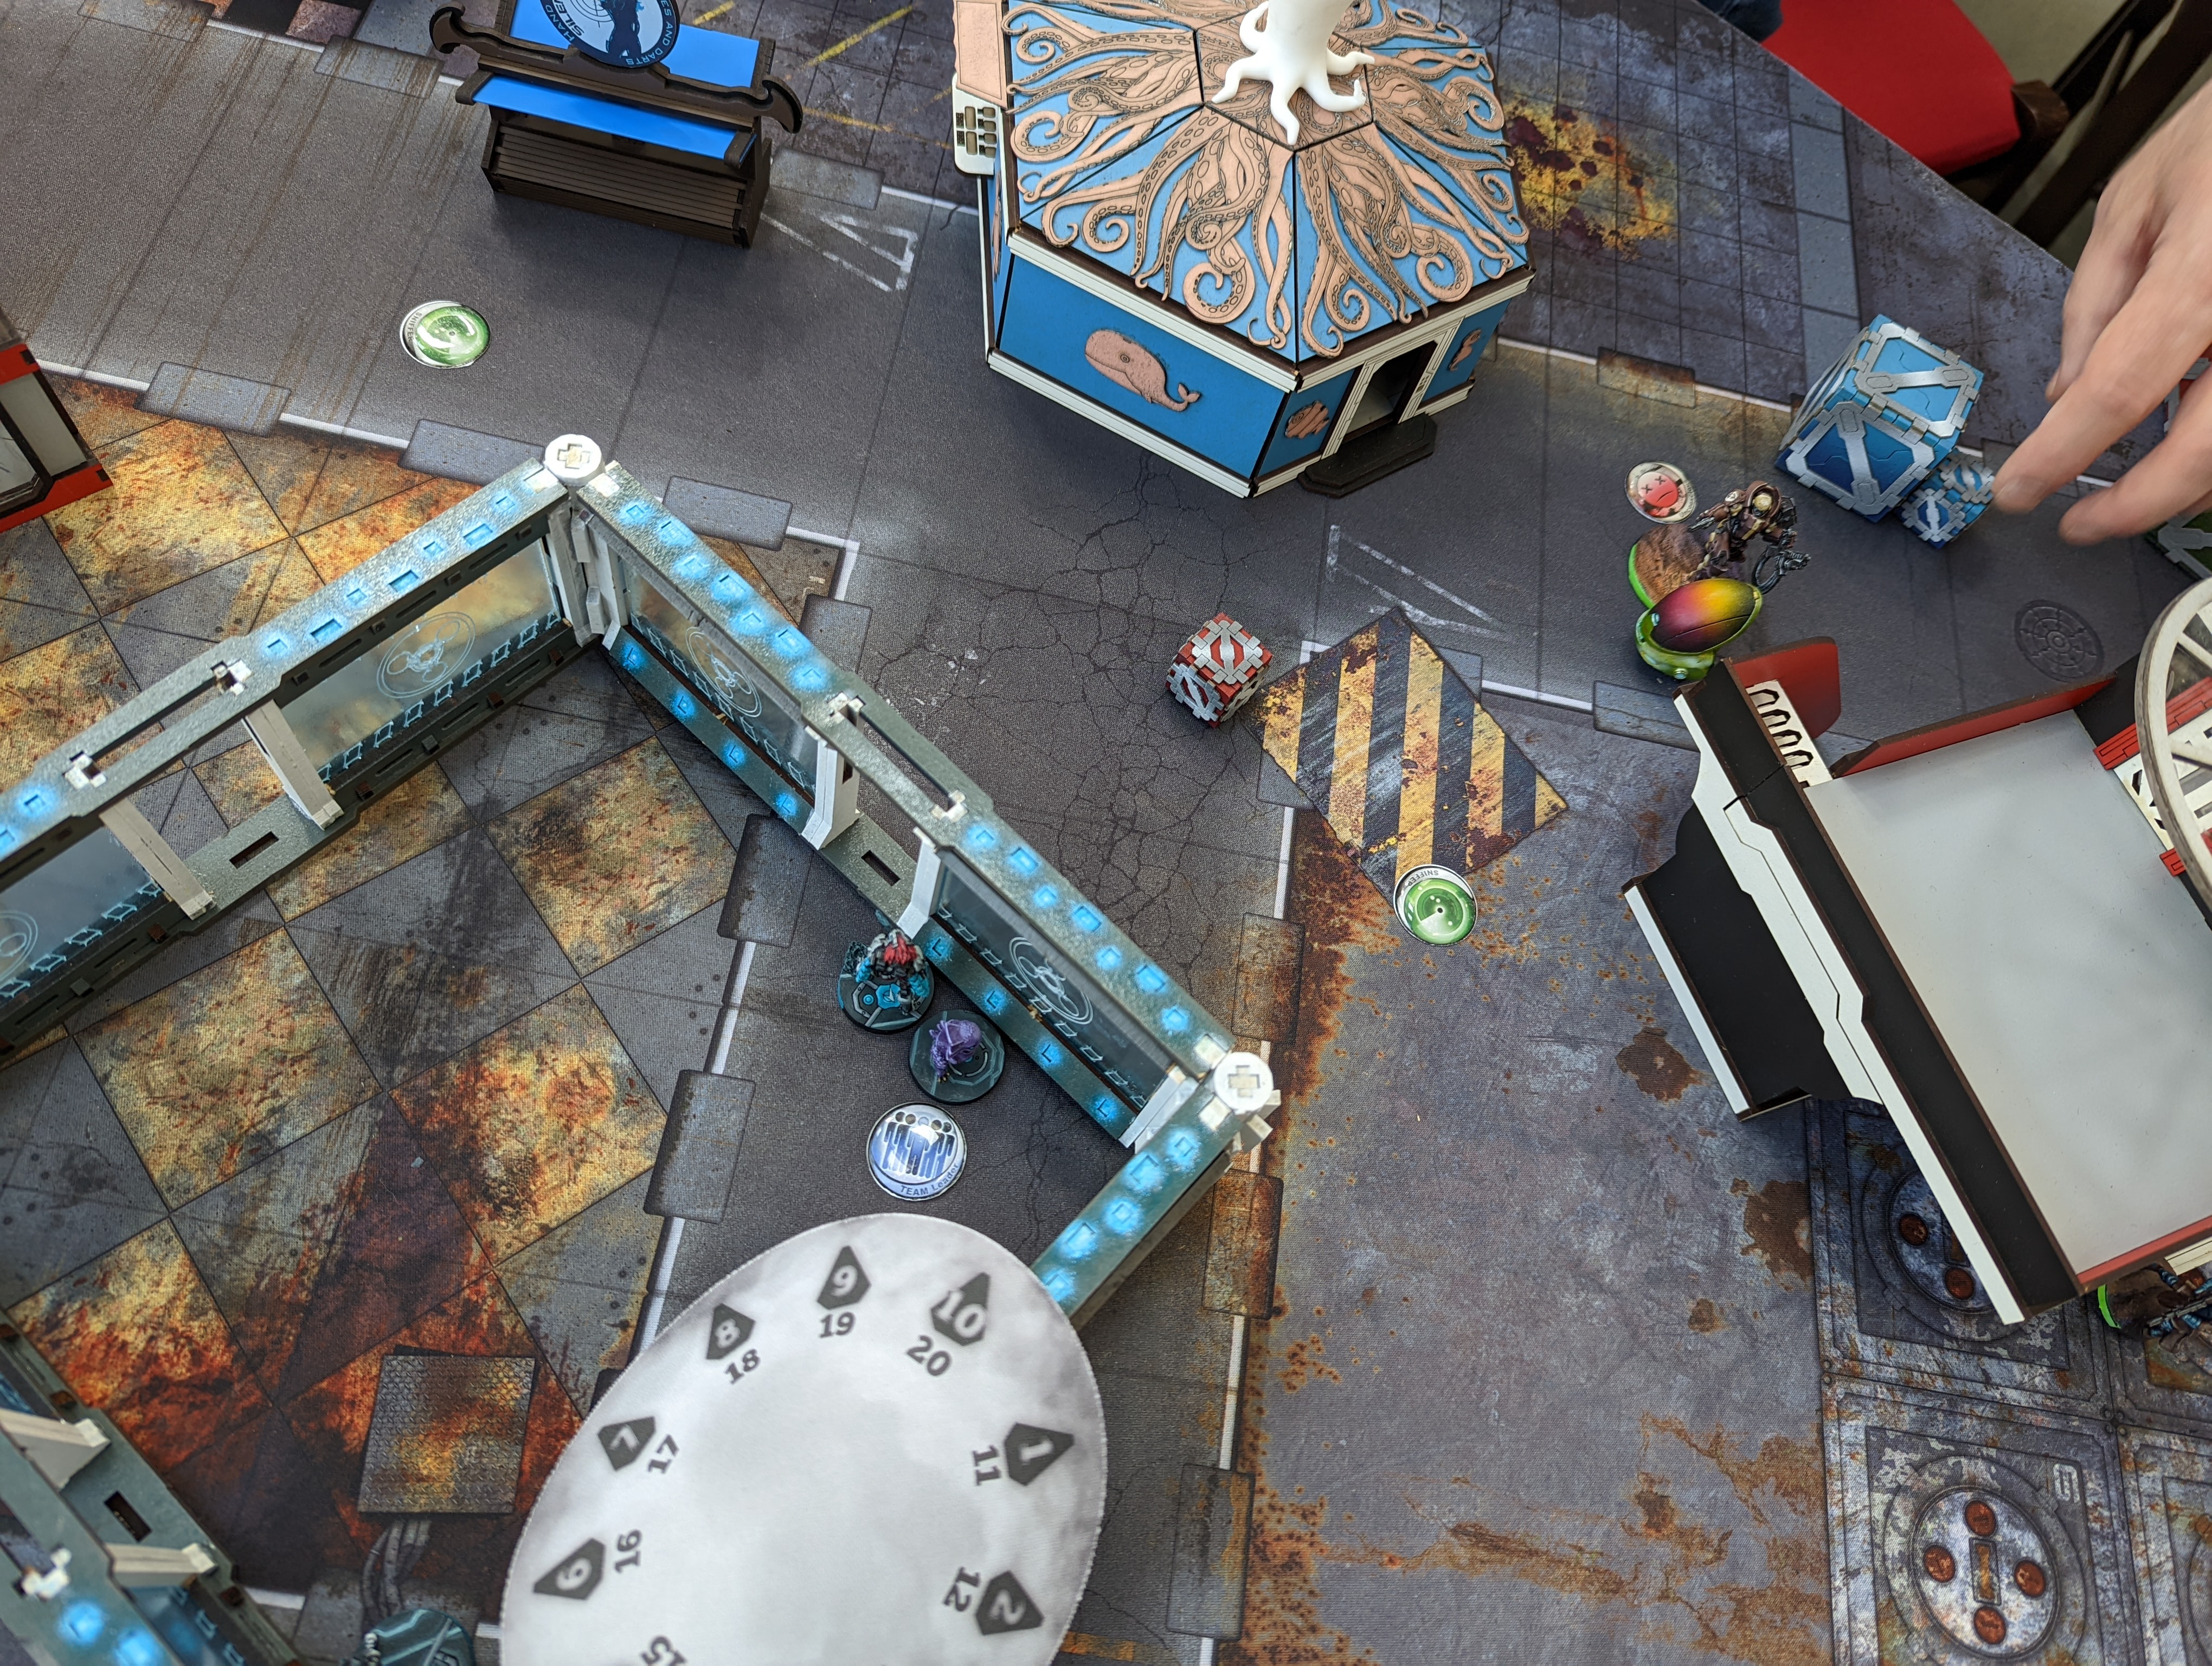
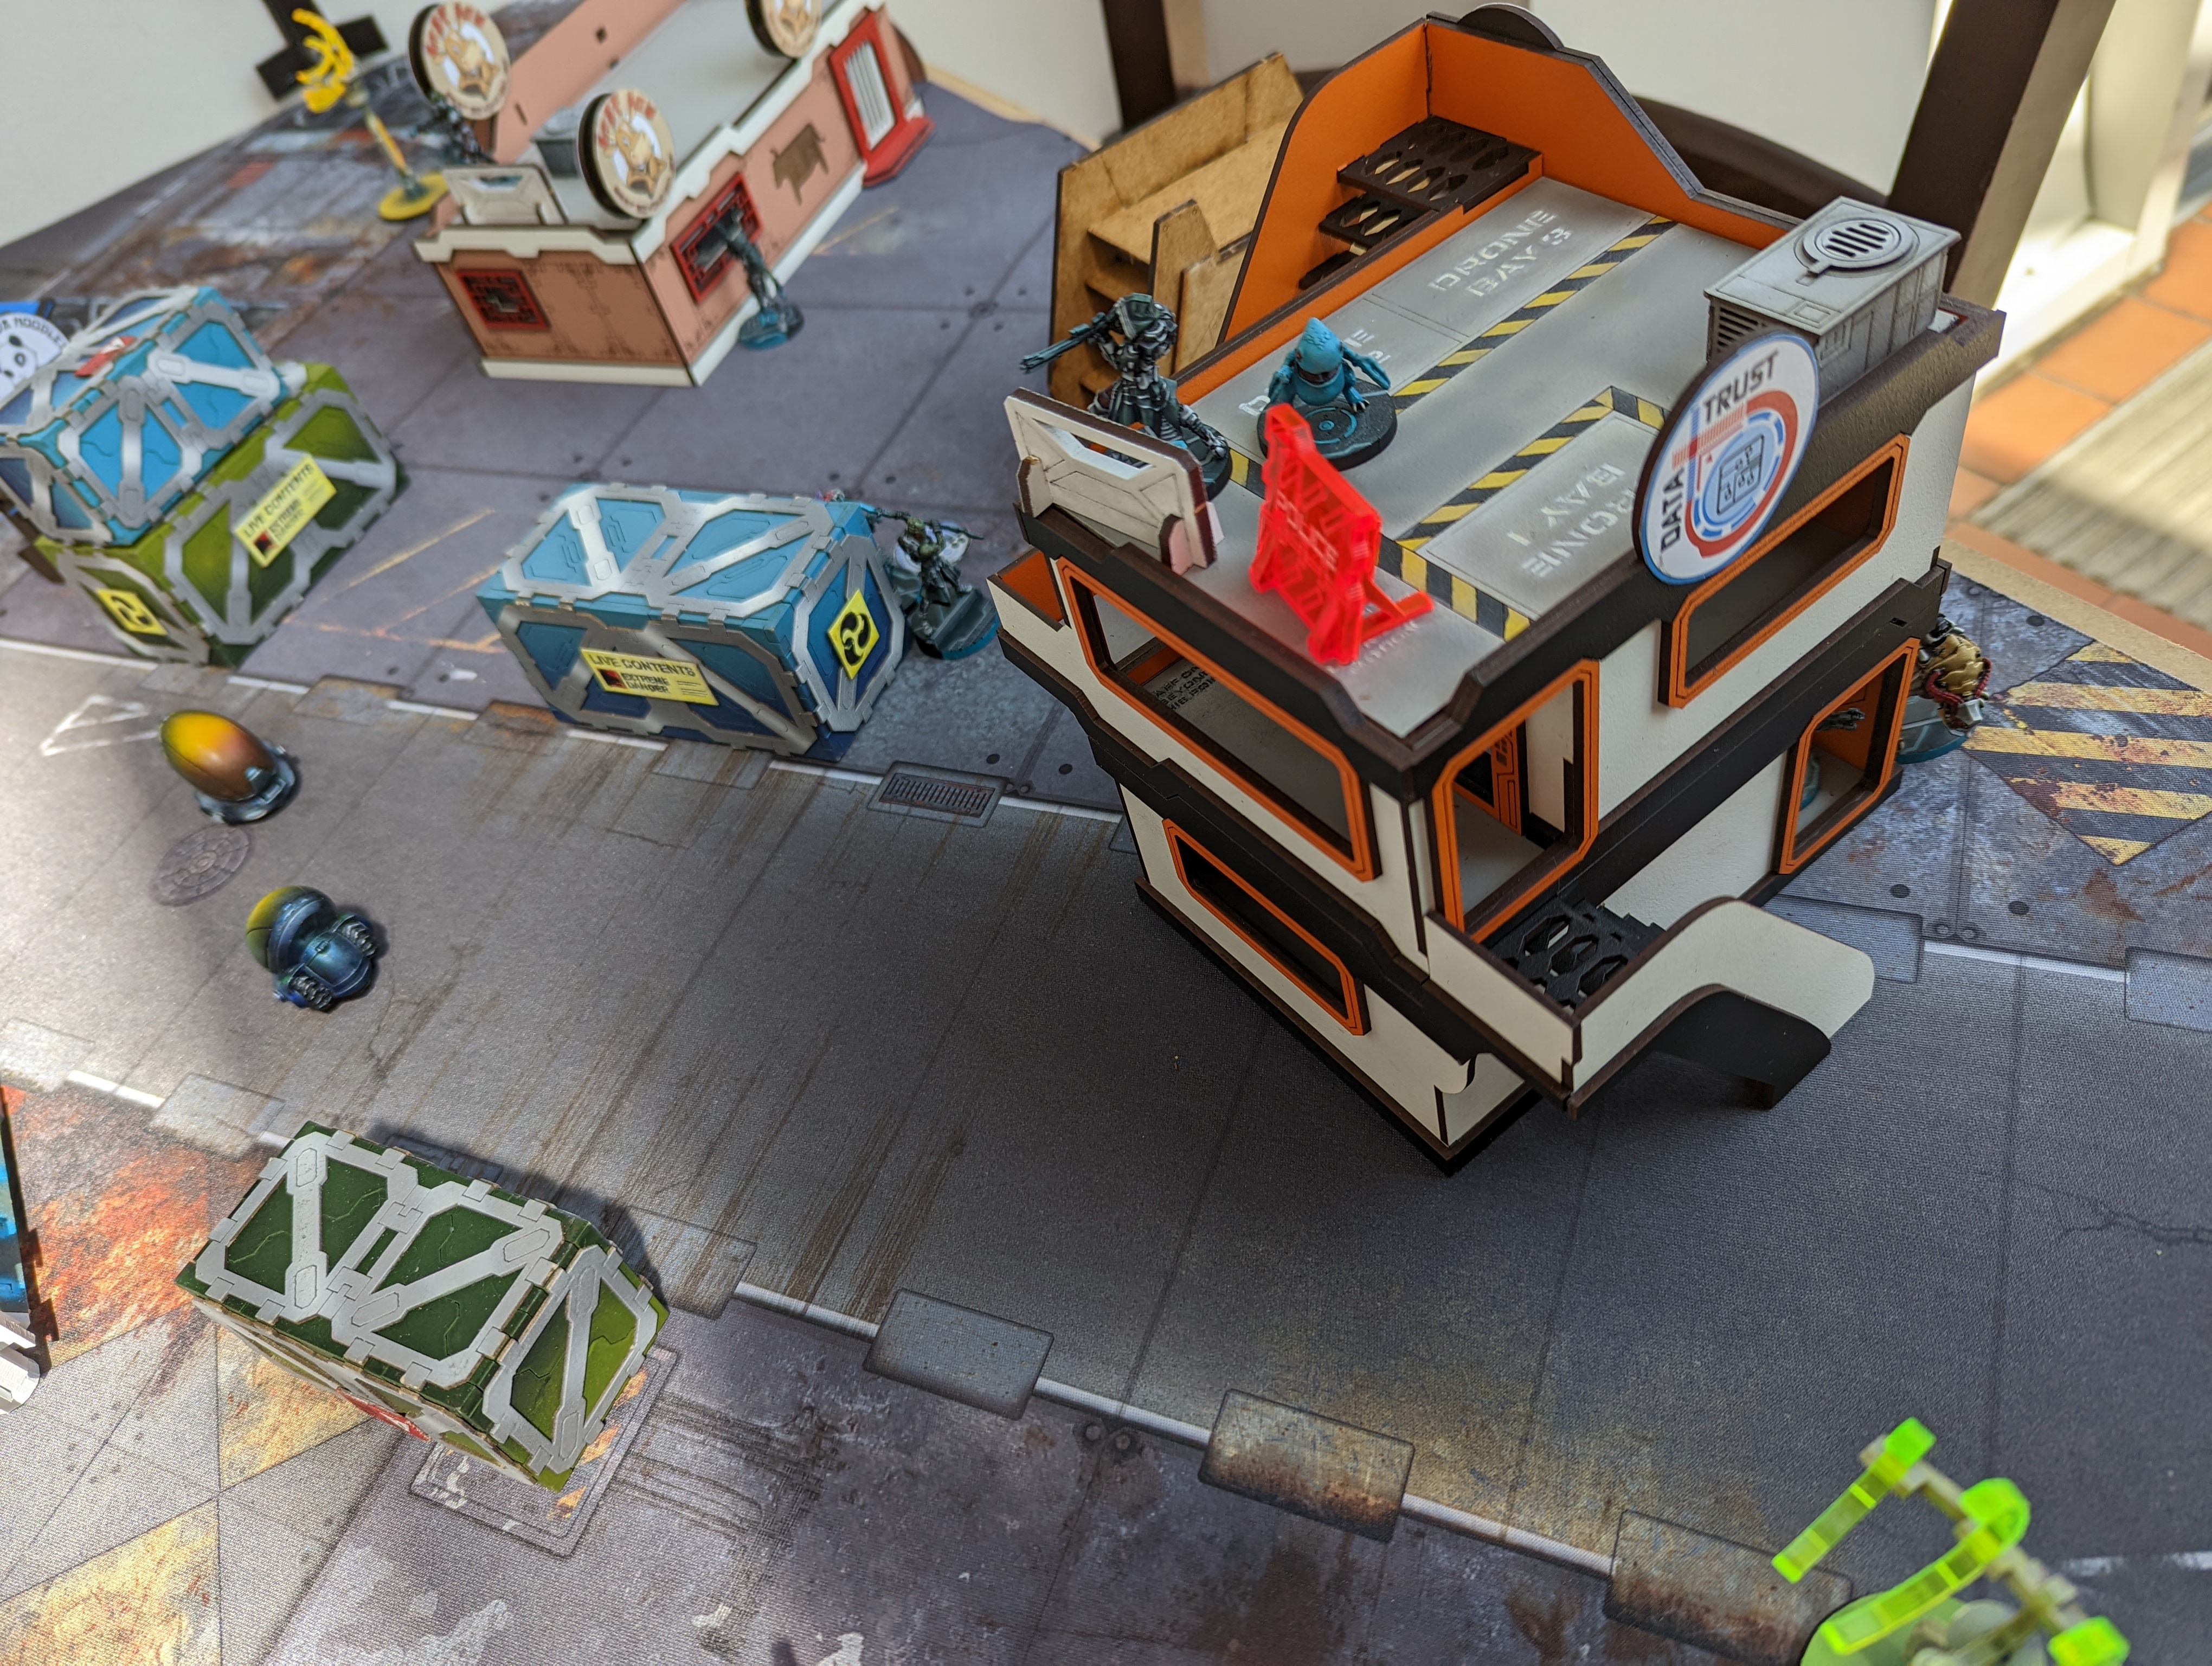
The Support Triad was deployed in the left corner of the deployment zone, with the gao-rael (plus symbiomate) up high covering the board. Neema’s triad was deployed centrally to move for the Panic Room, while the Ectros triad was on the right. The clipsos hidden-deployed in the centre of the deployment zone, not wanting to risk confused deployment.
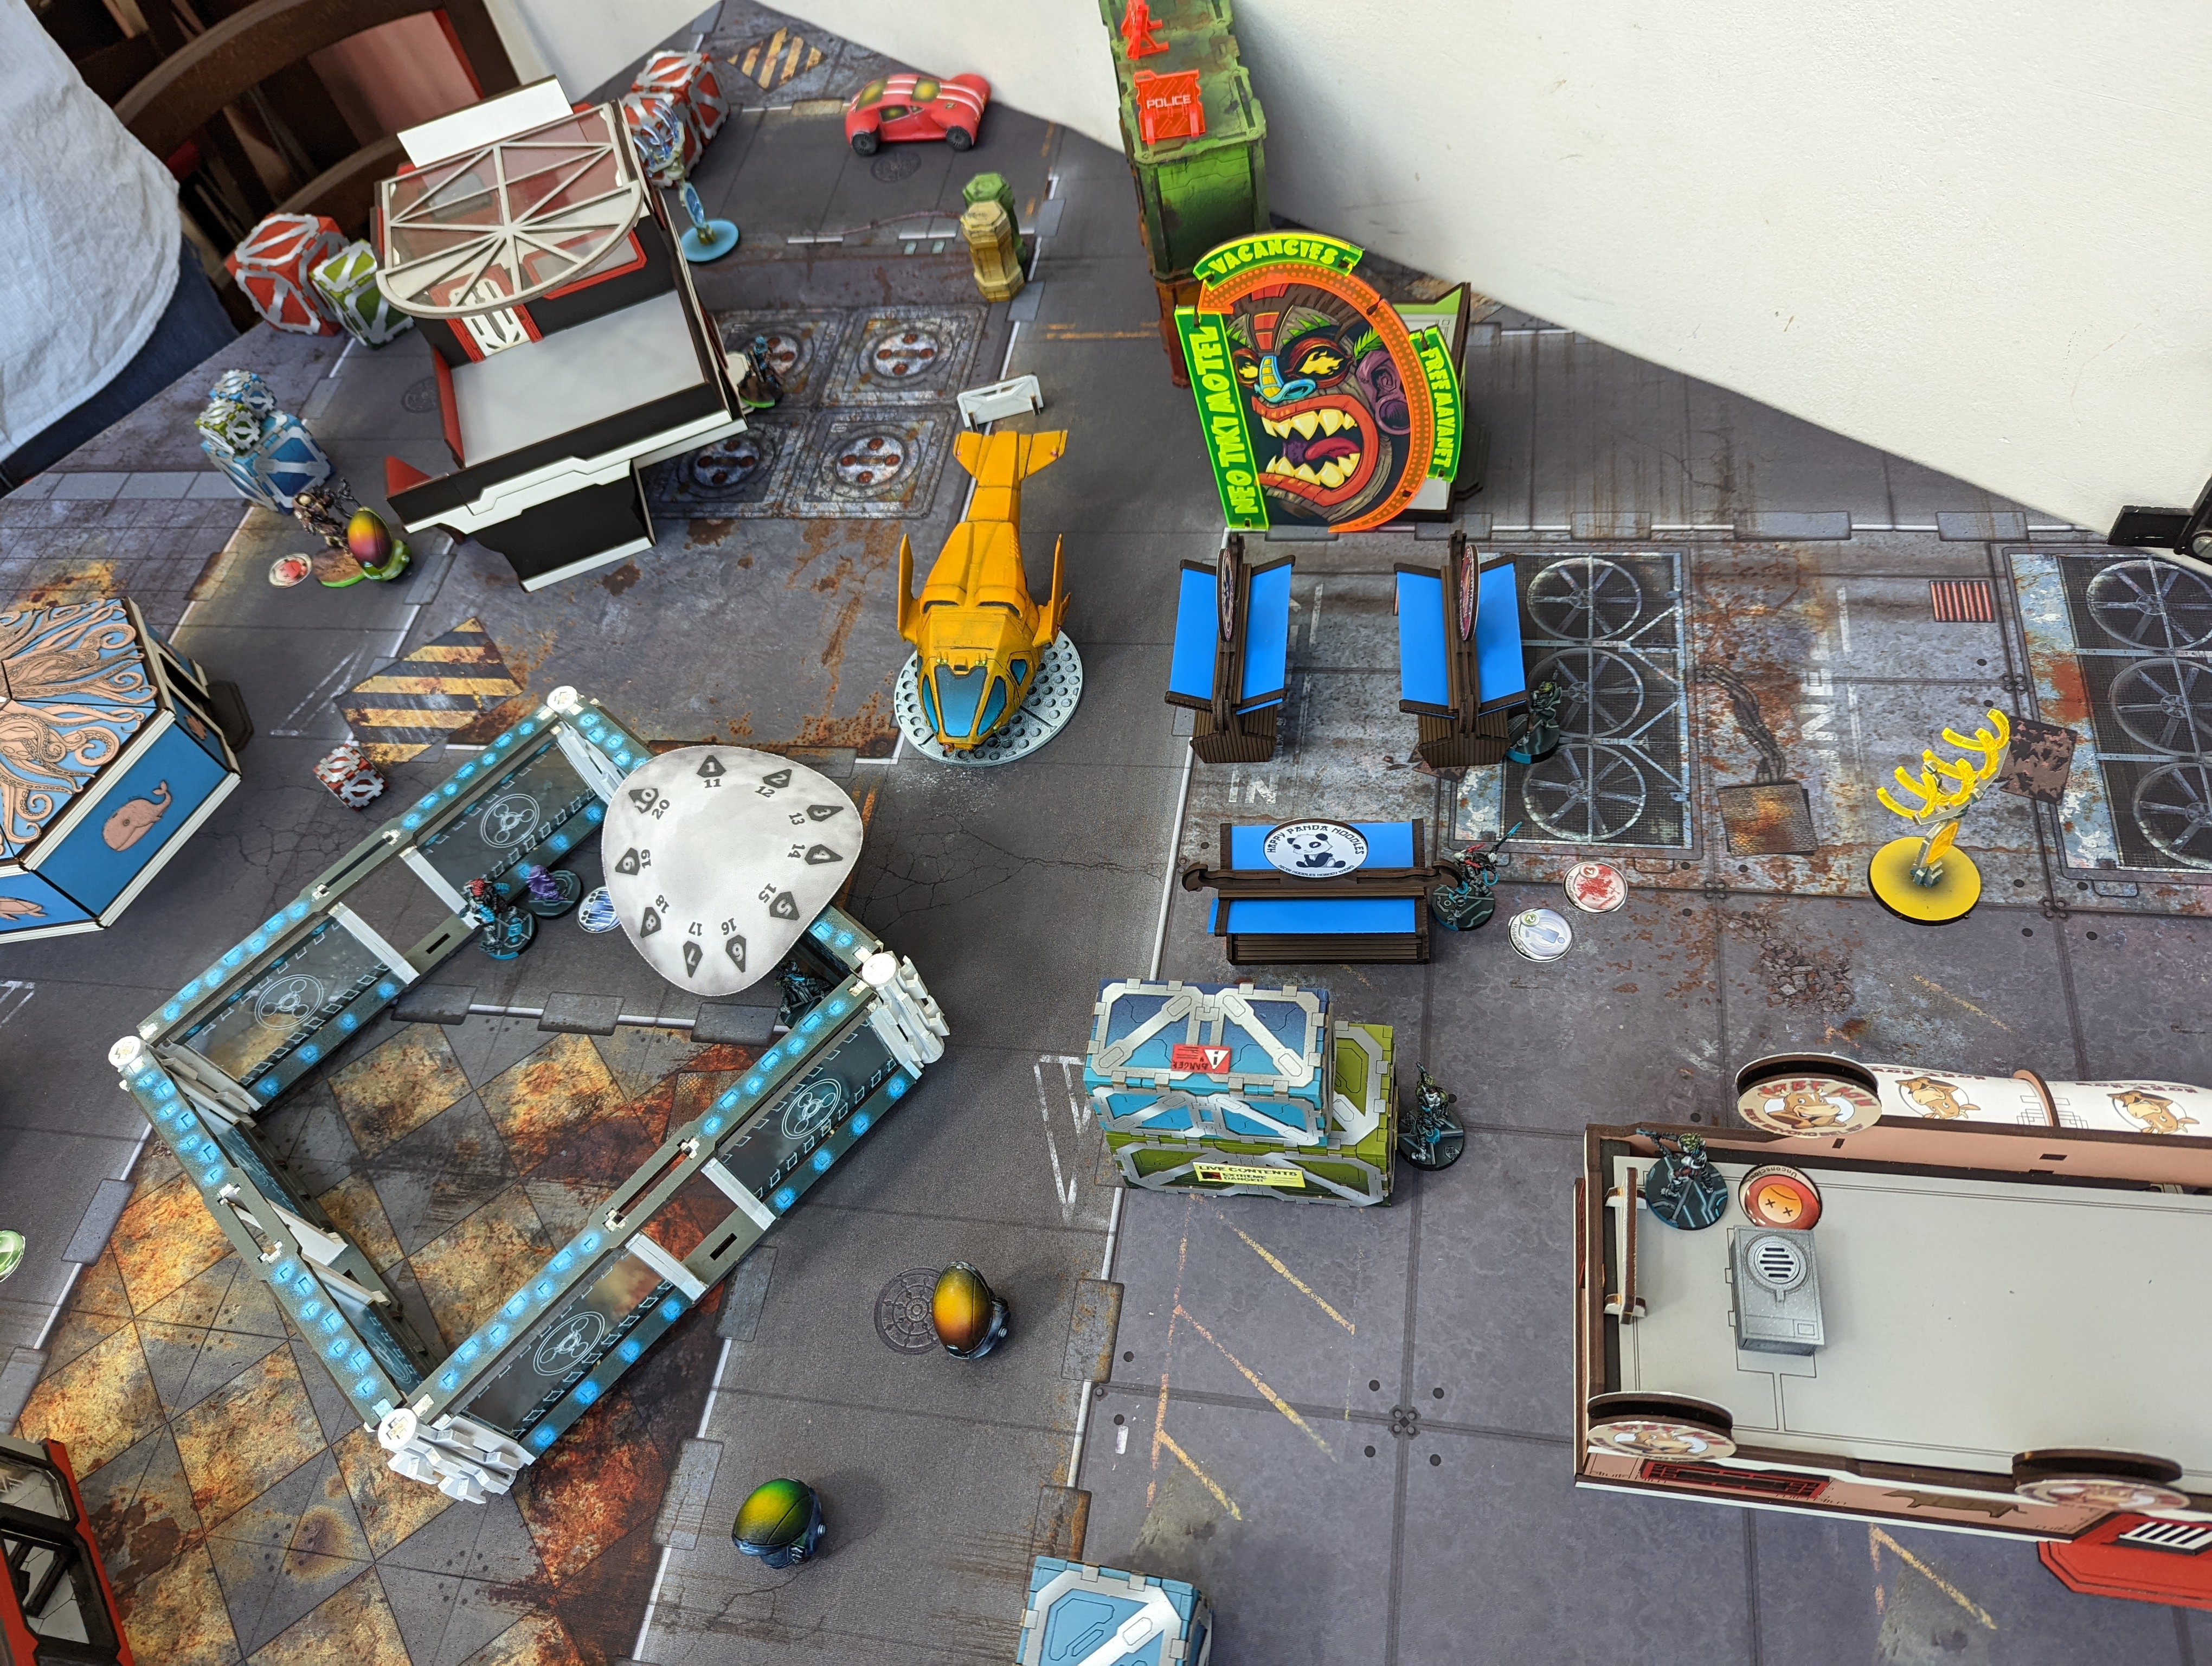
Haqq deployed knauf opposite the Gao Rael, with the Al-Fasid in the centre, along with naffatuns and the krakot. Deployment was otherwise a nightmare for Haqq, as the daylami all failed the confused deployment zone, so ended up on the haqq player’s left, outside of marker state, opposite the ectros triad.
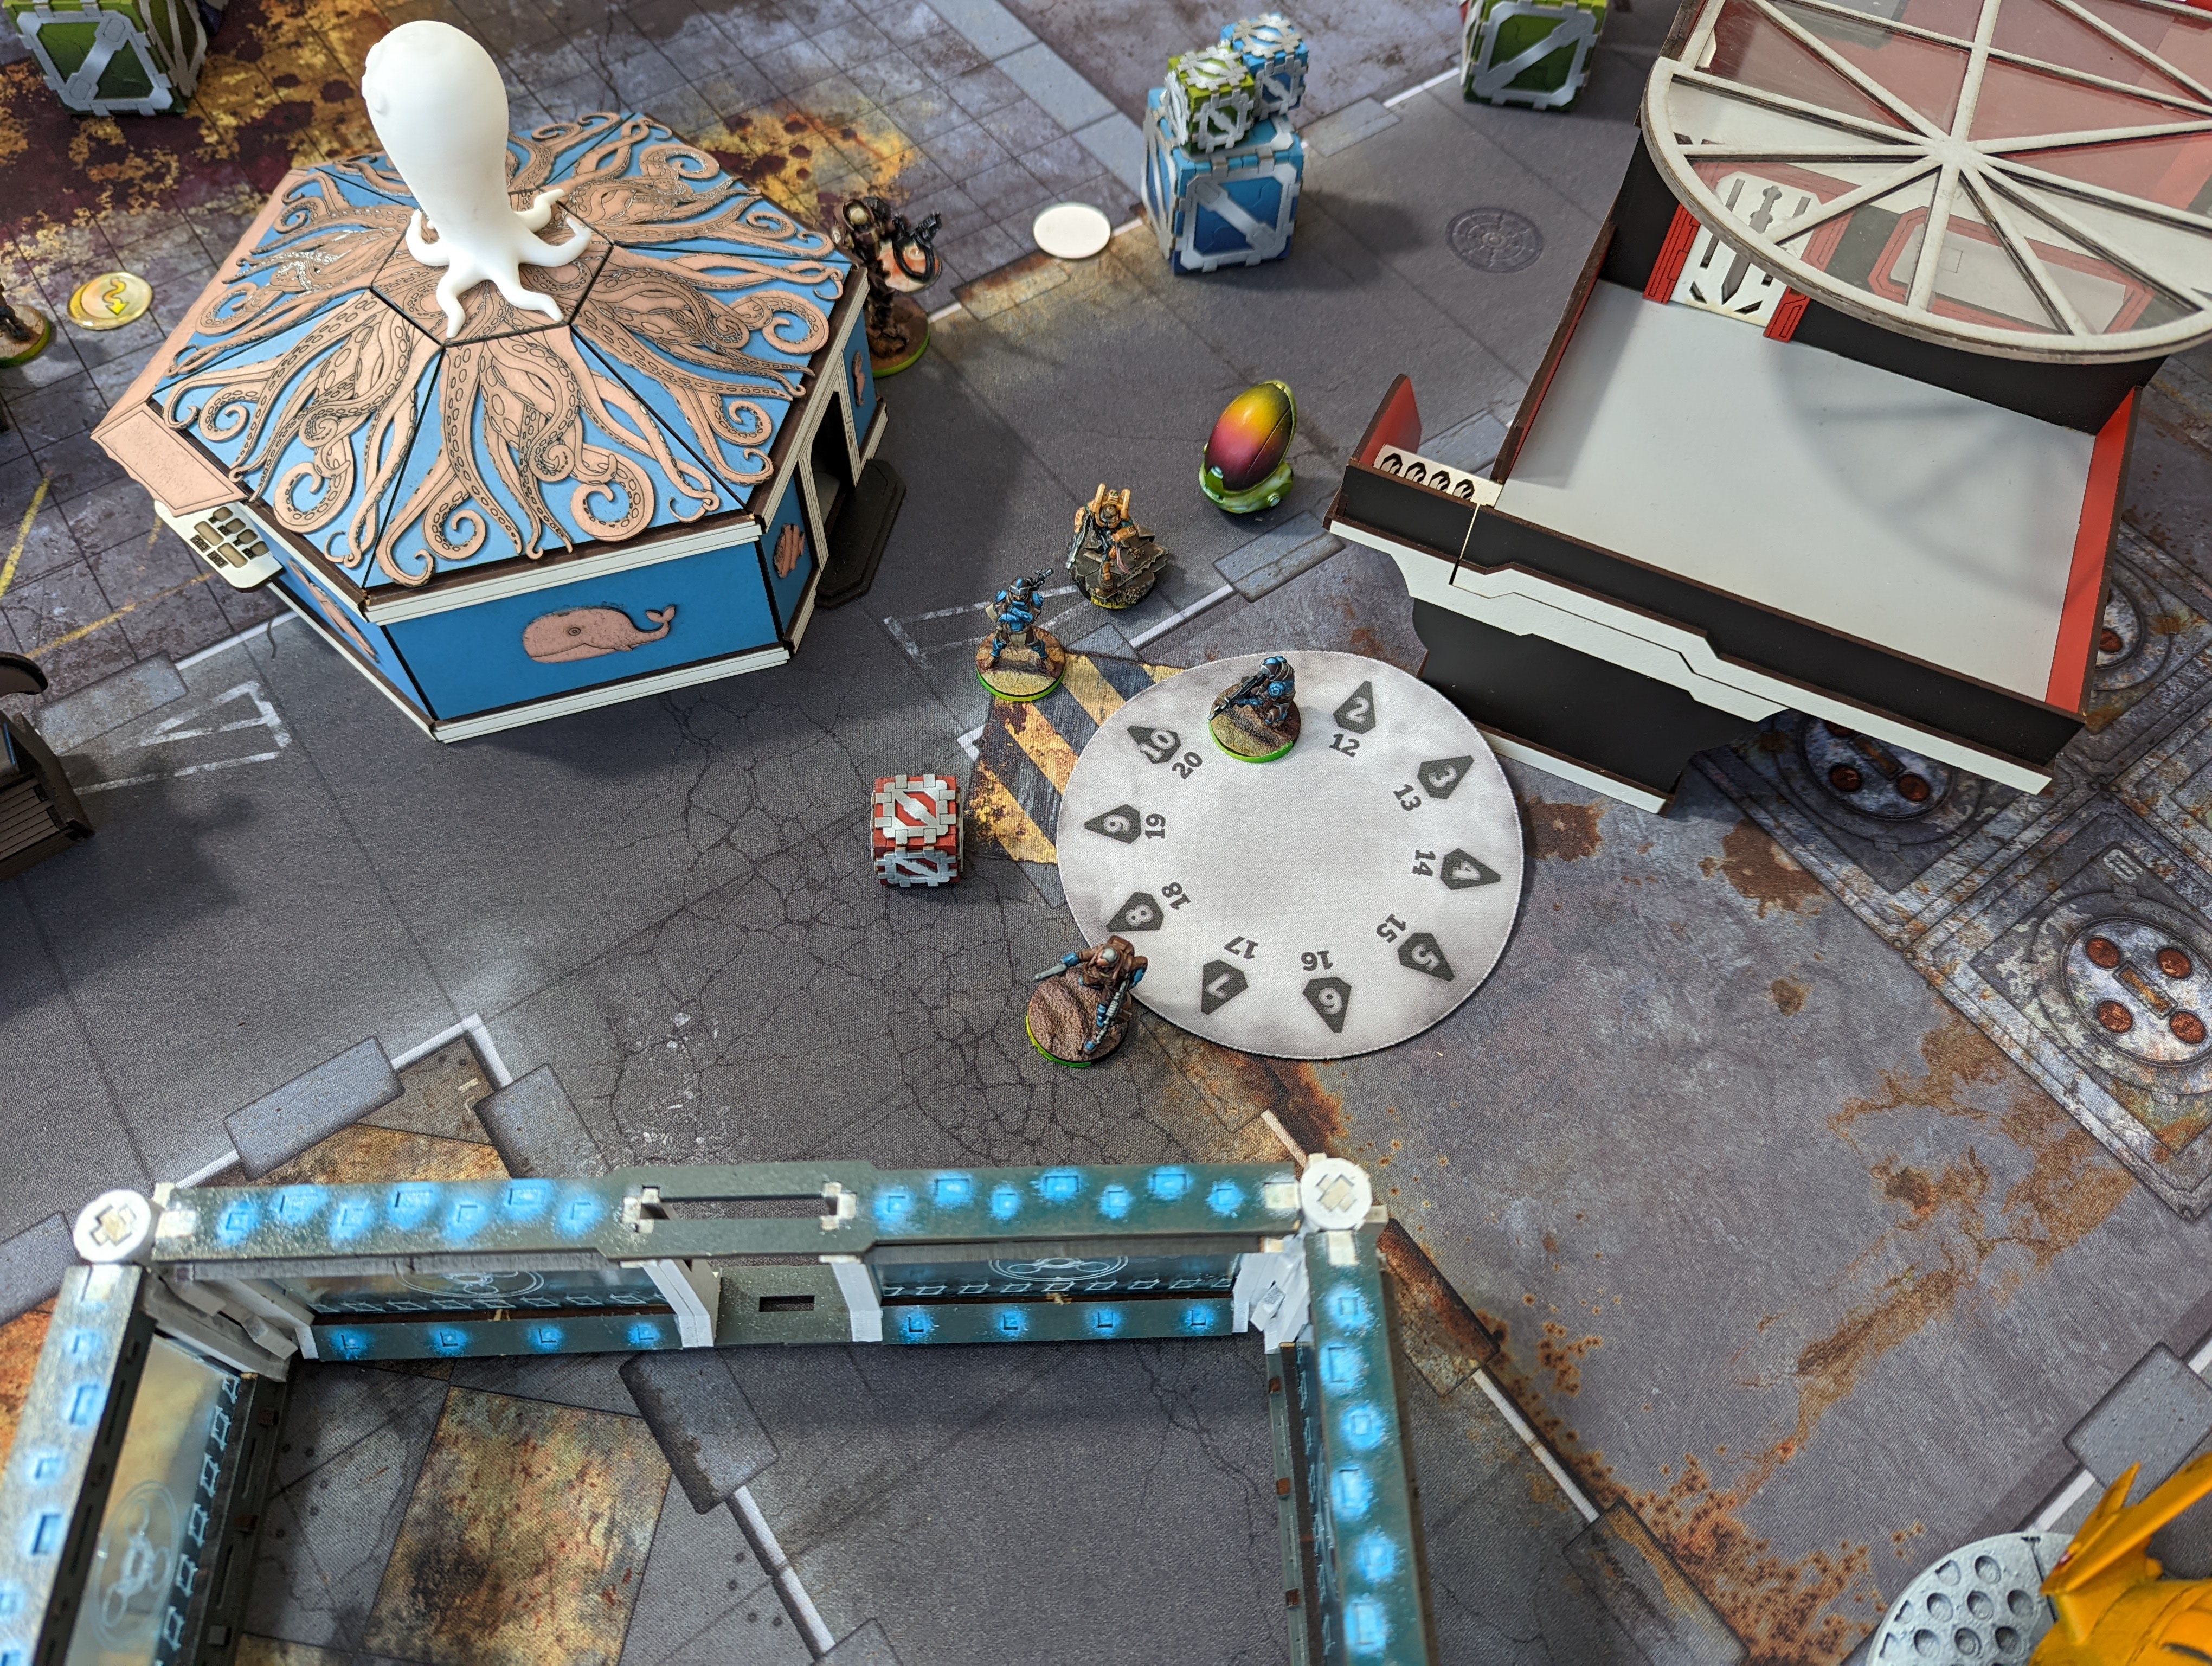
Haqq Turn 1
The Al-Fasid drew a bead on the Ectros, took a wound on the first attempt, then did a wound back to the Ectros, who failed his guts and fell back into cover behind the antenna. The Al-Fasid then dropped smoke to allow two naffatun, a mukhtar red fury and the krakot renegade to make it to the Panic Room. Meanwhile, Knauf tried to clear the roof-tops, but ended up losing a sniper duel to the Gao Rael, and went down. Seeking to defend the Panic Room, the Daylami moved forward to cover Neema’s approach.
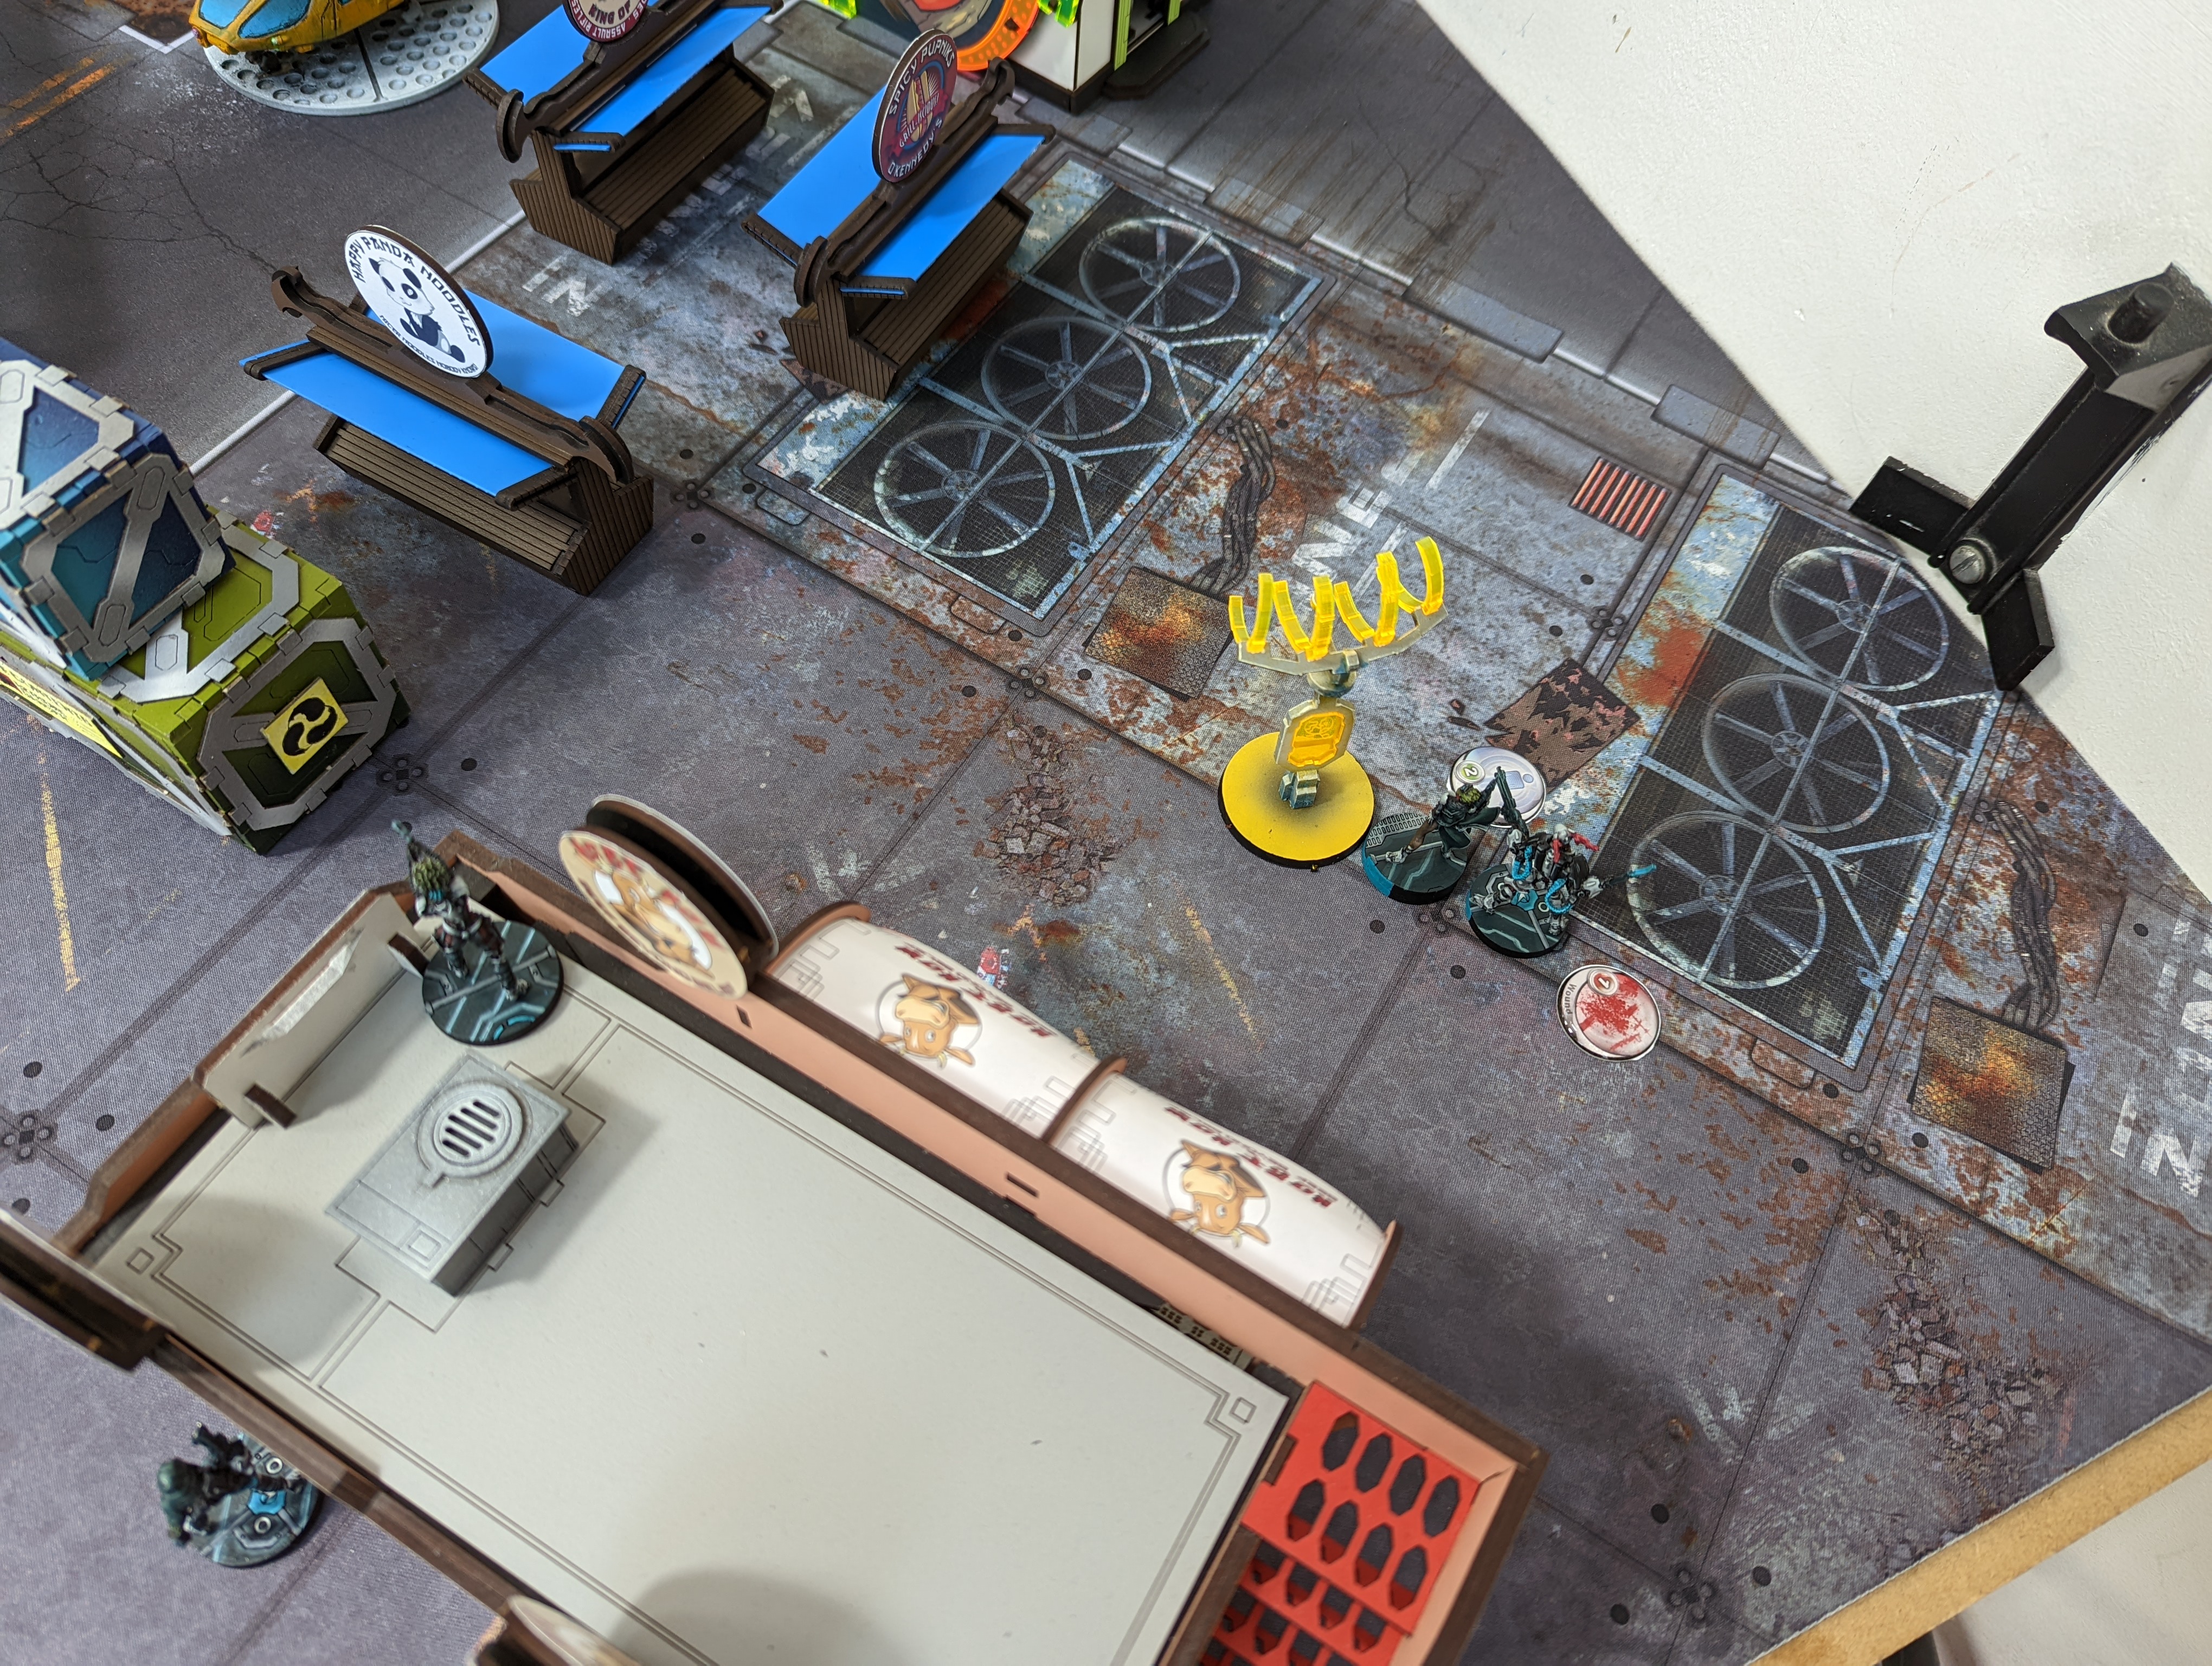
Tohaa Turn 1
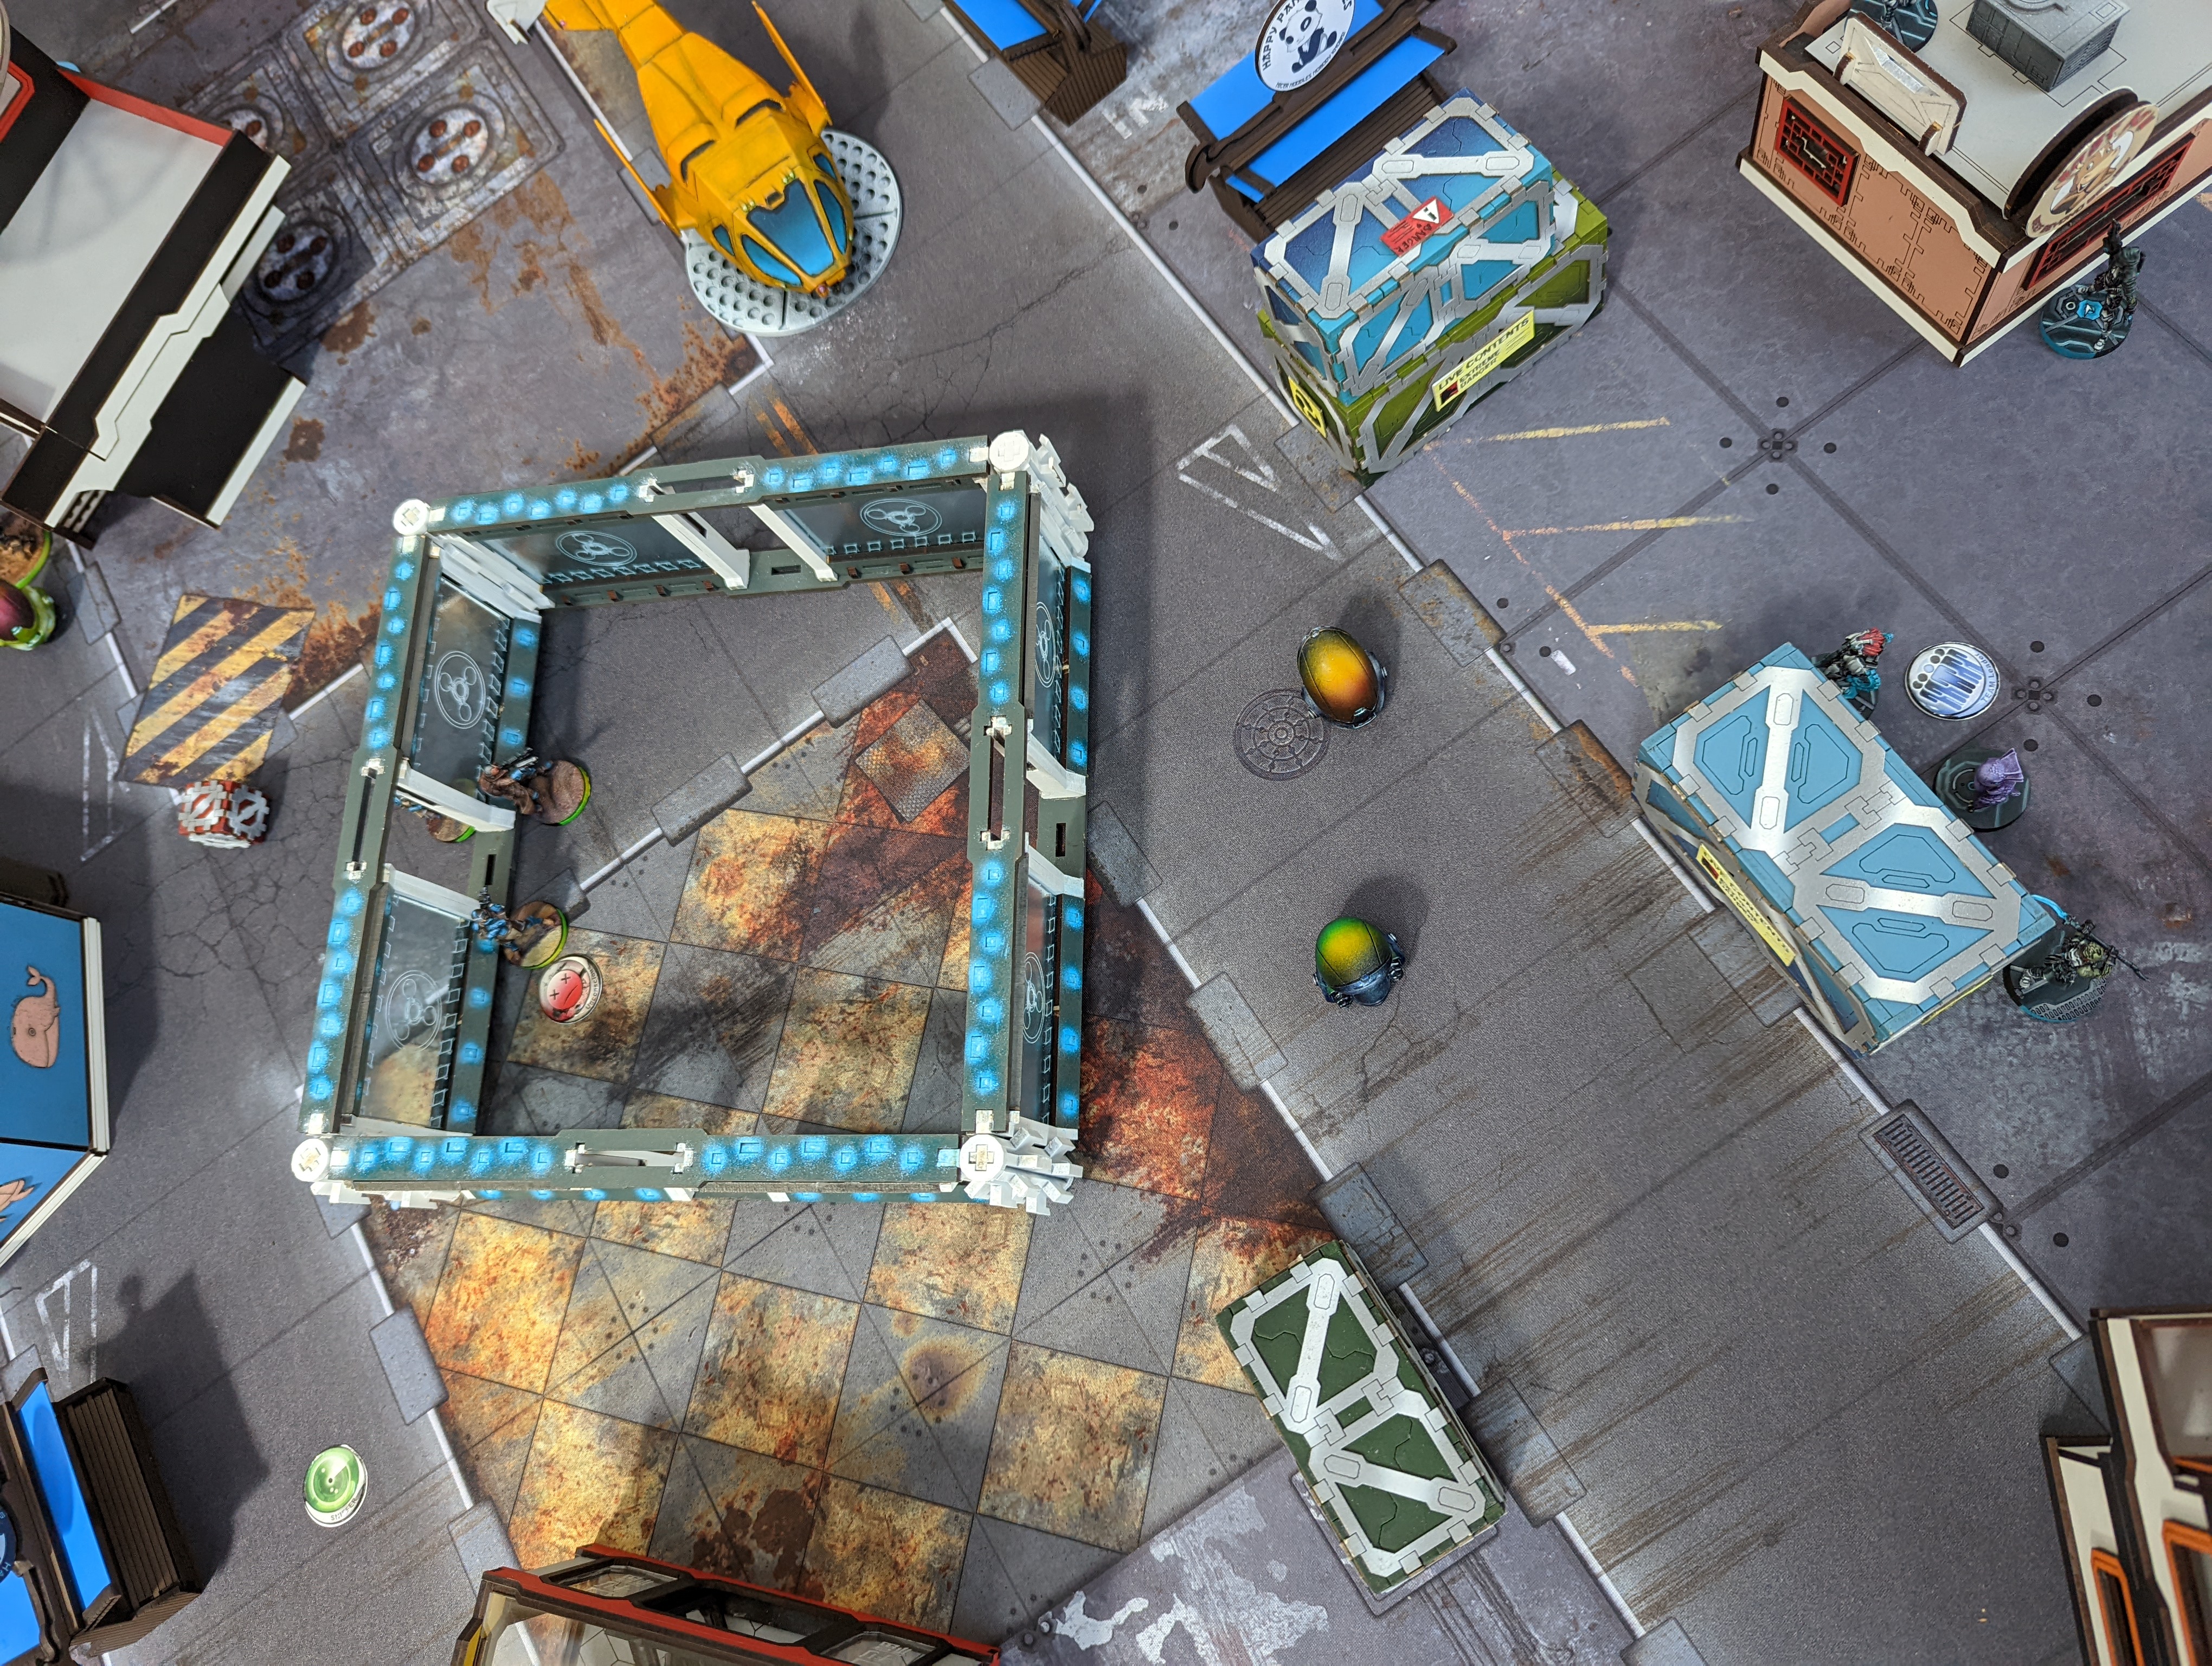
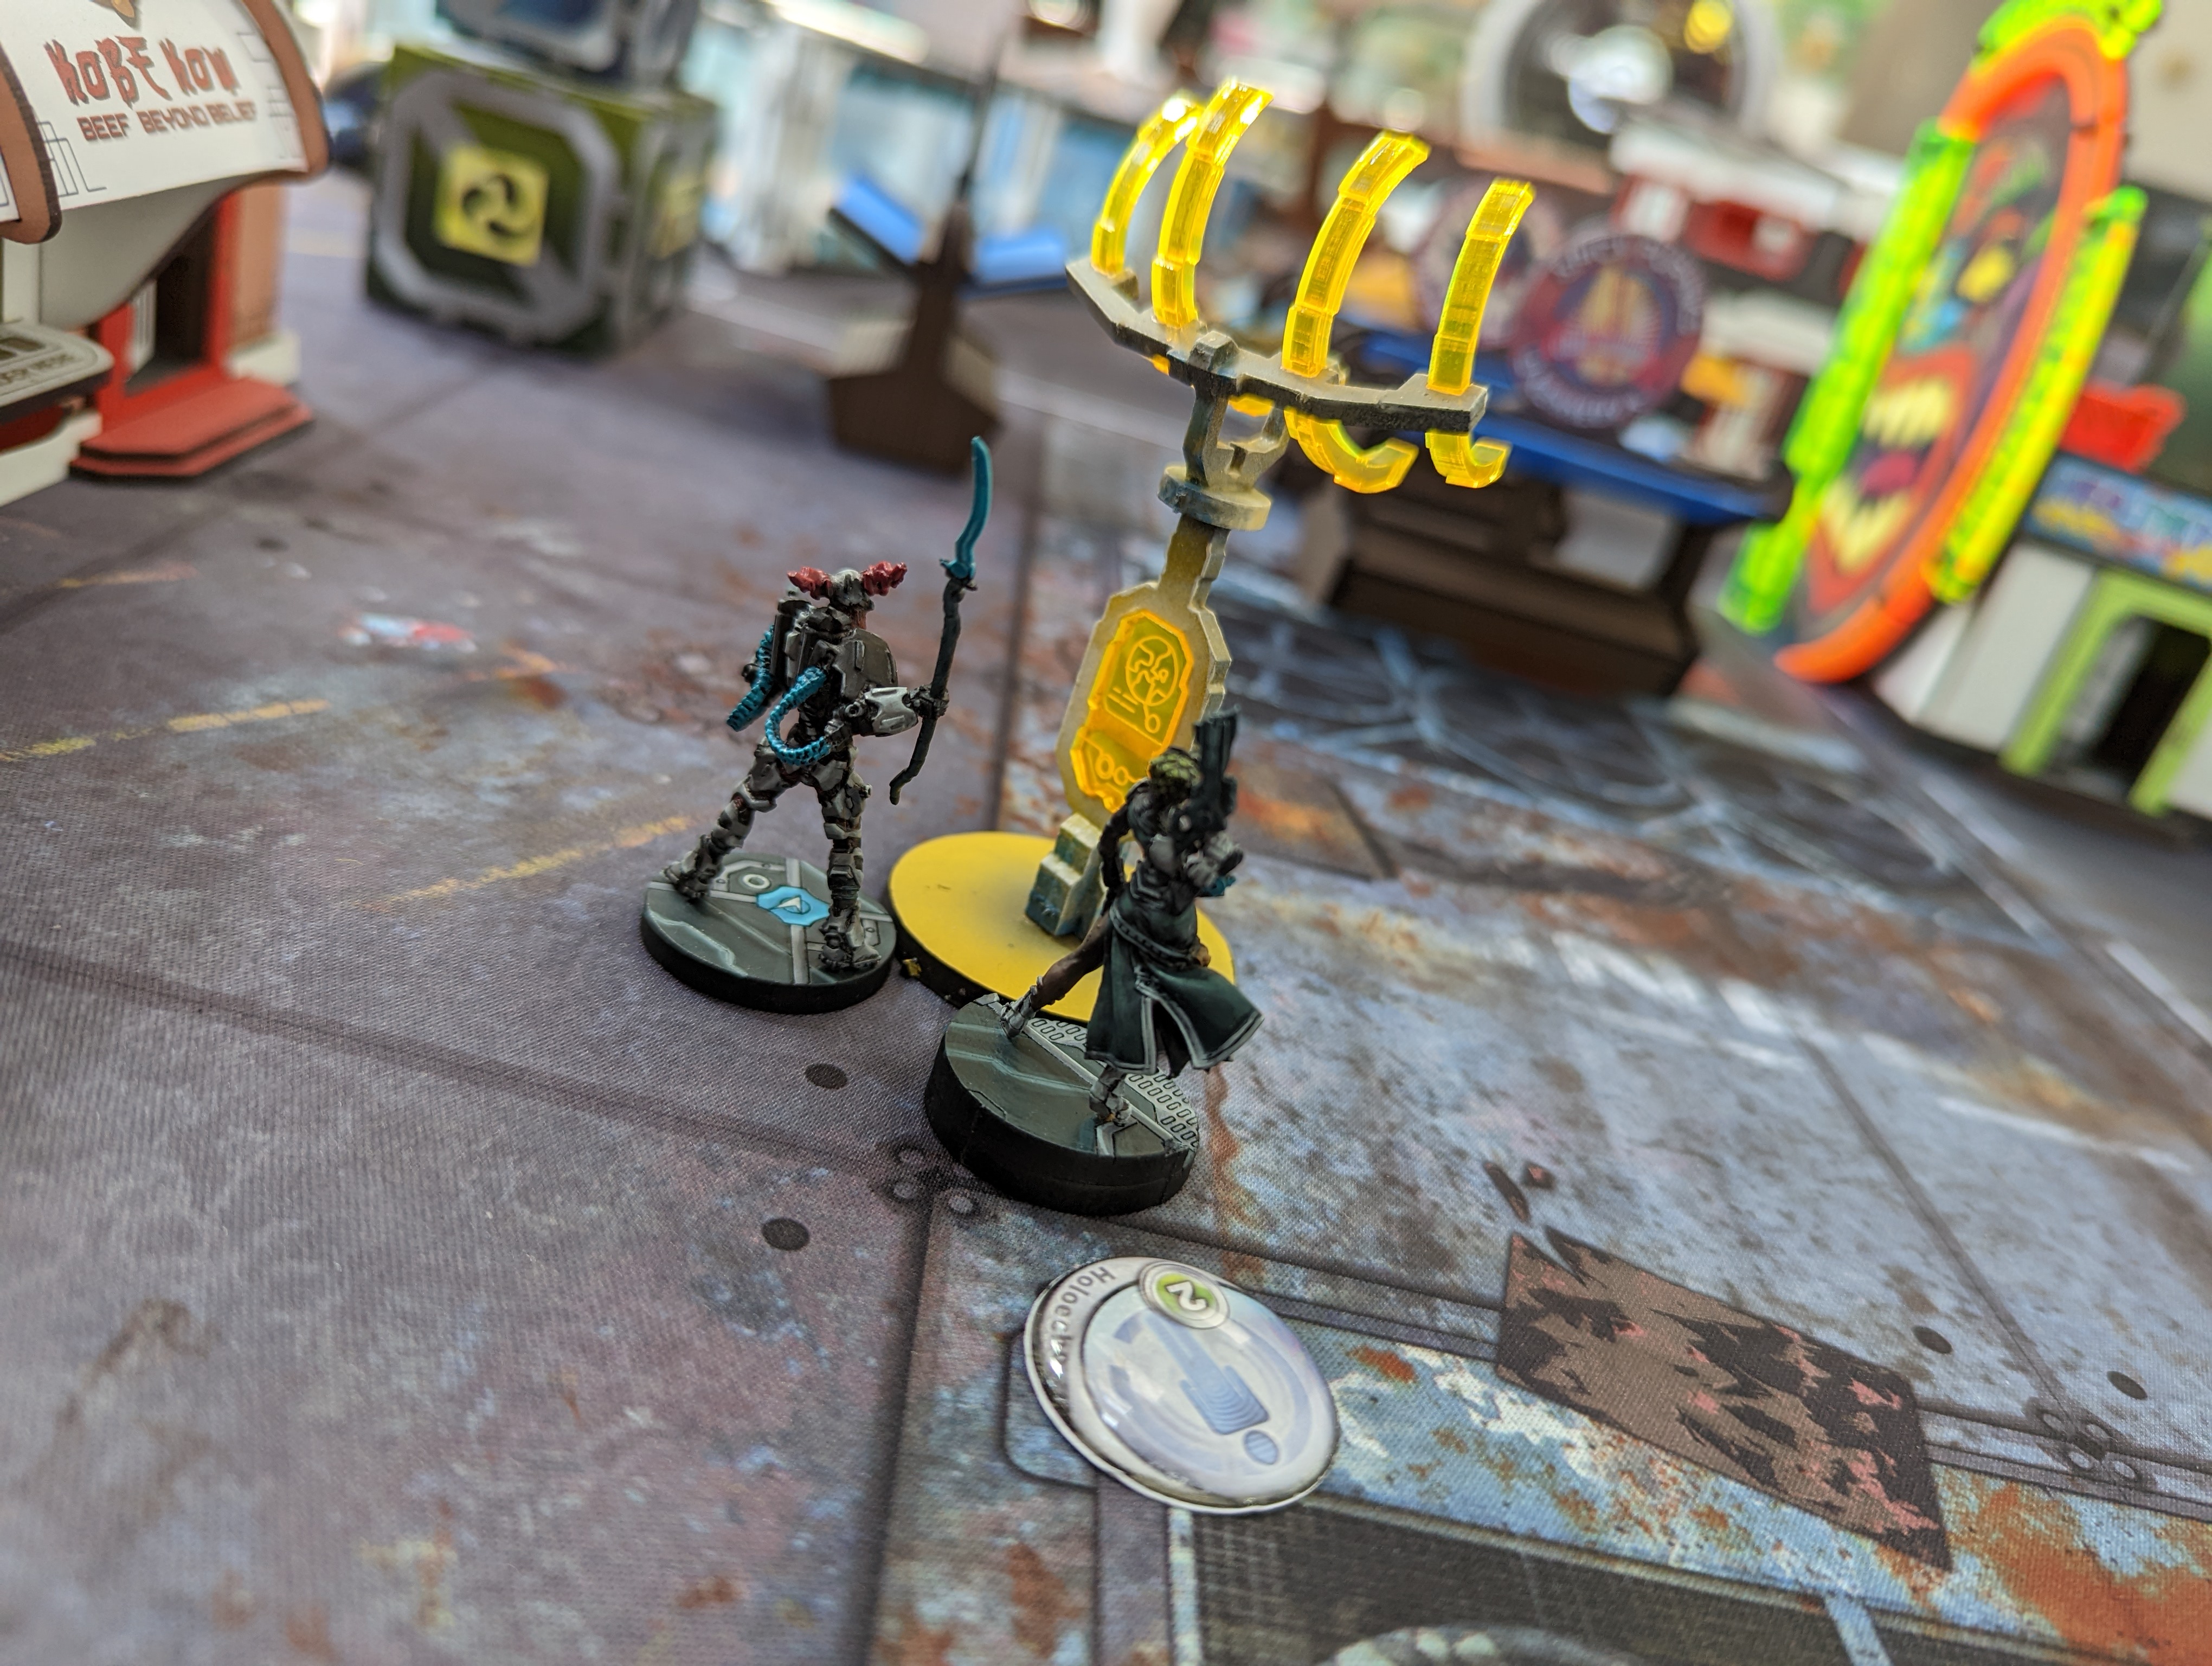
With no cover in the Panic Room, the Mukhtar and Krakot were easy targets for Neema’s spitfire, both of them going down. The Gao Rael then forced the covering daylami to retreat with a failed guts roll (after heroically making 3 armour saves). With the route clear, Neema’s triad moved up, the Makaul using its heavy flamethrower to clear the two remaining Haqq troops in the area, before throwing eclipse smoke to cover the right-most door from the Daylami who could otherwise see in. Neema used this to move further into the room and kill off a third daylami through the back door of the room.
As both of us had initially misinterpreted the biotechvore zone rules, we took heavy casualties. Tohaa lost the Kerail and his beast and a chaksa auxiliar, while the Haqq lost a fiday and two daylami.
End of turn 1 score: 2-0 to Tohaa.
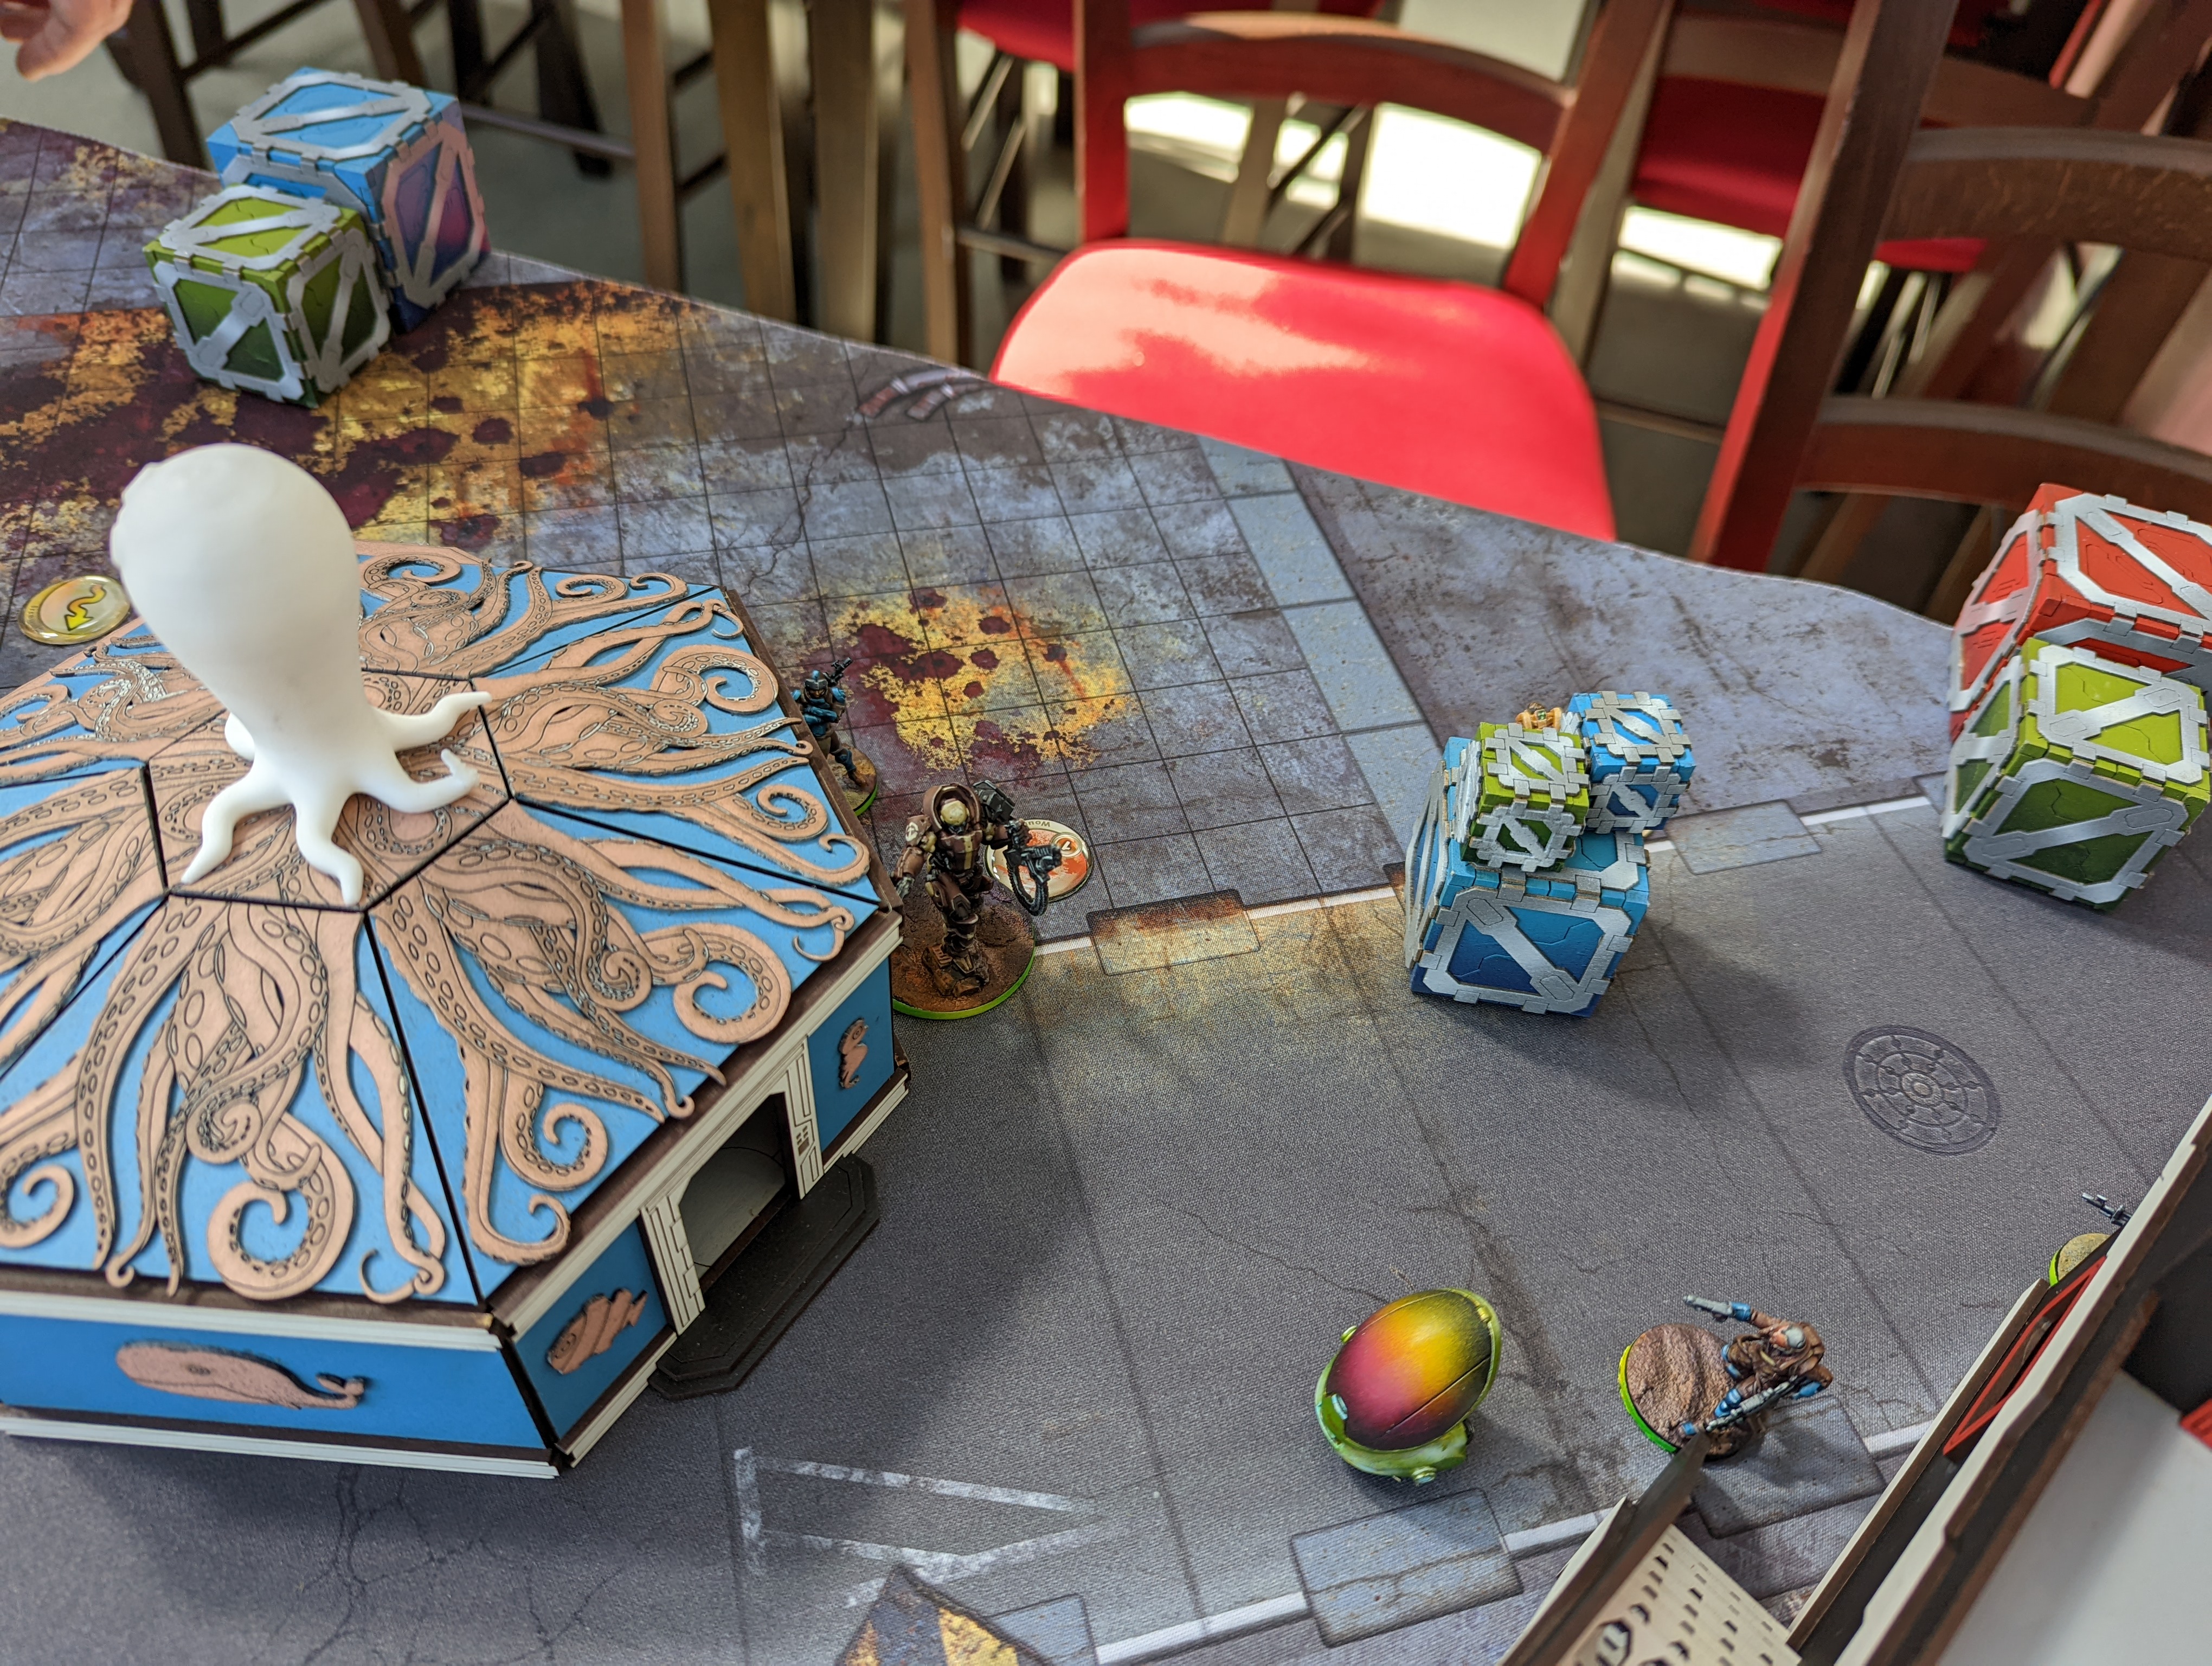
Haqq Turn 2
The Al-Fasid took a second go at the Ectros and the Diplomatic Delegate, shooting down the diplomat but losing the face to face against the Ectros and going down. The remaining naffatun managed to get into position to burn off Neema’s symbiont armour but didn’t do enough to clear the room.
Tohaa Turn 2
With the Panic Room still secure, the Ectros focussed on cleaning up. The last naffatun and the mukhtar boarding shotgun were removed, leaving Haqq with very few tools left to secure the room.
Tohaa troops were able to avoid the plague, but Haqq took a couple more casualties.
End of turn 2 scoring: 4-0 to Tohaa.
At this stage my opponent conceded, with only 1 trooper left alive, leaving the final score 7-0 in favour of the Tohaa. It turned into a bloodbath after turn 1 with my opponent’s dice deserting him quite thoroughly.


Battle Report Author

Opponent
Army Lists Used In This Battle
Recommend Commander For Commendation
Share this battle with friends
WhyarecarrotsWins

Well done! Cool report and photos!
Good readable report – check, full colored terrain – check, all minis painted – check, artishock in defense collebaration – check
well done!
Nice job fellow Brohaa! Artichokes are the best! Make Tohaa great again! haha
Good work and beautiful minis!
Nice report, thank you!
( ƅ°ਉ°)ƅ #ThreeTheTohaa
Great write up with some very nice pics.