Fought At Zebu Research Center: Symbiosamples Storage Area
652 days 13 hours 22 minutes ago
Too Easy For Tohaa
View Linked Report - CLICK HERE 300 POINTSPre-Battle
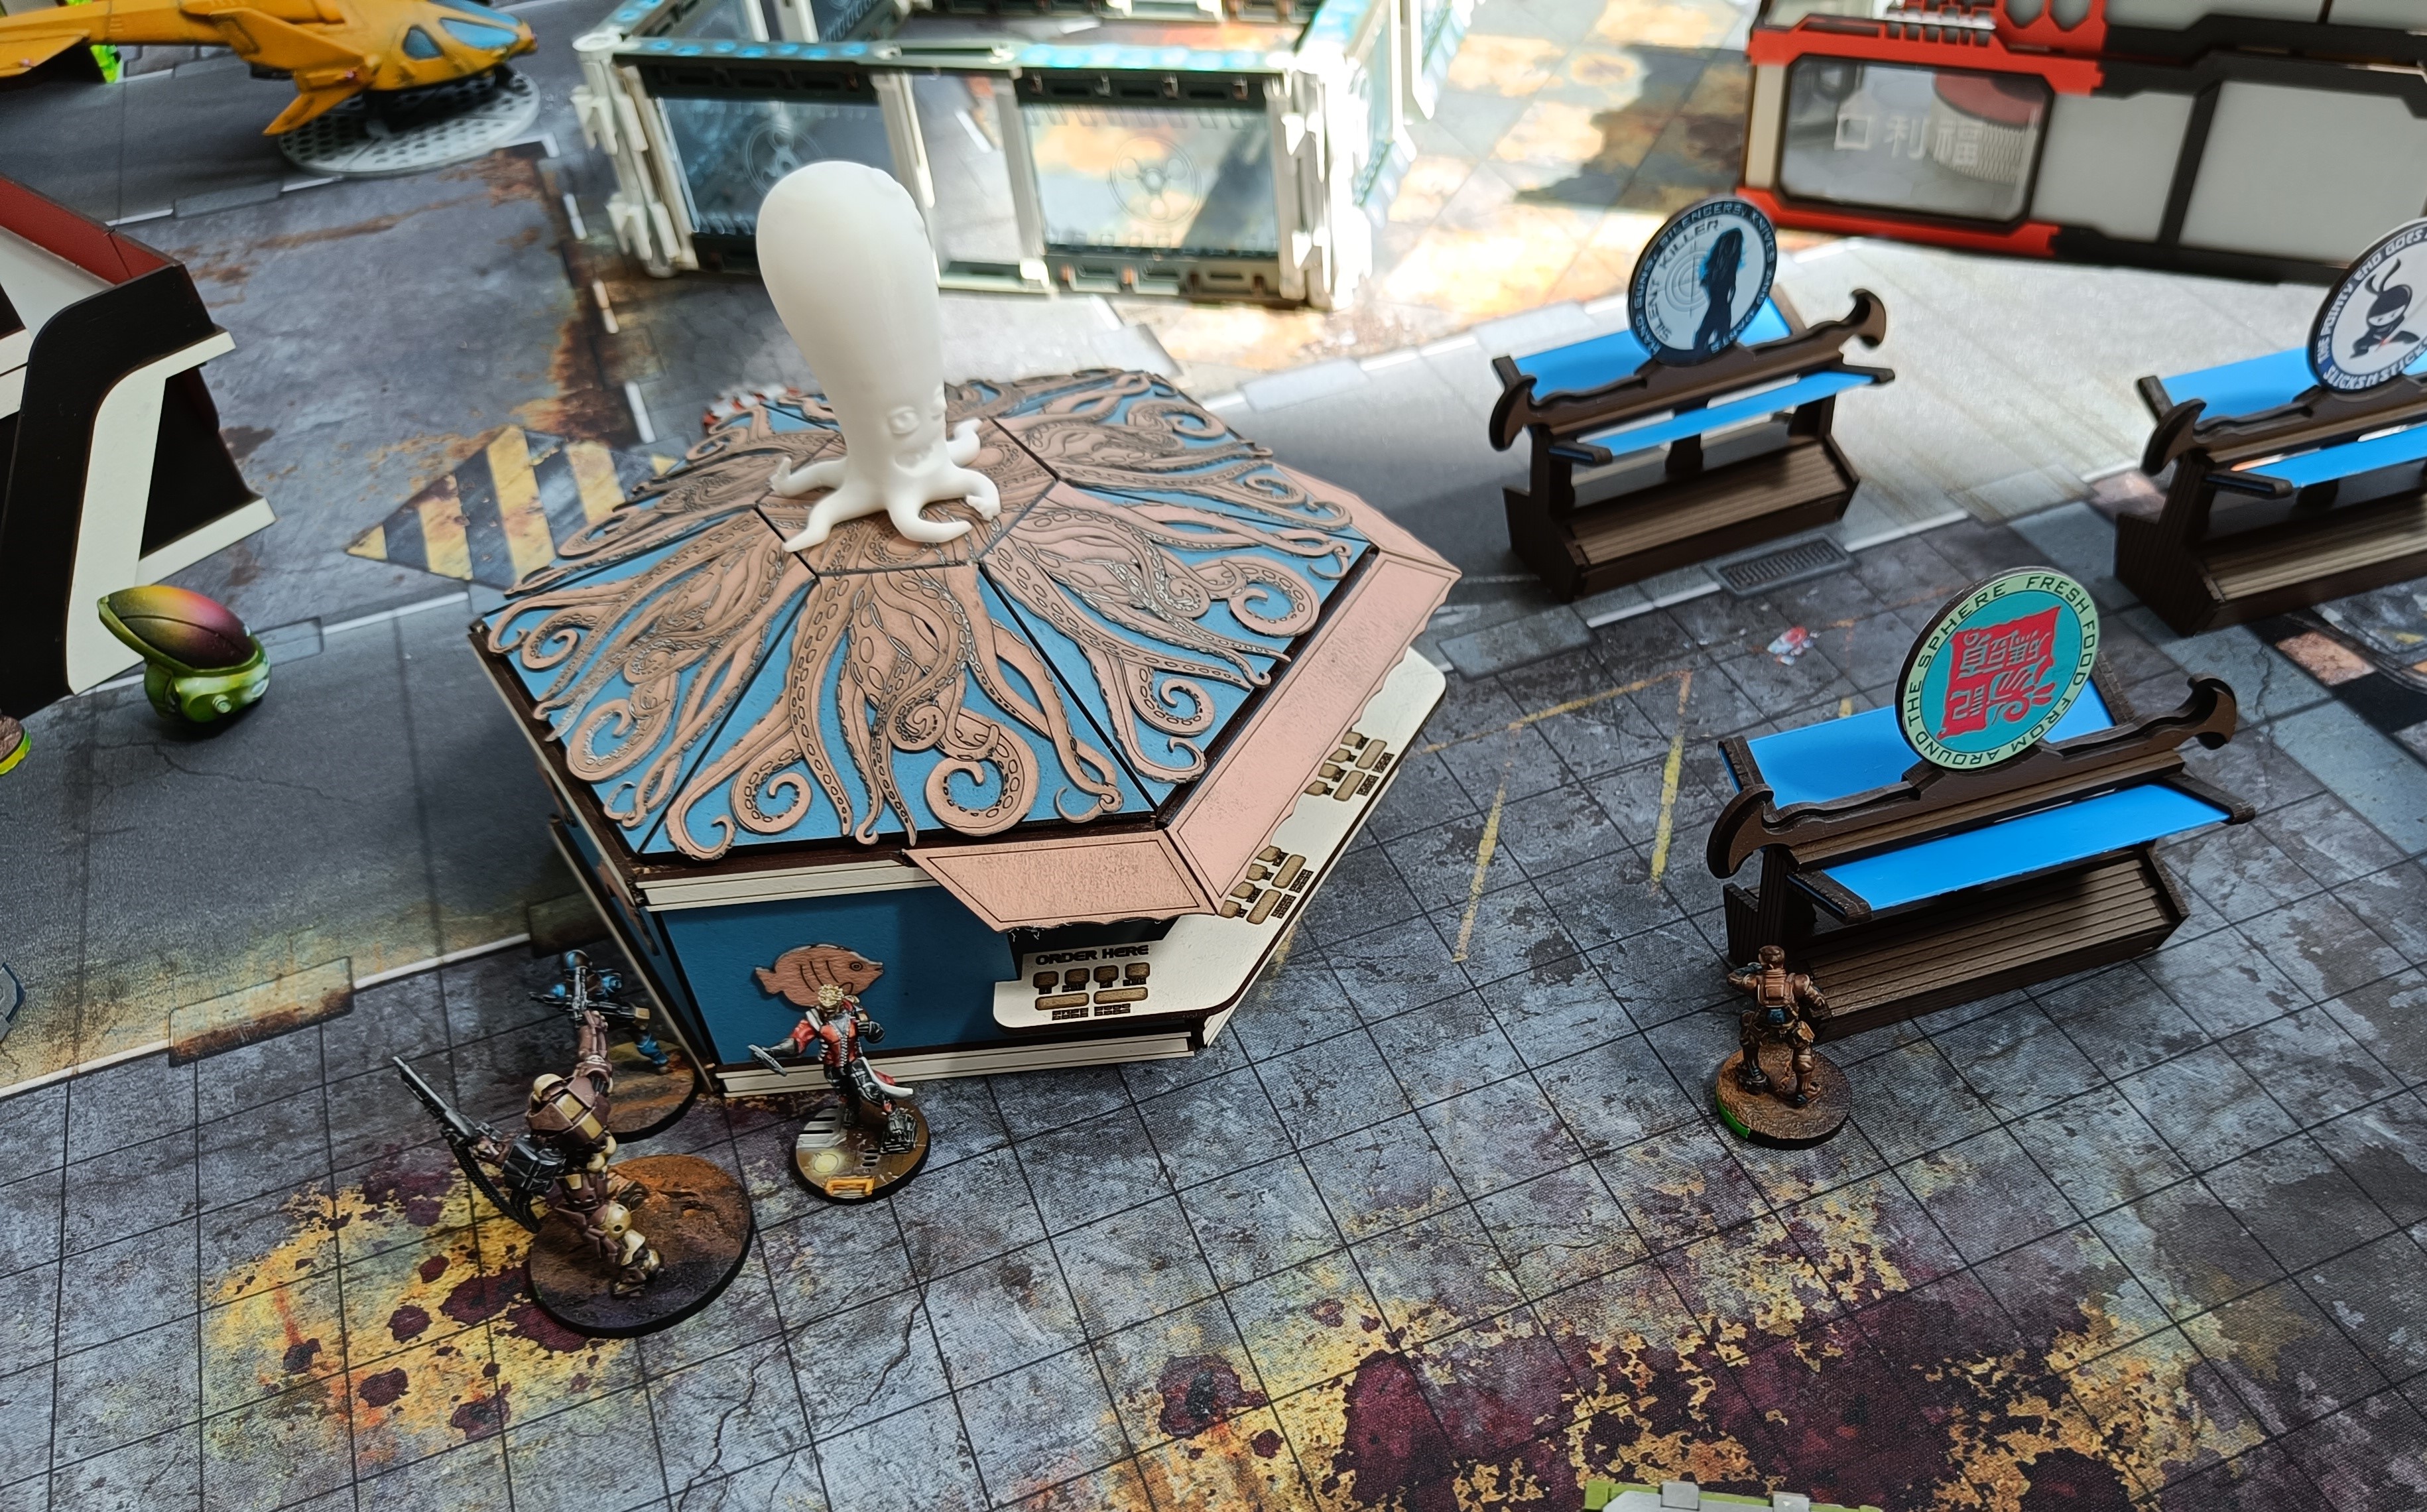
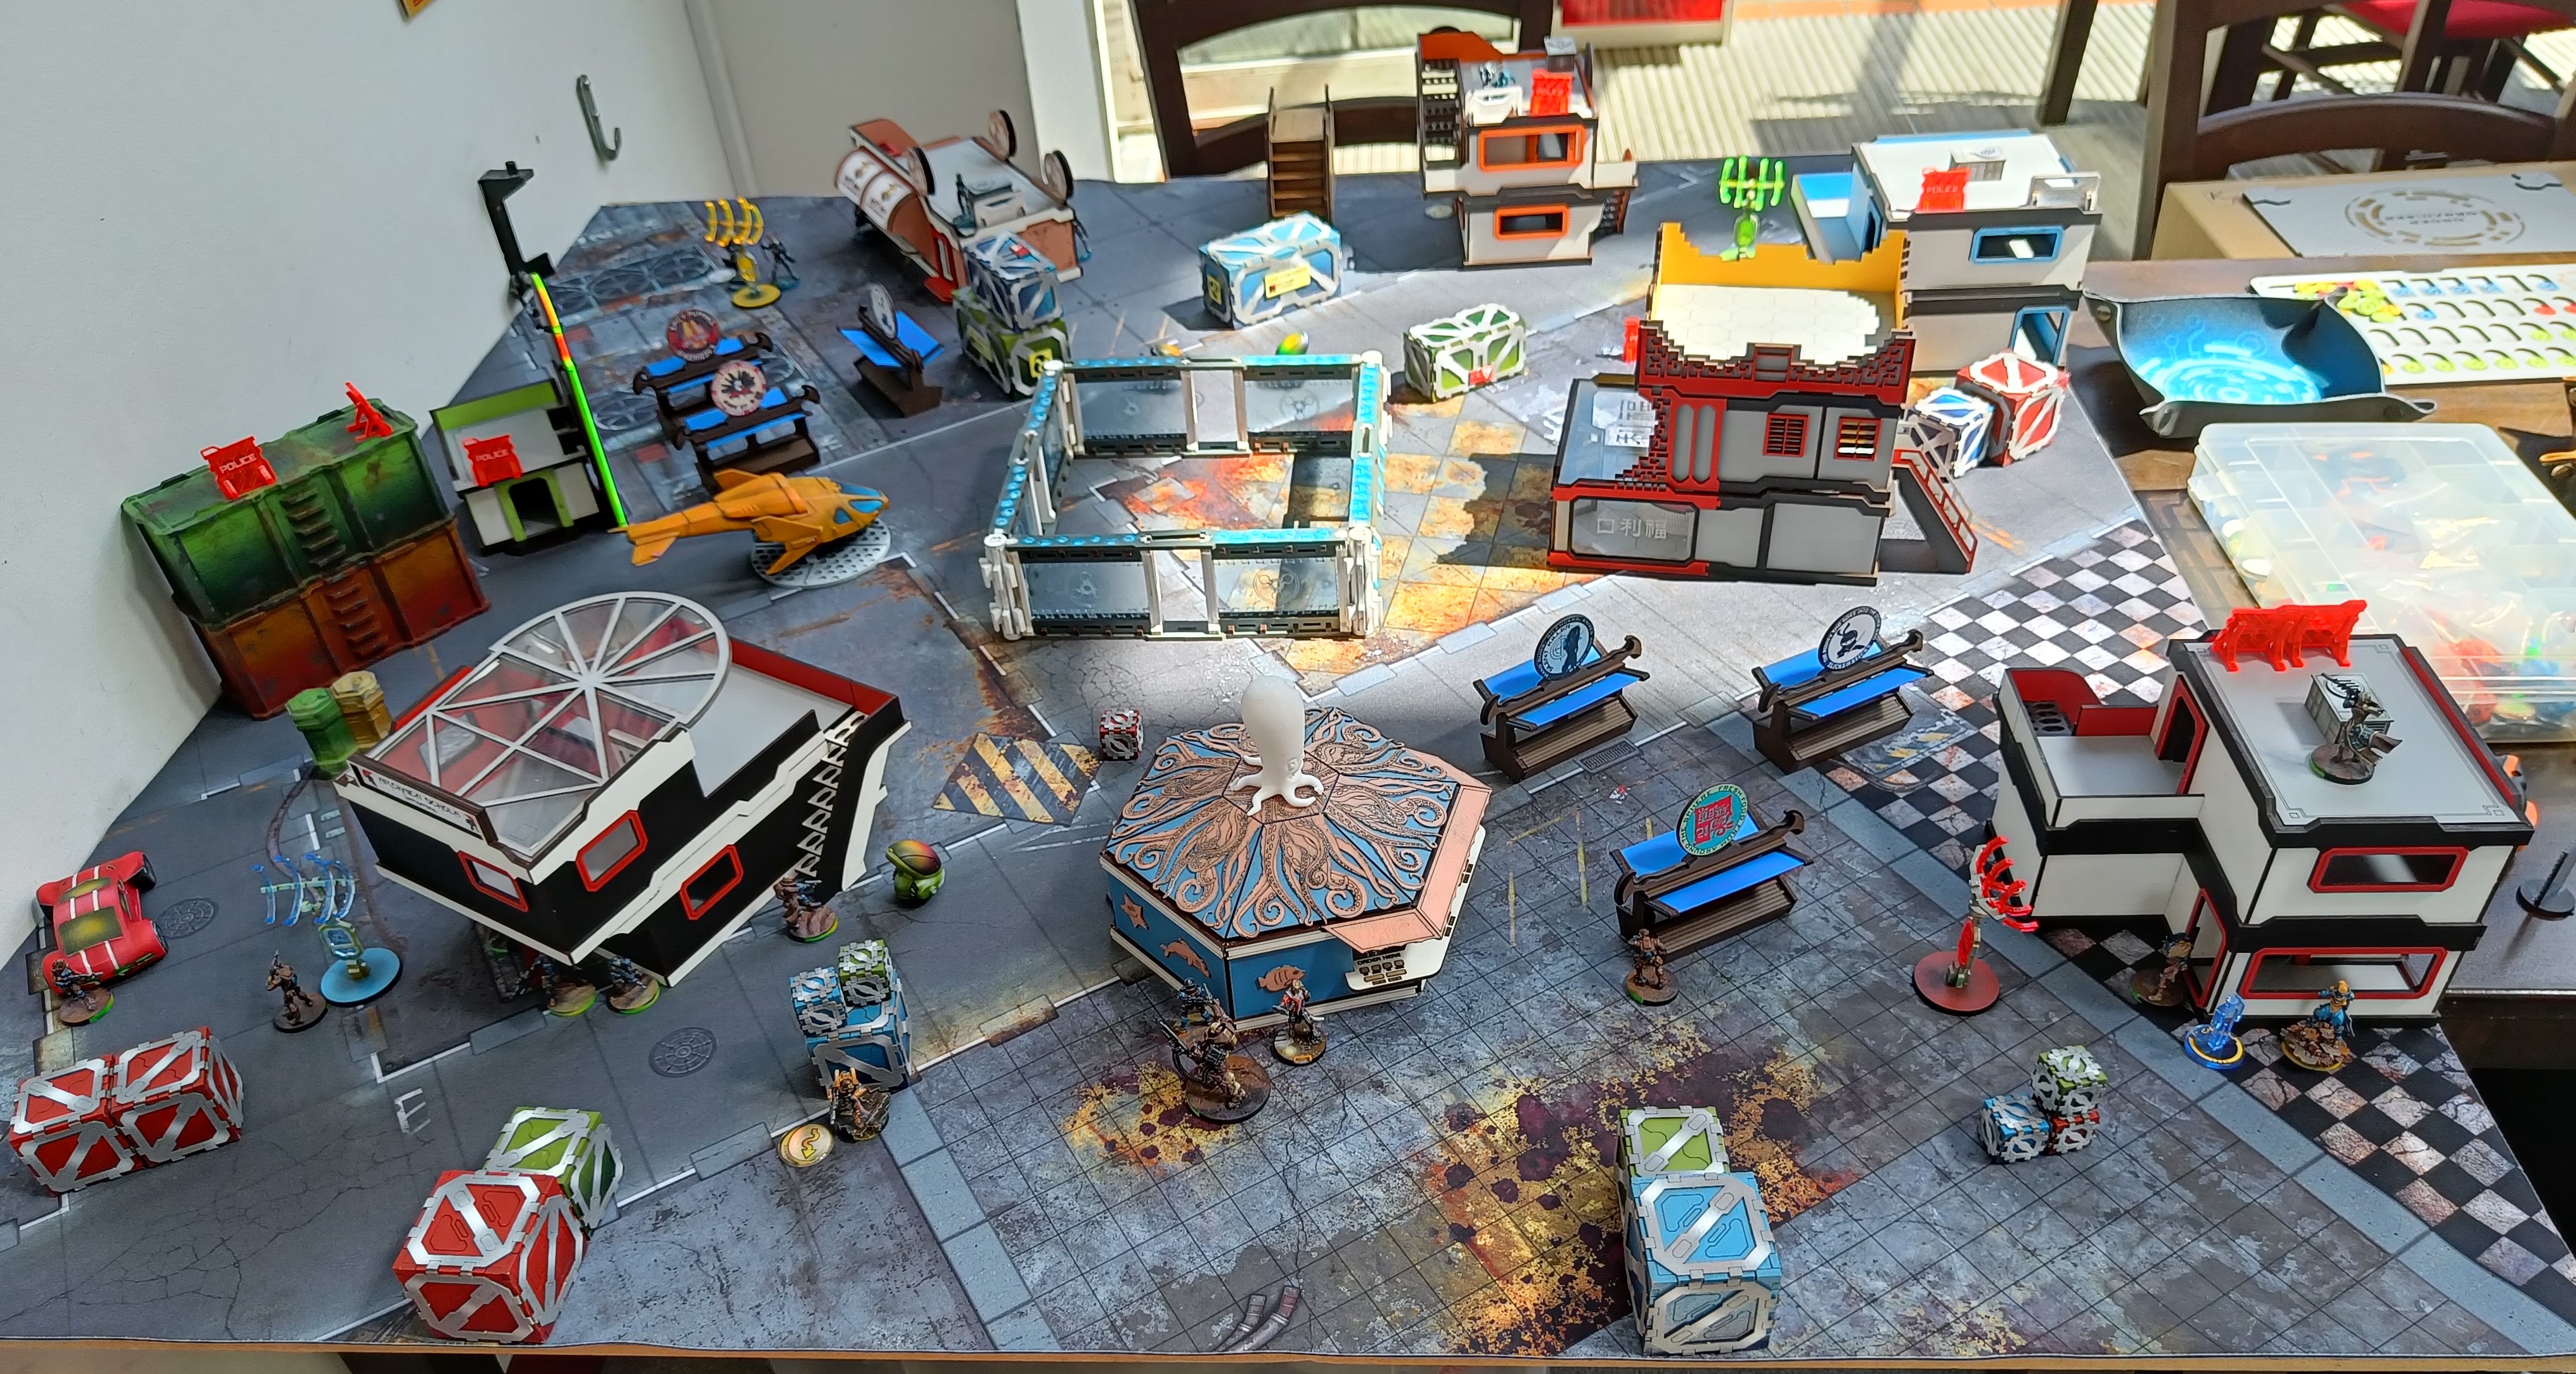
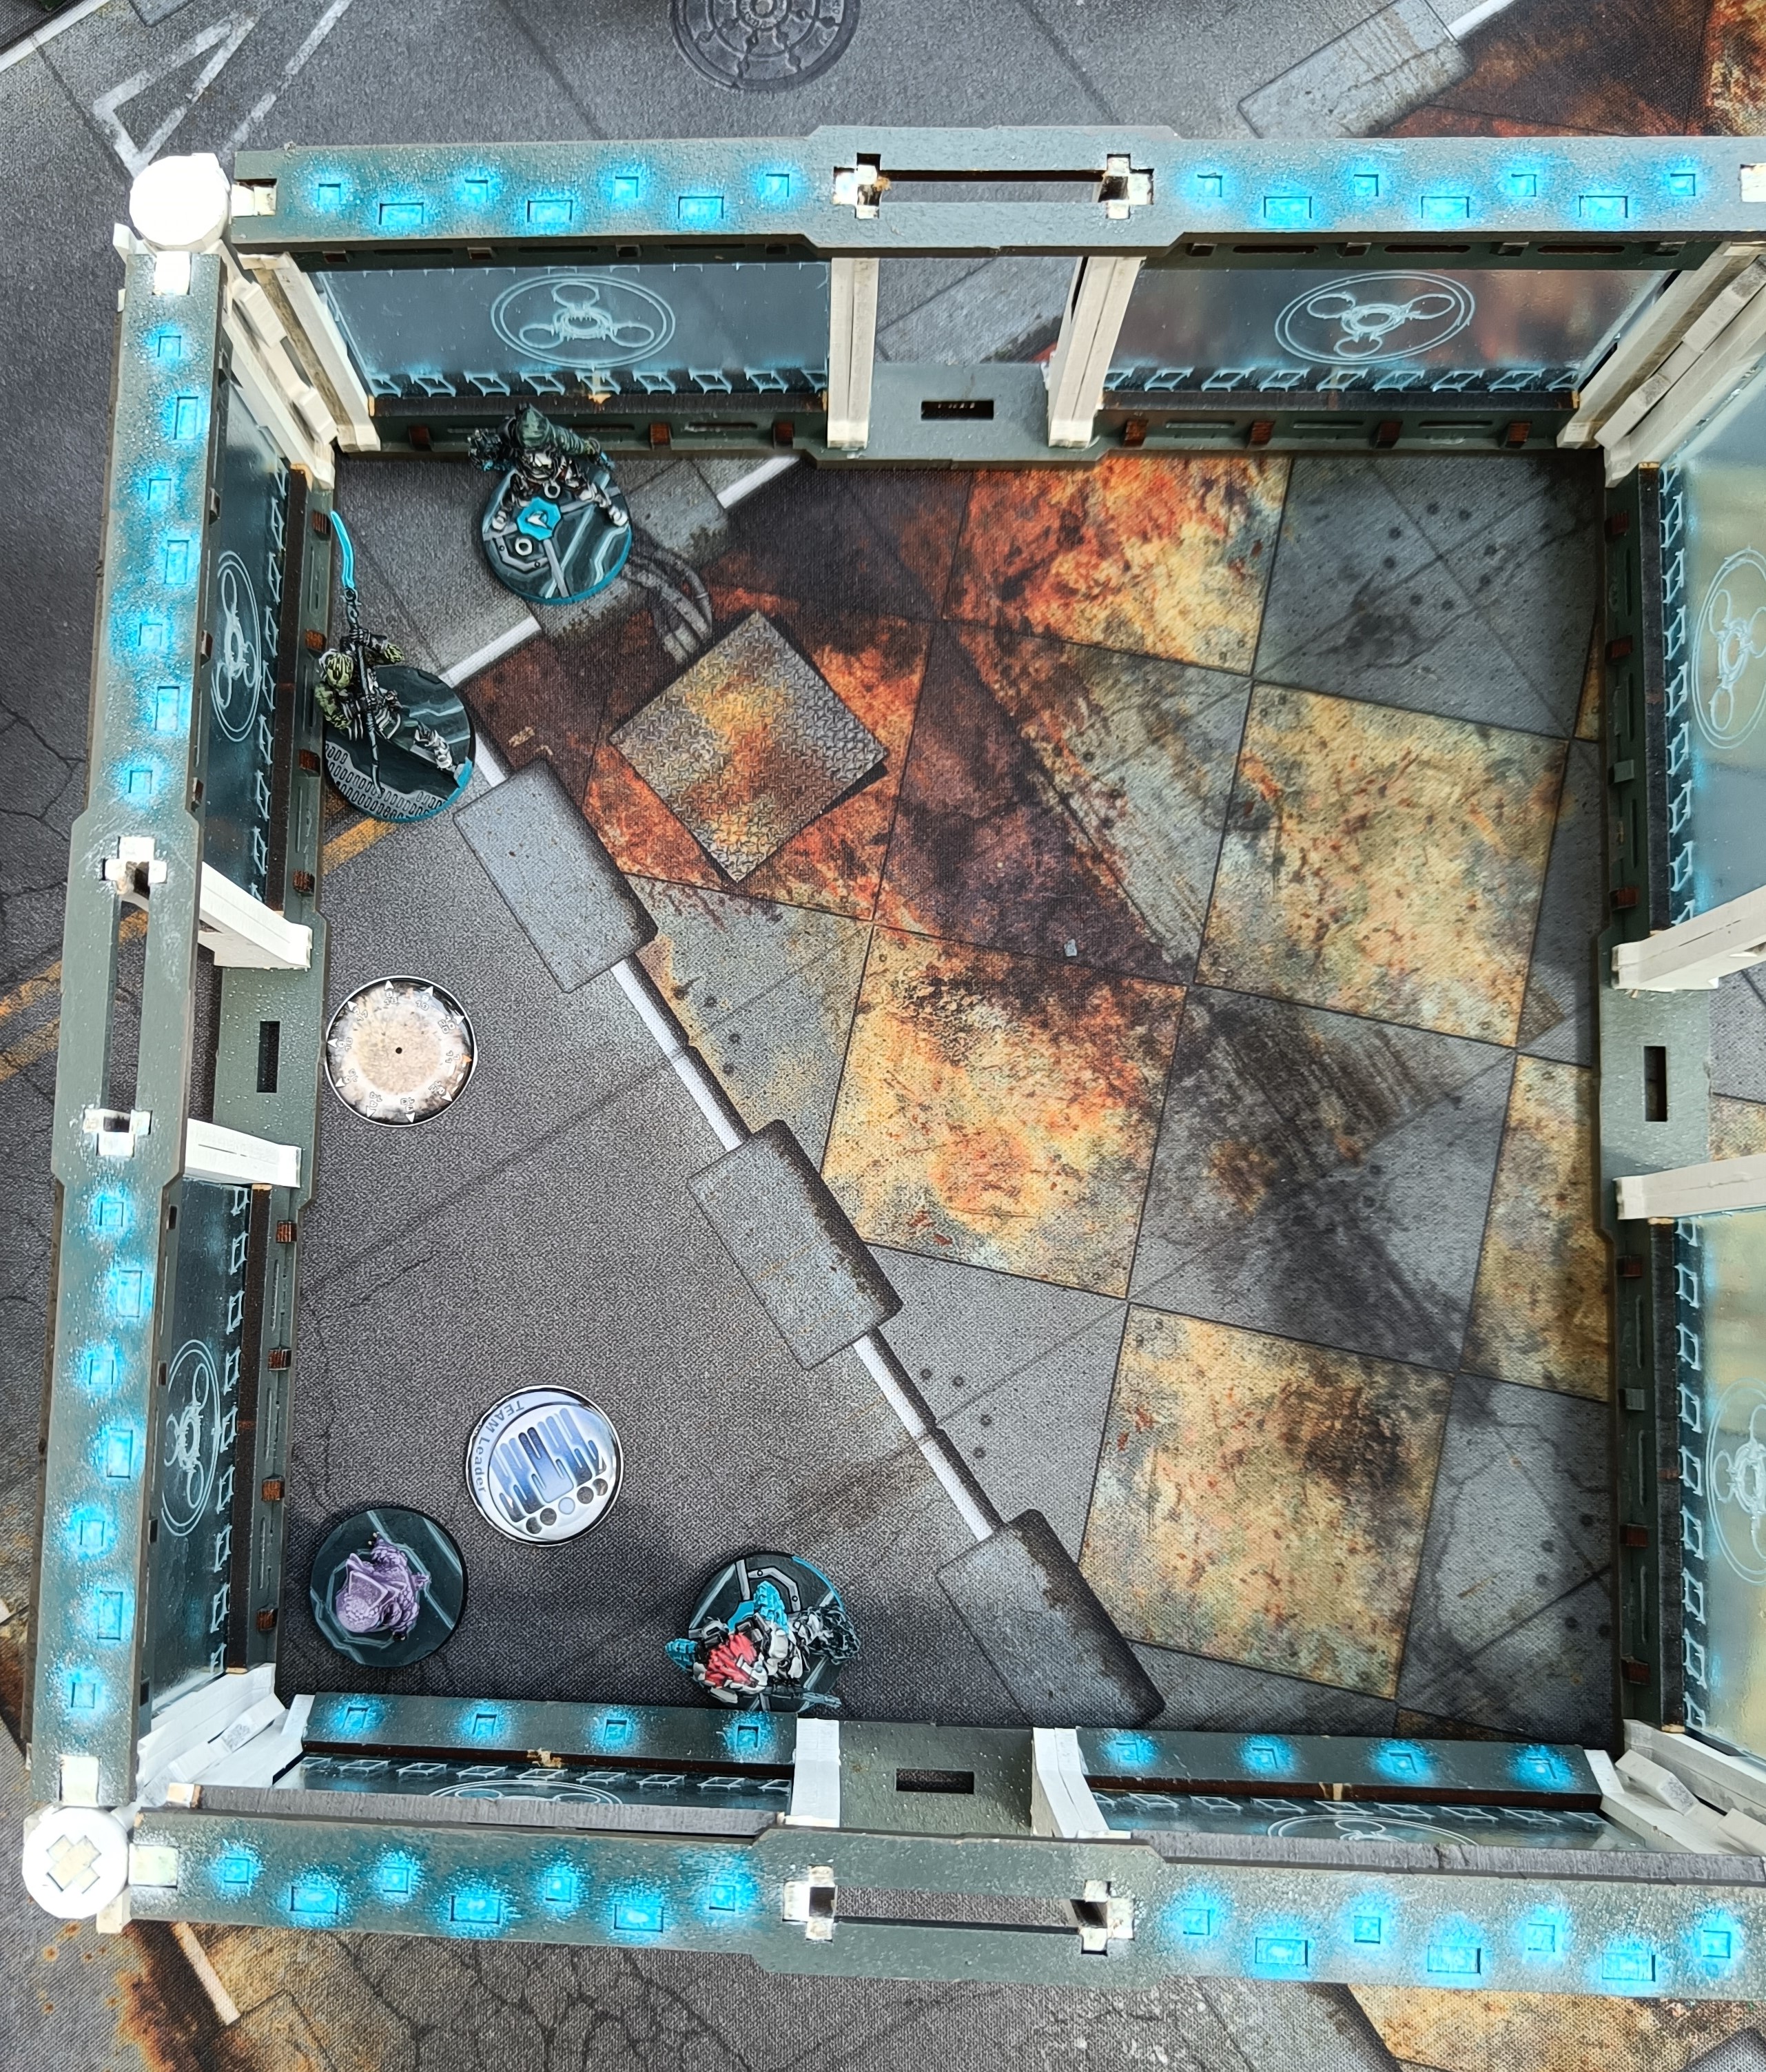
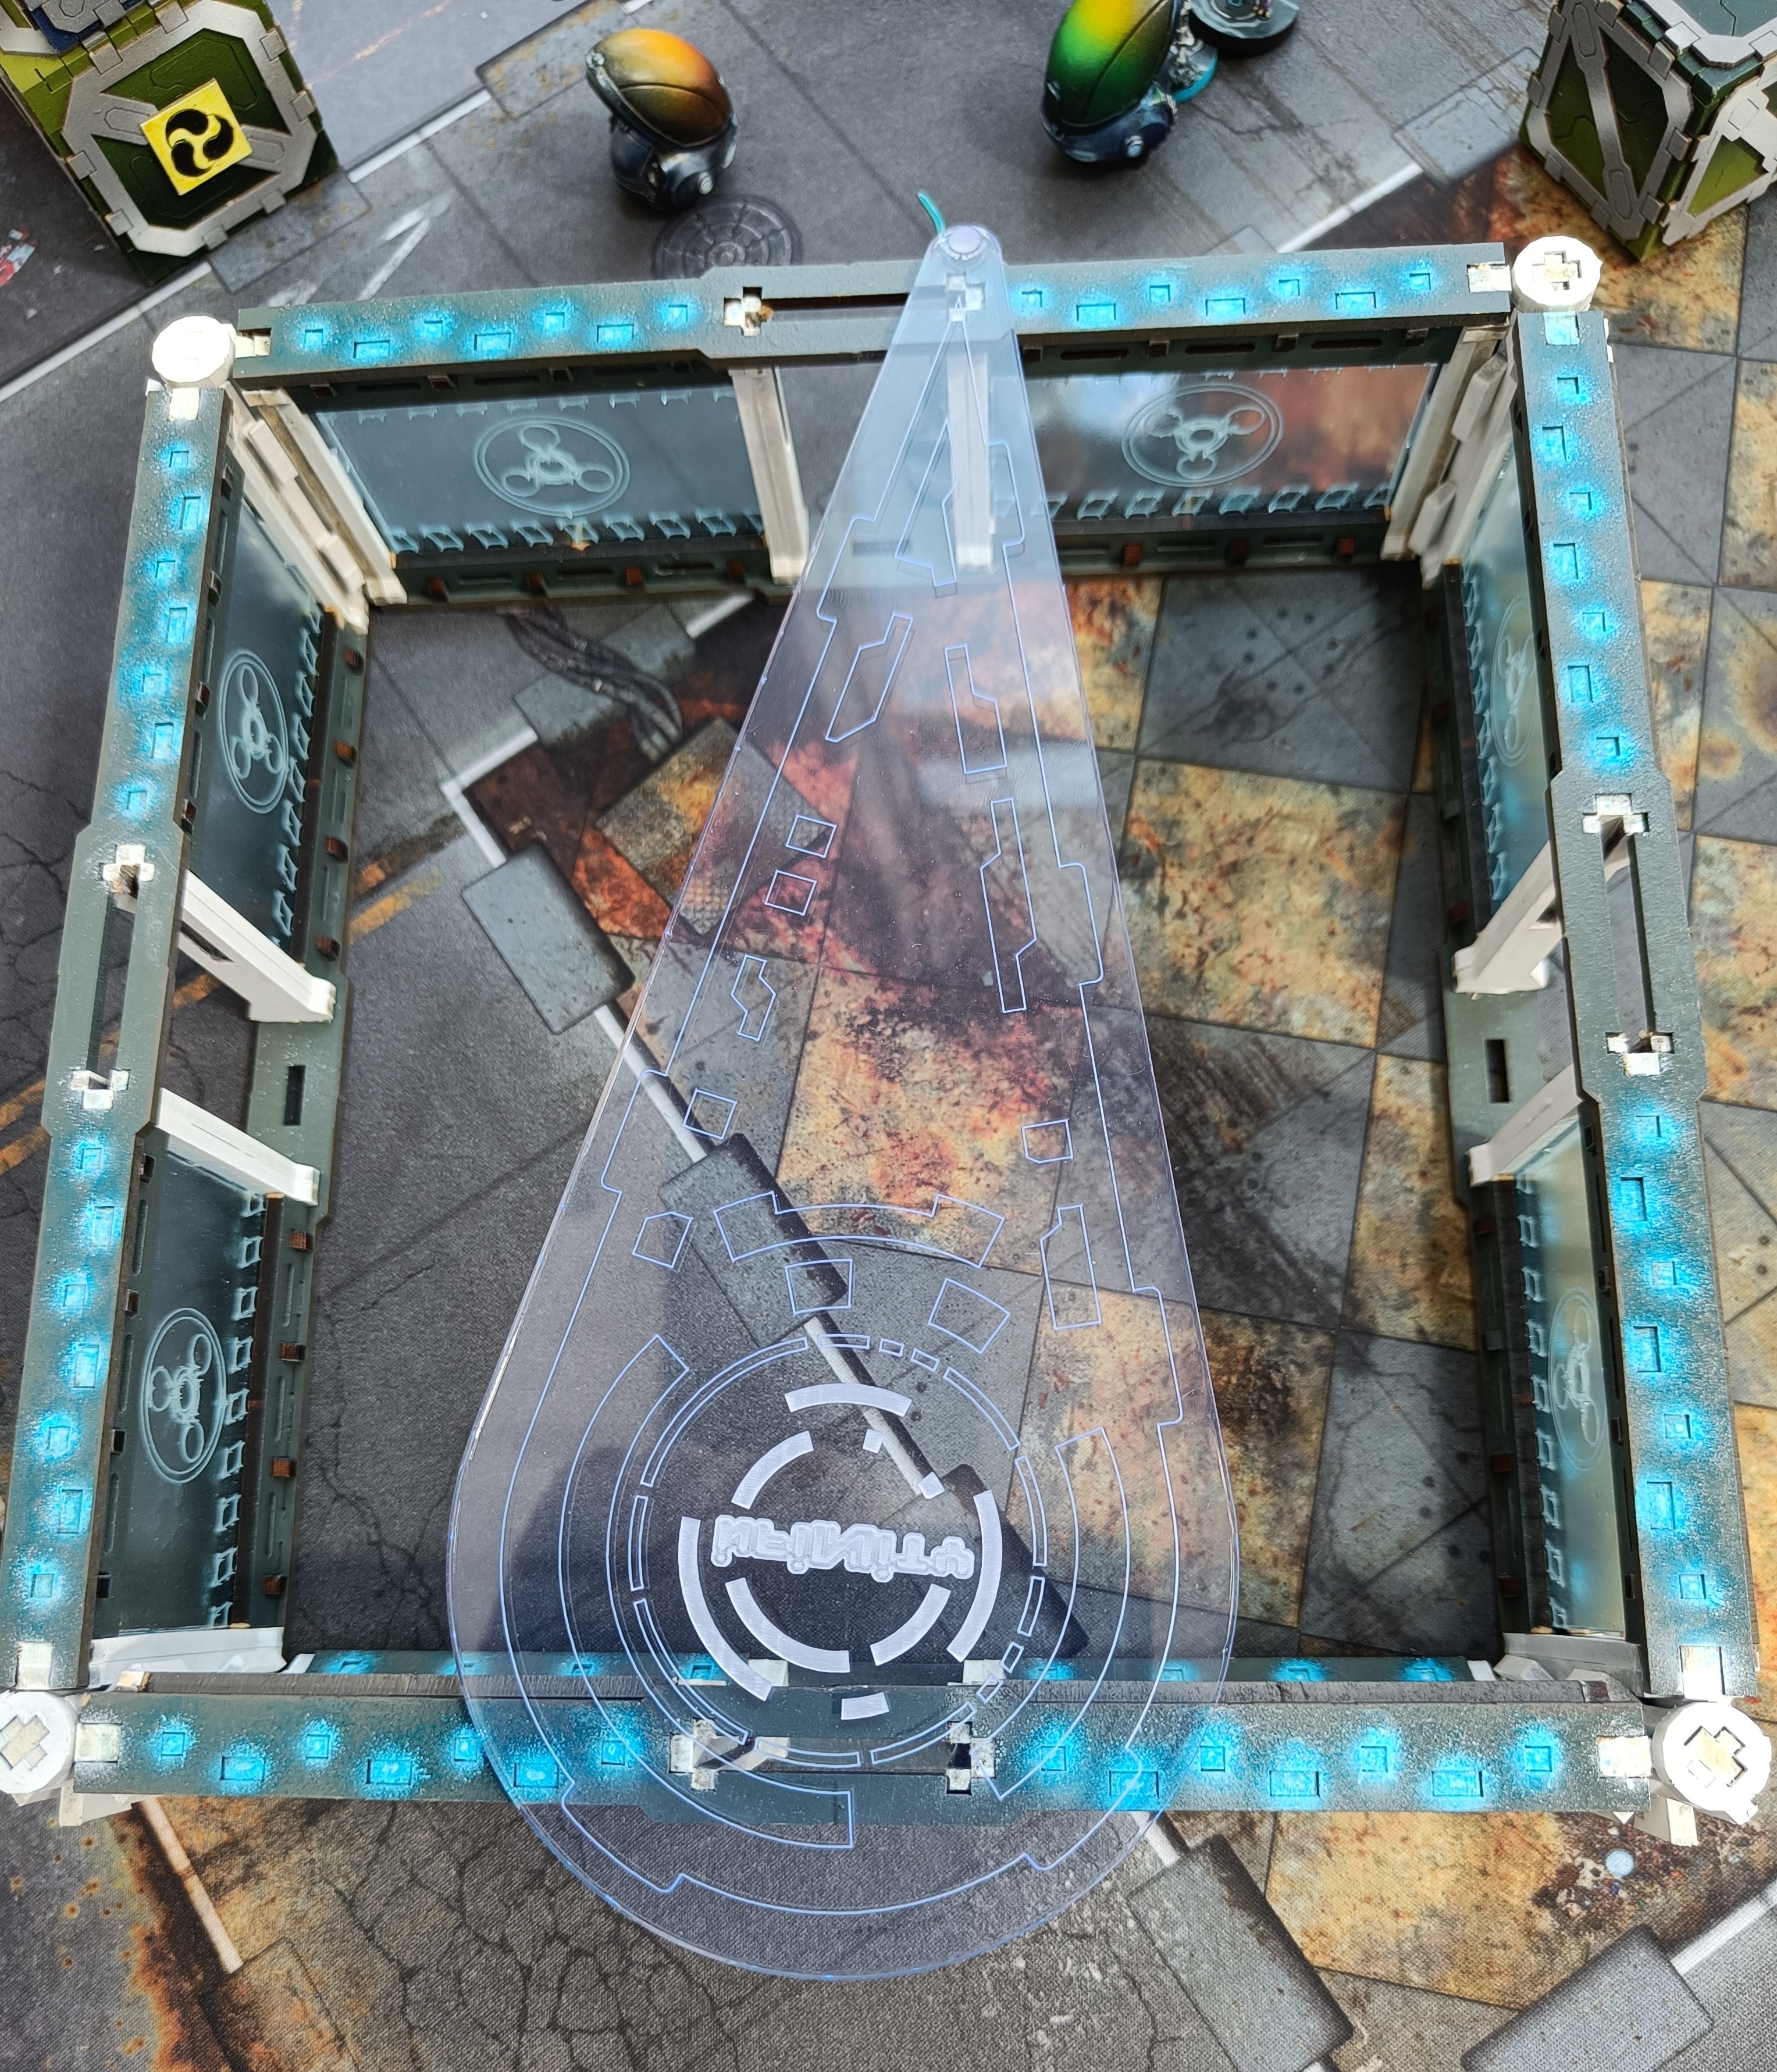
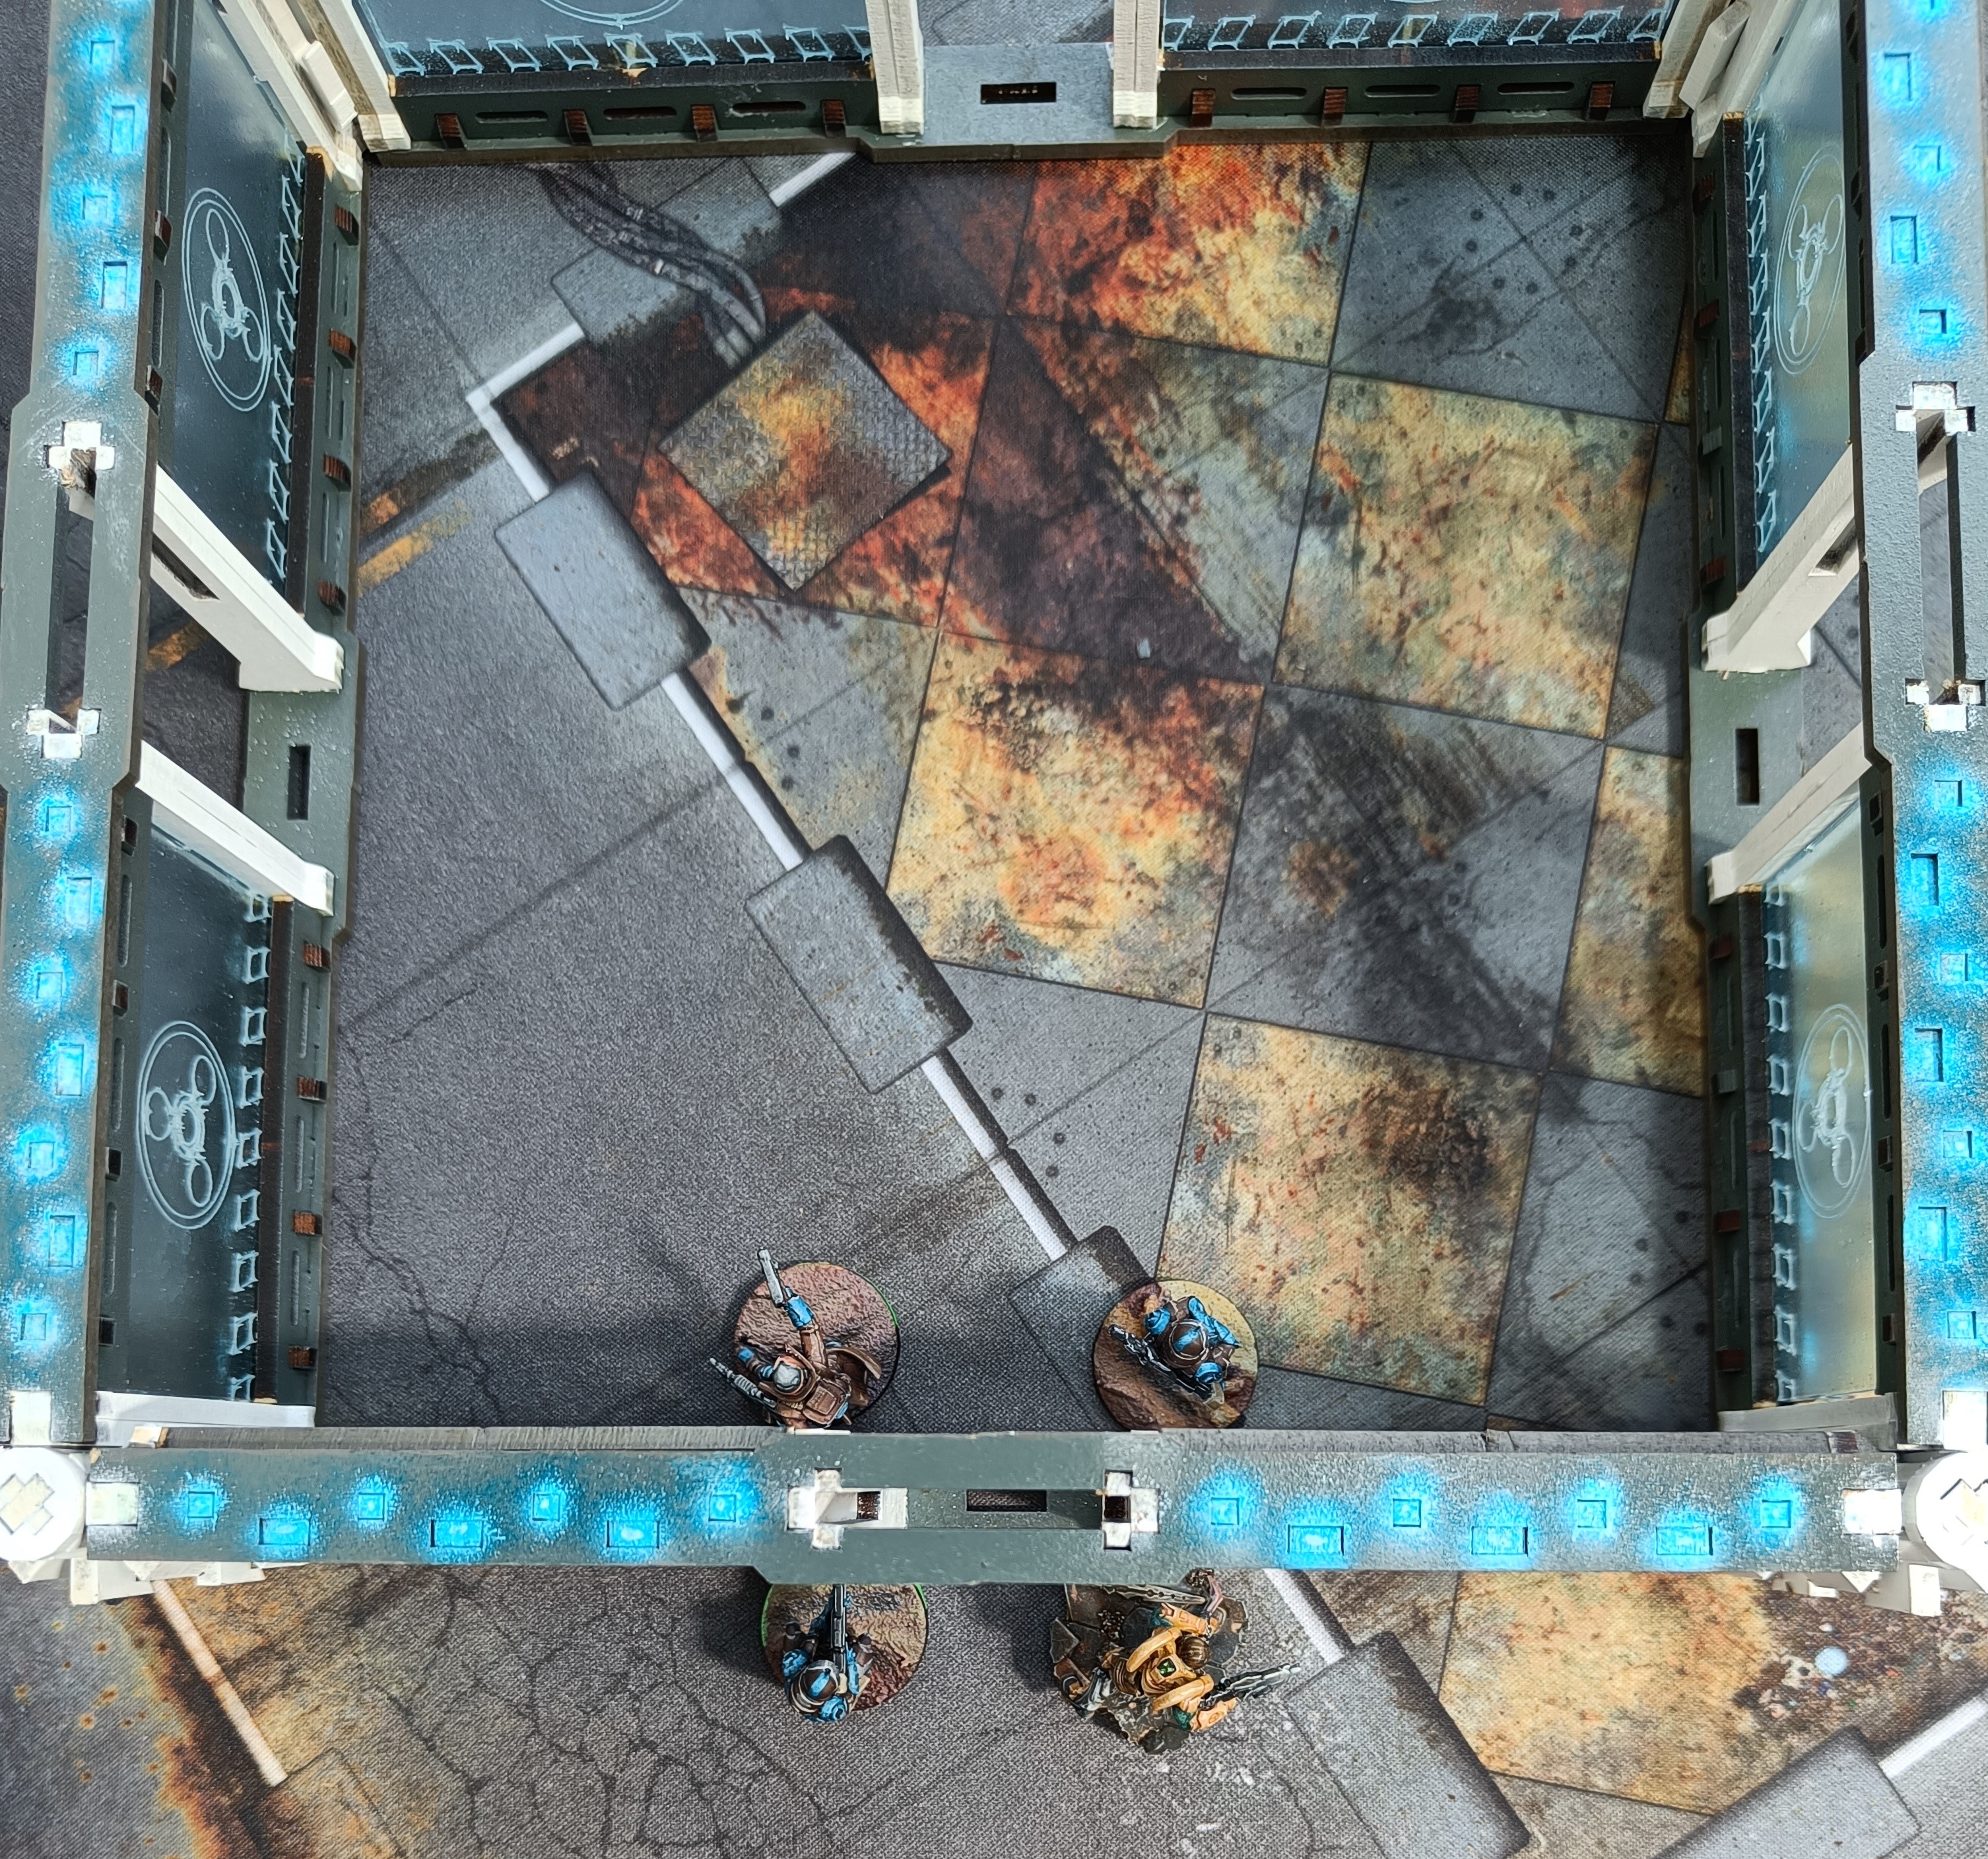
A pretty straightforward mission. Get to the objective room in the centre and hold it, scoring each round present. There’s a Biotechvore zone that leeches in from the edges, deeper and deeper every round. Anyone caught in that zone at the end of the round had to make a save or take a wound.
Time to confess, I made a couple of blunders in the lead up to this game. It was part of a casual games day at our local shop and I spent the night before painting some last minute terrain. So I didn’t read the mission rules properly. Both of us mixed up how the Biotechvore zone worked and ended up leaving troops in the wrong place. Second problem was I had to leave the house faster than expected without having time to check my minis. So there are several proxies in my list.
I’d brought some hackers in my list expecting a bigger HI presence based on my more recent games. My opponents were the Tohaa which provided an unexpected challenge.
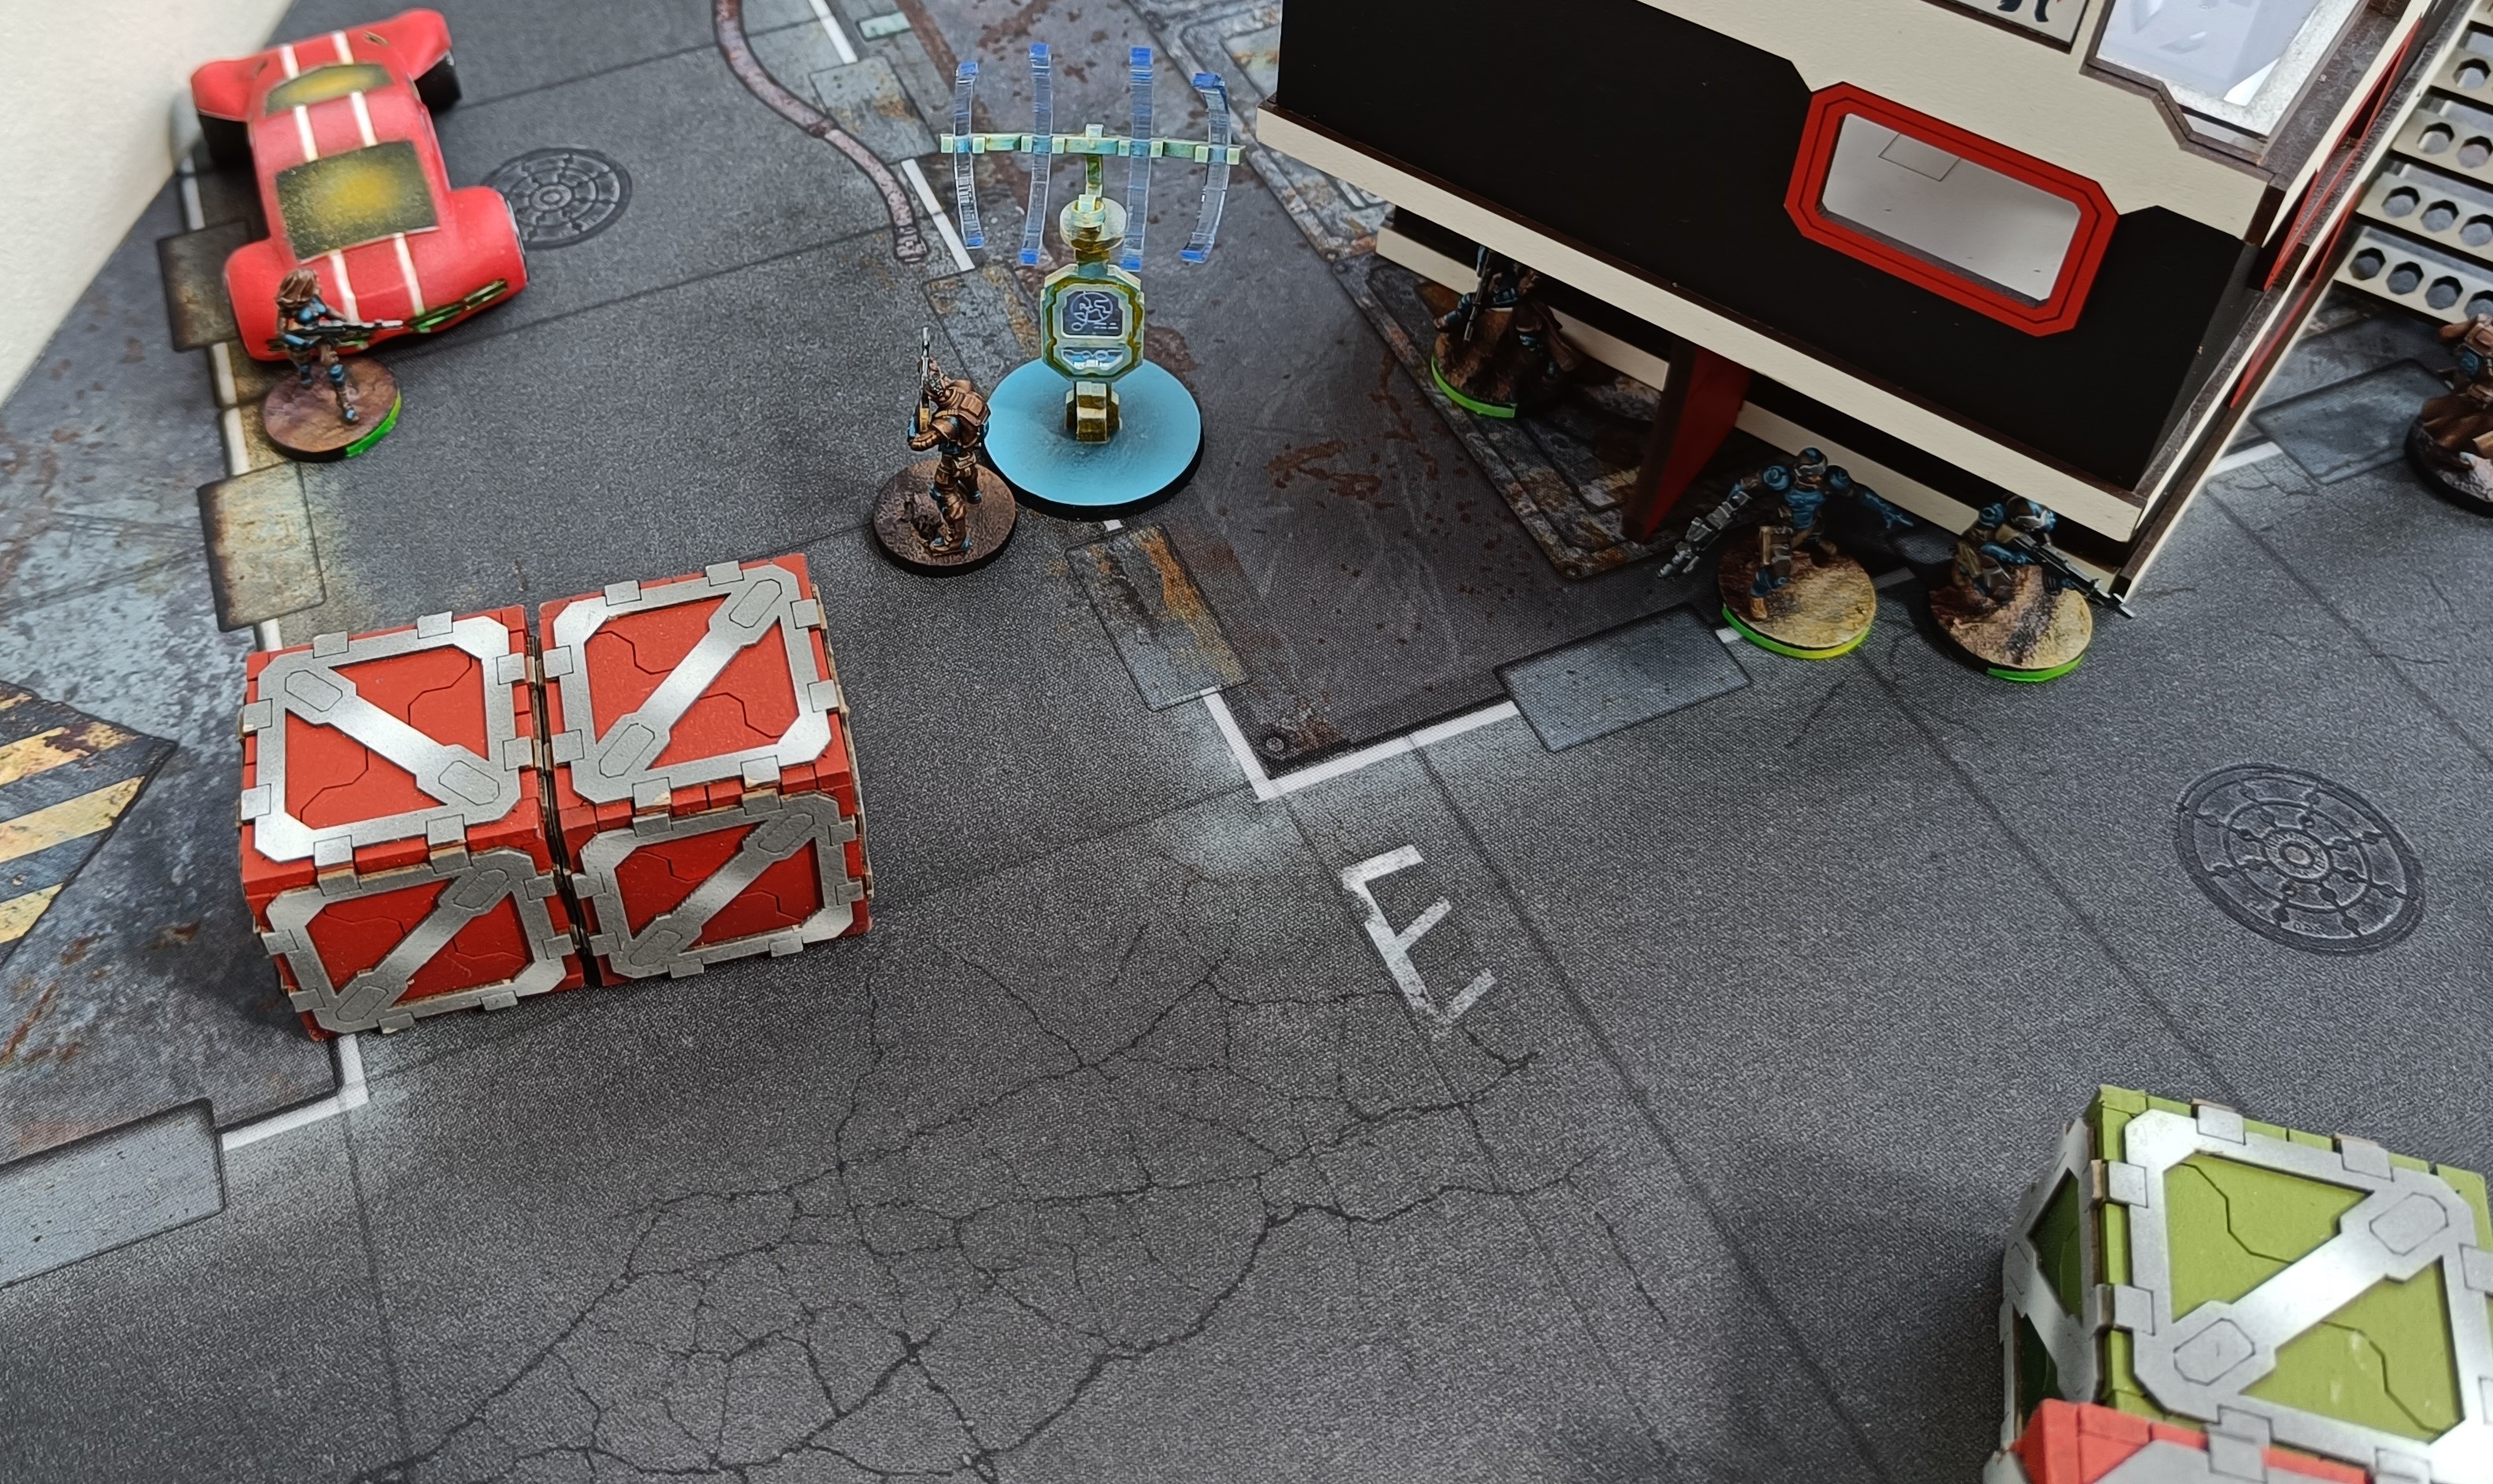
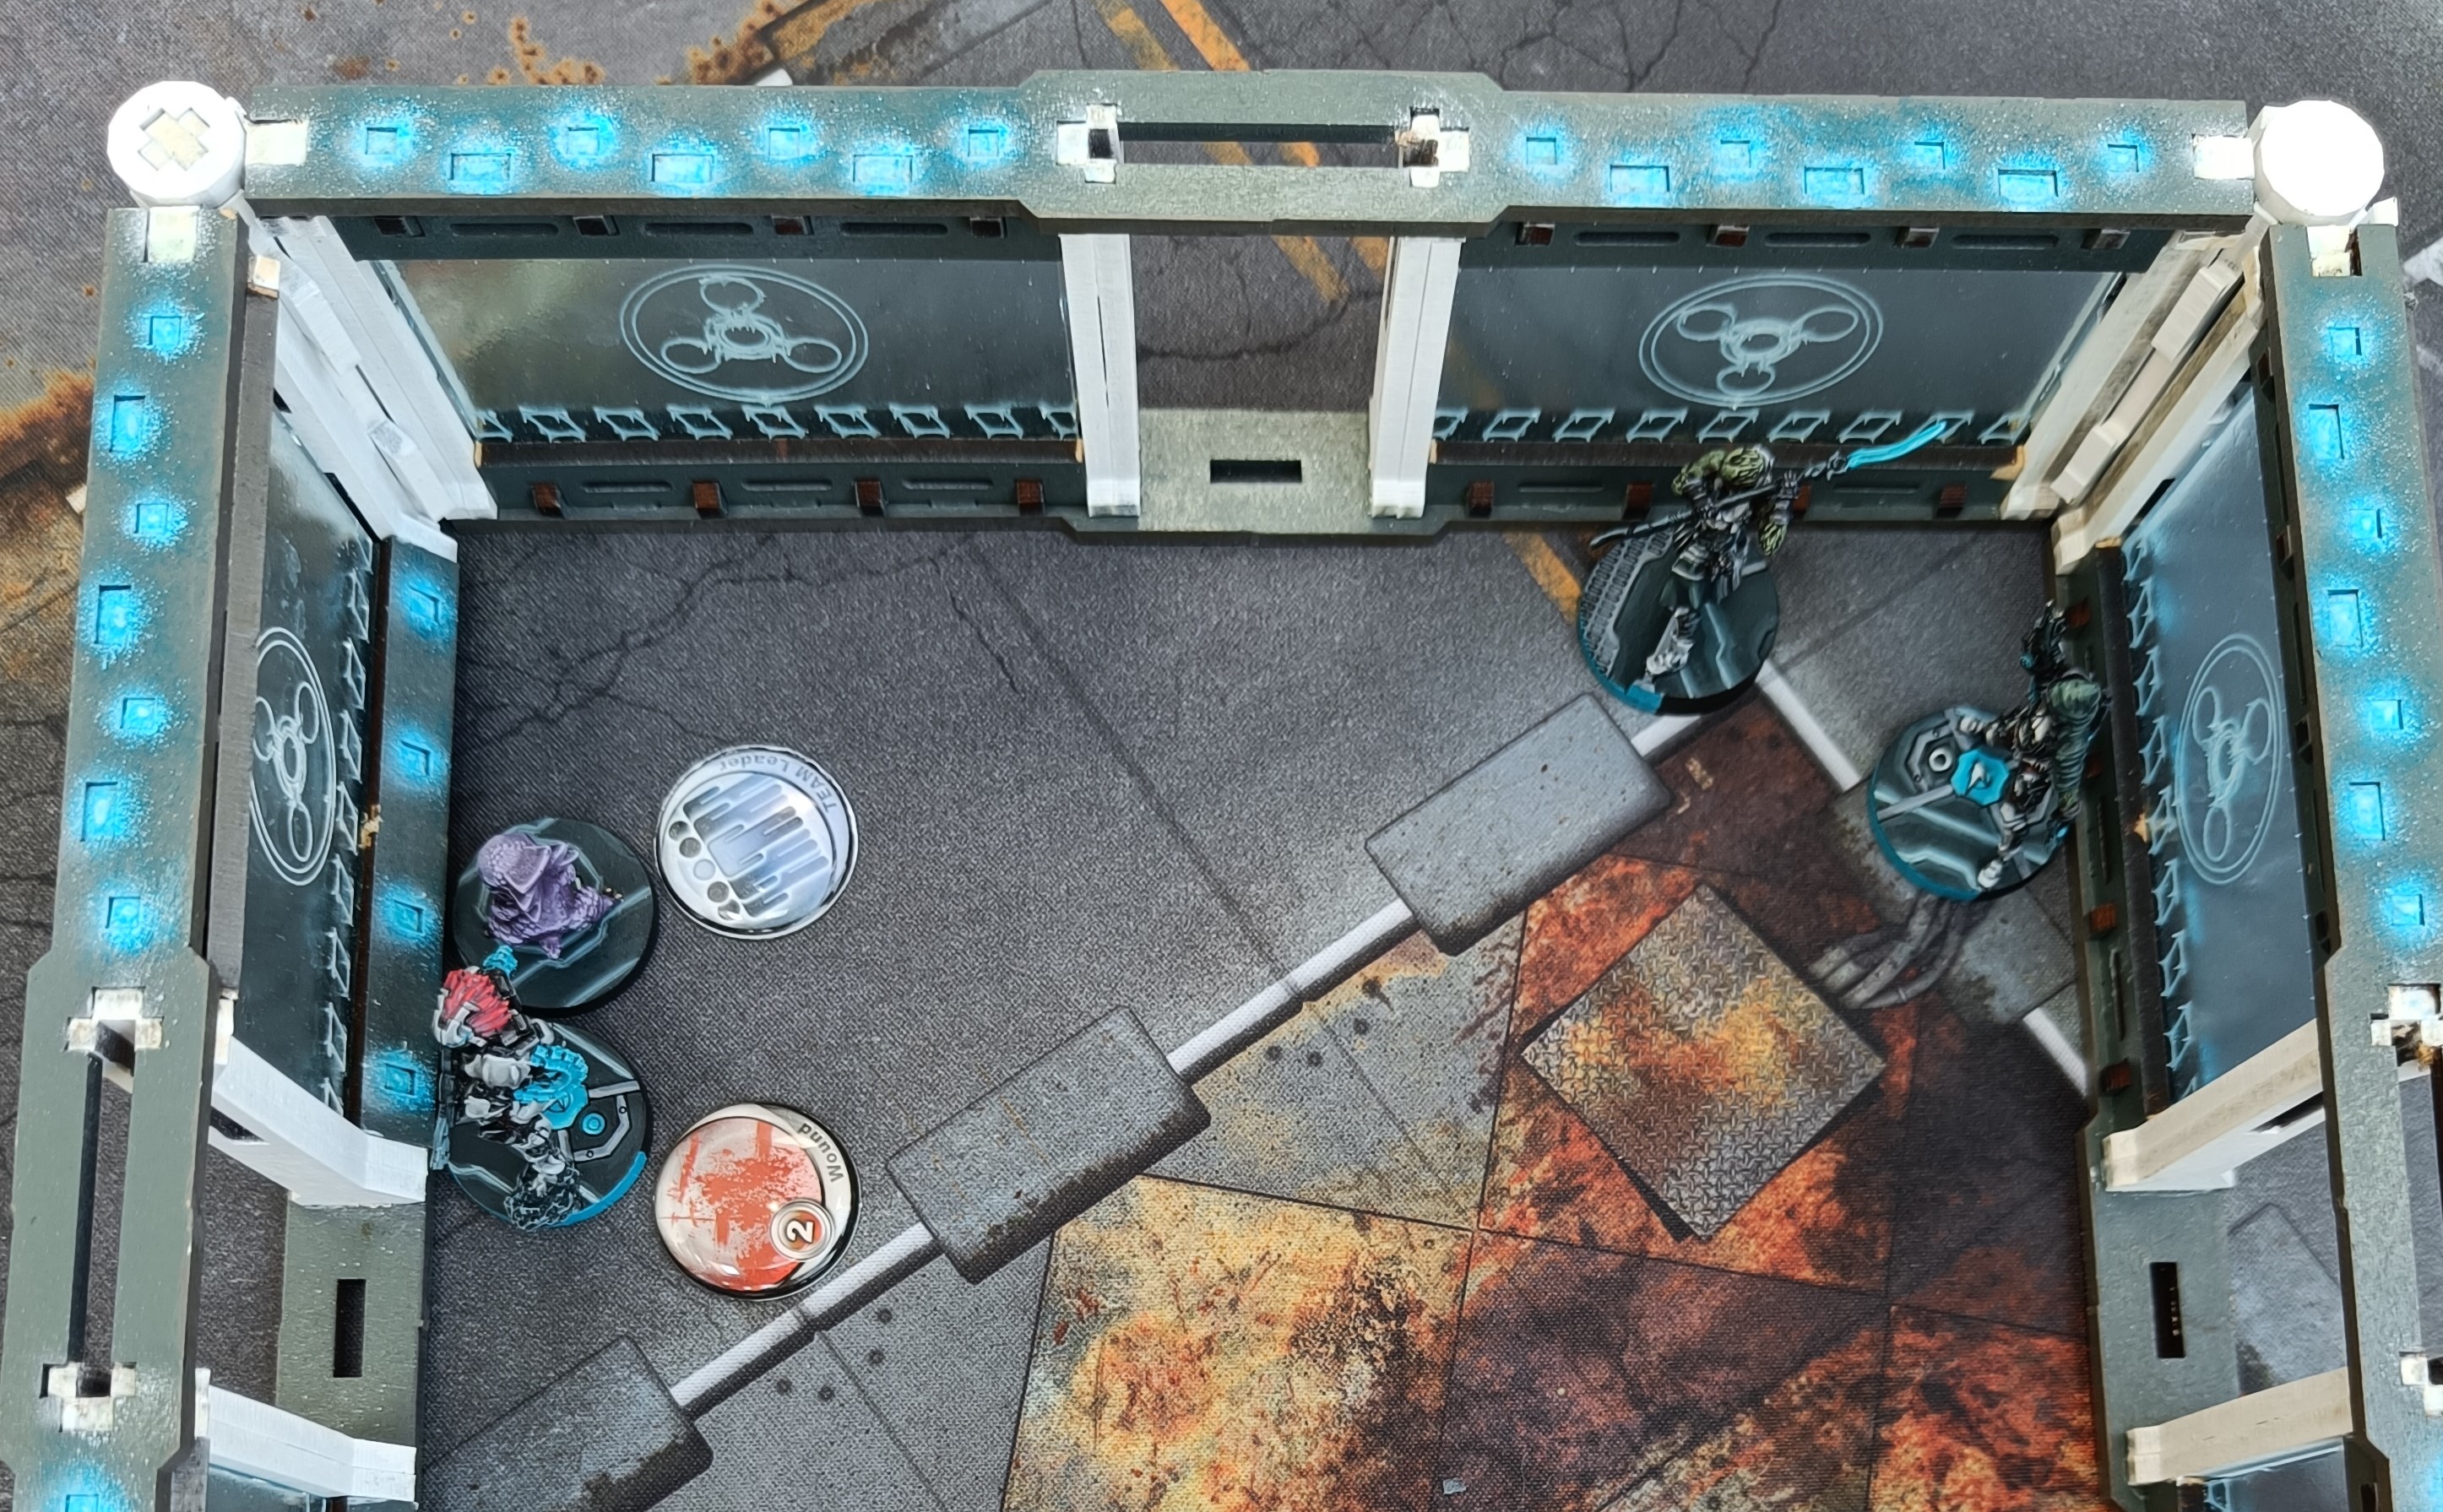
Deployment
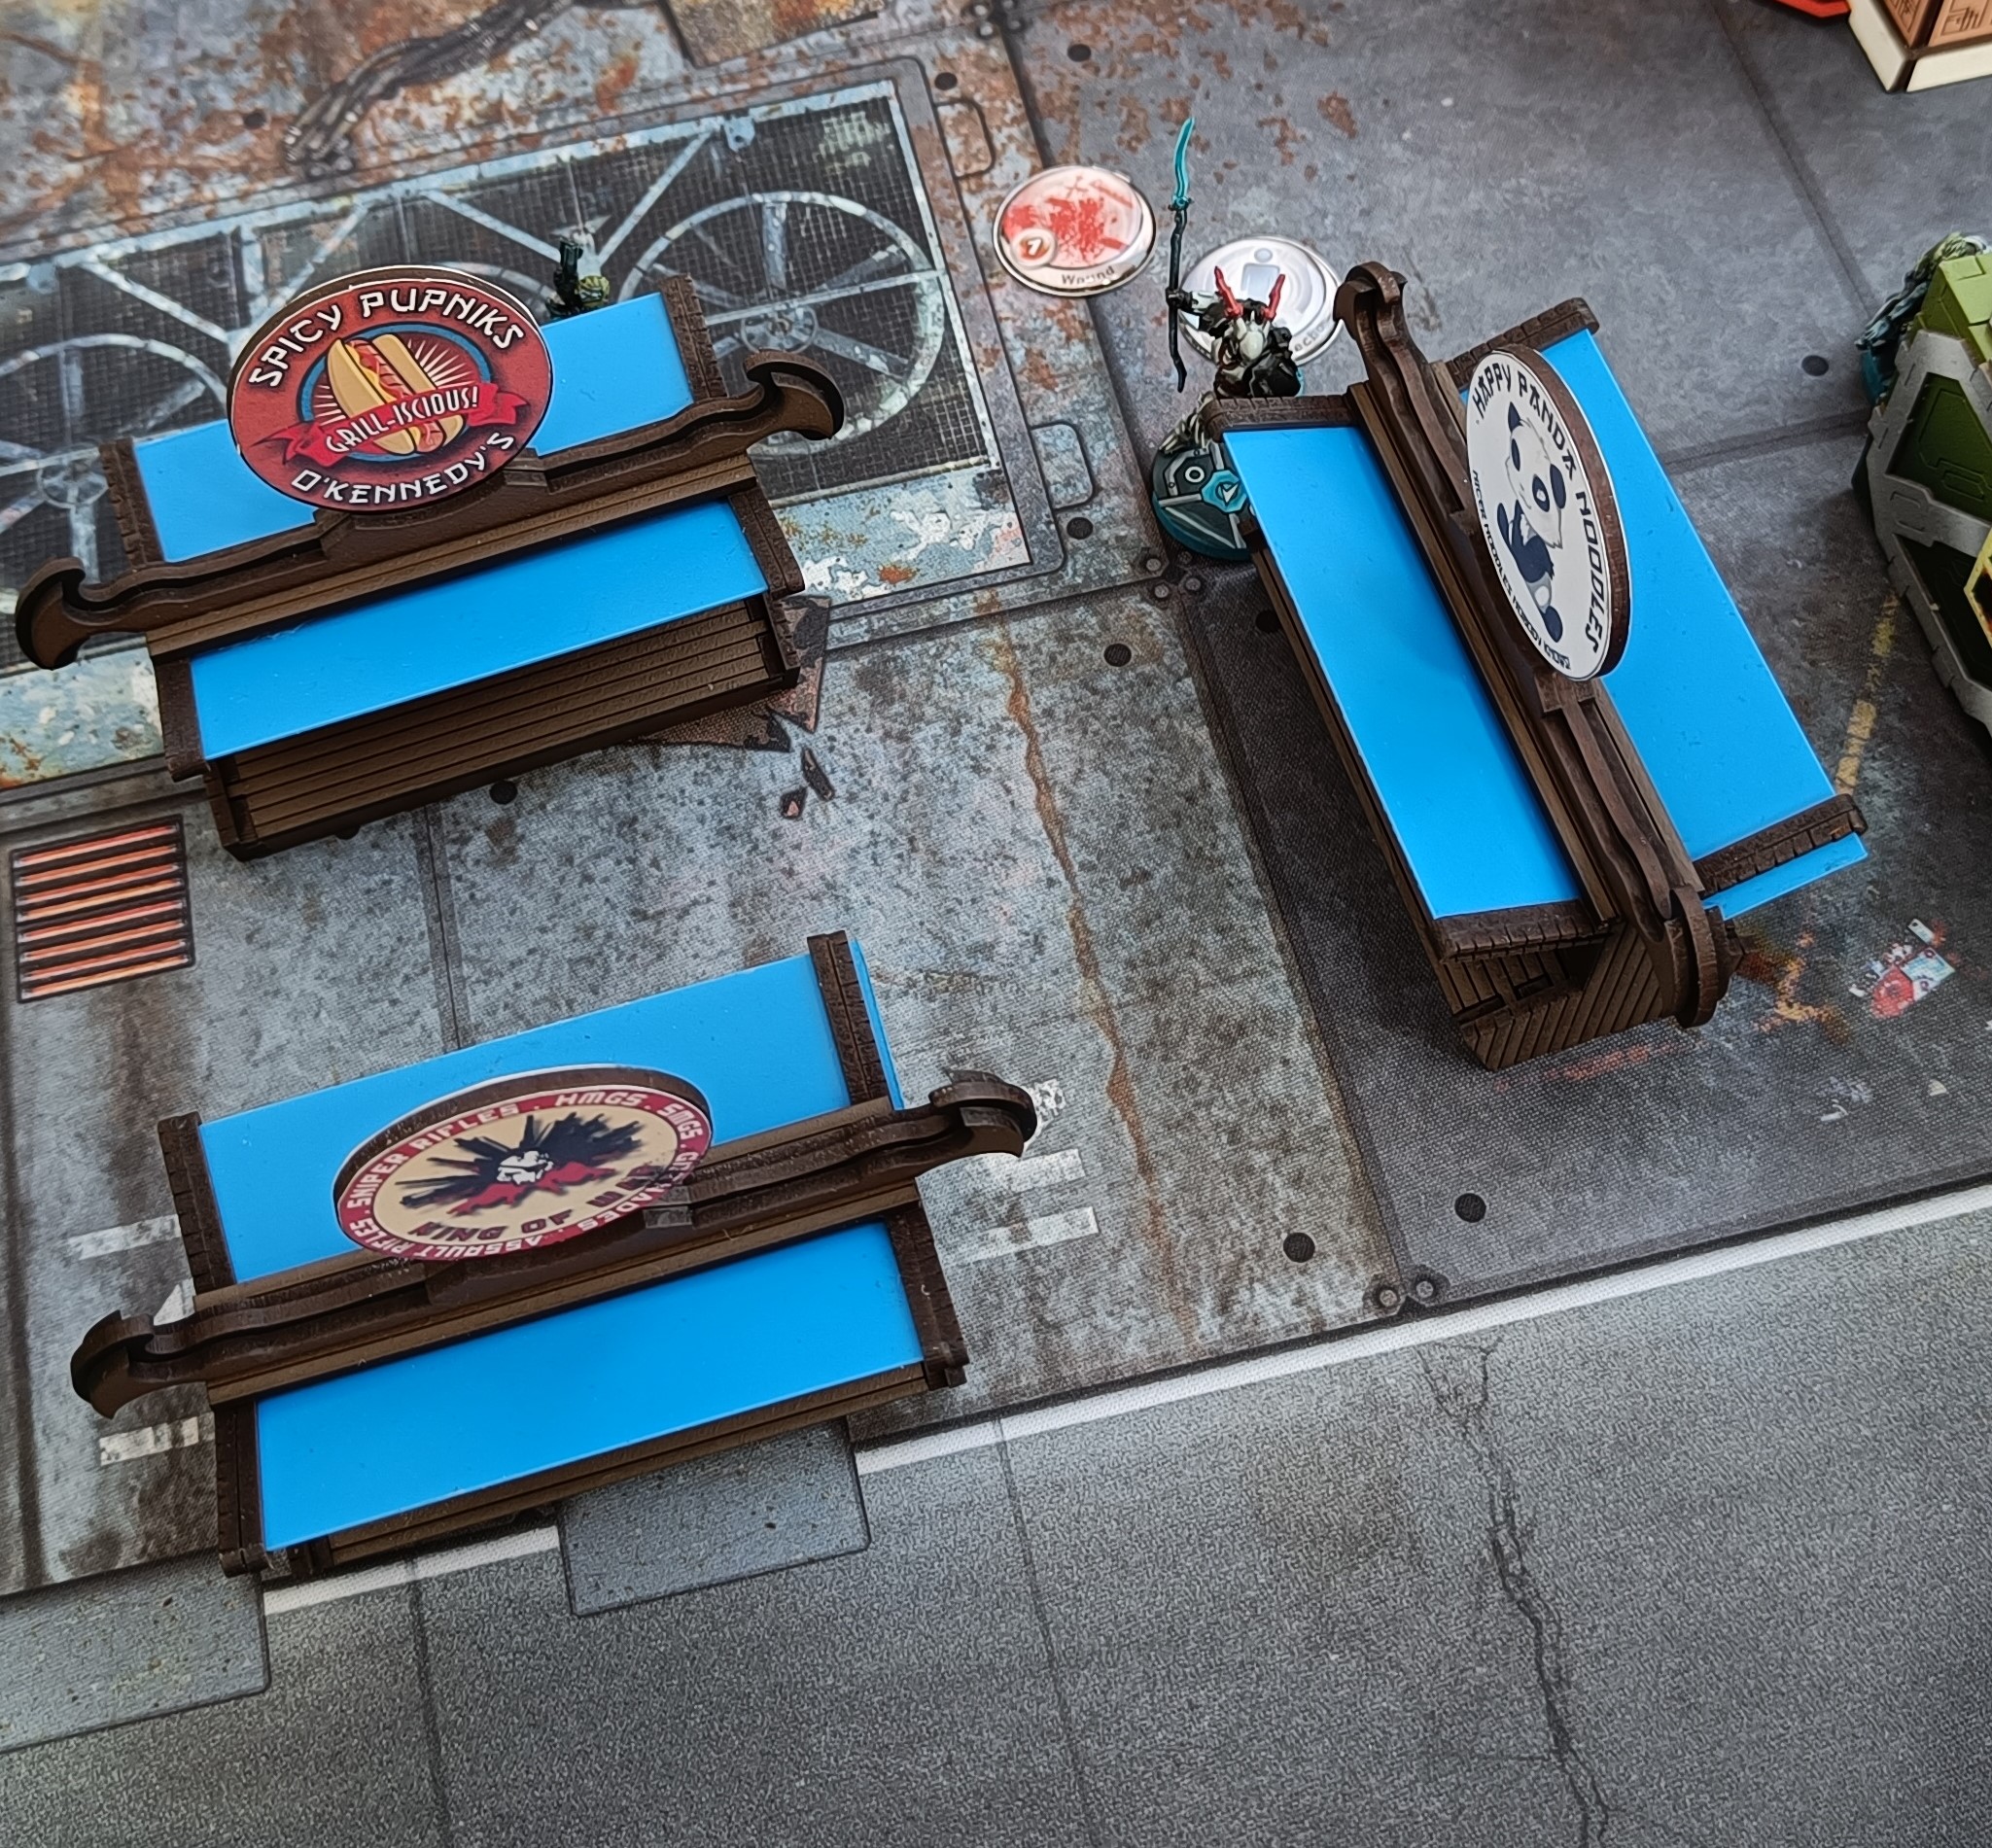
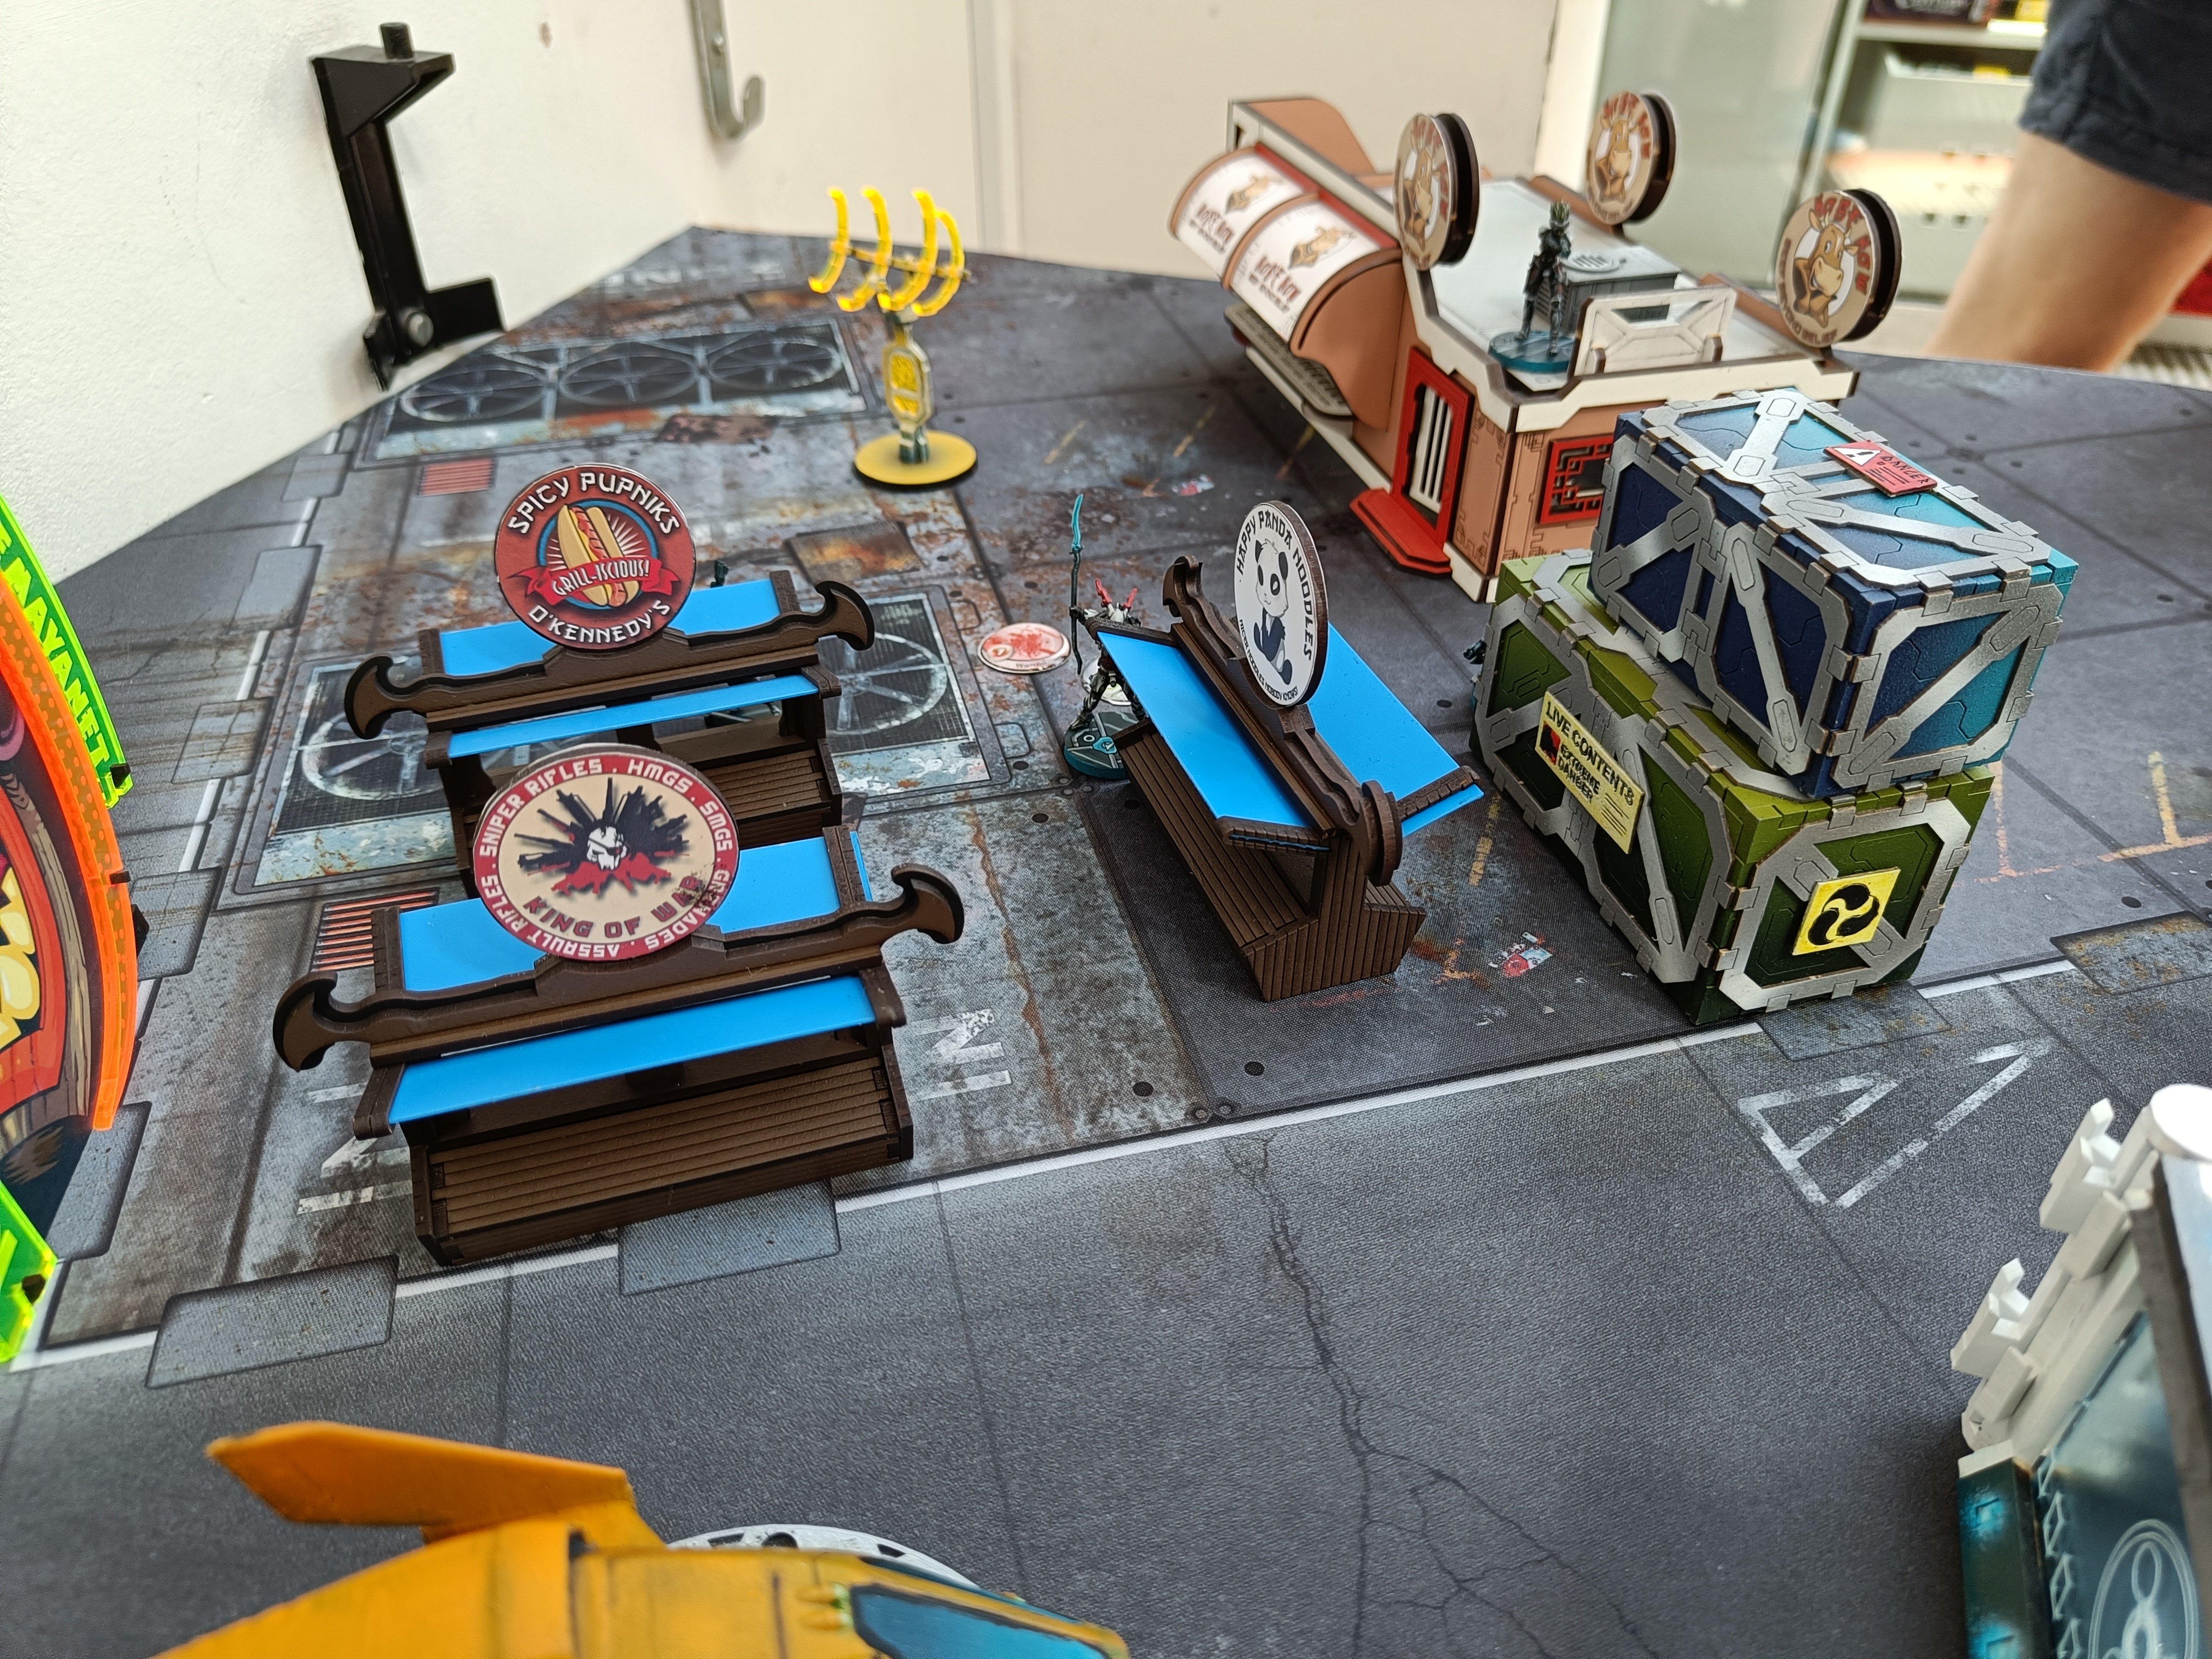
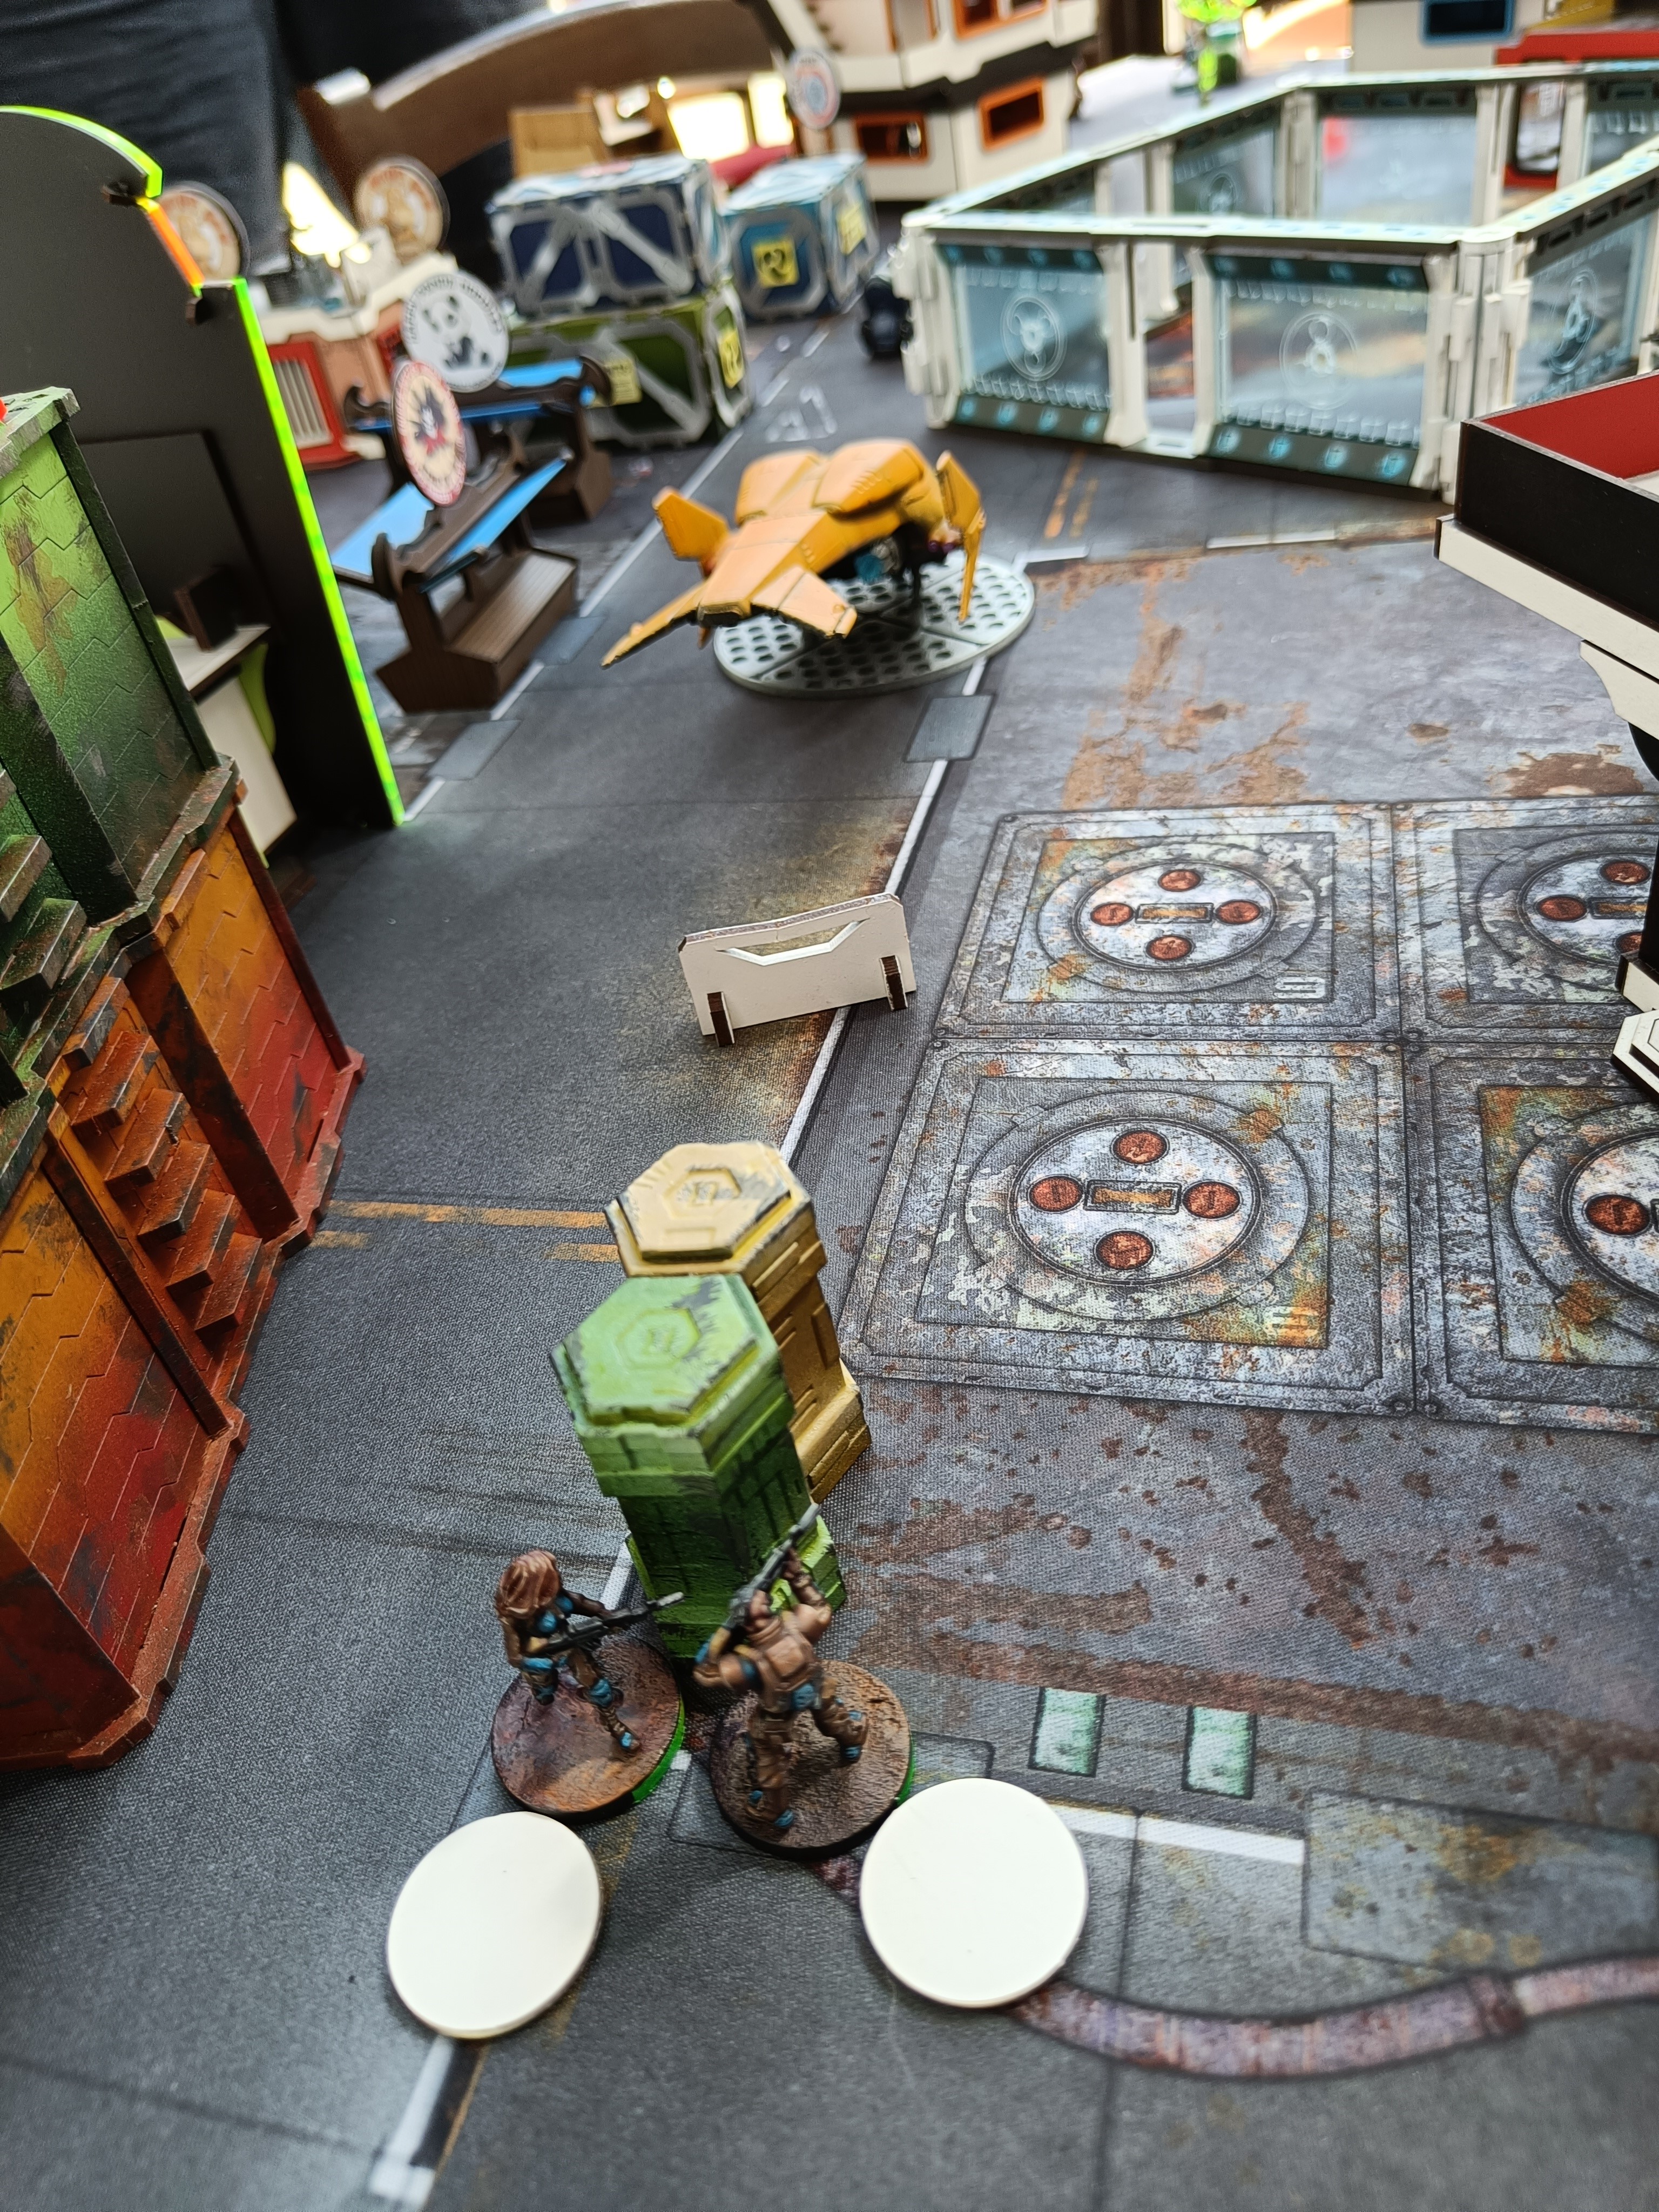
My deployment was a mess. I thought I’d put my lieutenant and hackers in safe zones. I forgot the Fiday can infiltrate. I hoped to use the cover of the objective room to get some close range troops to it. I placed my Daylamis camoed to provide another LoS ARO with tougher units.
The Game
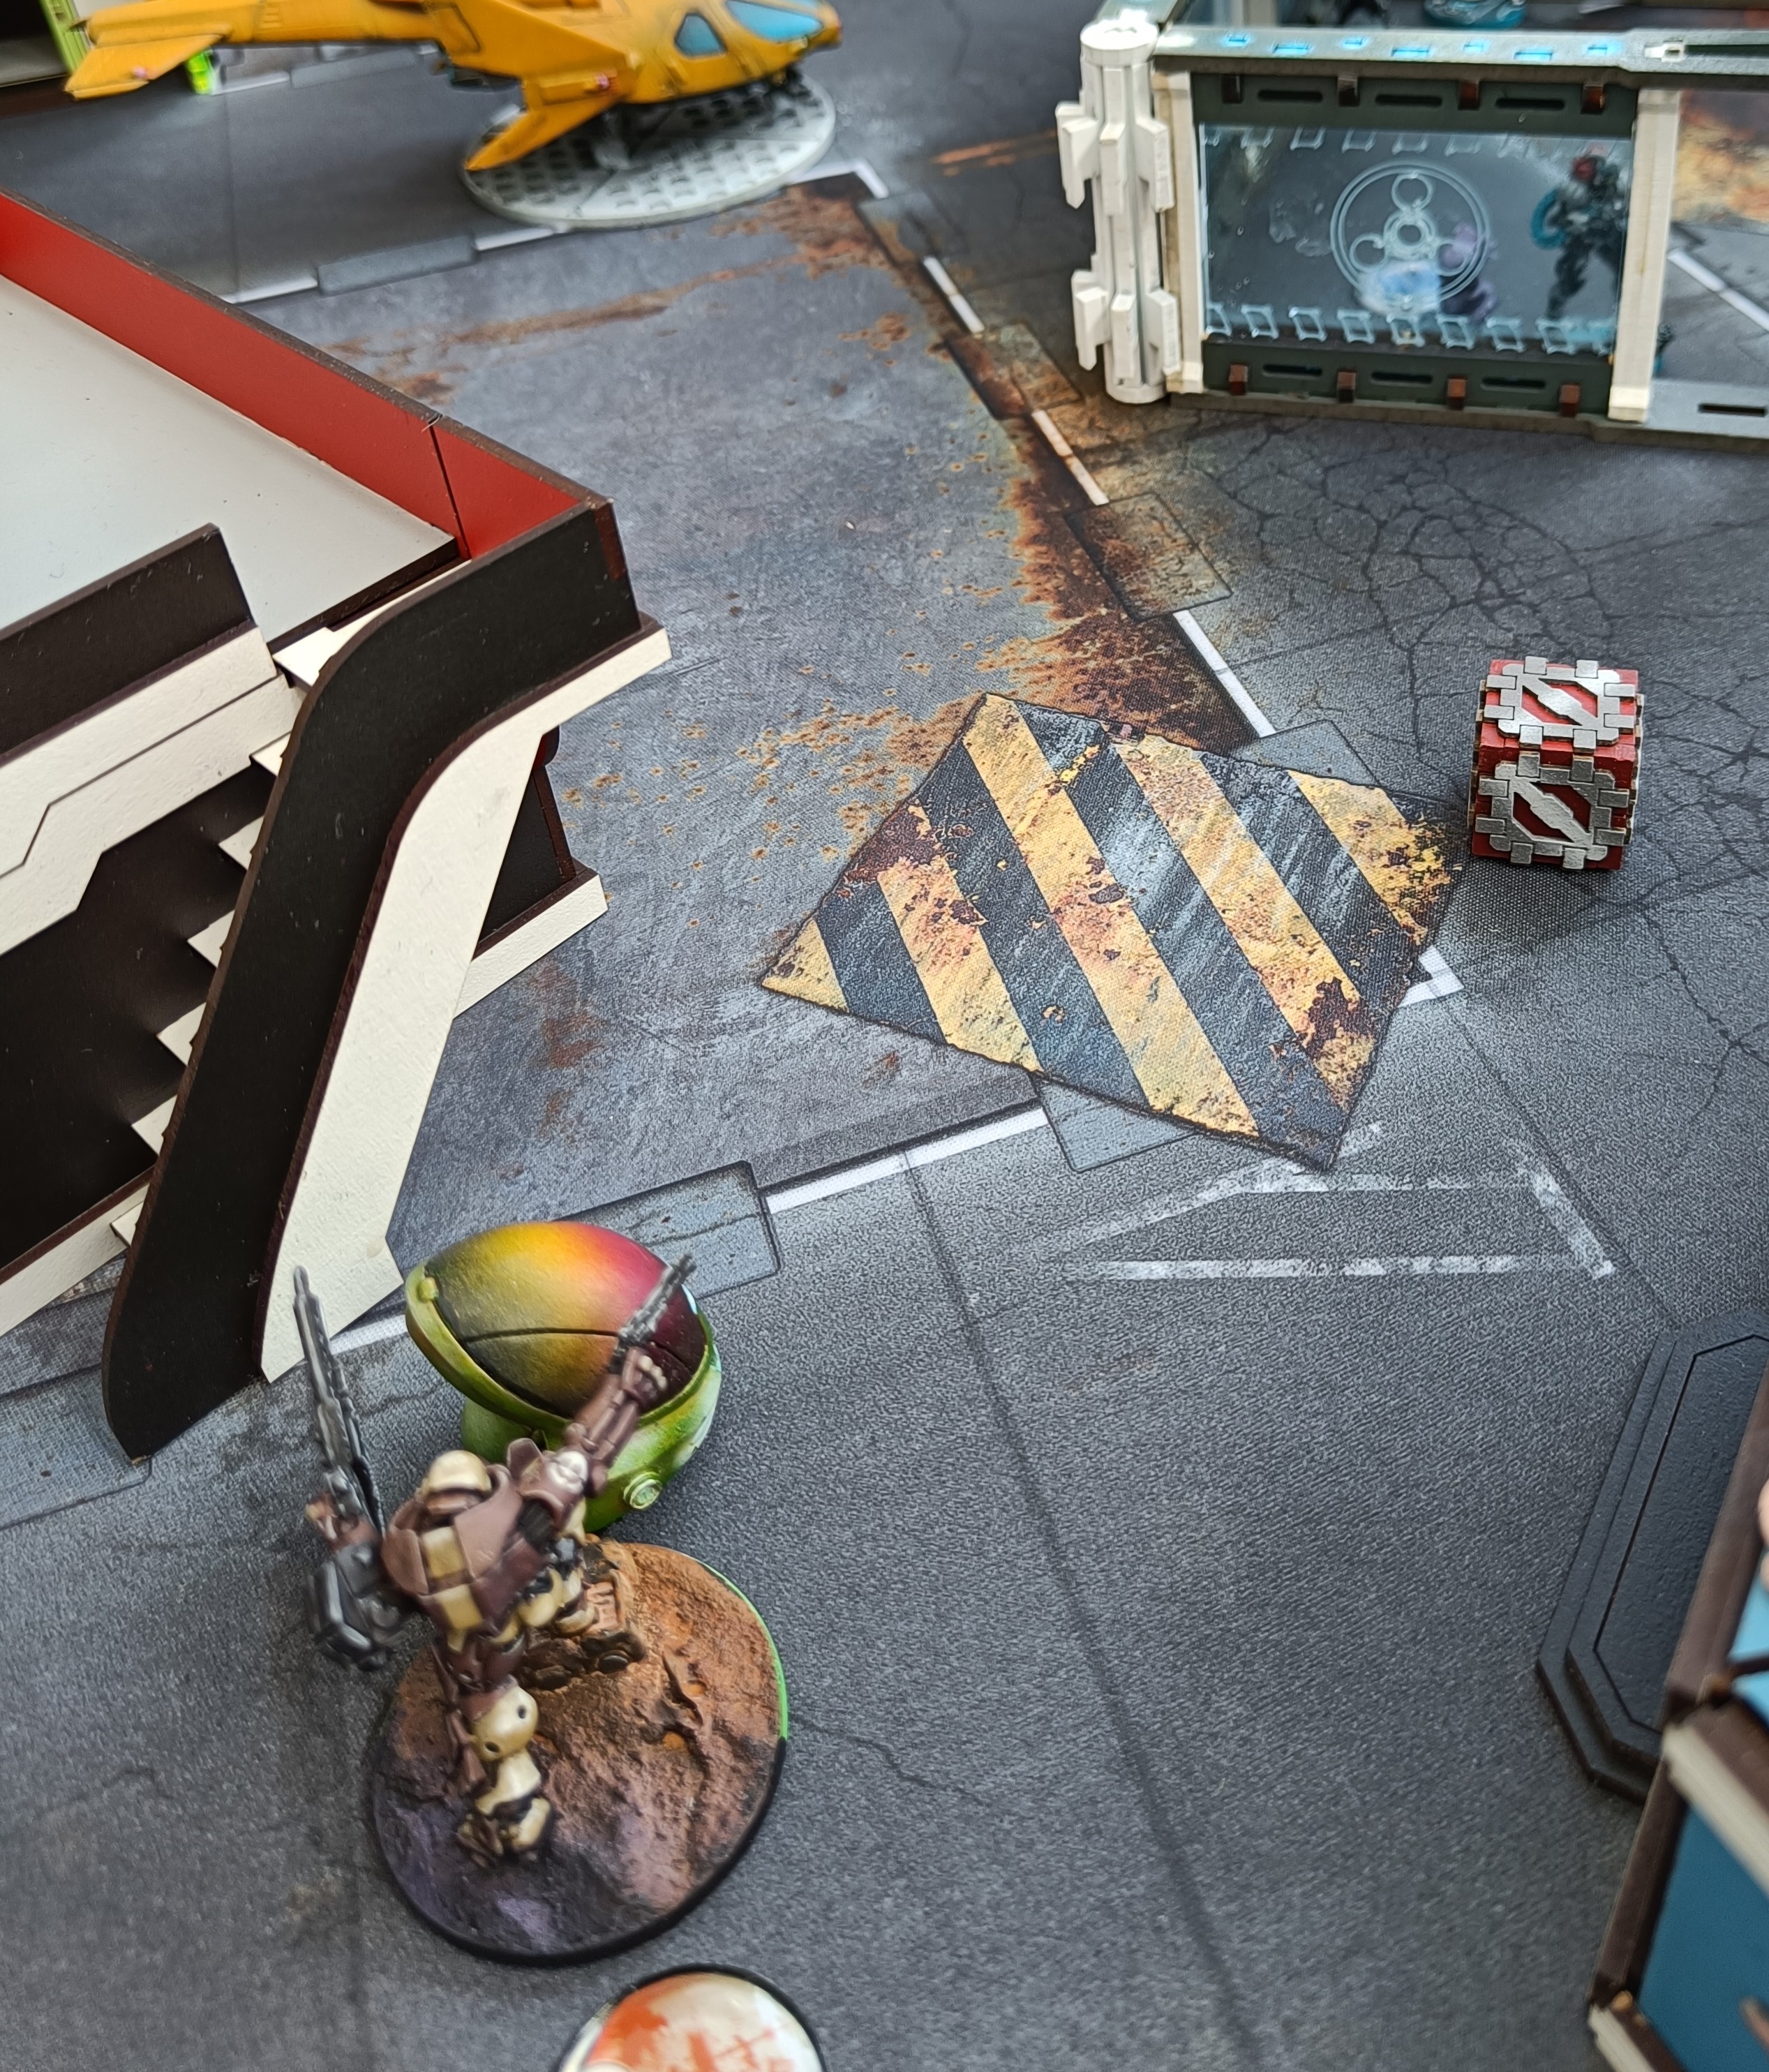
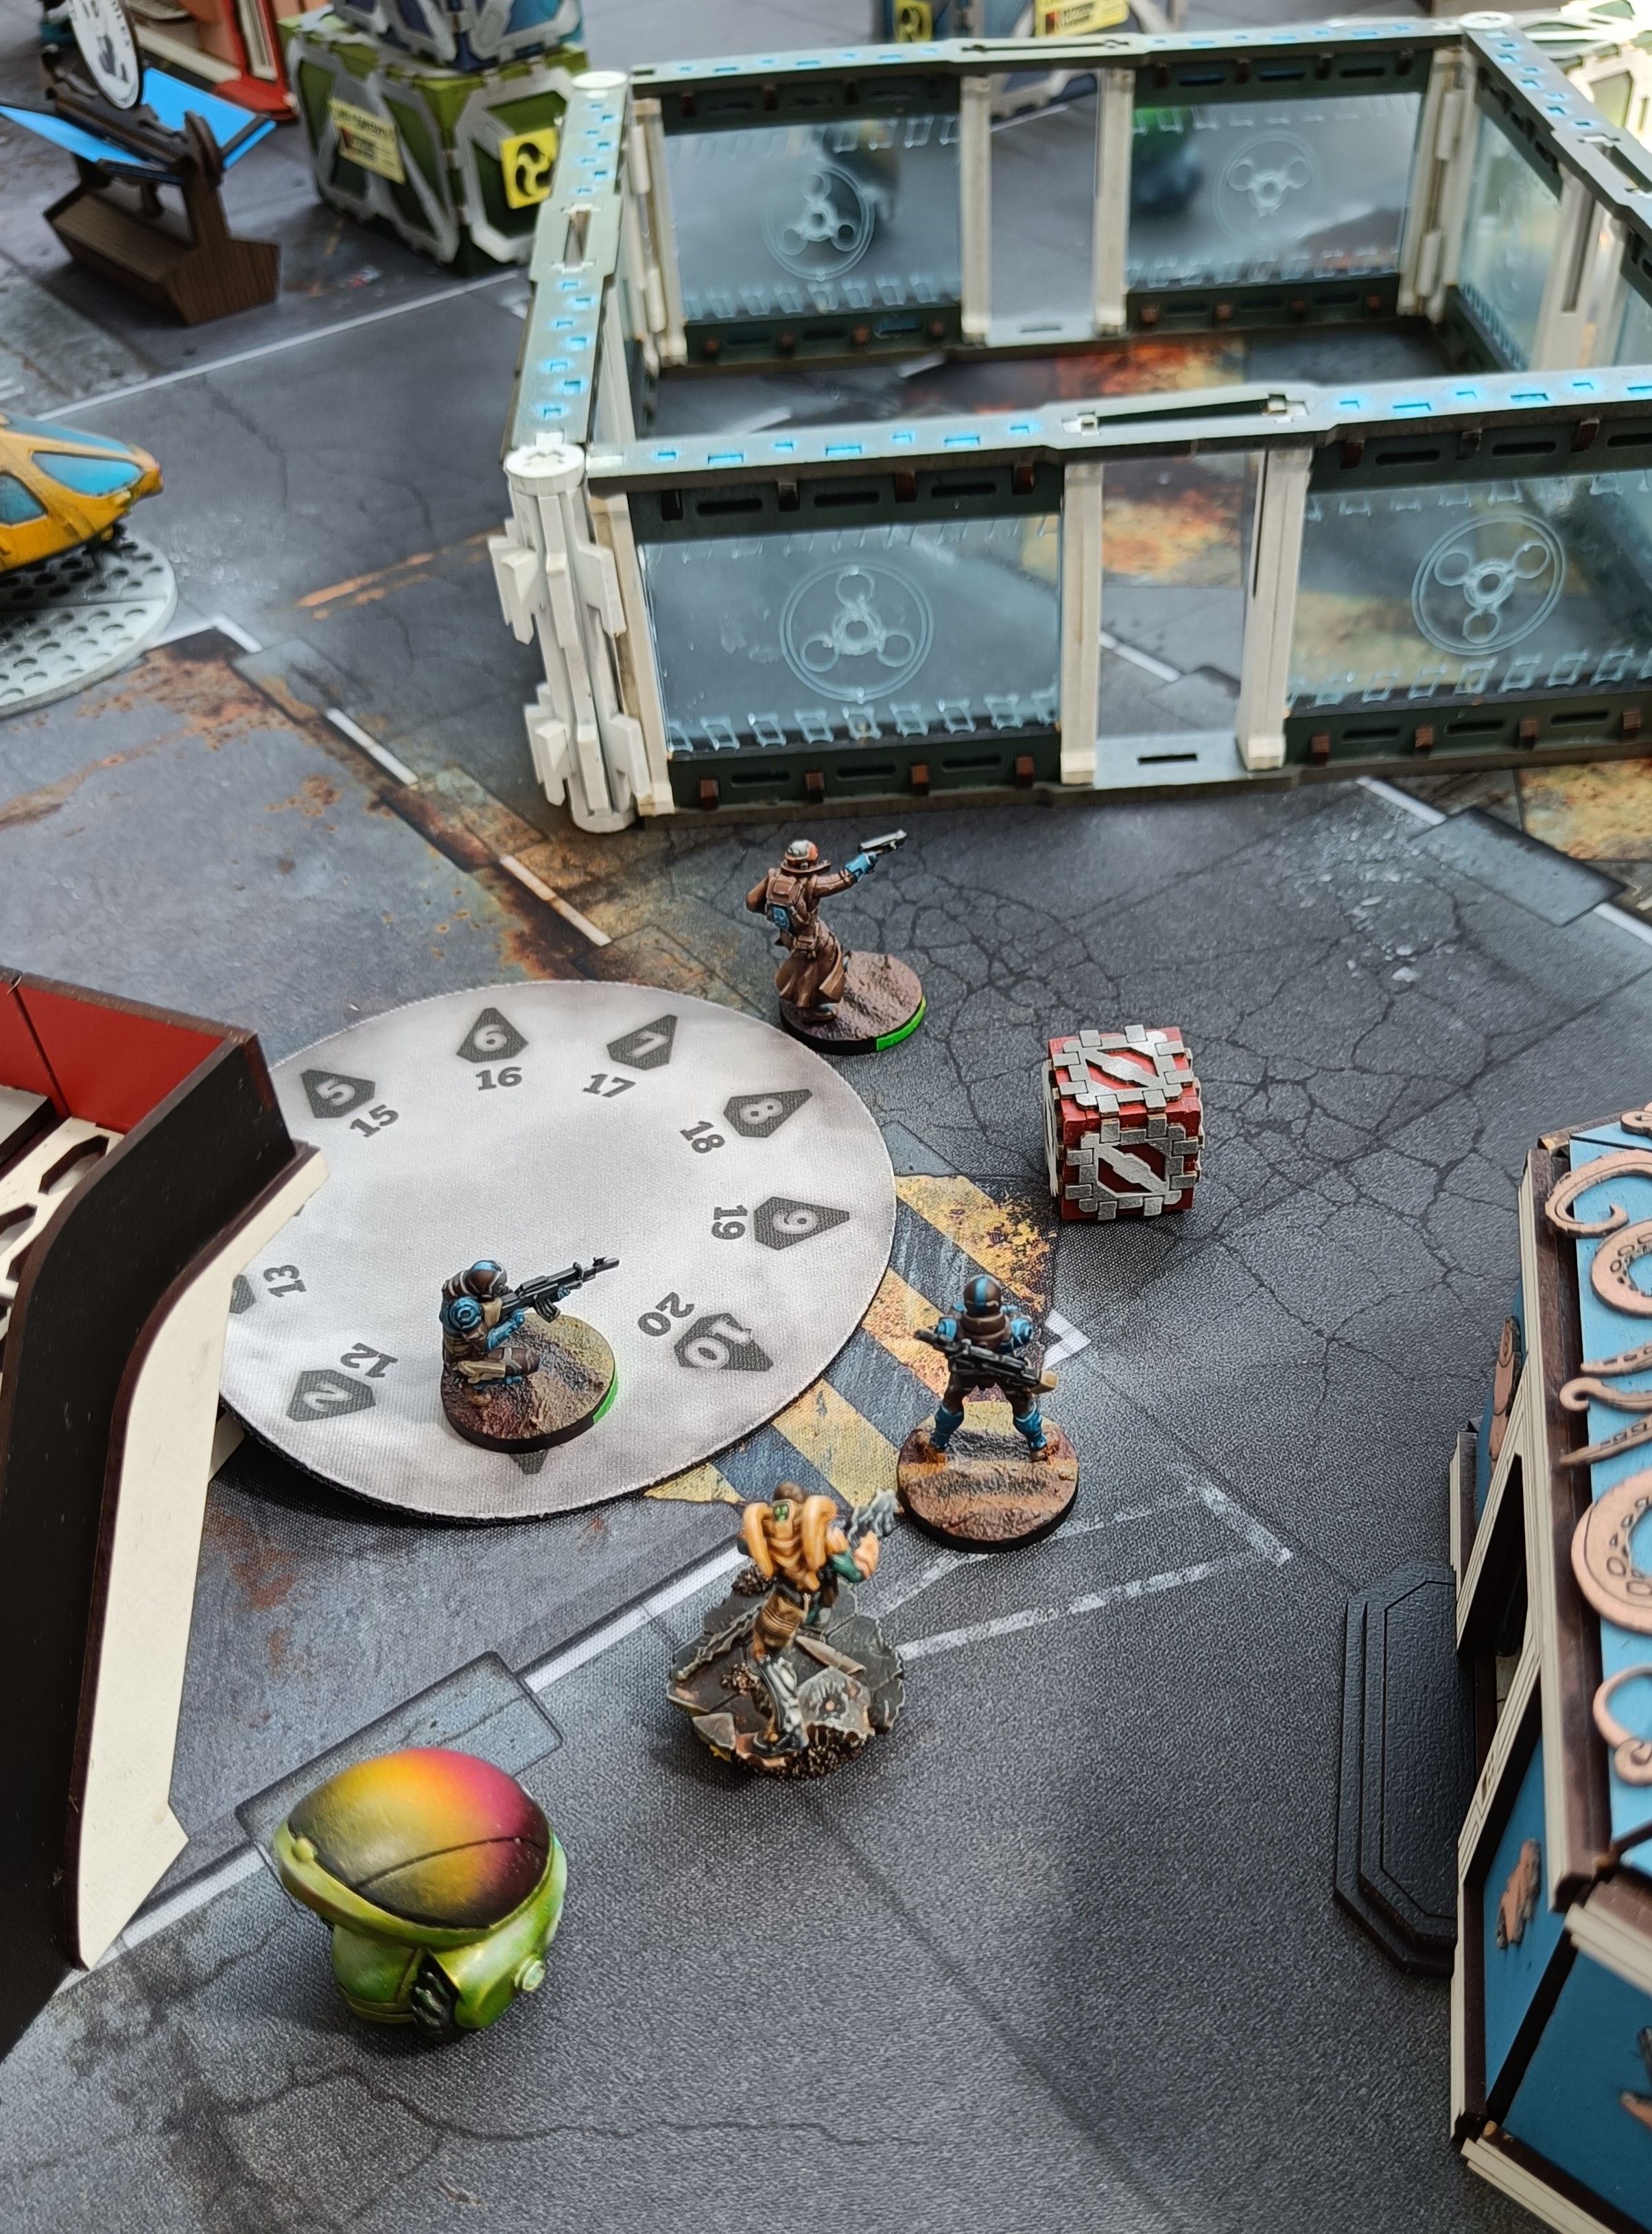
I went first and tried to use Knauf to clear some space. The Fasid attempted to use it’s HMG to take out my opponent’s Ectross. I should add I’m not familiar with the Tohaa units so I may mix up some names. The Ectross was in a triad and won the first F2F, wounding the Fasid. I needed a clear path and fired again, this time wounding the Ectross. Next I tried to use Knauf to take out his sniper. Another triad and this one went badly with Knauf being killed in ARO.
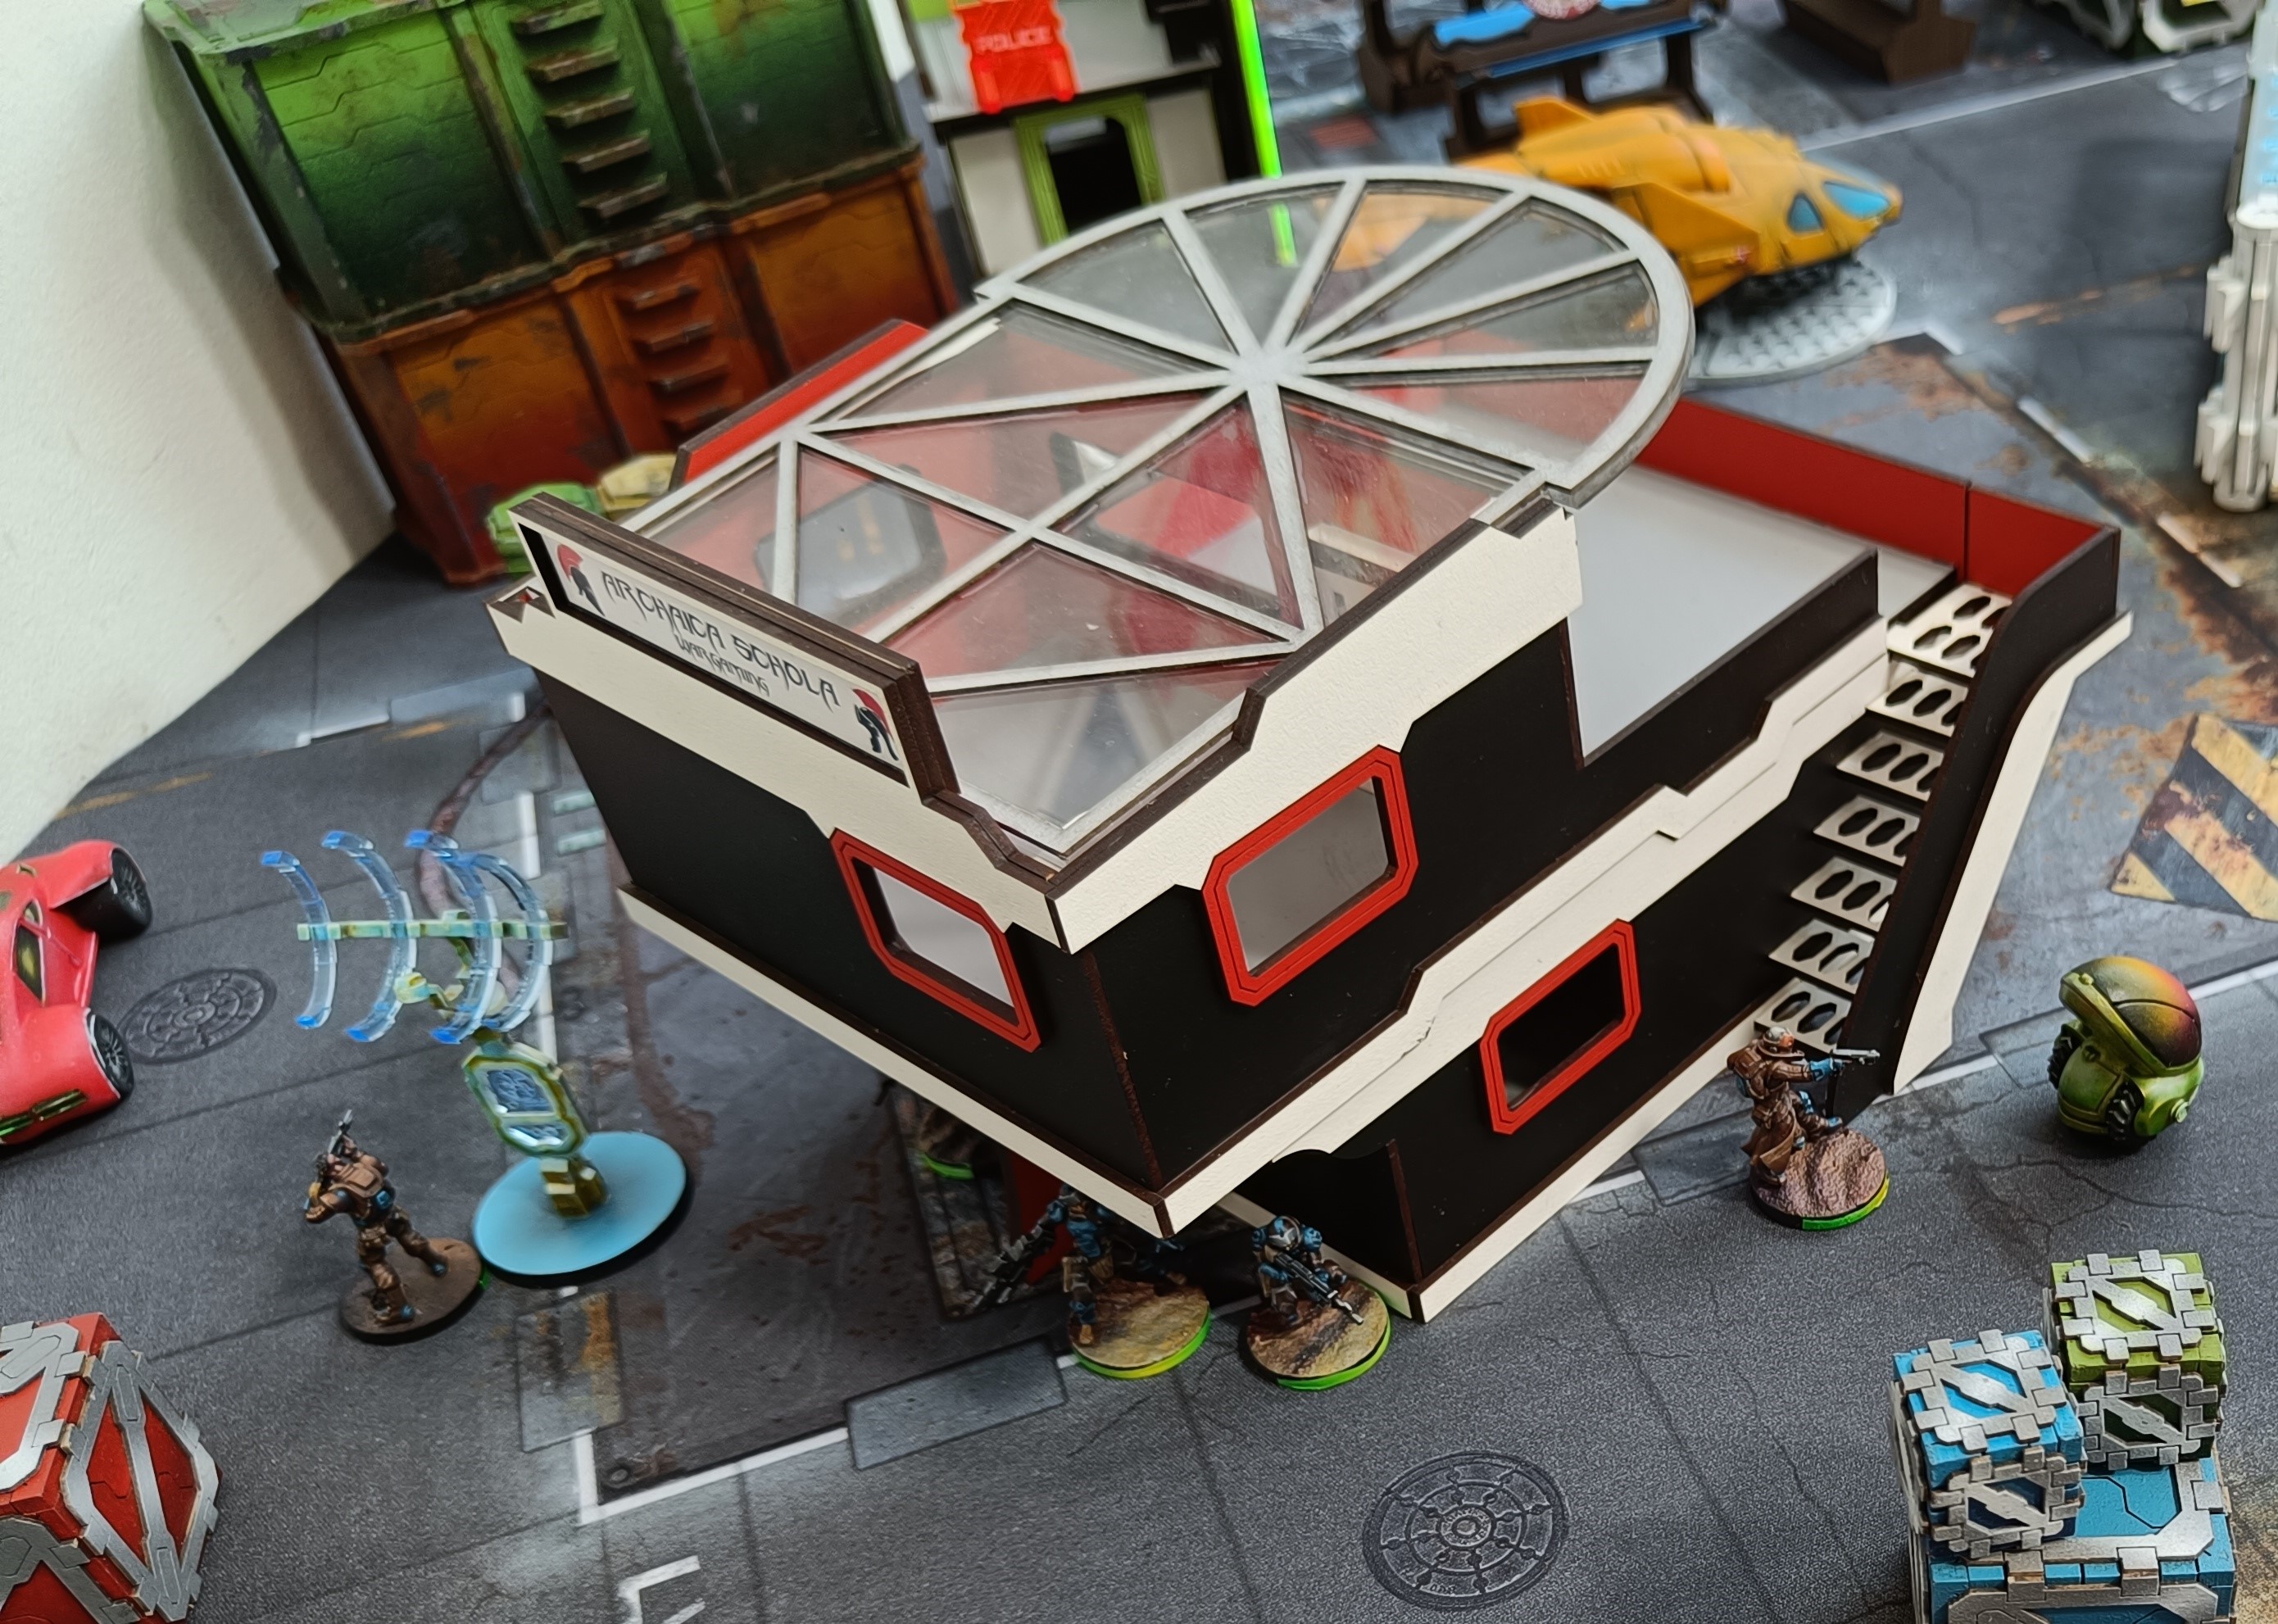
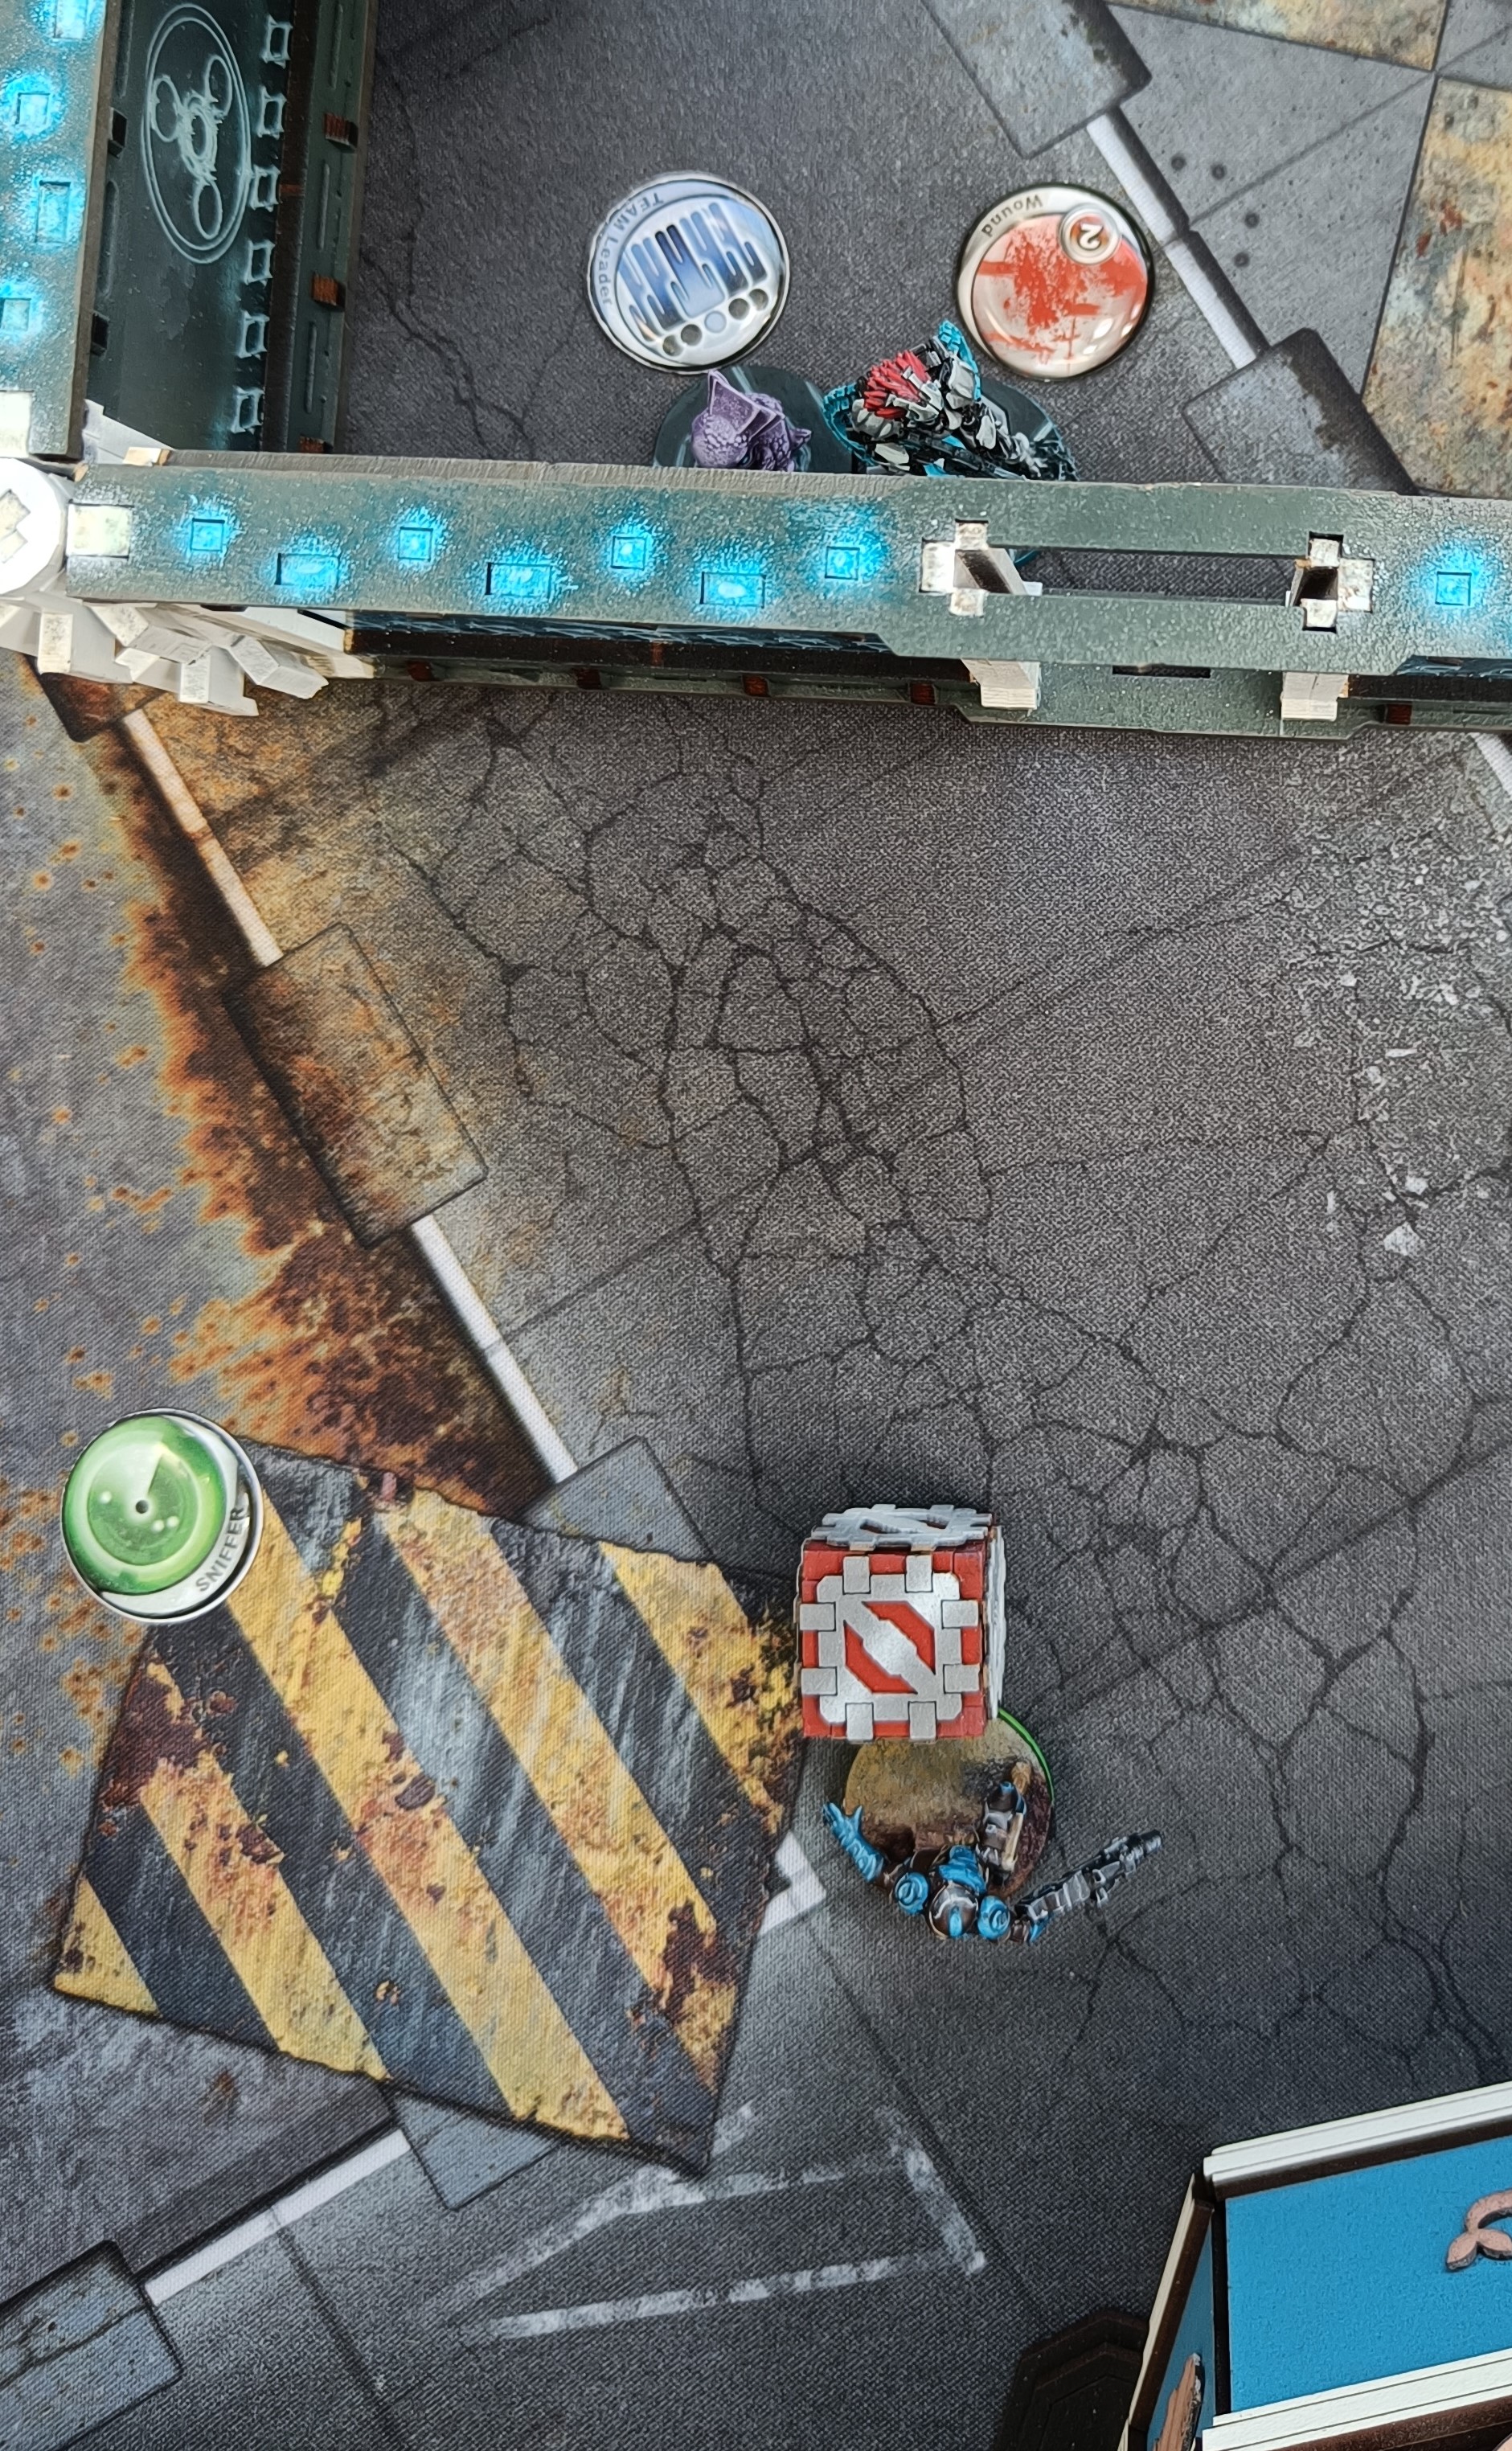
I used the cover of the objective room and command tokens to move some troops up to the door facing my zone. I got a couple inside and couple out but ran out of orders. Much further in and the Tohaa could shoot me through the door. I messed up badly here, confusing where was safe from the Biotechvore zone.
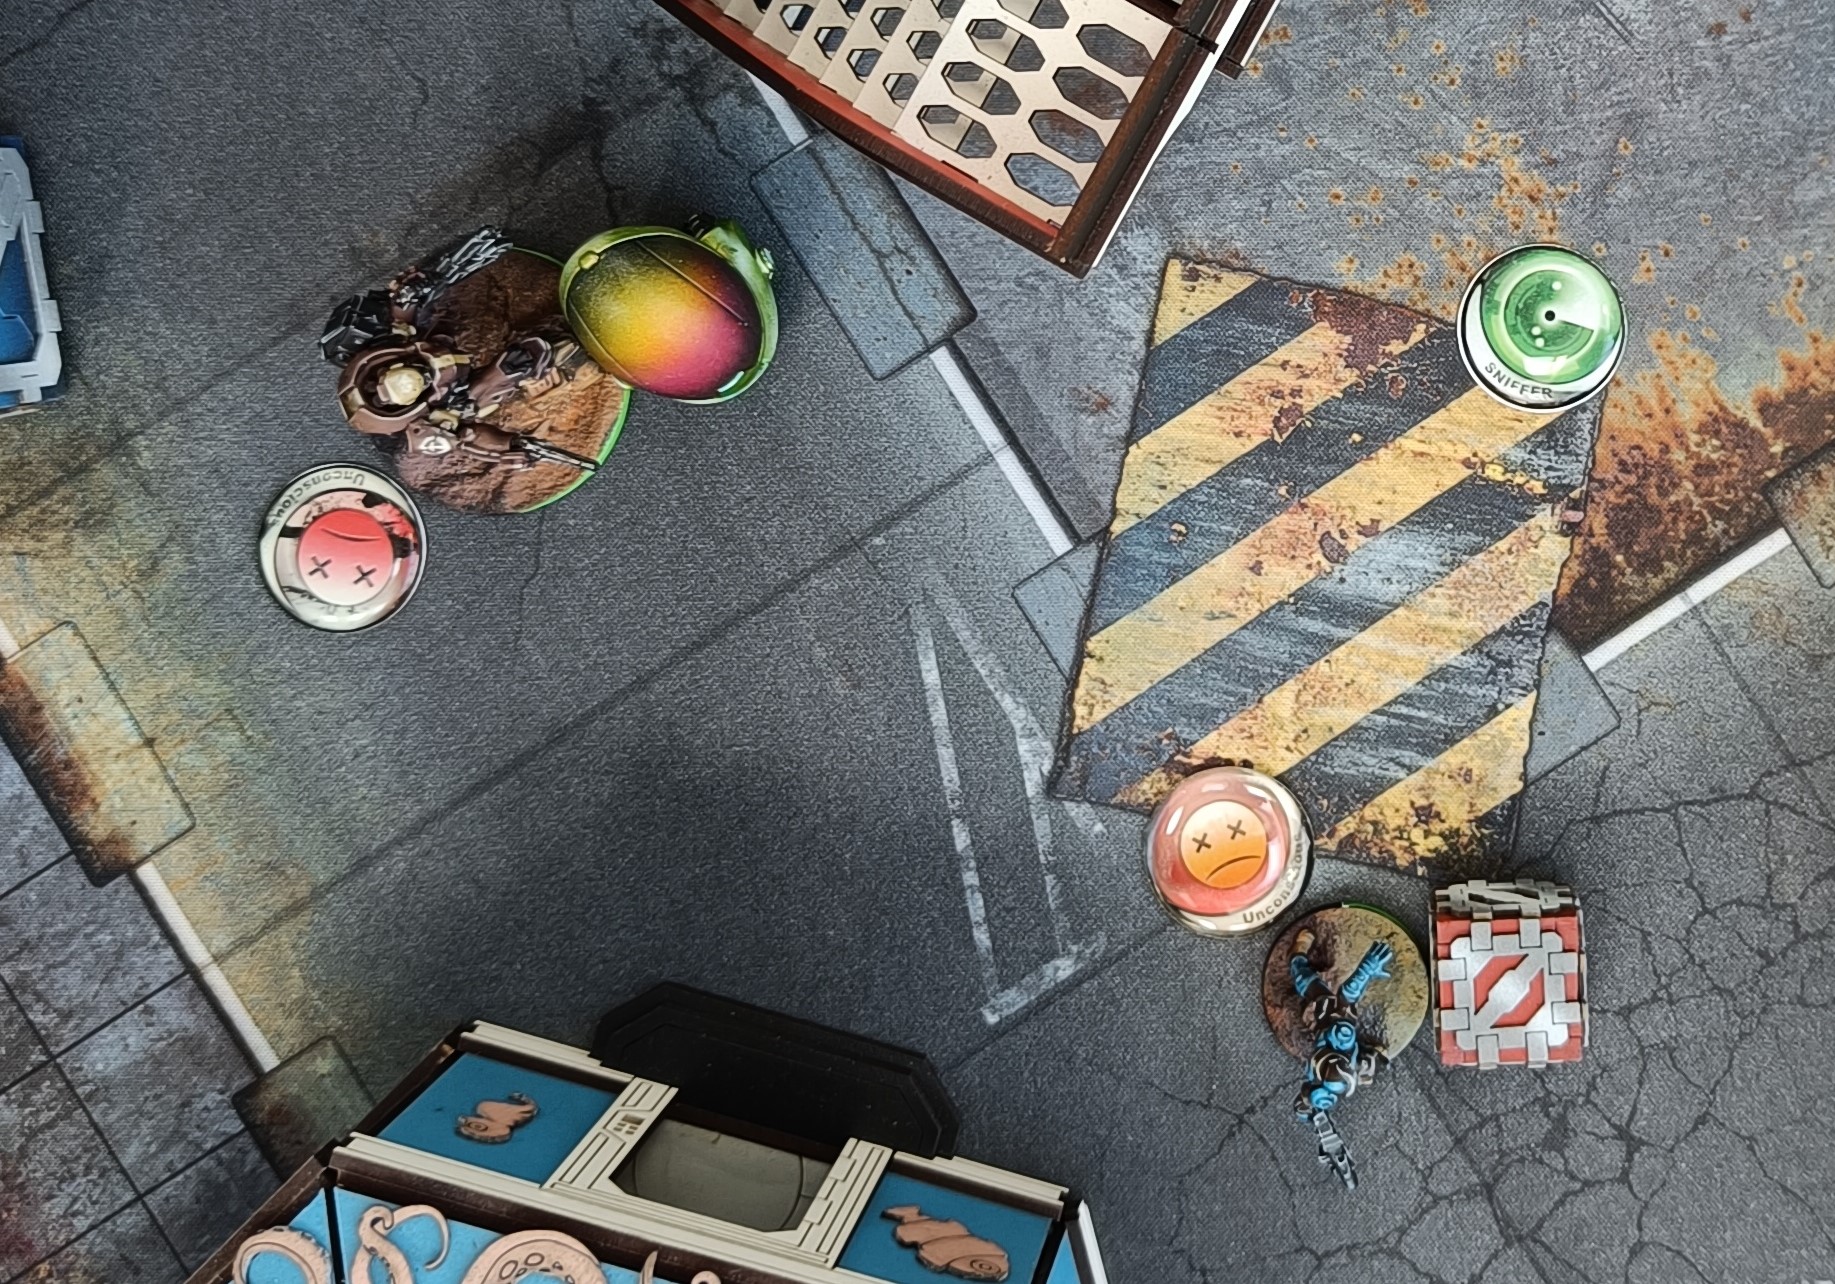
I can summarise how the rest of my game went from here. I rendered my opponent’s Warcor unconscious and lost every other F2F. I only hit with templates. My opponent sliced the pie very well and comfortably killed everyone I got to the objective room. Both of us misunderstood the correct safe zone so applied the Biotechvore virus properly after. I lost the Fiday, my lieutenant, a hacker and two Daylamis to its effect.
I tried placing a pitcher to catch his HI in a hacking net to no great effect. One Naffatun took a death or glory run past his Ectross, got shot four times in ARO and tanked every hit. He got a flame template down and wounded his HI before being killed.
I finished round two with one unit alive and the game over. A very comfortable win for a dominant Tohaa.


Battle Report Author

Army Lists Used In This Battle
Recommend Commander For Commendation
Share this battle with friends
WhyarecarrotsWins

Hard to win when your erstwhile “allies” stab you in the back. Thanks for the report and better luck next time!
Nice report! Tohaa are *dastardly*.
That is the problem with Tohaa: you don’t know them, then they kill you somehow. Keep it up!
Nice report!
(੭ˊ͈ ꒵ˋ͈)੭̸*✧⁺˚Nice report, well done for the next one.
Congrat my brohaa, well done (✌’ω’)✌