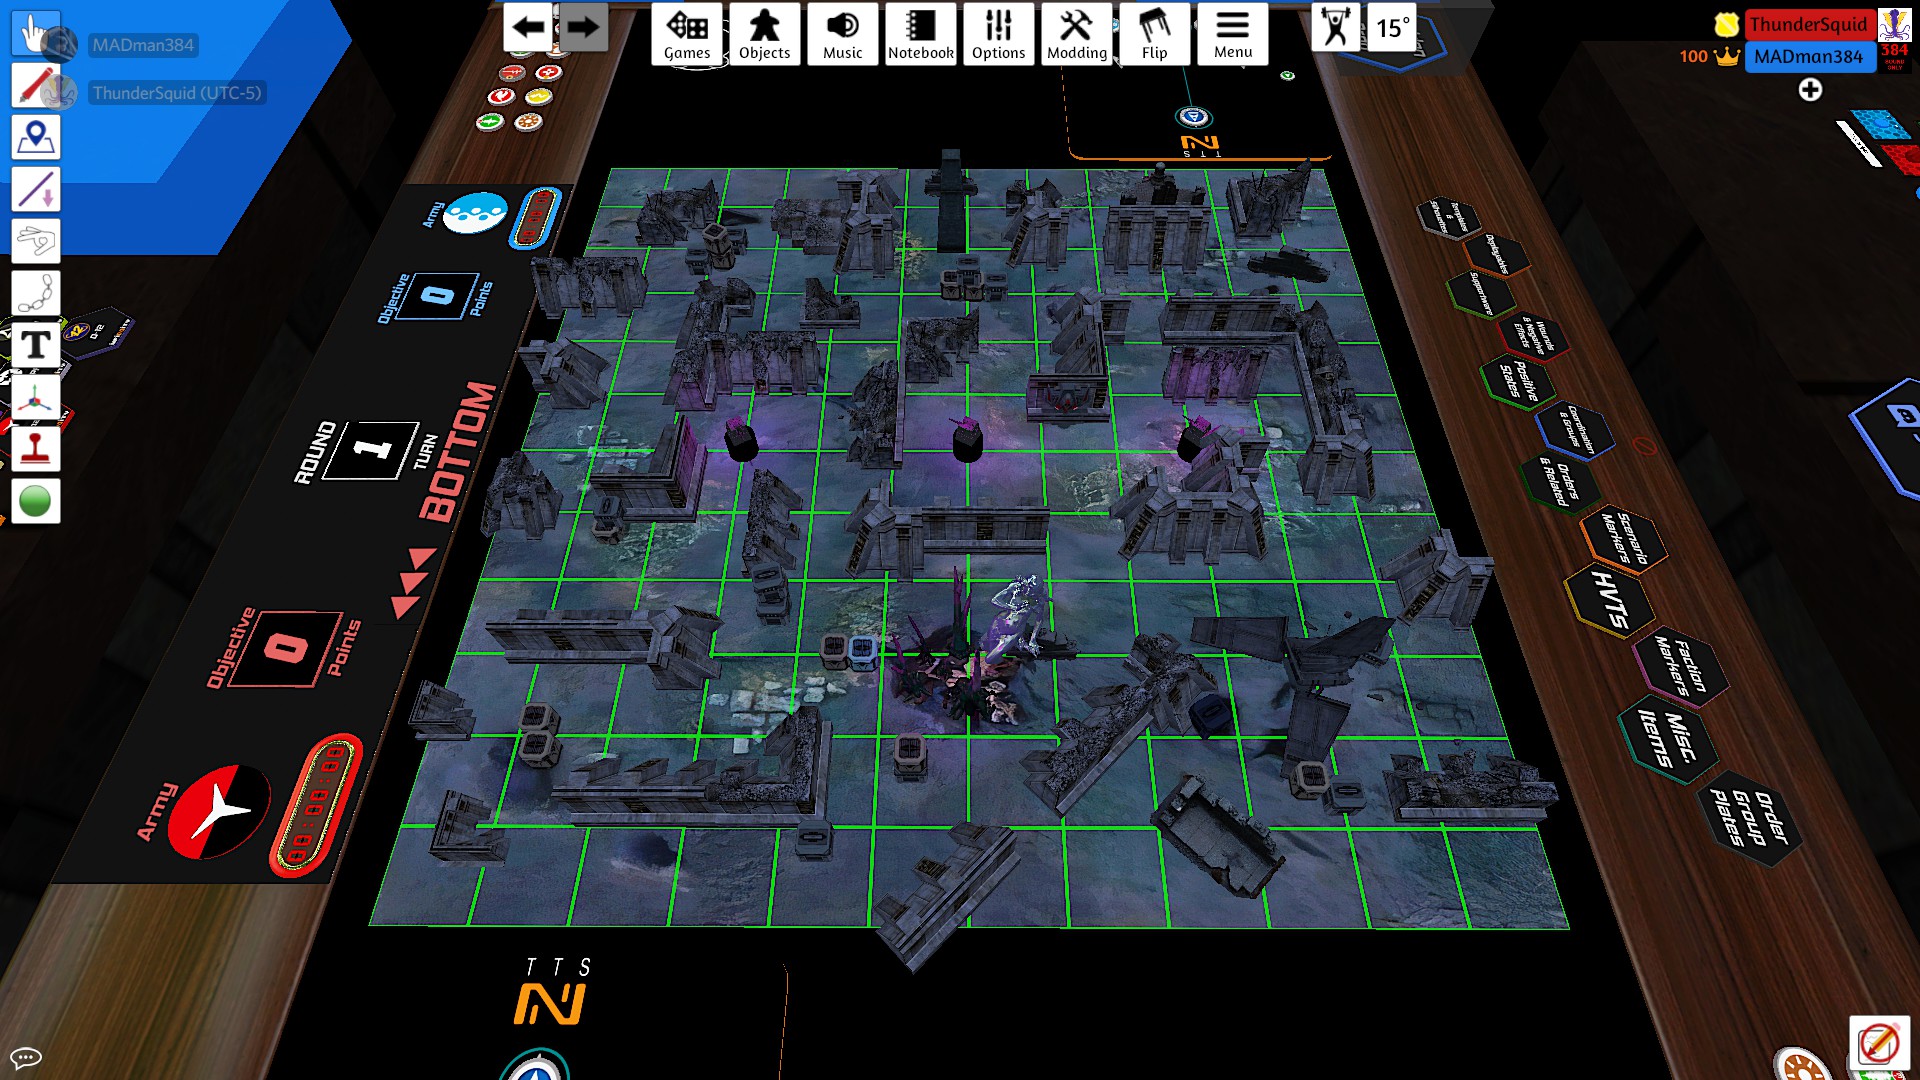
Fought At Gekidan Research Park: Yukimura Center
659 days 11 hours ago
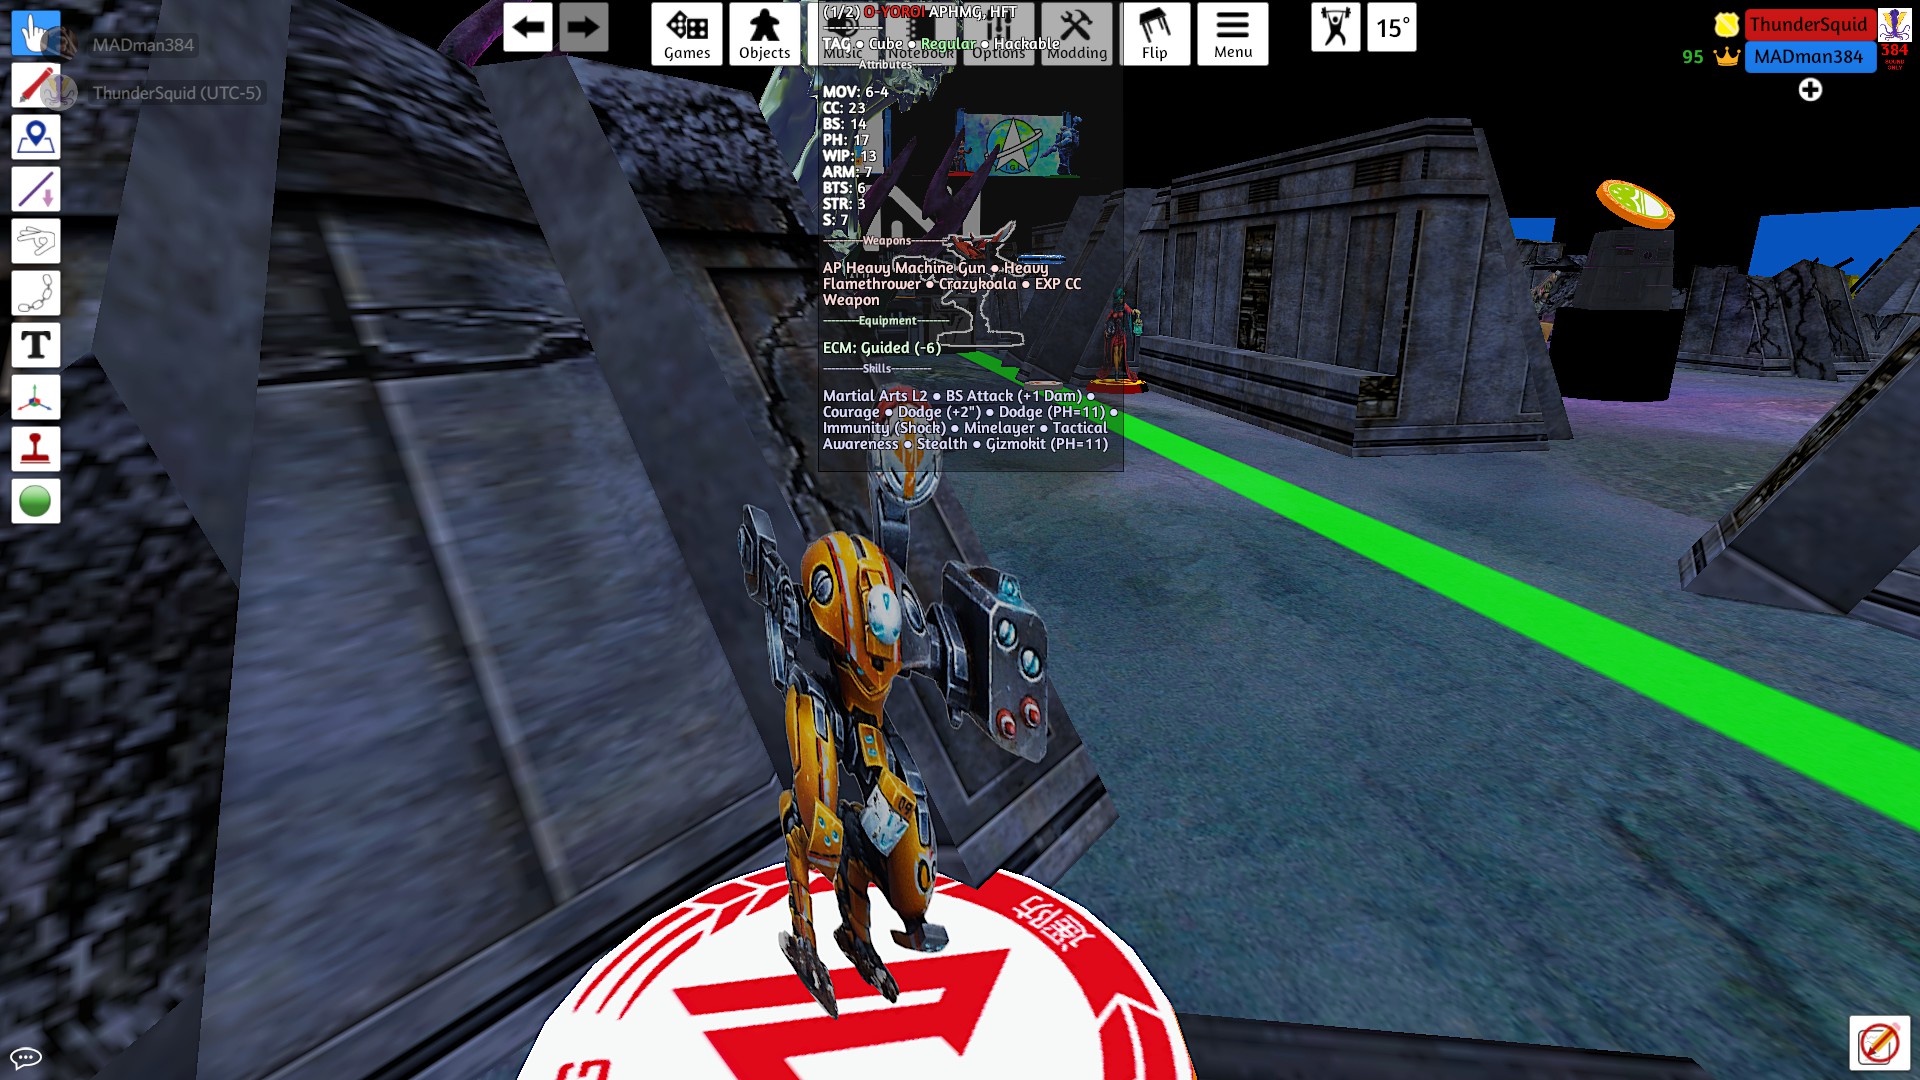
Unstoppable O-Yoroi
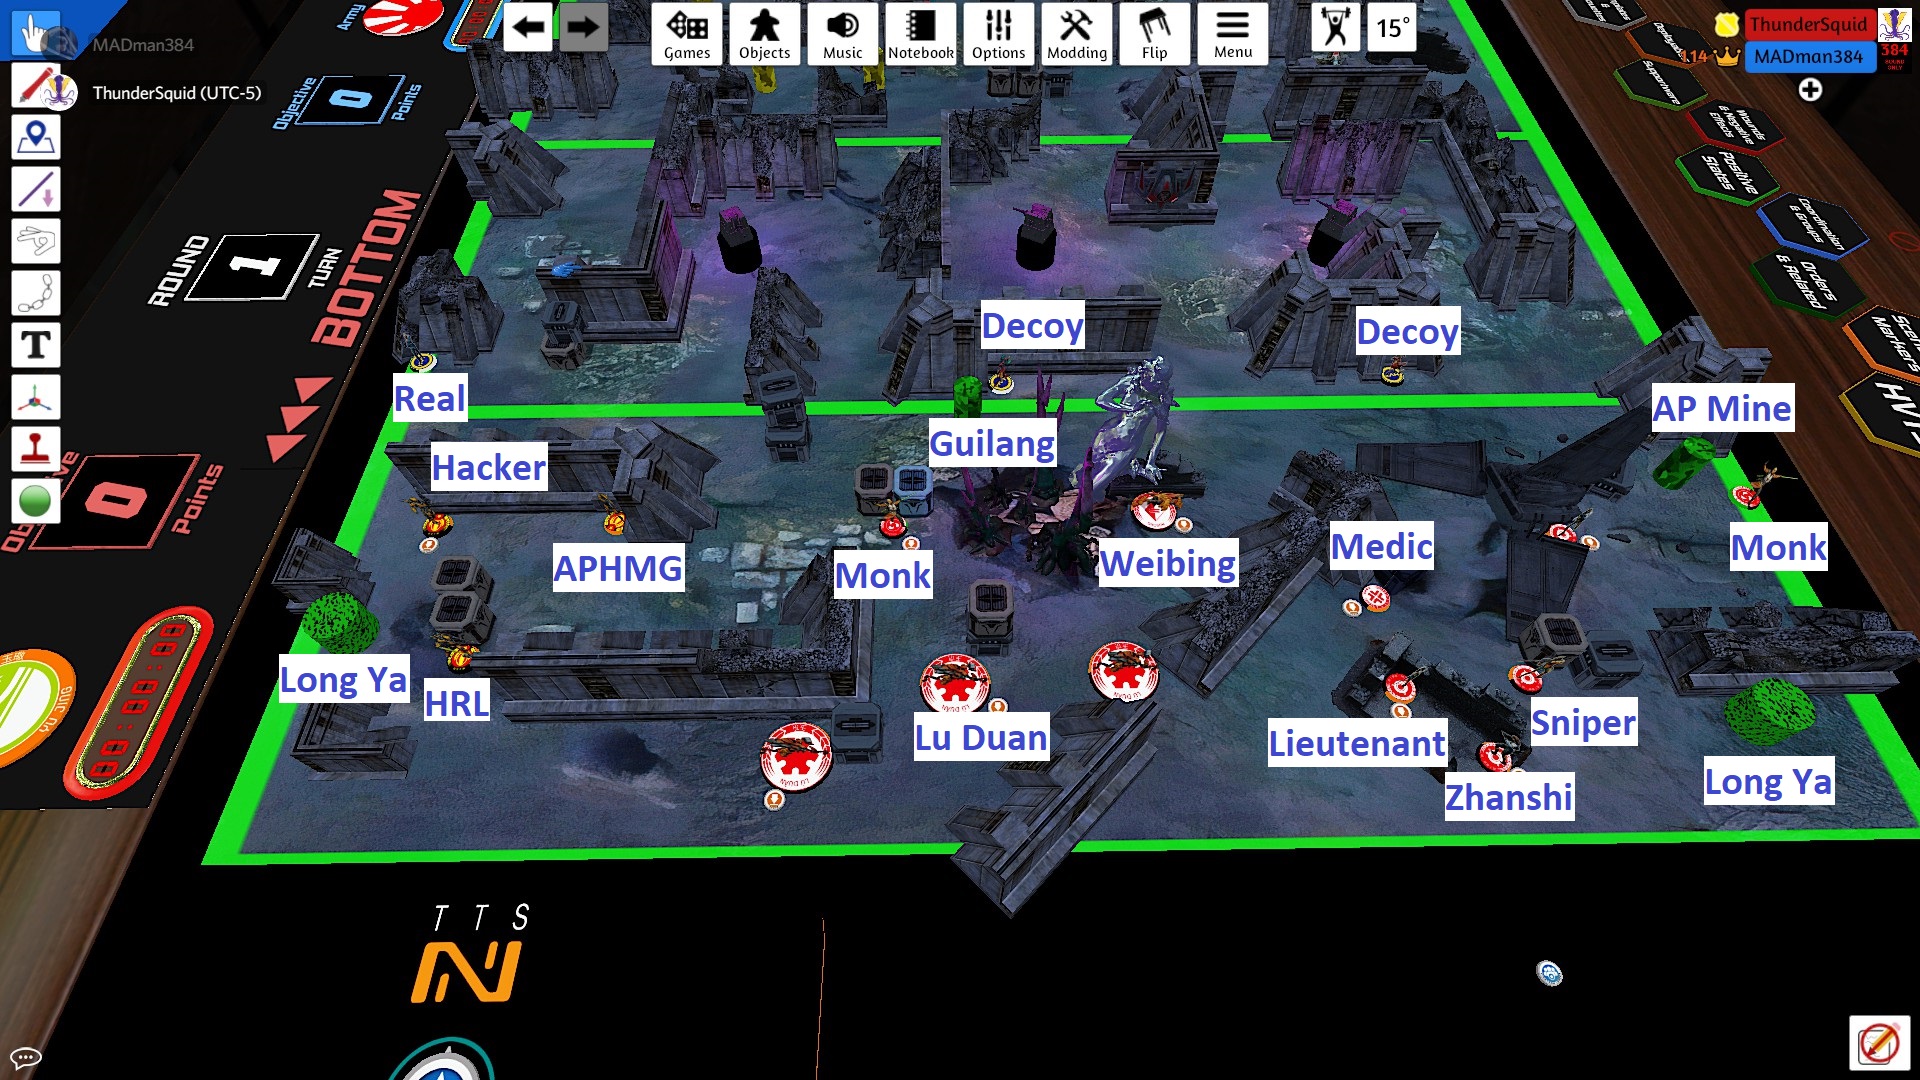
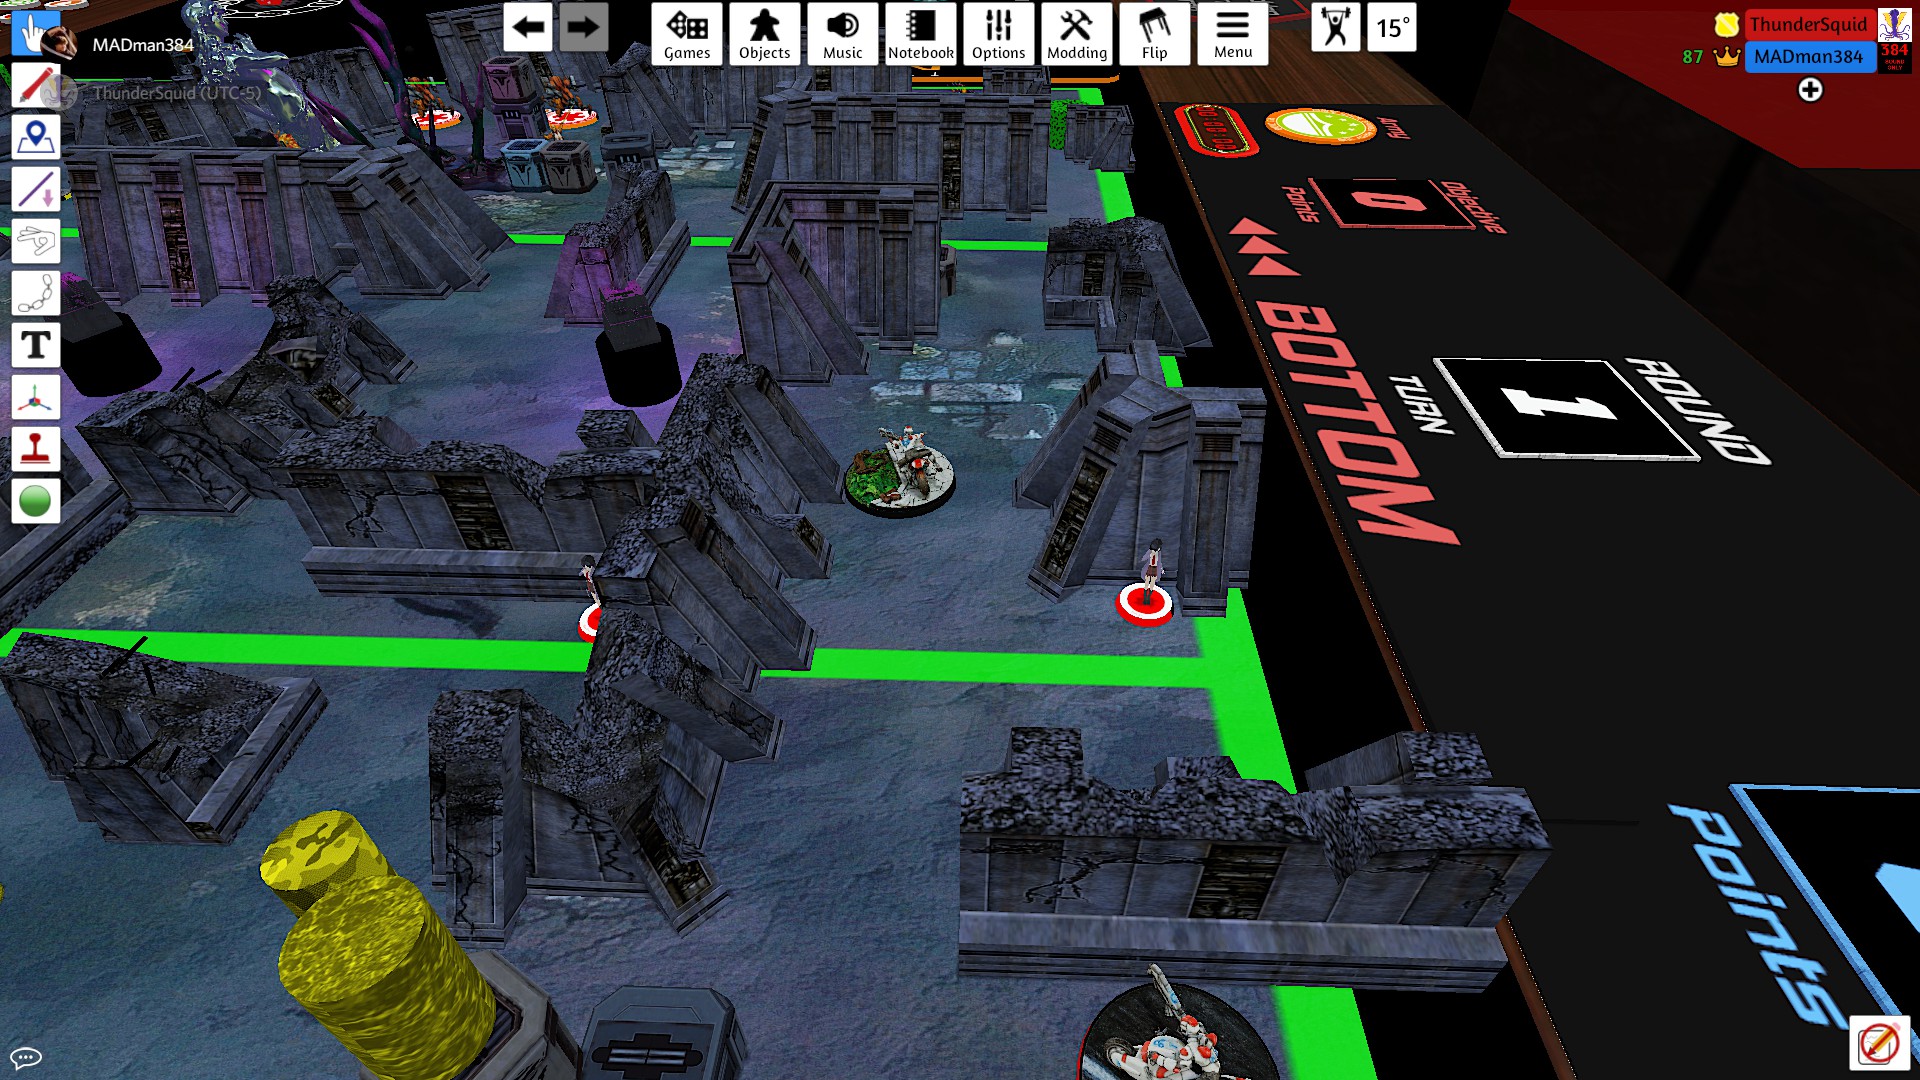
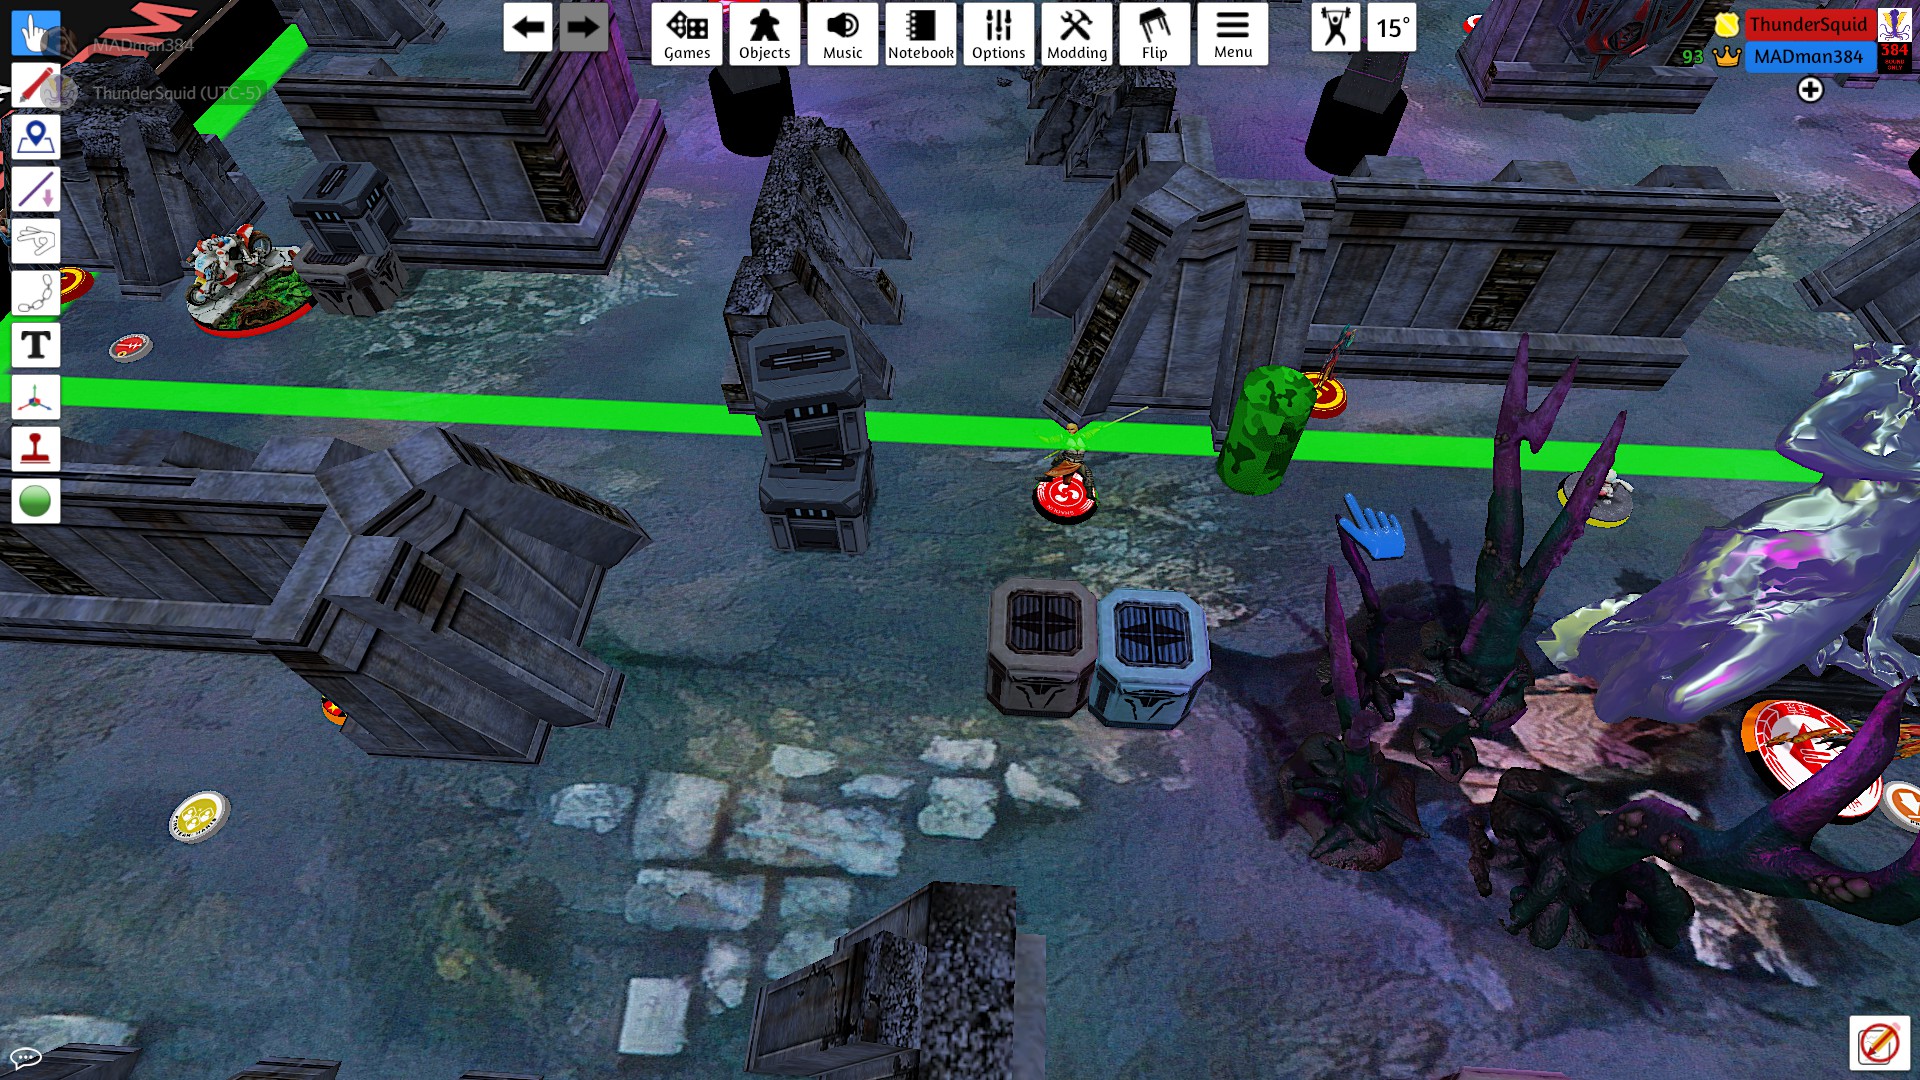
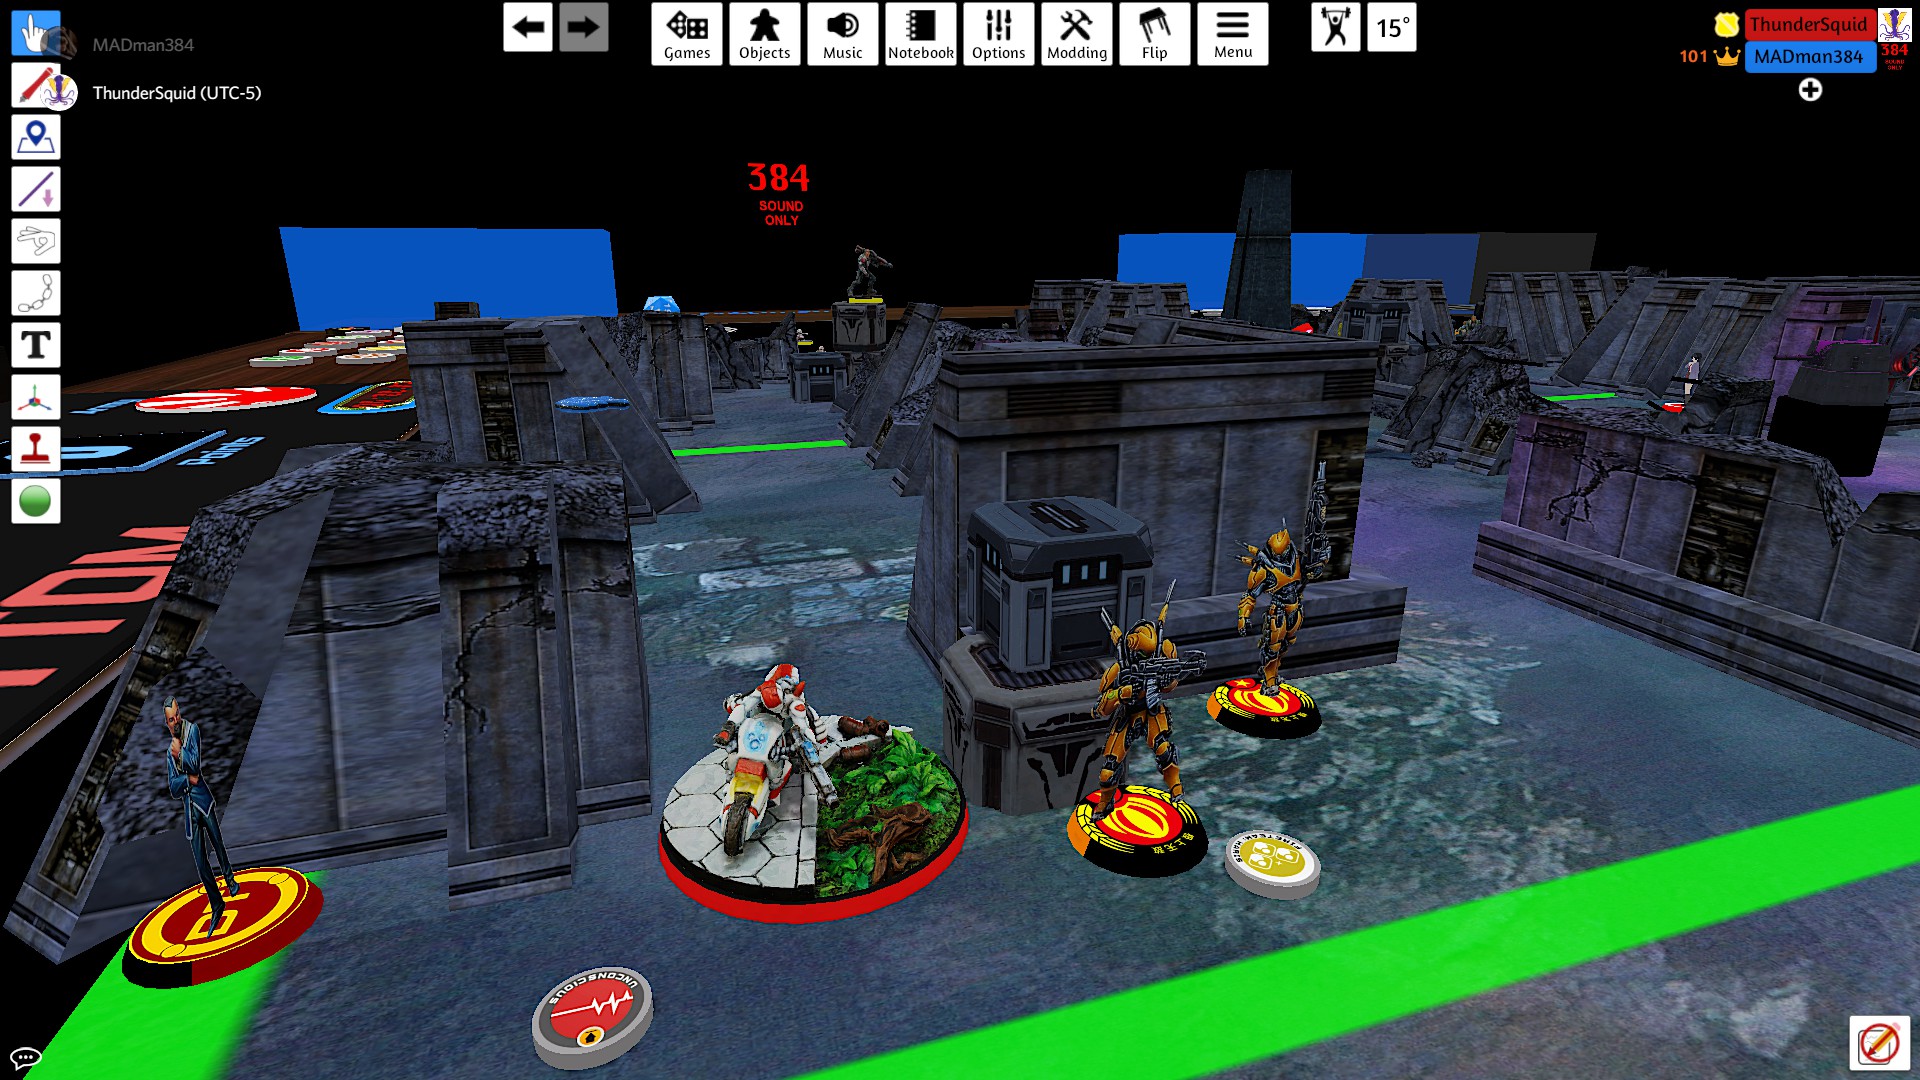
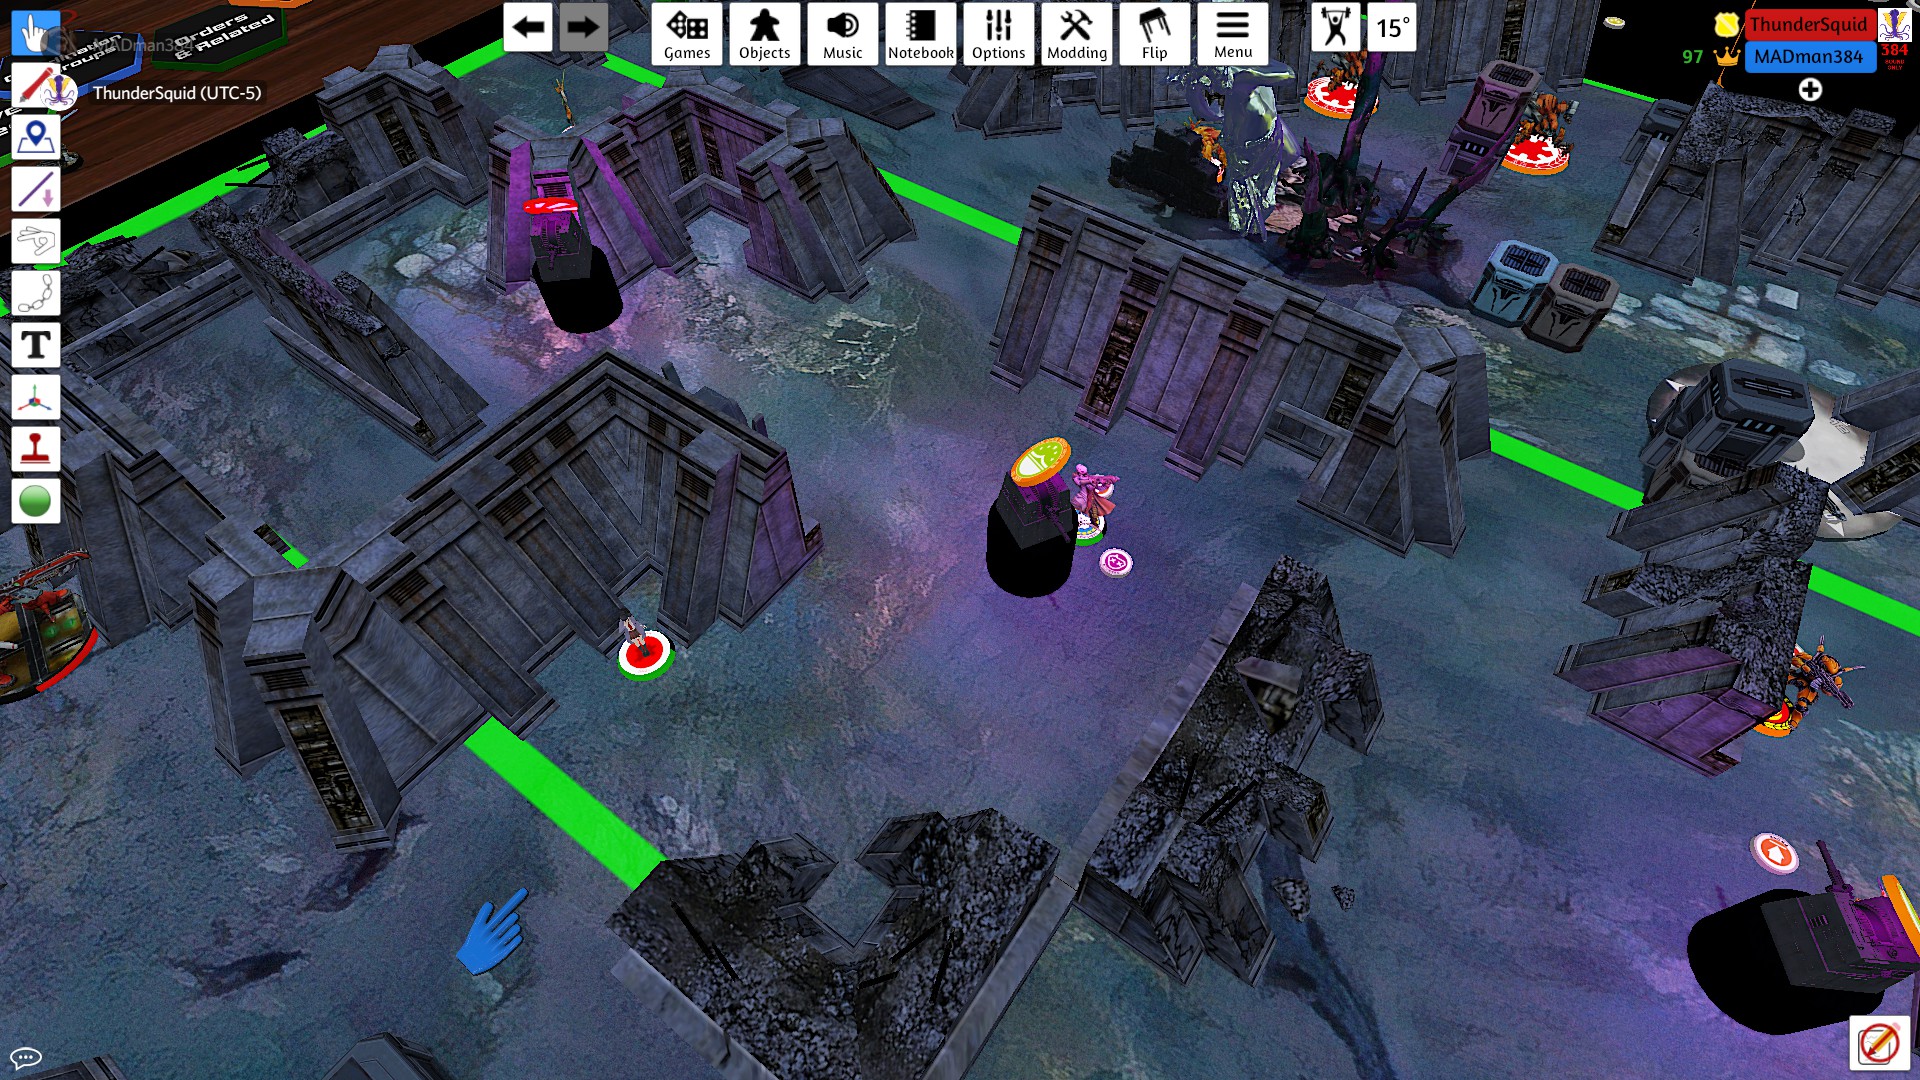
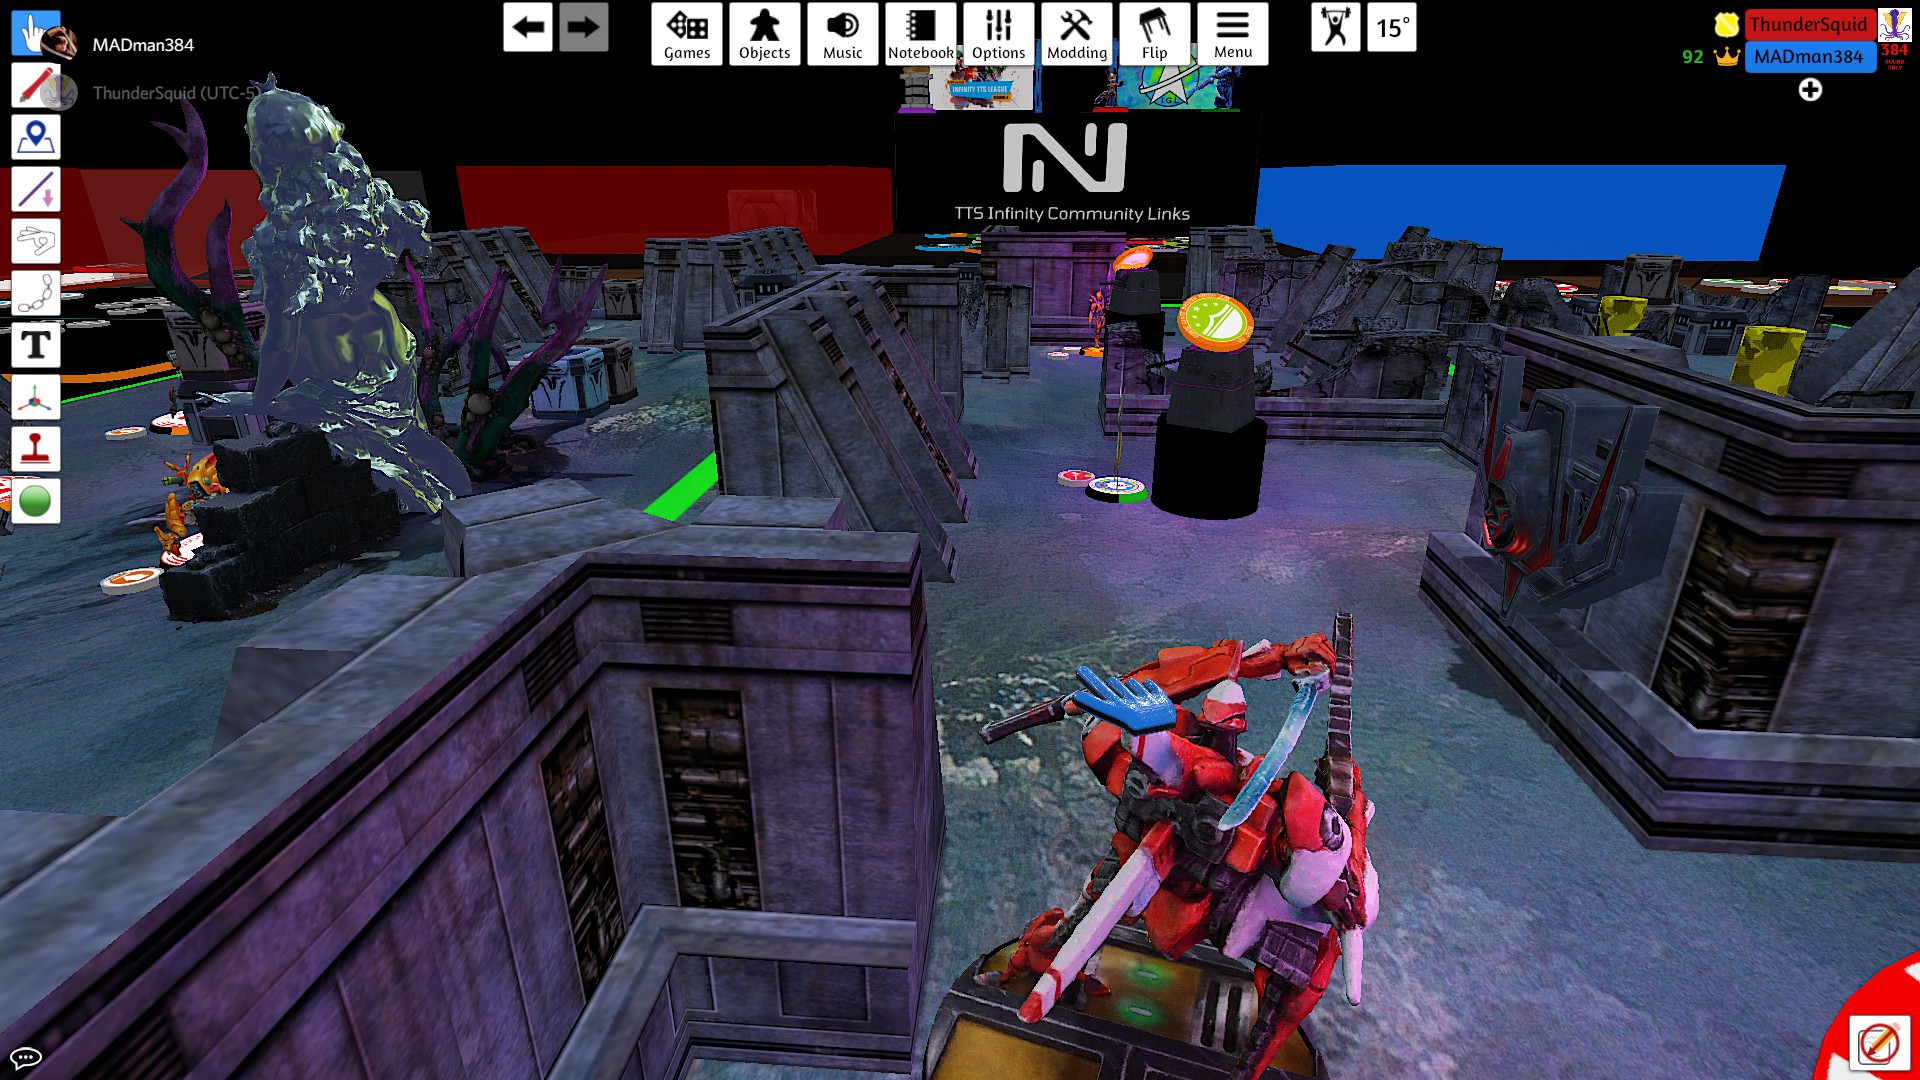
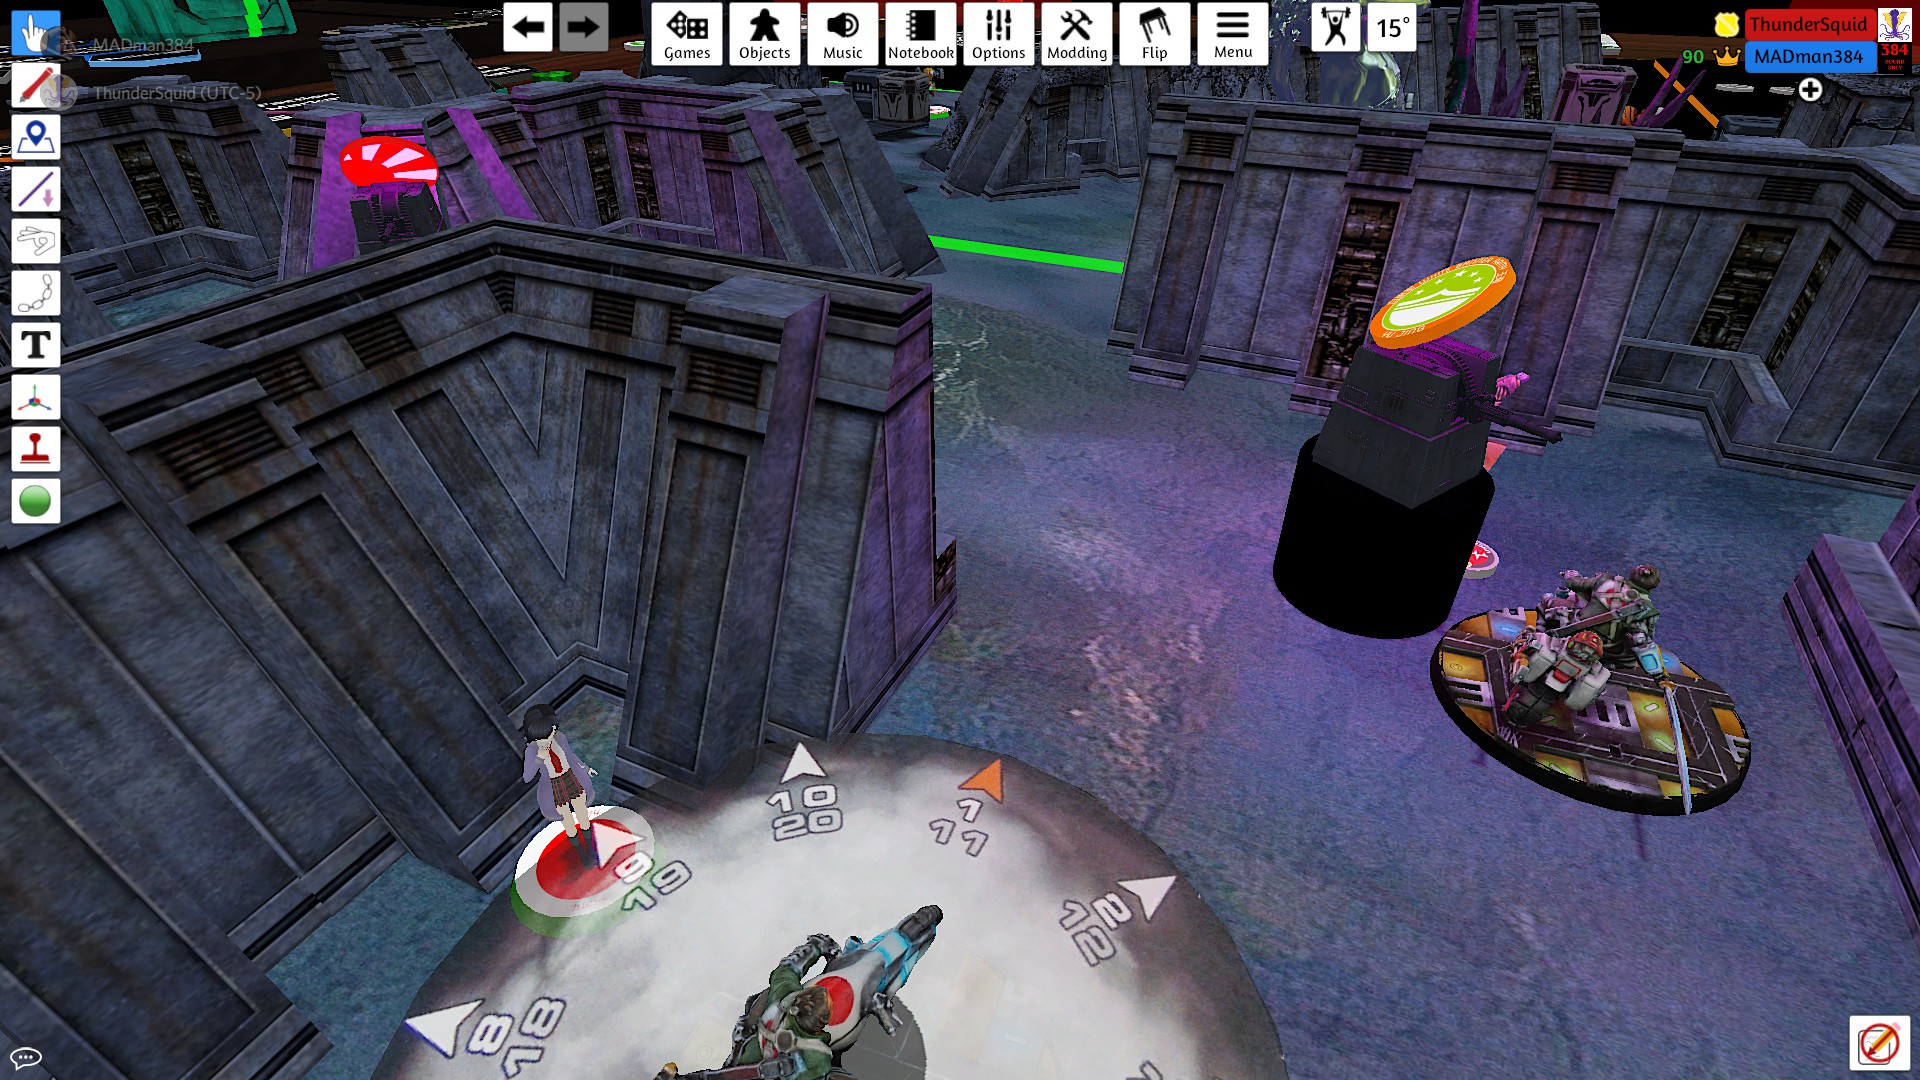
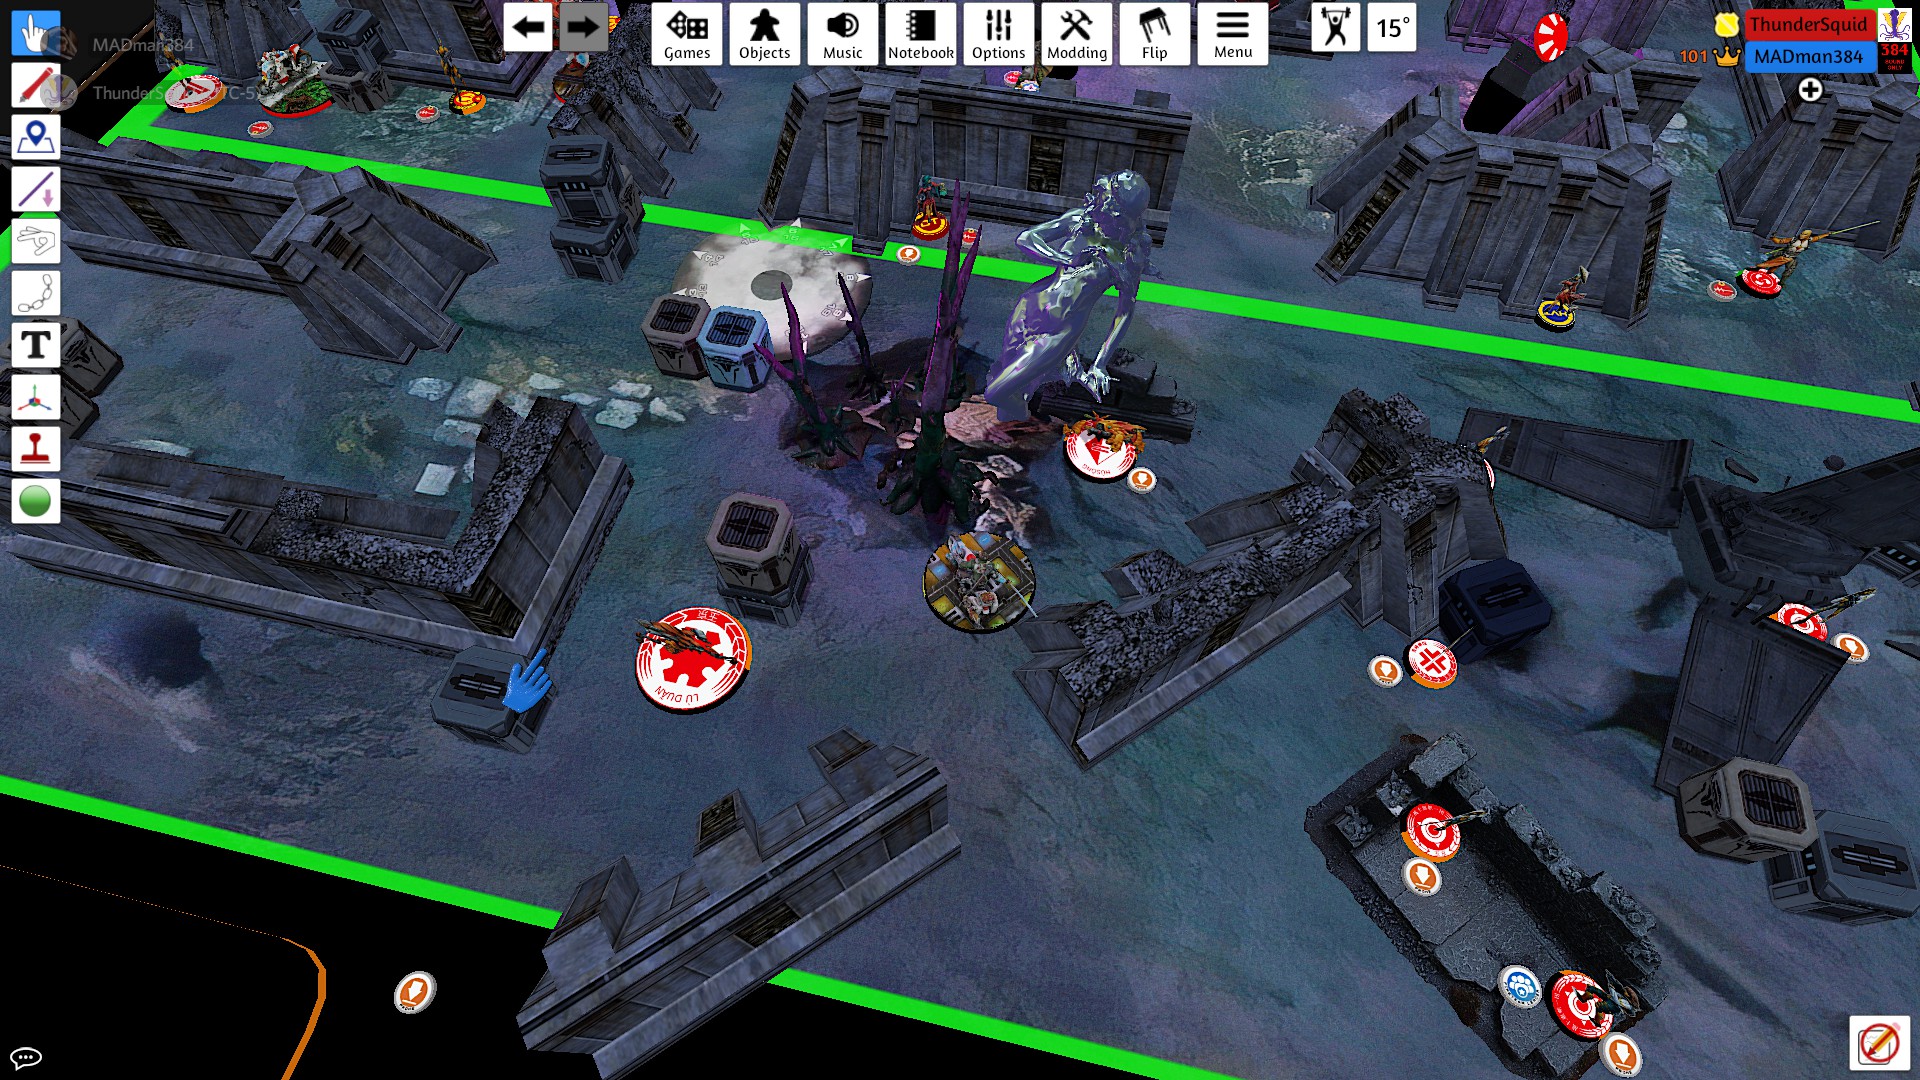
View Linked Report - CLICK HERE 300 POINTSThe O-Yoroi is by far the biggest threat. I have some tools to deal with it, namely the APHMG, but will have a hard time lining up shots on a map that consists entirely of terrain big enough to hide a TAG. Yojimbo is also a major concern, especially being placed behind a large wall that will let him advance into the midfield uncontested. The Ryuken are an annoying defense without Lei Gong or a Rui Shi, but the Shang Ji should be able to just dice through them once they reveal. The two bikers not being in a team makes it obvious that one of them is a Lu Duan, but it isn't clear which at this point. My sniper was deployed in a spot to start the game seeing his Keisotsu missile. At long range, this combat would heavily favor me, even on my opponent's turn.

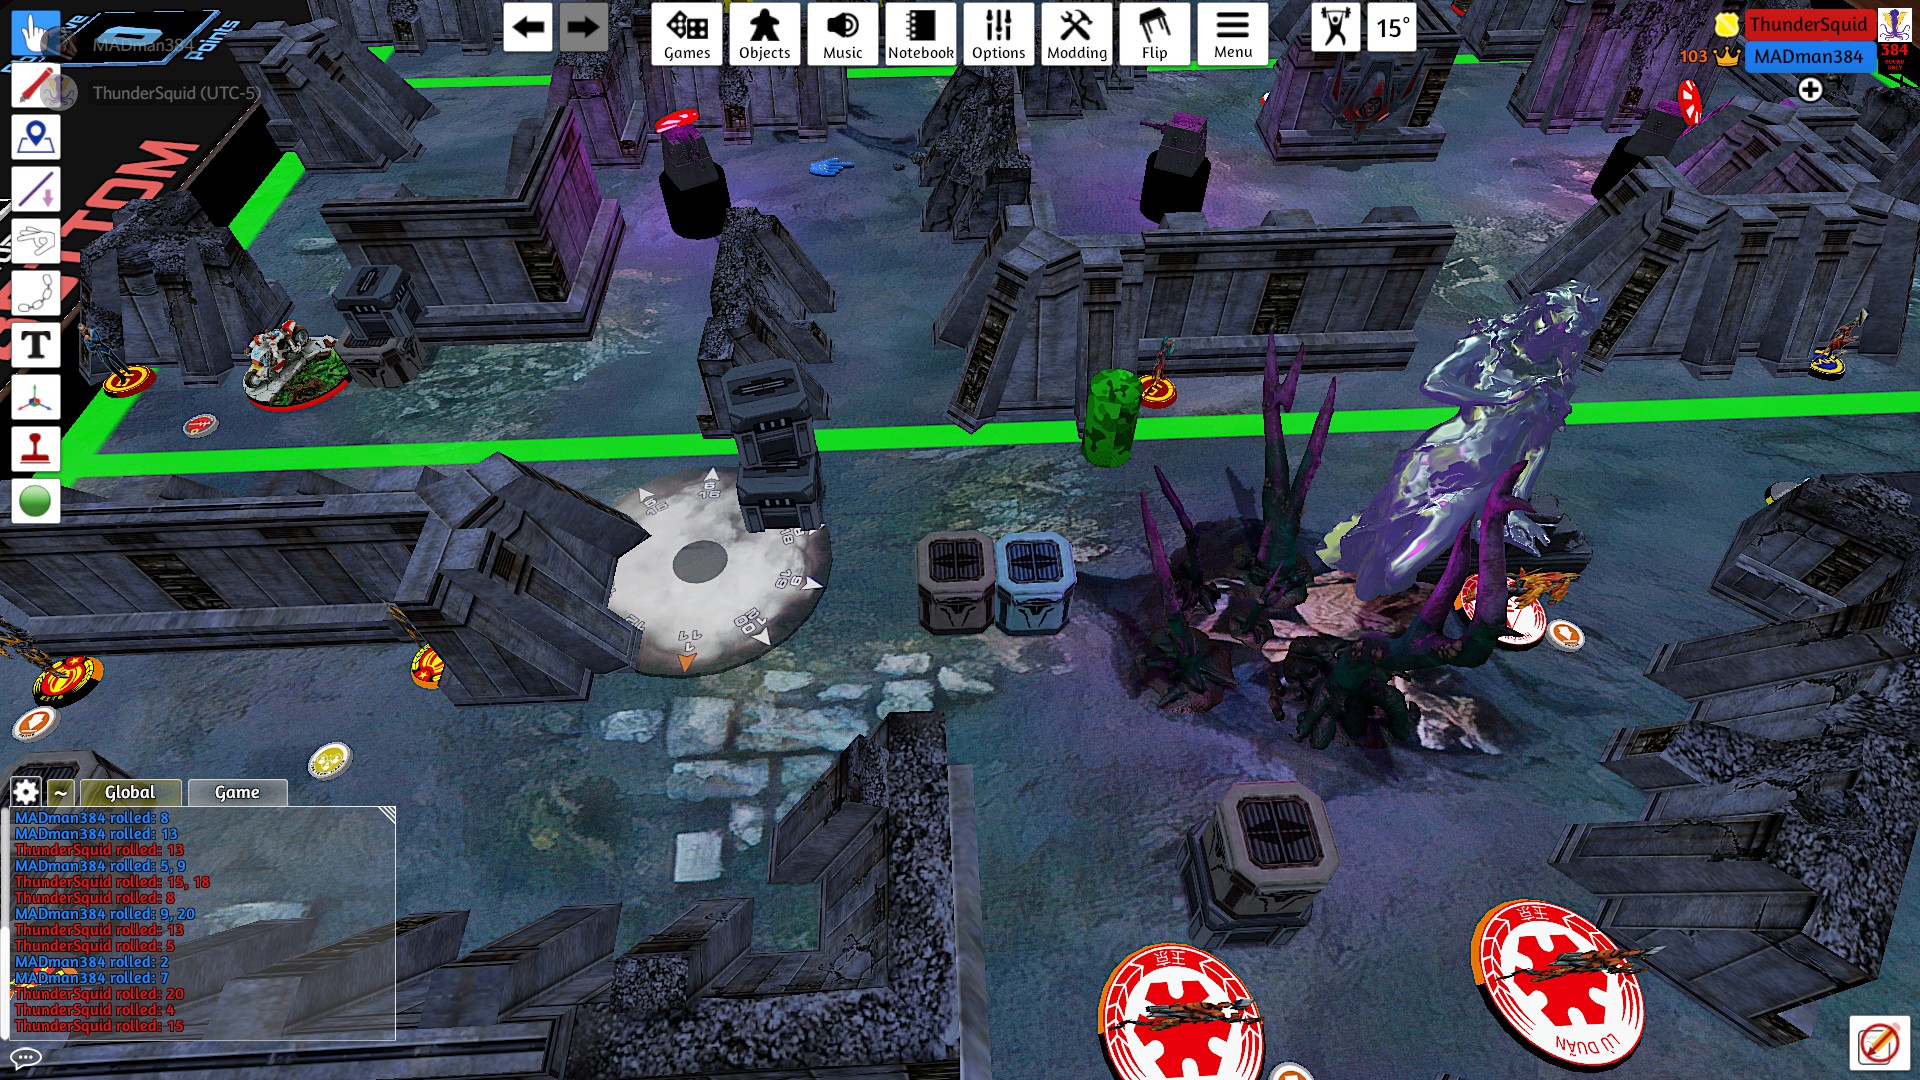
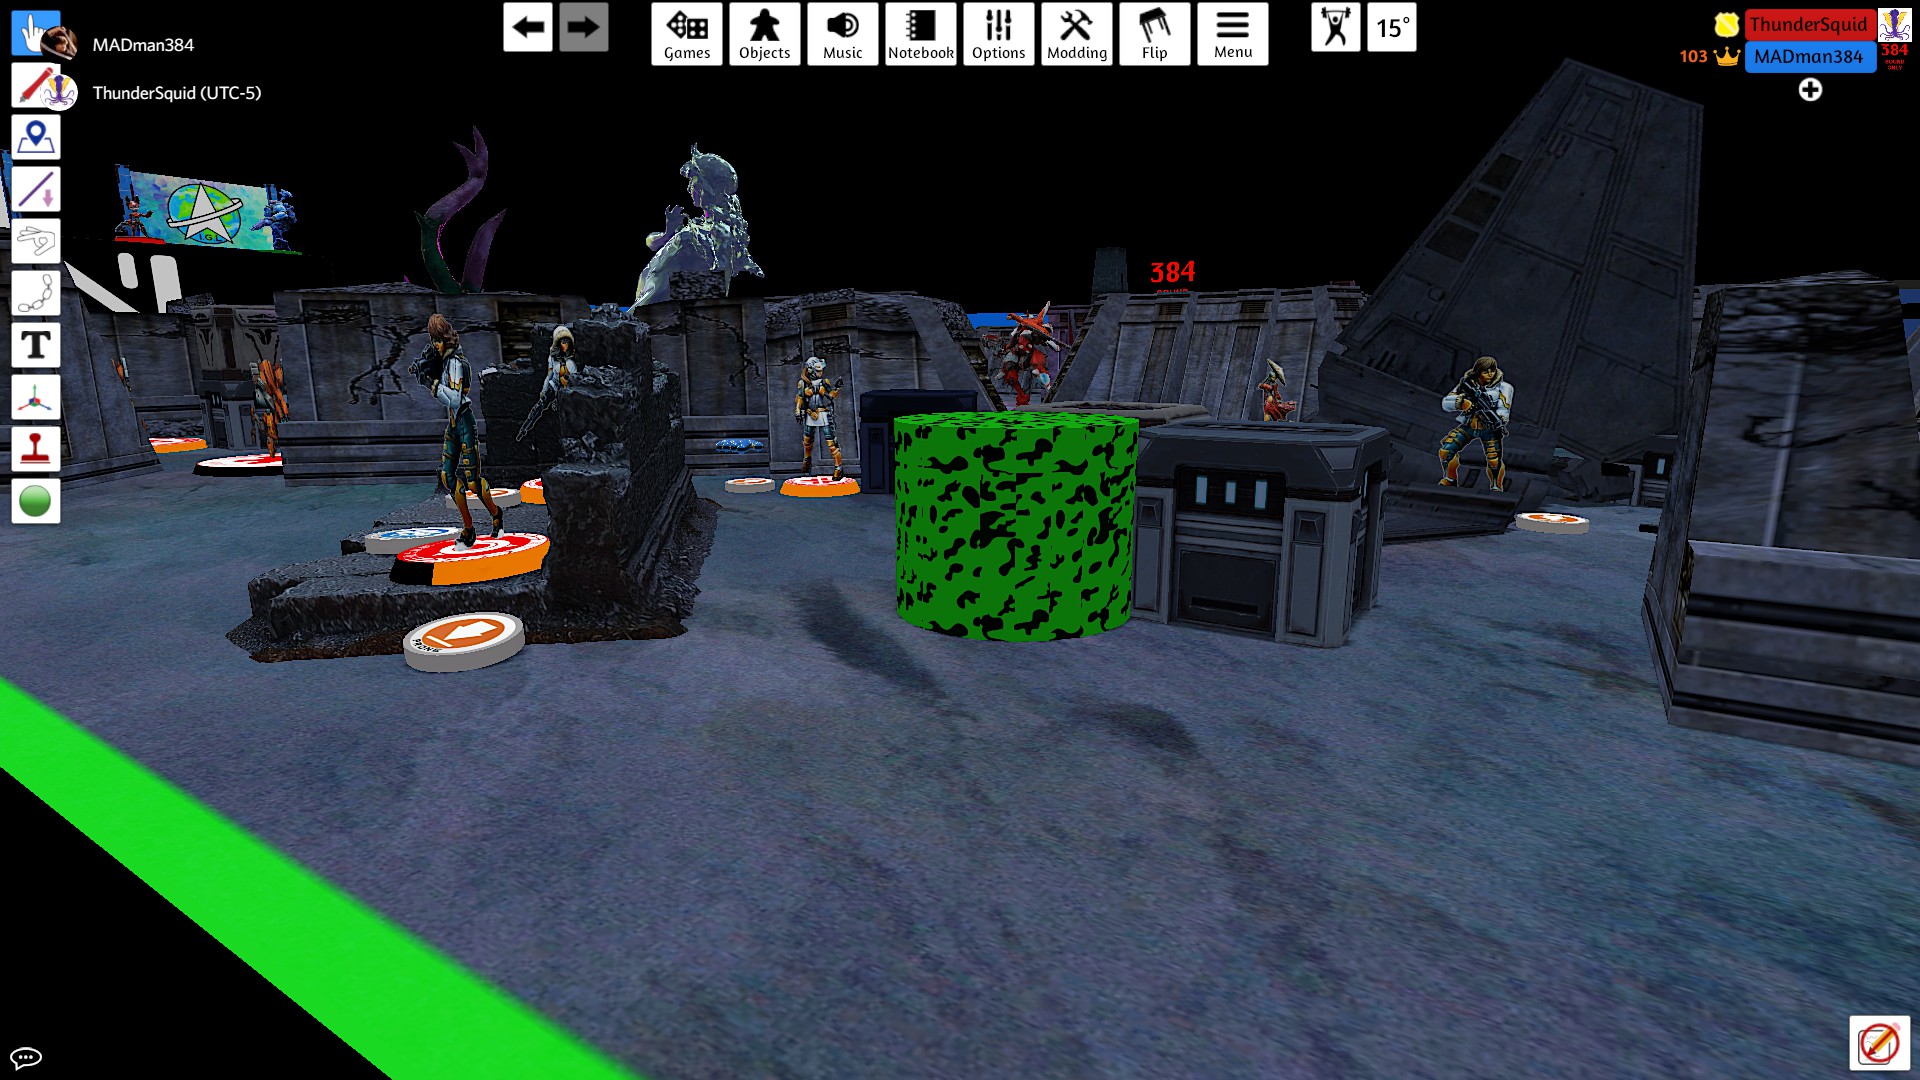
My opponent began his turn by moving Yojimbo forward and placing a smoke grenade to cover a future approach for the O-Yoroi. He spent another order setting up a crazykoala to threaten my core team.
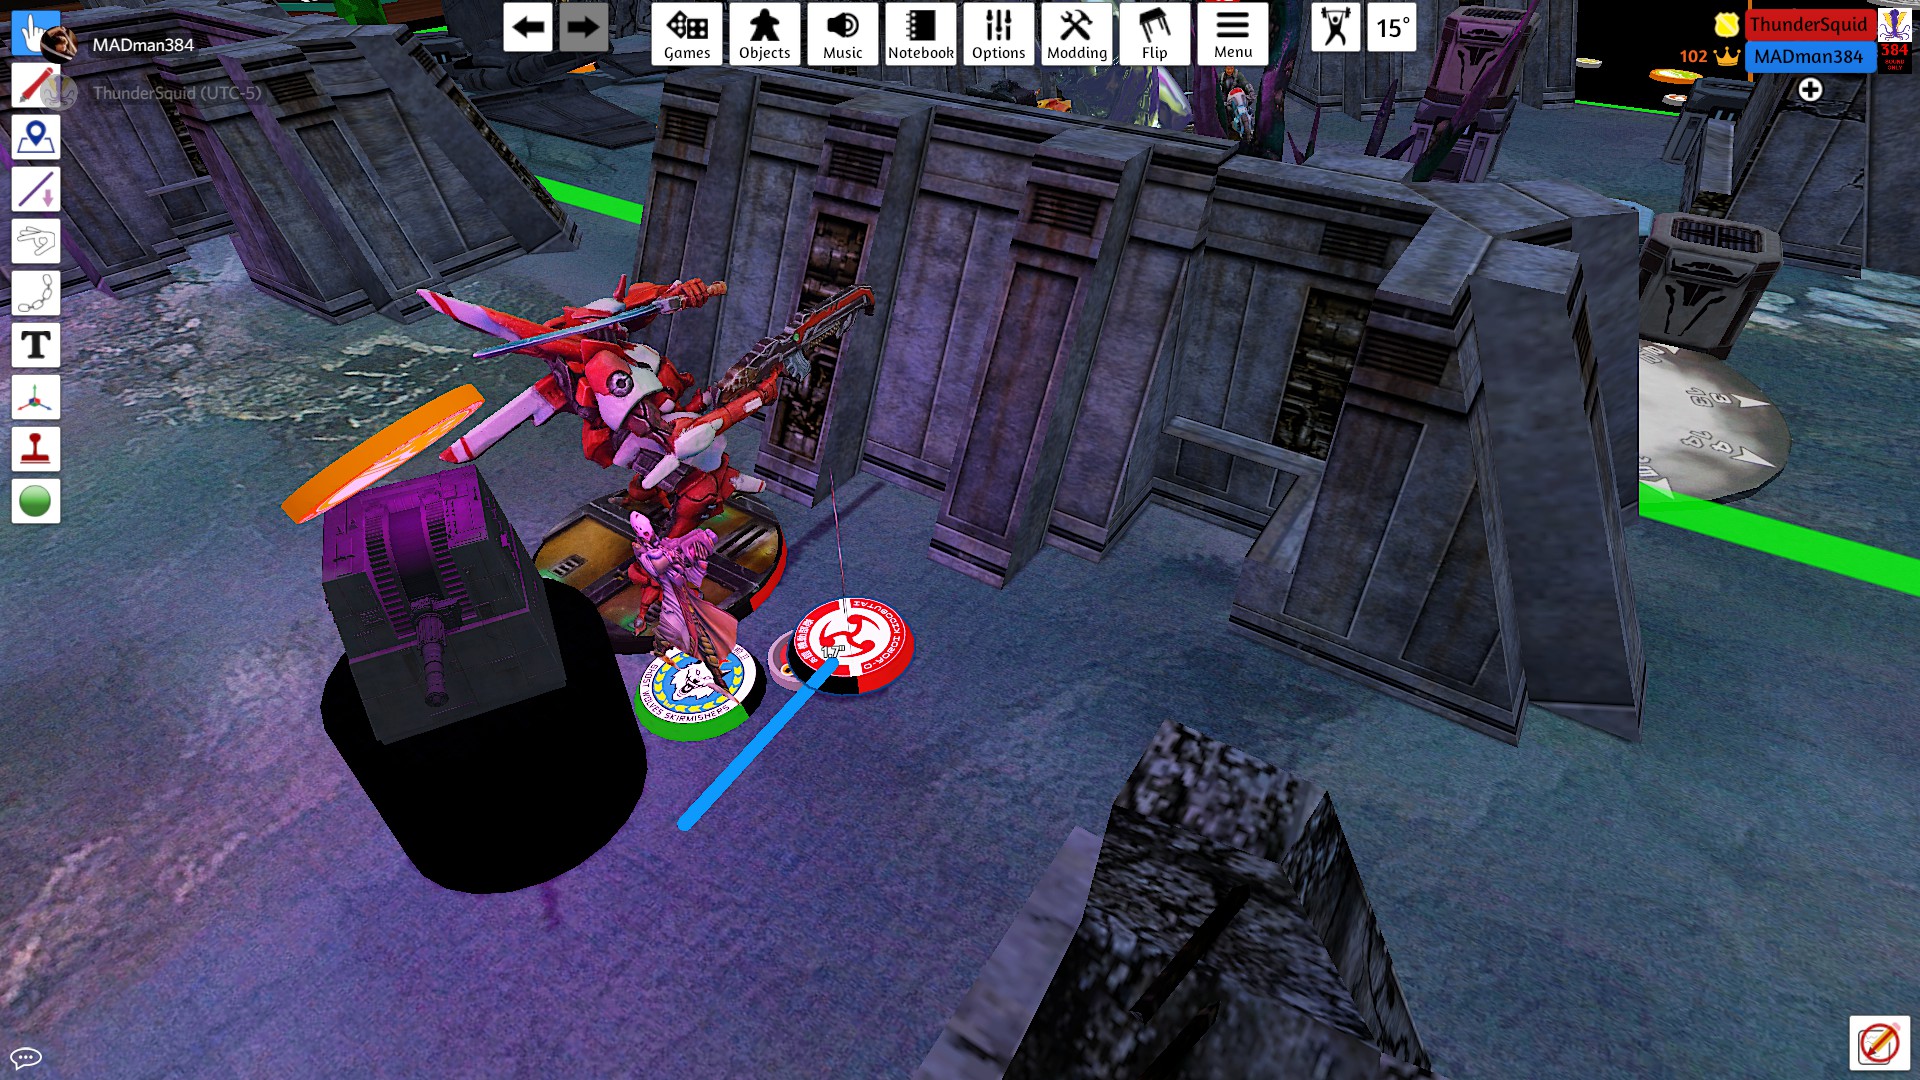
The O-Yoroi advanced to line up a shot on my sniper. The smoke grenade from Yojimbo prevented my Long Ya from contesting with a panzerfaust. I dodged with the sniper, thinking that I was in range of the koala. After measuring, the Zhanshi was just out of the trigger area. Even had I been in range, taking the shot to potentially land some damage on it probably would have been a better decision.
After taking out my sniper, the O-Yoroi continued its advance. The pilot dismounted to push the button, revealing one of my decoys. He pulled the O-Yoroi back to preserve it for future turns.

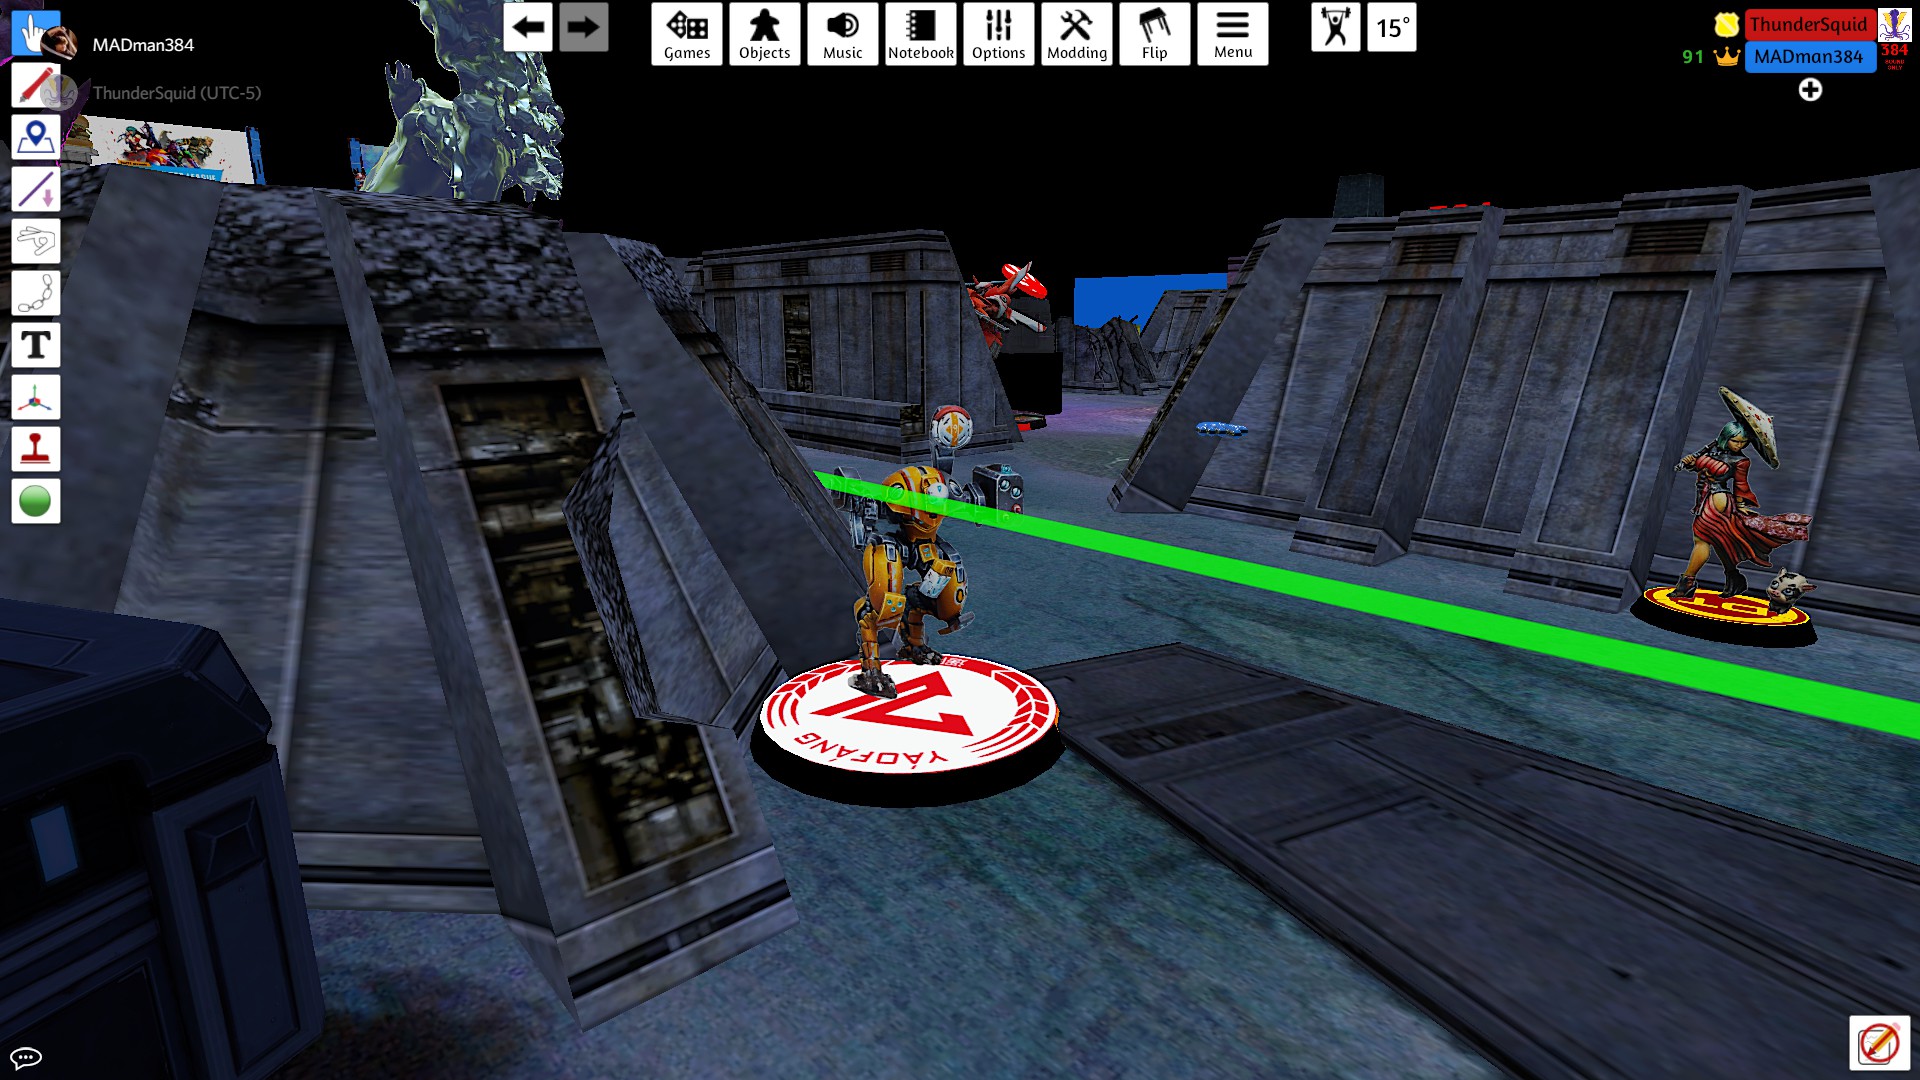
I had a Long Ya watching the two Aragoto at long range, but my opponent was able to use his killer hacker to cybermask and advance toward the objective. He revealed the target closest to the Aragoto as the real target. The last order was spent moving the Aragoto to see the target, who was able to survive two shotgun rounds while other models in my army dropped the Aragoto with unopposed shots.
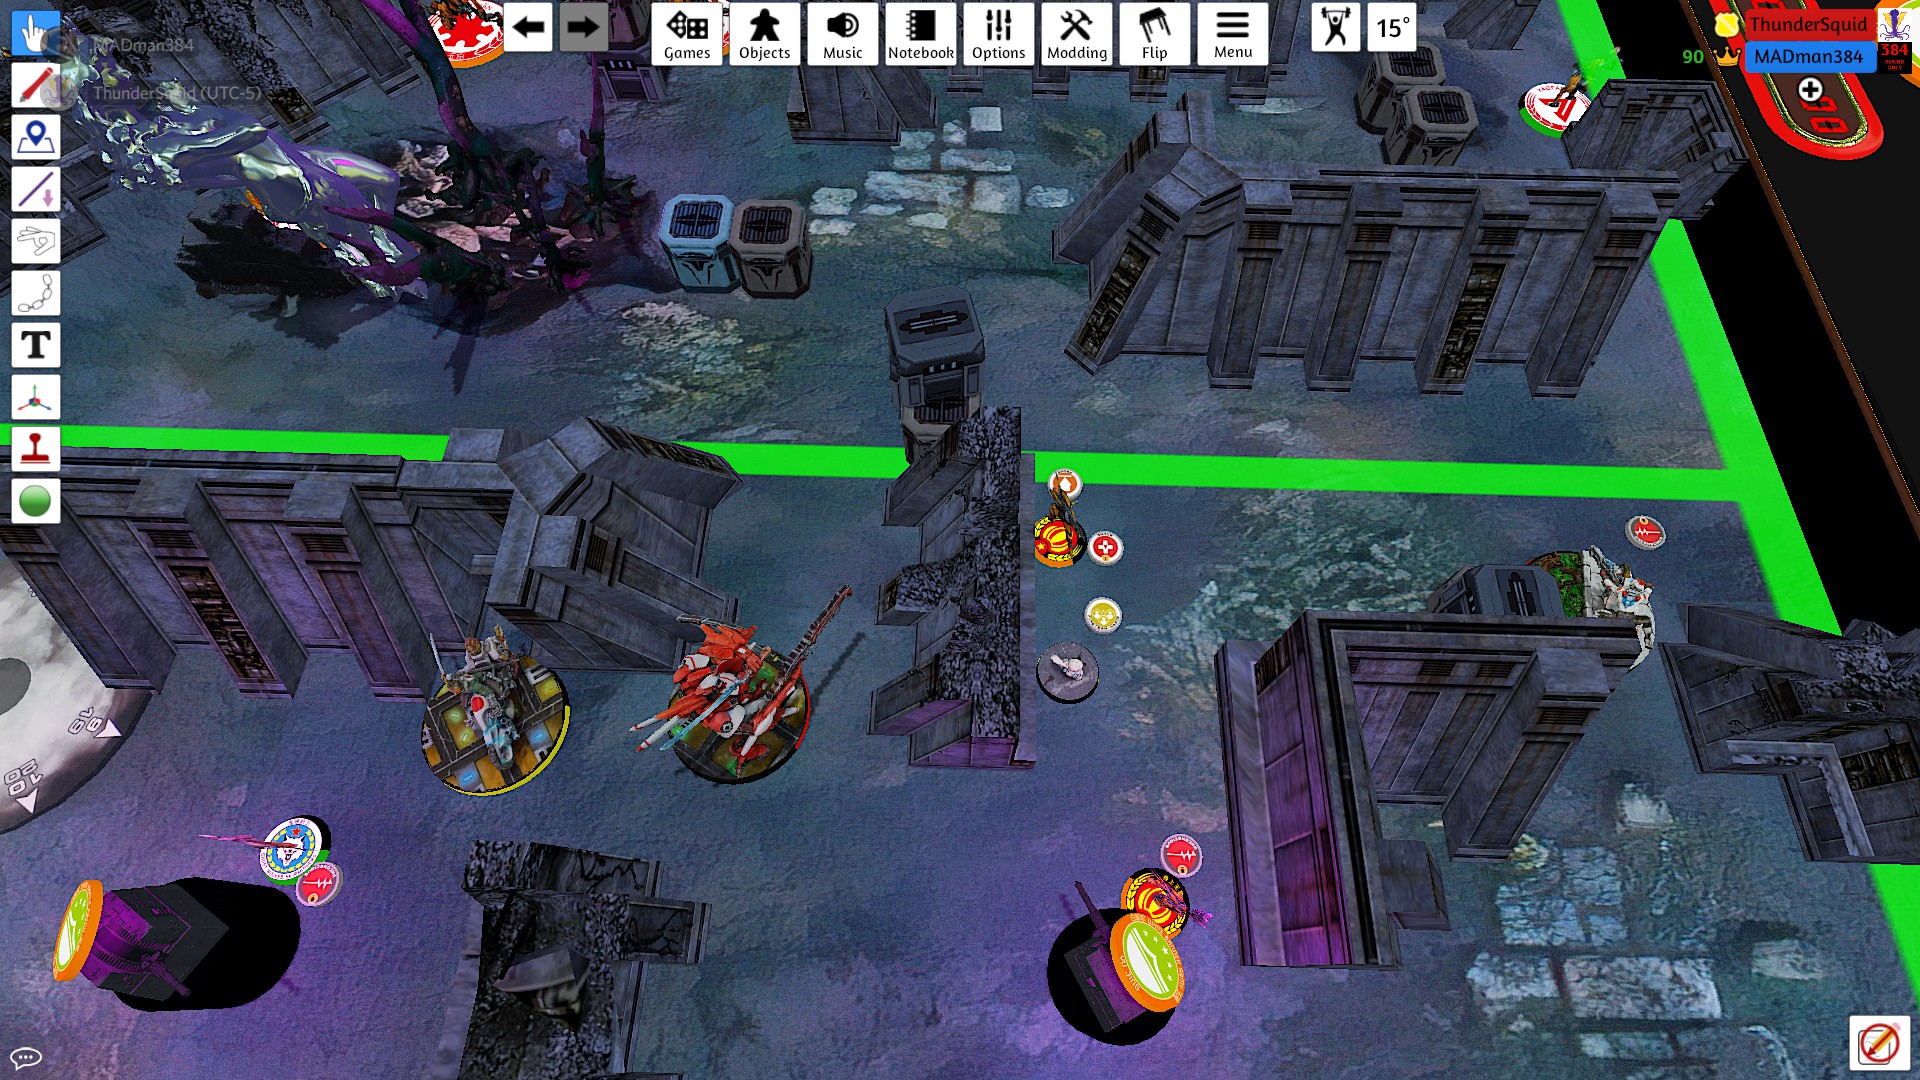
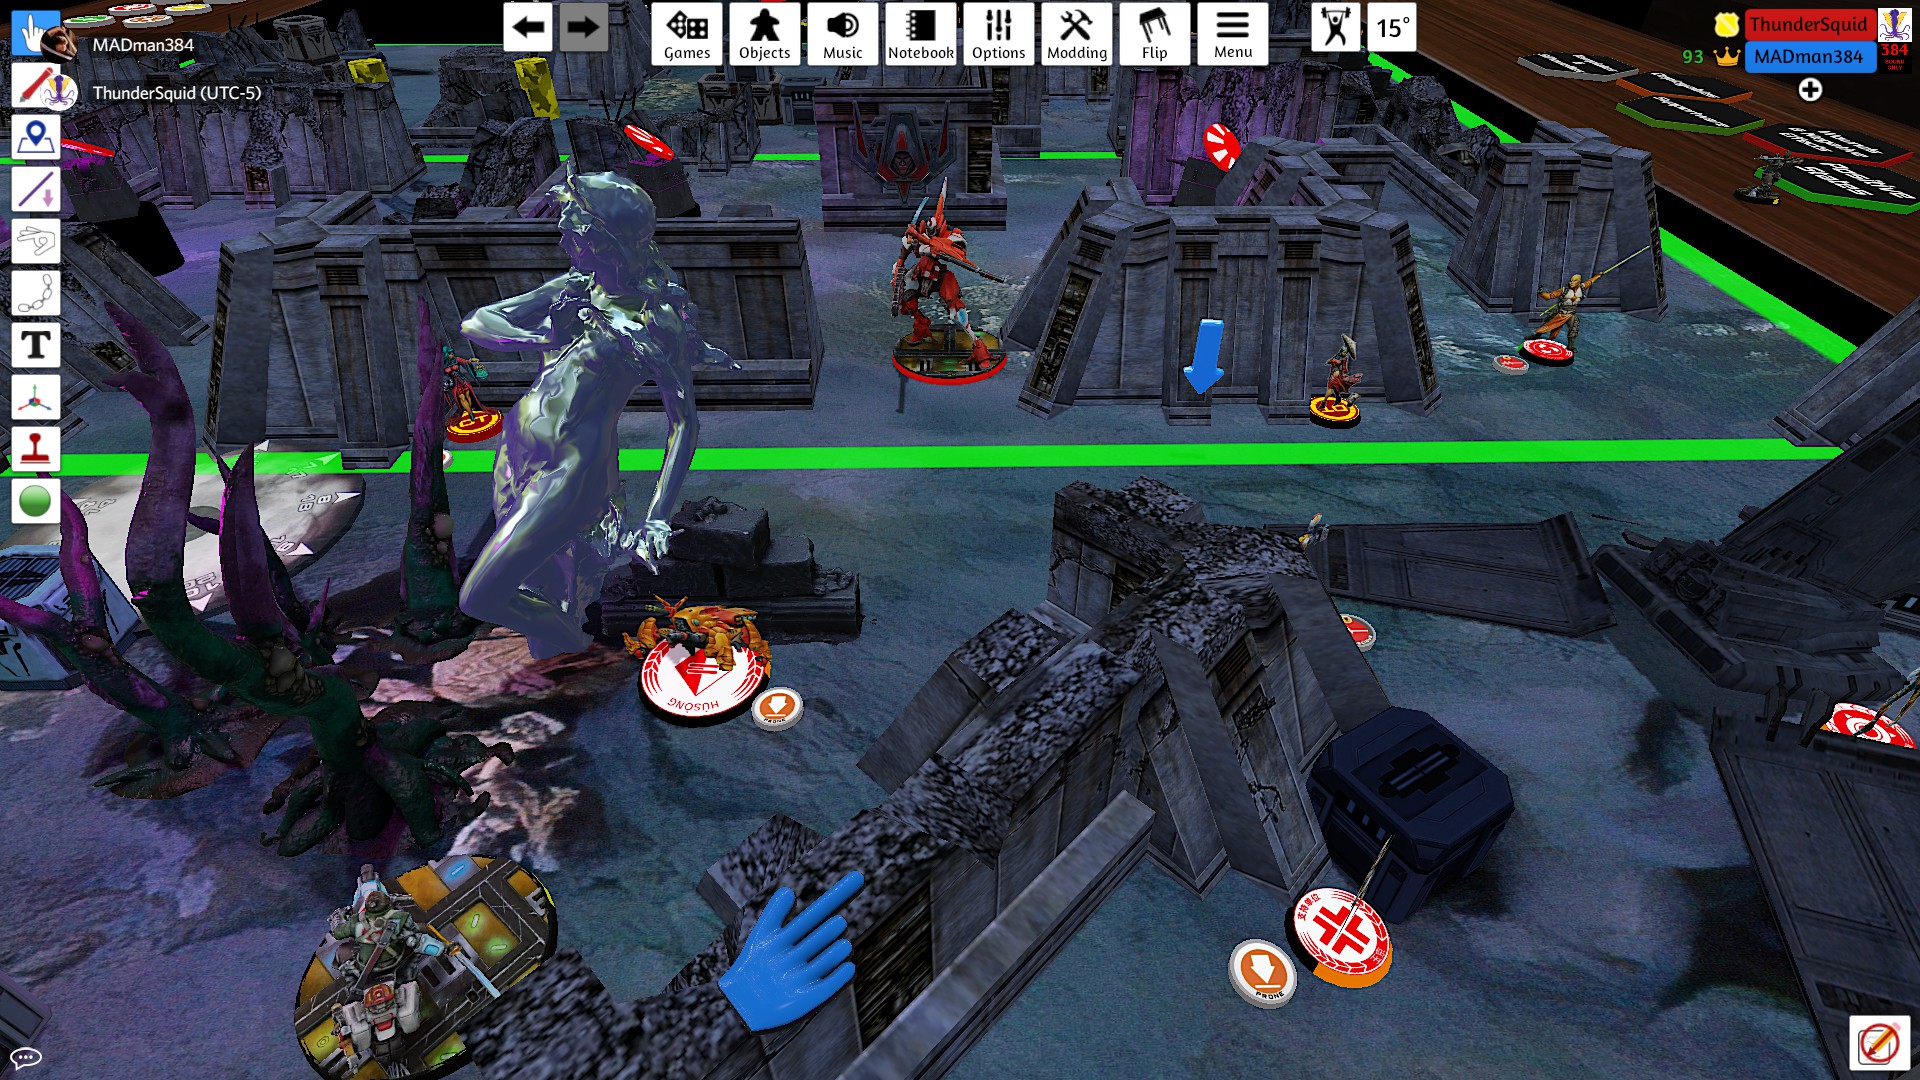
My first priority was to get rid of the koalas in my face. I spent an impetuous order on my monk in the middle to move forward past one. My opponent revealed one of his Ryuken to shoot at the monk. Rather than contest the attacks, I opted to throw a smoke grenade to cover the advance of my Shang Ji. I messed up the placement, and the smoke grenade blocked the shot I was trying to set up. The monk's final position was much closer to my Guilang than I was expecting, but after some checking we ultimately decided that it was out of the template.
My other monk was too far away from the koala to trigger it, and instead moved forward and failed to dodge closer to the mine.
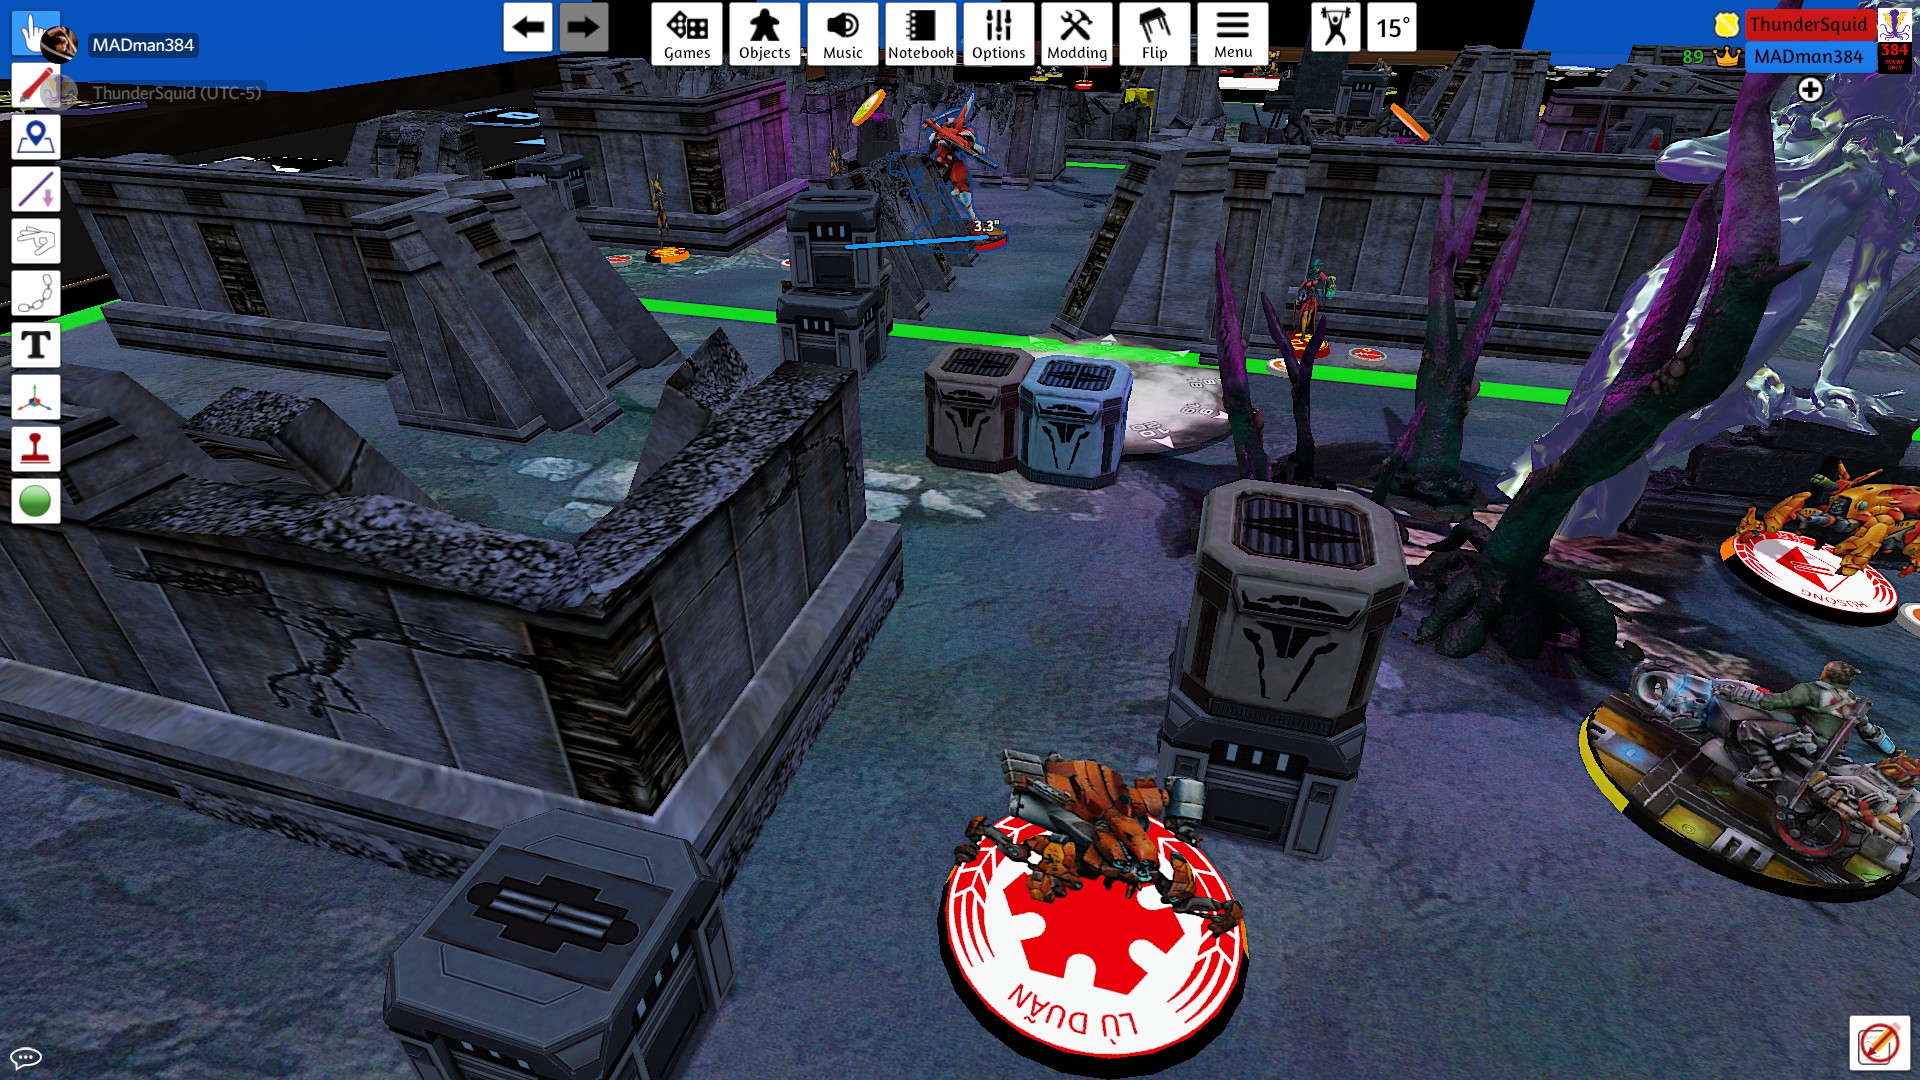
My SHang Ji spent their own orders to move forward into the smoke. My initial plan had been to shoot his Keisotsu missile from behind the crates, which would catch him at the 16-24 to stack numbers in my favor. Unfortunately, the smoke placement meant that I would have needed to take the fight from the open.
Instead, I moved the Shang Ji up to the edge of the smoke, then used cautious moves to move past his two Ryuken.
My APHMG was able to line up shots on one of his Ryuken, using the unconscious Aragoto to prevent my opponent from using templates. After three successful saves and far too many orders, the Ryuken was off the table, but my Shang Ji had taken a wound.
My Shang Ji hacker tried a gunfight with my opponent's remaining Ryuken on approach to the objective, with neither of them landing hits. In doing so, she was able to hide prone behind the objective and reveal the decoy closest to them.
With my last order, I was finally able to line up APHMG shots on my opponent's missile launcher. Rolling 5 13s against 2 10s, I was able to easily drop it.
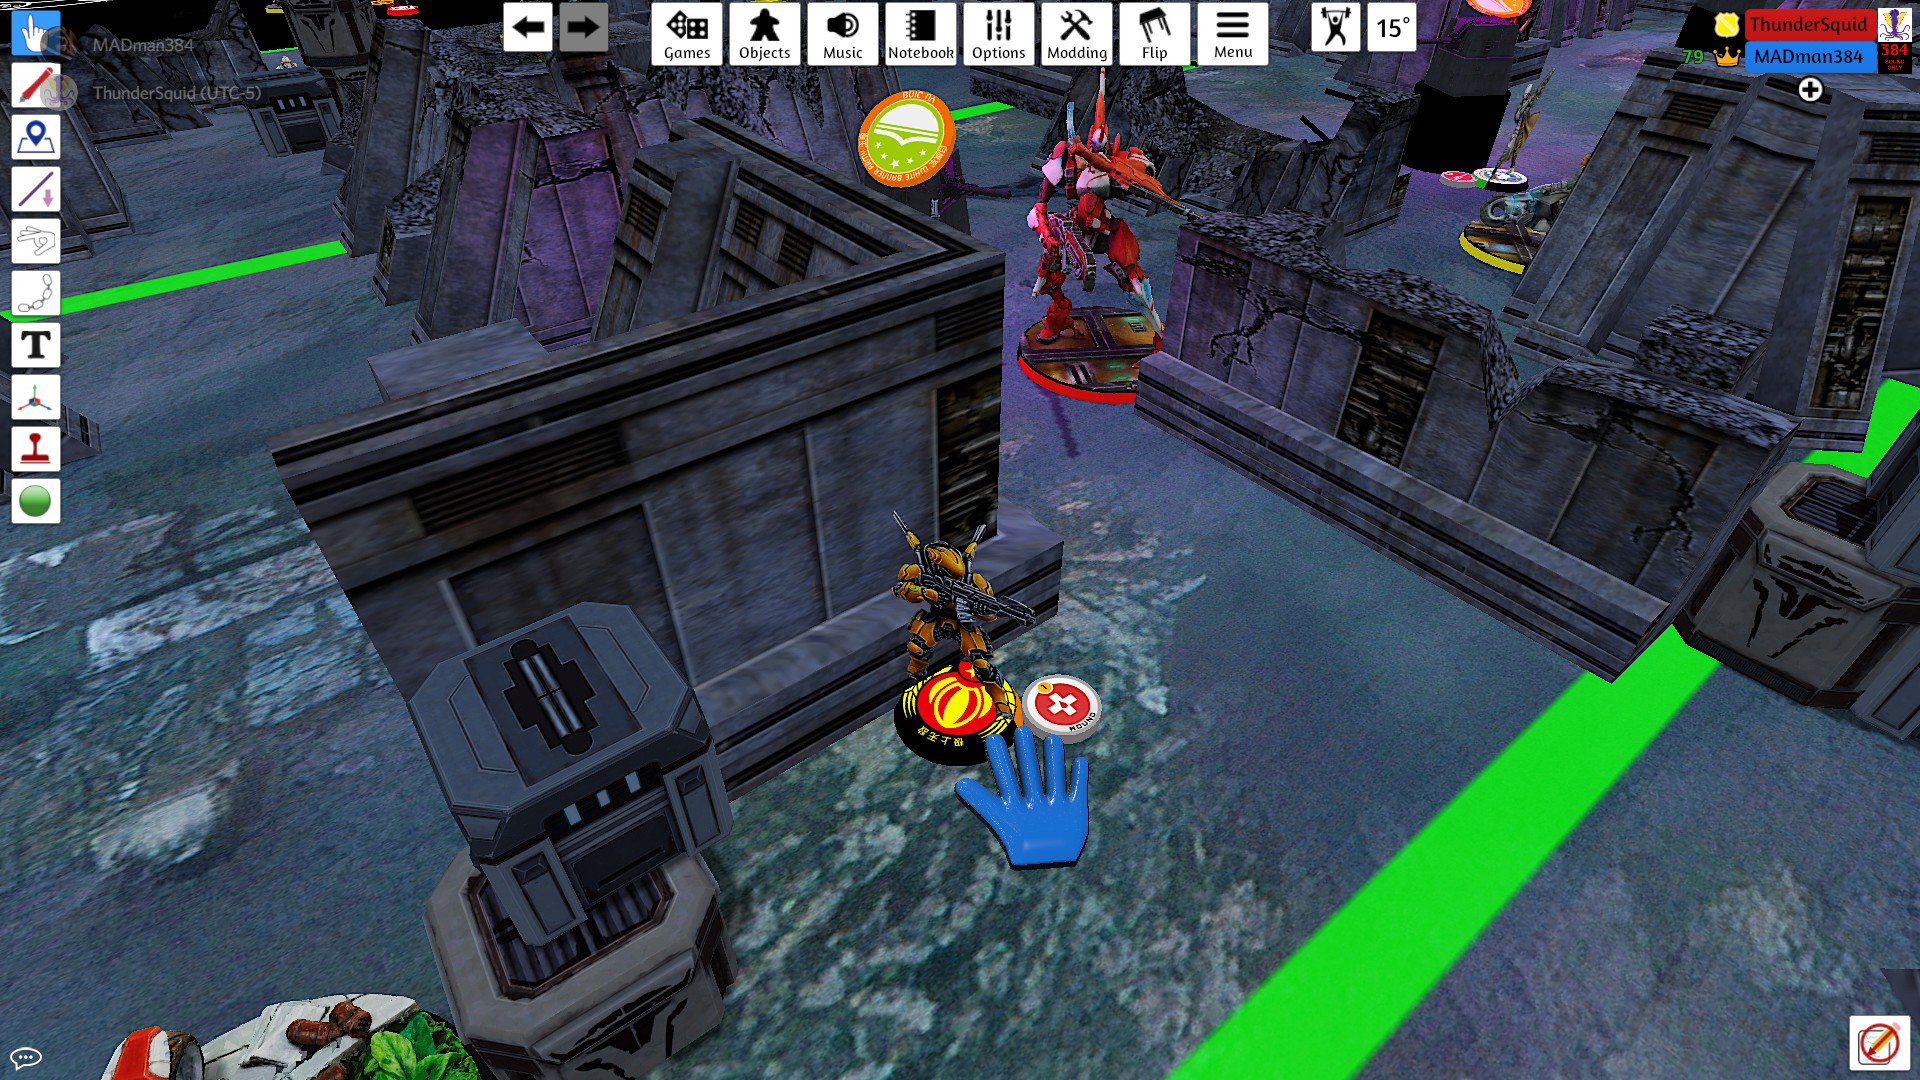
Moving over to my other combat group, I used my surviving monk's irregular order to dodge past the koala.
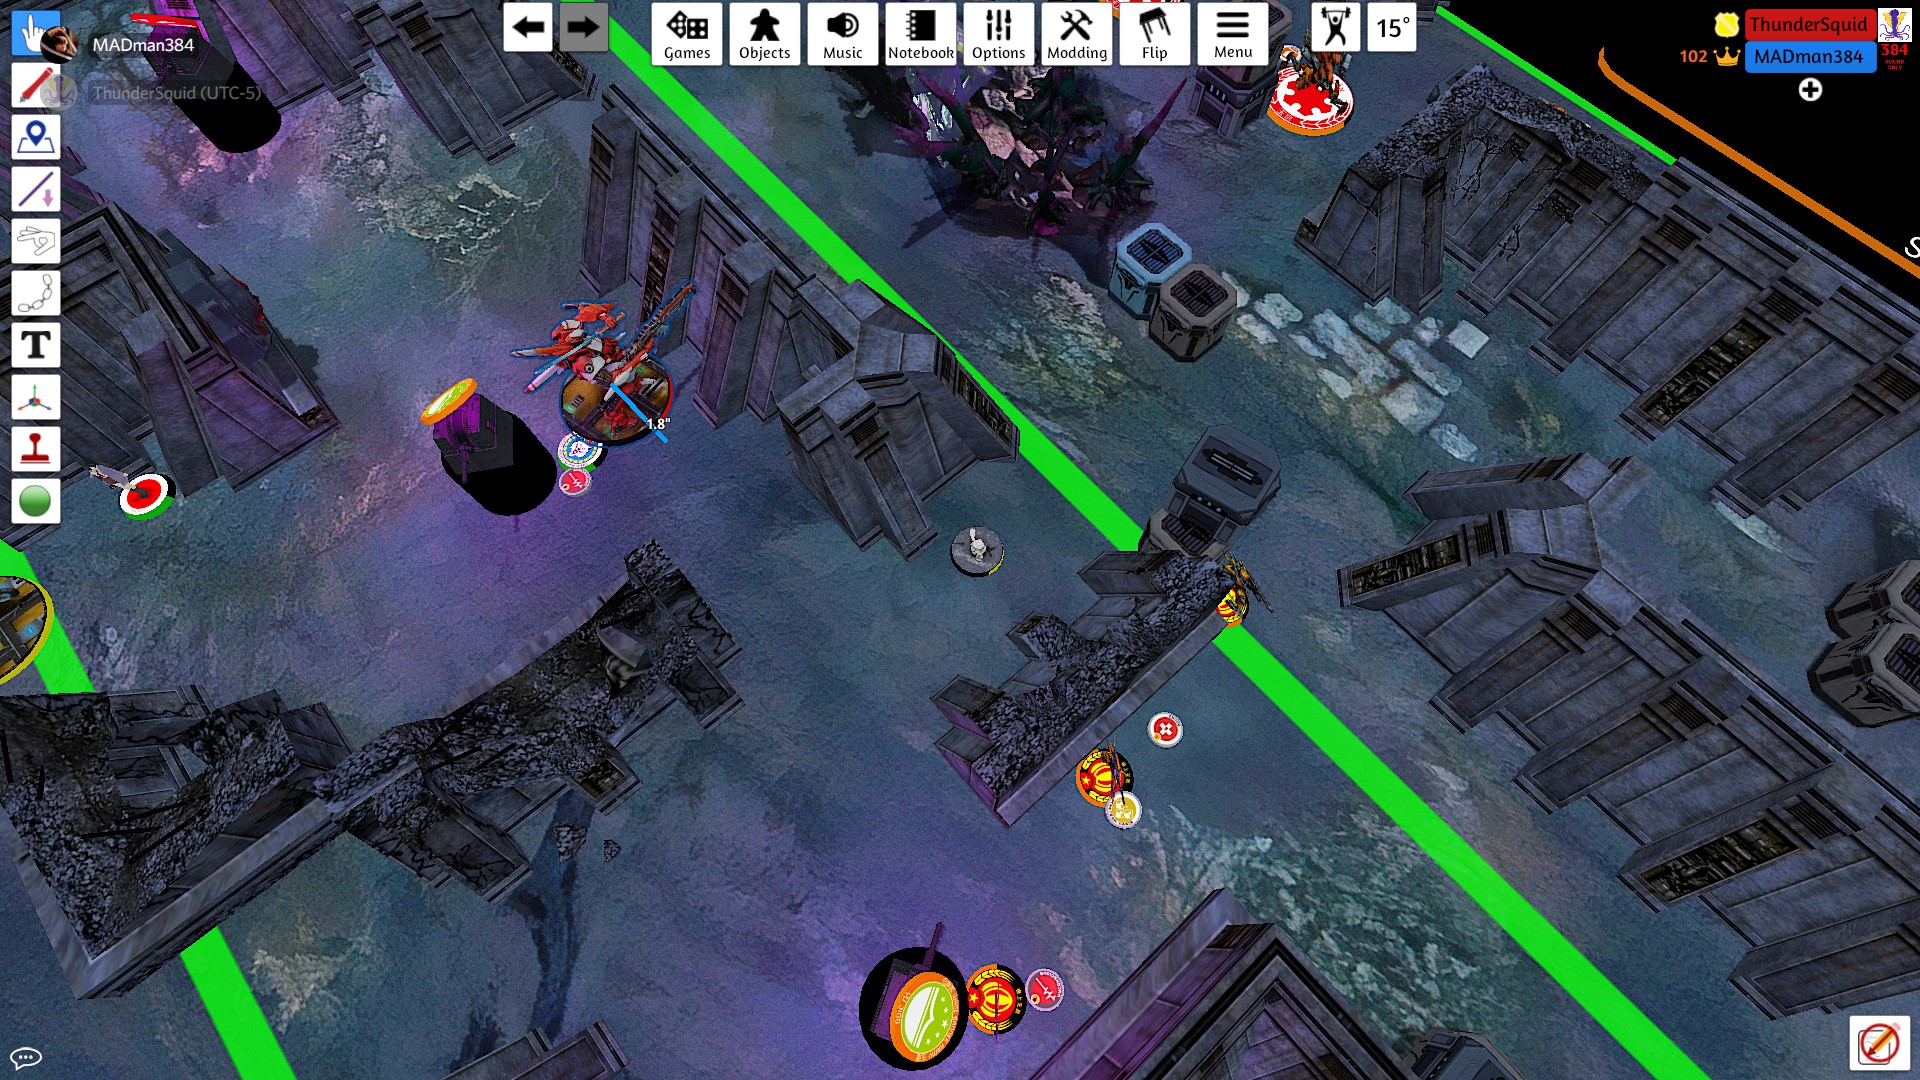
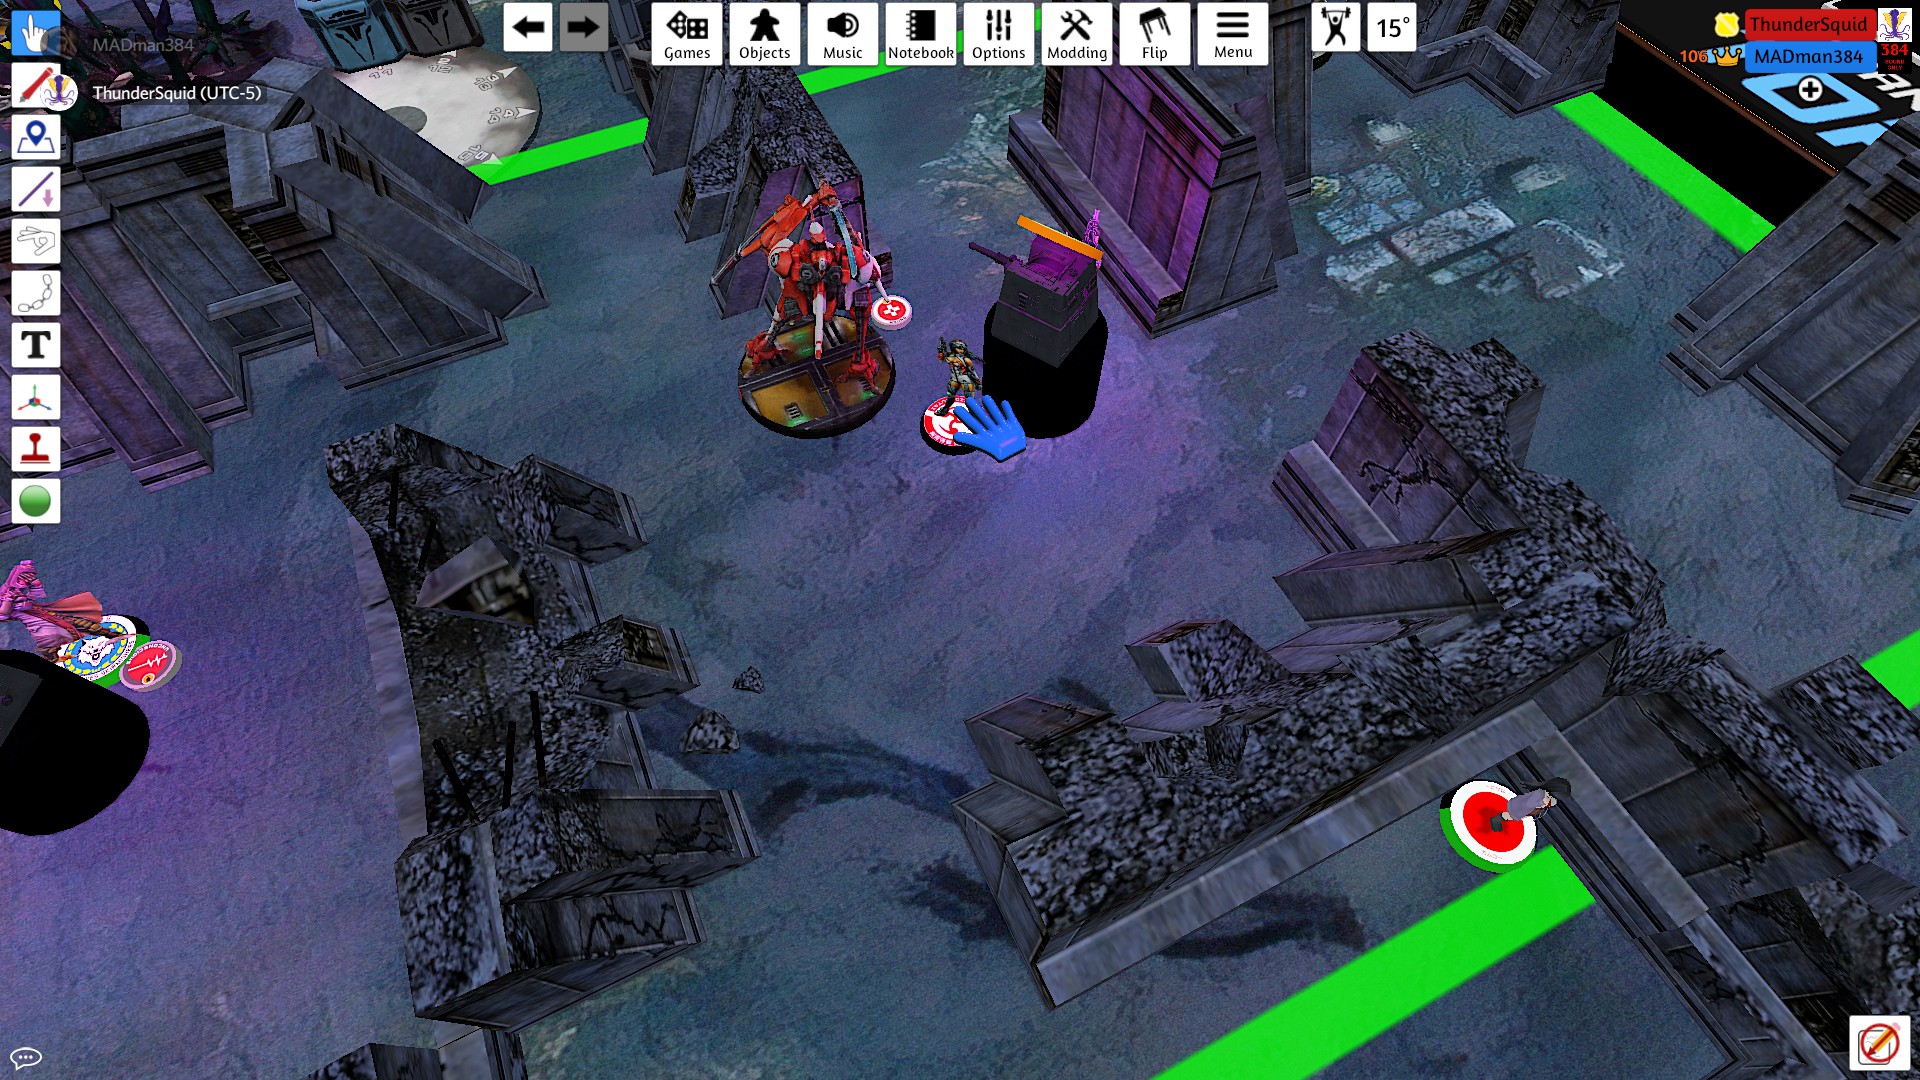
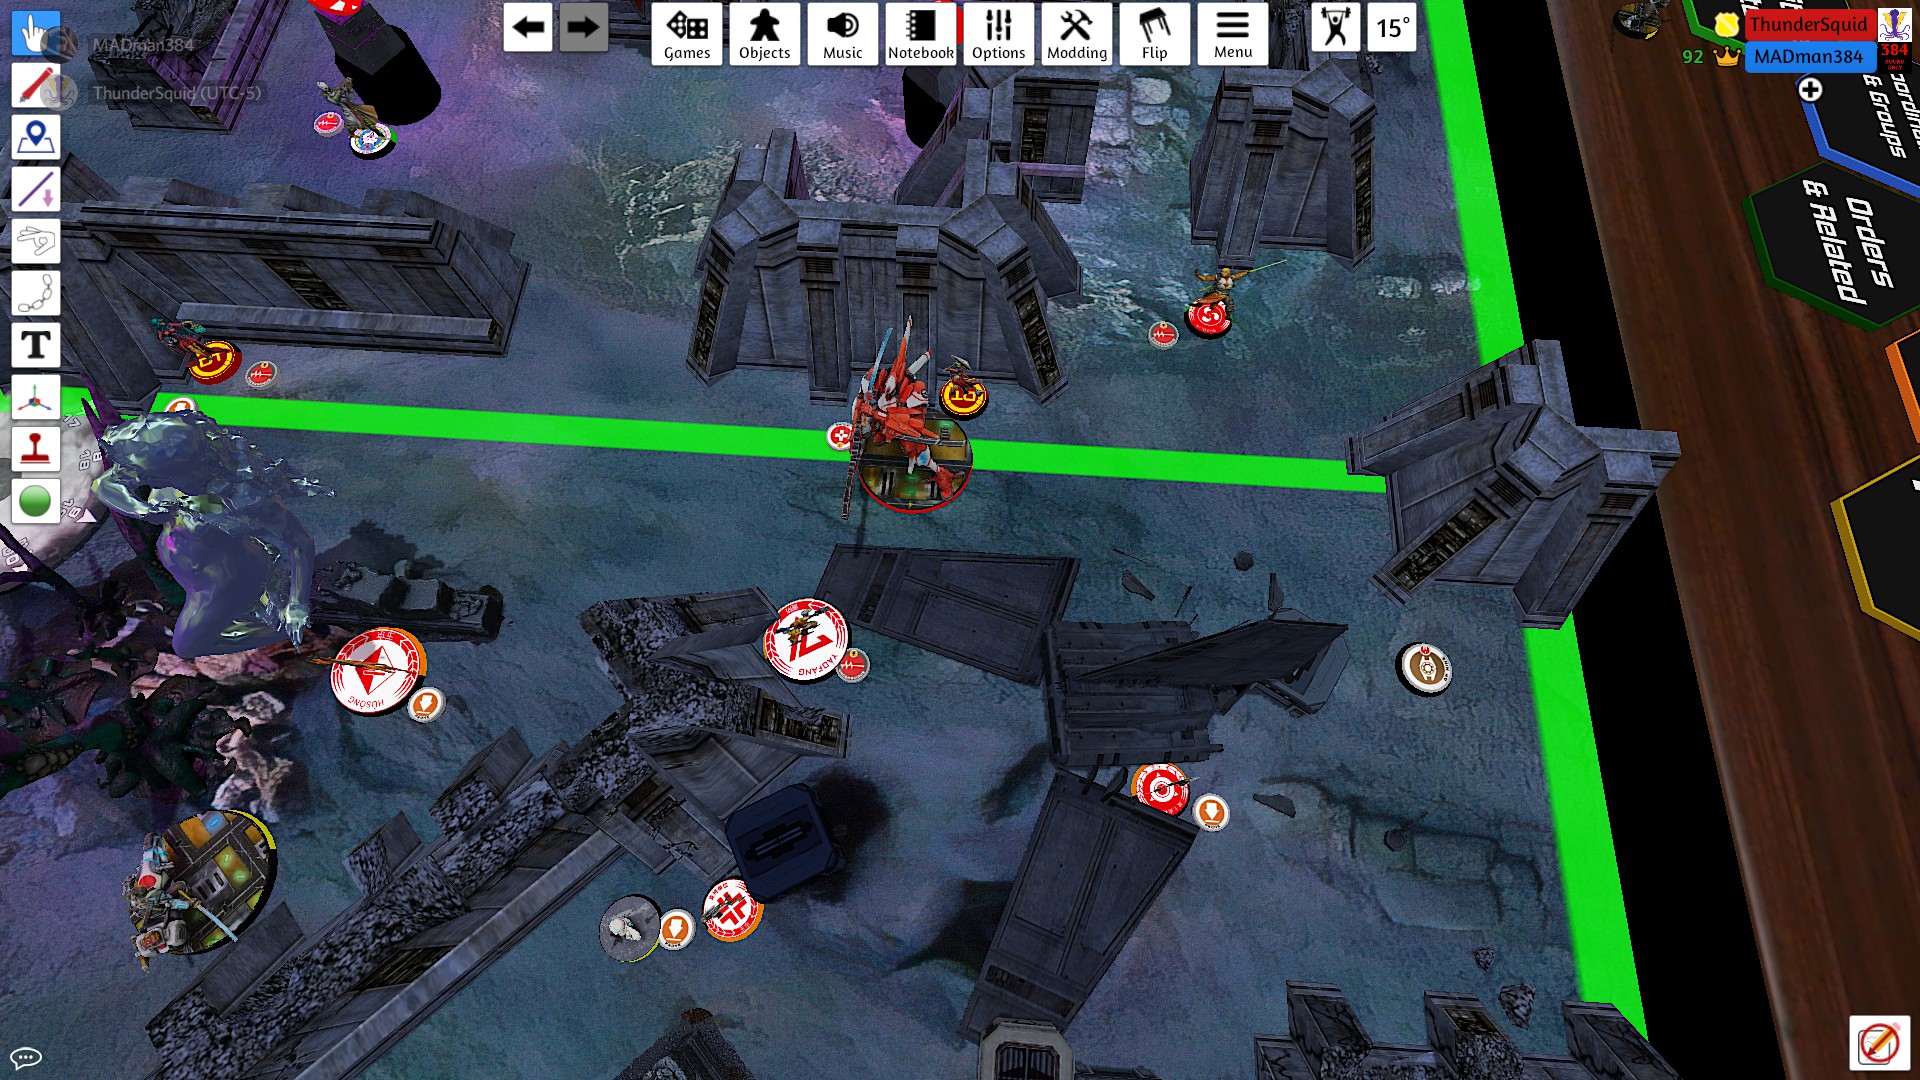
I used the remainder of the orders to push my Guilang up to the central objective. I was revealed in the process, ending touching the console but as a model. I opted to drop prone behind the objective and hit the button under fire, passing the roll and surviving the shots. Unfortunately, my opponent landed a flash pulse, and so my Guilang was left unable to shoot the target right in front of it.

I wanted to end my turn by going back into camouflage with my Guilang, but was prevented from doing so by my opponent's mine. Instead, I repositioned the Long Ya on my right to my sniper's original position.
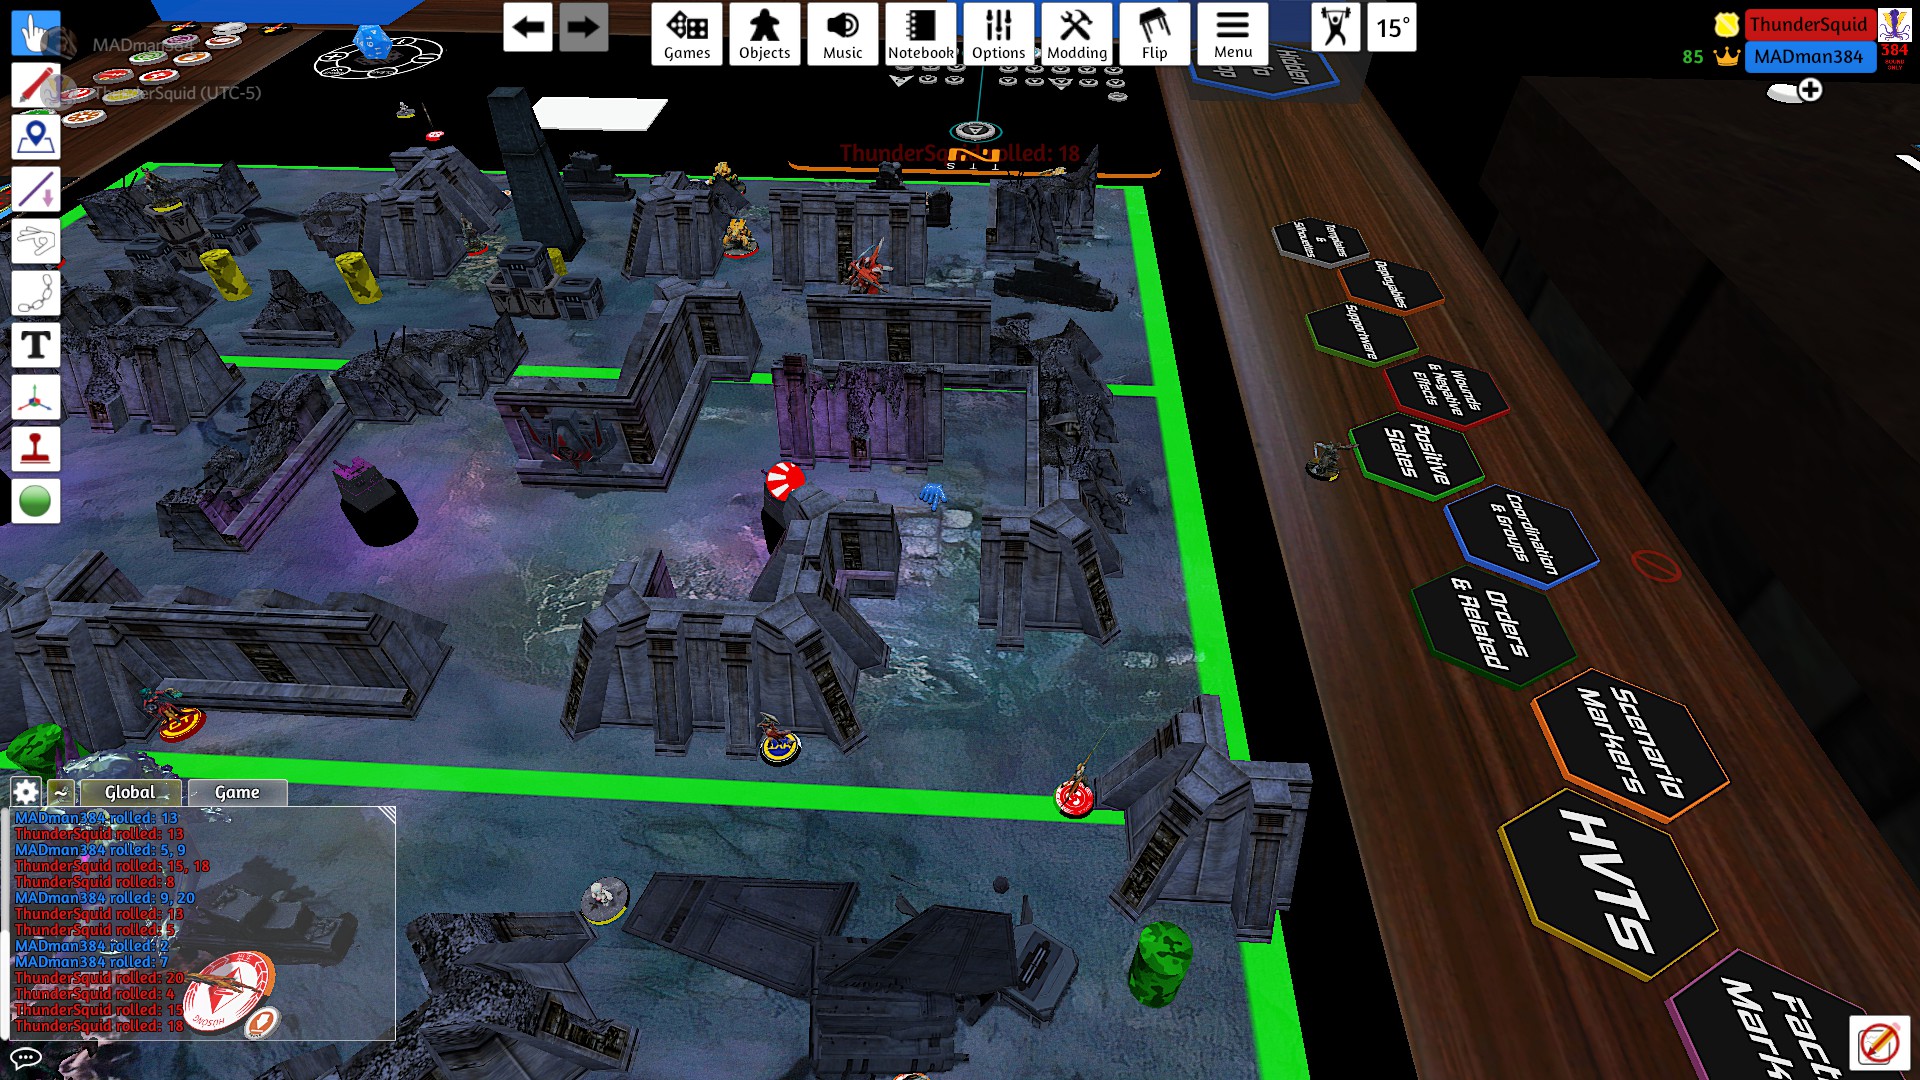
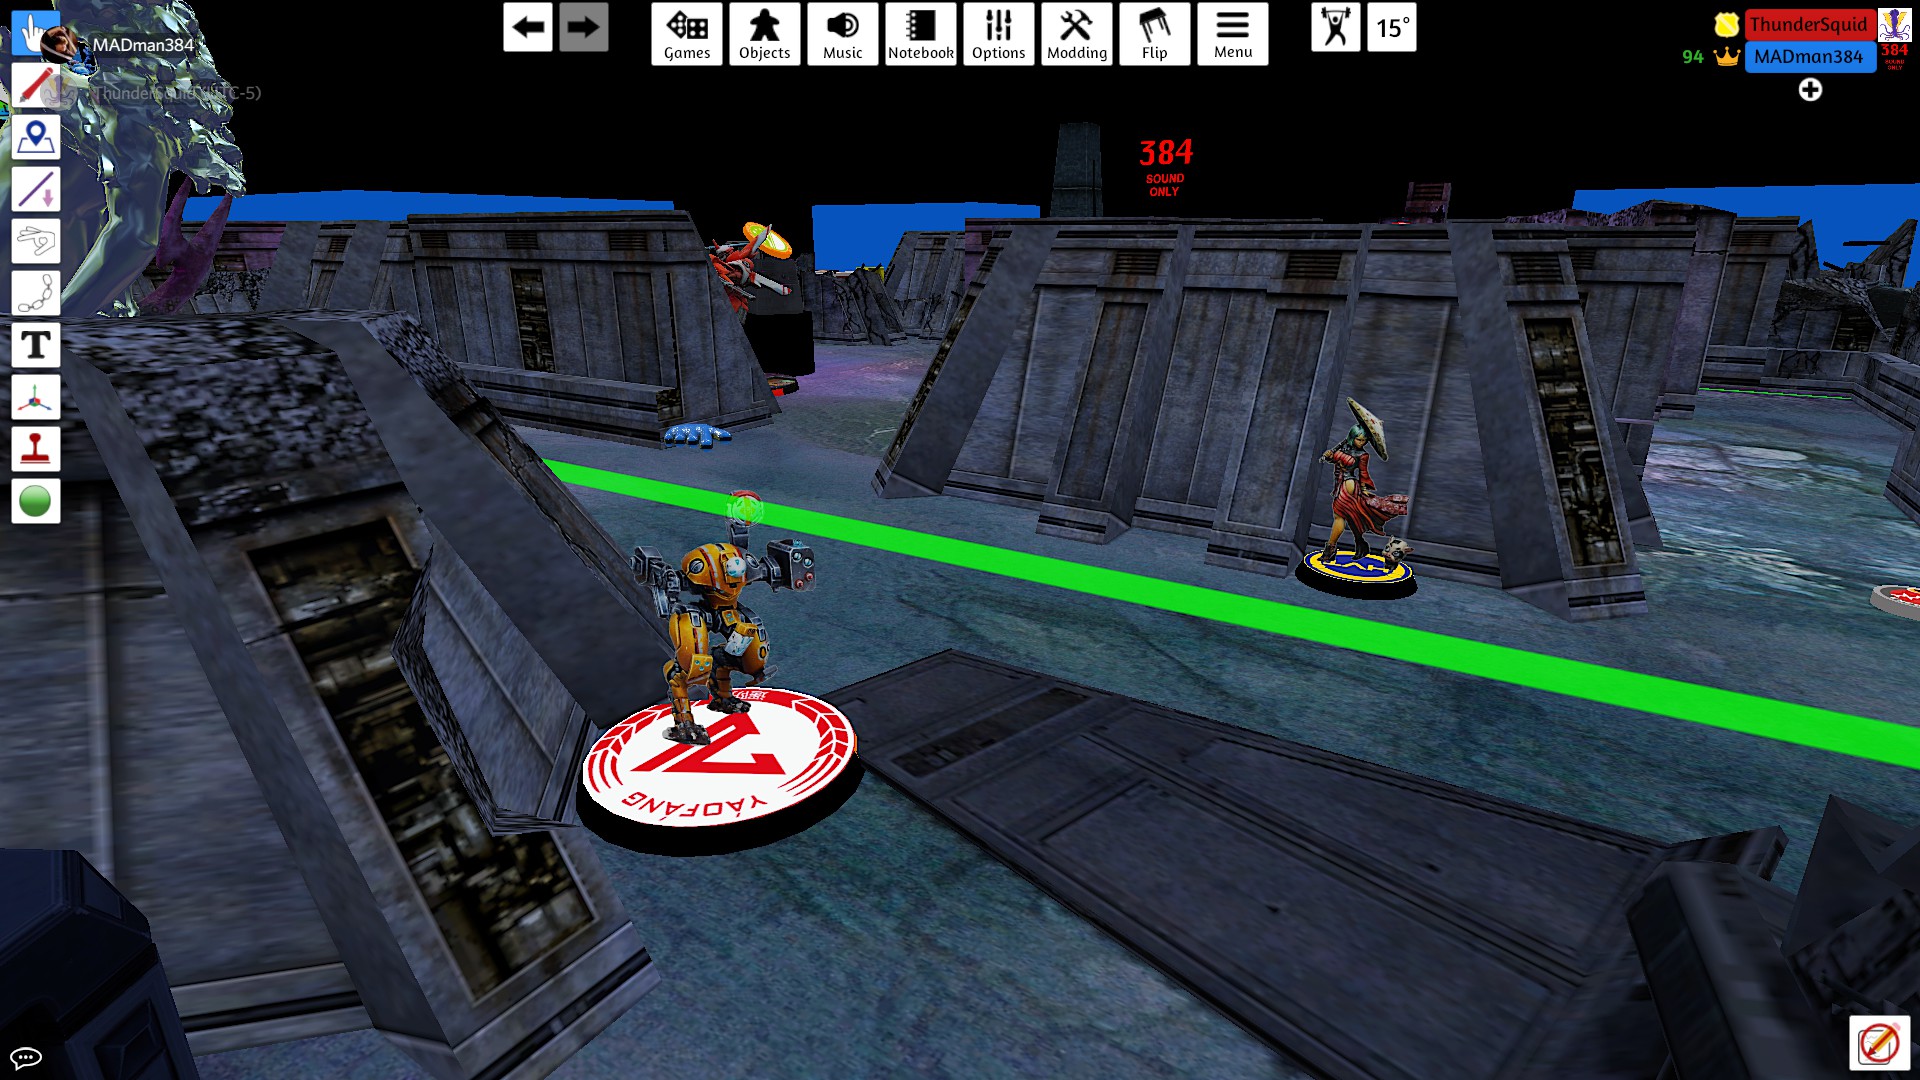
My opponent moved his O-Yoroi forward, this time lining up a shot on my monk through a gap in one of the walls.
The O-Yoroi continued its advance to drop a template on my Guilang. I hit with a flash pulse, but the O-Yoroi passed both saves.
Another move took the O-Yoroi into view of my Shang Ji hacker. At bad range, I opted to dodge. Looking afterwards, shooting with DA would have been the better decision.
The O-Yoroi set up a koala to threaten my Shang Ji, then moved to kill my HRL. Between the shots from it and the koala, it never had much of a chance.
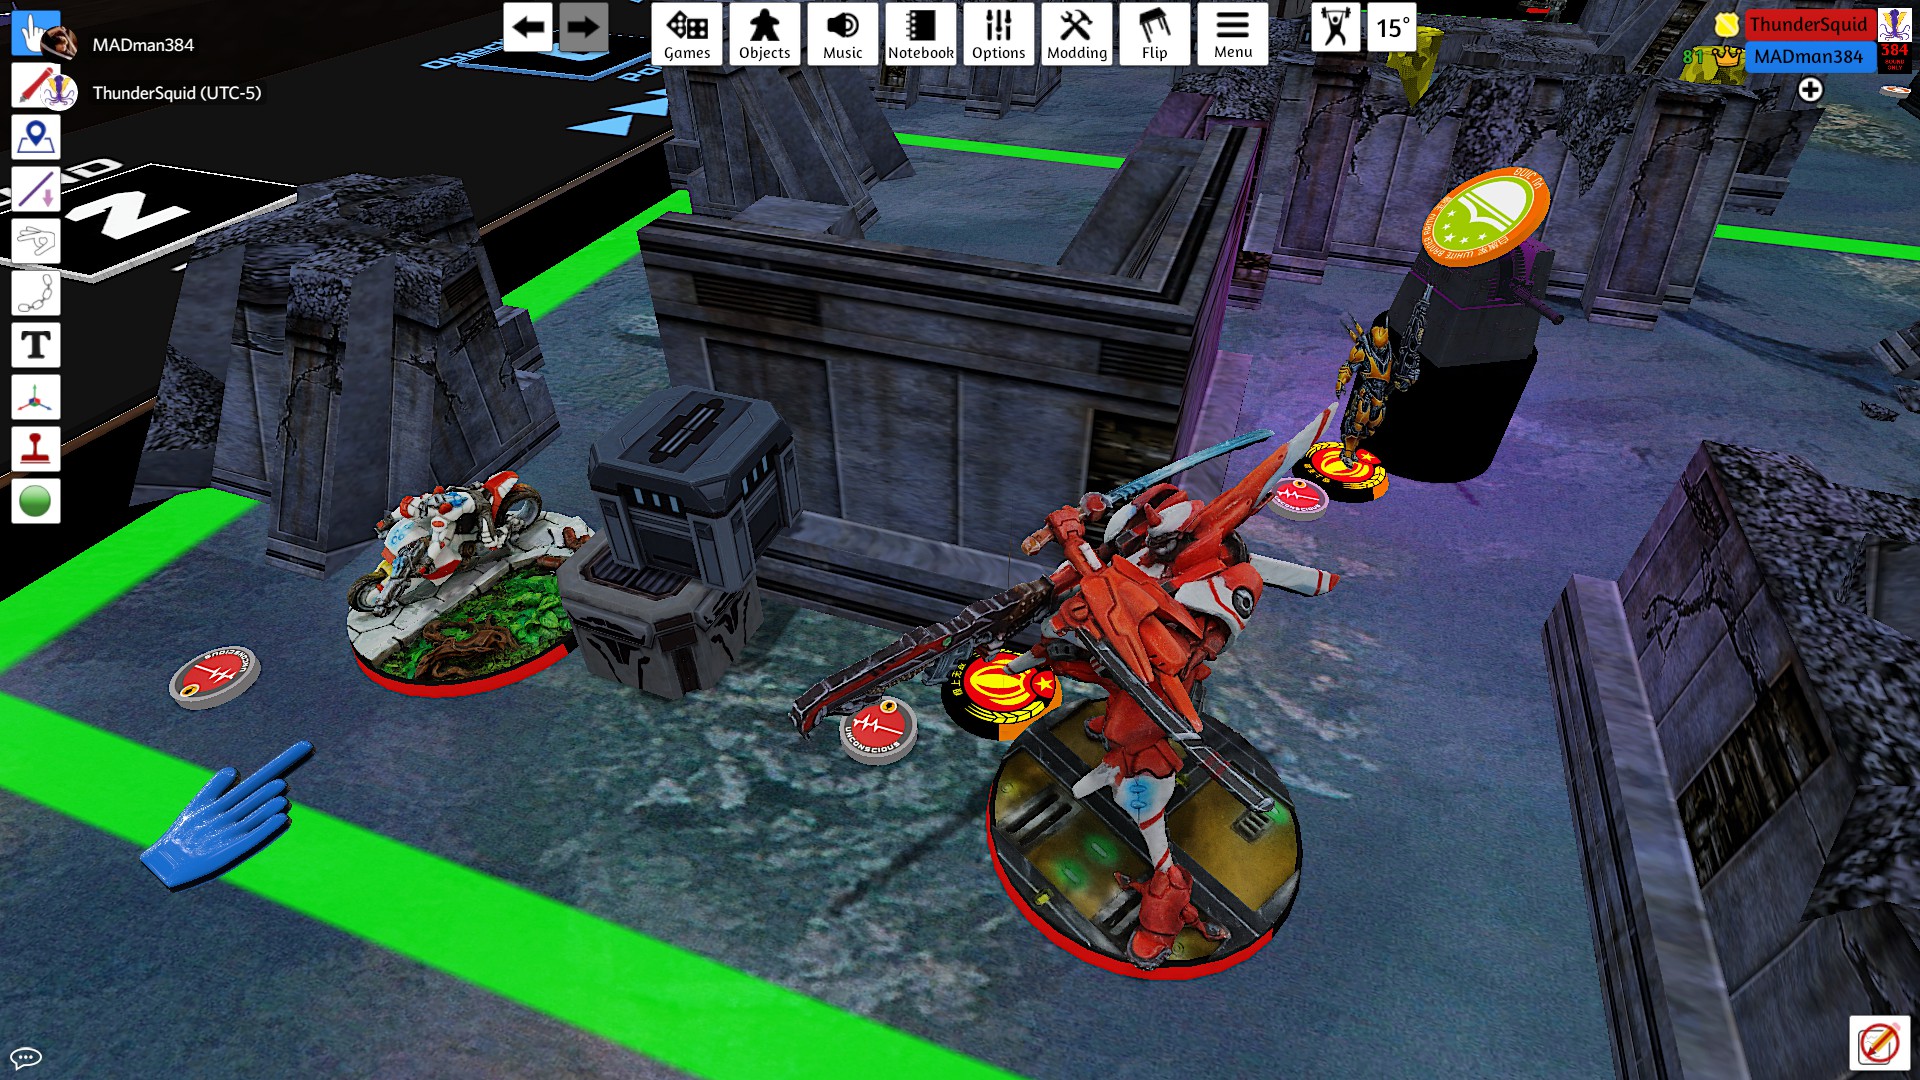
My opponent decided at this stage to refill Yojimbo's koalas and bring him back forward to support the O-Yoroi. In doing so, he crossed a line watched by the Long Ya. Yojimbo won the face to face with a smoke grenade, but I was able to catch one of his decoys under the template.
Yojimbo continued moving up and set up a koala to threaten my remaining Shang Ji. The O-Yoroi then moved up to see him, but with 4 shots at bad range, I was able to dodge away. THe O-Yoroi continued chasing, eventually catching the Shang Ji in close combat.
The last thing my opponent attempted on his turn was to shoot my decoy with his O-Yoroi. By pure luck, I was able to dodge prone.
I was in a very bad spot at this stage, but my opponent had left his O-Yoroi exposed. The Long Ya along my left table edge had a chance to catch it in the back with a double panzerfaust shot. My opponent's last turn had been to go into suppressive fire with his Aragoto/Lu Duan, then create a holoecho looking at my Long Ya. I had it outranged, so the Lu Duan had to take a normal shot against my flammenspeers. I landed a hit, but he passed the save.
With my initial plan unsuccessful, I moved to the other Long Ya to take a surprise double panzerfaust at the O-Yoroi. I won the gunfight, but the O-Yoroi passed all of its saves.
I returned to the initial Long Ya and unloaded the panzerfausts into his Lu Duan, landing both hits.
Freed up to move but out of disposable weapons, my Long Ya advanced toward his O-Yoroi and set up a mine. I misjudged the distance, and my opponent was outside the trigger area. I returned to a camo state and moved into the O-Yoroi's back. My opponent dodged with the O-Yoroi, so I took the shots on him, doing a point of damage with my SMG despite the bad range.
With my last order, I look a surprise shot with my Lu Duan against the O-Yoroi. Even in the open, he was able to pass his saves and shake off the damage.
Overall, I think I was too focused on the O-Yoroi this turn. When the initial play of double panzerfaust failed. I should have gone to the other side of the table and tried to make something else entirely happen.
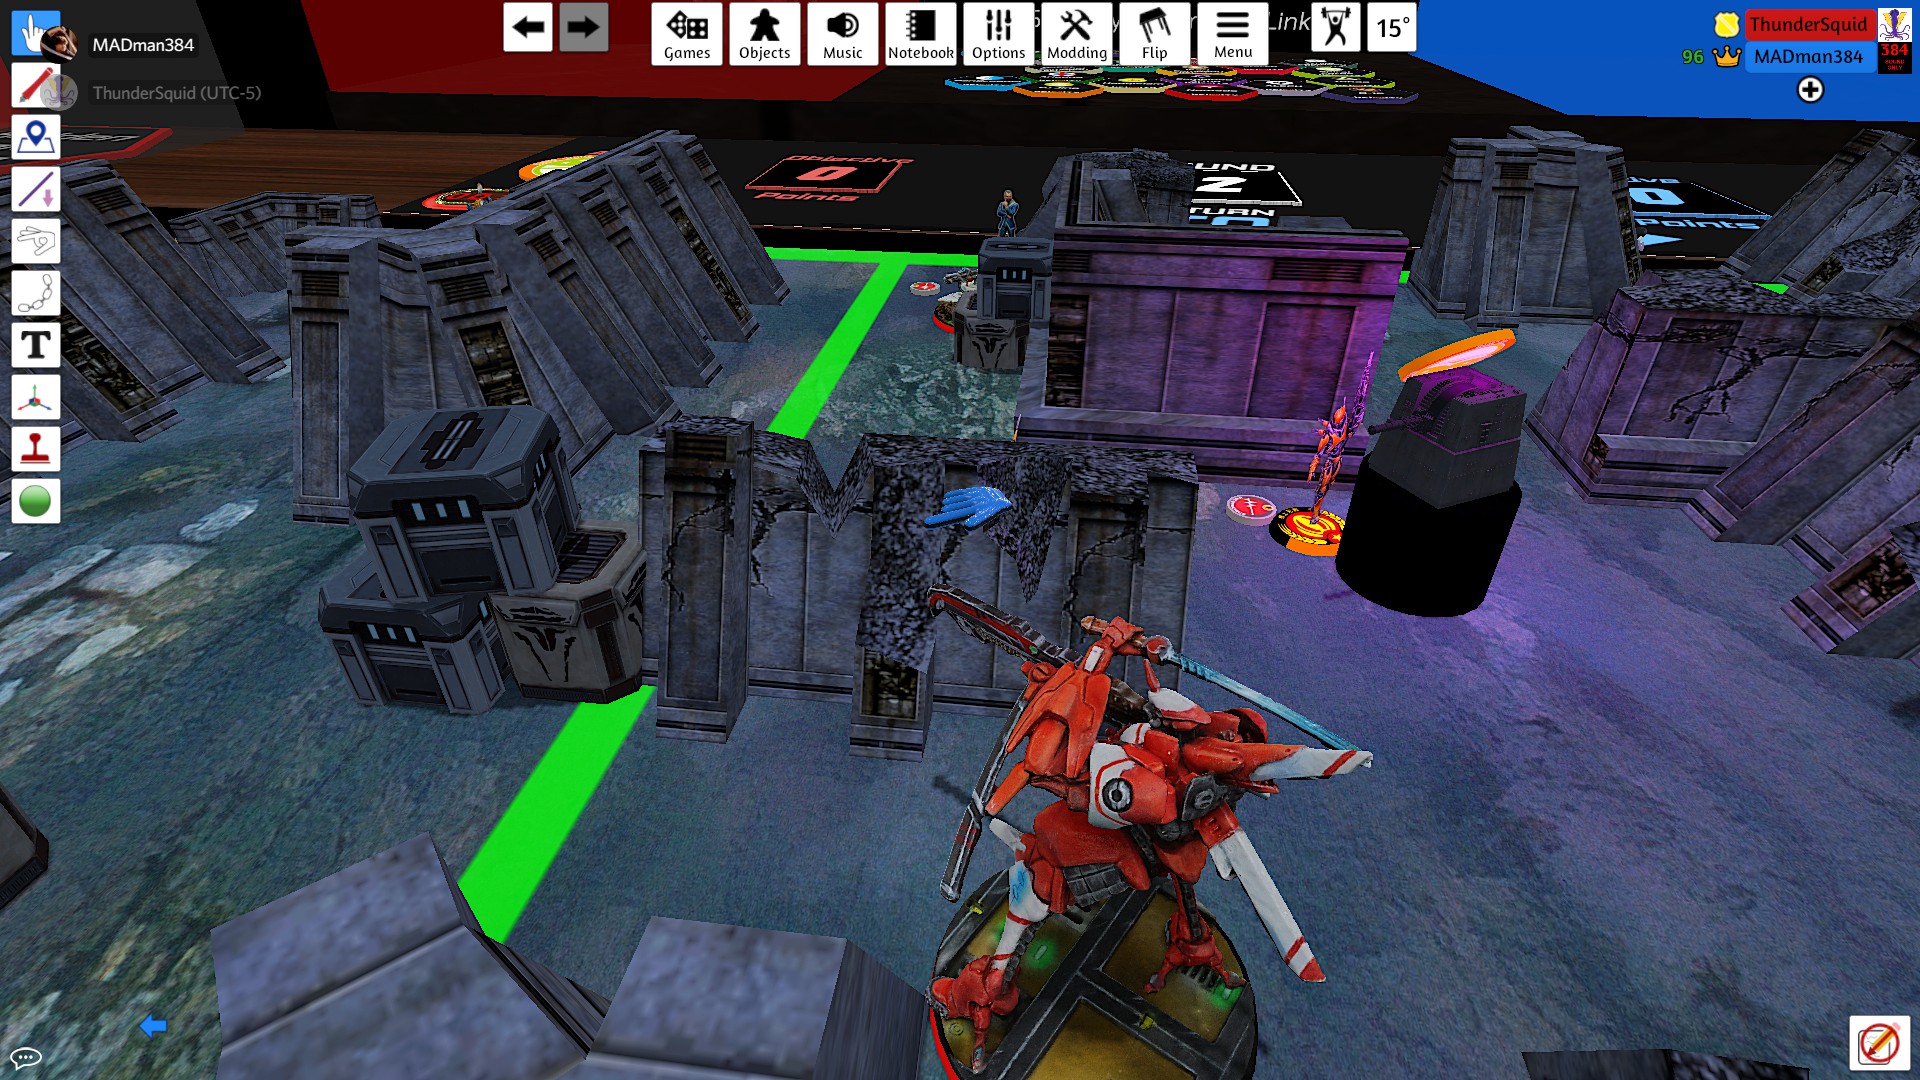
Yojimbo set up his usual koala and smoke to support a play on my decoy. I opted to keep my Lu Duan in its holo state to try to preserve as much as possible to score any amount of points on my last turn. Yojimbo made it into close combat with my decoy, making quick work of it.
Yojimbo dashed out of the smoke into to engage one of my Lu Duan echoes in what my opponent expected to be a sacrificial play. I responded with a flamethrower from the real Lu DUan, a shot from my Long Ya, and a dodge from my Weibing, expecting split templates. Instead, my opponent put a koala behind my Lu Duan, trying to make sure it didn't survive to my turn.
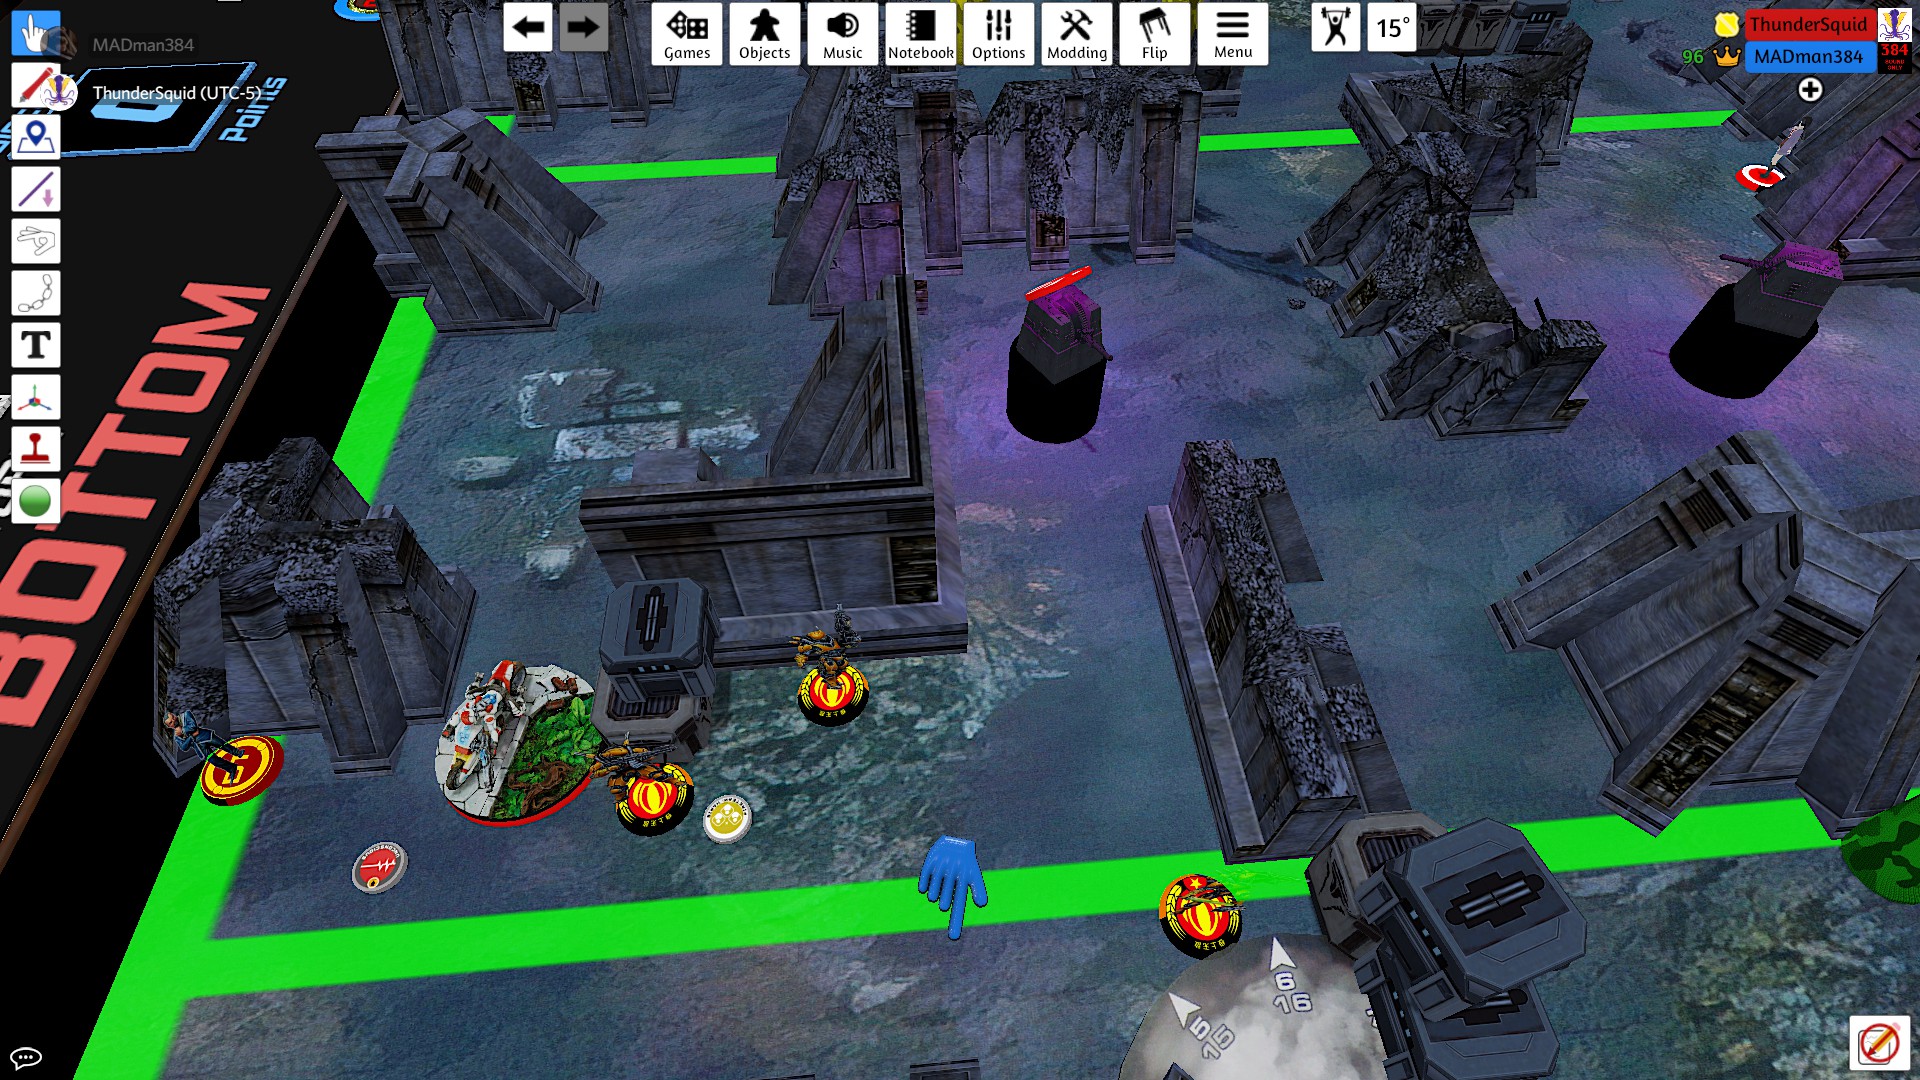
The rest of my opponent's turn was a rapid succession of the O-Yoroi killing my models and pushing buttons. First it took out the Lu Duan. That allowed the pilot to get out and take the button on my left side from me. Next he moved toward the middle of the table and used the TAG to body block for the pilot pushing the central button. The pilot got back in and gunned down my Long Ya anyway, before making a run on my last decoy and taking down my Weibing before passing the turn.
Battle Report Author

Army Lists Used In This Battle
Recommend Commander For Commendation
Share this battle with friends
MADman384Wins

Nice report
Great Report! Looked like a fun game!
Nice win. Gambatte
Great report!
Awesome we securing our lands