Fought At Gekidan Research Park: Yukimura Center
655 days 1 hours 4 minutes ago
Rumble in the Ruins
View Linked Report - CLICK HERE 300 POINTS### CLASSIFIED REPORT FROM FORWARD ELEMENTS###
While searching ruins of the perimeter wall in search survivors (and any sign of the cowardly Vince McMahogany) from earlier Aleph attacks, a detachment of White Banner soldiers were discovered. Local commanders determined they were a direct threat to civilians in the area and engaged. Special commendation are recommended as swift action saved many lives despite lacking any support from ###REDACTED### units.
###Further details to follow###
Deployment Overview-
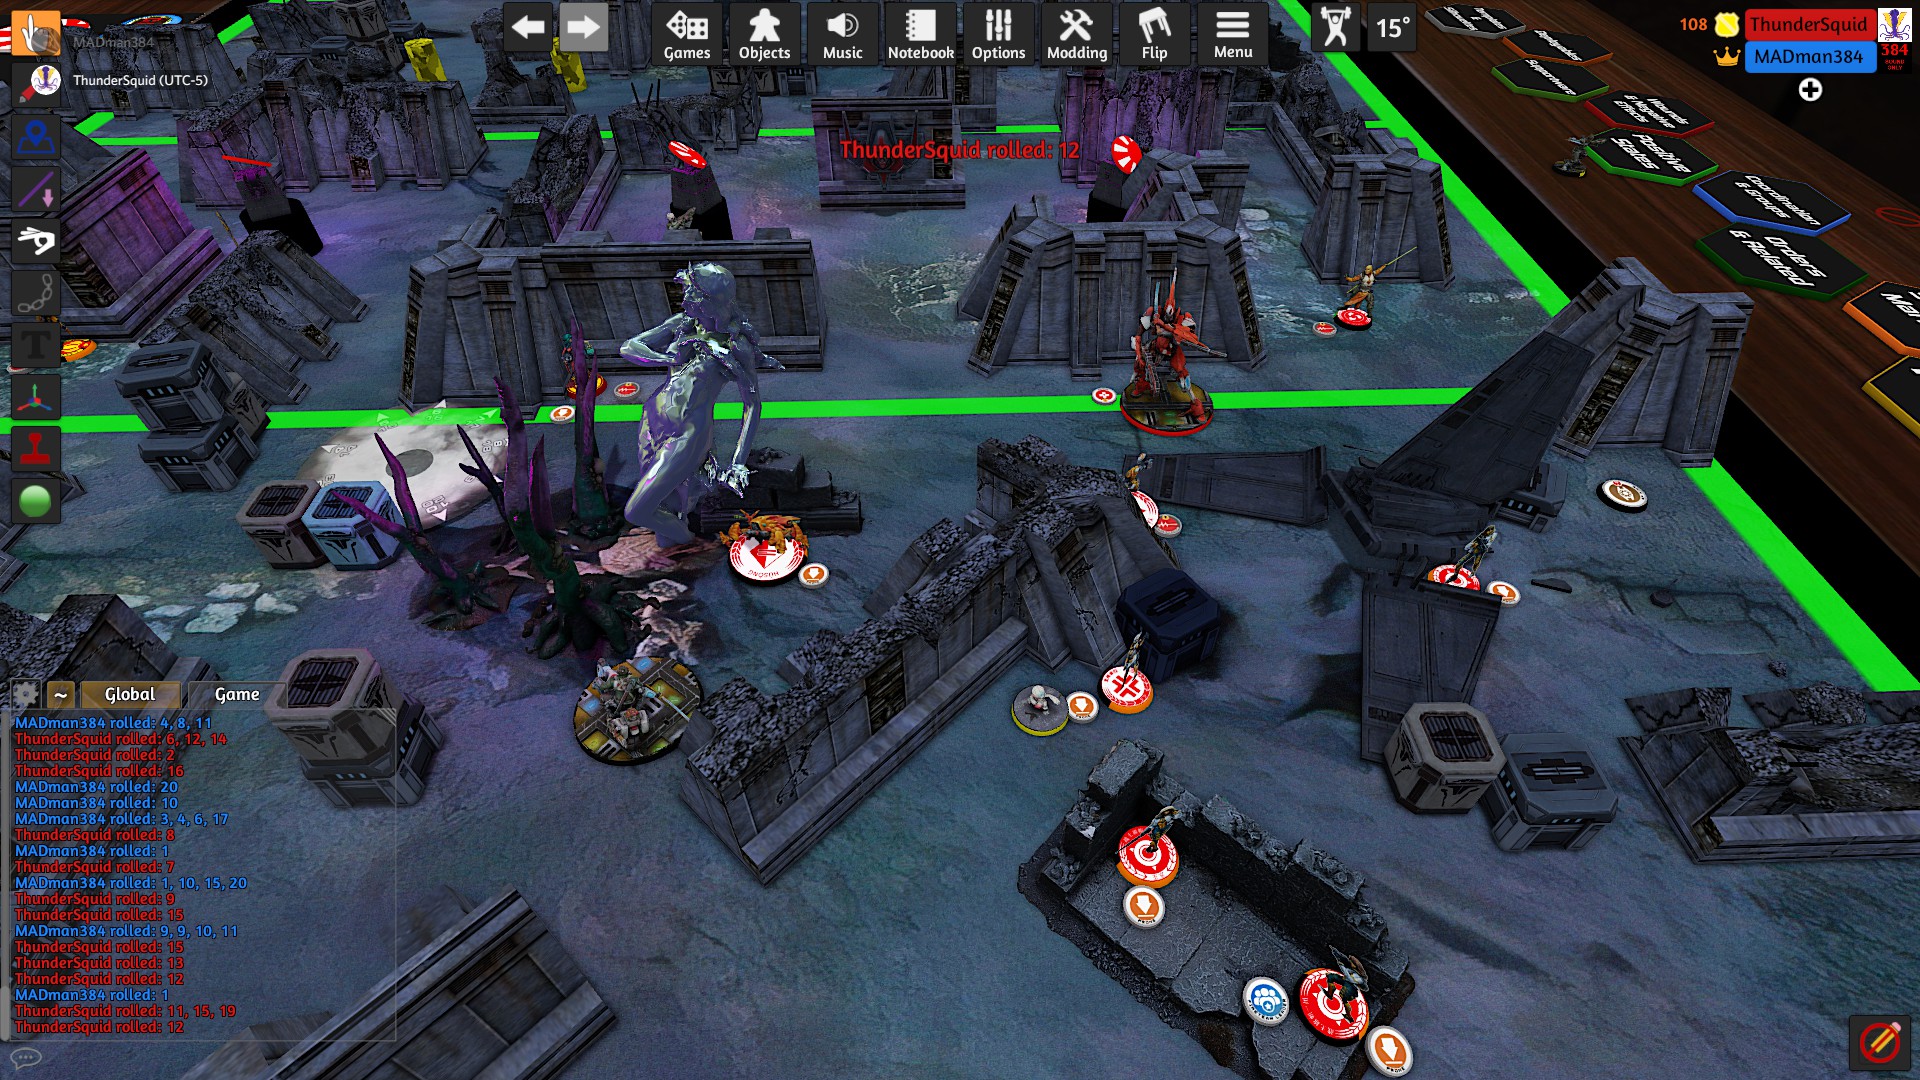
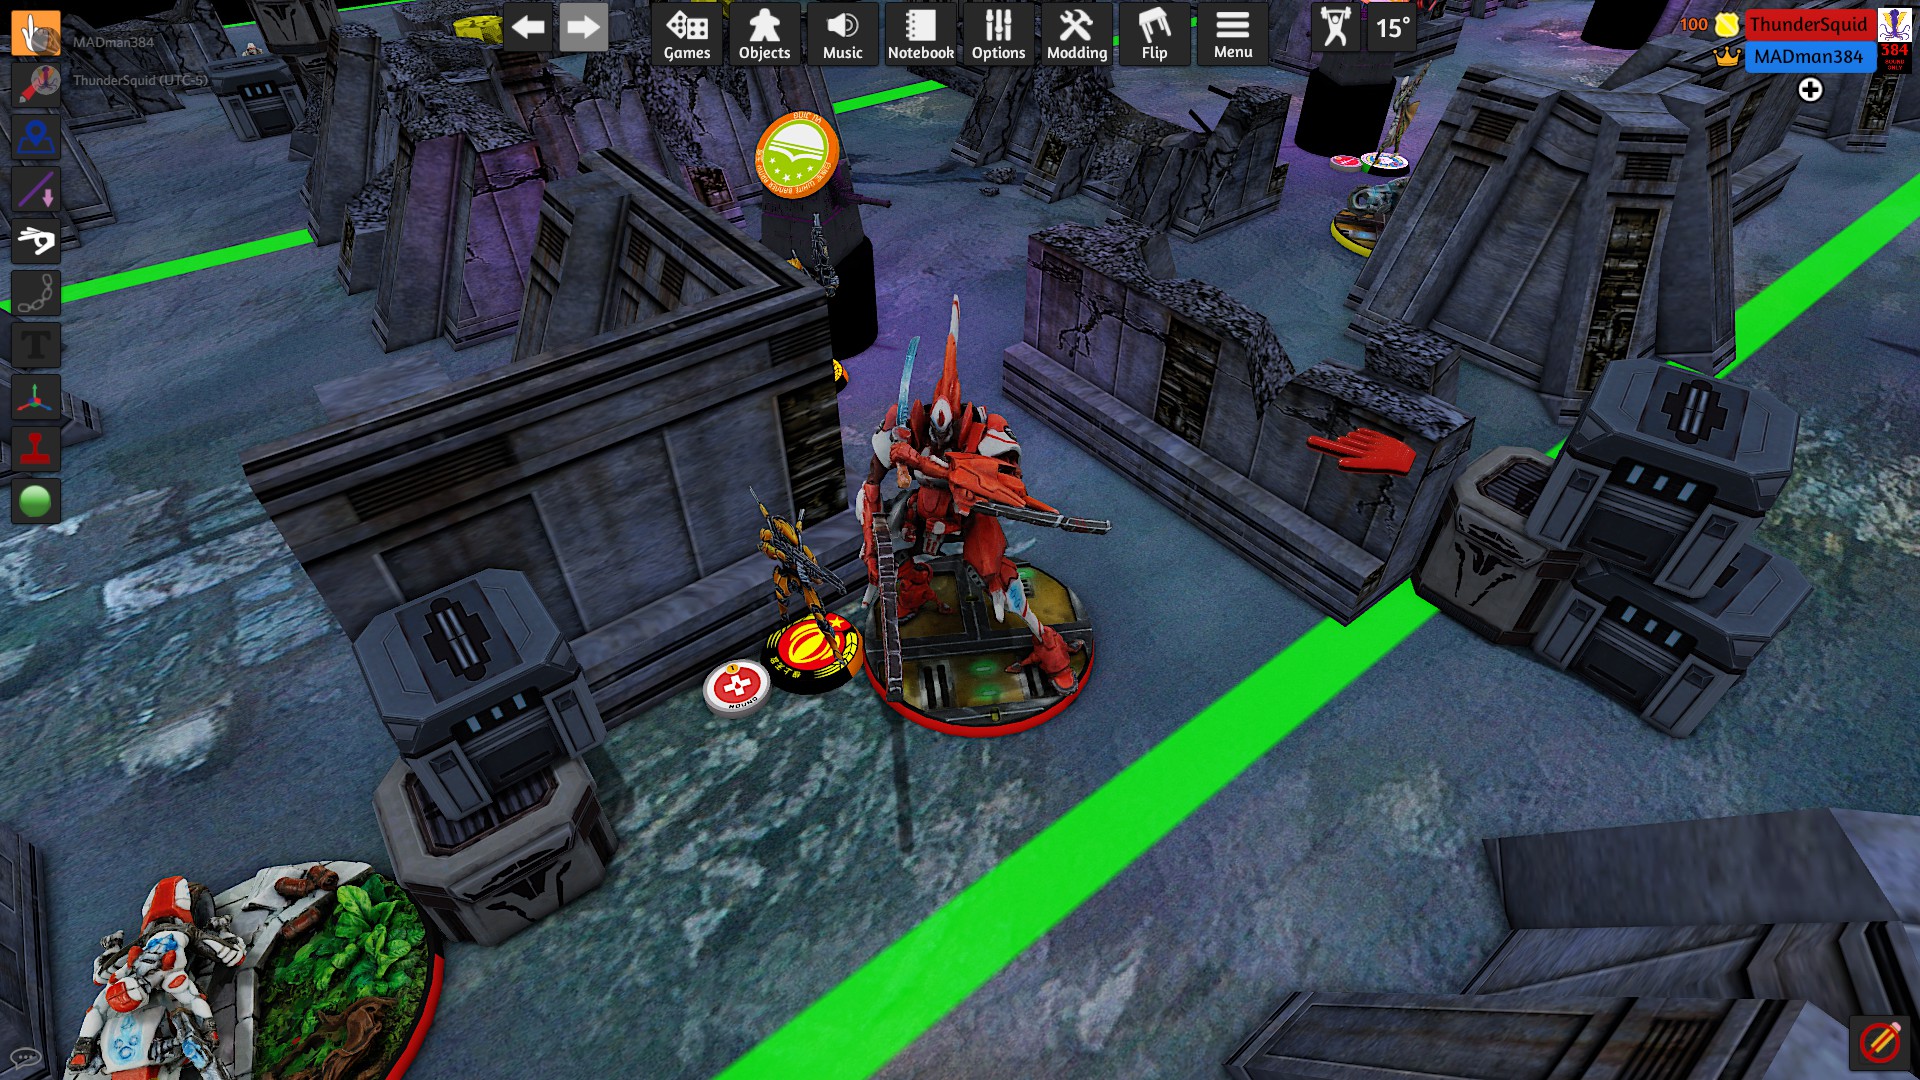
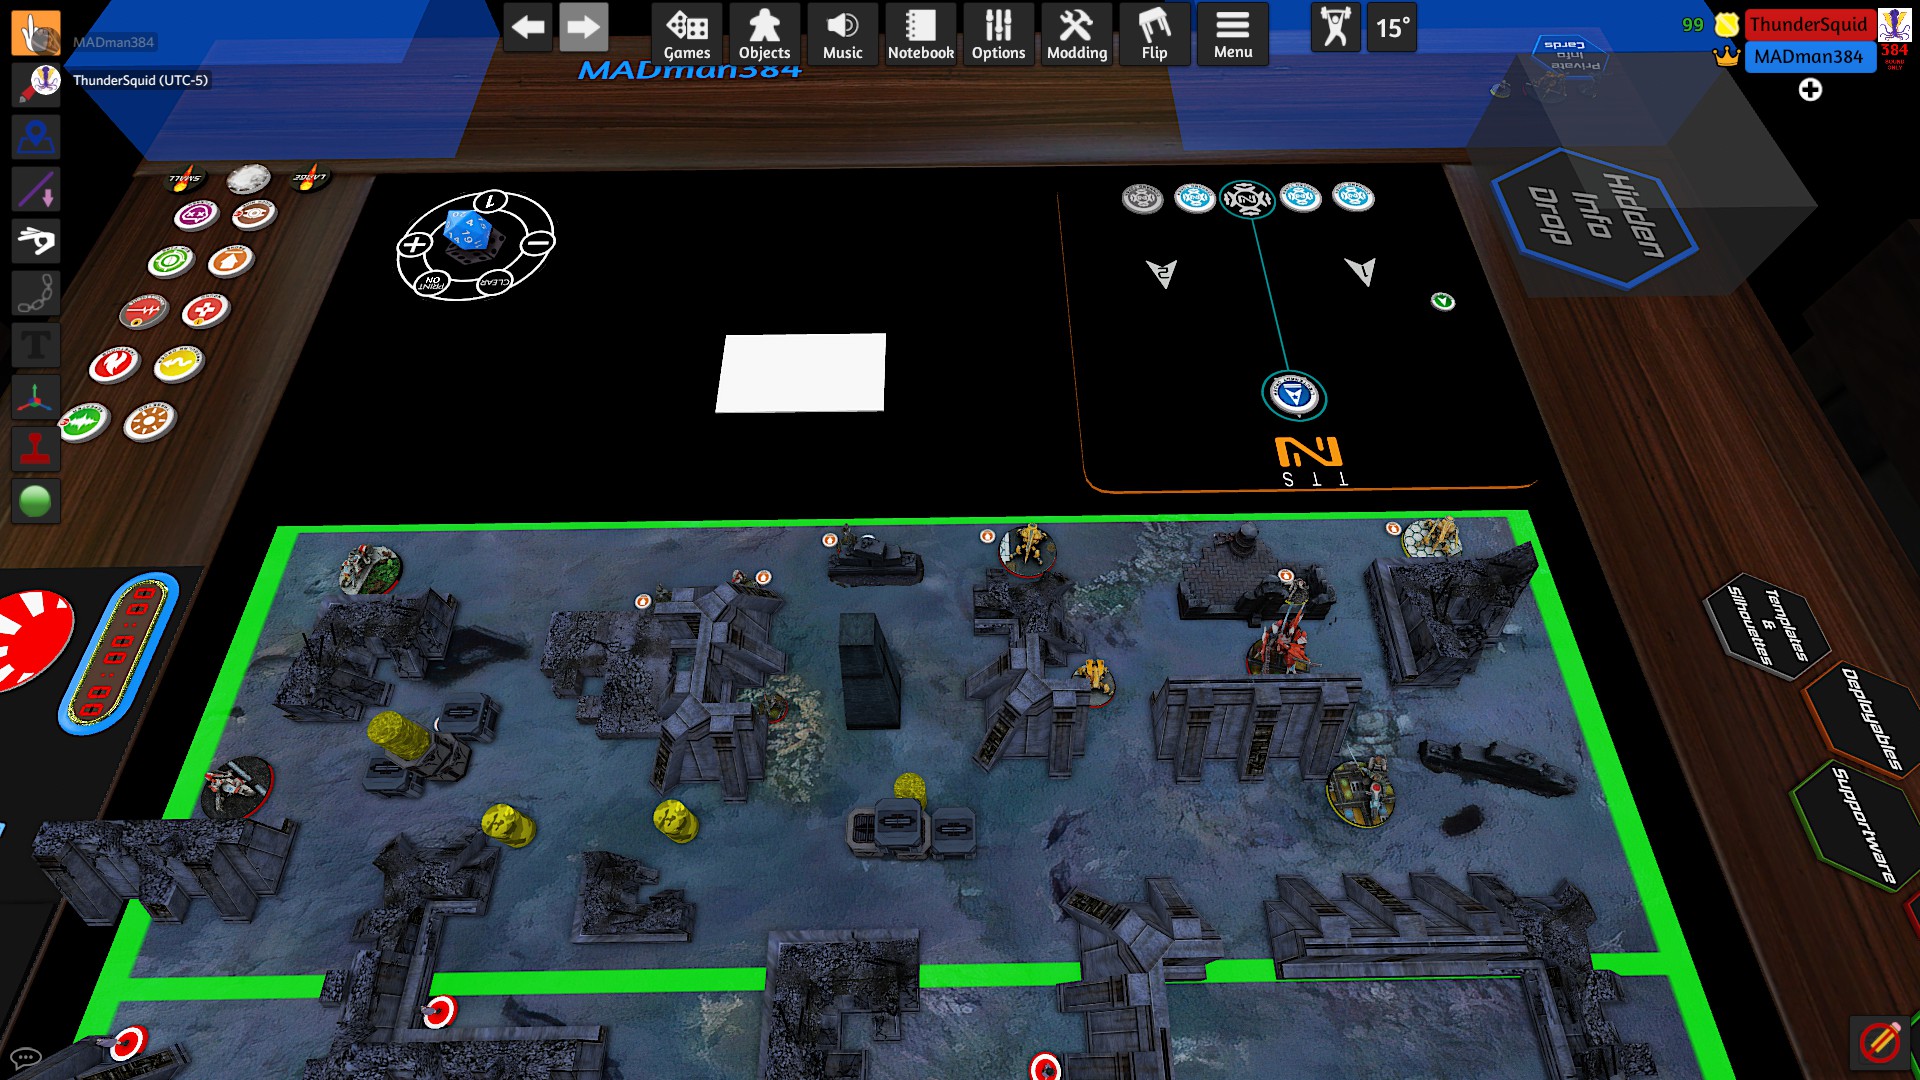
JSA took the initiative and chose to go first. Two Ryuken HRLs and a linked Keisotsu ML cut tight intersecting firelanes on the right to slow down any advance. These were backed up by Aragato KHD and Aragato Spitfire. An O-Yoroi and Yojimbo deployed on the left behind cover. My opponent deployed a pair of Long Yas on opposite board edges with long firelanes into my deployment. A haris of Shang Ji were on my right to face the bikers and a five man team of Zhanshi with sniper deployed on the left.
https://bowlivestorage.blob.core.windows.net/asteroidblues/formidable/9/1-JSA-Deployment-150×150.jpg
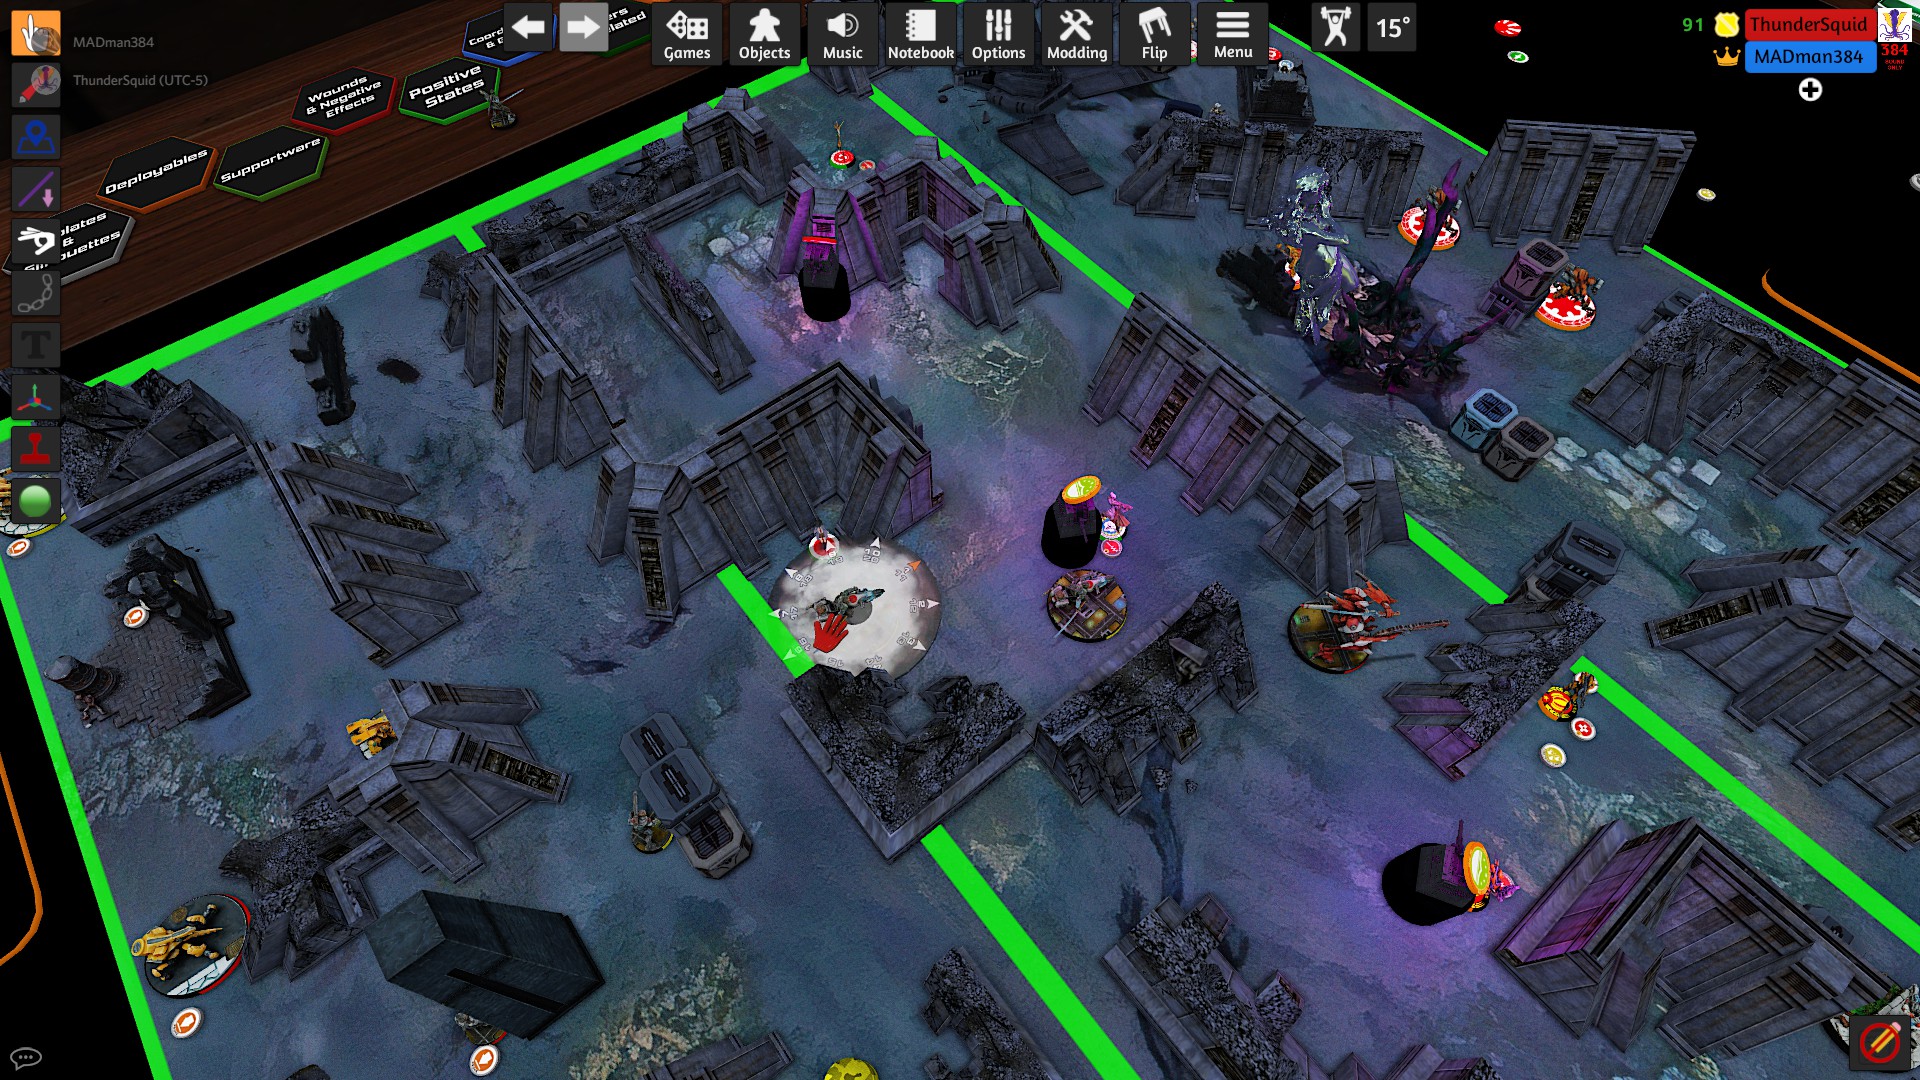
My opponent deployed a pair of Long Yas on opposite board edges with long firelanes into my deployment. A haris of Shang Ji were on my right to face the bikers and a five man team of Zhanshi with sniper deployed on the left.
https://bowlivestorage.blob.core.windows.net/asteroidblues/formidable/9/2-WB-Deployment-150×150.jpg
Top of 1 (JSA)-
Yojimbo moved forward to deploy smoke to block the Long Ya on the left. He dropped a pair of Crazykoalas near the White Banner DZ before circling back to where he started to reload. The O-Yoroi moved up and took shot at the Zhanshi sniper from cover. The sniper went down and the O-Yoroi continued forward. The TAG pilot activated the left console and identified the middle HVT as an impersonator. With most targets being hidden, and the visible Lu Duan seeming to be a copy, the O-Yoroi took up an ARO position near my DZ. The Aragato KHD used cybermask to advance on the path covered by the right Long Ya. She was able to flip the right console and identify the nearby HVT as the target. With the last order, the KHD ran into the line of fire to hit the designated target with two light shotgun slugs. Unfortunately, the target made both saves and the biker went unconscious from the Long Ya’s SMG in a way the blocked off the path.
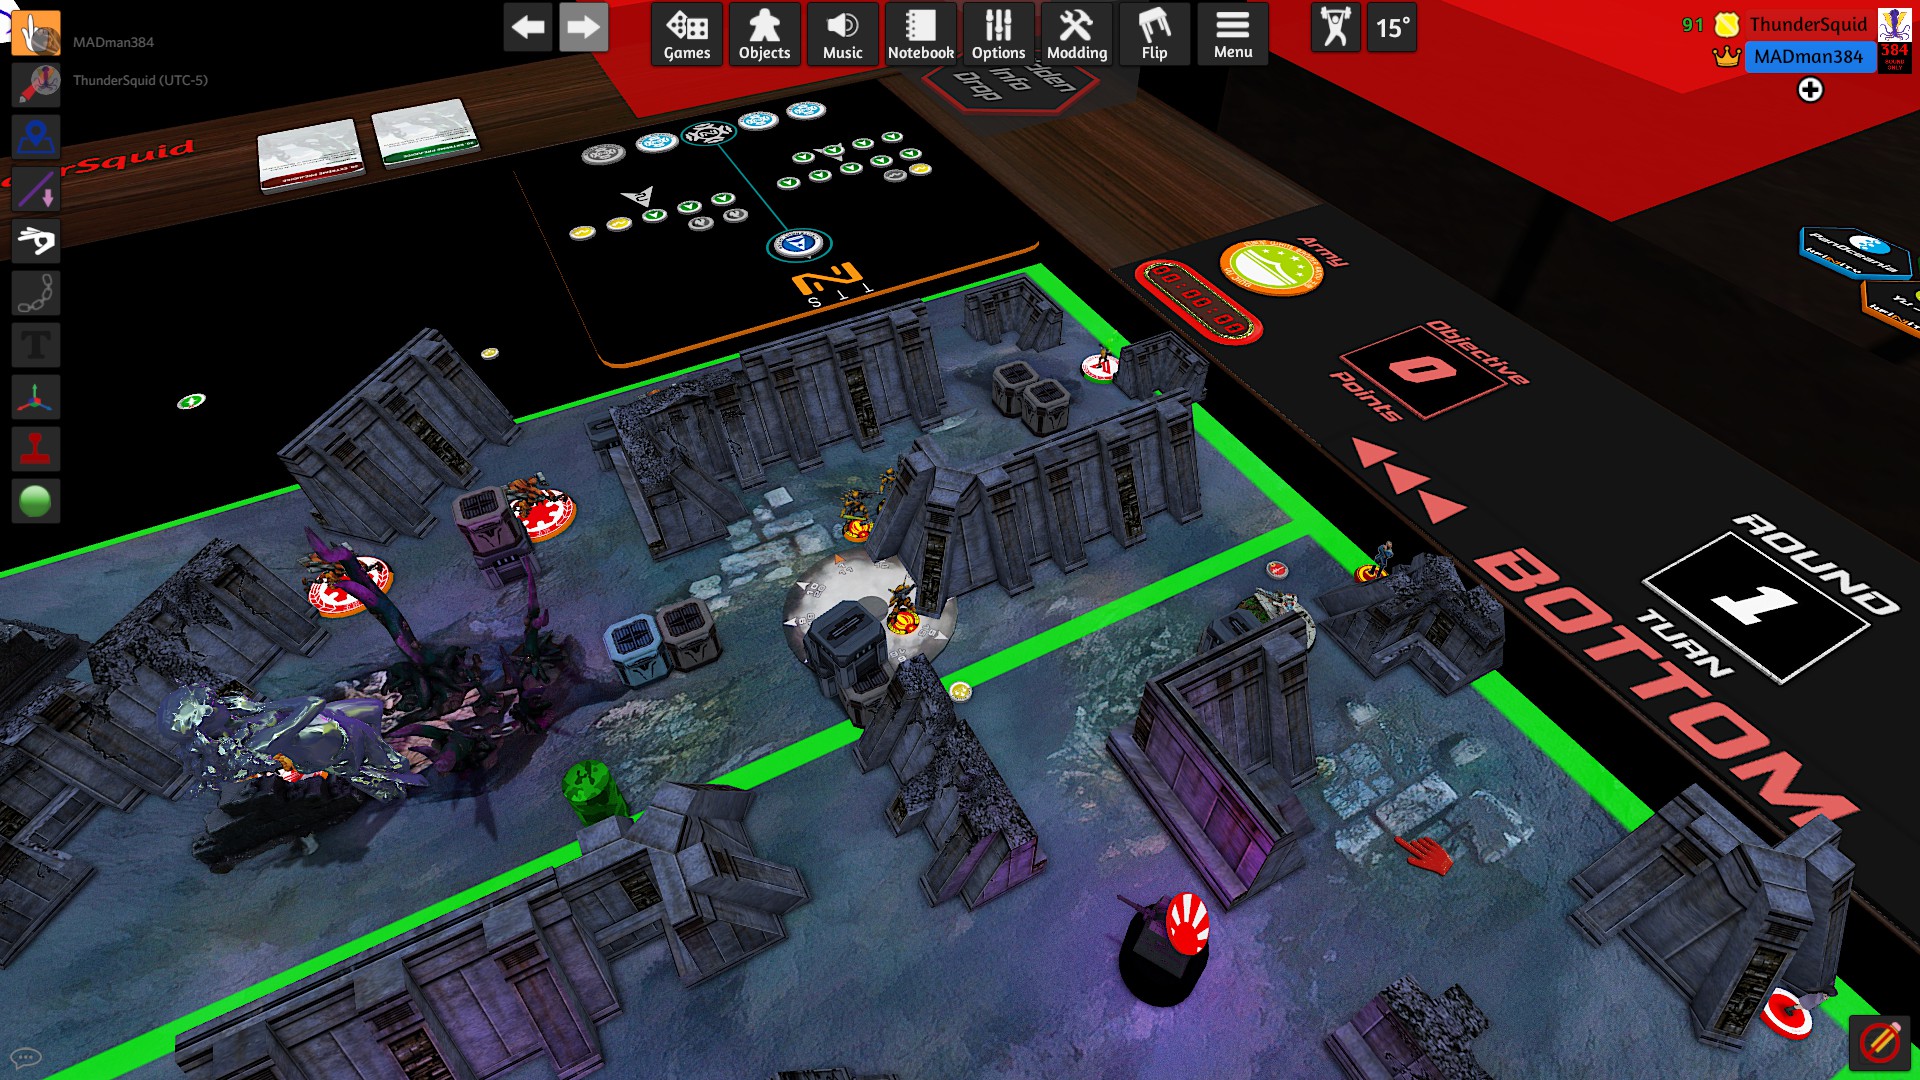
Bottom of 1 (WB)-
A Shaolin scarified itself to remove a Crazykoala and place smoke. The Shang Ji carefully advanced under smoke and avoided taking shots from the template weapons. The HMG took, I believe, five attempts and one would to remove the Ryuken with the largest field of view. With him down, the Keisotsu ML was taken down. The Shang Ji hacker made a risky run for the right console and survived a shootout with the other Ryuken. The hacker activated the console and identified an imposter HVT. A camouflaged marker advanced towards the center console. As it arrived at the console, it was identified as a Guilang FO. The Guilang pushed the button and moved behind it prone. The Ryuken HRL and Yojimbo missed but the Chaiyi managed to blind the target. A mine placed earlier by the Ryuken stopped the Guilang from camouflaging and the Long Ya repositioned.
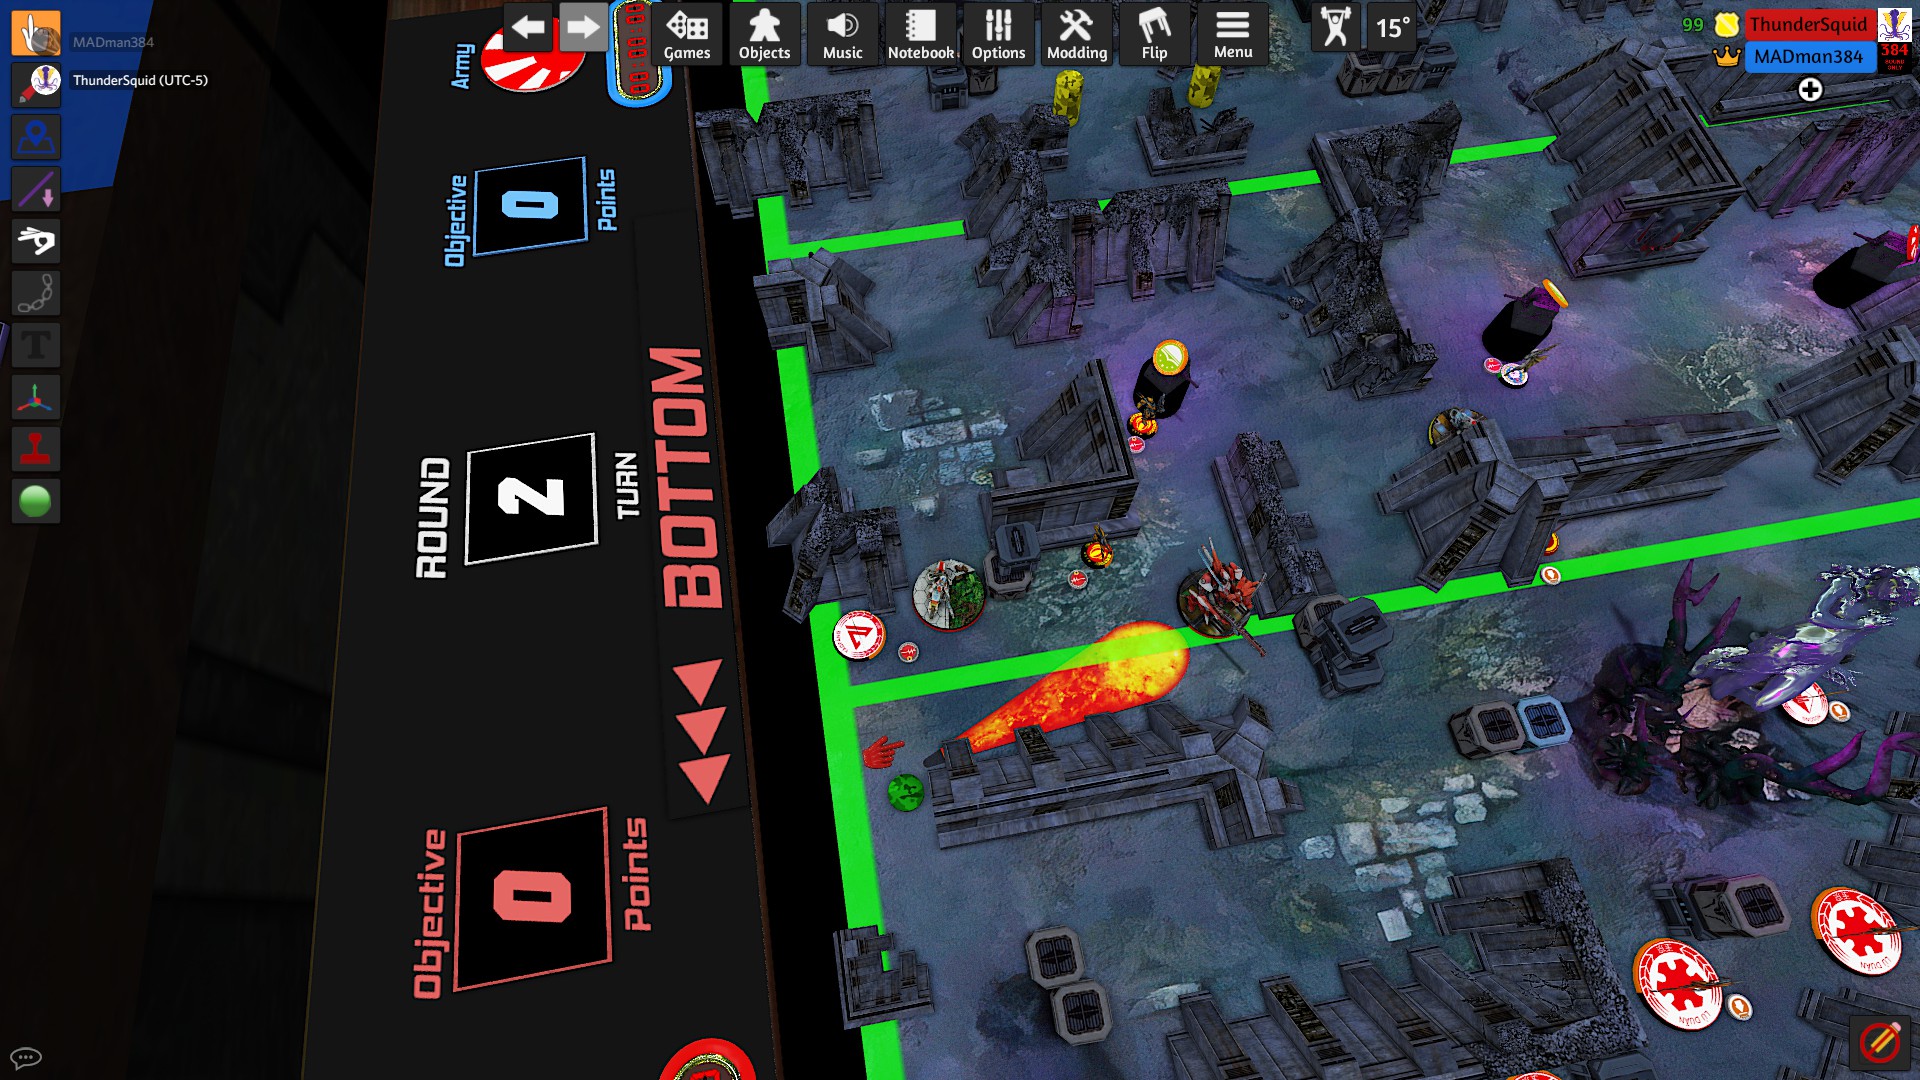
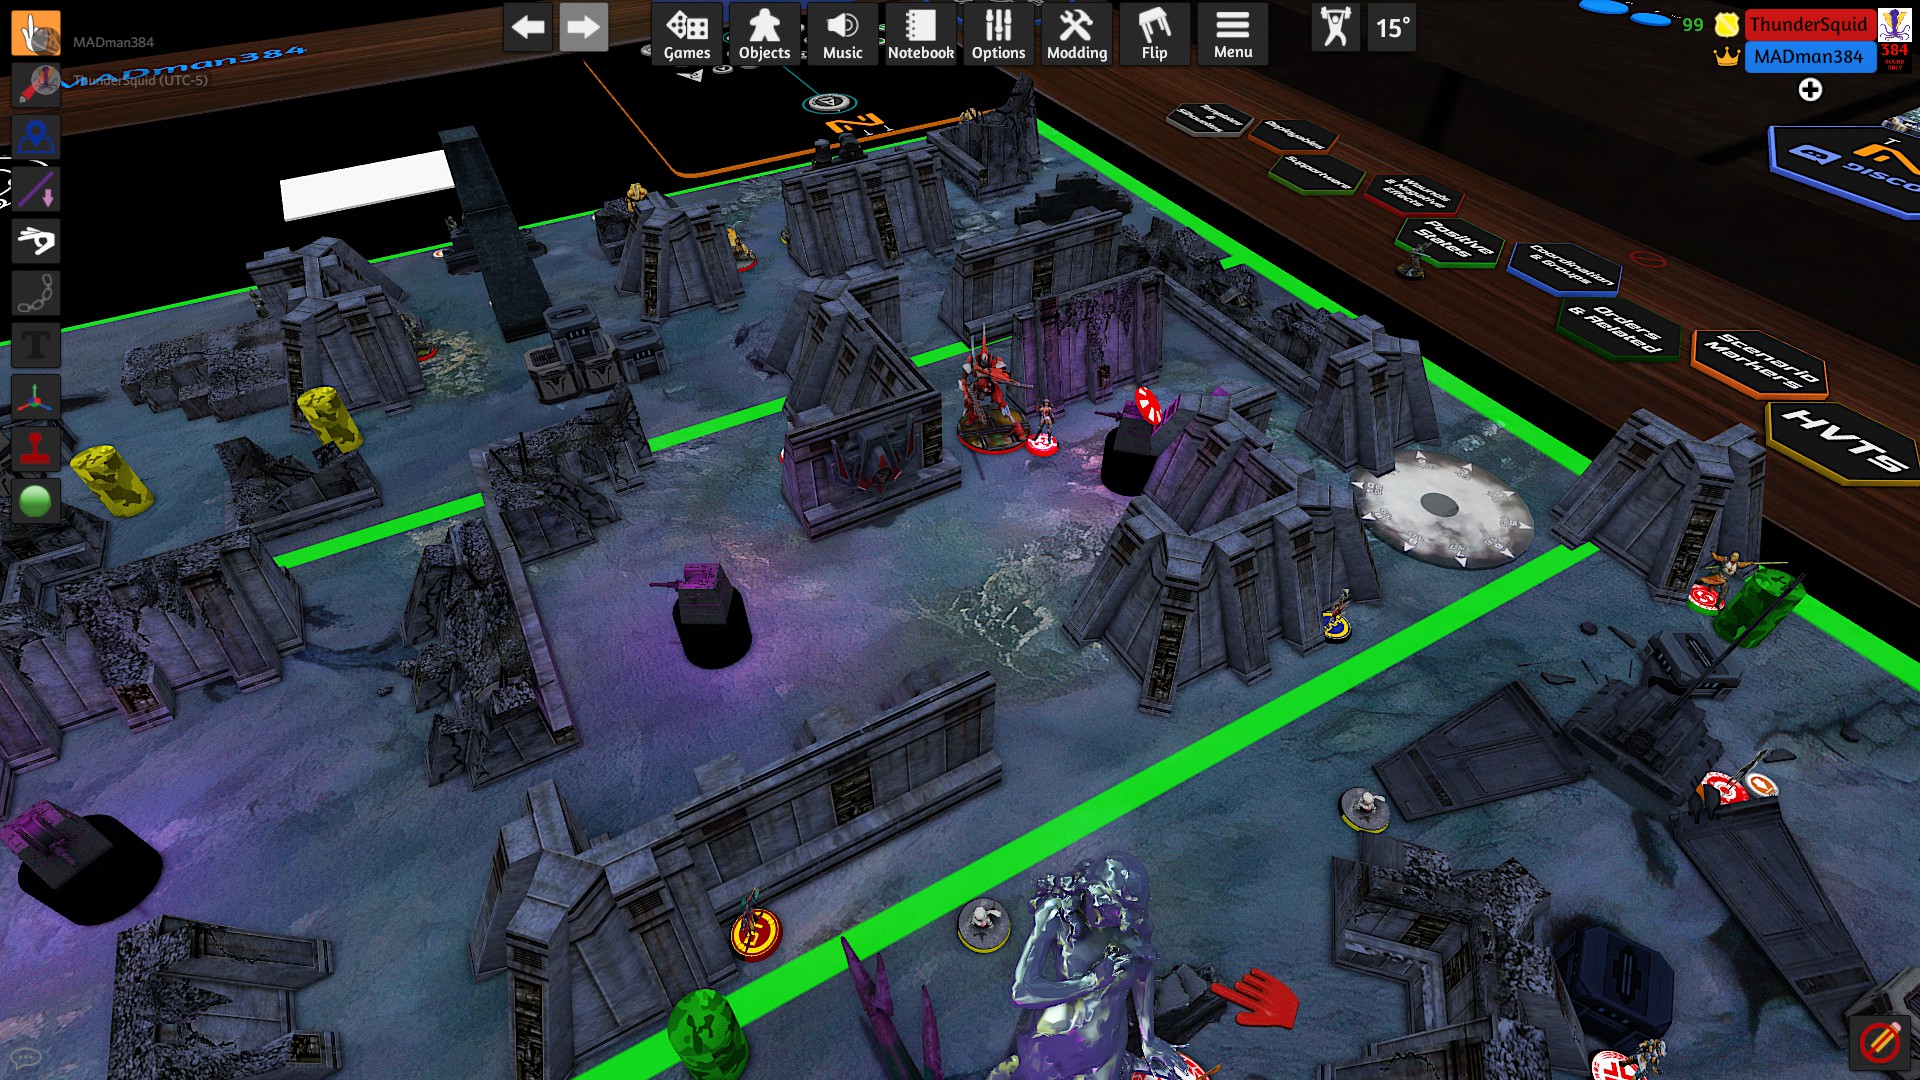
Top of 2 (JSA)-
The O-Yoroi moved forward killing the second Shaolin, Guilang FO, and Shang Ji HD. Yojimbo attempted to provide support after reloading but found his path blocked by a tight line from the Shang Ji HRL. The O-Yoroi placed a Crazykoala before killing the Shang Ji HRL in a close range firefight. With the lane seeming clearer, Yojimbo moved forward. Unfortunately this allowed the Long Ya to take a shot with its Flammenspeer near an impersonator. Yojimbo threw smoke but was only able to save himself as the HVT failed the save. Out of orders, he settled in to try and weather a turn past the halfway line. The O-Yoroi placed a Crazykoala near the remaining Shang Ji and killed the Designated Target. The Shang Ji HMG successfully dodged as the TAG came around the corner for a fight. The O-Yoroi then offered honorable close combat. The enemy answered with a chain-colt before going unconscious. The O-Yoroi repositioned to prepare for the Long Yas and Lu Duan. With the last order, the Aragato Spitfire went into suppression revealing it to be a Lu Duan before using its Holoprojector to peak around the corner at the Lu Duan nearest to the TAG.
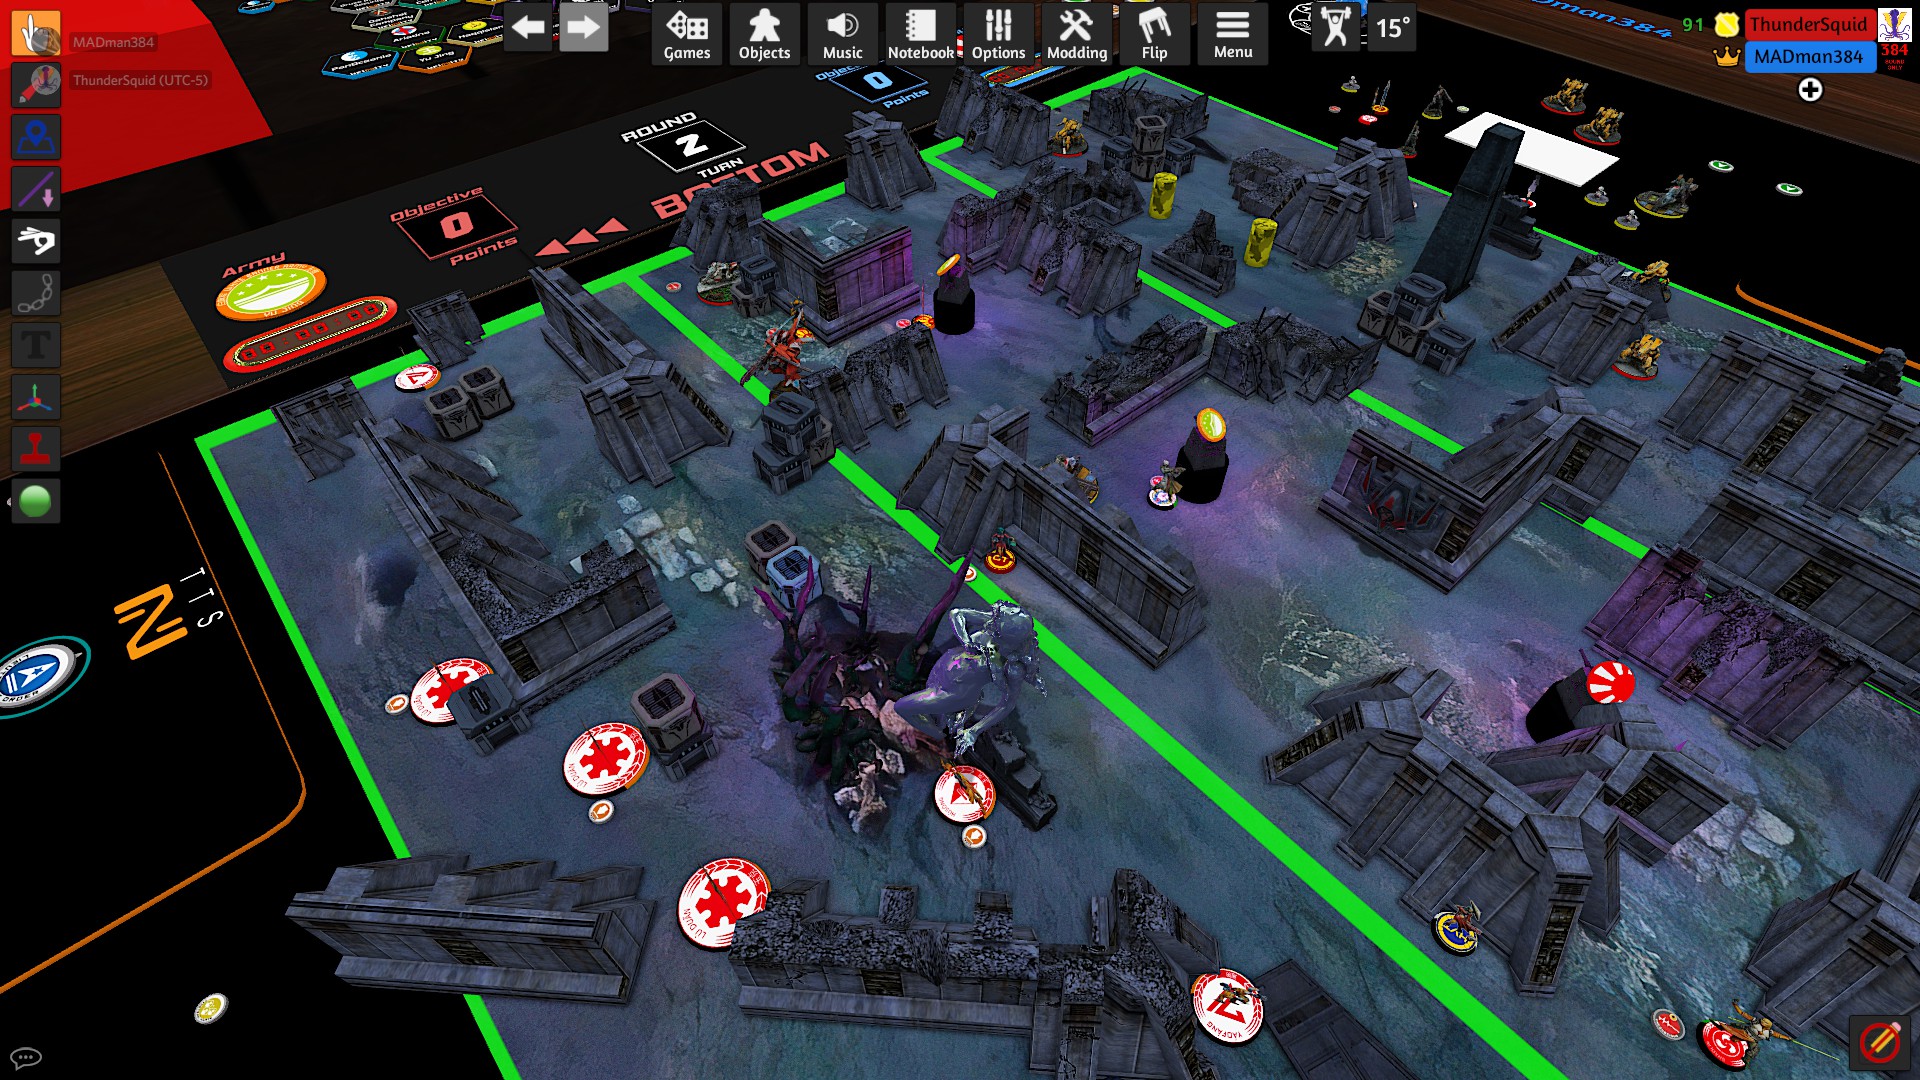
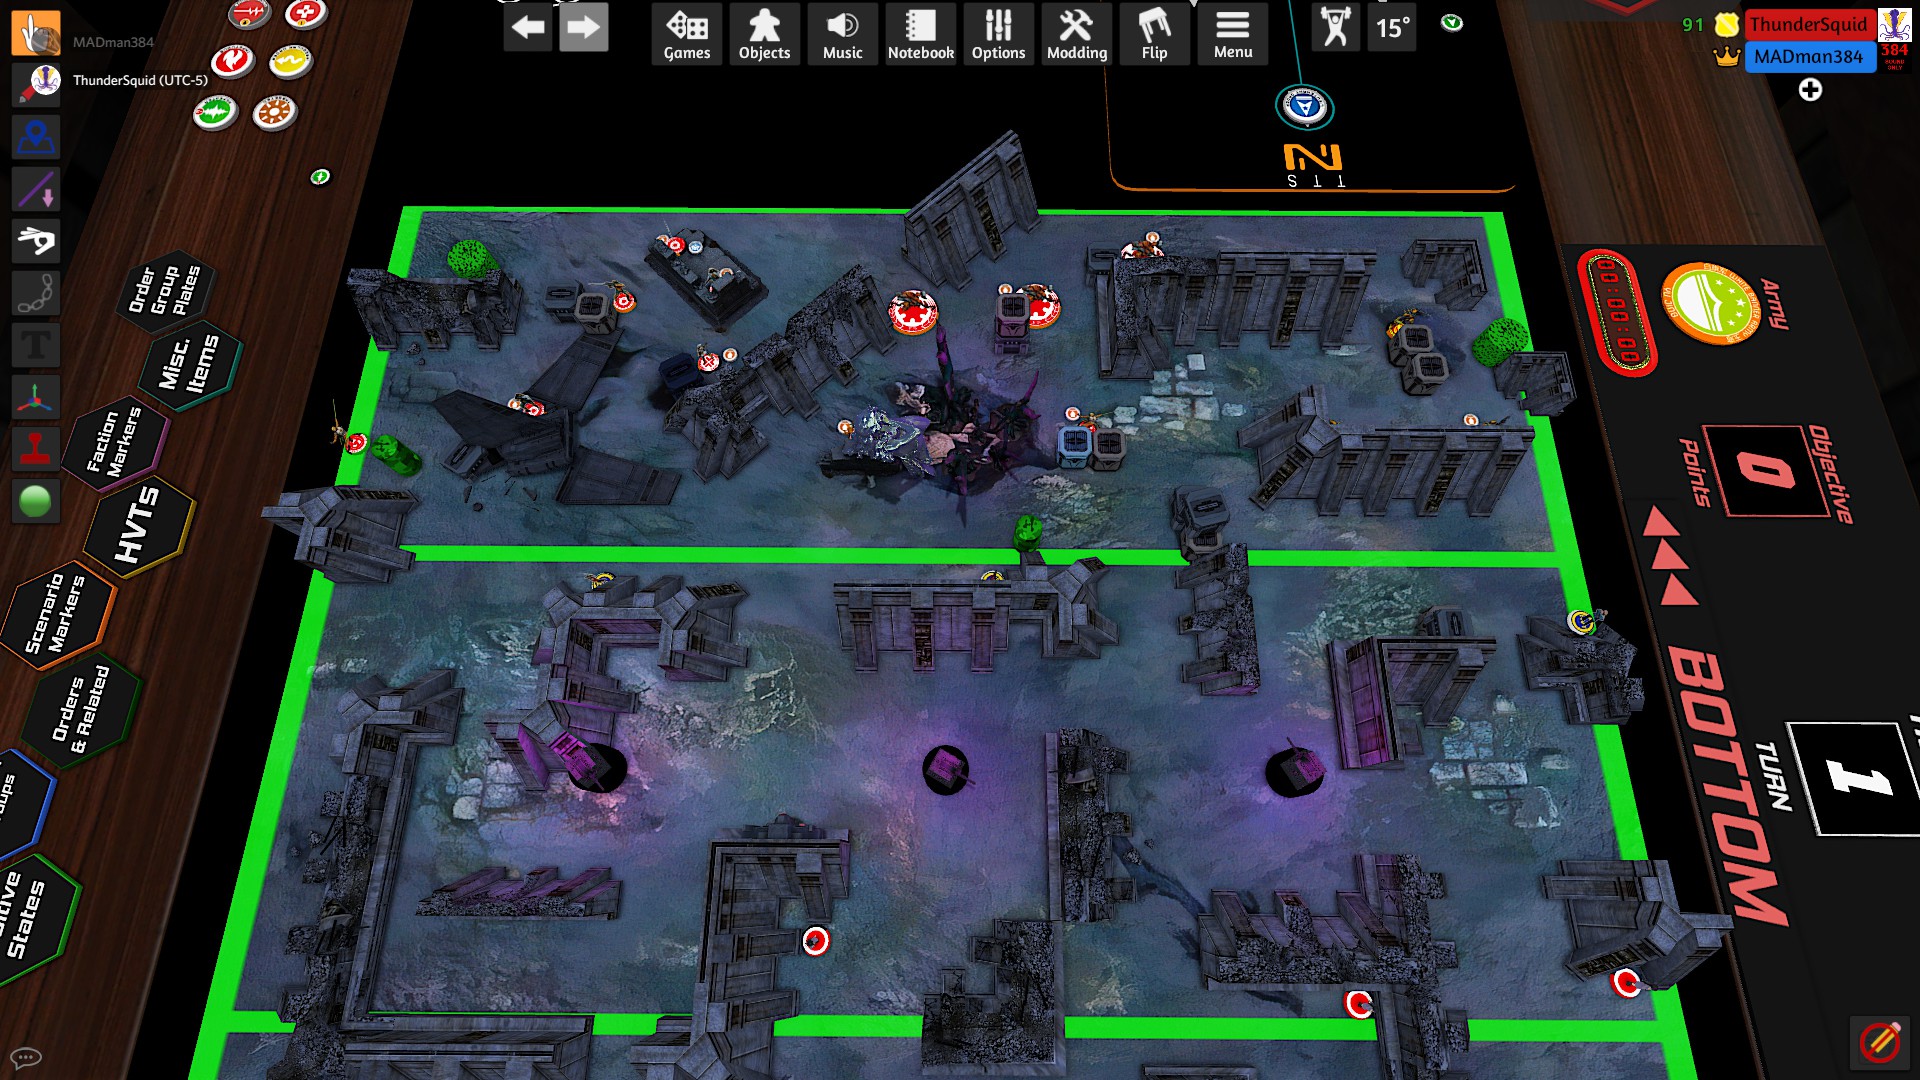
Bottom of 2 (WB)-
The Long Ya hit the JSA Lu Duan with a Flammenspeer but failed to get damage through its armor. The Long Ya on the other side of the board moved up and fired its Panzerfausts at the O-Yoroi. The TAG made all of its saves against a crit. The nearest Long Ya killed the opposing Lu Duan with its Panzerfausts. With the lane clear, it attempted to catch the O-Yoroi with a mine while getting into his back arc. The mine was not quite close enough but a SMG shot put the first wound on the TAG. The WB Lu Duan revealed itself and took shots at the TAG with no damage.
Top of 3 (JSA)-
Yojimbo threw a Crazykoala near the enemy Lu Duan while remaining out of site. He then stuck his head around cover to see all of the copies. My opponent declined to shoot and Yojimbo threw smoke to allow him to get to the revealed imposter without being seen by the Long Yas. Yojimbo killed the imposter in CC and used his last order to move into base contact with one of the Lu Duan copies. My opponent shot at Yojimbo with the Long Ya but did not reveal the real Lu Duan. Yojimbo placed his last Crazykoala before miraculously making all of his saves. The O-Yoroi split burst between the Lu Duan and nearby Long Ya while backing up towards the right console. The Lu Duan went down to the burst and Crazykoala. The tag pilot activated both the center and right consoles. With the last few orders, the TAG cleared out the left Long Ya and a hiding Weibing before killing the last imposter in close combat.
Bottom of 3 (WB)-
White Banner was in retreat and we decided to call the game here.


Battle Report Author

Army Lists Used In This Battle
Recommend Commander For Commendation
Share this battle with friends
MADman384Wins

Thank you for your service in defence of our research.
(눈_눈) For Vincy is not the good week and not a good week for the press liberty.
Nice! good report and victory (◠‿・)—☆
Awesome fight good work!
Great report put is back on top!
I’m so proud and good report
good battle fellow