Fought At Cameliard: Guard Post
658 days 20 hours 27 minutes ago
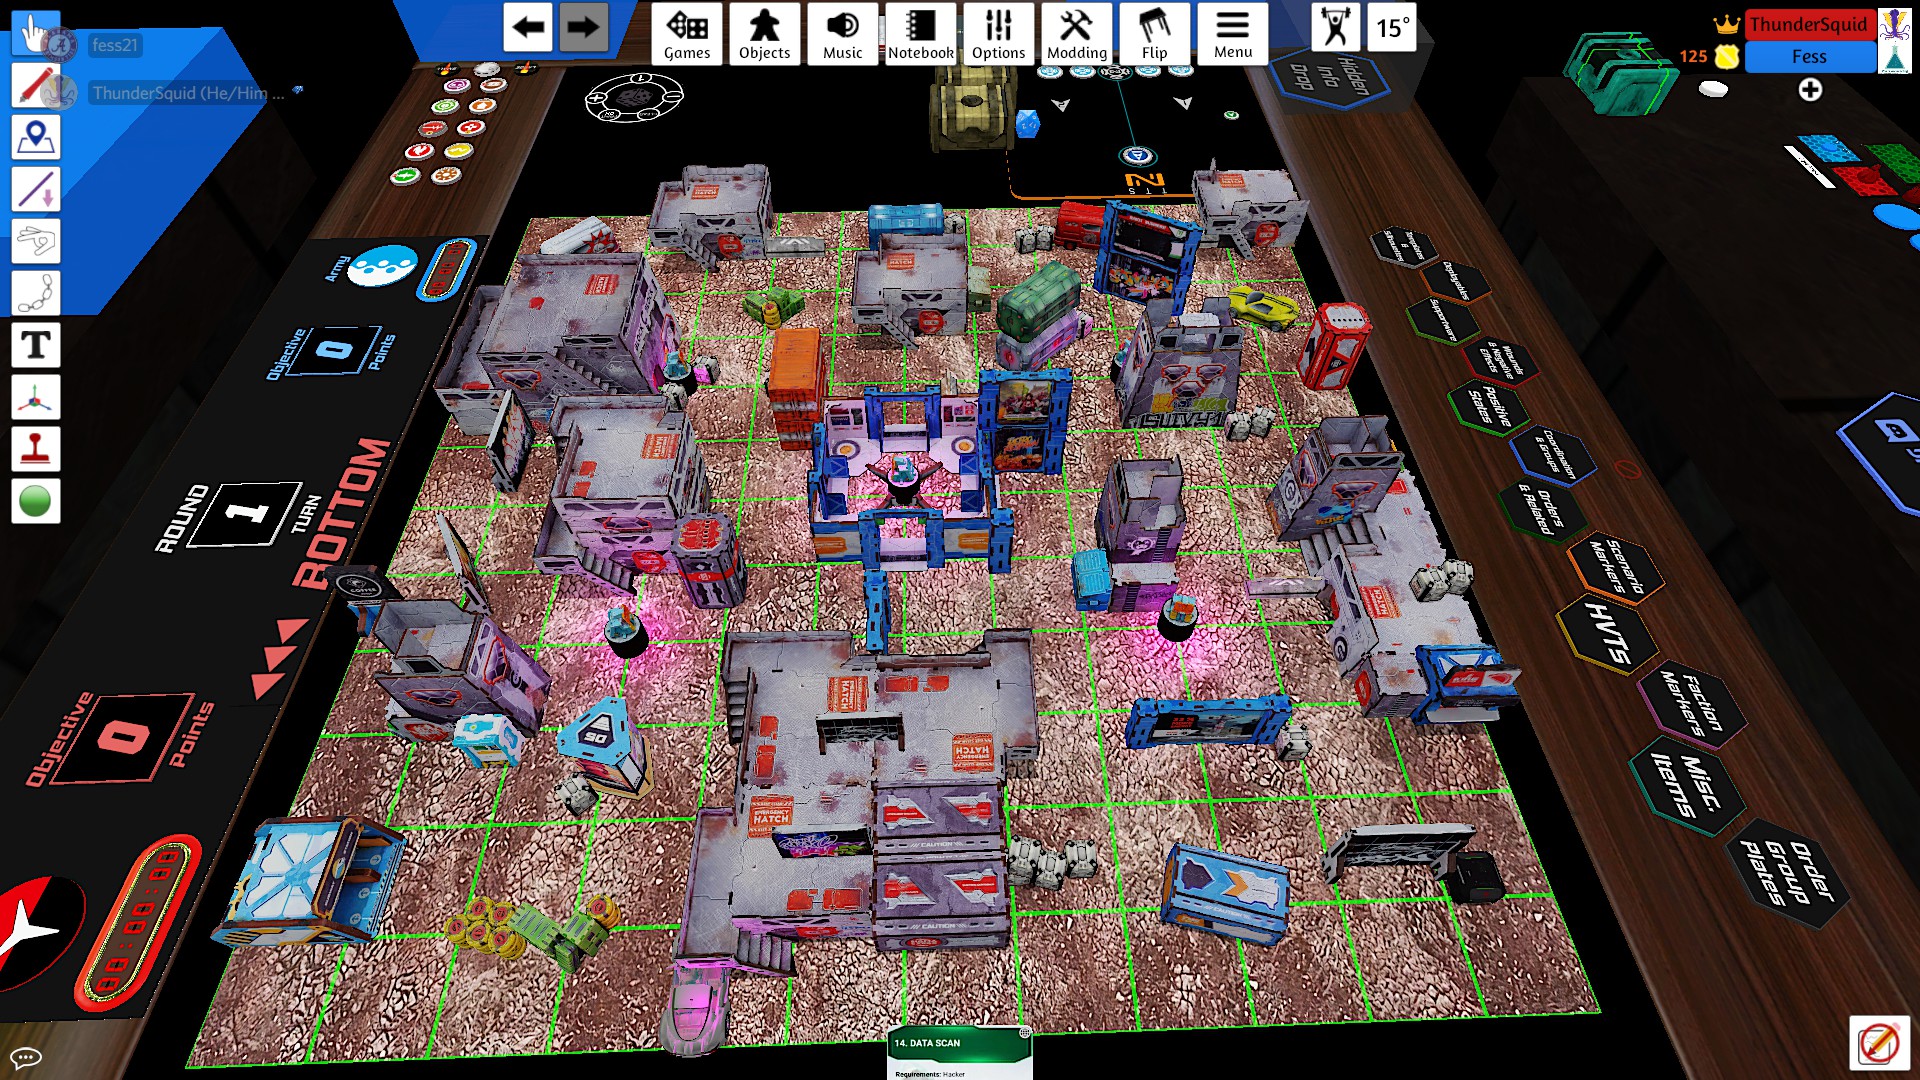
Templates at Camilard
View Linked Report - CLICK HERE 300 POINTSWhite Banner leans very heavily into templates. These benefit from +1 damage, but are also generally just good in objective room missions. More importantly, I made sure to have a very resilient team in the form of the Shang Ji. They were taken to both be able to bully anything out of the room, but also try to hold it. The haris, on the other hand, could only dodge around at best.
Despite the combination of tinbot and BTS 6, I felt the biggest threat to me was my opponent's massive amount of hacking. Other than that, I didn't feel that my own hacker was a significant threat to my opponent's Asawira.
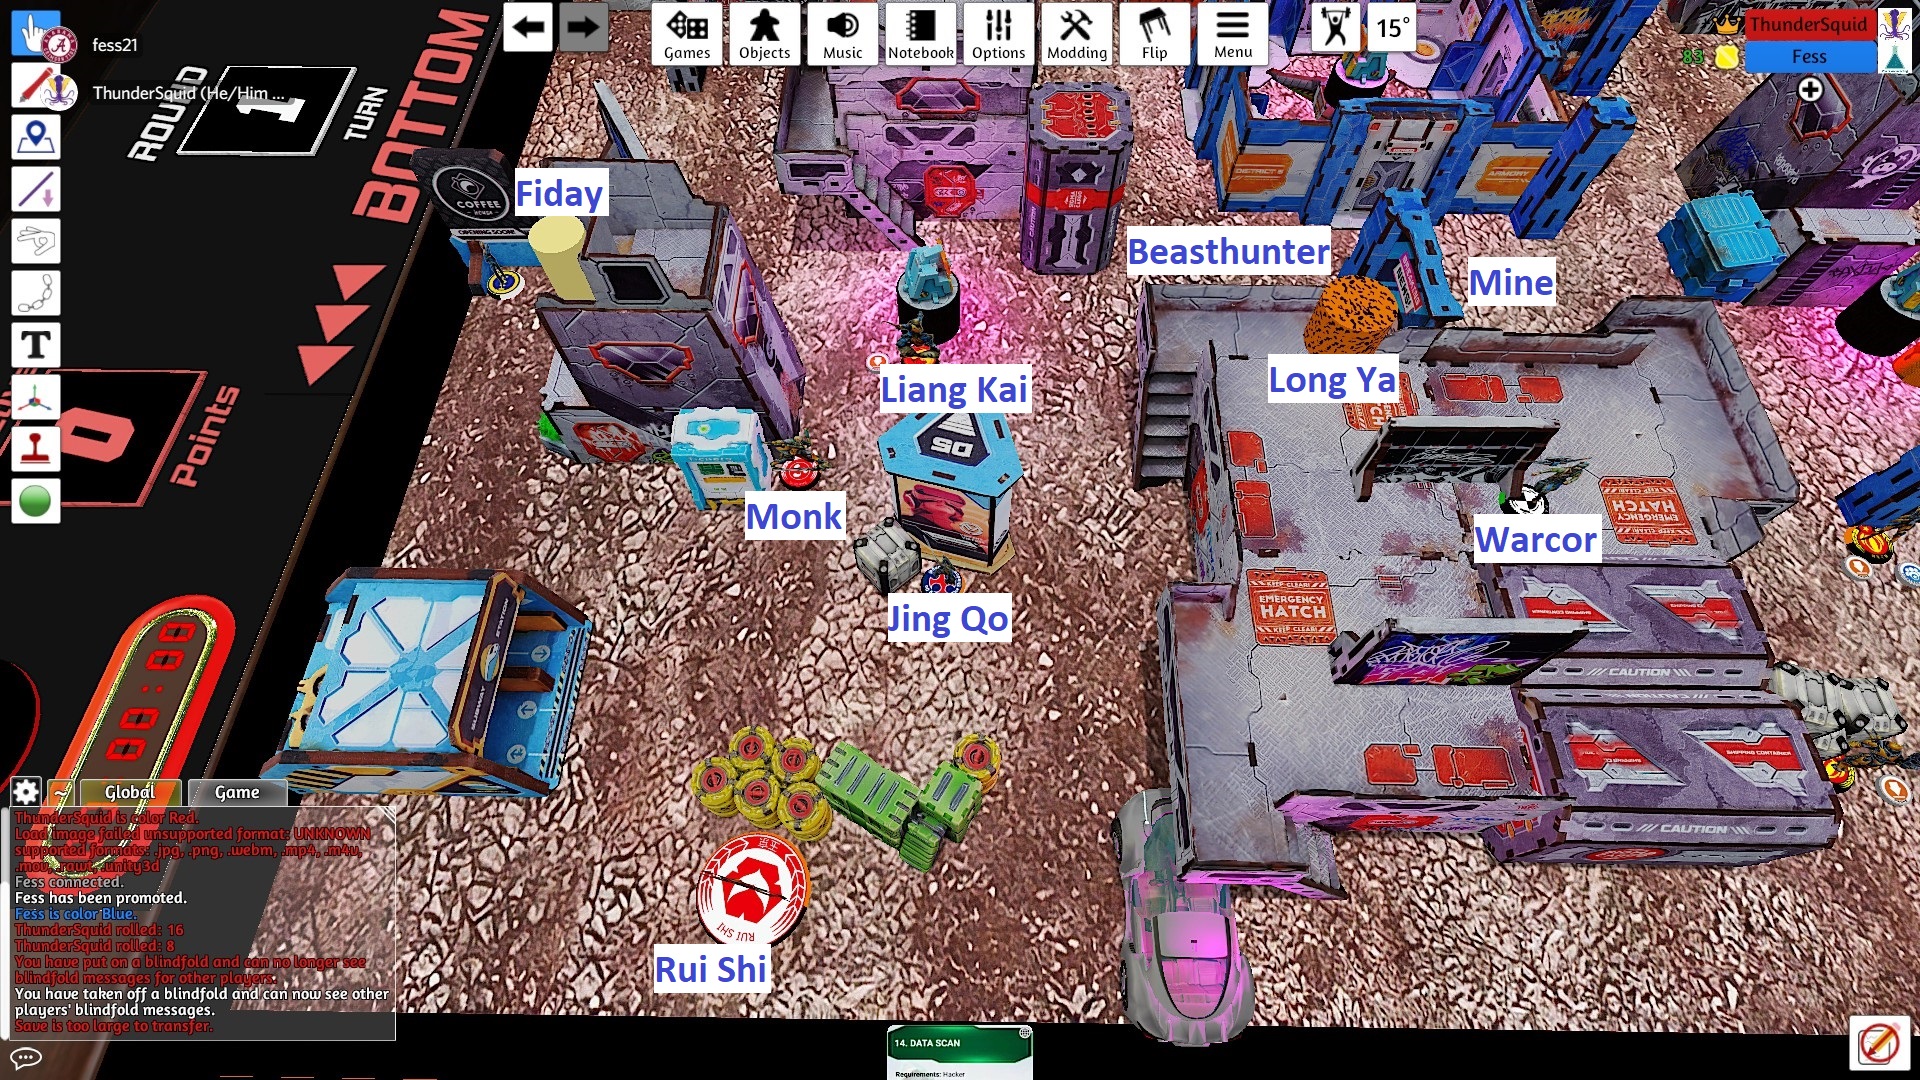
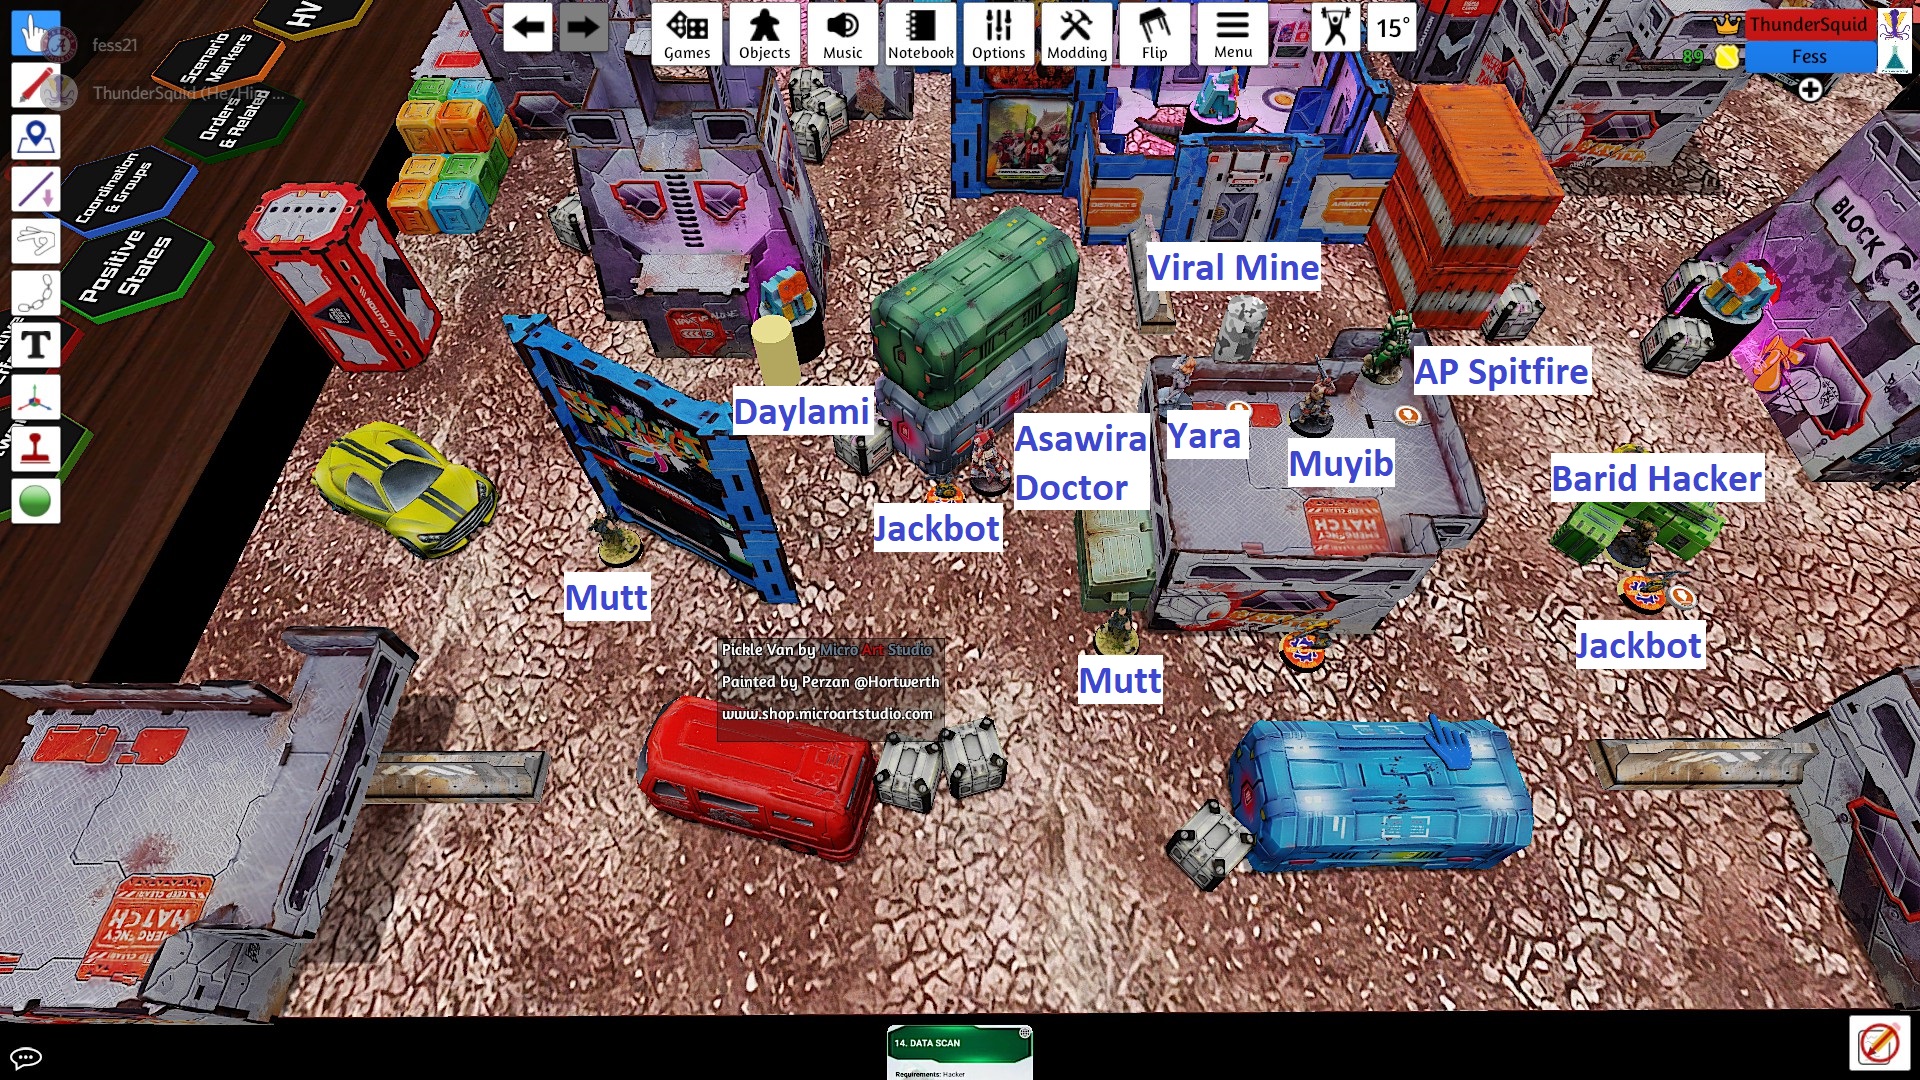
My opponent had 5 command tokens, which made his lieutenant obvious. Given that I felt my biggest threat was the hacking team, this made my first turn plan obvious. My opponent had given me first turn after I won the roll and took deployment, so I had already deployed my monk haris to go after his core.
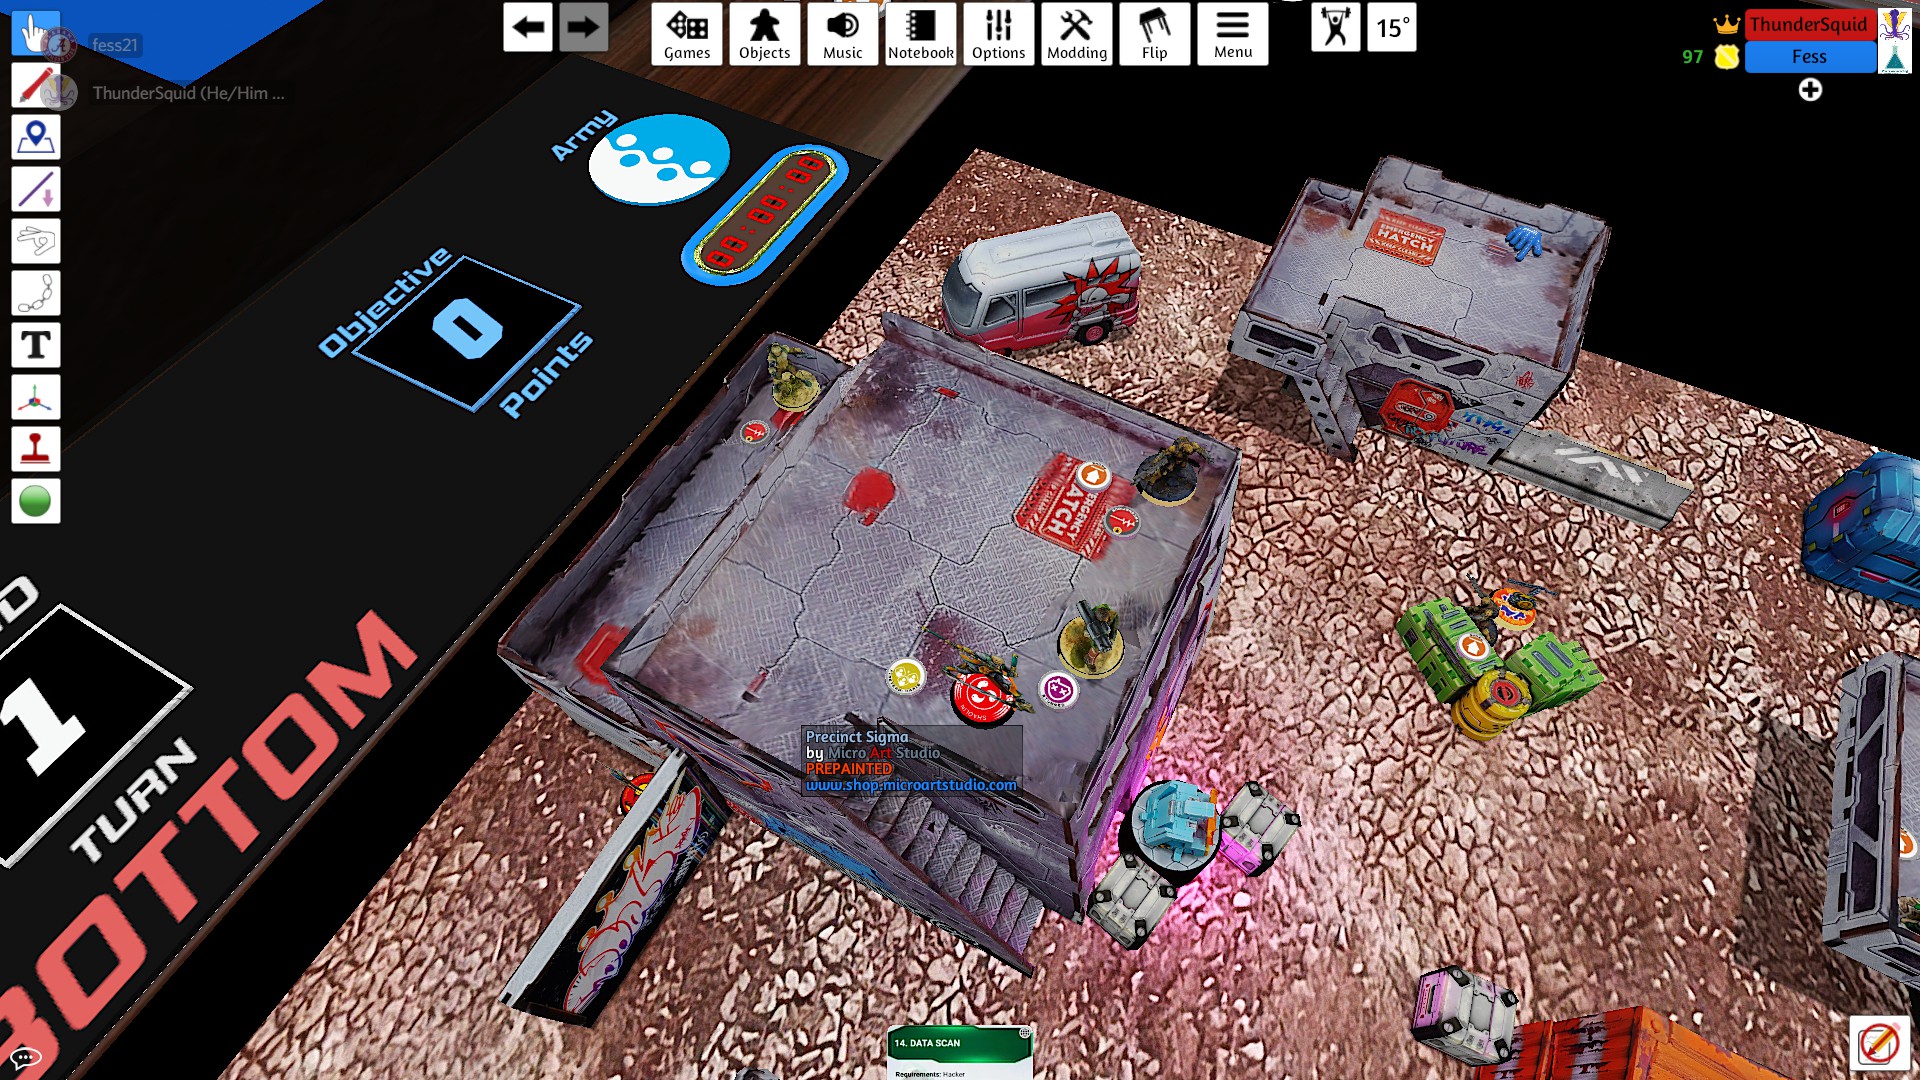
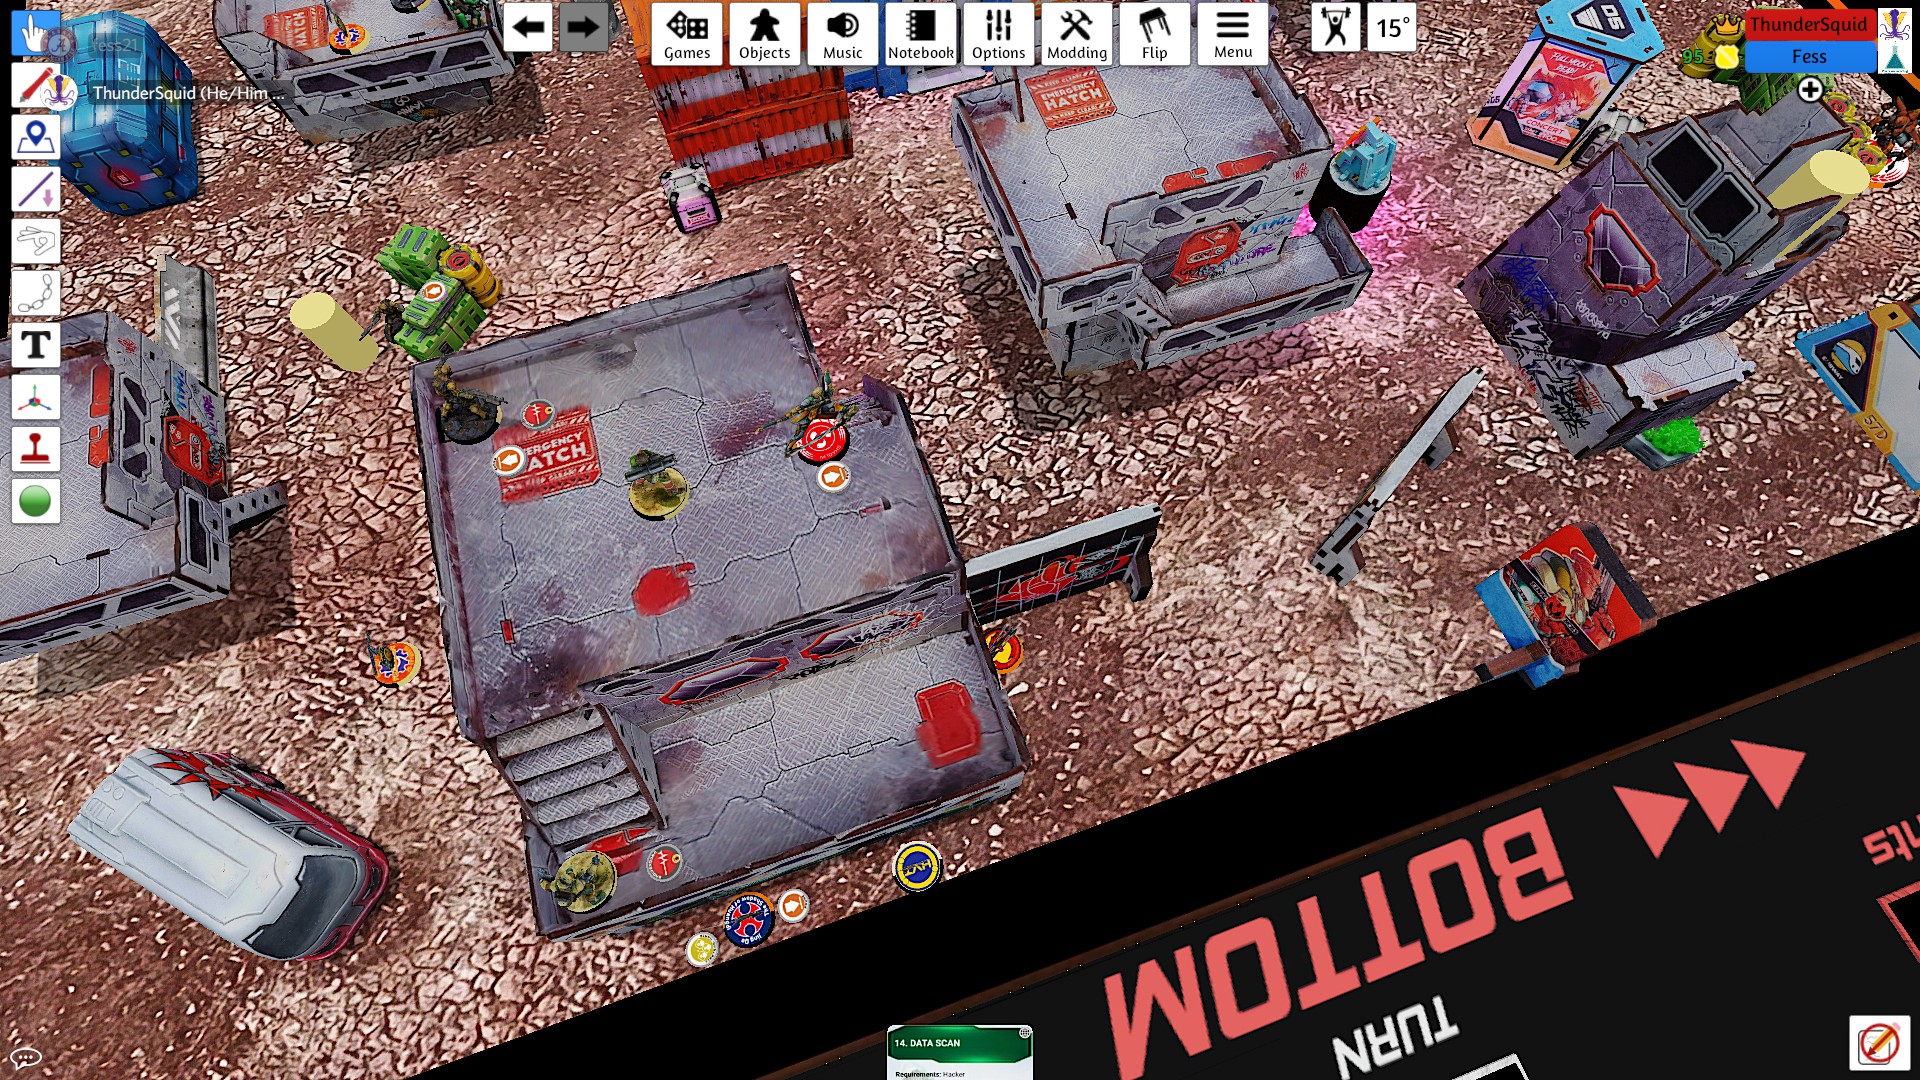
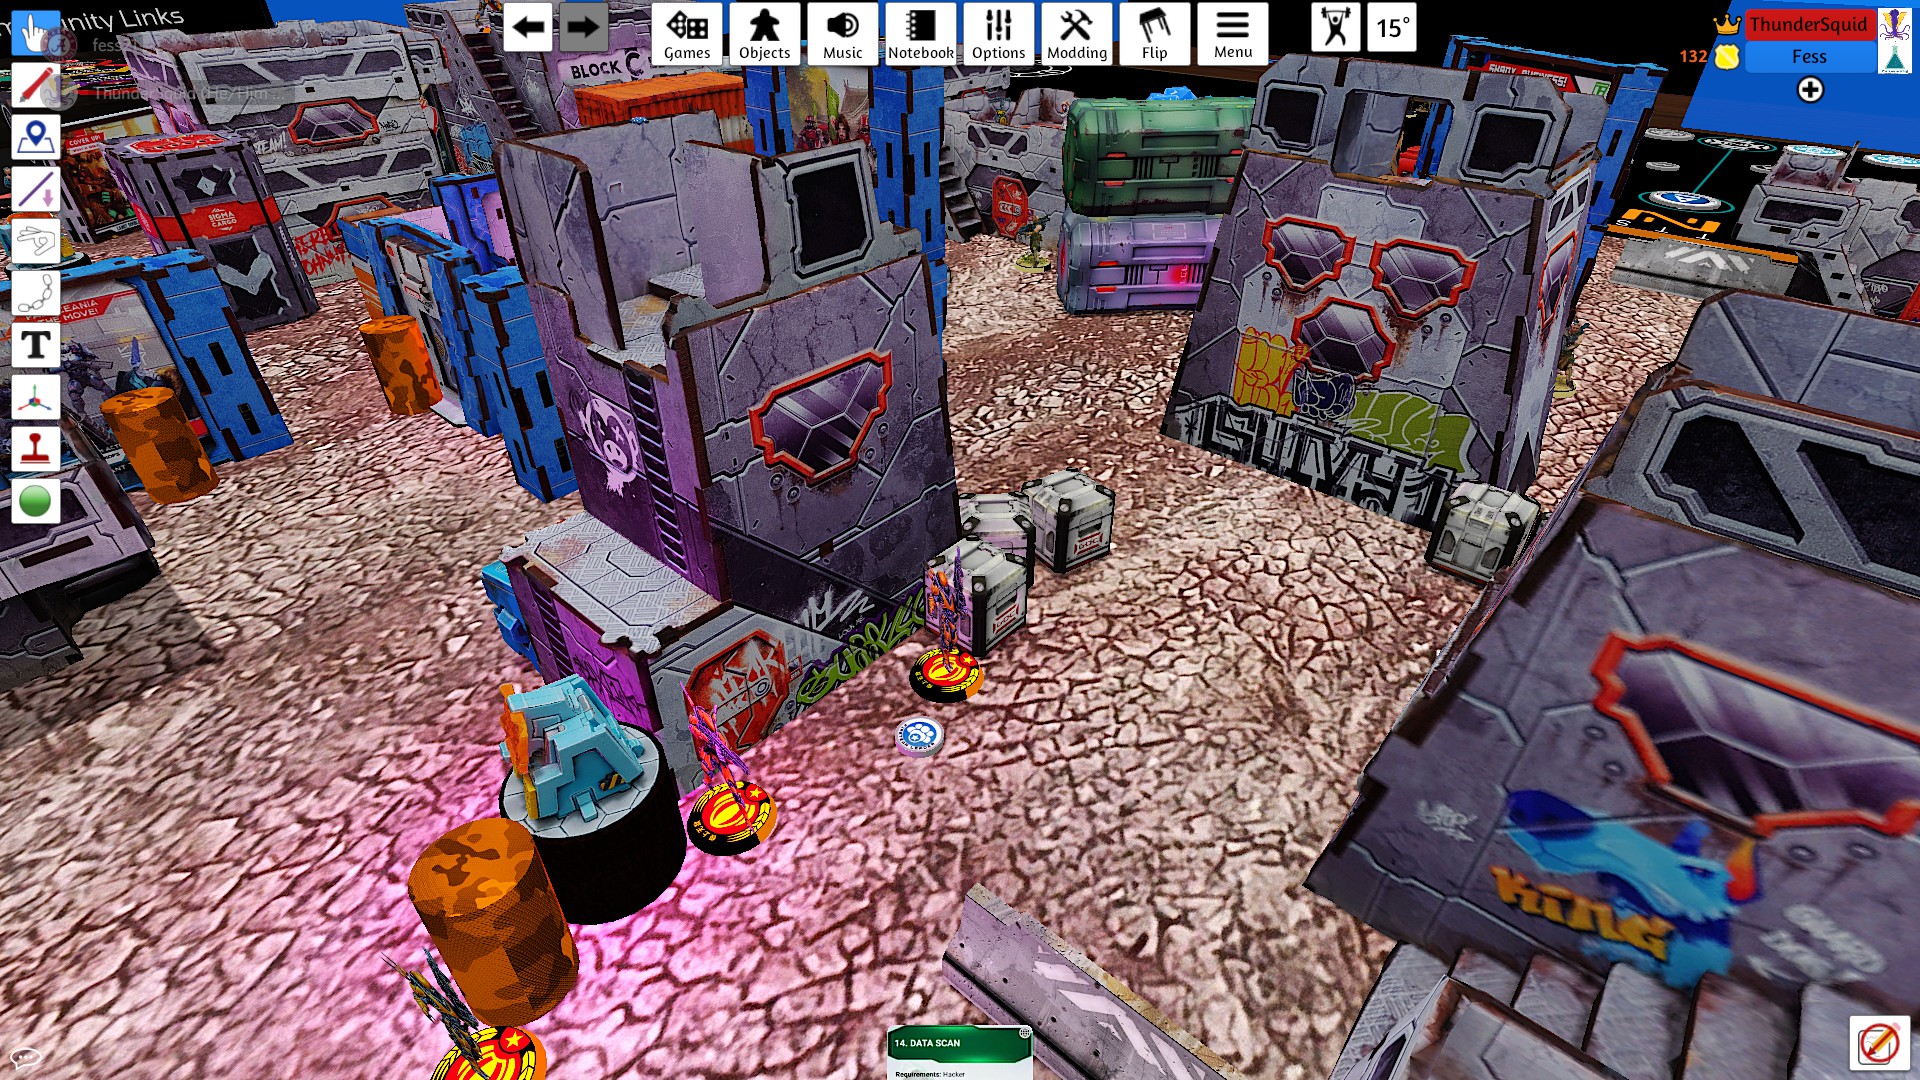
I opened up with throwing away the Warcor order on clearing the path. Through pure luck, I was able to land both the discover and flash pulse at long range against my opponent's Daylami.
I pushed my haris up to the building now uncontested, setting up positions for any of the models to attack members of my opponent's core.
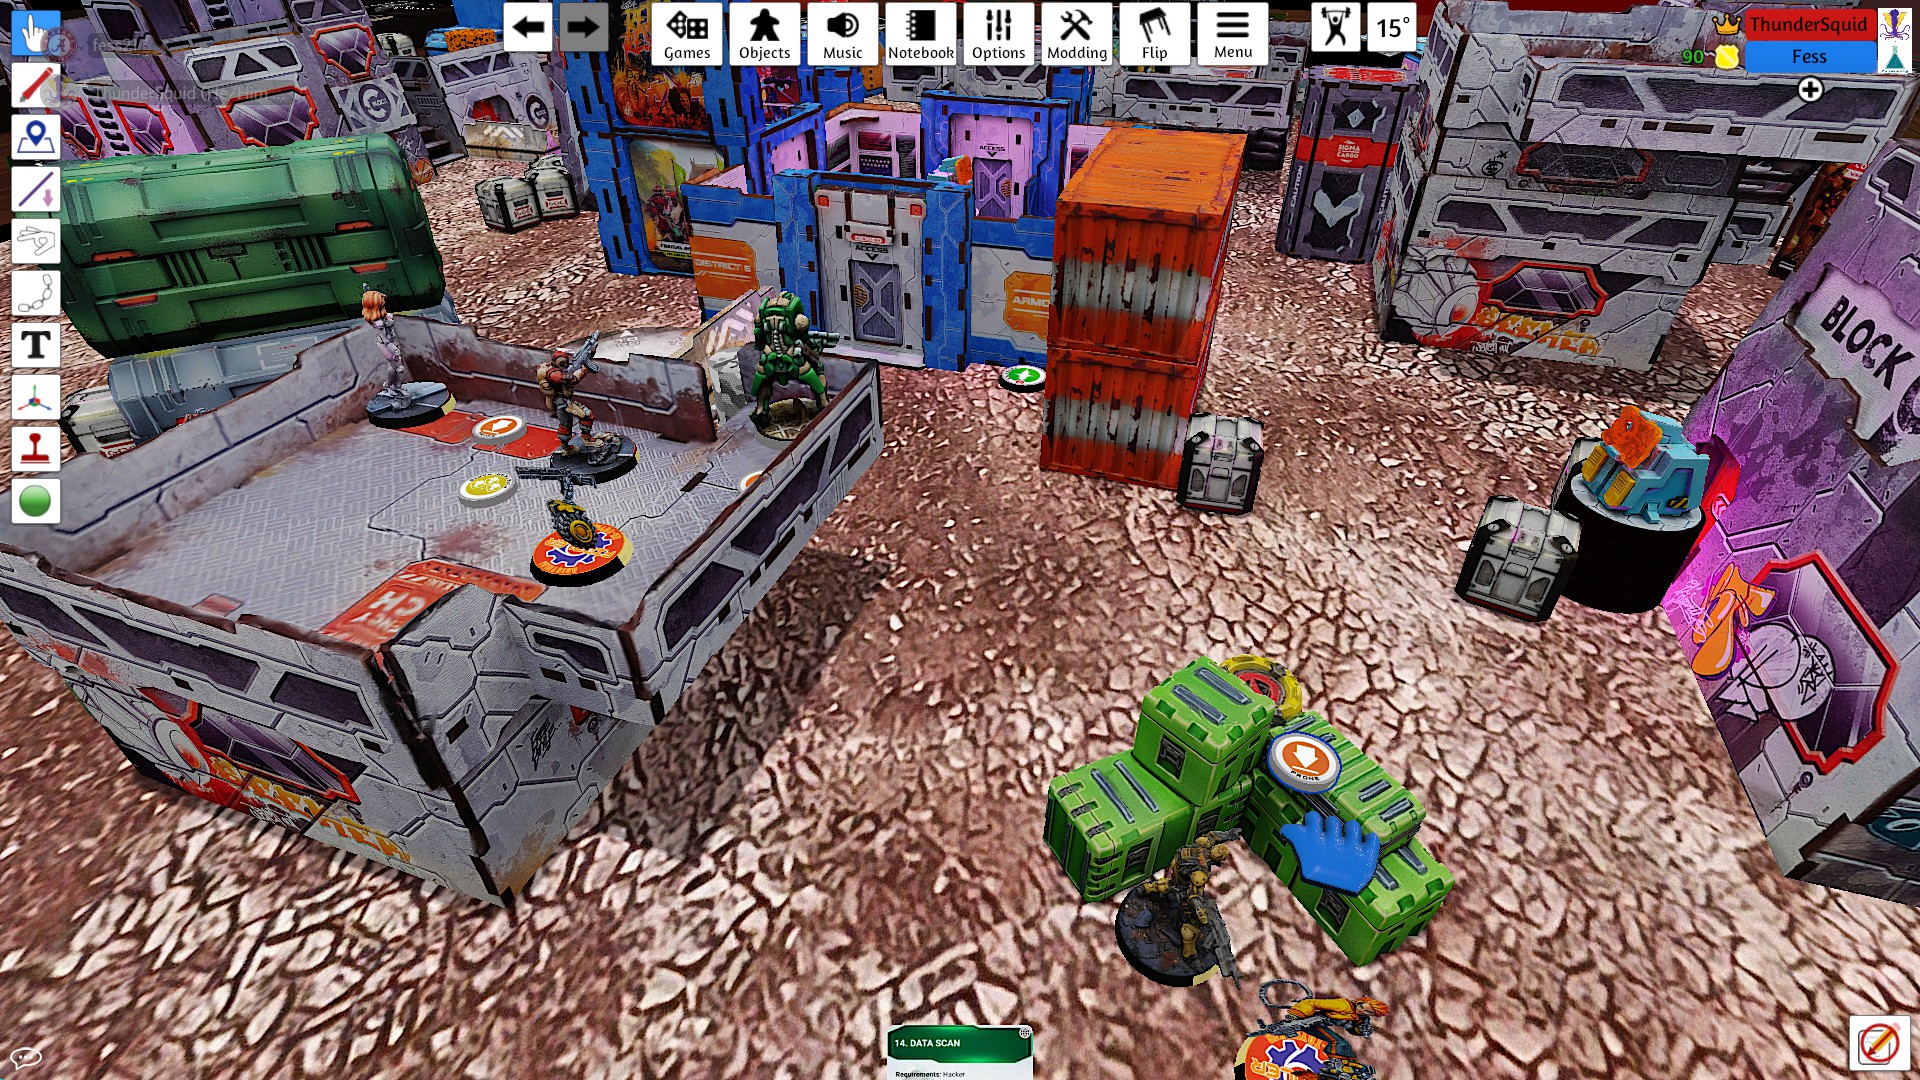
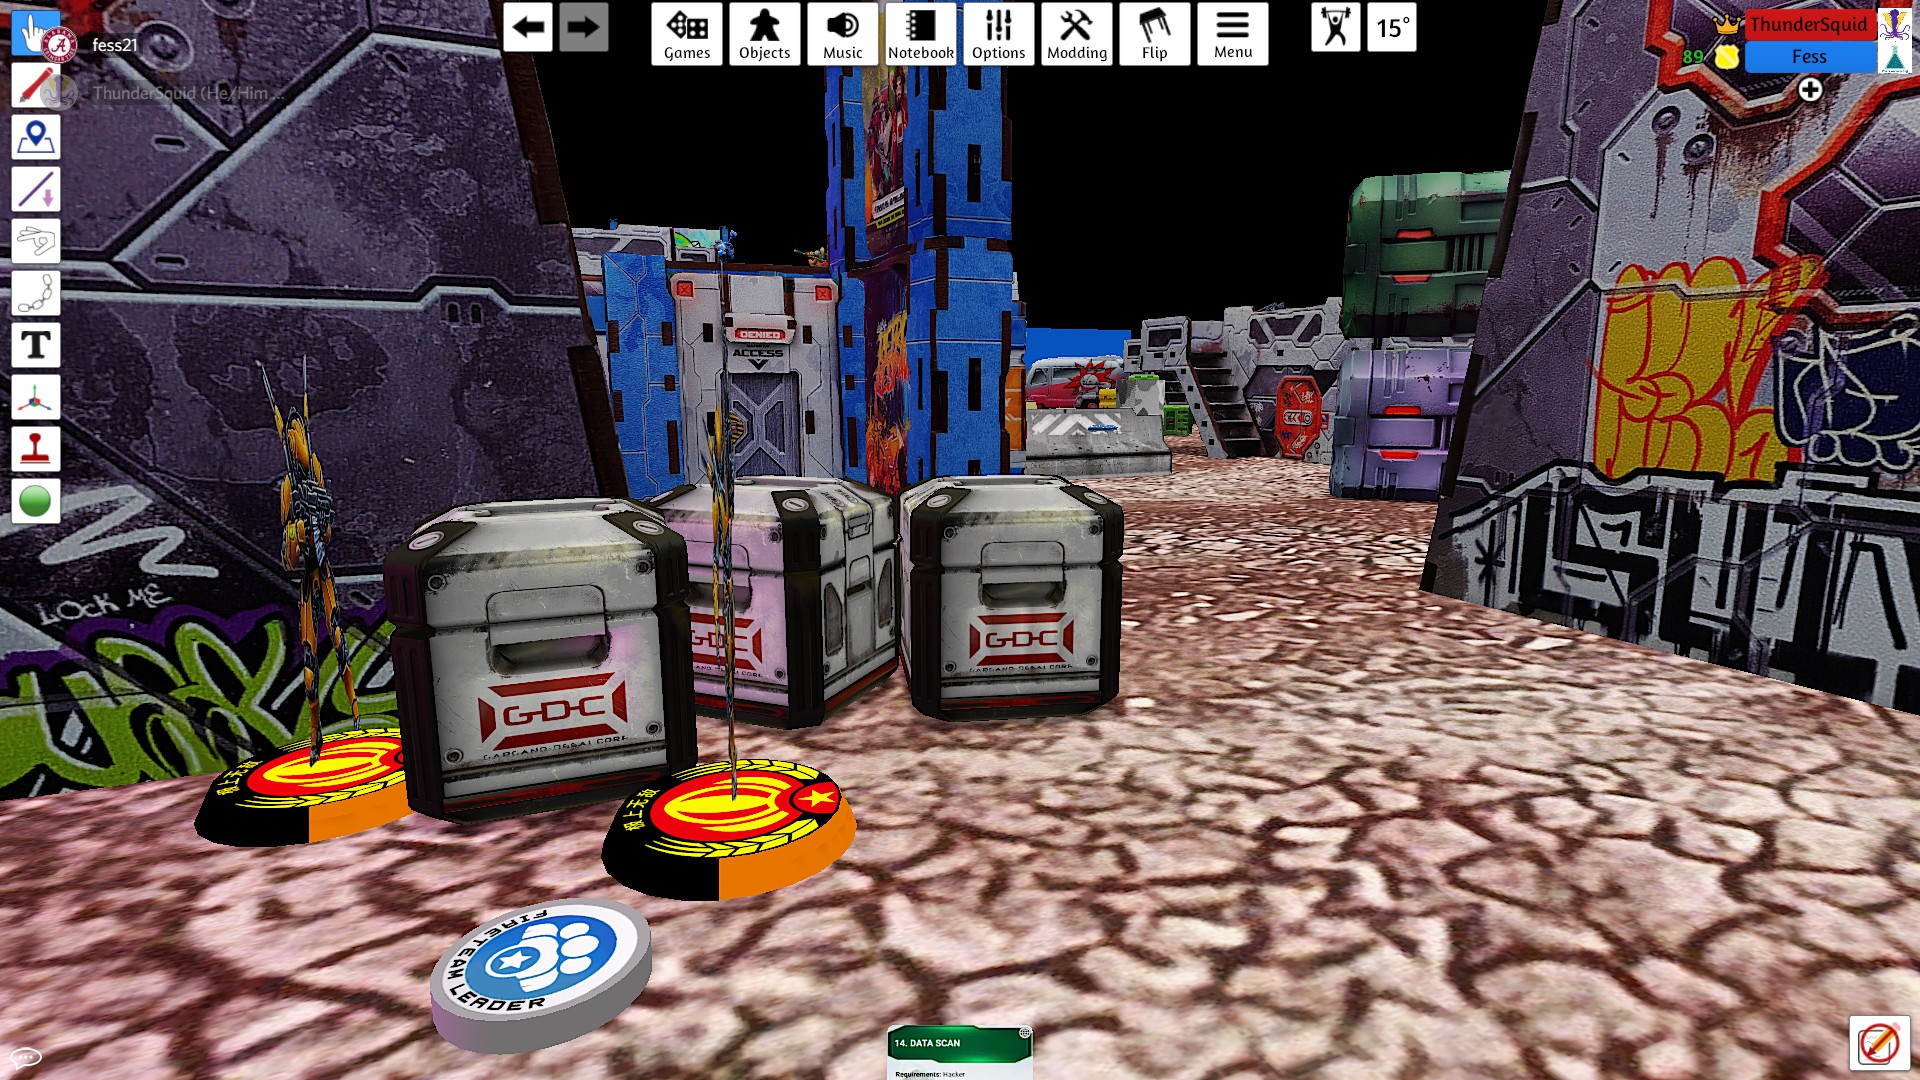
I moved in with the monk first, getting to a position where I could see two of the hackers. My opponent failed dodge and armor rolls on both of them, but the stunned Daylami made it out.
In taking out the hackers, I exposed to monk to shots from my opponent's Muyib. He missed with those, but it forced me to spend my next order throwing smoke to keep the monk alive.
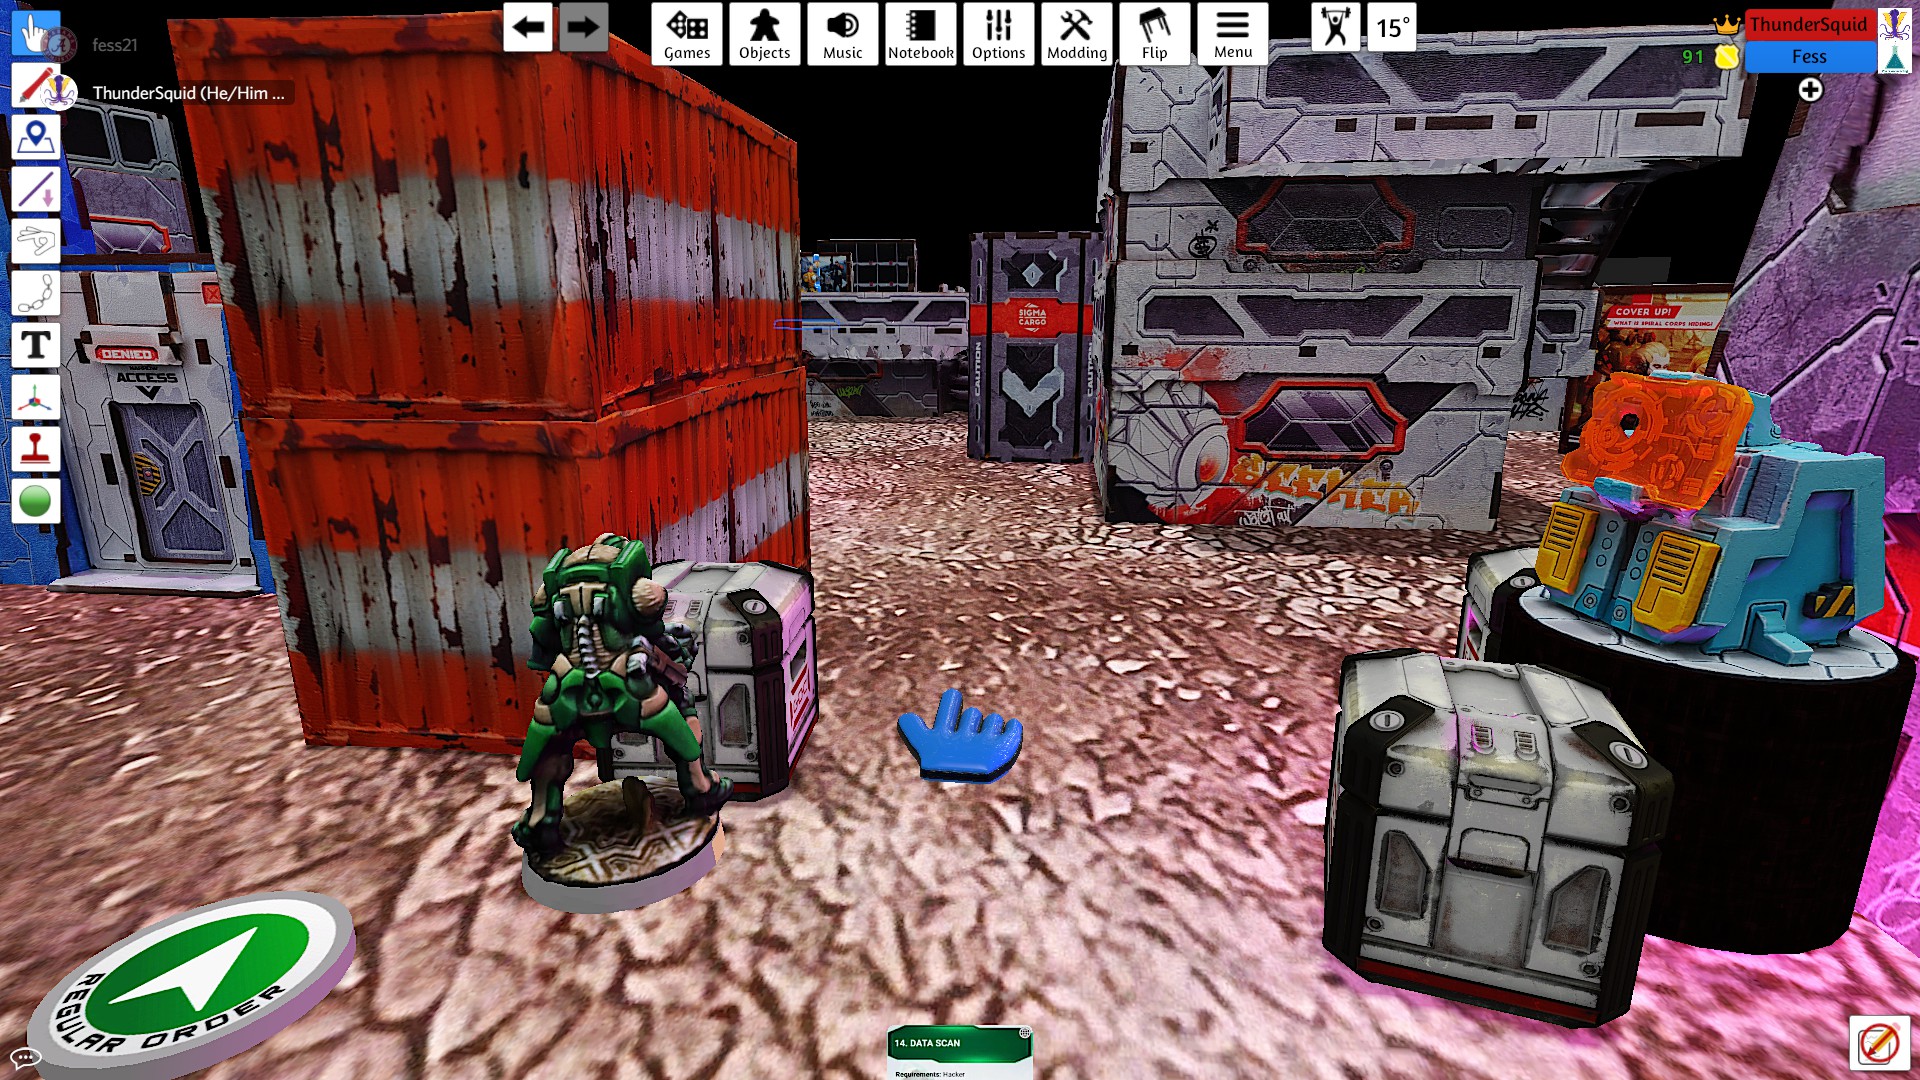
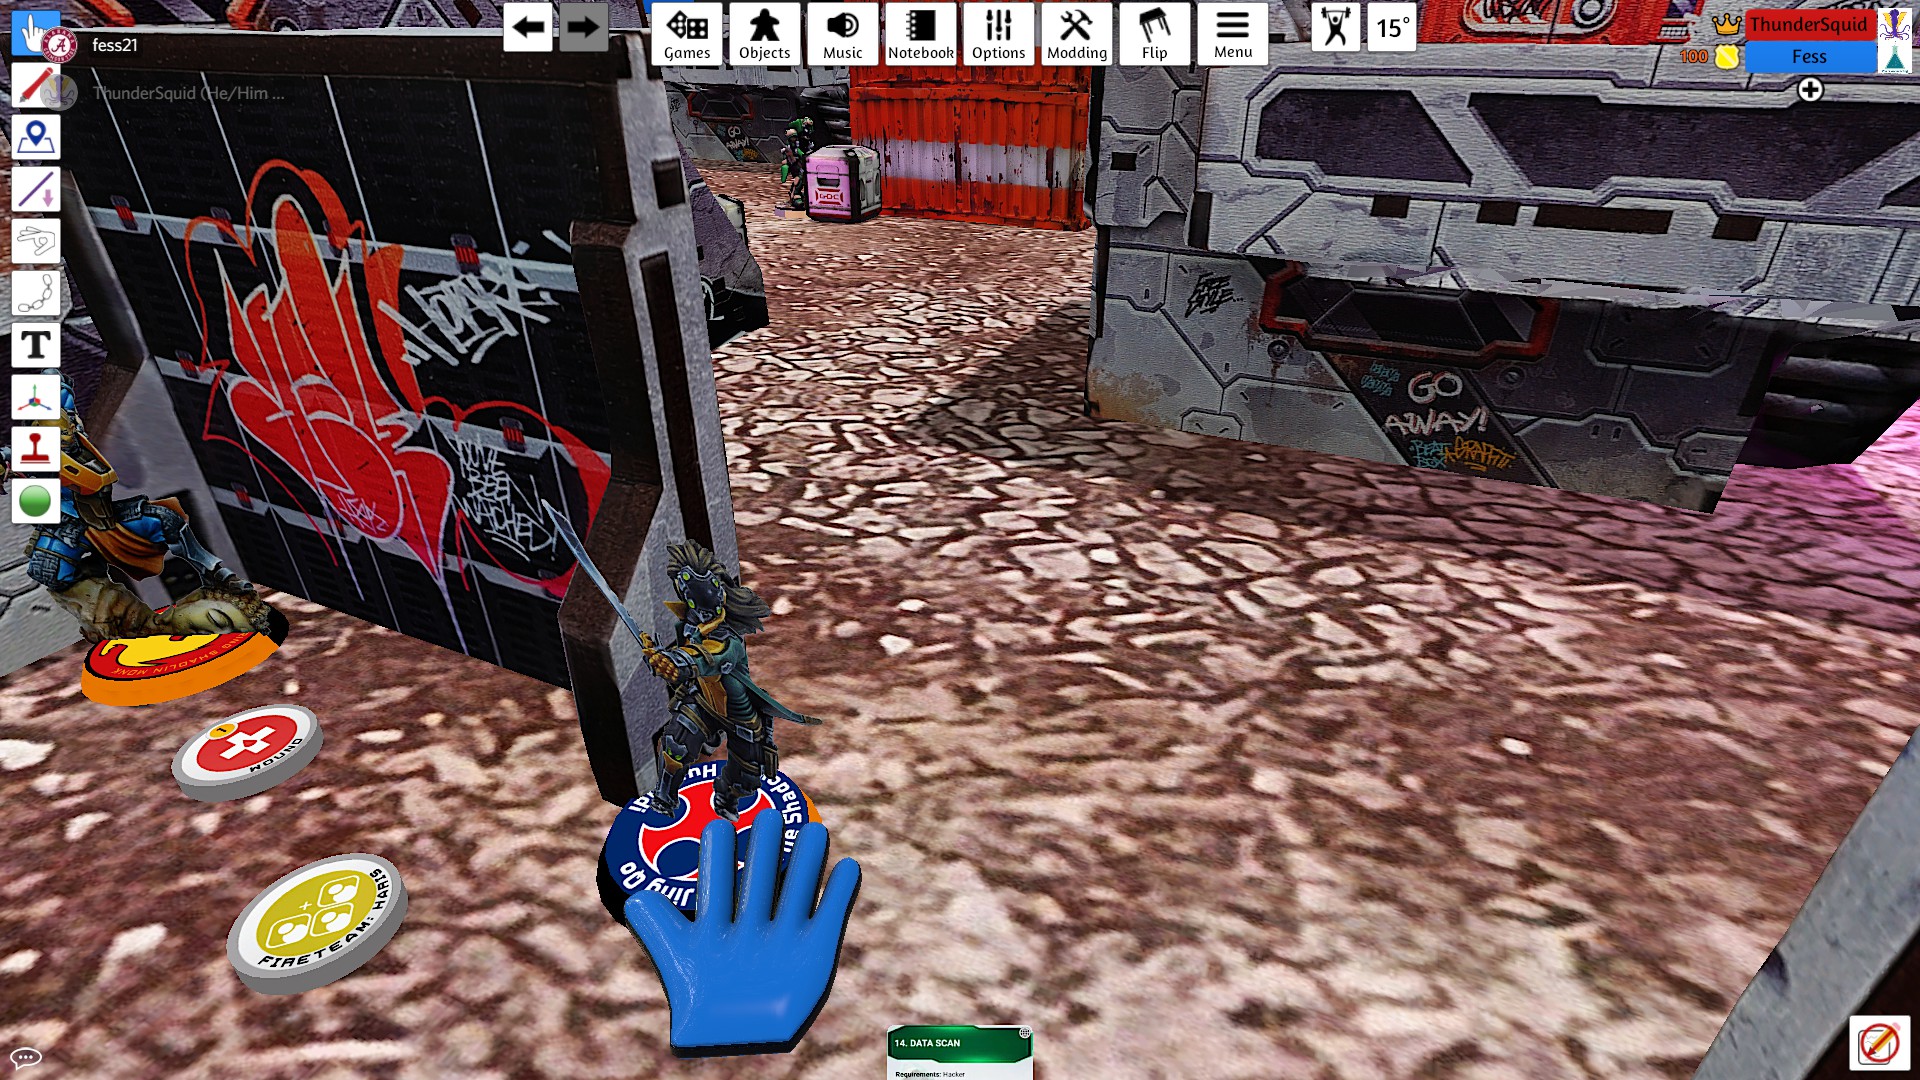
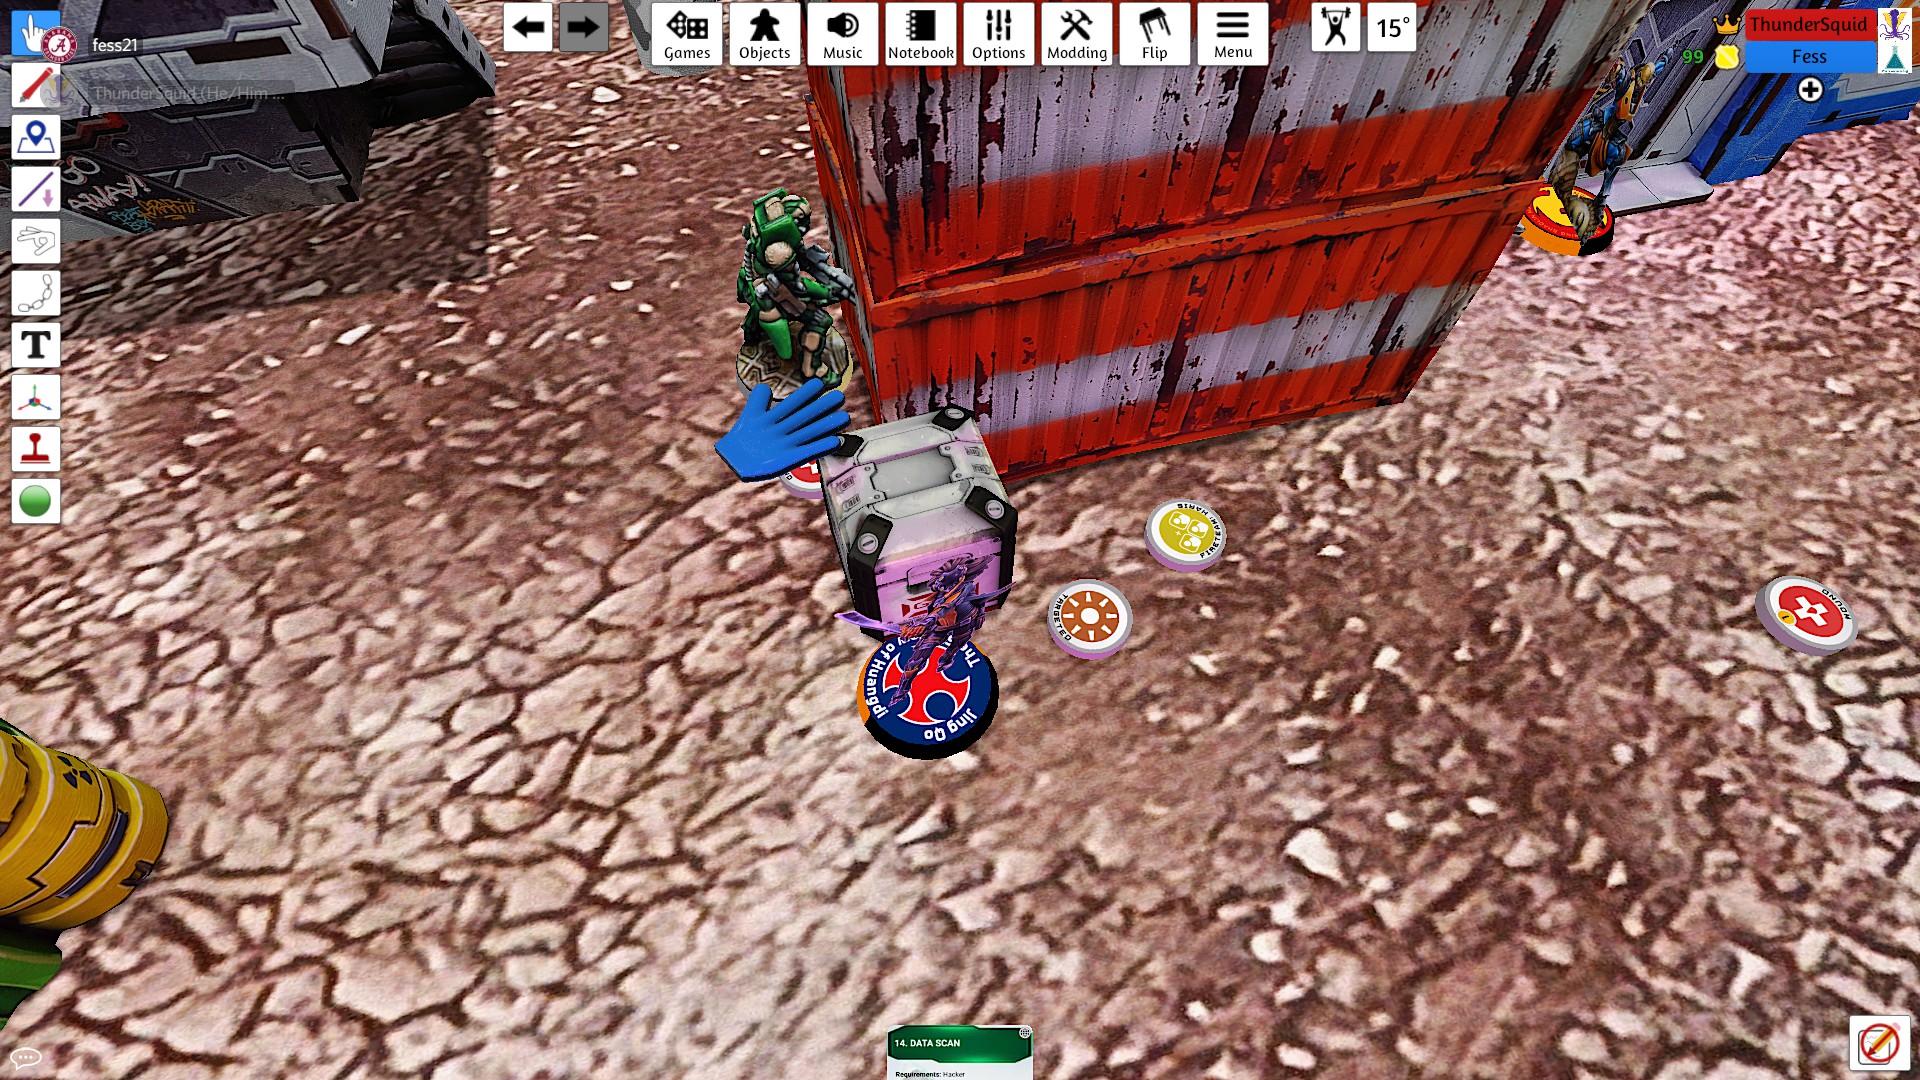
With two of the three hackers dead, my next target was the obvious lieutenant. I moved Jing Qo up to catch her around a corner.
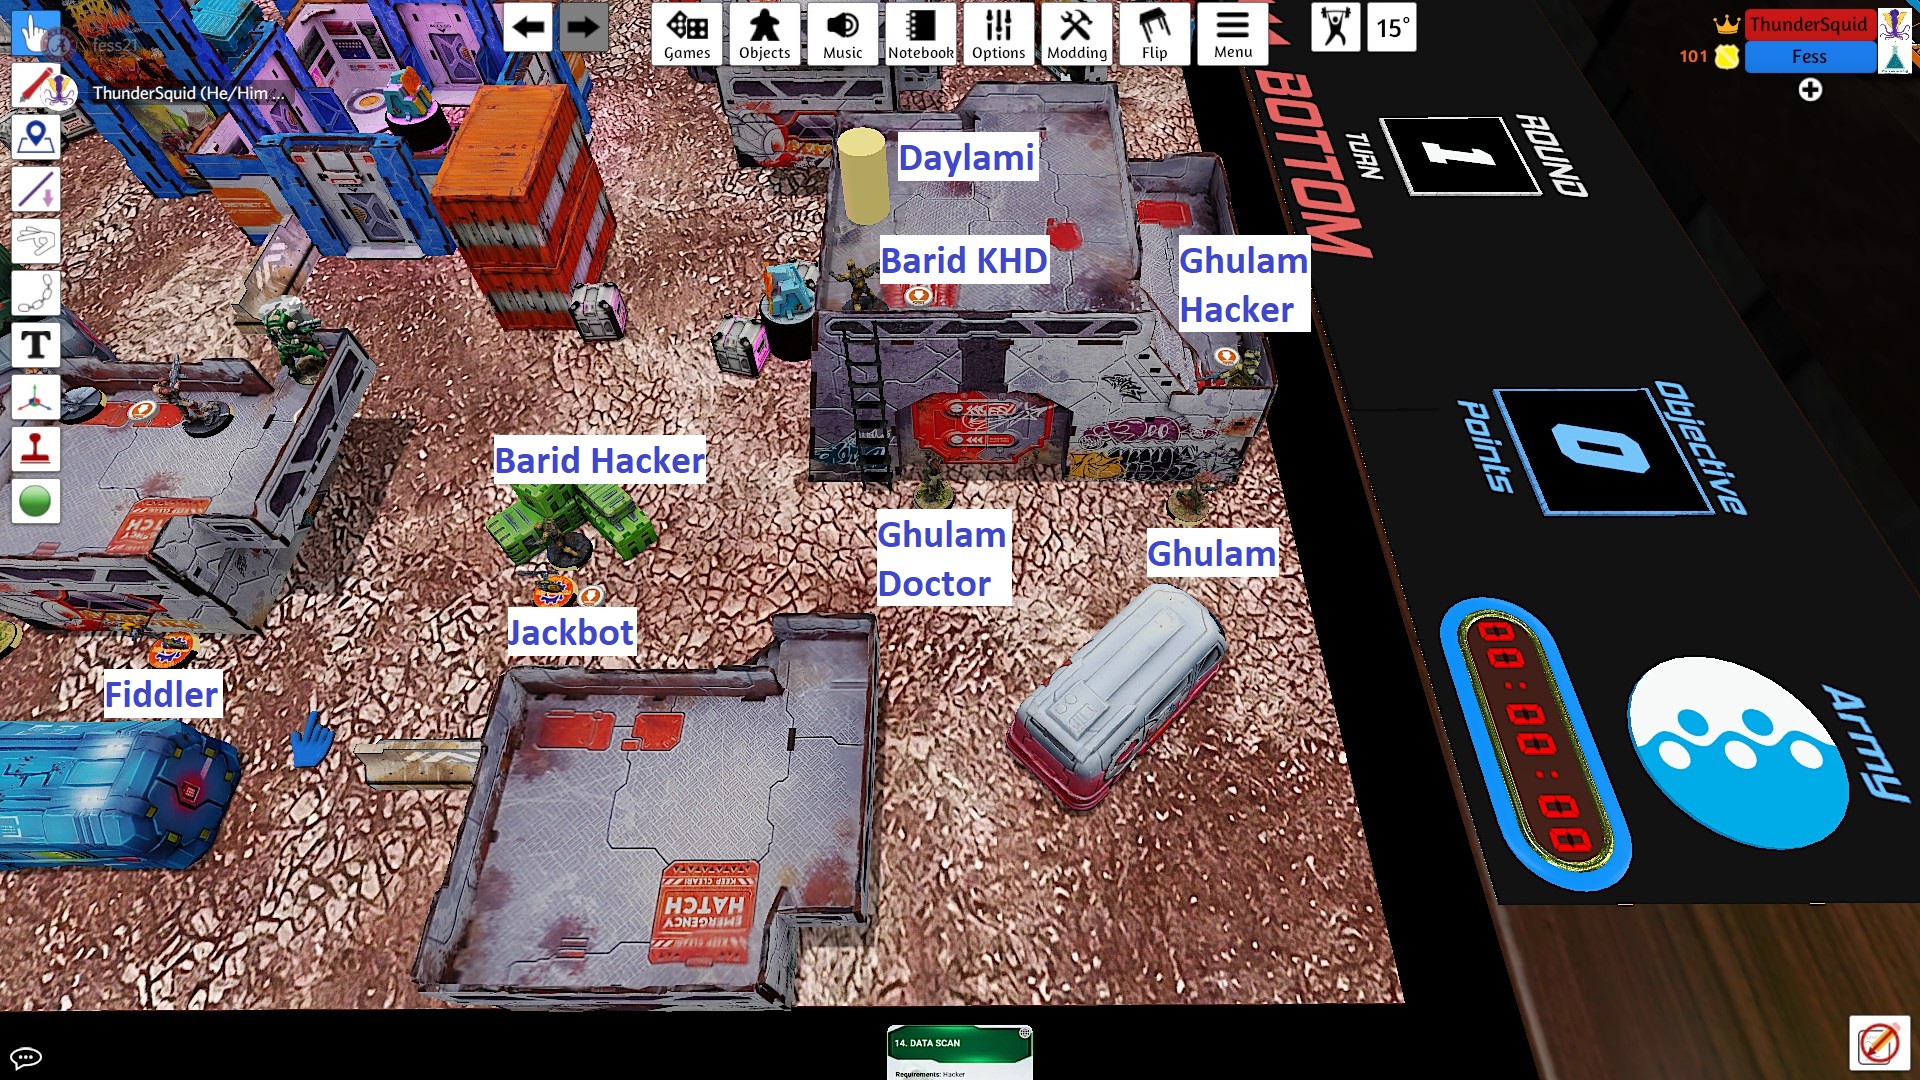
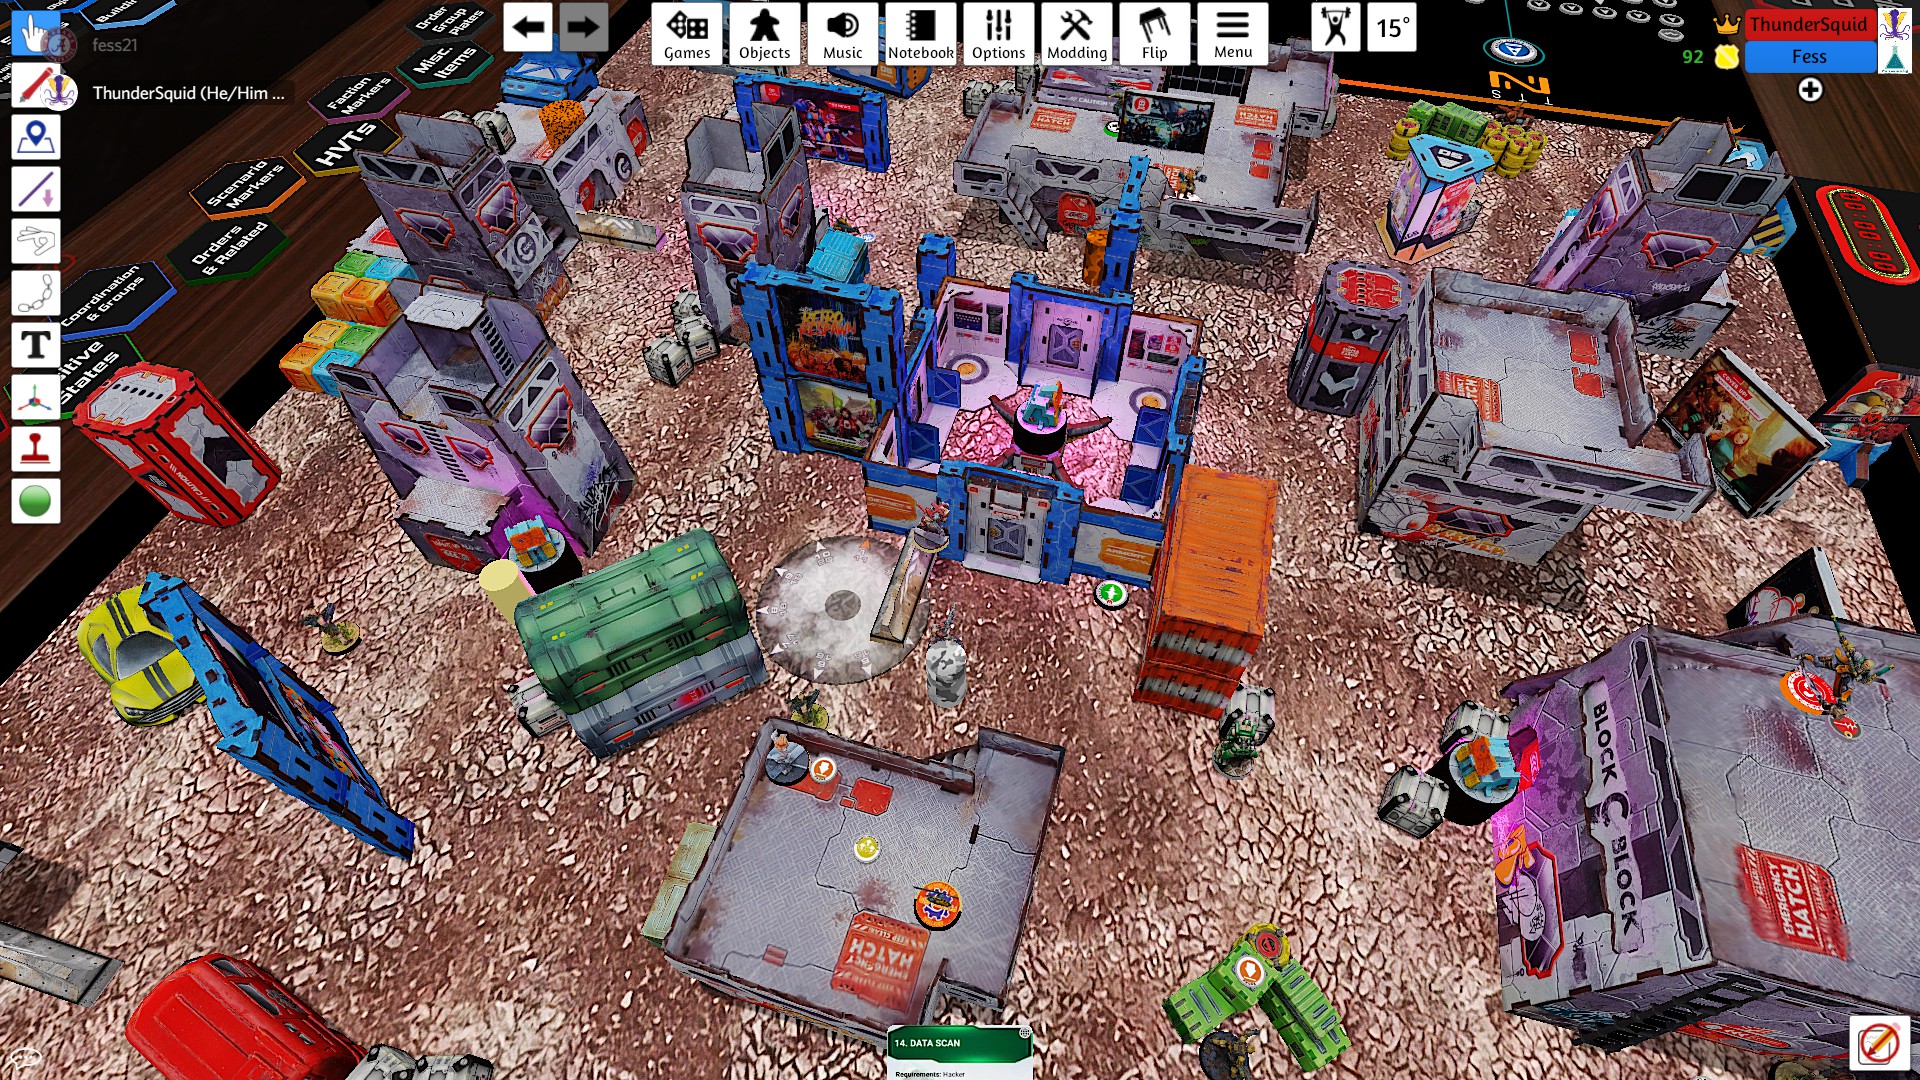
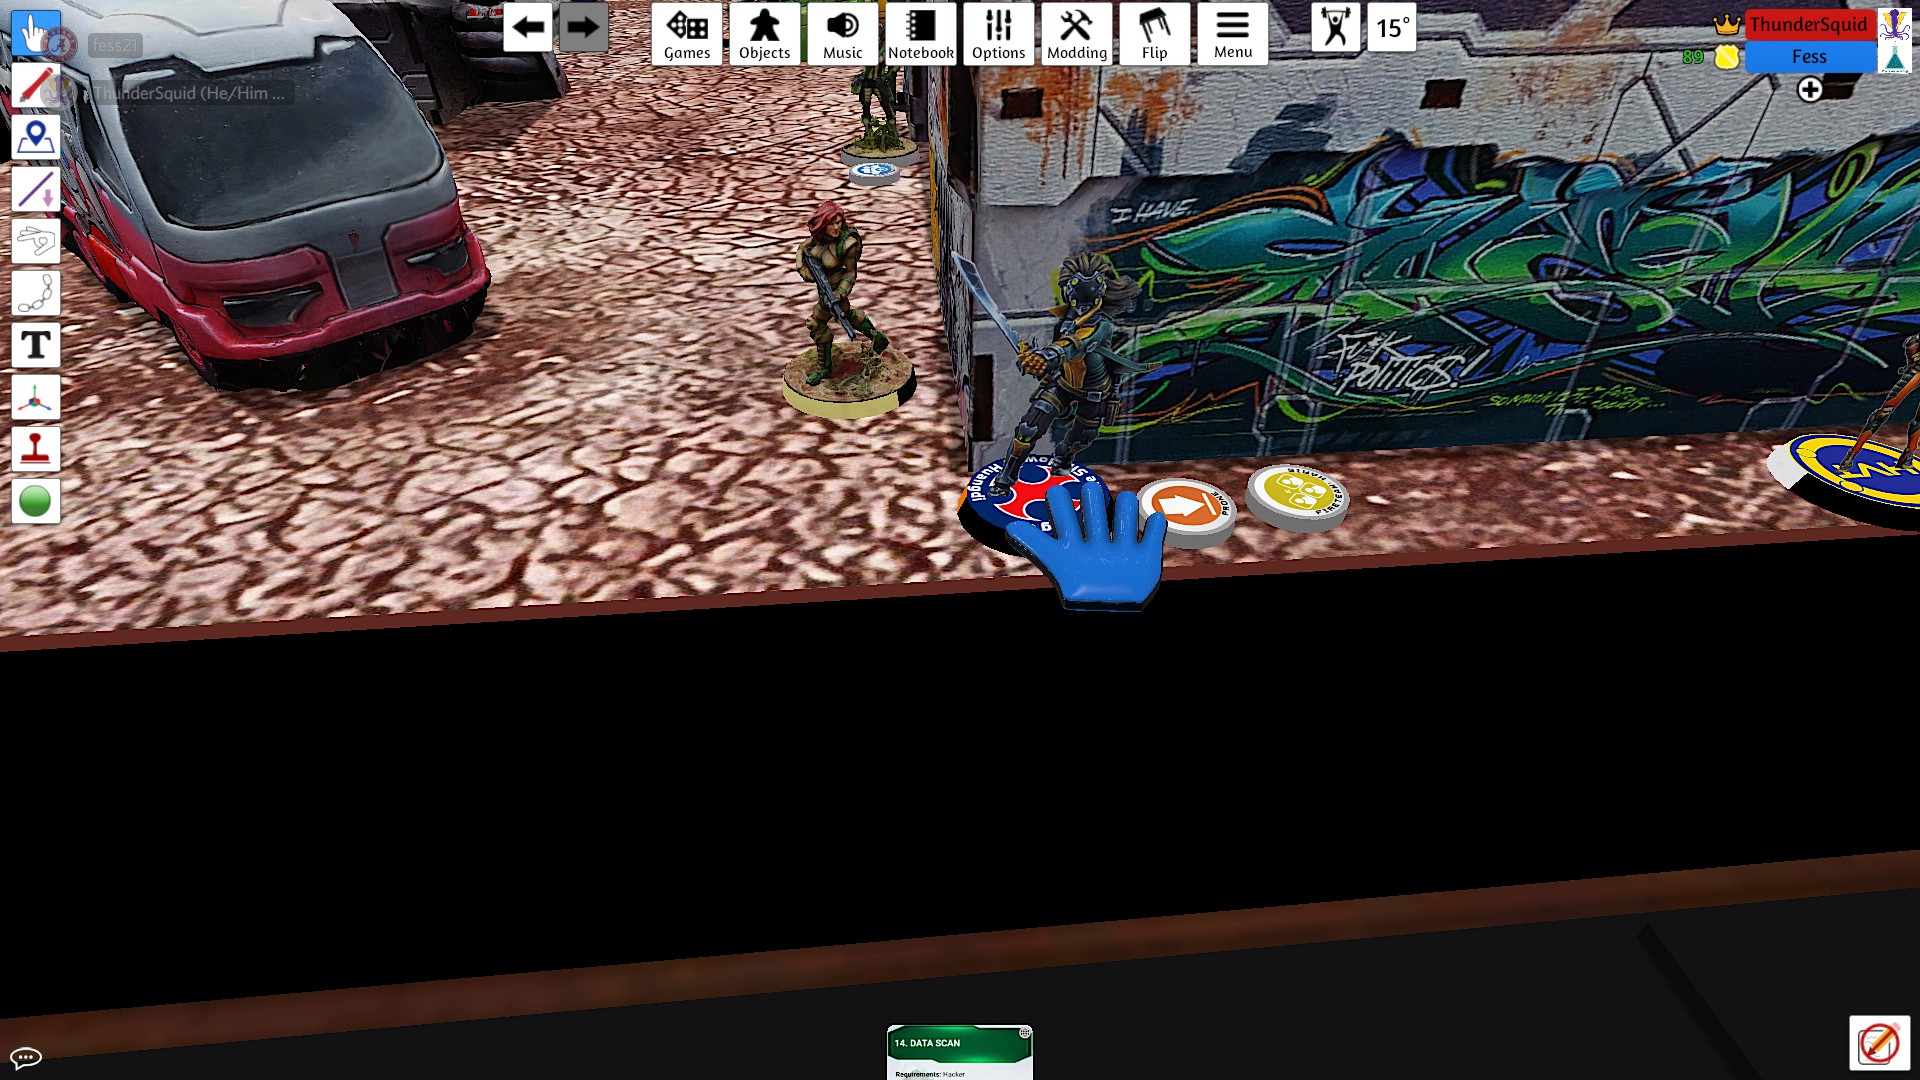 My opponent was having some difficulty with TTS. The Ghulam was meant to be up against the building.
My opponent weight some bad options and decided to take 2 shots in hit mode. Not wanting to take free hits, I decided to contest it and Jing Qo won out with more dice on better numbers. I made the mistake of leaving Jing Qo out after this, now visible to several enemies.
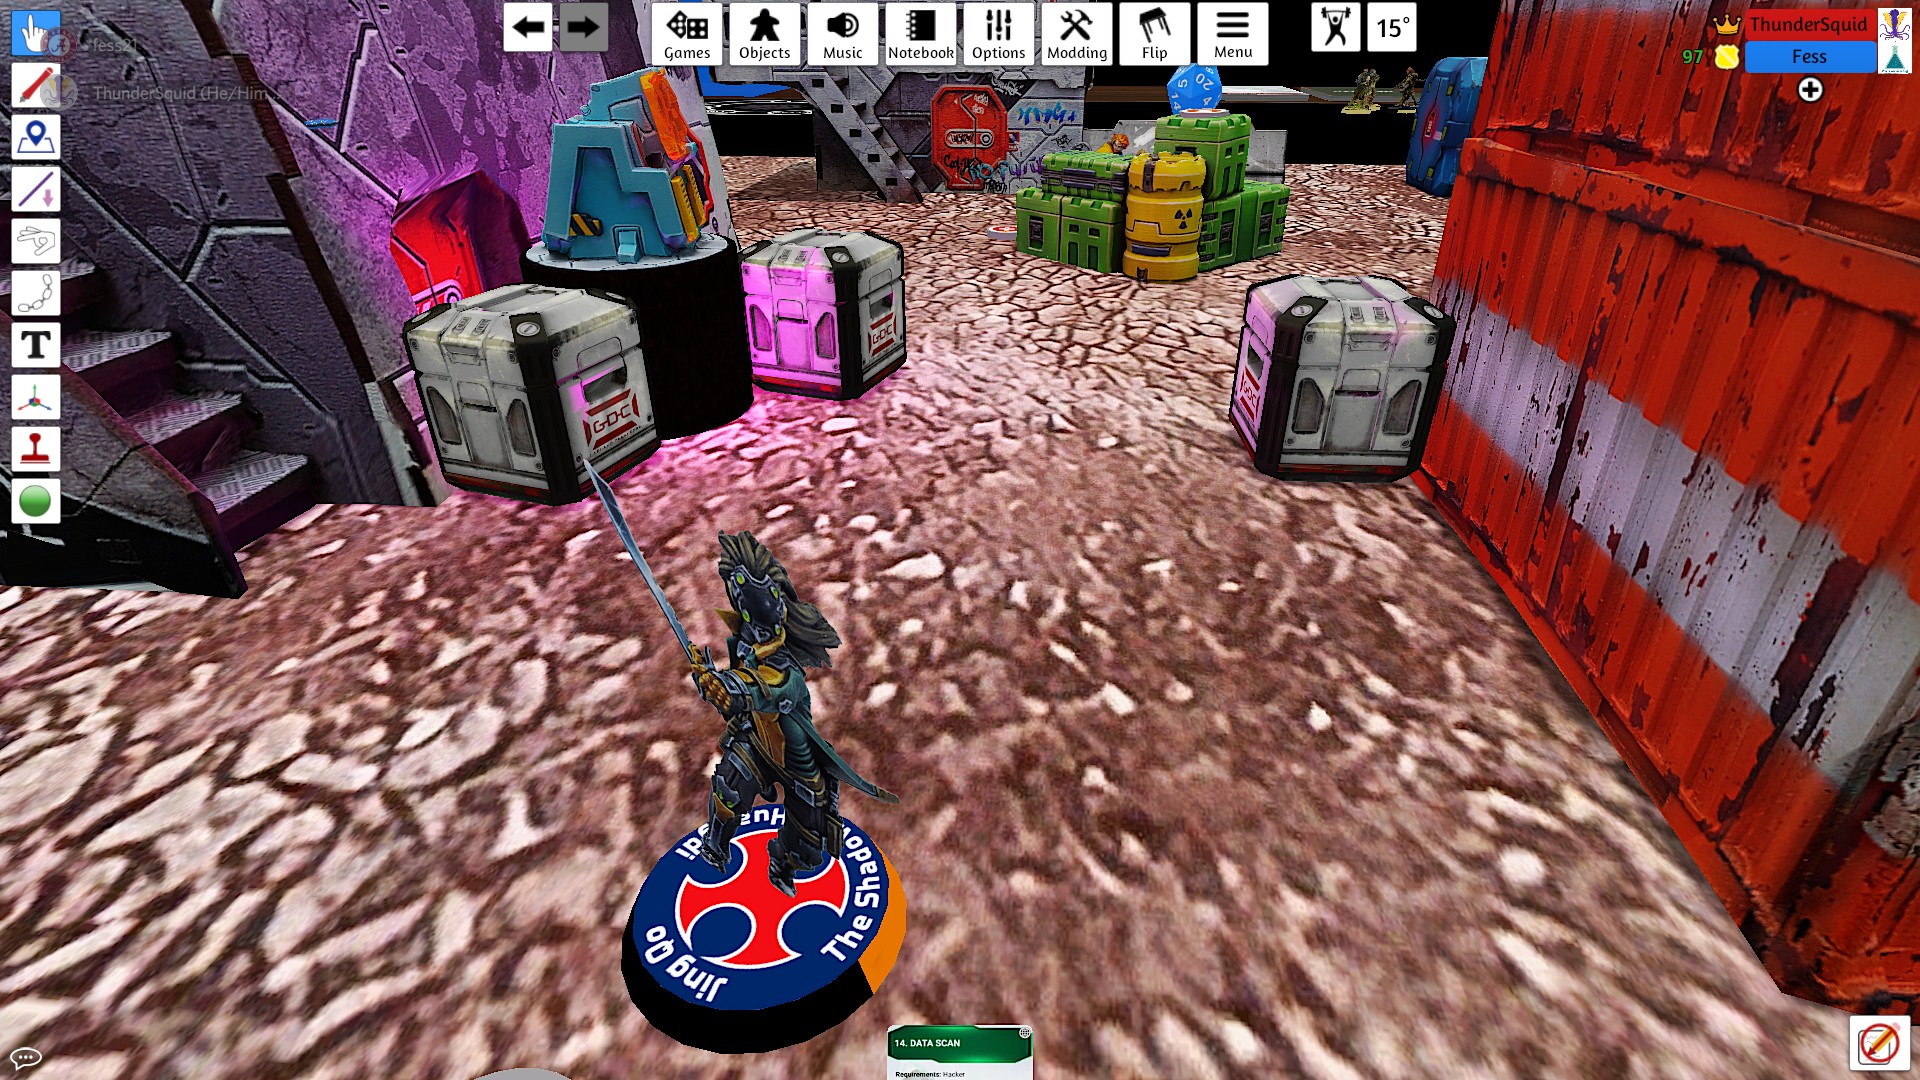
Jing Qo pulled back around the corner, seeing the doctor, the remaining Barid, Fiddler, and a Jackbot. Some shots were exchanged, and no damage was done.
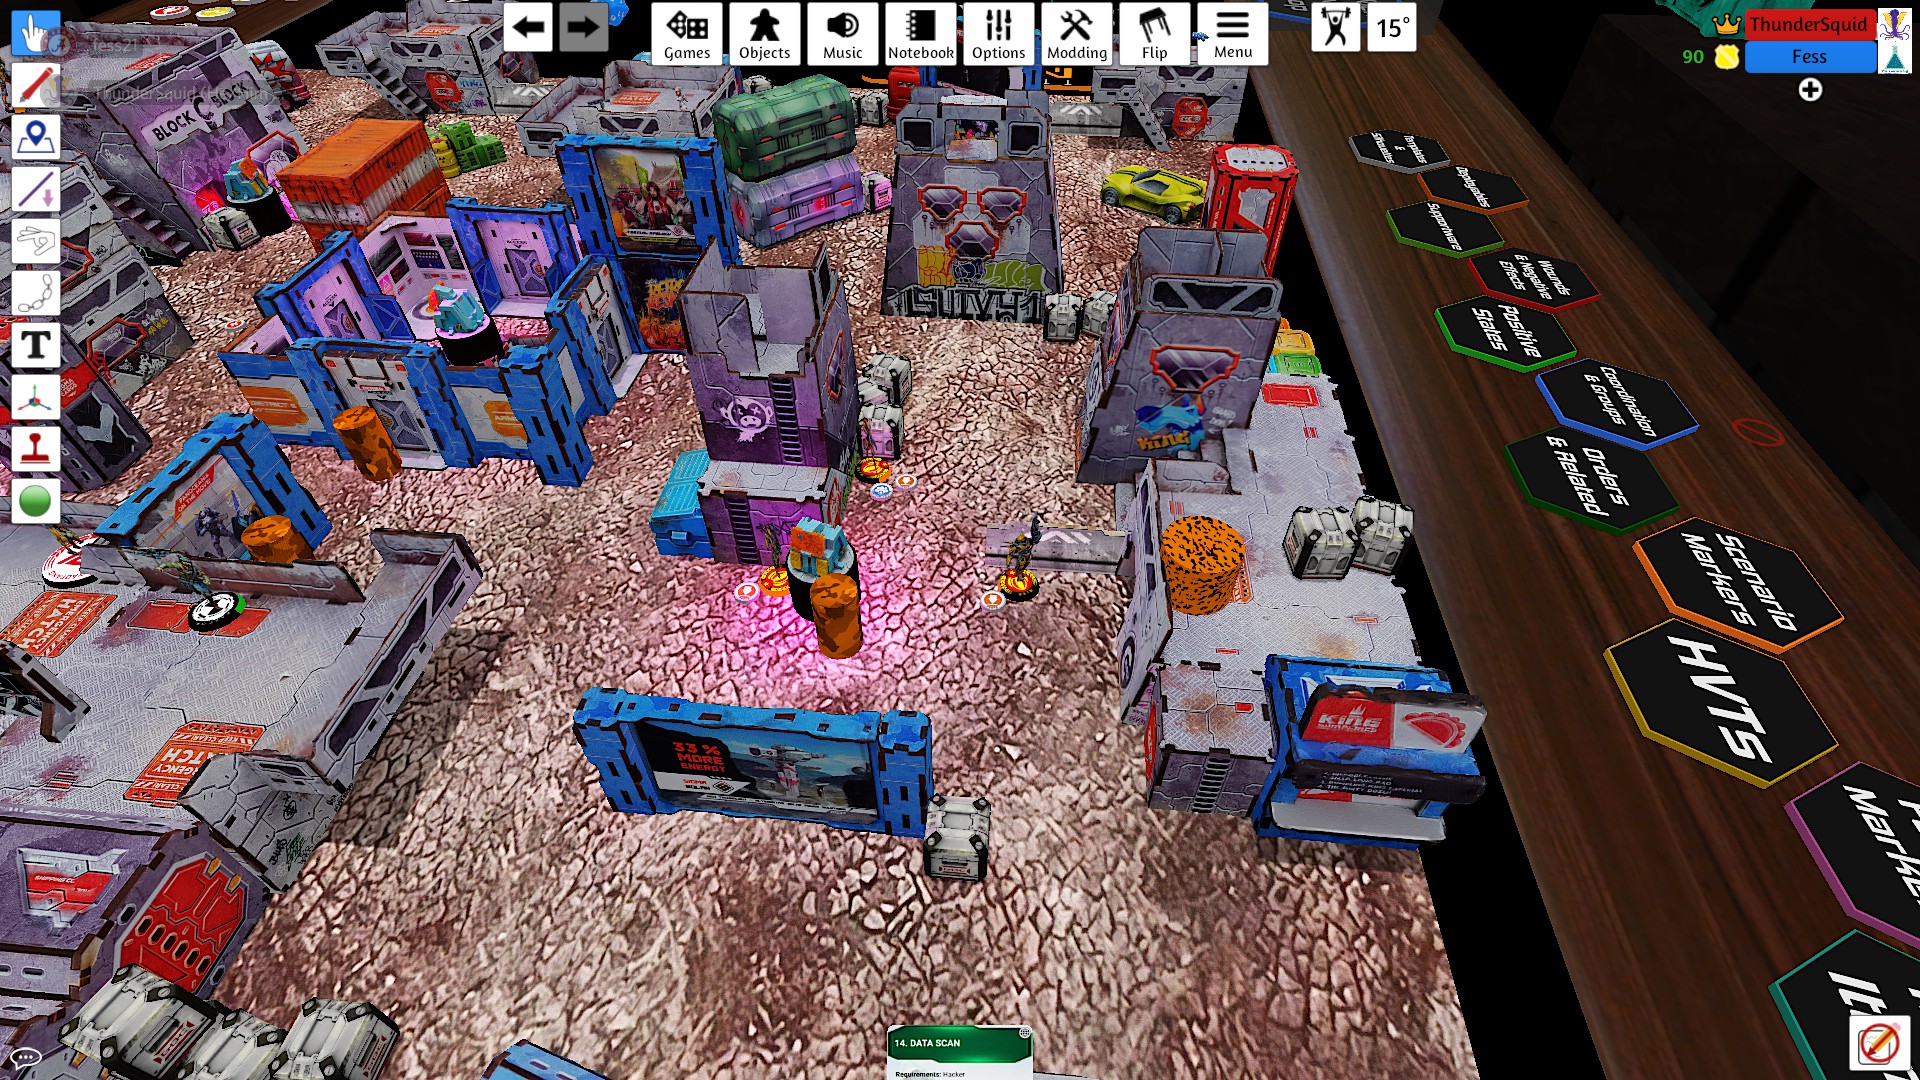
With only my tactical awareness order remaining, I moved my Shang Ji team forward to help them be more efficient next turn.
I only killed three models on my opponent's turn, but I was able to put him into loss of lieutenant, which severely limited his ability to do anything on his turn.
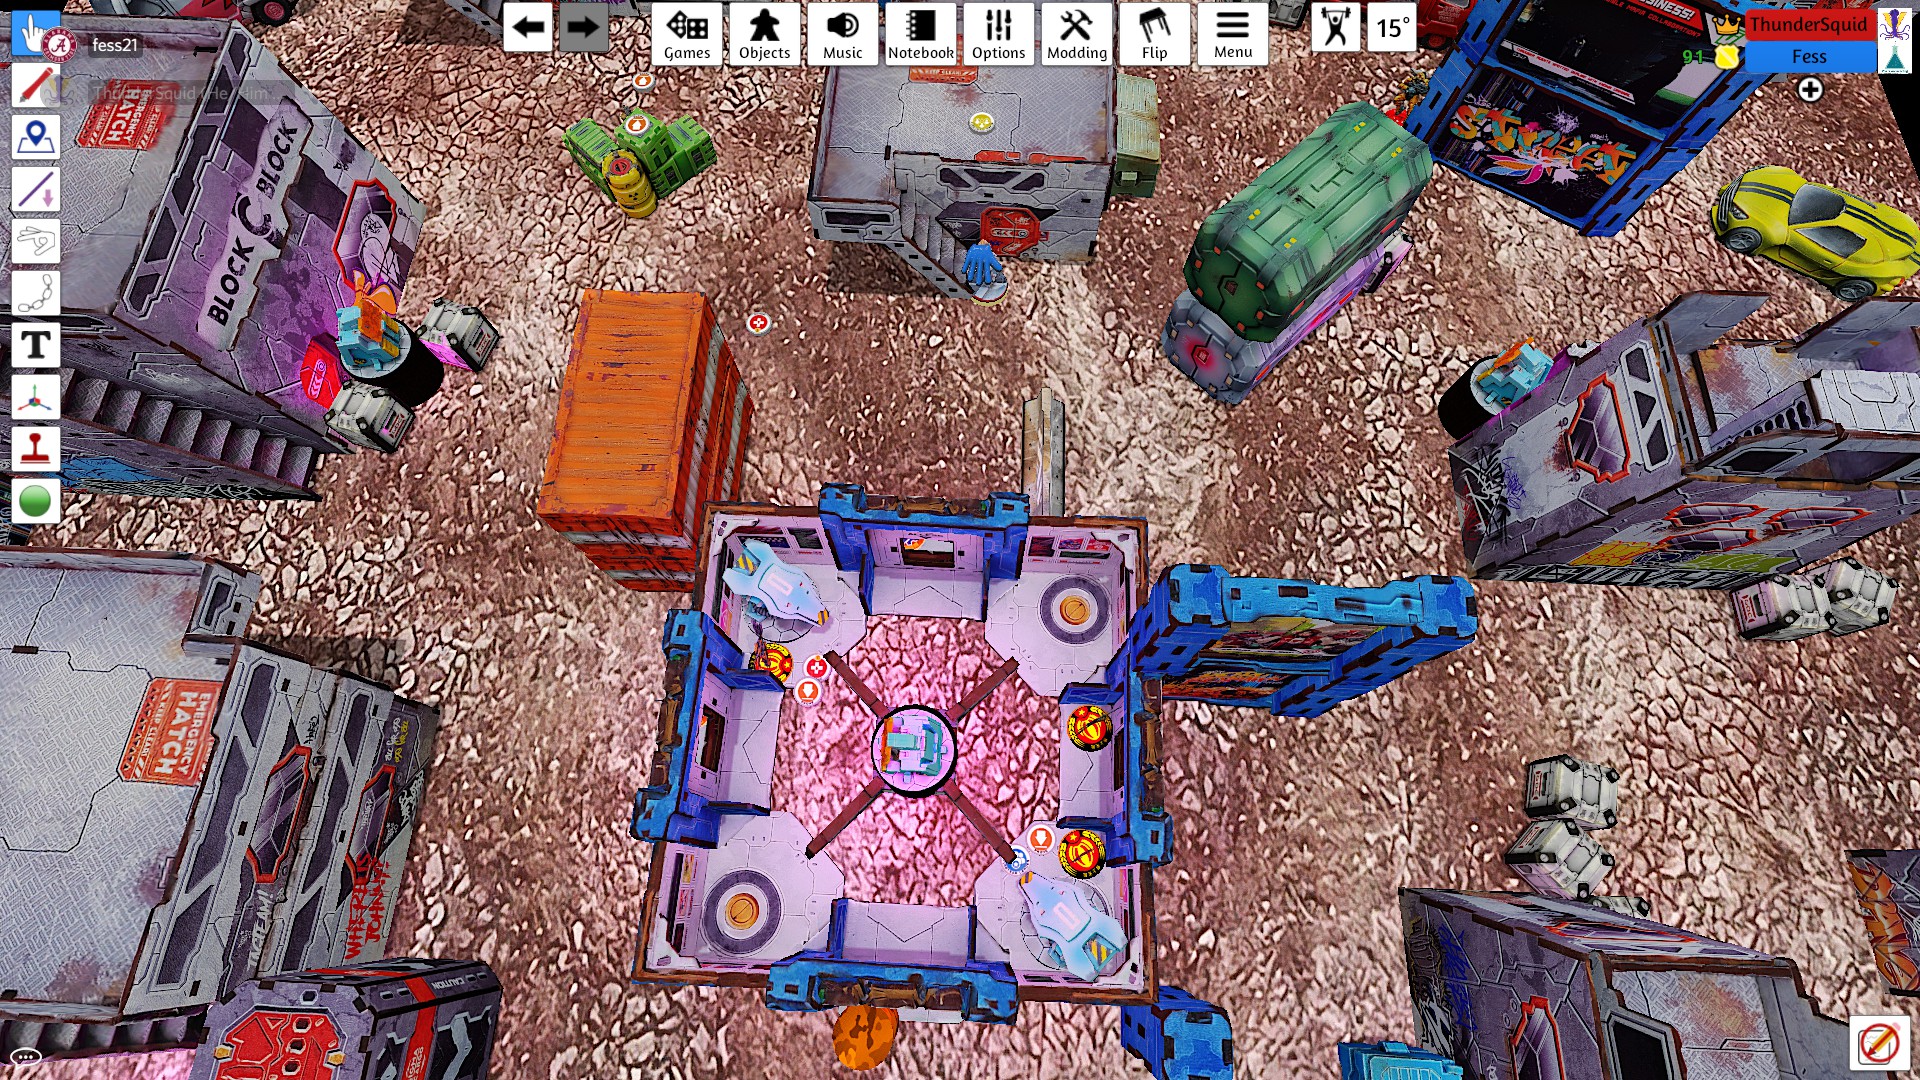
My opponent used one of his Mutts to cover a line from one of my Long Ya to his haris team.

My opponent pushed Fiddler and her Jackbots over toward my haris. In doing so, he crossed a path seen by my central Long Ya. The panzerfaust missed, but this forced my opponent to be far more cautious.

The Daylami on the roof moved over to get behind my Monk. I opted to just trade templates all around, which killed the two of them.
The Fiday revealed to split burst on Liang Kai and my Rui Shi. After a couple orders, Liang Kai had taken a wound and the Fiday ducked back into cover.

My opponent pushed up with his Asawira AP spitfire to get within 24 of my Long Ya. Even with 4 burst and getting 2 hits, my Long Ya passed both his saves, and my opponent felt limited in command tokens to convert orders to continue spending here.
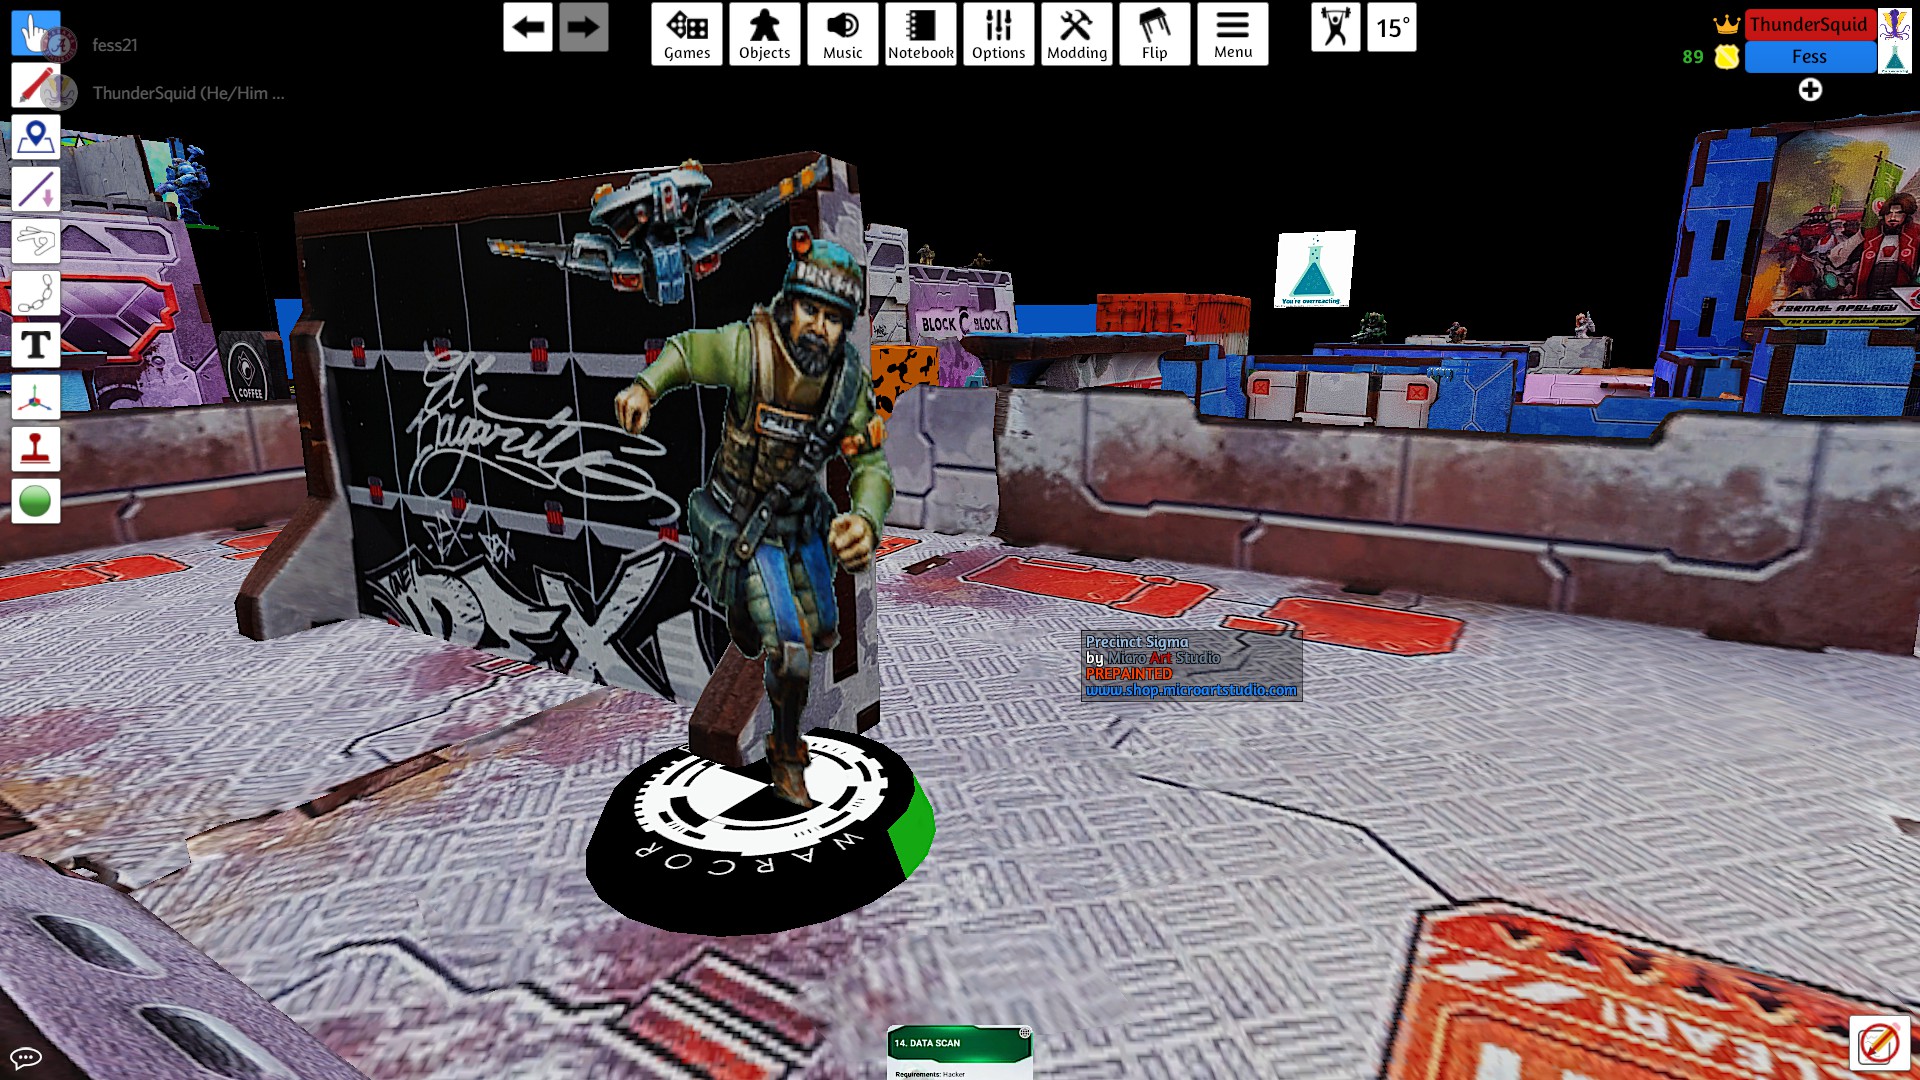
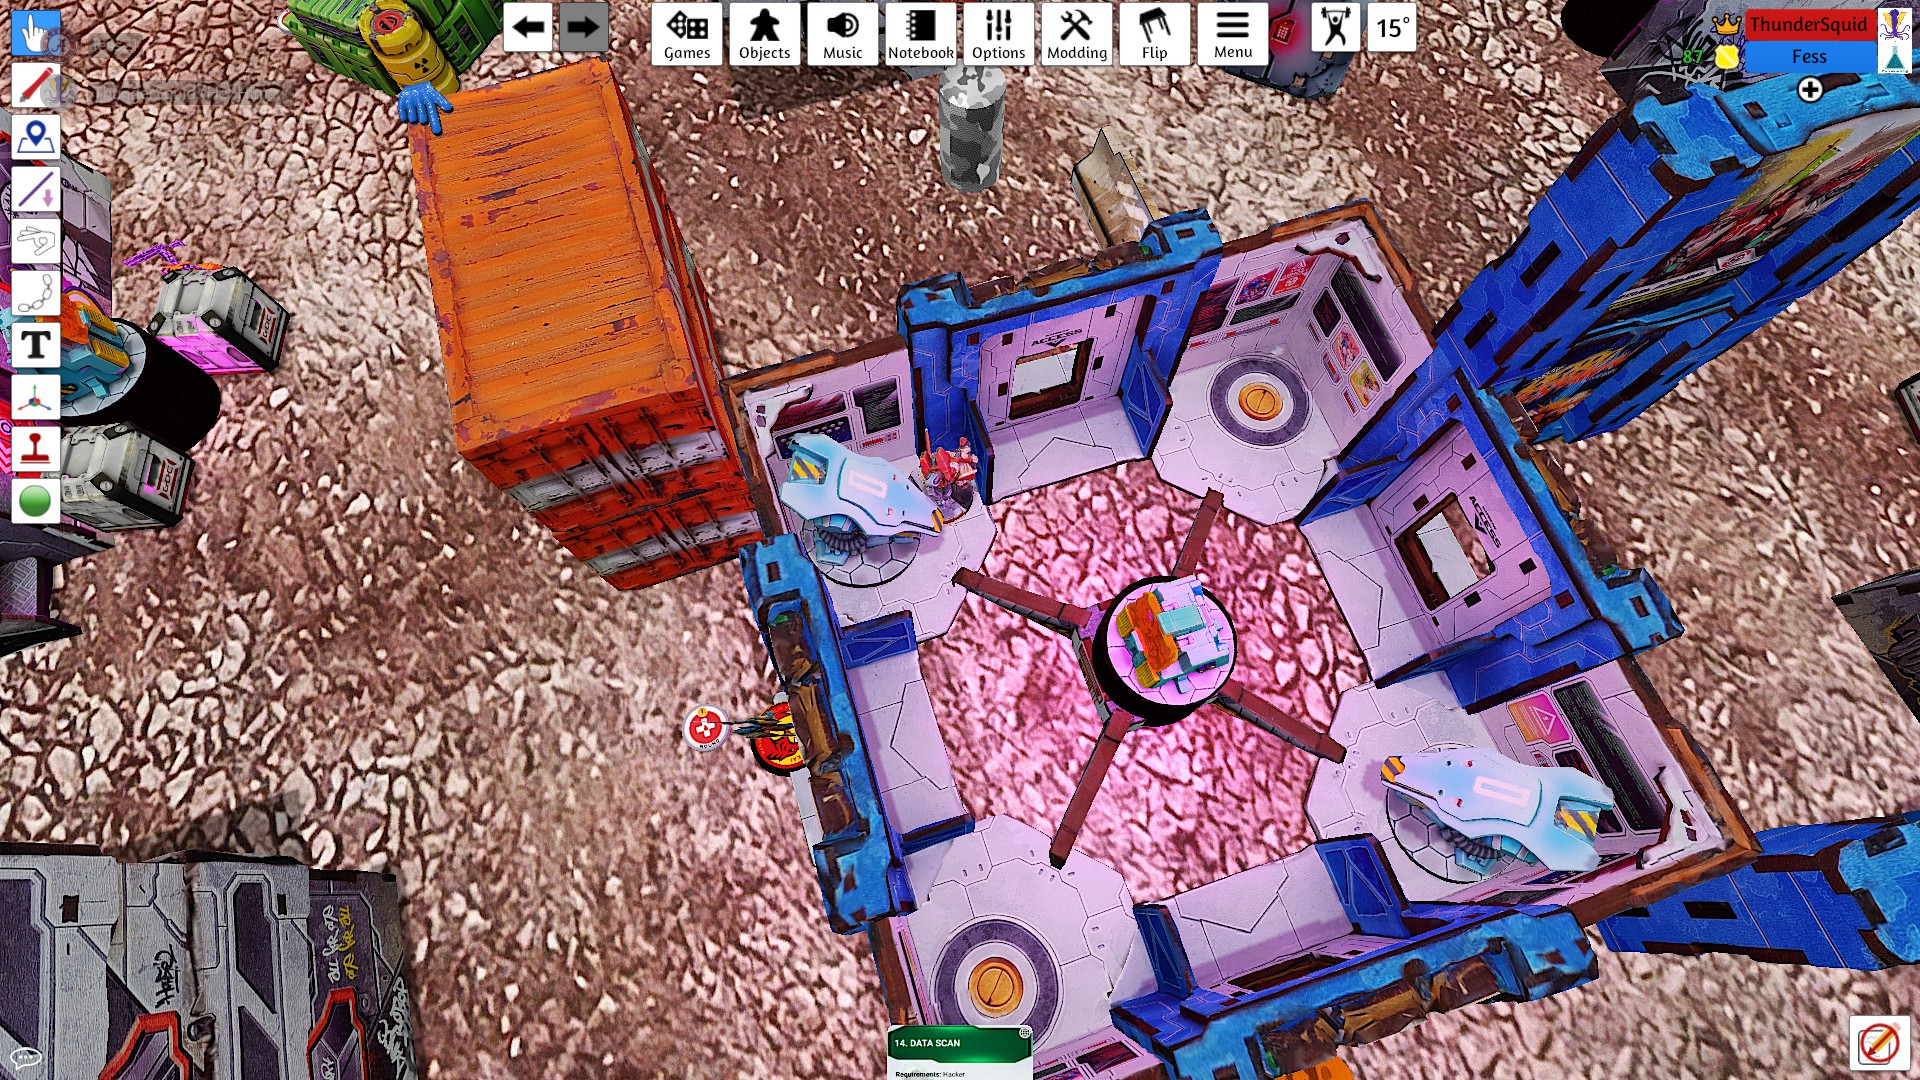
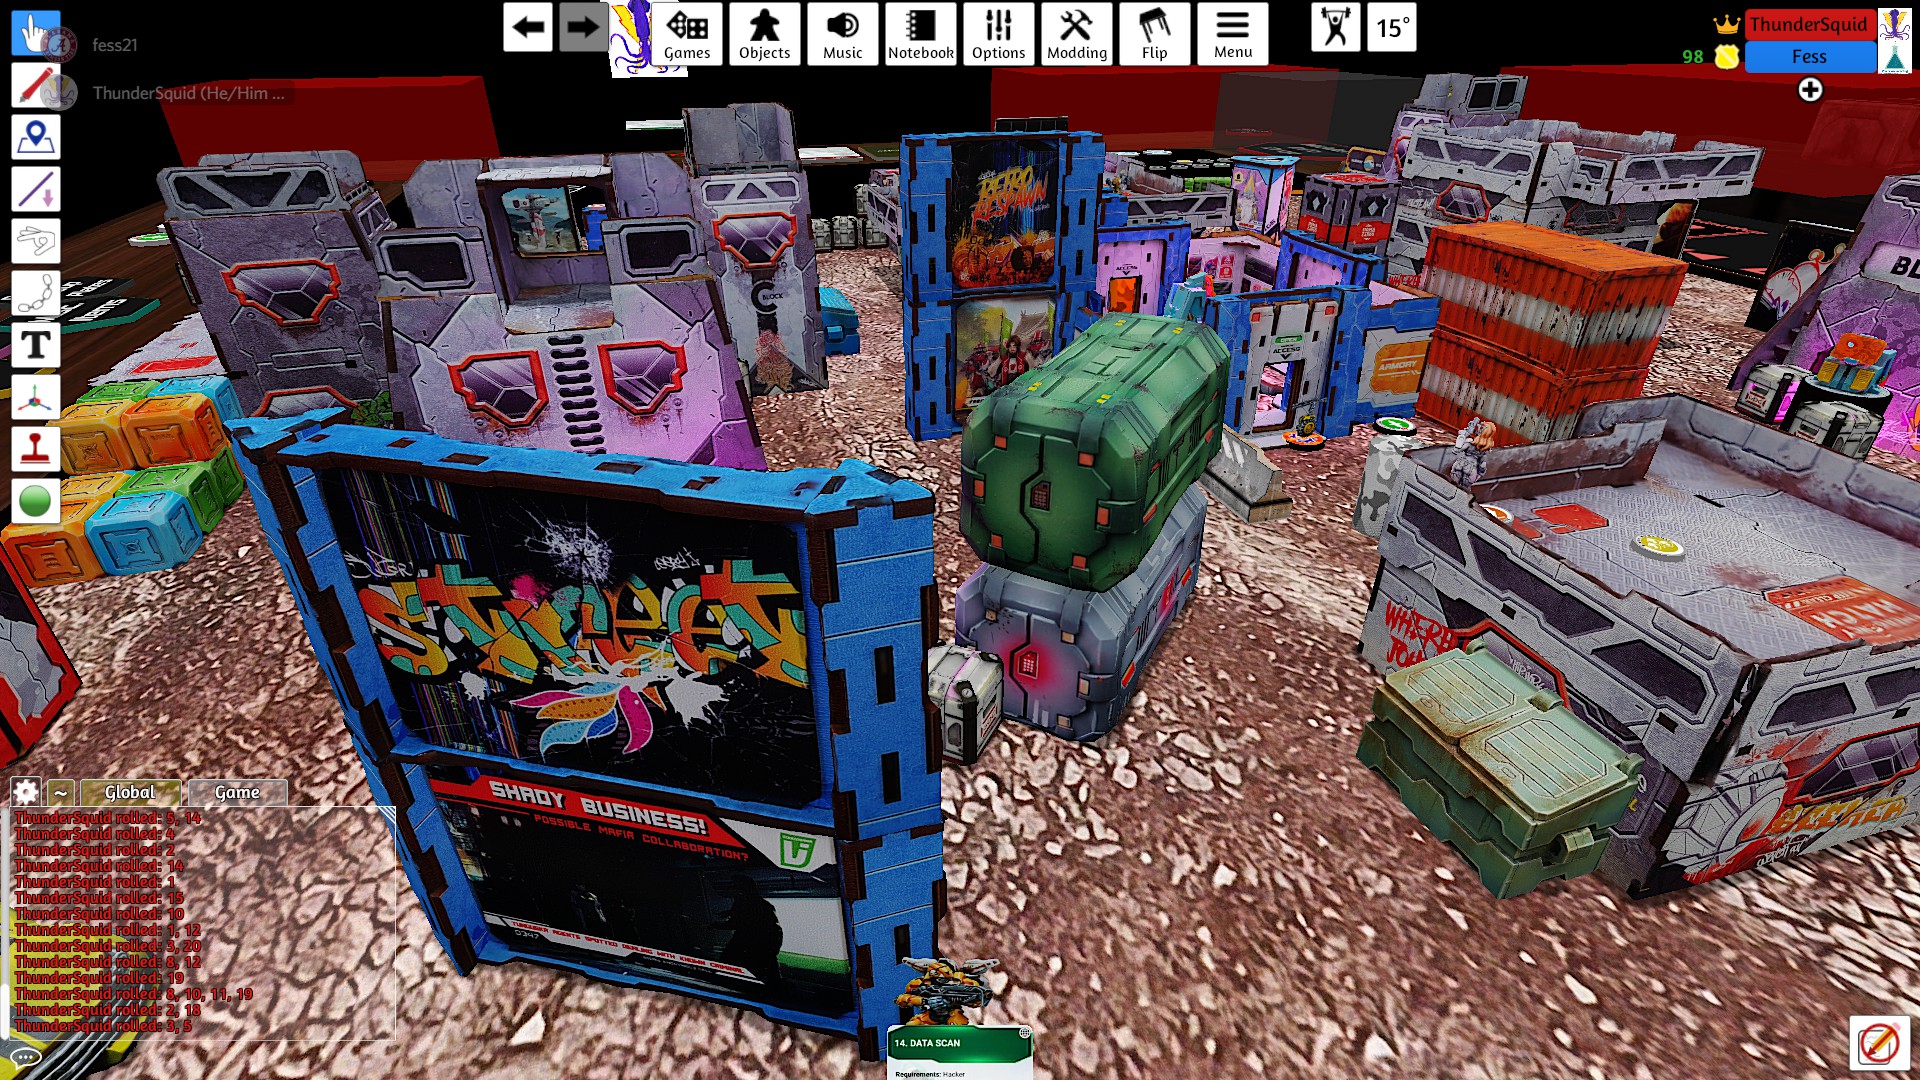
 Another TTS issue in this image. The barricade wasn't loading right on my opponent's end, which is how the model ended up on top of it.
I pushed my Shang Ji forward to take out one of the Daylami that had revealed on my opponent's turn and the Muyib that he had left exposed.
I contemplated ways of continuing into the Asawira, but did not see a good option for doing so with either shooting of hacking, due to the Asawira's BTS 9.
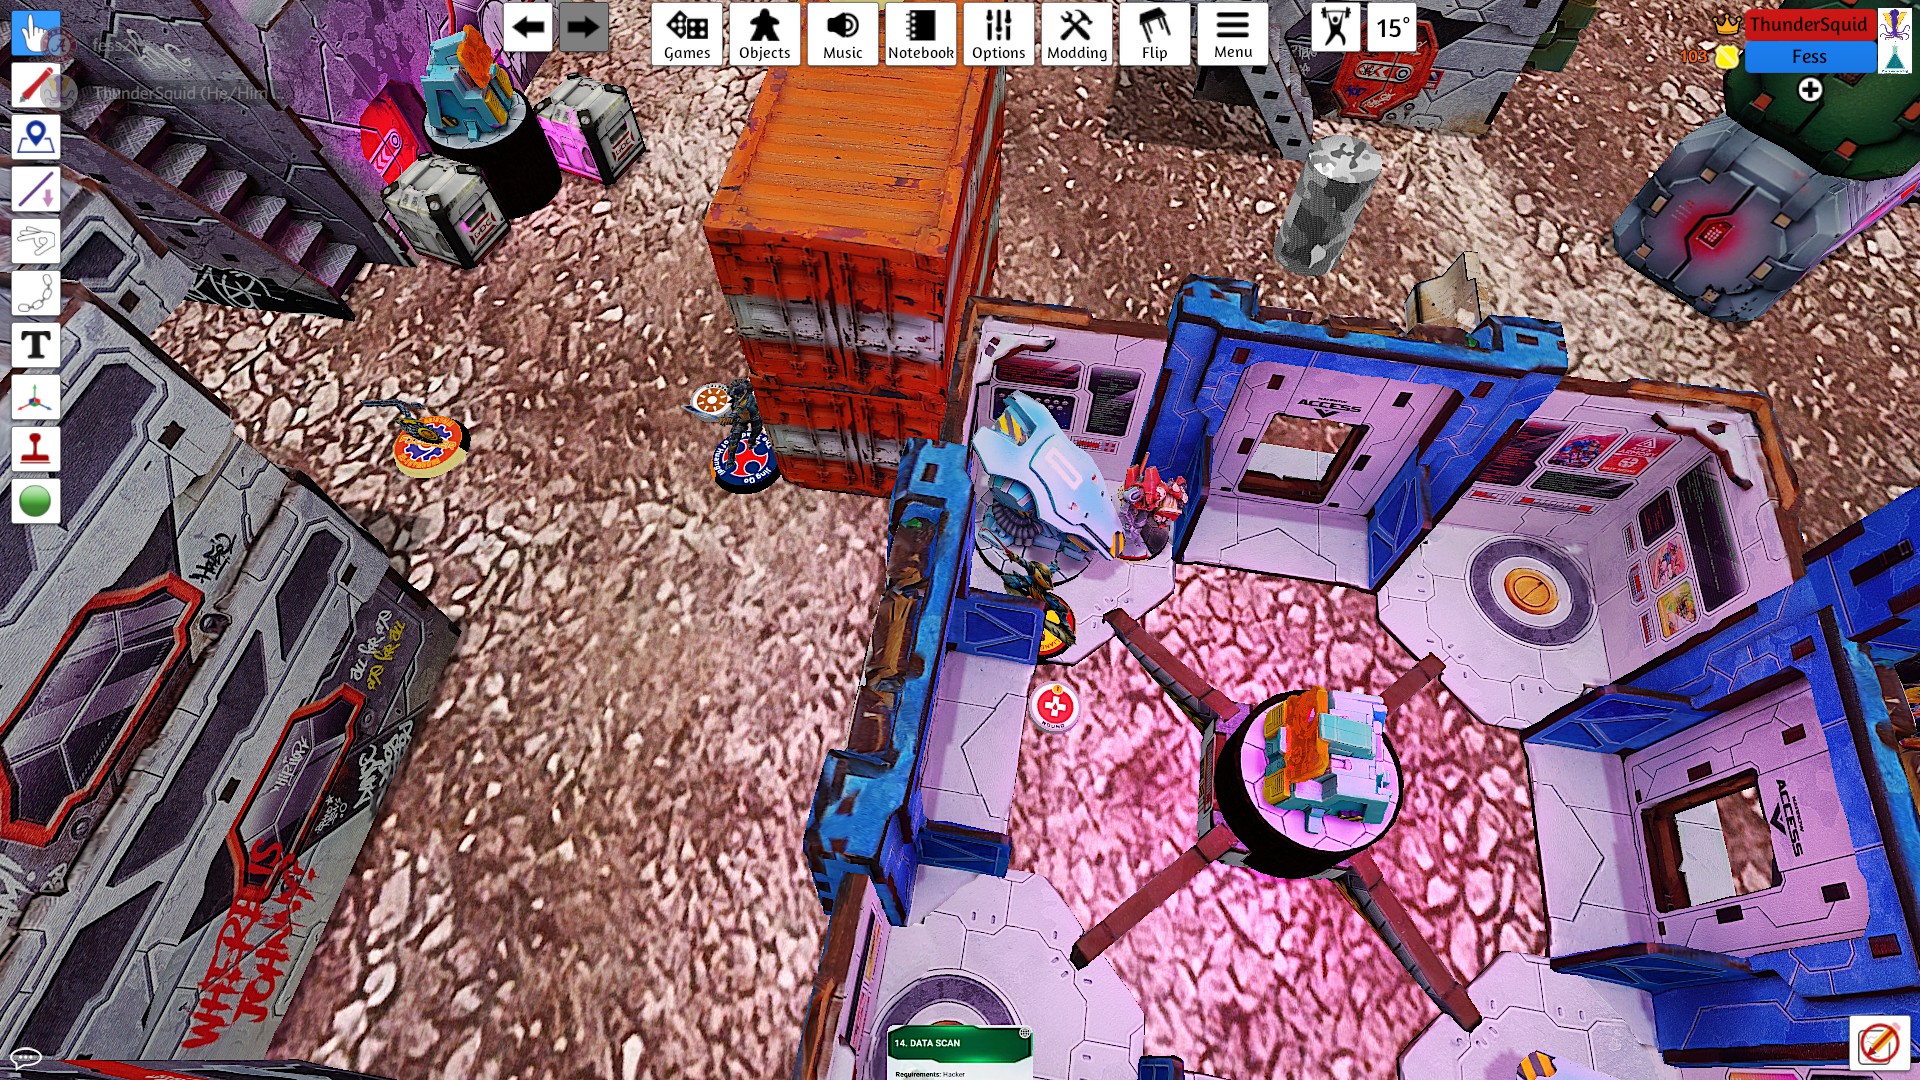
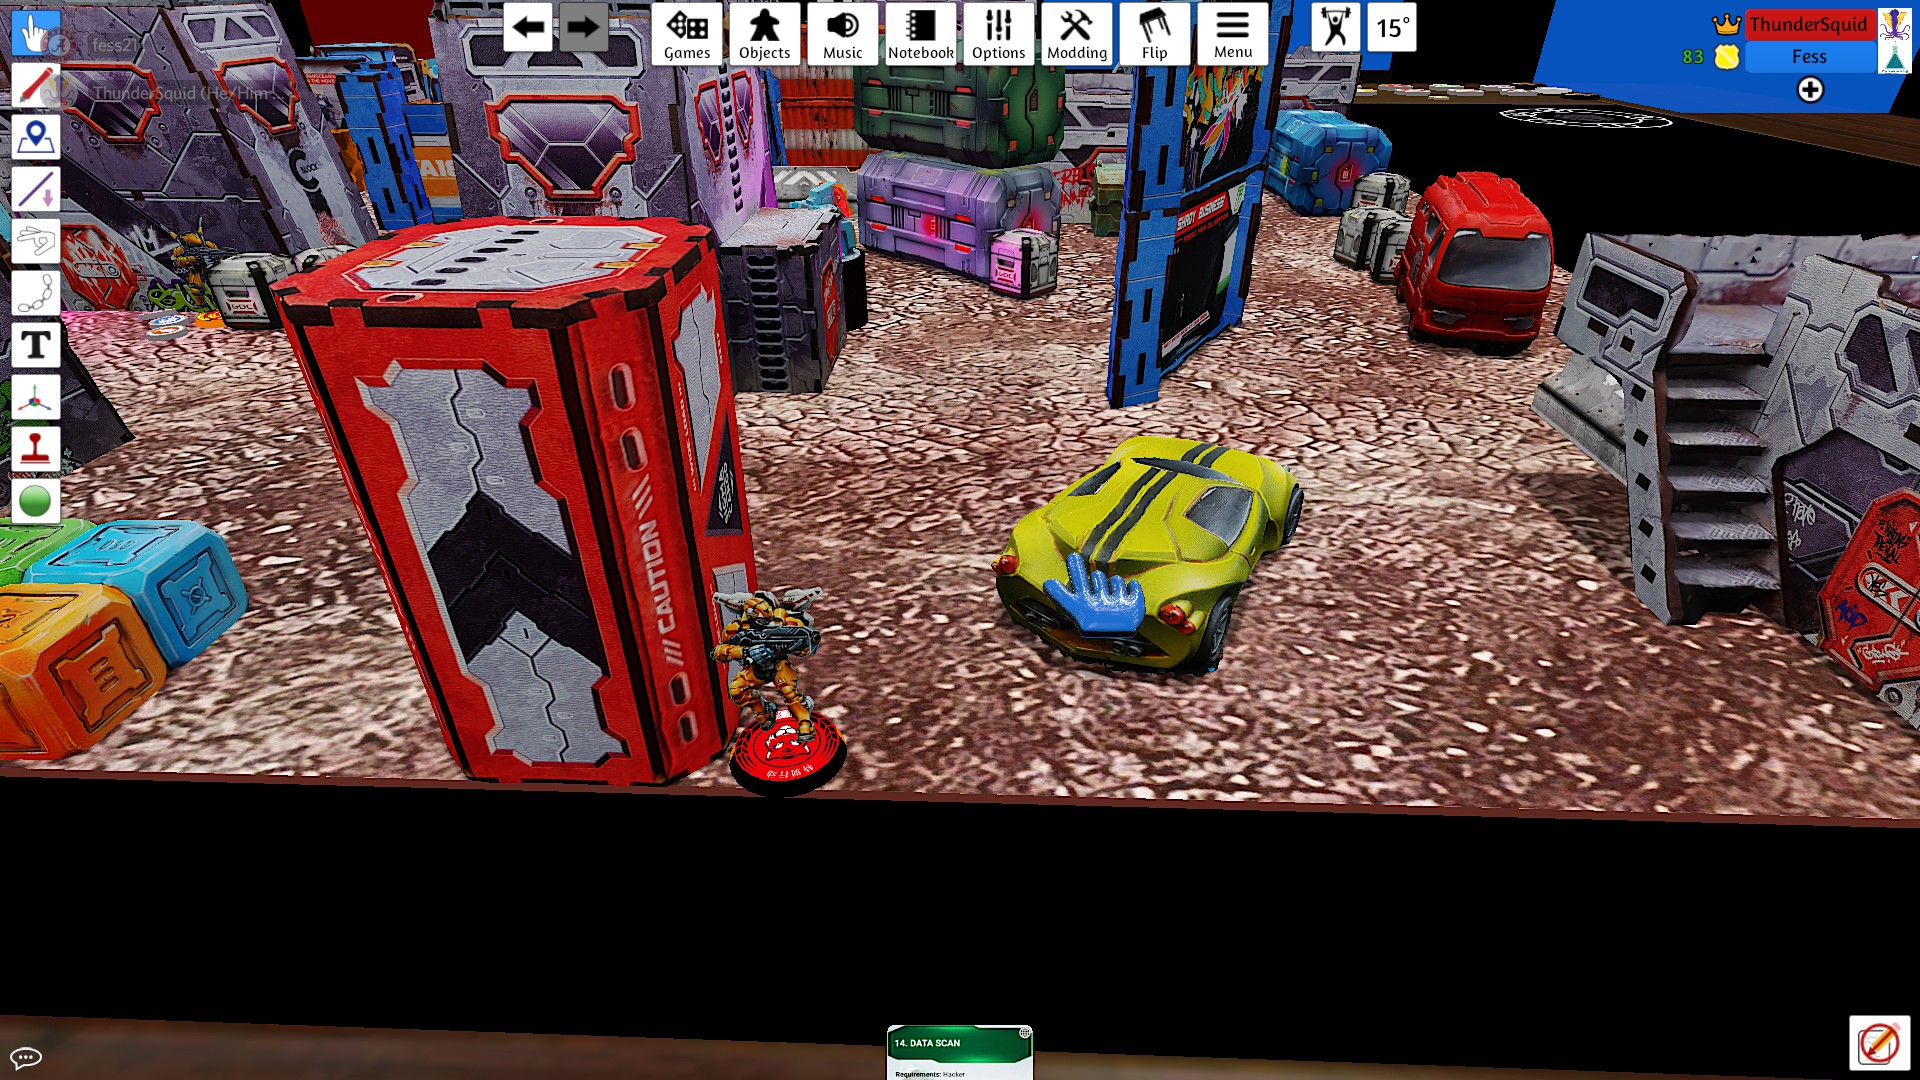
Instead, I moved to the other side of the table and used Jing Qo to go after my opponent's other Asawira, the one with the AP spitfire. I won the gunfight, but the Asawira only took one damage and fell back out of LoF.
Jing Qo continued moving forward, this time fighting Fiddler from the open. Mimetism and dice won out, but like the Asawira, Fiddler took one wound and dropped prone. The shooting gave an ARO to my opponent's remaining hacker through the repeater, and he was able to target Jing Qo.
Jing Qo lined up another shot on the Asawira, this time at very short range and out of cover. This finally let me take my opponent scariest active-turn piece off the table.
I ended my turn pulling back my Shang Ji. I had considered earlier in the turn pushing them into the room, but didn't feel confident hold it, especially with my opponent likely having both Asawira and a repeater nearby.
Jing Qo had only been able to reduce the Asawira to unconscious, and didn't have the orders to finish them off. Fortunately for me, and her, the Asawira failed the regeneration roll and was removed.
Fiddler's Jackbots spent an embarrassing number of orders trying to shoot Jing Qo while she dodged in place. Eventually he was able to bring her down, but this gave Liang Kai the opportunity to dodge into the room.
The Asawira cost significantly more than Liang Kai, giving my opponent 2 points for controlling the room at the end of the turn.
My opponent pushed one of his Mutts up toward my Shang Ji and traded templates with the APHMG. Through some bad luck, my Shang Ji took a wound while the Mutt passed both saves.
I opened up the turn with Liang Kai using berserk against his Asawira. My opponent rolled a crit and I didn't, but he failed all three saves and both models were removed from the table.

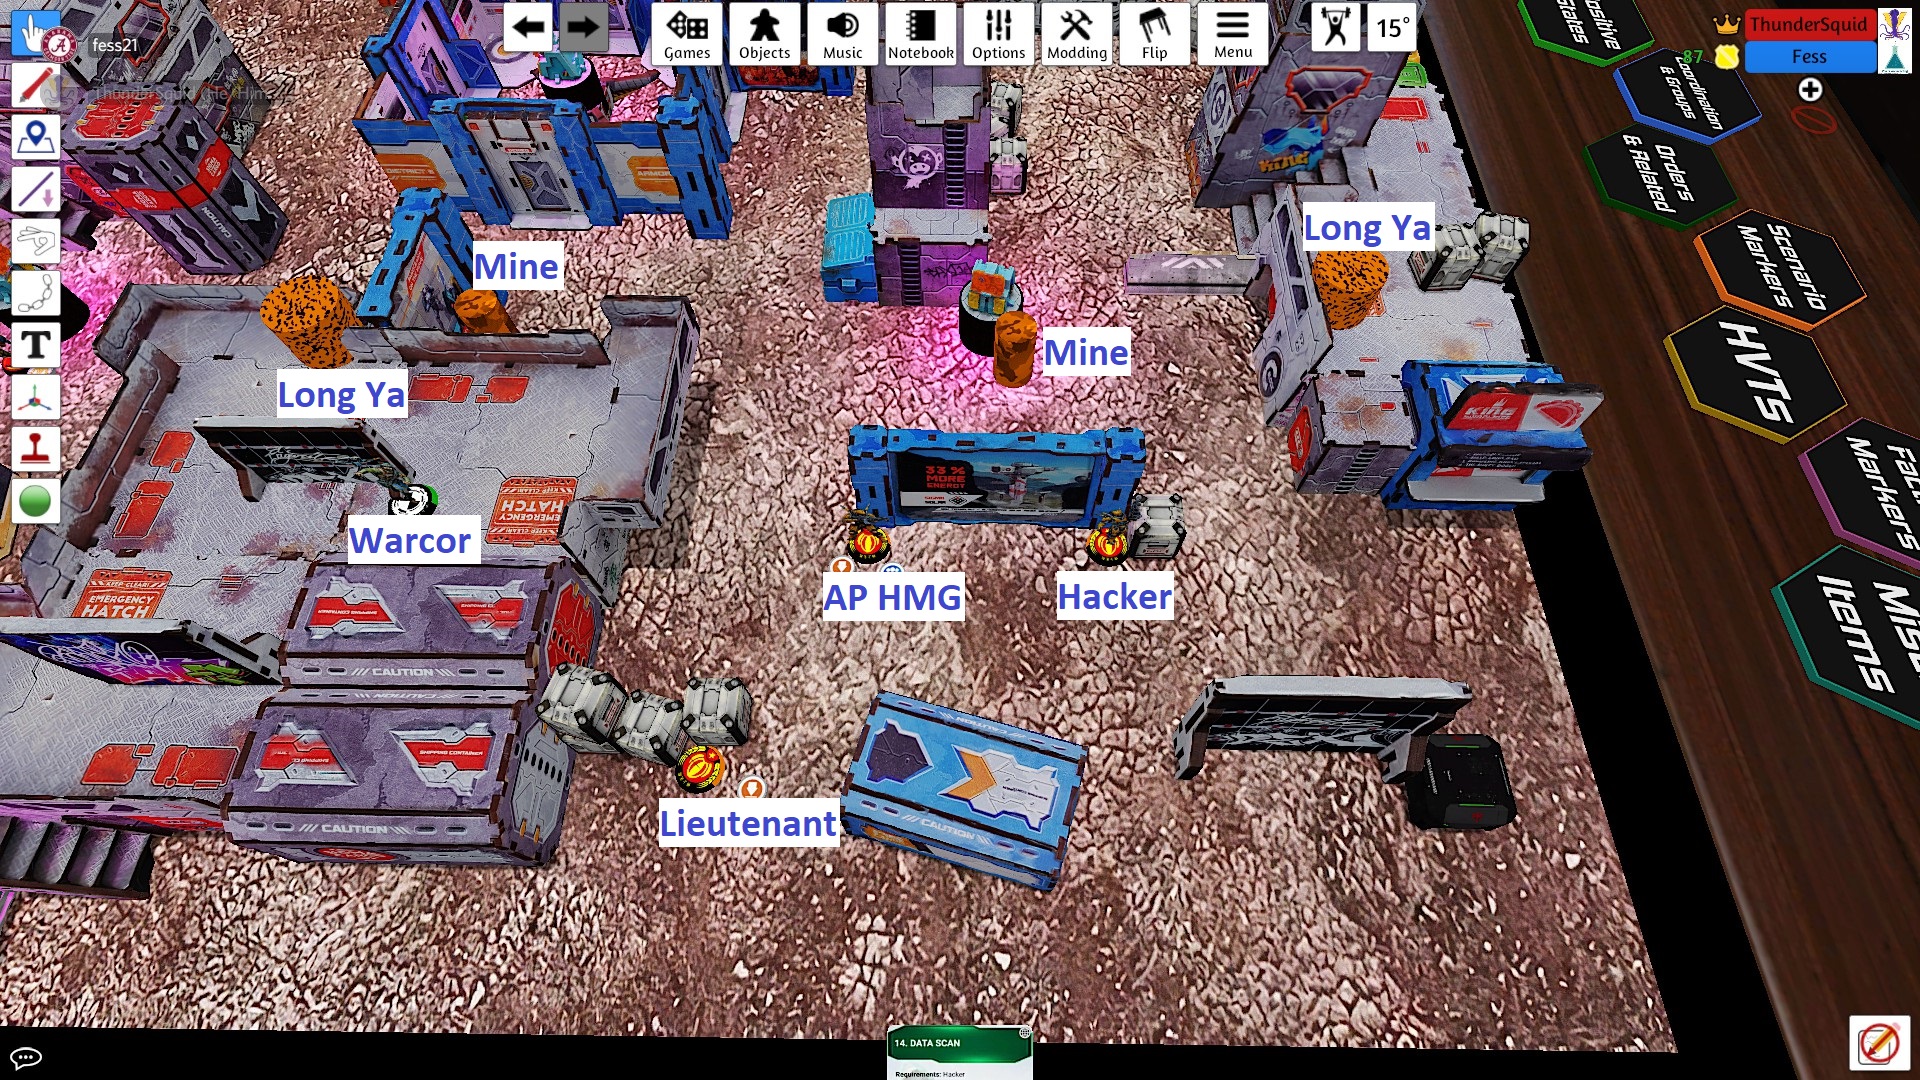
My Shang Ji hacker stood up and shot the two irregulars that were watching my team. I was able to kill the Mutt, but the Daylami passed the save. There was some risk in this move, as my APHMG was still within the chain rifle of my opponent's Mutt. Fortunately, I passed the save.
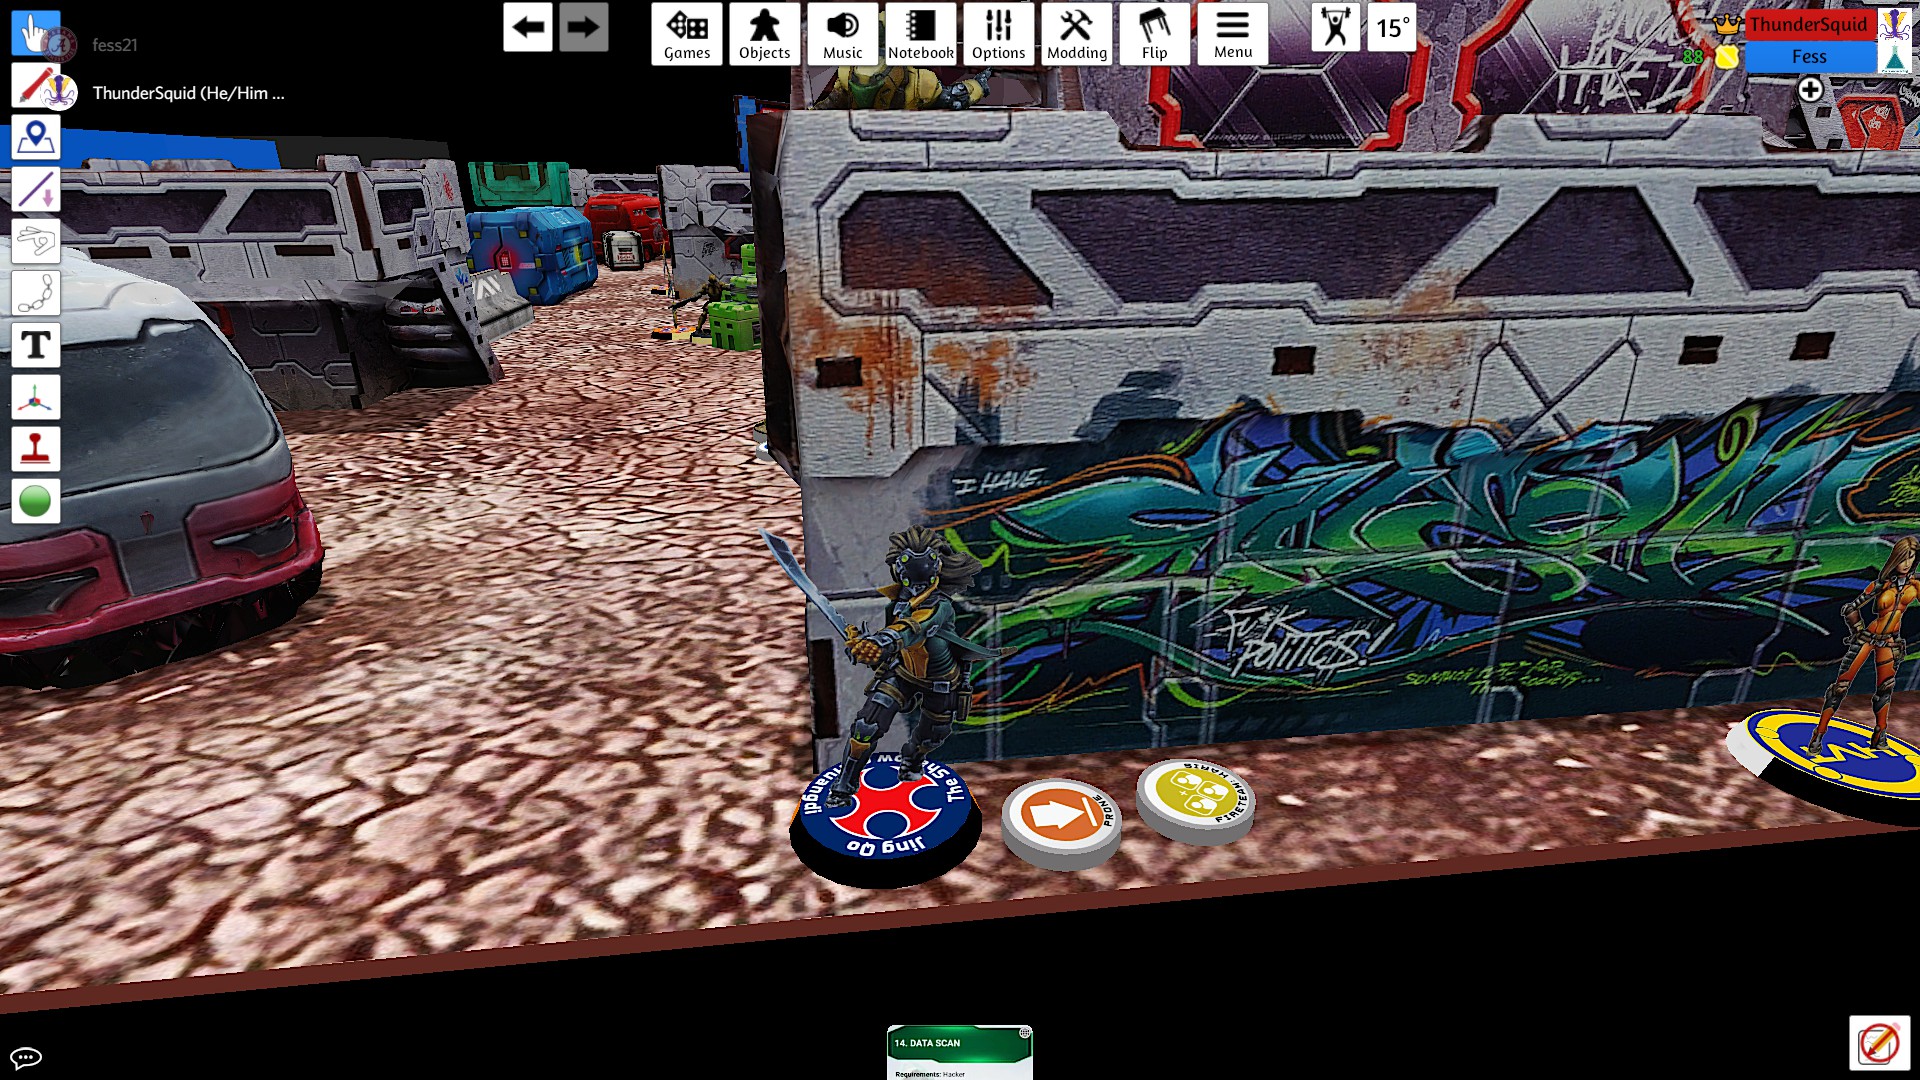
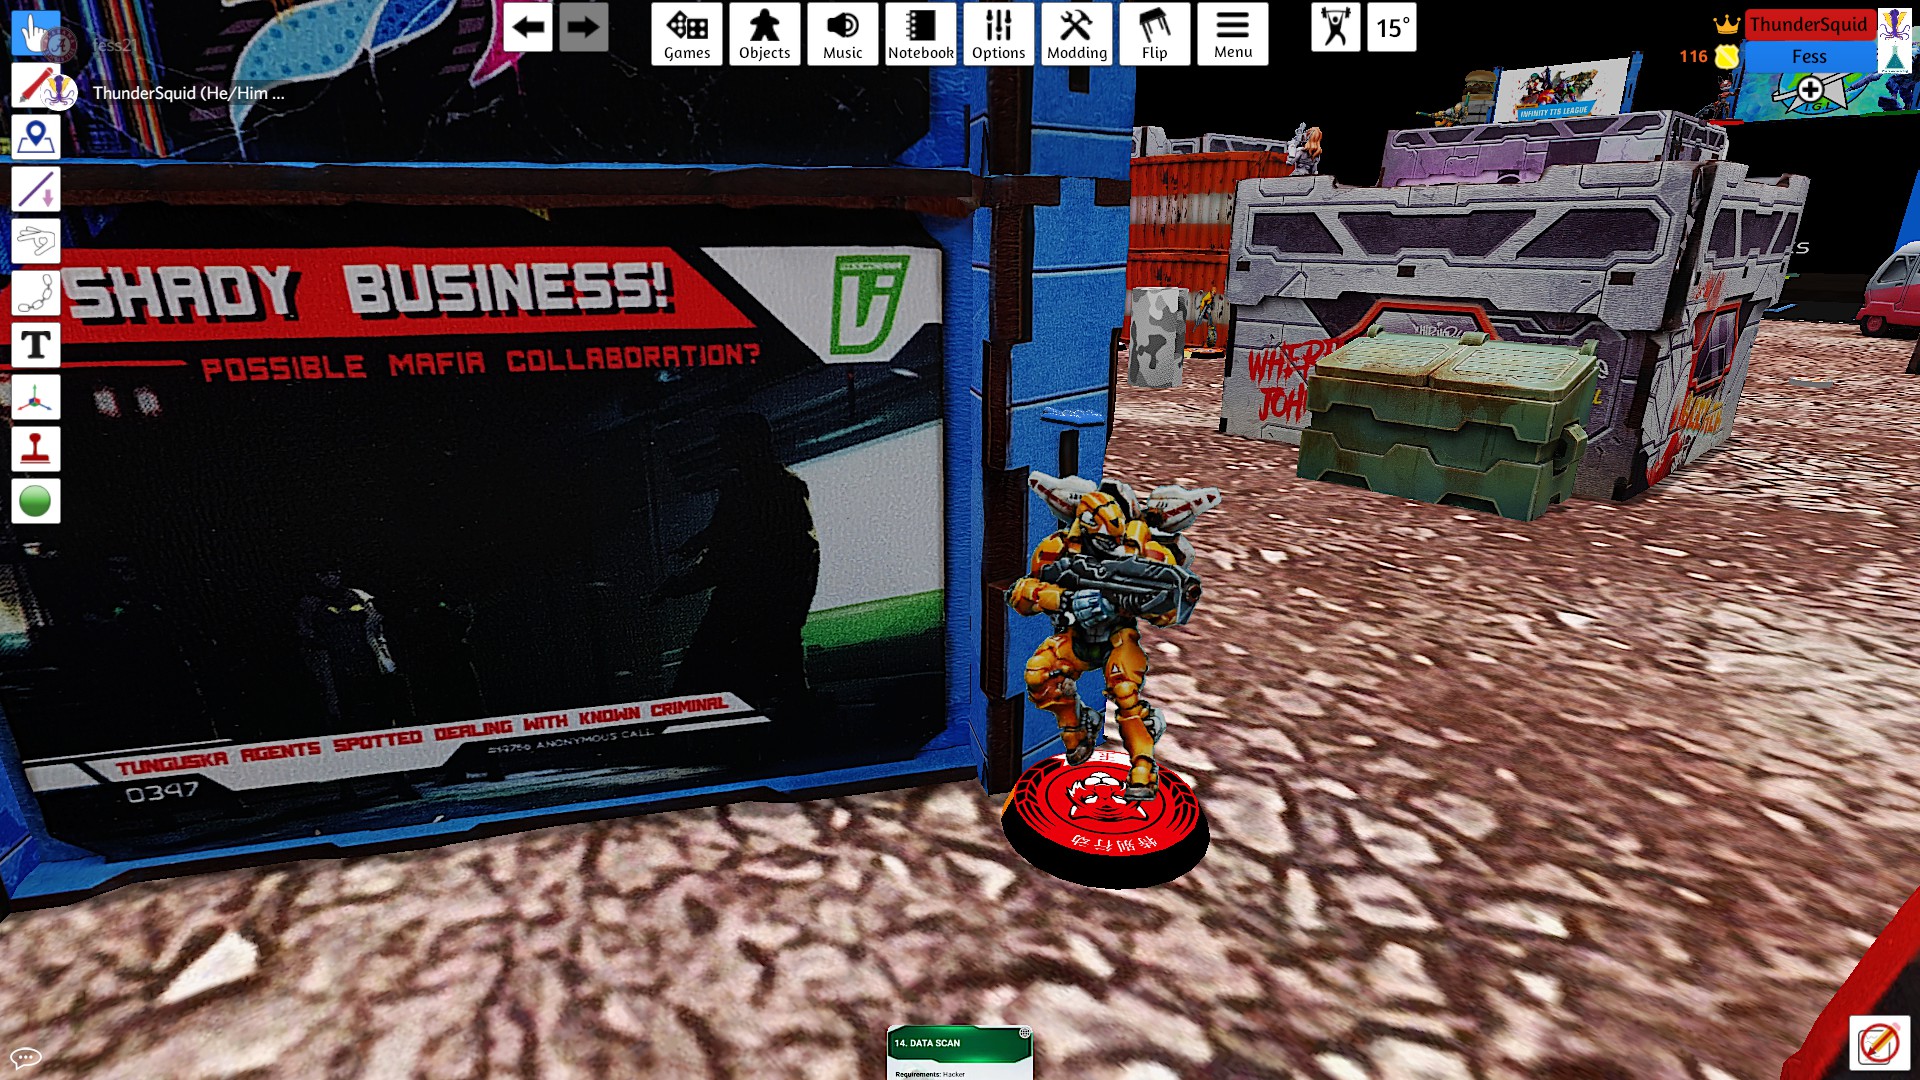
Seeing an opportunity to clear a path for my core, I dropped the Tiger Soldier in the narrow band on my opponent's side. In only a few orders, I was able to shoot Fiddler in the back, then split burst between my opponent's Daylami and the repeater covering the room.
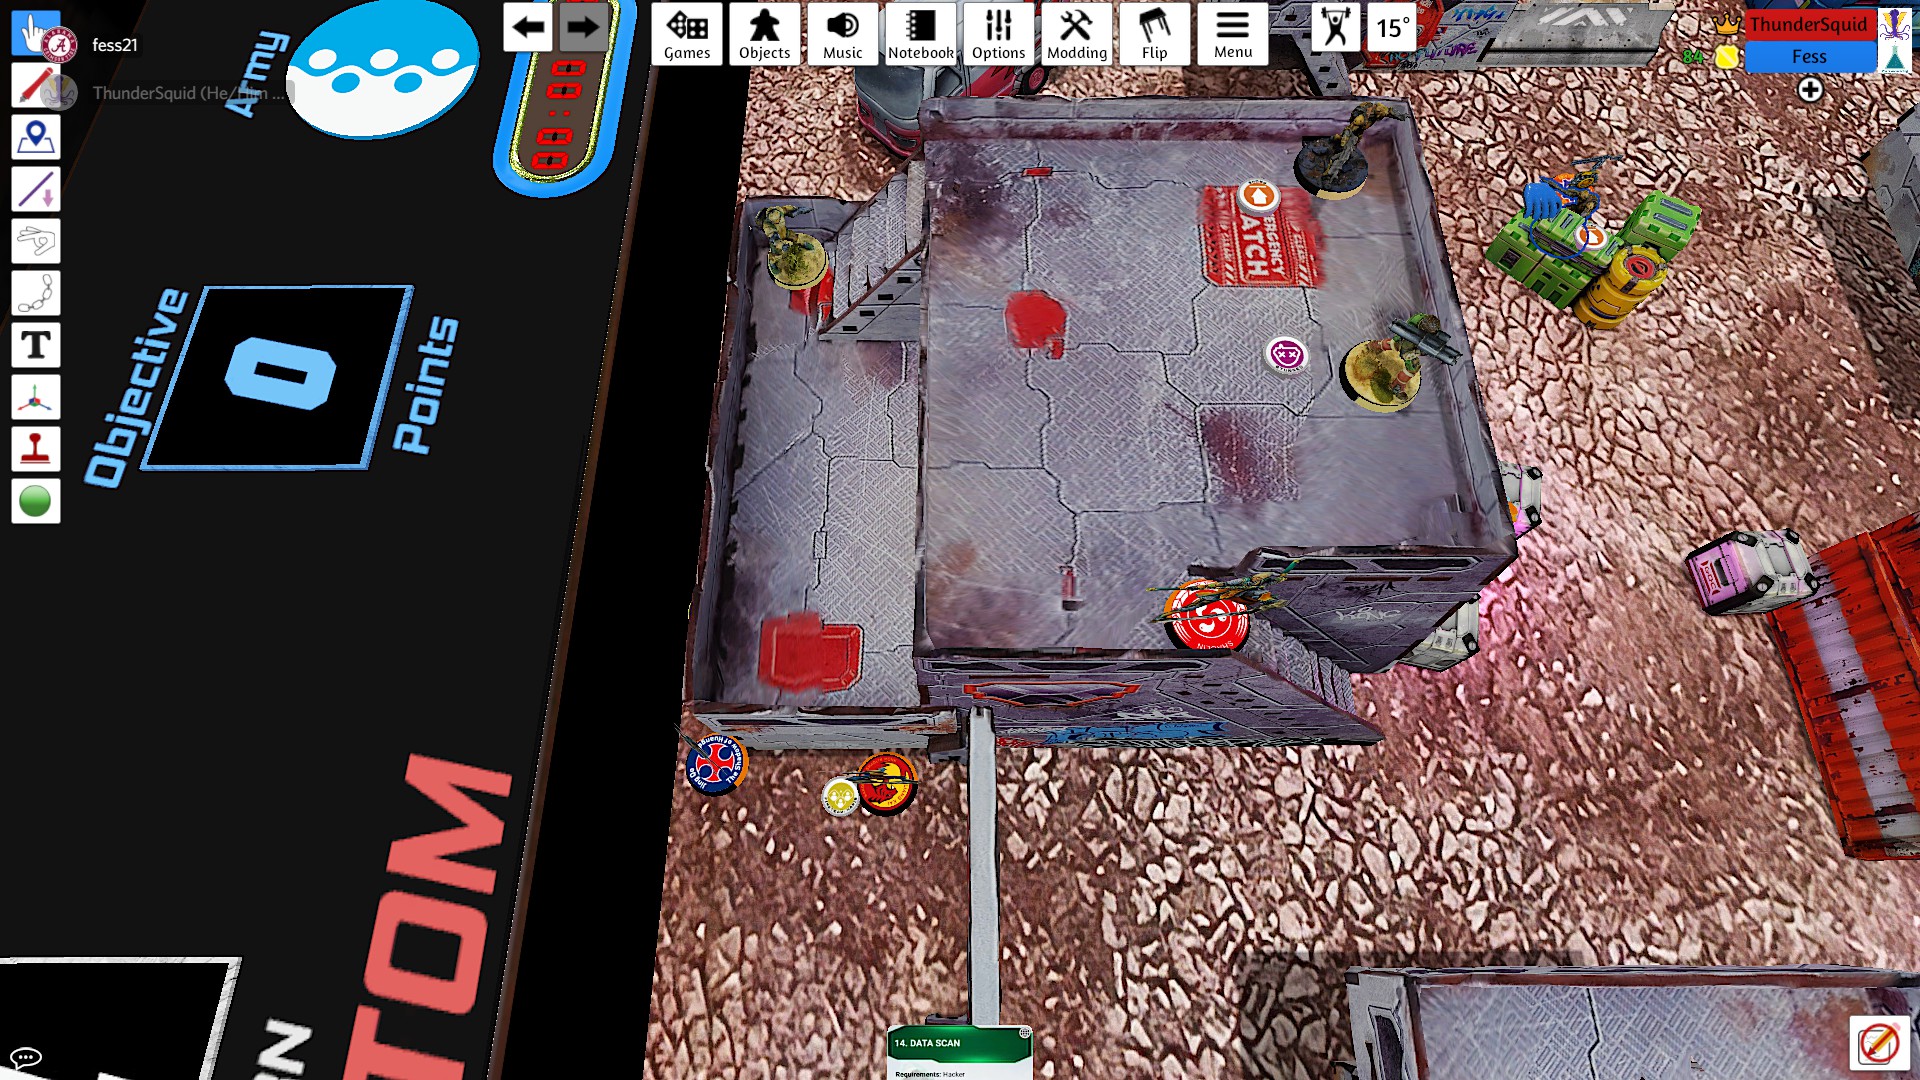
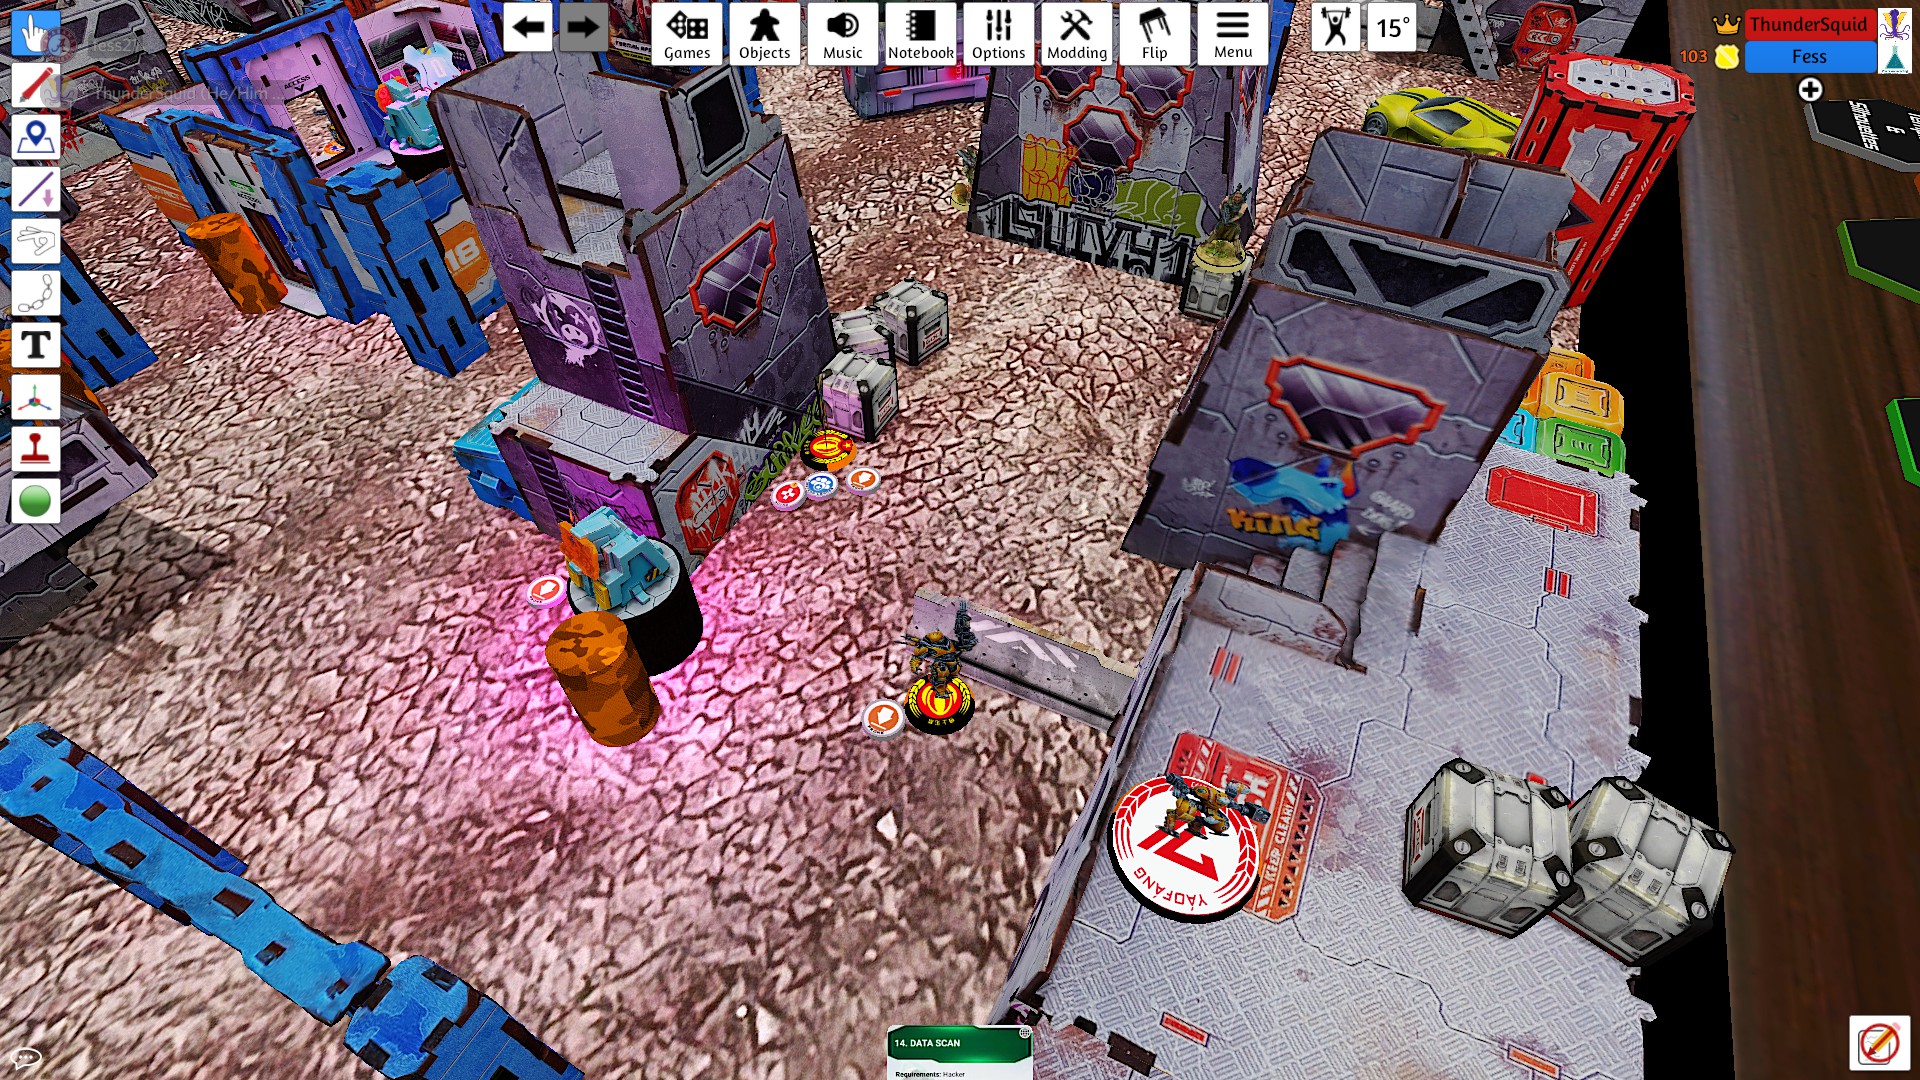
With only a few orders left, I needed to get points in the room. I spend a few moving the Shang Ji into the room, dodging my lieutenant past the viral mine in the process.
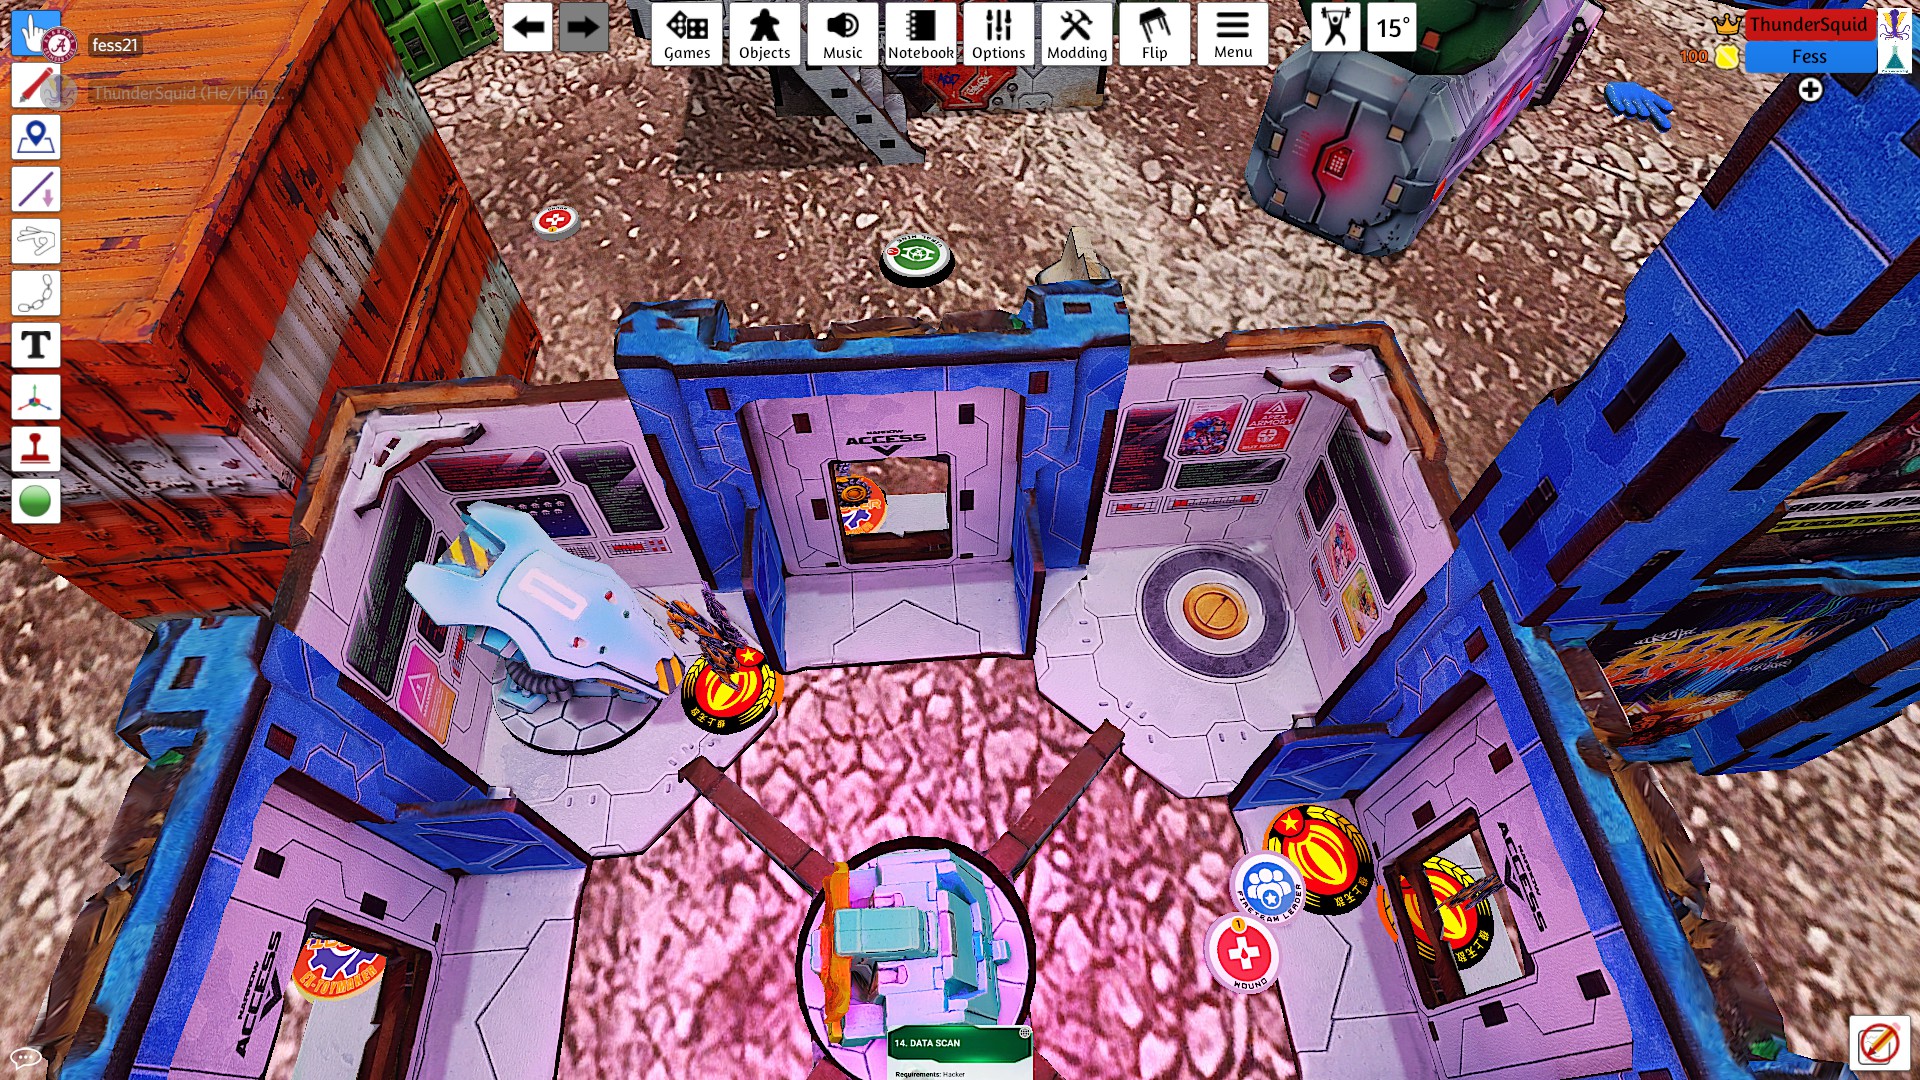
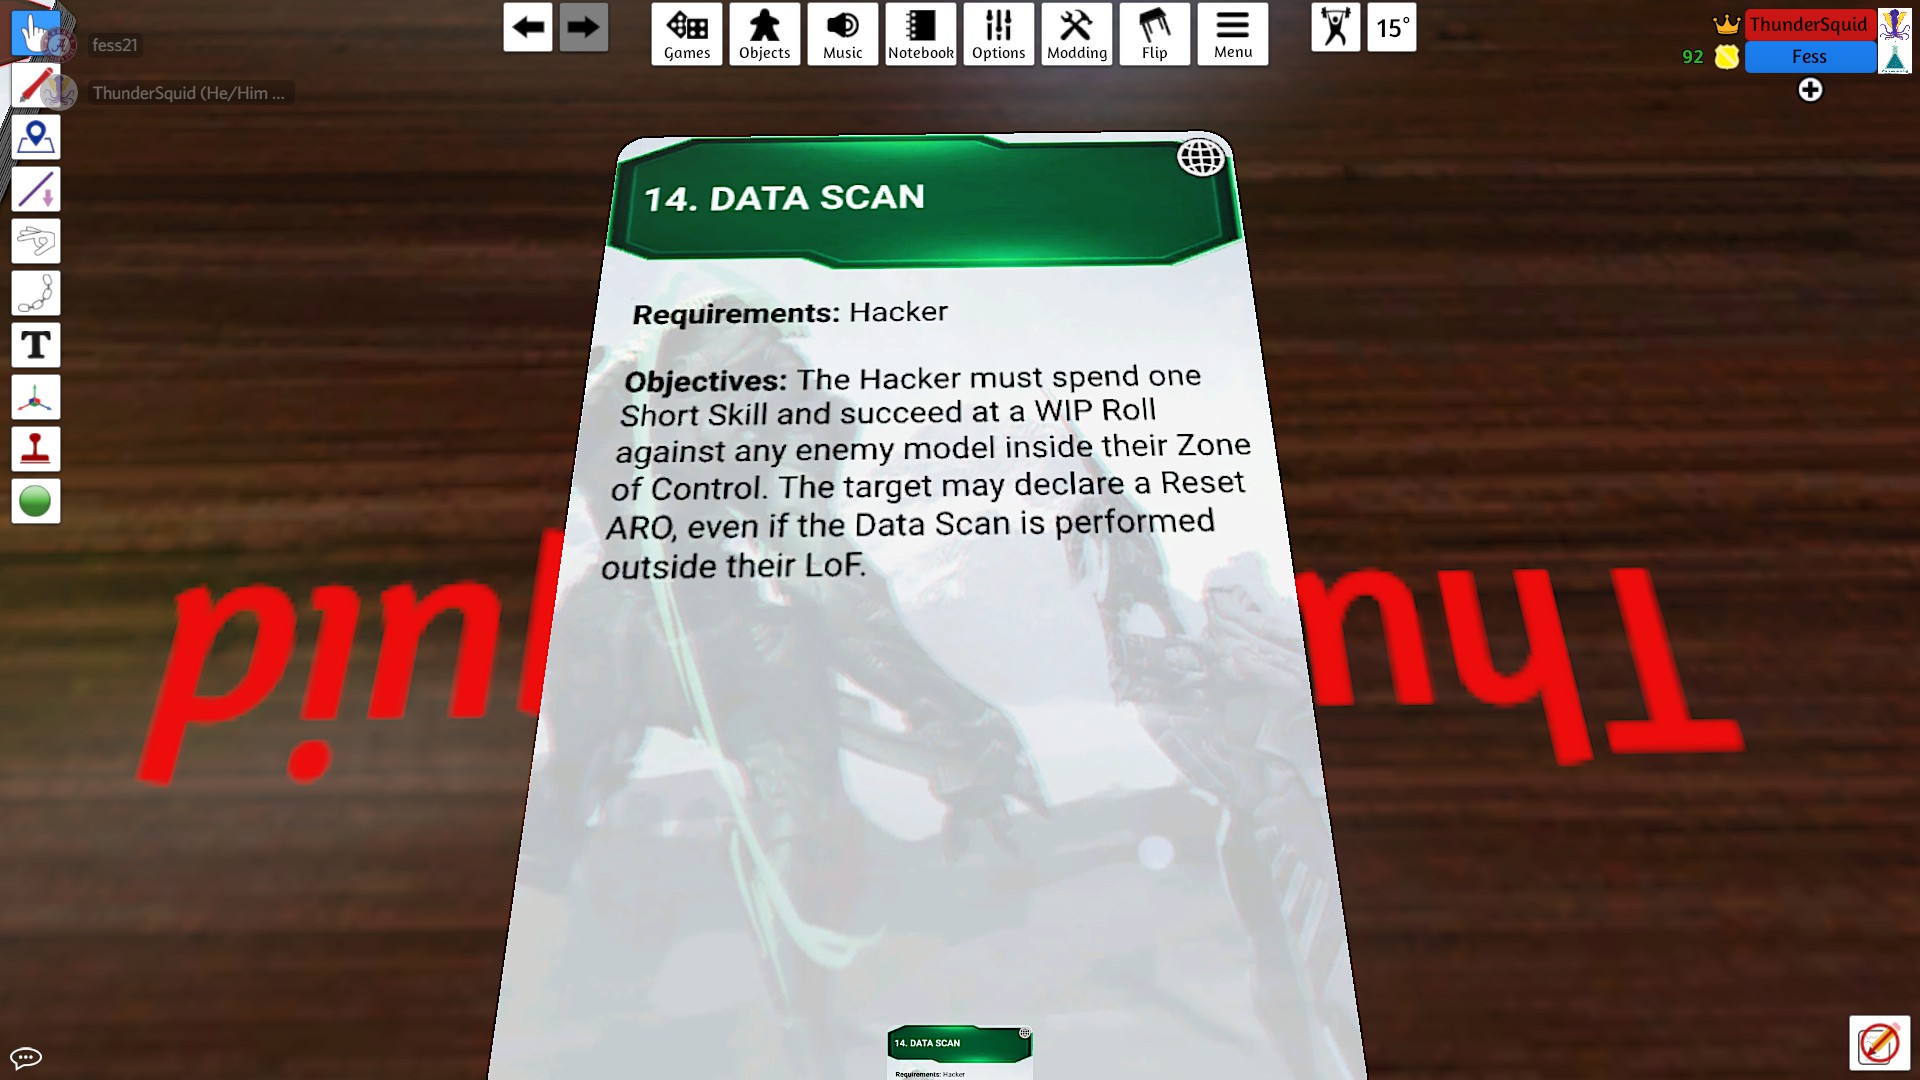
I spend my final two orders grabbing an item from the panoply and scoring Data Scan off one of the Jackbots. I passed both WIP rolls, but only got a DACCW on my lieutenant.

Battle Report Author


Army Lists Used In This Battle
Recommend Commander For Commendation
Share this battle with friends
ThunderSquidWins

Nice report
Very detailed report with extensive pictures to give a good sense of what is happening. Excellent work!
I totally agree with how good it is having the photos right after the text. It makes everything make much more easy to follow. Nice report!
Great game! I continue to find TTS janky to look at until I look at it for a few minutes, then it looks a lot better once I’m used to it. It’s weird.
Congratulations on scoring another triumph for the StateEmpire Commander!
Is so cool to have photos right after the descriptive text.
Very well written report! Congratulations on your victory
Great game! That poor Warcor did so well… Well written, detailed, and fantastic illustrative images that add a lot. Congratulations!