Fought At Cameliard: Reliquary
653 days 21 hours 20 minutes ago
My opponent wanted to play against an all-camo list, and I had been wanting to play one. The two Daofei being the only sources of D-charges is a bit limiting, but this army defends itself better than anything I've ever played. Kosmoflot lacks sensor altogether, which means picking up my models was going to require a lot of orders. Of what he put on the table, the Cateran and Ranger were the biggest threats. I knew my ranged pieces on the right side were going to be a real threat to his Cateran, but I didn't have a great way of dealing with the Ranger.
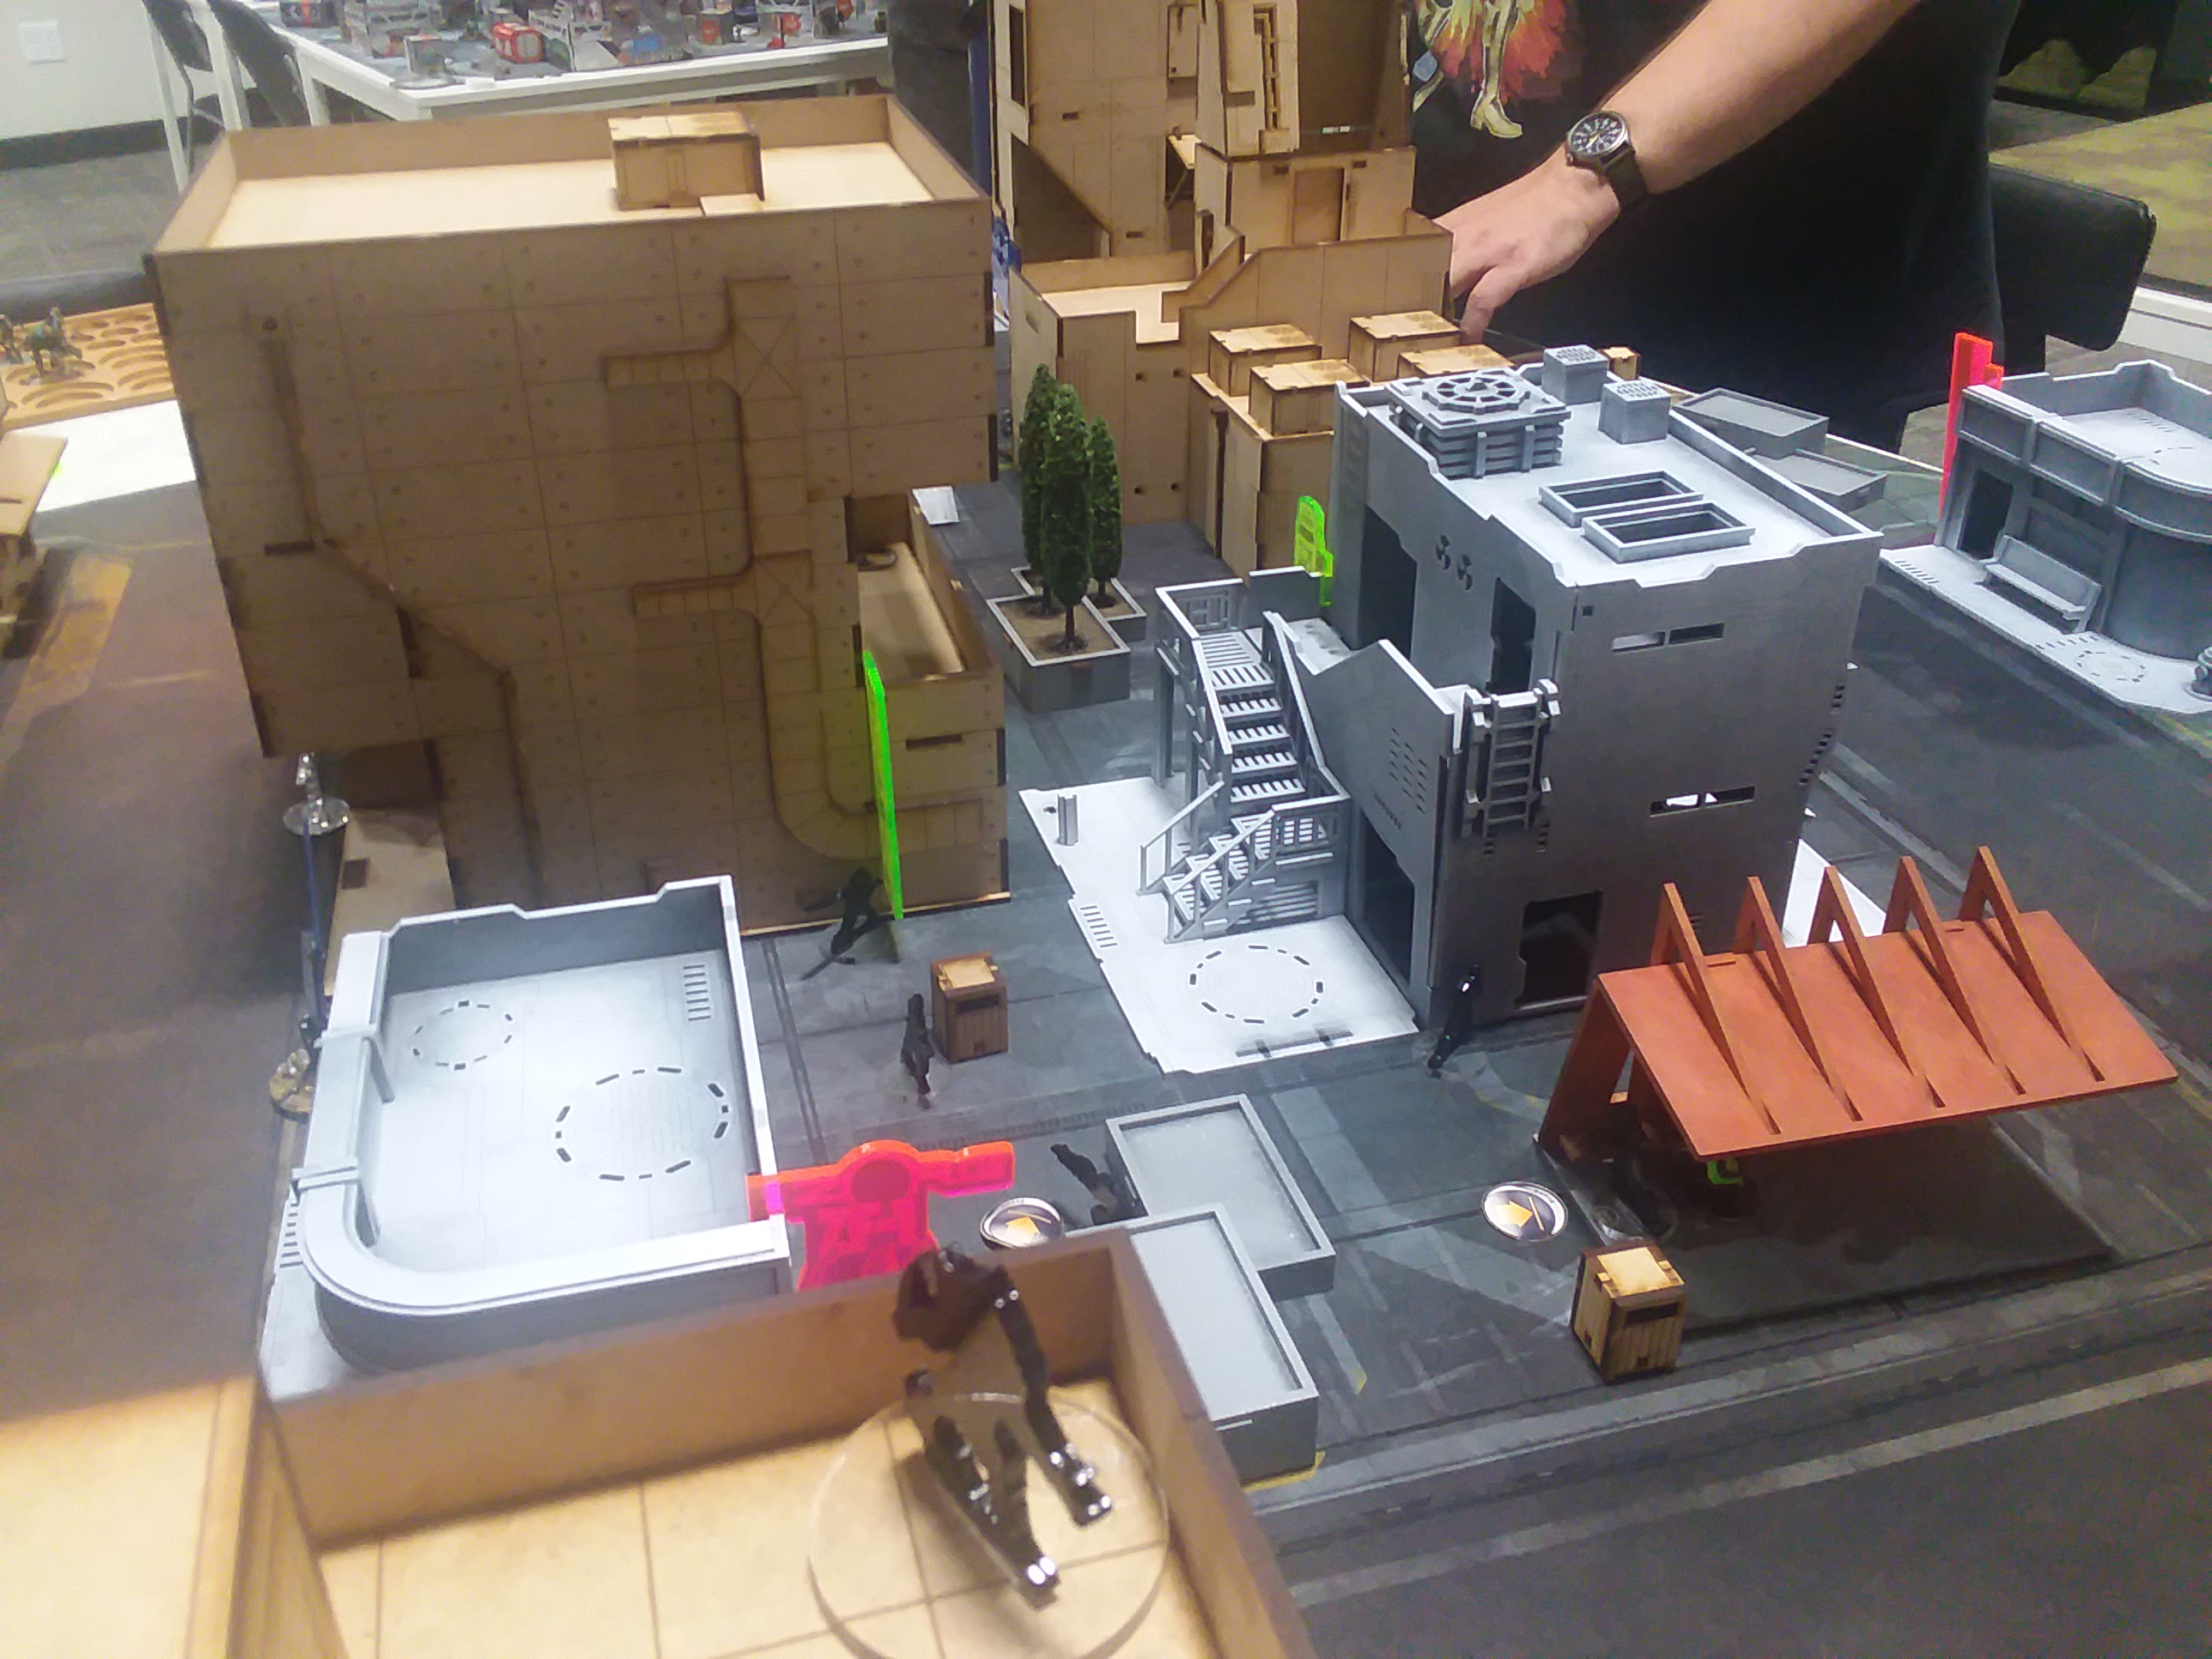
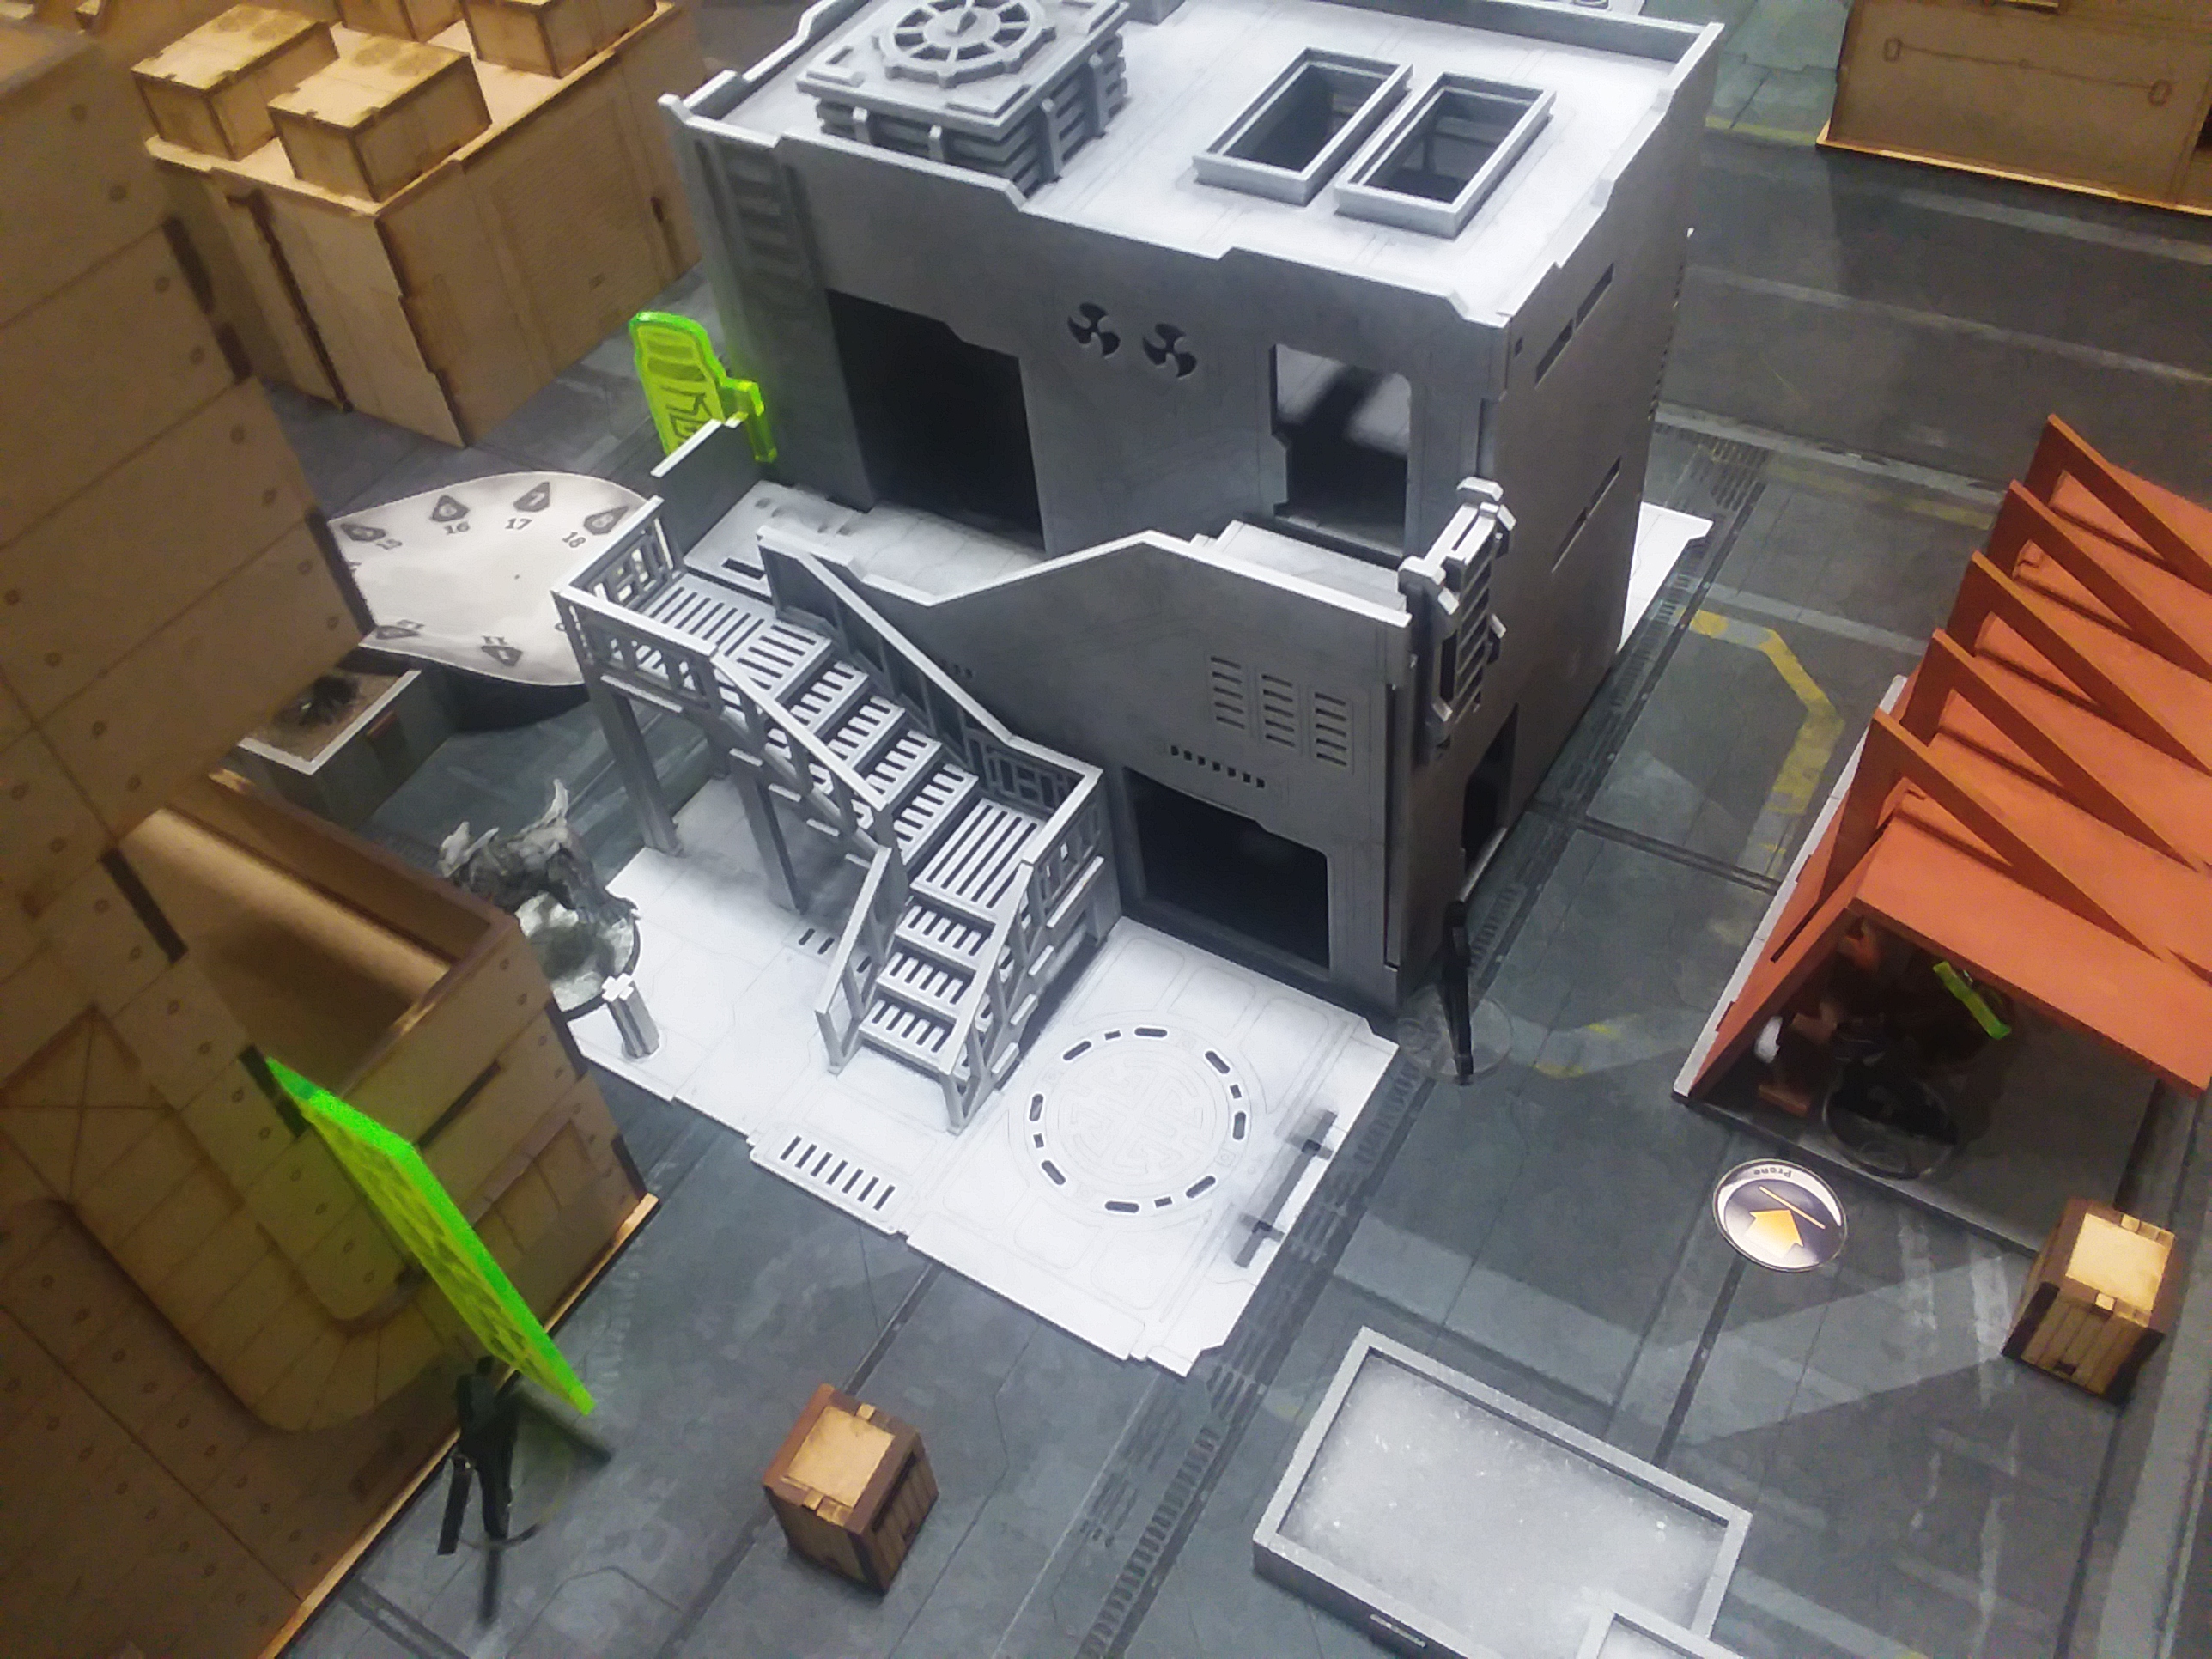
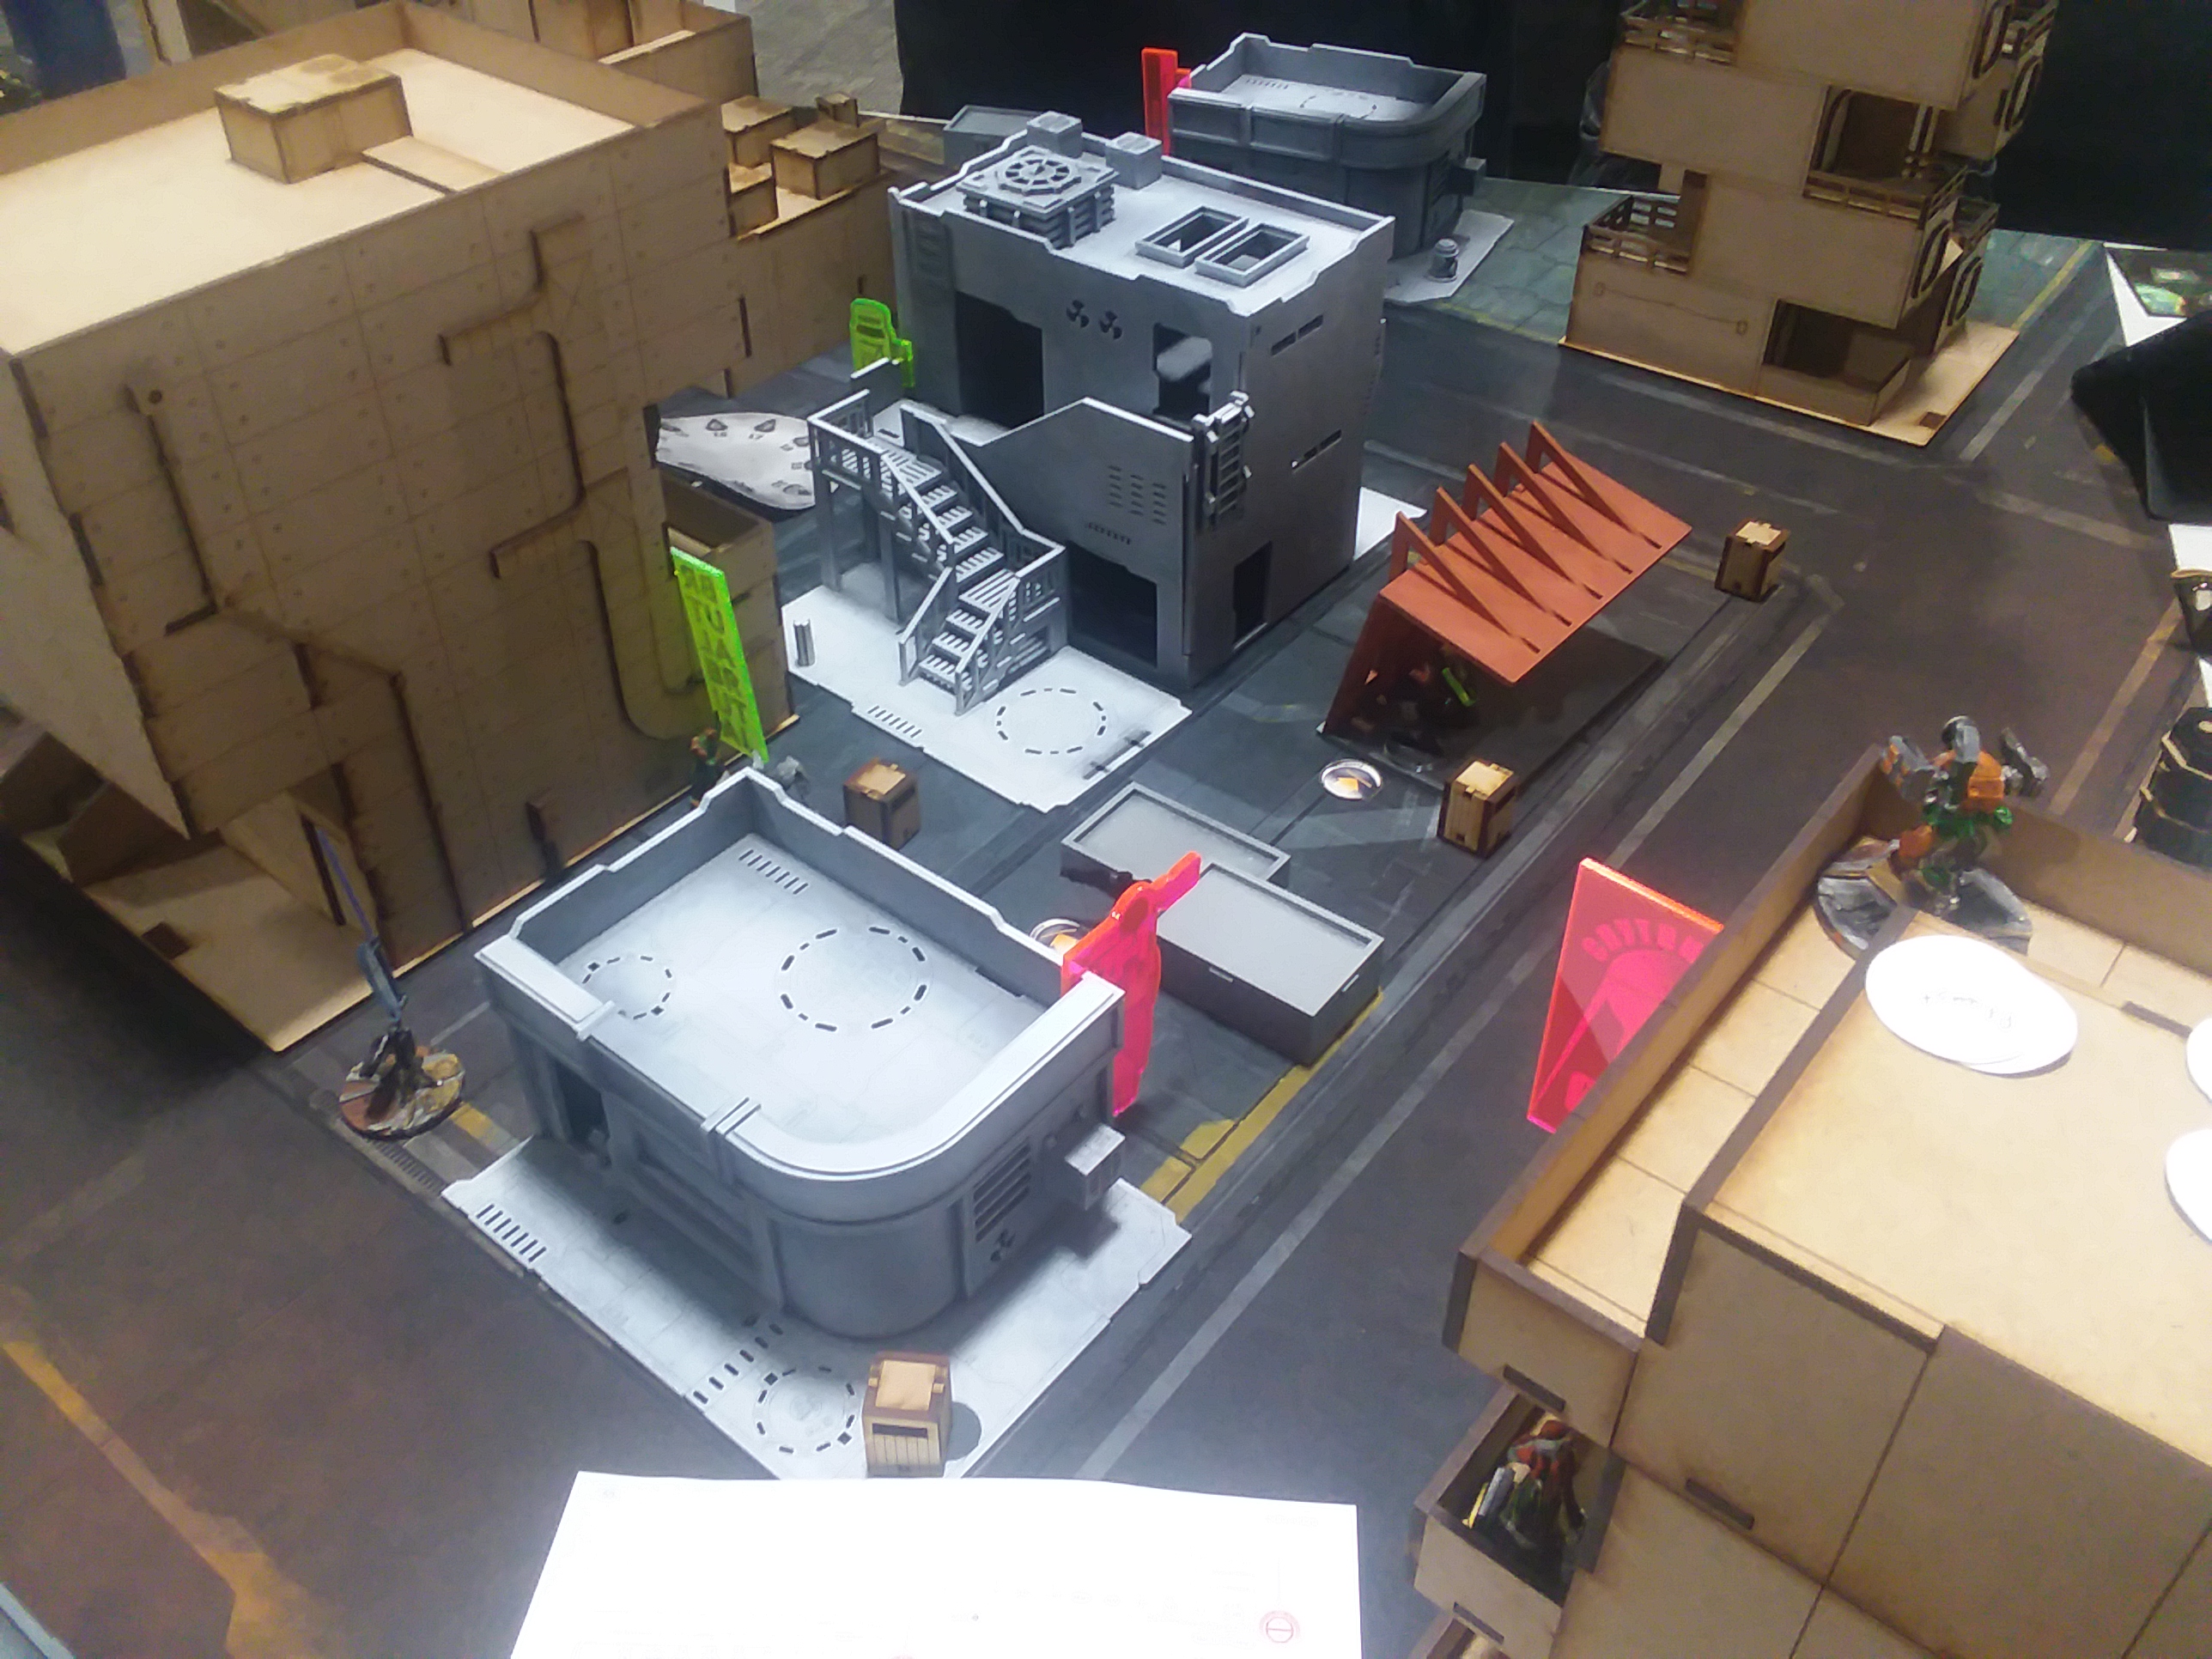
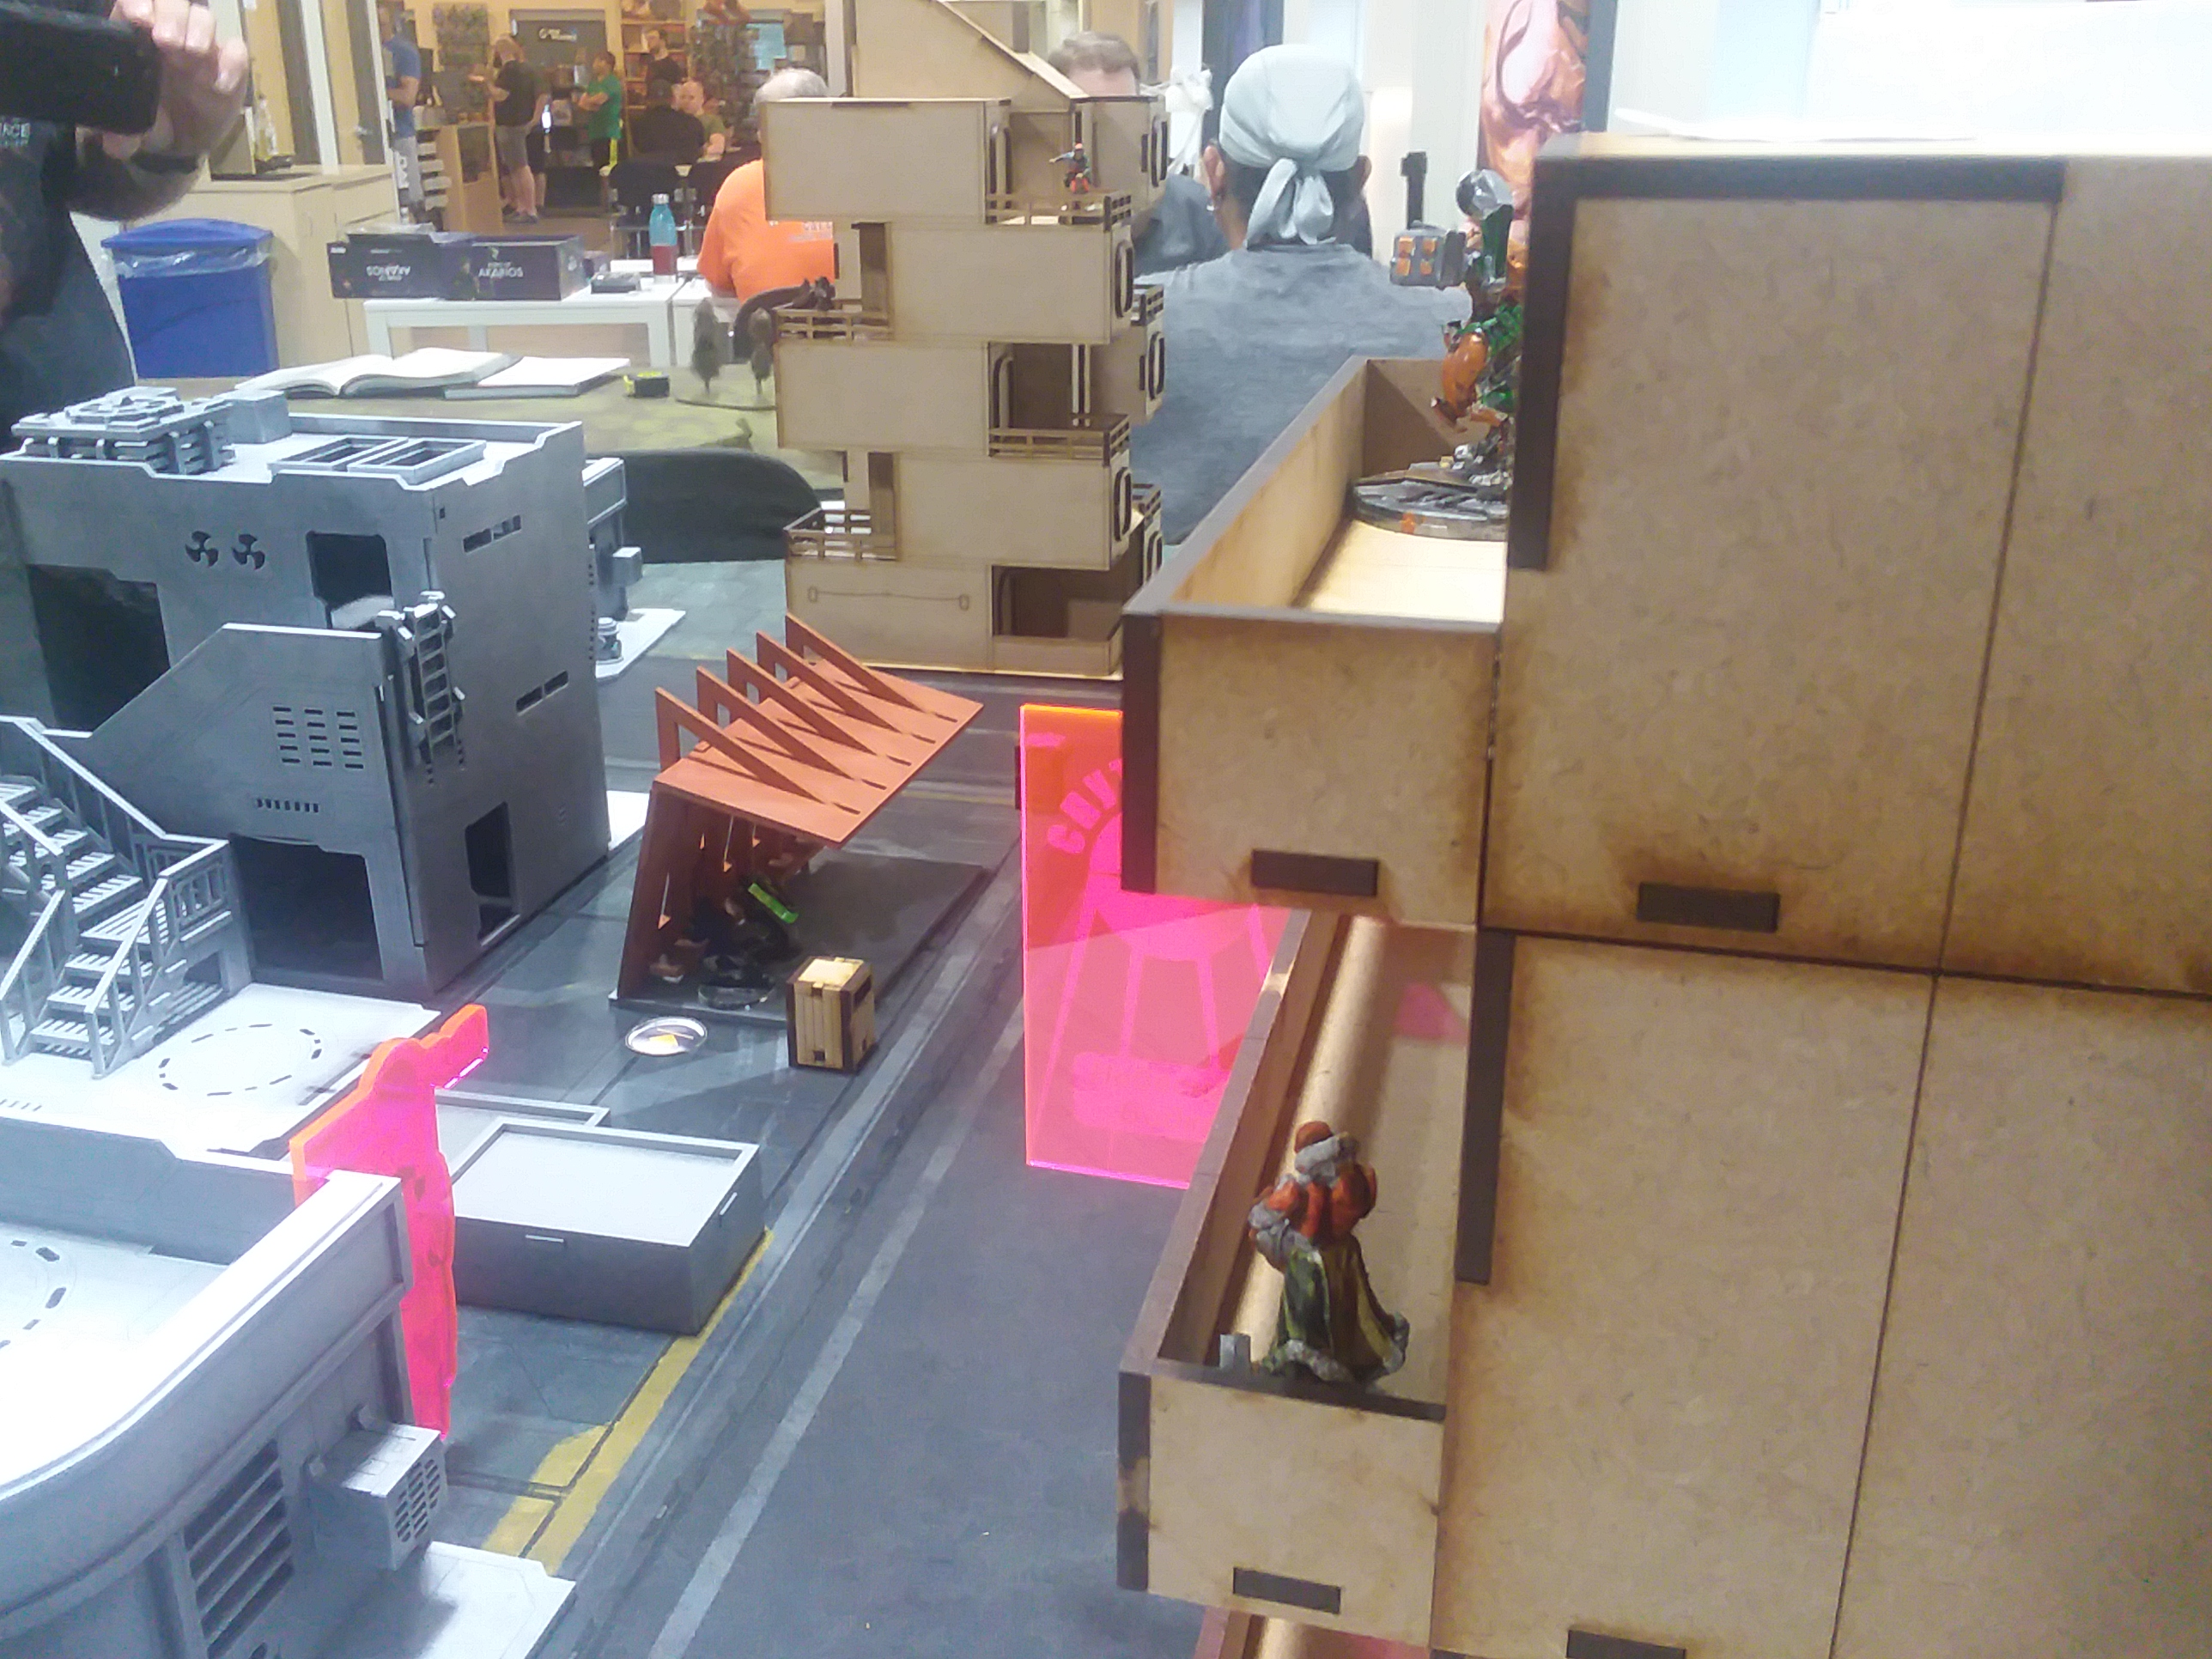
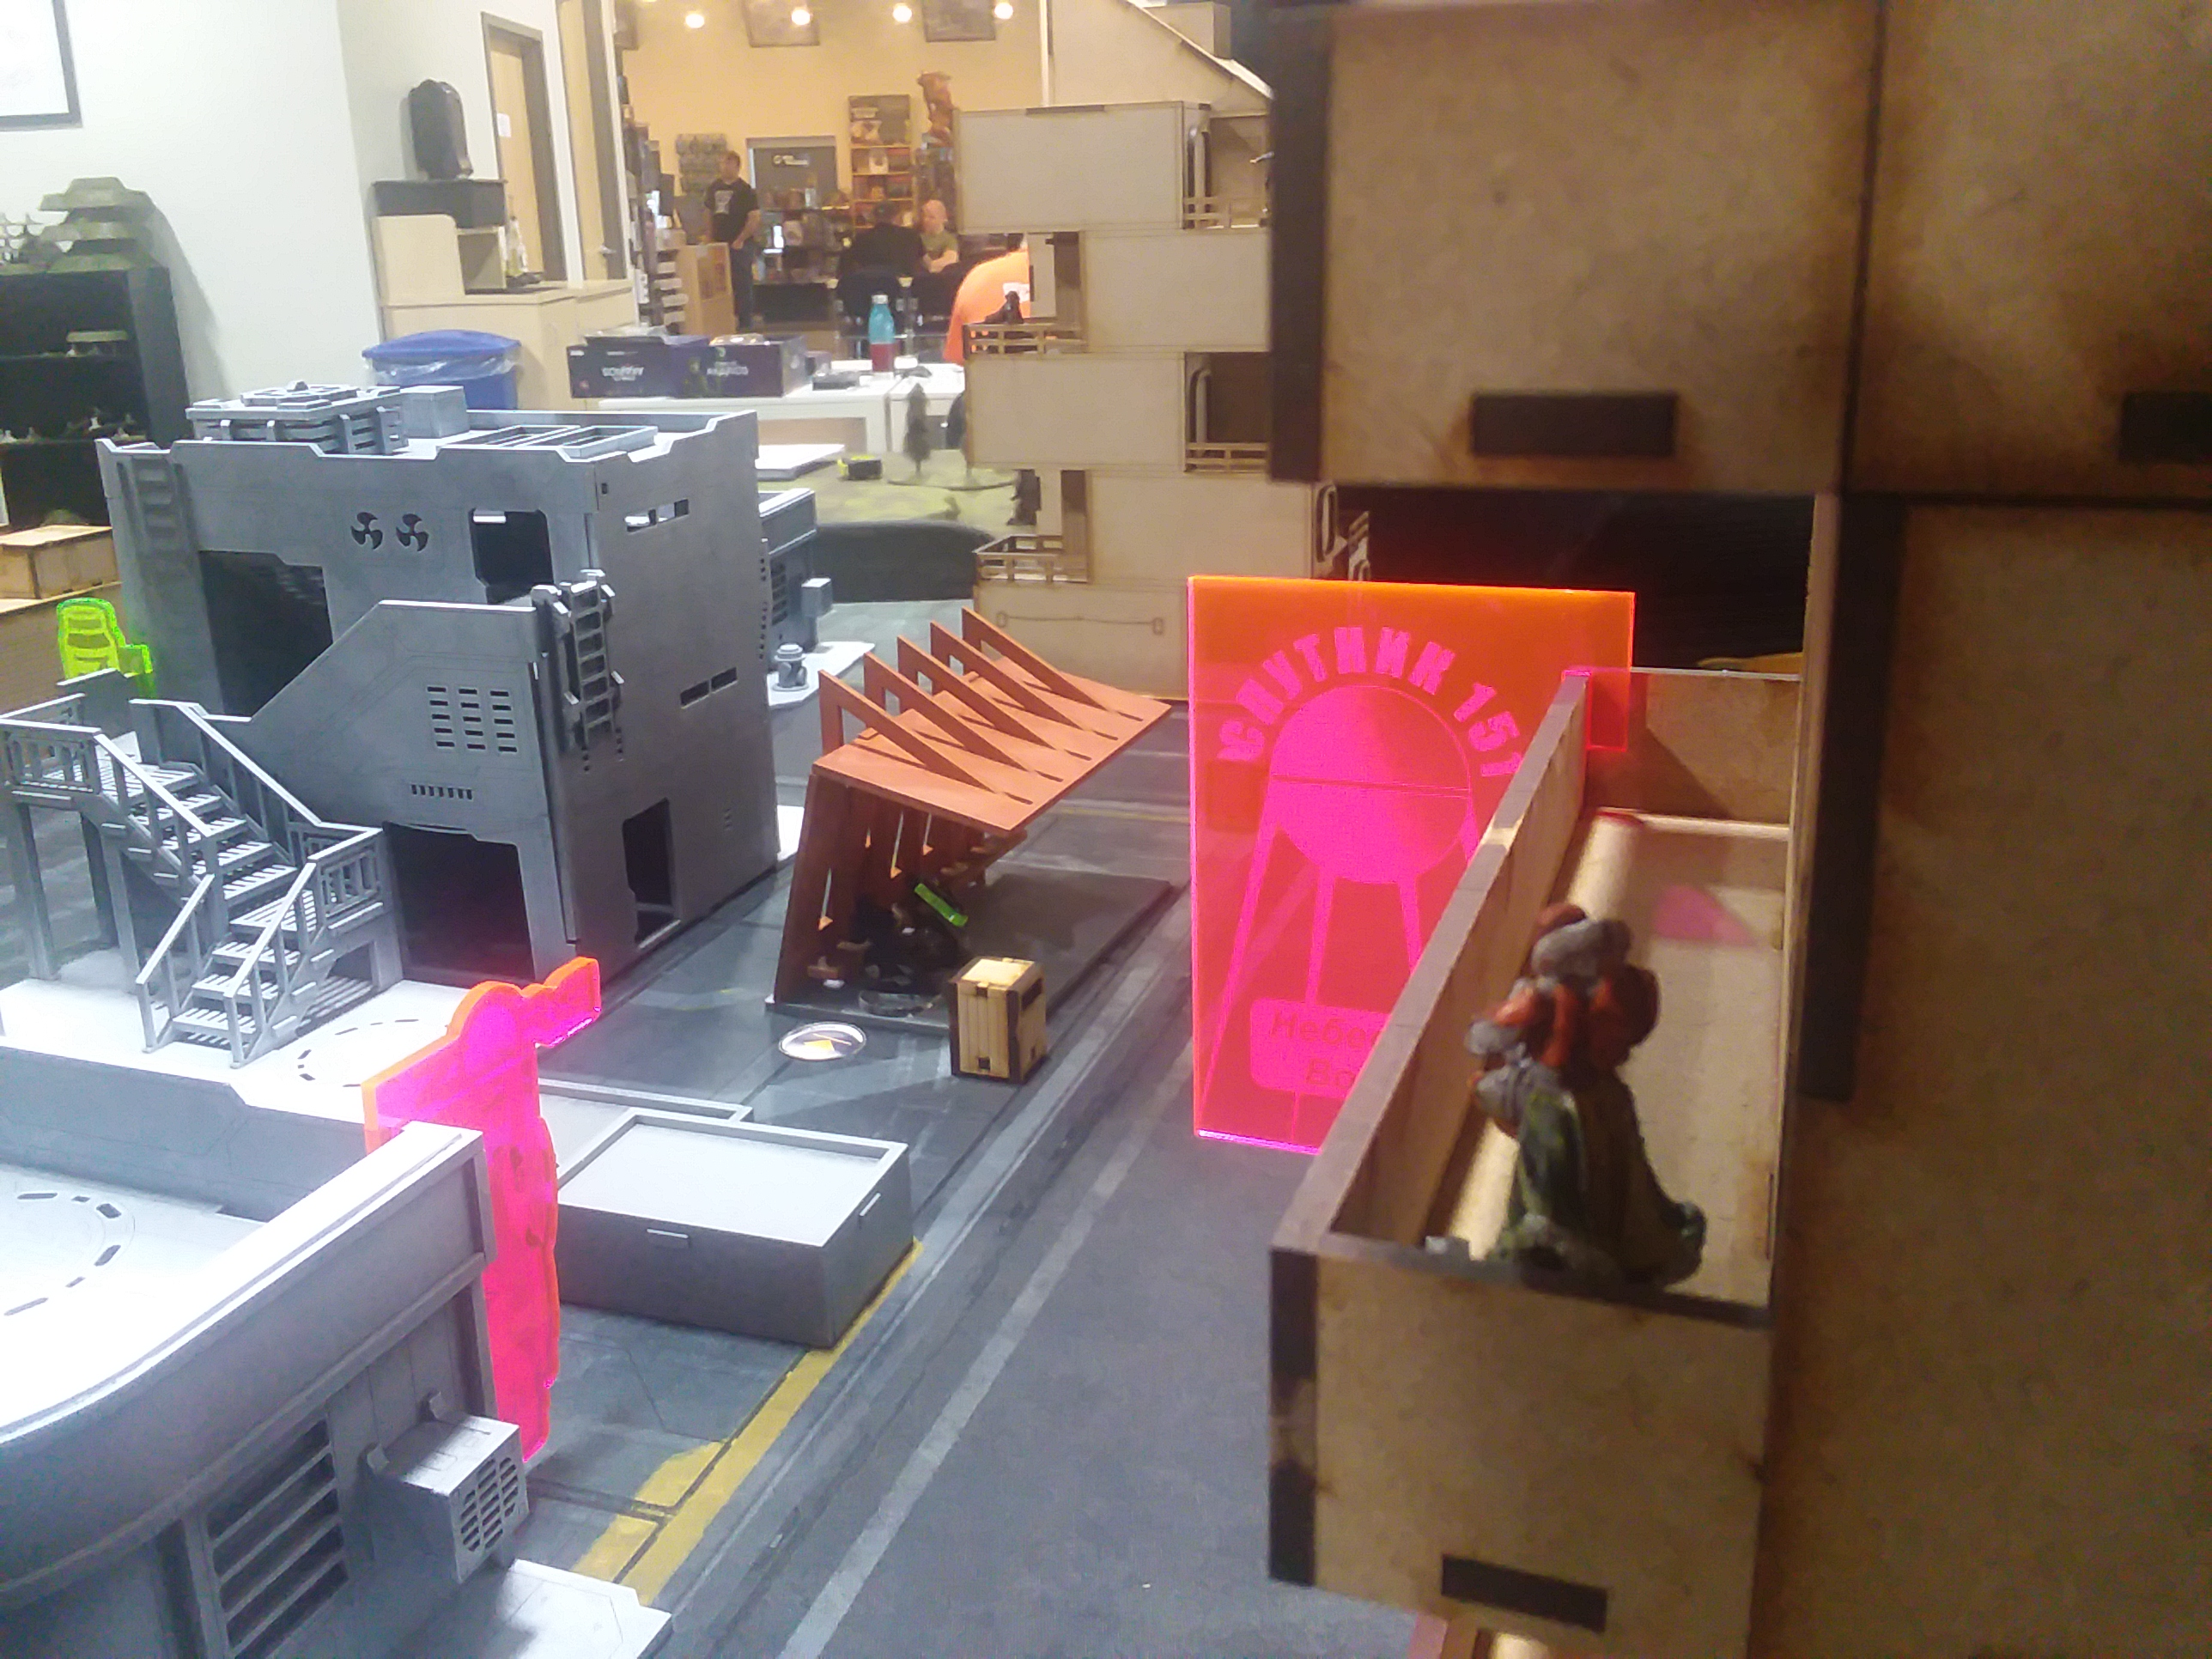
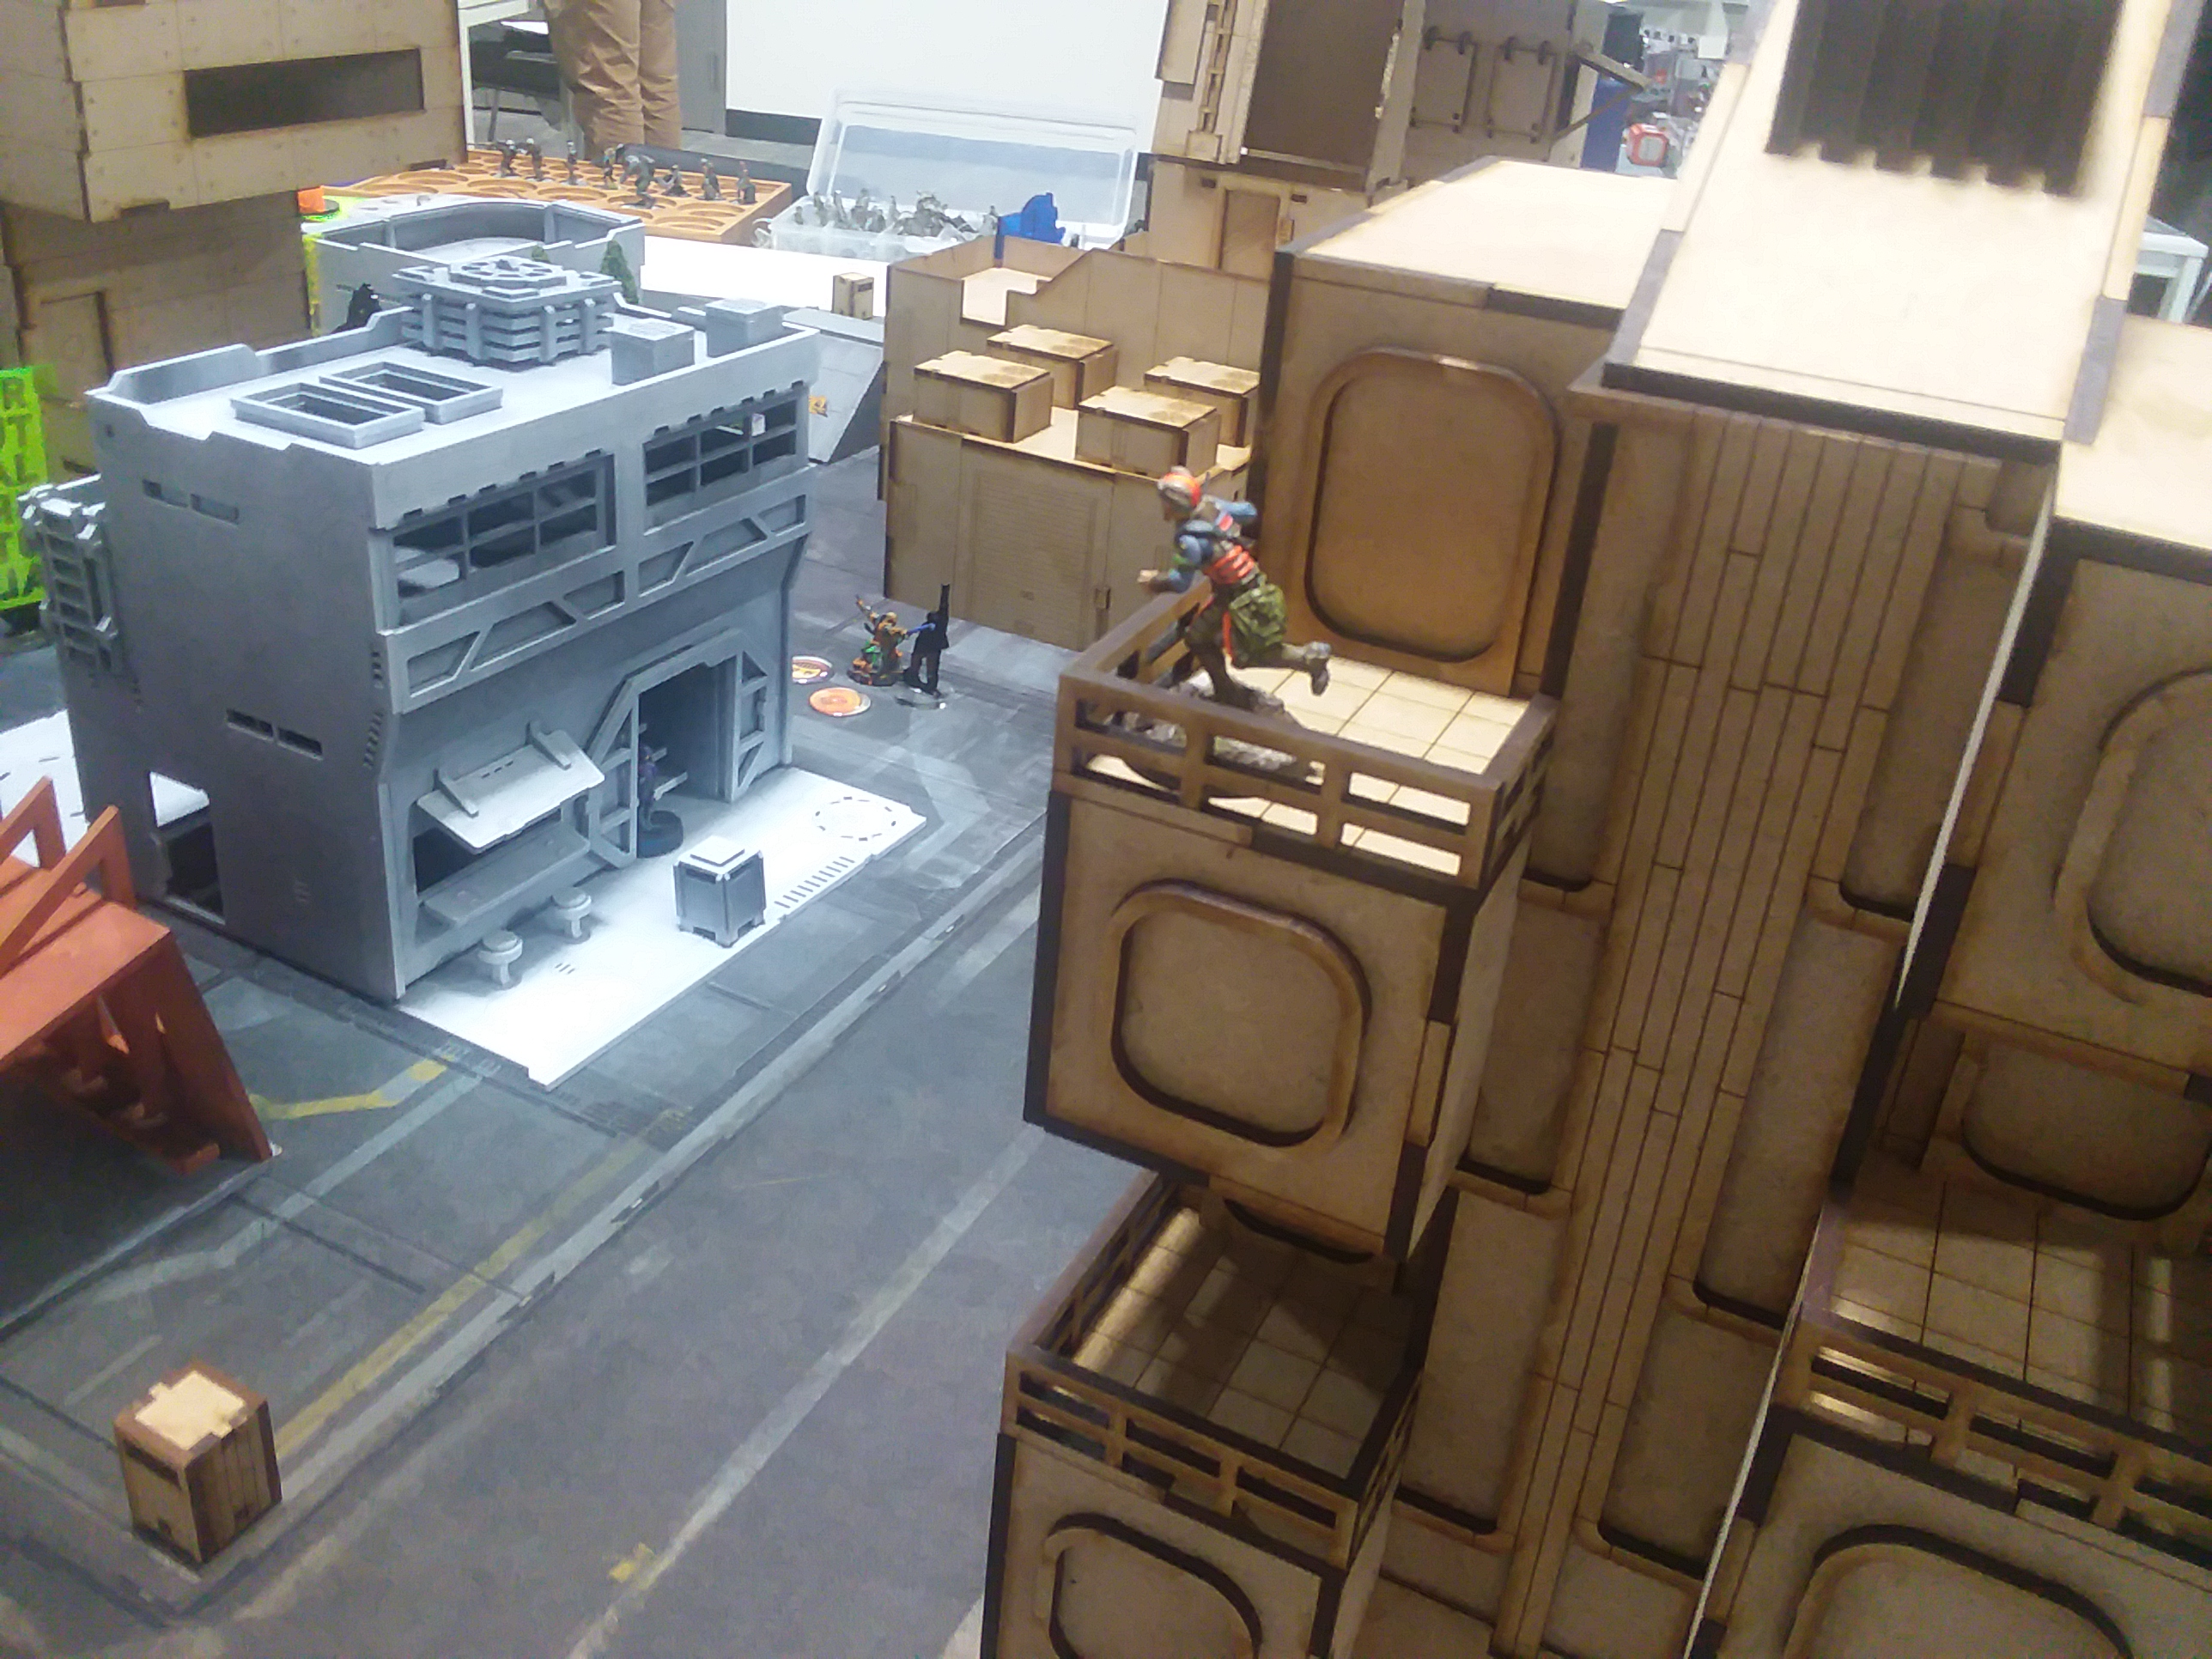
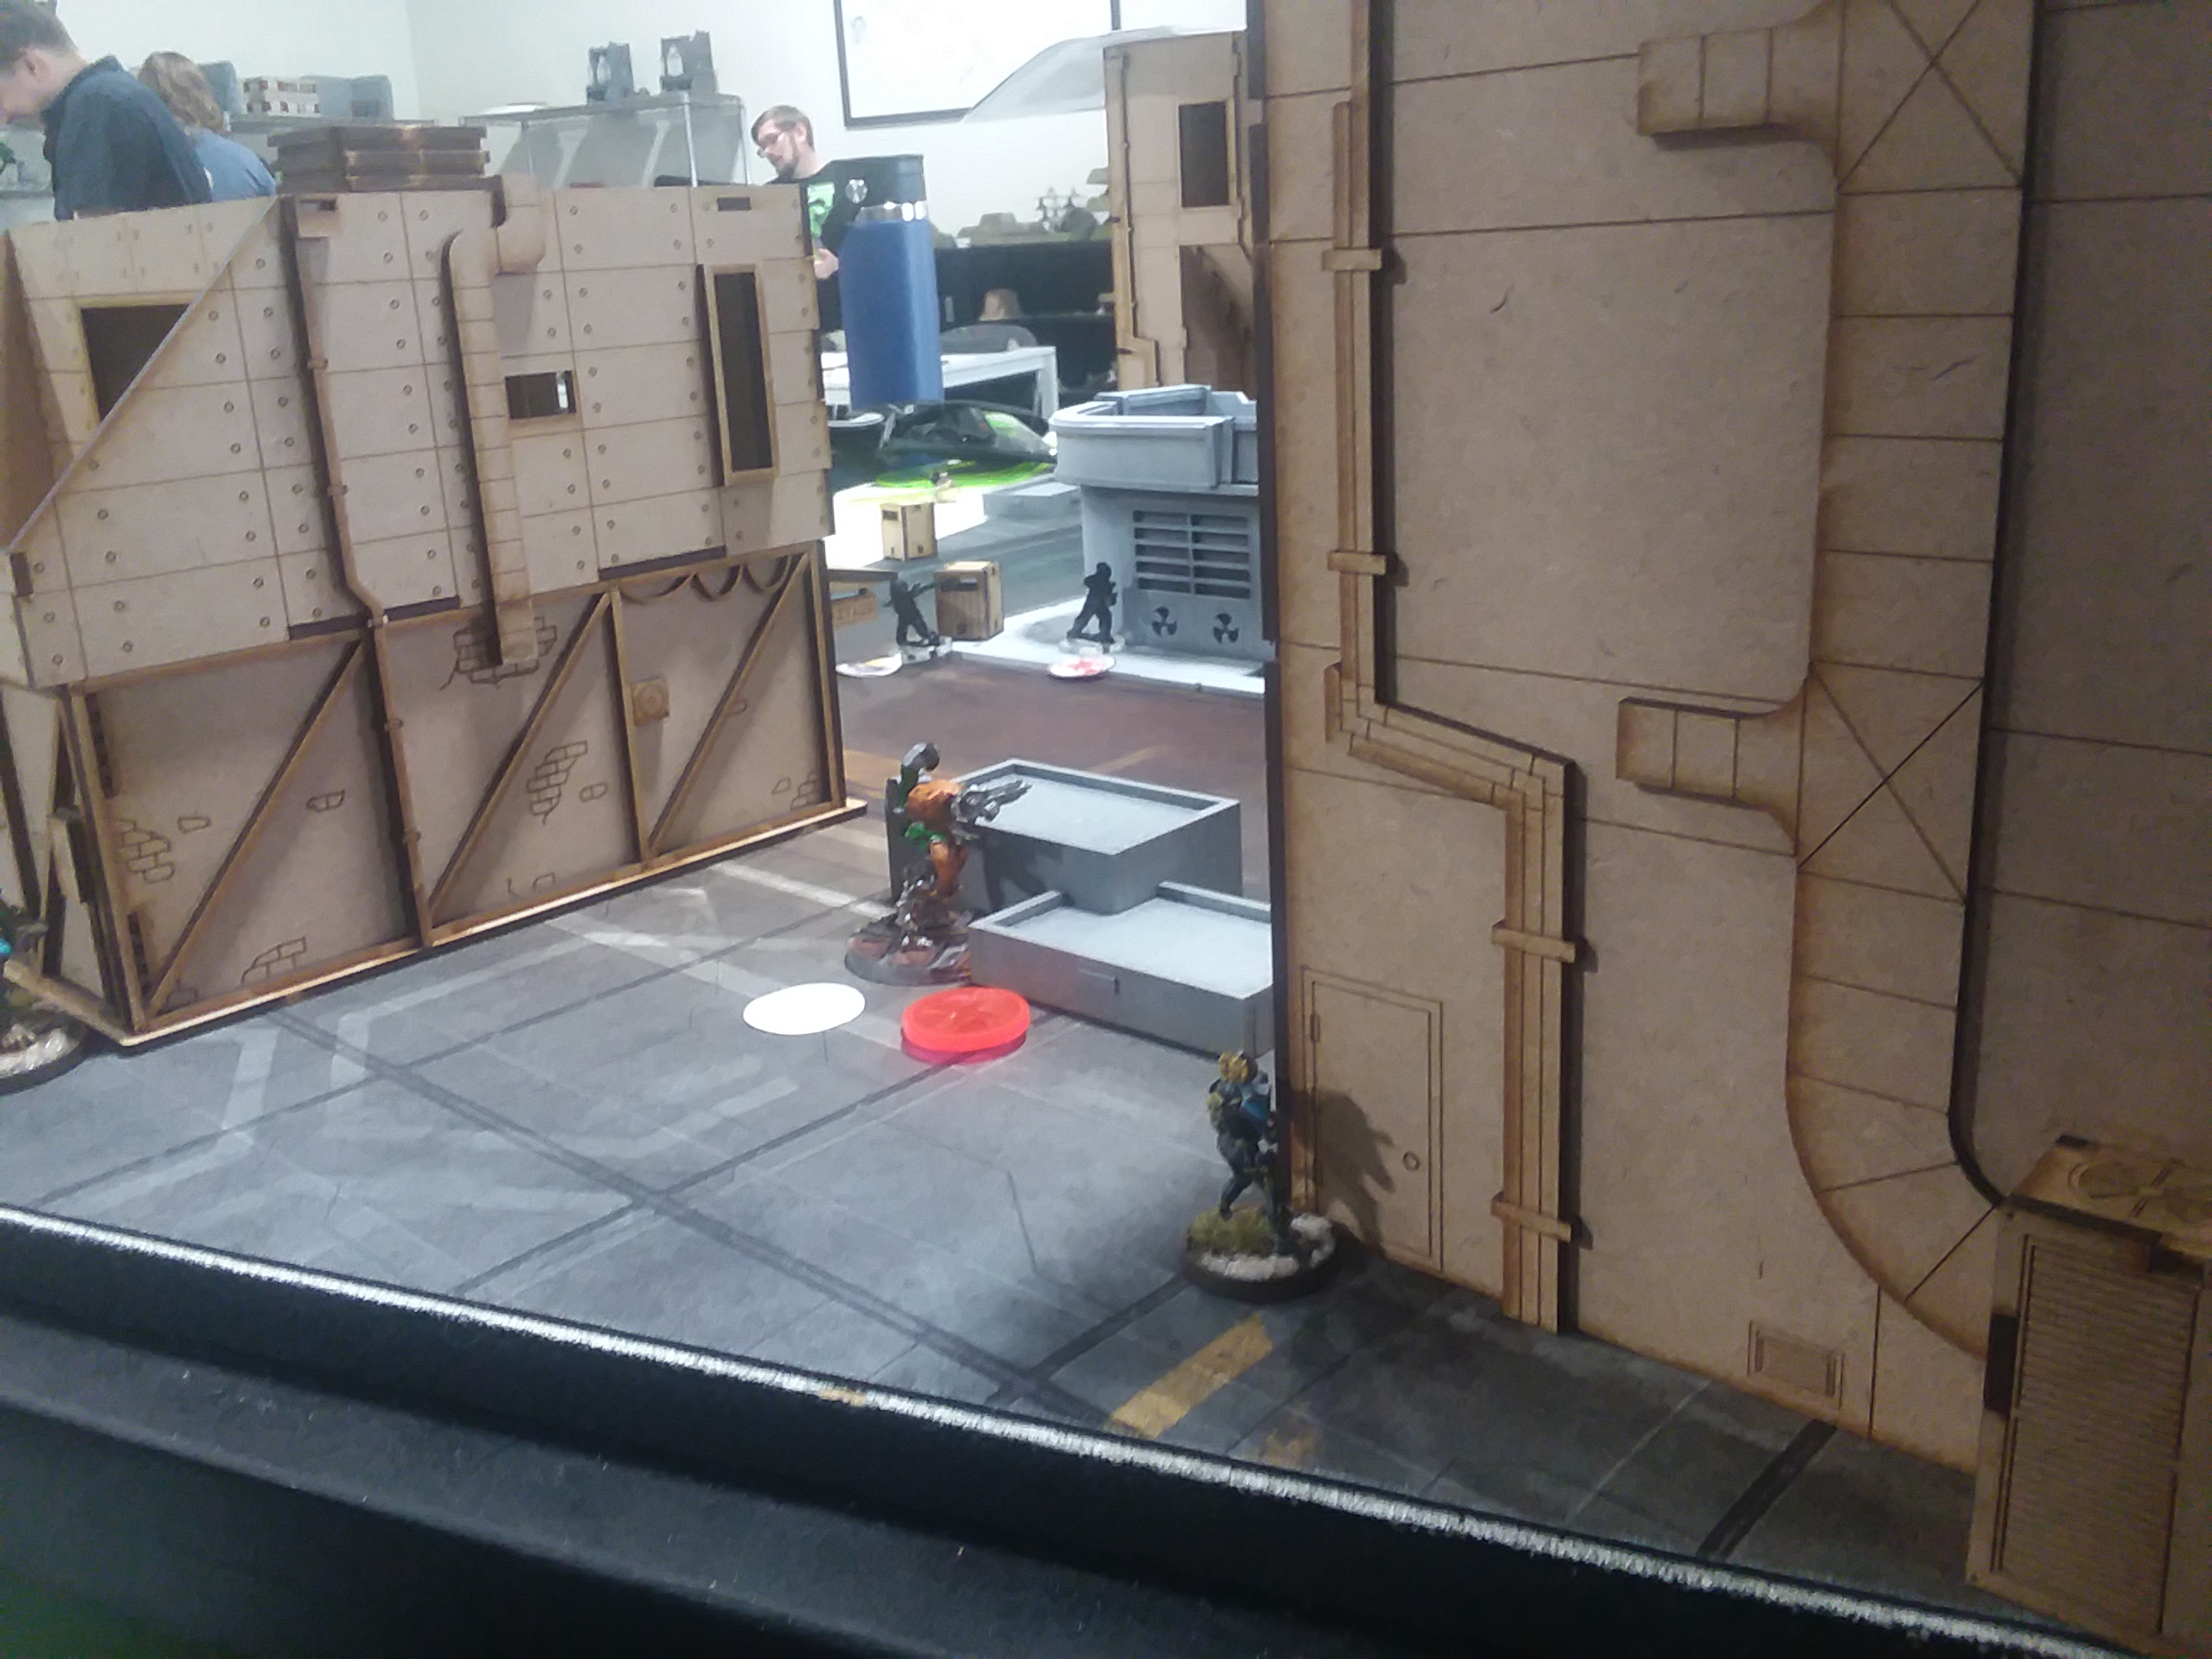
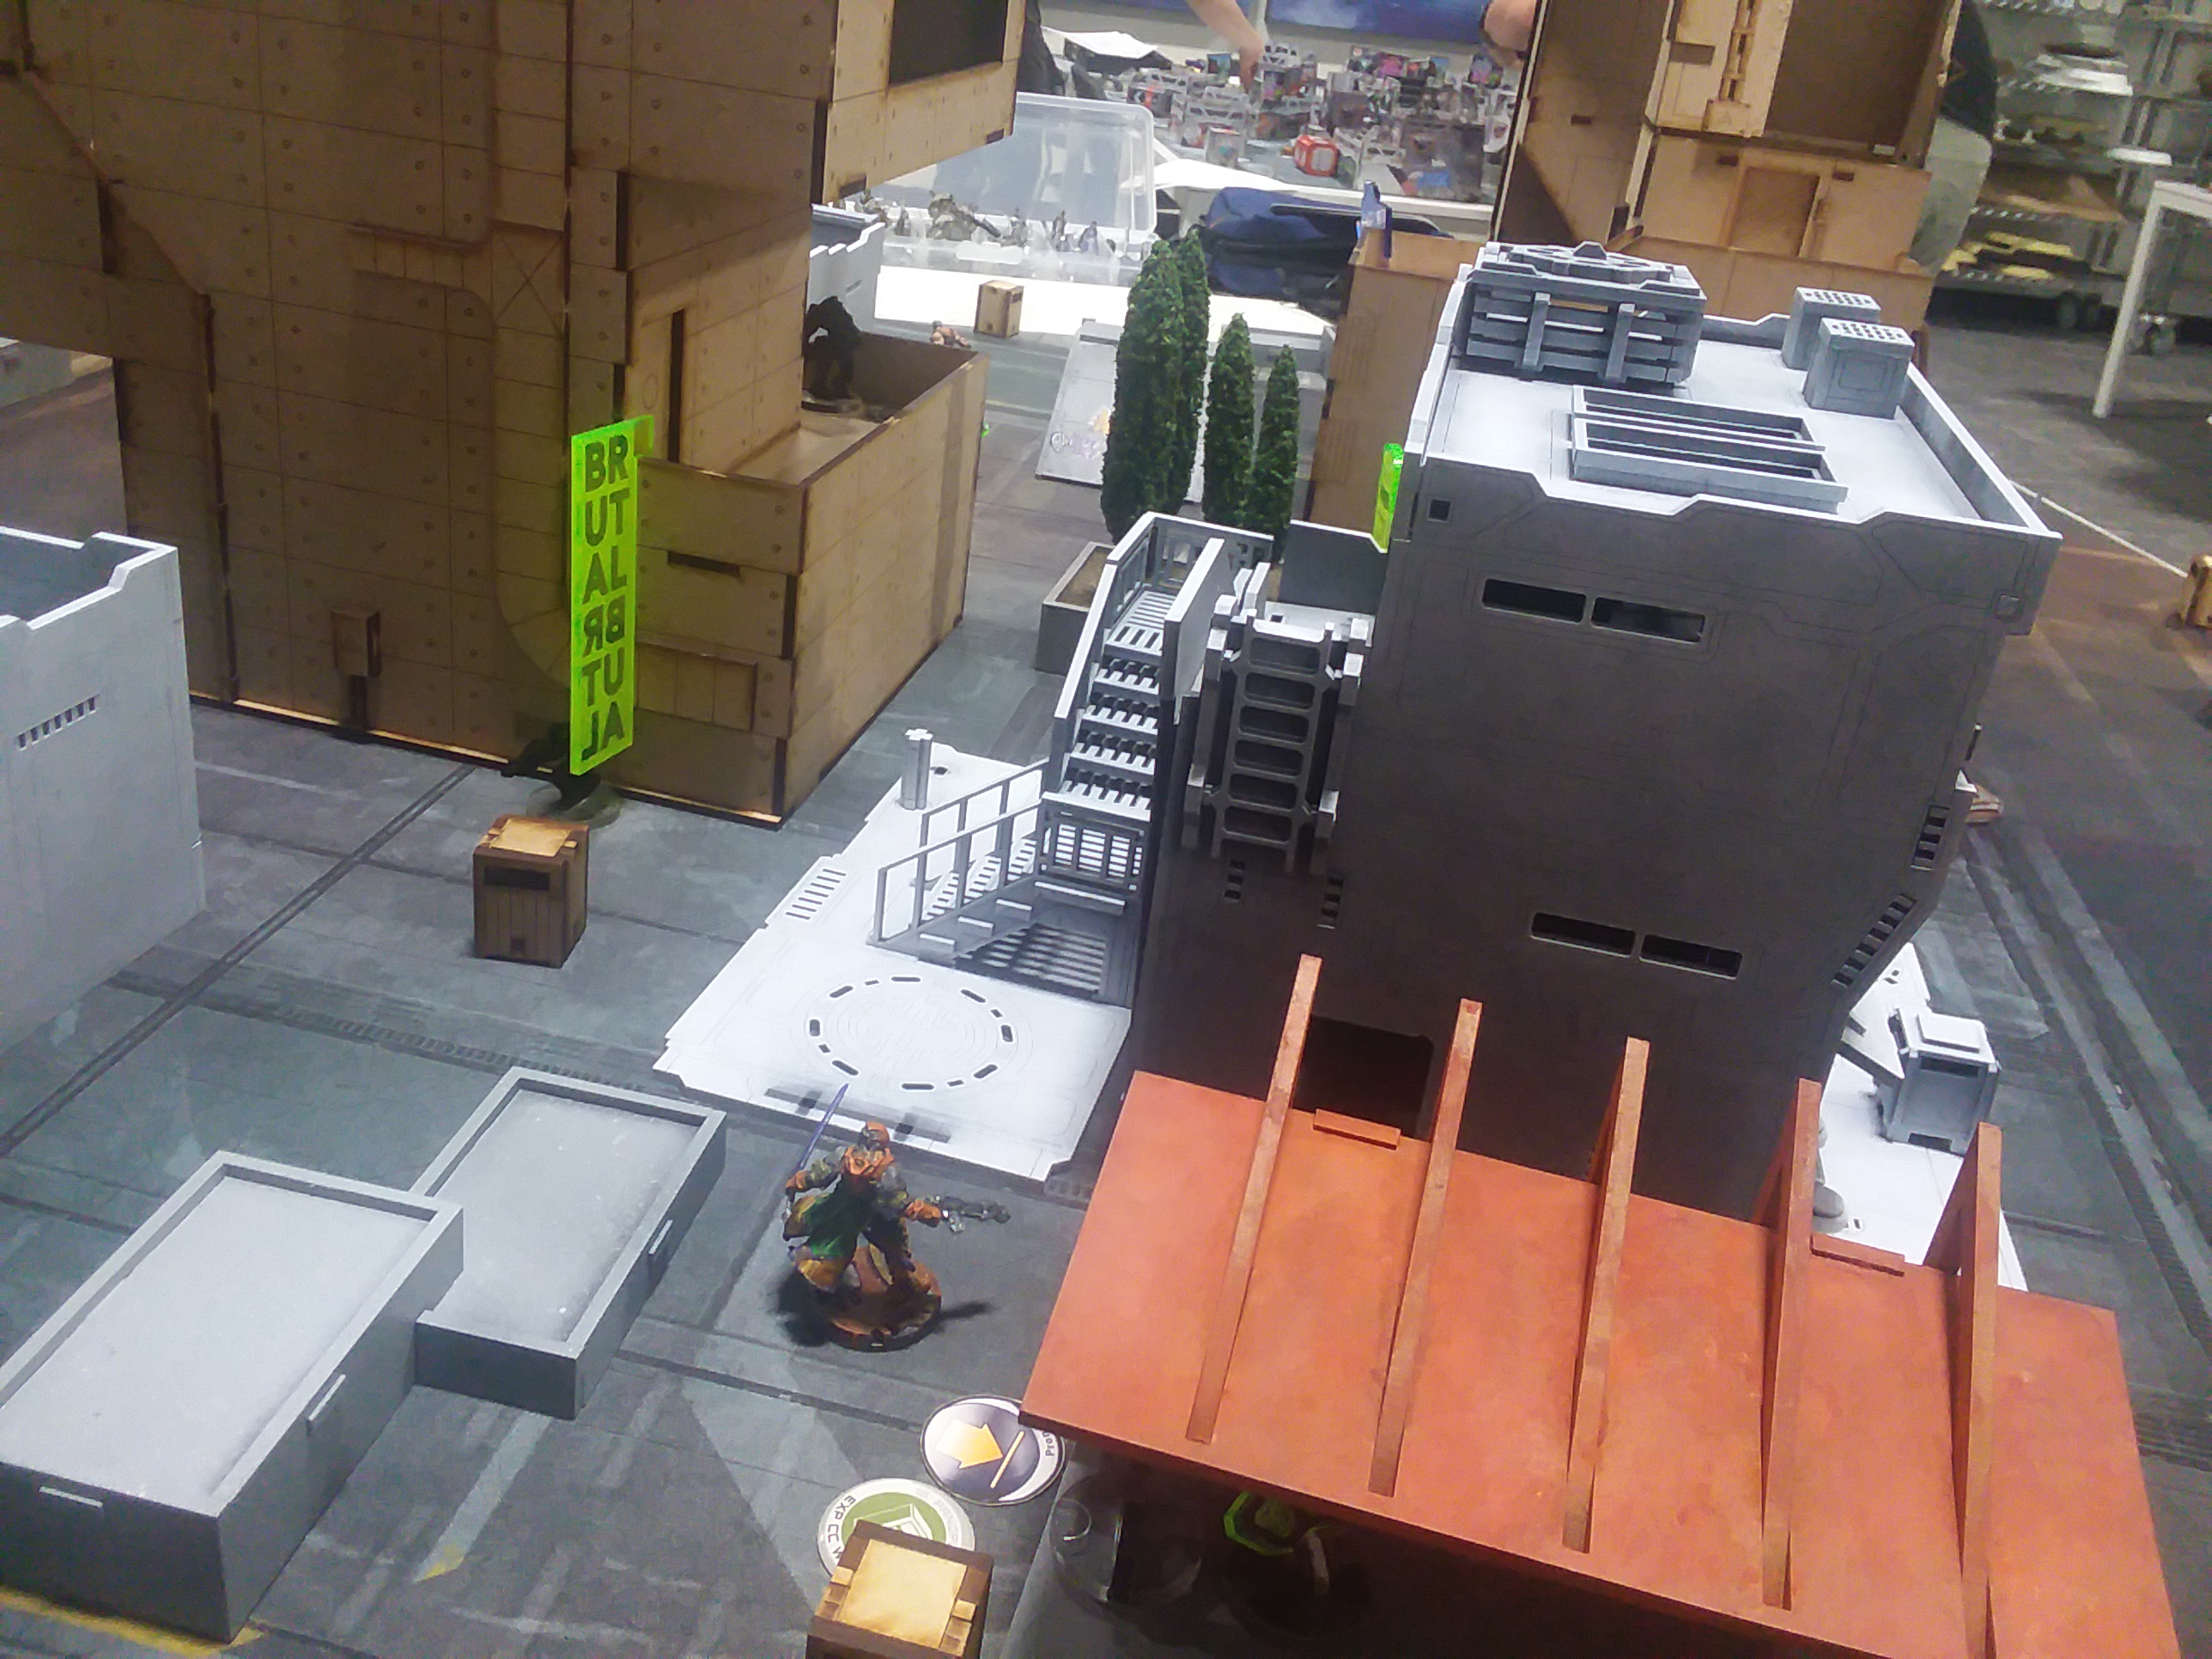
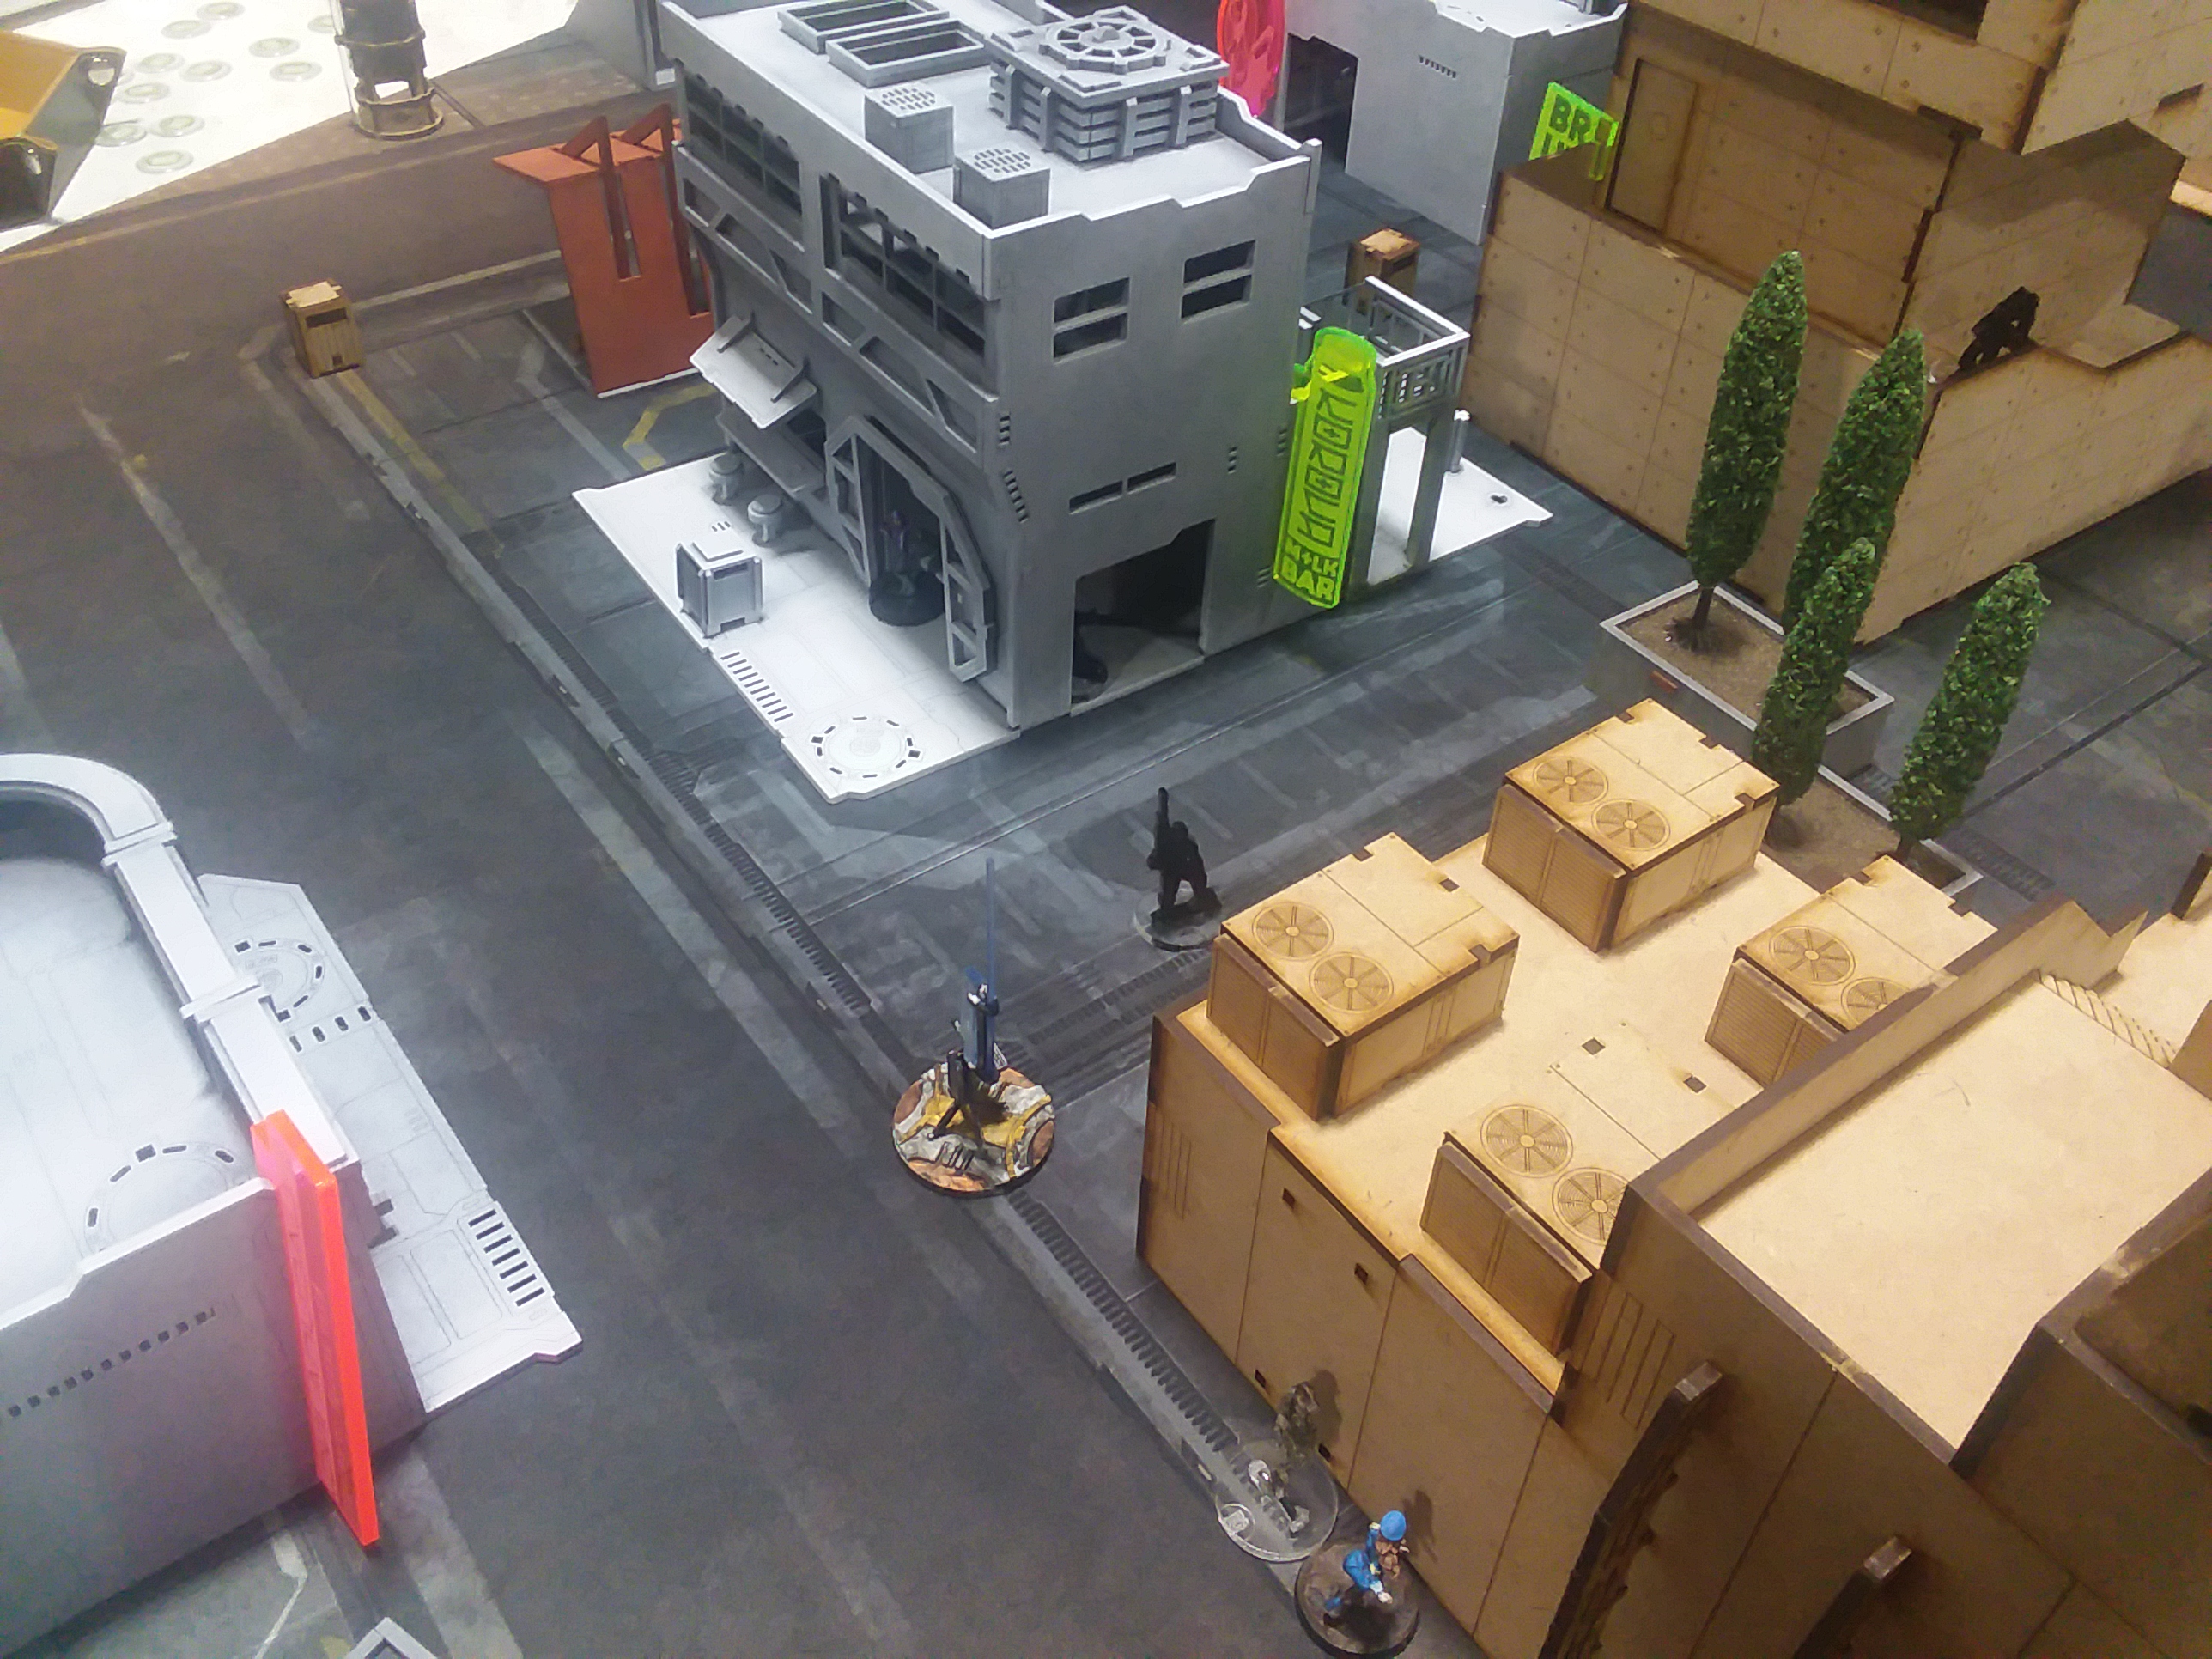
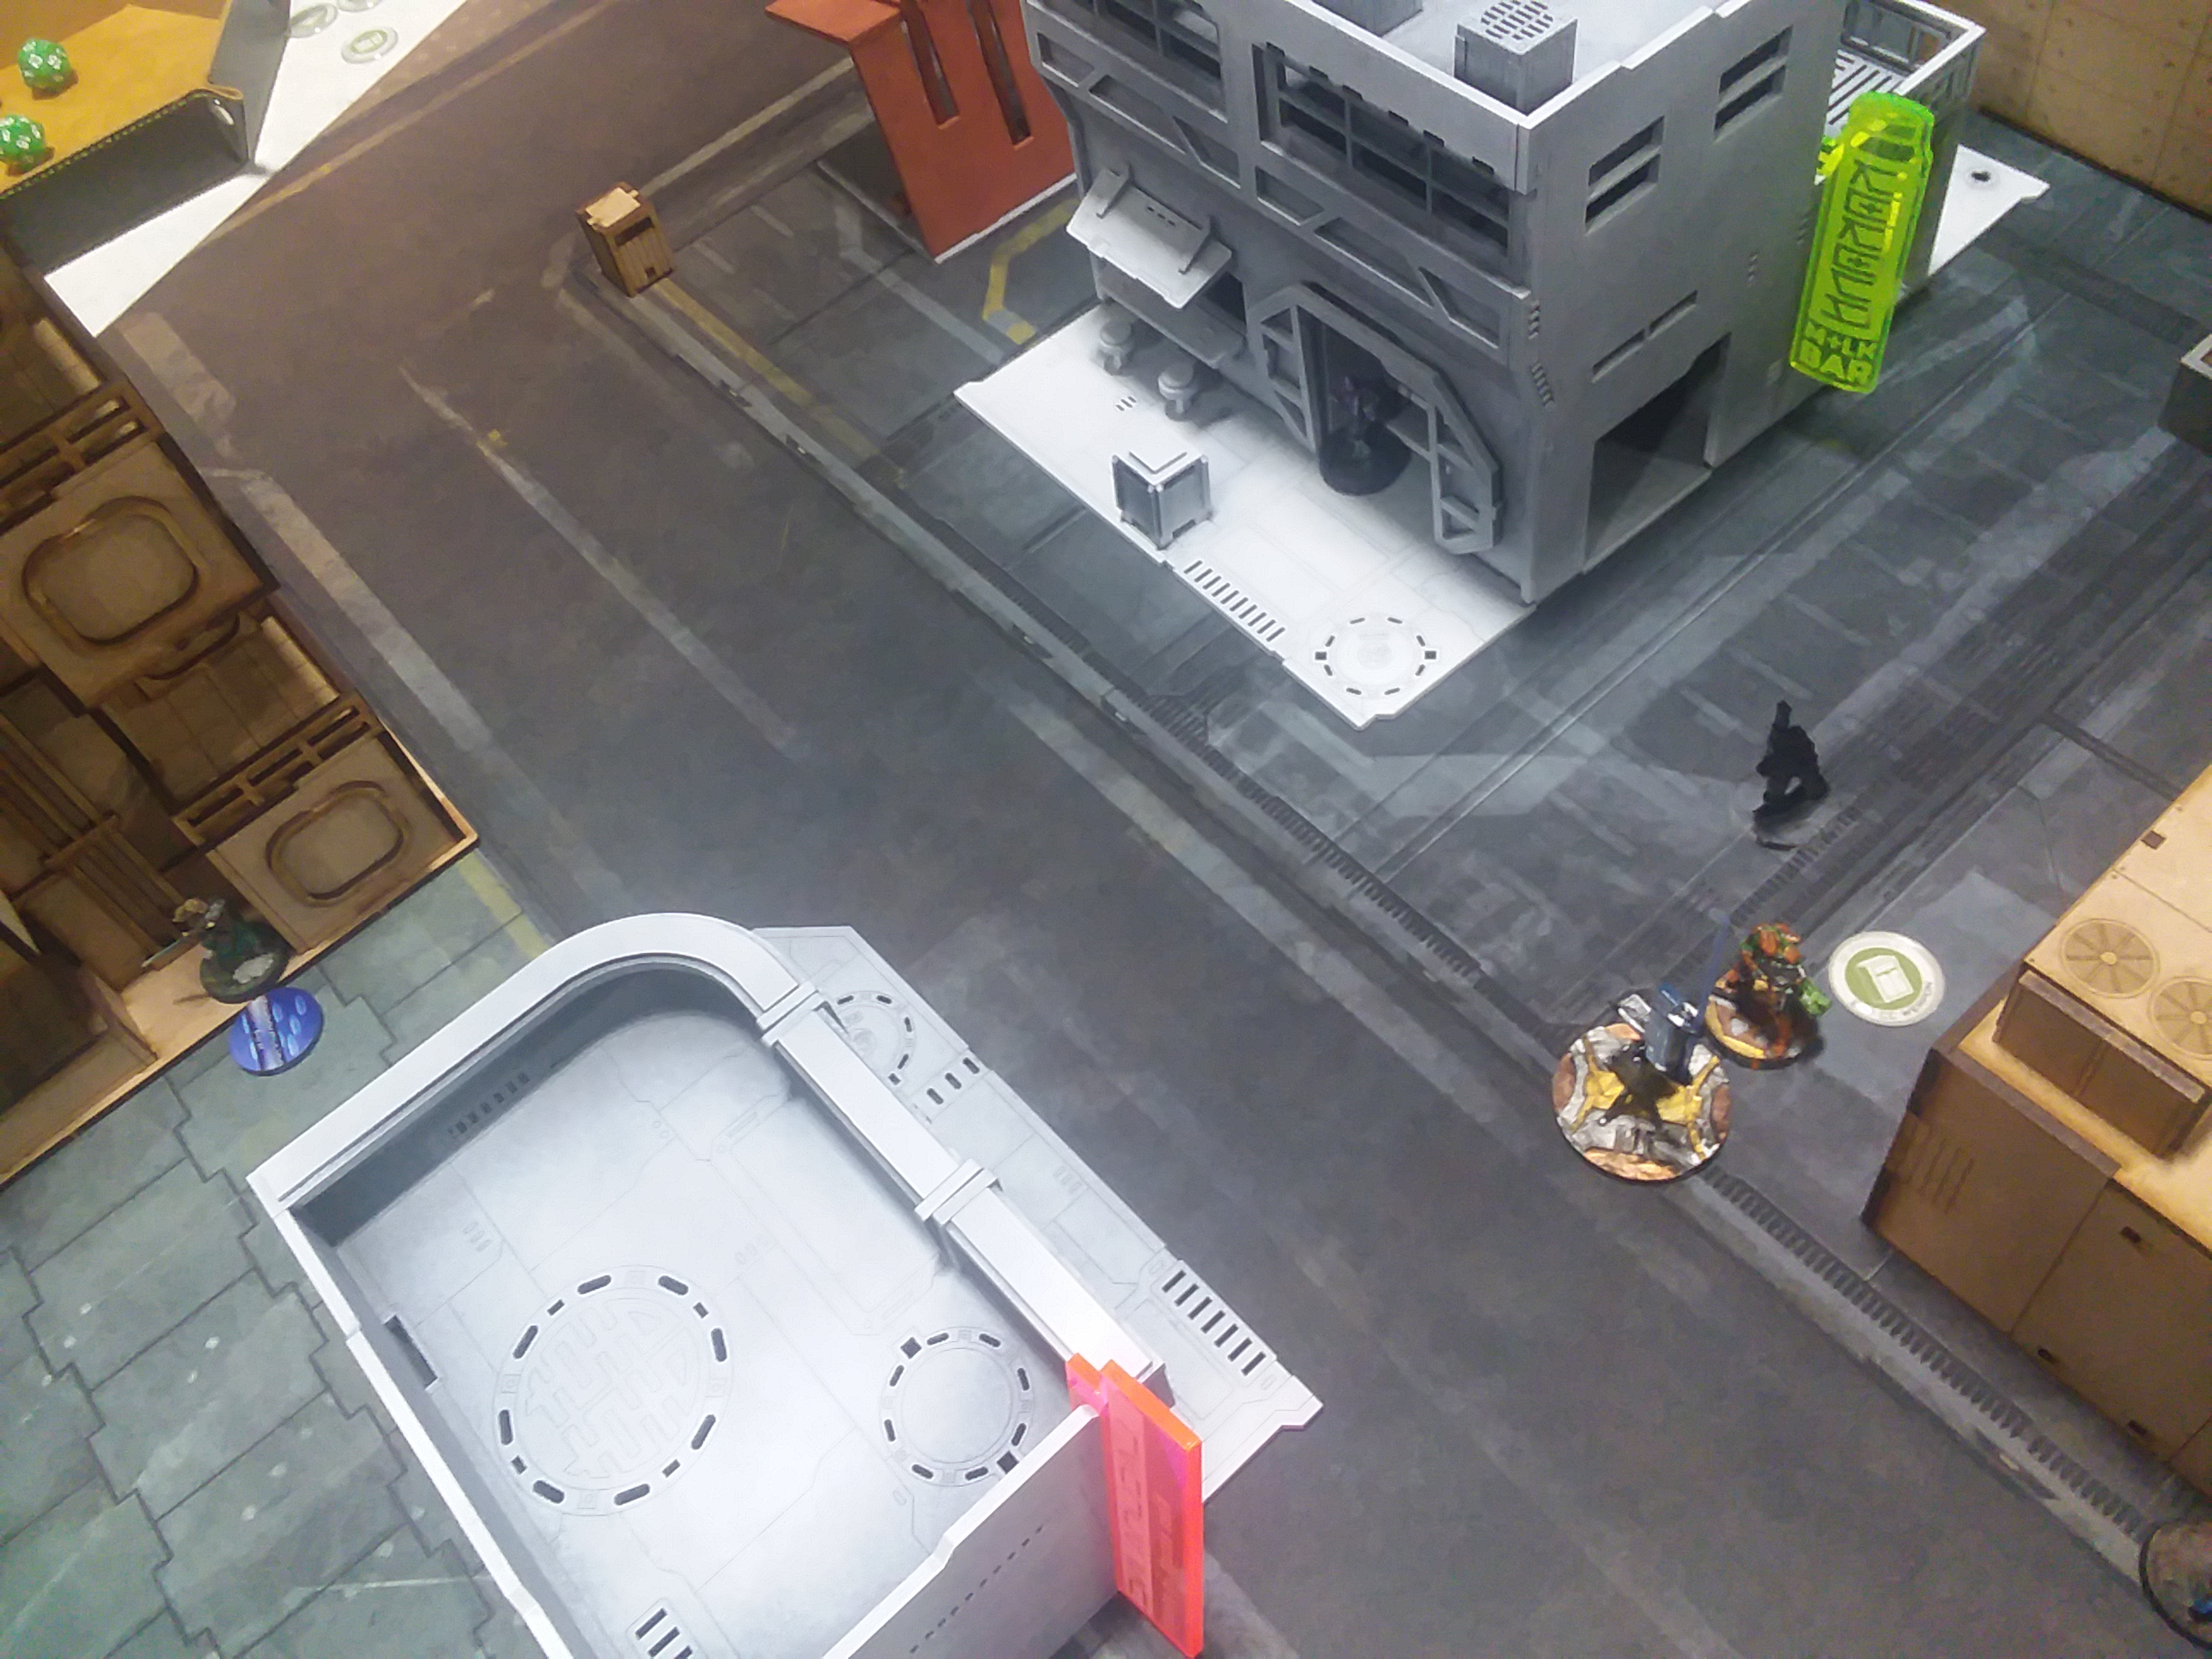
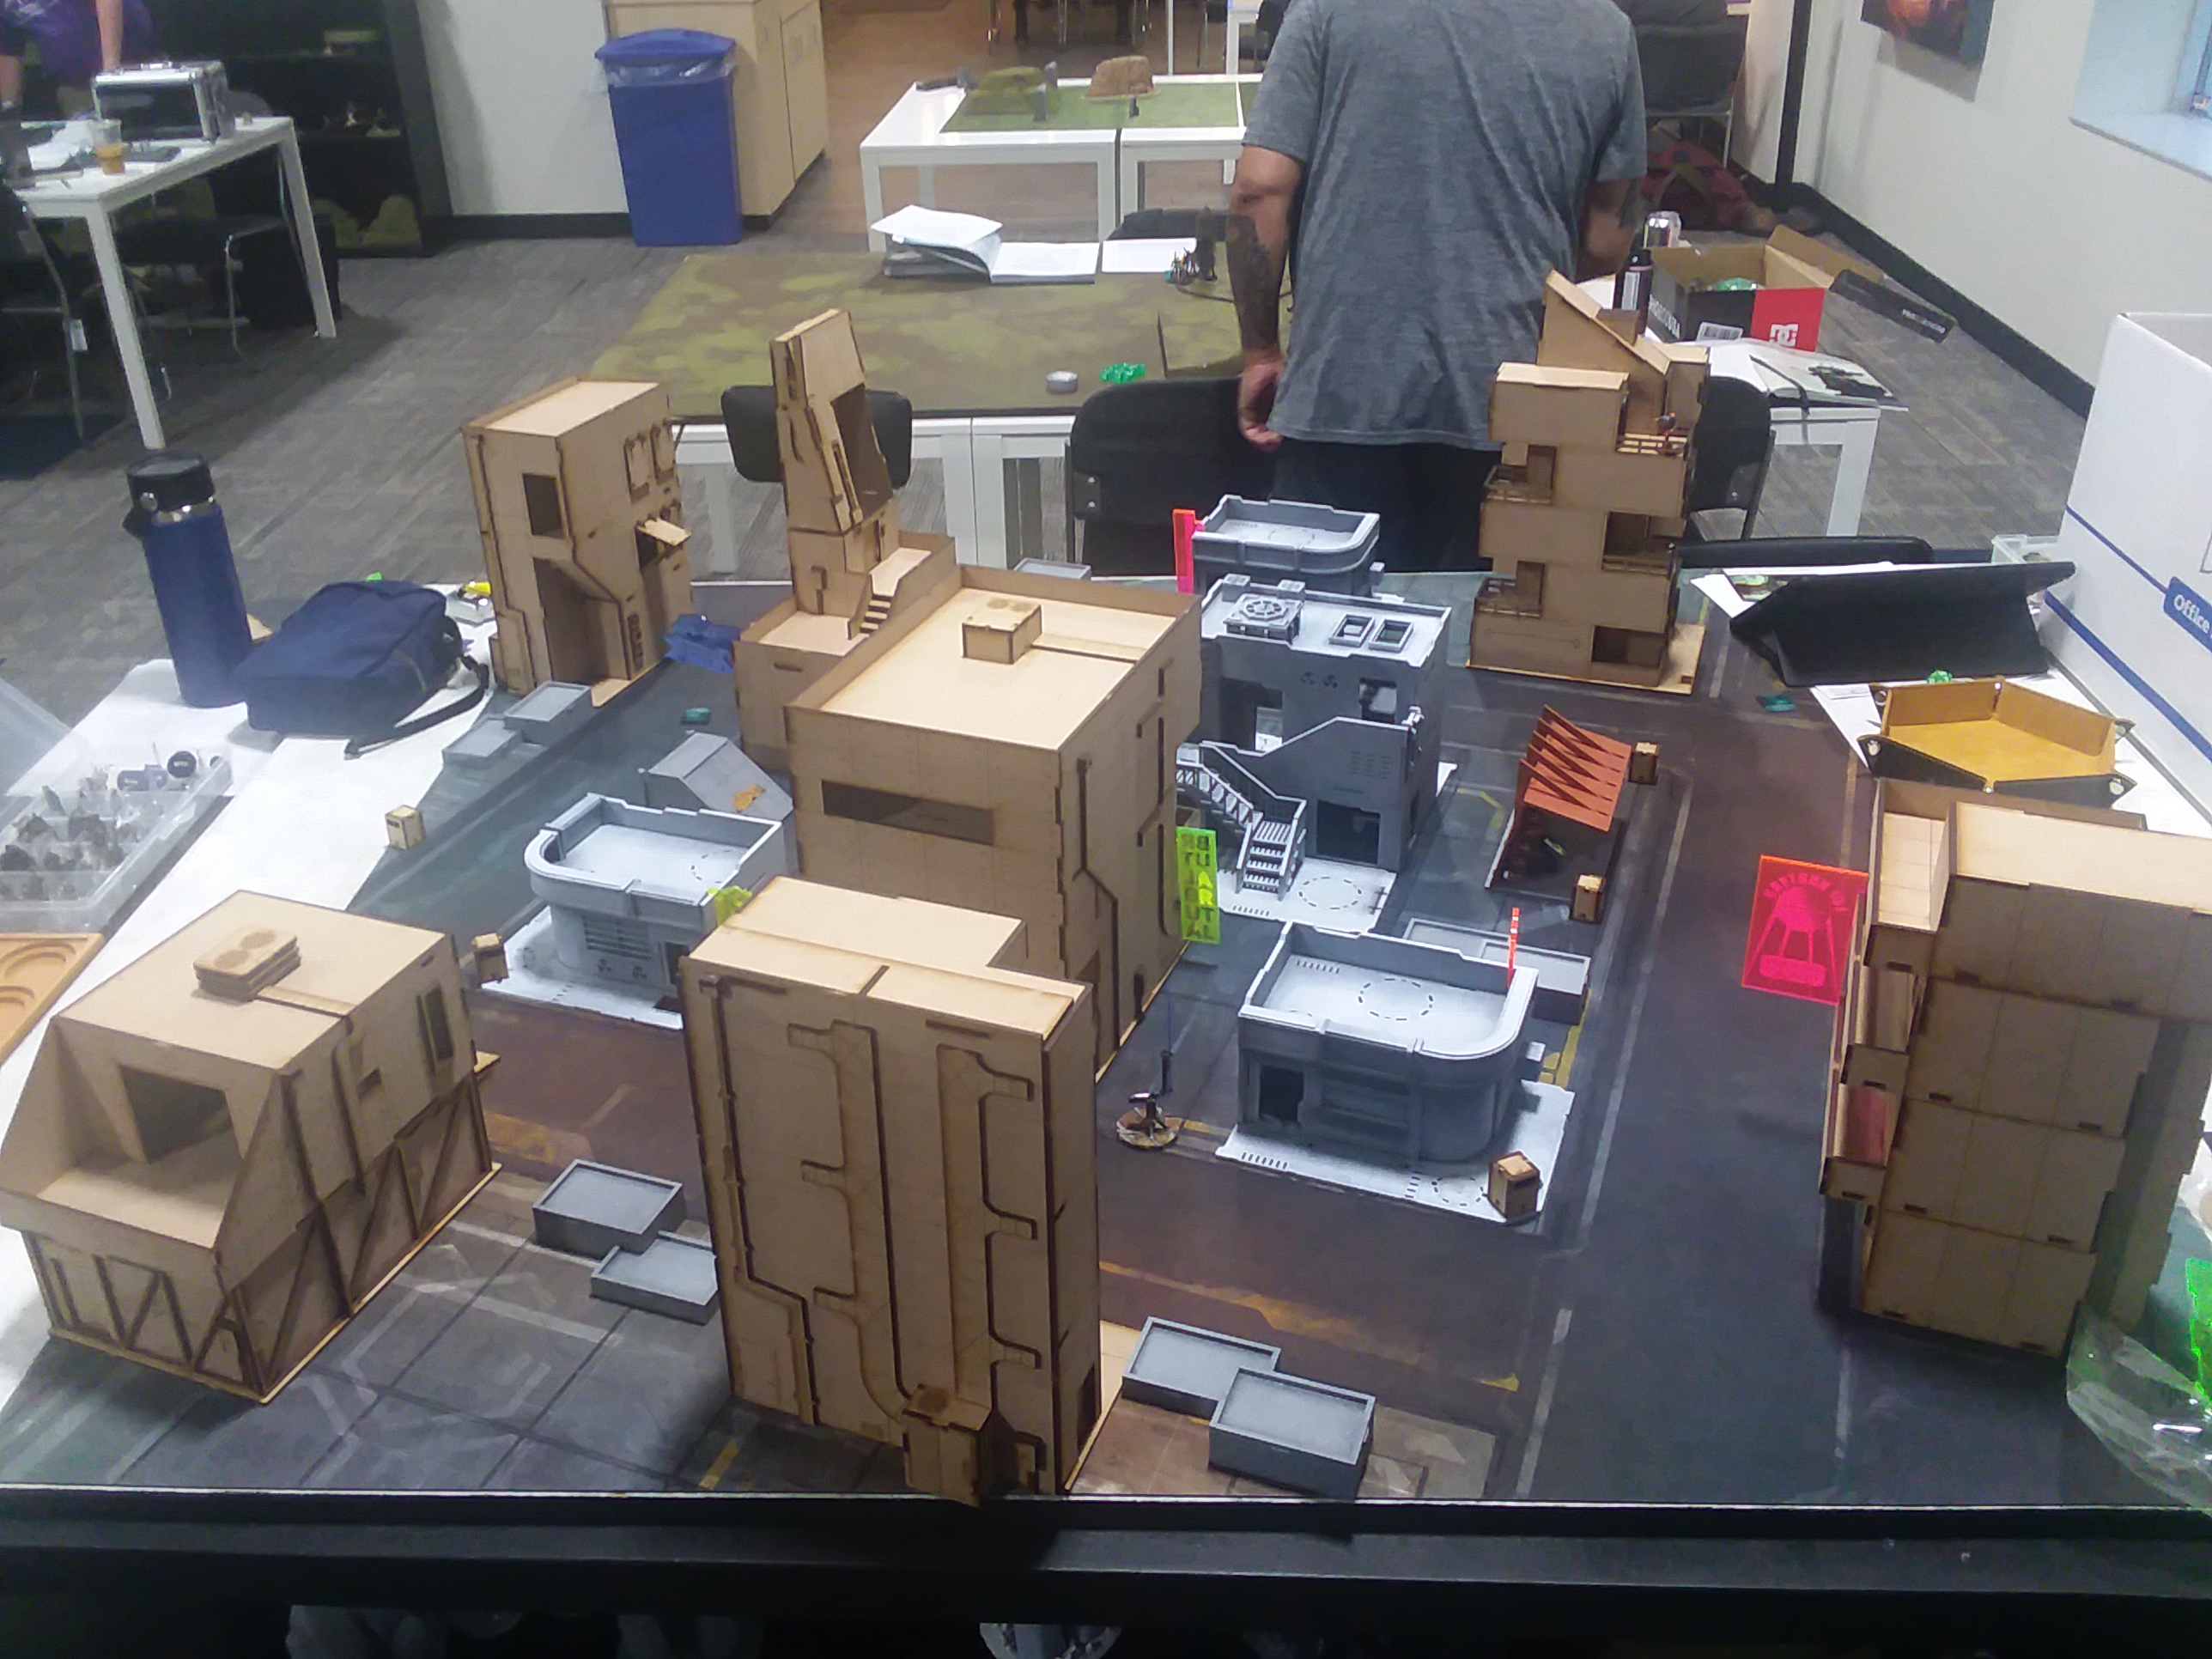 The table from my side. Most of the terrain was from Brutal Cities. The streets were left very open.
 My Hundun was placed looking a long distance to his Cateran, and watching a diagonal line along the front of my deployment zone.
The Irmandinhos pushed forward with their impetuous orders, but then my opponent moved on to other things.
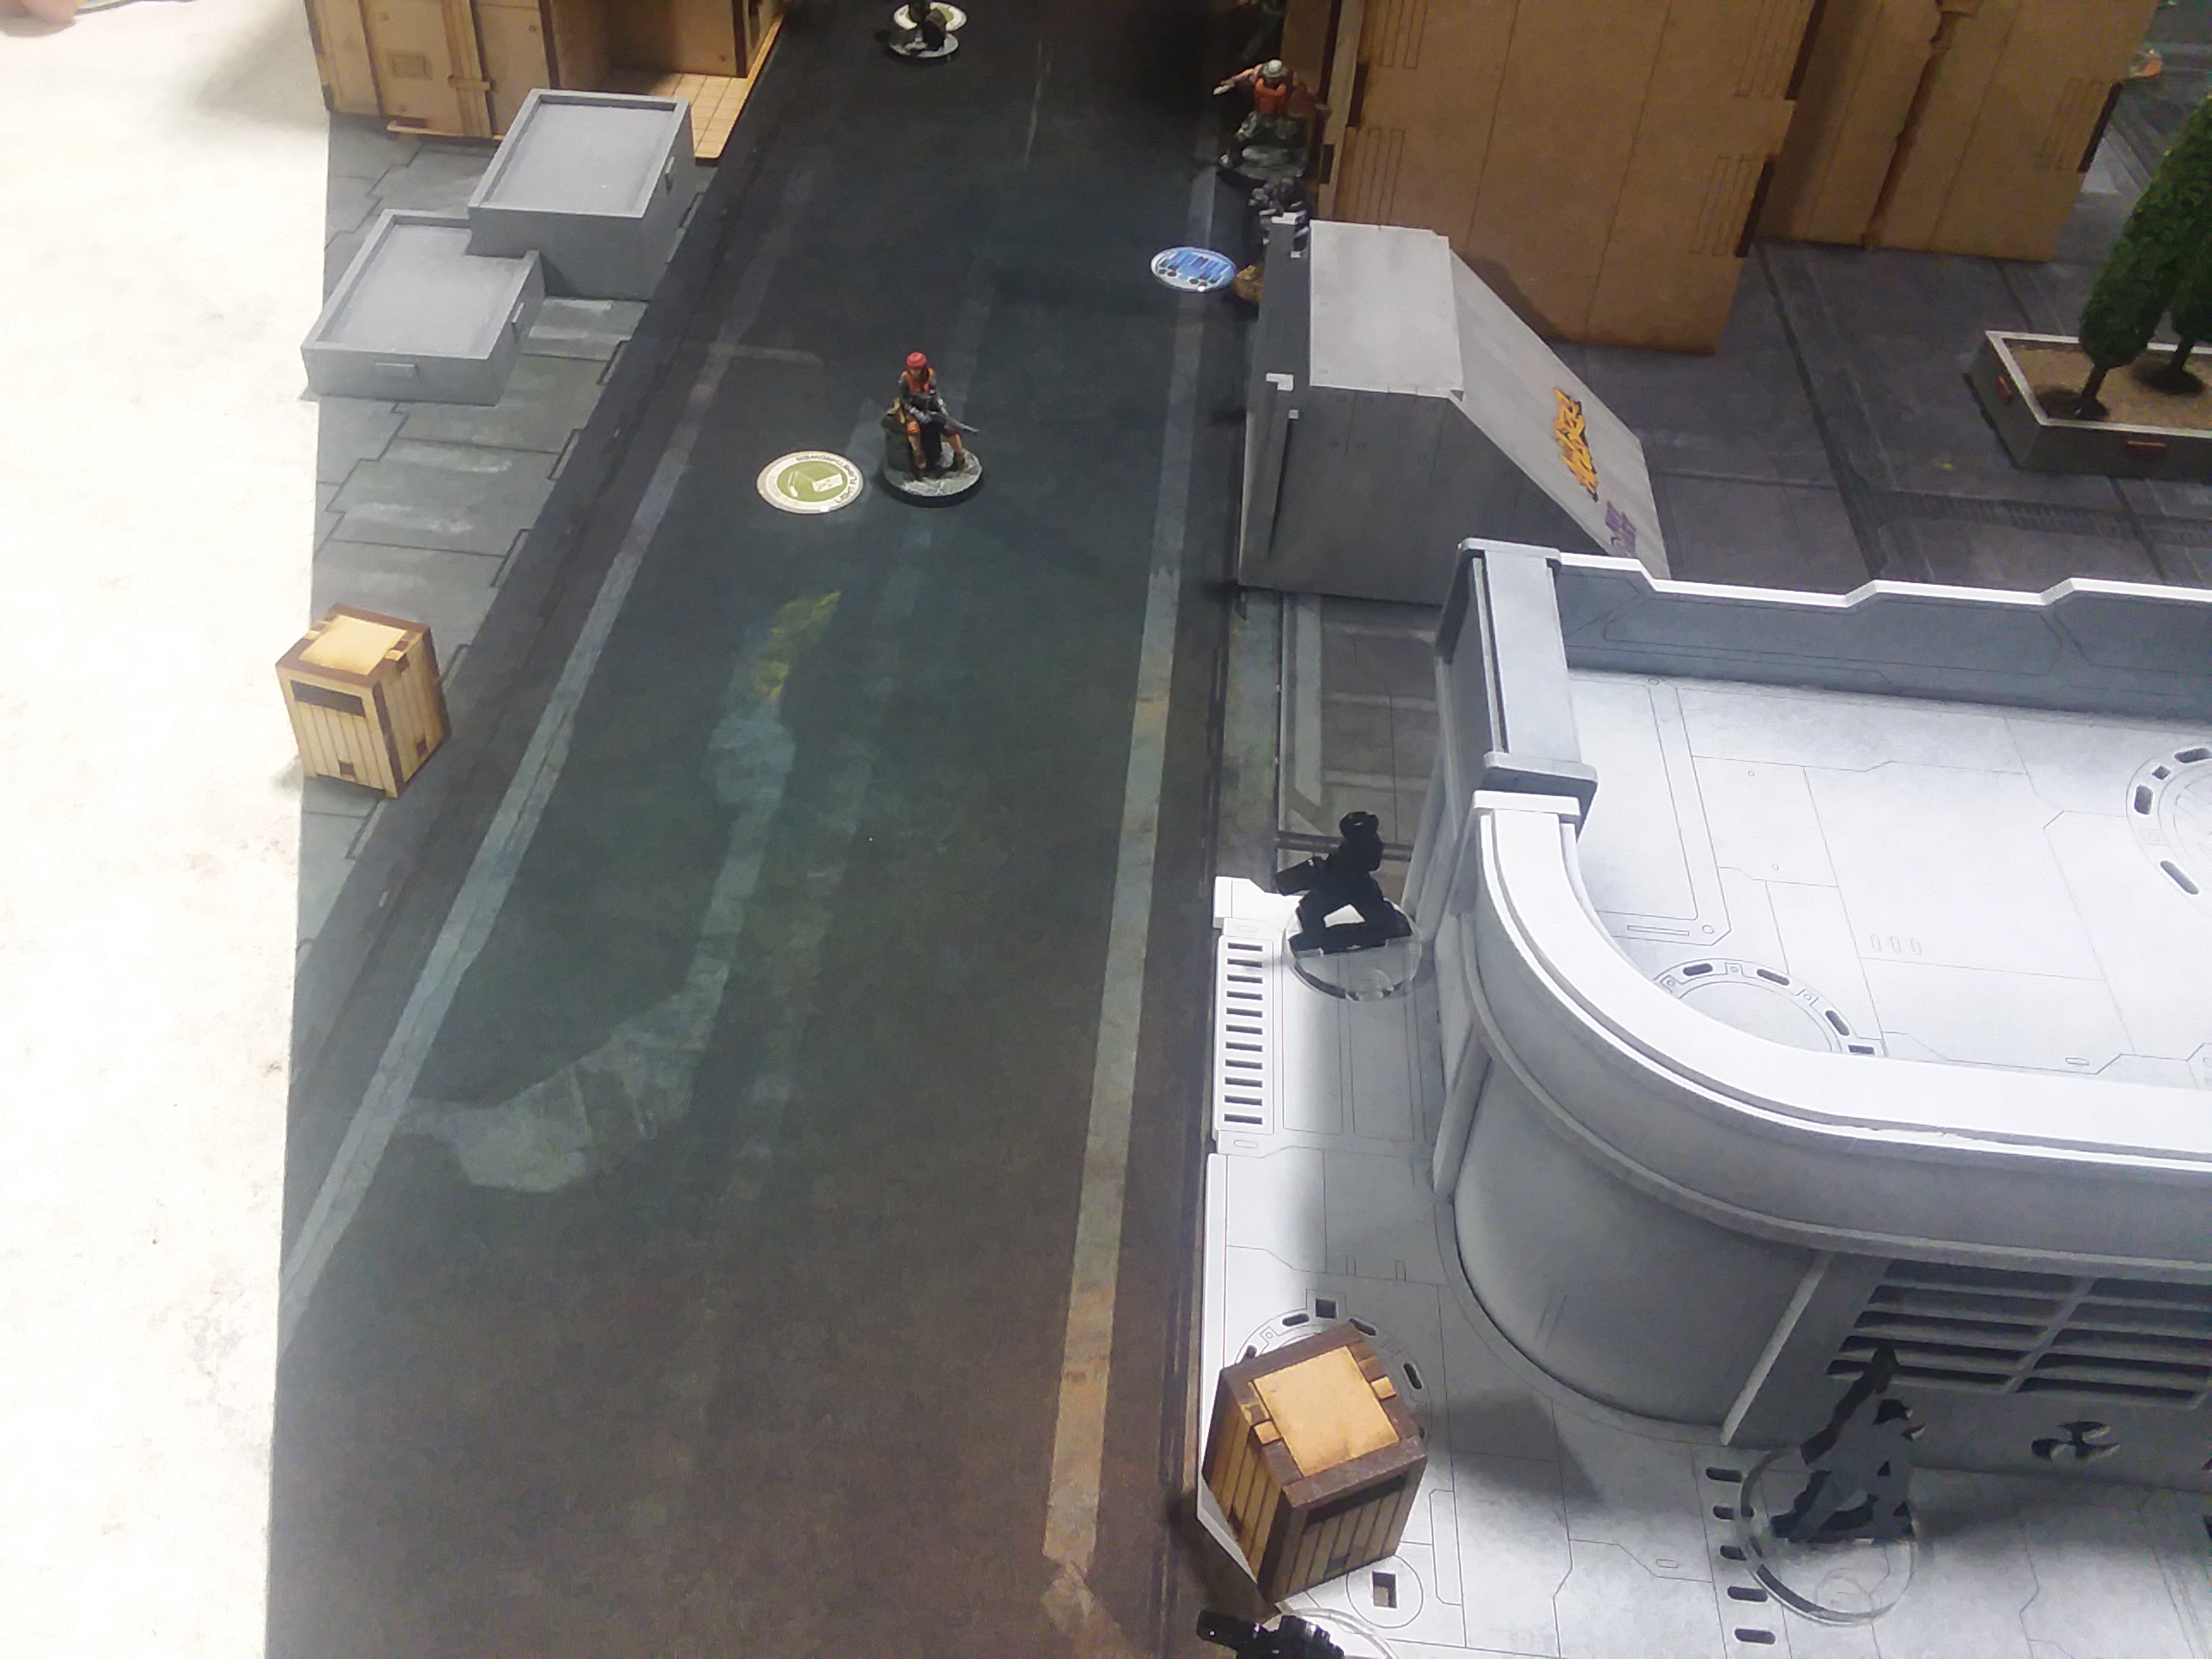
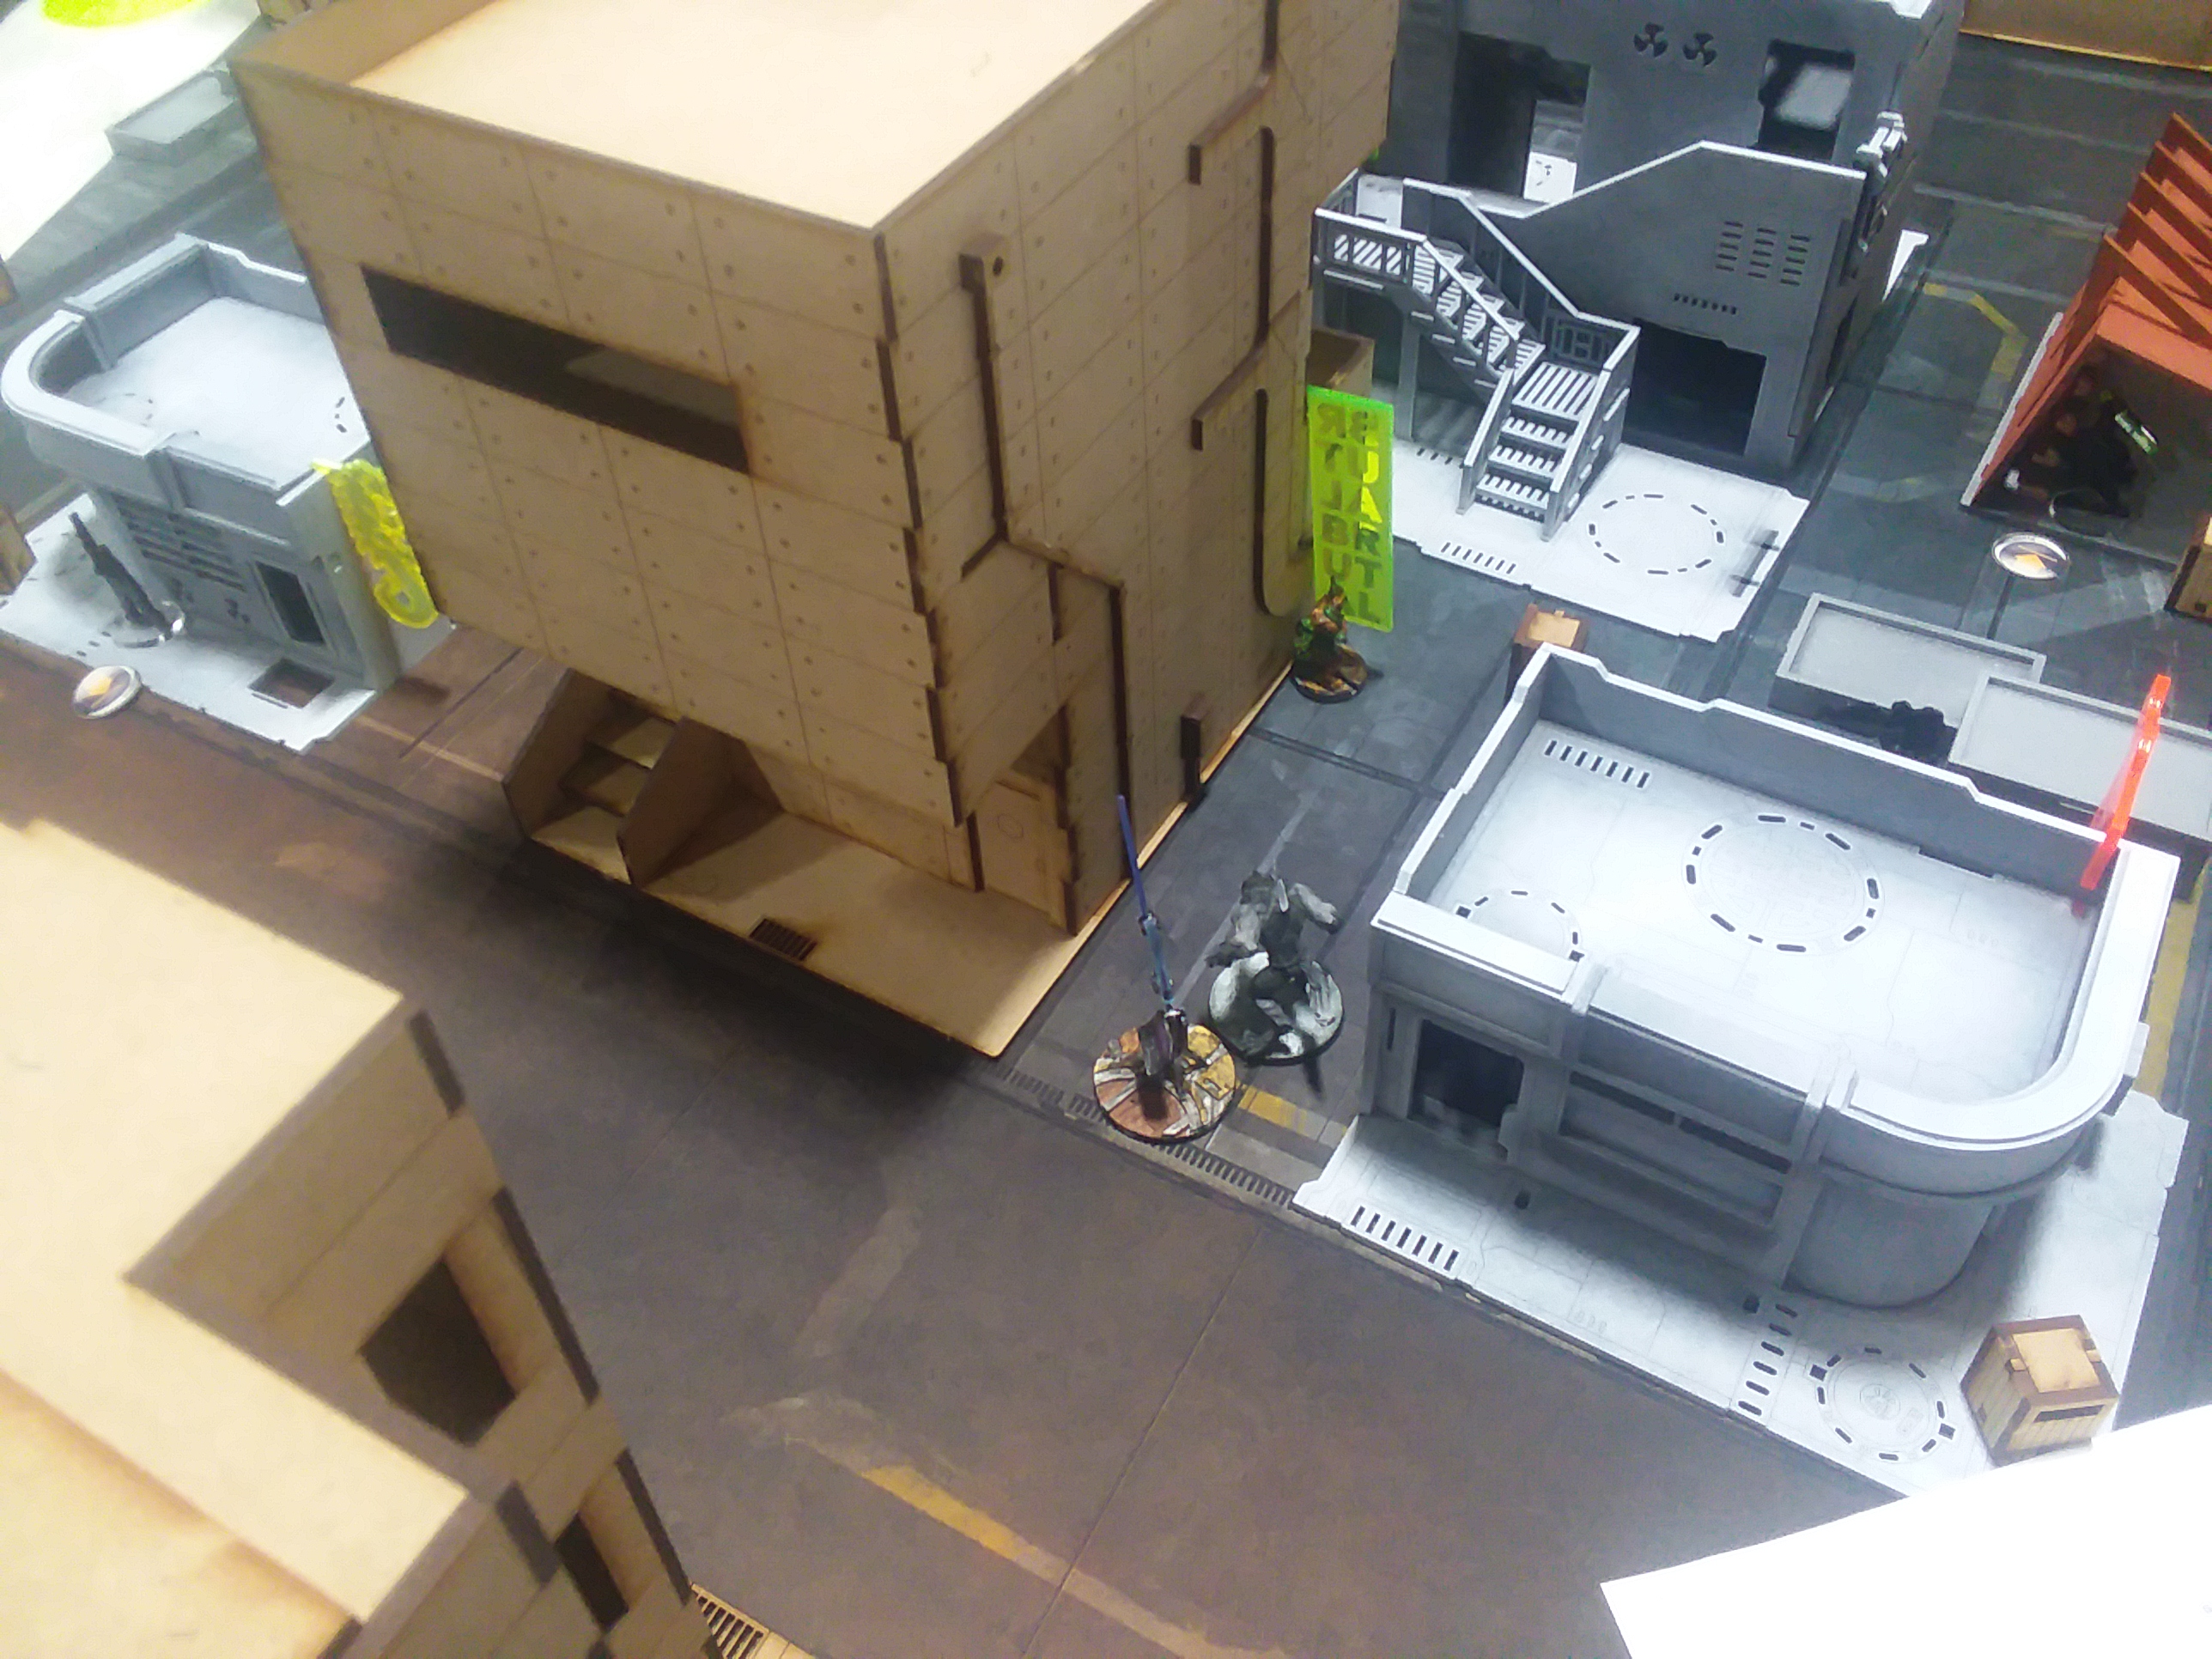
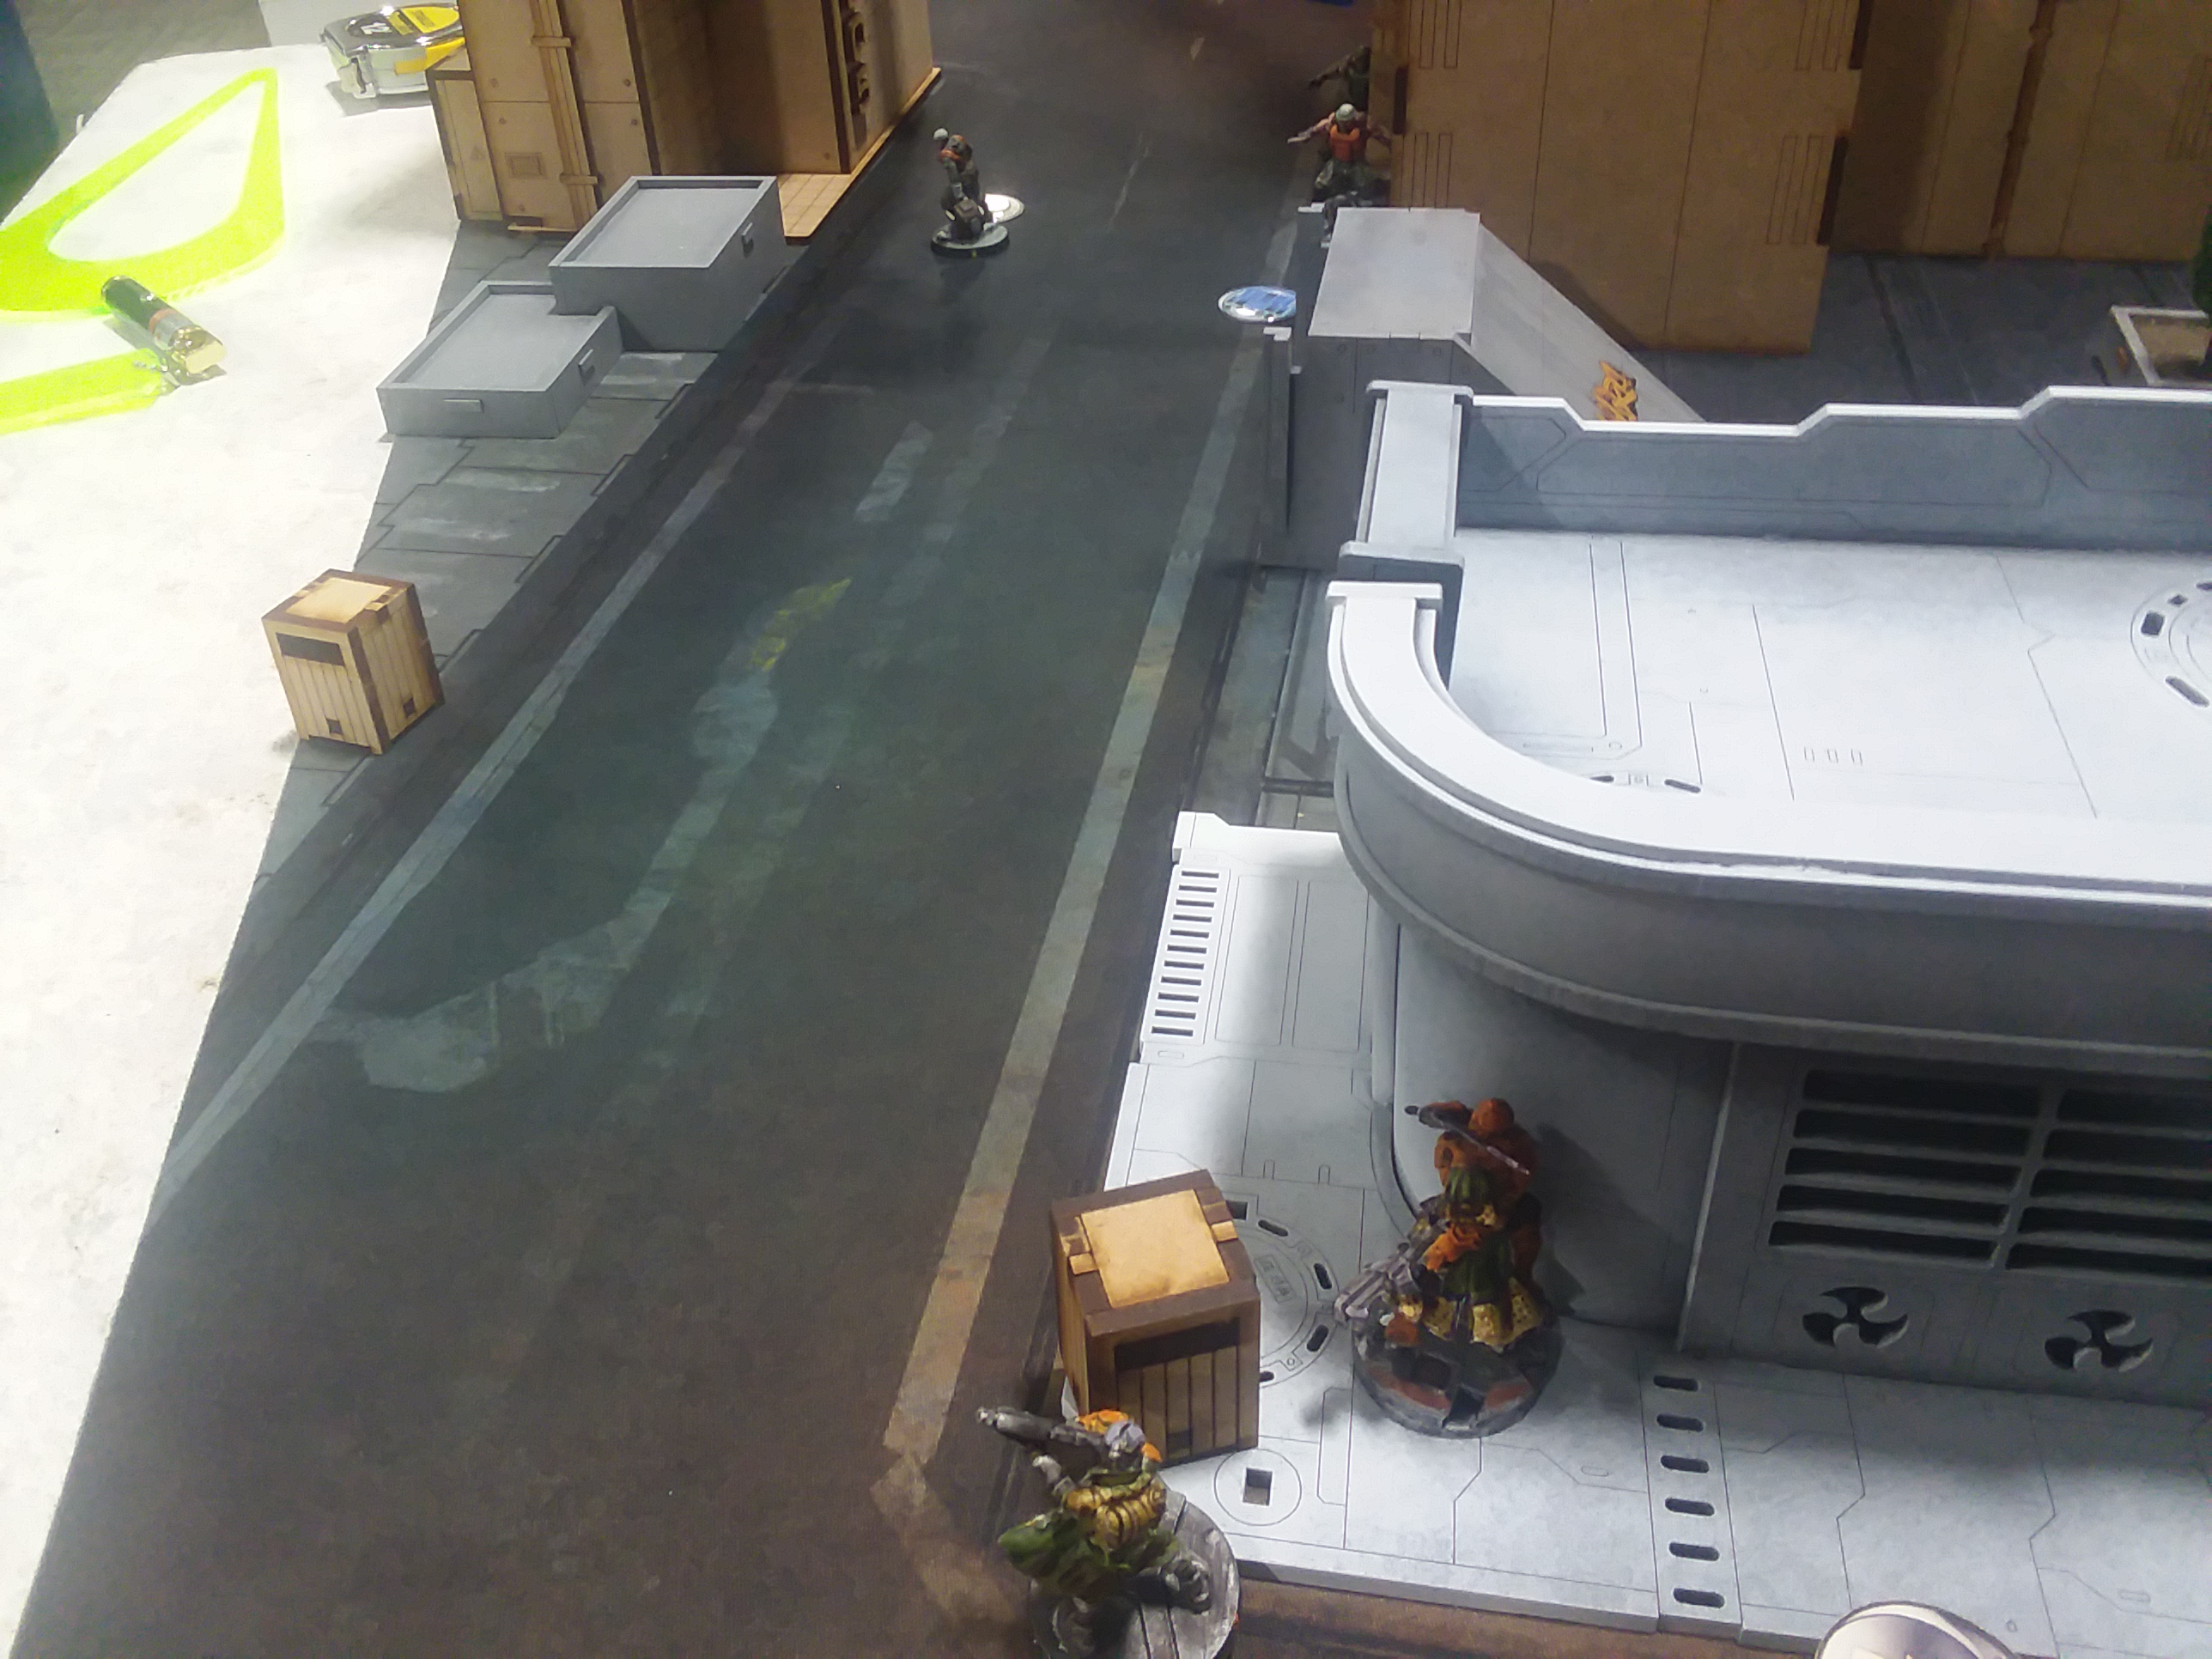
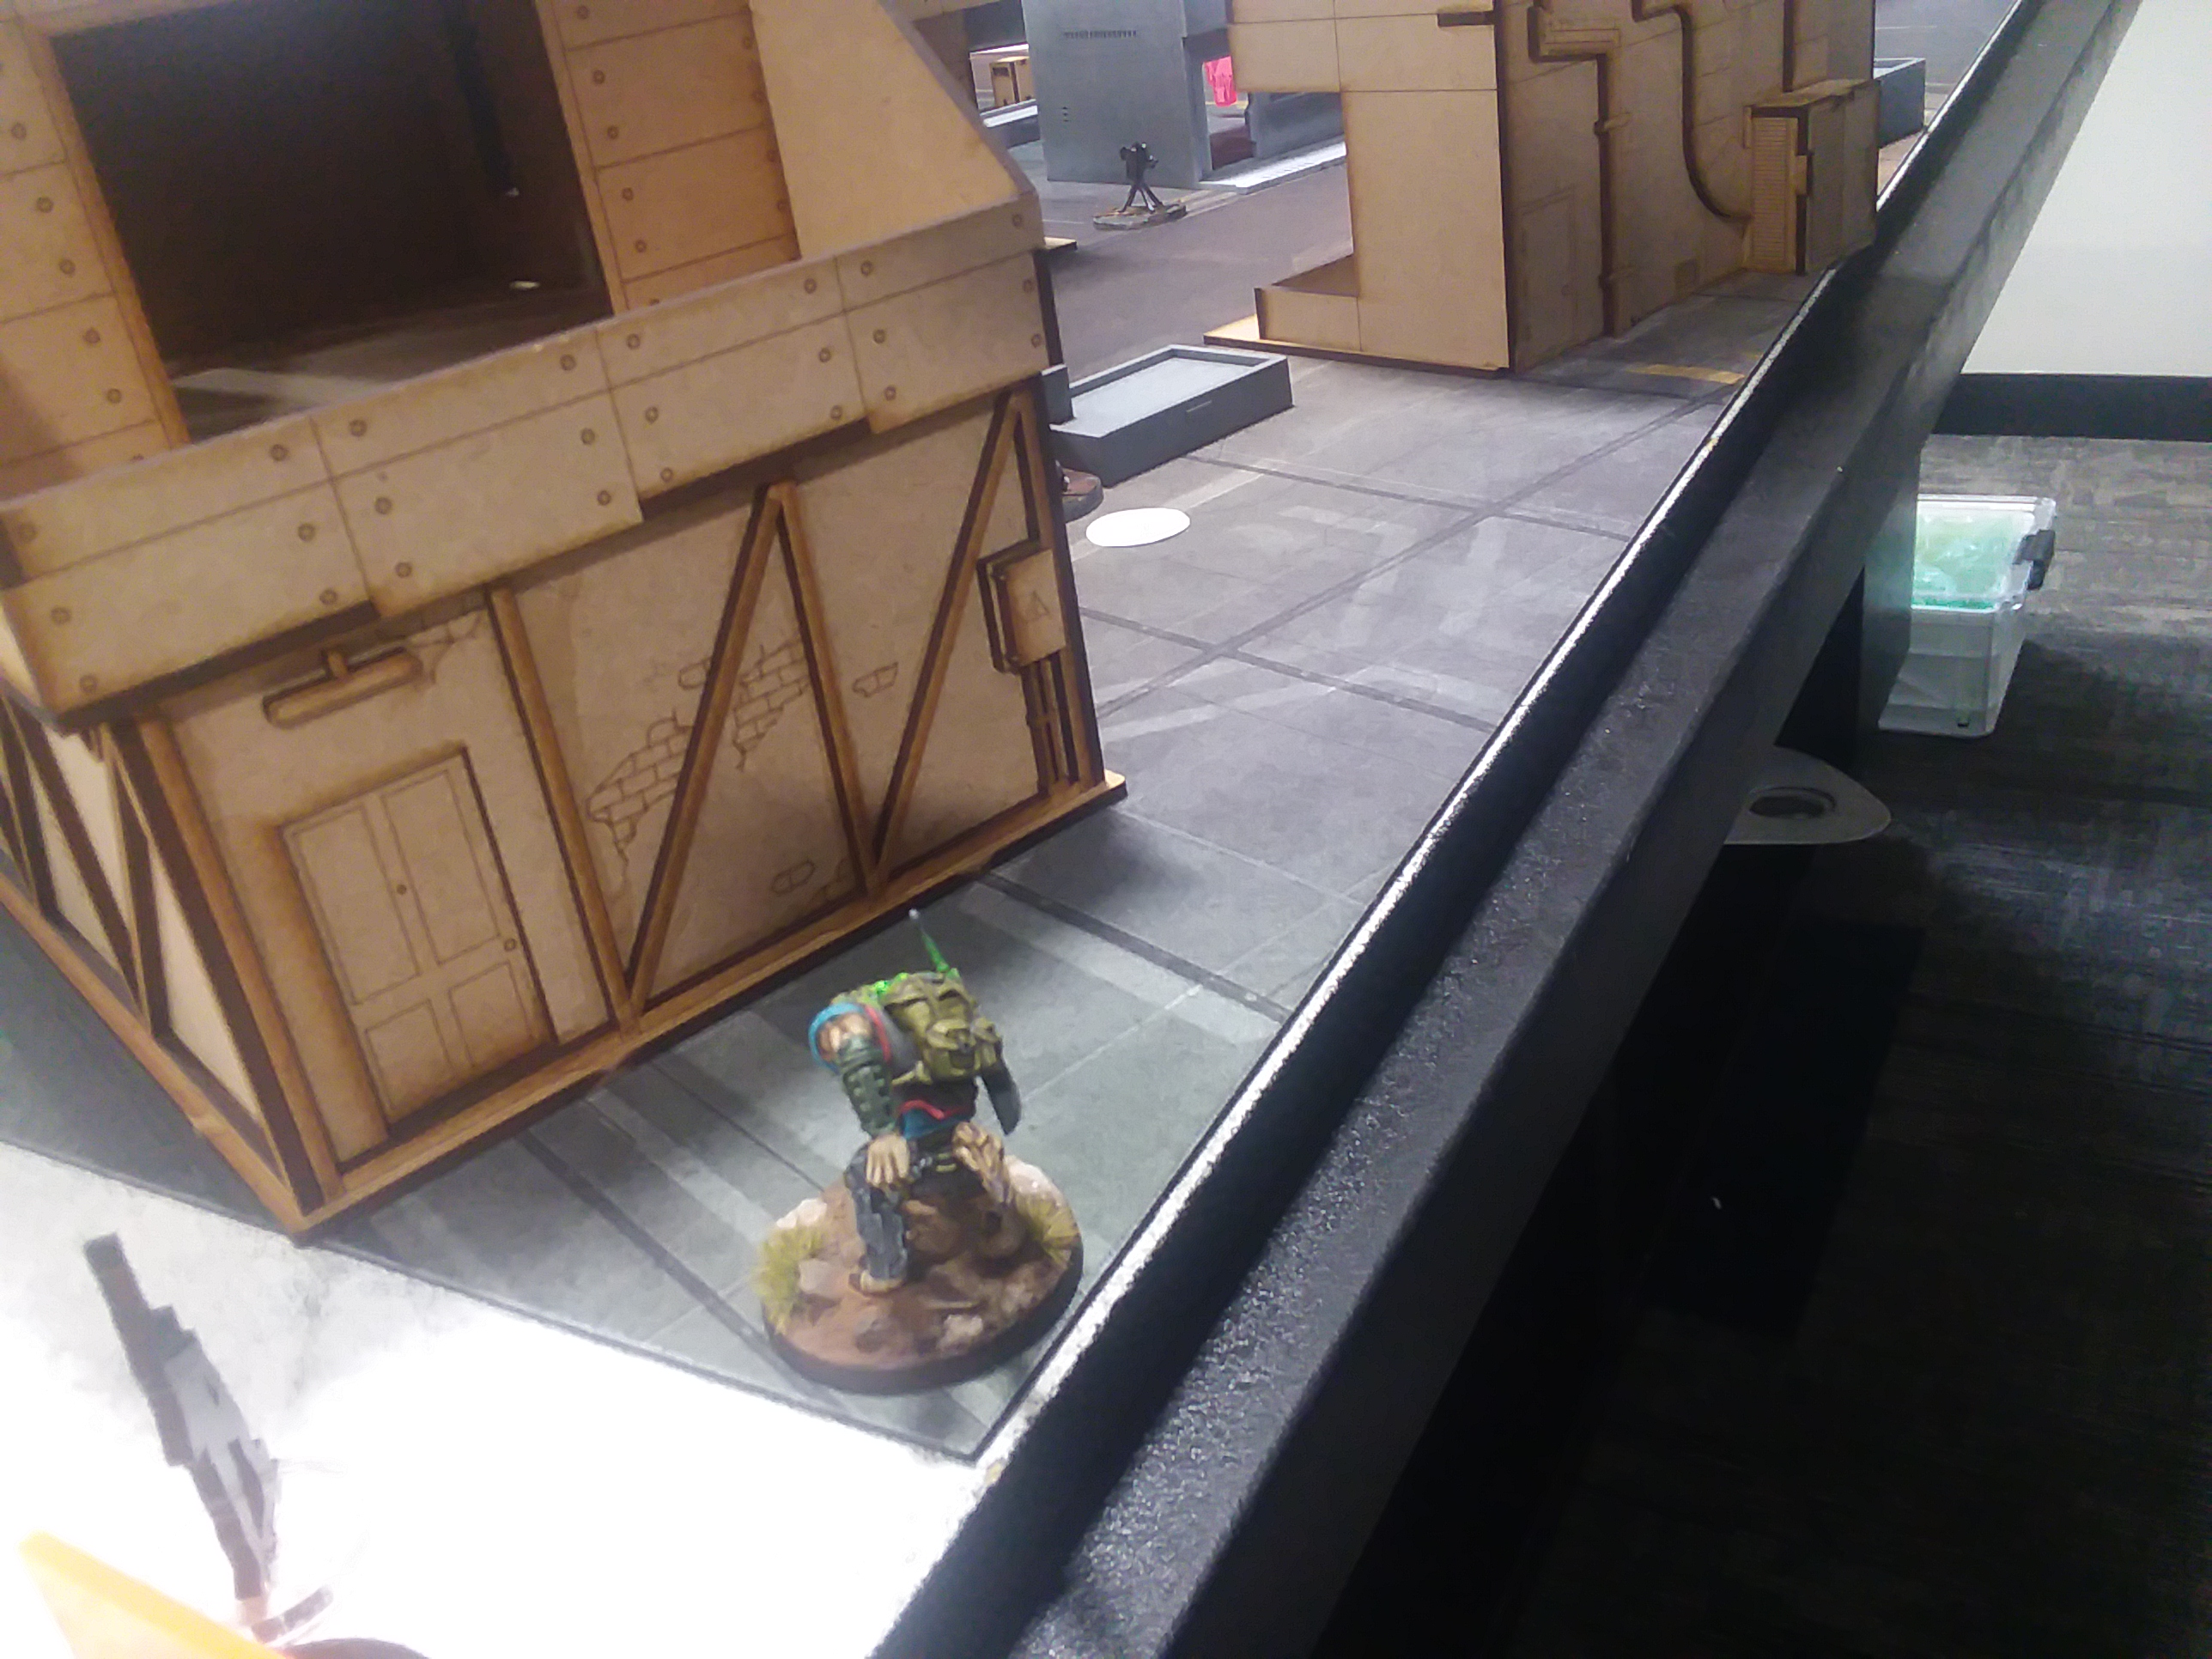
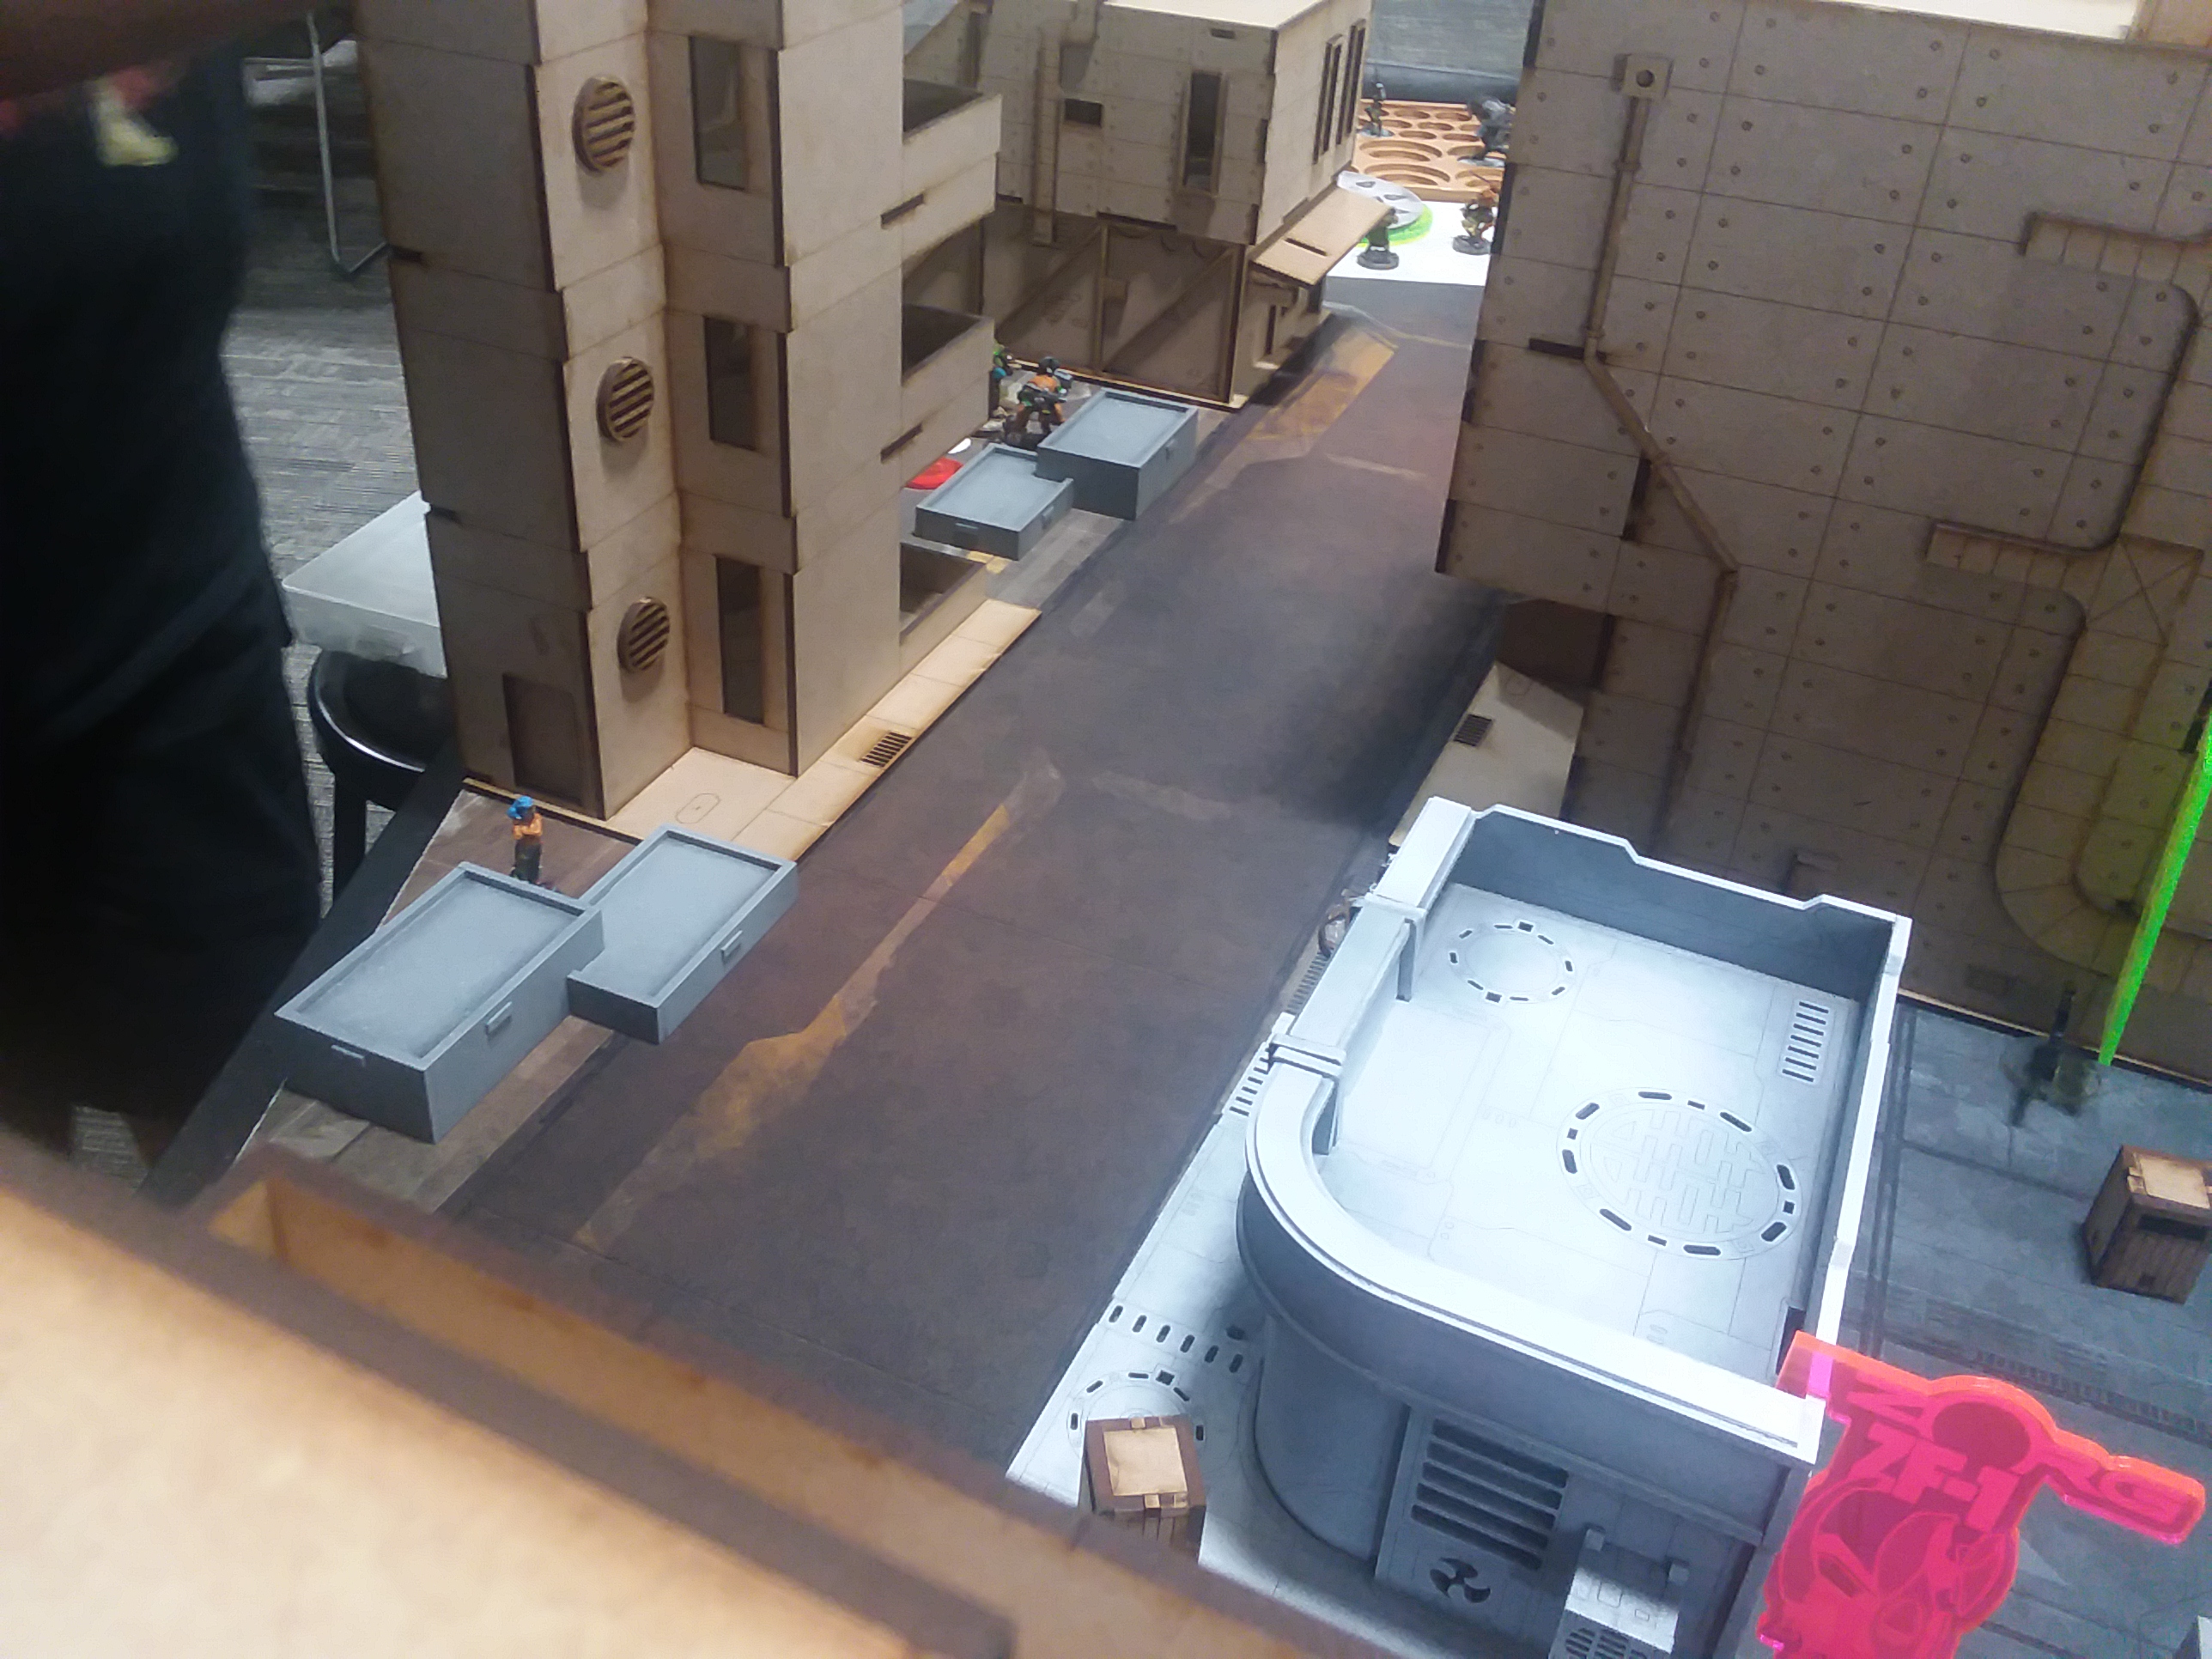
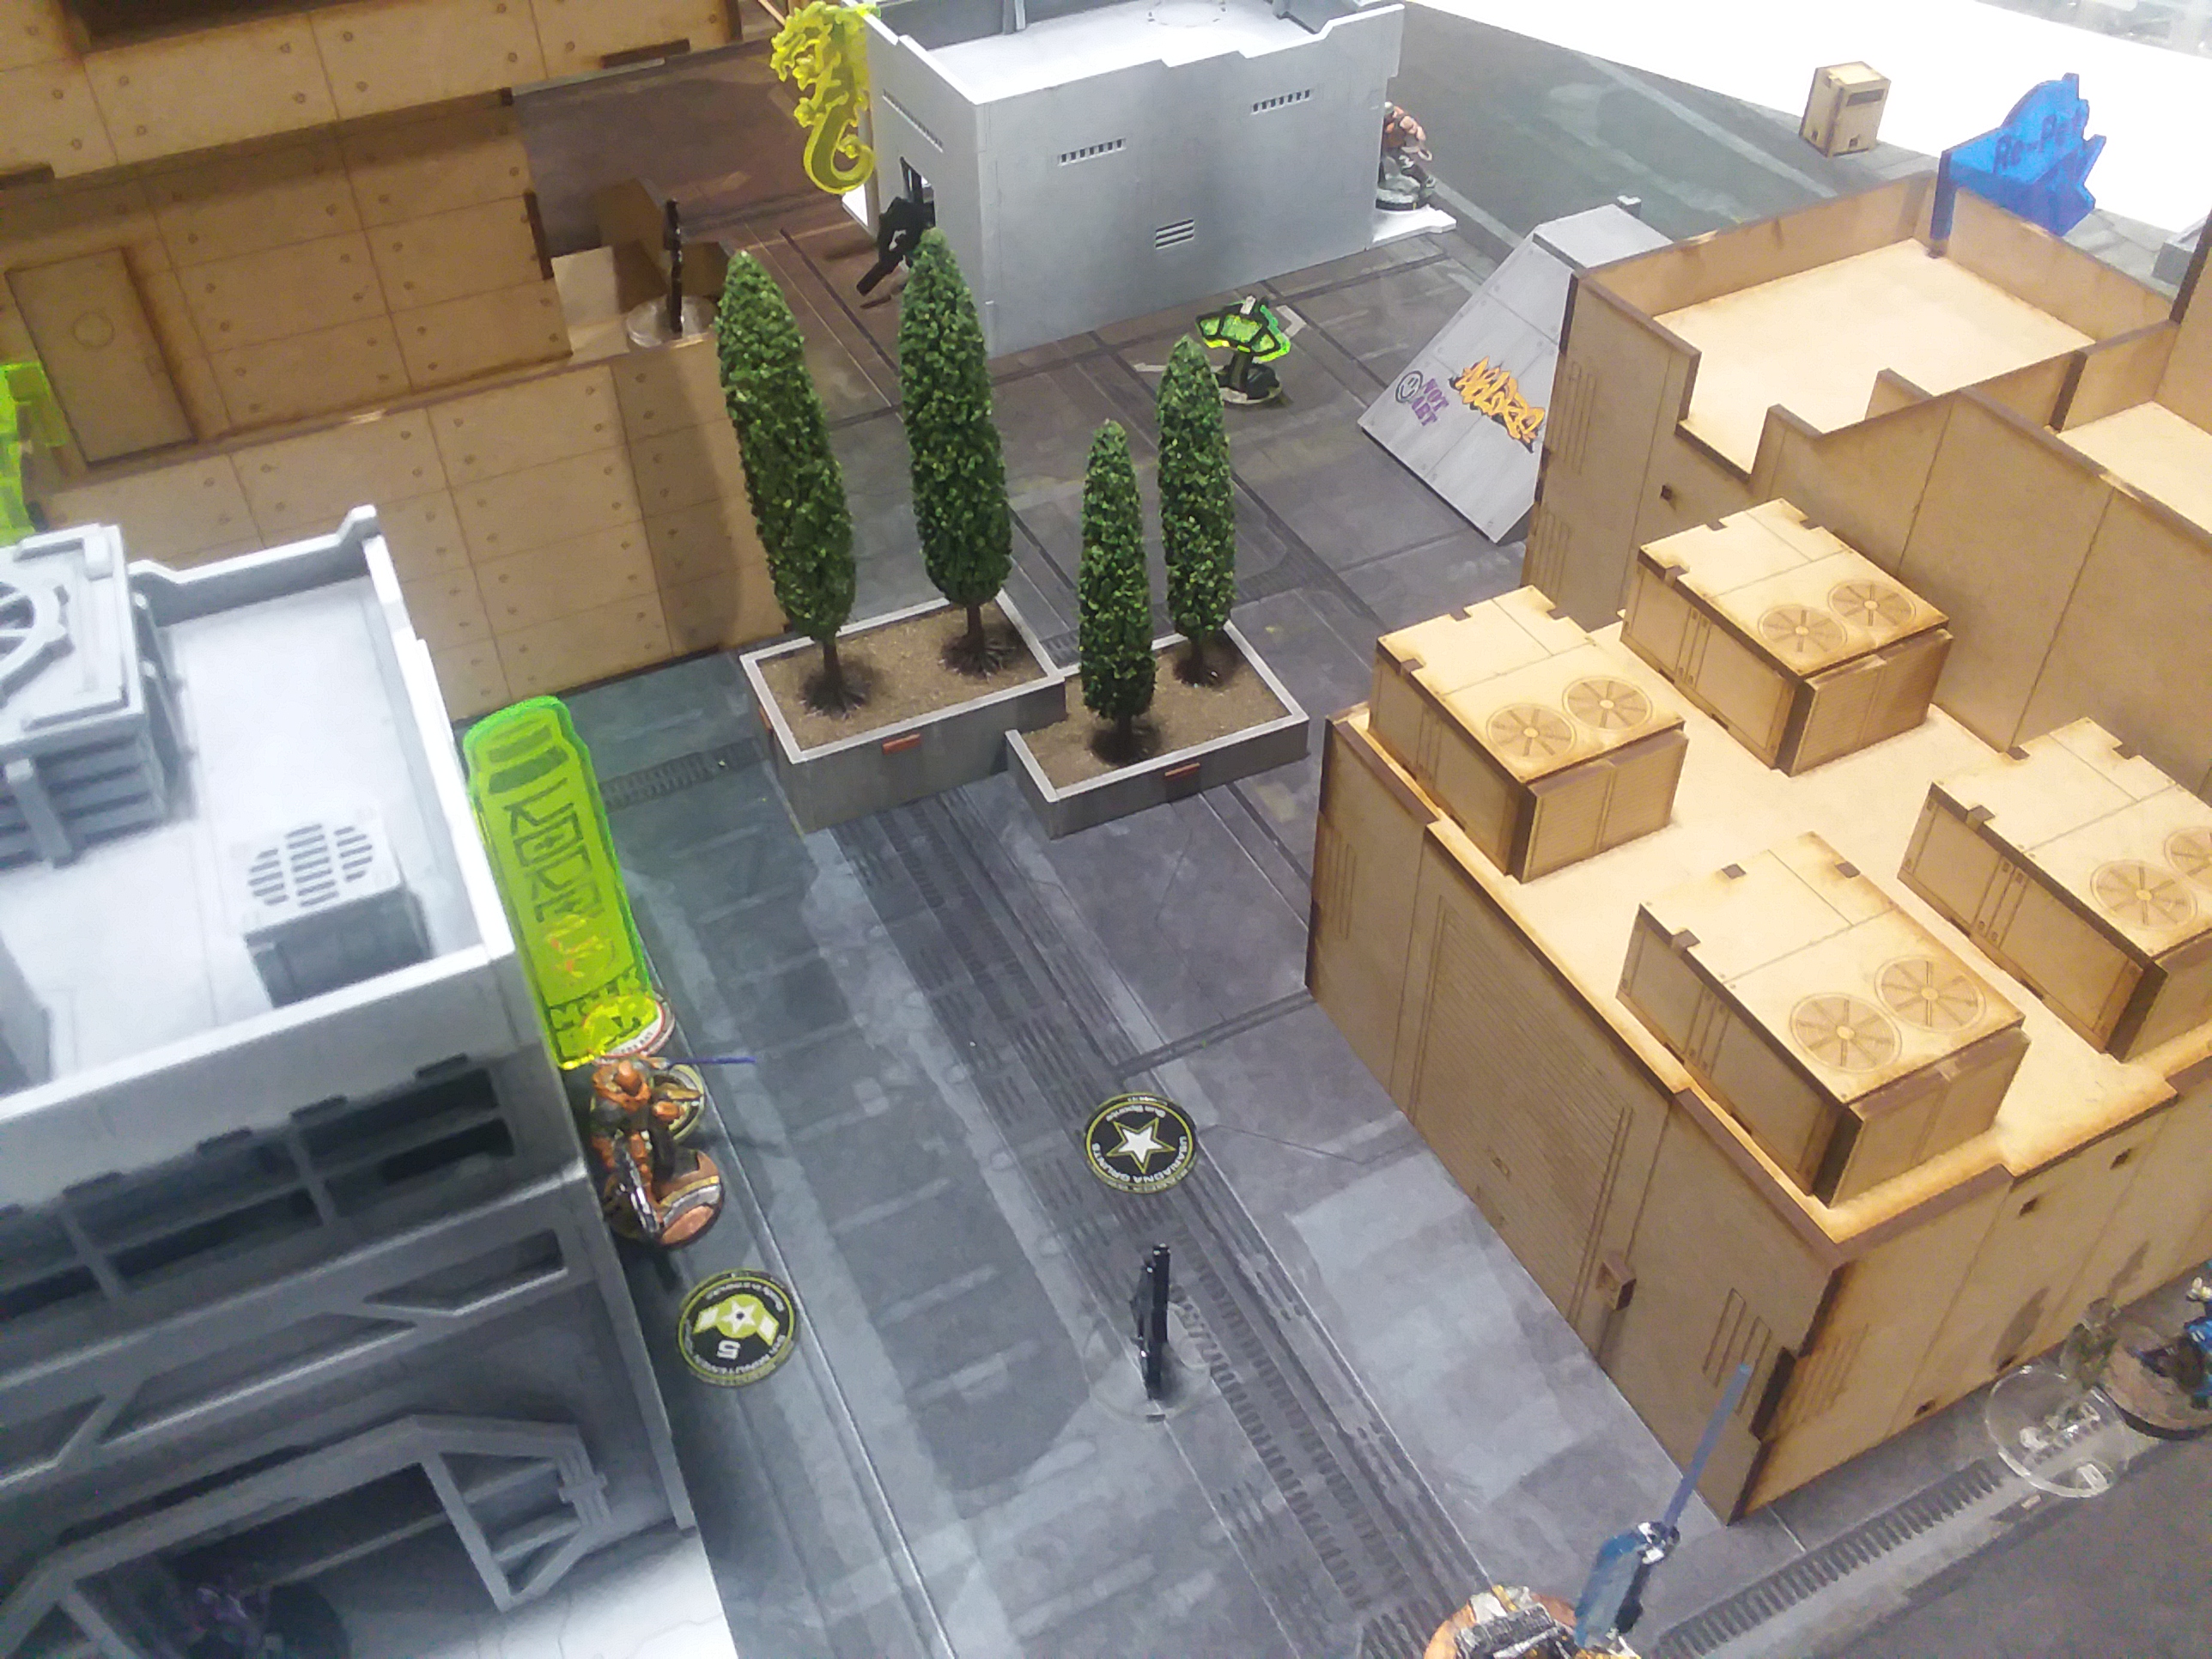
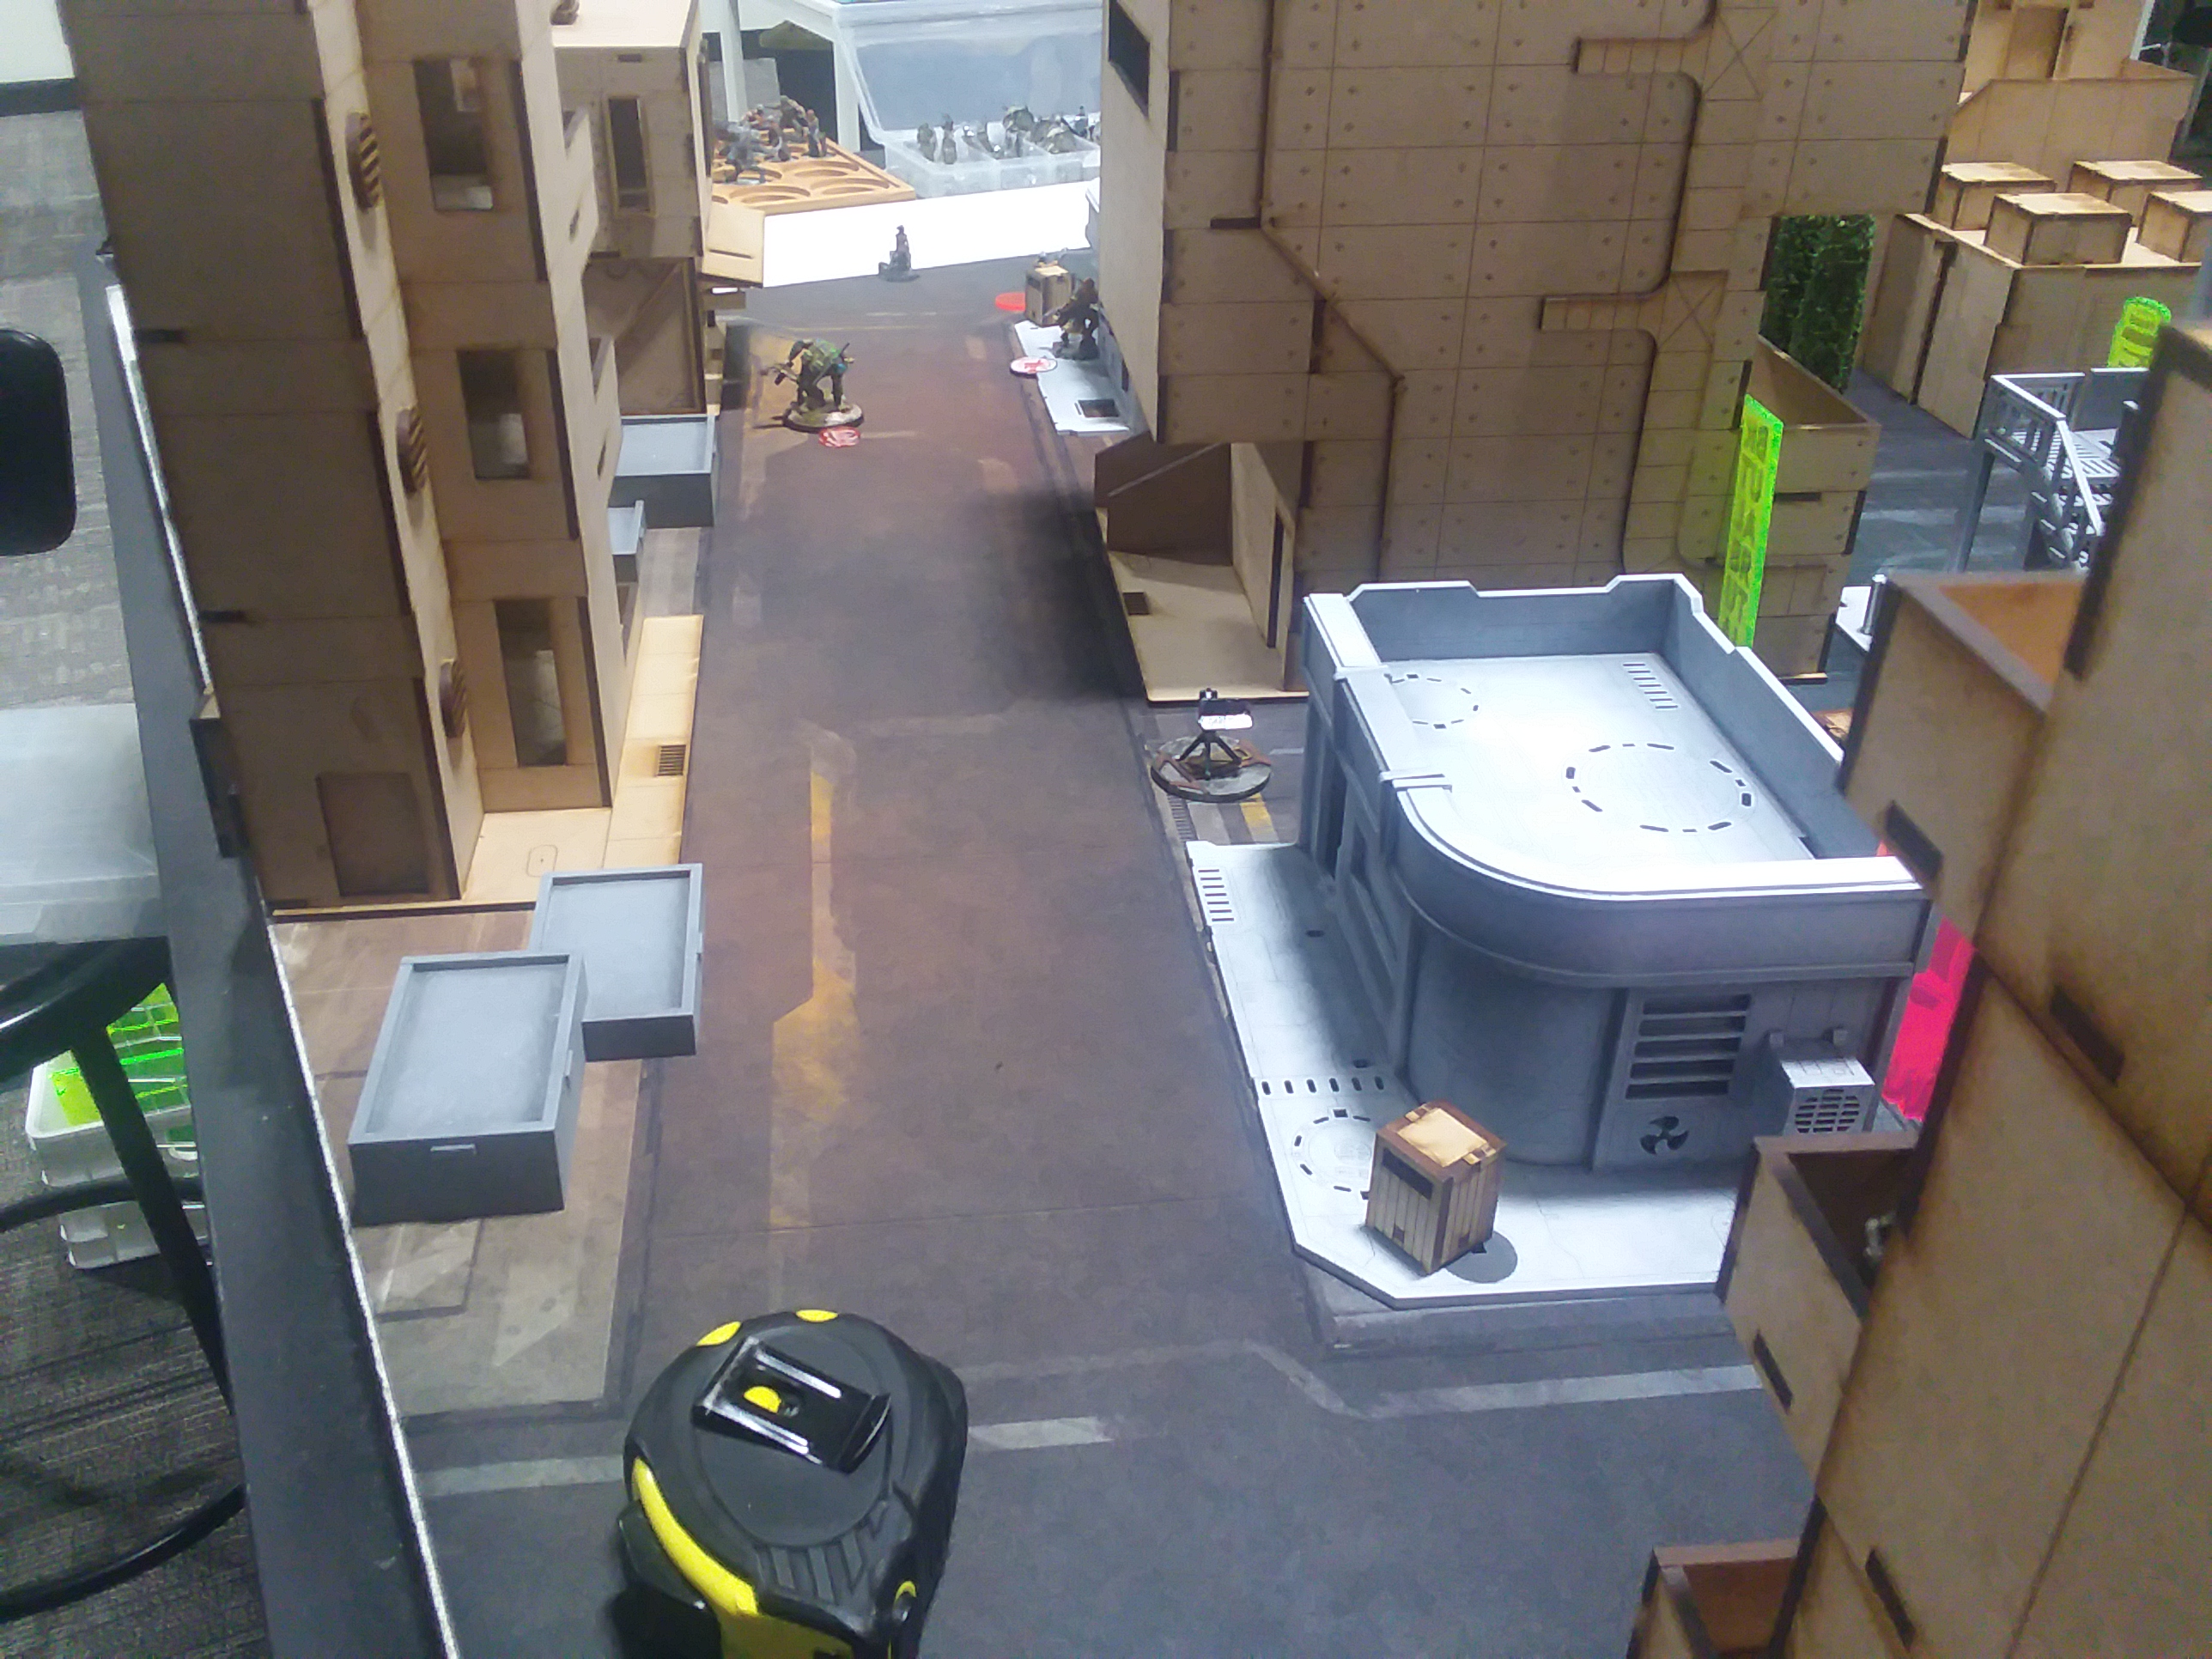
The Ranger haris moved up along the side of the building to see my Long Ya on the roof and the Beasthunter behind the planters. I considered revealing both of them to take panzerfaust shots, but instead opted to make him waste orders on discover rolls, which he failed.
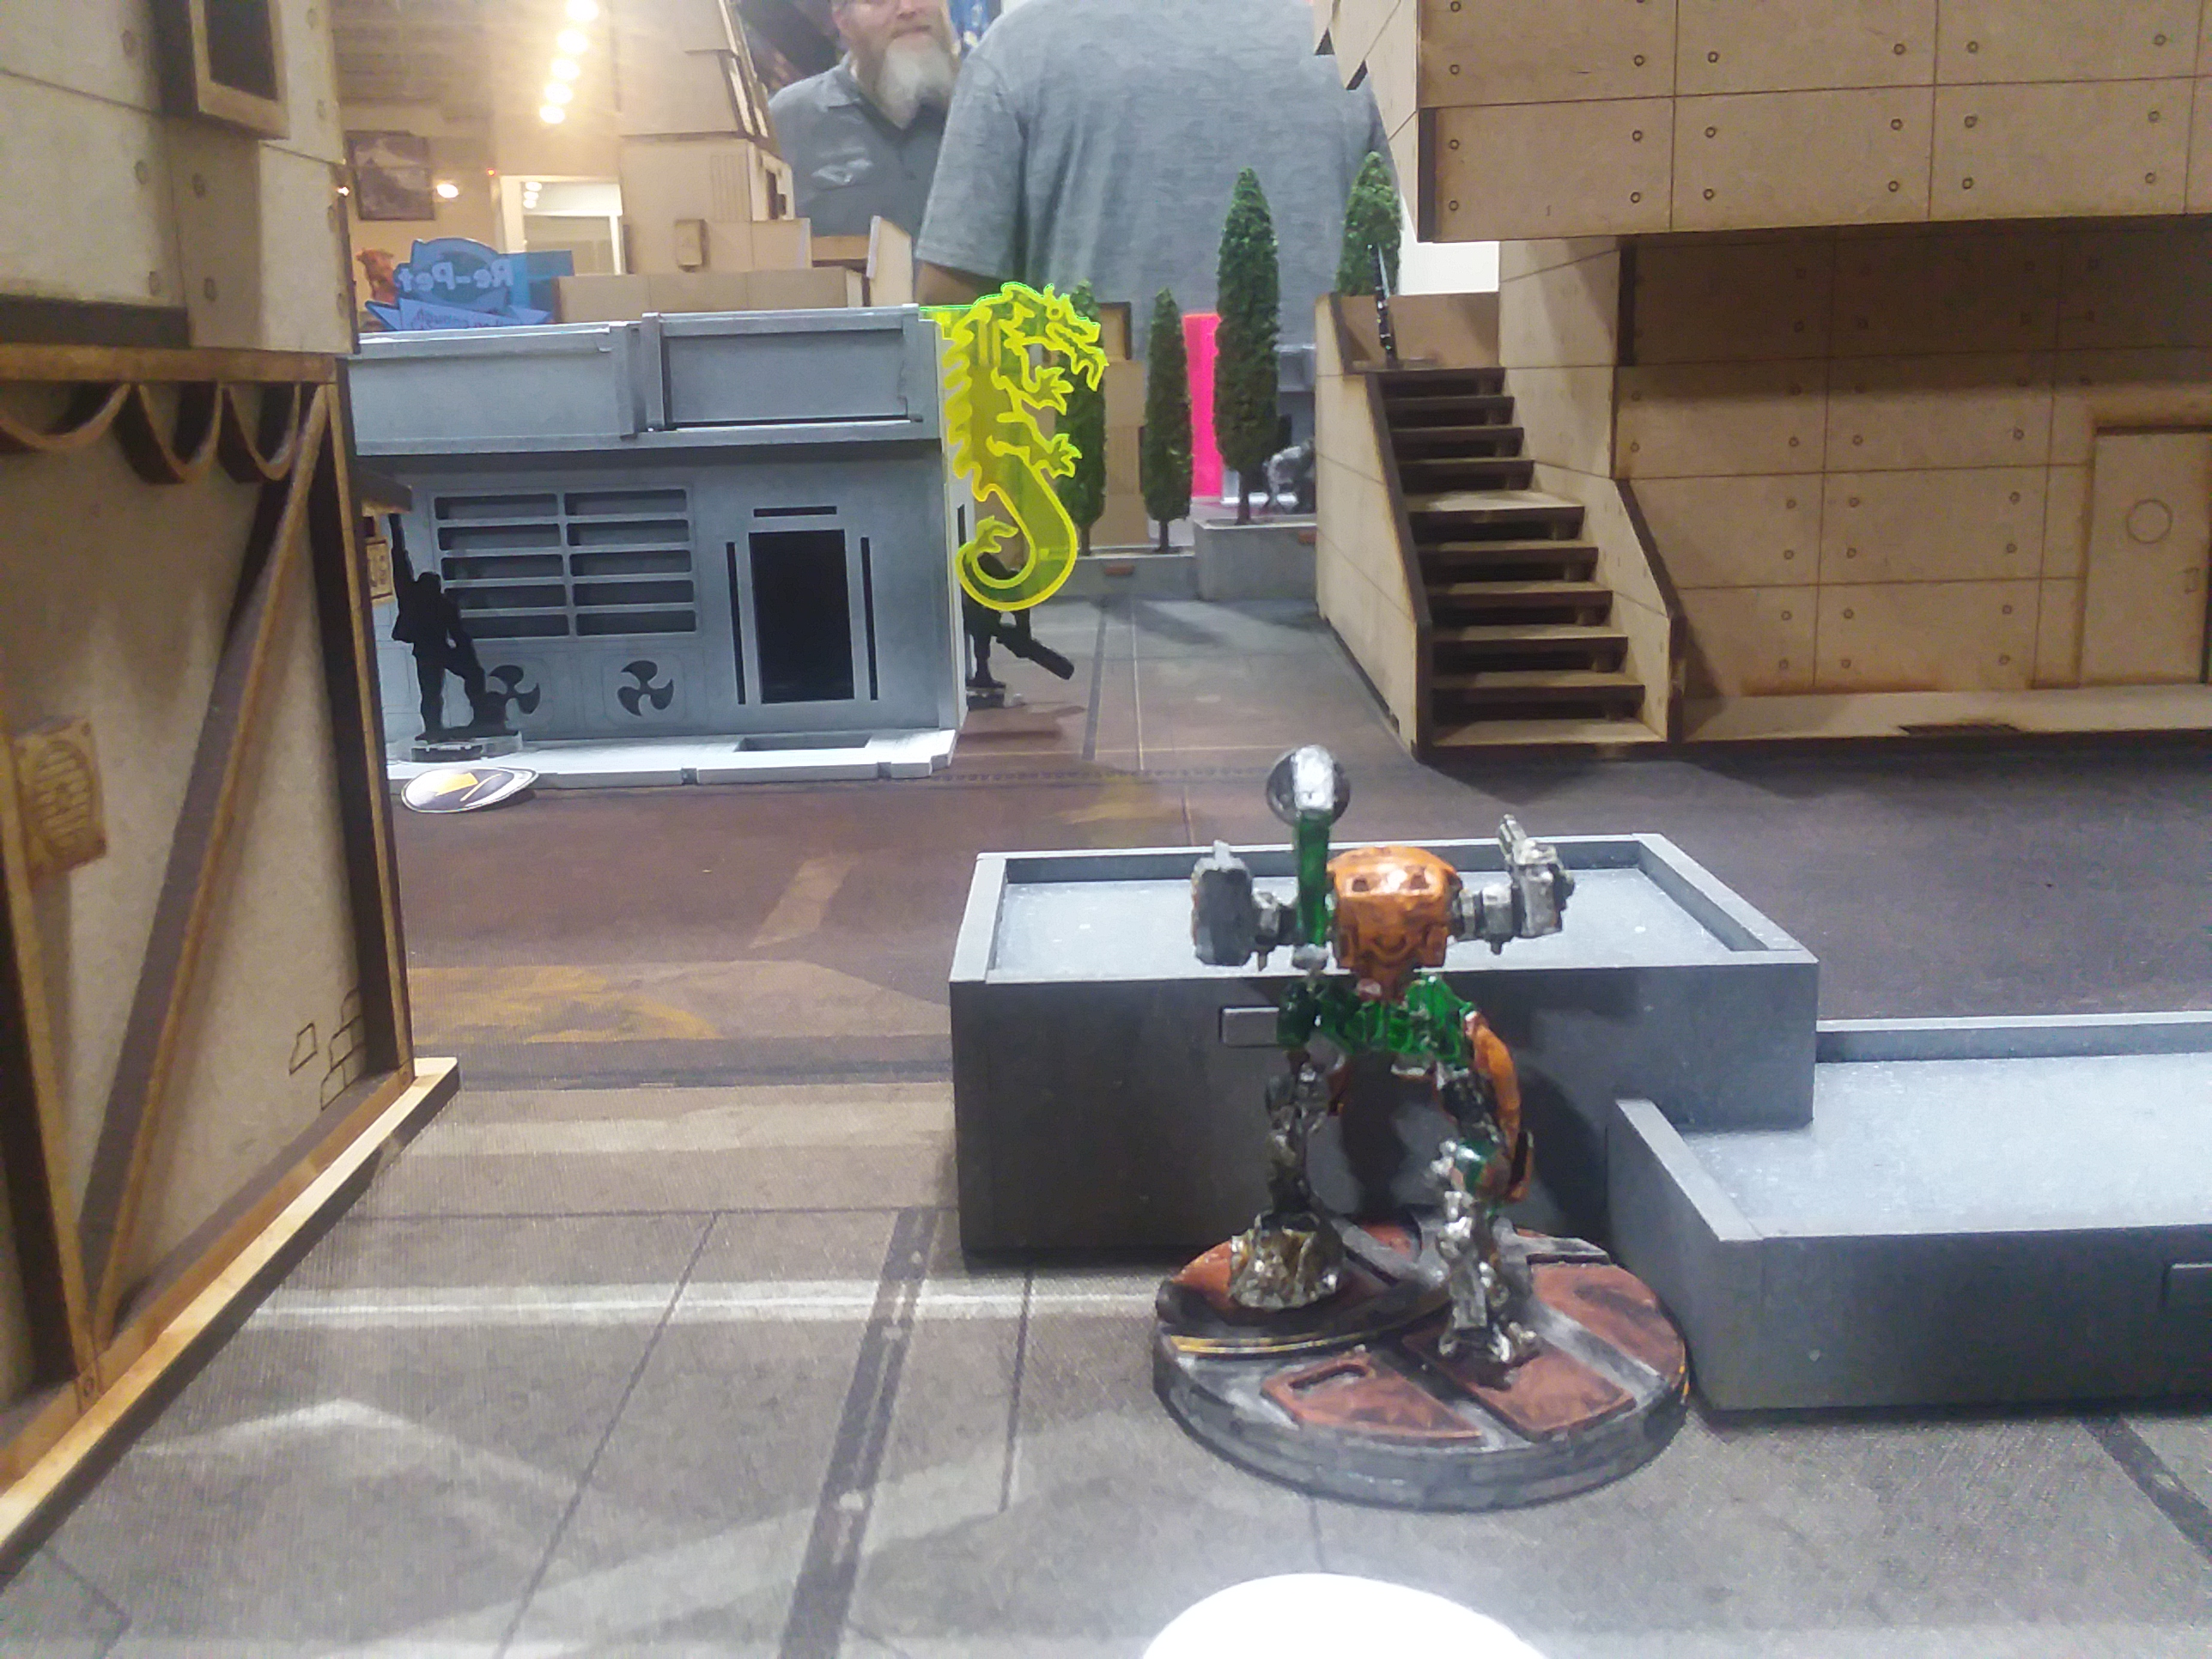
With the Ranger pinned down, Uxia made her move. She walked up to my AC2s, trigger 2 mines in the process. My opponent opted to sacrifice Uxia for the attack, so I didn't reveal of my markers to shoot her. Uxia lost the face to face with the AC2, and died to the mines.
The Irmandinho went for an intuitive attack against one of my Guilang. I dodged and won the roll, while the Long Ya revealed to blast the Irmandinho with a panzerfaust.
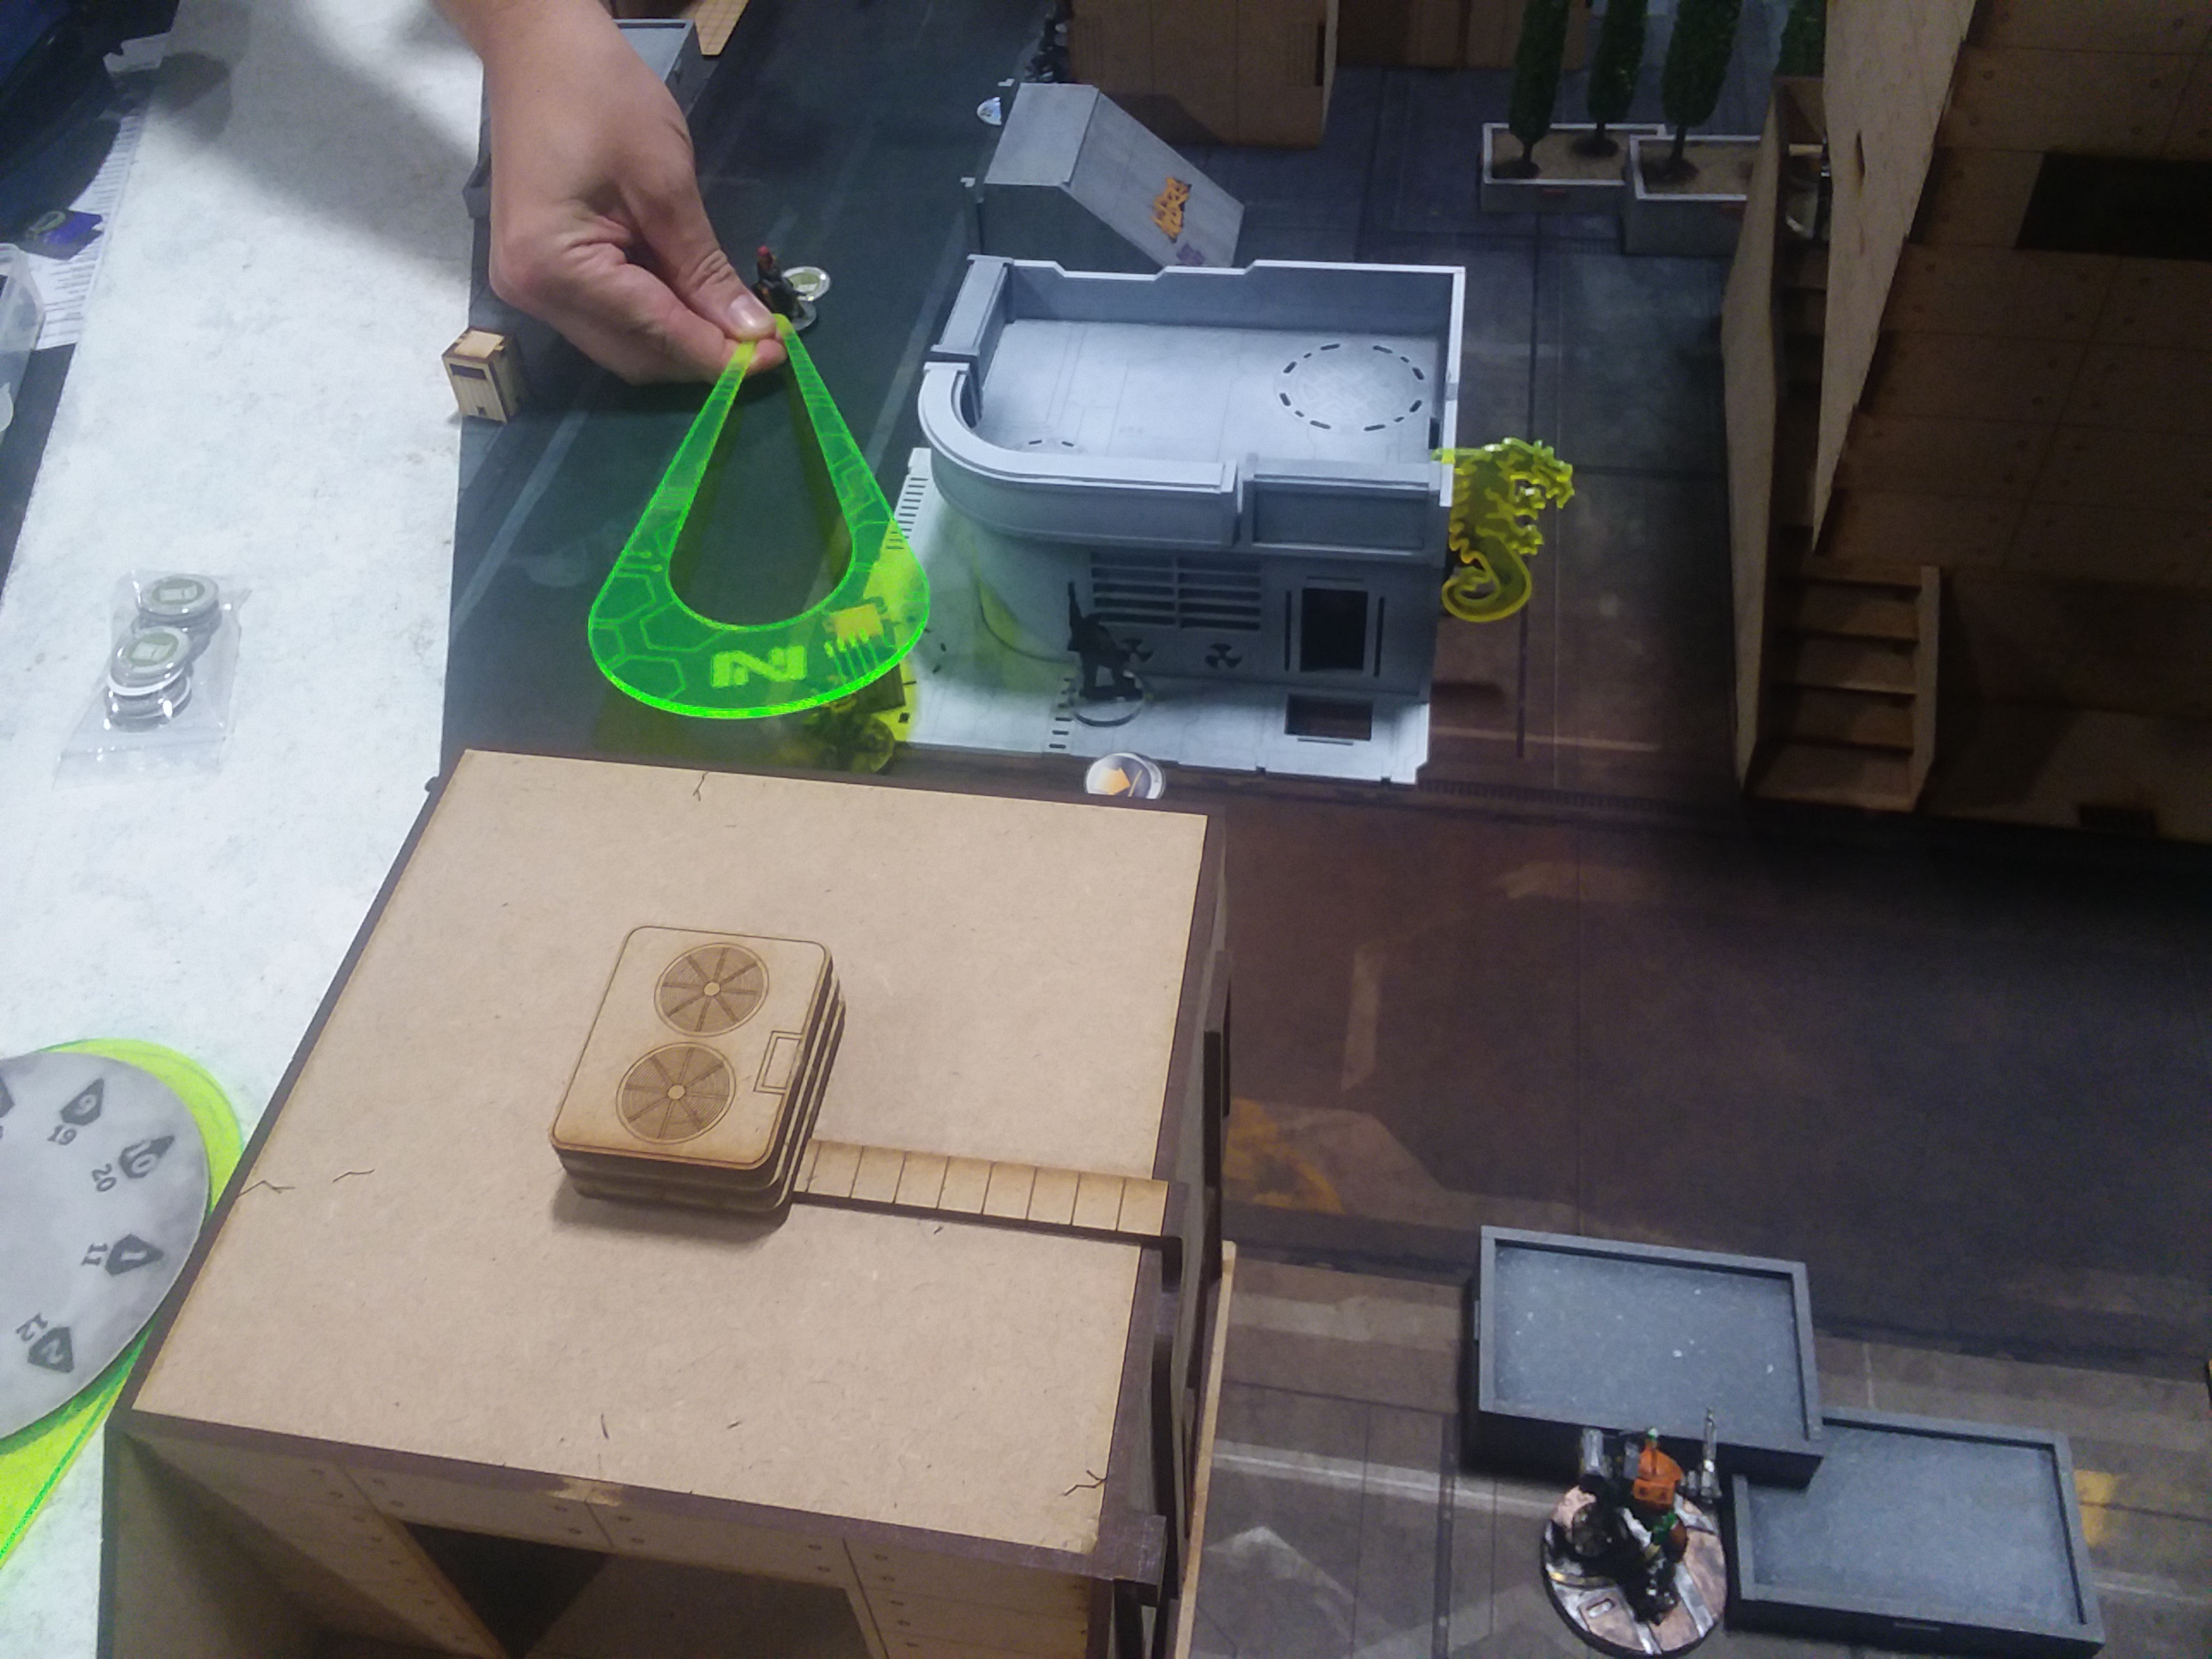
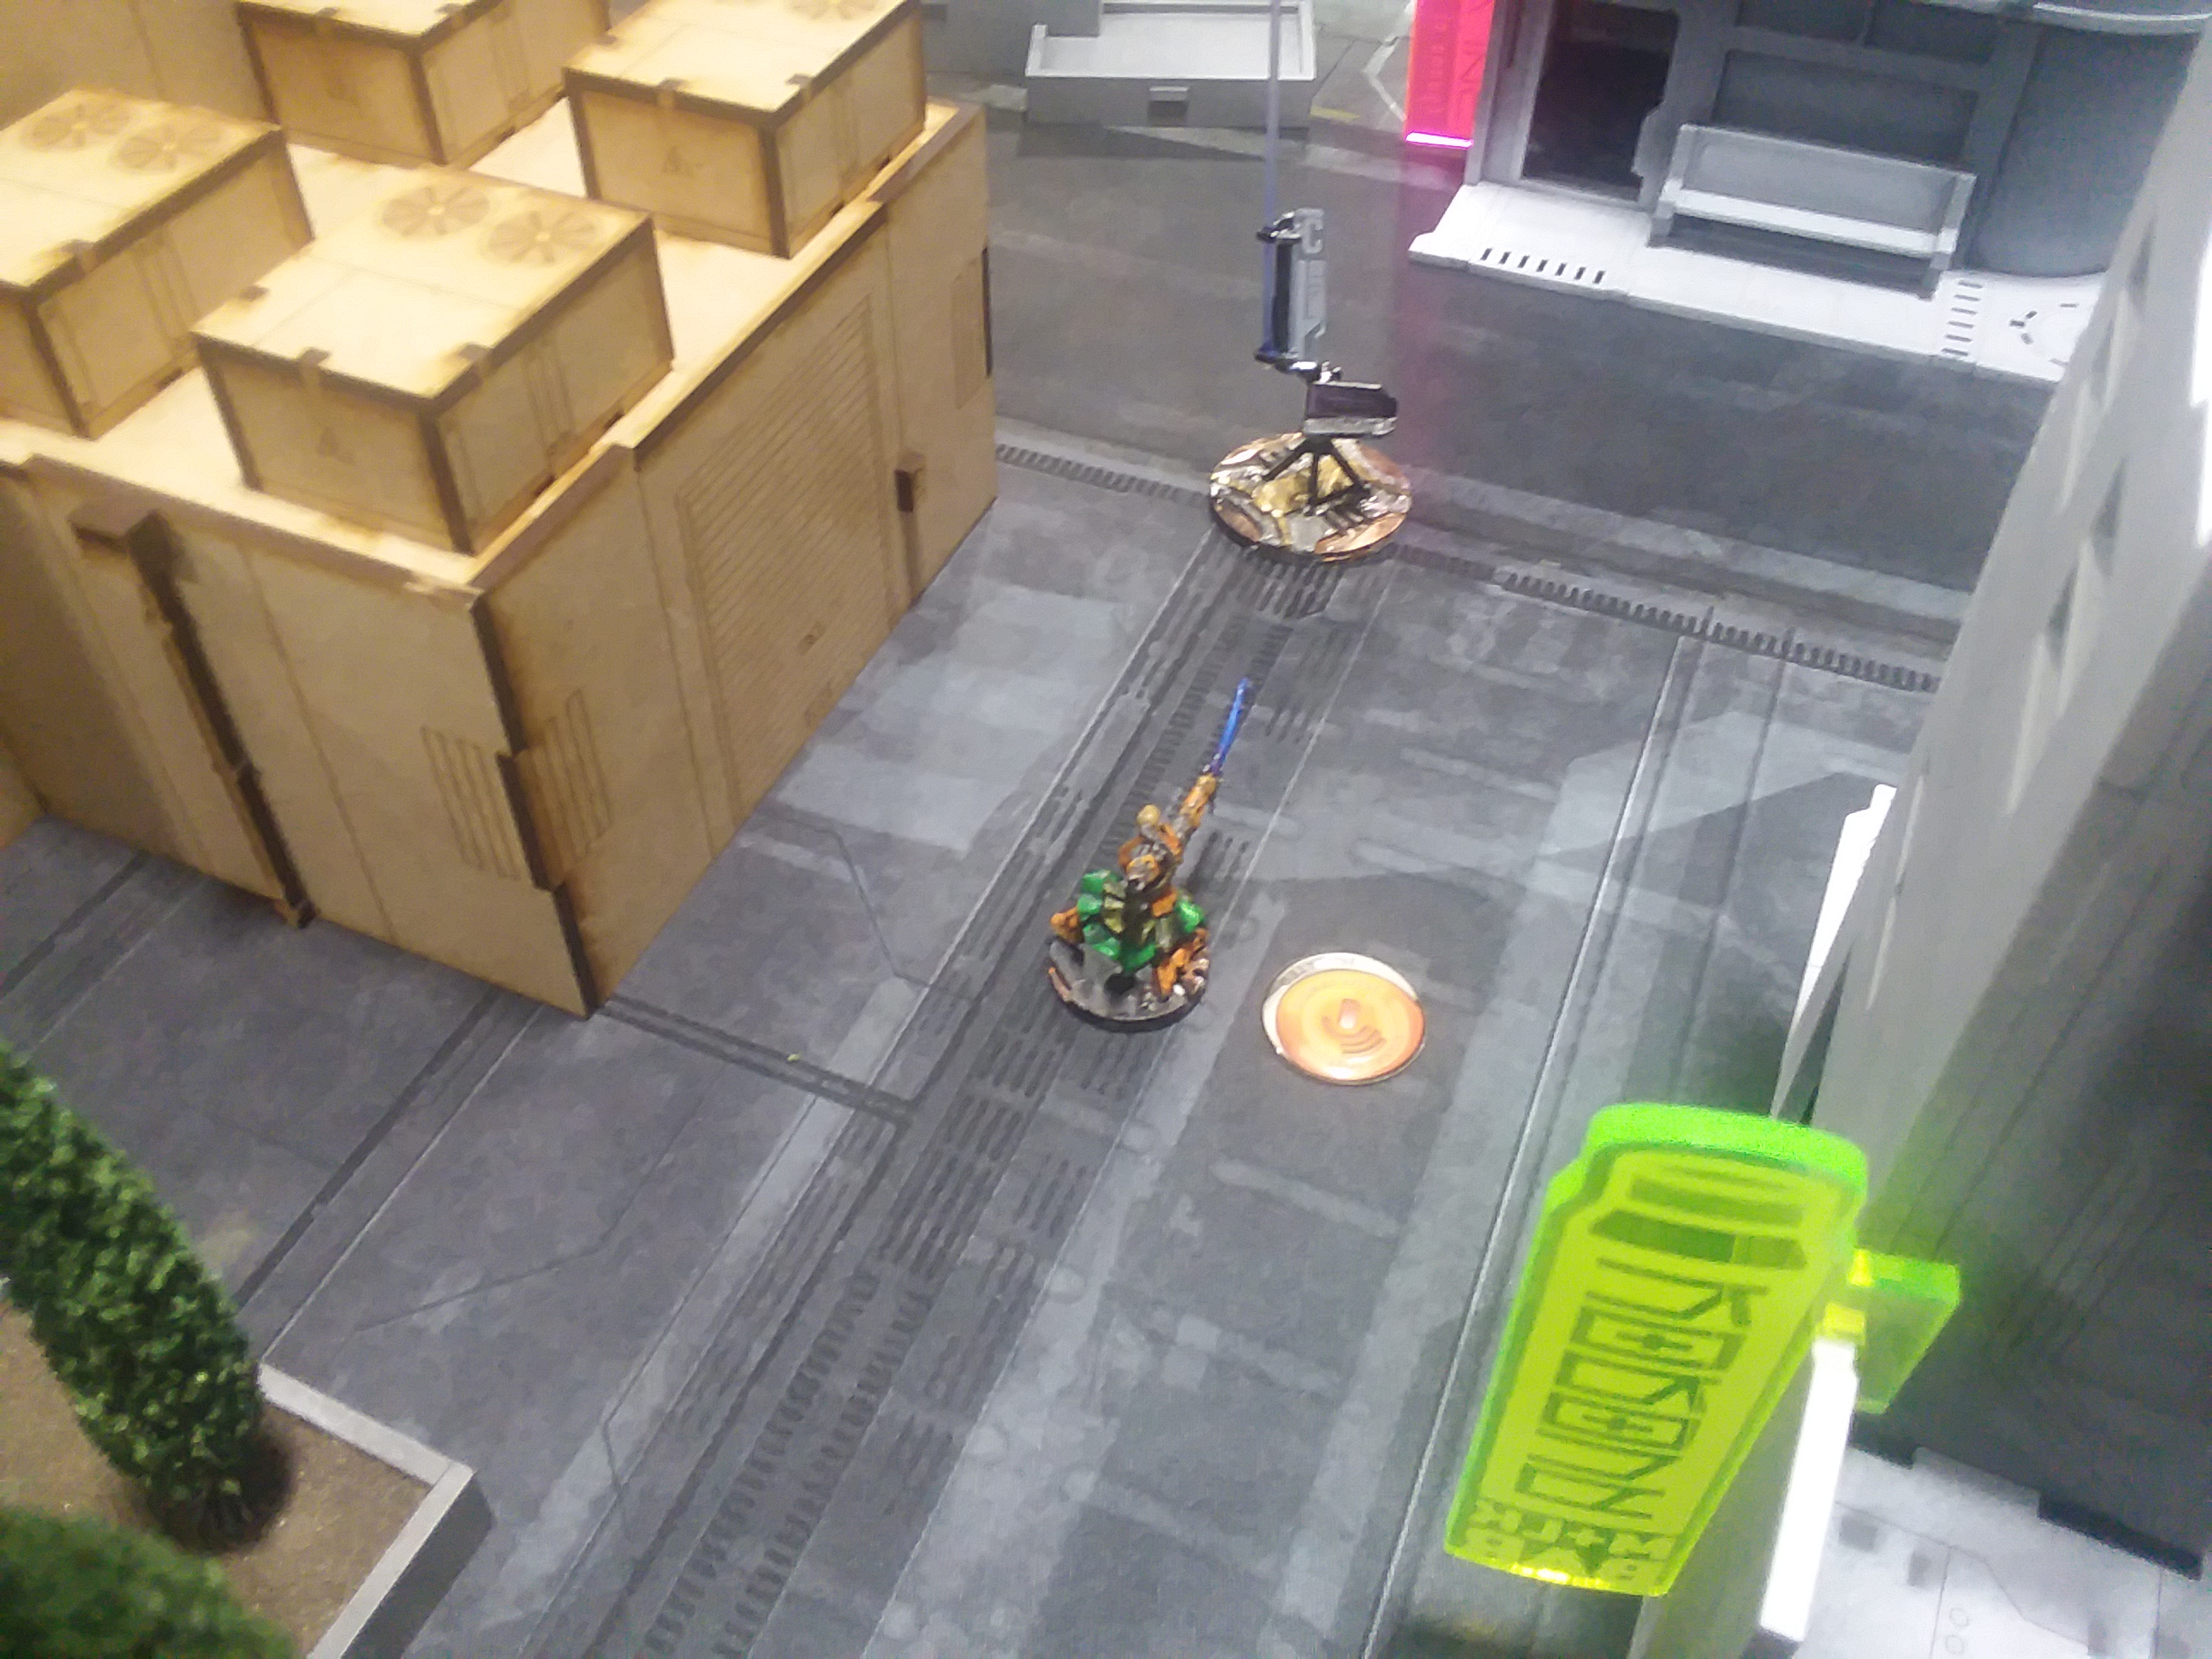
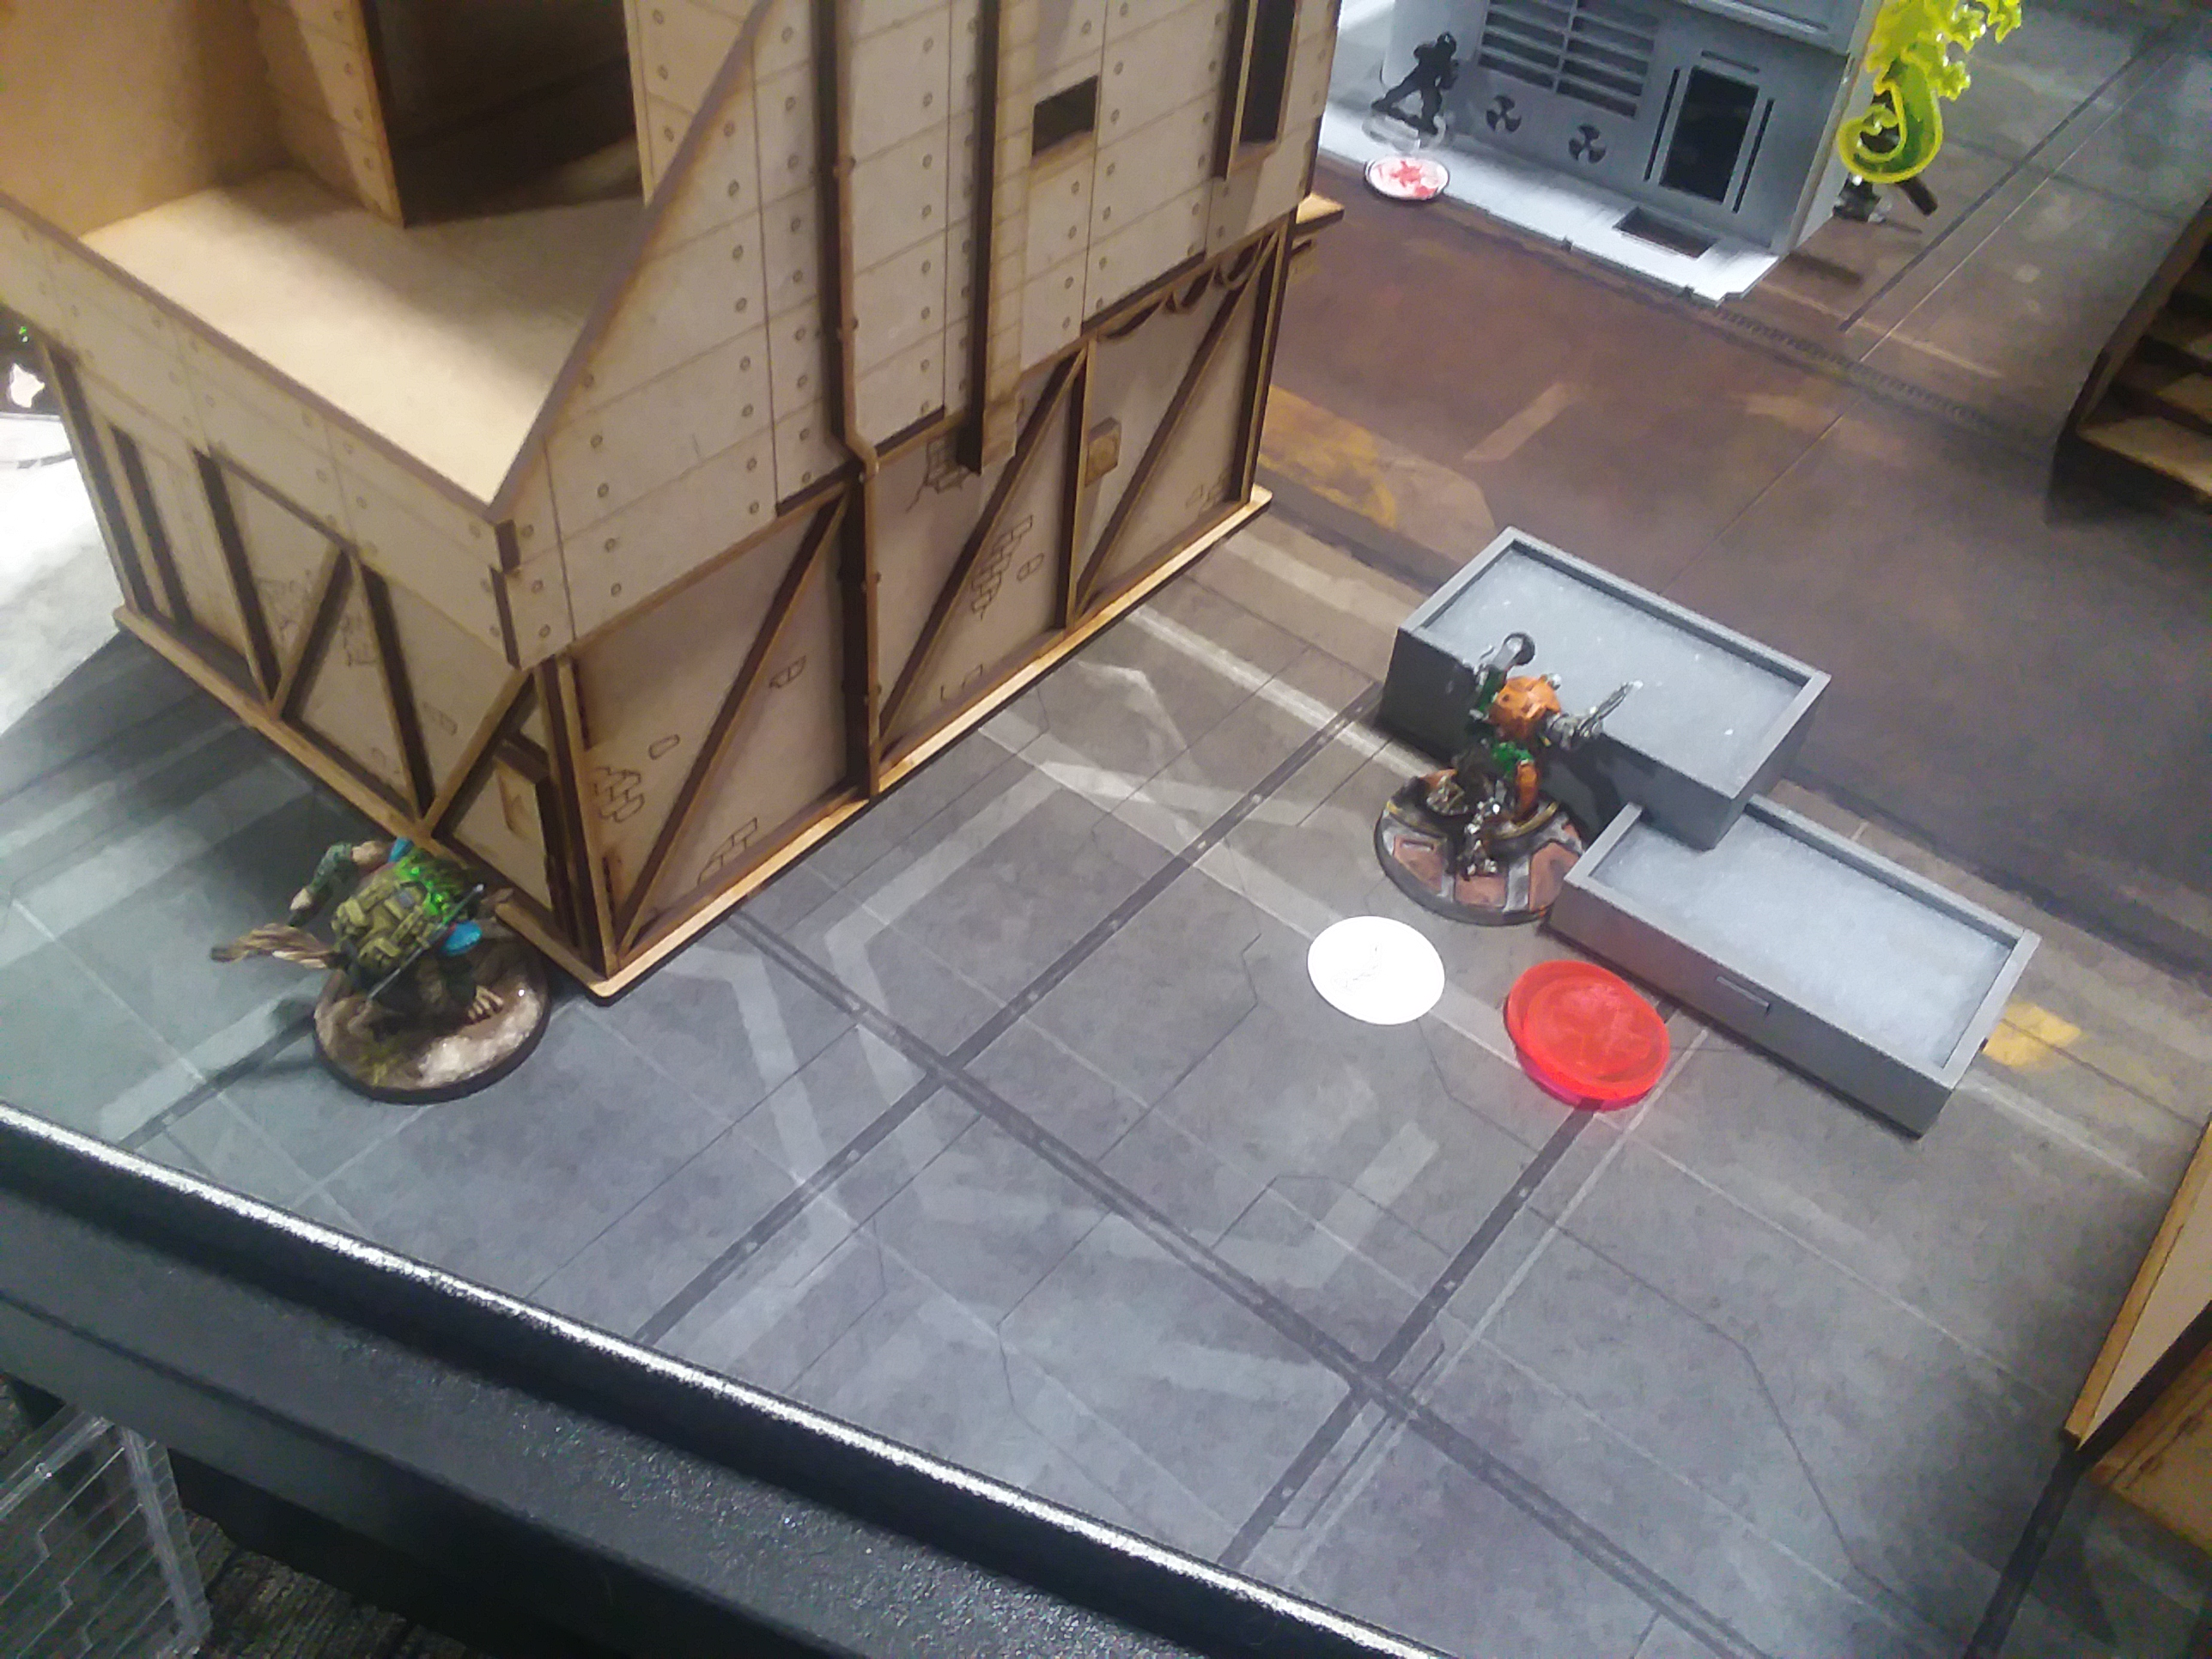
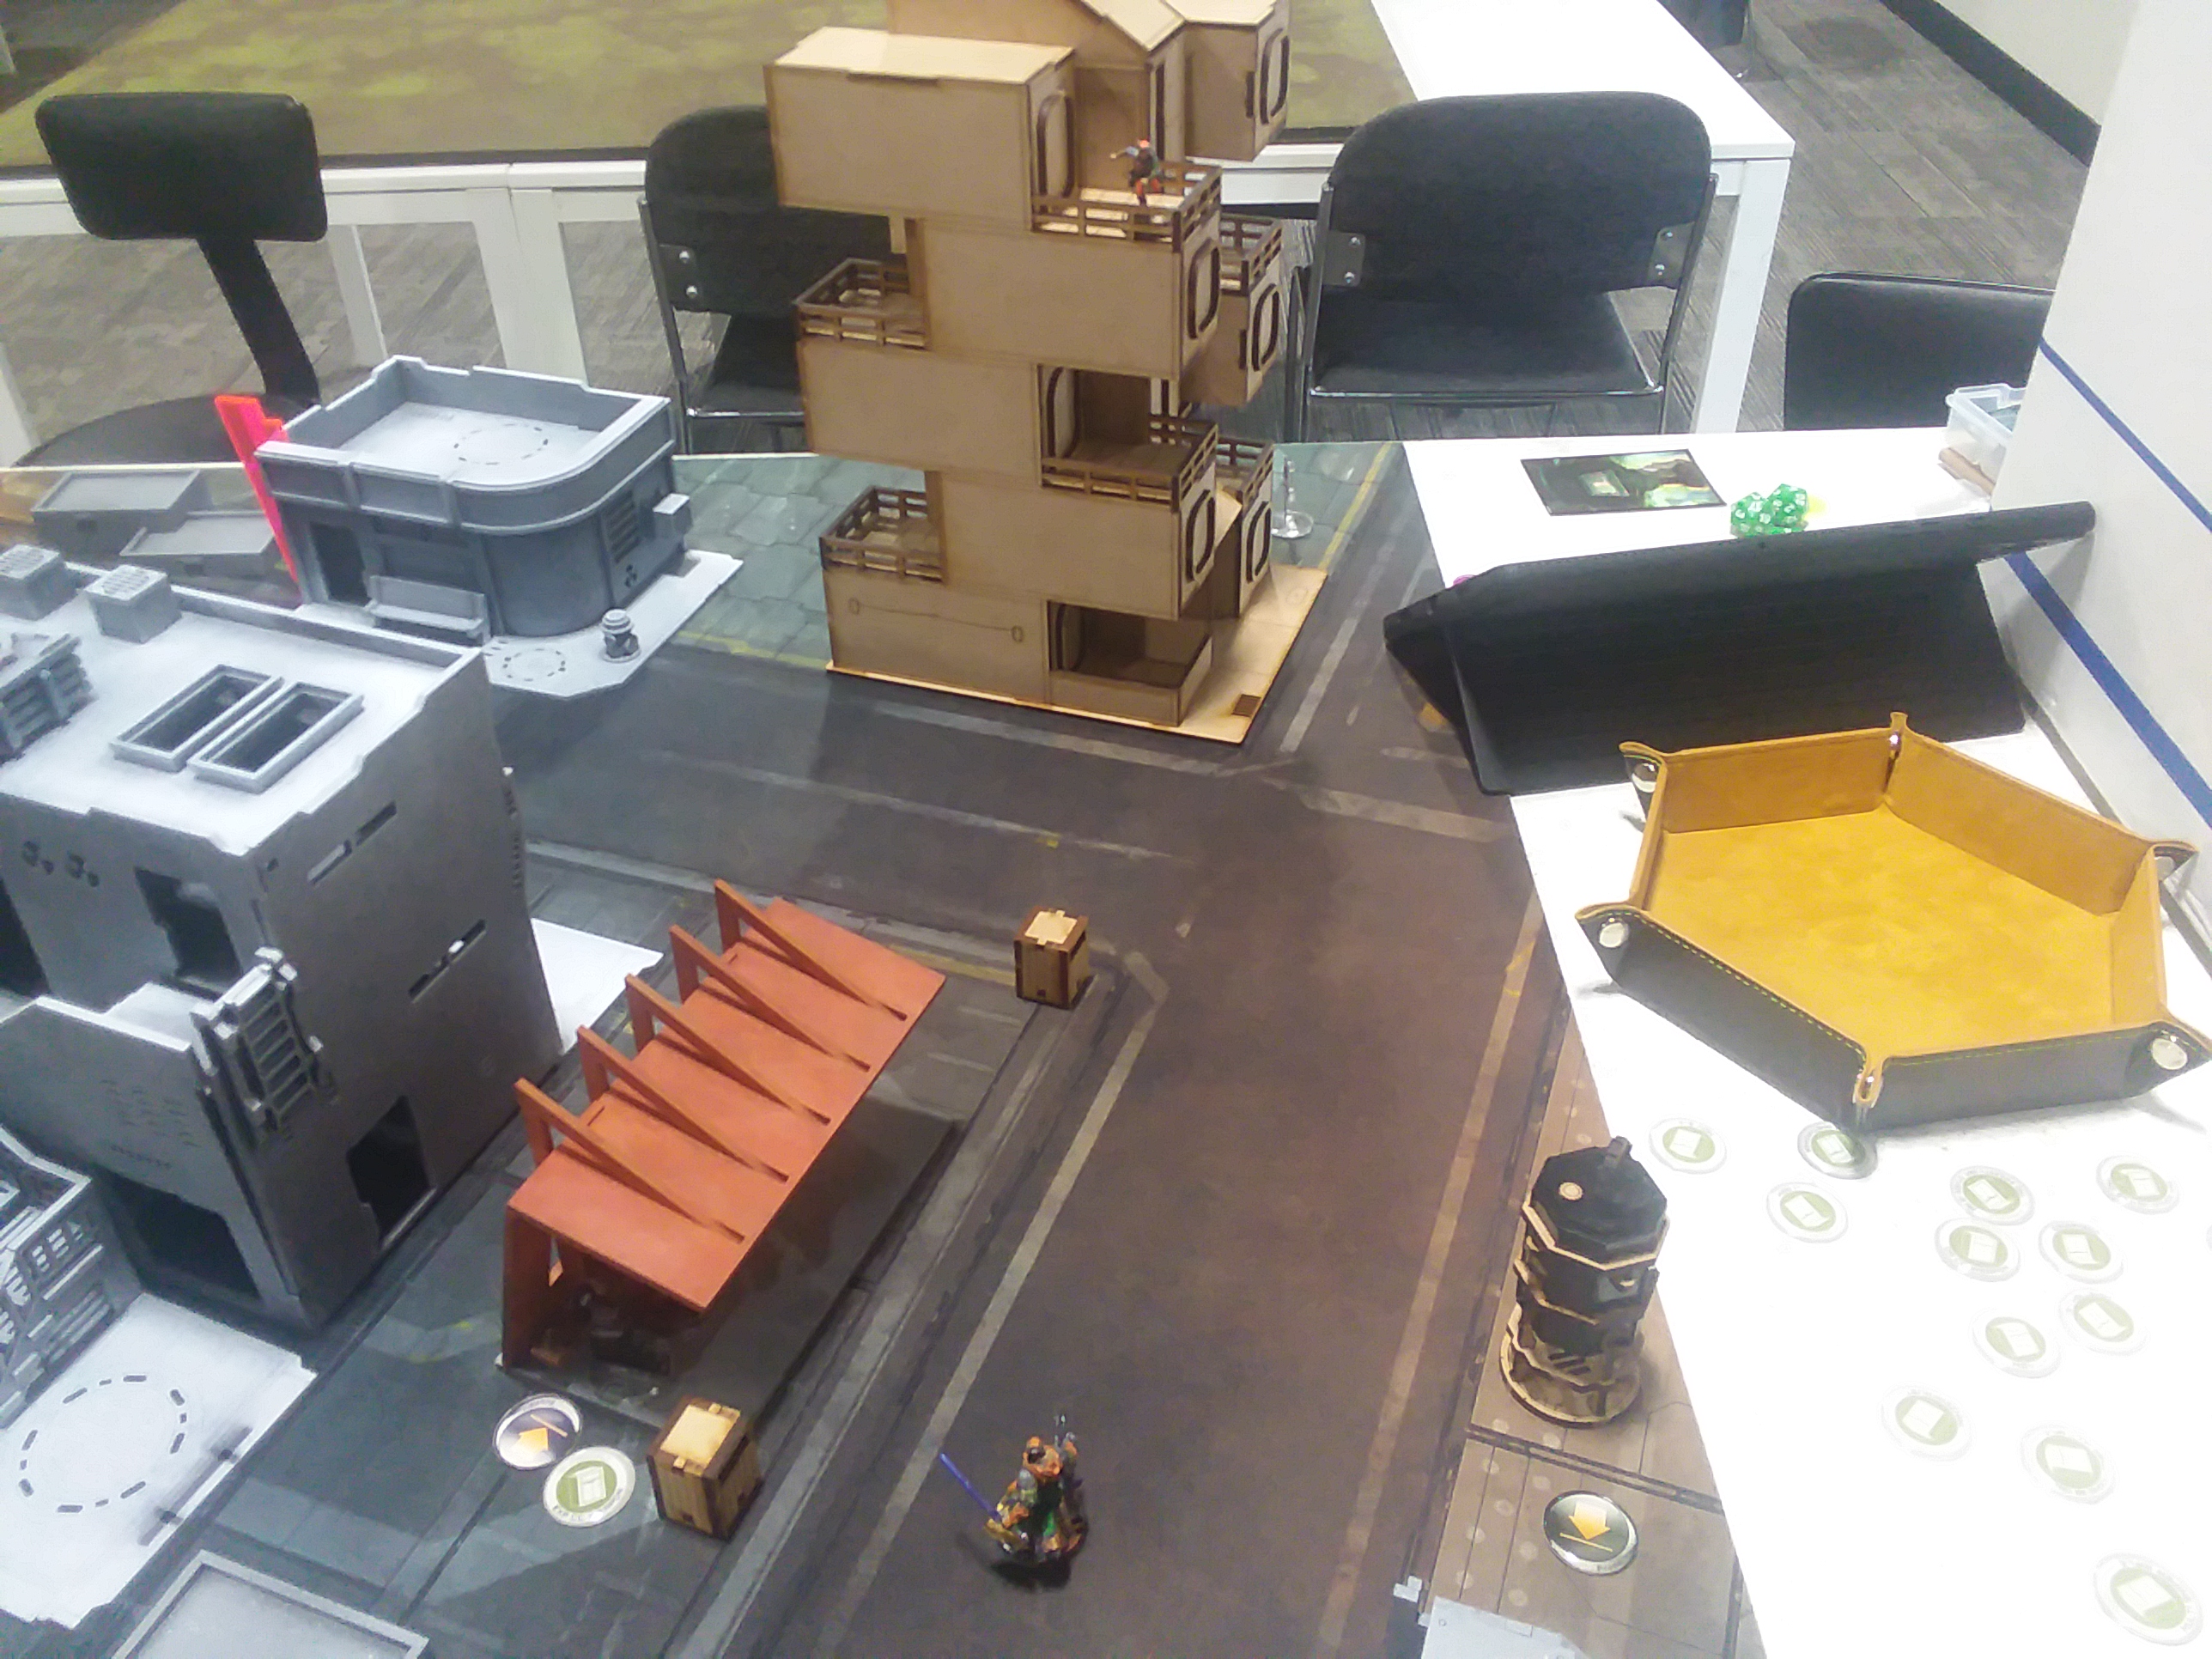
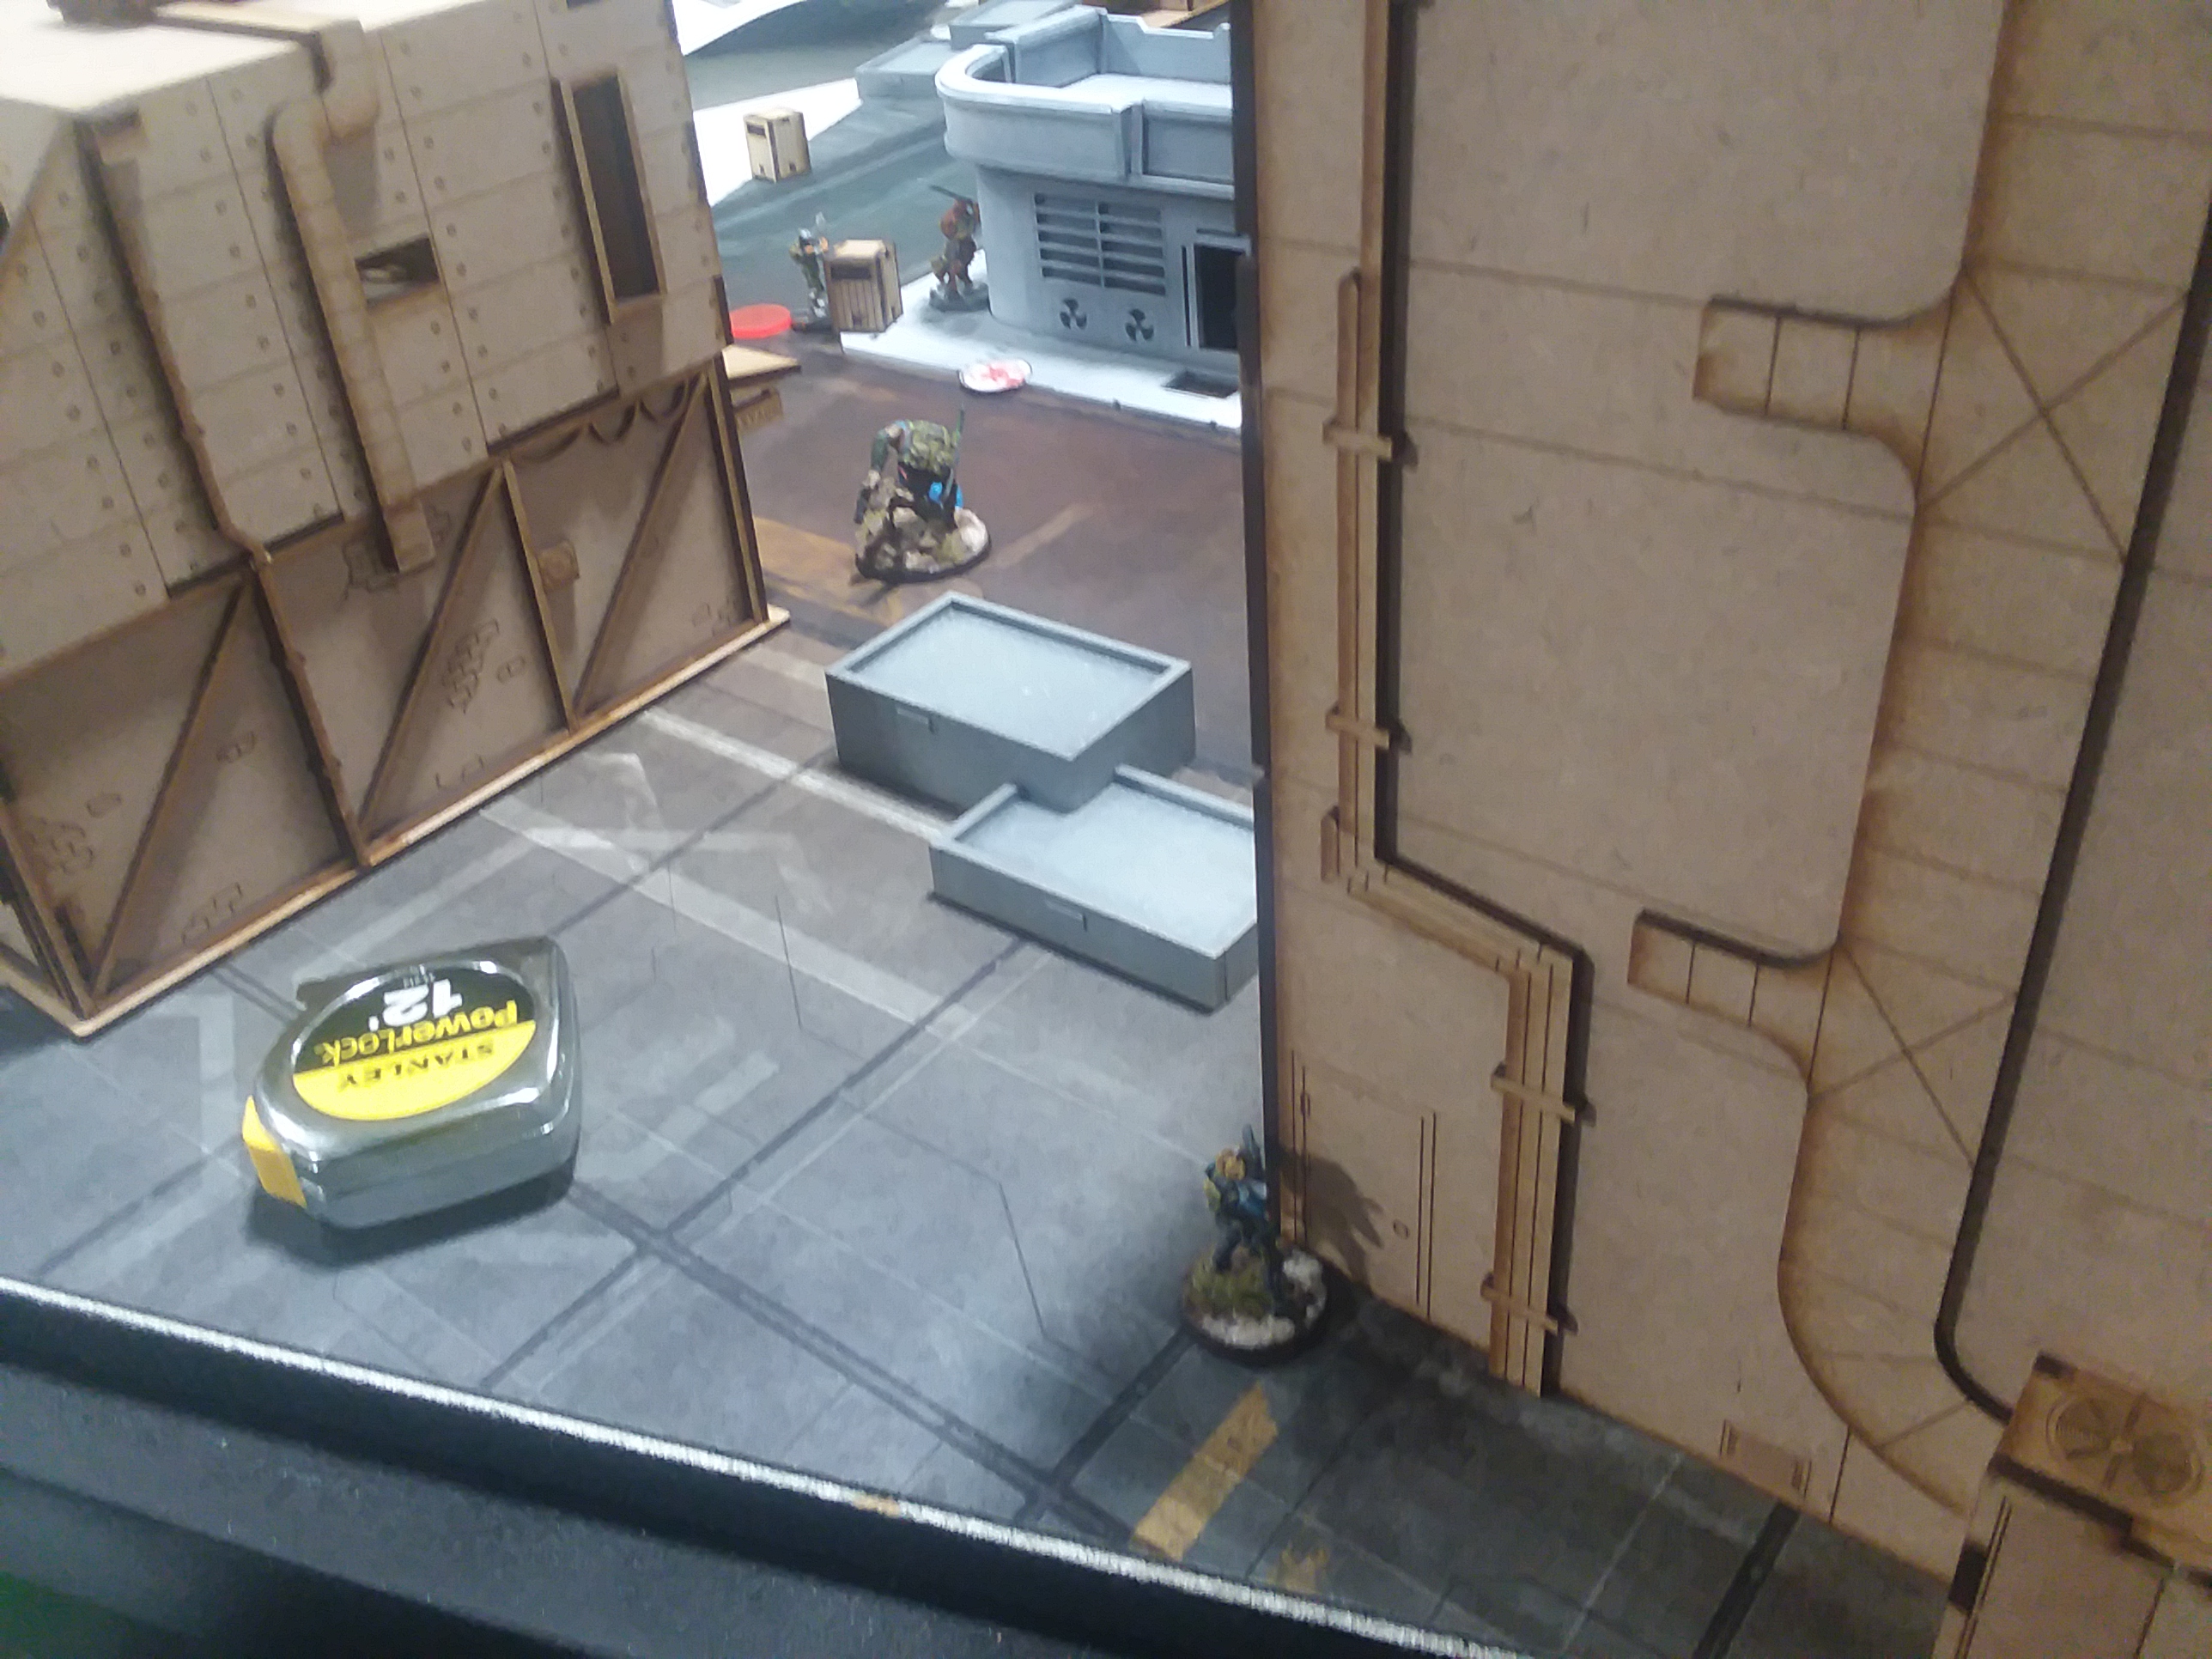
The bear started to move through the middle. It rounded the corner close enough for me to catch the Raveneye's E/M mine under a template, so I took the shot. The Bear won with smoke, and the mine passed its save.
The Bear advanced pretty aggressively through the middle, triggering a mine with its second skill and failing the ARM roll.
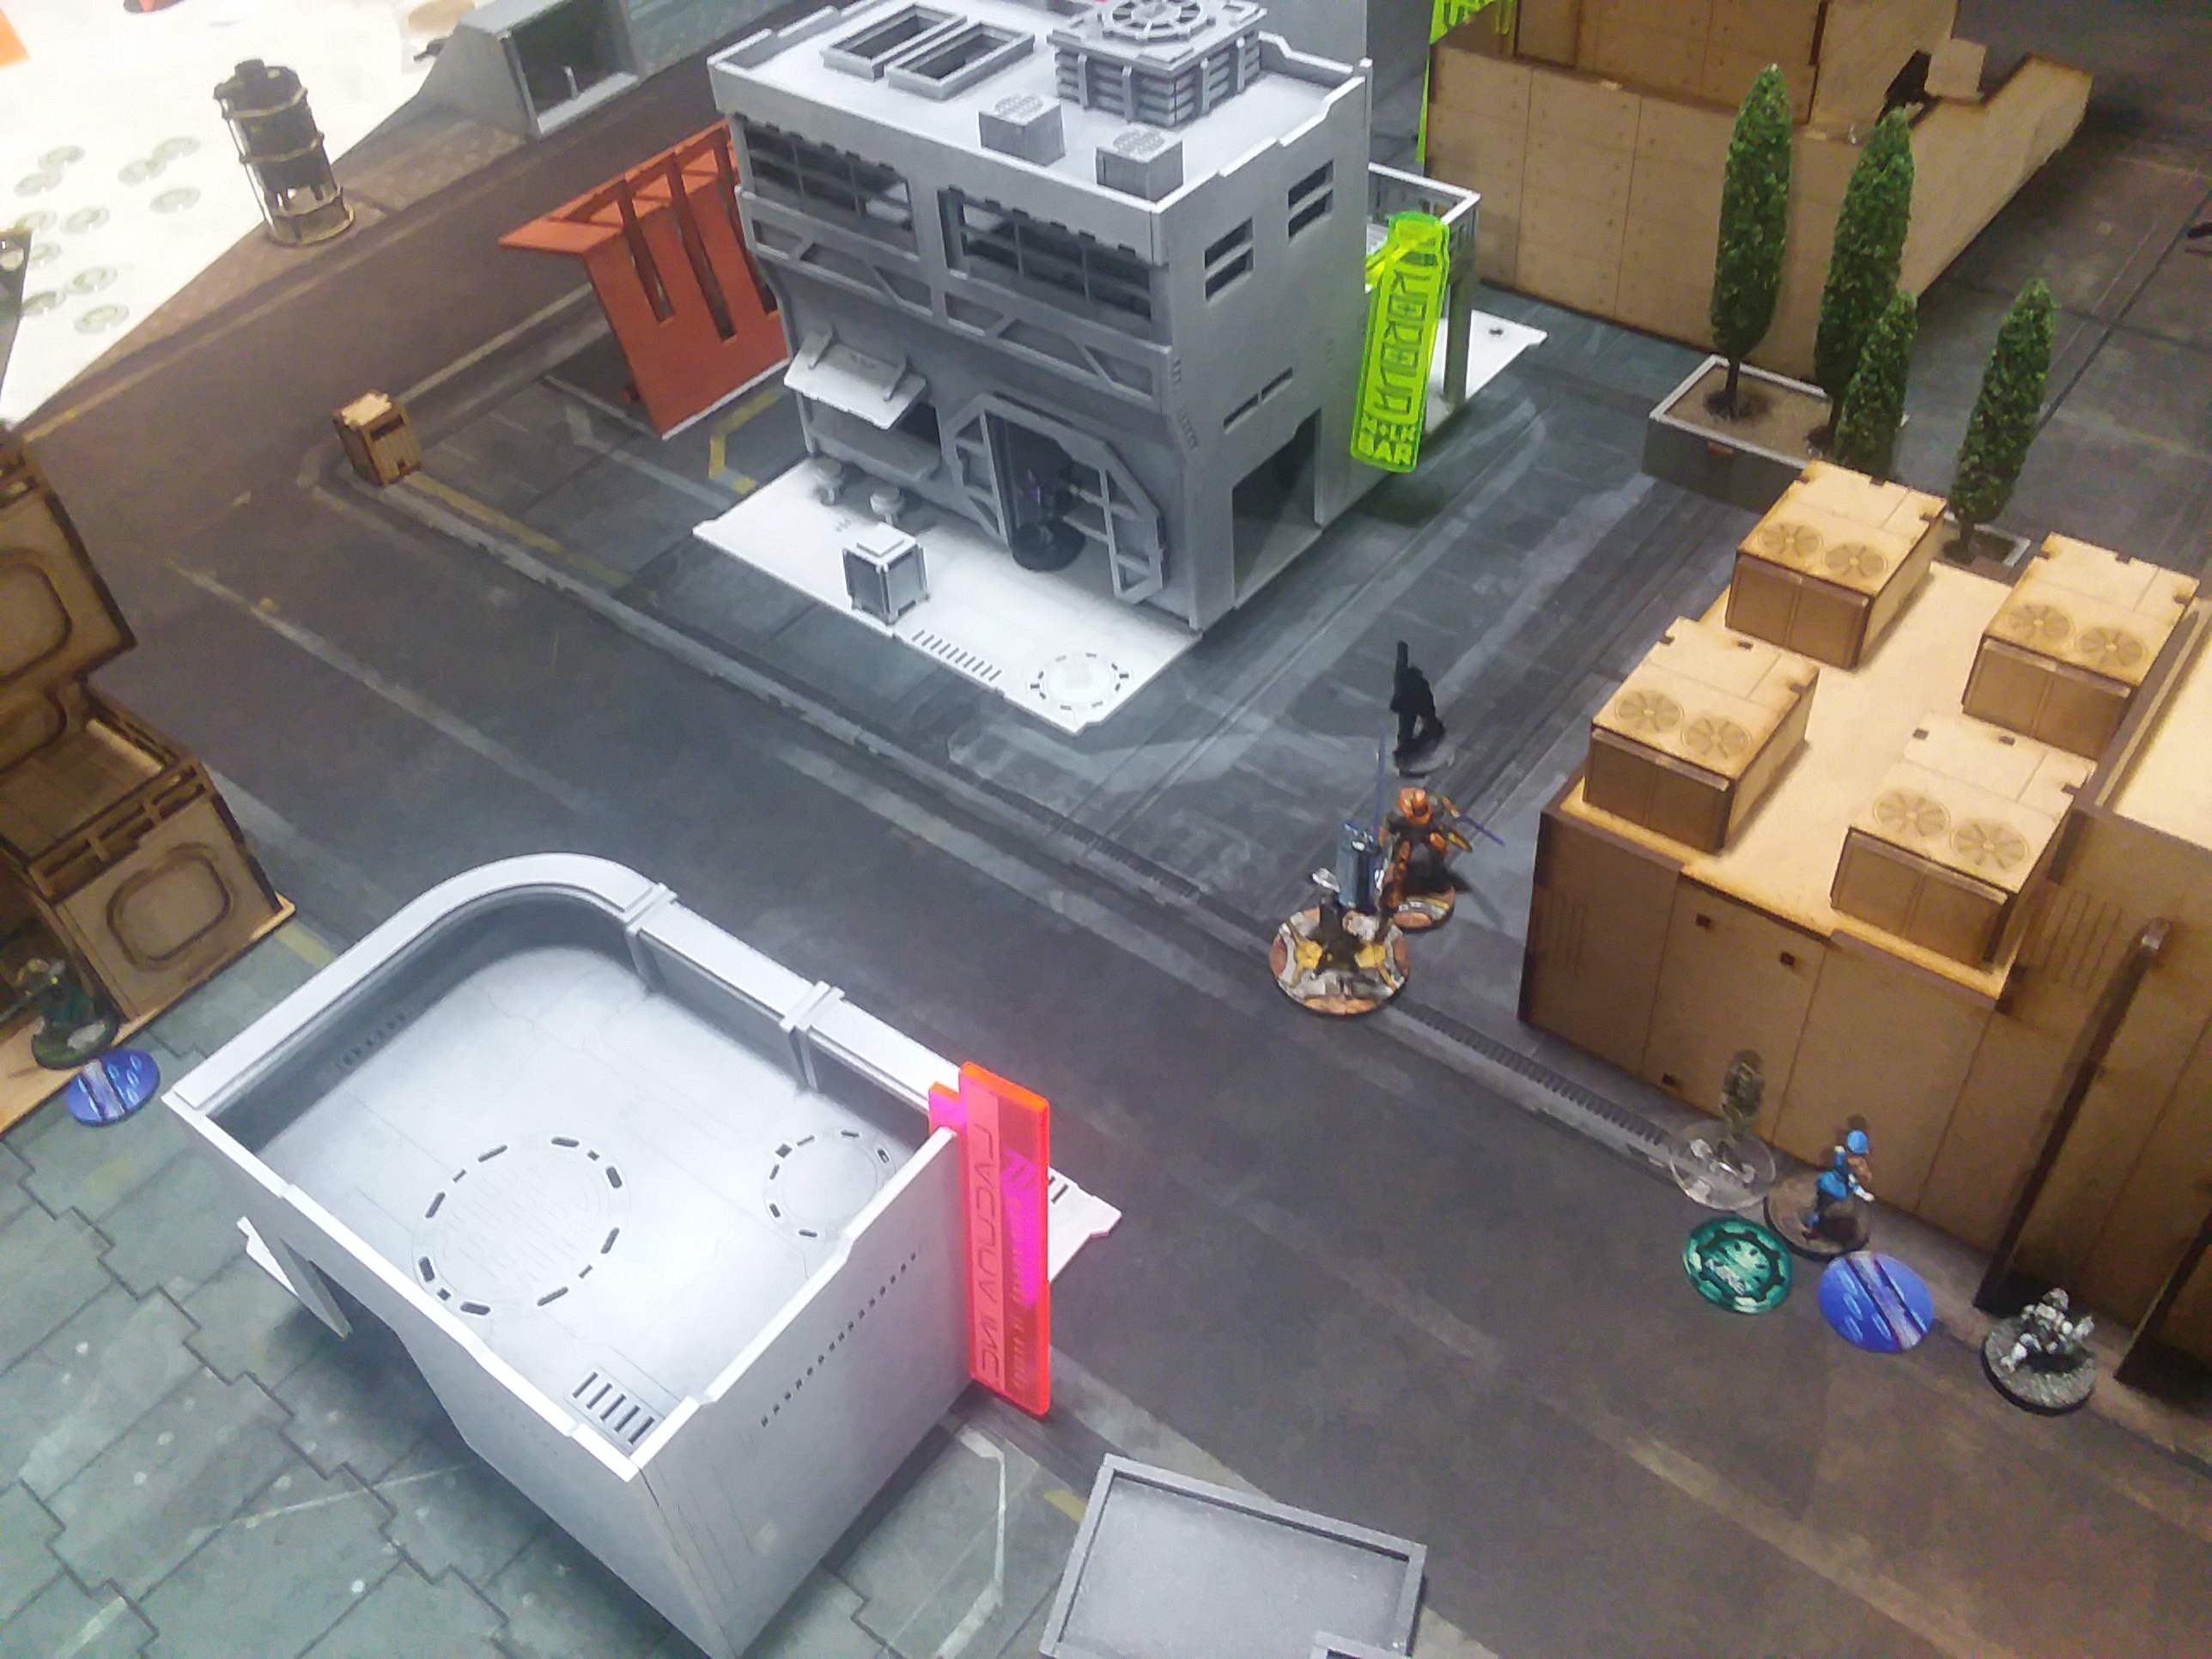
The Bear continued its move on my AC2. I revealed my Hundun to shoot it in the open, so at this point it was taking AROs from the Hundun, a Long Ya, and a Guilang. The Warcor could also see, but had nothing relevant to do. The Bear rolled a very strong dodge and moved past everything.
Another order put the Bear in contact with my AC2. I took the same AROs as last time. Rather than contest them, my opponent went for the attack. The bear rolled a crit and I failed all three saves. This time the AROs were uncontested, and I brought down the Bear.
With my Hundun and Long Ya visible, my opponent spent his last order splitting his burst with the Cateran against the two of them. The Long Ya went down, but the Hundun passed its save.
With group 1 still full, the Hundun spent its own order to respond to the Cateran. On my turn and with neither of us getting surprise, this was 2 10s against one 9, and the Hundun won out. The Warcor's shot missed. I had dismissed this as irrelevant during the game, but in retrospect the Warcor could have forced the Hundun prone, which would have made a big difference on my opponent's next turn.
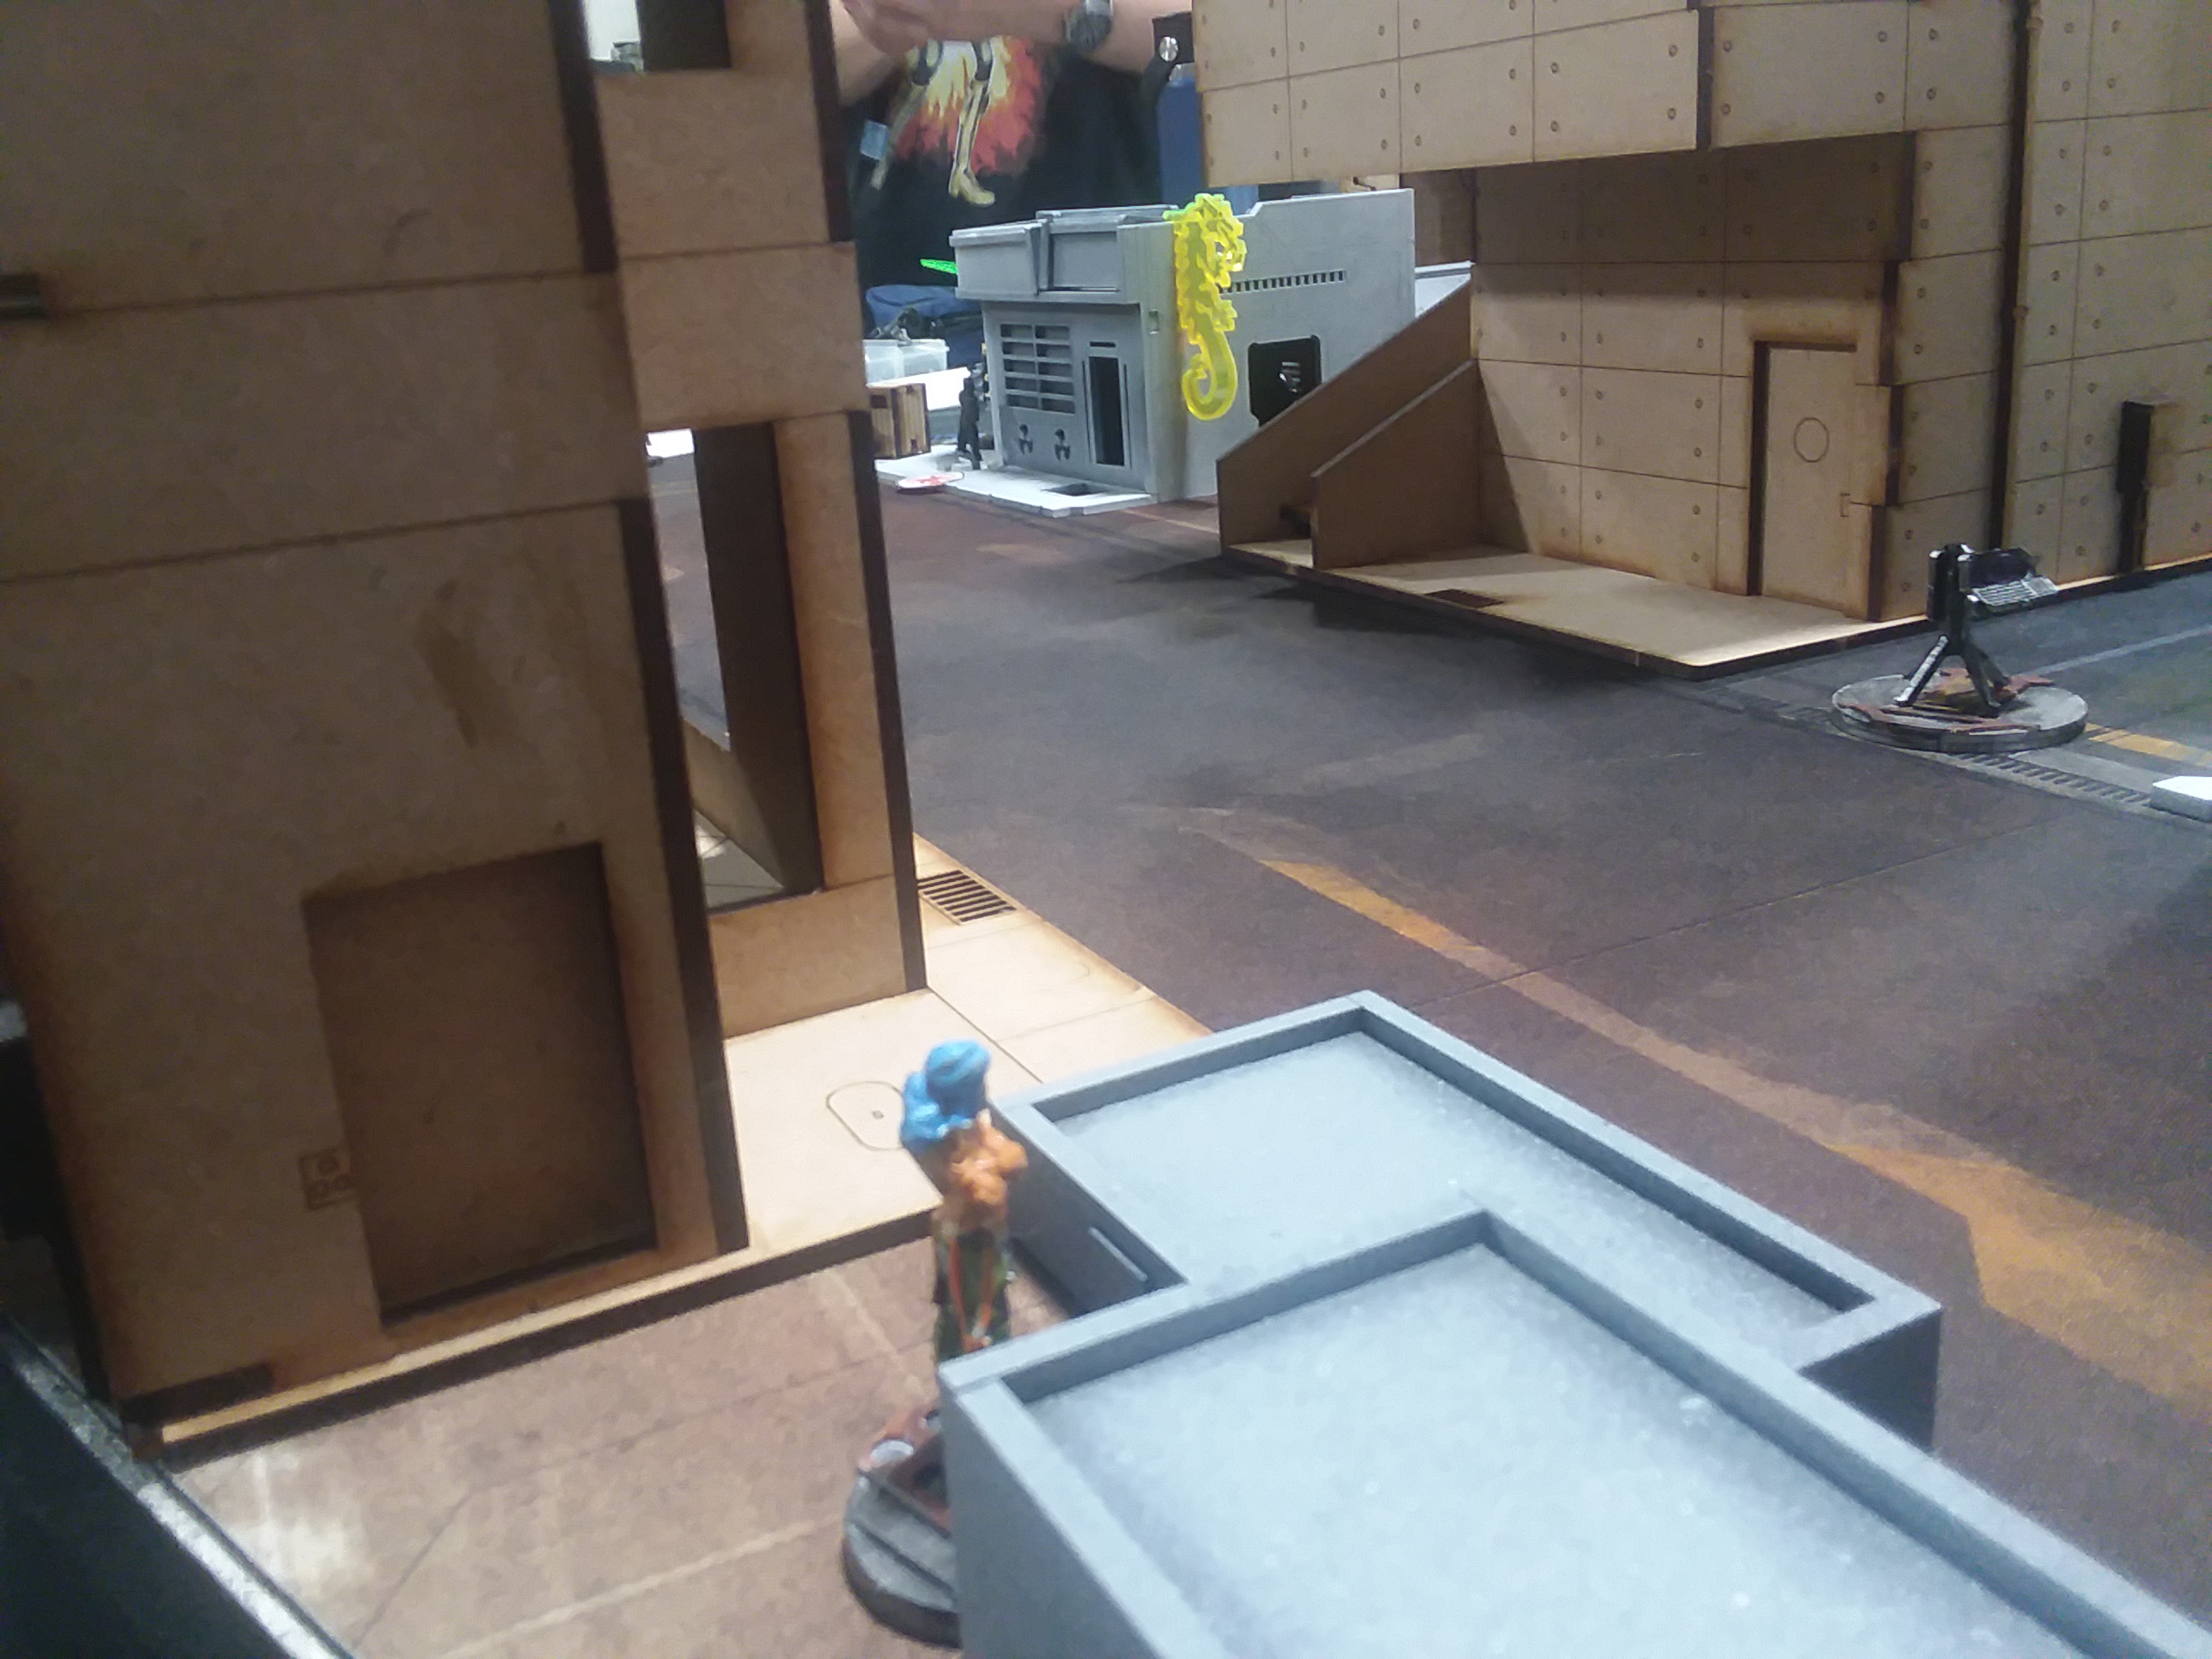
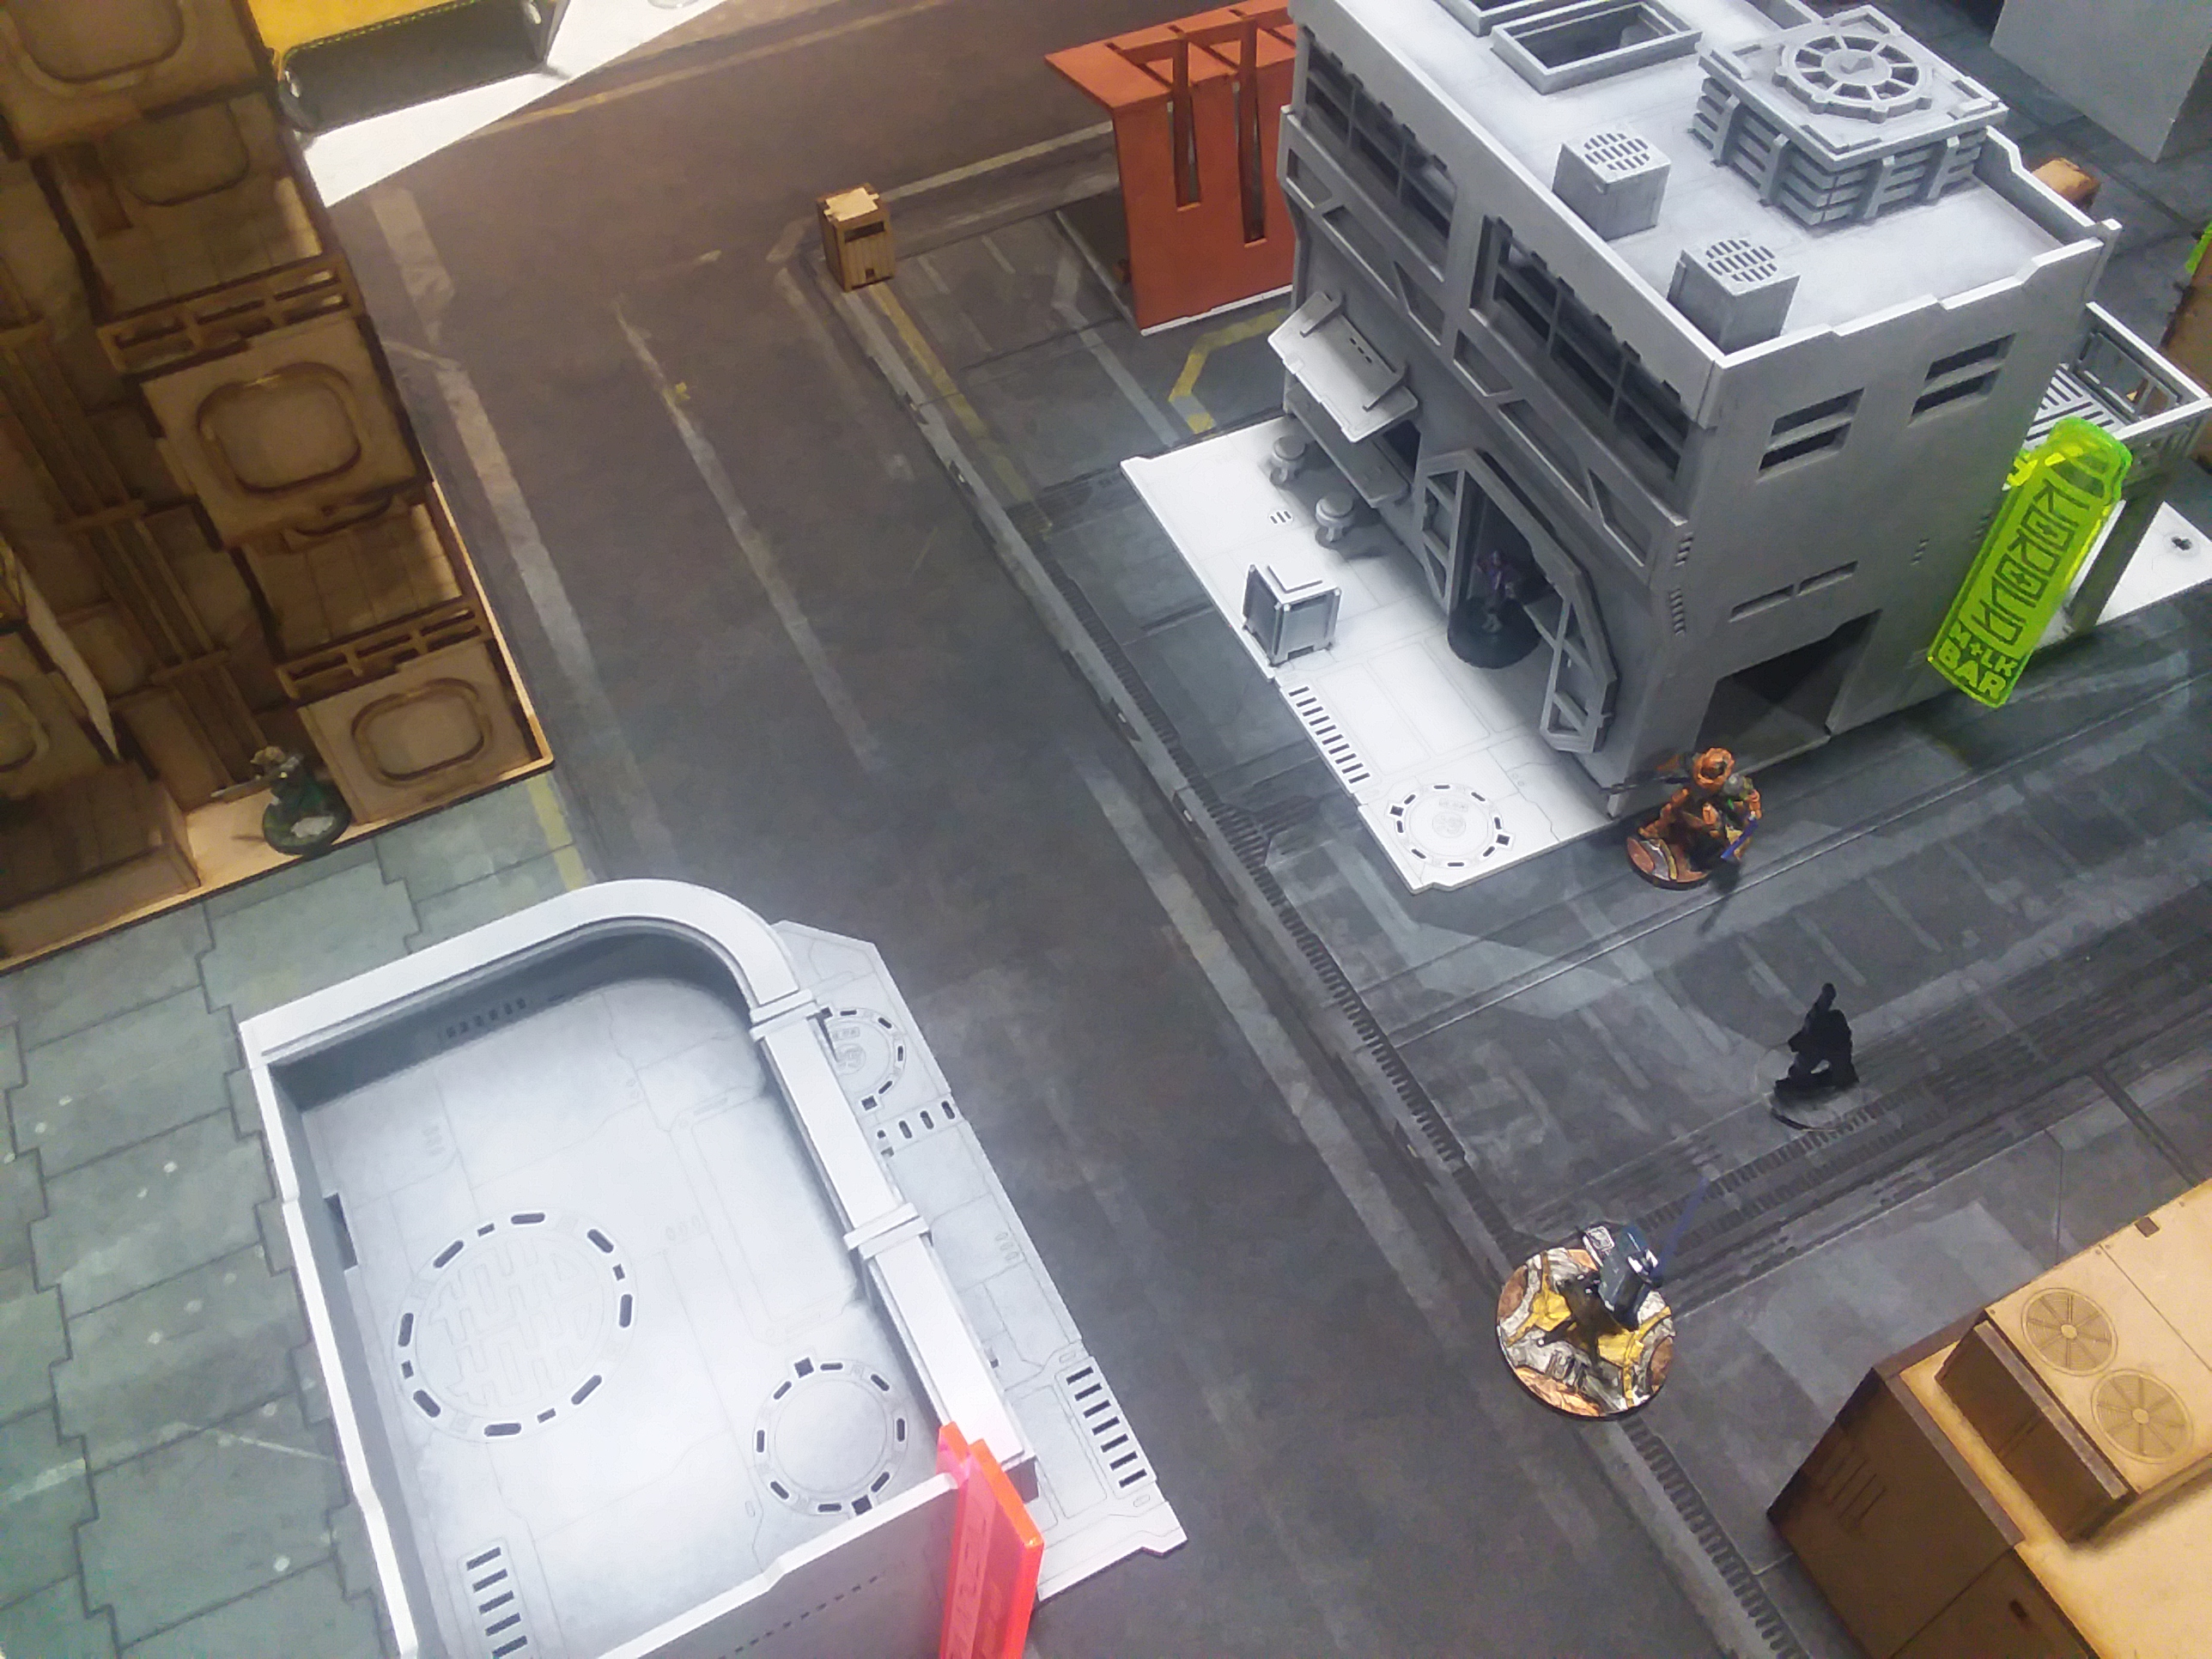
The Daofei with the spitfire revealed to take out his remaining Irmandinho. I wanted to save my surprise for the Ranger, but didn't want to give the Irmandinho a free shot. I continued moving around the trash can to see the Ranger. Both Varangian threw smoke, and I spent a few orders trading shots with the Ranger. The end result was that both of us took a wound, and he fell back into the smoke.
Unable to continue pushing against the Ranger, I made a move for his AC2. I spent a few orders moving up, and attempted to dodge through the E/M mine that had survived the template, but failed the roll and became isolated. I realized at this point that I had spent my irregular order on the first move, as would normally be the right decision. In this case, I knew there was a high chance of me becoming isolated and wanting to spend one more order, so I should have saved it.
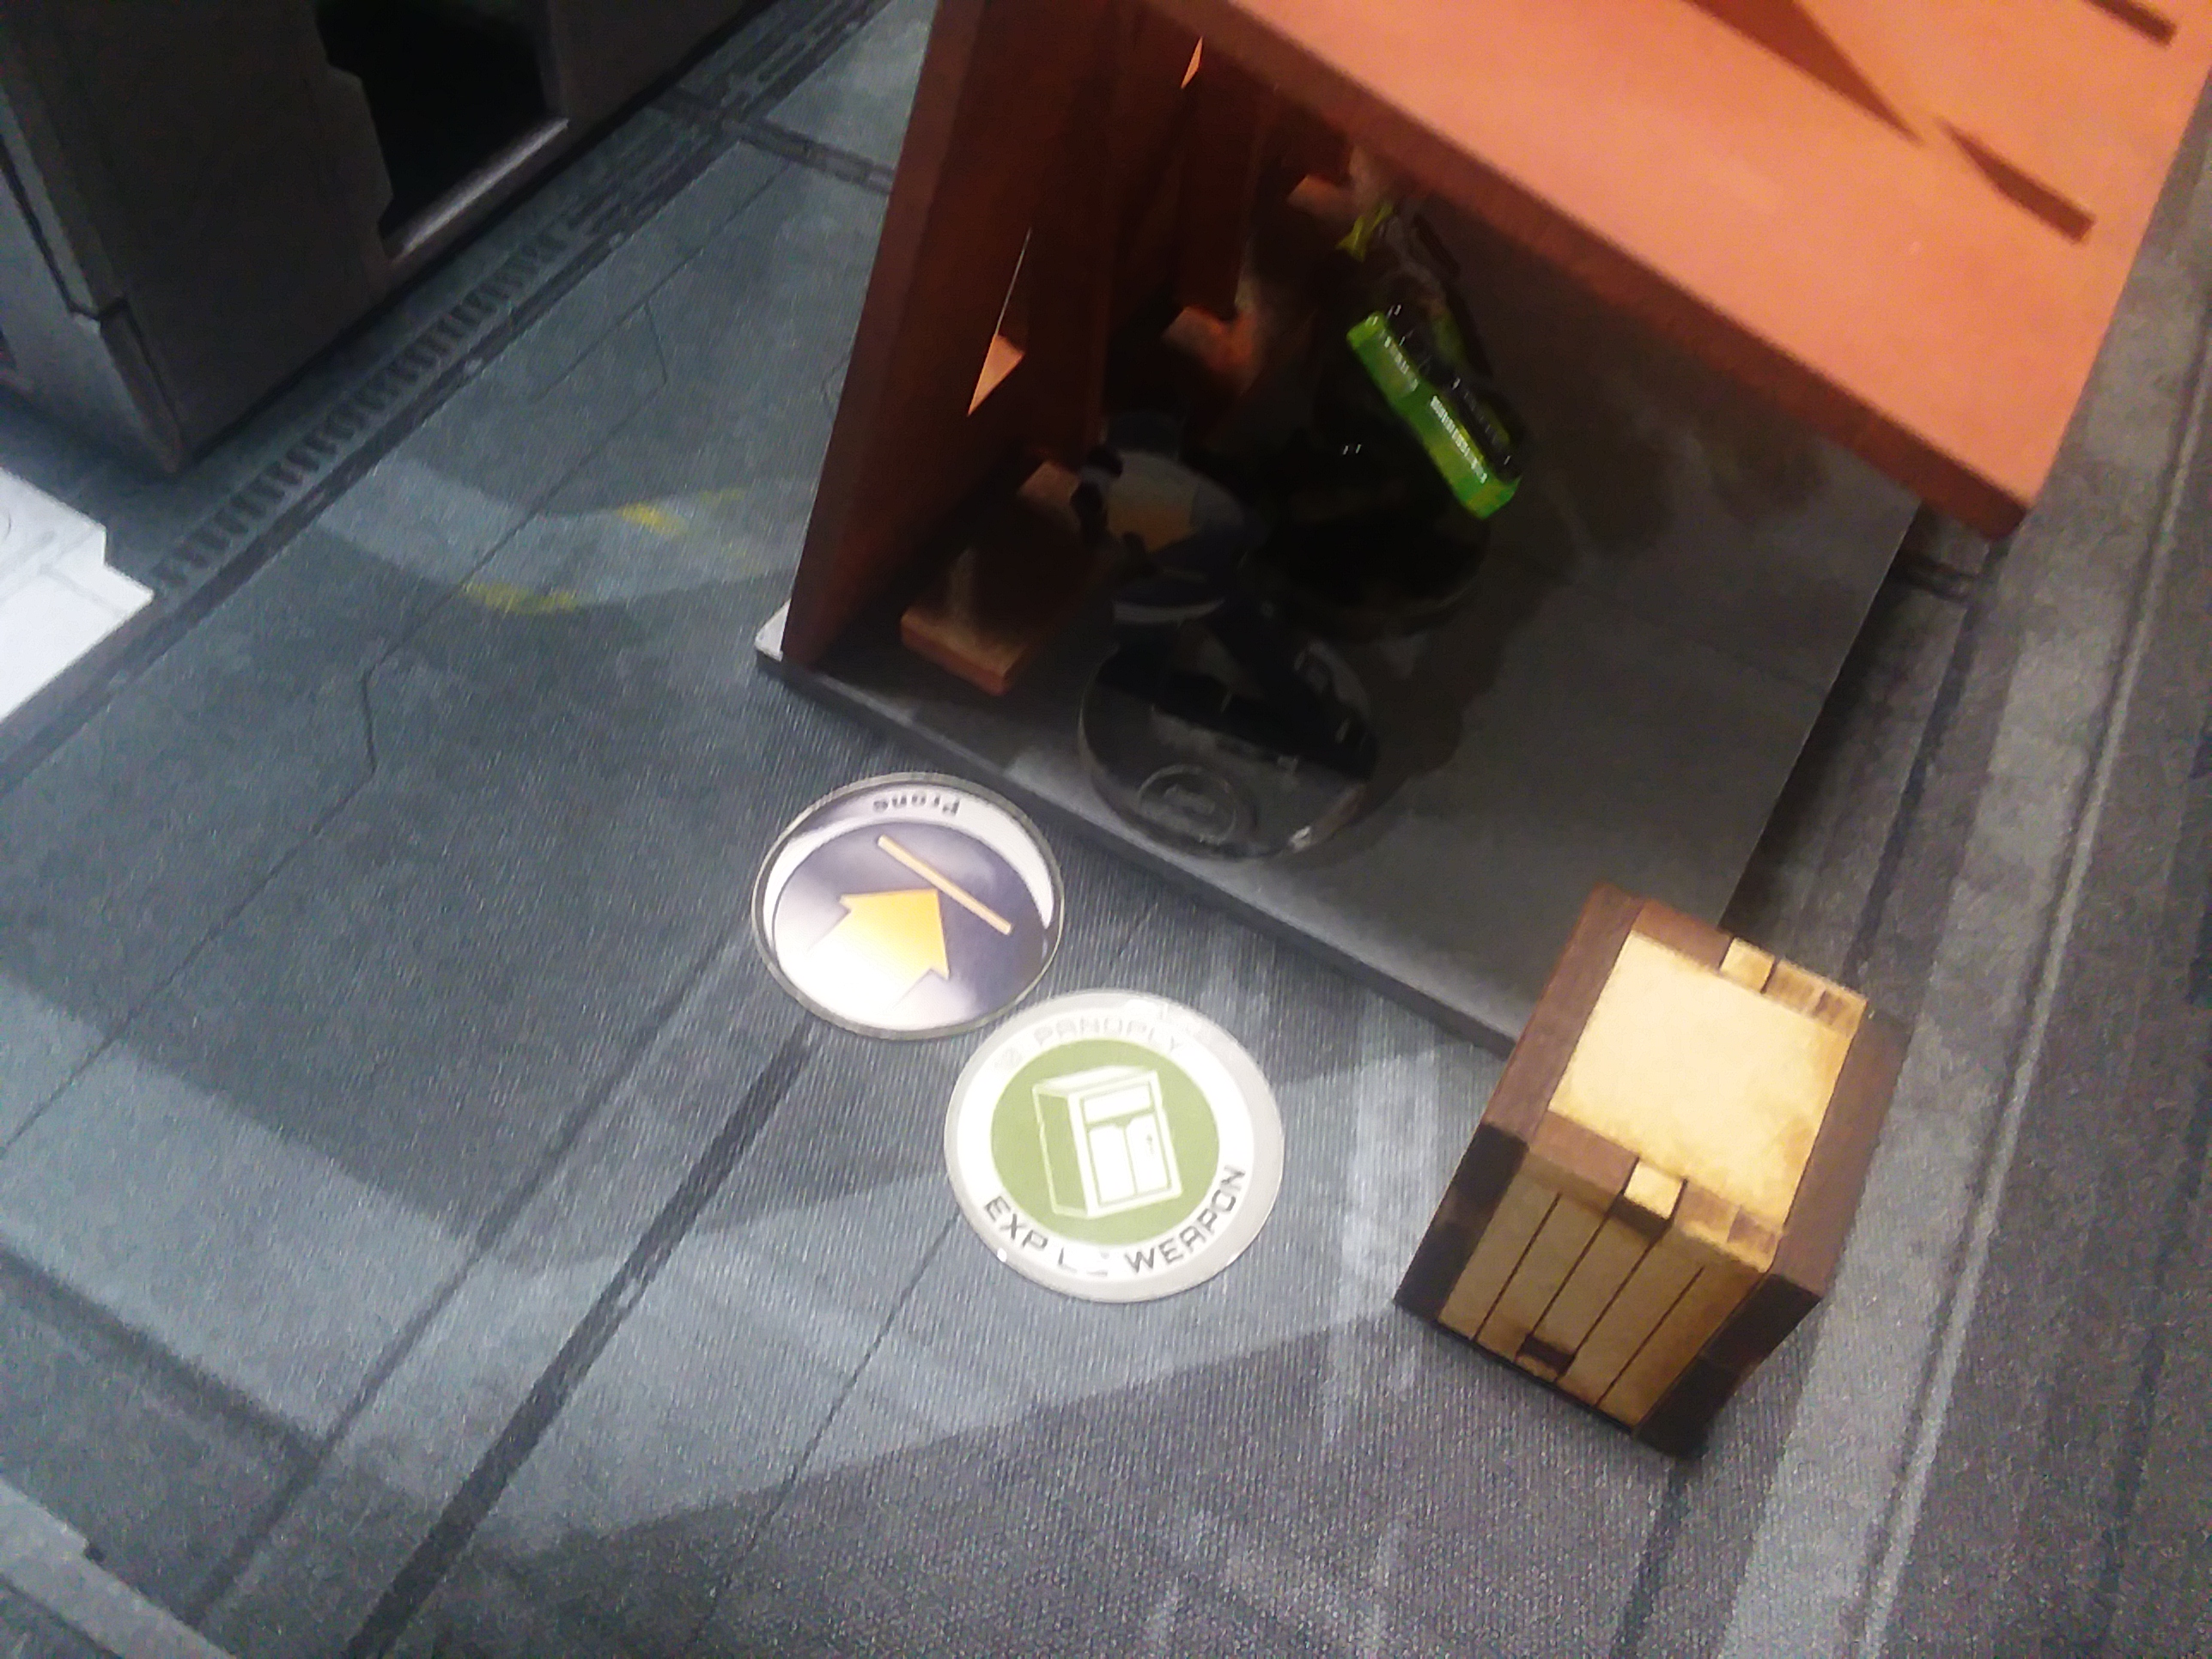
With only 2 orders left, I took an EXP CCW with a panoply and spent a coordinated order to go back into camo with most of my revealed models.
With my AC2 destroyed already, my opponent decided he just wanted to kill what he could. He started by bringing Duroc onto the table, but did not do anything with him yet.
My opponent had moved Margot and Duroc into his first group, so at this point the Warcor was on its own. It spent its only order to go for a flash pulse on my Beasthunter. I decided that the best way to mess with him going forward would be to place a mine to block off the middle, and got stunned in the process. Thinking more on it, I probably should have tried to dodge further up to threaten the Raveneye with a template. Wallace then popped out to shoot my stunned Beasthunter, and easily brought me down.
My opponent switched back over to Duroc, who moved up and caught my Long Ya in the back with his chain rifles. He got within ZoC, but I failed the dodge and both ARM rolls.
My opponent landed Margot next. She moved up to go for a discover against my wounded Daofei, but failed the roll.
My opponent moved Duroc right up to the Long Ya. His intent was to use the Long Ya's body to get a legal template placement on my Daofei and Guilang, which were both camo markers, but they were too far away and the template did not reach. This gave my Hundun a shot, and Duroc took a wound.
 We forgot the roll ARM for the Long Ya until later in the turn. It did fail a save and was removed from the table when we remembered.
The Ranger moved up along the corner of the building to get vision on my Warcor and Daofei. I stayed in camo and let him gun down the Warcor with the order.
With his last order, my opponent went for an intuitive attack against my Daofei. I dodged and won the face to face, ending the turn looking at each other.

The right side of the table was pretty open at this point, and Wallace was relatively exposed. I decided to make a move with my Daofei spitfire. I started by running for the middle. His Warcor took a discover, so I responded by revealing to take free shots, killing her.
The Daofei kept pushing for the middle, seeing the Varangians across the map in the process. I ended up killing both of them over the course of a few orders.
I was finally able to line up shots on Wallace with only a few orders left. I considering toing back into camo for a surprise attack, but opted for efficiency instead. This did not pay off, as Wallace successfully landed a smoke grenade against my first shot.
I moved my Guilang along the trash can to line up a shot on the Ranger. He decided to accept the trade and both models went down.
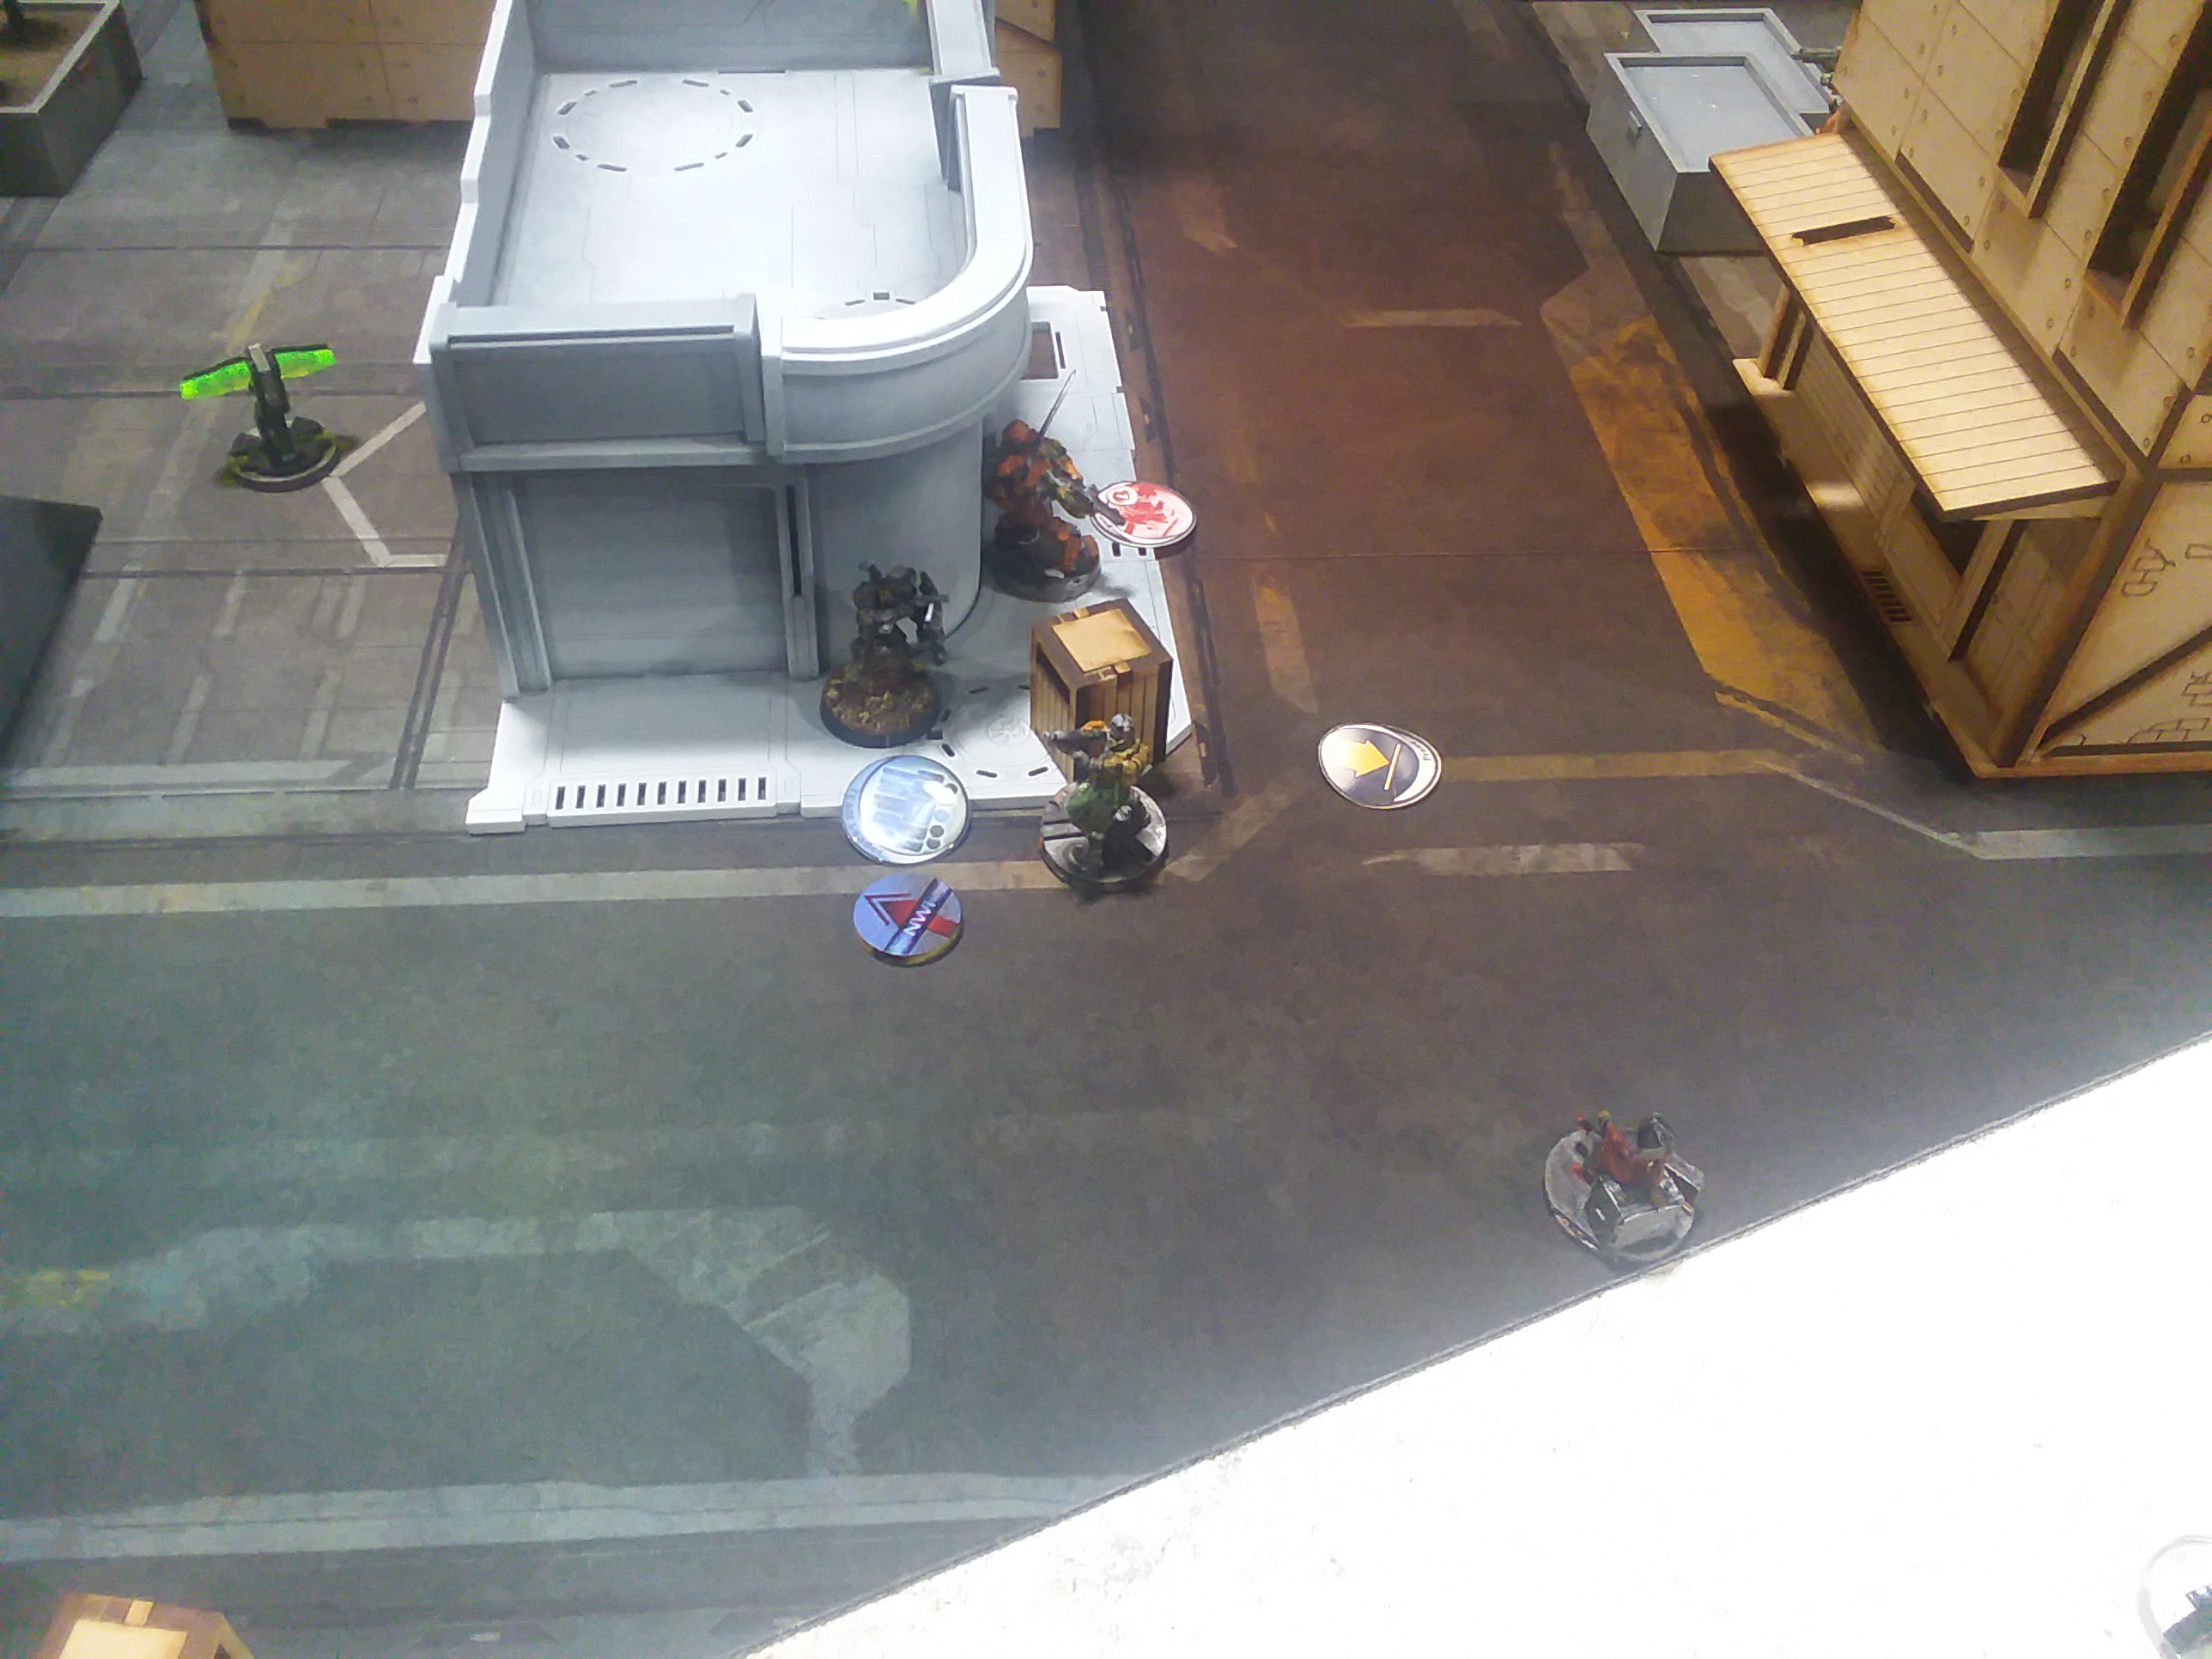
With only 2 orders left, I felt that preserving my lieutenant was more important than trying to make something happen with it. I pulled back into a doorway and went back into camo.
Duroc ran toward my Daofei hacker, who dodged the chain rifles to move further from him and Margot. My Hundun got another shot and was able to bring down Duroc.
With Duroc down, Margot took over going after my Daofei. At bad range and cover, I was easily able to dodge out of LoF. He spent a few orders going for speculative attacks with Margo's grenade launcher, eventually bringing down my Daofei on the second crit.
My opponent spent the rest of his turn setting up the other two E/M mines and suppression fire covering the AC/2. He was also able to score net-undermine with Margot.
With how much defense my opponent had set up, I spent my lieutenant order to run up to his AC2, triggering everything. The Daofei failed to hit the AC2 and died to Wallace's suppression.
I was hoping to use my other Daofei as my backup plan, but Margot kept that from happening. Instead, I had to fall back on the Guilang who had pulled an EXP weapon. I did some coordinating to put another Guilang within range to secure his HVT and walked up the AC2. I again lost the roll, and was gunned down in the process.
Battle Report Author


Army Lists Used In This Battle
Recommend Commander For Commendation
Share this battle with friends
DukeWins

Really well detailed report, very easy to follow along and feel like I was there. Thank you for putting it together!
Nice report
Excellent report, even if a loss. Please, keep up the good work for the State Empire!
That was a really fun game! I think that if it hadn’t been for the E/M mine making it’s armor roll and then locking down the Beasthunter things would have been very different. The crit with the Bearpode was also clutch.