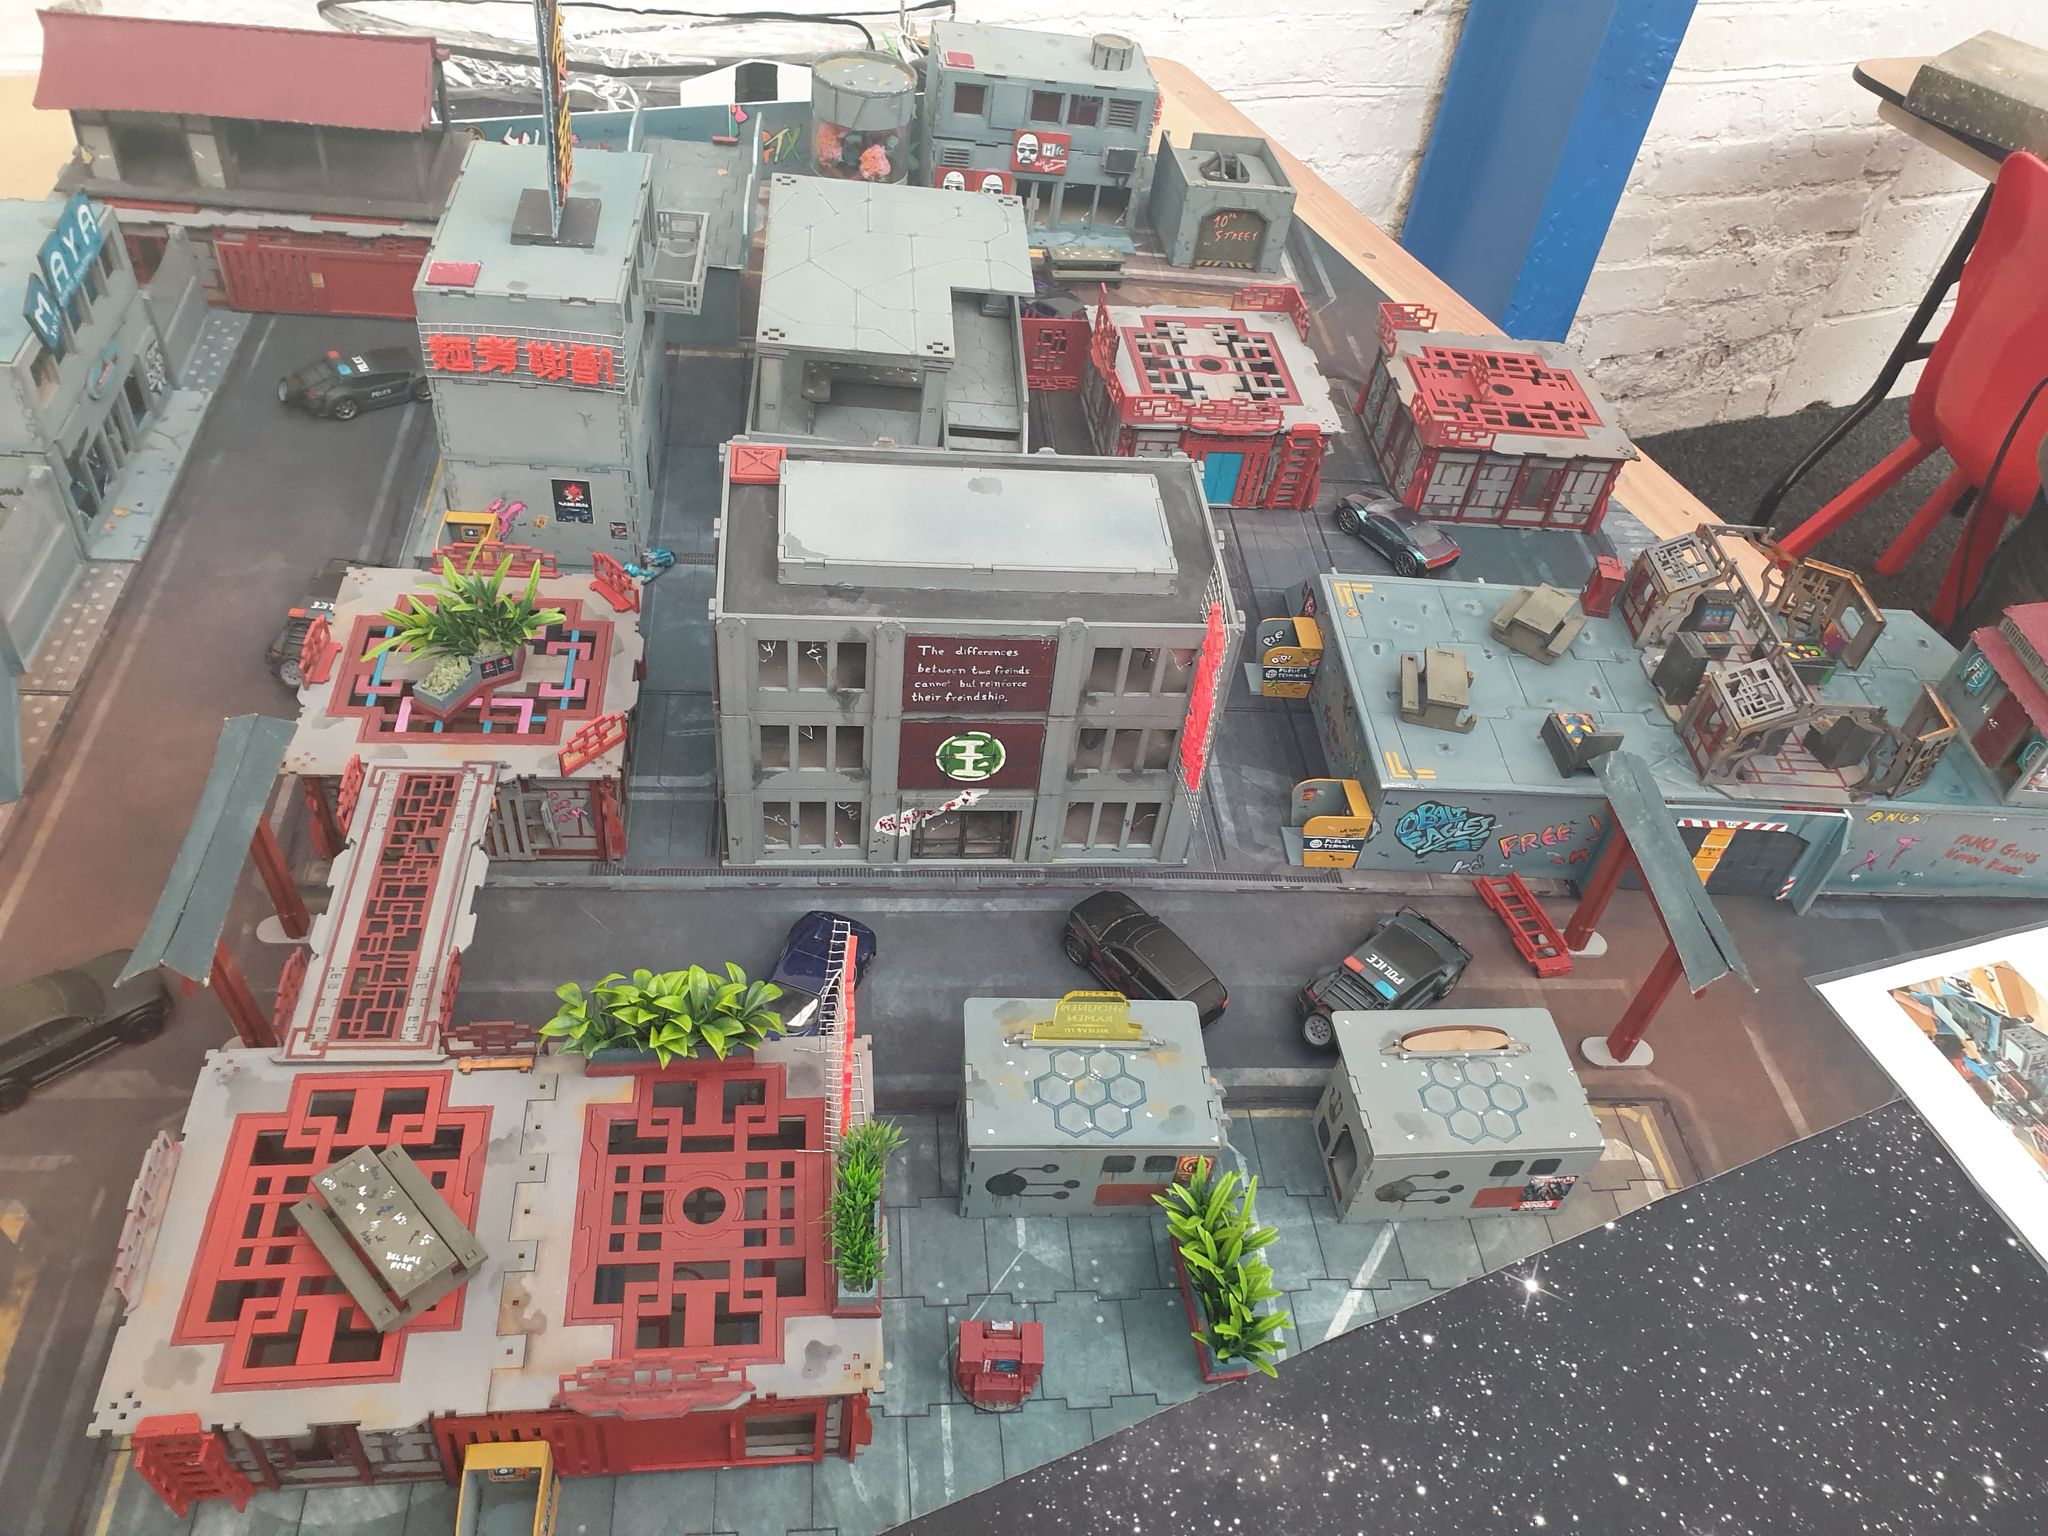
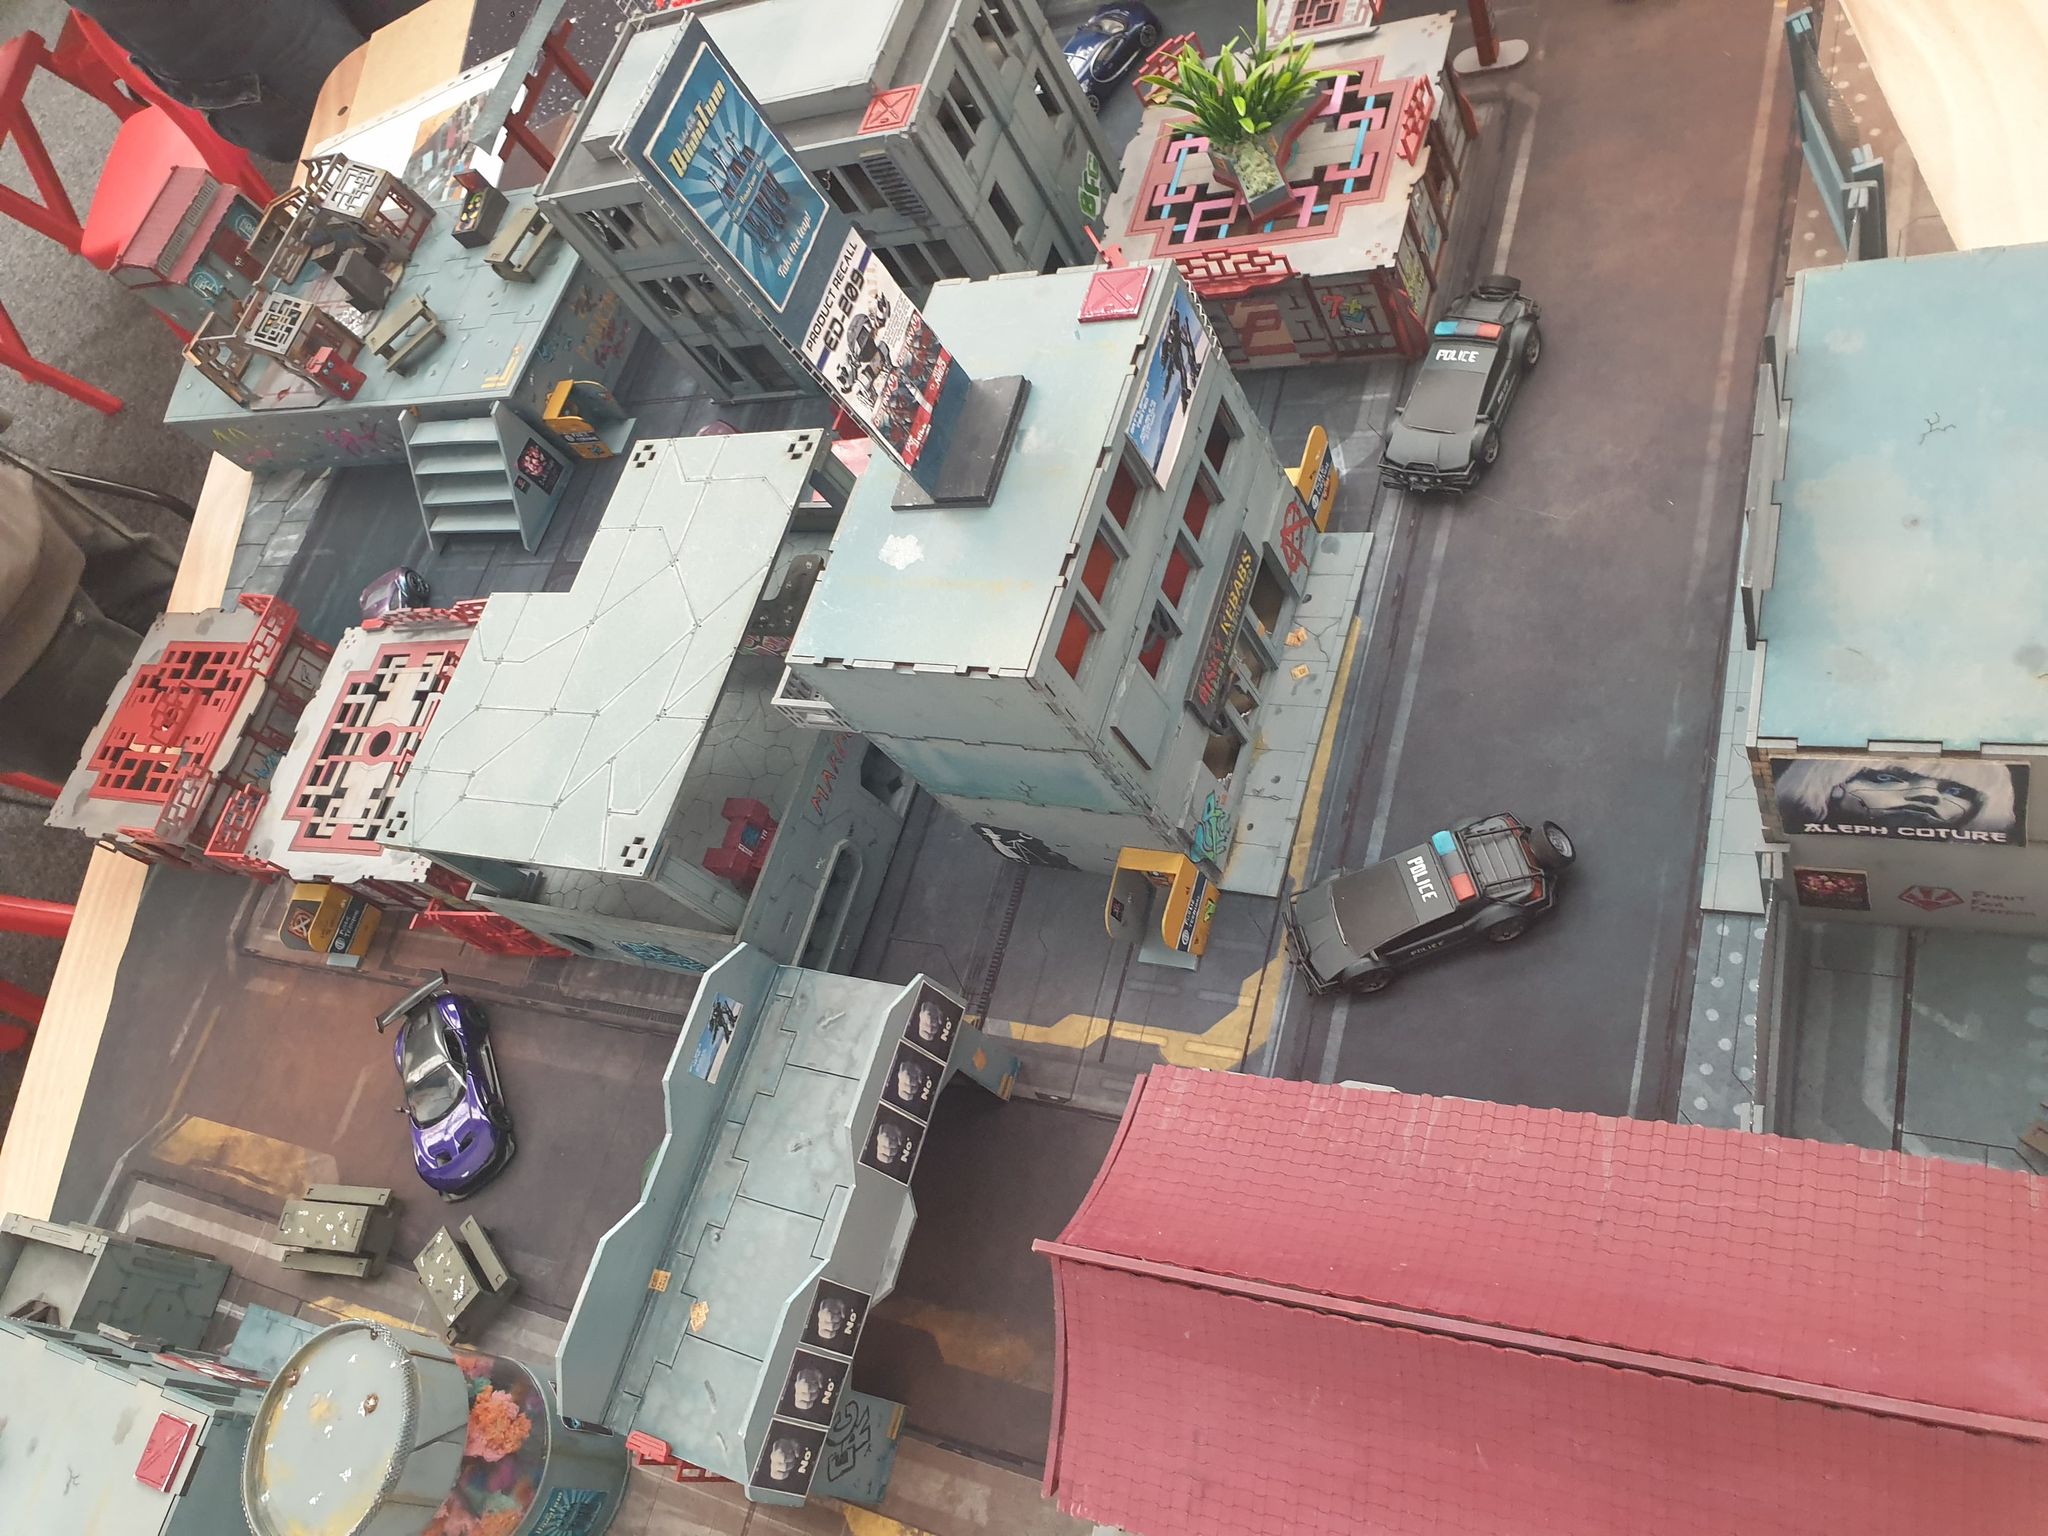
Fought At Xiāndăo Neosteelworks: Main Furnace
650 days 2 hours 20 minutes ago
PREGAME:
Hello and welcome. Today we have the forces of Kosmoflot versus the Japanese Successionist Army in the Xiandao Steelworks for a round of Decapitation. As per the special rules for Decapitation on Xiandao, the enemy HVTs would count as hostile combatants.
The only modification we made to this mission was that we included the free Motorised Bounty Hunter from ITS because they’re good fun.
JSA would win the initiative and choose to go first, JSA would also be deploying first as a result.
PROLOGUE:
Xiandao runs off the backs of its mistreated workers. Any outsider looking in can see plainly that the StateEmpire exploits those who they can – and indeed they often get away with it under the guise of legitimate yet almost slavery-esque contracts that bind poor souls to their service. Foremost amongst these, as intelligence suggests, is a Kuge-backed settlement of Japanese wherein the aforementioned Kuge in essence sell their countrymen’s labour to the highest Yu Jingese bidders.
The 15th Okhrannik was formed to break the backs of slavers, smugglers, seditionists, and any other miscreant that would threaten (as the Ariadnan government deemed it) the “freedom and dignity of their fellow man”. Naturally, Leytenant Kseniya Kostyuk was more than willing to deploy. The StateEmpire were nothing but imperialists and slavers in her eyes for what they had done, and continue to do to, Dawn. That they could aid the oppressed Japanese workers against their Kuge masters? All the sweeter.
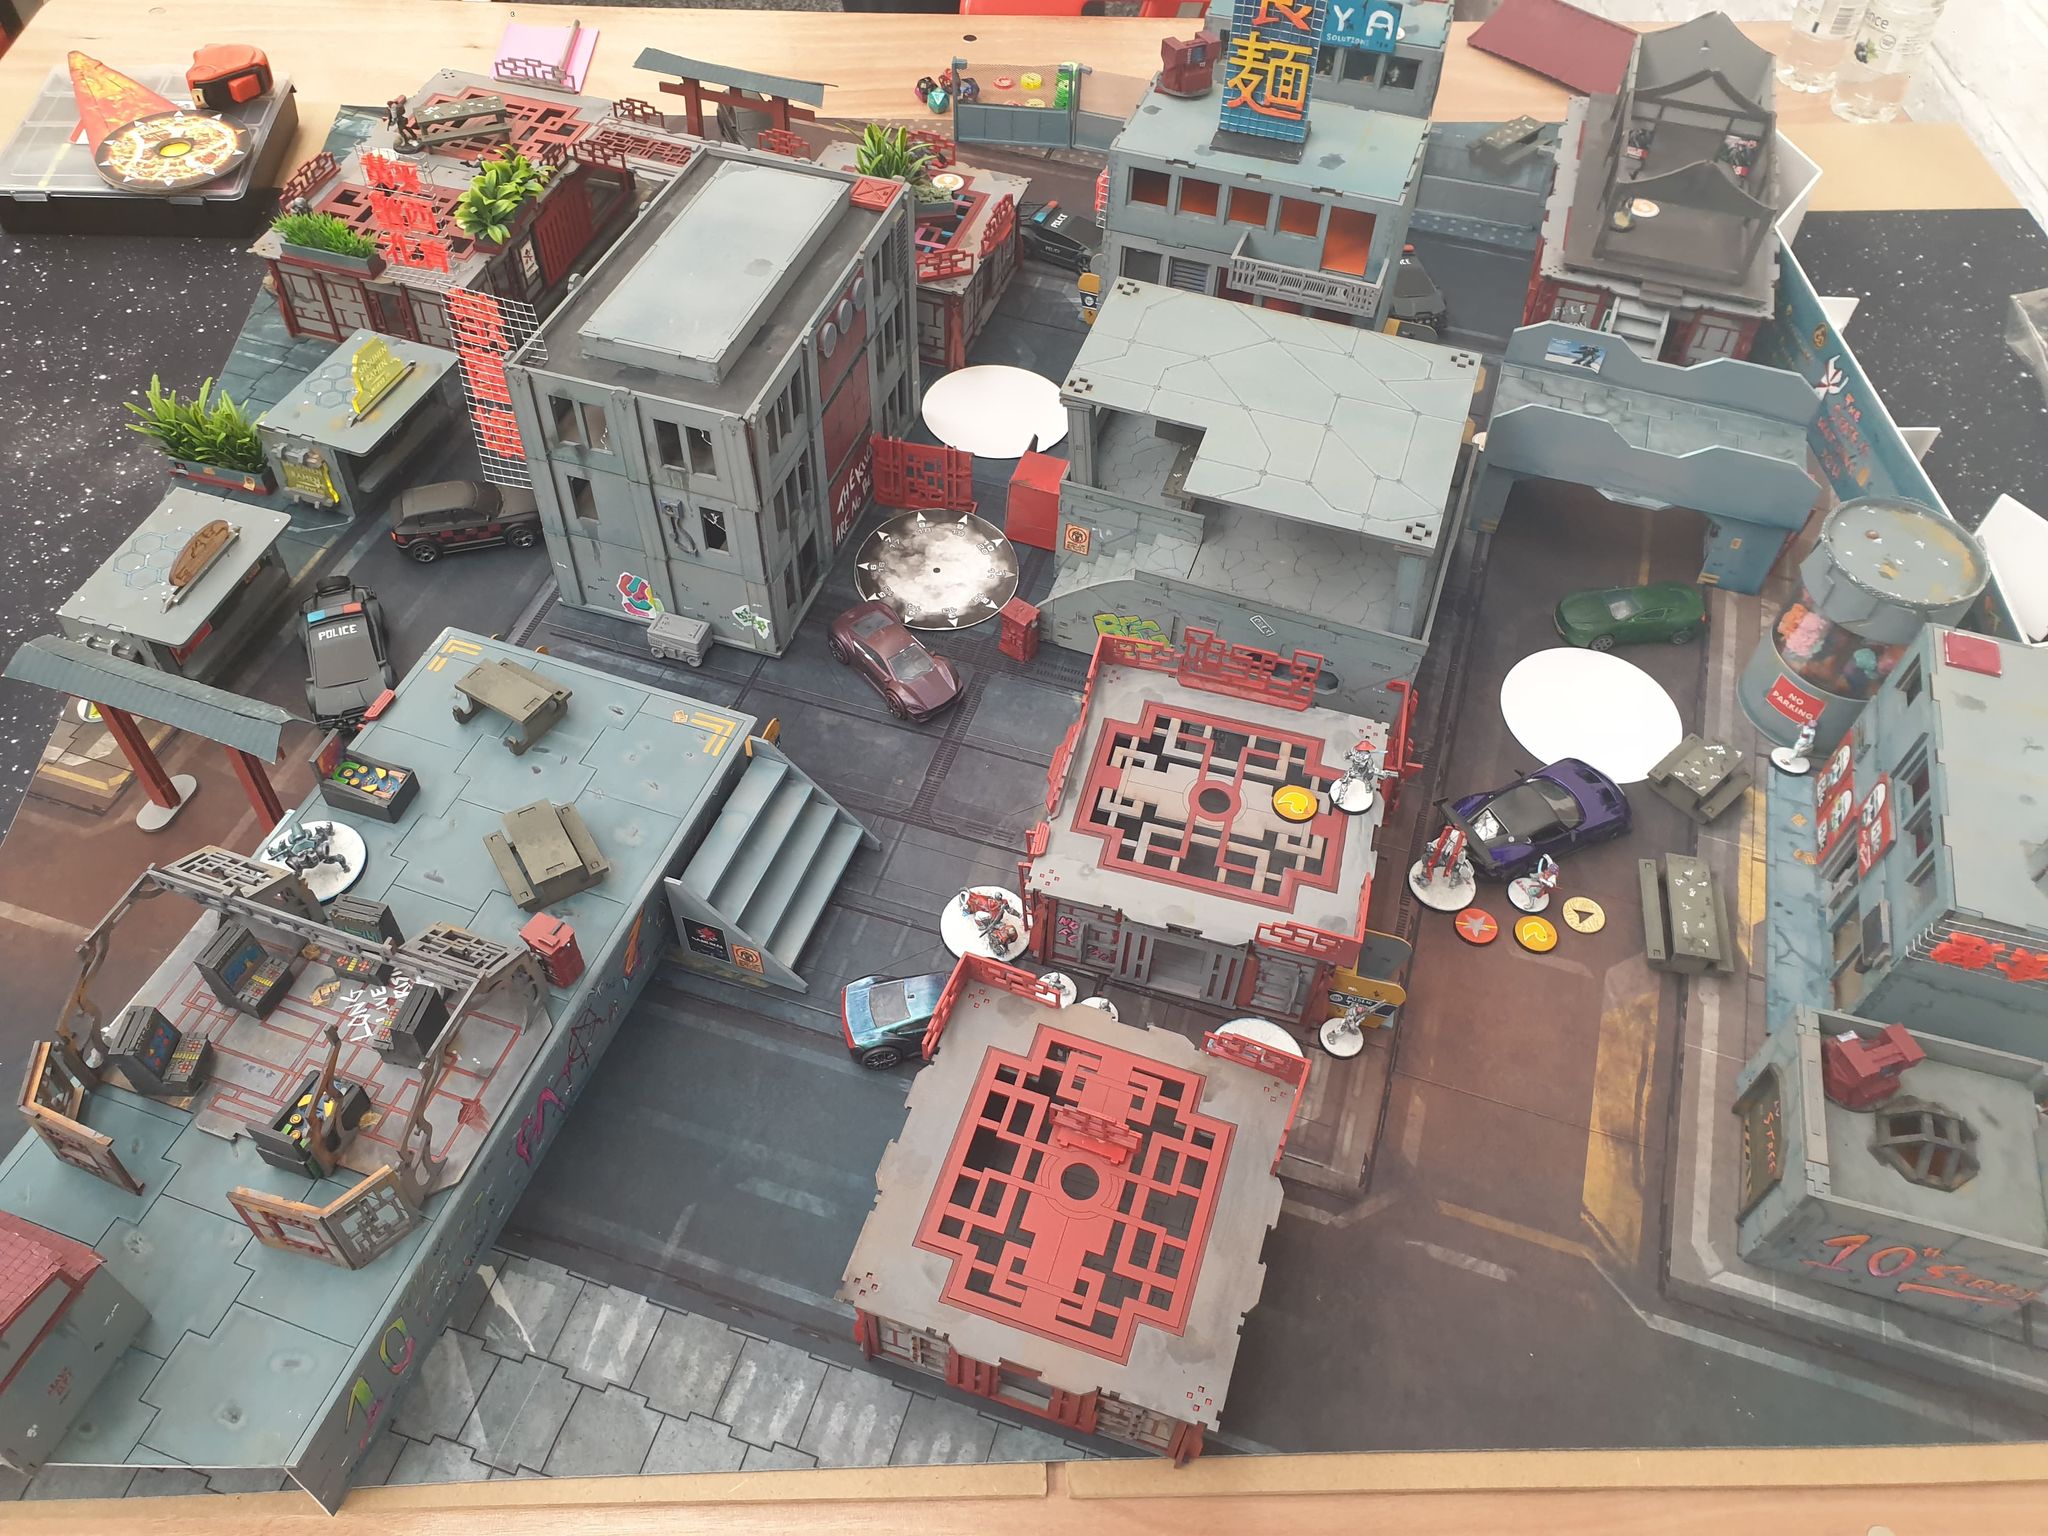
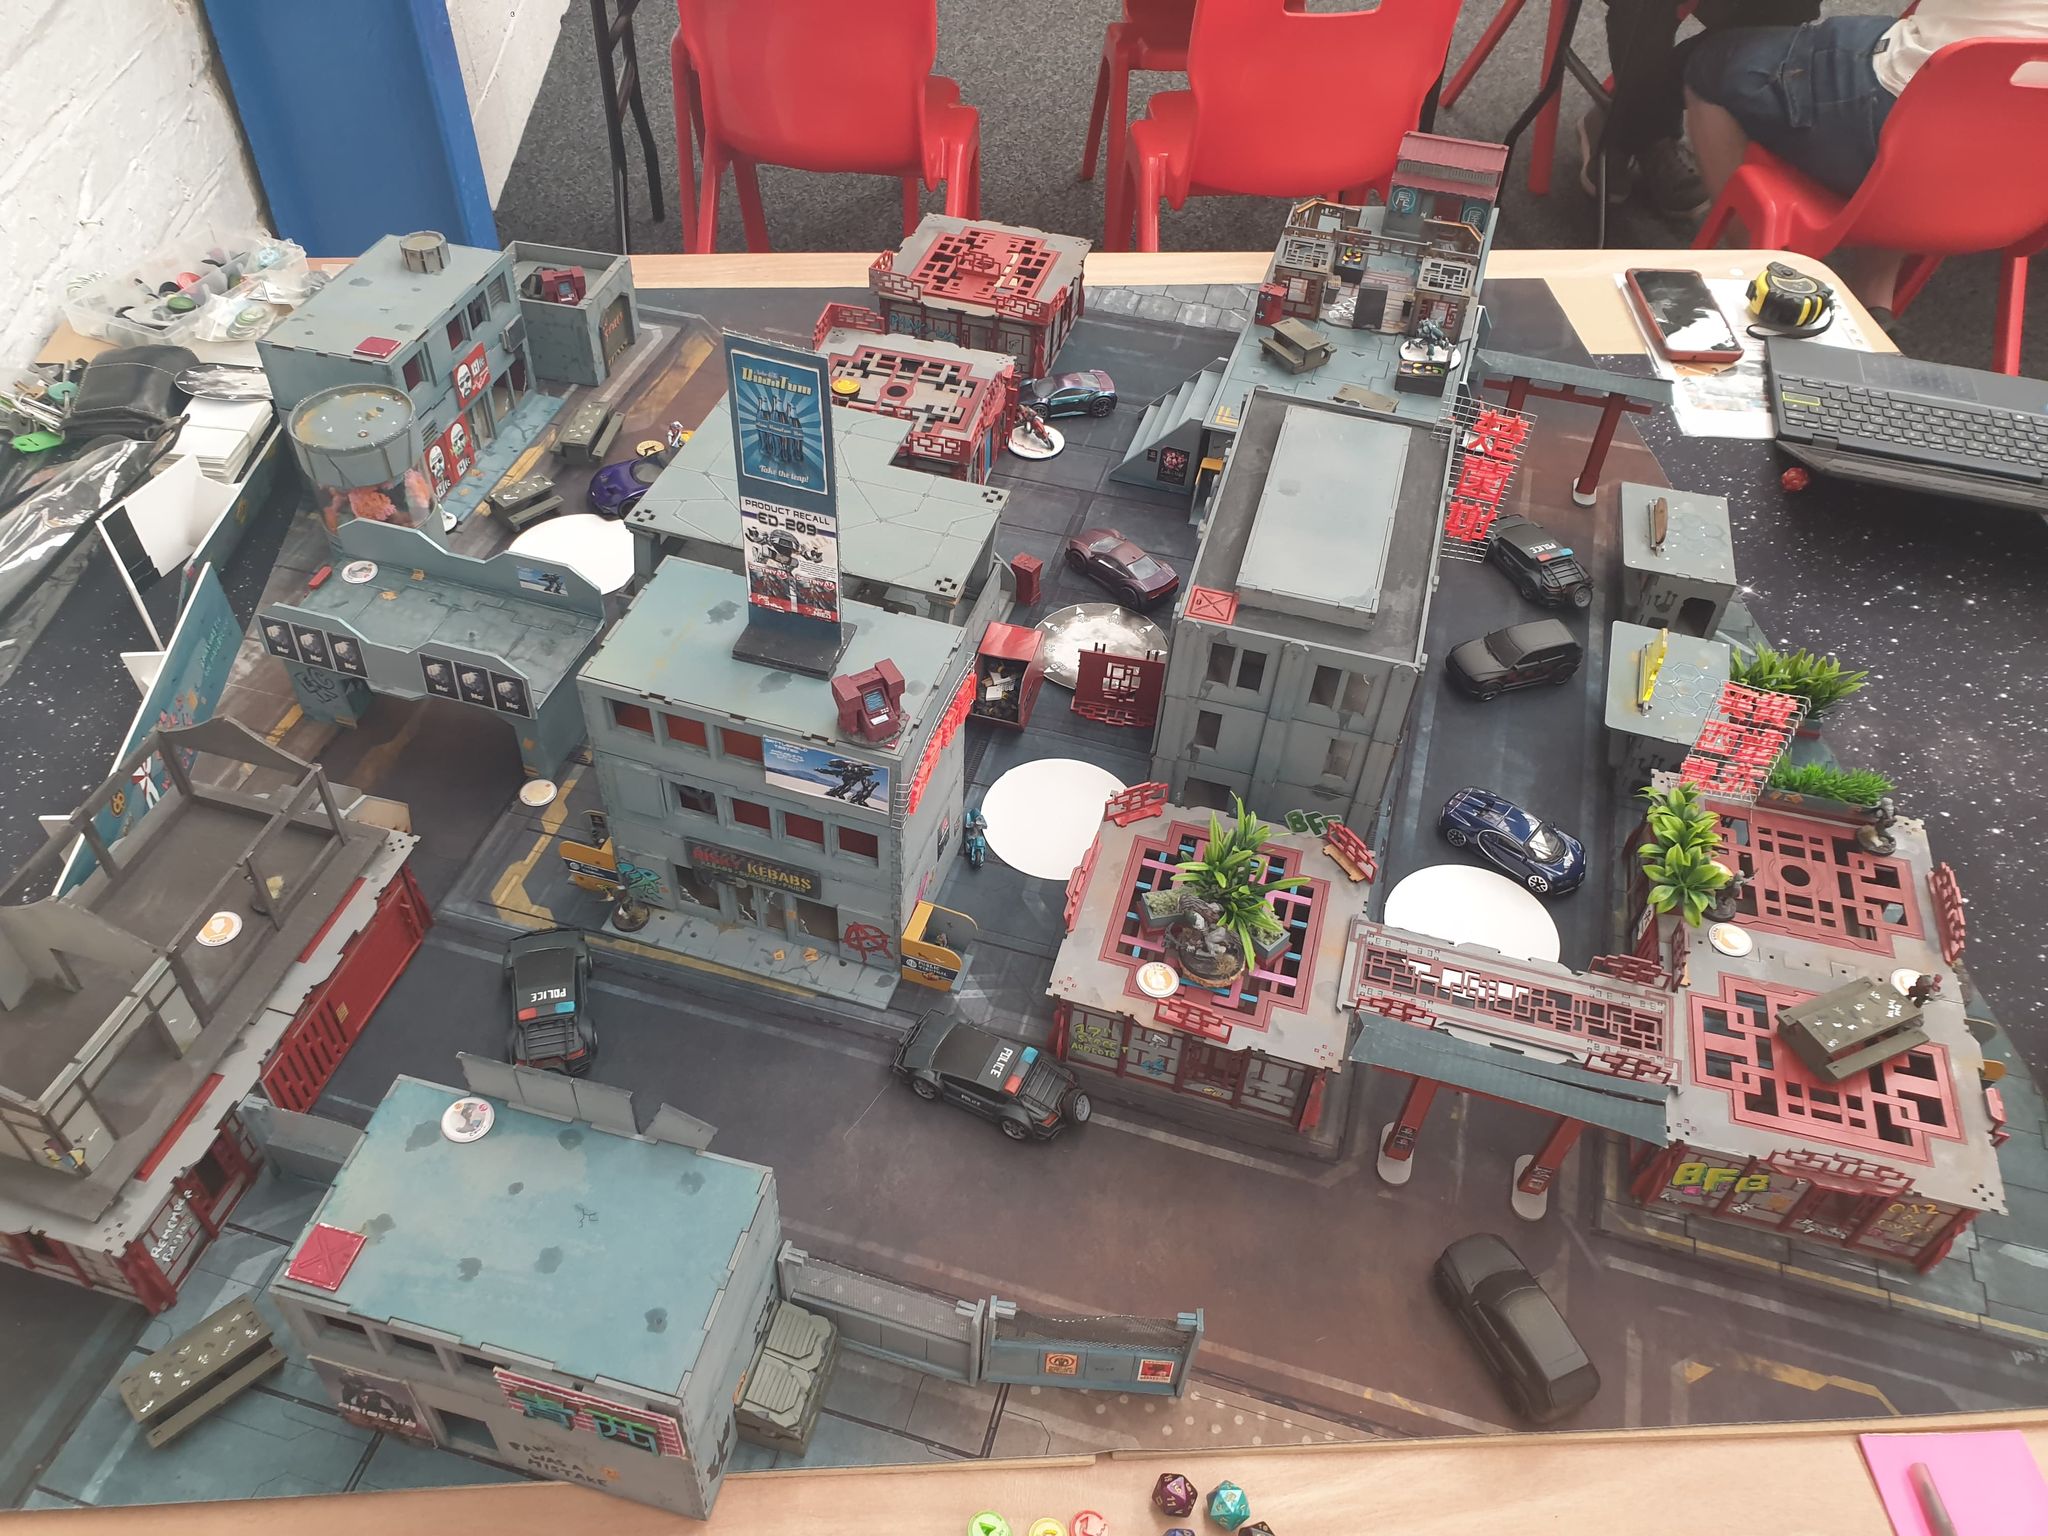
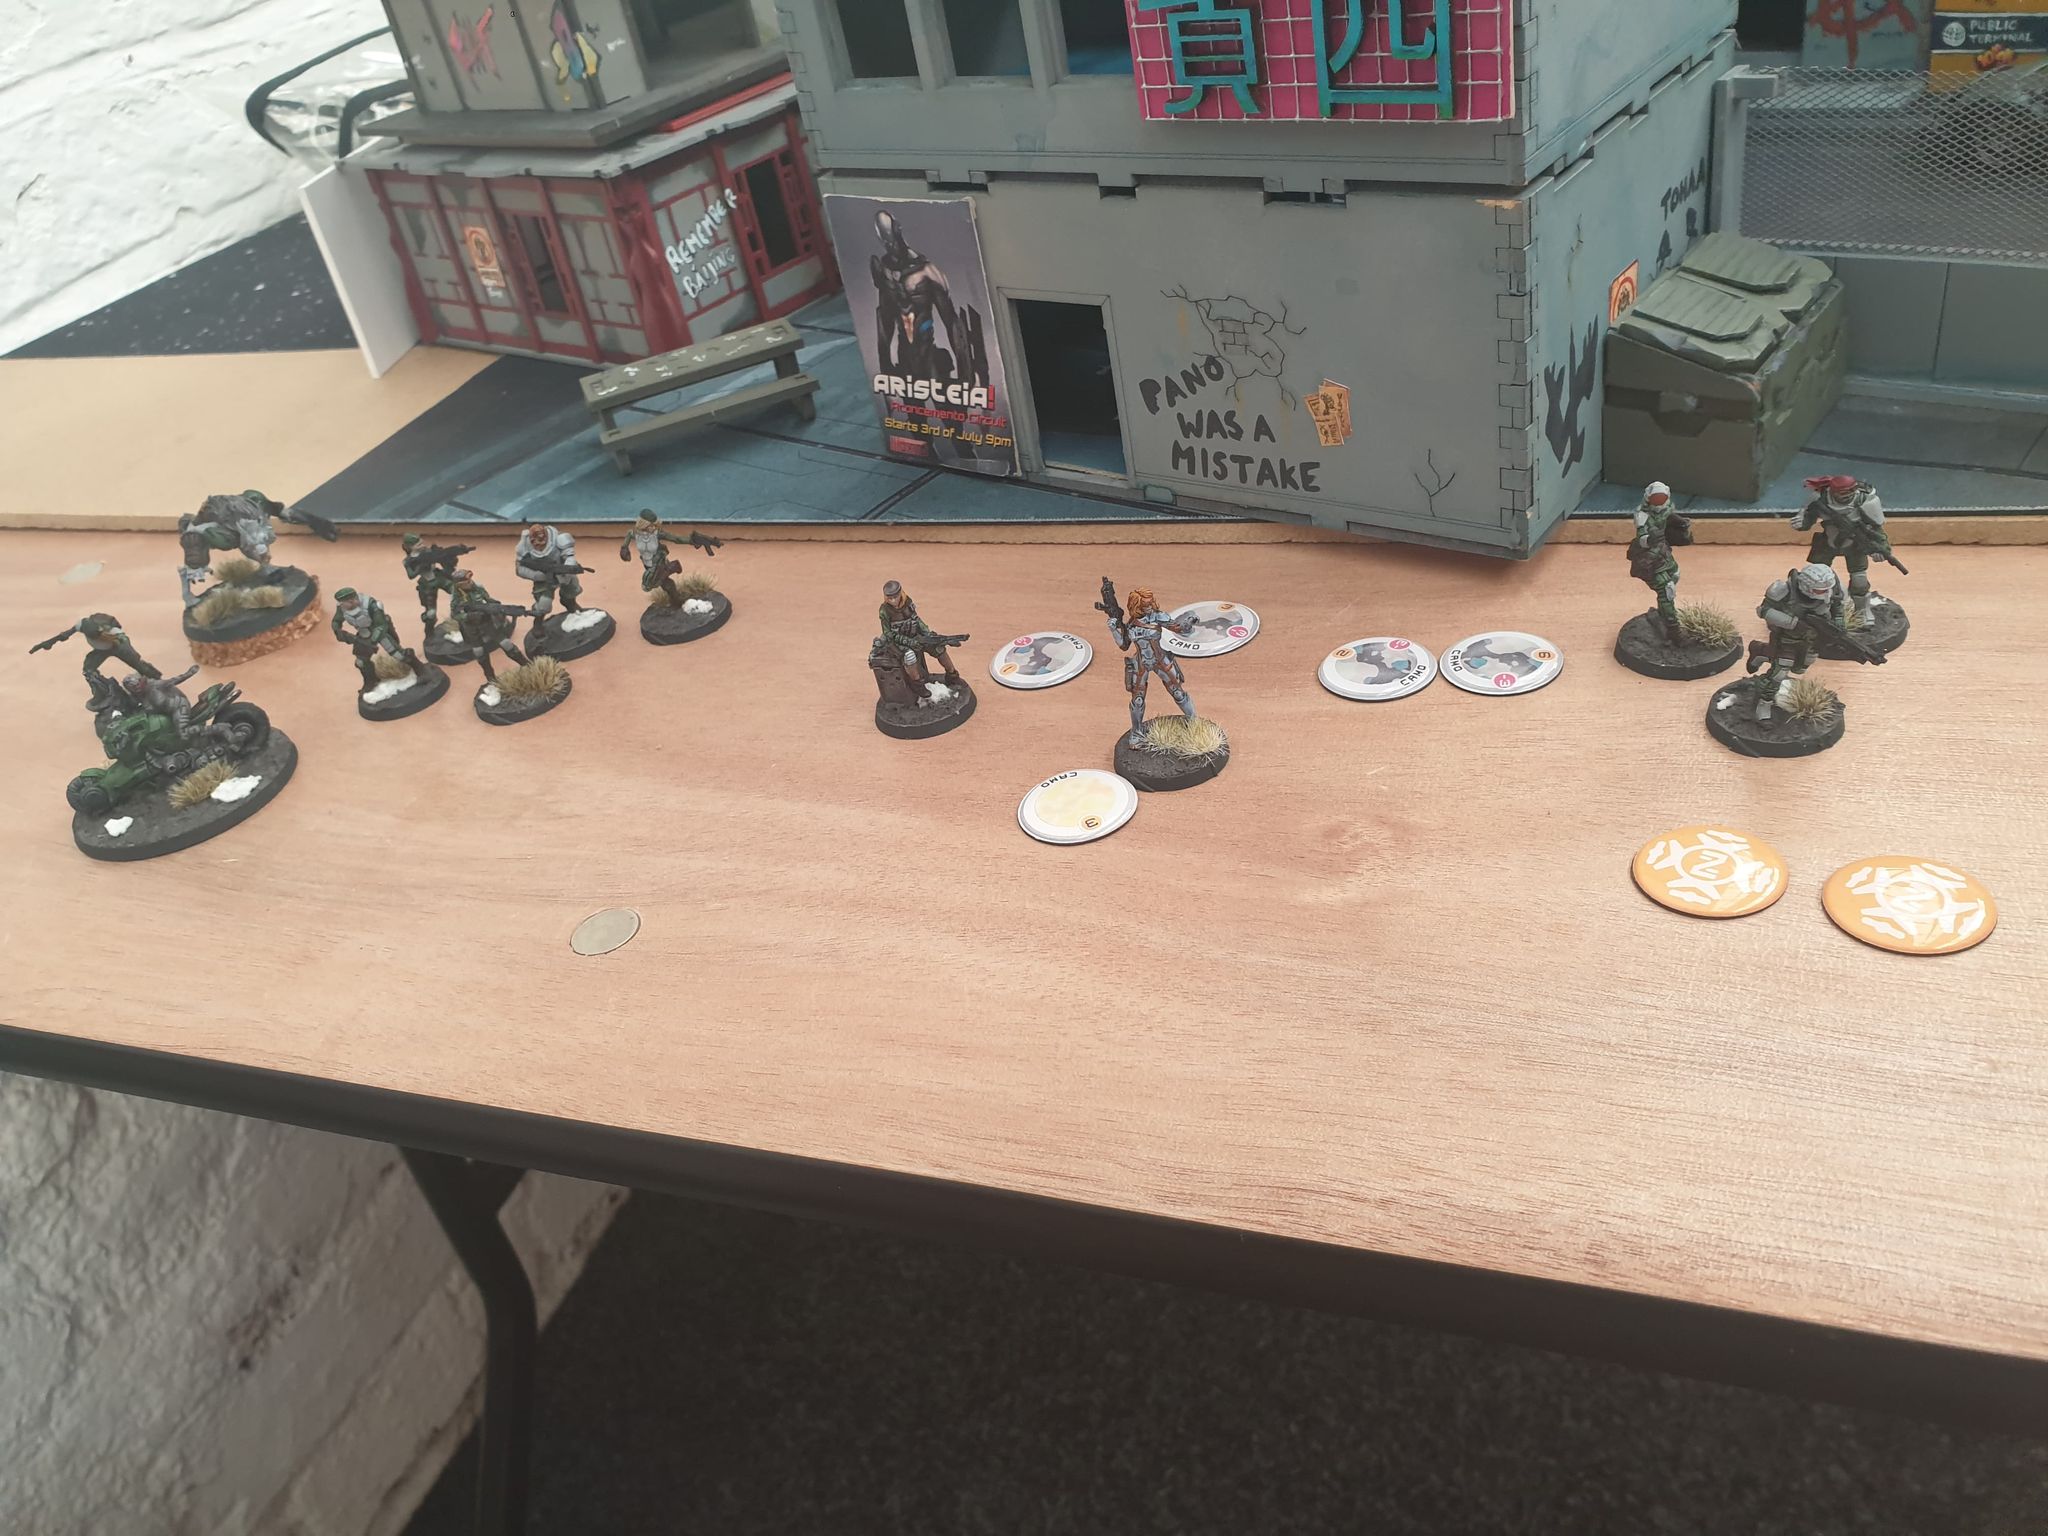
DEPLOYMENT:
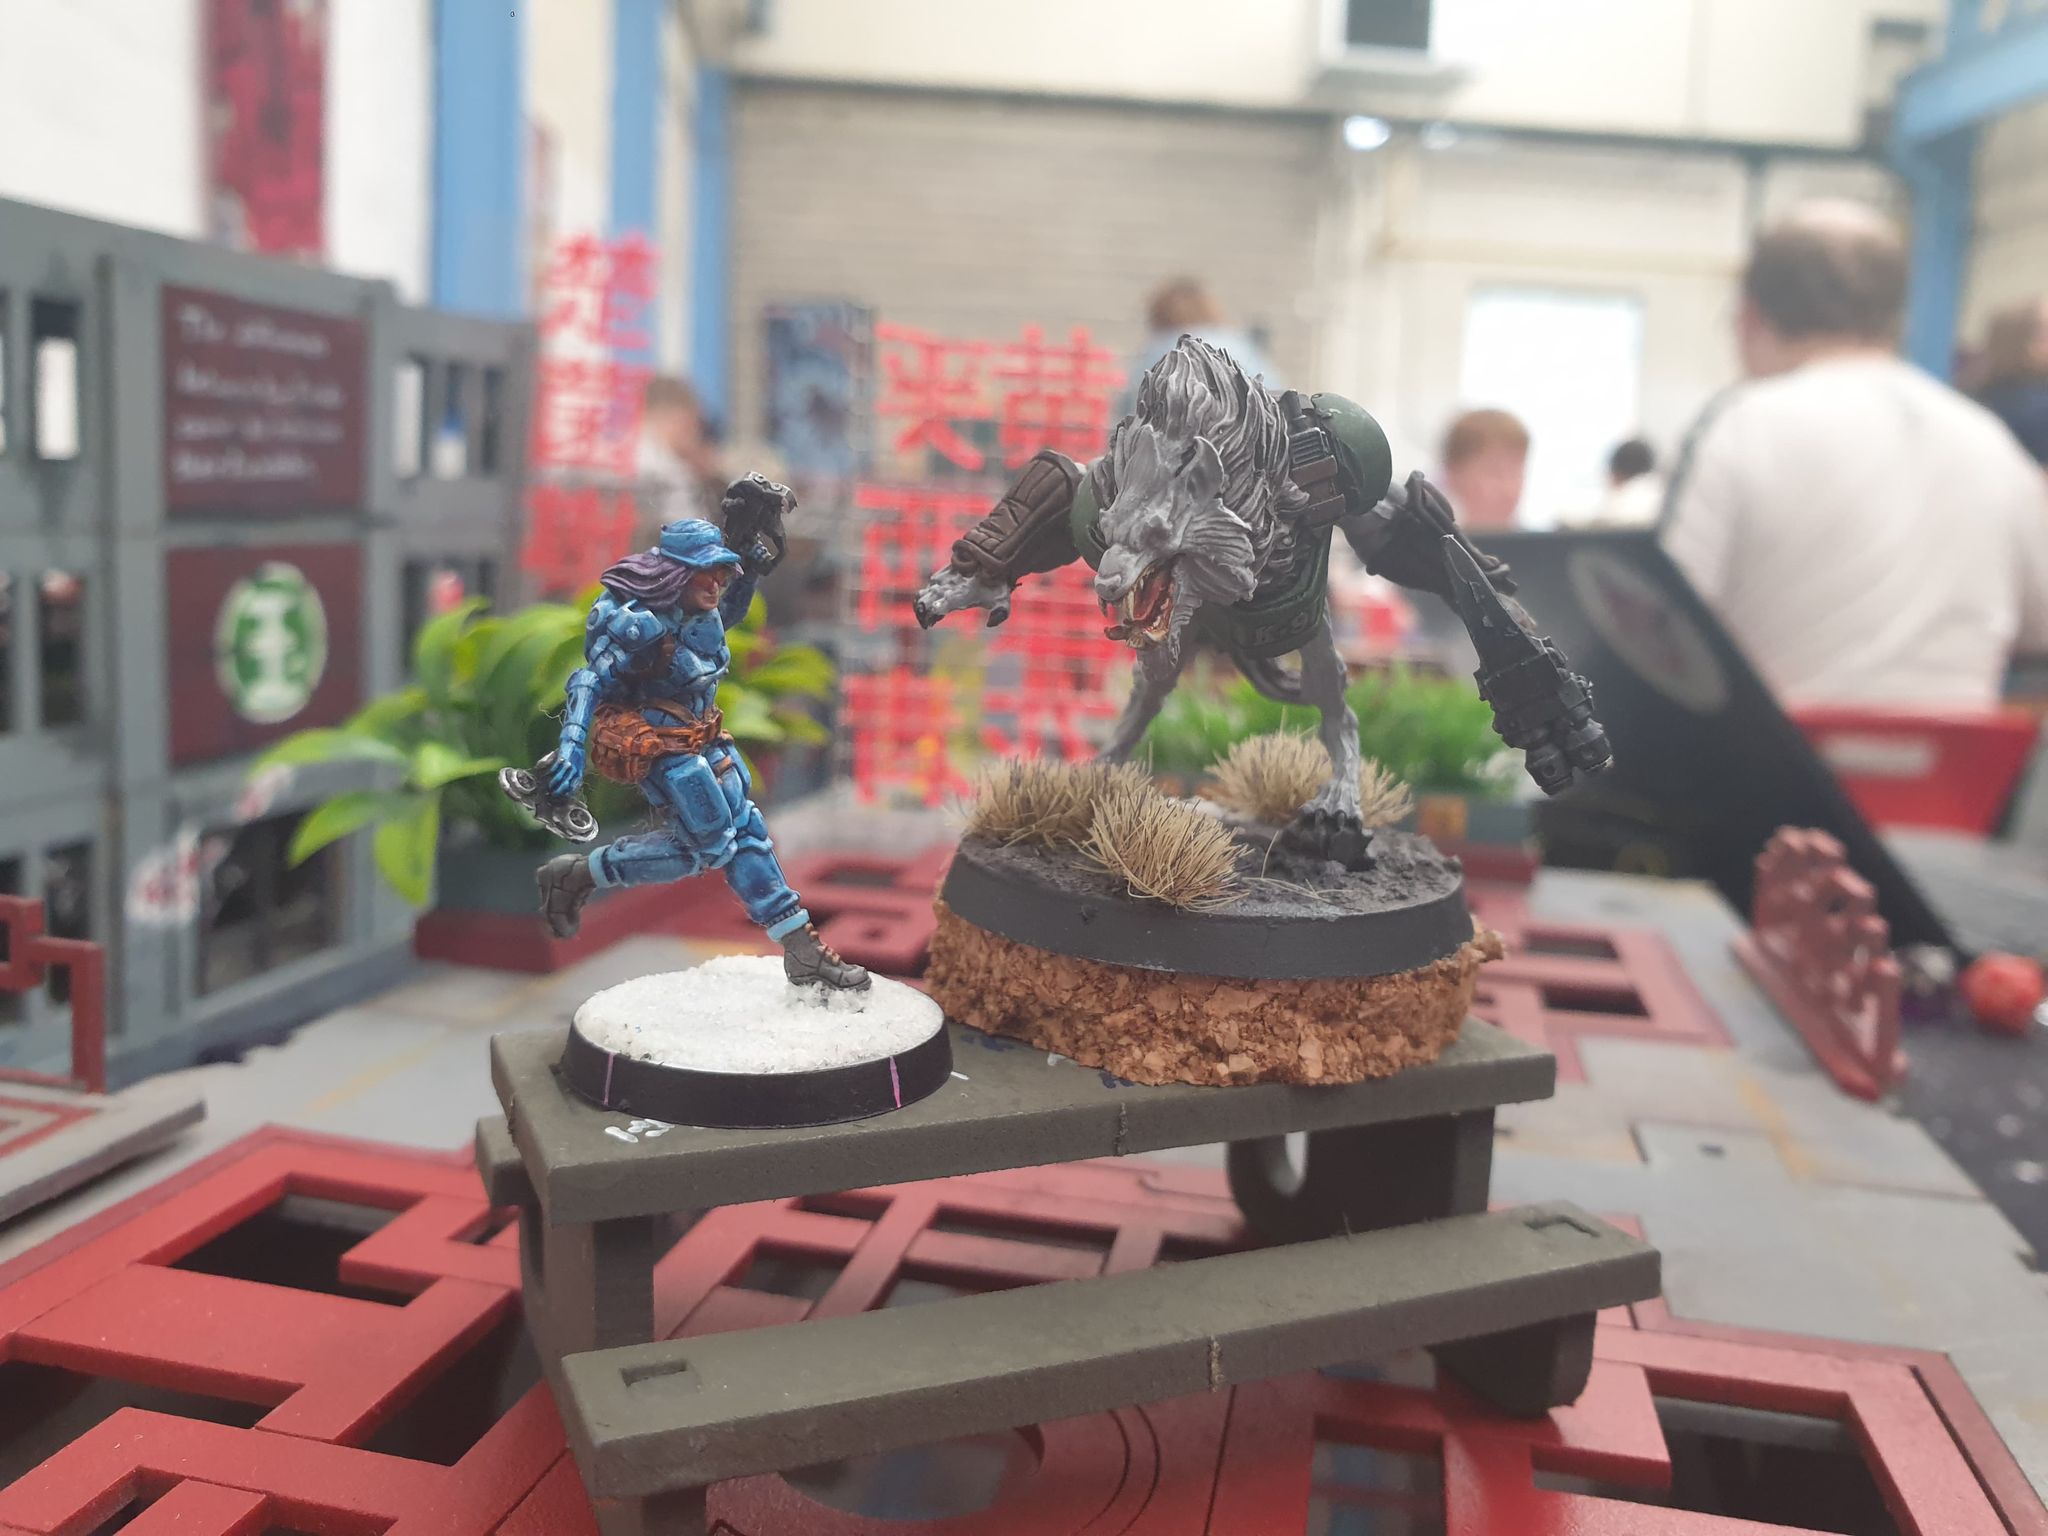
Kosmoflot deployment this time would favour heavier use of camouflage. Taking the left flank would the Handler from a Polaris Bearpode team as well as a Raveneye Officer and hidden SAS Forward Observer. Further along in the centre would see a core team of a Volkolak and four accompanying Rokots. The Bearpode itself would be perched atop a building, waiting for a moment to pounce as bears want to do. Finally, the right flank would see the deployment of a harris-team of the Unknown Ranger, Scots Guard Forward Observer, and Strannik Doctor. A Motorised Bounty Hunter also joins the right flank.
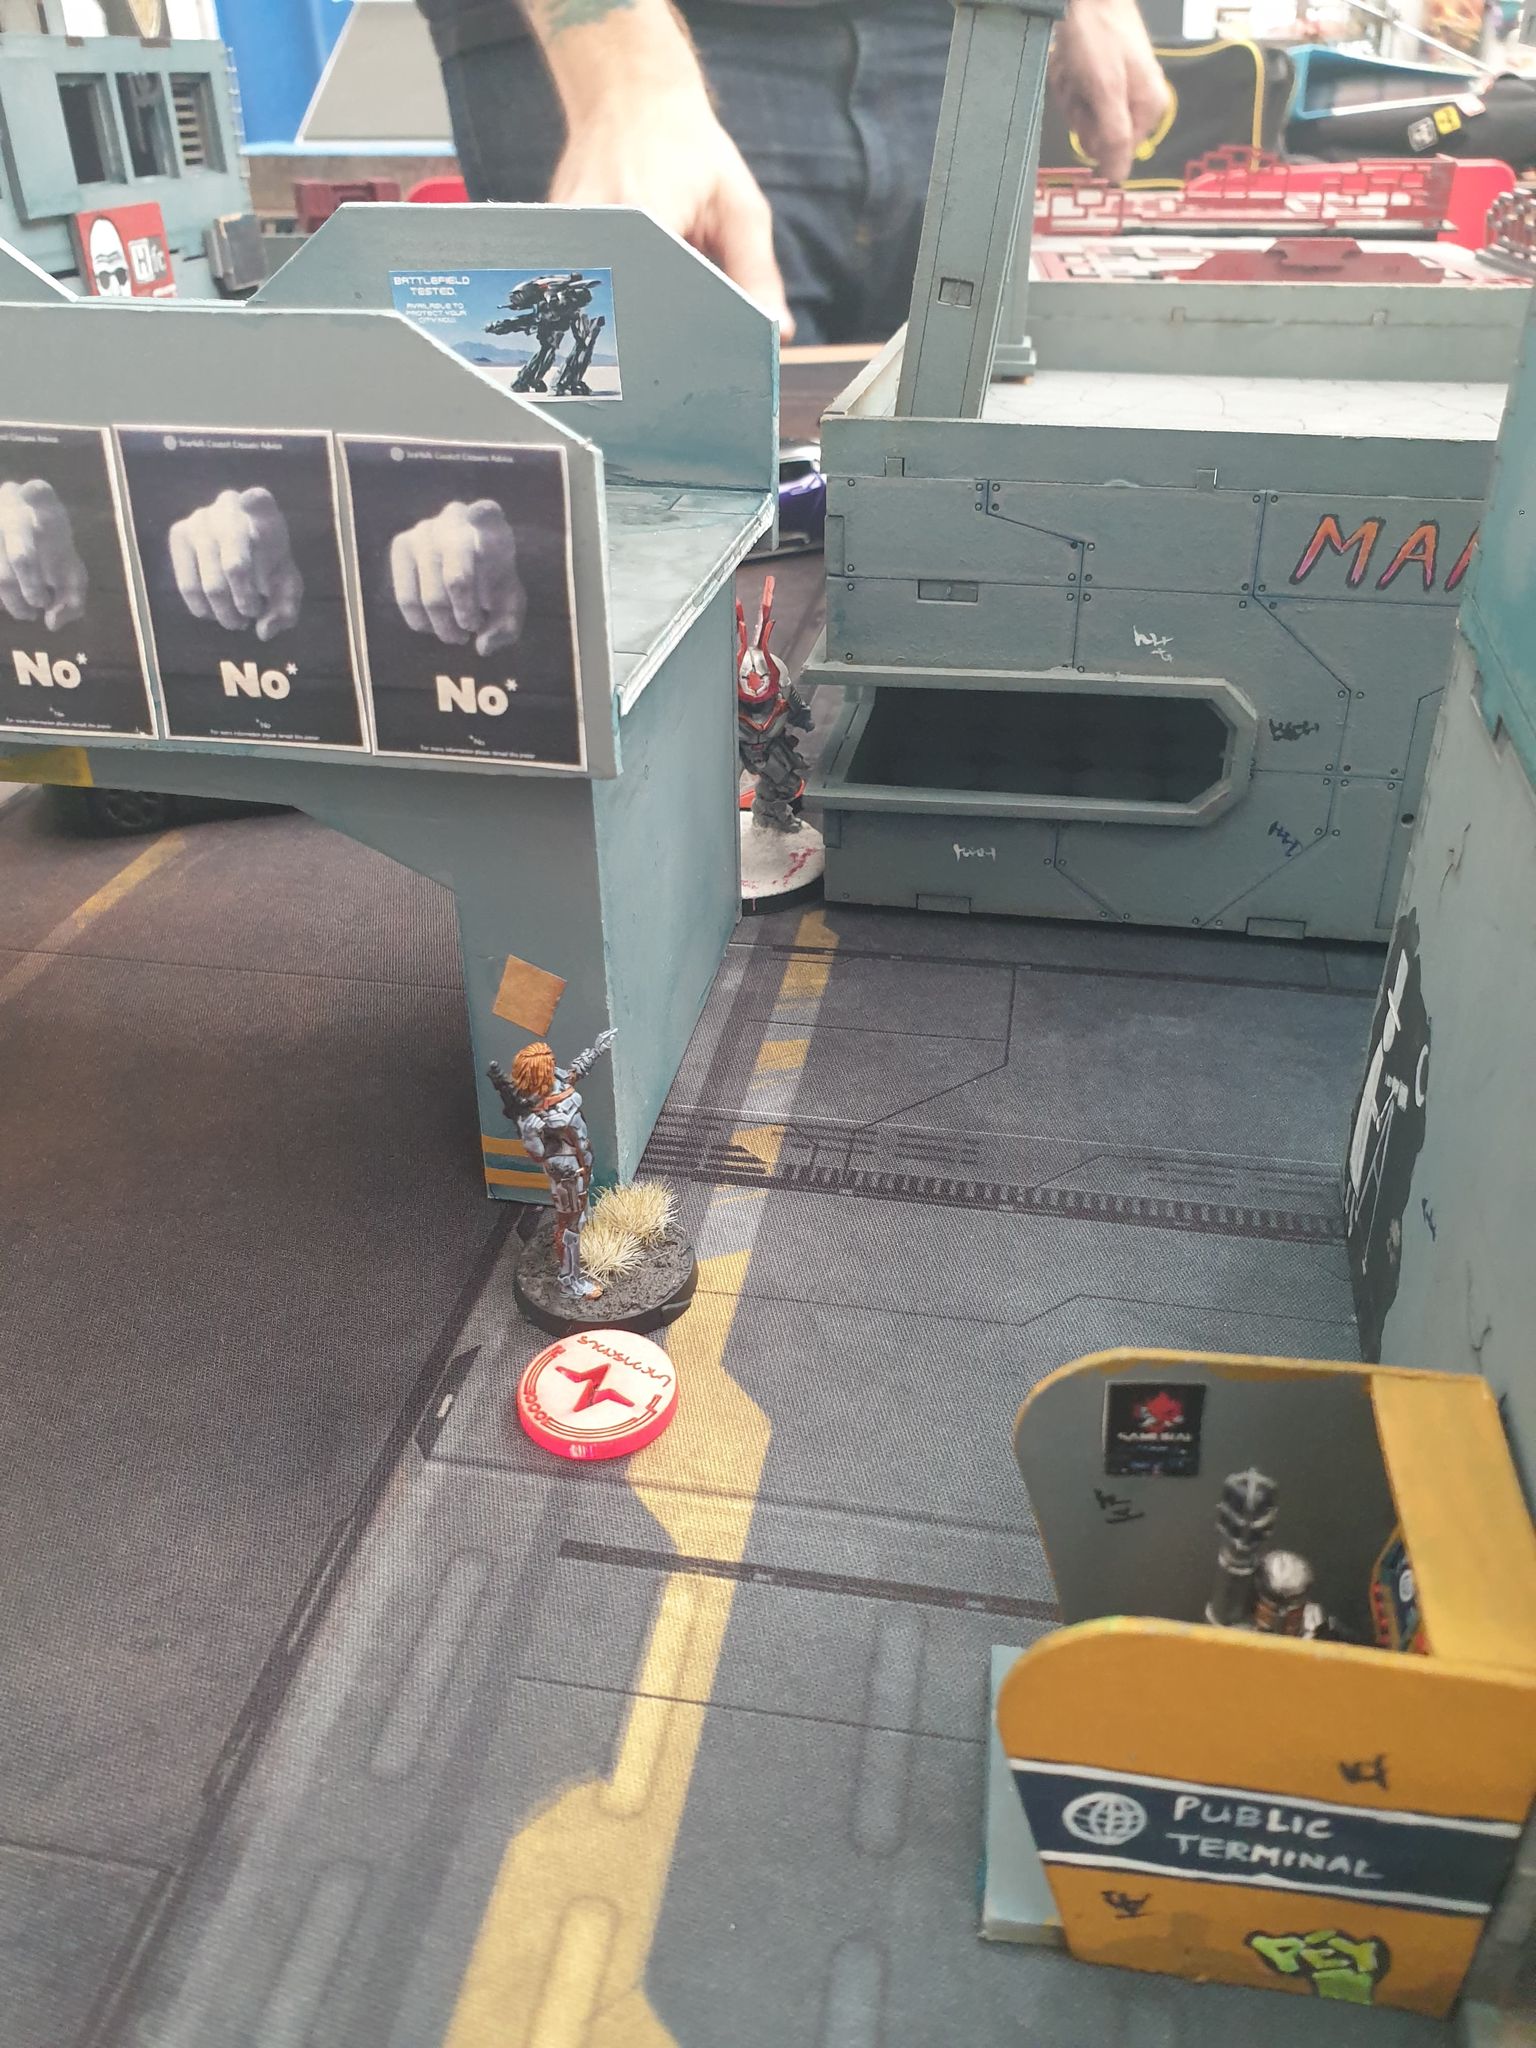
Uxia McNeil would use her infiltrating talents to deploy much further along the right flank of the table, overlooking an enemy HVT.
The Japanese deployment saw the deployment of a harris-team consisting of Neko Oyama, a Daiyokai with Red Fury, and a Combi Rifle wielding Shikami on the left flank along with a Motorised Bounty Hunter. Accompanying them were a pair of Keisotsu – one armed with a missile launcher and the other with a heavy machine gun. Yojimbo would take the centre, whilst a Rui Shi and an Aragoto armed with a spitfire would take the right flank.
Shinobu Kitsune would deploy infiltrated and hidden also, so too would an Oniwaban.
BLUNTED ADVANCE [JSA Turn 1]
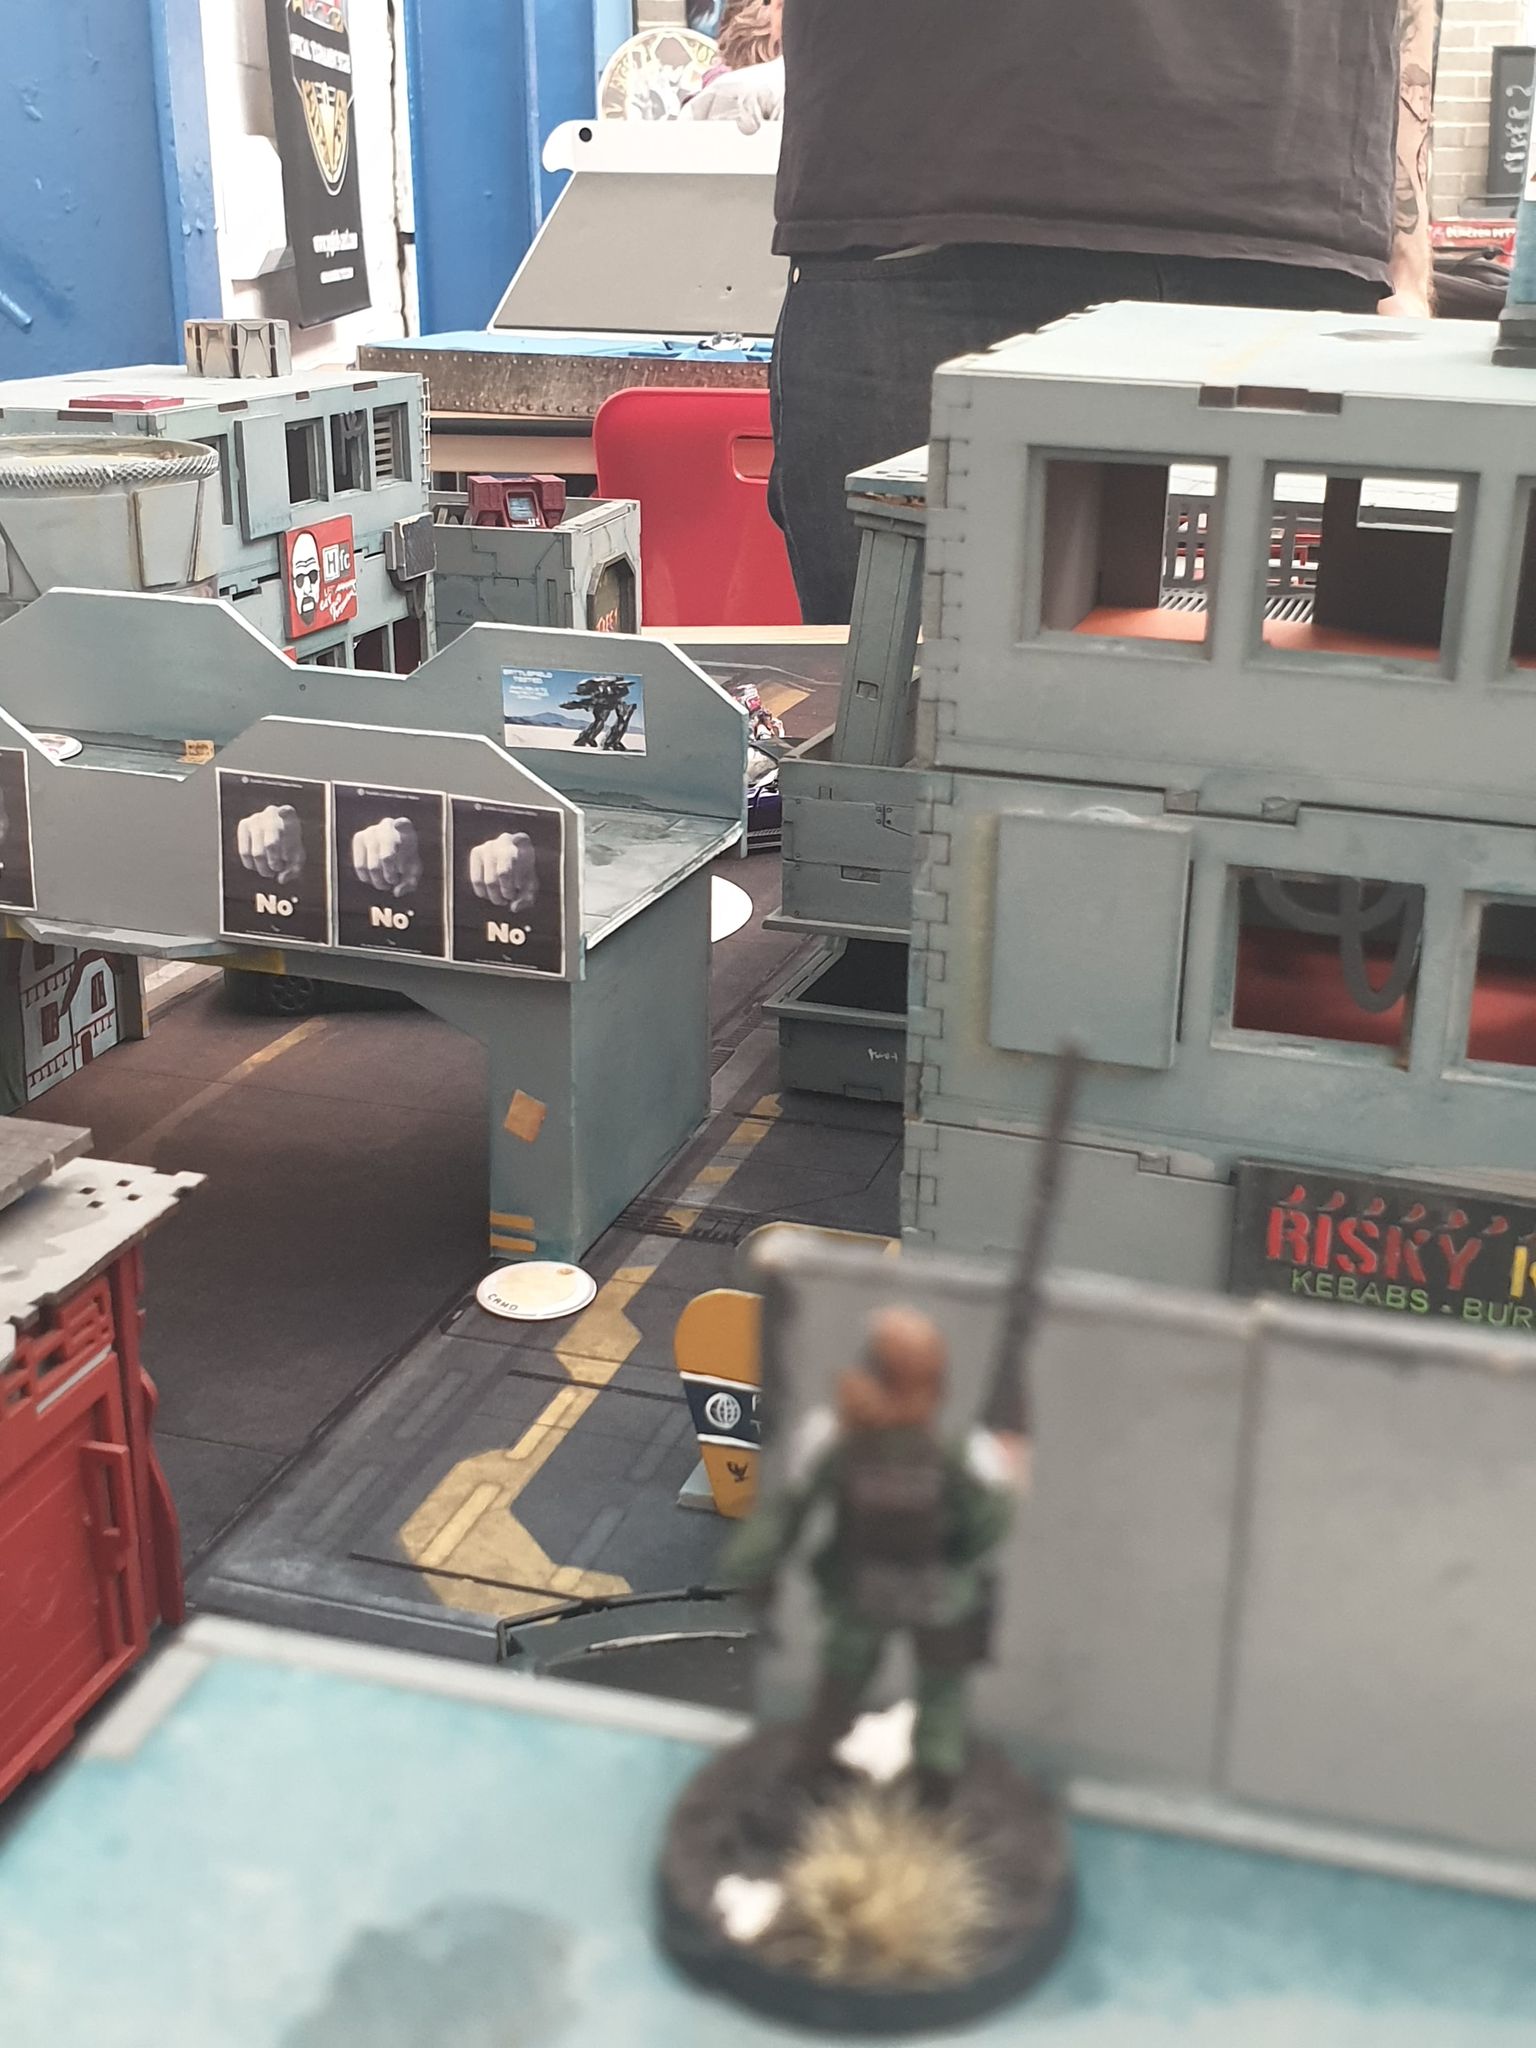
The Ariadnan deployment proved to be a formidable foe during the first Japanese turn. Yojimbo would gun his engines and screech forwards, narrowly coming into view of the optical sensors of an F-13 Defence Turret. Rattling off shots the turret would fail to land a hit whilst Yojimbo seeded the right flank with smoke.
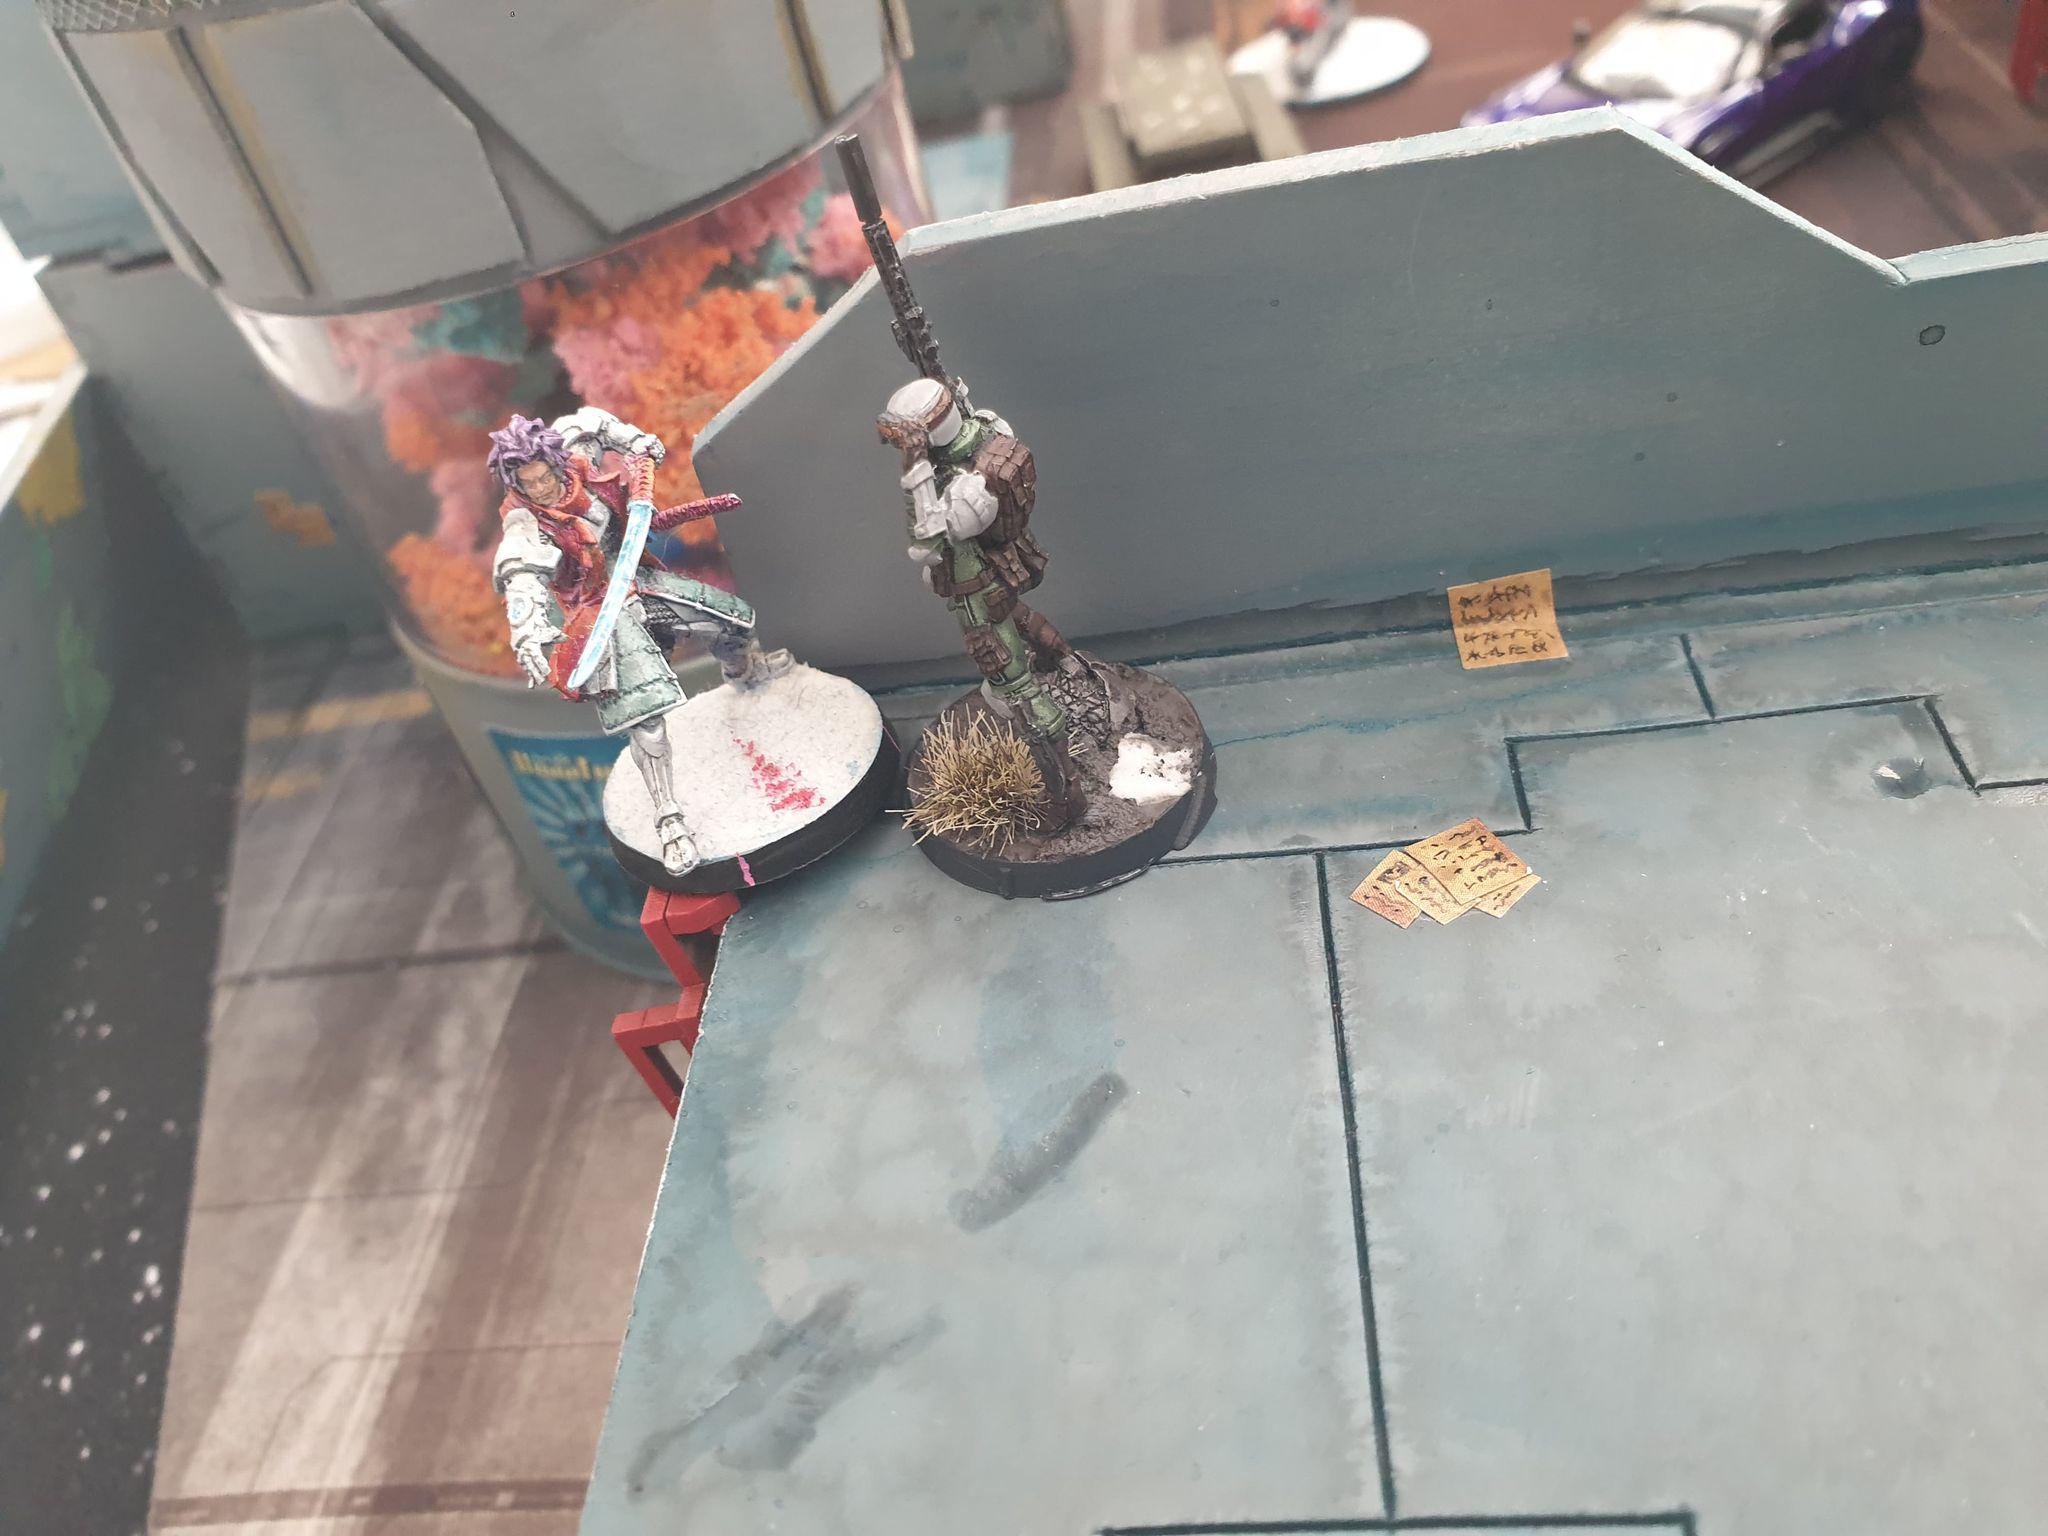
Propelling itself forwards, the Aragoto Spitfire would similarly charge forwards – though this time it came into view of the Unknown Ranger. A brief but bloody firefight ensured, seeing the Ranger unscathed but the Aragoto suffering a pair of wounds that slew the man on the spot.
The JSA’s Motorised Bounty Hunter would move forth from the centre, seeking to cruise along the road of the left flank. It was answered by a reactive Zenit-7 unit, who would break camouflage to land a shot. Even armoured the biker’s defences would prove insufficient, the shock rounds executing her swiftly.
Seeking to aid its more mortal colleges, the right flank Rui Shi would skitter into cover and seek to exploit the smoke launched by Yojimbo for an easy strike against the Unknown Ranger. Whilst it would the Ranger, tesium strike plates would hold firm. In its positioning, the Rui Shi had shown its flank to the emplaced F-13, which would crack off three shots in response. Whilst it failed two shots, the F-13 would land a third and knock out the remote.
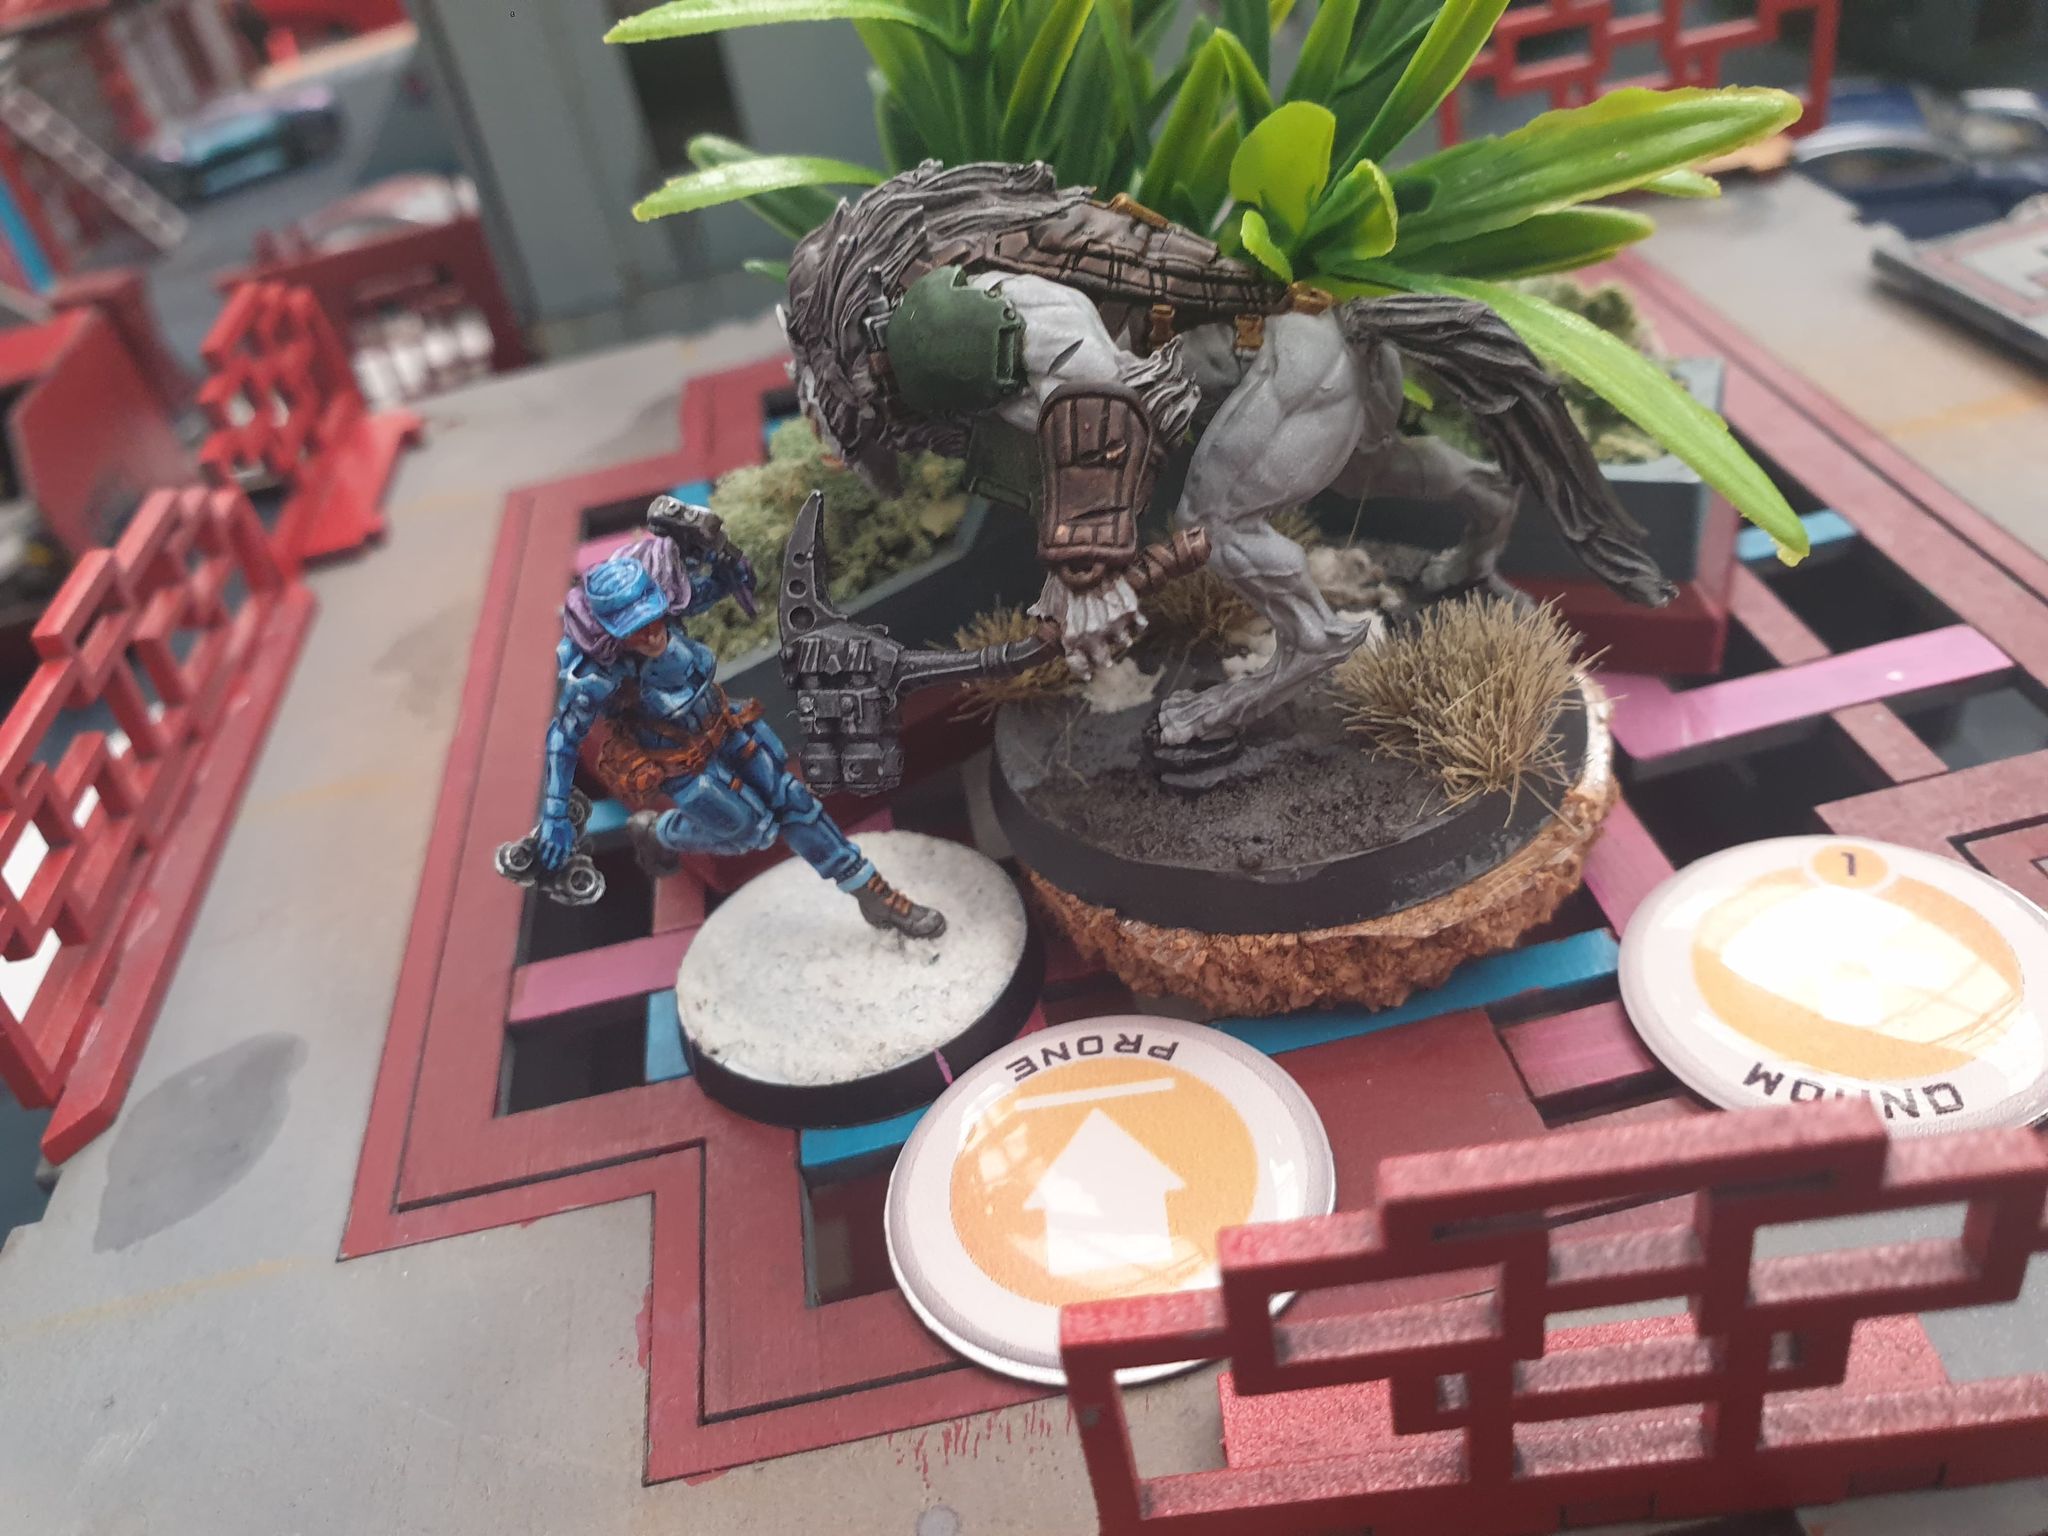
Exploiting her hidden state, Kitsune would remain camouflaged yet approach the perched position of the Bearpode. The bear lair. Clambering atop the structure she would suffer a great many discovery attempts – whilst most failed utterly she would be discovered by a most perceptive Volkolak. Now revealed she would barrel forward into a glorious melee with the bear. The Bearpode was, naturally, rather nonplussed with this and would strike her back whilst bullets whizzed towards Kitsune. Ultimately the Bearpode would falter in combat, though only taking a singular wound. The bullets would prove to be Kitsune’s downfall, with the chattering munitions of the Volkolak incapacitating her in a hail of lead.
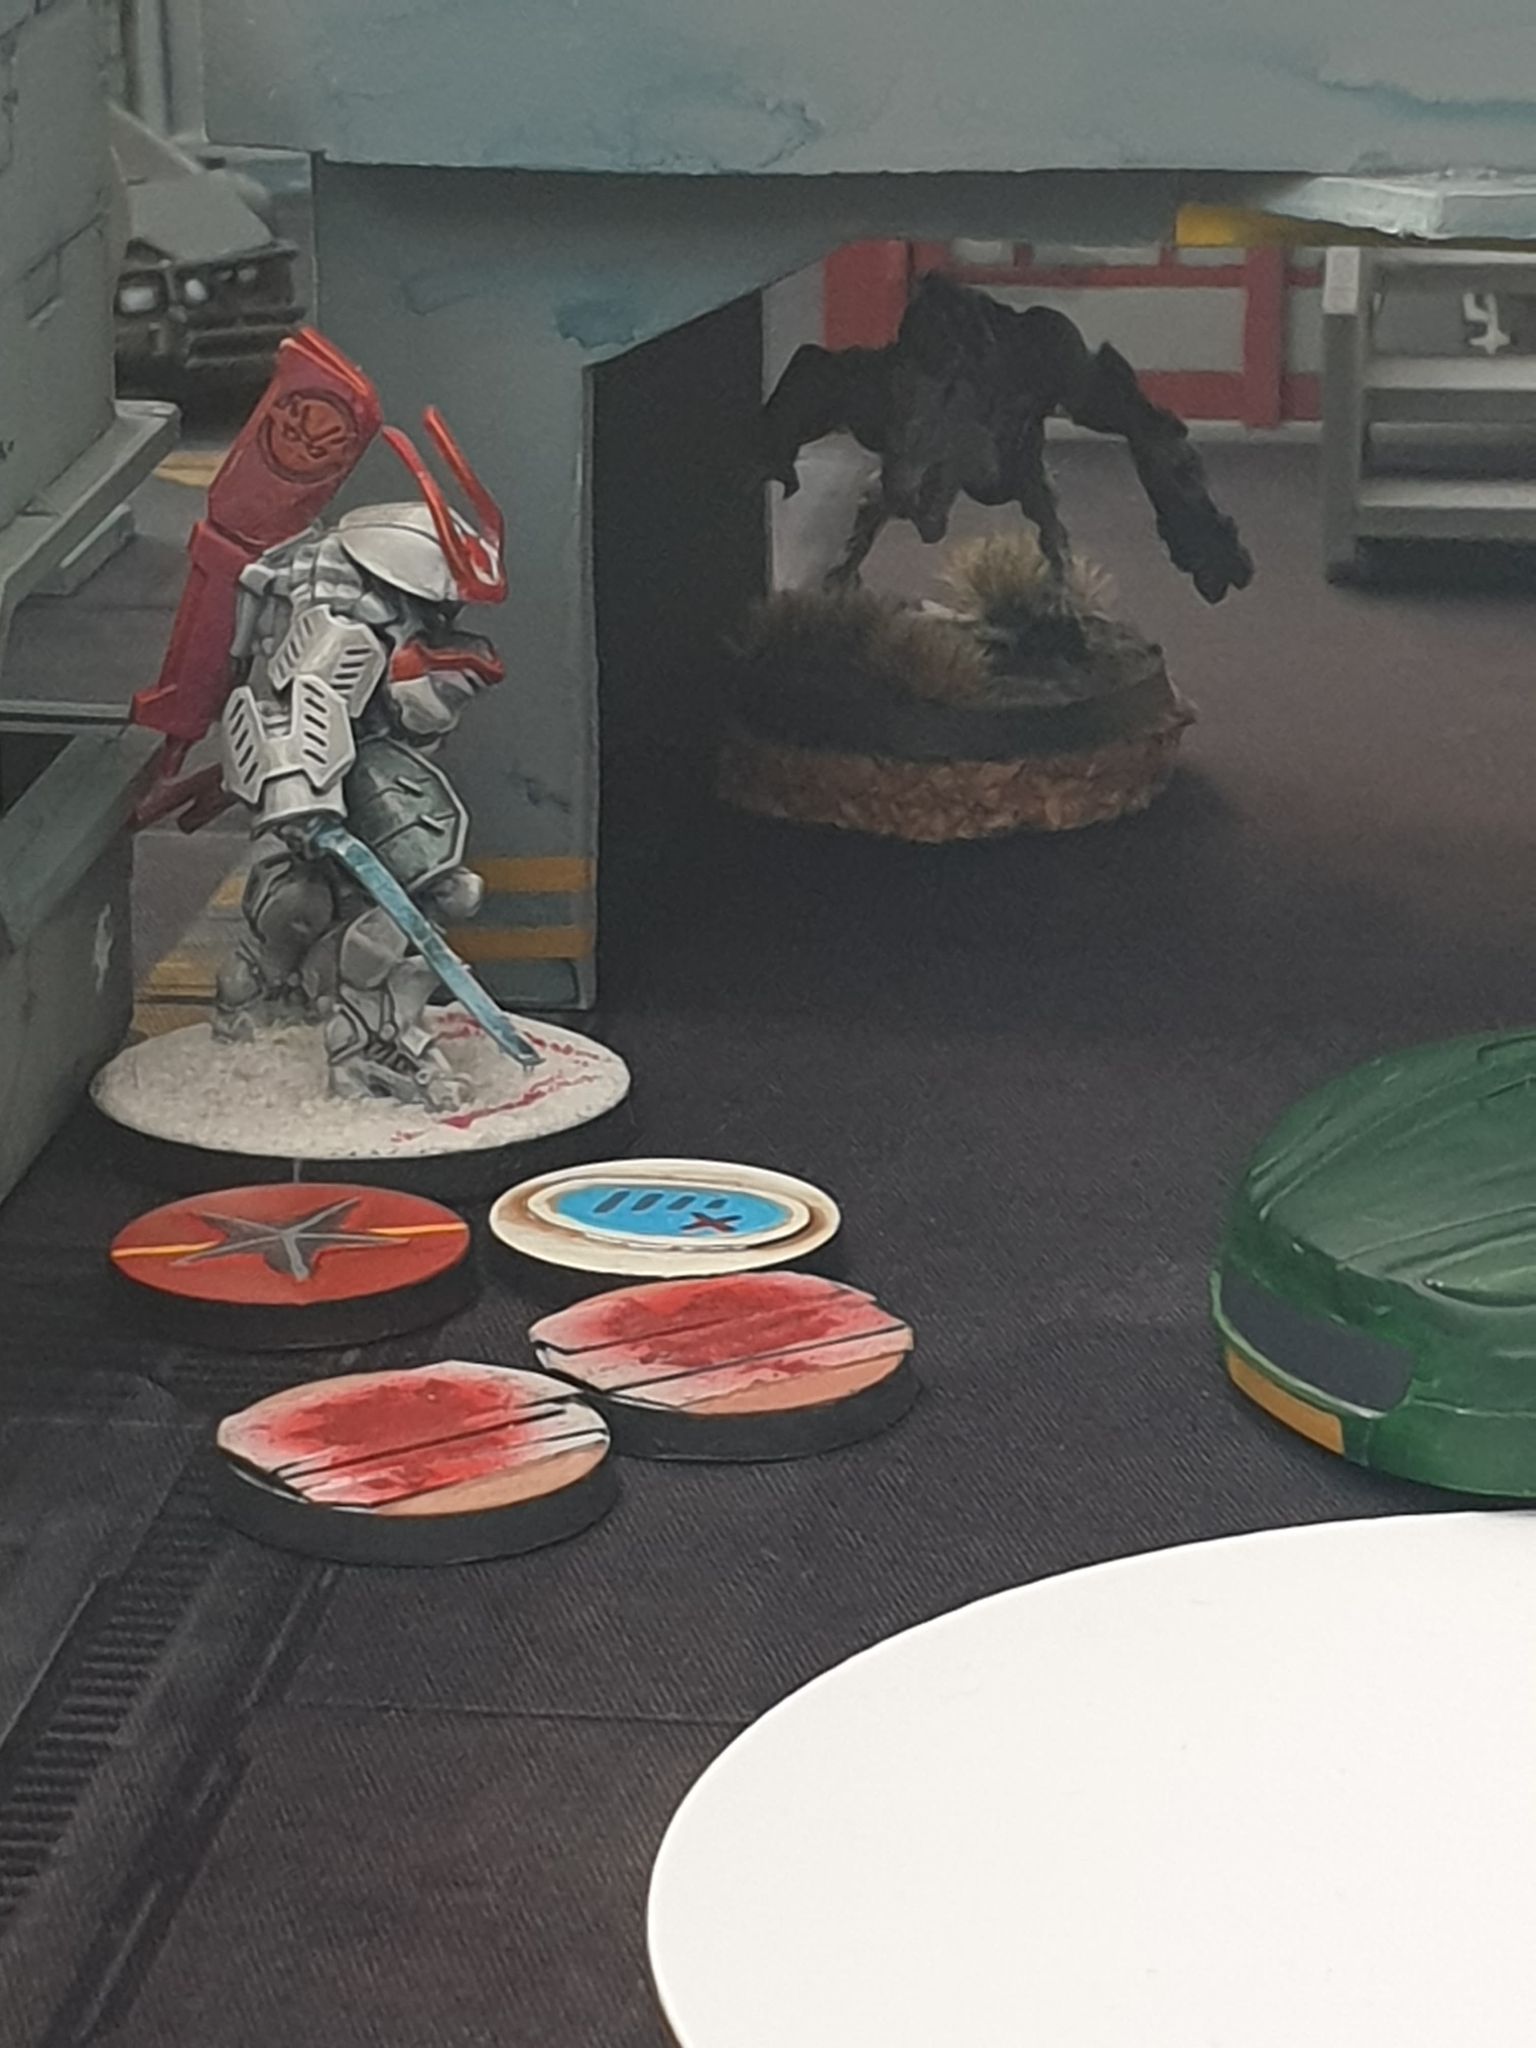
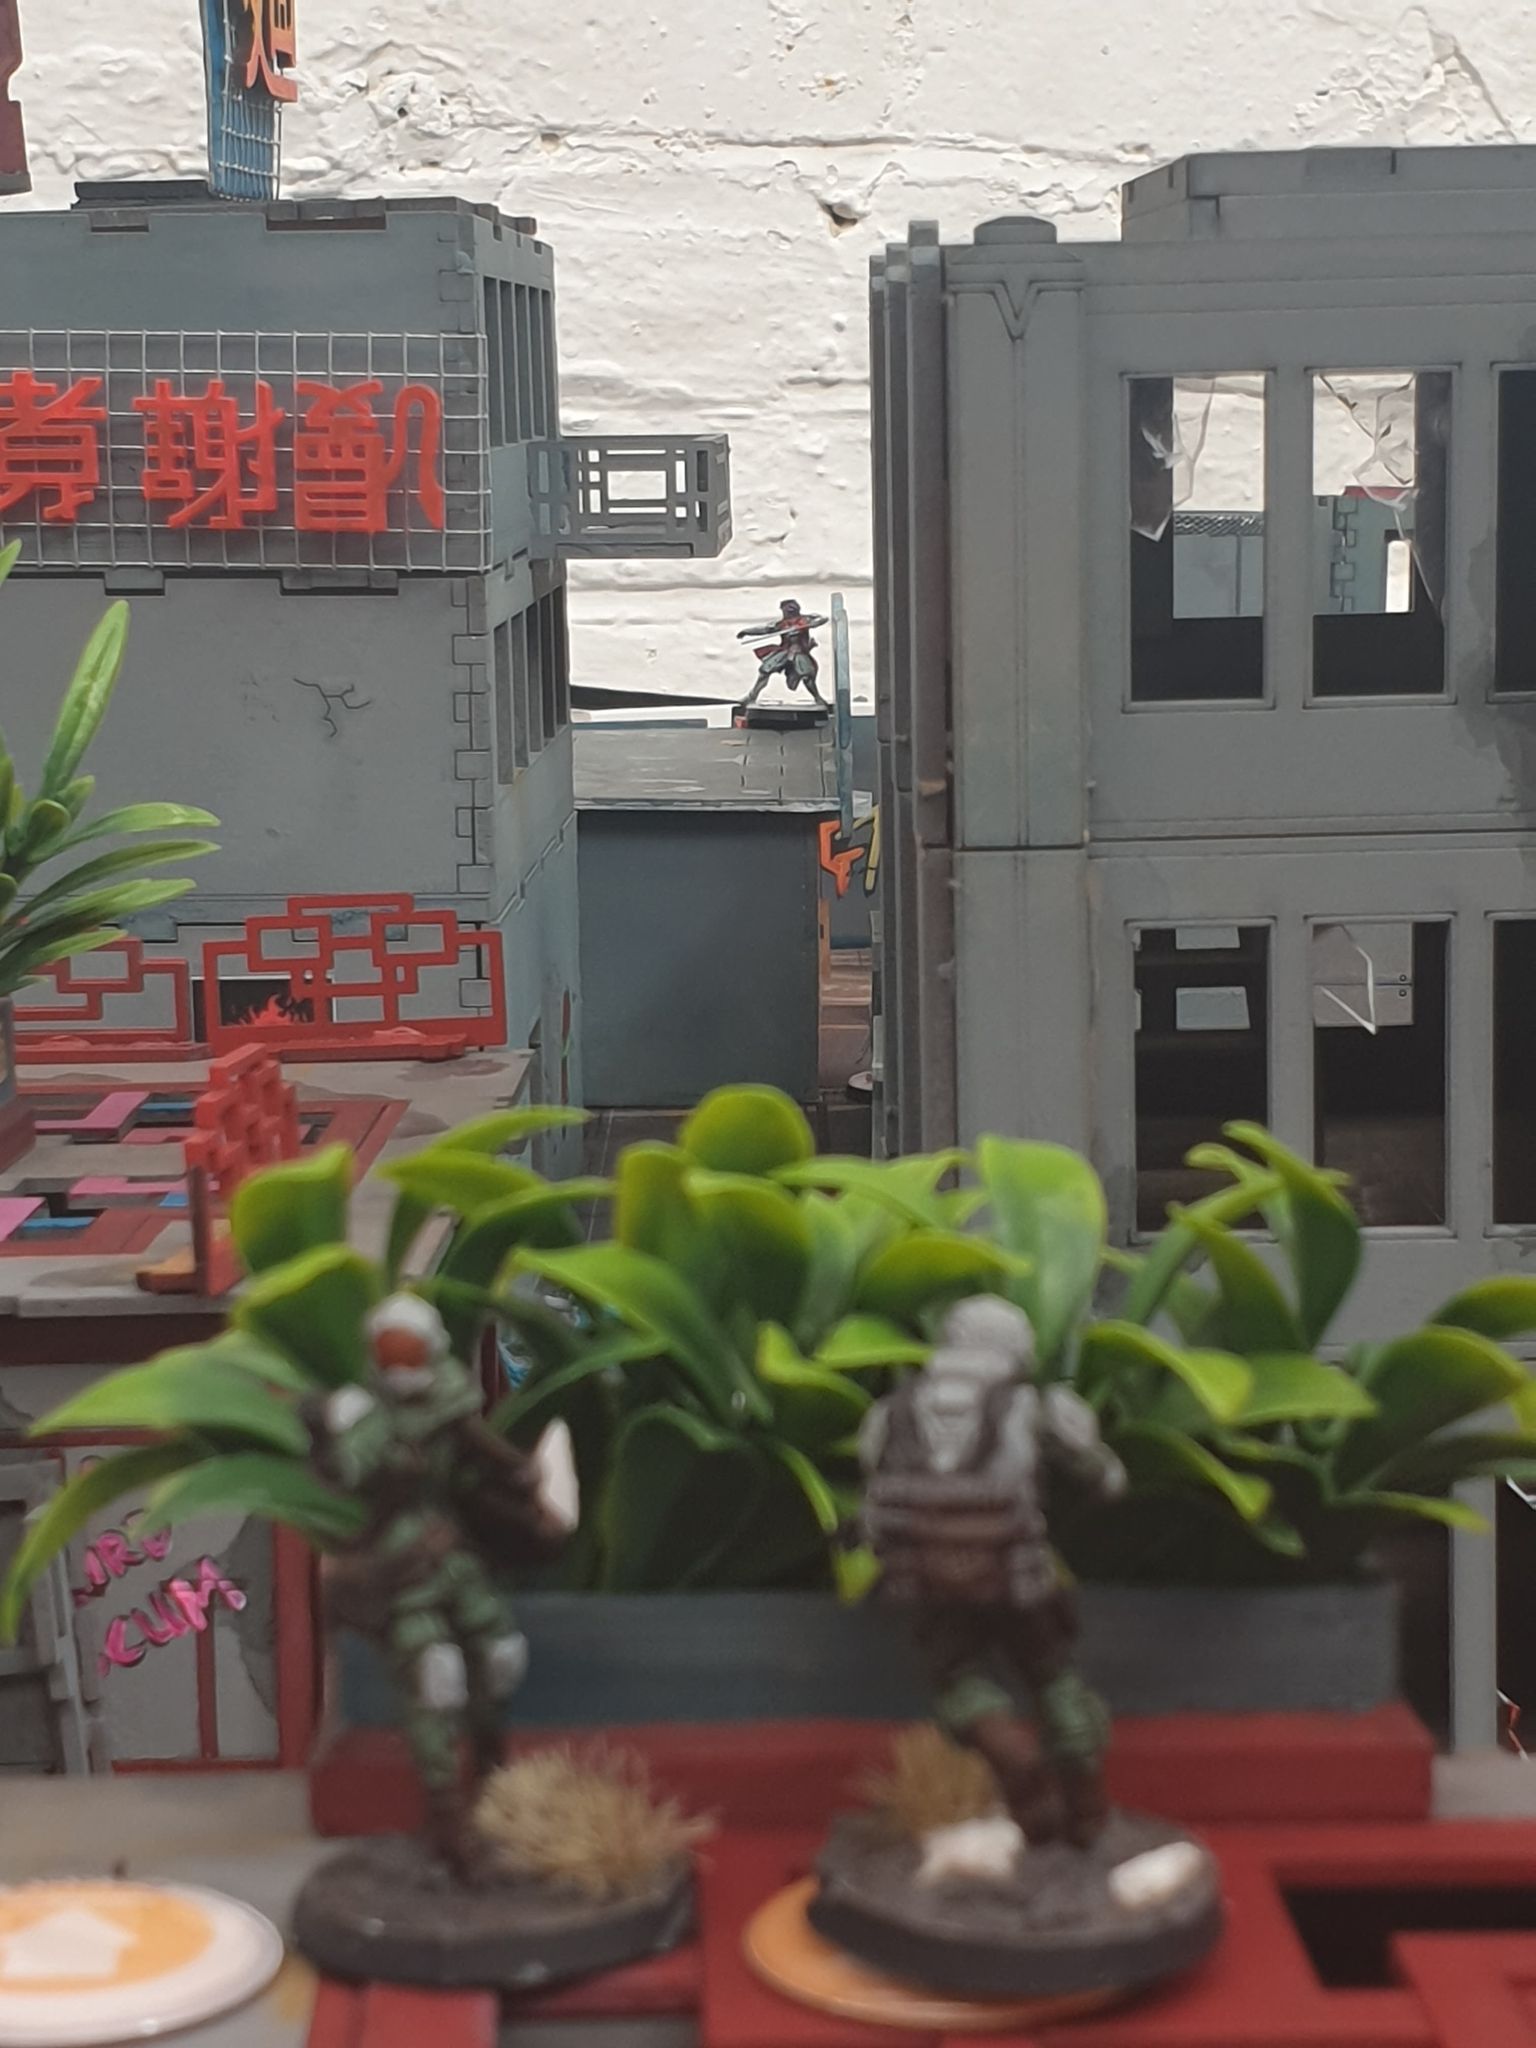
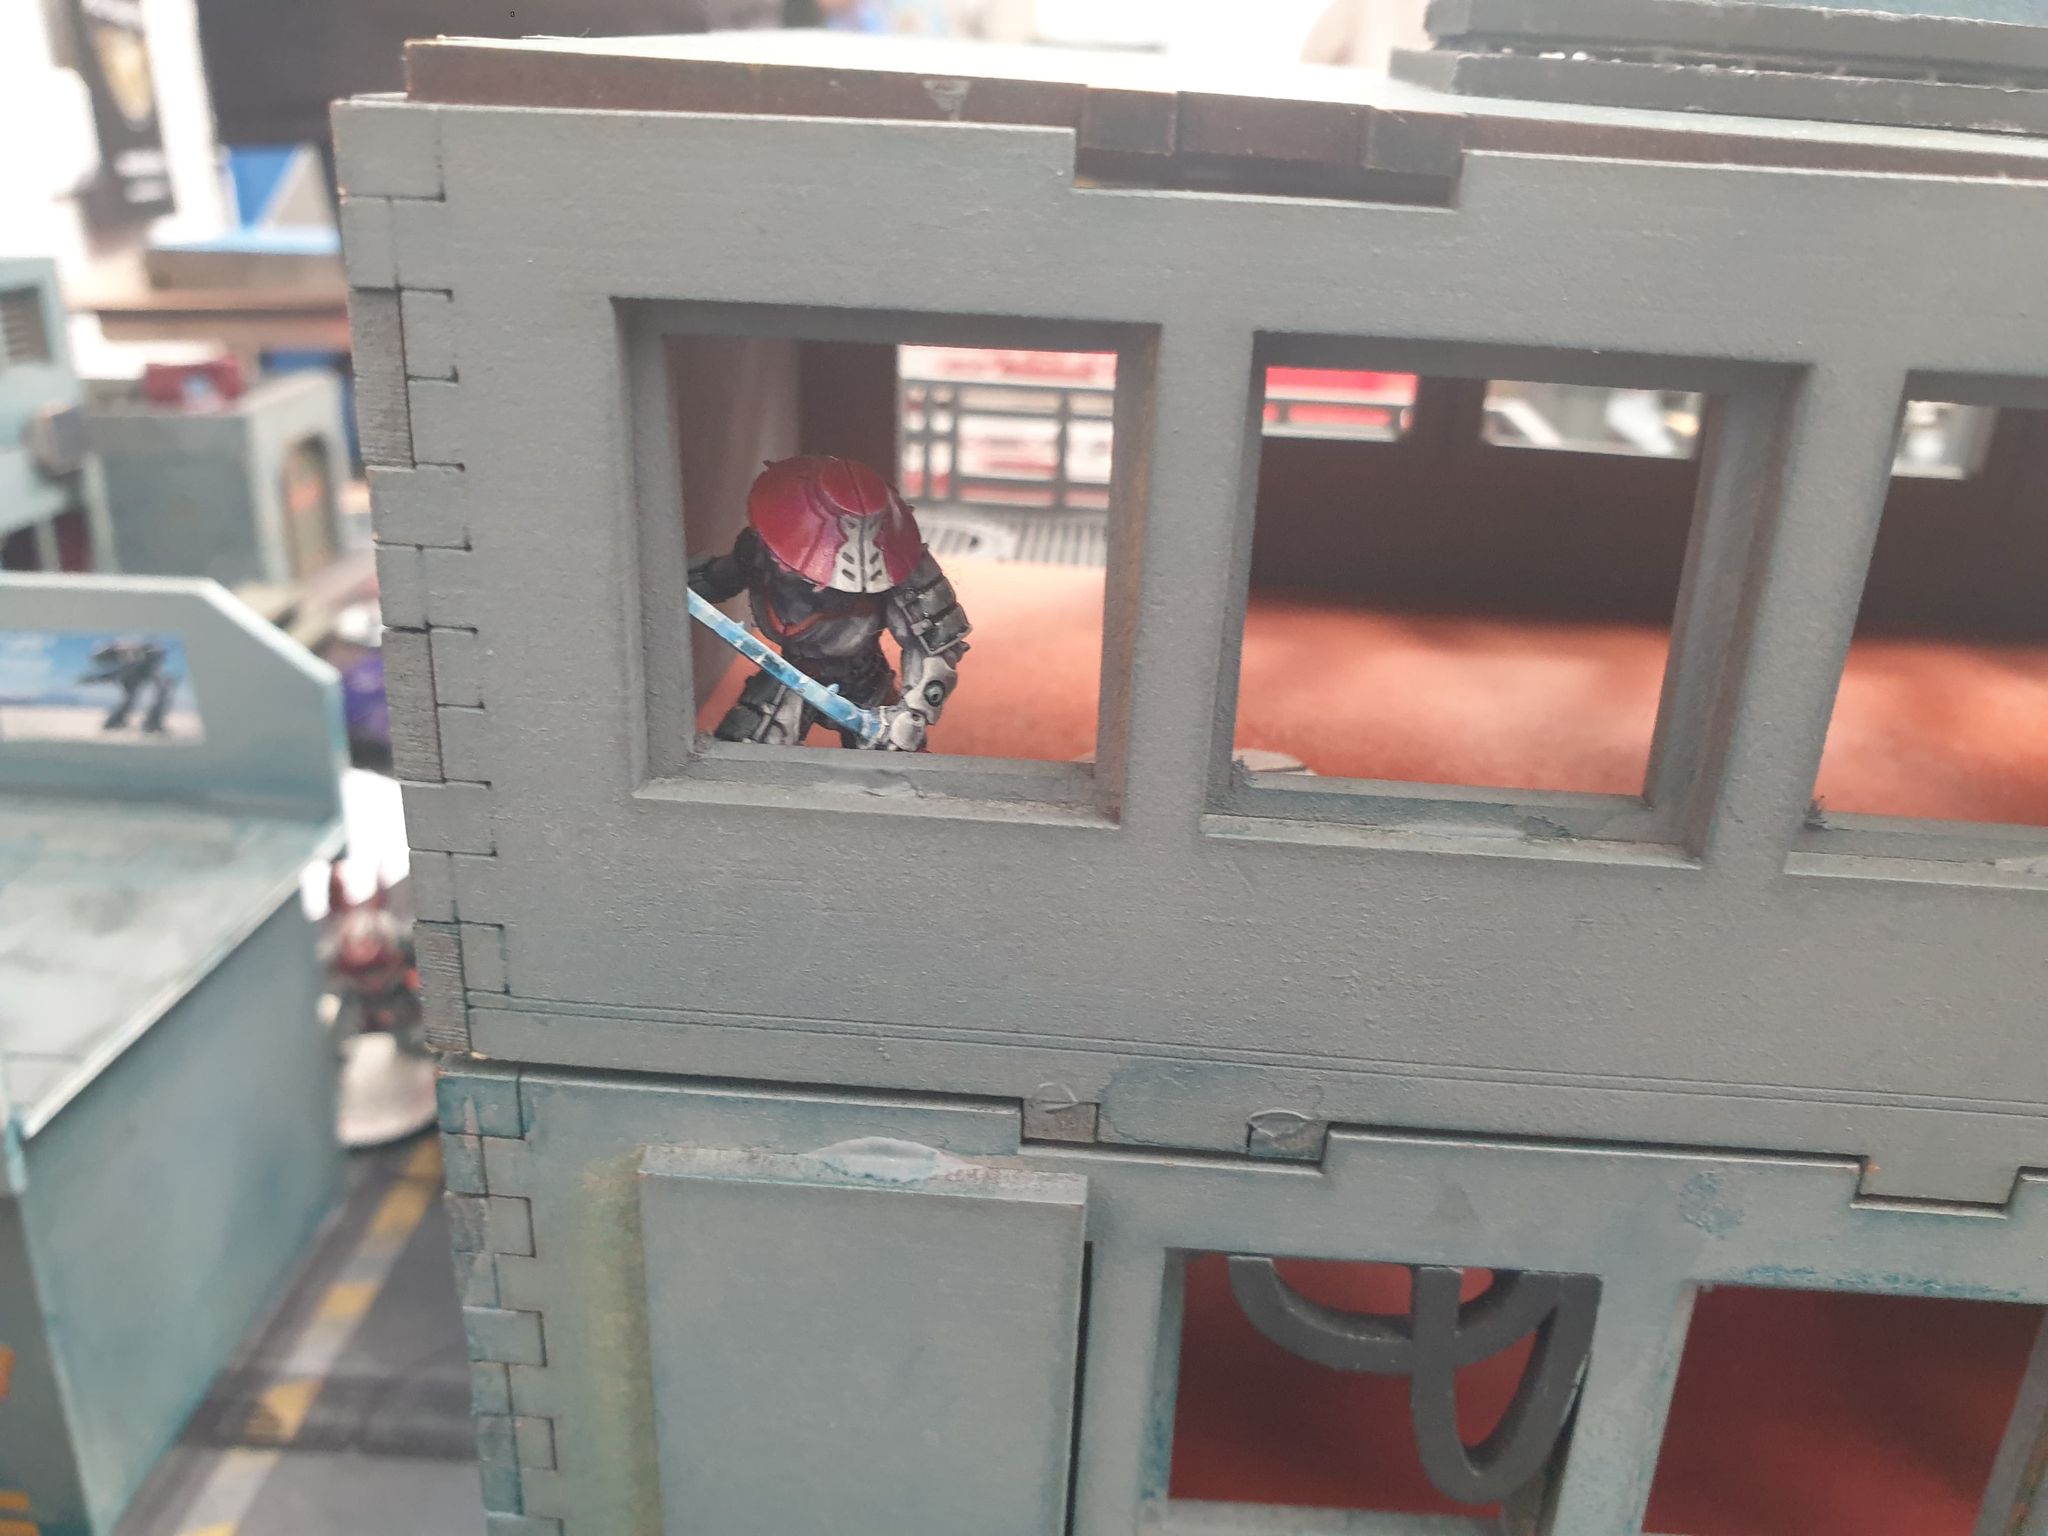
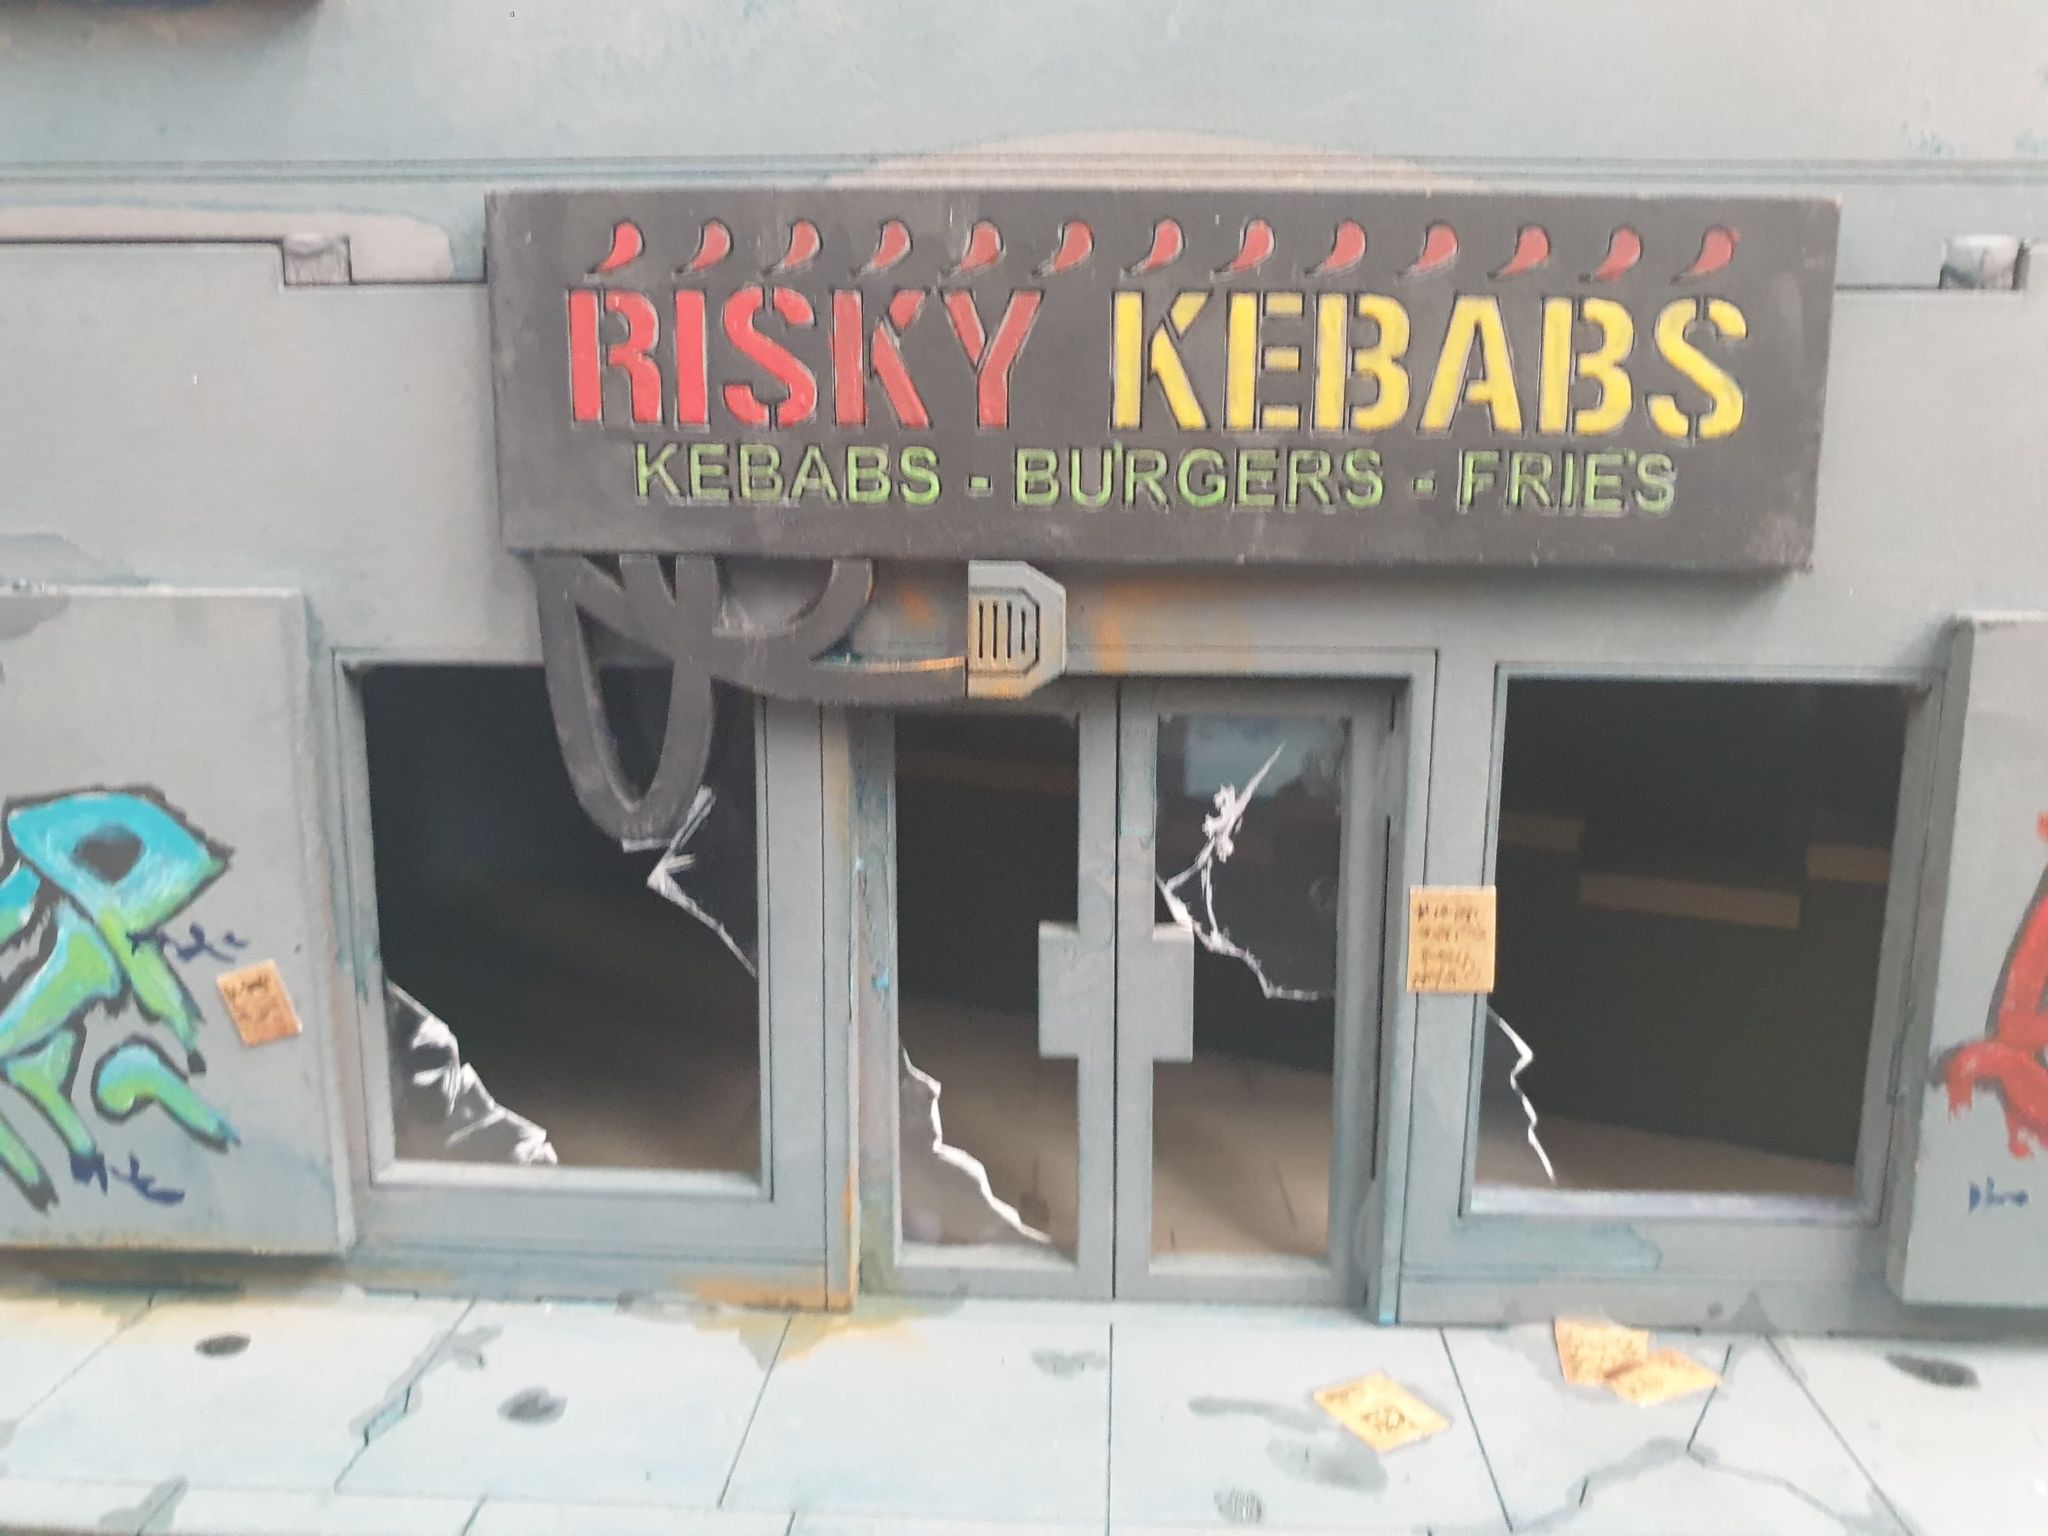
Mustering themselves the harris team of Oyama, Shikami, and Daiyokai would move forwards. The Daiyokai would go for cover under a bridge, whilst Oyama would seek to clamber atop that same bridge through a ladder. Lastly, the Shikami would utilise its awesome climbing potential, though taking a Ranger bullet, to clamber atop a rather risky kebab shop. The Daiyokai would let its gun ring out, utterly decimating the Zenit-7 in a fantastic display of marksmanship – though it did fail to account for a well-placed E/M landmine that disrupted its systems. Oyama would find themselves somewhat less successful, as in their climbing they would find themselves face-to-face with a concealed SAS. A furious melee would ensue, which included an amusing game of sword vs D-charge. Neither side would win, for now. The Shikami would hurtle inside its new shelter, firing several times at the emplaced Volkolak to little effect.
WAR CRIMES 101 [Kosmoflot Turn 1]
Breaking her camouflage to enact great violence, Uxia would plant two, armour-piercing slugs in the back of a Kuge-HVT’s skull. Her frenzy was for nought as she remained in place for the rest of the exercise.
The Ariadnan Motorised Bounter Hunter would exploit the lightly-defended right flank of the JSA, moving forwards to engage Yojimbo with her red fury. Despite his attempts, Yojimbo would go down to a spray of automatic fire, and the Bounty Hunter would keep going. Positioning herself the Motorised Bounter Hunter then knocked out a hostile F-13 turret and the final hostile Kuge-HVT.
Mortal combat atop a bridge concludes as the SAS tries one last time to stick a D-charge to Oyama. For her efforts, she is rewarded with a critical strike that removes her from the fight. Now moving, Oyama would find themselves in direct sight of the Unknown Ranger – who would naturally fire at the Japanese lieutenant. The bullets would strike true, incapacitating the Domaru-officer and scoring a Lieutenant Incapacitation for Dawn.
Mopping up, the Volkolak would pour shots into the Shikami. Whilst the stealth technologies and power armour of the Shikami would largely prove proof against his predations, the sheer volume of fire would ultimately crack the target and scythe the man in twain through copious automatic fire.
The Raveneye delegate to the 15th Okhrannik, perhaps having some of the infamous Ariadnan cholers rub off on her, would charge forwards. Though she clattered off three whole bursts she would ultimately be laid unconscious by the Daiyokai she sought to prey upon.
DIMINISHED YET DEFIANT [JSA Turn 2]
Having been diminished down to a bare handful of models, the Kuge-led Japanese forces would be without much in the way of orders.
Having reset its vital systems the Daiyokai had returned to the fray with furious intent. It would spew hails of gunfire towards the entrenched Volkolak, and whilst the man put up a keen fight it was for nought as the rounds proved too much even for tesium-laced armour to handle. For his troubles, the Daiyokai would be shot in the back by an armour-piercing round fired by the Ariadnan Motorised Bounty Hunter’s scavenged Multi-Rifle.
MOPPING UP THE MESS [Kosmoflot Turn 2]
Having been wounded in its fight against Shinobu Kitsune, the Bearpode would begin its advance. Clambering down from atop its bear lair, the Bearpode would hurtle its way across the centre field dodging and weaving around the reactive fire of the Daiyokai until it was too late for the power-armoured foe. Clashing into the Daiyokai with vicious intent the Bearpode would swing its hammer in an uppercut-like manner that would knock clean the man’s head in a viscerally critical display.
The Ariadnan Motorised Bounty Hunter would reverse, preying now upon a lone Keisotsu. A melee would ensue as the man sprung forth with combat knife ready. Taser and knife fought in a desperate mass until, at least, the Bounty Hunter would stick the man clean in the throat with the business end of a paralytic taser. Not even getting off her bike, she’d guide it back a mere few inches and pull a breaker pistol. The man was executed without remorse, his head largely consumed.
ONLY COWARDS SURRENDER [JSA Turn 3]
Having been left with only a single Keisotsu on the field, this lone trooper would sooner die before dishonouring himself. Moving around a corner a missile would be loosed upon the Ariadnan Bounty Hunter to little avail – but the counter fire similarly did little other than blow out chunks of building. Once more, one final time.
The Keisotsu muttered his prayers, rounded the corner…and missed. His reward for valiance in the service of the Kuge was a trio of rounds to centre mass from a red fury.
The Kuge-backed force has been annihilated to a man!
POSTGAME:
There you have it. Kosmoflot aided repressed Japanese workers from the predations of corporate masters and was lethal in the process. A thoroughly, thoroughly enjoyable game from start to end – the sheer bloodiness of the battle was quite a spectacle (at least from my end, perhaps less so for my opponent :D)
This was a lovely game to round out the end of Durgama. Though Durgama has been so short, it’ll likely hold a special place in my heart as the very first narrative campaign I ever part in for Infinity. A lovely experience all around.
Last but not least, thank you all for reading!

Battle Report Author
Army Lists Used In This Battle
Recommend Commander For Commendation
Share this battle with friends
RagnarWins

Good writeup dude