Fought At Raveneye Bow Section: Comms Room
642 days 2 hours 2 minutes ago
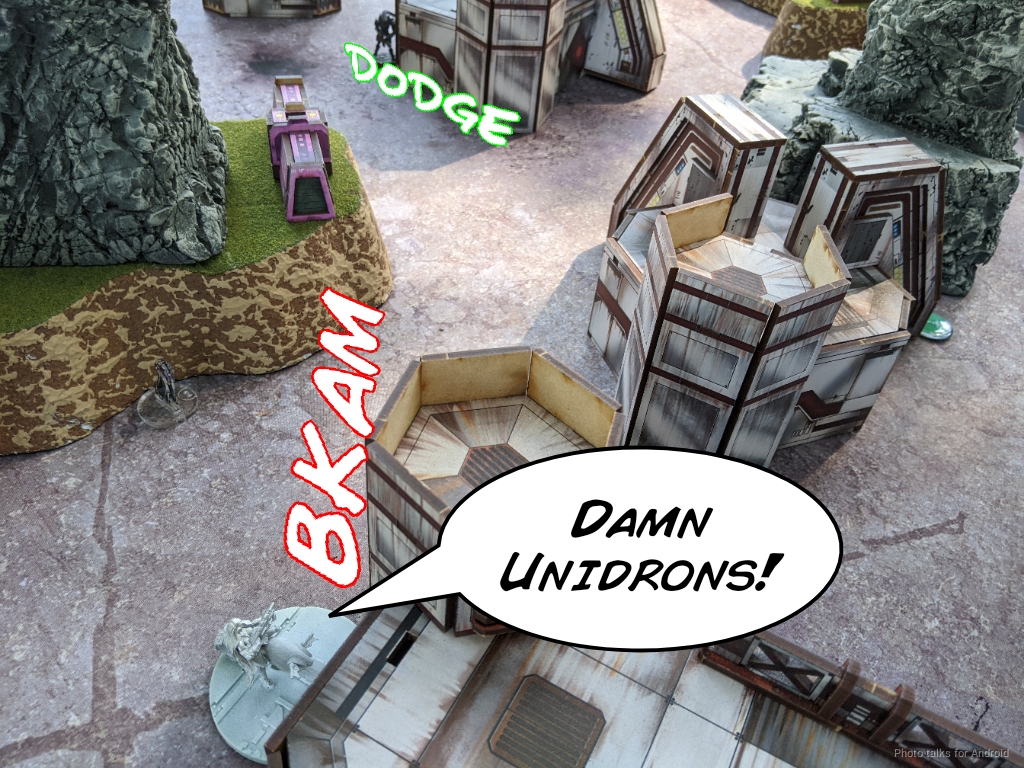
Unidron Batrep
300 POINTS
Thankfully, the crew at Rose City Raid 2022 are all very chill so there was very little to do in terms of adjudicating rules. Our local game store, Glimpses of Wonder and Warfare, set up a booth at the tournament to sell Infinity models, glue to repair stuff, snacks, Pokemon cards, etc. Ty, the employee manning the booth is looking to start Combined, so we gave them a teaching game while everyone was playing. This had the added benefit of keeping us physically close to the action in case anyone had any rules questions. We had set up a table for pickup games, so one of the other organizers, Than (zagdag), and I played a game and gave detailed reasons and analysis during the game to explain to Ty.
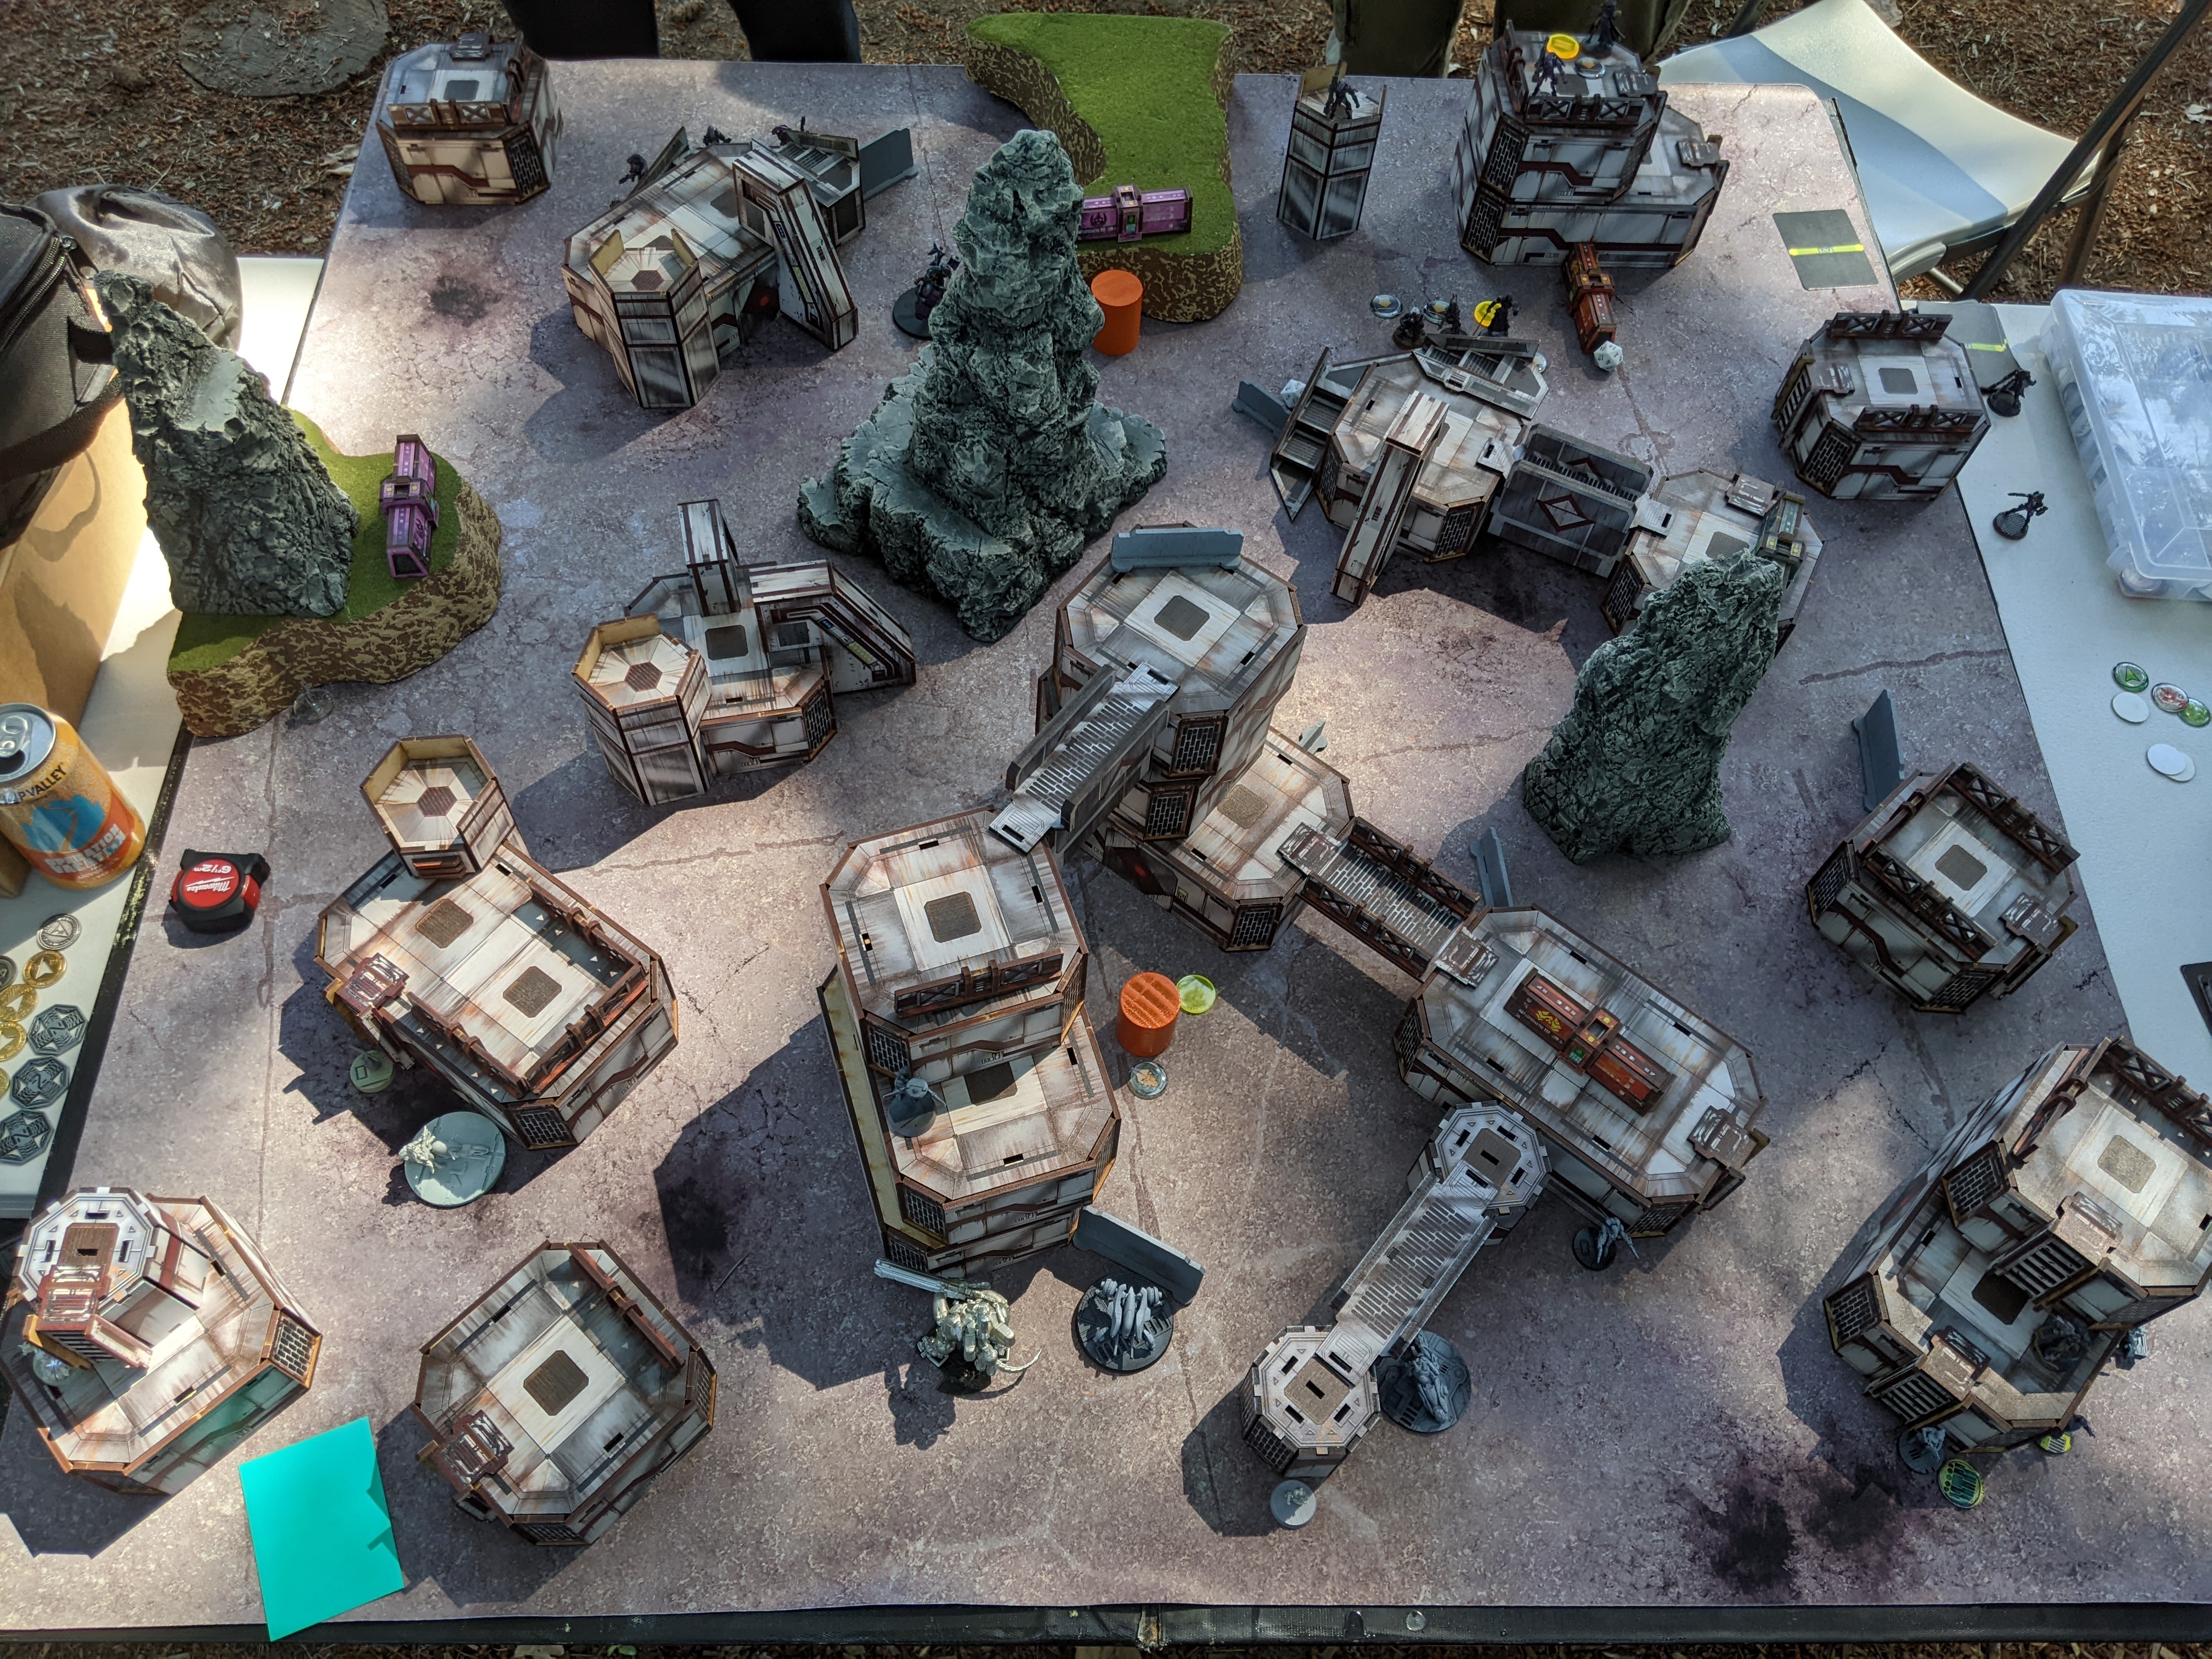
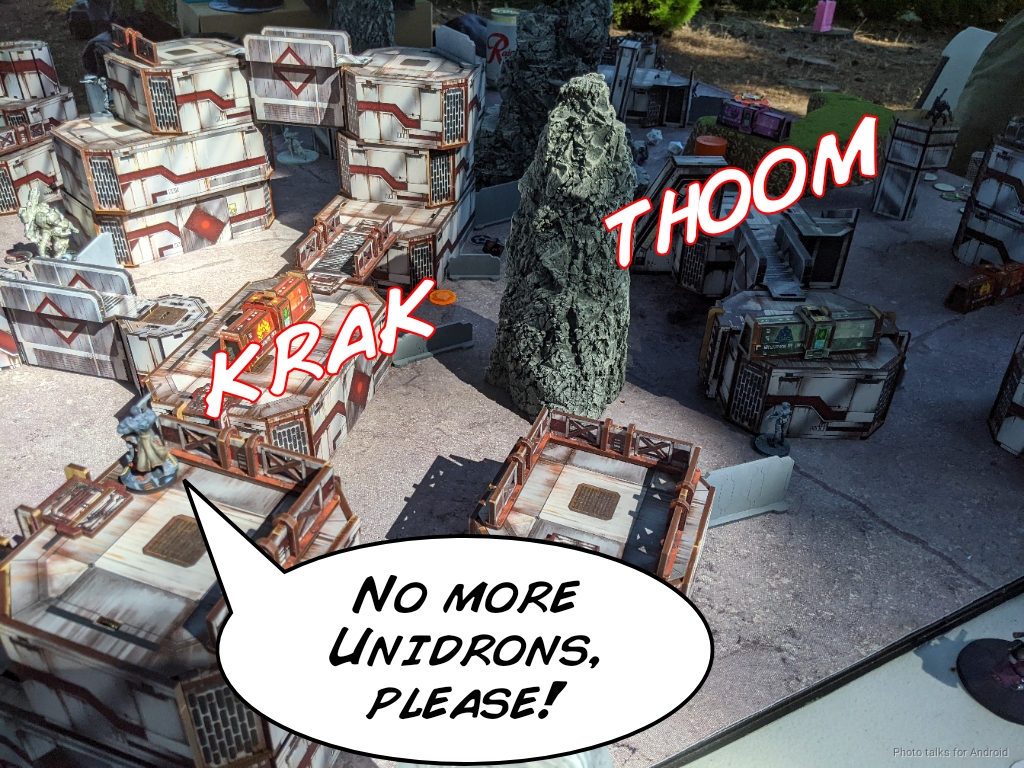
I asked if we could play the game on the Raveneye Bow for Durgama, and Than agreed. A bit risky, since Than was our ringer and he had brought a full tournament-optimized 300-point Onyx list! We played on this Strompost Alpha table with no special terrain rules--I know, weird, right?

Overview
- Mission: Capture and Protect
- Forces: Jurisdictional Command of Tunguska versus Onyx Contact Force (300)
- Deploy First: Onyx
- First Turn: Onyx
I brought the same list from my last 300 point game. It could use some further optimization, but I enjoyed it. You can see the other battle report for some details, if you like:
Basically it's a Grenzer MSR link + tools, Fiddler (who is a toolbox in and of herself), and some attack/defense options. The Szalamandra isn't strictly necessary, I just wanted one, and I'm a huge fan always of the Zondnautica.
Rescue, Capture and Protect
INTERVENTOR (Lieutenant, Hacker, Hacking Device Plus) Combi Rifle ( ) / Pistol, CC Weapon. (0.5 | 24)
SECURITATE (Paramedic) Combi Rifle ( | MediKit) / Pistol, CC Weapon. (0 | 15)
PERSEUS FTO Breaker Combi Rifle(+1 Dam), Nanopulser, Smoke Grenades / Heavy Pistol(+1B), DA CC Weapon. (0 | 32)
GRENZER (Forward Observer, Sensor, NCO) Combi Rifle, Light Flamethrower(+1B), Flash Pulse / Pistol, Breaker Pistol, CC Weapon. (0 | 29)
SZALAMANDRA Hyper-Rapid Magnetic Cannon, Heavy Flamethrower / CC Weapon. (2 | 72)

SZALAMANDRA PILOT Contender(+1B) / Pistol, CC Weapon. (0 | 0)
FIDDLER (Climbing Plus) Drop Bears, D-Charges, Contender(+1B) / Breaker Pistol, PARA CC Weapon(-3). (0 | 35)
JACKBOT Vulkan Shotgun / . (0 | 7)
ZONDBOT PARA CC Weapon(-3). (0 | 3)
LUNOKHOD Heavy Shotgun, Akrylat-Kanone, D-Charges, Crazykoala / PARA CC Weapon(-3). (0 | 25)
ZONDNAUT (Hacker, Hacking Device) Combi Rifle ( ) / Pistol, CC Weapon. (0.5 | 26)
ZONDMATE Chain Rifle, Smoke Grenade Launcher / PARA CC Weapon(-3). (0 | 5)
WARCOR (360º Visor) Flash Pulse ( ) / Stun Pistol, PARA CC Weapon(-3). (0 | 3)
9
2
1 4.5 SWC | 299 Points | Open in Infinity Army
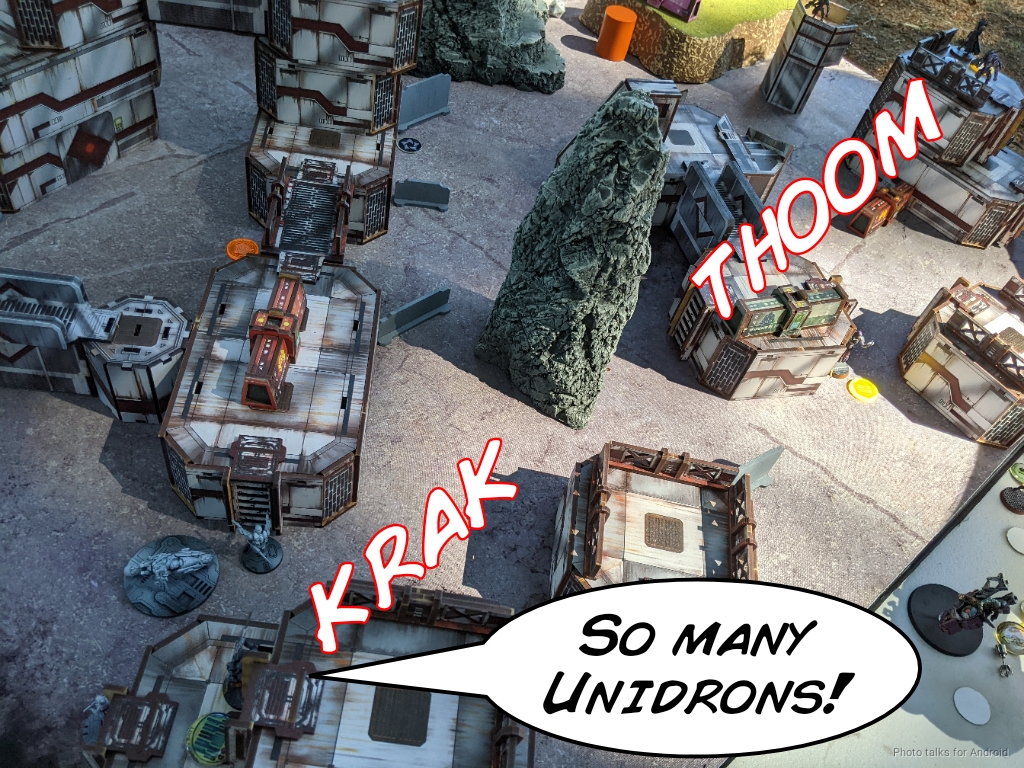
Than built a list with 6 Unidrons, because reasons. There's a really fun NCO Engineer and two Unidron ML haris, and then a full 5-model Unidron core with a K1 Tinbot to help Kerr Nau and also fire K1 at TAGs. But then the power Haris is an Umbra, Maakrep, and Kurgat.
Onyx Contact Force
GROUP 1
KERR-NAU Plasma Rifle, D-Charges, Pitcher / Breaker Pistol, CC Weapon. (0 | 27)
UNIDRON K1 Combi Rifle ( | TinBot: Firewall [-3]) / Pistol, PARA CC Weapon(-3). (0.5 | 17)
MALIGNOS (Hacker, Killer Hacking Device) Submachine Gun, Shock Mines ( | Dazer) / Pistol, CC Weapon. (0 | 31)
GREIF-OP (Surprise Attack [-3], Impersonation [IMP-2]) Combi Rifle, D-Charges / Breaker Pistol(+1B), CC Weapon. (0.5 | 20)
NEXUS (Engineer, NCO) Vulkan Shotgun, D-Charges ( | GizmoKit) / Pistol, CC Weapon. (0 | 22)
GROUP 2
UMBRA LEGATE (Lieutenant) K1 Combi Rifle, Flash Pulse / Pistol, DA CC Weapon. (0.5 | 38)
MAAKREP TRACKER Heavy Machine Gun / Pistol, CC Weapon. (1.5 | 33)
KURGAT Boarding Shotgun, D-Charges, Drop Bears / Heavy Pistol, CC Weapon. (0 | 23)
ÍMETRON . (0 | 4)
6 SWC | 300 Points | Open in Infinity Army
The other thing that's fun is the Greif, which causes so much grief. Both of us took the Motorized Bounty Hunters with Red Furies, but I'm pretty convinced after this game that the boarding shotgun is the right choice. I generally have shooting tools so being able to deliver a template is more relevant to me.
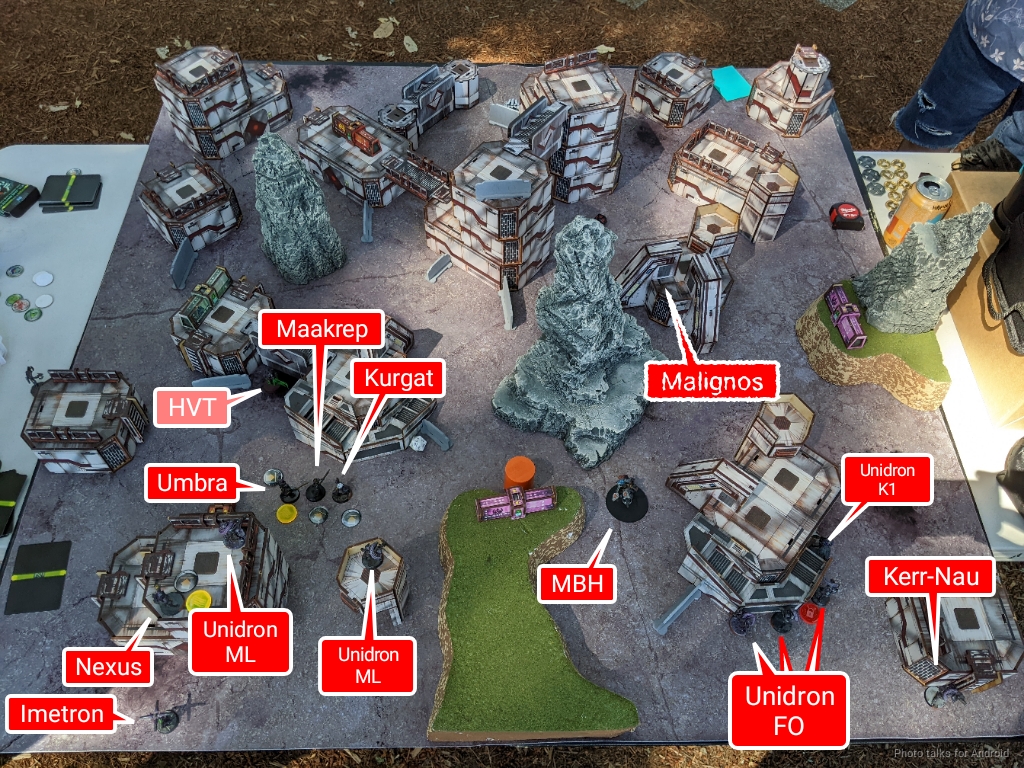
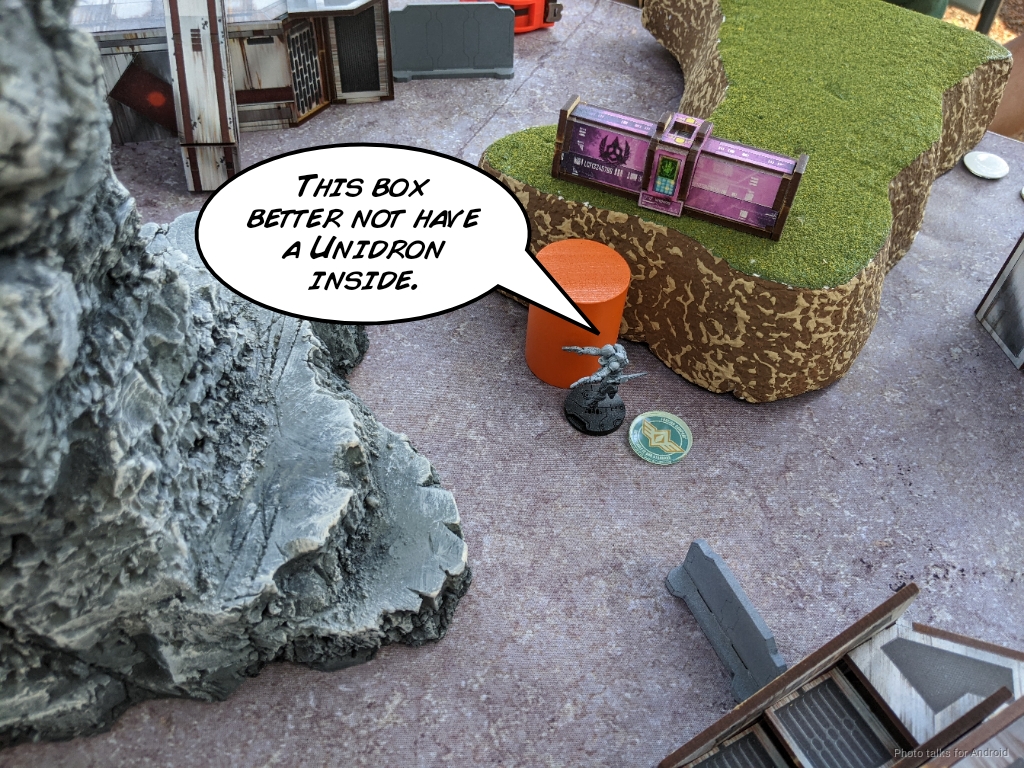
I had a much more complex deployment. I chose my side mostly because there were multiple places for my Szalamandra, and also there was a reasonable spot to hide the Lunokhod. Speaking of which, I just stuck it as close to the beacon as possible, with the Koala as far forward as was reasonable. I had some trouble deciding where to place the link, but I decided to put it on the right, as the Grenzer MSR could cover the MBH, which I was actually pretty concerned about. It also could push forward and deal with the Umbra and the Unidron MLs if I really needed. I was concerned about drop troops so I stuck a lot of stuff facing backwards.
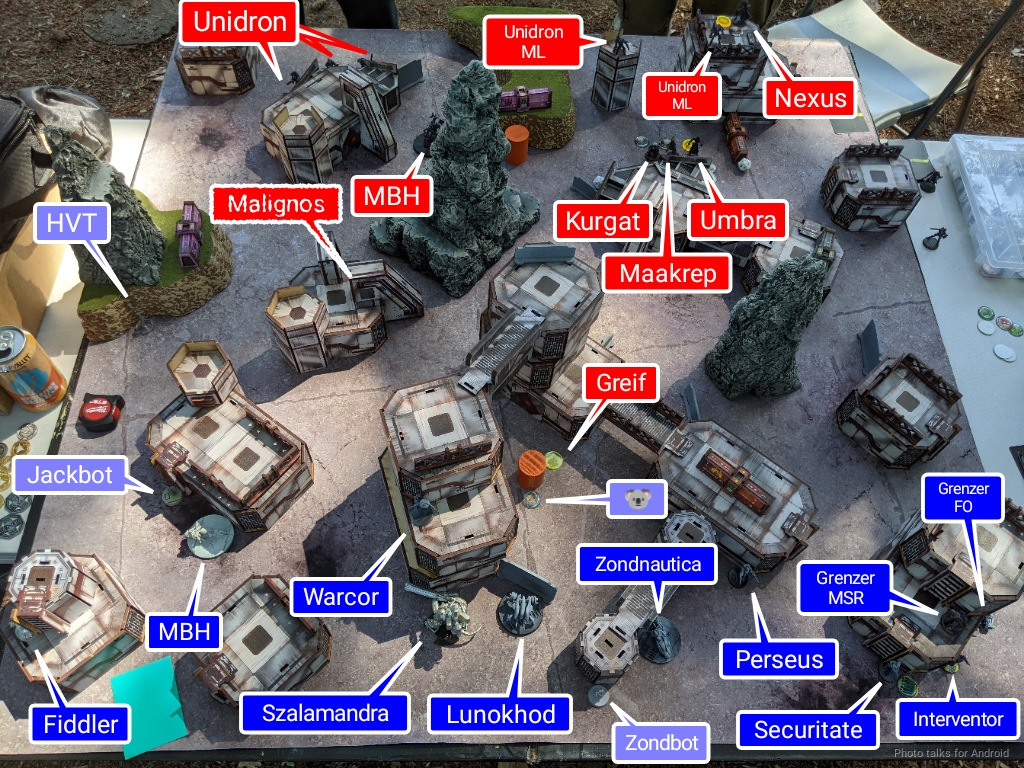
My own MBH was alone in combat gropu two, helping the Jackbot and Fiddler secure the left flank, and then I bolstered Perseus with the Zondnautica. Than had some trouble deciding where to put the Greif. Would it be better to put it next to the objective to steal it? Or would it be better to murder my link with the Greif? I had put the Grenzer FO with his fire templates as the corner guard, so it might not have been the best plan, but it was a plan.
In any case, he decided to go for the objective play, and put it next to the beacon. I was worried about covering the beacon with my TAG, because if I put it all the way out to do that, it would be able to be hit by the missile launchers. I decided to help reinforce the left side.
Turn 1
Top of 1 - Onyx
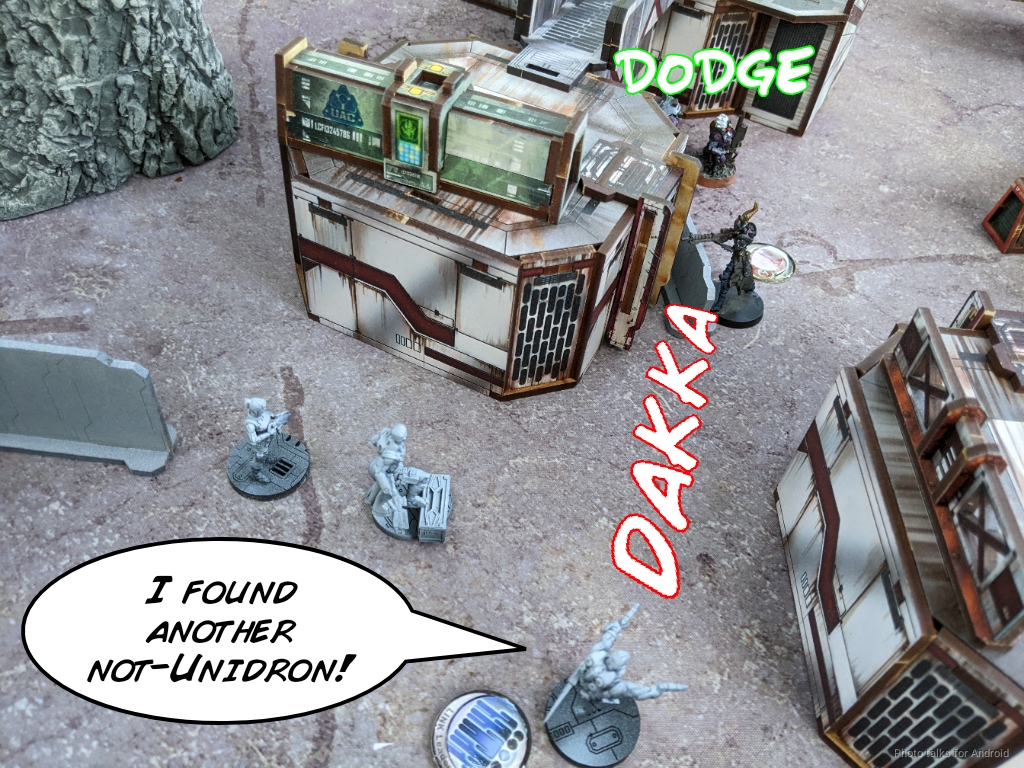
I start things off by docking orders in Than's second pool to get the biggest percentage of orders lost and also to limit the reach of Than's power Haris. Than's MBH rolled up an HMG and mine got a EXP CCW. Not great for me! Than advances the MBH with its impetuous order and chooses to face to face the Grenzer. Unfortunately for him, we're just out of 32" and the Grenzer obliterates the MBH.
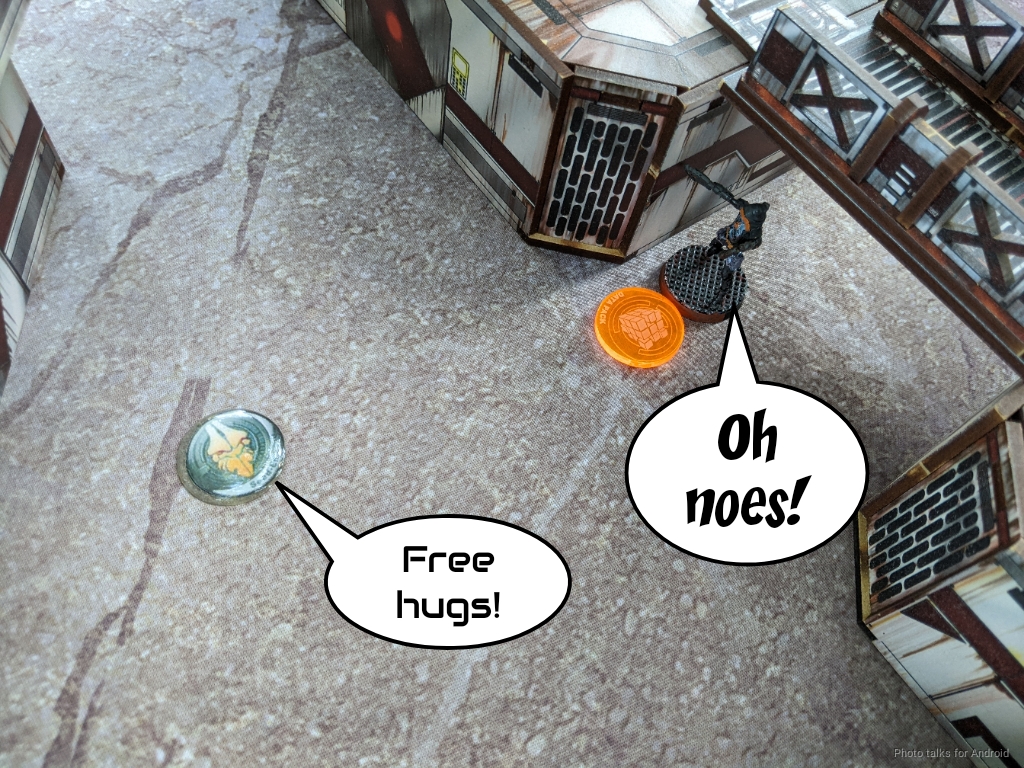
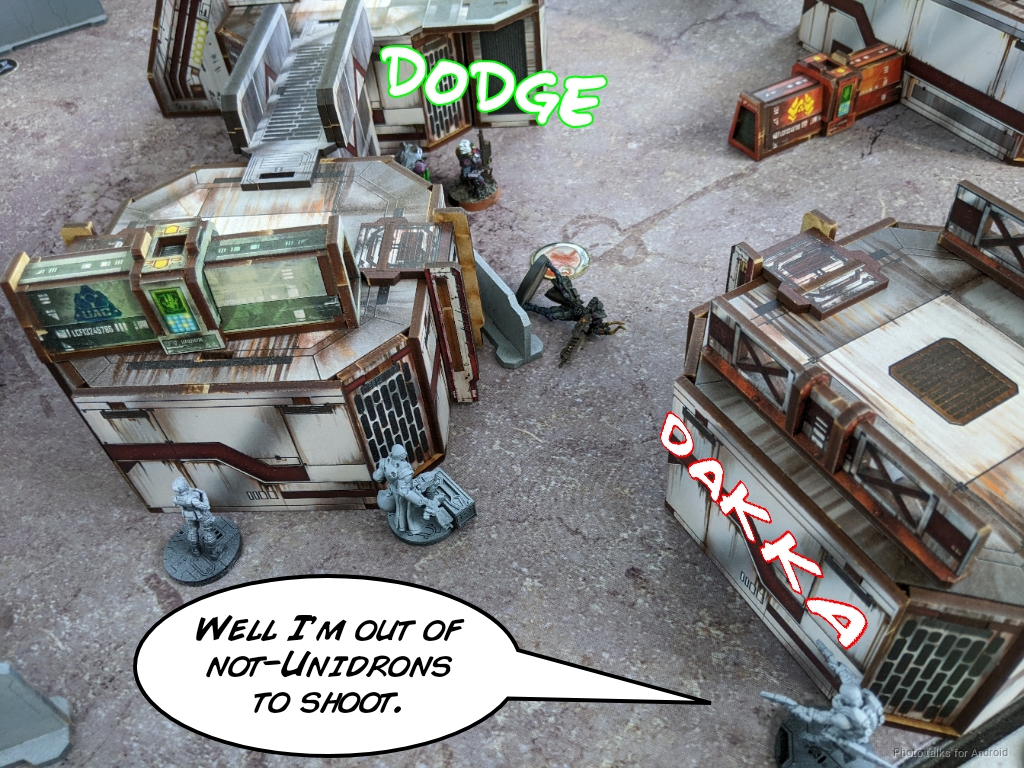
I can't actually really see the Greif with the Grezner if it moves, so it moves to where the Grezner can't see it. Unfortunately, the Szalamandra can now see it, and makes (and fails a discover). The Greif goes all in and just grabs the objective, hoping to tank the Koala, and dies immediately.
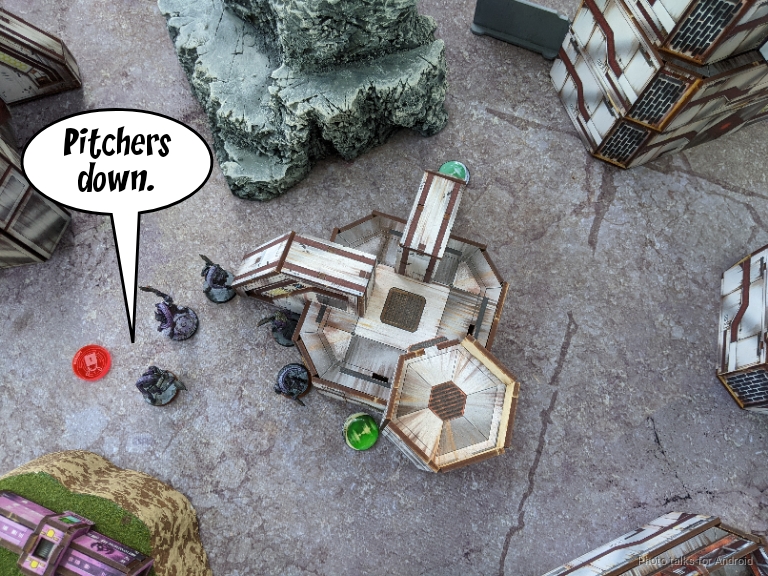
With that handled, Than starts pushing the big Unidron core forward. Kerr Nau fires pitchers everywhere, just in case, and wanders by my HVT to collect Data Scan.
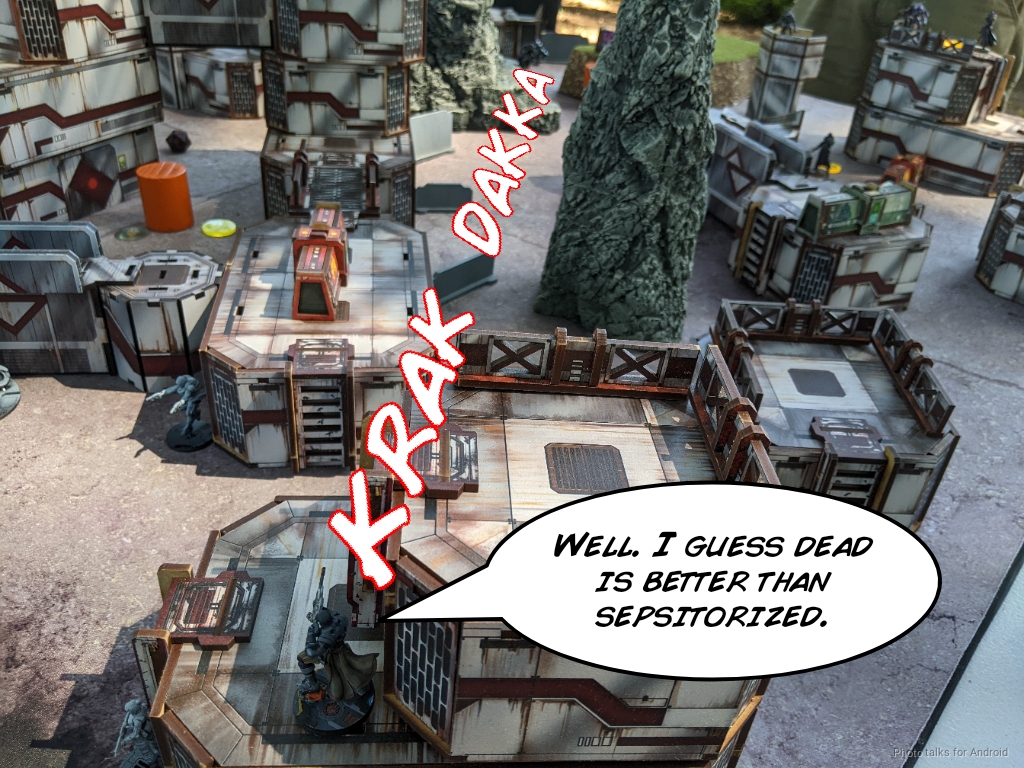
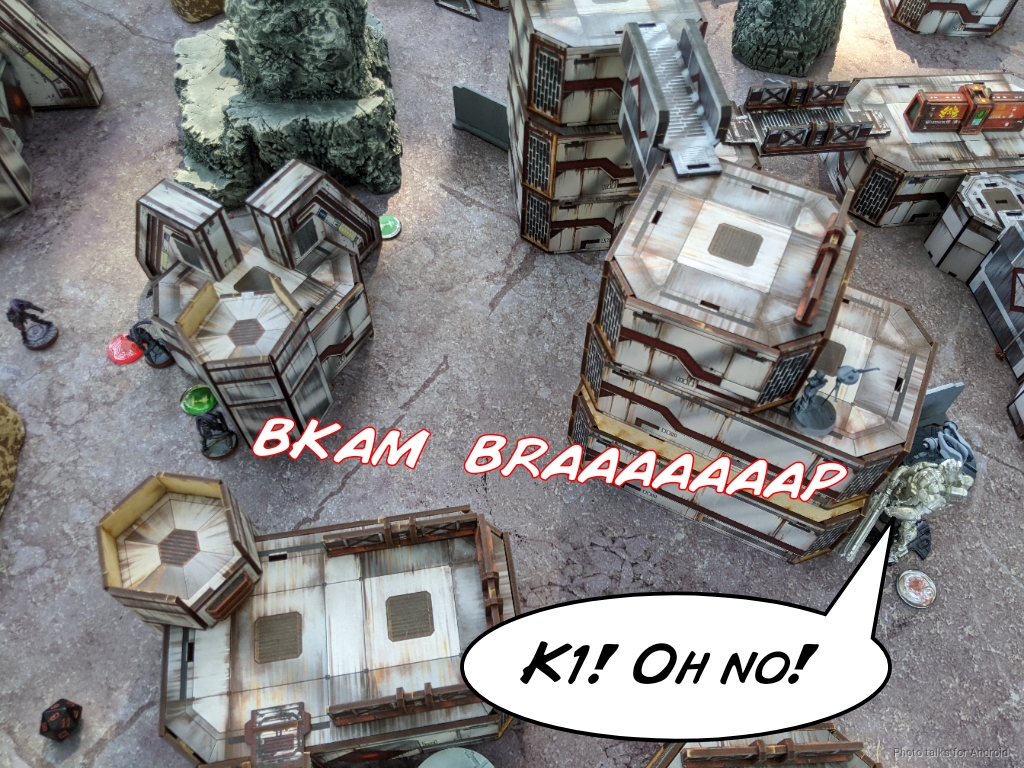
It's at this point that I remember the K1 and am a little concerned! Thankfully, the Unidron K1 only hits once. I take a wound and fail guts around the corner.
After retreating his Unidron core, advancing his Umbra haris, and throwing some Drop Bears all around, Than passes turn.
Bottom of 1 - Tunguska
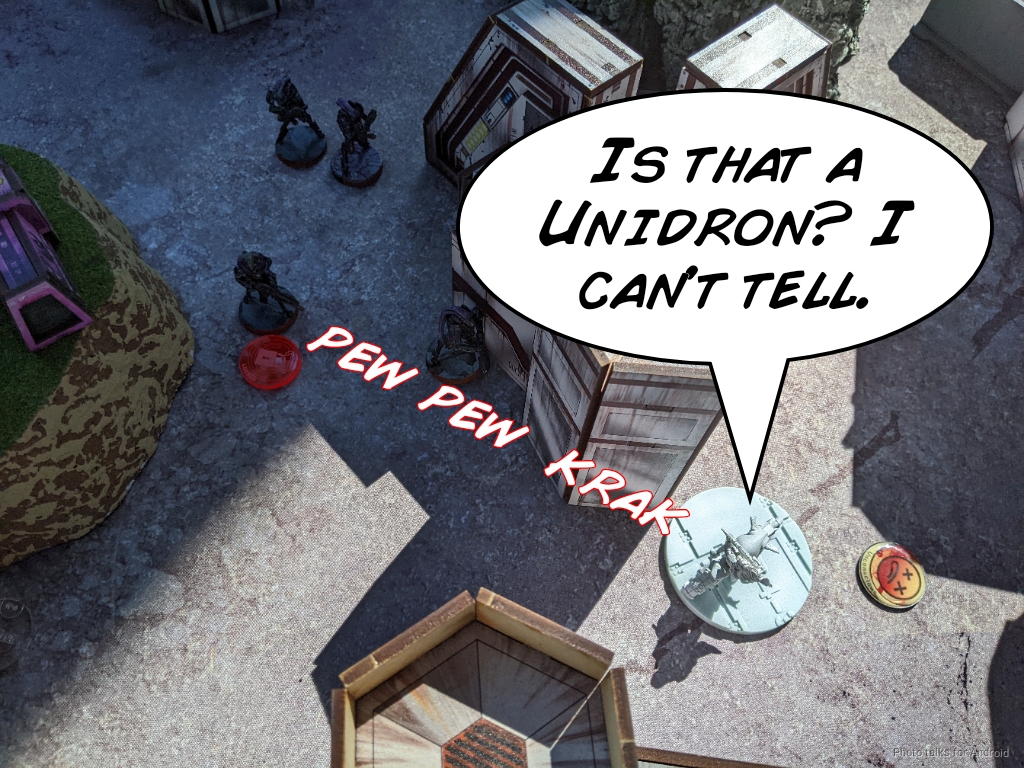
Well, there was a Undron FO left out, so after taking out one of the repeaters, I put it dogged and retreated with all the movement afforded by the motorcycle.
Then it was time to deal with the Unidron missile launchers. It took two orders but the first one got blasted off the table.
The second one dodged prone successfully--I rolled 18, 18, 20! Good thing Than didn't choose to shoot!
Unfortunately for Than, he left his Umbra a little too far forward, so it was poking out. The Grenzer MSR just deleted it. All of this let me push the rest of the link forward into range for the Grenzer FO to take on the Maakrep, downing it in one order. I left the Grenzer MSR and Interventor behind, figuring the Grenzer was more useful in the back and wanting to protect the Interventor.
I split burst on another order and finally got both the Kurgat and the Maakrep off the table with Perseus.
I was basically out of orders, so I just spent the TAG's tac aware to take out the other repeater, and then passed turn.
Turn 2
Top of 2 - Onyx
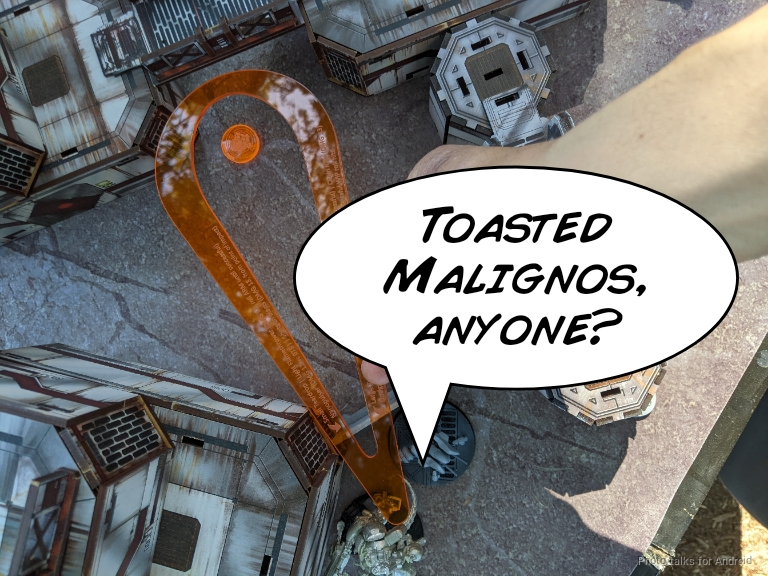
Than was technically in loss of lieutenant, but Rose City Raid has the enhanced tactical link or whatever it's called, so we decided he wasn't in loss. This let him get a Malignos off a roof and grab the beacon, but the Szalamandra could see this an dropped a template on it. Of course, the issue is that I need him to fail an ARM save here, and he doesn't... so... yeah. Fortunately, I've got a Grenzer and a Securitate watching the exit path for the Malignos, so it's pinned in place.
Rather than try to extricate himself from the situation, Than decided to take out my Grenzer FO with his Unidron ML. I win the face to face first, dropping the Unidron, but then the Nexus Gizmokits it back up. On the next order, I lose the face to face, and the Grenzer explodes in fire.
Bottom of 2 - Tunguska
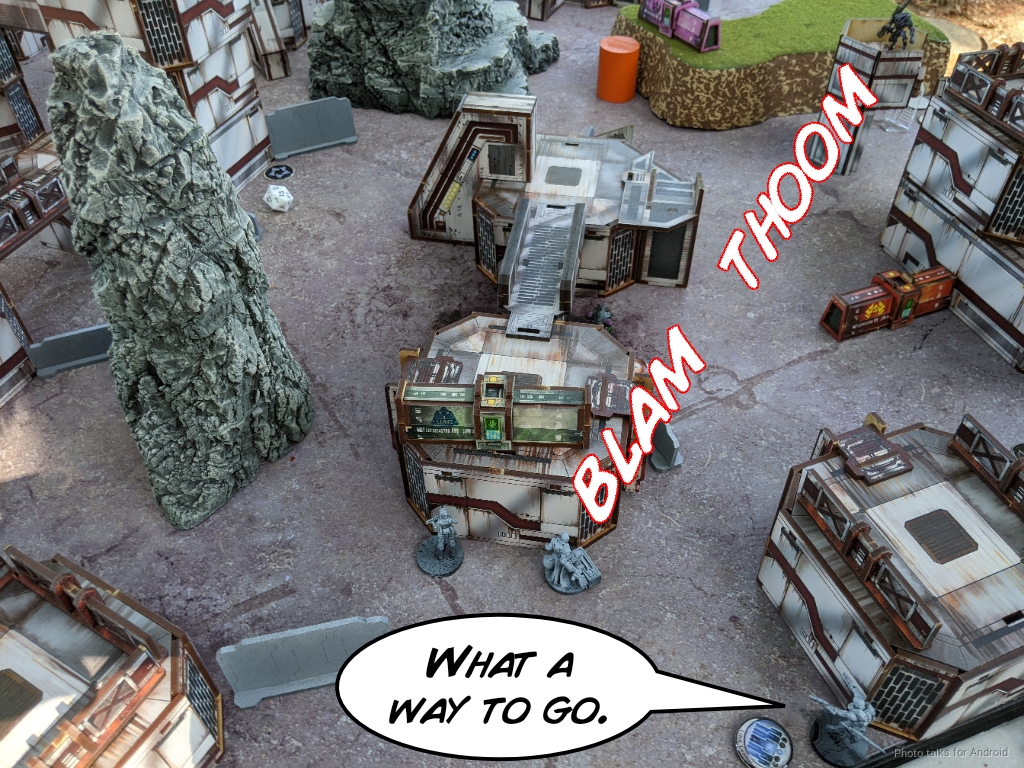
I take out the Unidron with the Grenzer MSR, which clears the way for Perseus... and also the TAG to gun down the Malignos with an HRMC.
Turn 3
Top of 3 - Onyx
The Unidron core advances and takes out my motorized bounty hunter, but runs out of steam trying to get Perseus or the beacon.
We called the game before I could get a classified, so it was a
8-1 Jurisdictional Command of Tunguska Victory!
Post Game Analysis
I think the big issue here was the loss of the Greif immediately. That was too big of a risk on DAM 15 against the Koala. I think probably the thing to do is not run the MBH forward before white-noising the Grenzer. Then the MBH can remove the Koala, and the Greif can run away with the beacon. Pretty intensive, but reasonable? Delaying to turn 2 is also reasonable. I think people rush too much on Capture and Protect on the first turn and overextend.
The other big thing was of course the Umbra being visible to the Grenzer MSR. A pretty big problem, but not serious because I could've always just thrown the Grenzer FO at them. I think one of the fun things about the list is that the TAG tends to occupy a huge amount of your opponent's headspace, but really there are just so many threats. Fiddler, the Zondnautica, and the link are all incredibly dangerous. The TAG is actually probably the least scary thing in the link--it's just a big gun. Don't let it shoot you.
Not a whole lot to discuss, I think I just had the right amount of aggression and tempo moving through all the turns. I think Than's list could have benefited from swapping the Umbra and Unidron ML harises between combat groups. I do really like both Harises though. I think they're full of really sweet tools. That Nexus engineer is awesome. I really like the Kurgat with Dropbears as well.
A reminder about the Durgama Defense Coalition patch giveaway! Click the image below to learn more about how to get some patches!
If you want some stuff to watch, have a look at the Nomad News Network videos below:
Battle Report Author

Army Lists Used In This Battle
Recommend Commander For Commendation
Share this battle with friends
WiseKensaiWins

Great report!
Truly fantastic report! The edited pictures, the speech bubbles, the detailed write-up and narrative. Excellent work, and a wonderful victory! Congratulations!
YAFR!*
That table looks even better with the “mood lighting” from the trees, haha.
*(Yet Another Fantastic Report)
good report nomad
Thanks once again for making reading reports and ejoyable endeavour!