Fought At Cameliard: Reliquary
642 days 10 hours 16 minutes ago
A Battle of Titans
300 POINTSIt’s the final battle of the campaign. Our soldiers are bloodied, but willing to fight one last time! FOR CAMELIARD! We’re pulling out all the stops, I’ve got TWO TAGs inbound to take on a Combined Army strike force.
CA wins the Lt roll, and chooses deployment. I choose to go first.
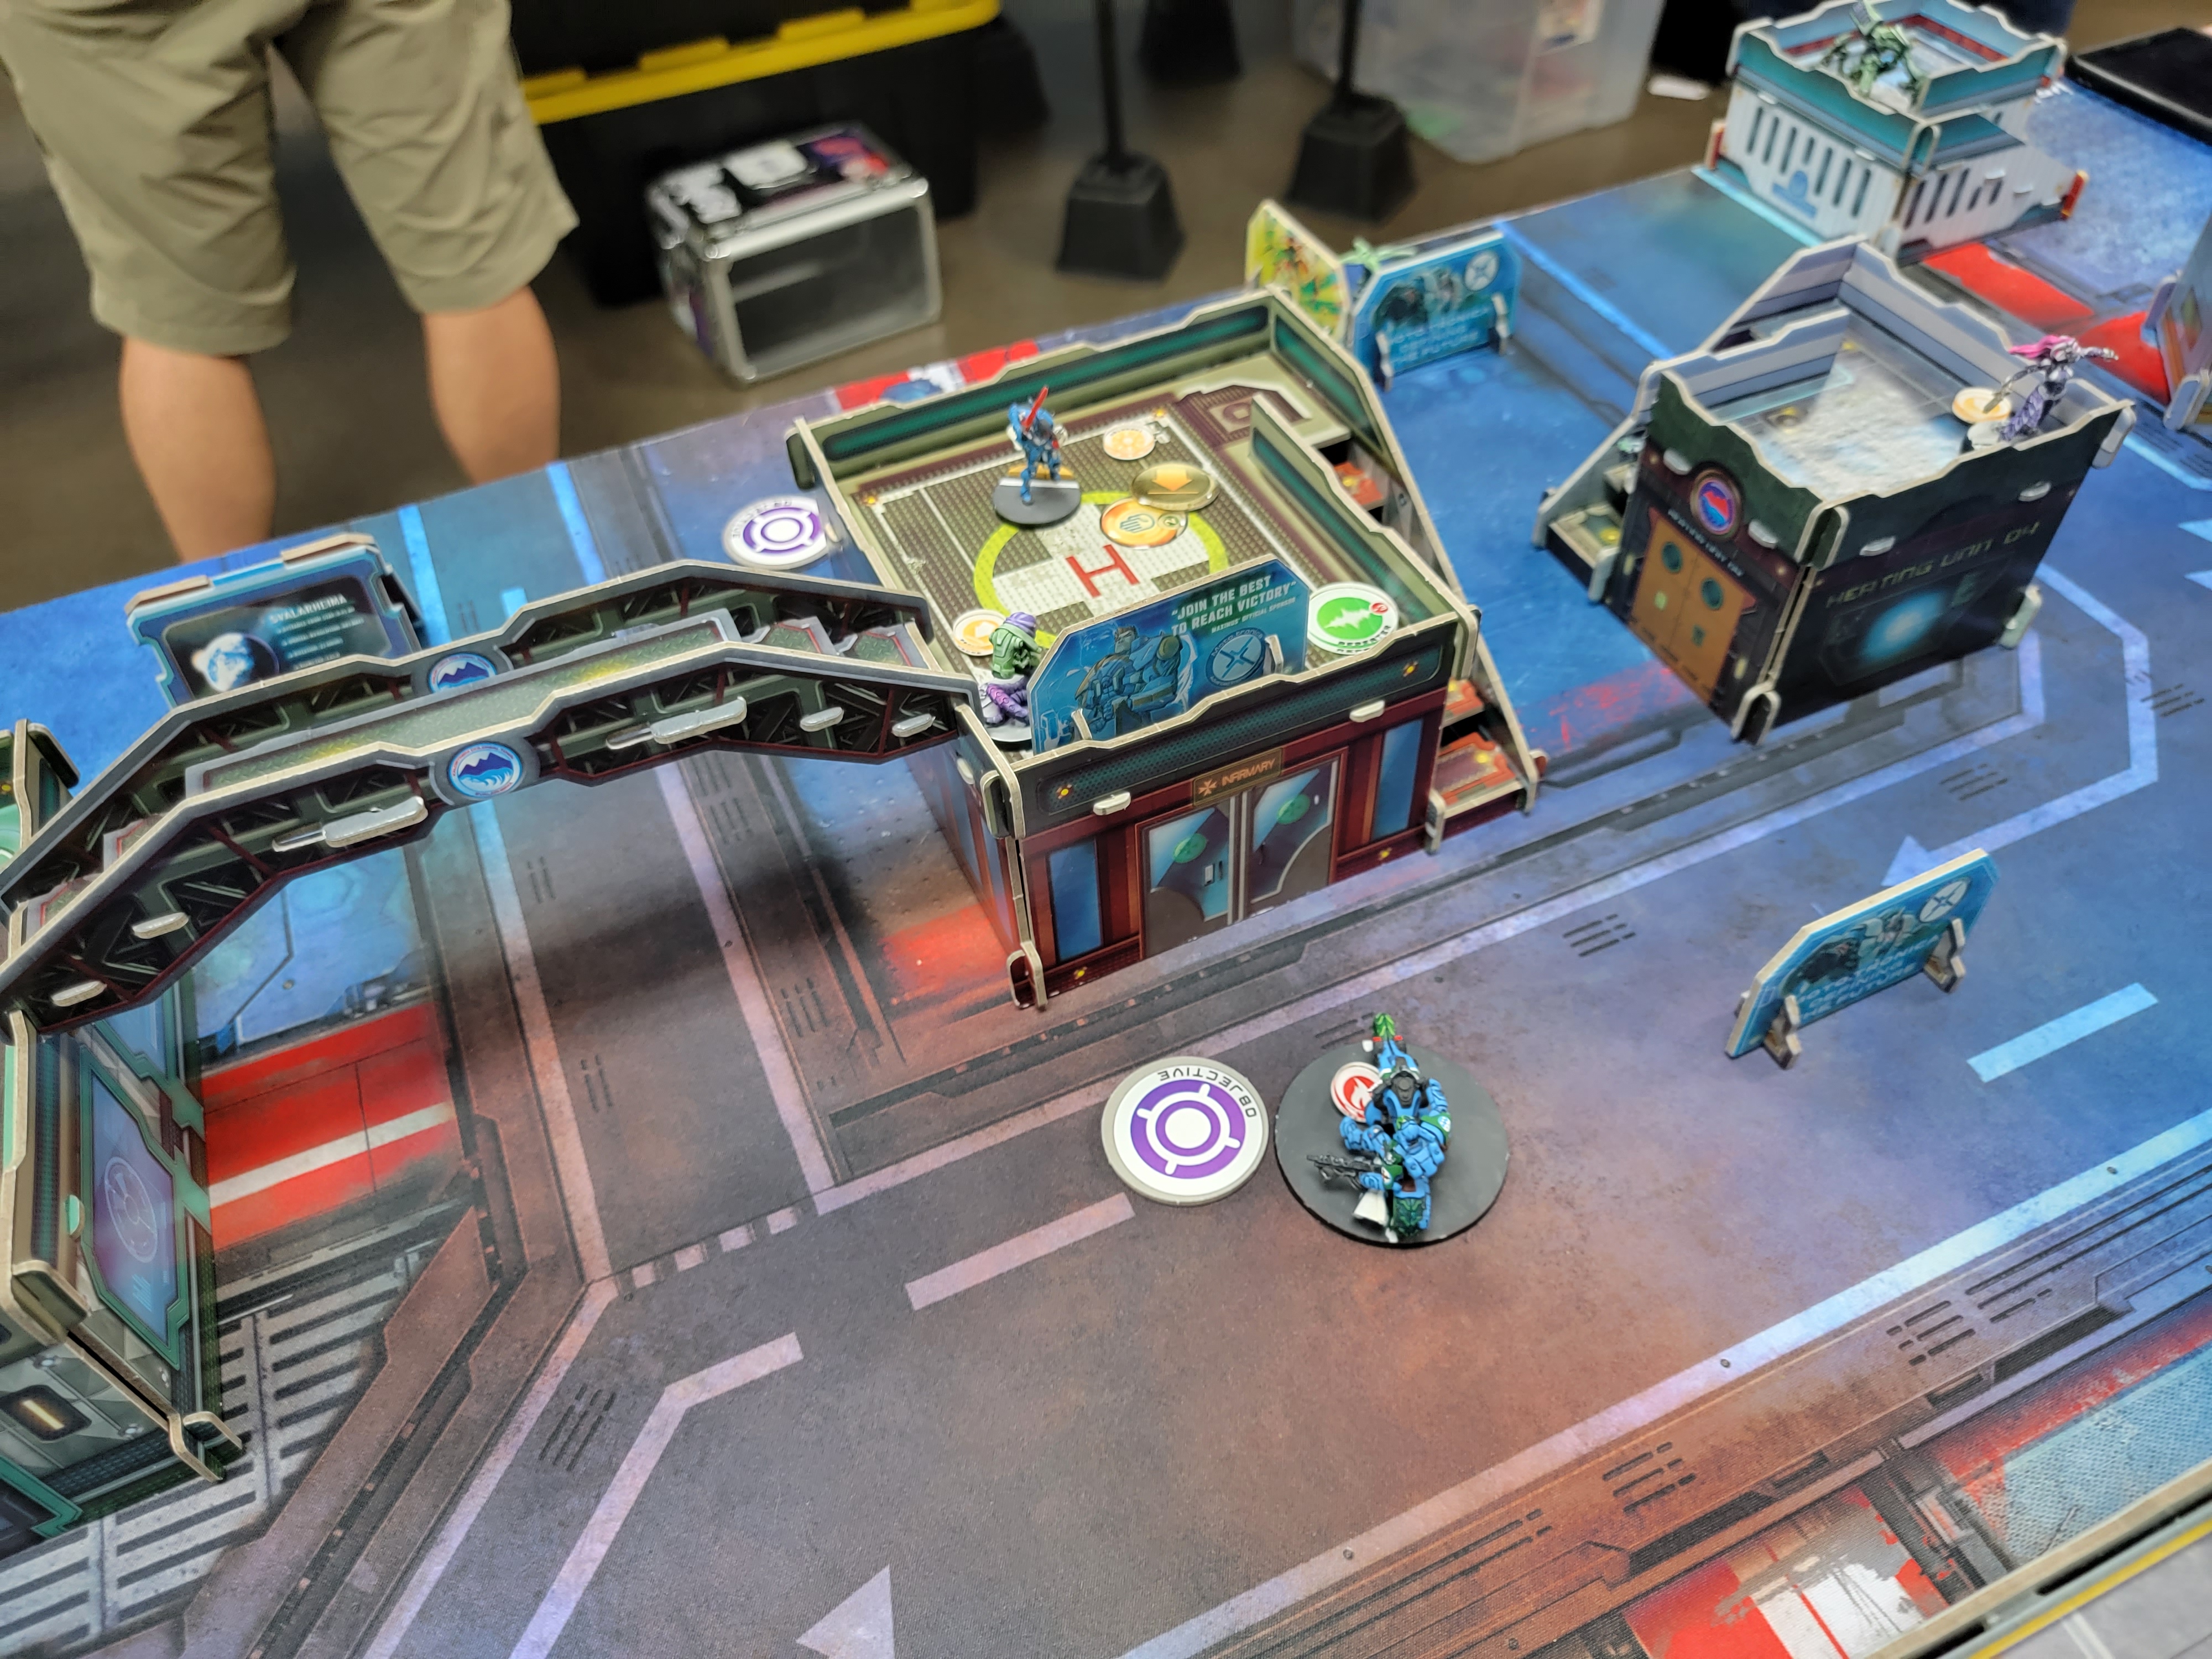
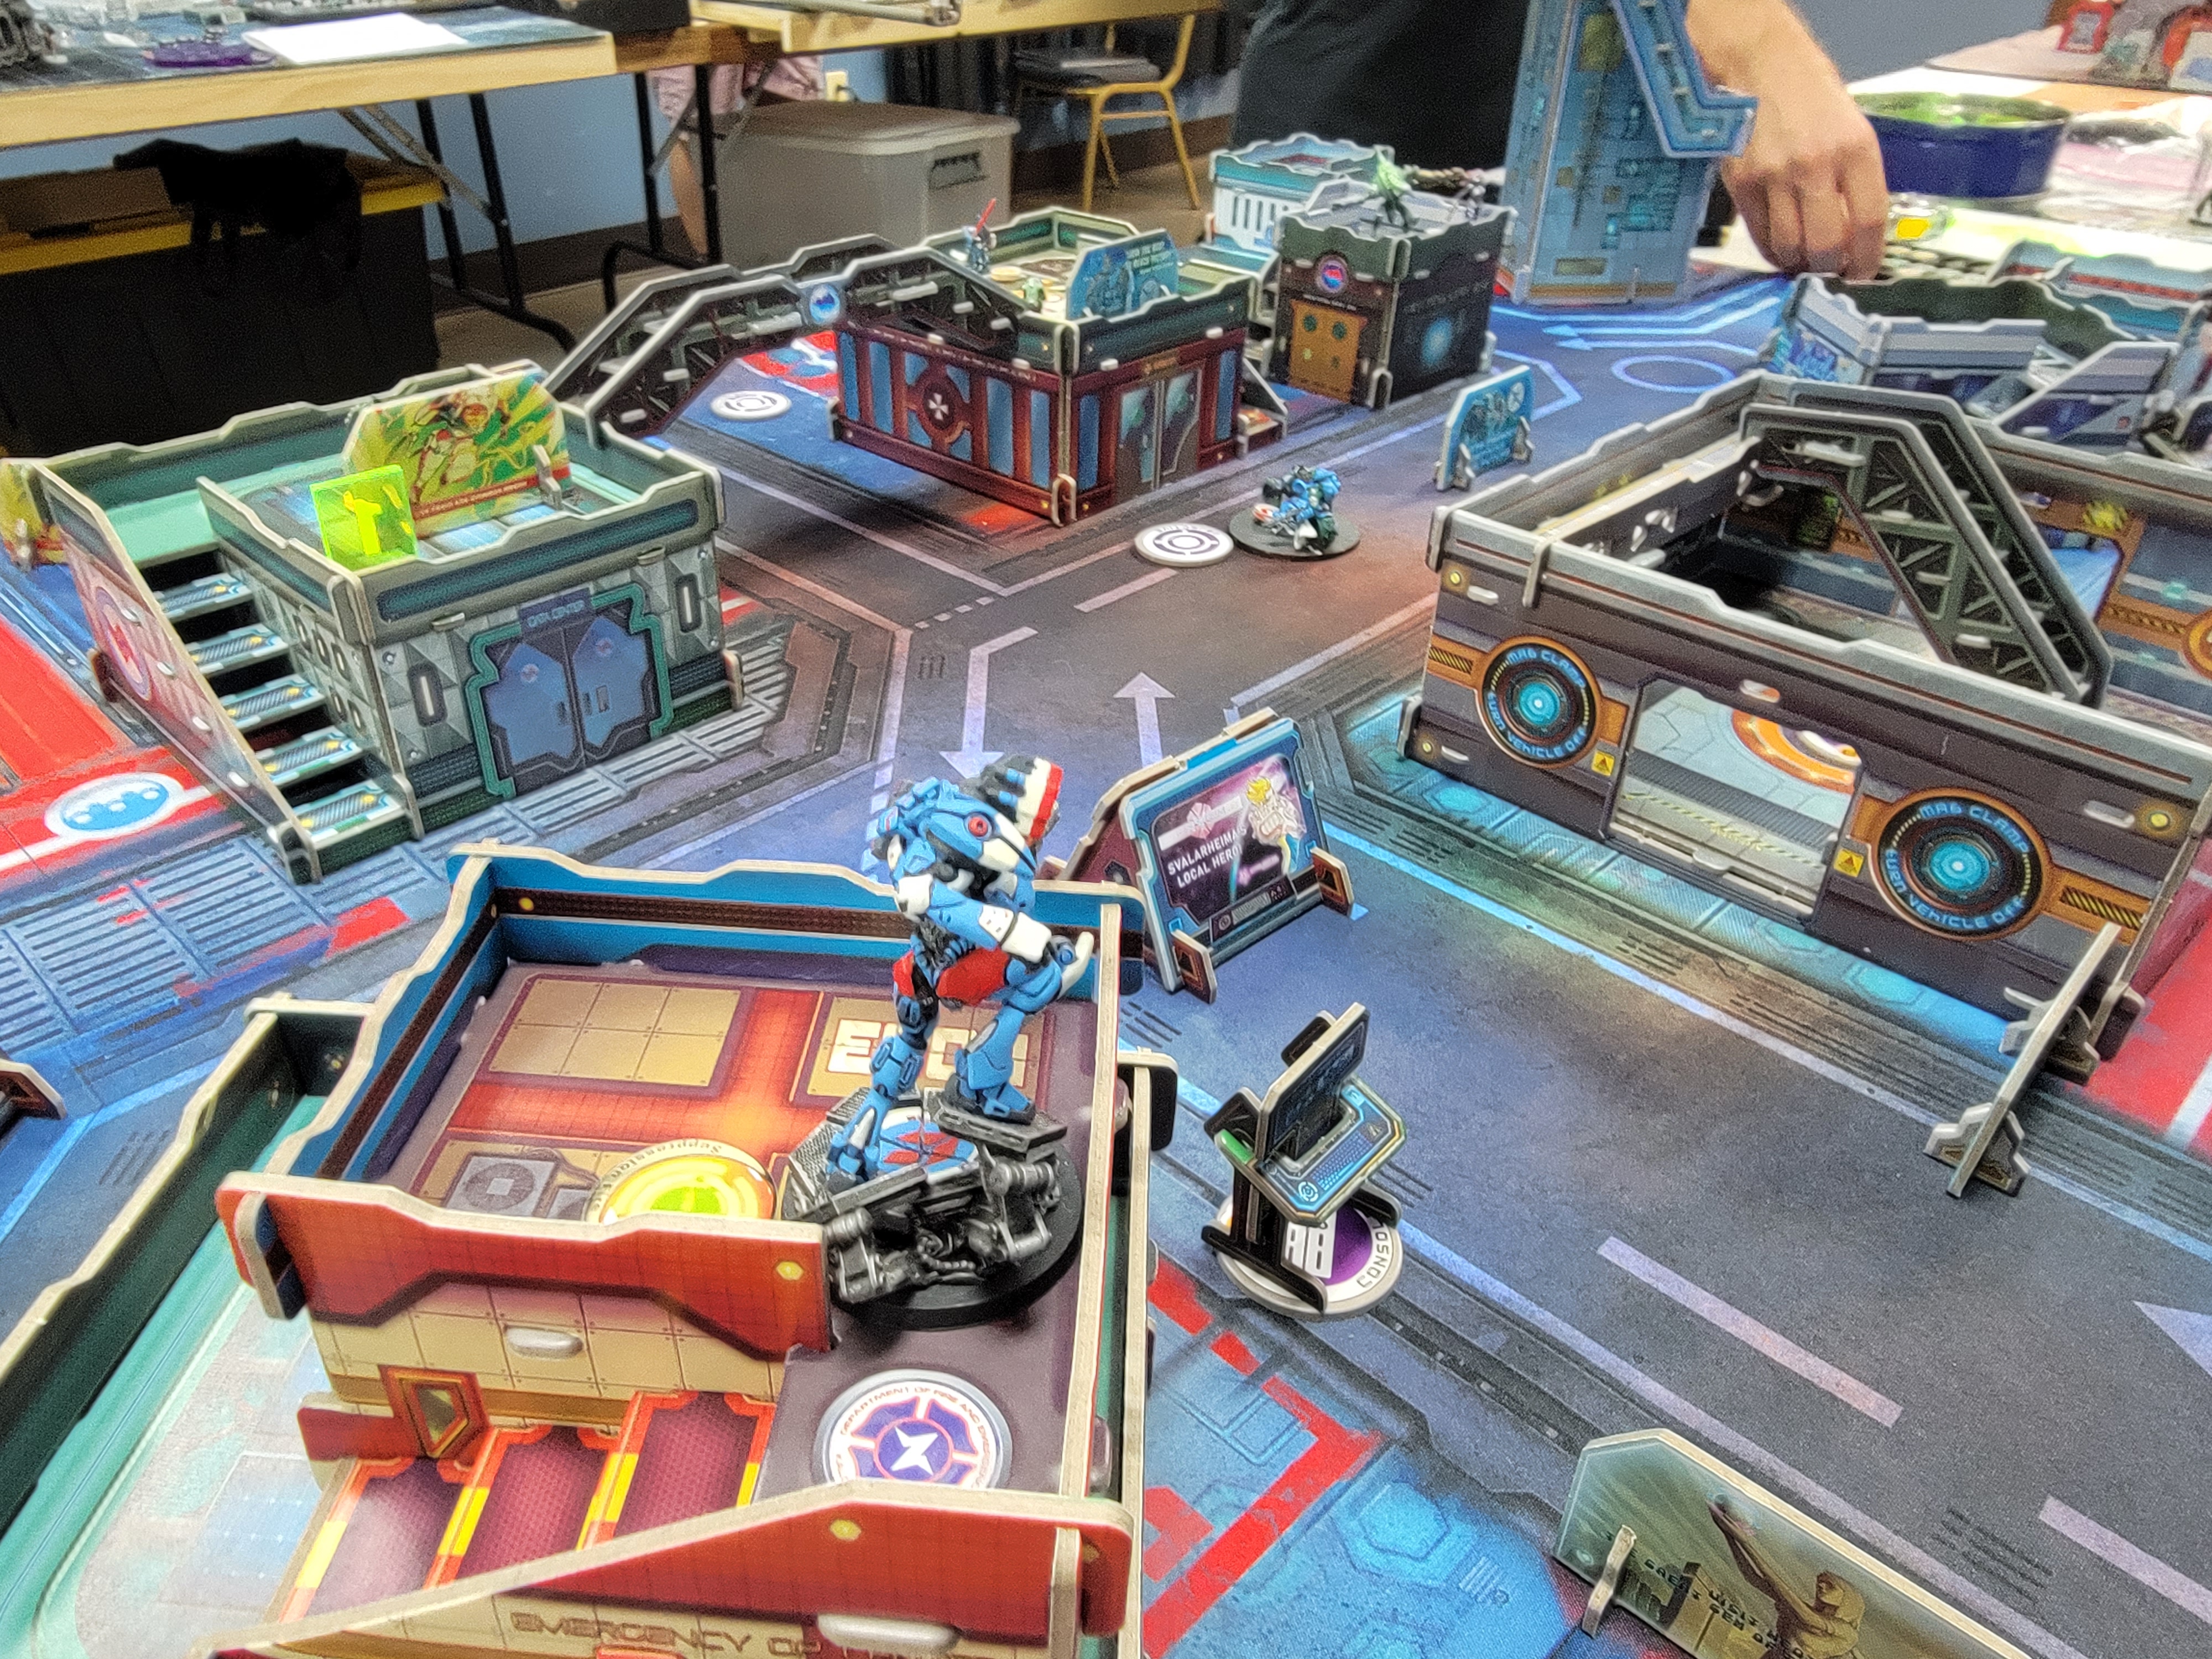
MO Deployment:
We’ve got no idea what we’re up against. Thankfully, we know for a fact we’re not up against an Avatar, so that fear is quelled. I have two TAGs with mobility to cause some major issues, but the Combined Army rarely arrives without copious hacking potential. This could get rough. I decide to hold back both my Curator and the Tikbalang in reserve, spending a Command Token. I know that if I deployed the Curator and her palbot, I’d be giving away that I have at least one TAG. At least this way, I can dictate the engagement by bluffing that I only have the Seraph. I can use the Seraph to bait my opponent into counter-deploying against the Seraph, potentially leaving the Tik wide open to go on an attack run.
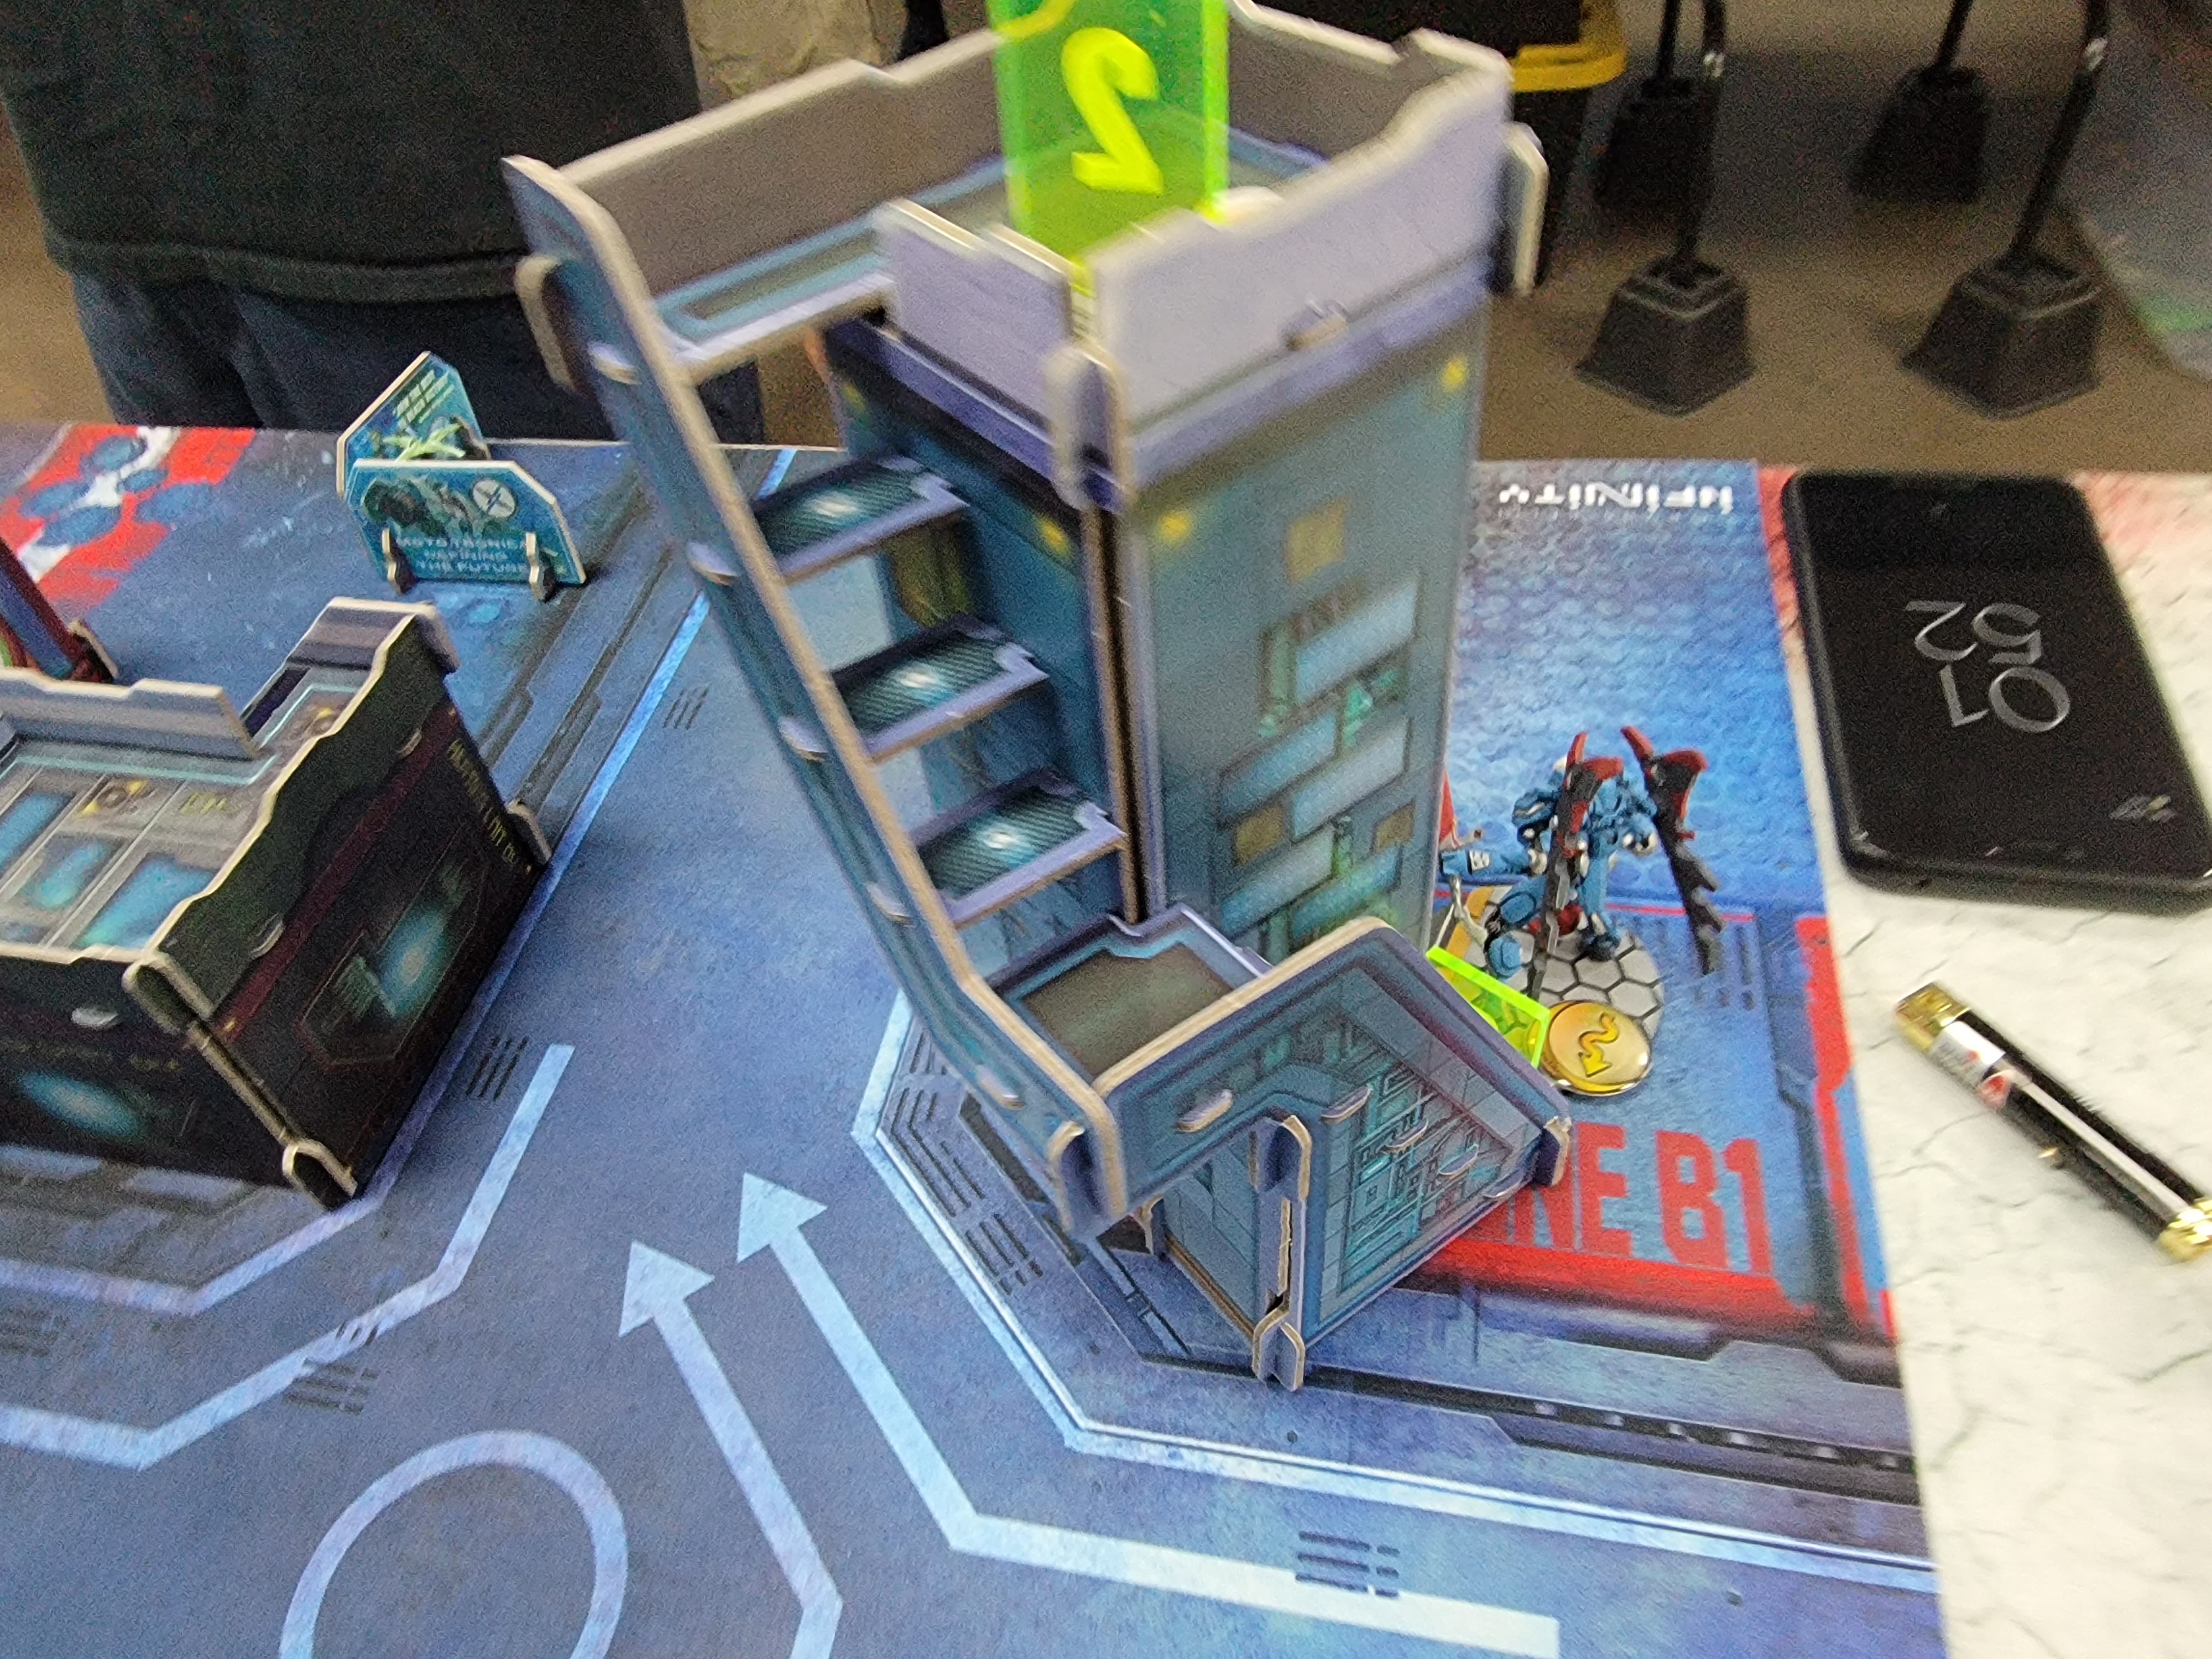
I deploy my Crosier fireteam in a great sniper position. Even with an infinitely tall building in the center of the table, we’re locking down a large portion of the board. Granted, the Crosier MSR isn’t going to survive much, but it’s a great deterrent for Taigha and any other CC threats.
My Seraph deploys in the center, a bit to the right. I also deploy my Motorized Bounty Hunter in the center, with the plan of going on an attack run with my expendable “free” unit. Unfortunately for me, my MBH rolls up a DA CCW. Not amazing.
I deployed my Raveneye near the Core fireteam, with his E/M mine helping block a ladder that would lead to my hidden Knight Commander Lt.
Combined Army Deployment:
My opponent is very adept, and won’t be tricked so easily by my dangling of the Seraph. He sets up relatively defensively. The big problem for me is that he’s got two Hackers. A Dartok and Bit. Along with Bit’s mine-layed repeater, he’s got his DZ on lockdown for the most part. Of course, hiding behind the buildings are Taigha as well, so the DZ is no easy target. He deploys his obvious Mentor Lt on the very top of the tallest building in the entire table. It would take many many orders to get up there, so there really isn’t any point in even trying. I’m most concerned about a T-Drone that’s prone on a rooftop at the back of his DZ. Even if I were to climb one of the tallest buildings on the table, I wouldn’t be able to see it with my Tik. So that means we’re going to have to do it the hard way and take out those hackers.
MO Reserve:
As stated, I held back my Tik and the Curator (with her palbot). I deployed the Tik on the left, because even if I couldn’t get eyes on the T-Drone, I could potentially get some solid firelanes horizontally down the table. The Curator deployed in the center of my DZ, with her Palbot nearby the Tik.
Combined Army Reserve:
Did I say two hackers? Make that three. My opponent’s reserve is an Umbra Samaritan hacker. Triple the hacking frustration haha. Since the Umbra knows the T-Drone’s rooftop is untouchable from afar, it deploys prone next to it. It’s also a solid CC defense for the Missile bot if I happened to bring an AD troop or something.
MO -
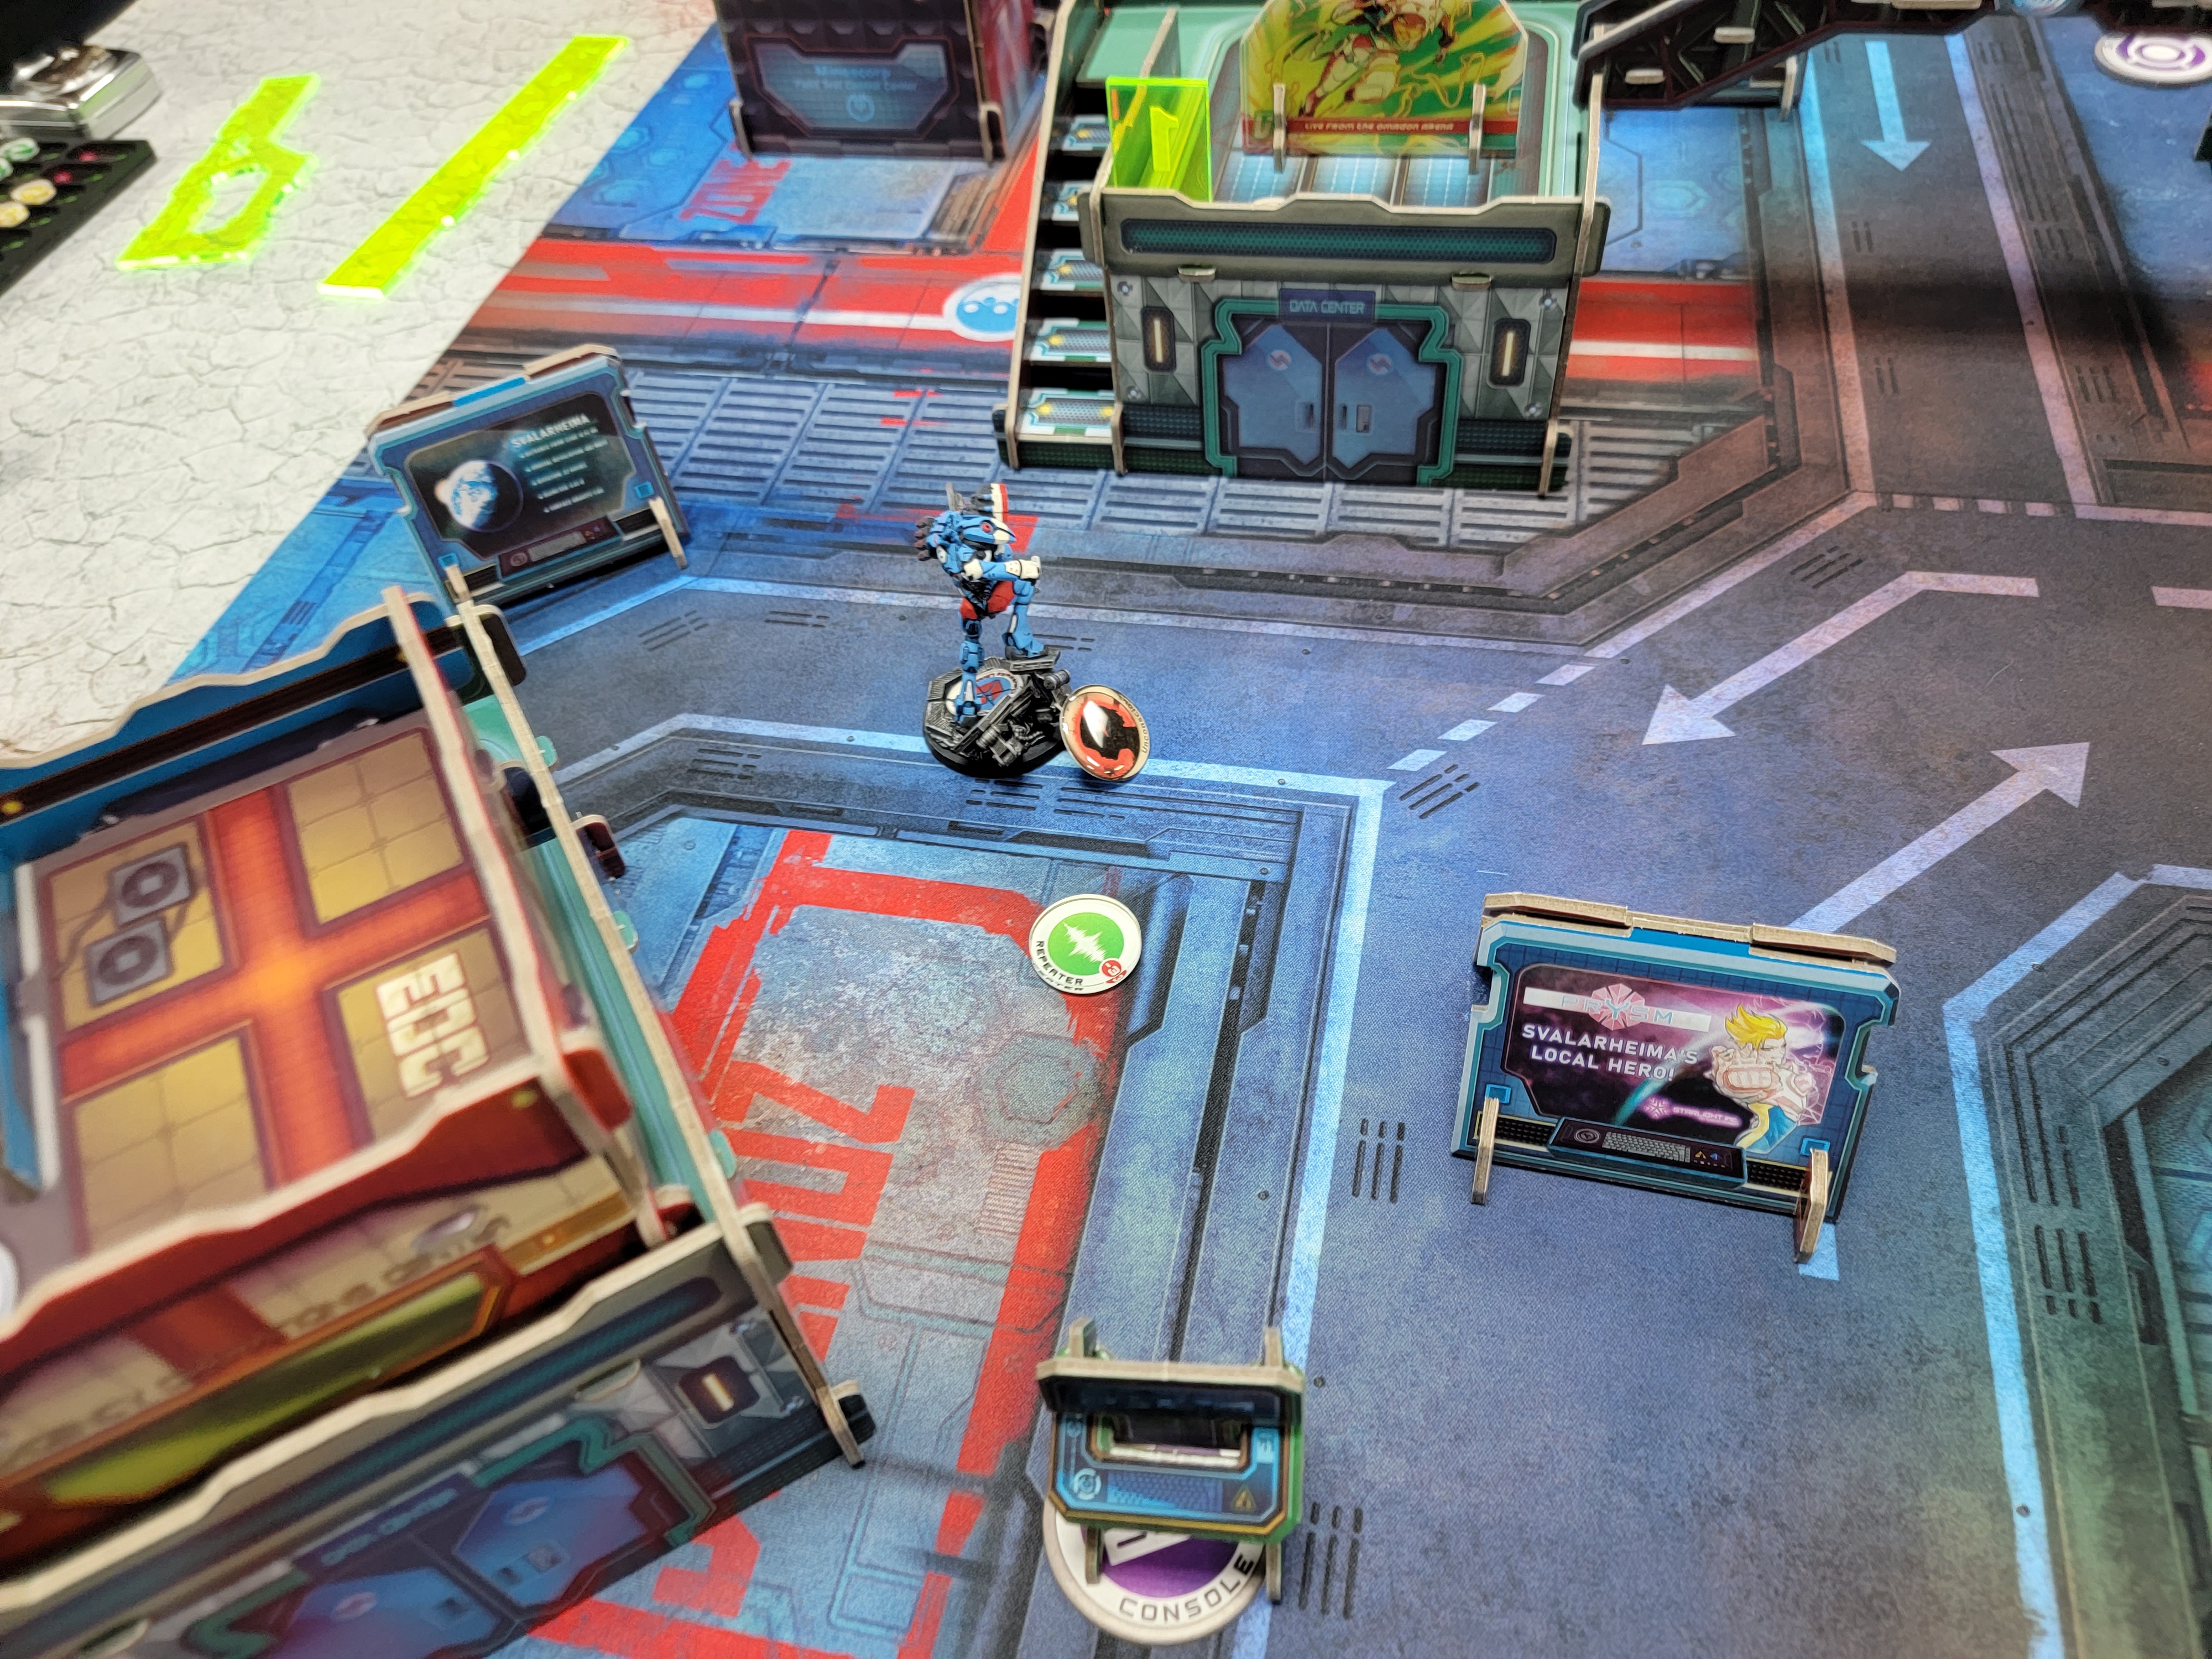
Start of the game, I’m immediately nervous about a Noctifer. I’m not as adept in my memorization of points values of CA units, so I don’t know how much is missing, just that there’s definitely something missing. Impetuous must go first, so we move up with the Motorized Bounty Hunter. If anything is going to get shot by a Hidden Deployed Missile Launcher, I’d like it to be my free addition. We move up to the center console and attempt to press the button. Annoyingly, he fails the first attempt. Rather than try again, I’m intent on getting this guy into my opponent’s DZ and causing as much havoc as possible. We encounter a Flash bot on the way and knock it unconscious with our Red Fury. We do get spotlit, but where we’re going, we’re not going to last long anyway. Once he’s near the DZ, my MBH hops off of his motorcycle so that he can crawl up the stairs past a Taigha. I know it’s going to get eyes on me eventually, but if I’m going to get chain colted, I’d like it to be while I’m going out in a blaze of Red Fury bullets at my enemies.
The MBH fires upon Bit, a Taigha, and an R Drone. To my dismay, Bit PASSES her armor saves and the R-Drone successfully Stuns my MBH. Well that sucked. Lucky for me, I did manage to kill a Taigha, and managed to pass the armor save from a Chain Colt.
So now my MBH is prone on a rooftop, targeted, ready to just get missiled to death. Ah well, at least it didn’t cost me anything.
 Motorized Bounty Hunter left his bike behind, but didn't get far on the rooftop. This could've been SO much better
Since the MBH didn’t bait anything out, I figure it’s safe to run my Tech Bee up. She successfully makes it to the rightmost console and succeeds in turning on my DZ heater. She then took up an ARO position, hoping to help with her Flash Pulse before the Killer Cold eventually got her.
This next part is definitely a mistake. I decided to move my Tikbalang up to the center line on top of a tall building. I figured that if I’m up high enough, I’ll be able to dominate from range with my AP HMG. I’d also really like to keep the Dartok and the Umbra in hiding, so this will hopefully deter them. Because even if I’m back in my DZ, I figure the Dartok could still lob pitchers at me and then I’d be closer to my friends when the TAG goes crazy.
What I completely failed to realize was that BIT was still alive! And of course, that meant Kiss was up and running as well.
Silver lining is that I was able to kill one more Taigha.
Making things even worse, I made an extremely risky move by going into Suppressive fire with the Tikbalang. This allowed my opponent to reveal his Sphinx in ARO and take a pot shot. So now I’ve given my opponent their TacAware order. Ugh. Thankfully, the shot goes wide, but unfortunately, it confirms that we’re outside of 24 inches. So even if I wanted to suppress the Sphinx, I won’t be able to. Rough first turn, but let’s tough it out.
Combined Army -
As I mentioned above, big mistakes have big consequences. The Tik IMMEDIATELY gets pitchered by Kiss. Since it’s not a F2F, there’s not even a way to stop the repeaters from flying right at me. The Tik kills Kiss, but unfortunately one of the two repeaters finds its mark. Here we go…
Of course the Tikbalang gets possessed on the first attempt by the Umbra. This is PanO WIP we’re talking about here. The Tikbalang lumbers down the building headed towards the rest of my army. I command everyone to open fire. If we can bring it down, I can repair it next round. The Tikbalang goes all in on the Seraph. Thankfully, the Seraph managed to win the F2F.
My Crosier Sniper opted to fire AP rounds. With all of these shots coming in, I didn’t want to risk doing too many wounds to it. AP ensures that our hits will probably wound as well.
Sensing that this tactic wasn’t working, my opponent opted to run the Tikbalang back towards his DZ. His goal was to run a Daturazi up to it and get into CC, so that even if I took it back it would be 1) in the Dartok’s hacking range and 2) locked in CC.
Thankfully, my opponent ran out of orders to be able to do that plan effectively.
As the Tikbalang marched toward the enemy deployment zone, my Crosier Sniper dutifully took his shots, finally bringing the Tik down to unconsciousness.
Now that that was resolved, the Sphinx needed to get to a more defensible position. On the way, he fired at the Tech Bee, killing her. My MBH managed to stall for one more turn, ensuring the Sphinx couldn’t get too far away. On the next volley, the MBH went down.
With only a couple orders left, the Sphinx retreated behind a building, trading shots with my Seraph. No wounds were taken on either side. The Sphinx slinks back into Camouflage.
MO -
Losing the Tik hurts, but we happen to have a second TAG on the table. Time for the Seraph to show people what she’s made of. I made a huge blunder here by spending a command token to cancel the possessed state on my Tikbalang. I didn’t have any plans to get him up this turn, and at least while he “belongs” to my opponent, he can’t be attacked. I’ll pay for that mistake later.
Back to the Seraph! One of the greatest advantages of the Seraph is her Auxbot friend. Super Jump can also be useful. In this instance, on our advance, we were able to super jump to get a slightly better angle on Bit, taking her out. One hacker down. My eyes are focused entirely on that Sphinx. If I’m going to have a chance to hold the center zone, I need to take out any high-value targets that can survive the Killer Cold.
The Auxbot zooms up the table, rounding a corner to see the Sphinx. Because the Sphinx has relied on a Taigha for defense, there’s a valid target for us to lay our Heavy Flamethrower down. The Sphinx opts to shoot at the Seraph. The Taigha dodges. Incredibly, the Seraph manages to get a couple of hits through the Sphinx’s Mimetism. The Sphinx tanks one save, but fails the other and FAILS the Heavy Flamethrower save! Sadly for the Auxbot, he had to come out a bit further to pull this off, so he ended up getting shot and killed by the enemy MBH. I’m nearly out of orders now, and I need to kill this TAG. I could go in for CC, but then we’ll be too close to the rest of the enemies, and his Mentor Lt will be in my rear arc. I don’t want to give the Mentor any free AP shotgun shots at the Seraph’s back. So, I opt to move back to the right side of my opponent’s DZ. We’re still vulnerable to Pitchers from the Dartok, but at least it’ll be long range. I take some wild shots as I leave, thankfully removing the Sphinx completely and killing the Taigha. I decided to ignore the MBH, hoping that I’d tank the armor saves from its damage 13 Red Fury. We did……. For now.
Combined Army -
Losing the Sphinx was a hit, but CA is not out of this fight. The Motorized Bounty Hunter launches itself at my Seraph. Thanks to the mimetism on the bike, my Seraph missed every shot. Even worse, within an order or two, the MBH has my Seraph out of cover and deals TWO wounds to it in a single shootout. That’s really not good. To make matters worse, my Warcor is desperately trying to stun it from afar, but failing each time.
Frustratingly, the Seraph goes down on the next set of shots from the MBH. And to make sure it doesn’t wake back up, the Mentor Lt moves over and performs a Coup de Grace.
Because I mistakenly un-possessed my unconscious Tikbalang, the Dartok was free to stand up and fire his SMG at it repeatedly before it died, completely avoiding my sniper’s overwatch, frustratingly.
MO -
Well, it’s looking pretty dark here, but I technically have two things that can survive the Killer Cold. A Fugazi, and a Palbot haha. As long as I can keep the enemy Umbra Samaritan (my opponent’s SnowOps) from getting to the center of the table, I may be able to win.
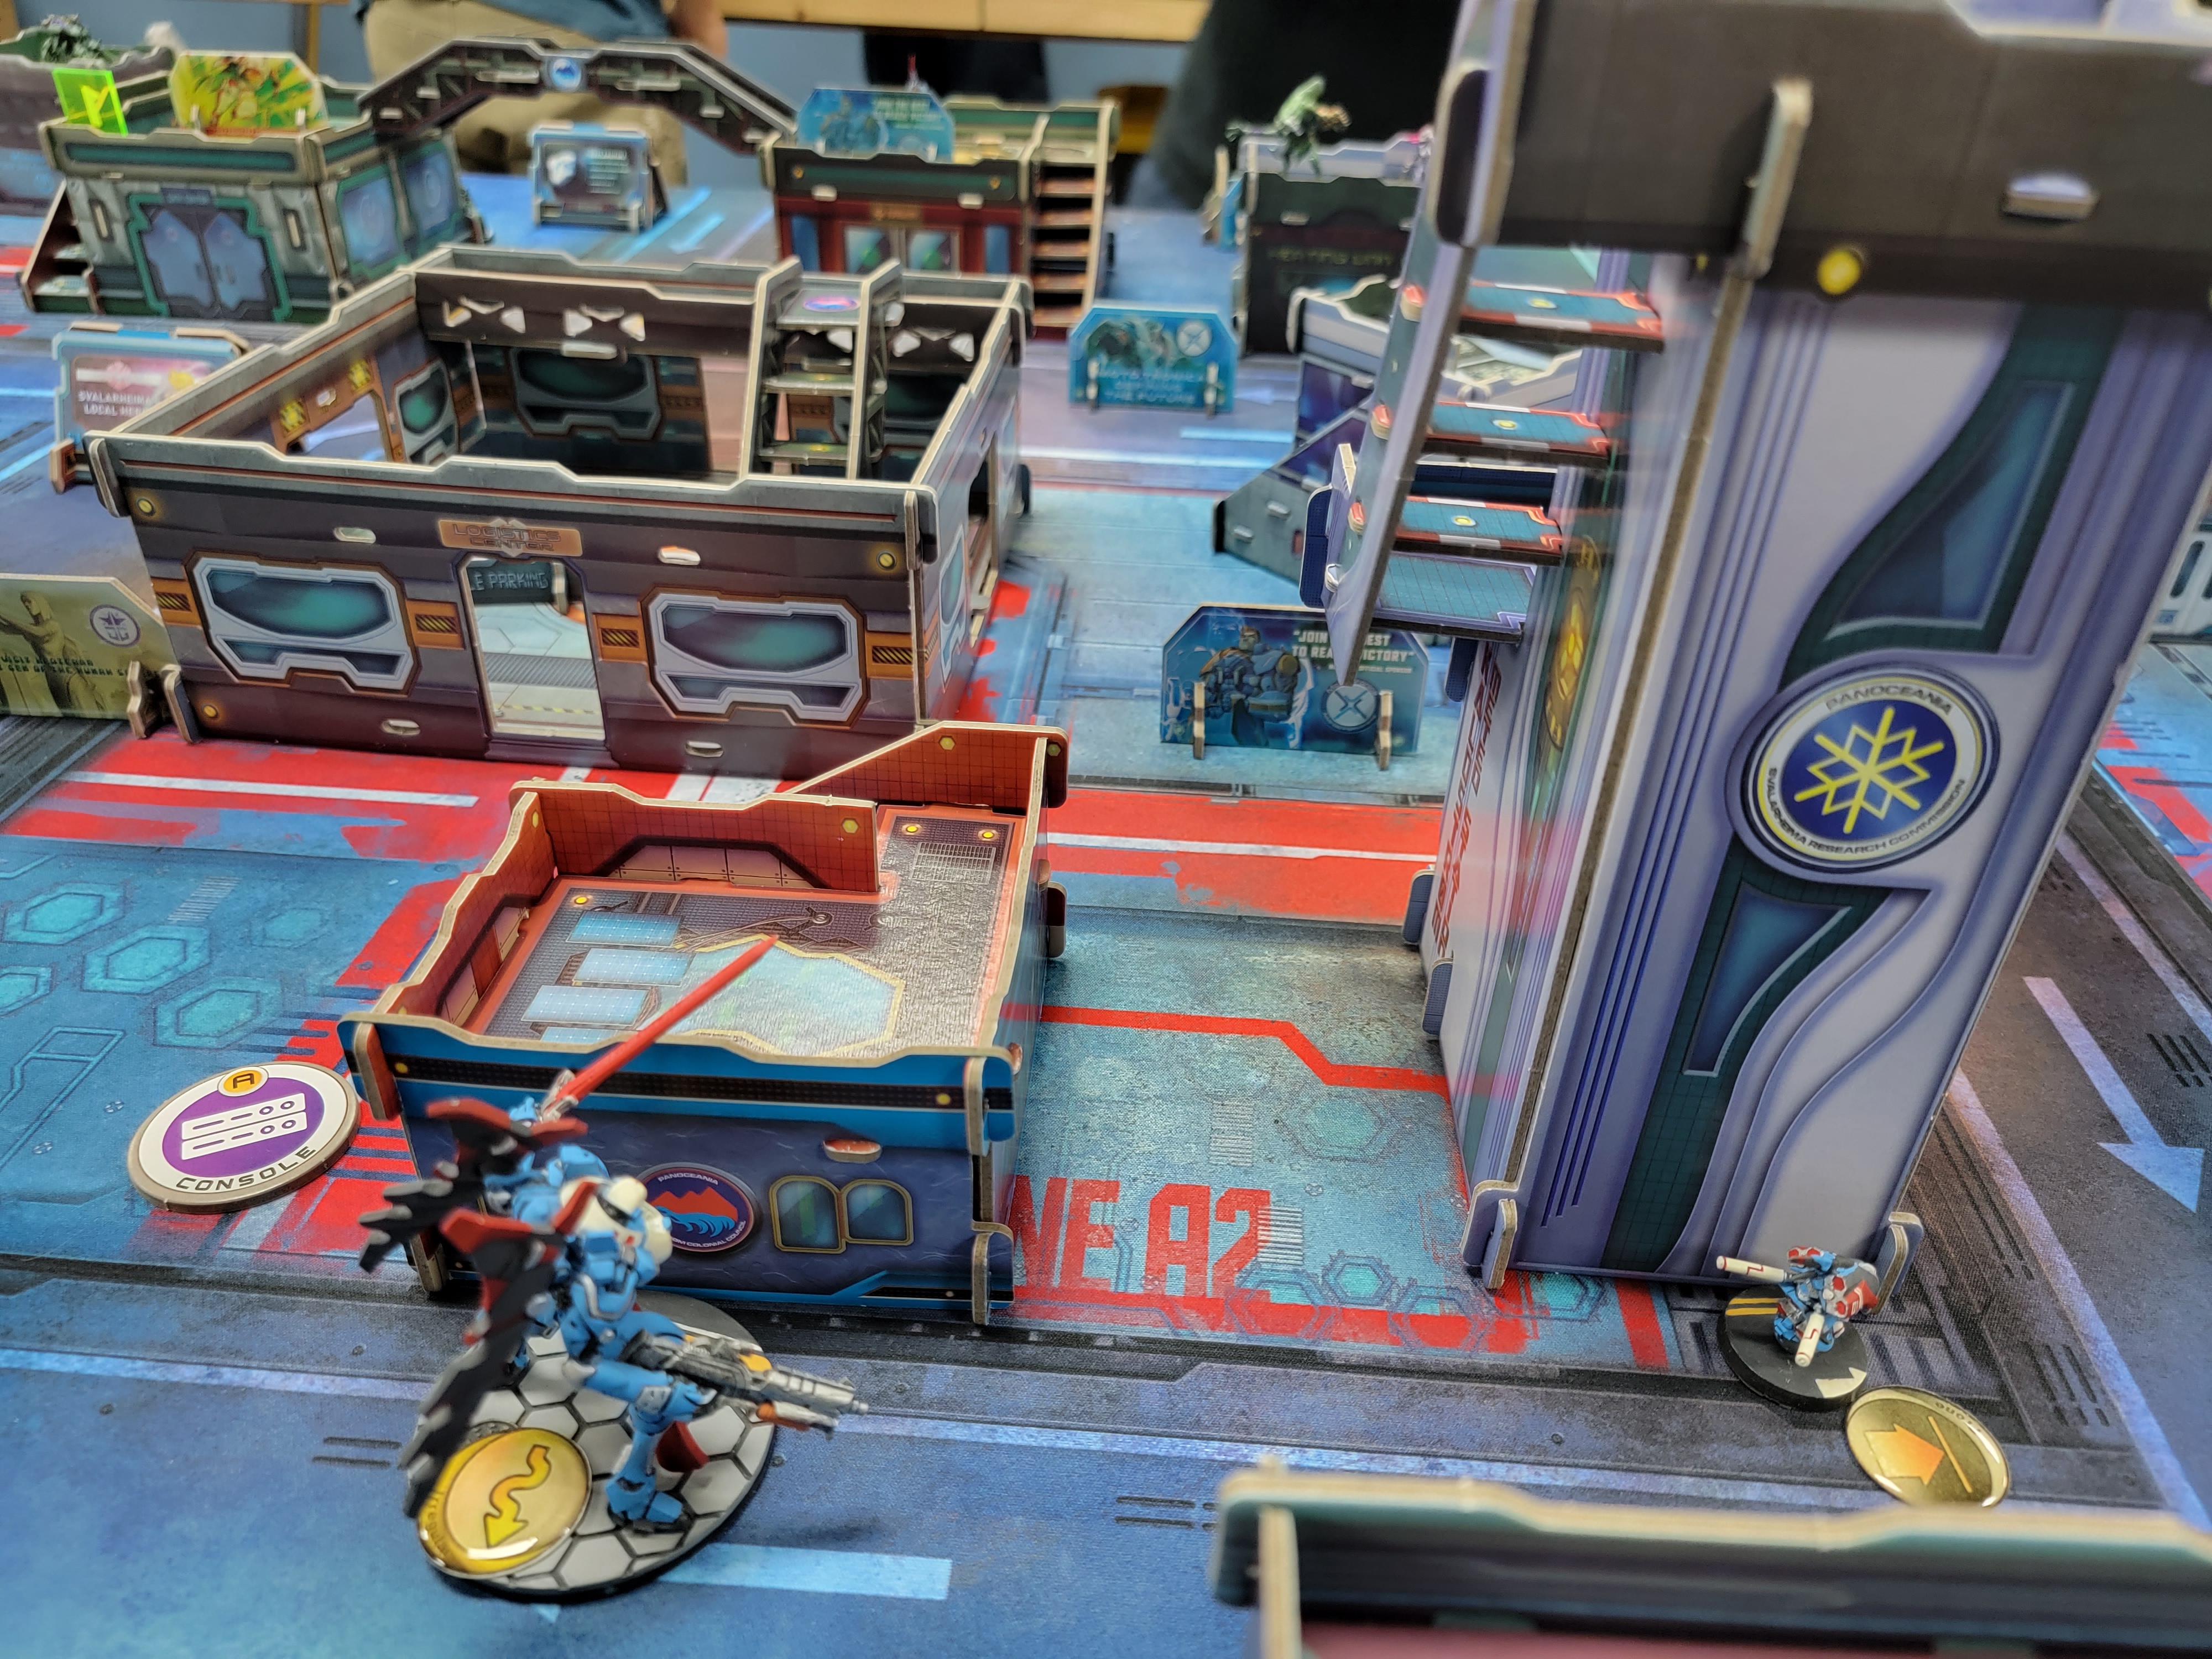
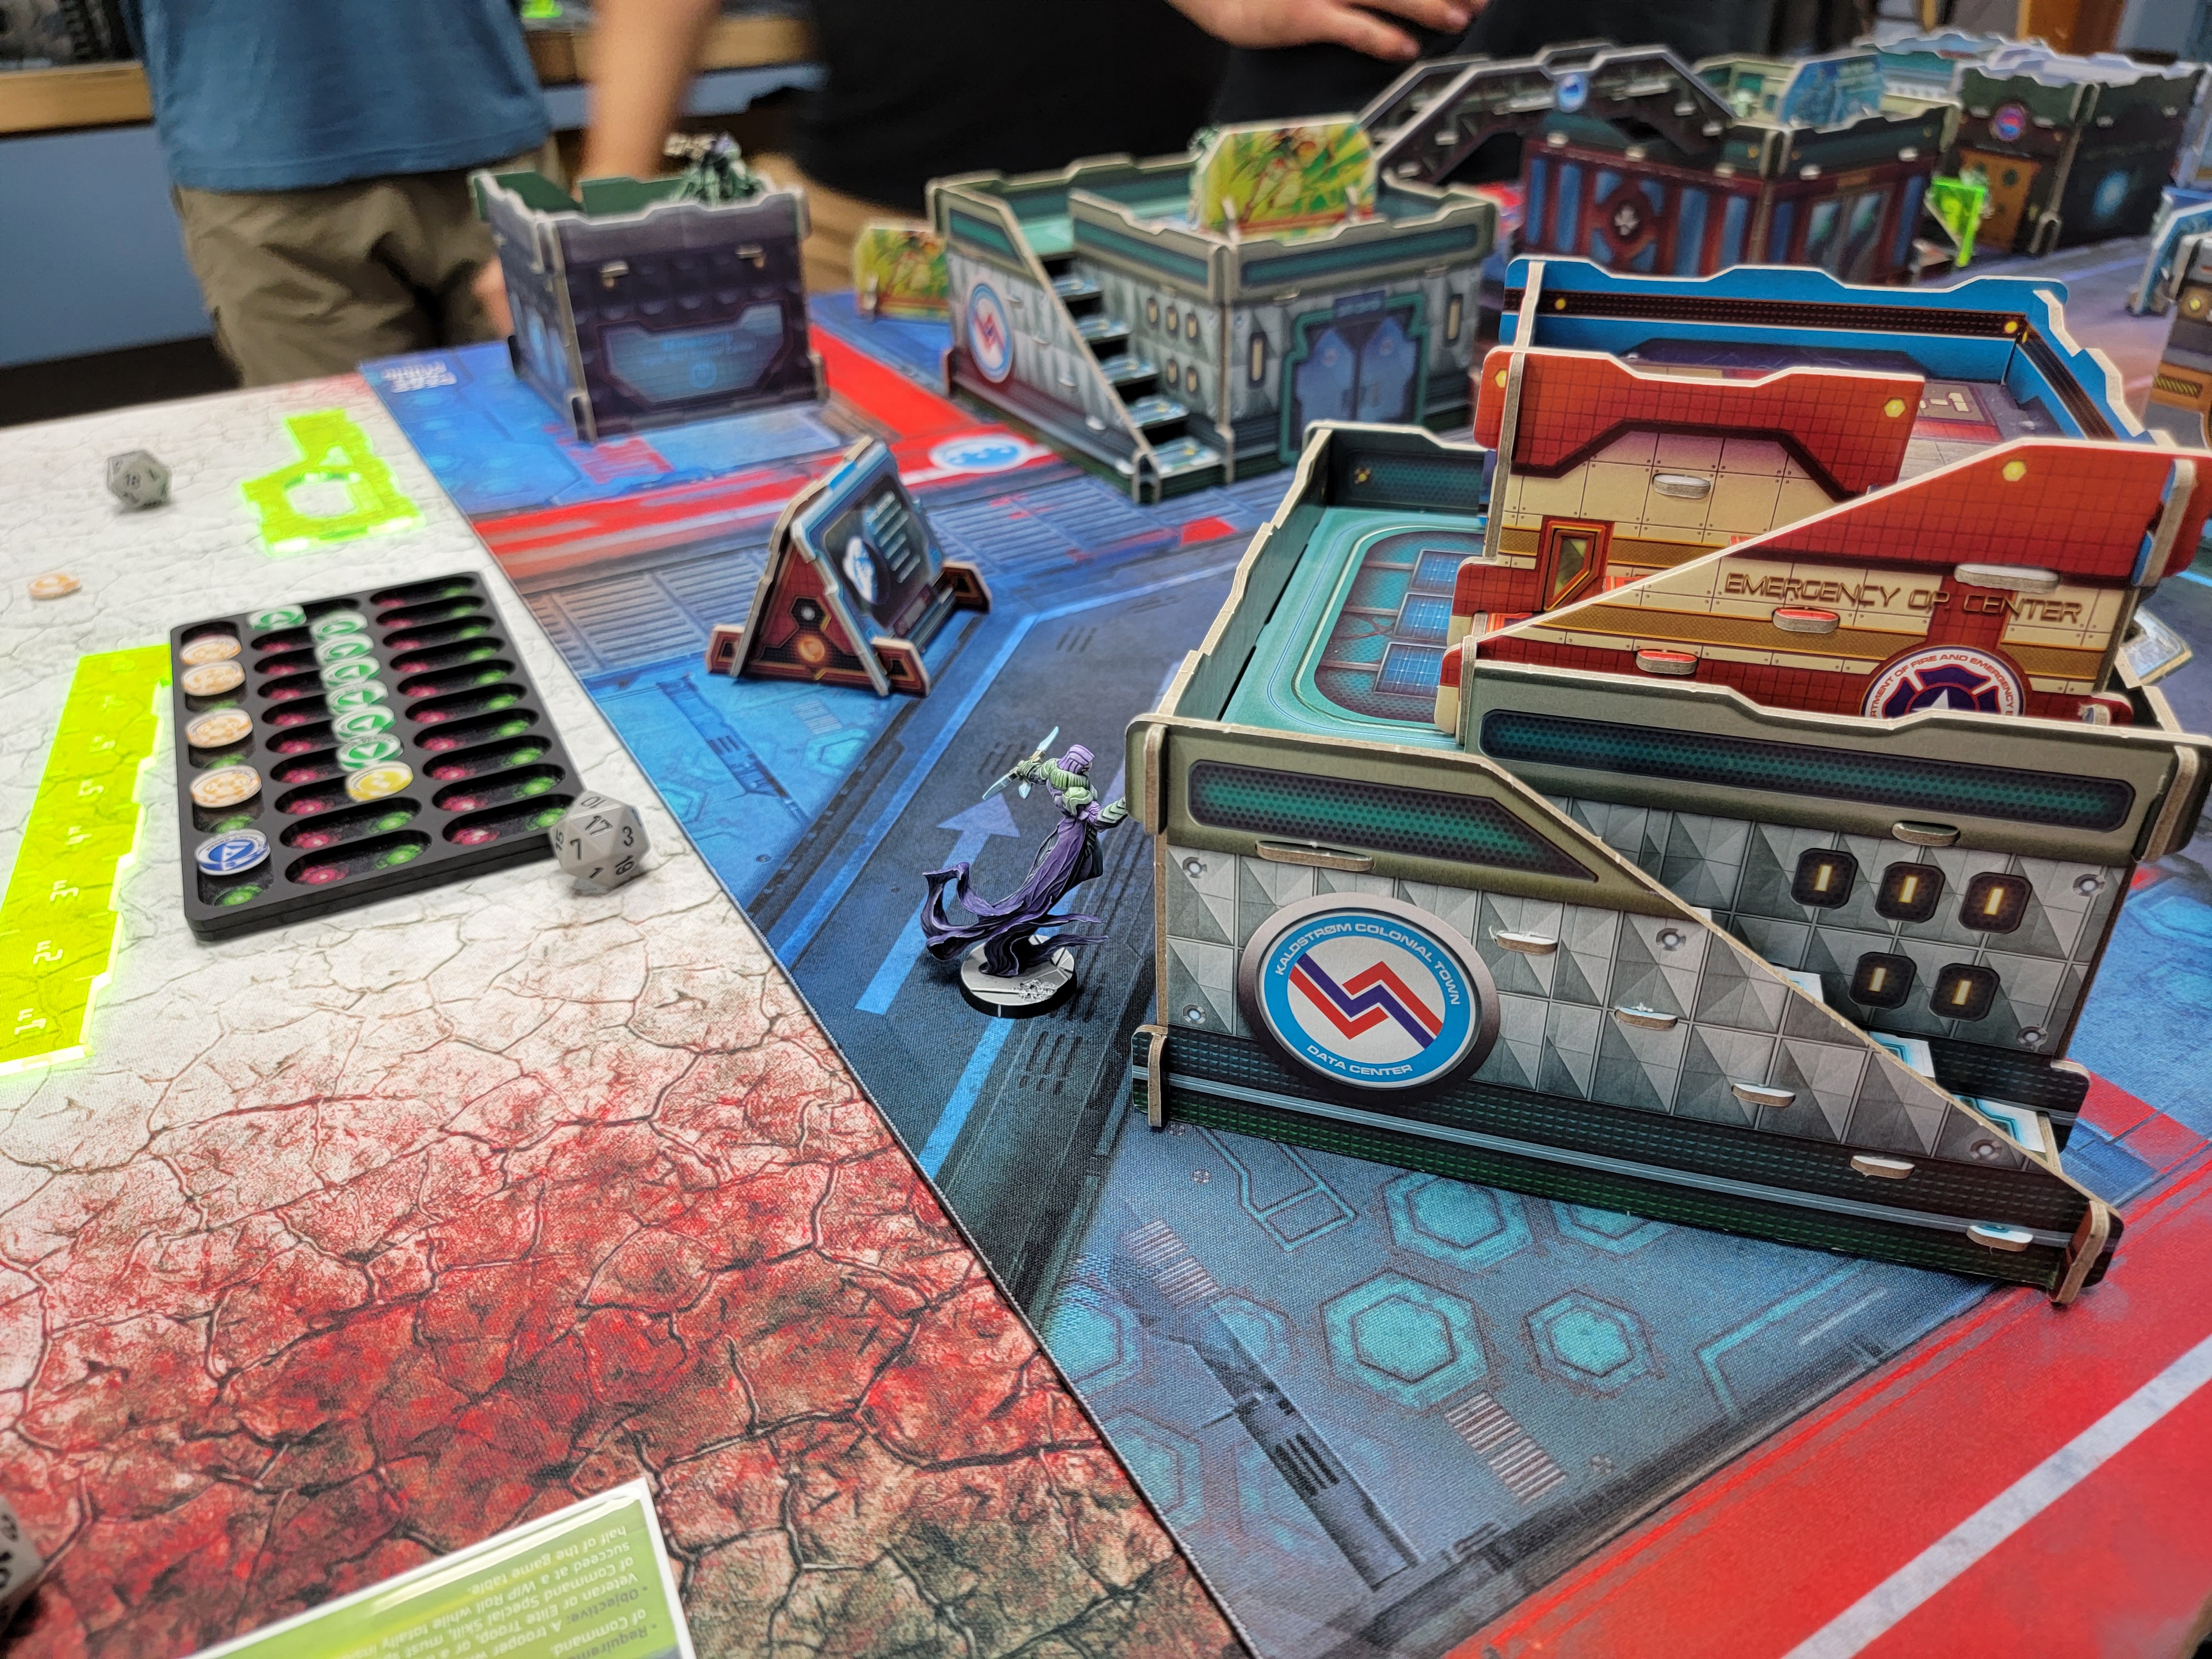
That’s not going to be easy, so we need to do as much as we can before that. I reveal my Trinitarian from hidden deployment and get to work. I know I don’t have enough orders to get over to kill the Samaritan, but I am able to get over to my opponent’s side of the table to score Net-Undermine and end my turn in contact with an unconscious Kiss. So if my opponent manages to turn on a heater, we’ll score the Capture classified as well, hopefully.
My Crosier Sniper team repositions slightly to get better LoF to the Samaritan. We stand up with the Crosier MSV2 Spitfire and my hidden Lt. We need as many shots as possible to make this work.
Combined Army -
Well, so much for that plan. Turns out, my opponent had the perfect amount of cover to cautious move many many times to get to the center zone. If I can’t see the Umbra, I can’t stop him. In a final attempt to activate one of the consoles, the Caliban Engineer came down from his hiding spot, but ended up getting shot to pieces by my Core fireteam.
Since my opponent didn’t activate any consoles, that one point was enough to allow me to win. We each succeeded in one classified, my opponent dominated the center, but I killed more enemy points.
This game was insane. My opponent is an extremely good player, so you really can’t make any mistakes without him capitalizing on it. I honestly thought I lost this game before we counted up the final score. Not being able to get a single eye on that Umbra as he moved up was maddening, but definitely a testament to how useful that 6-2 movement can be!
This battle happened during a tournament this weekend, and my Military Orders managed to come in second overall! I got permission from my opponent to attribute it to the Campaign.
It’s been an honor fighting for PanO during this campaign!
Battle Report Author

Army Lists Used In This Battle
Recommend Commander For Commendation
Share this battle with friends
Thanan RolliceWins

nice. a different kind of double tag list for pano. pretty sure i couldn’t deploy it though. to little anti-airdrop/anti-camo-net for my locals :/
Dude this is a 10 star report for that mood music, awesome game!
Awesome work, well done!
Well done commander!