Fought At Raveneye Port Battery: Port Fire Control Module
650 days 19 hours 26 minutes ago
Theft at Port Battery
300 POINTS"Hey, are those backwards Ariadnans supposed to be this far from their half of the battery complex?" - one of the Hollowmen messaged his teammate in their team chat server. "Who the hell cares? More target practice for us - lock and load, and don't forget to run diagnostics on your leg actuators this time around. Don't want to lose another match because of you failing to perform routine diagnostics and landing on your ugly faceplate again"
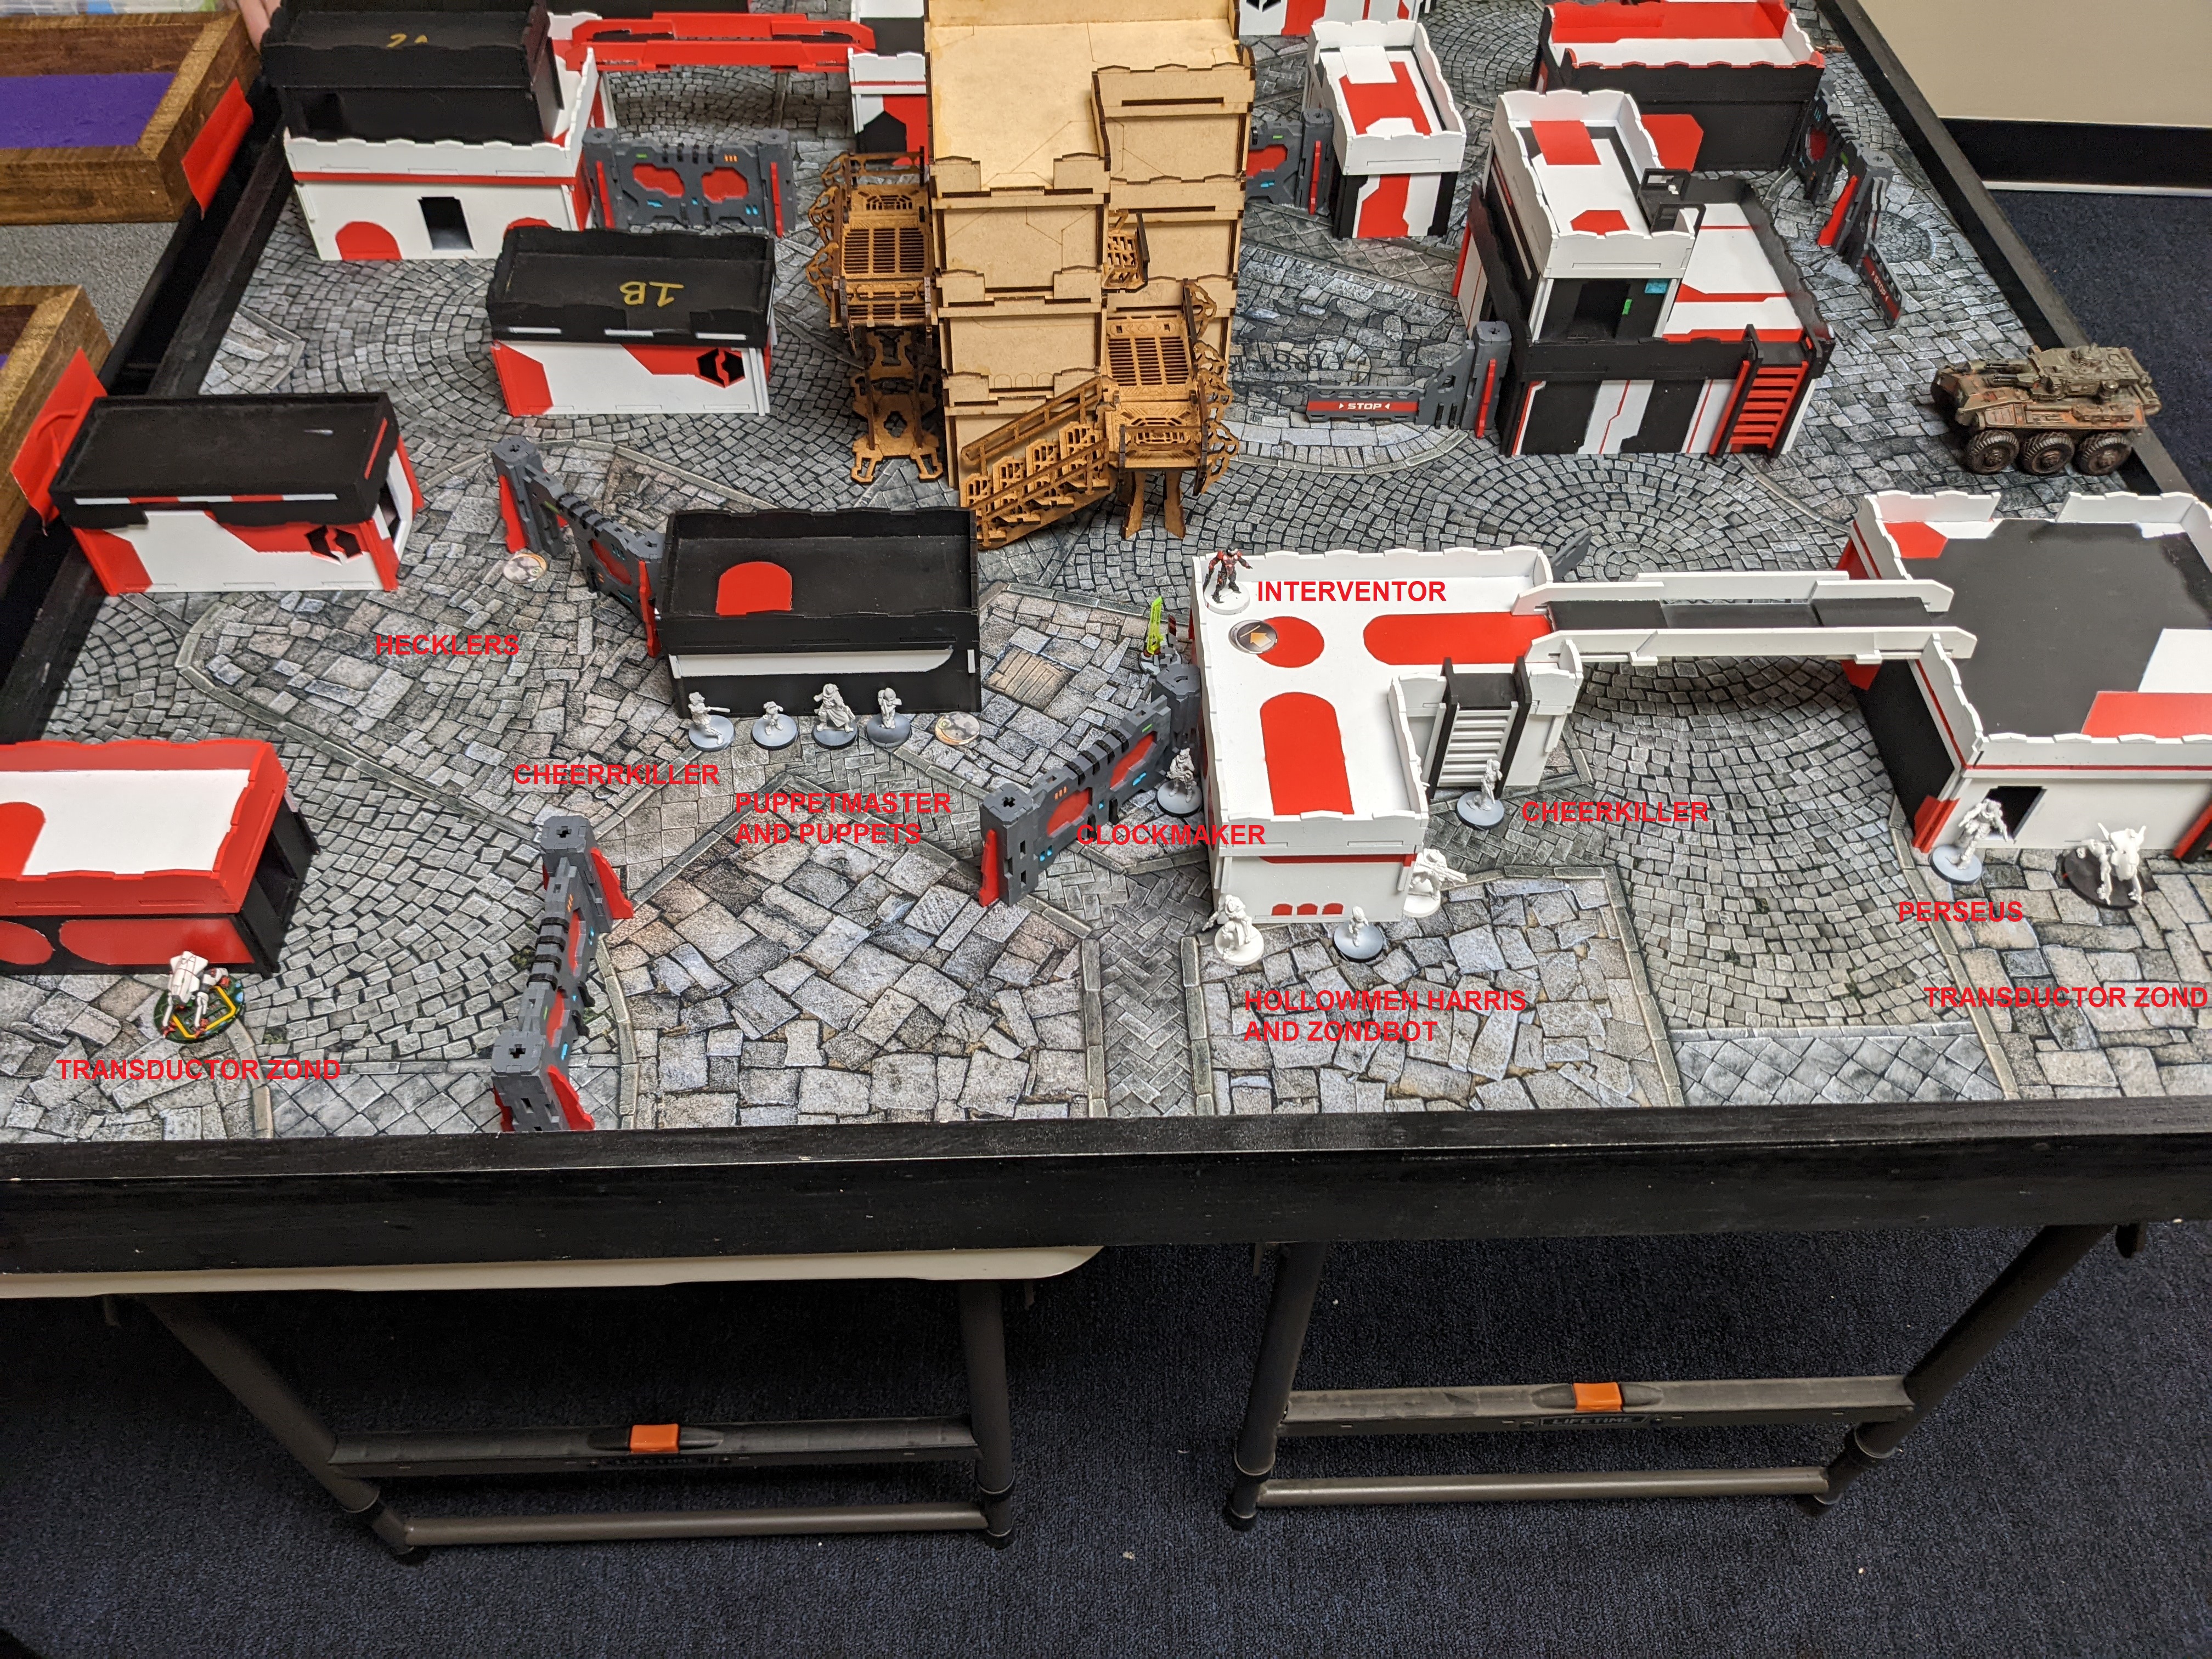
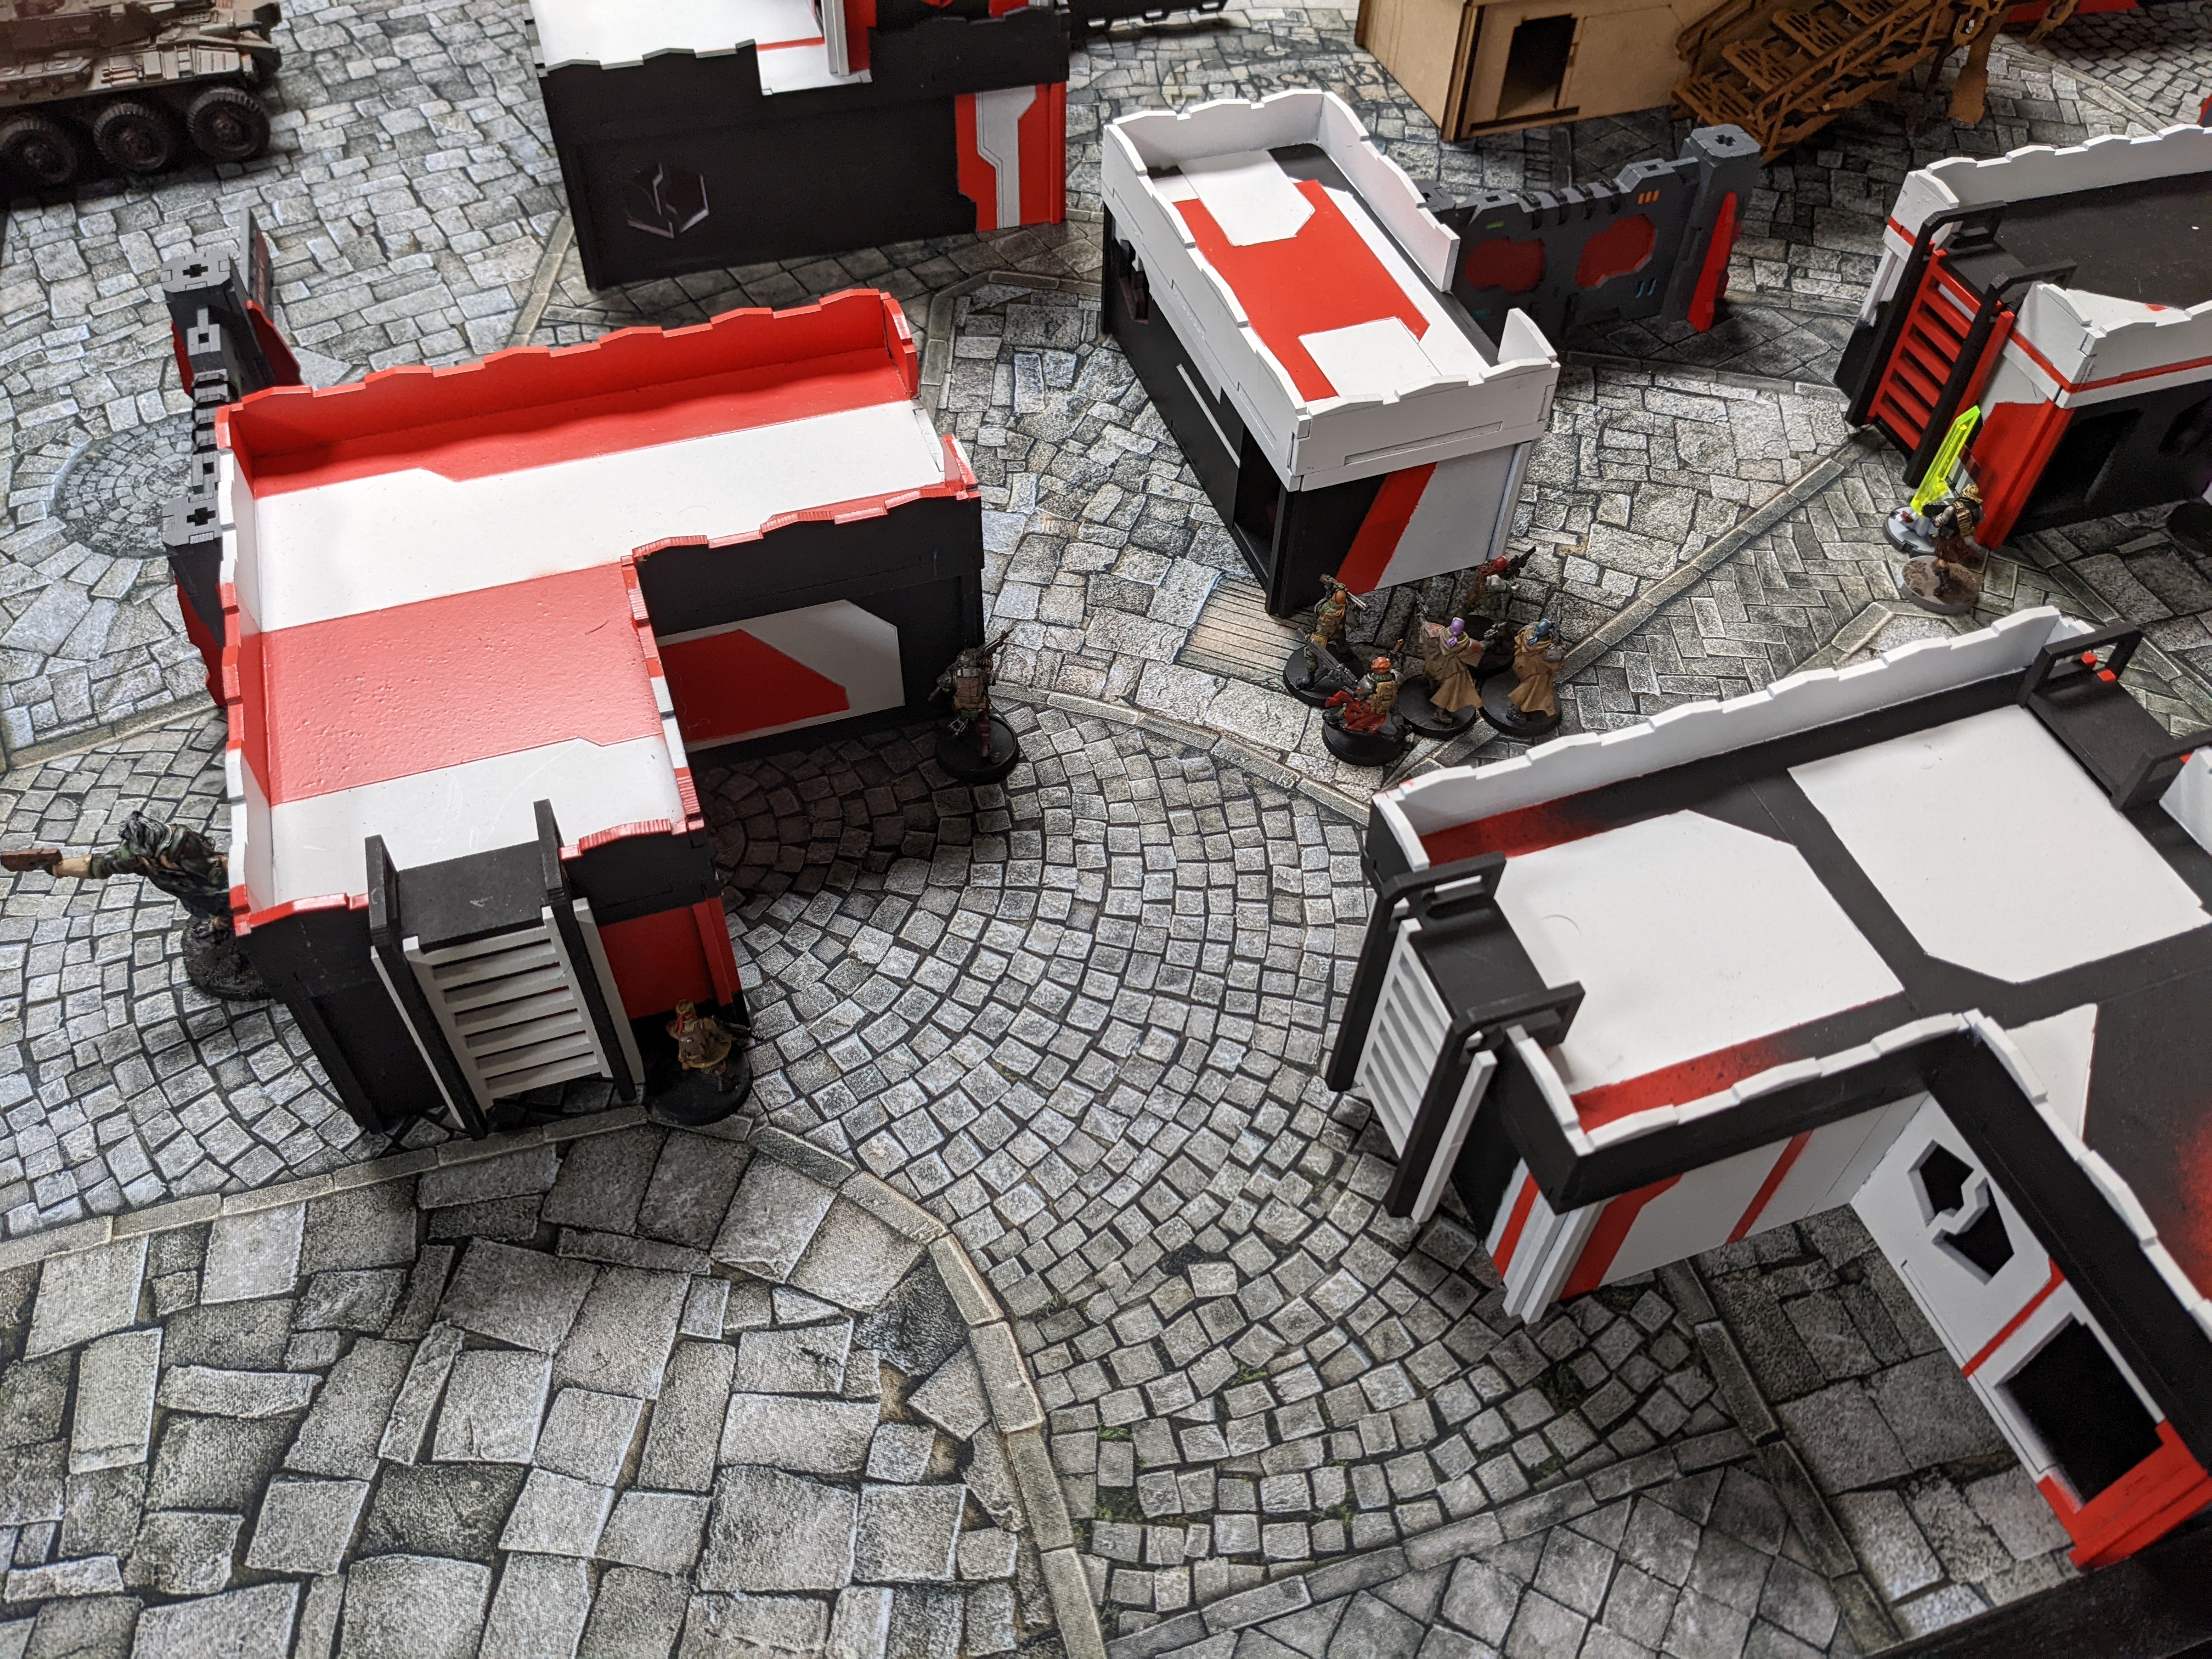
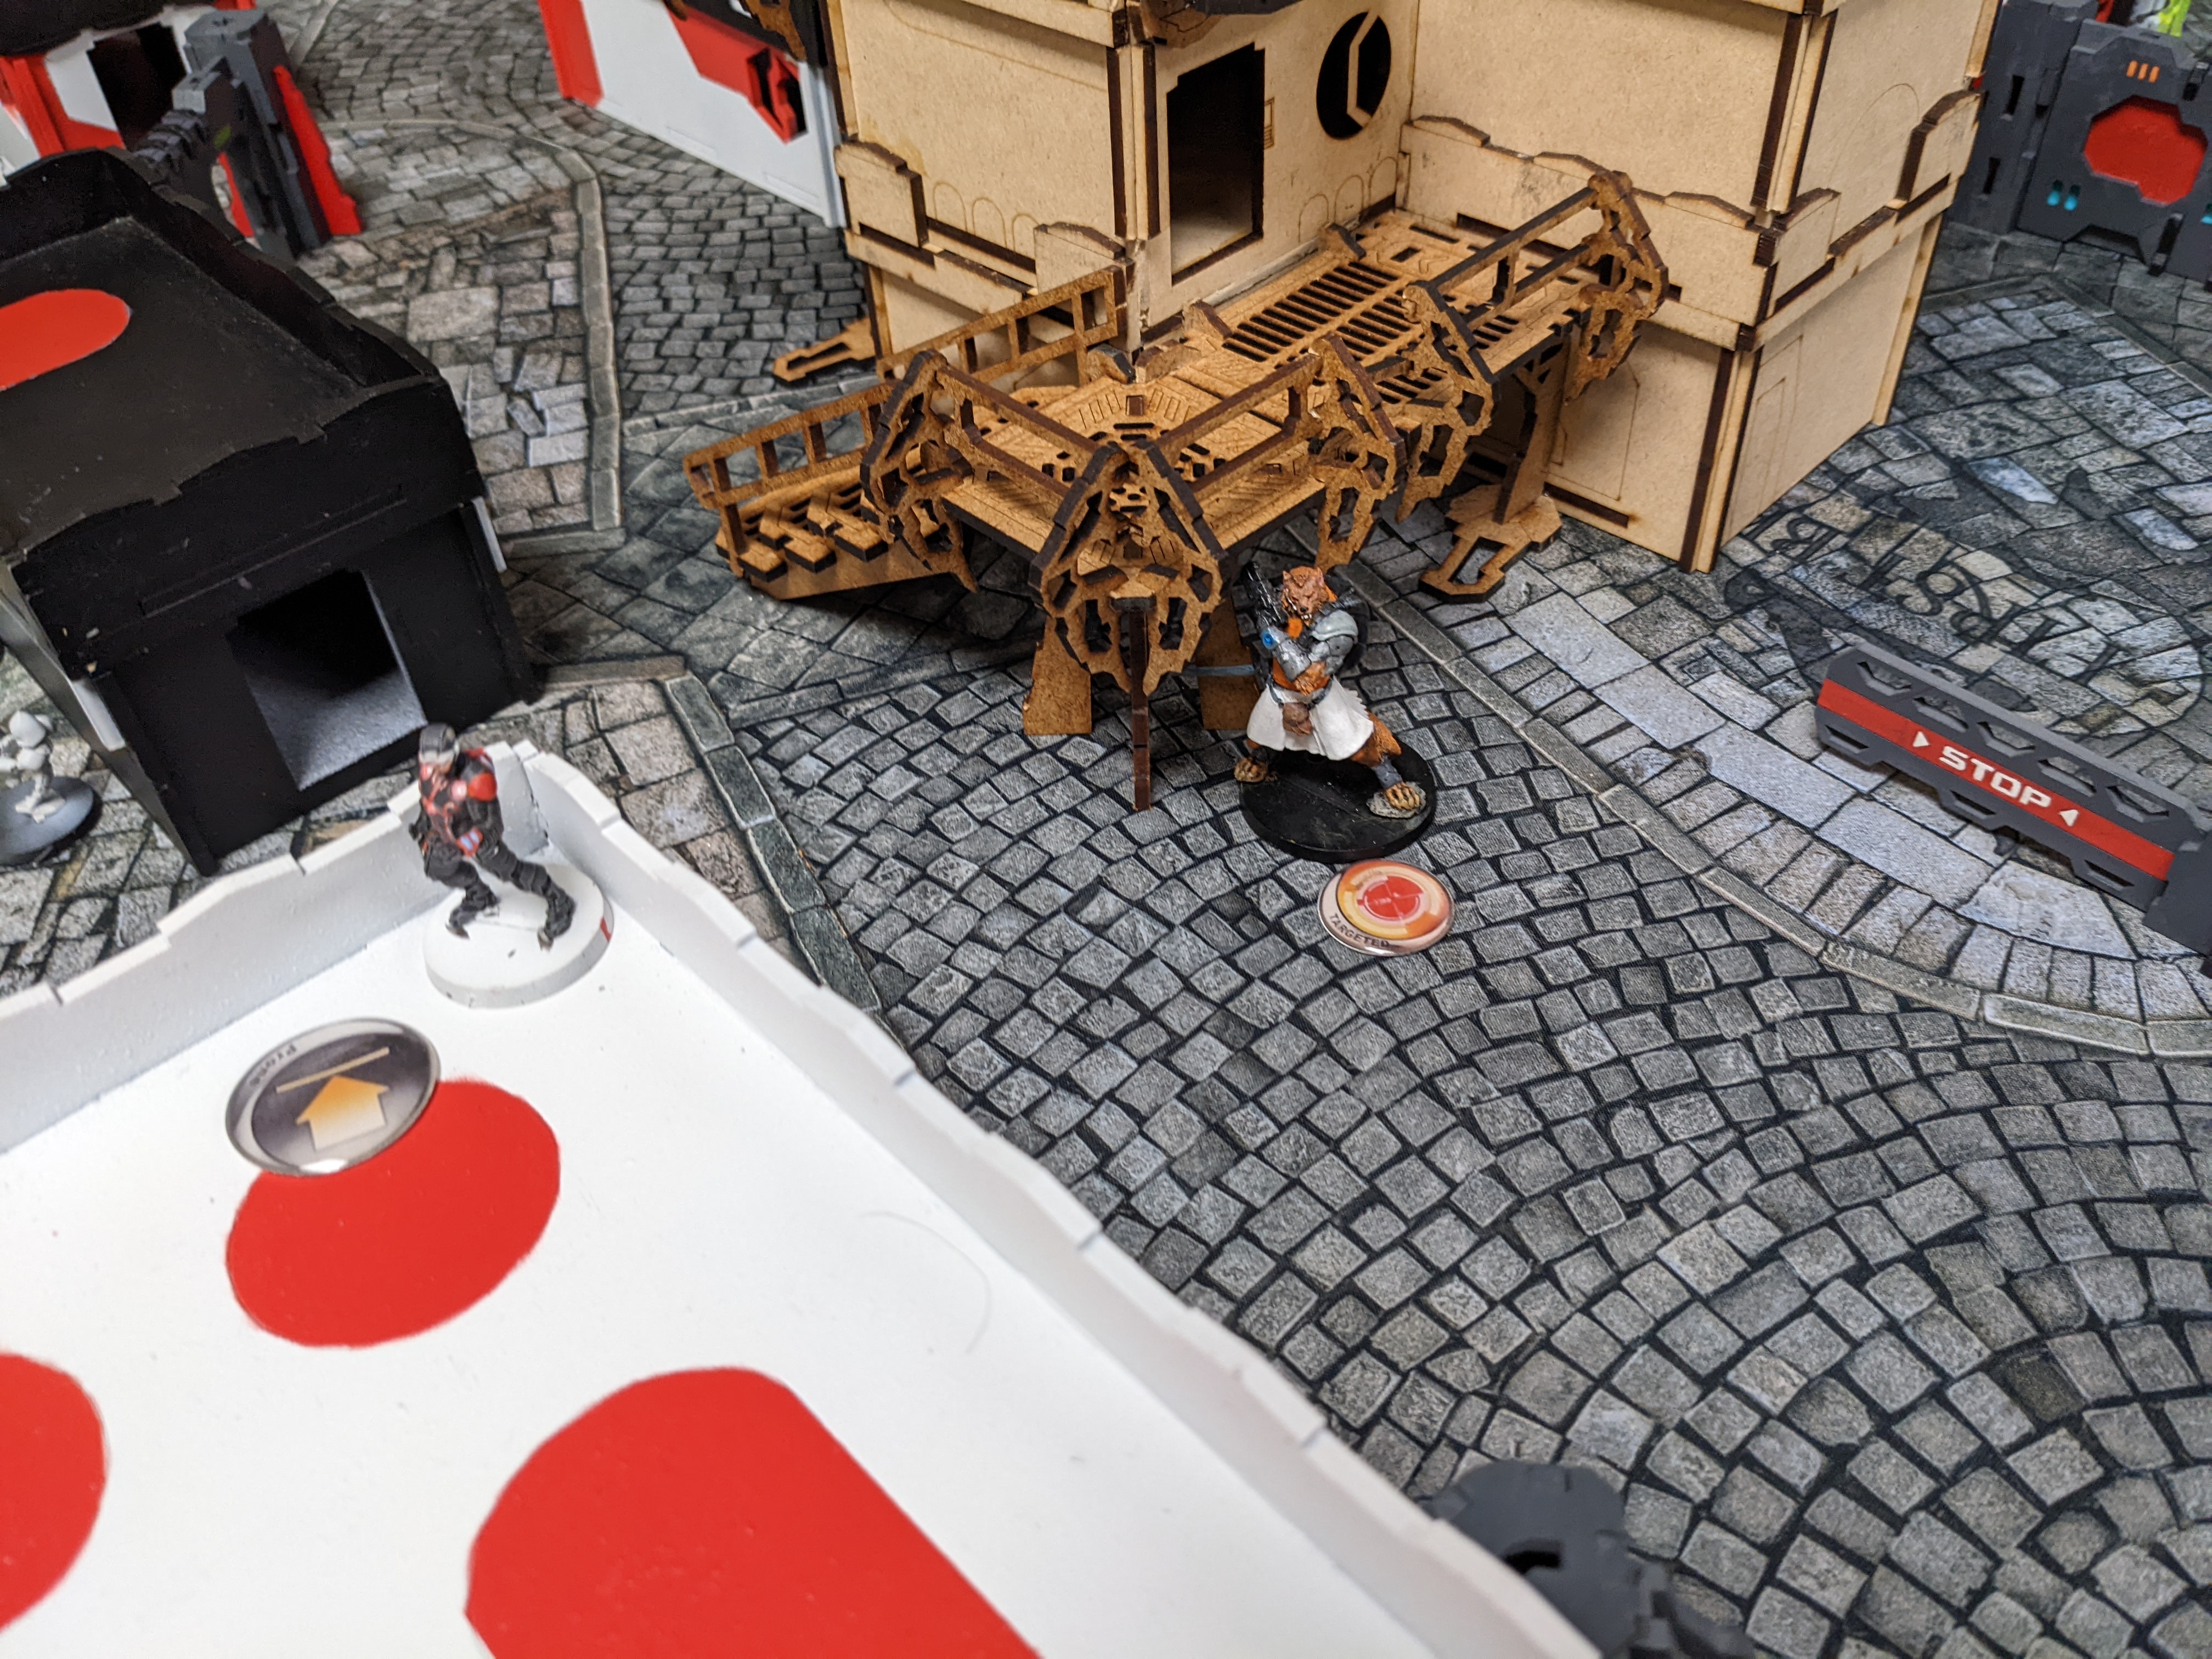
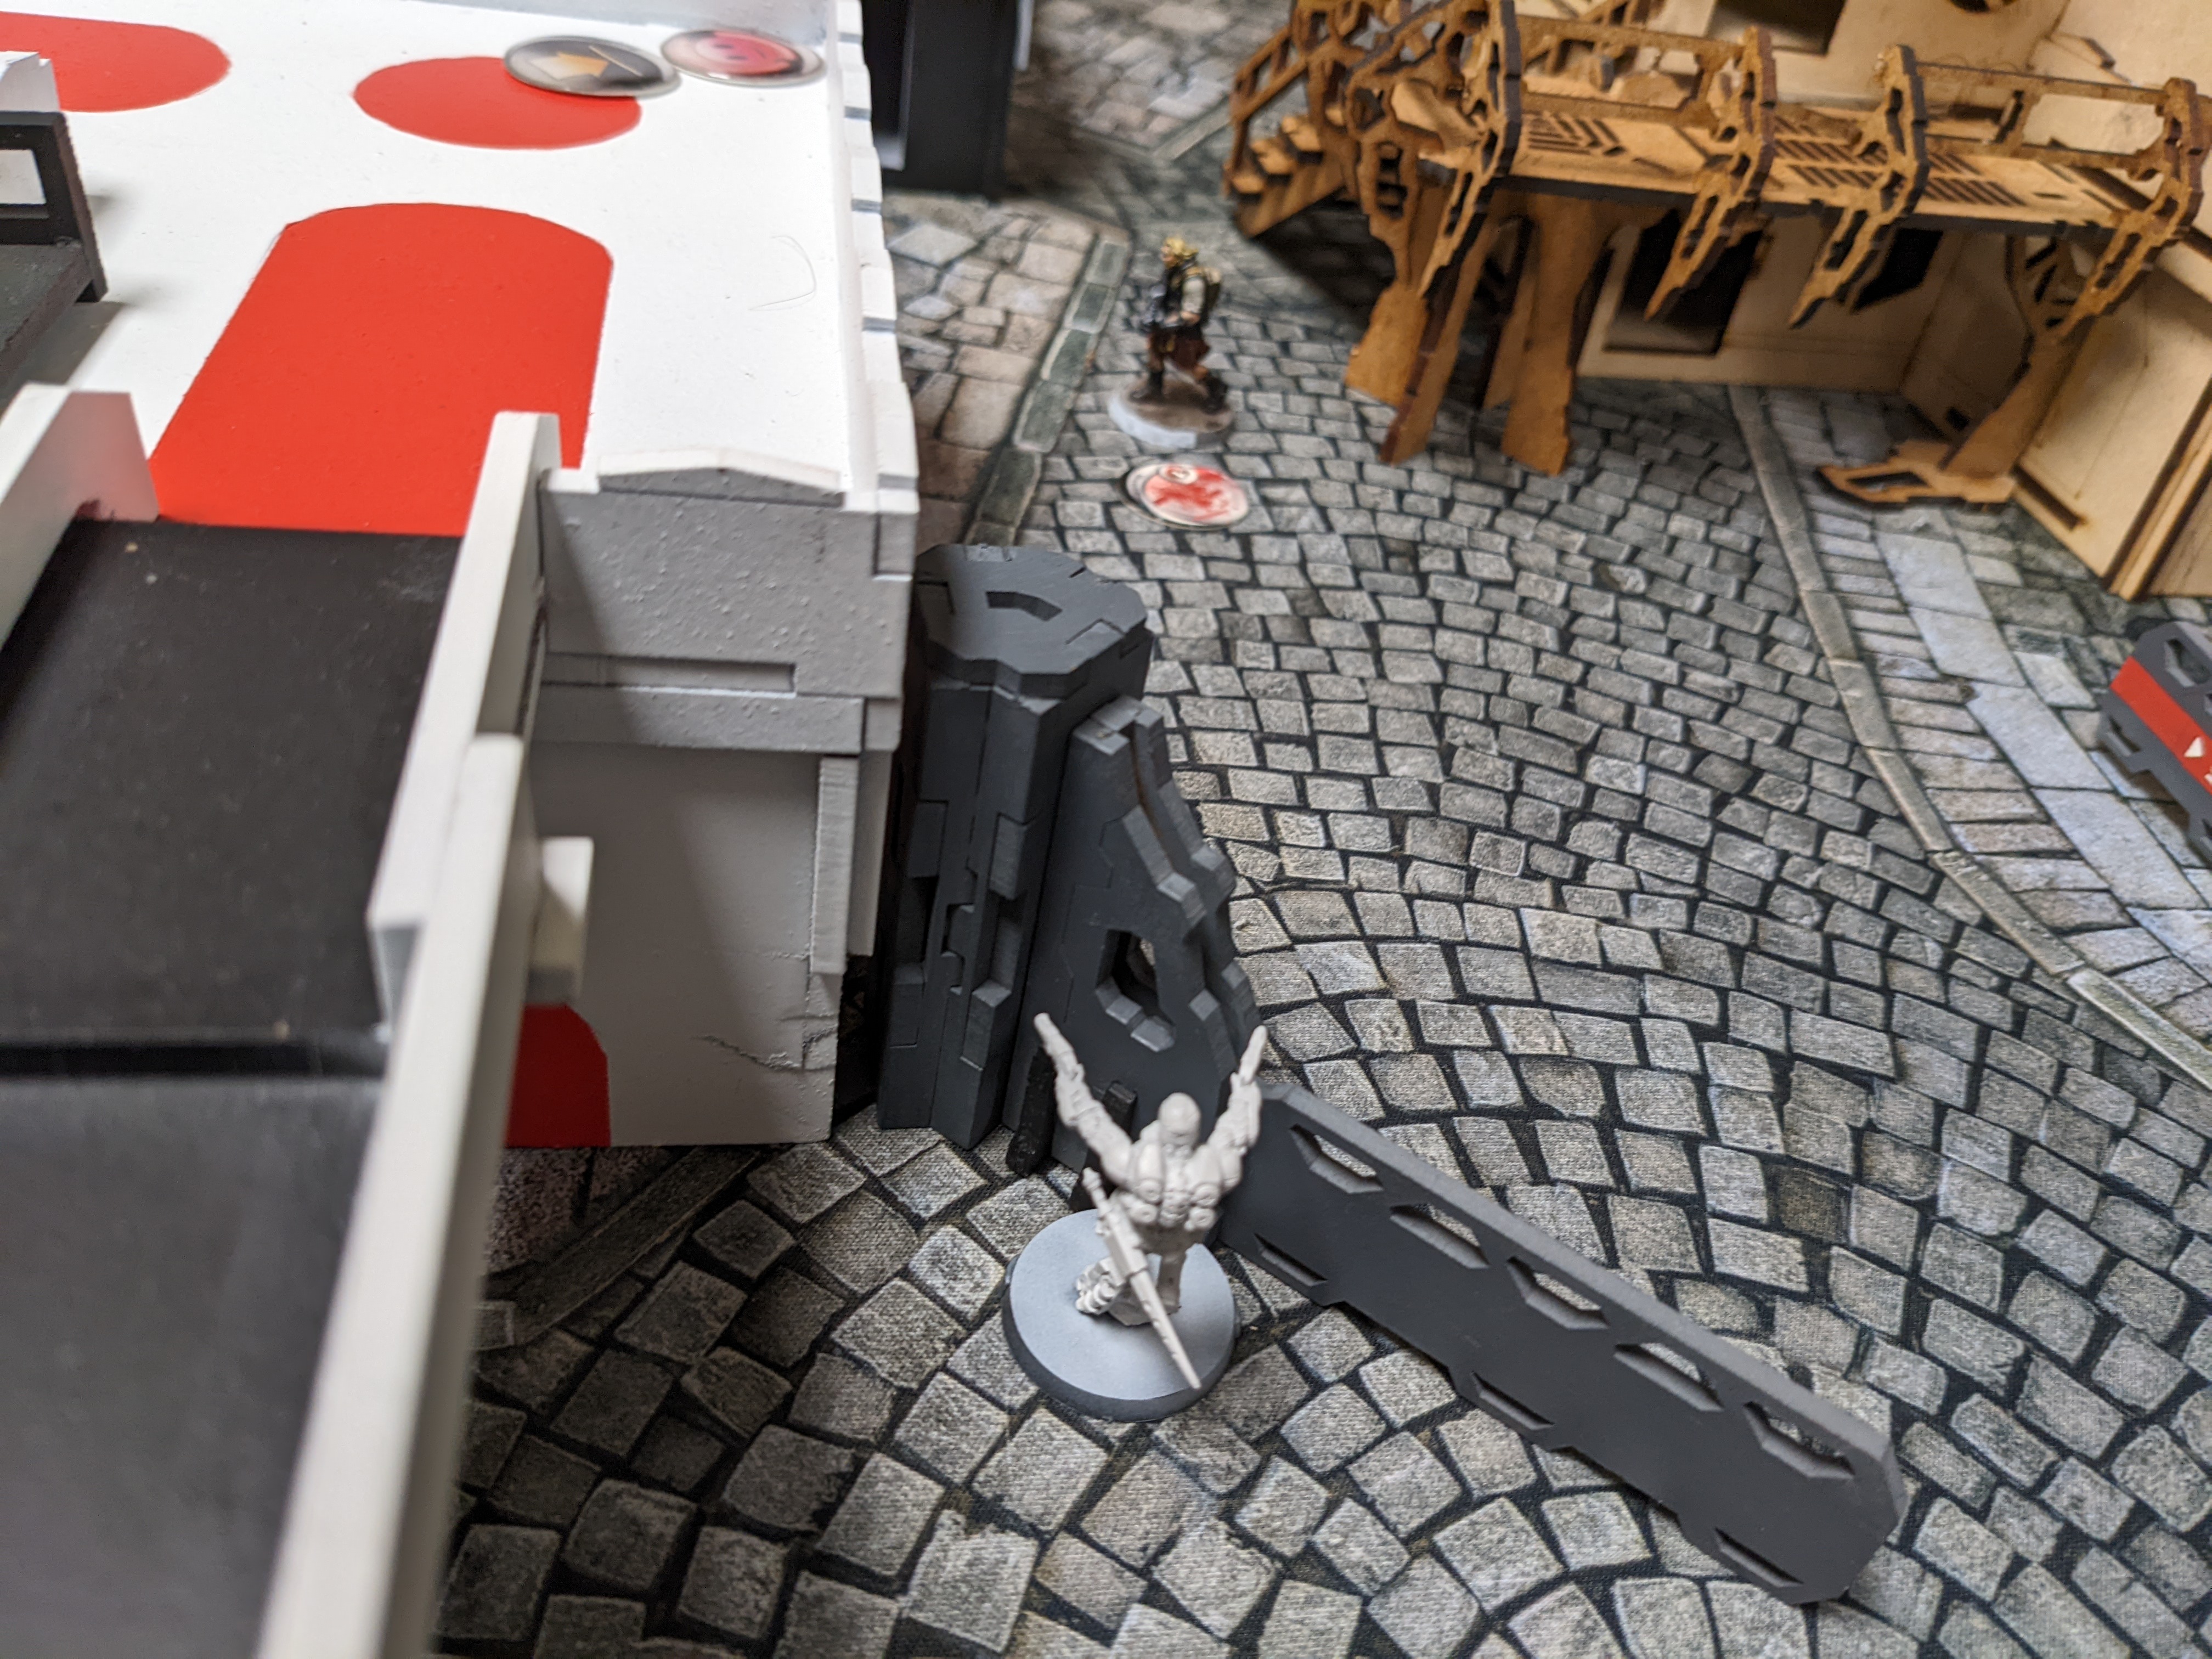
"Are those... Bagpipes?" Heckler transmitted on the closed channel to his partner. They were so stunned to hear that so-called-music in the distance, that they completely missed the giant Dog Warrior barreling down the flank they were supposed to keep watch on. "McMurrough, you son of b...! Why the hell does Corregidor even pay you if you return and stab us in the back!", yelled one of the Hecklers, as the Dog Warrior bobbed and weaved trough their lines, spraying down the Puppetmaster, his bots, and a Cheerkiller hiding out behind the supply racks. Hull breach in the area has damaged the gravity generators, and the massive beast seemed even more agile than his reputation would lead them to think. The Cheerkiller, dodging the fire, tried to hold down the beast, but was no match for his size and ferocity.
In the meantime, on the other flank of the Nomad deployment, a group of Scot Guards have moved into position and fired a Missle Launcher at the Hollowmen stationed there, who were NOT expecting someone to bring in high explosives into an already damaged area of the station. "What are those guys thinking?!. Don't they know there are only a couple inches of plasteel between us and the void" was the last message of the Spitfire Hollowman as his host body was exploded into shrapnel by the missile hit. Other Tunguskans nearby barely dodged the explosion, and retreated deeper behind cover. This left an opportunity for a Cameronian to move up that flank and guard it.
Back on the left flank, McMurrough killed Puppetmaster in melee, accomplishing the Predator objective, and then continued his advance to the beacon, picked it up and started walking away. The Interventor that was hiding on the roof, keeping watch on the beacon sprung into action once the Dog Warrior turned away. He spotlit McMurrough, and accomplished the hidden Tunguska objective.
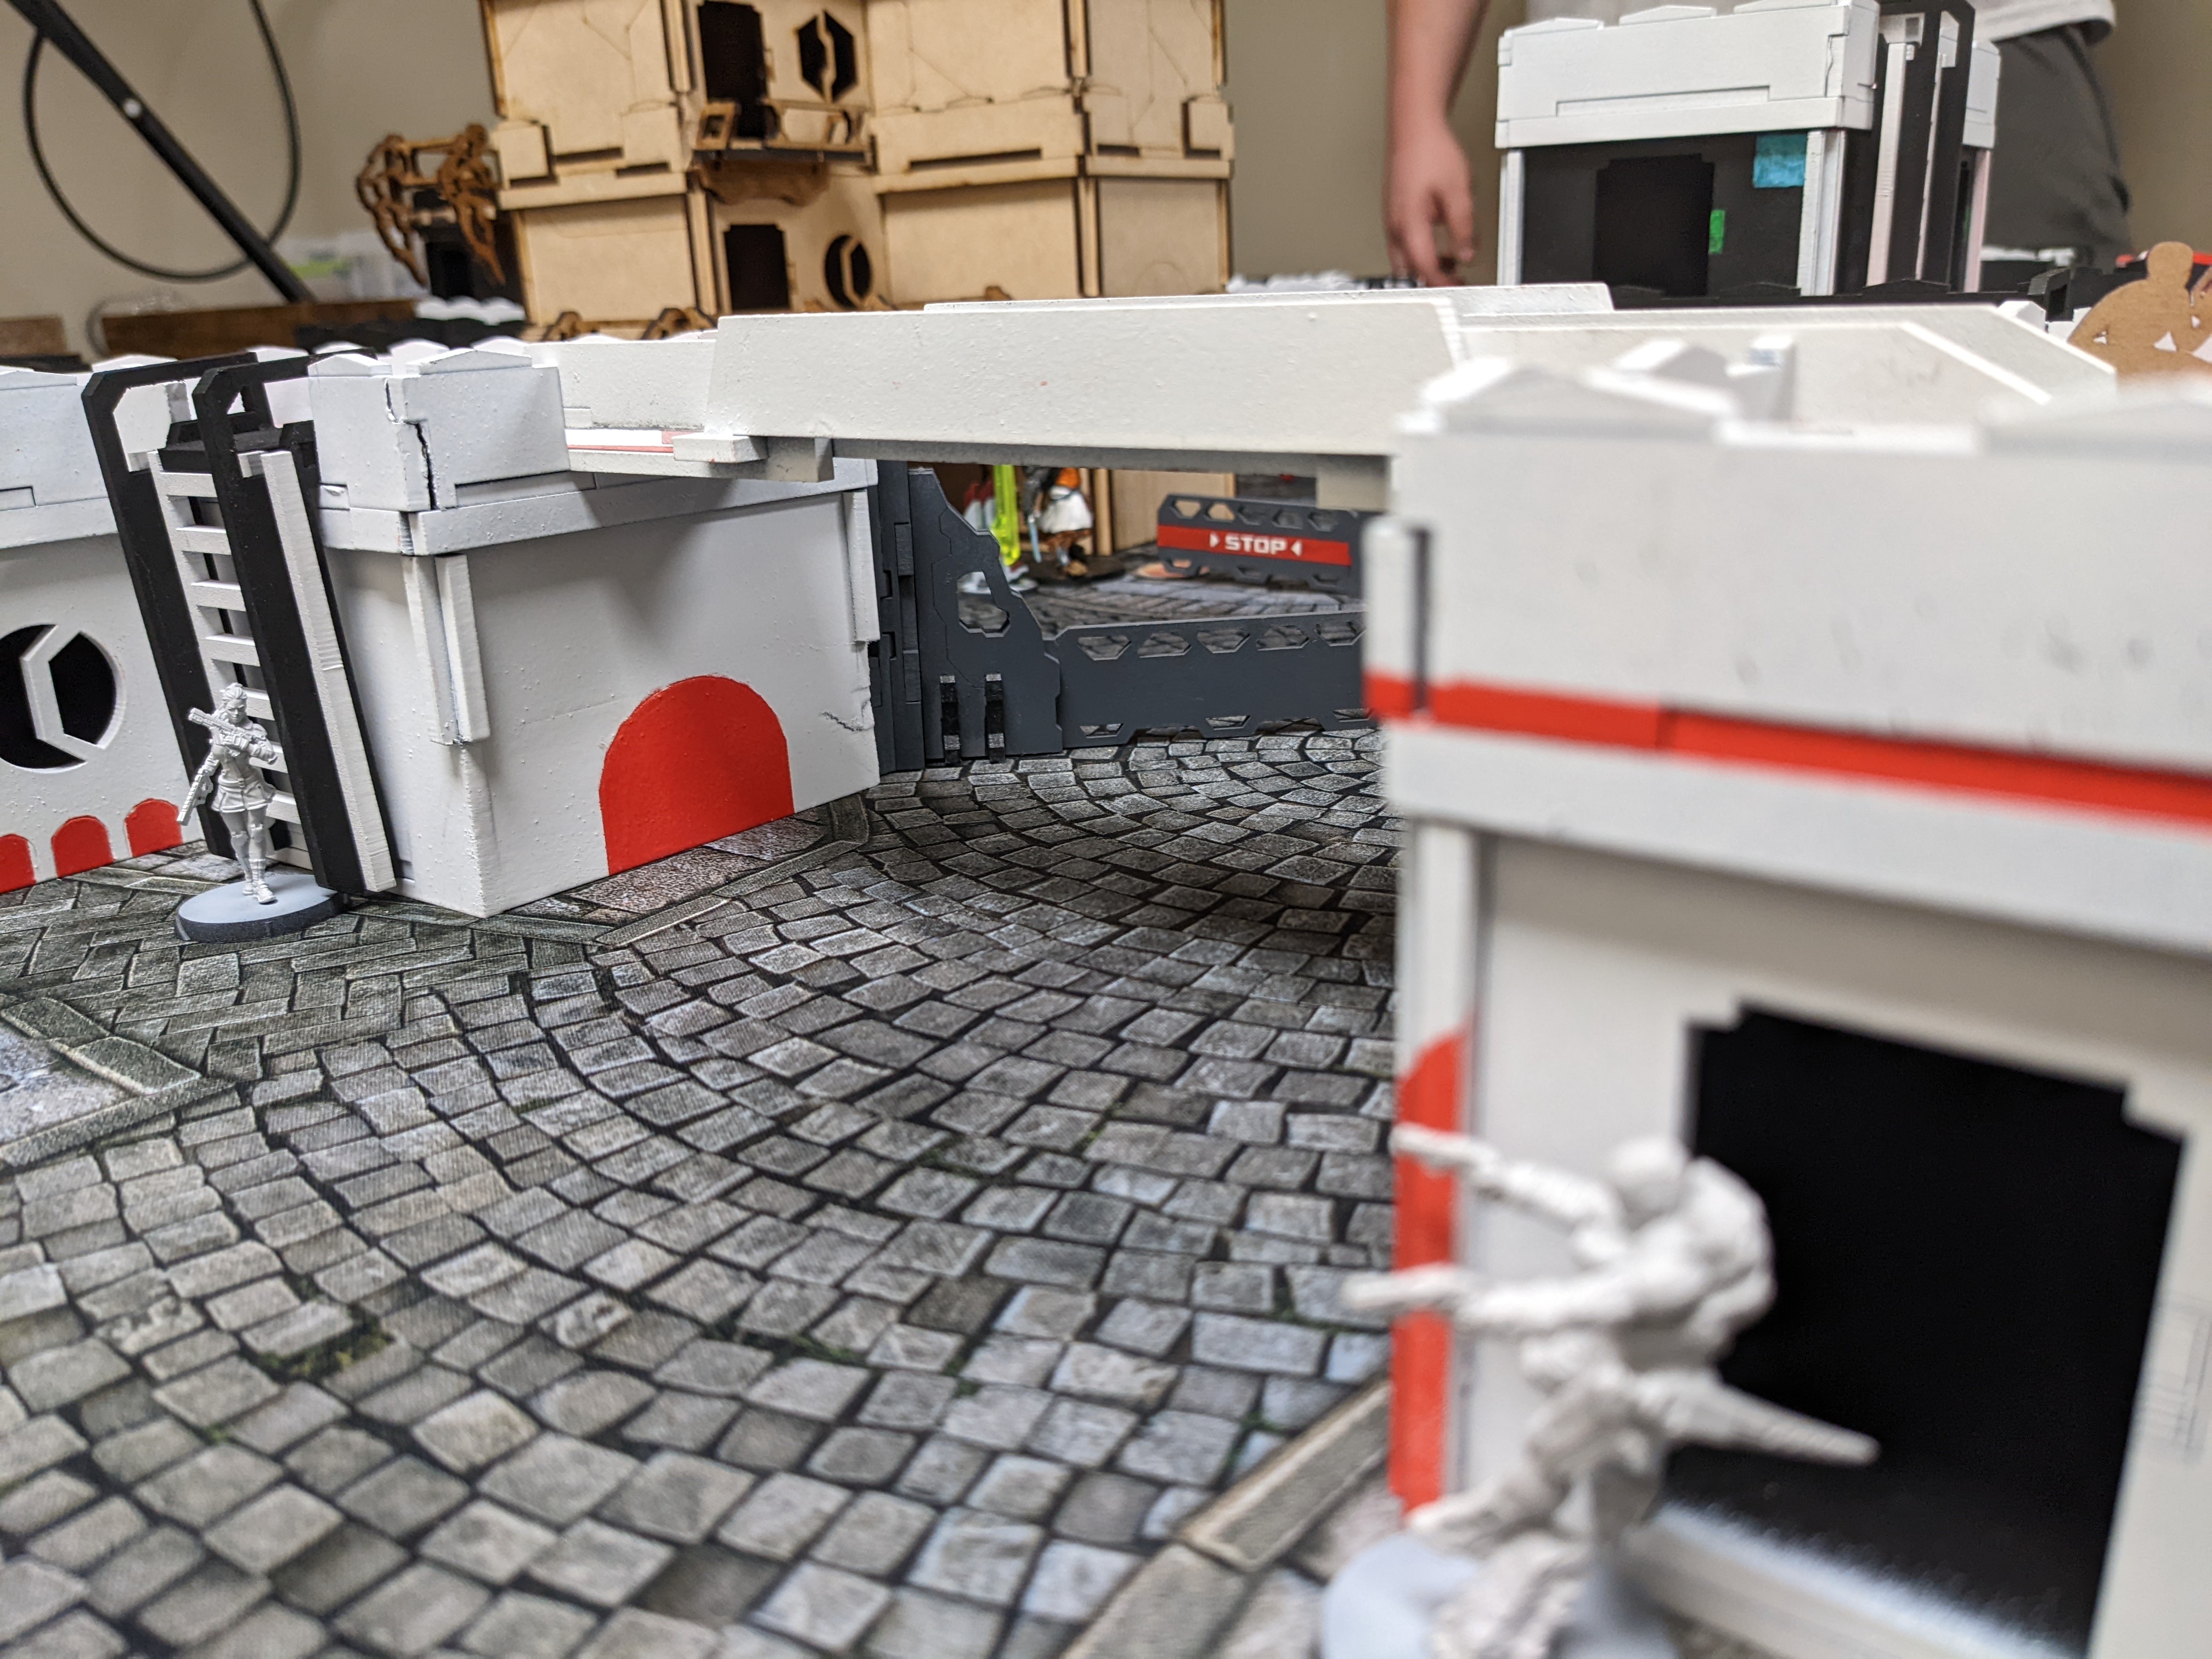
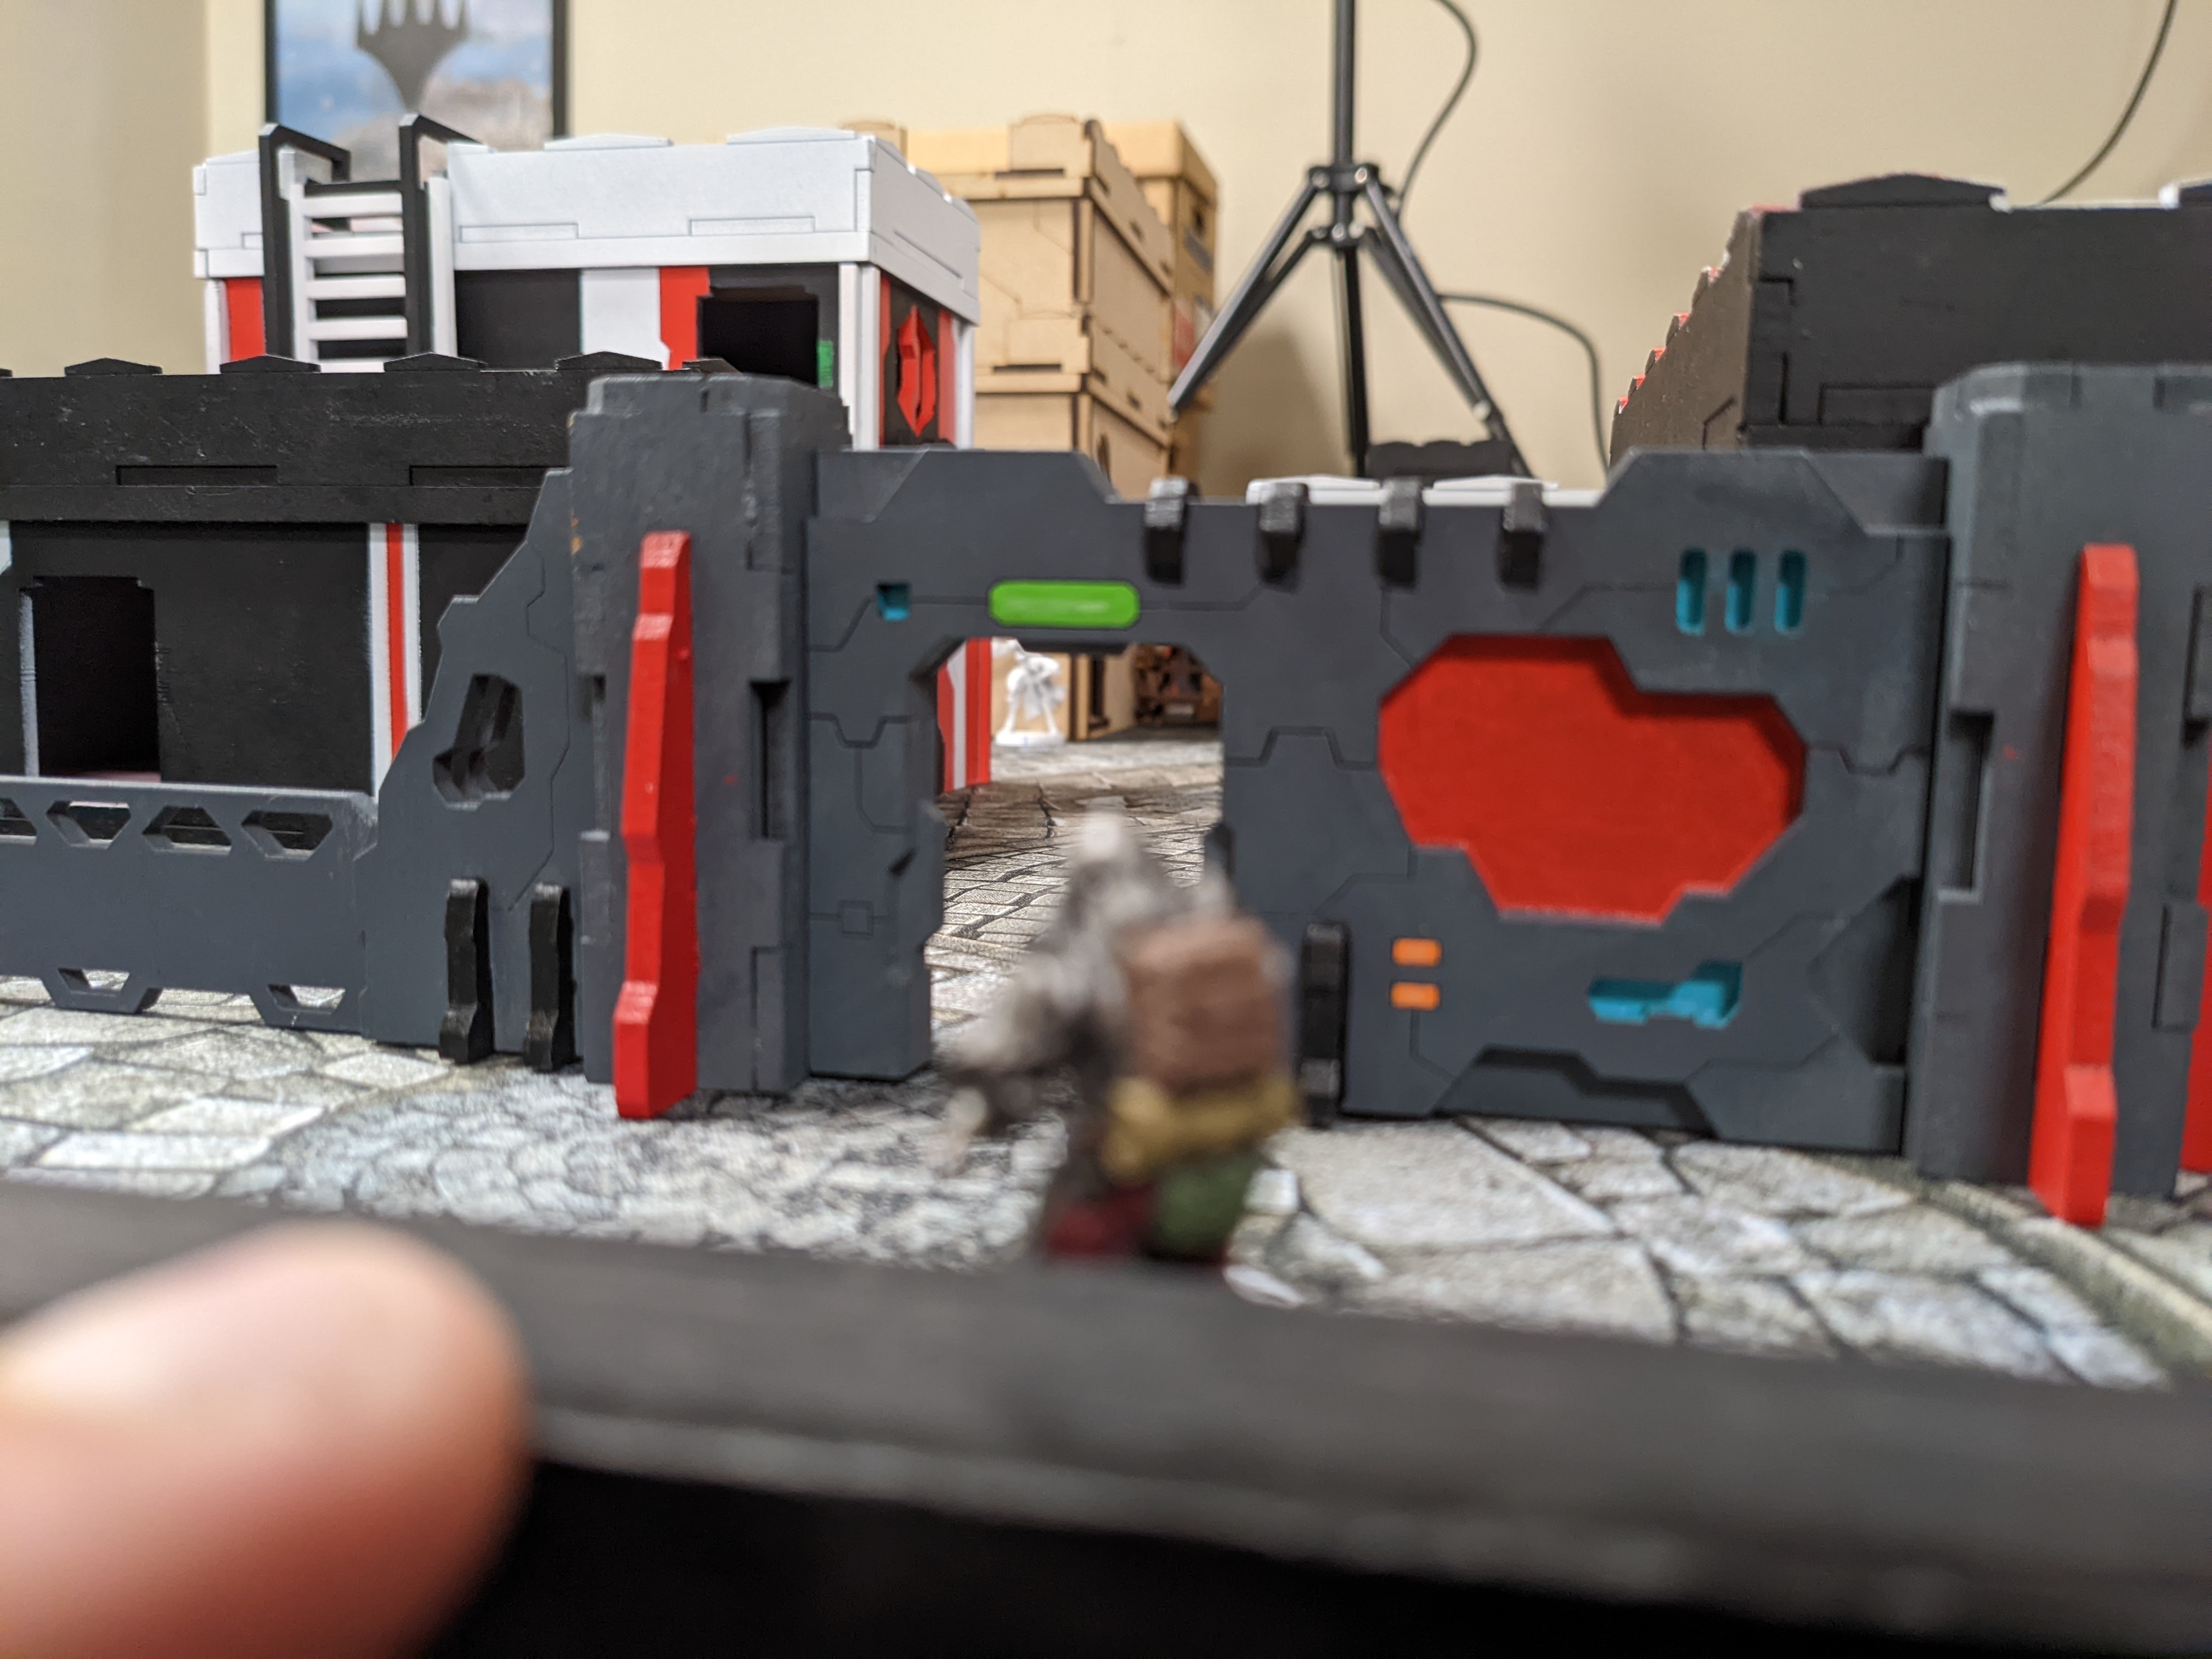
Boarding Shotgun Hollowman rounded the building and jumped over the wall to get closer to McMurrough and take a shot. Unfortunately, there was a Mormaer with an HMG guarding the corner, and he was just close enough to not care about the Hull Breach veering his shots off target. As the Hollowman knocked out the Dog Warrior, the AP bullet dealt some damage to his systems as well. Trying to get out of line of fire from the Mormaer, Hollowman tried to dodge to the other side of the passageway, but was hit and damaged again, temporarily severing the link to the operator back on Tunguska.
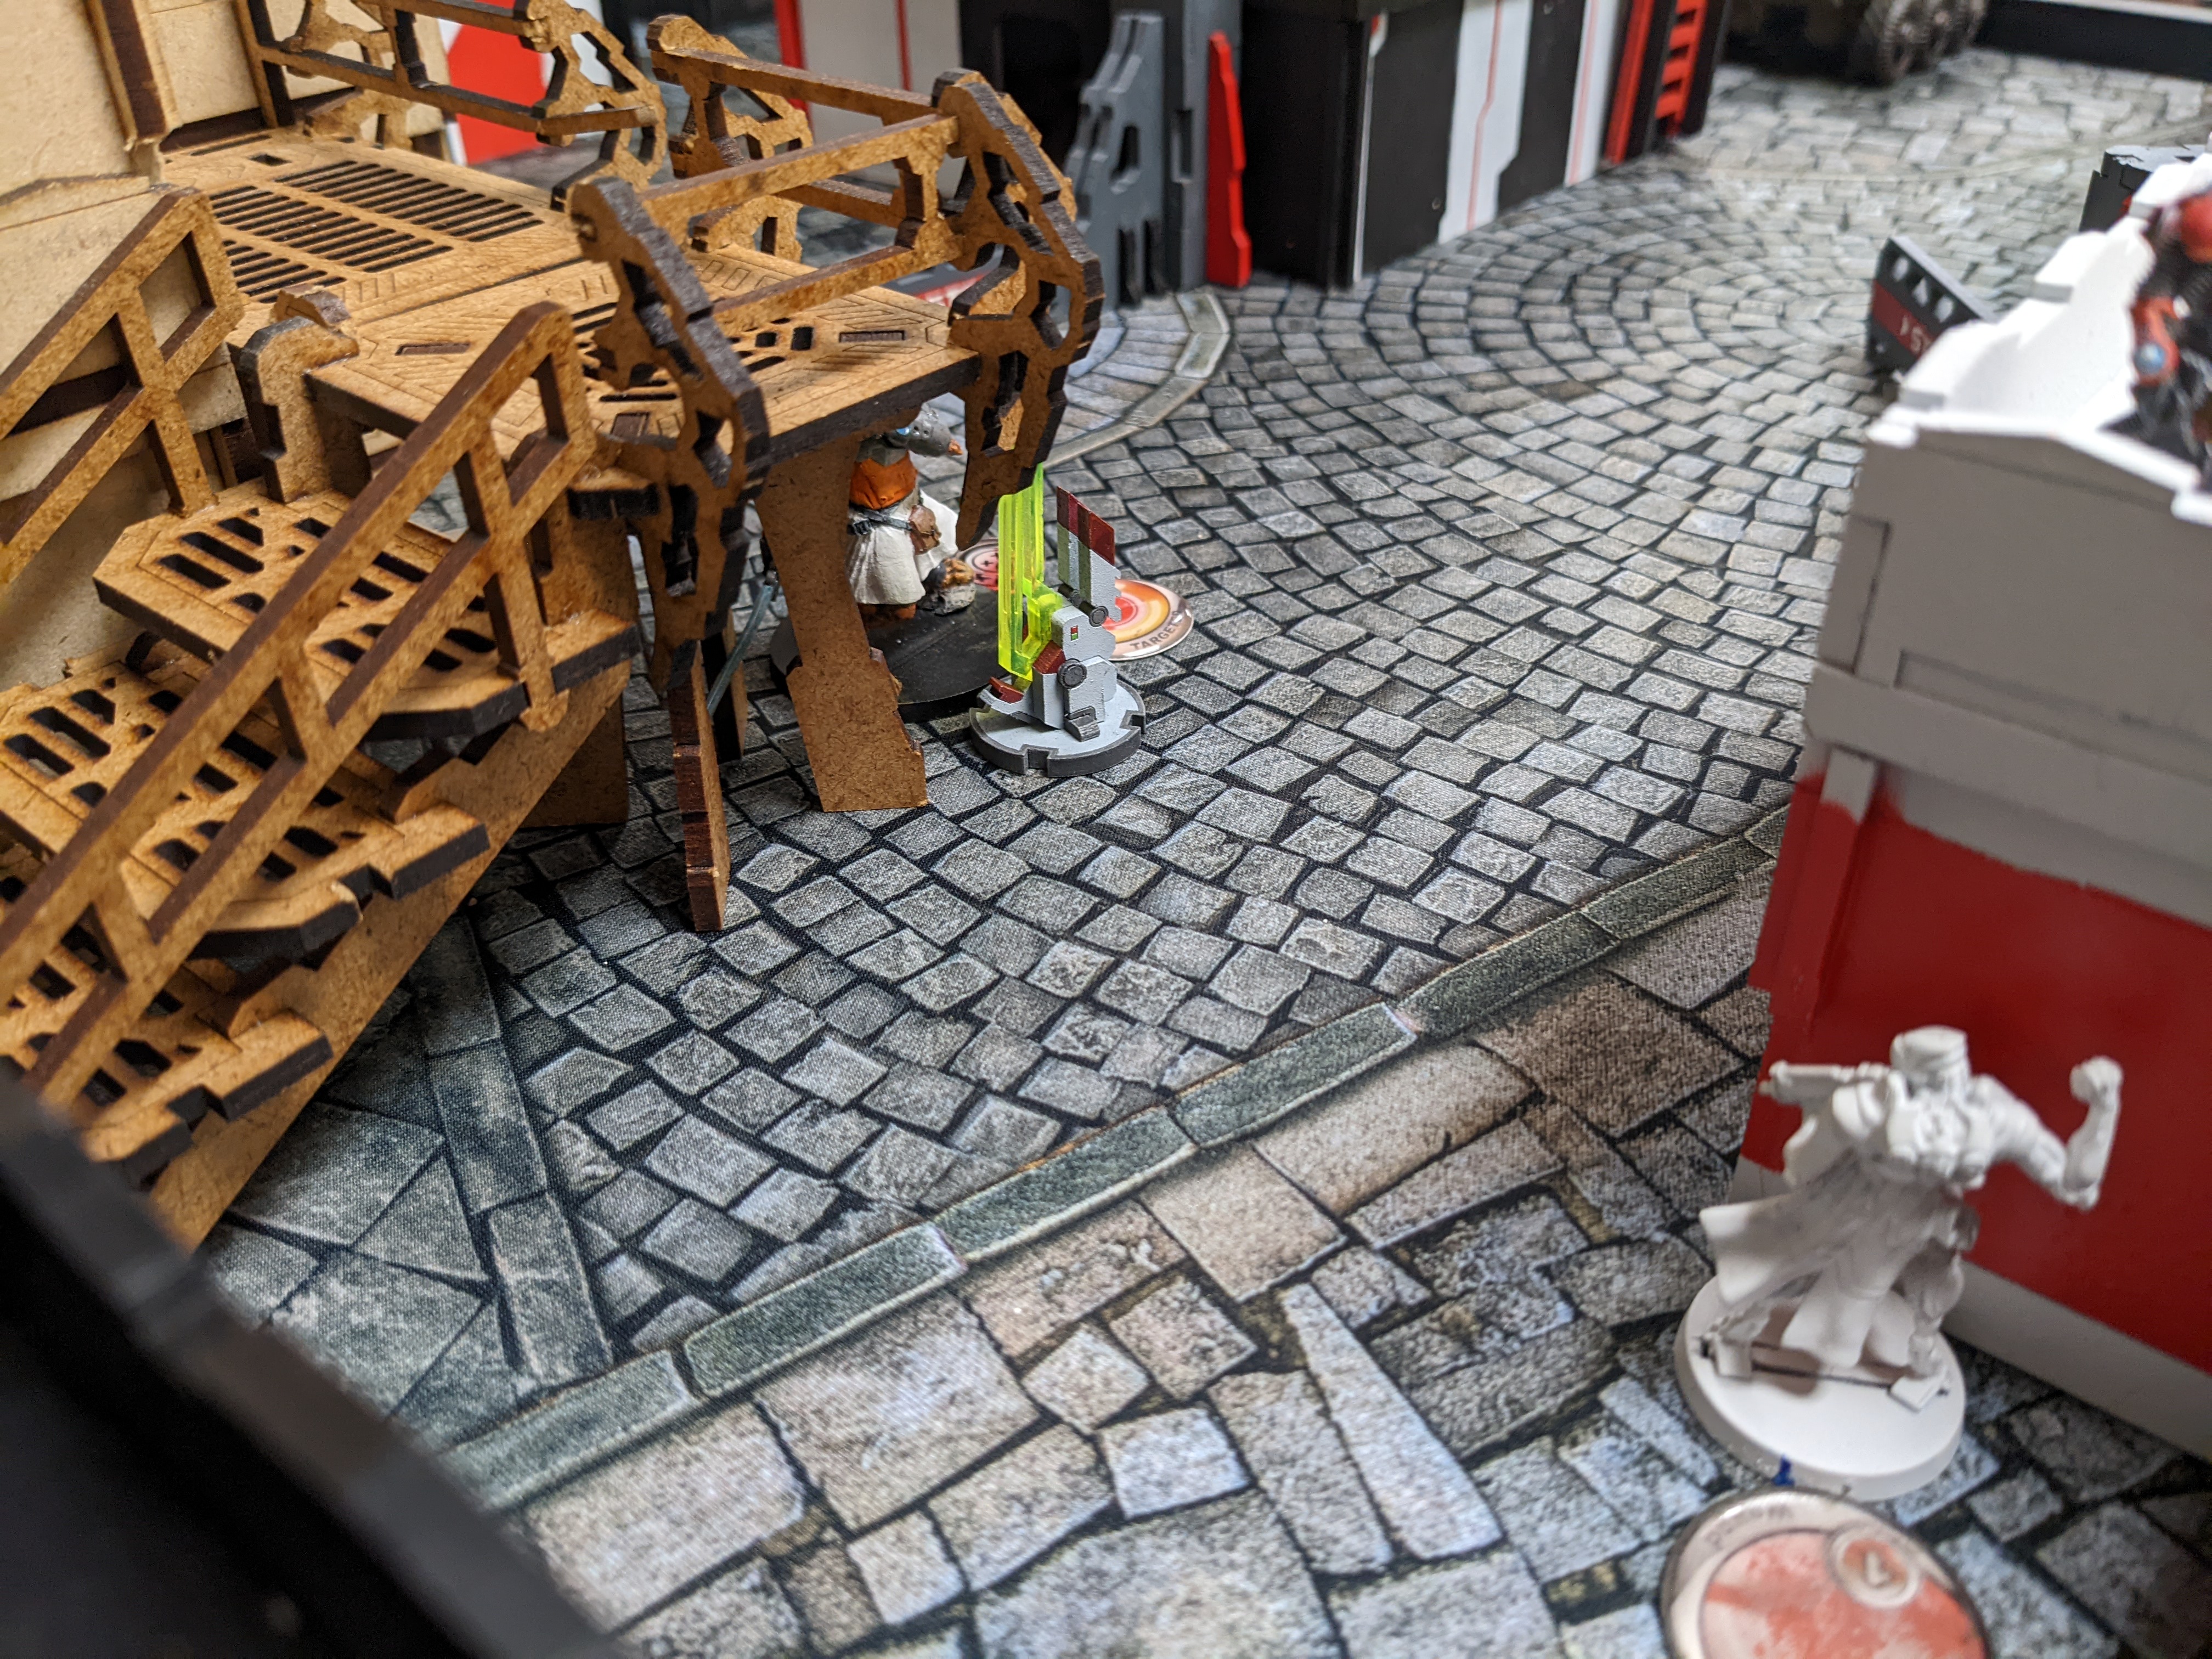
On the right flank, Perseus got into a firefight with the Cameronian, and was able to put down the angry Dog Warrior. After that, he setup a position behind the corner to keep watch on anyone who would want to approach the Beacon.
Interventor, seeing how the things were heating up, put on a cyber disguise of a panicked civilian hiding in the corner.
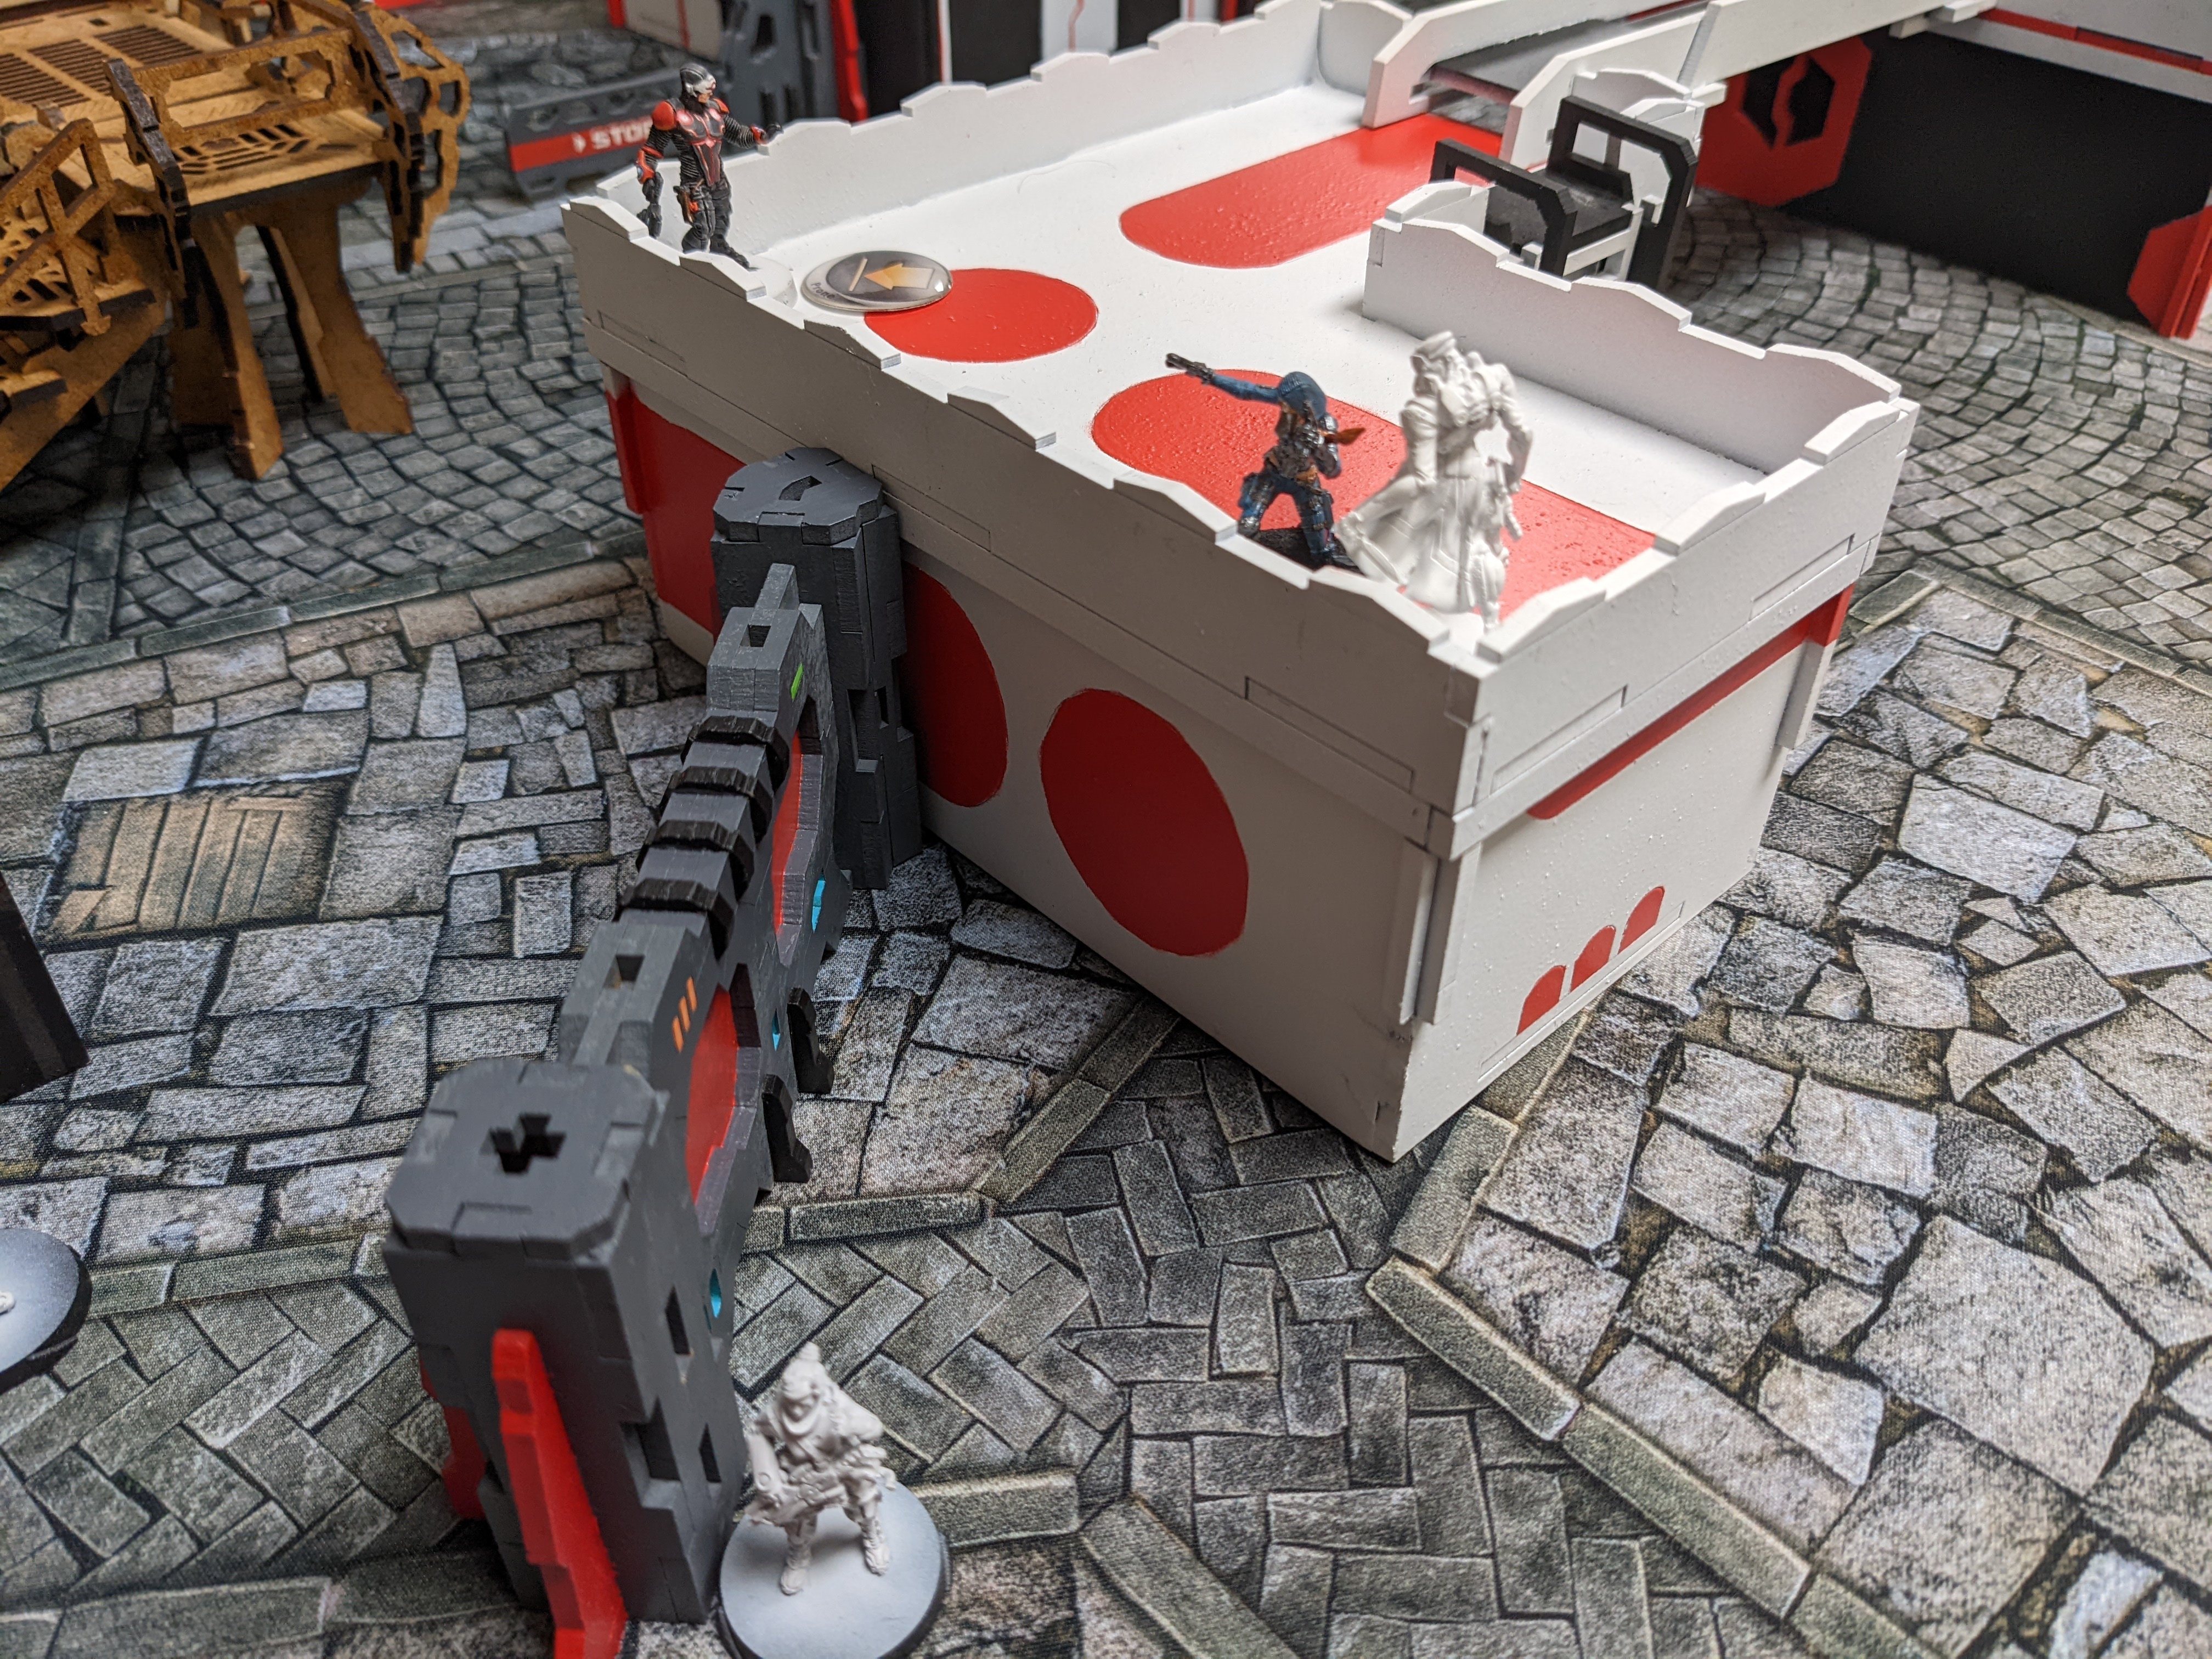
On the left flank, a Galwegian started pushing forward into Tunguska territory, dropping smoke cover to block sight to the downed McMurrough. A Volunteer paramedic moved forward, staying in cover, and finally got to a decent spot where he could try and revive the downed Dog Warrior. The shot of adrenaline delivered via the MediKit got McMurrough up - he immediately grabbed the beacon and started moving away, but Perseus was able to quickly put him down with a shot from his Breaker Rifle. Scot Guard fireteam moved around the building to capture the beacon, and fired at Perseus. One of the shots found its mark, and in a momentary lapse of courage, Perseus hid behind the cover, not keeping eyes on the beacon. Without being contested, the fireteam leader picked up the Beacon and started moving back towards the Starboard Battery.
A nearby Clockmaker who was monitoring the condition of the Hollowman squad, noticed that another one of them went unresponsive, and urged her Palbot to repair the downed machine. Perseus, seeing how his lack of judgement has caused the Beacon to fall into the wrong hands, got into a firefight with the Galwegian, taking him out, but also suffering an incapacitating wound himself. The repaired Hollowman took off to pursue the Scot Guard fireteam that has already turned the corner. Dodging the HMG fire from the Mormaer, he was able to catch up and knock out one of the Scot Guard.
The Mormaer sprung into action, rounded the building, and took a shot at the Hollowman who was out of cover from that line of fire, disconnecting it again, this time putting it deeper into unconsciousness. The remainder of the fireteam moved further into the Caledonian deployment zone.
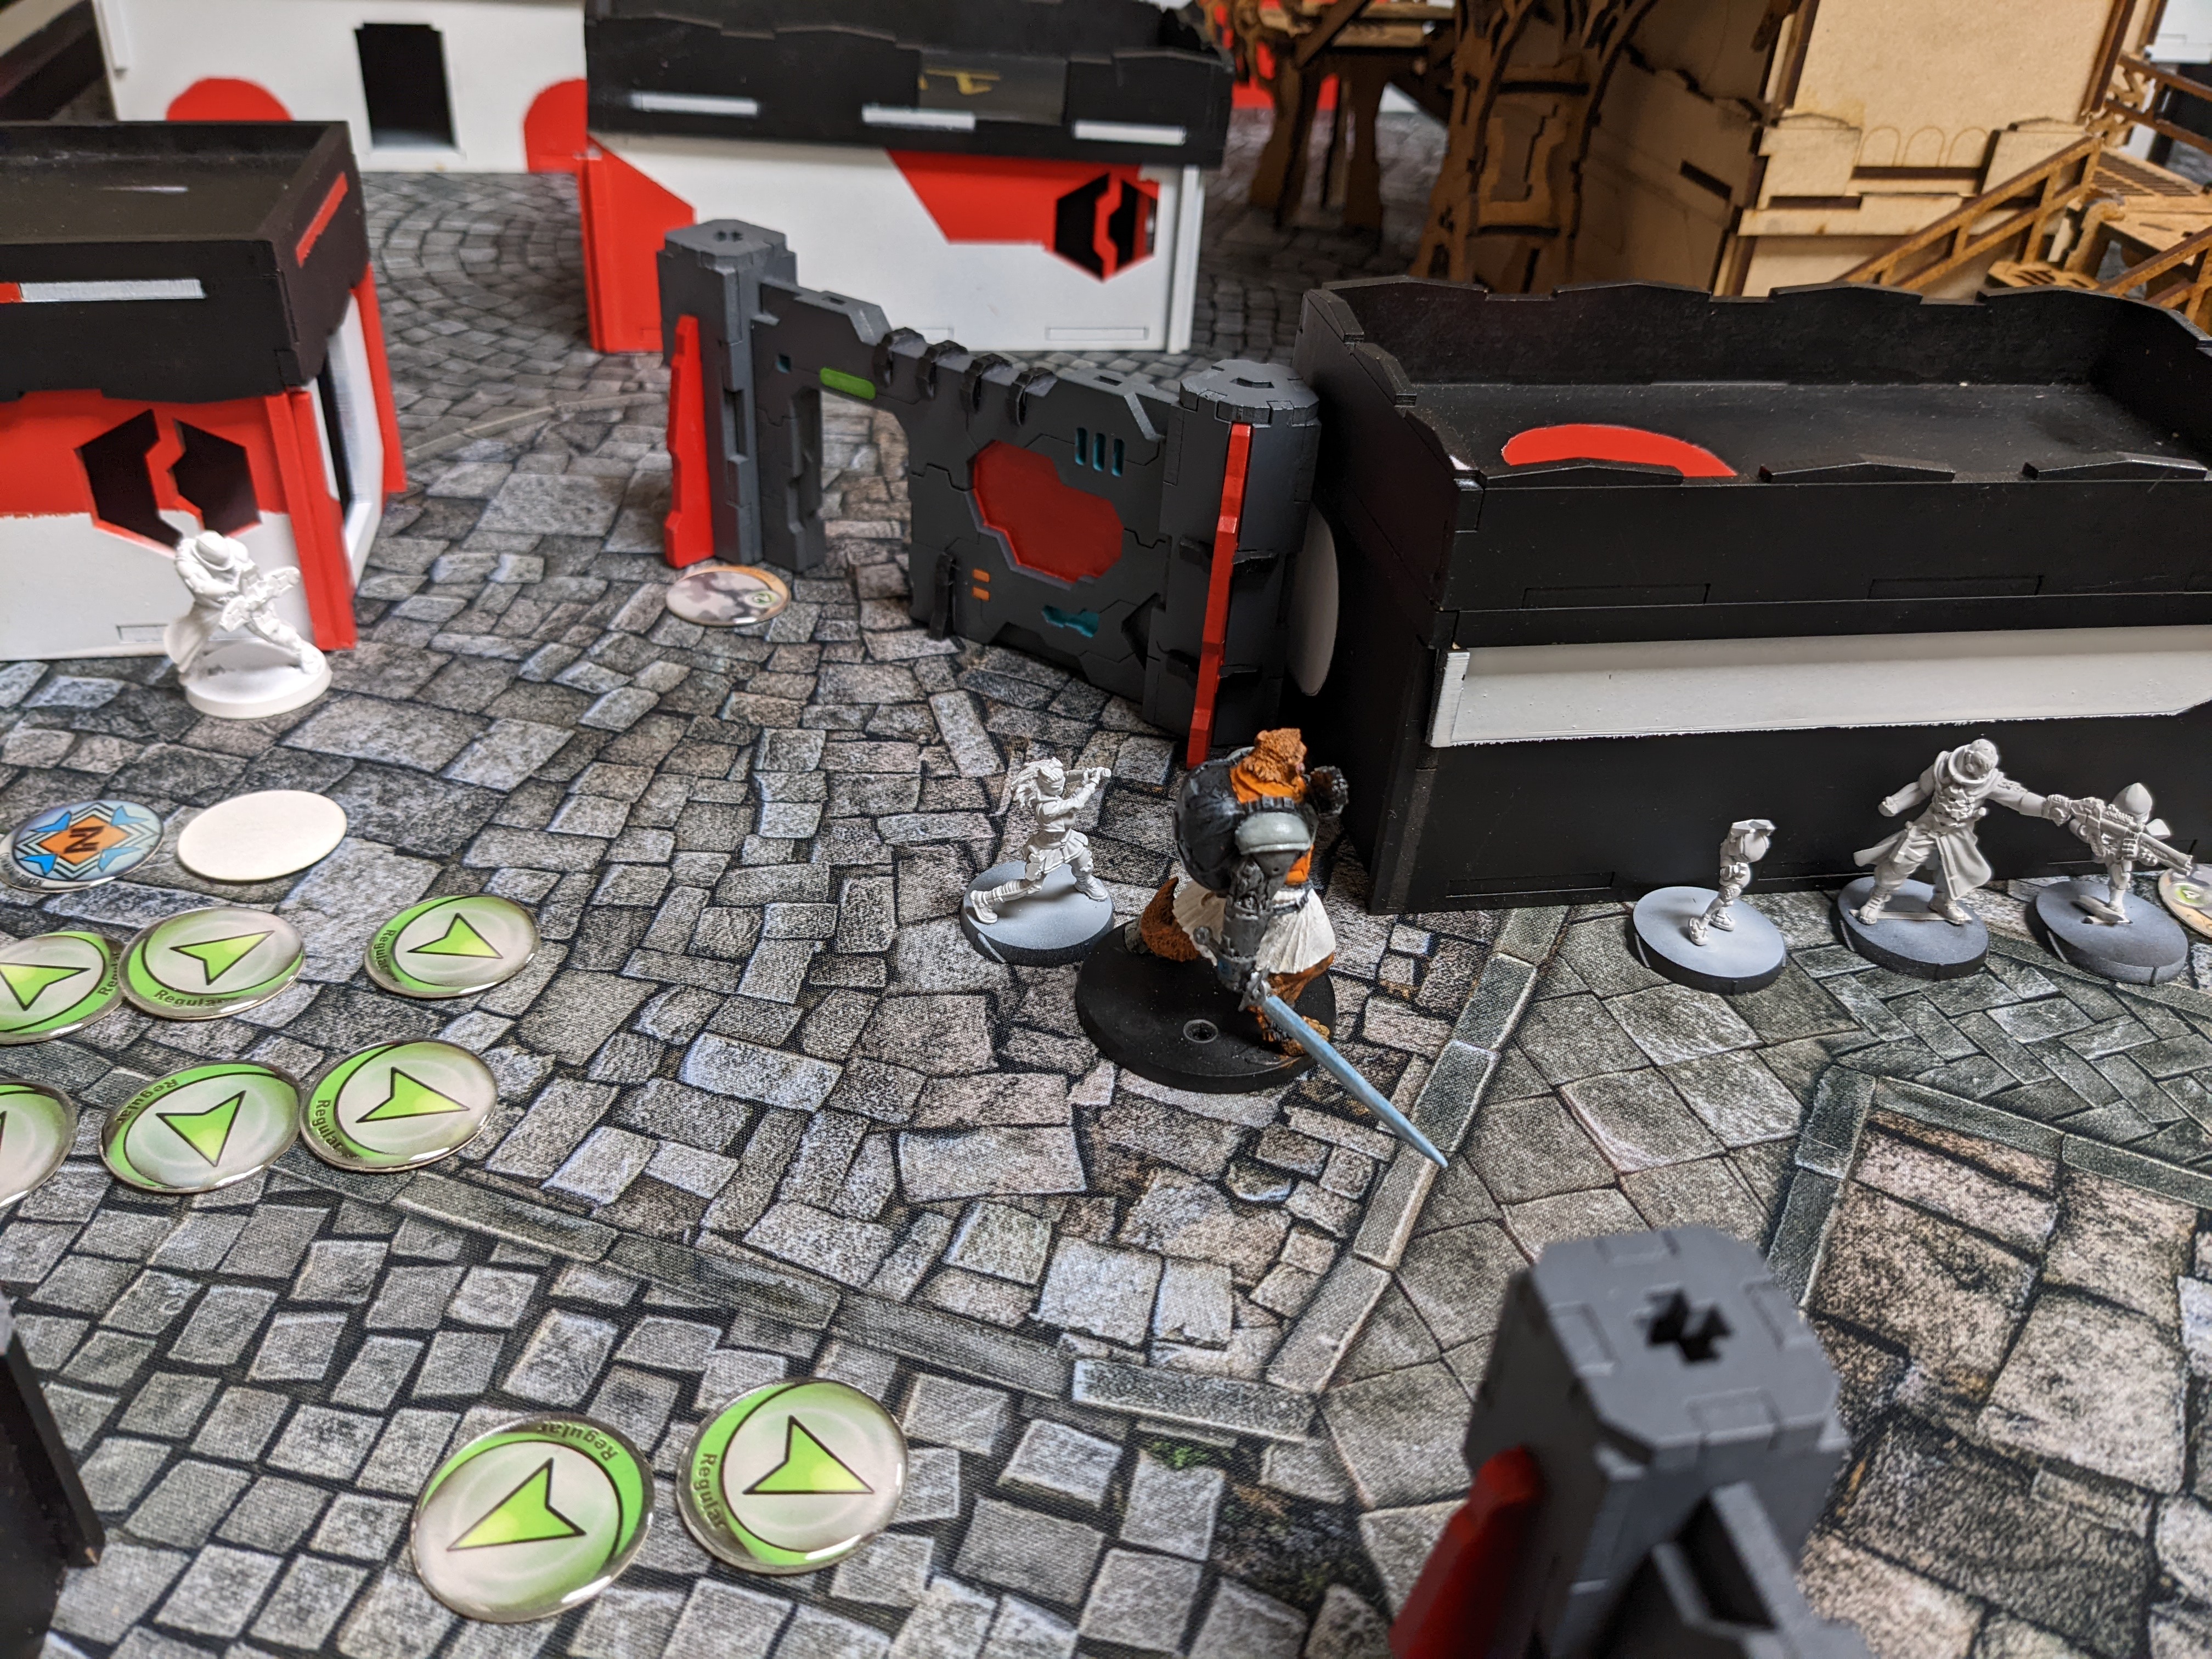
Uxia McNeill, who was hiding on top of the supply bins this entire time, moved forward via the rafters, ignoring the disguised Interventor, and setup an overwatch over the Clockmaker to try and prevent it from bringing the Hollowman back online again.
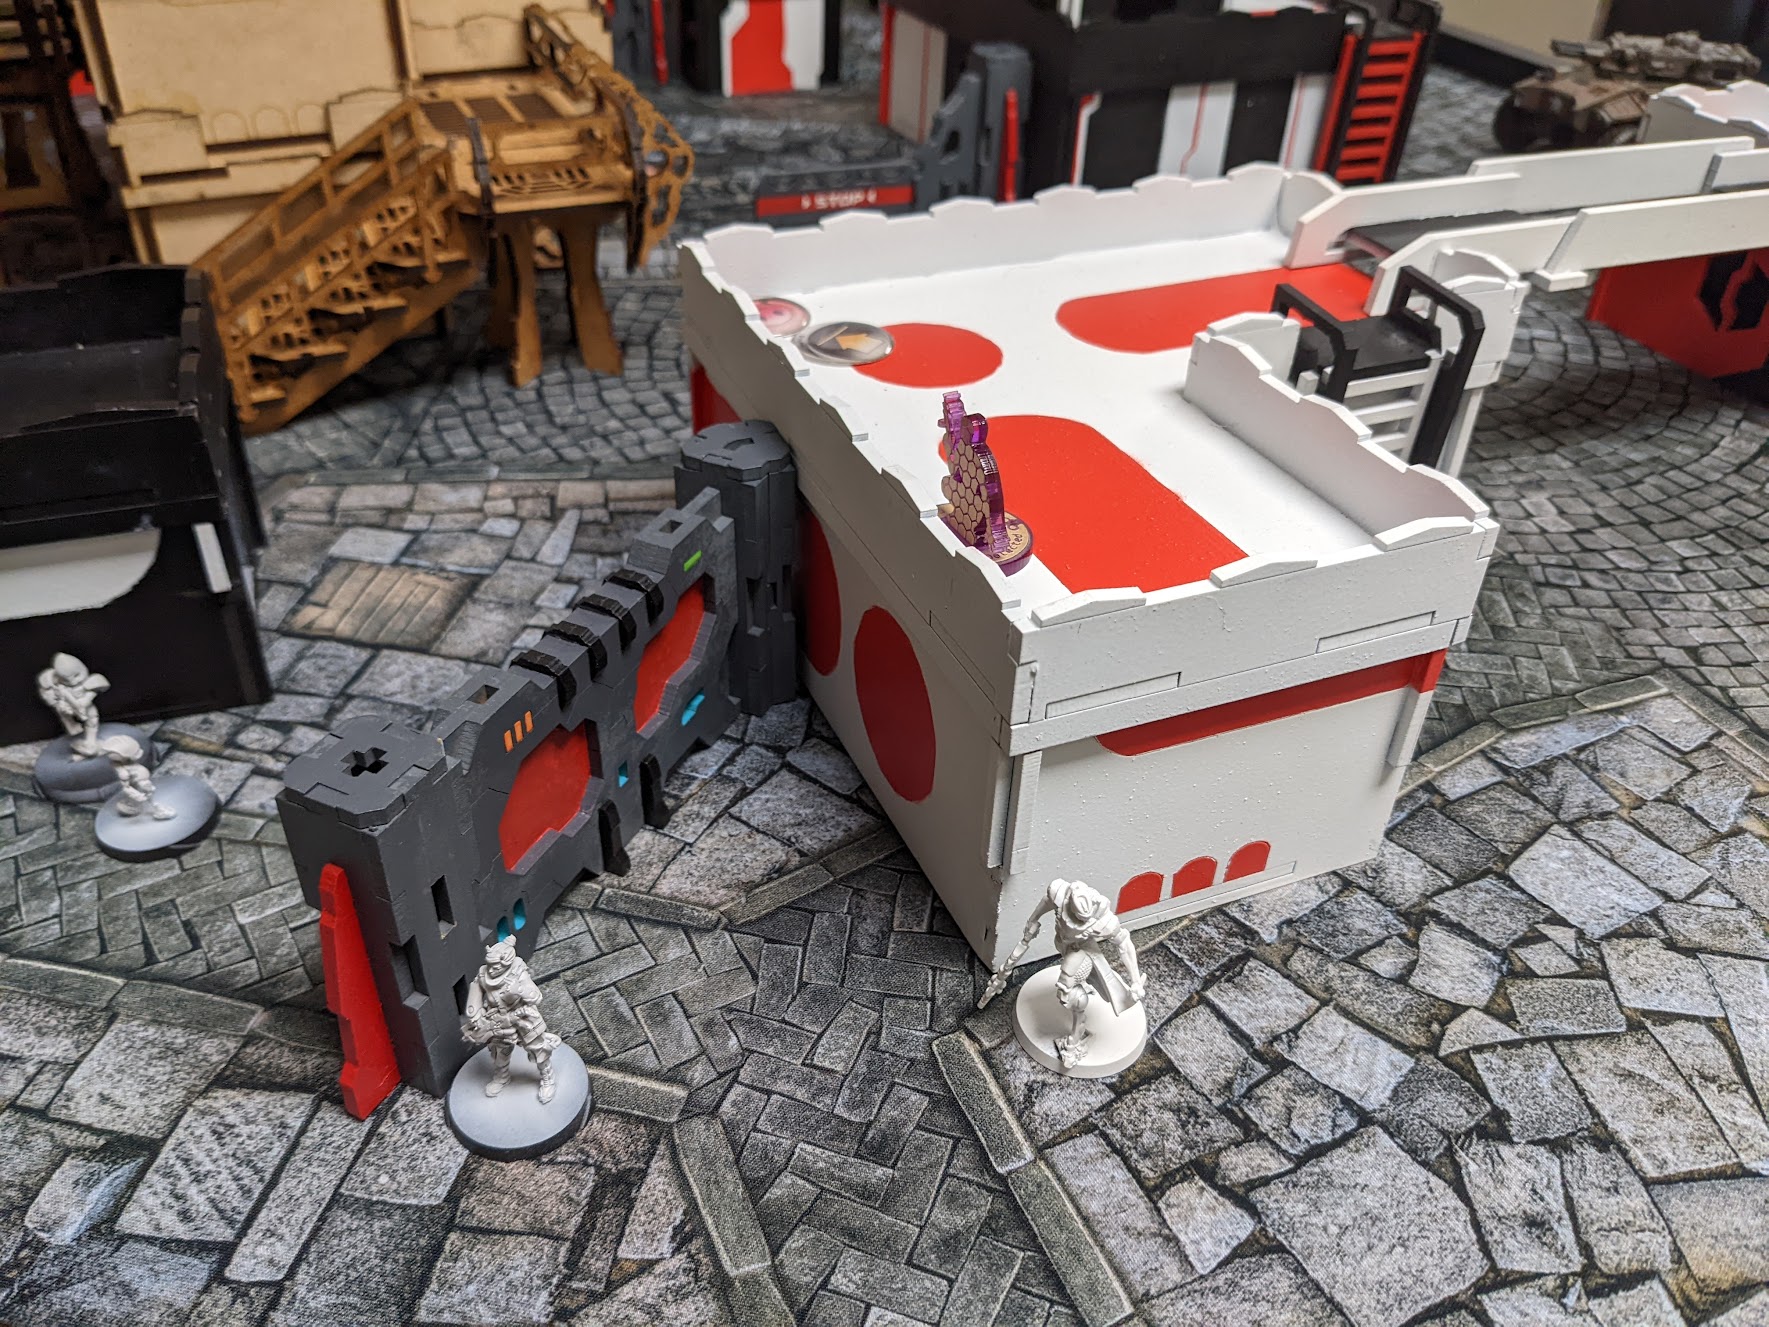
The only way to bring back the beacon was to try and get the Hollowman, who has already moved most of the way there, but was disconnected, back to operational condition. Interventor dropped his disguise, and readied a shot against Uxia. She returned fire, but both shots went wide. The last remaining Hollwman which was hiding out on the lower level, jumped up a building and tried to pin down Uxia. She responded by strapping a D-Charge to his chest. Thankfully, the Hollowman frame was able to withstand the explosion, and still clutched onto Uxia, not letting her move.
Clockmaker took a step back to the wall to get out of the line of fire of the rooftop fighters, and has urged her helper bot forward, yet again repairing the damaged Boarding Shotgun Hollowman.

Battle Report Author

Army Lists Used In This Battle
Recommend Commander For Commendation
Share this battle with friends
KanyeWestWins

That sounded like a very tense game. Very enjoyable and I loved the pictures.
The ICAF has decreed this area under the protection of the Ariadnan nation, please back down and surrender your positions and no one shall be harmed.
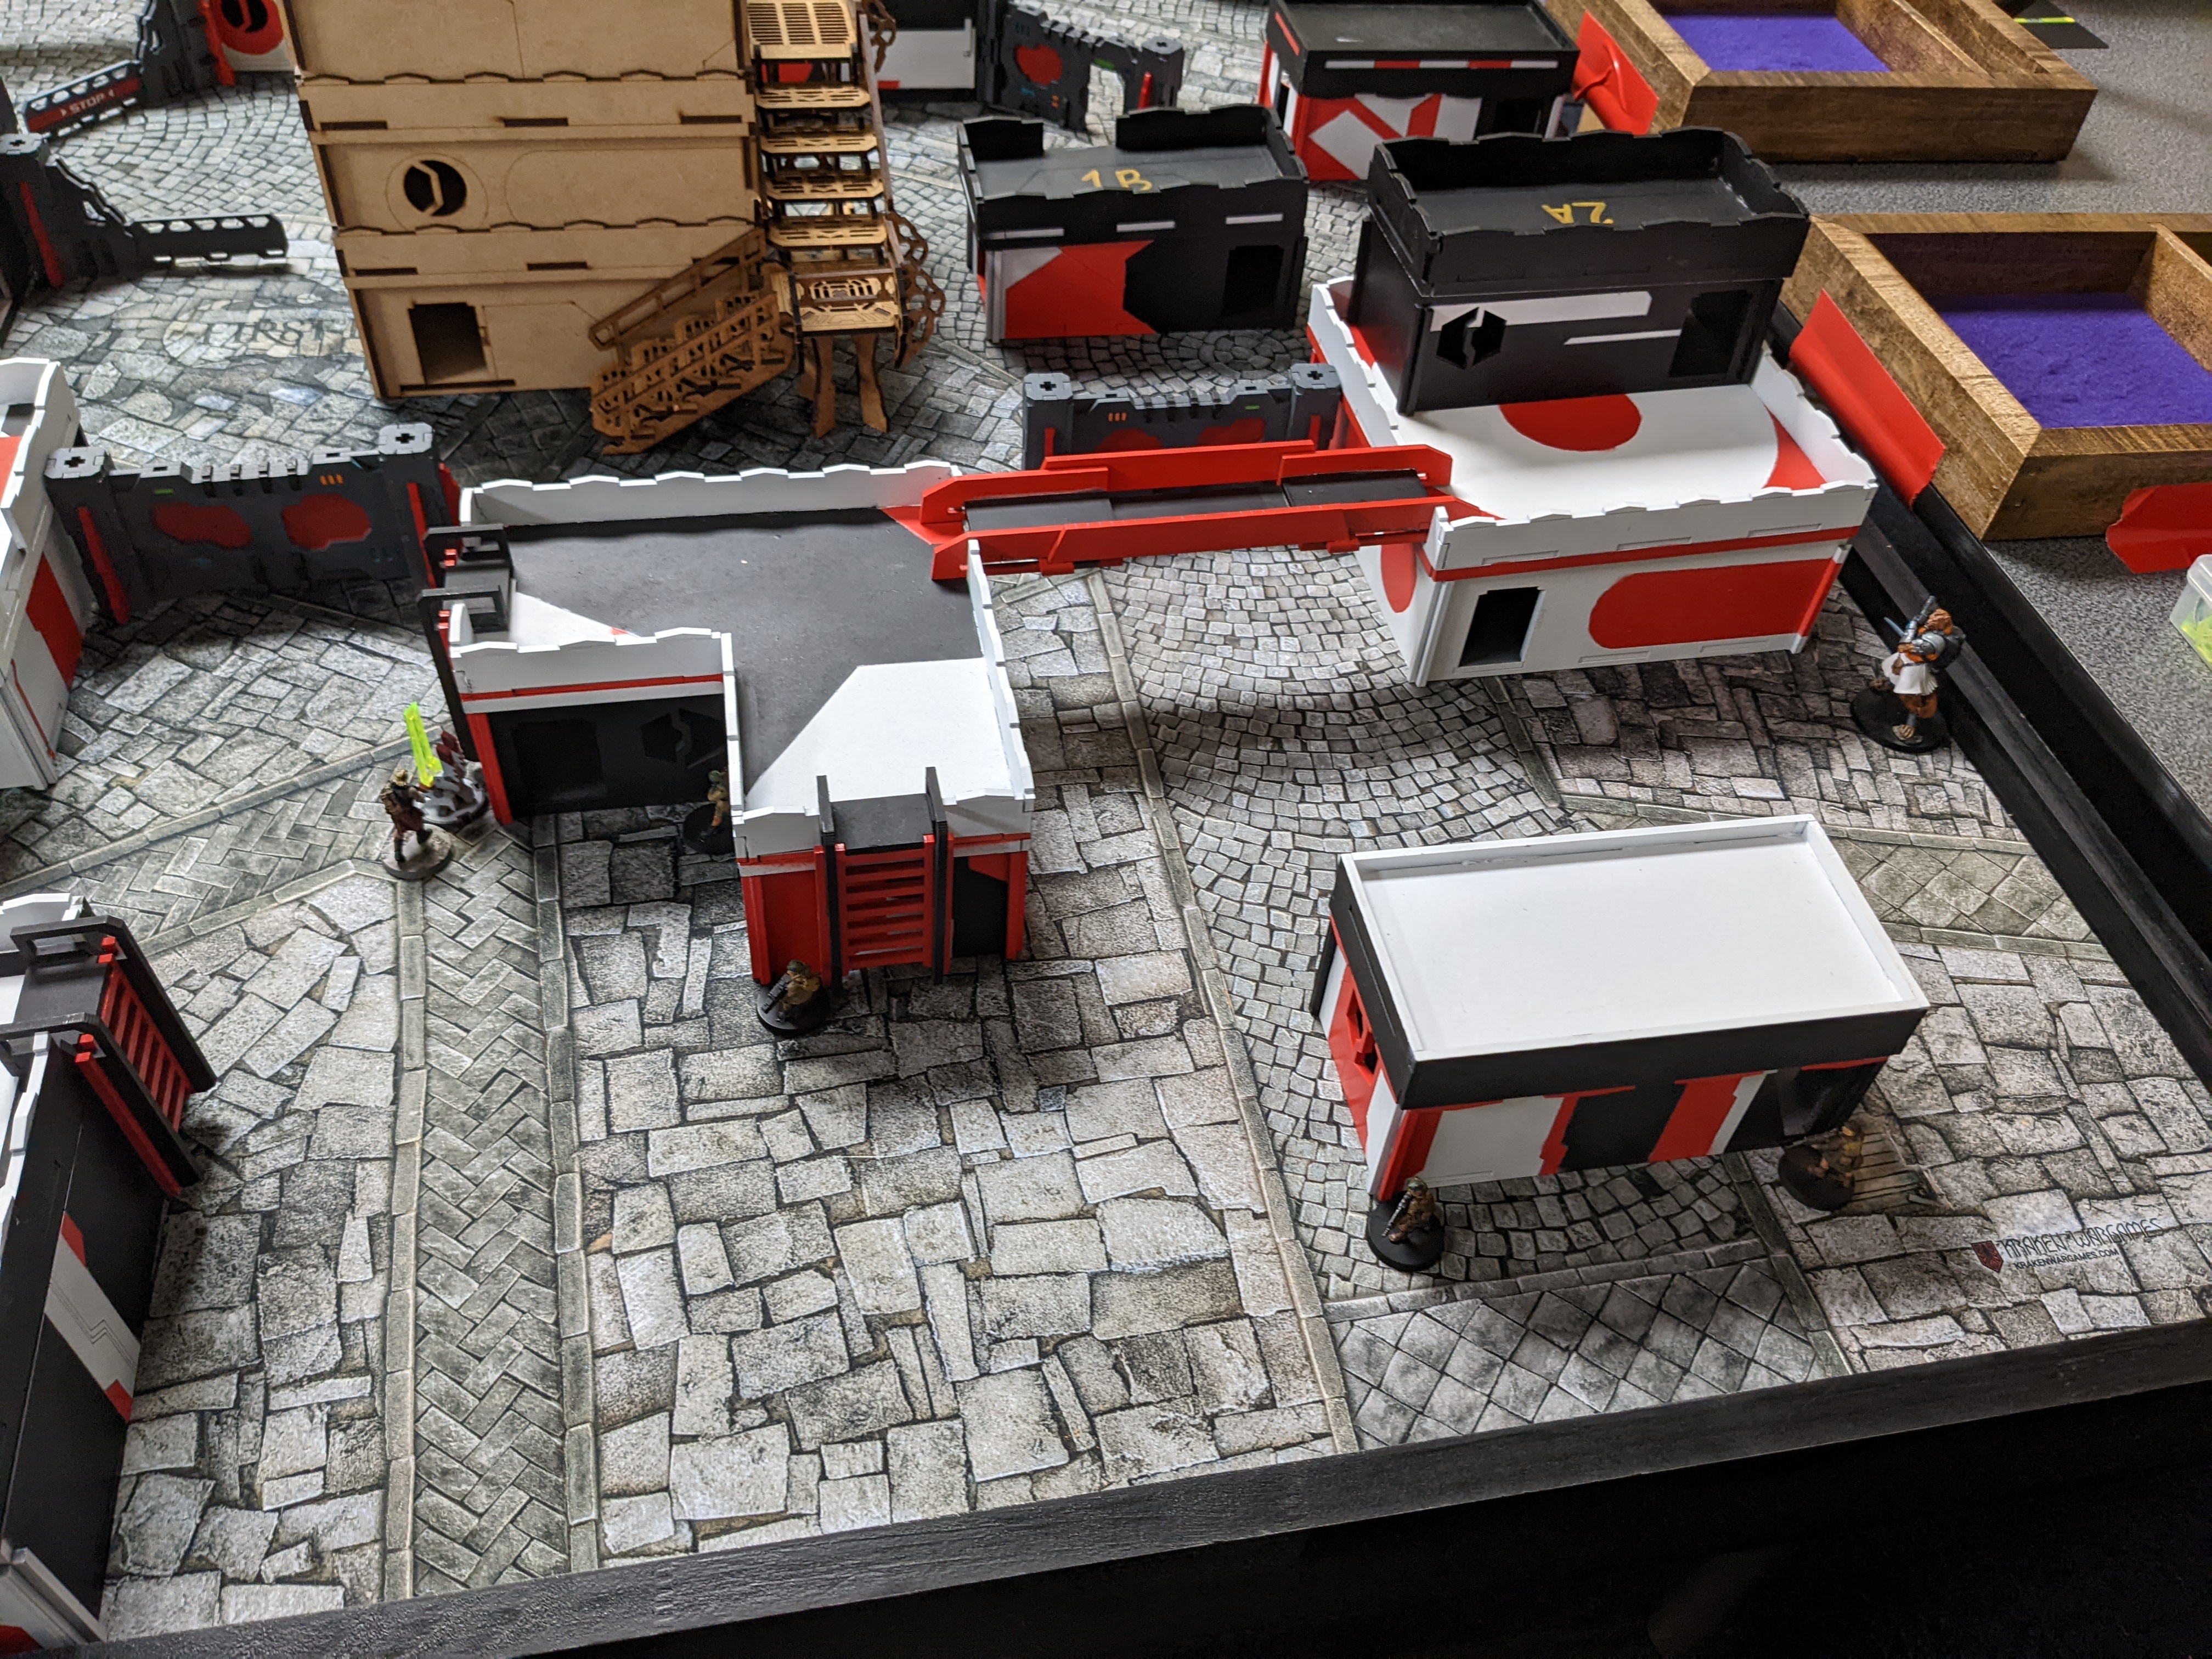
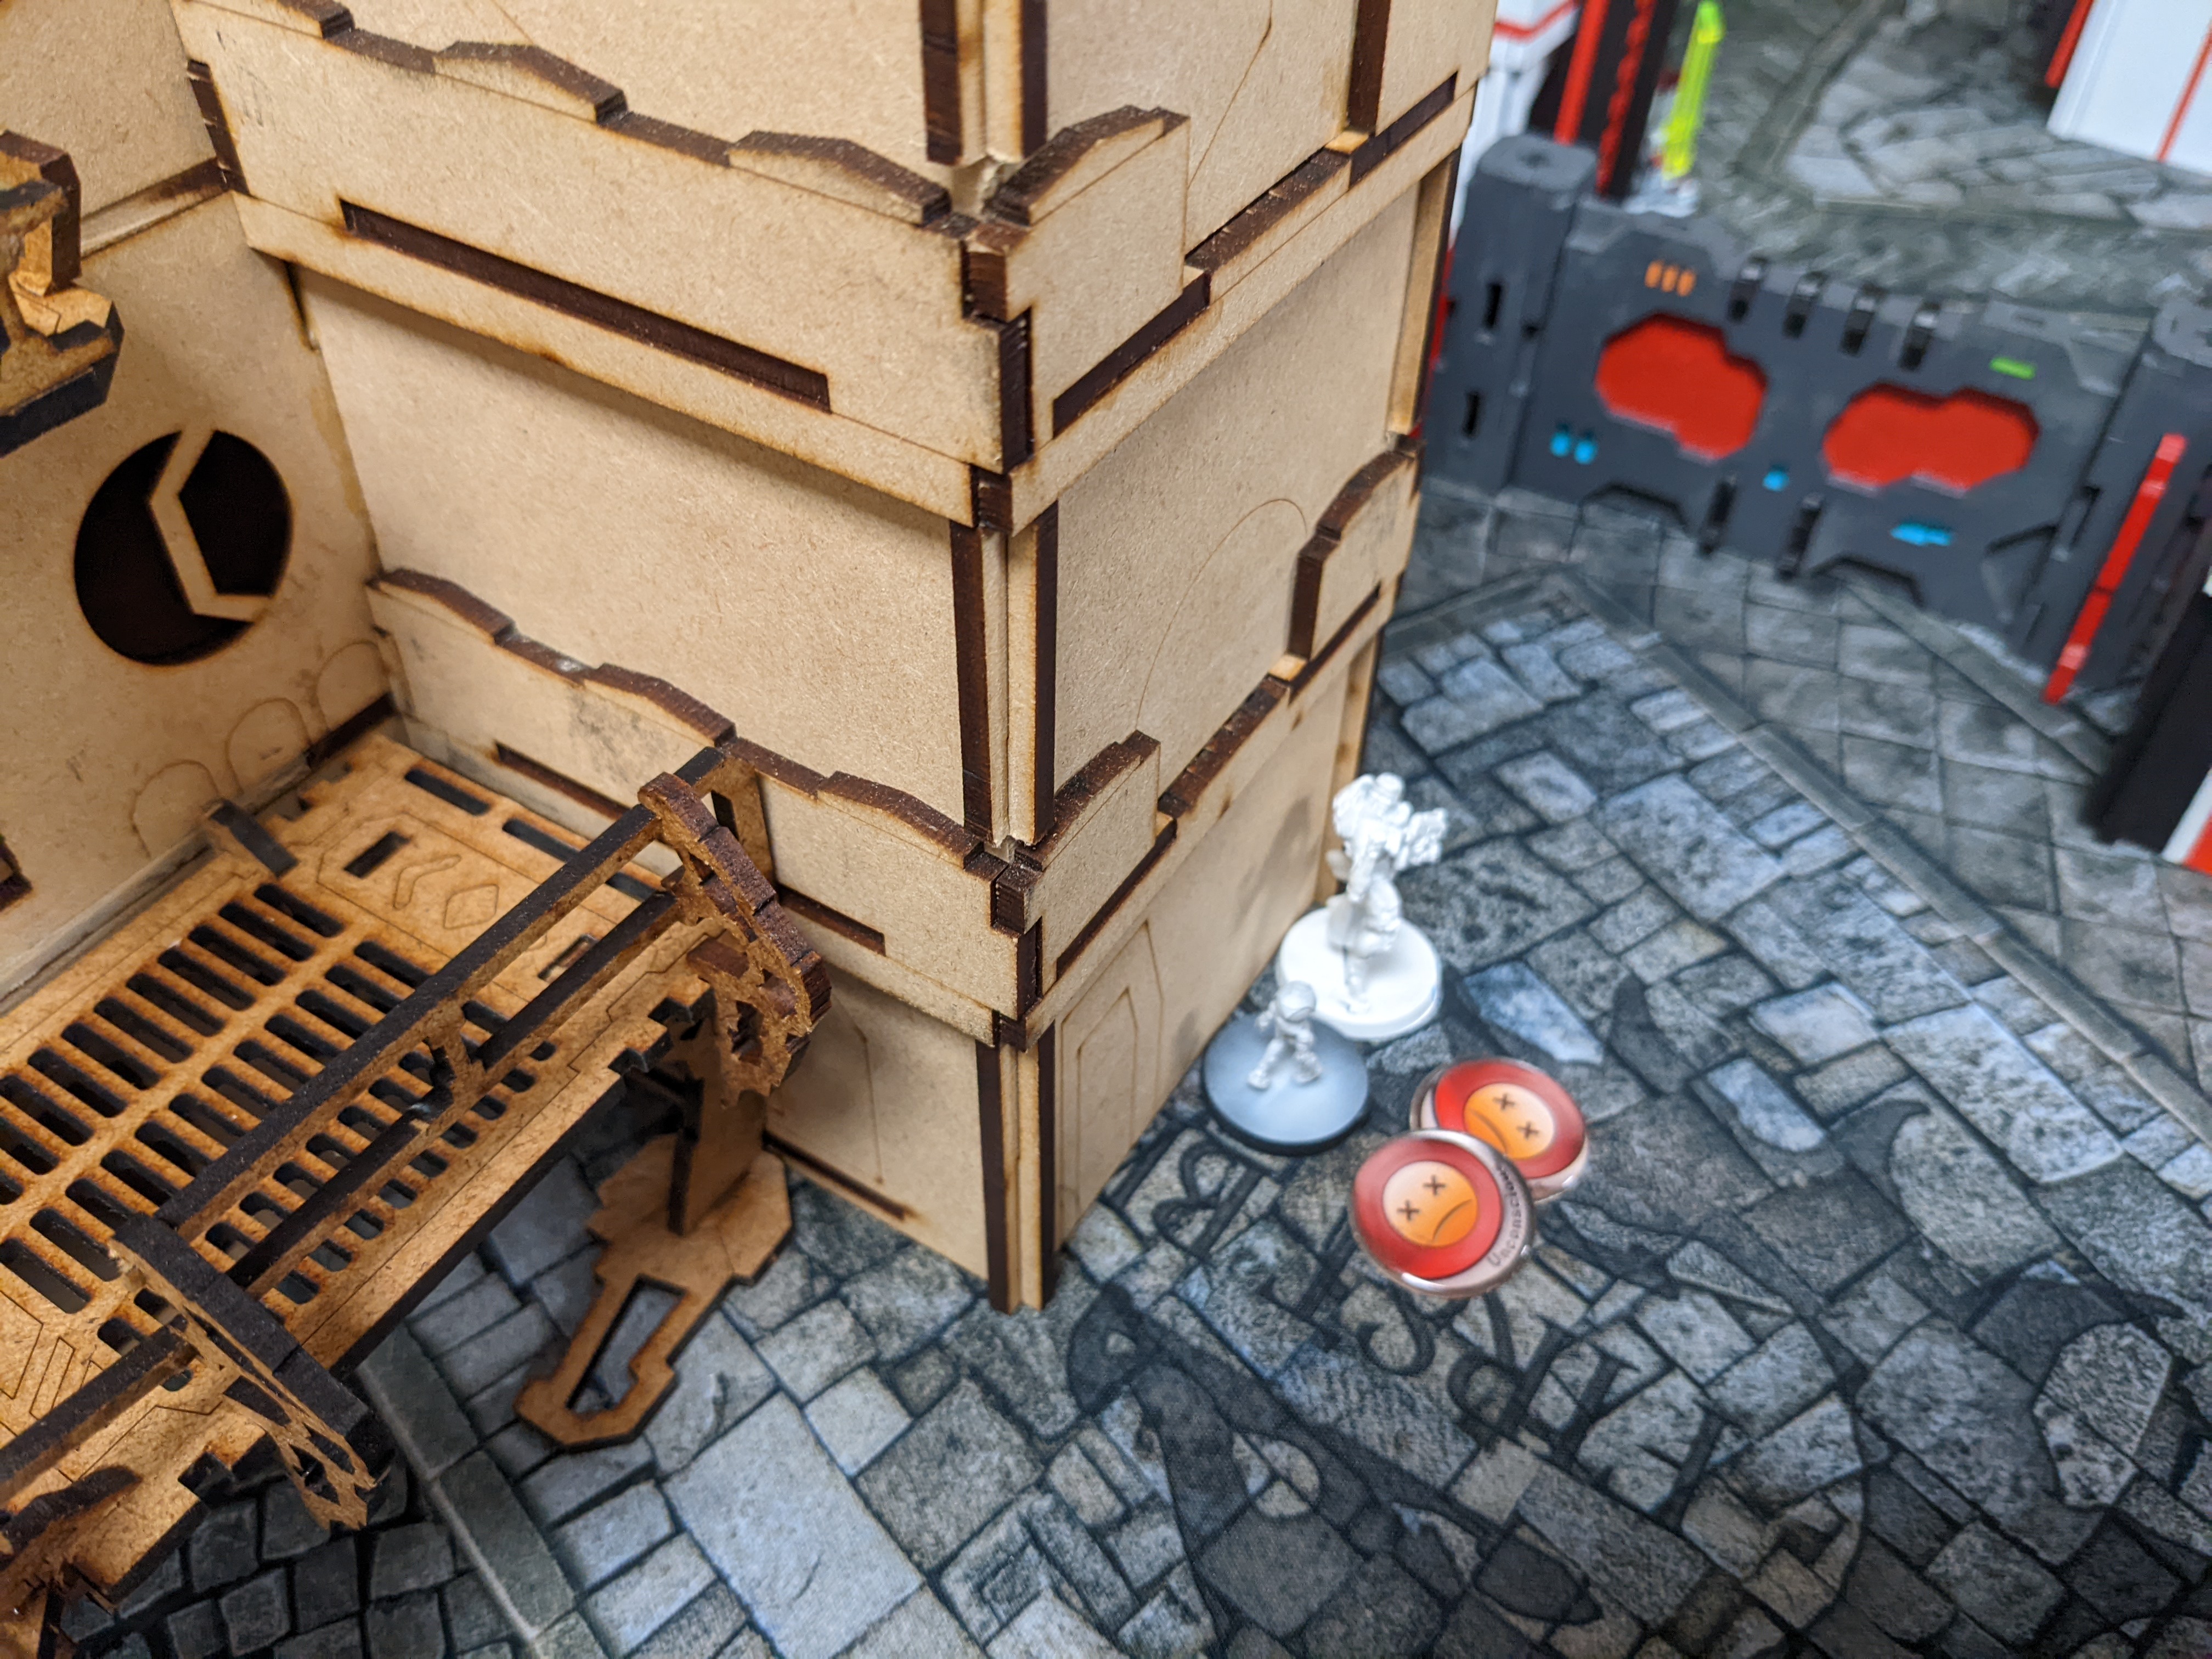
So this game has been played in the same day as my previous report, on the same table. Hopefully that answers some of the questions a very similar terrain setup could pose 🙂