Fought At Cameliard: Reliquary
649 days 14 hours 35 minutes ago
Rebuff at Cameliard
300 POINTS"All right, we've been monitoring the border for quite awhile now and this time recon picked up some movement, and yes it's the PanOceanians trying to punch through and re-capture Cameliard. Well we have our orders intercept and repel them. That is all, everyone to your positions we'll give these guai-lou a taste of Yujing shock combat."
Commander Yan Xing, 10th Infantry Brigade of the Invincible Army
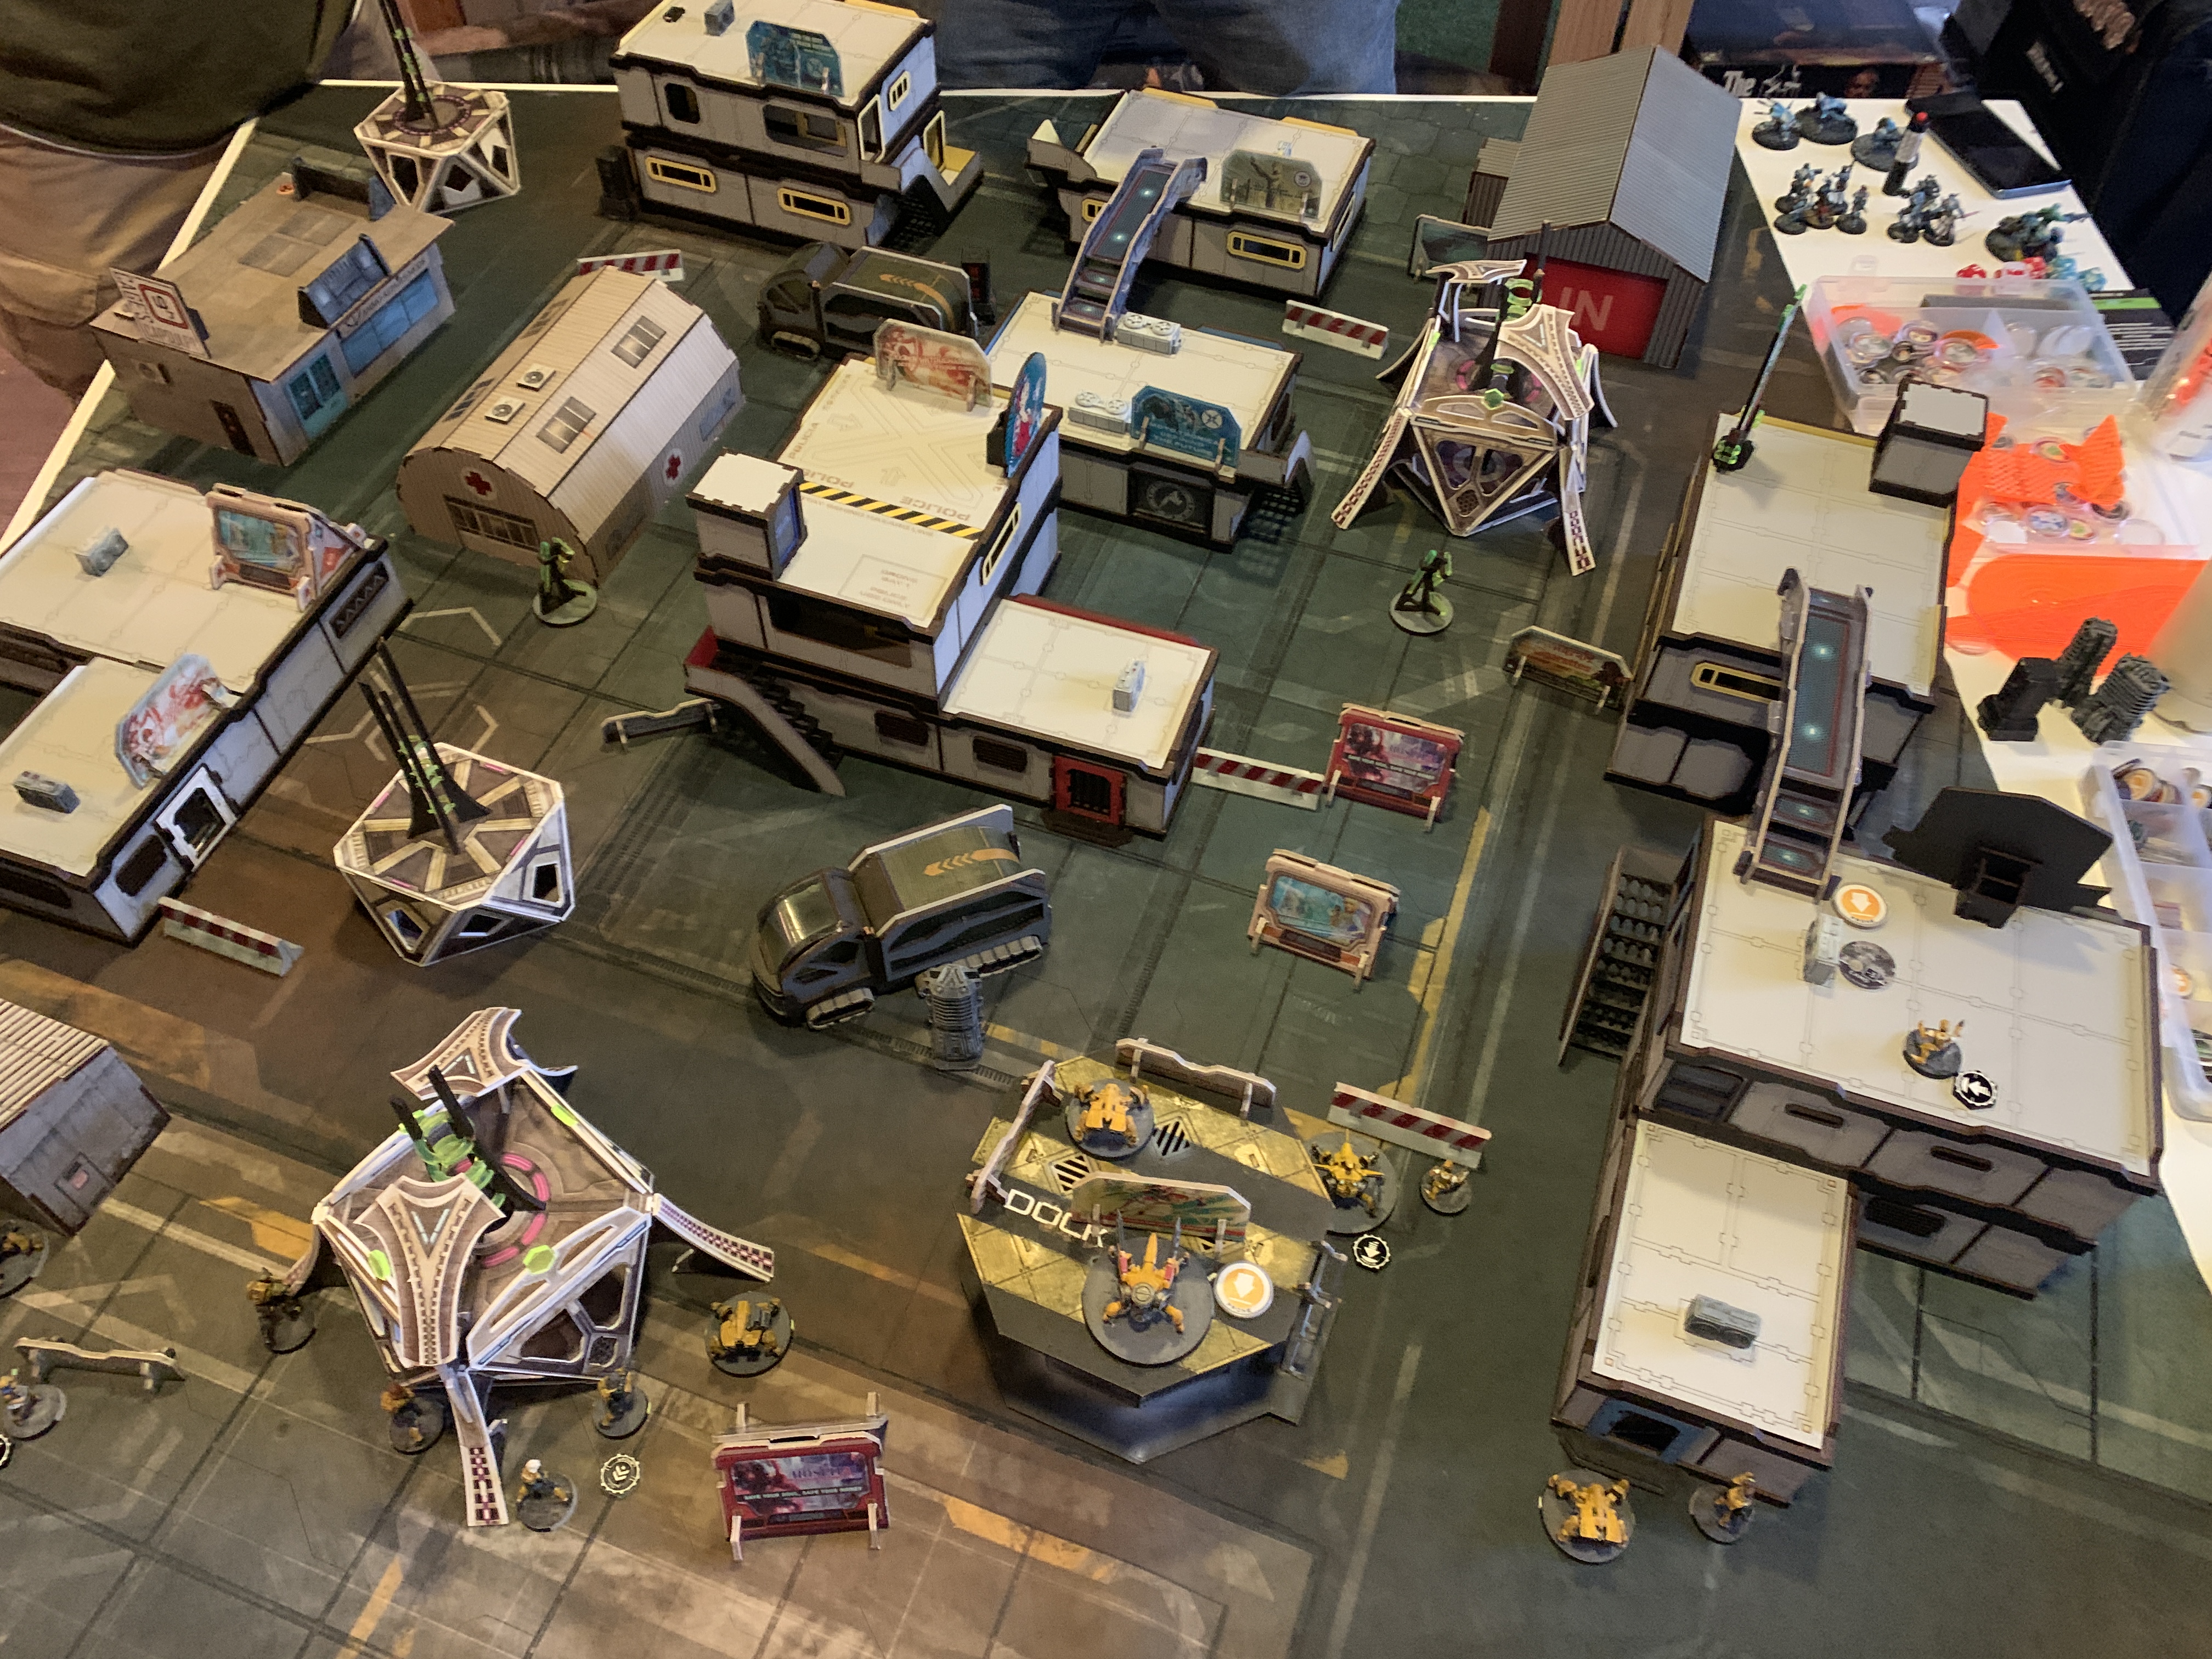
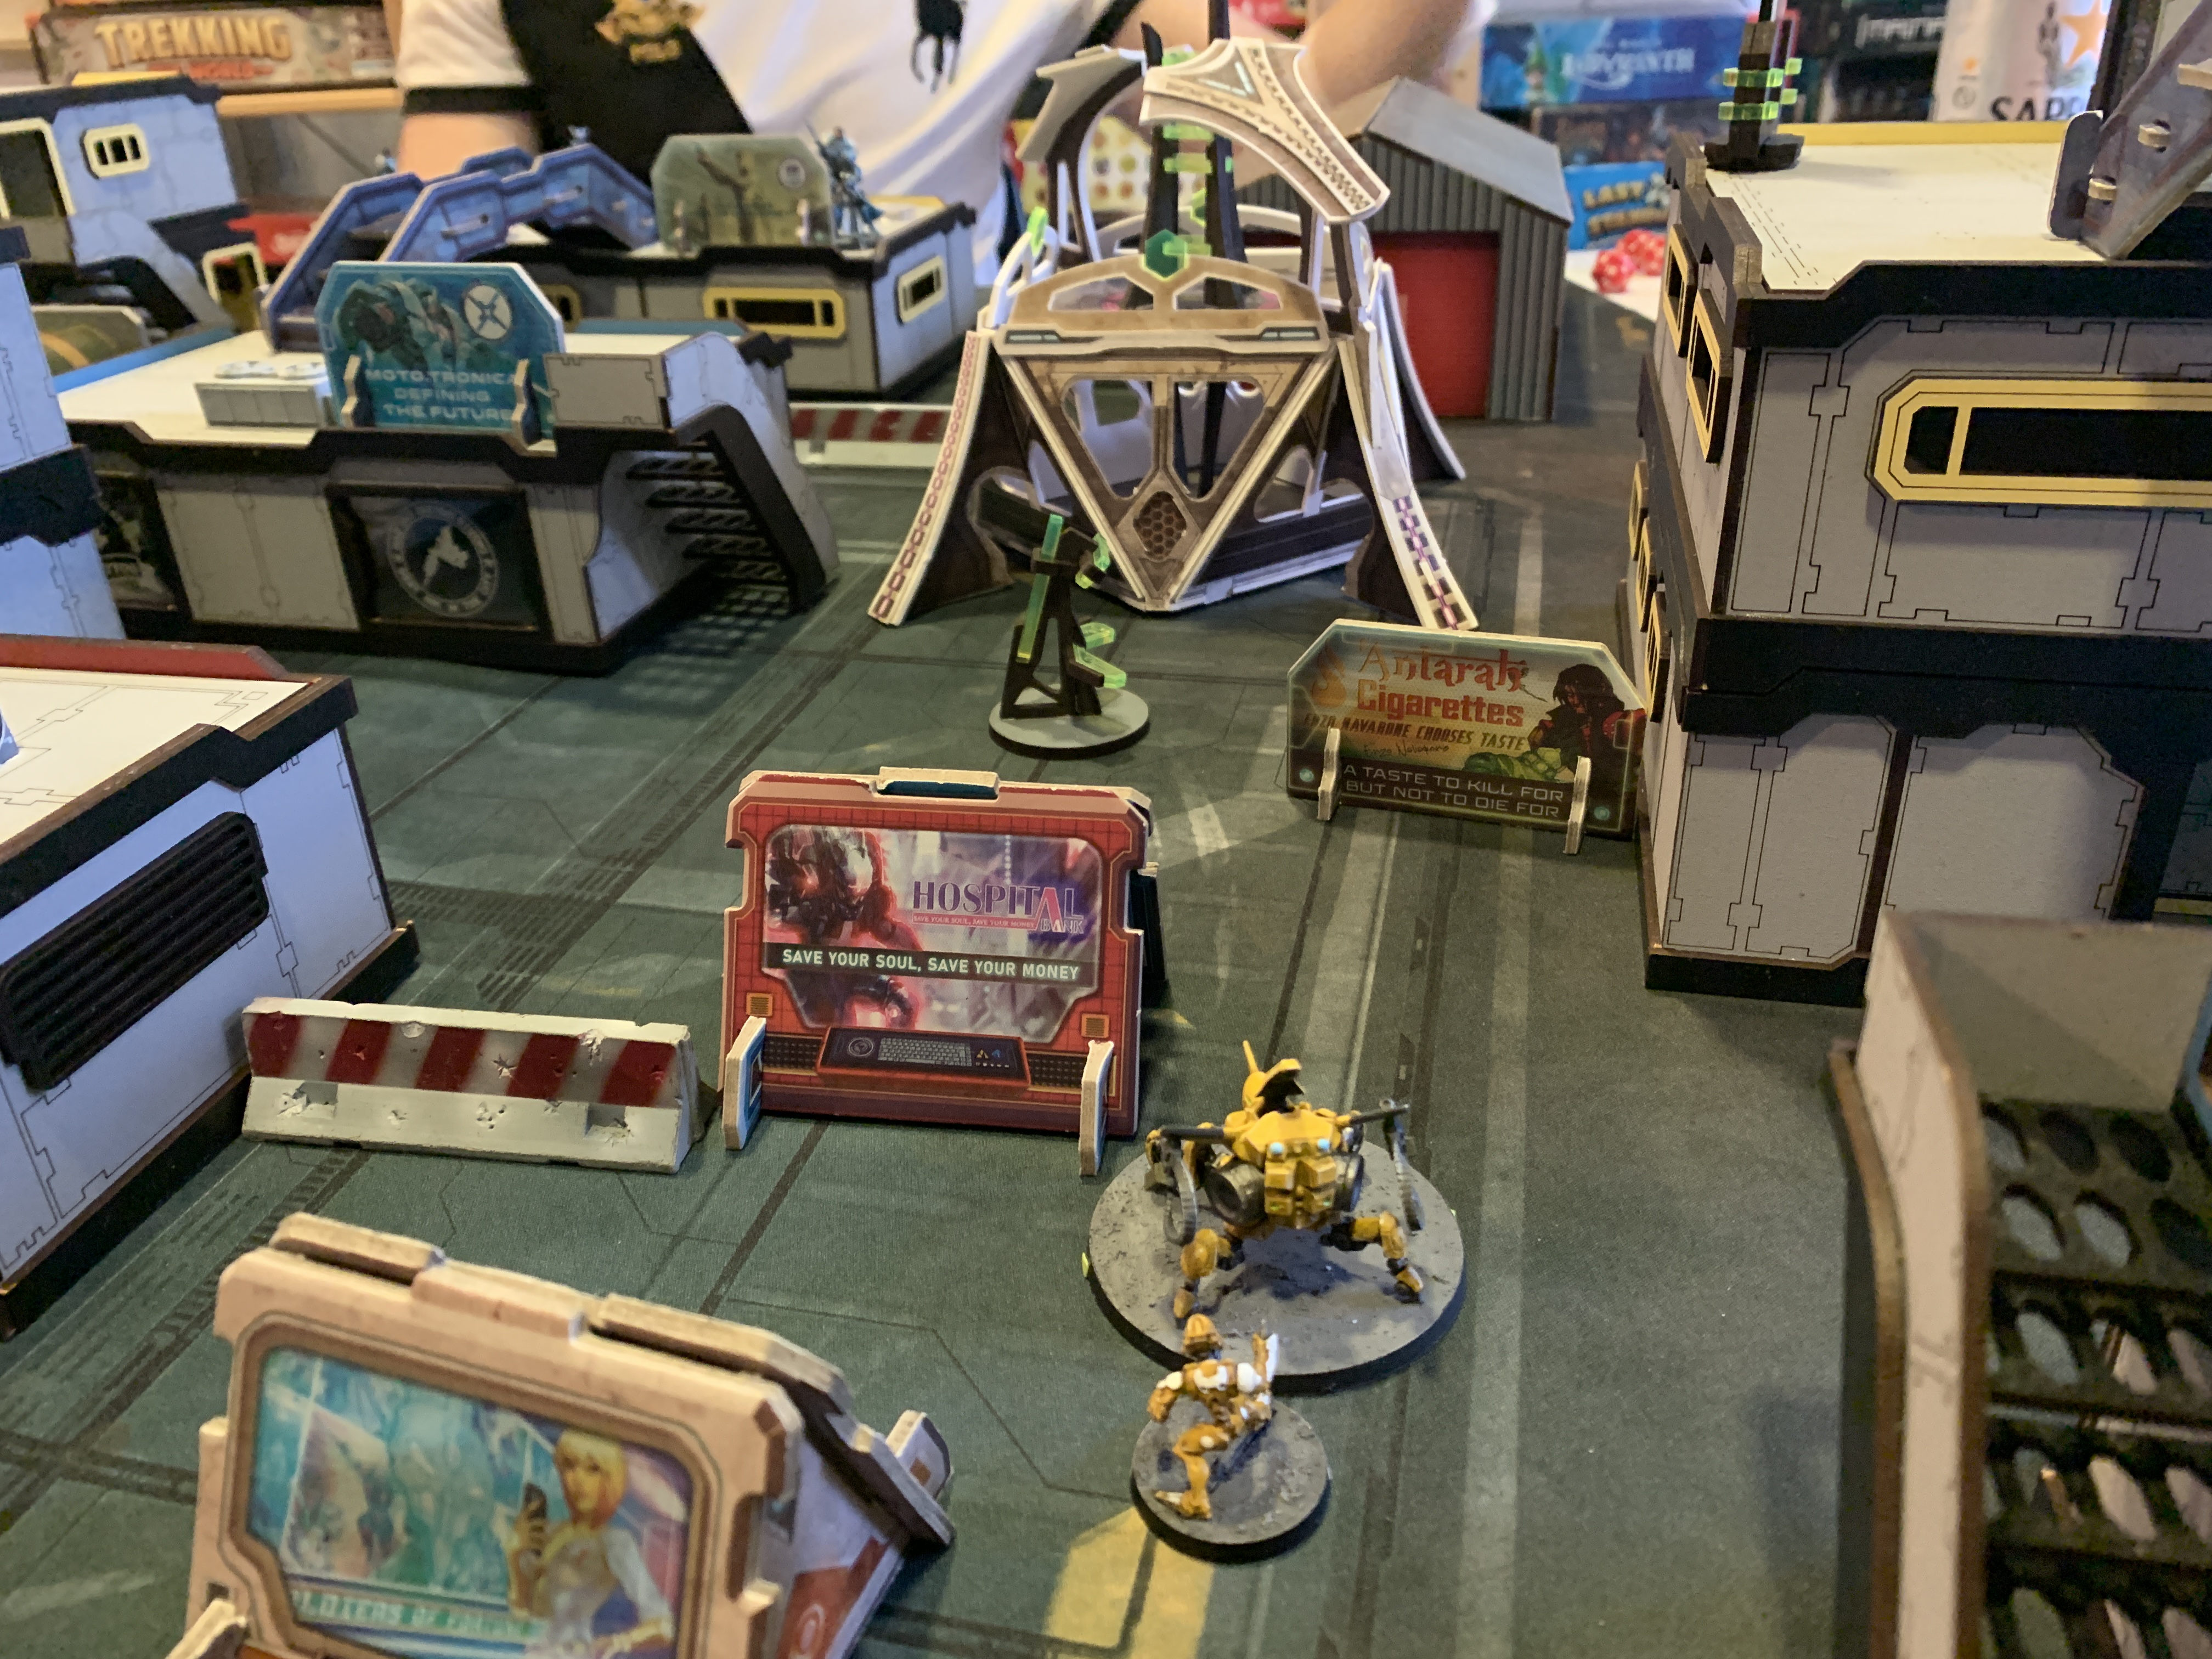
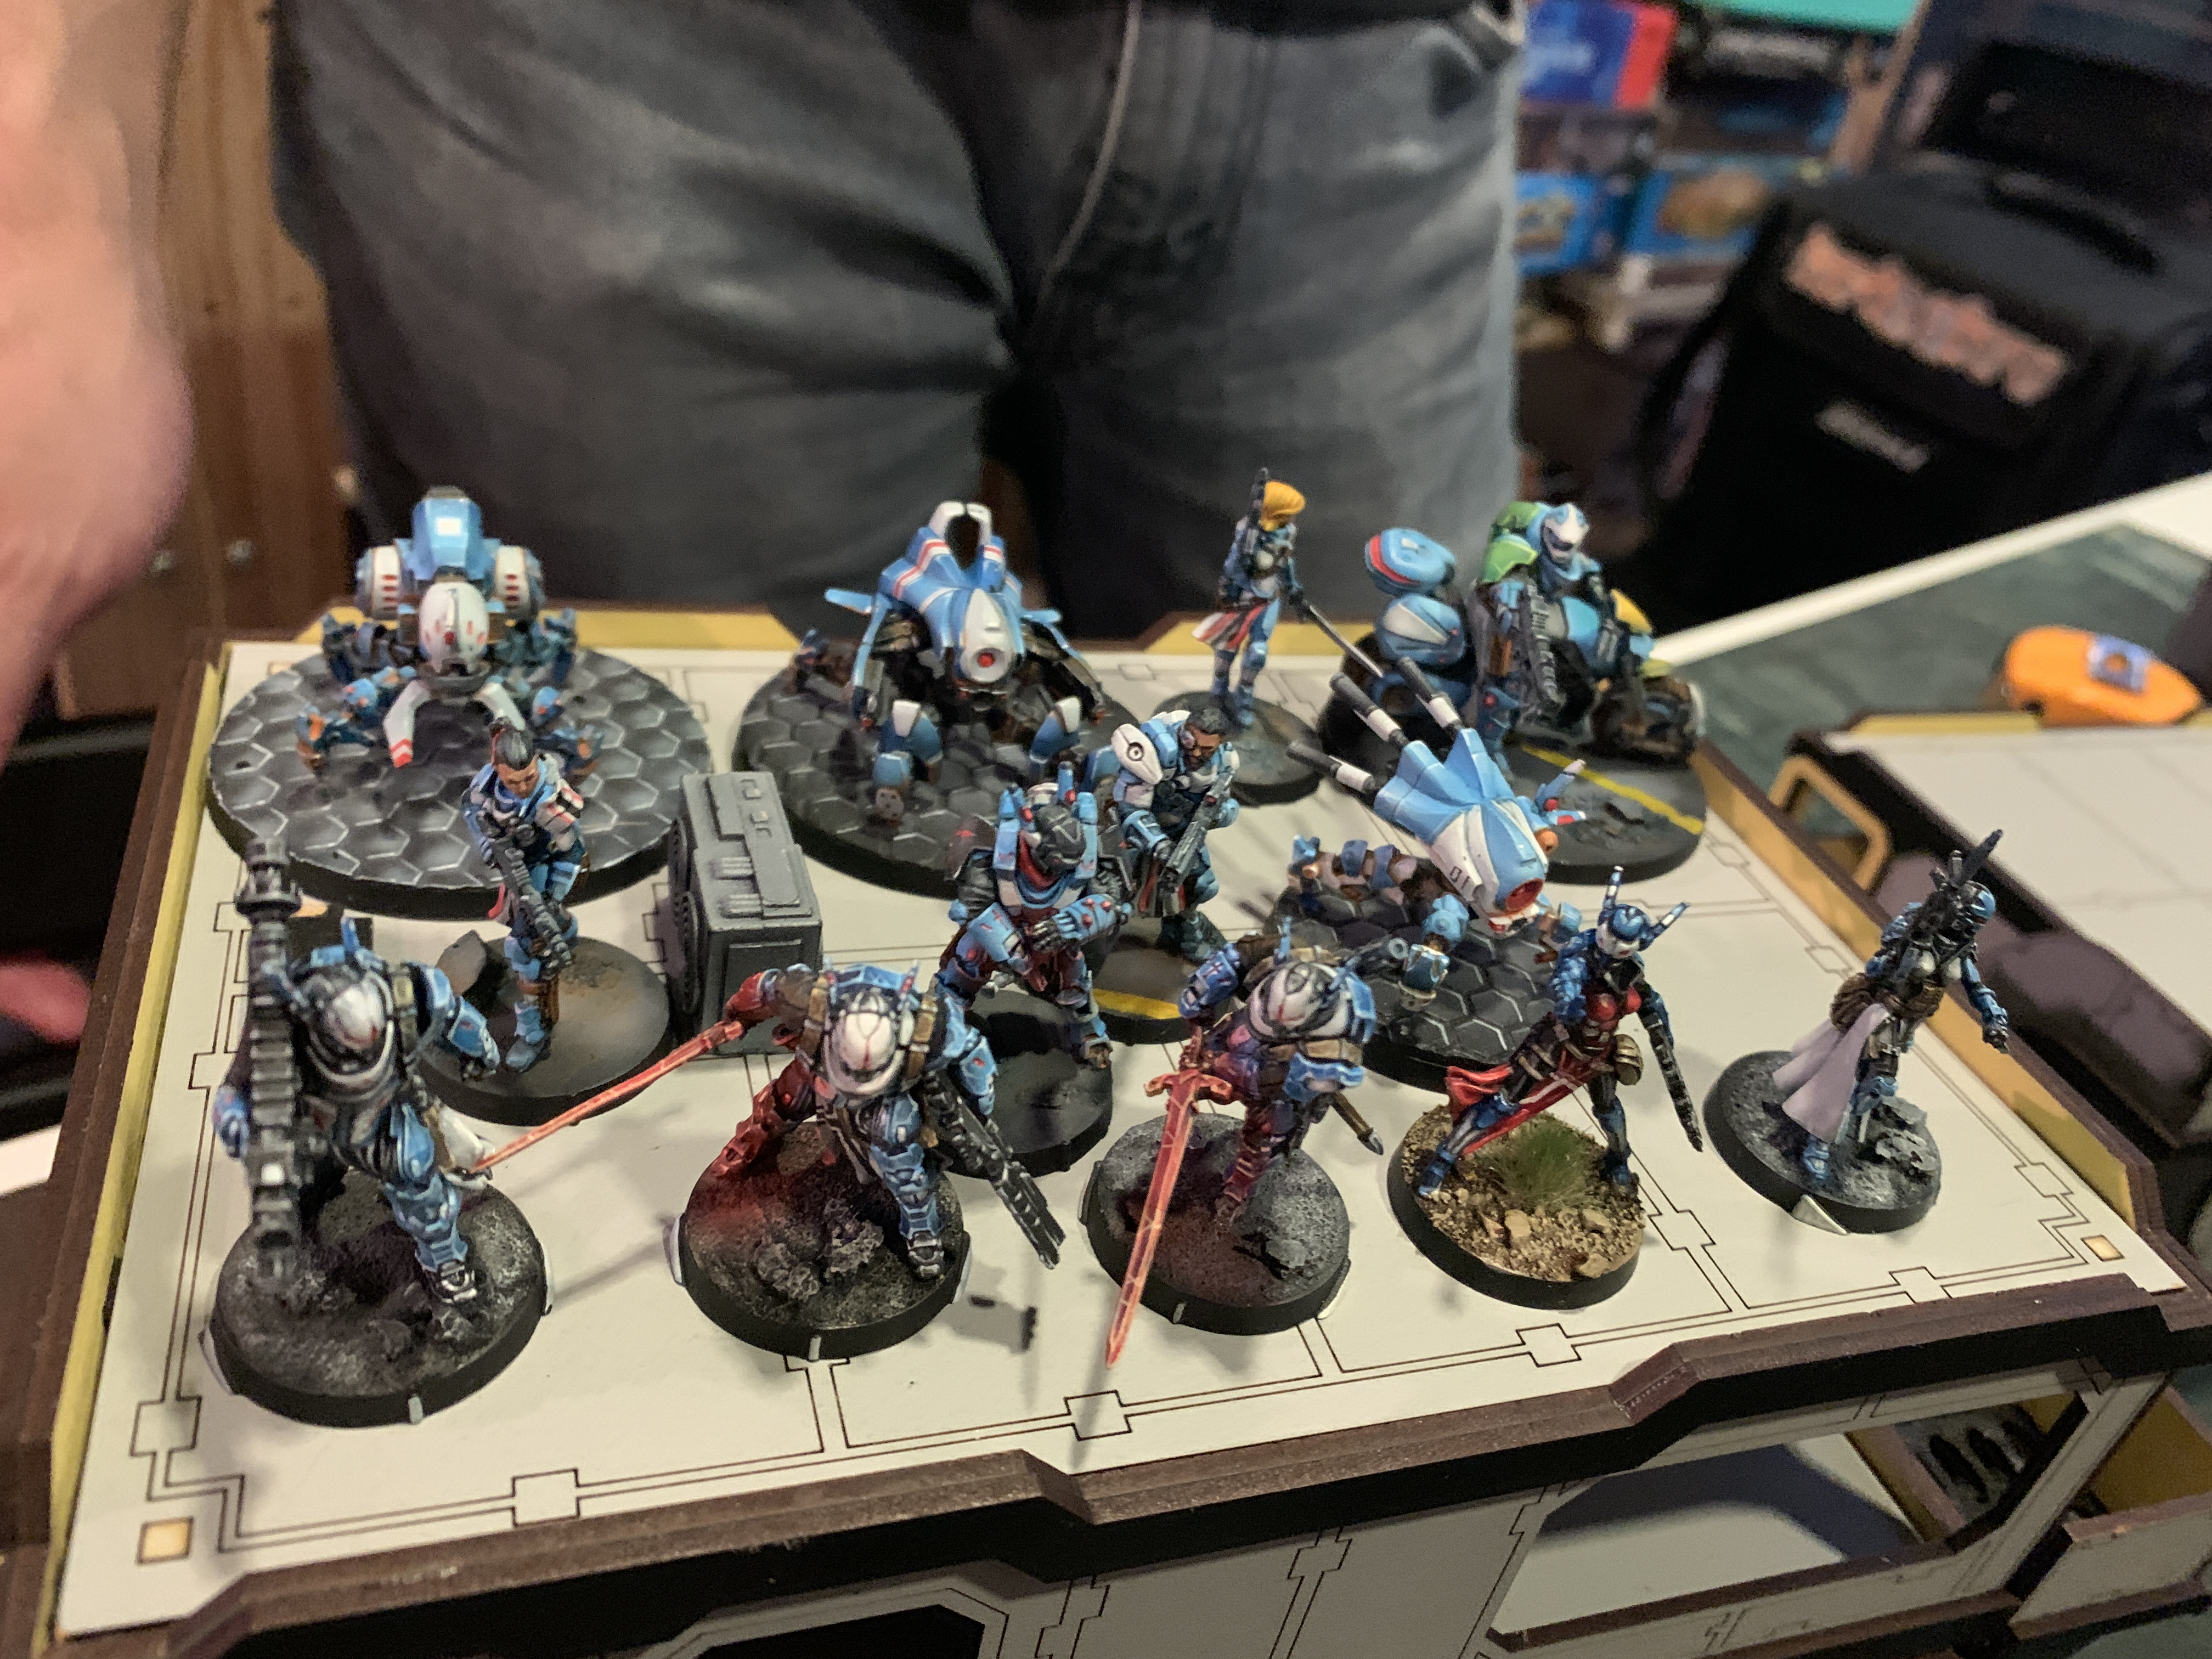
The mission: Looting and Sabotage
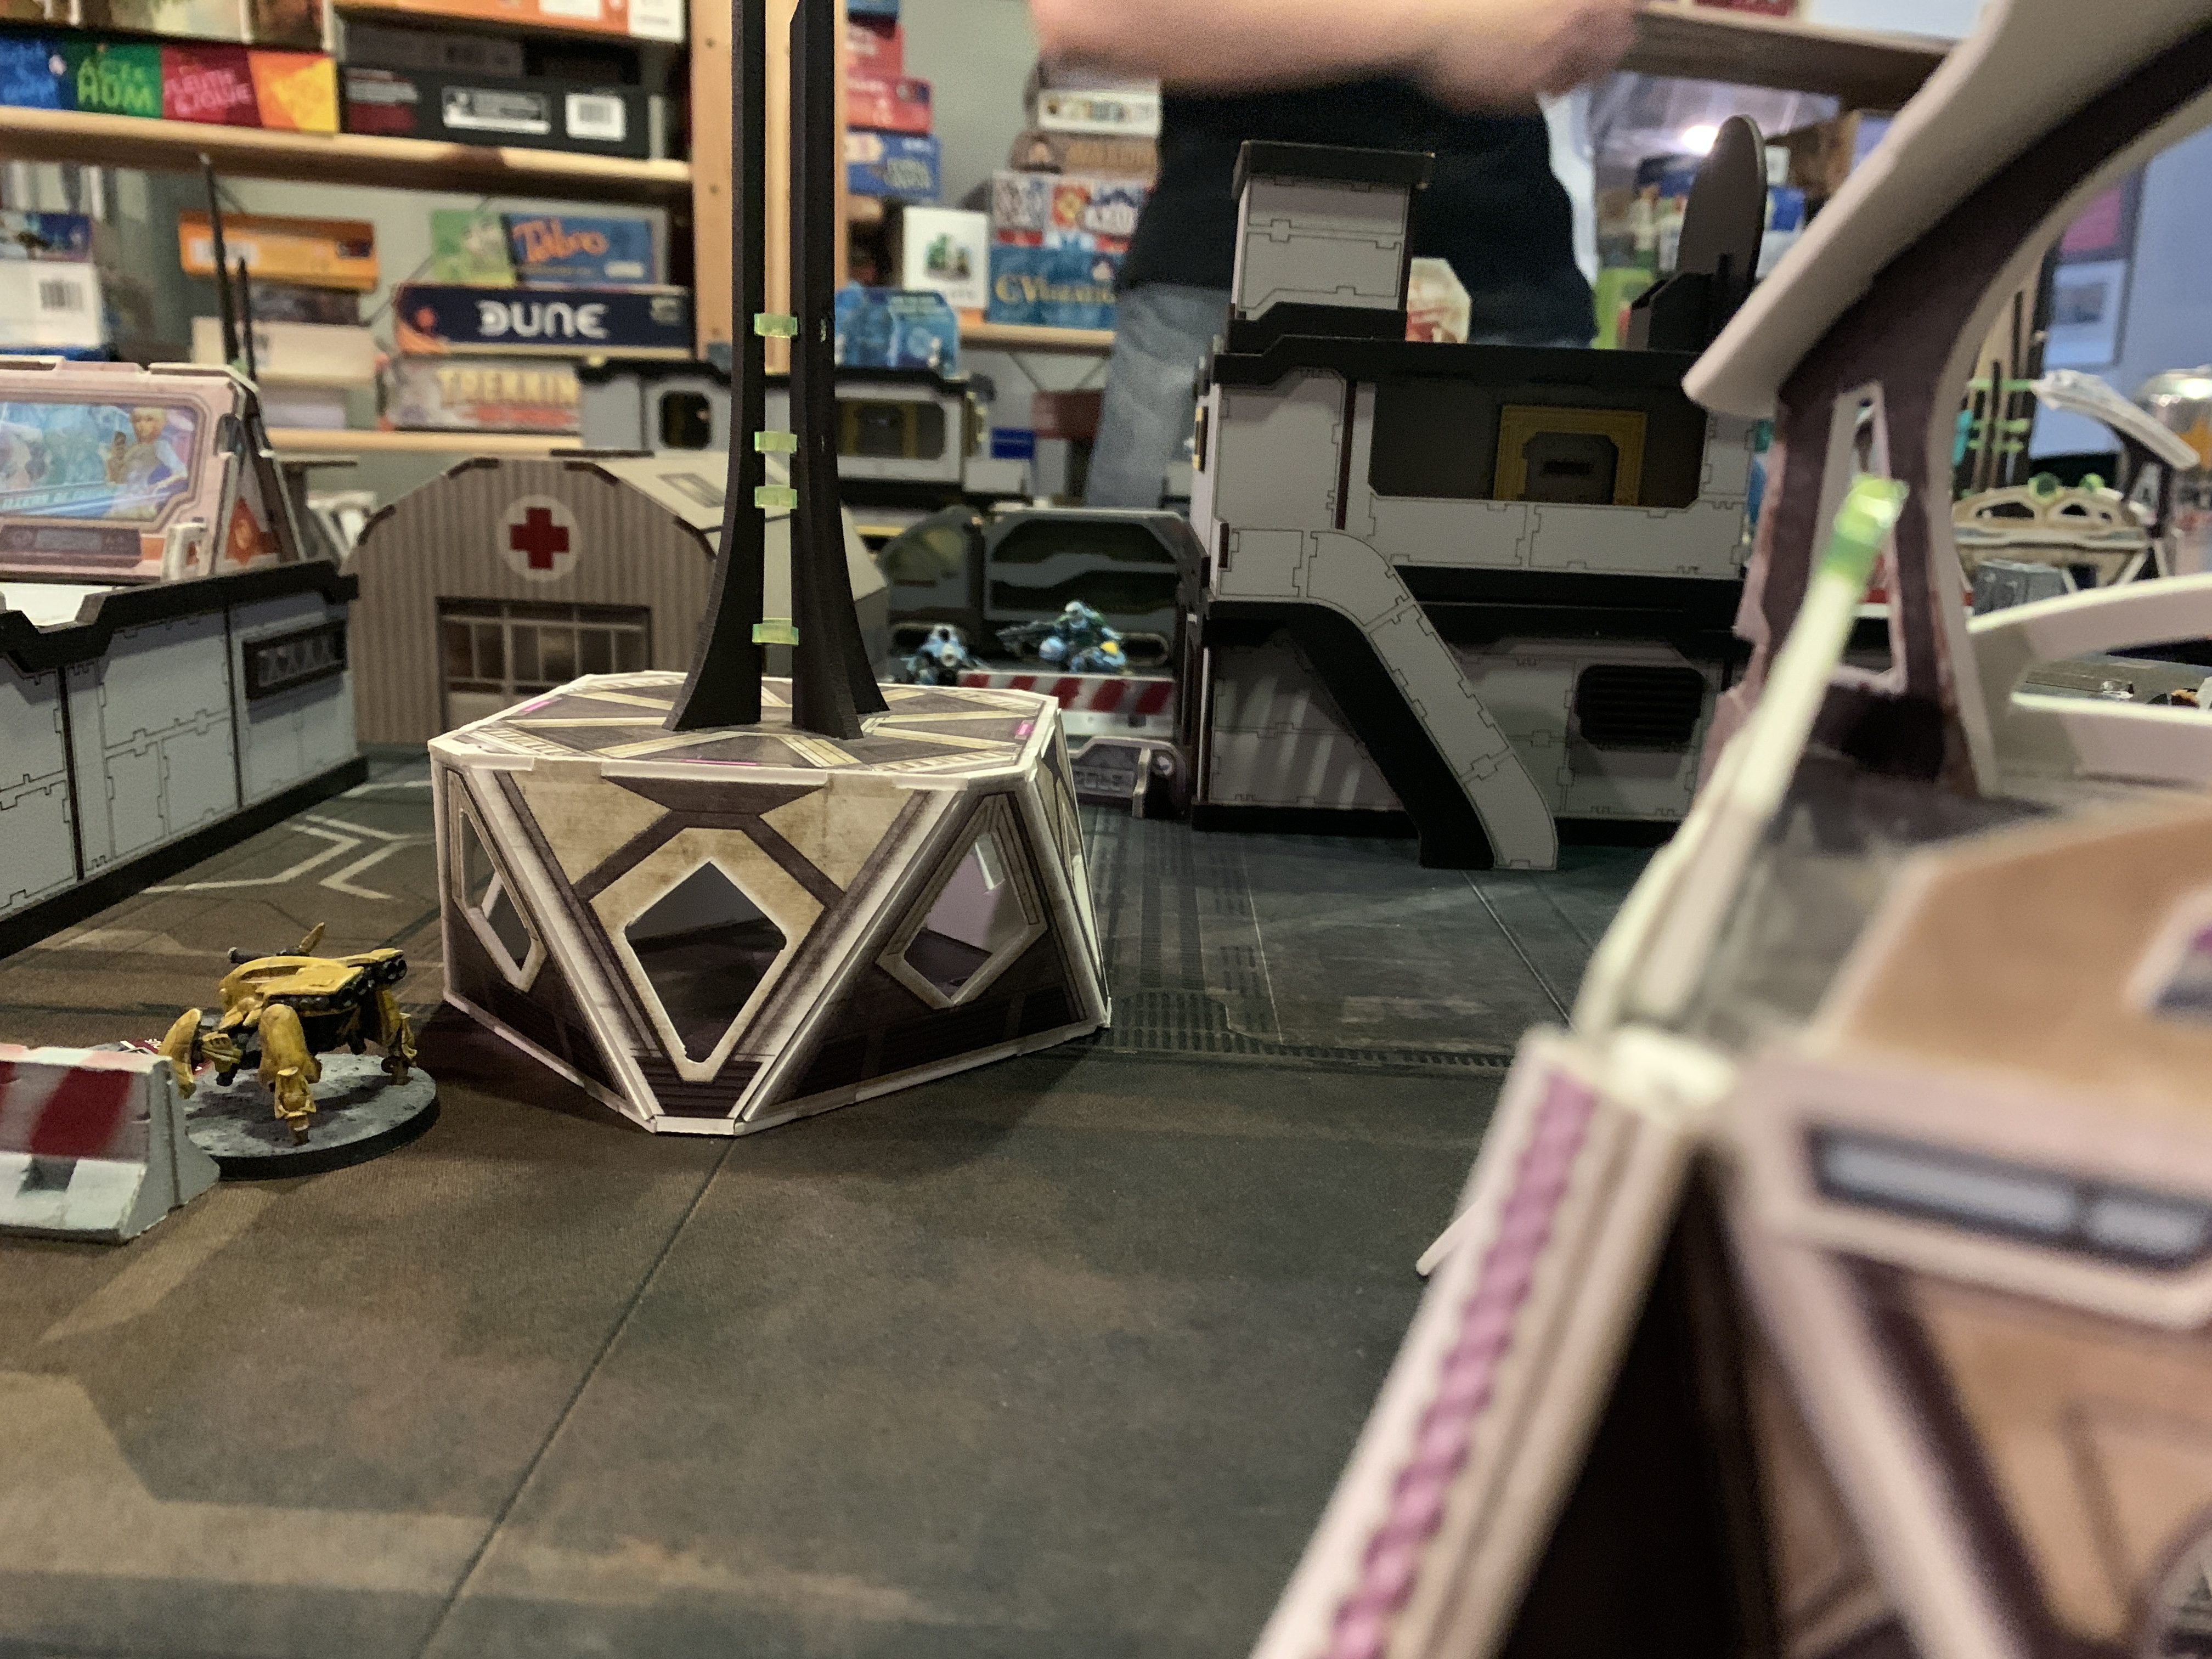
Turn 1A:
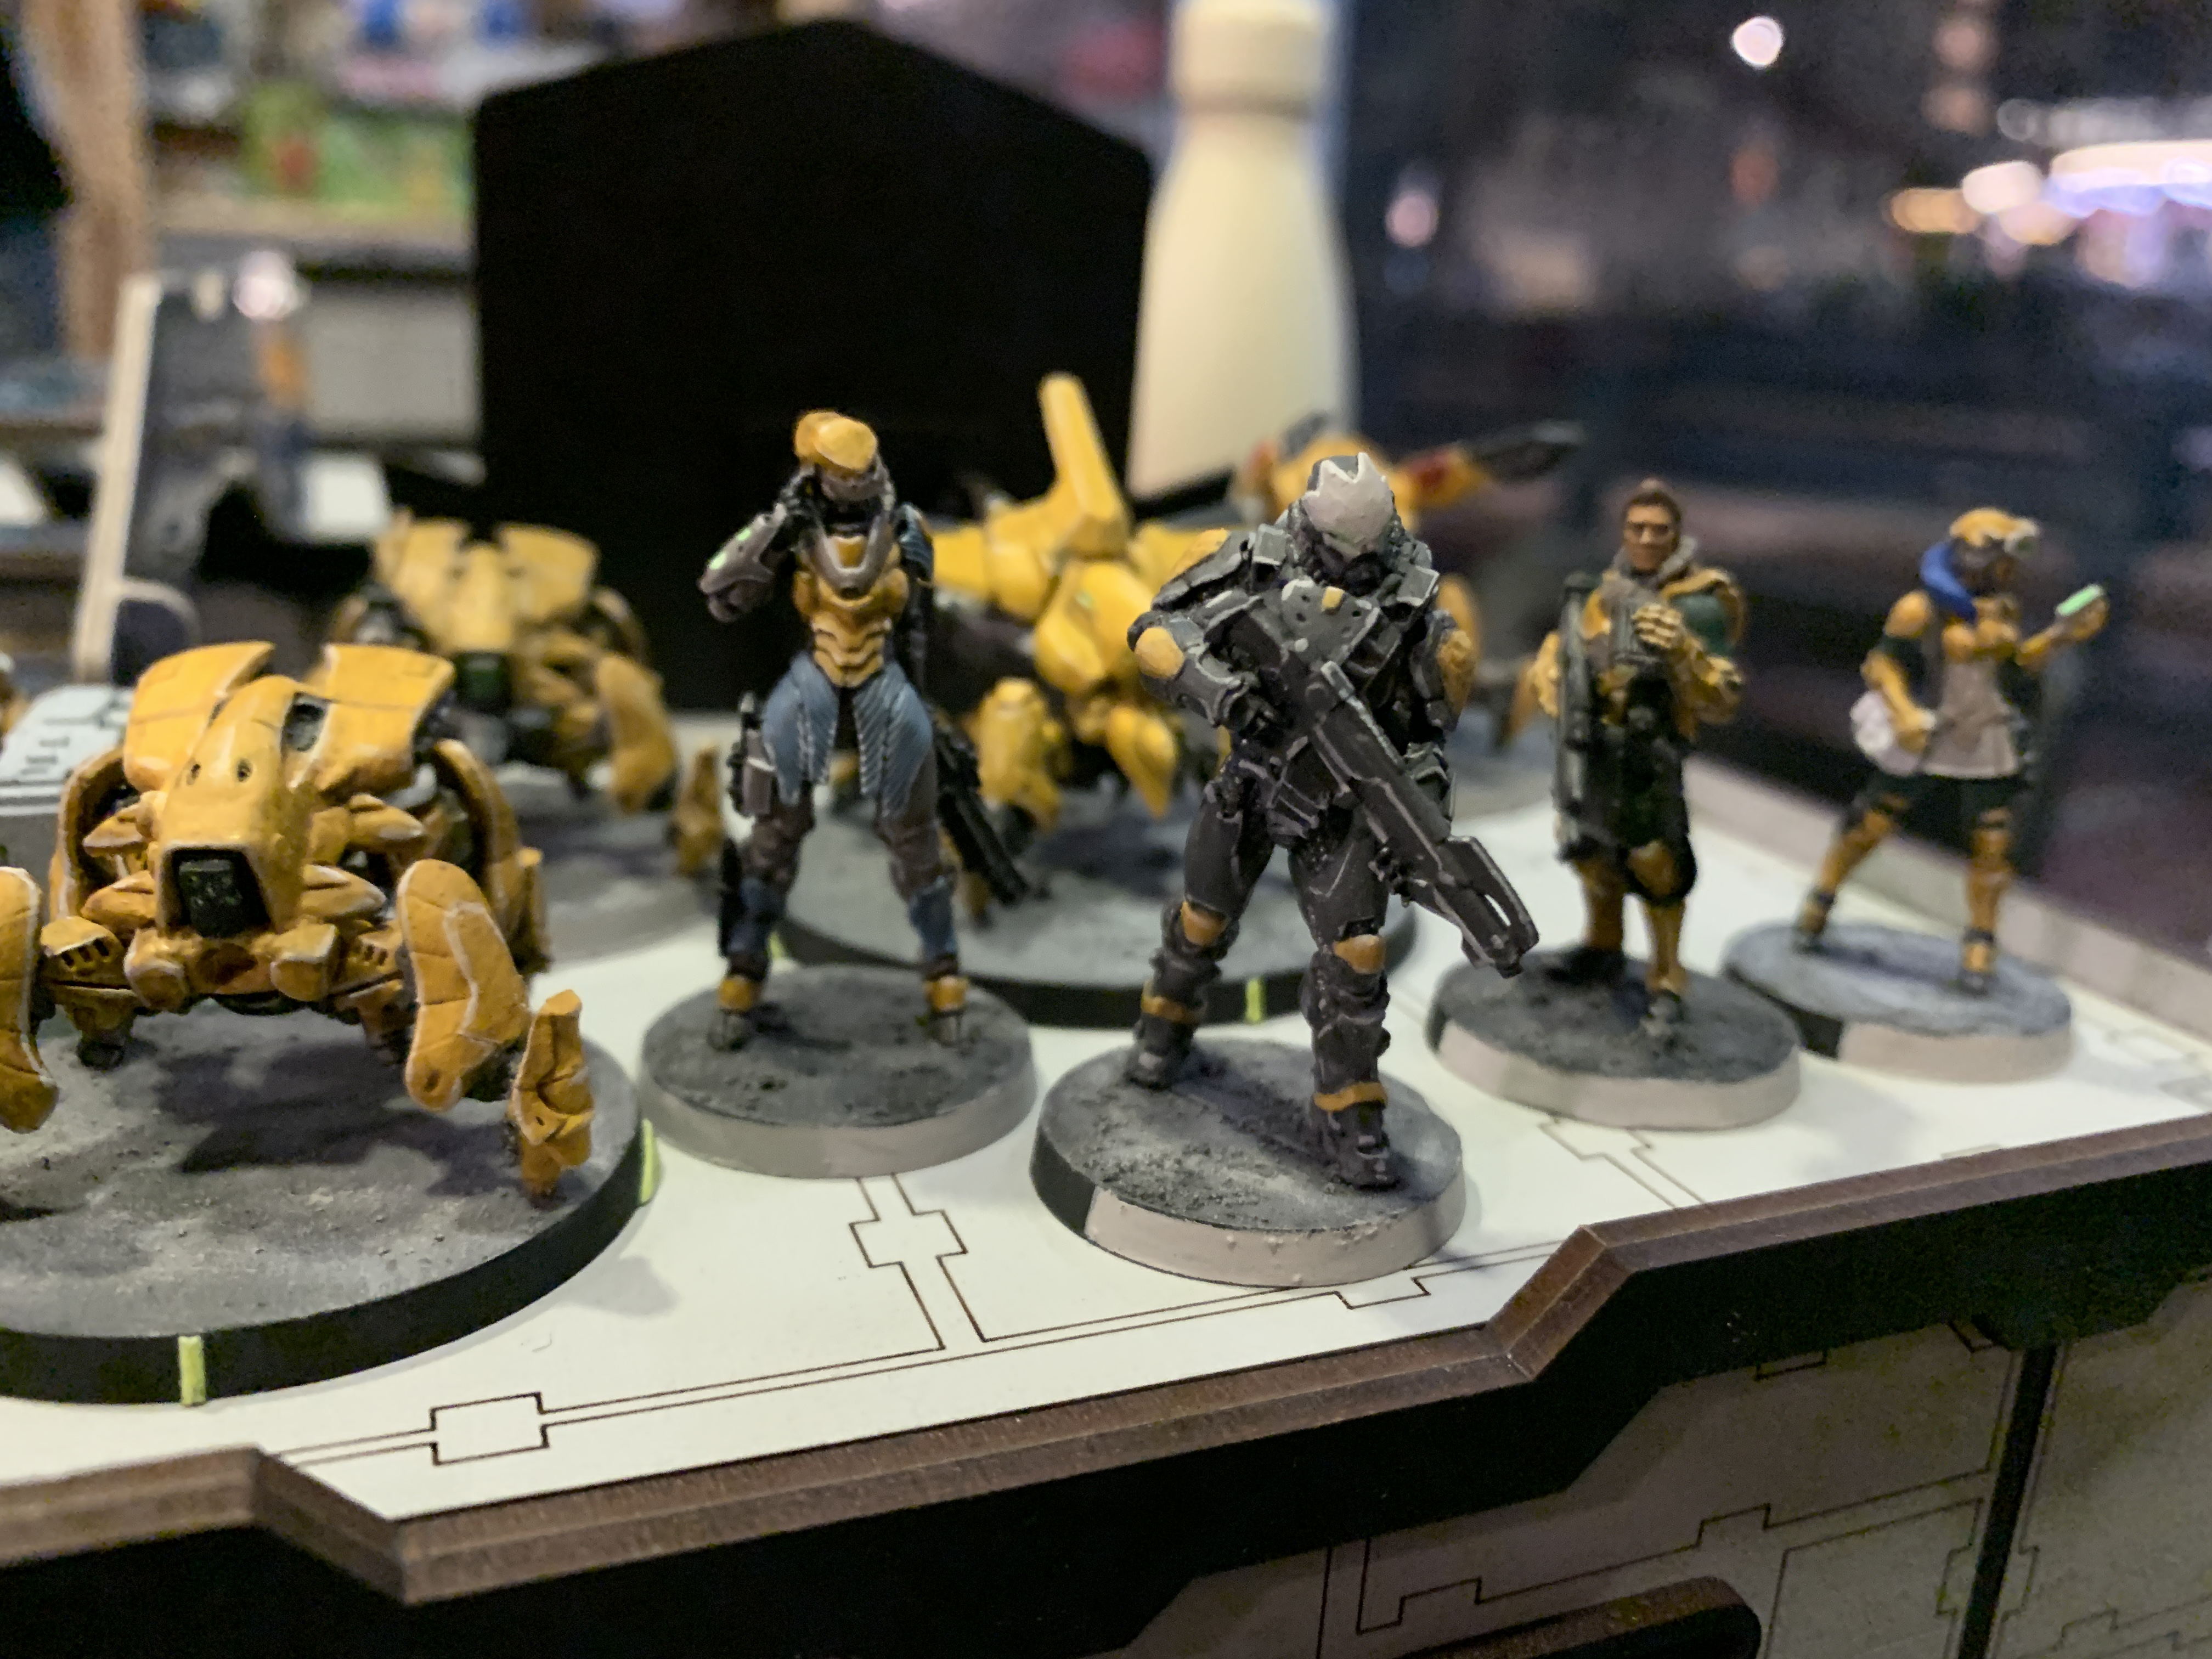
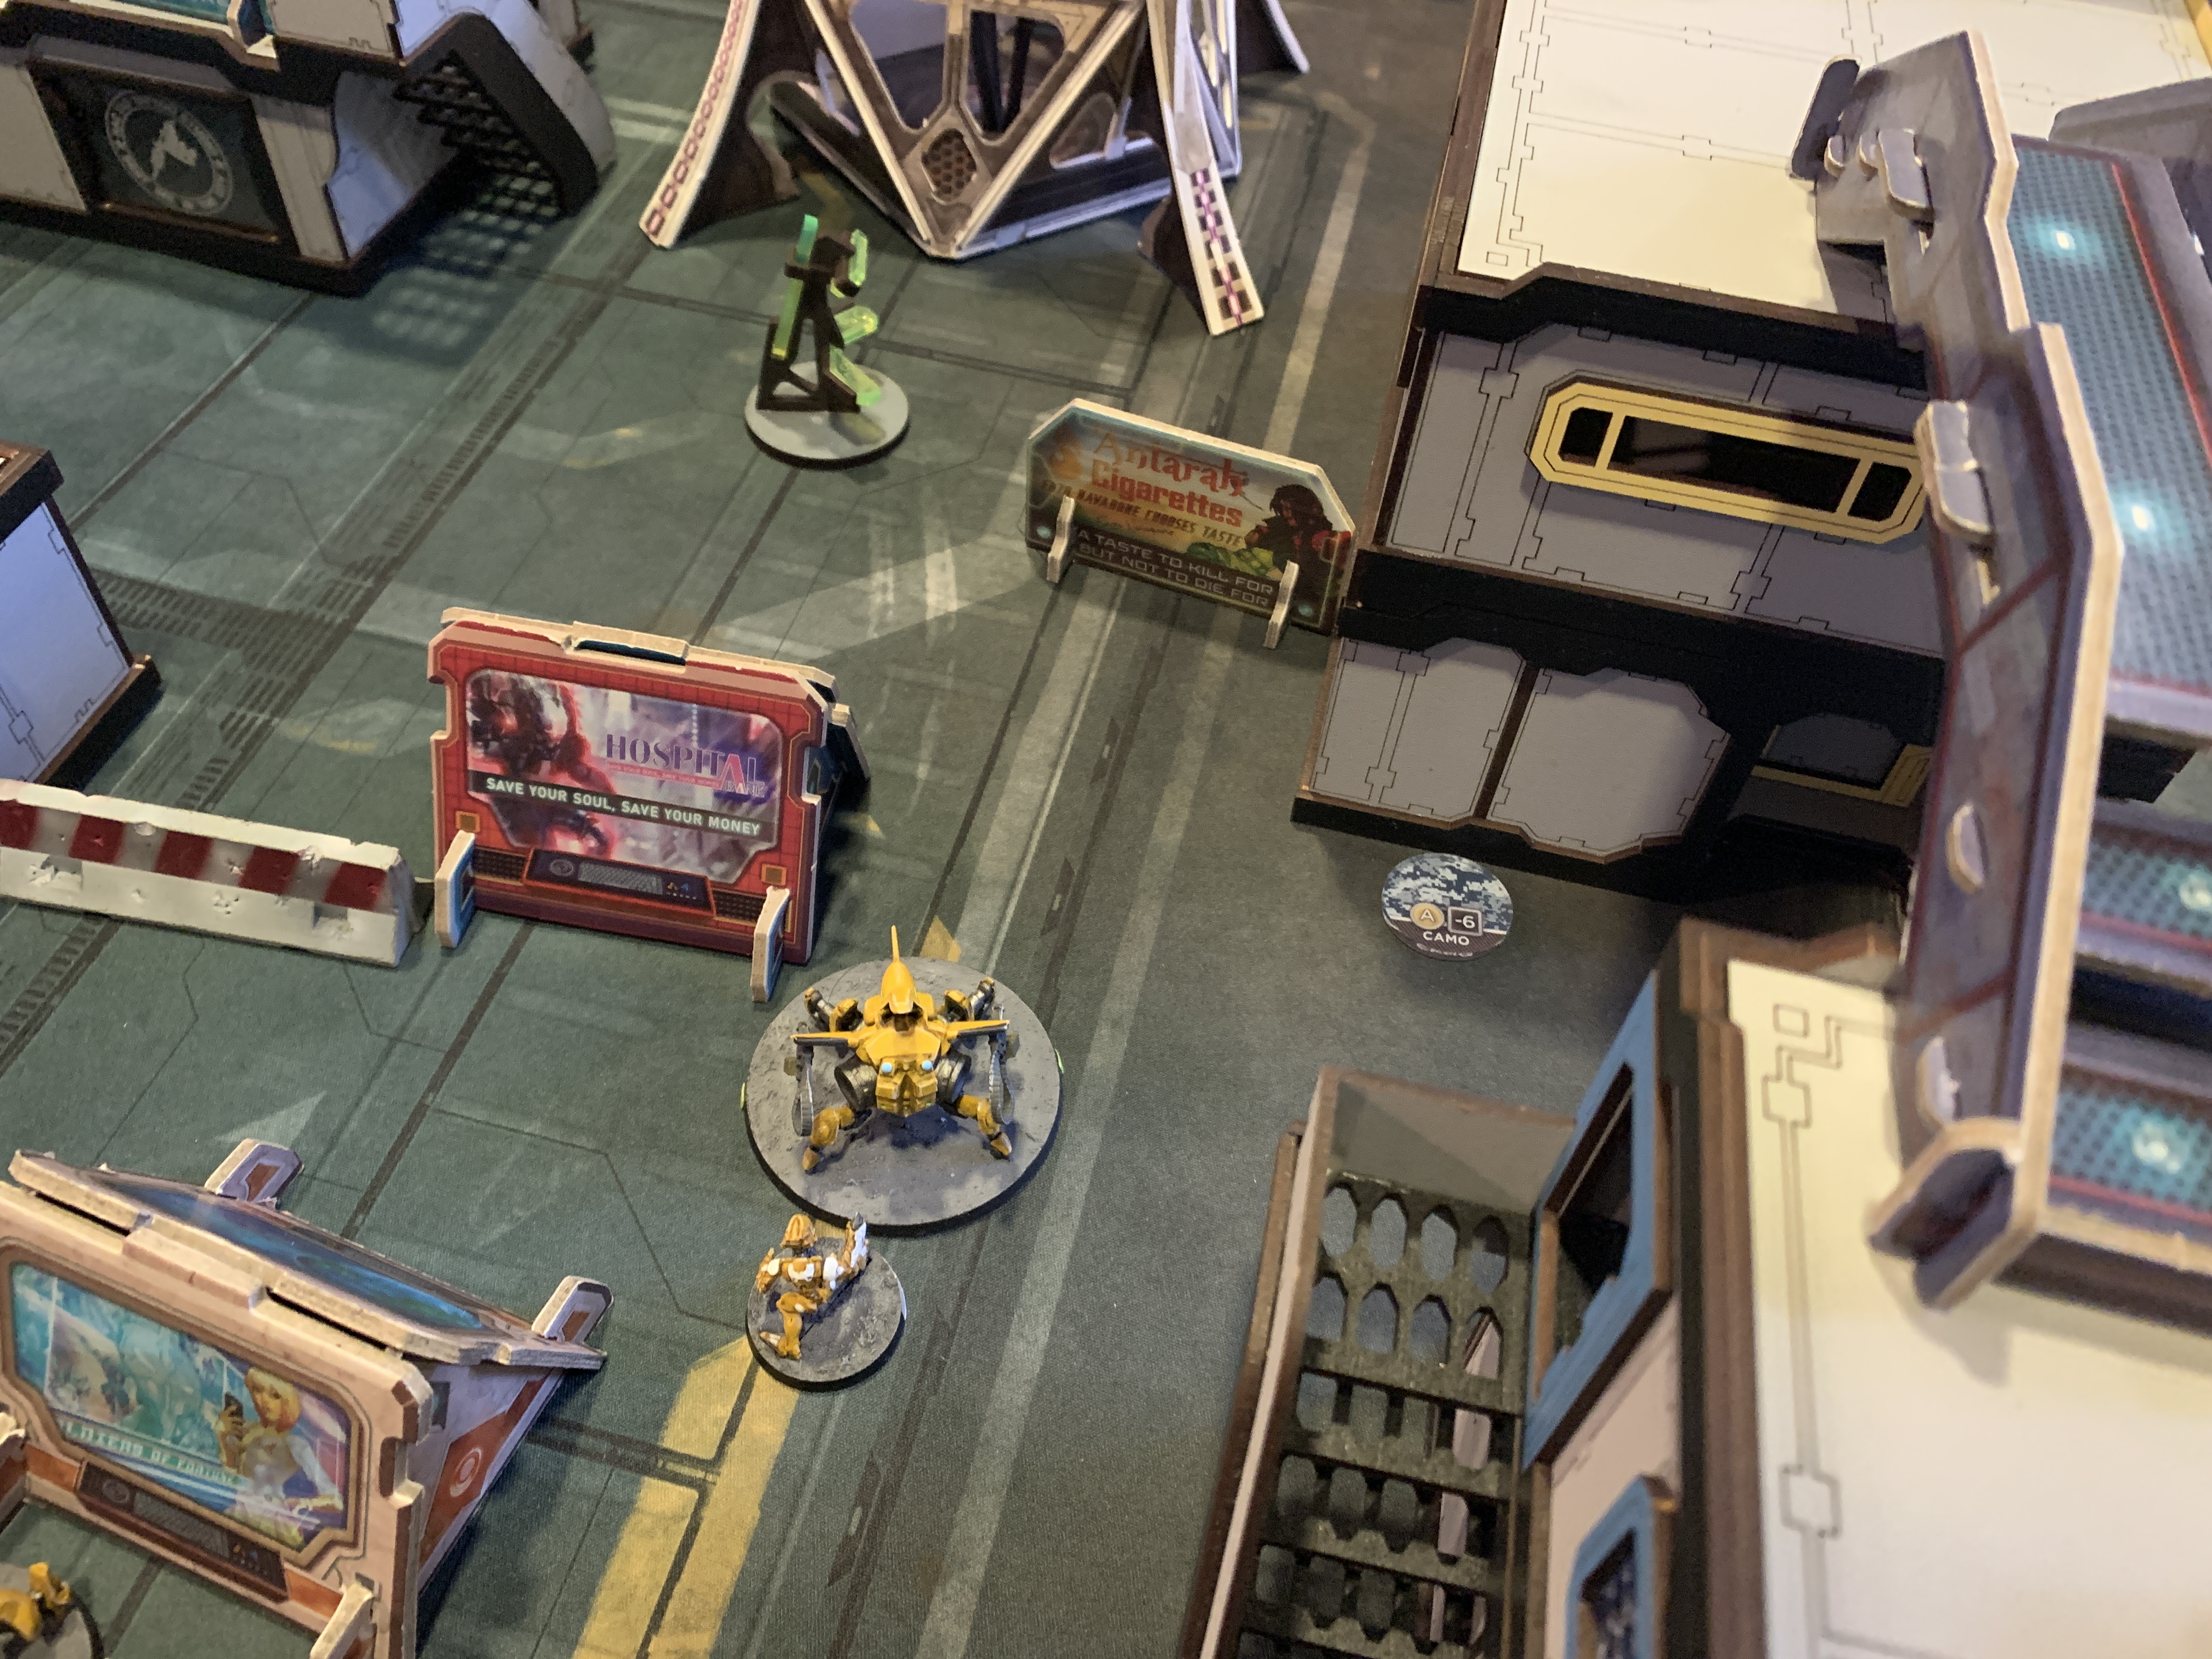
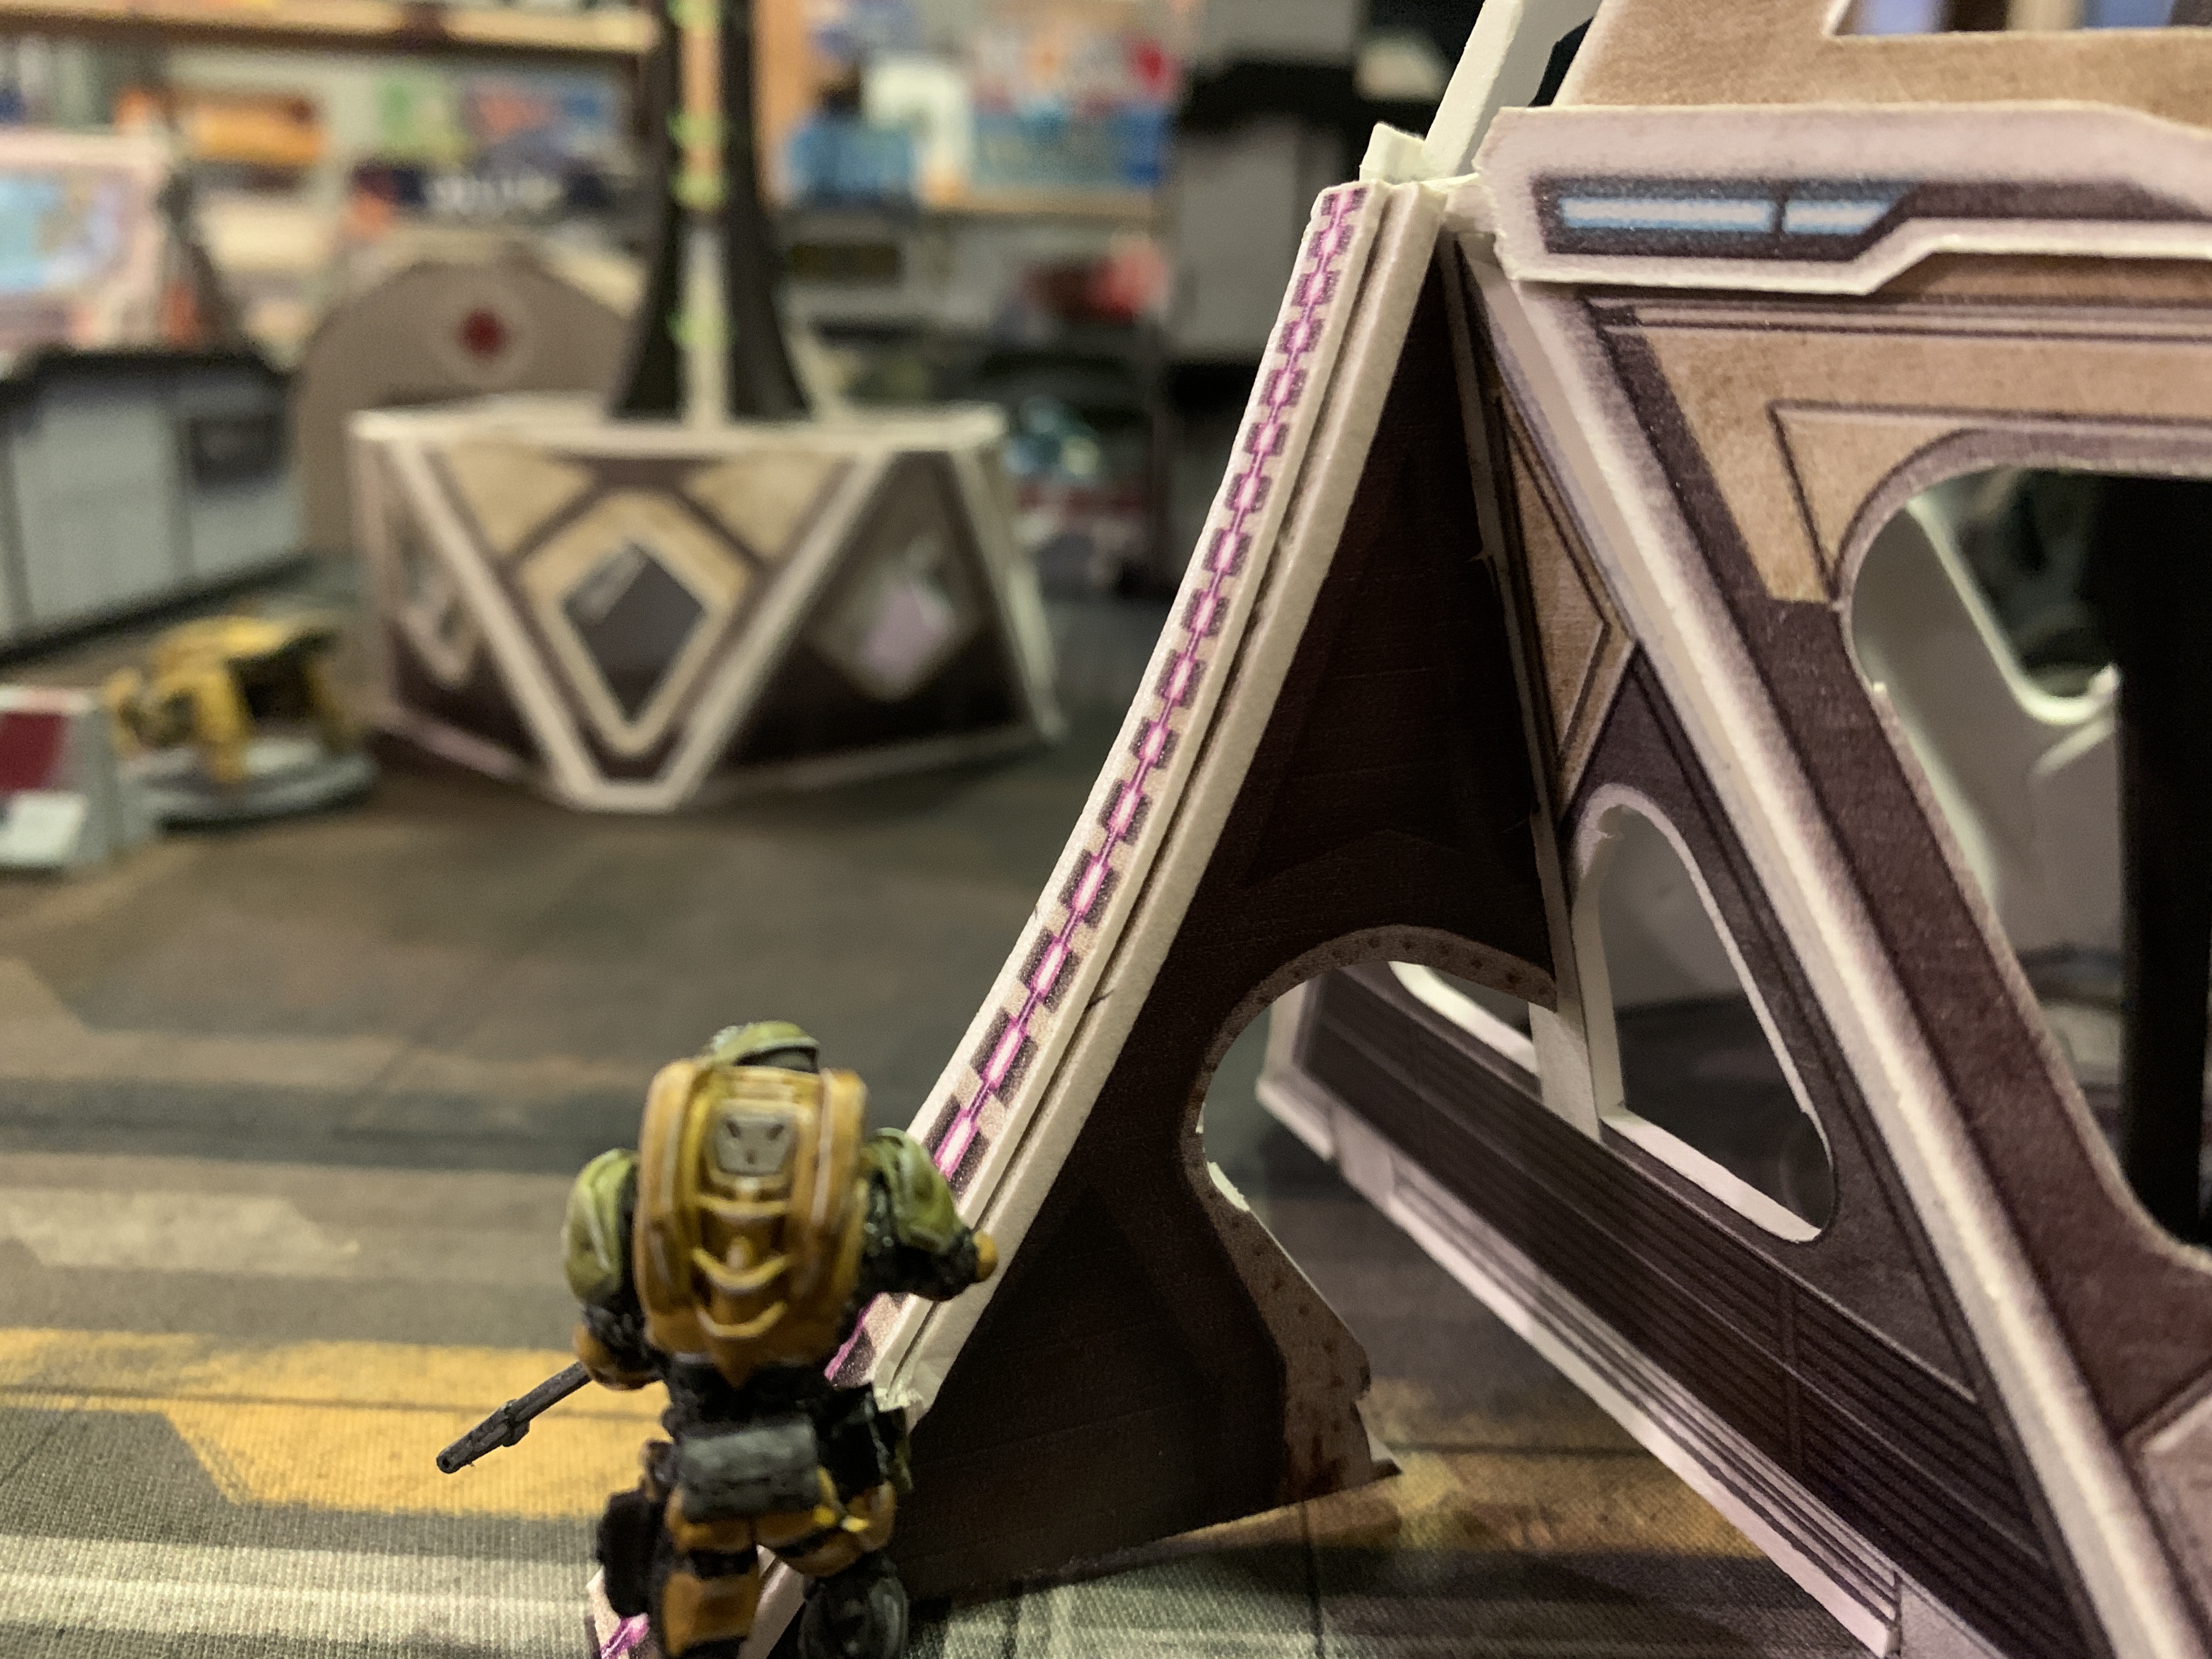
We start of the game with Invincible Army (IA) once again gaining the initiative and the first move was to use the EVO hacker Panggulin to activate Assisted Fire giving the Ruishi marksmanship, once that's done the Ruishi advances and fires upon a linked Crosier sniper watching the lane, after the quick exchange the Crosier made it's saves and stood her ground. The head to head battle while even is going to slow the IA's advance so to apply pressure the Hac Tao emerges from hidden deployment and moves in to gun down the sniper. With the sniper guarding the lane taken care off it's time to proceed towards the AC2, the Hac Tao approaches the panoply and gets a multi-rifle. The remainder of the turn is spent repositioning the Hac Tao and swapping out Assisted Fire for Enhanced reaction on the Ruishi. Now we wait for the opposing response.
Turn 1B:
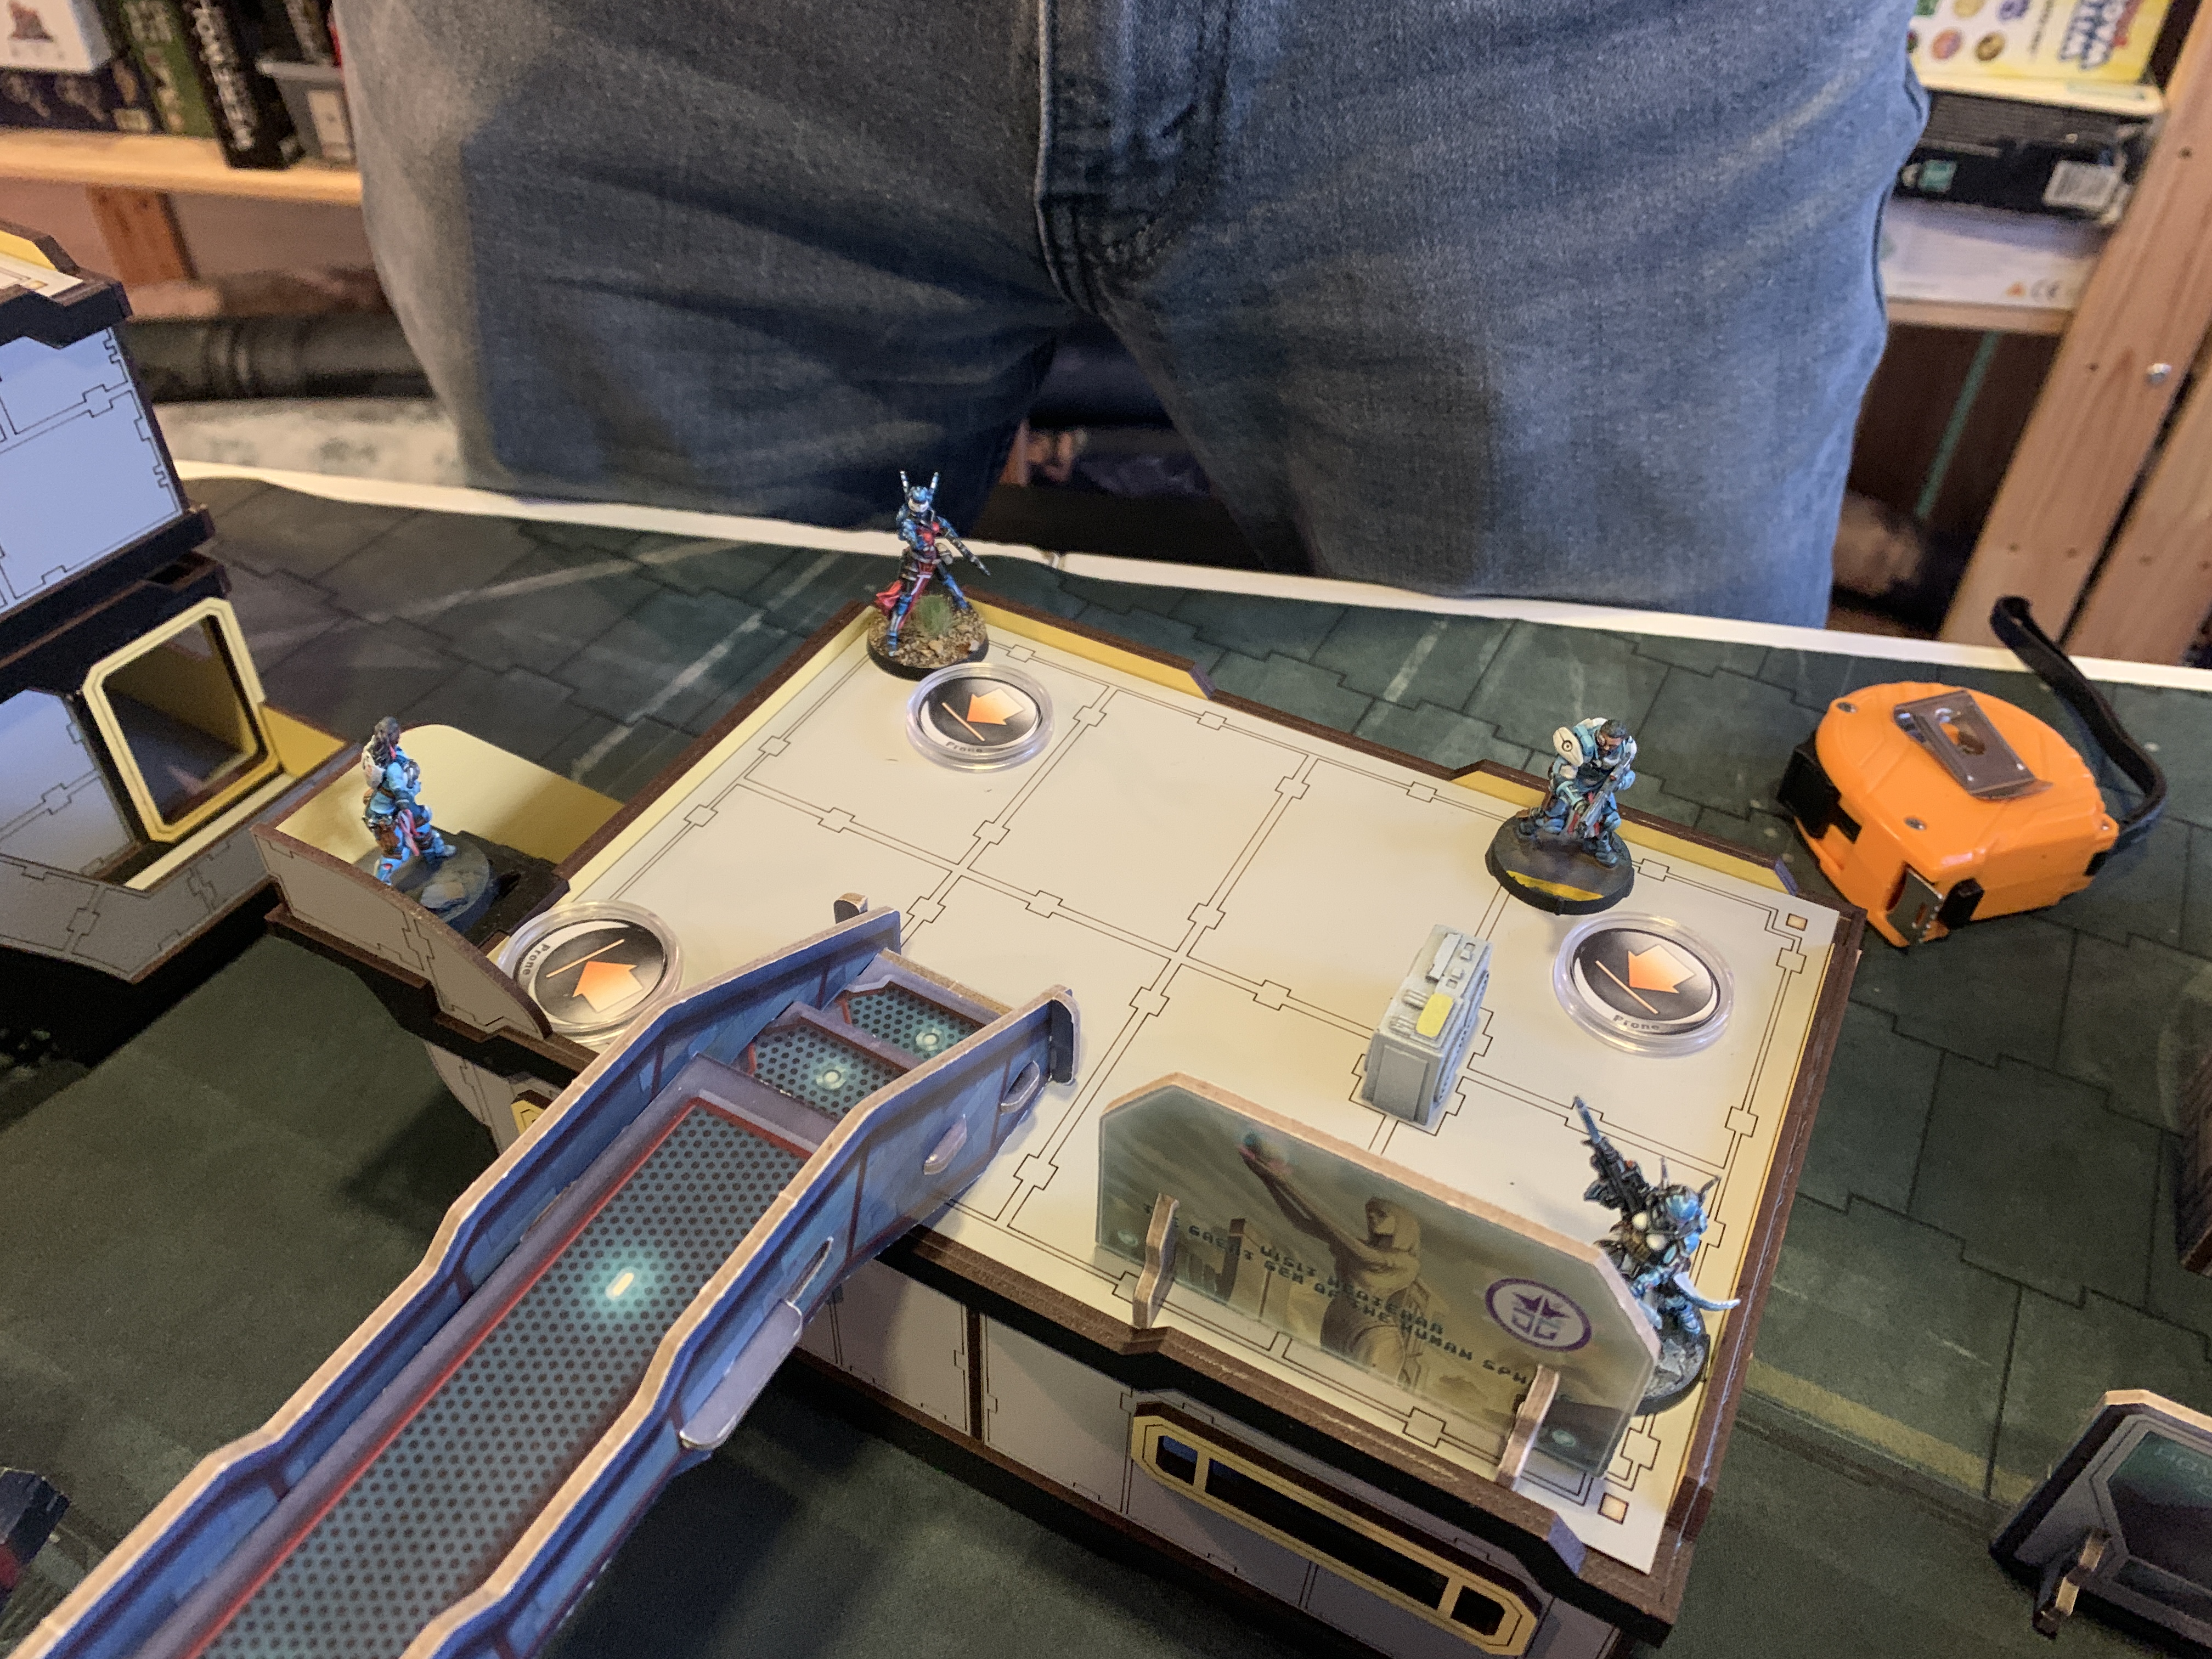
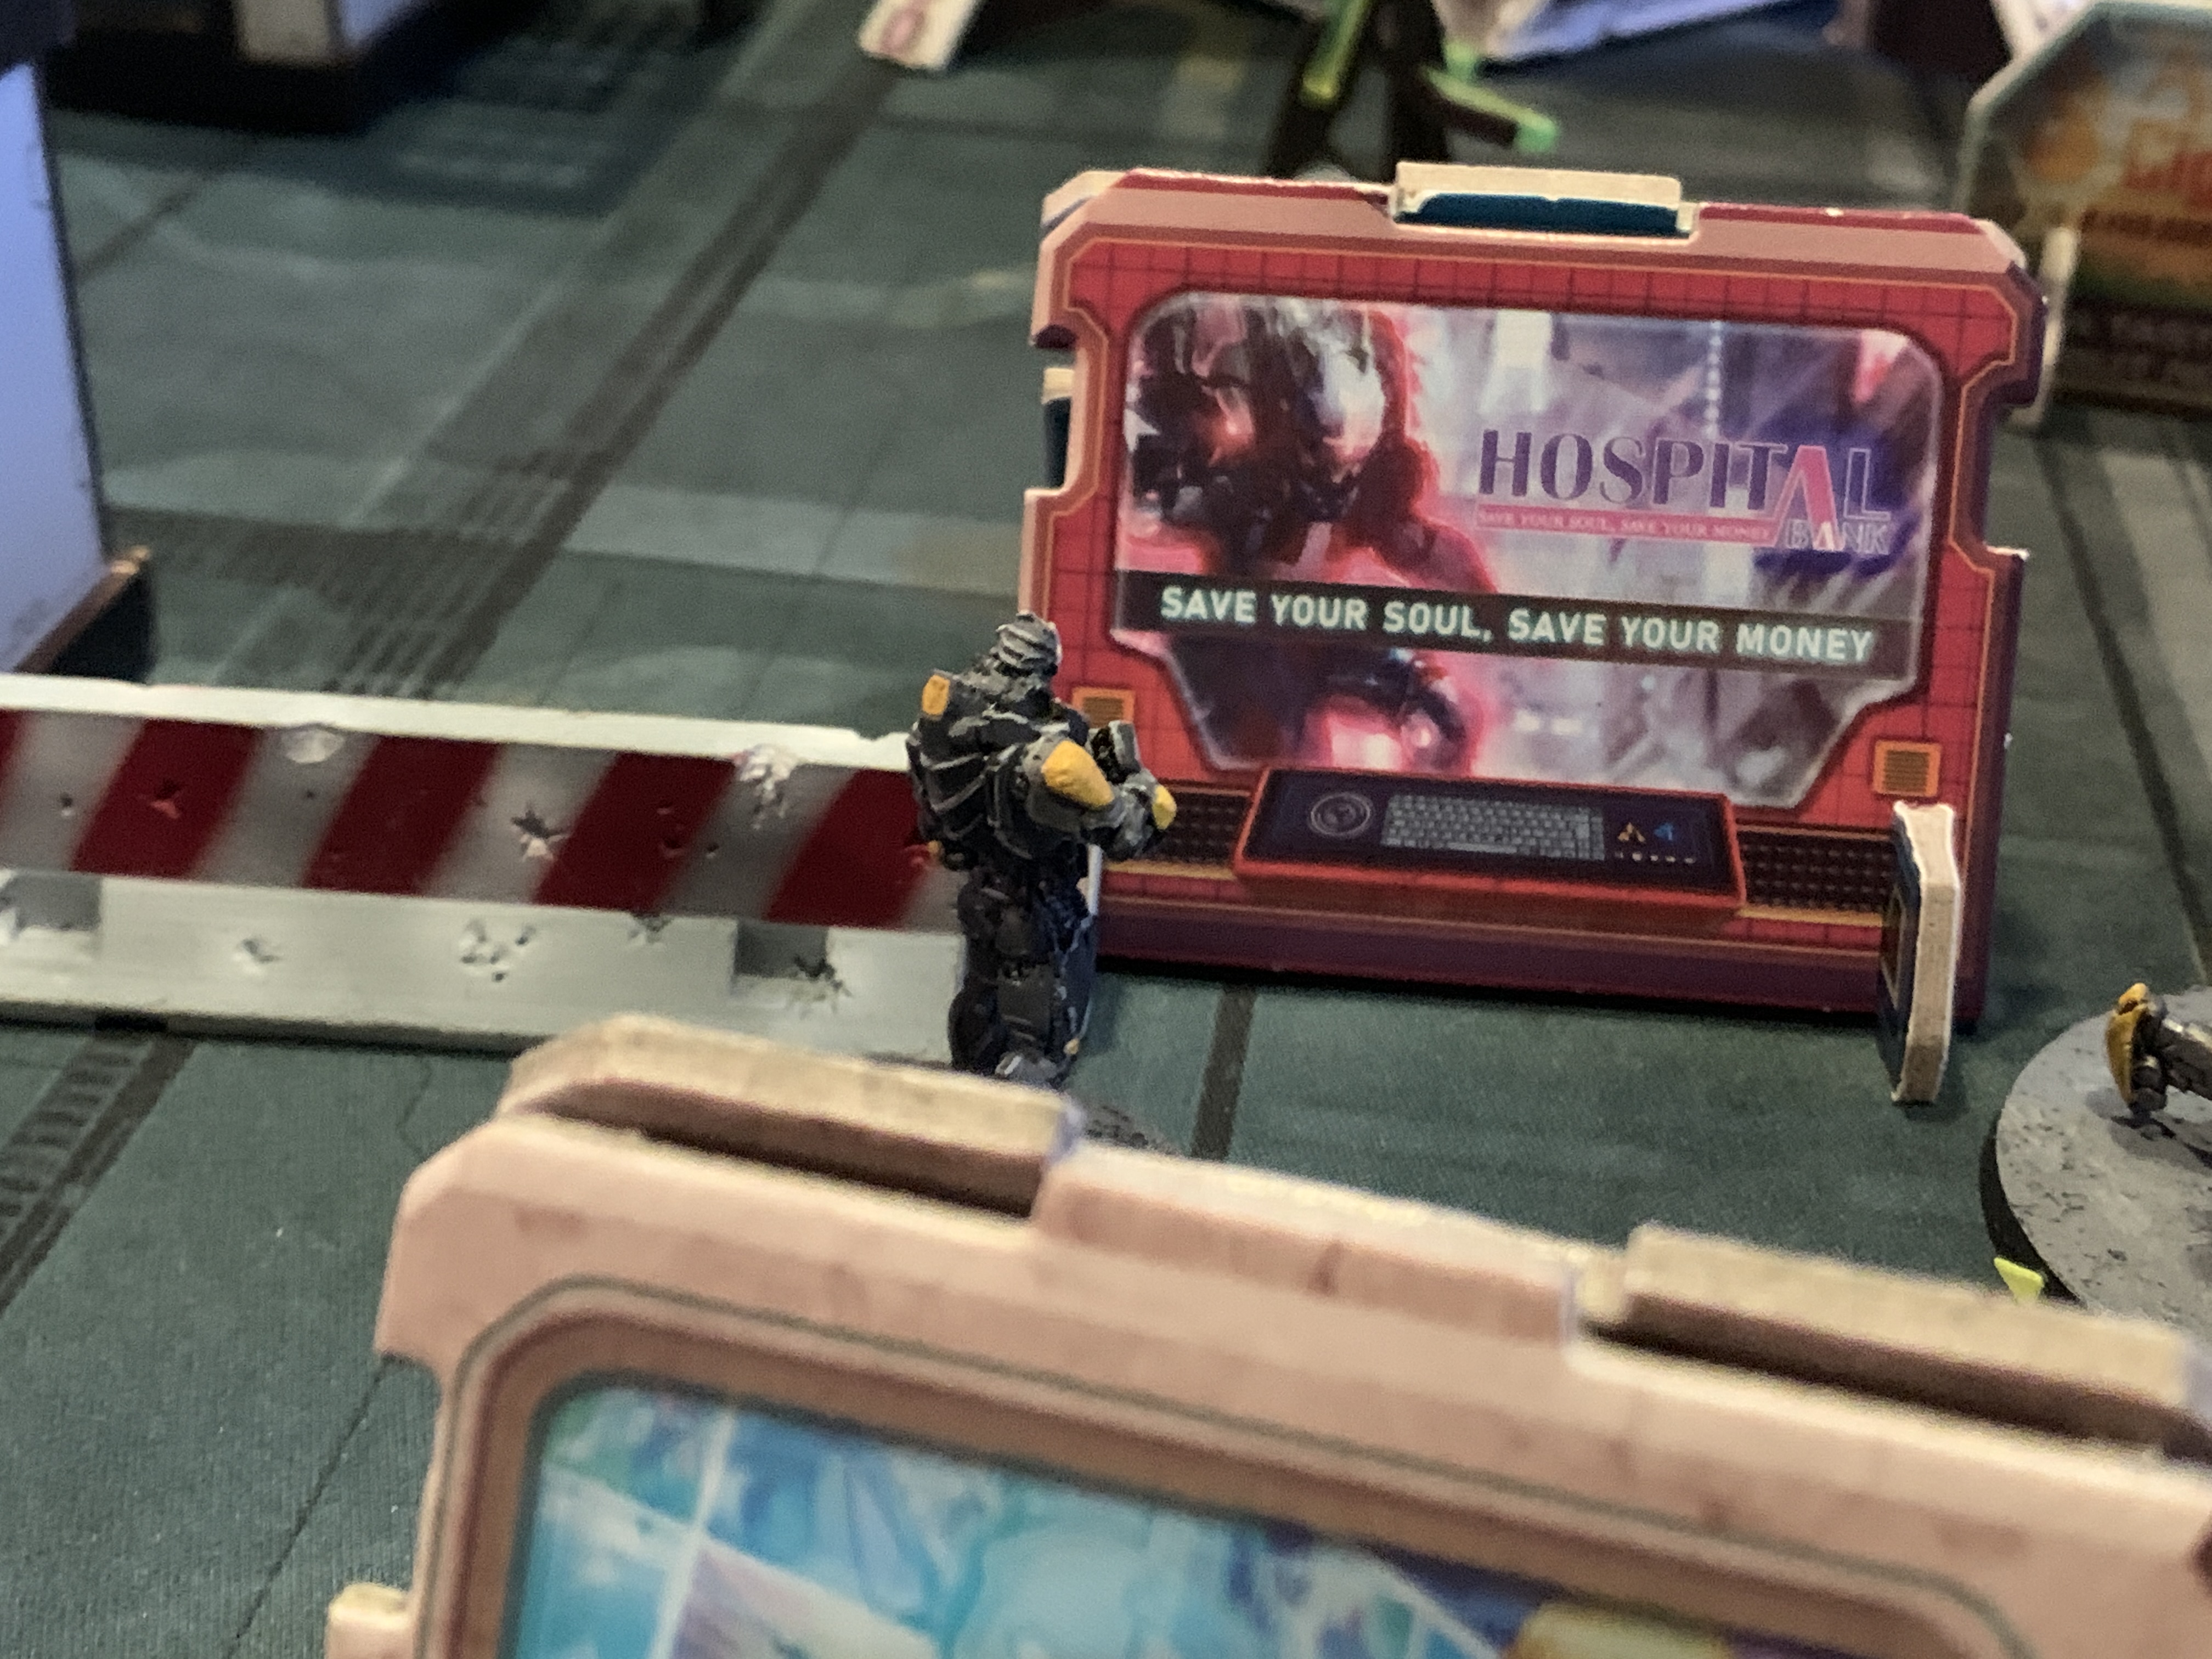
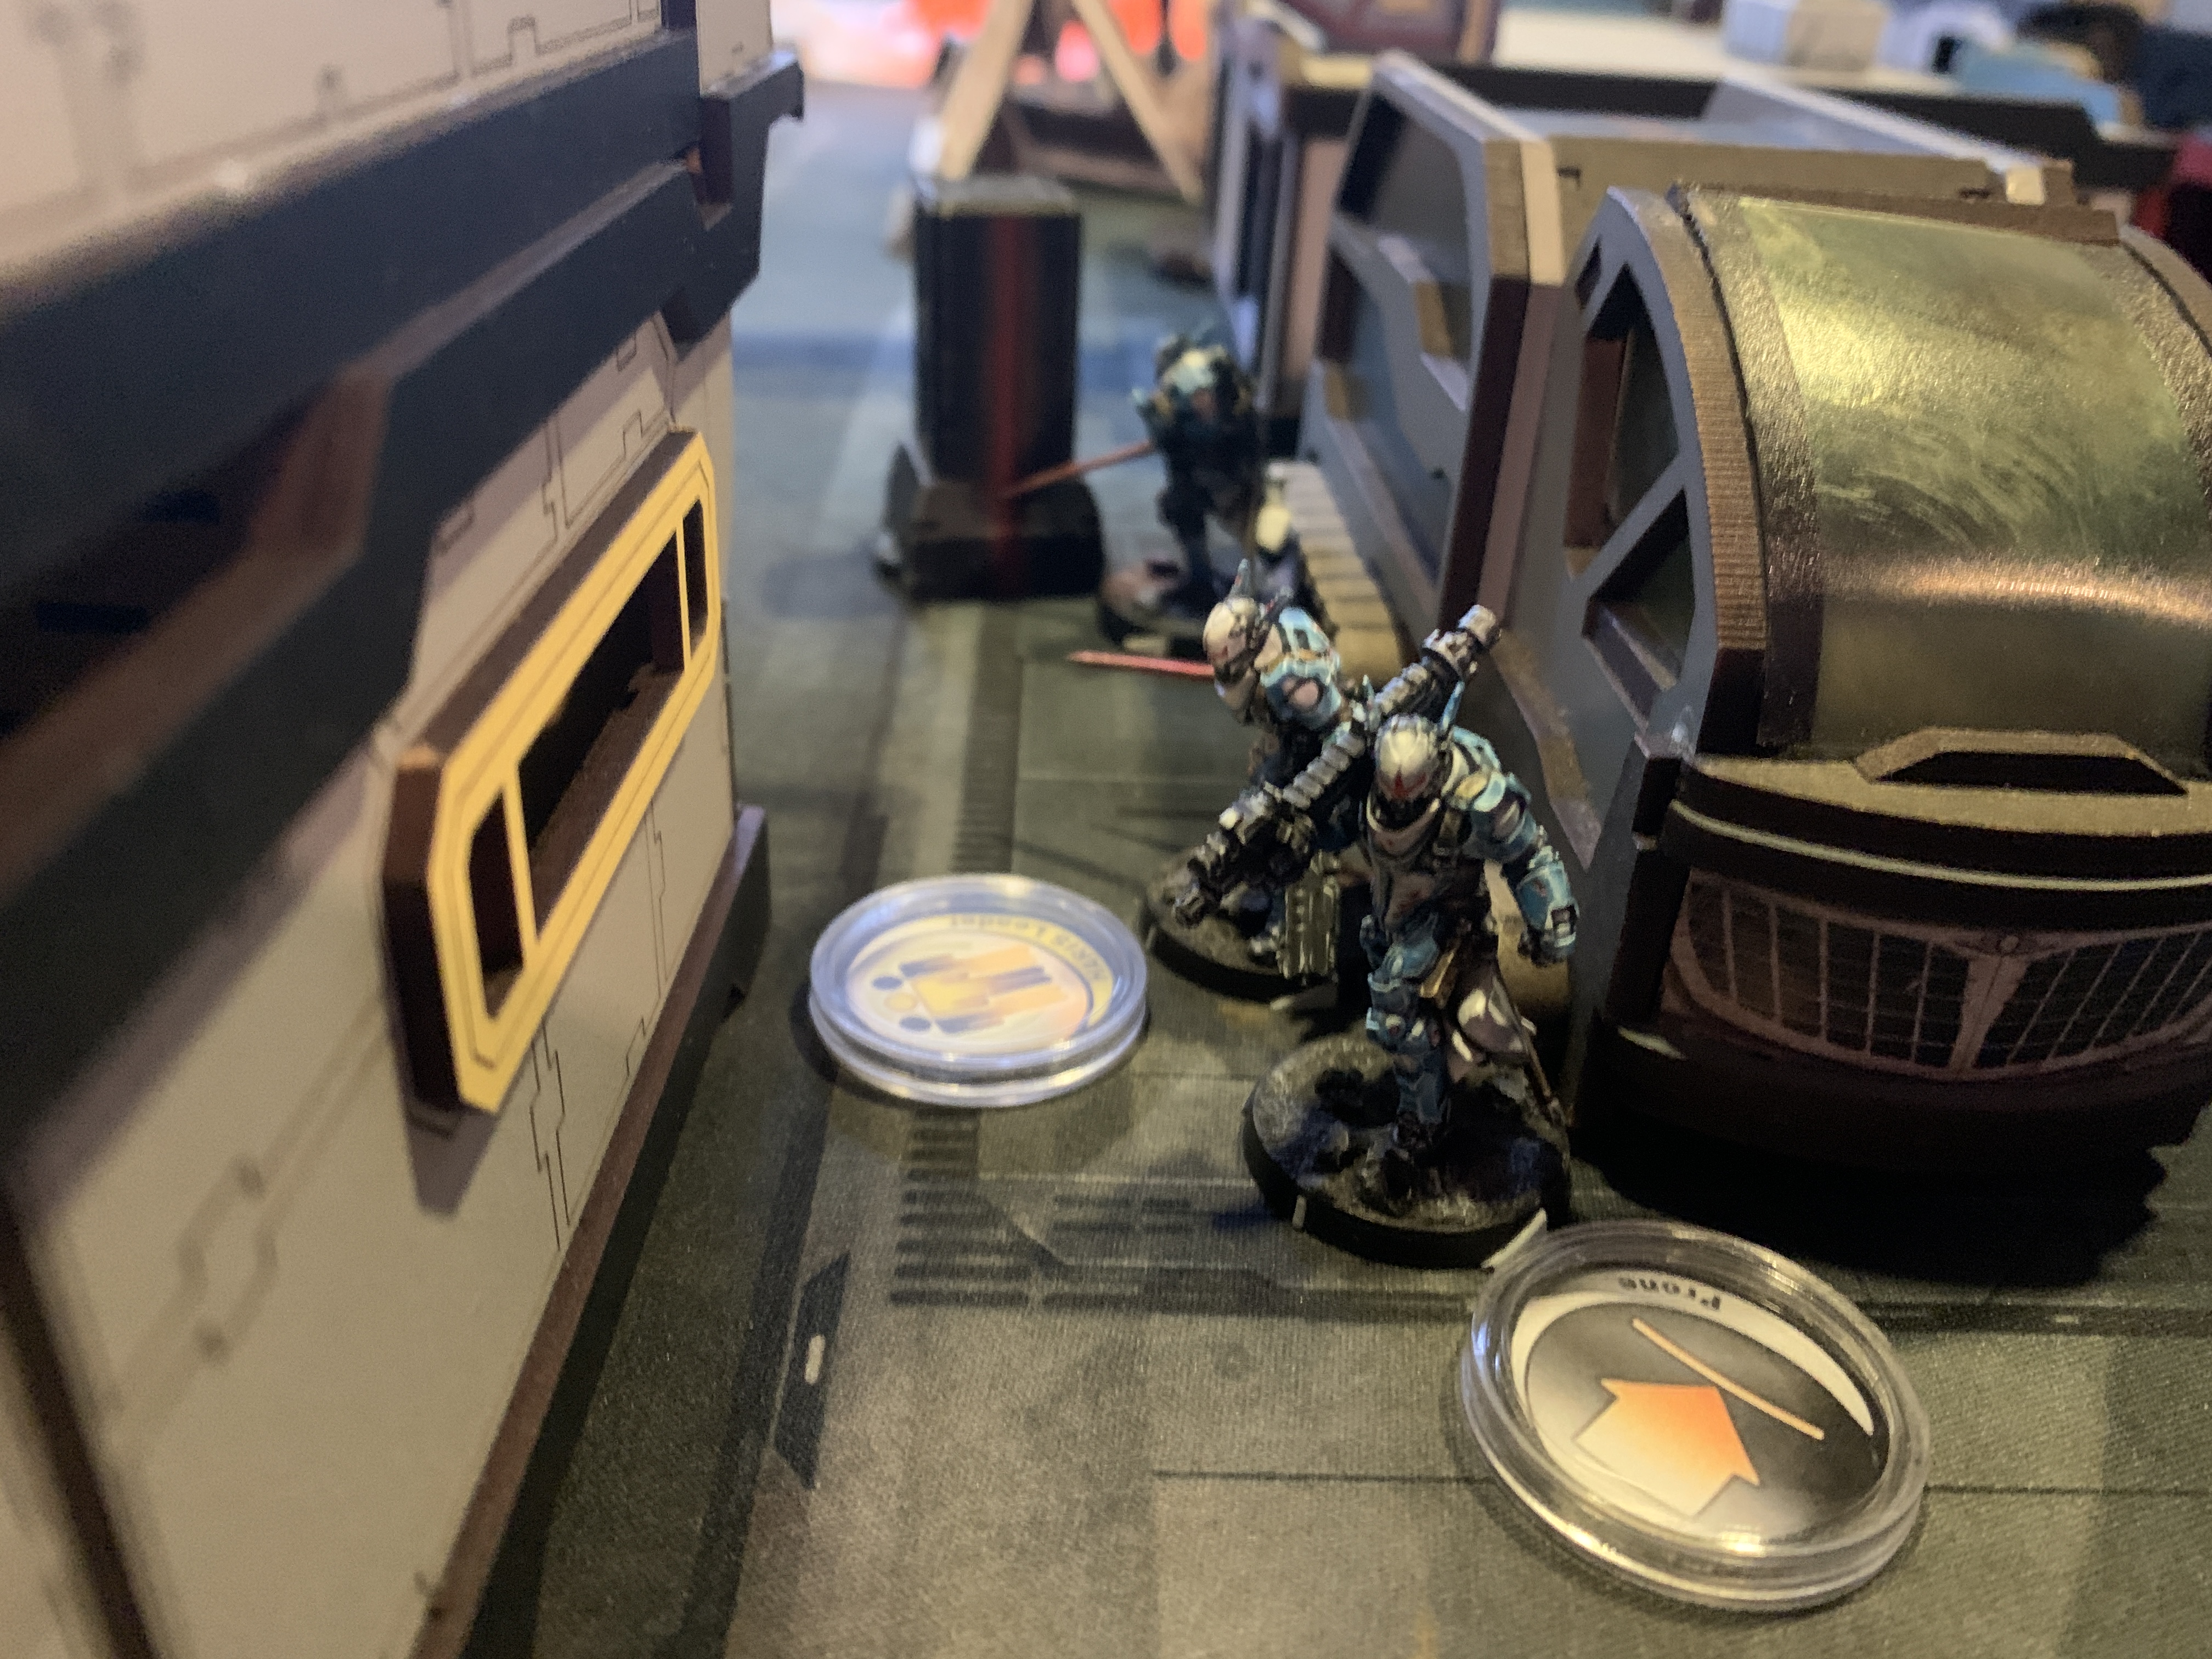
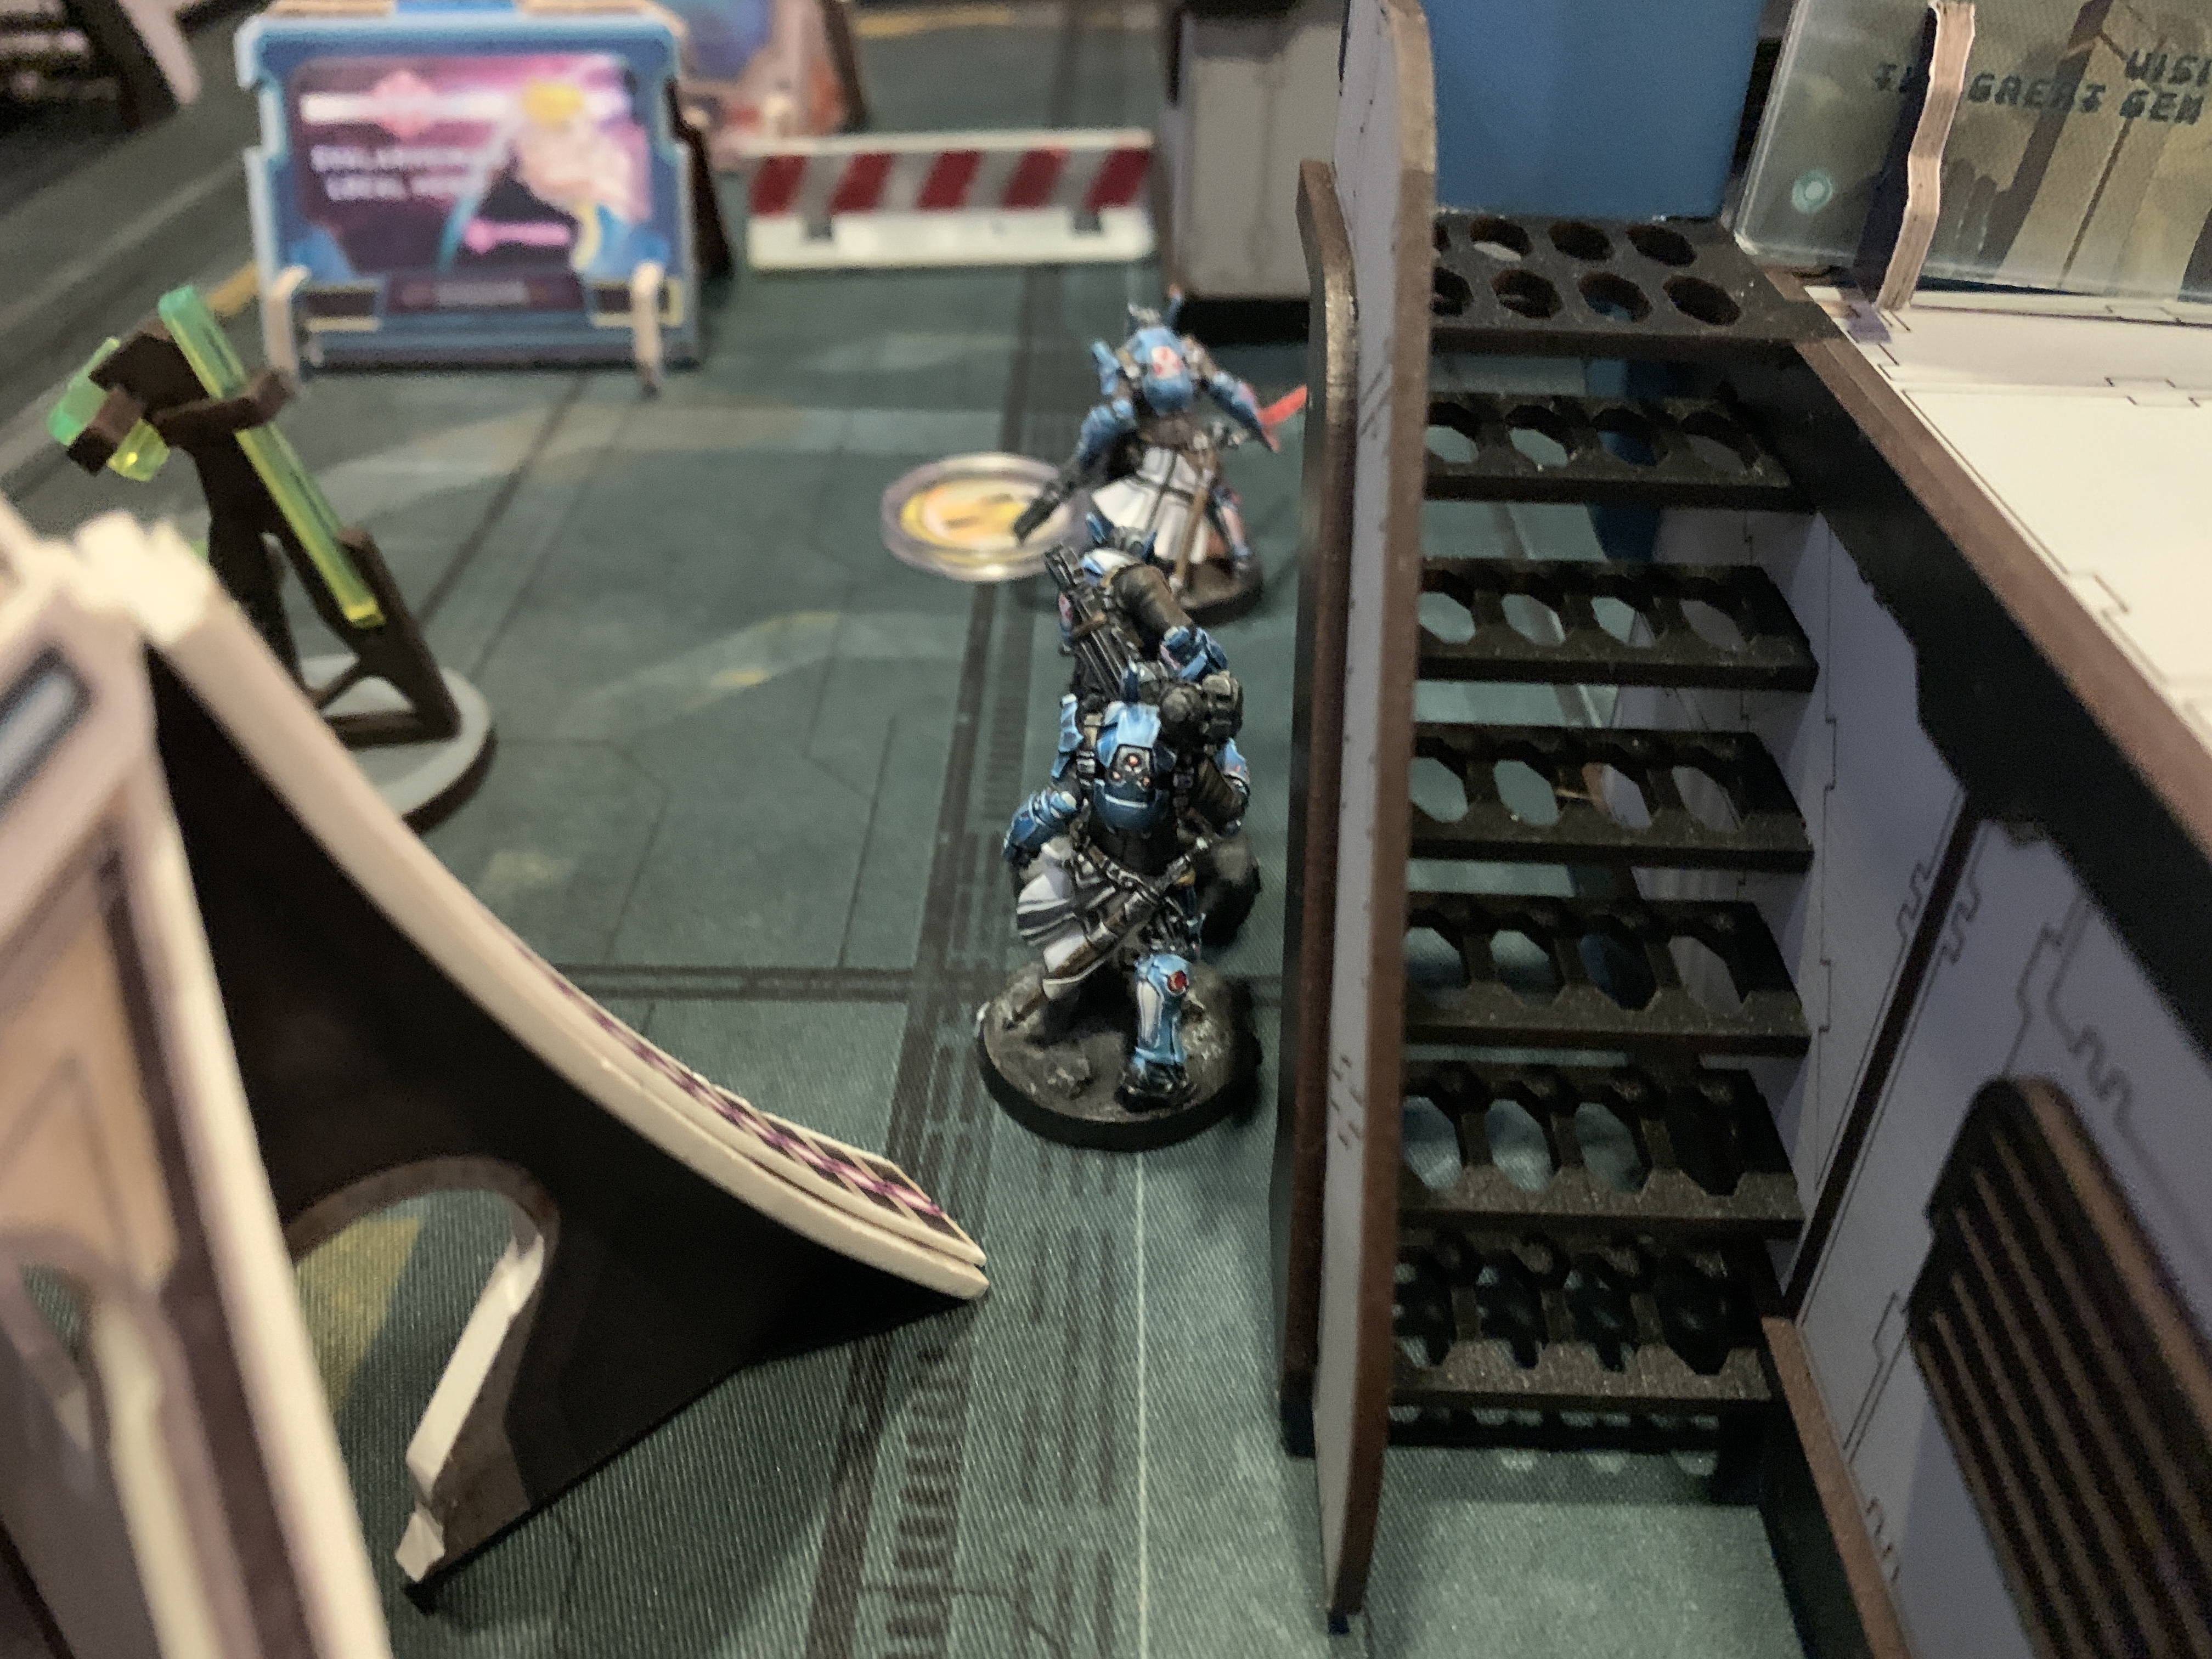
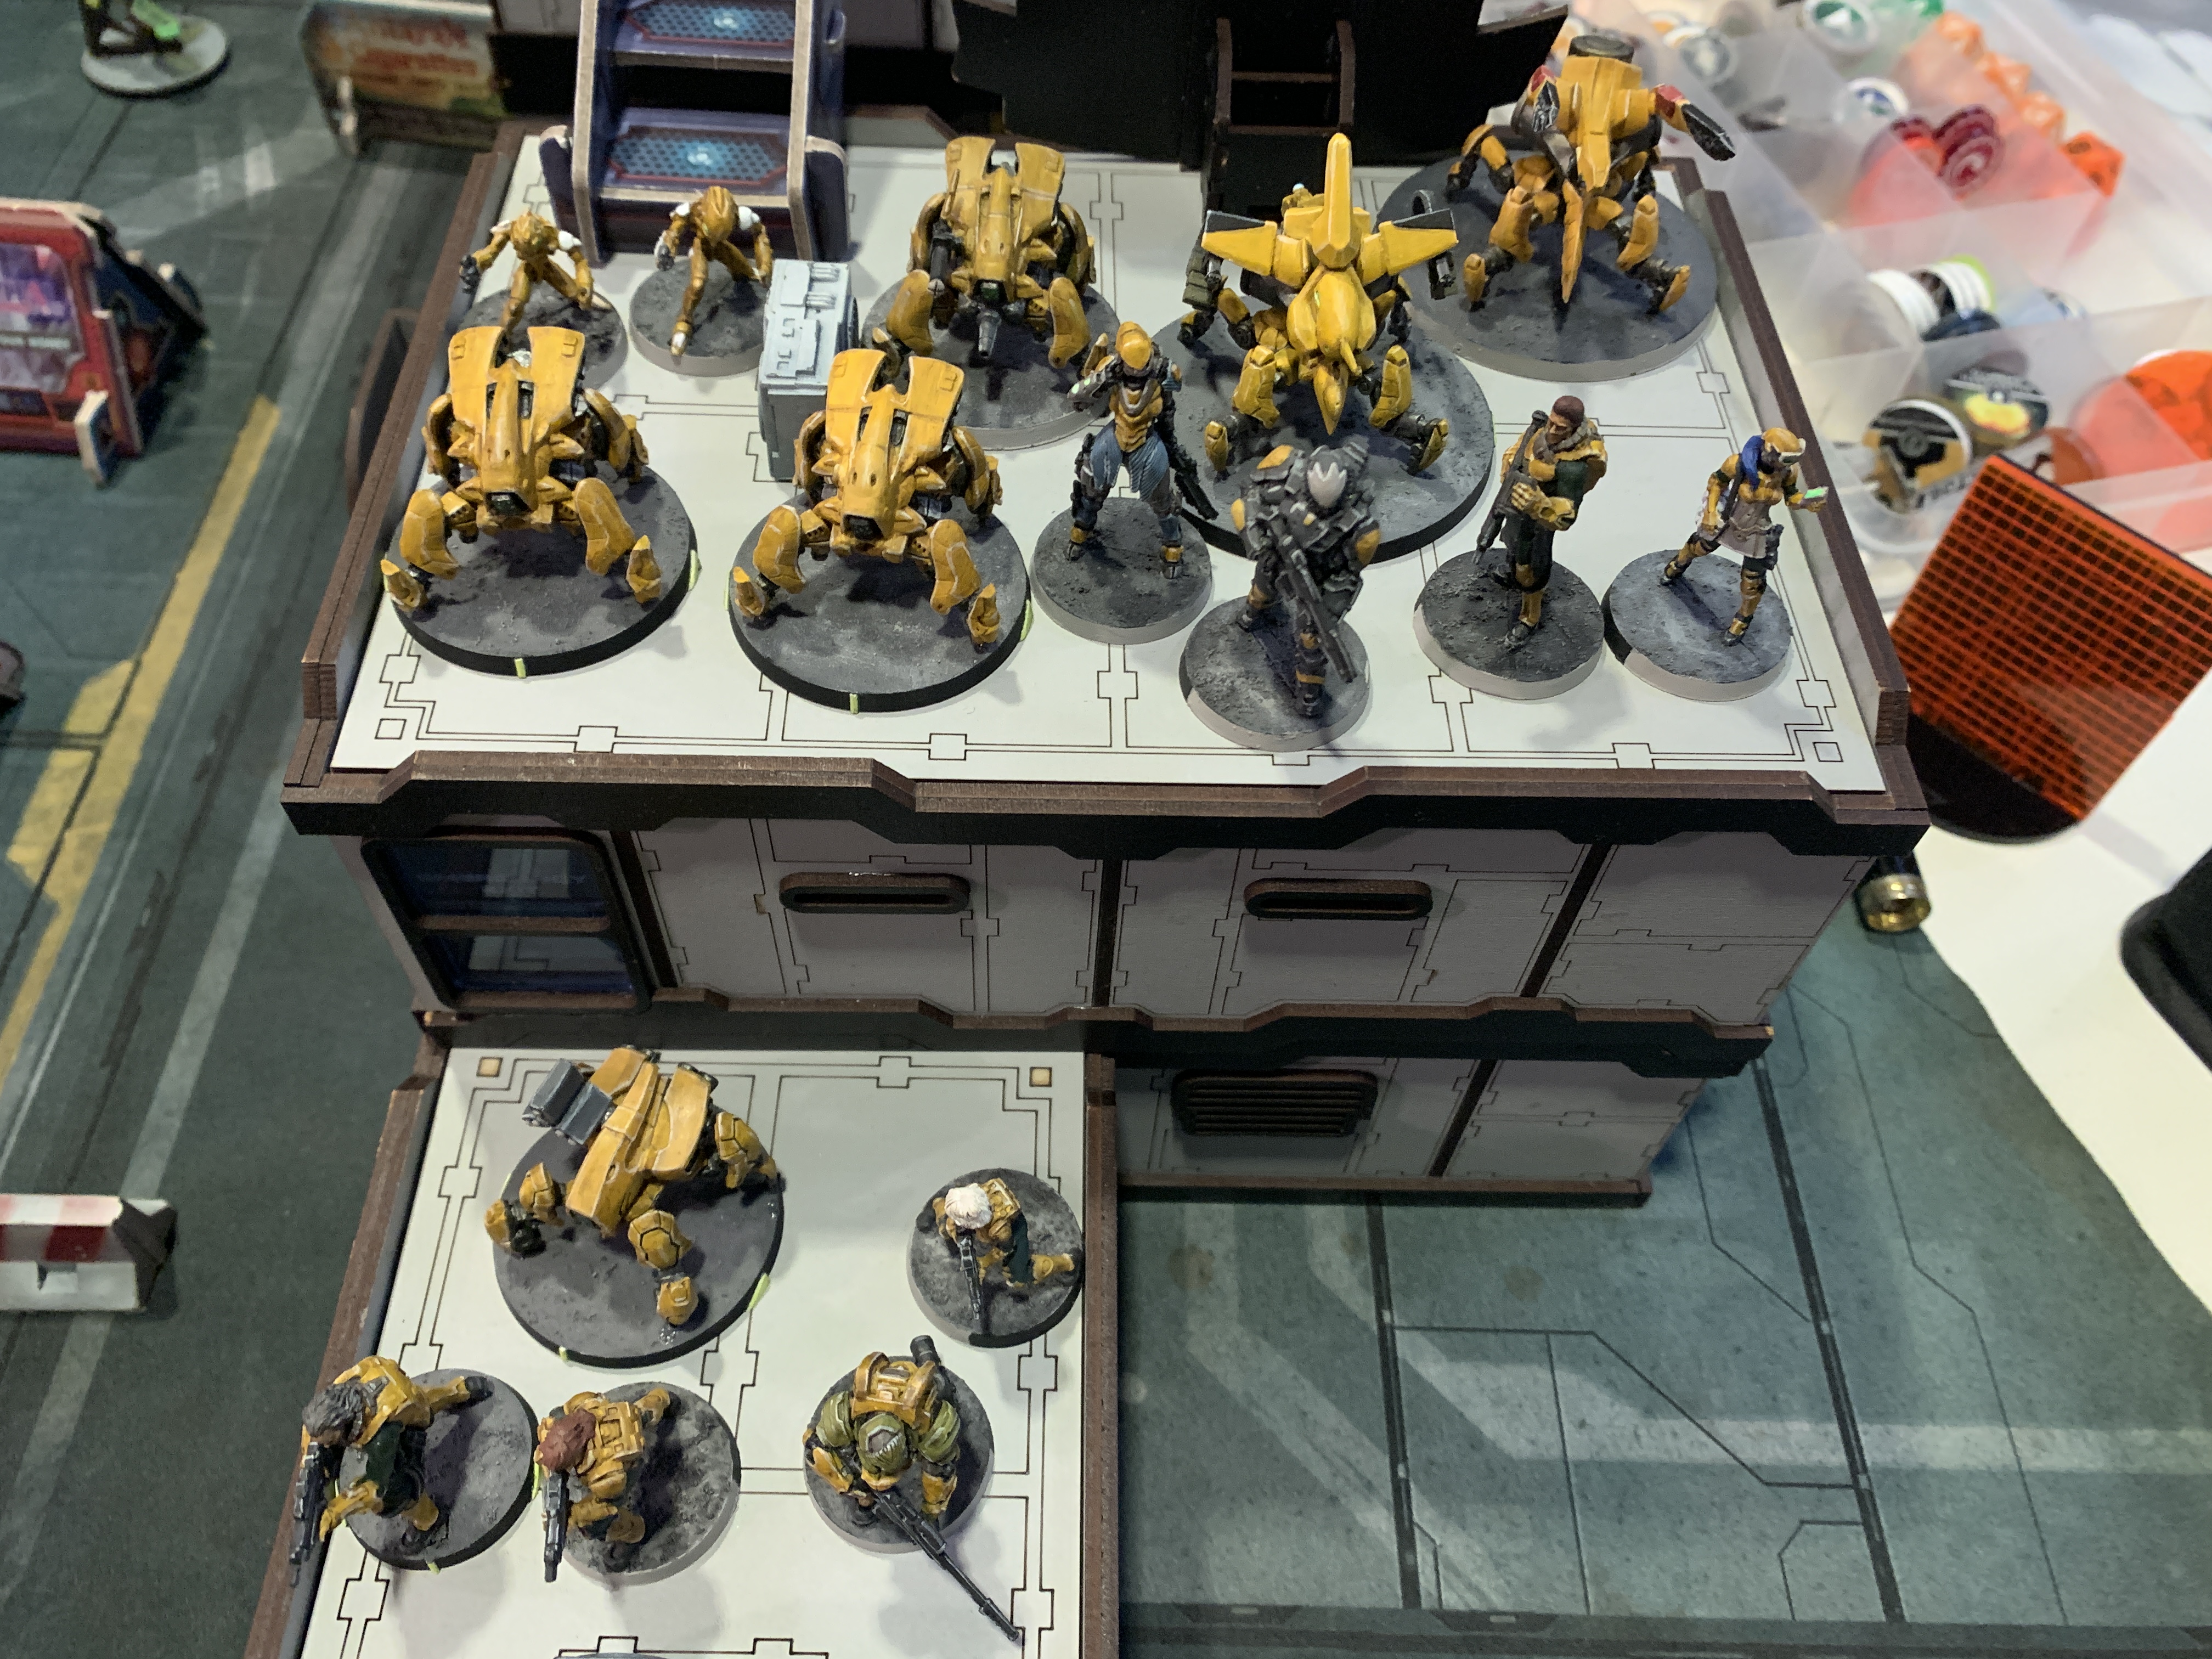
Now that IA has drawn first blood the Military Orders(MO) deployed there are out to re-take Cameliard for the glory for PanOceania. The opening move was to bring up the Bulleteer tucked away to contend with the Zhanshi fireteam guarding the rear. Making use of the terrain the Bulleteer was able to get into optimal range to attack a Son-Bae remote attached to the fireteam. In a cruel twist of fate and with odds stacked in their favour, the Son-bae rolled a critical hit with it's missile launcher and neutralised the Bulleteer stopping the alpha strike. Then on the otherside of the board a Crosier paramedic revived the downed sniper to keep watch and to draw the attention of the IA's forces while they prepare a surprise package straight into the rear lines of the IA's formation. On a sucessful roll a Knight of Santiago Killer Hacker dropped in from low orbit to attempt another assault on the rear troops, this time targeting the Zhanshi Yisheng. The Knight of Santiago fired his shotgun just barely out of optimal range and clipping the Zhanshi Yisheng, unfortunately the doctor made her saves and withdrew further into cover. At the same time the Knight was also next to a repeater, seeing a chance at shutting down the Killer Hacker, the DaoYing sprung out of camo and attempted to use Carbonite on the Knight, but failed to do so. In retaliation the Knight of Santiago and the DaoYing engaged in Quantronic information warfare and fried the Daoying knocking her unconciousl; a huge blow was struck against the IA. Next a Teuton Haris team moved up to take out the Ruishi. While they were able to disable the Ruishi with the initial salvo from a Spitfire the Ruishi's cover held up and prevented from being totally destroyed.


Turn 2A:
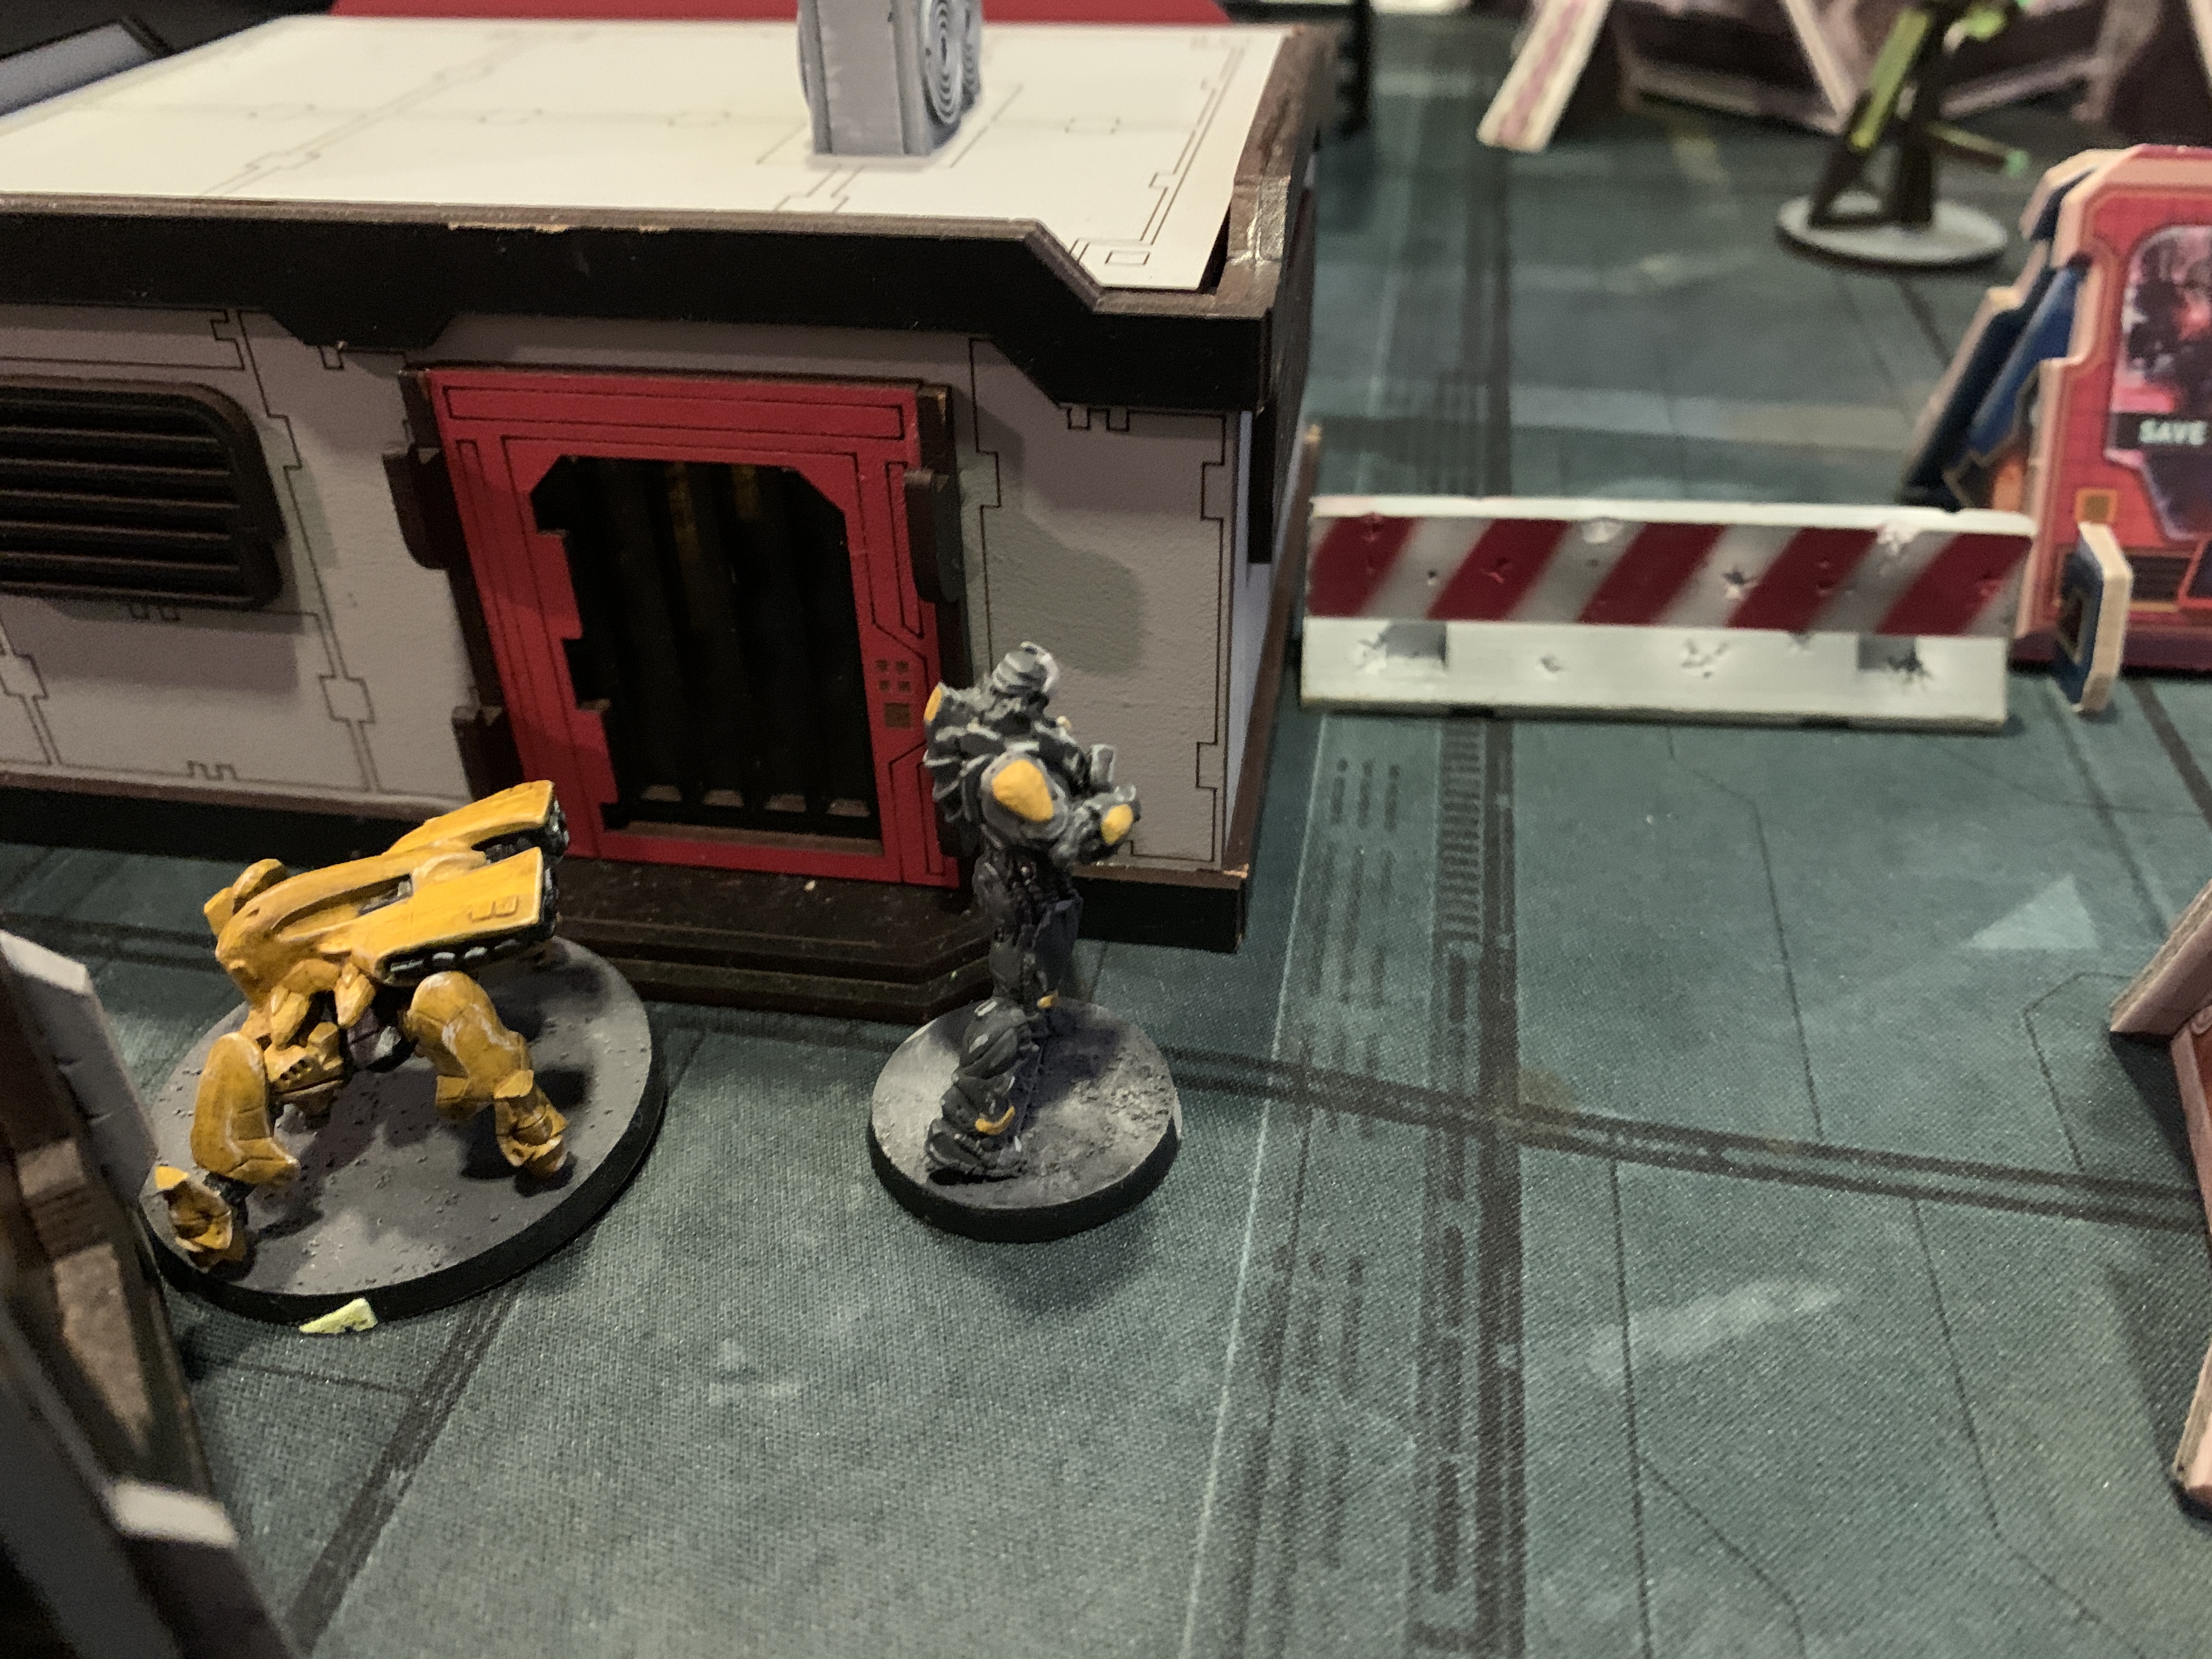
Losing the DaoYing was a huge setback to be sure, but as long as we still have bodies we will continue to press on. The IA, now in Loss of Lieutenant converted some of the irregular orders and started to do a quick damage control round, first things first, the Zhanshi Yisheng revived the DaoYing via the Yaozao and the Mech-engineer did the same to the Ruishi. Now it's time for some payback, the DaoYing fired up the hacking interface and used Oblivion on the Knight of Santiago, succeeding in that exchange and isolating the Killer Hacker and shutting him down. Next the Hao Tao moved back to face the sniper once more after a quick exchange of fire the Hac Tao knocked out the sniper and repositioned for the final push to the objective, a few of the irregular orders were spent repositioning the Chaiyi to fend of the still active Knight of Santiago. After selecting appointing the DaoYing as the Lt the turn is then handed over and IA readies for a counter-offensive.
Turn 2B:
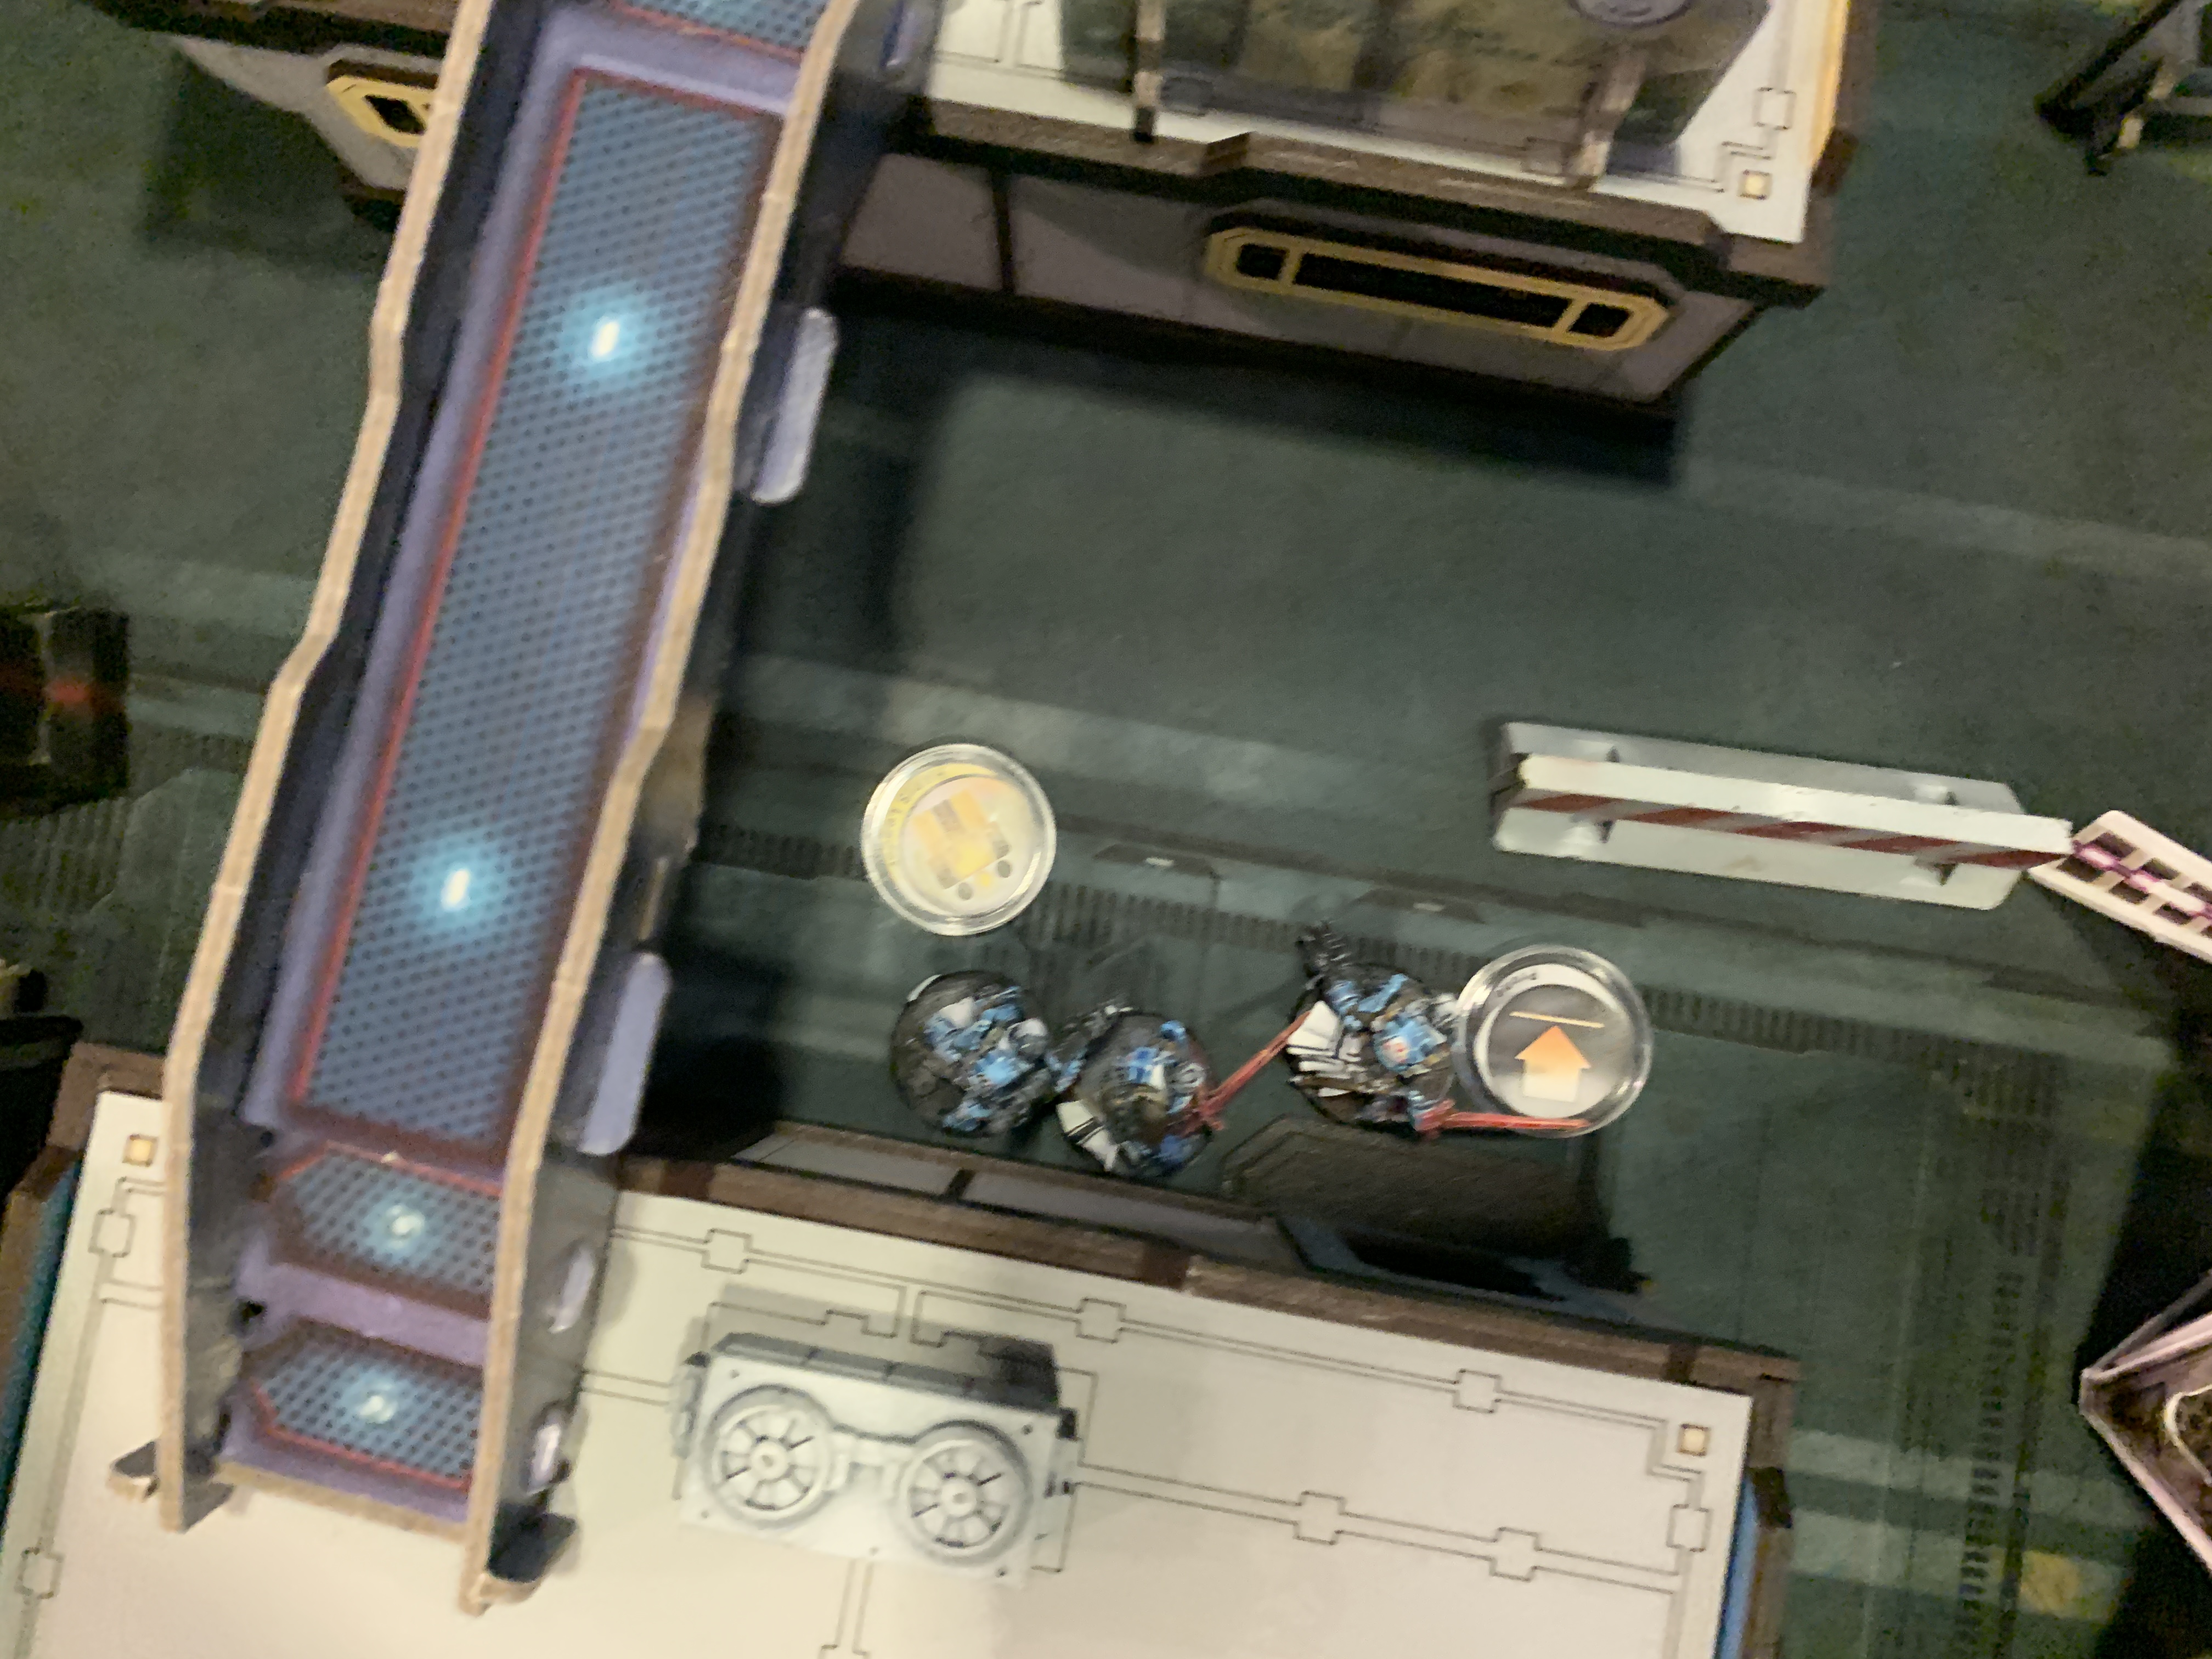
The MO gave the IA a bloody nose but it seems that, the IA was able to recouperate and is still in a strong position. The Crosier paramedic once again went to use her medikit on the downed sniper but luck has run out and sent the sniper to the afterlife. Then the Teuton Haris pushed up and once again knocked the Ruishi unconcious, but was yet again unable to destroy it without wasting a few precious orders. Realsing that they might be over extending themselves and not wanting to face the Hao Tao in the open they did a tactical withdrawal back to cover. In a final act to get to the AC2 a Motorized Knight of Montessa rode up using the same path taken by the Bulleteer earlier on, the only problem, that path was a death trap, by sticking to one side he would be spotted by the Son-bae, but at the same time sticking to the other he would be in the open and looking down the barrel of a linked Haidao sniper. The Knight of Montessa decided to pick the sniper and ended up taking 2 DA rounds to the chest and is taken of the fight.


Turn 3A:
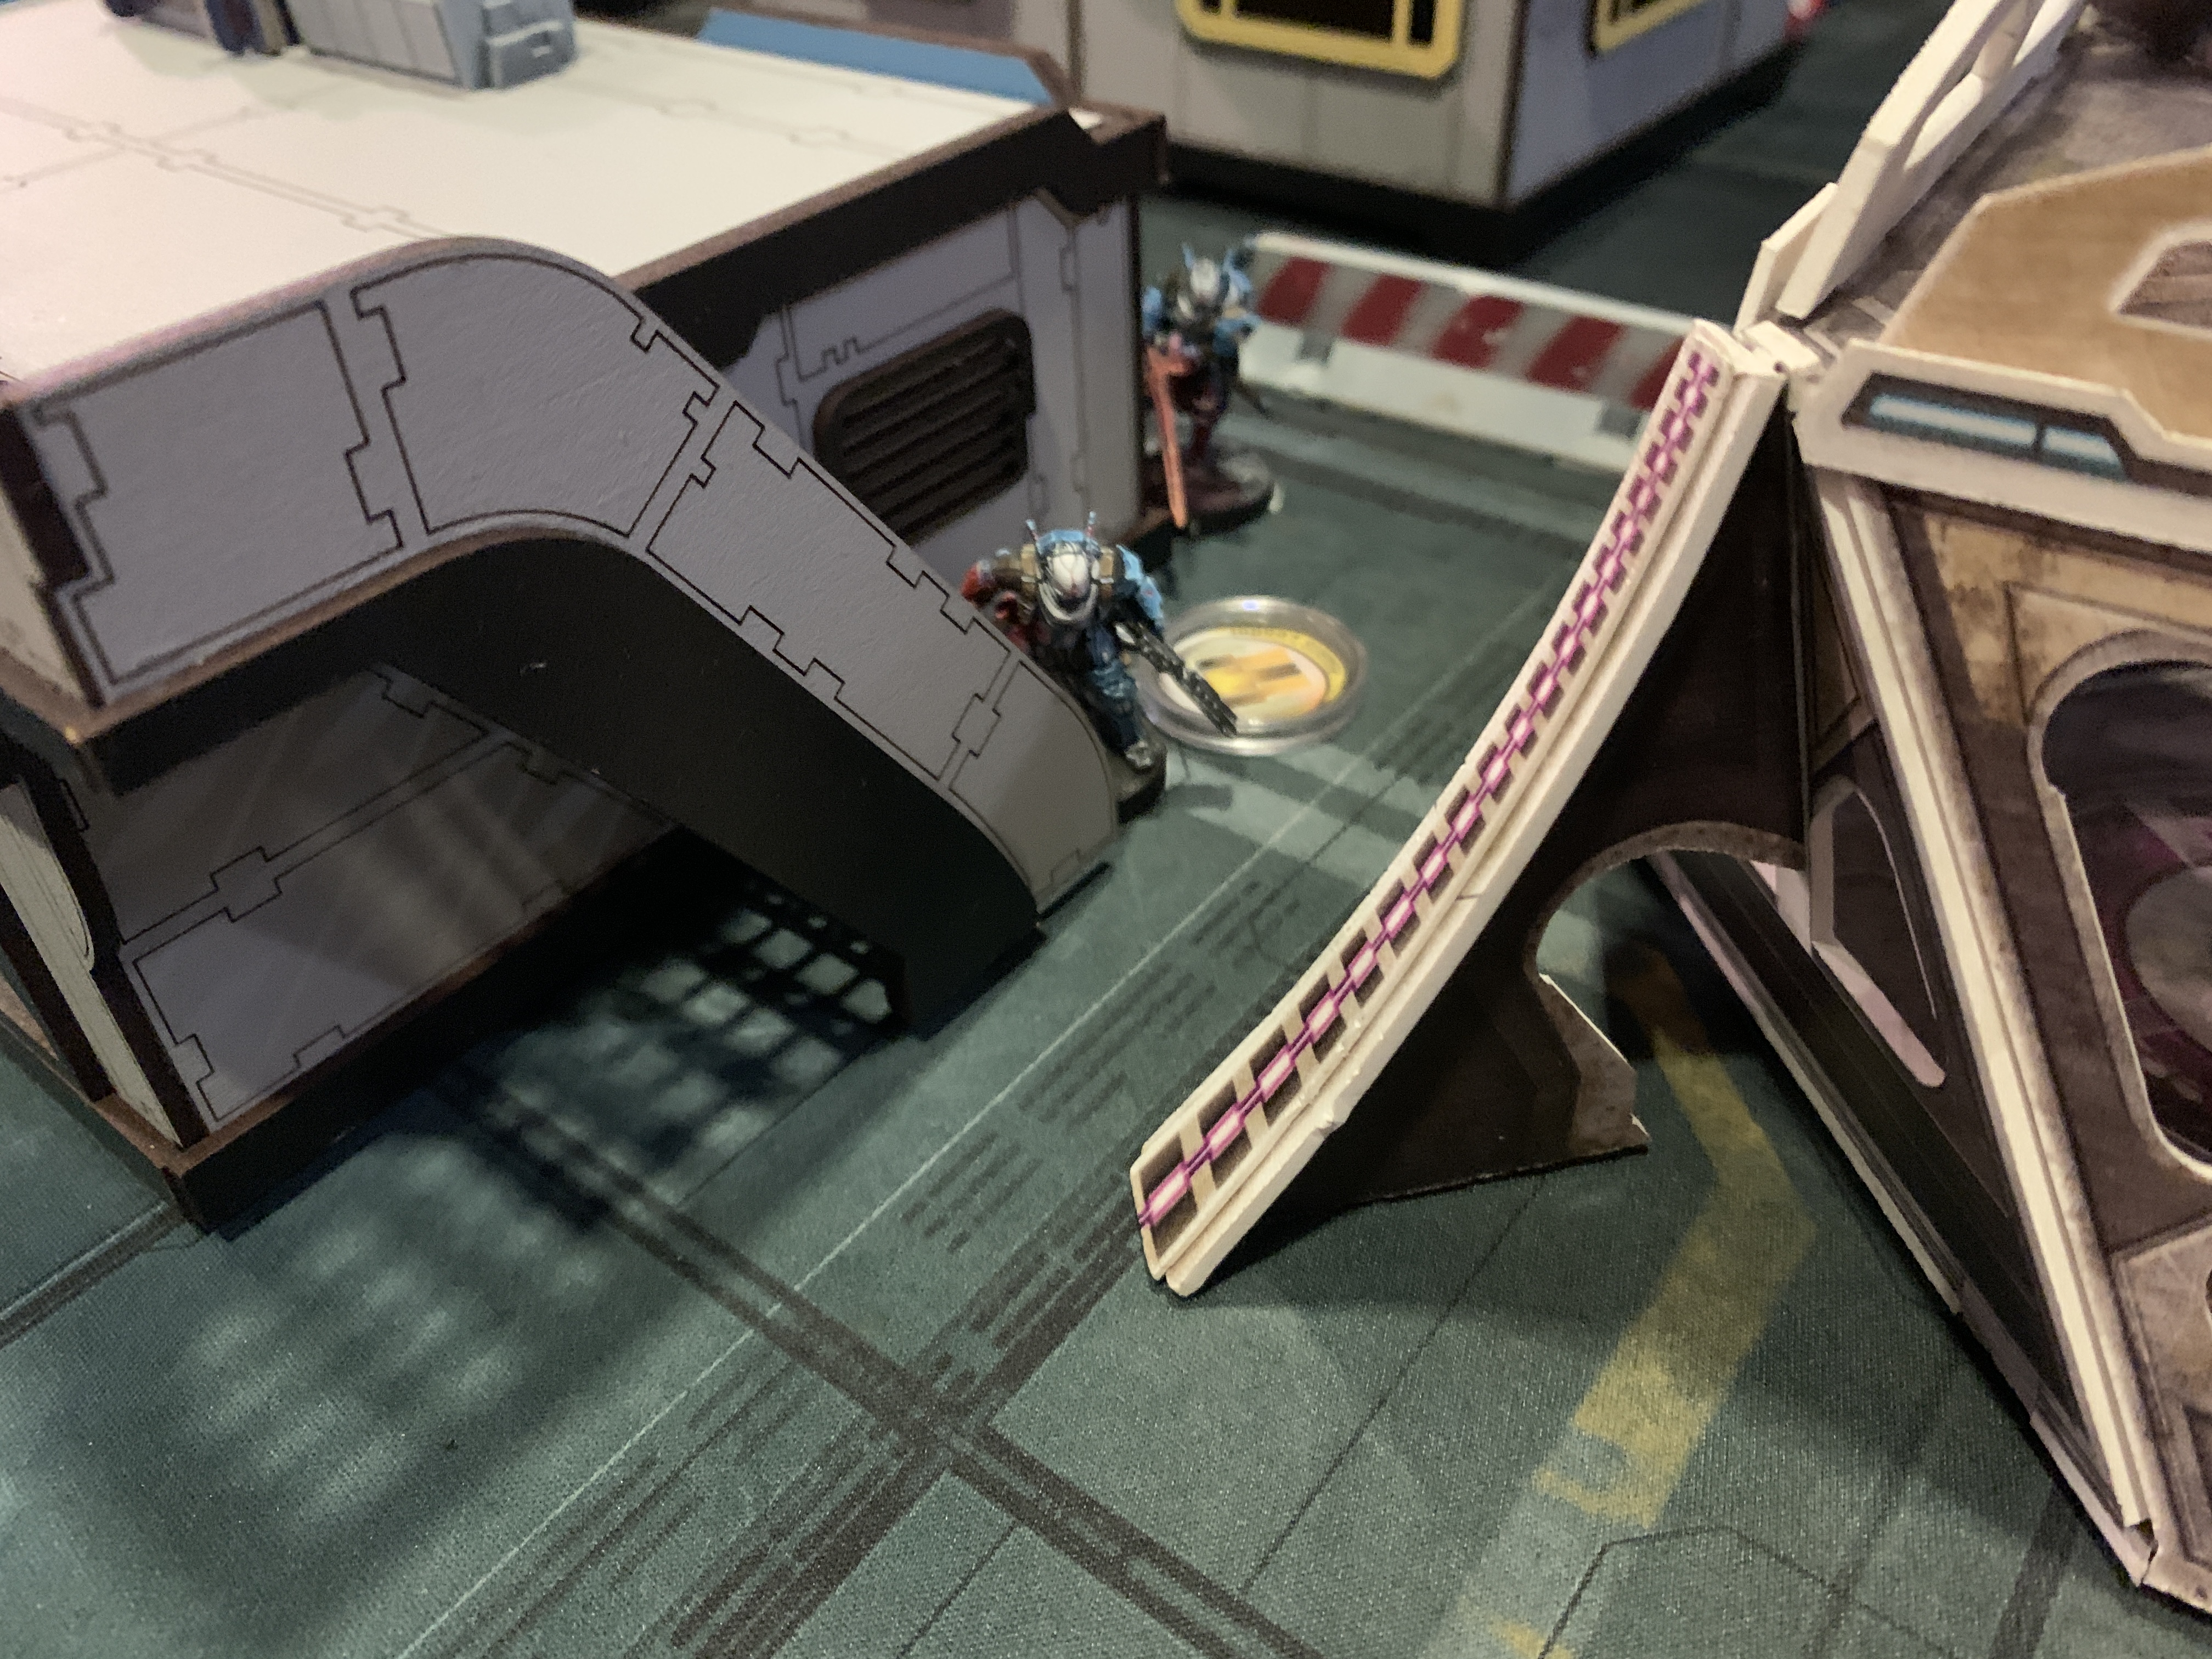
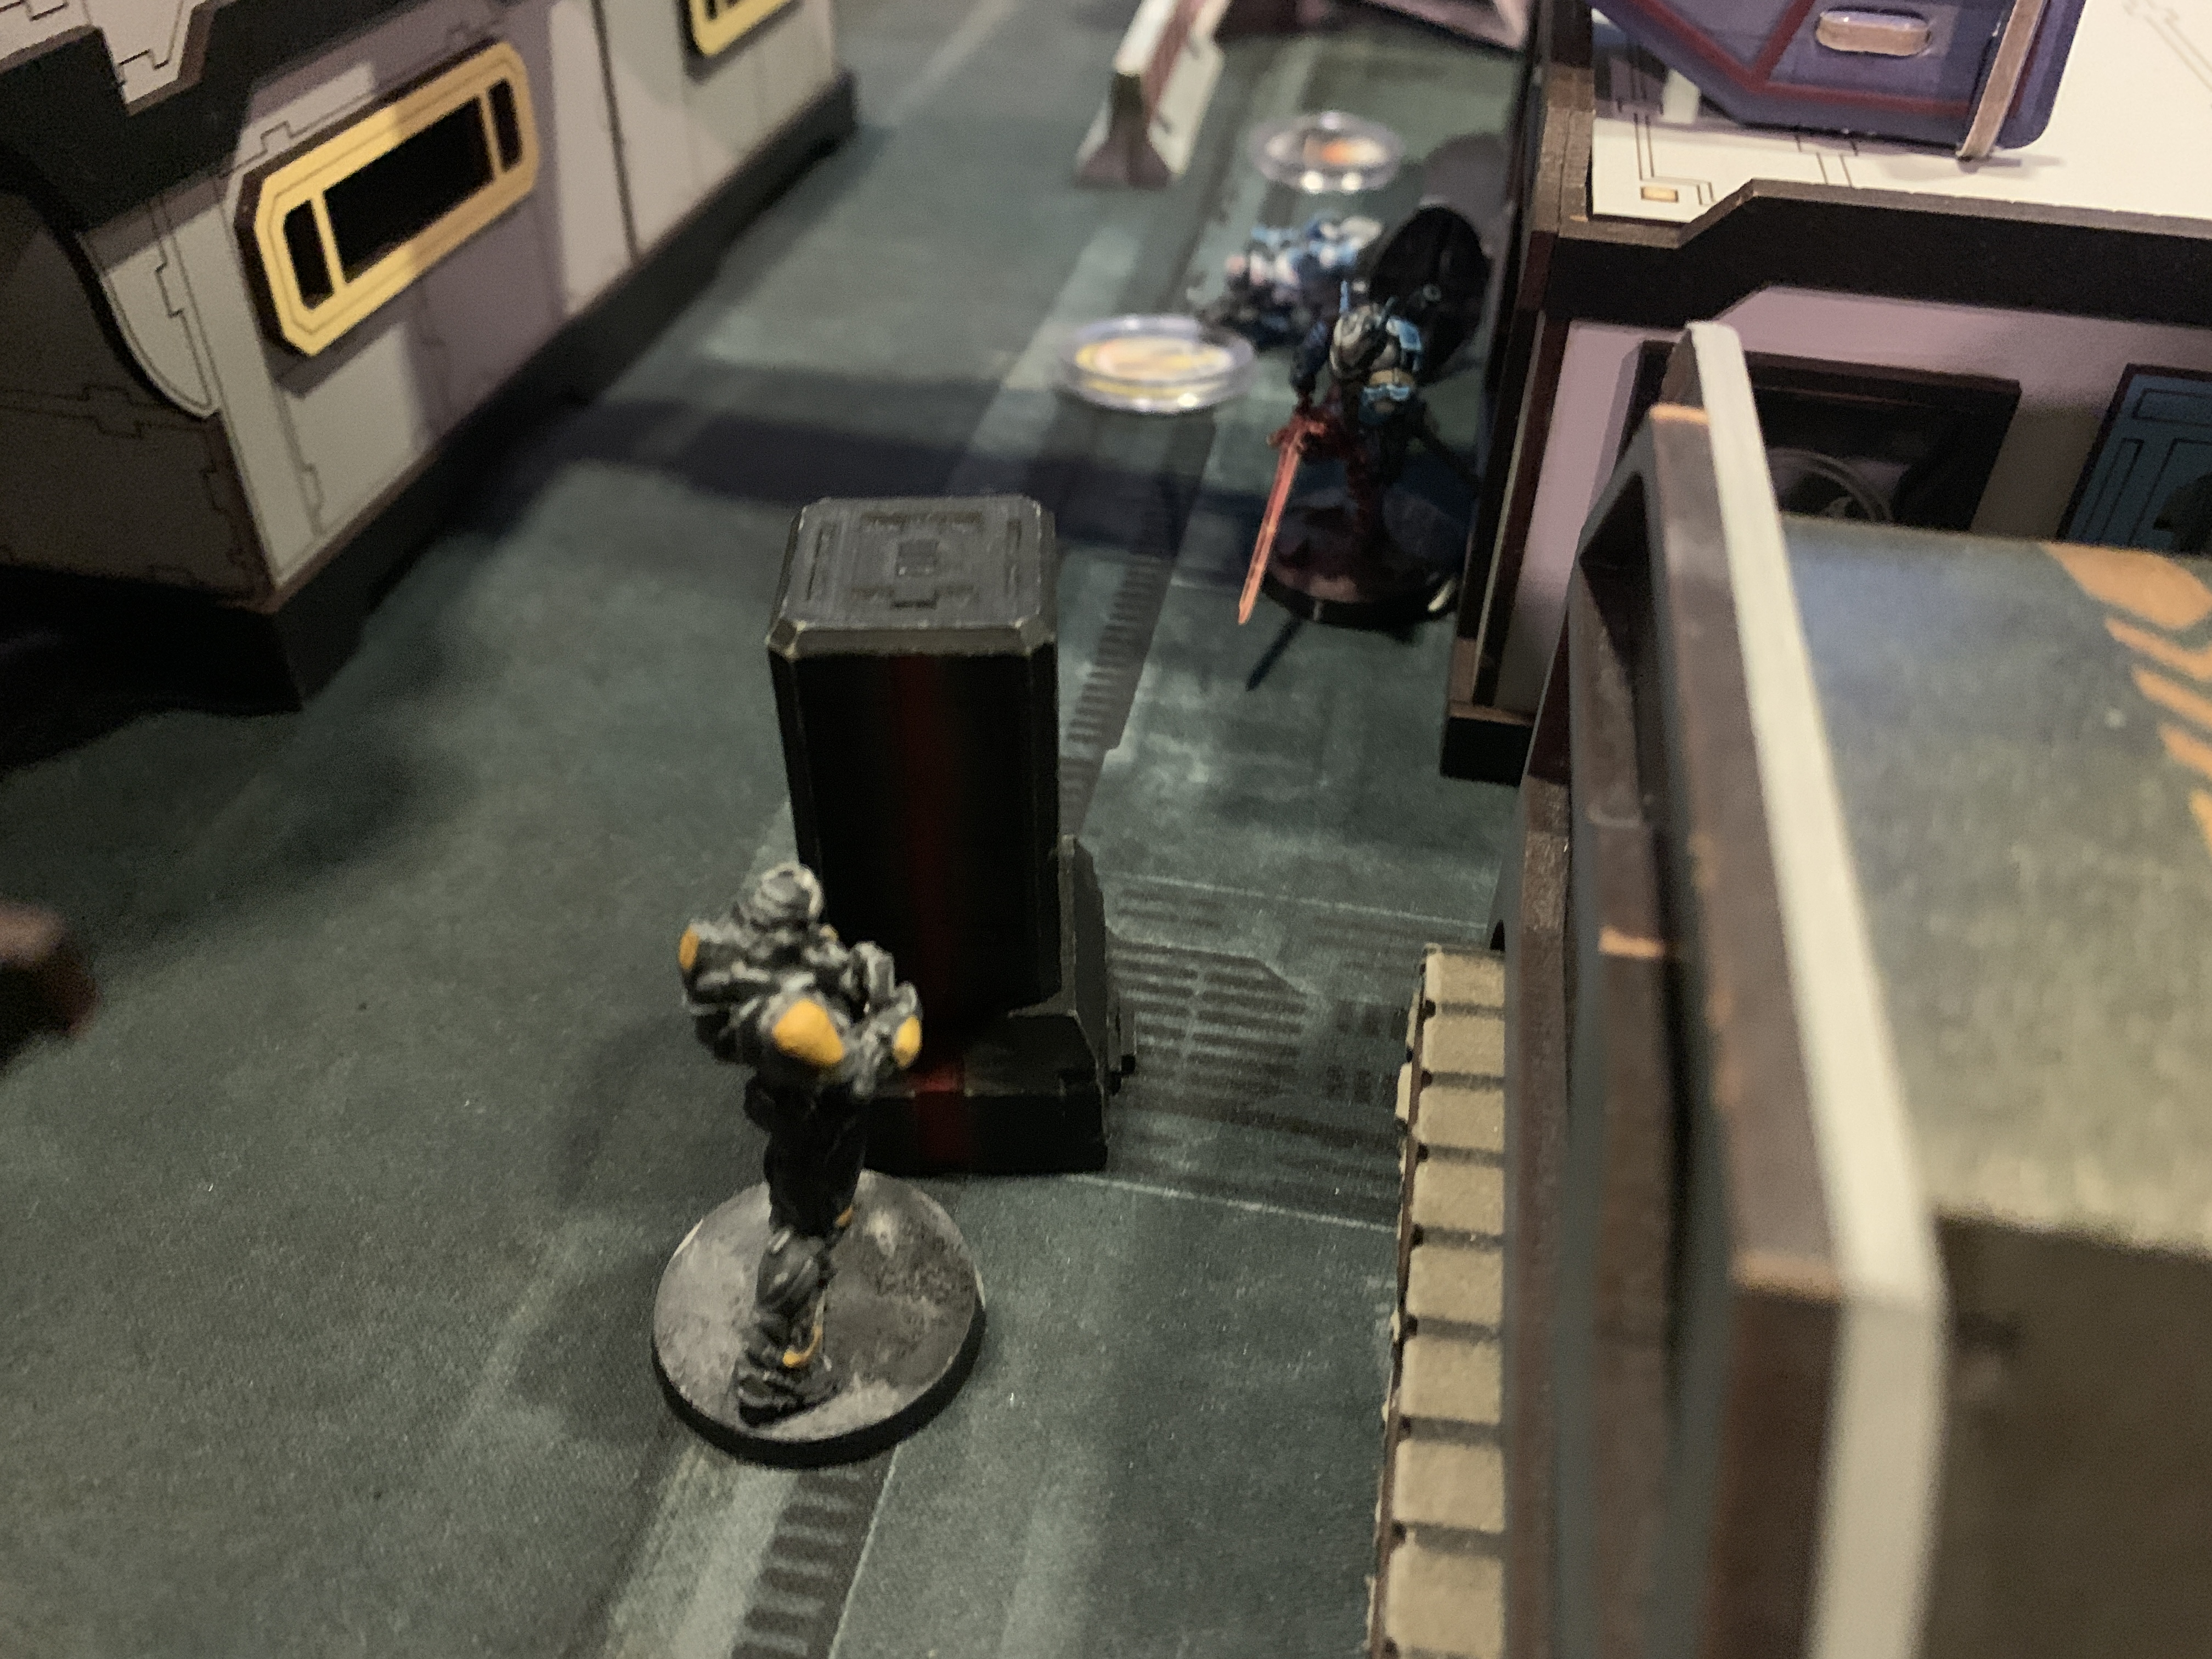
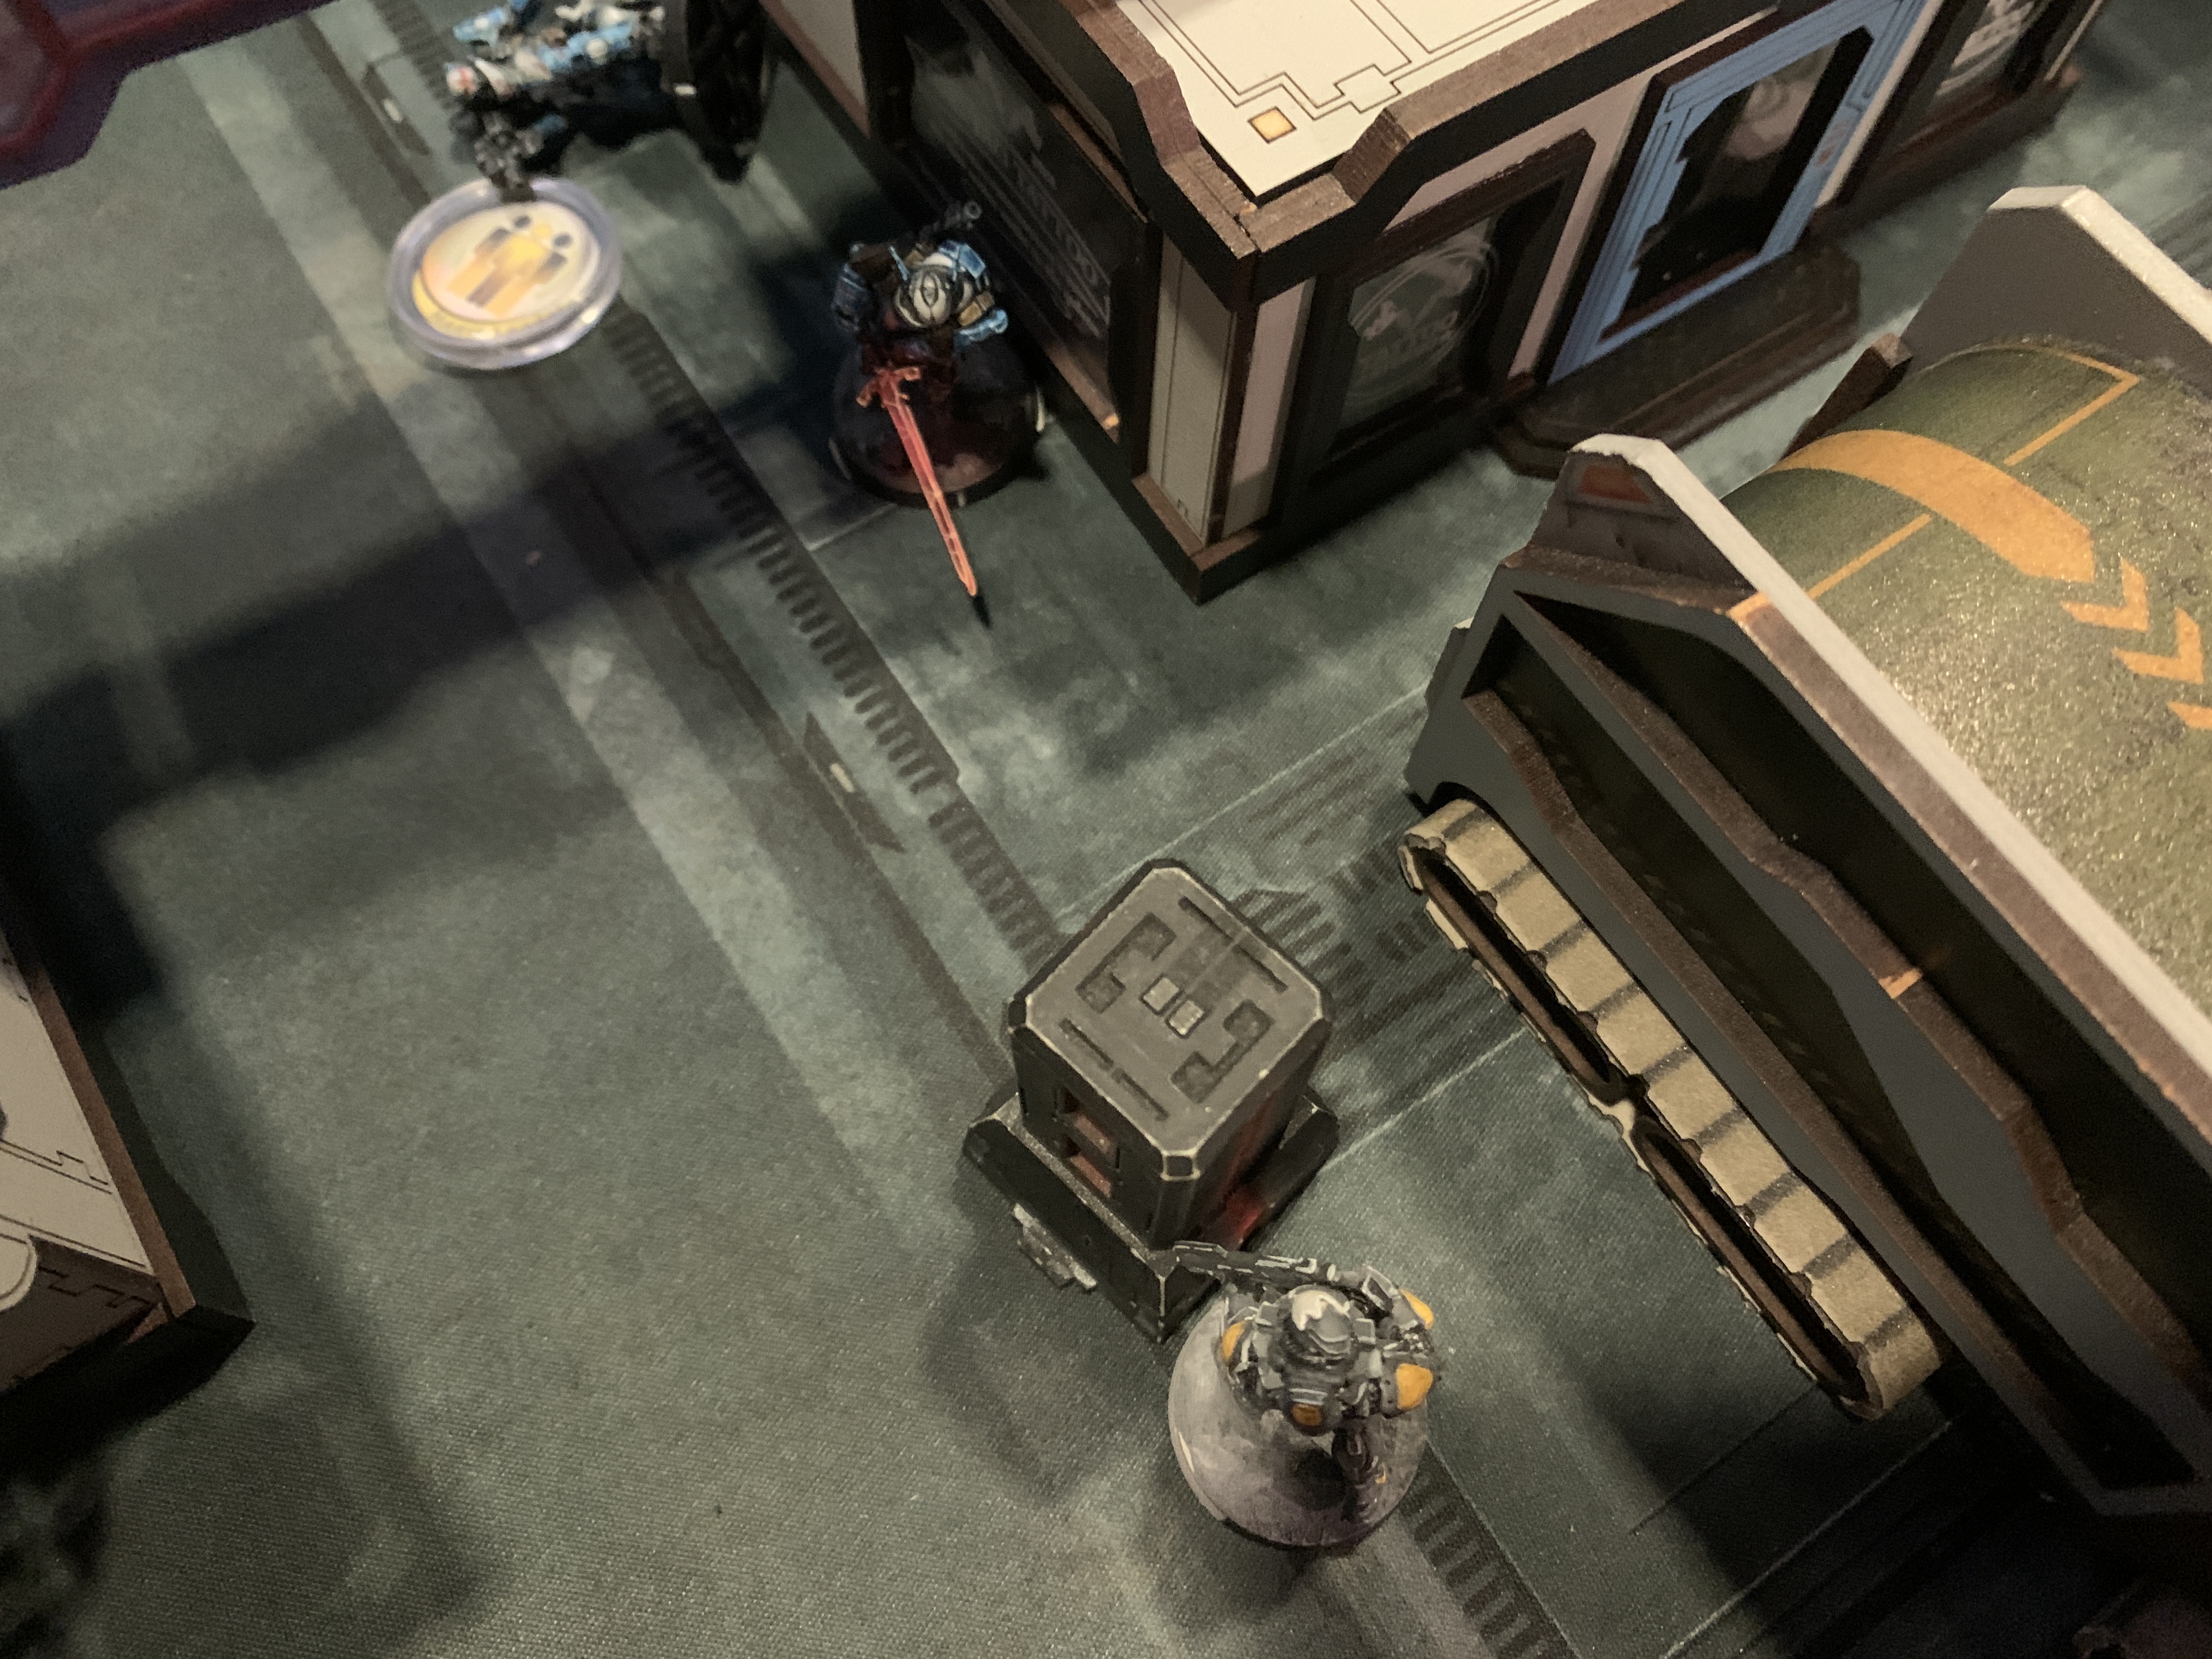
This is it! The second wind that the IA needed, the path is clear and the way is open to the AC2 the only thing standing in the IA's way is the Teuton Haris hiding behind the building. The IA sent up a Chaiyi right to the building to be able to catch the Teutons in repeater range. The Daoying then uses the Spotlight programs to put on of the Teutons in a targeted state. The setup is complete now for the counter-punch, the Son-bae launched a guided missile right into the middle of the Teutons and knocking out 2 members of that Haris team. The Hac Tao now moves in for the kill, switching to the Multi-rifle acquired earlier he moved up spliiting shots between a Fugazi and the last remaining Teuton stripping away a single wound. Being too close to the Teuton is deadly so the Hac Tao moved away from the approaching Teuton and towards the enemy's AC2. The last order was used to damage the AC2 with the Hac Tao's DA CCW.
Turn 3B:
With the tips of their spears blunted and edges of their swords chipped, the MO has lost their will to carry on the battle and knew that they would not be able to accomplish any objectives, with what they have left and decided to surrender and retreat from the field of battle.
Final outcome of the game is as follows:
The Invincible Army's AC2 remains defended
The Military Order's AC2 was damaged
Invincible Army was able to acquire more weapons out of the panoply
Final score: 3-0 in Invincible Army's favour
Glory to Yujing! Glory to the Jade Empire!
Battle Report Author

Recommend Commander For Commendation
Share this battle with friends
SerasethWins

@Ruyi Thanks, I have to admit it was a pain to paint yellow, but if it’s done properly it really looks great on the table.
I really love the yellow on your models, it looks so good!
An excellent report! And some excellently painted minis with lovely terrain. And a victory to boot. What’s not to like?! Have a commendation you handsome rogue!
Great read. Nice army’s!
Great pics and reporting! Congratulations on the win!