Fought At Cameliard: Reliquary
658 days 15 hours 3 minutes ago
“Allah loves you even in your darkest hours. He forgives you even in your deepest failure.”
Fresh from their victory at the Gekidan Research Park, the Himaat Alsahra’ (Protectors of the Desert) sought to launch a raid on the Reliquary at Cameliard. What they did not anticipate, however, was the strength and fervour of PanOceania’s Military Orders in defending this sacred location. The inexperience of the Himaat’s commander ultimately undid the mission – a misunderstanding about the status of High Value Targets in the field leading to a catastrophic tactical error.
“Never a failure, always a lesson.”
Deployment
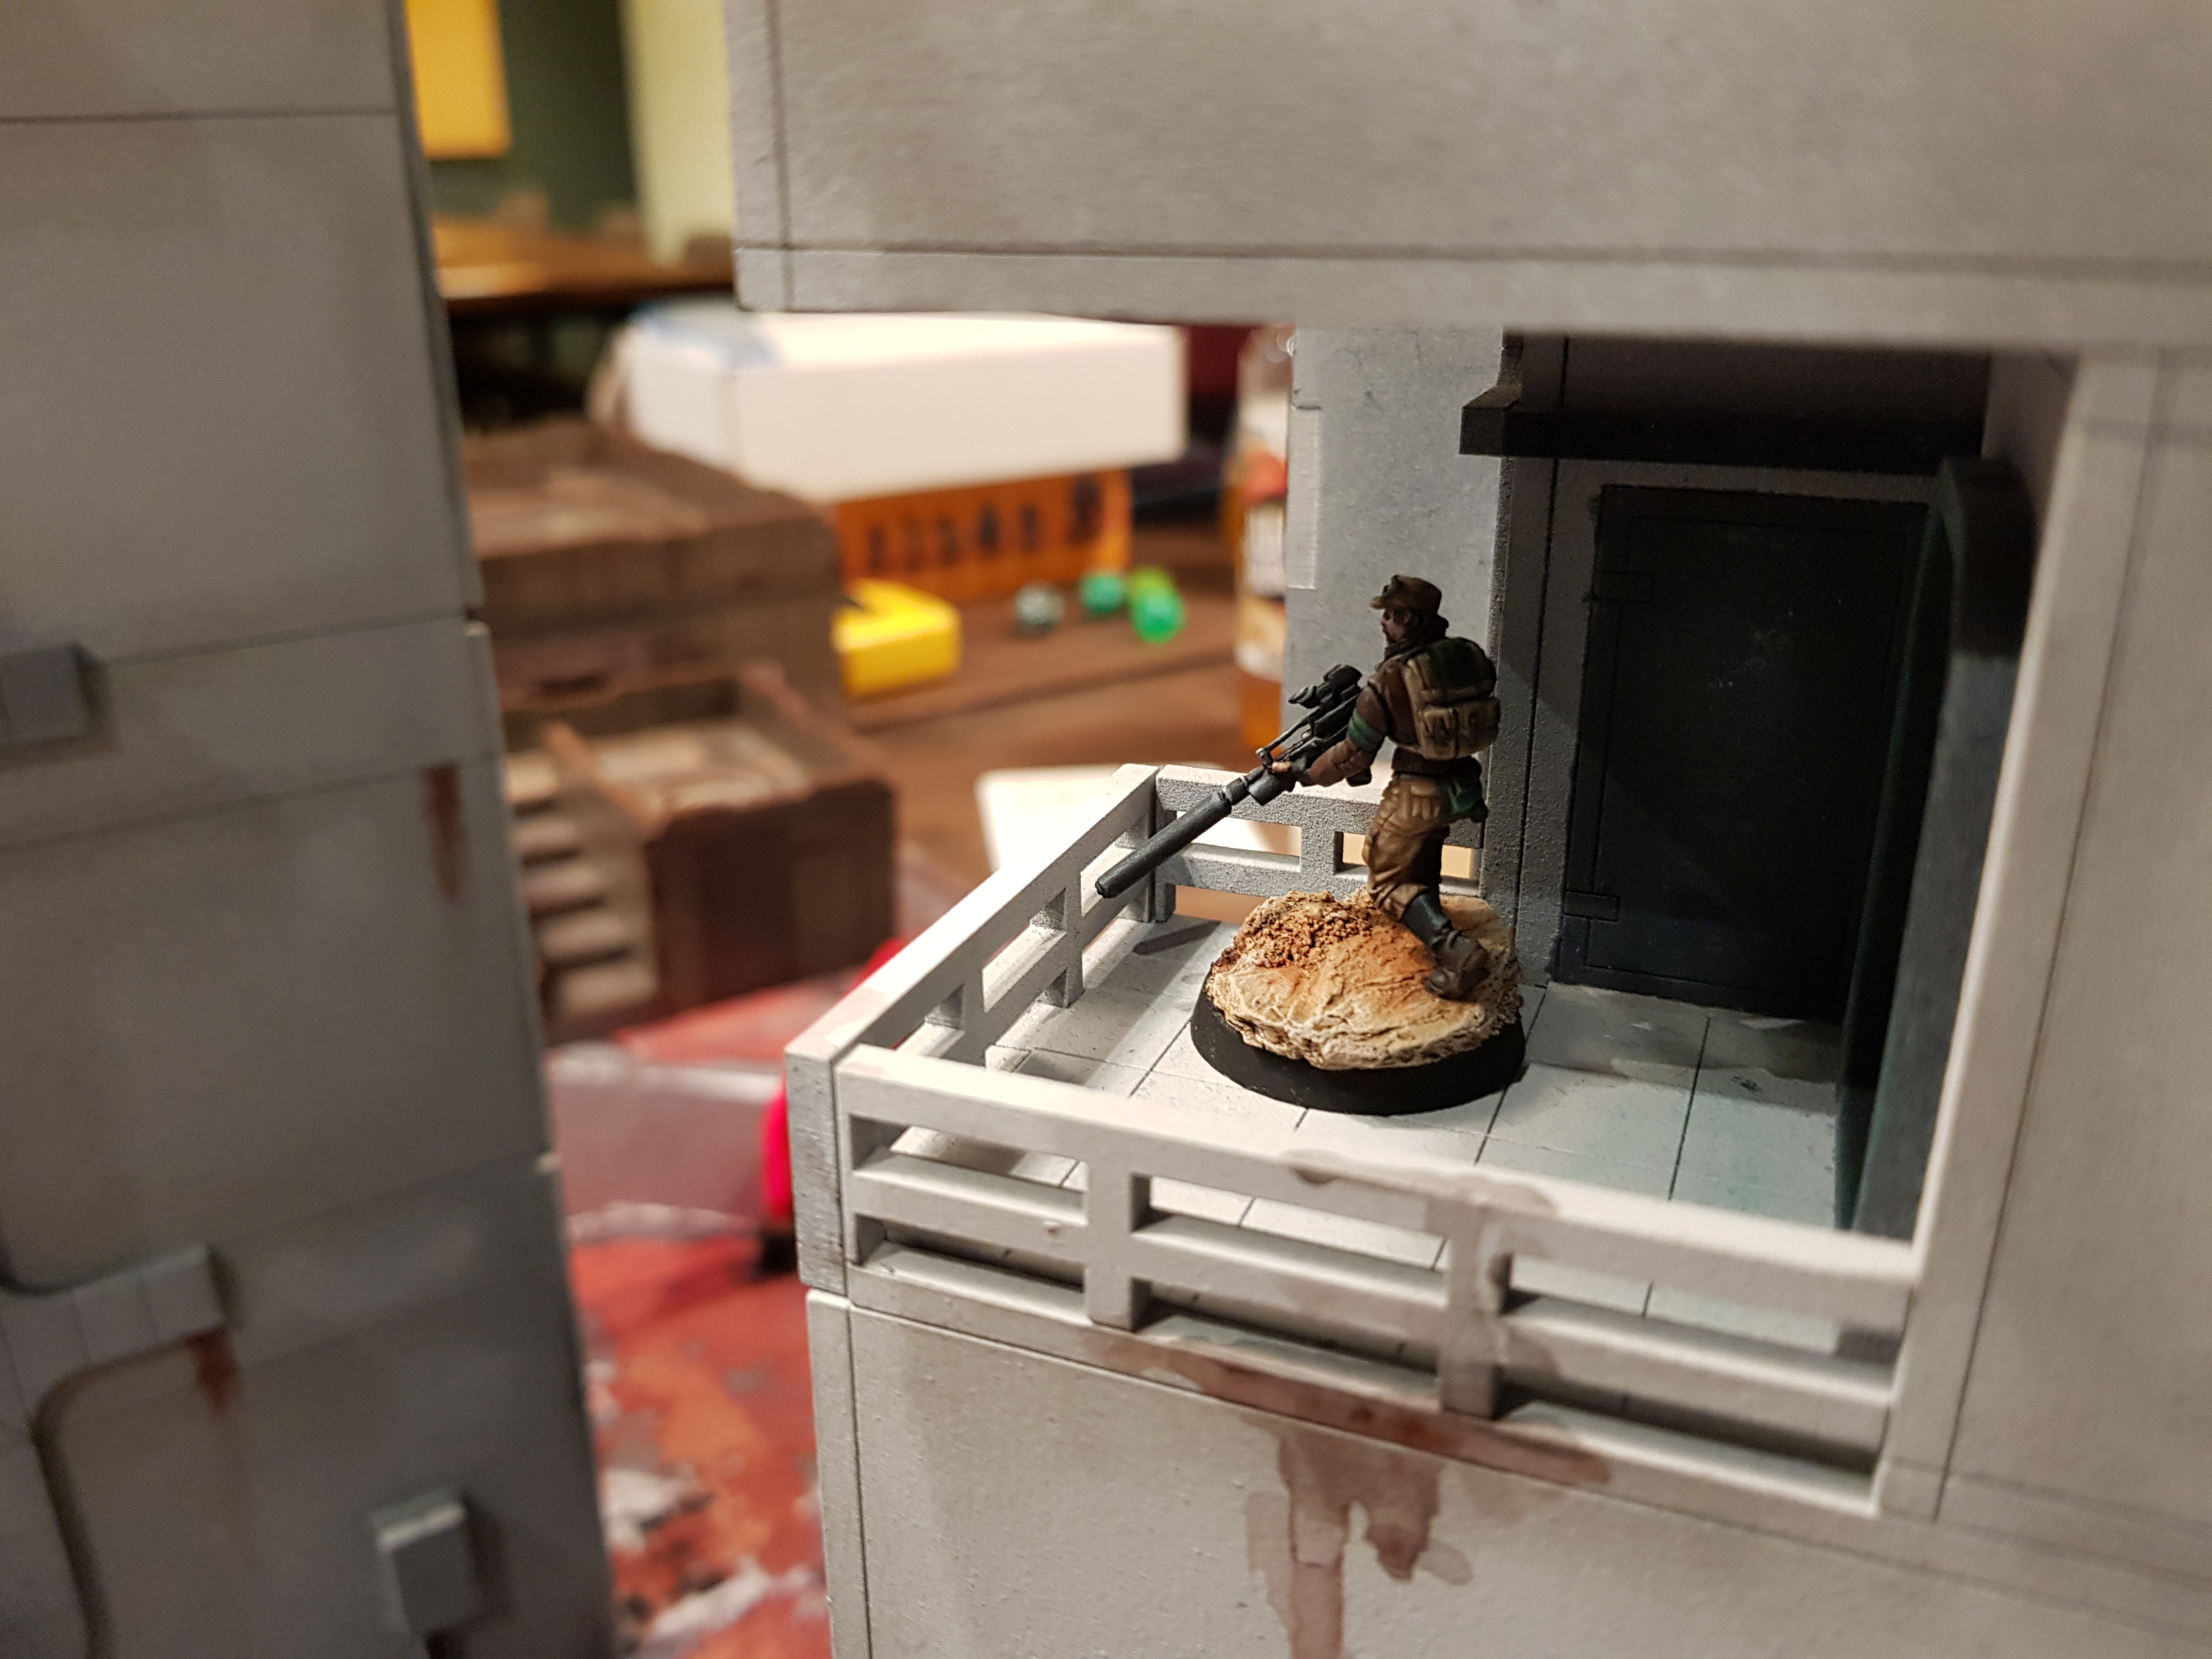
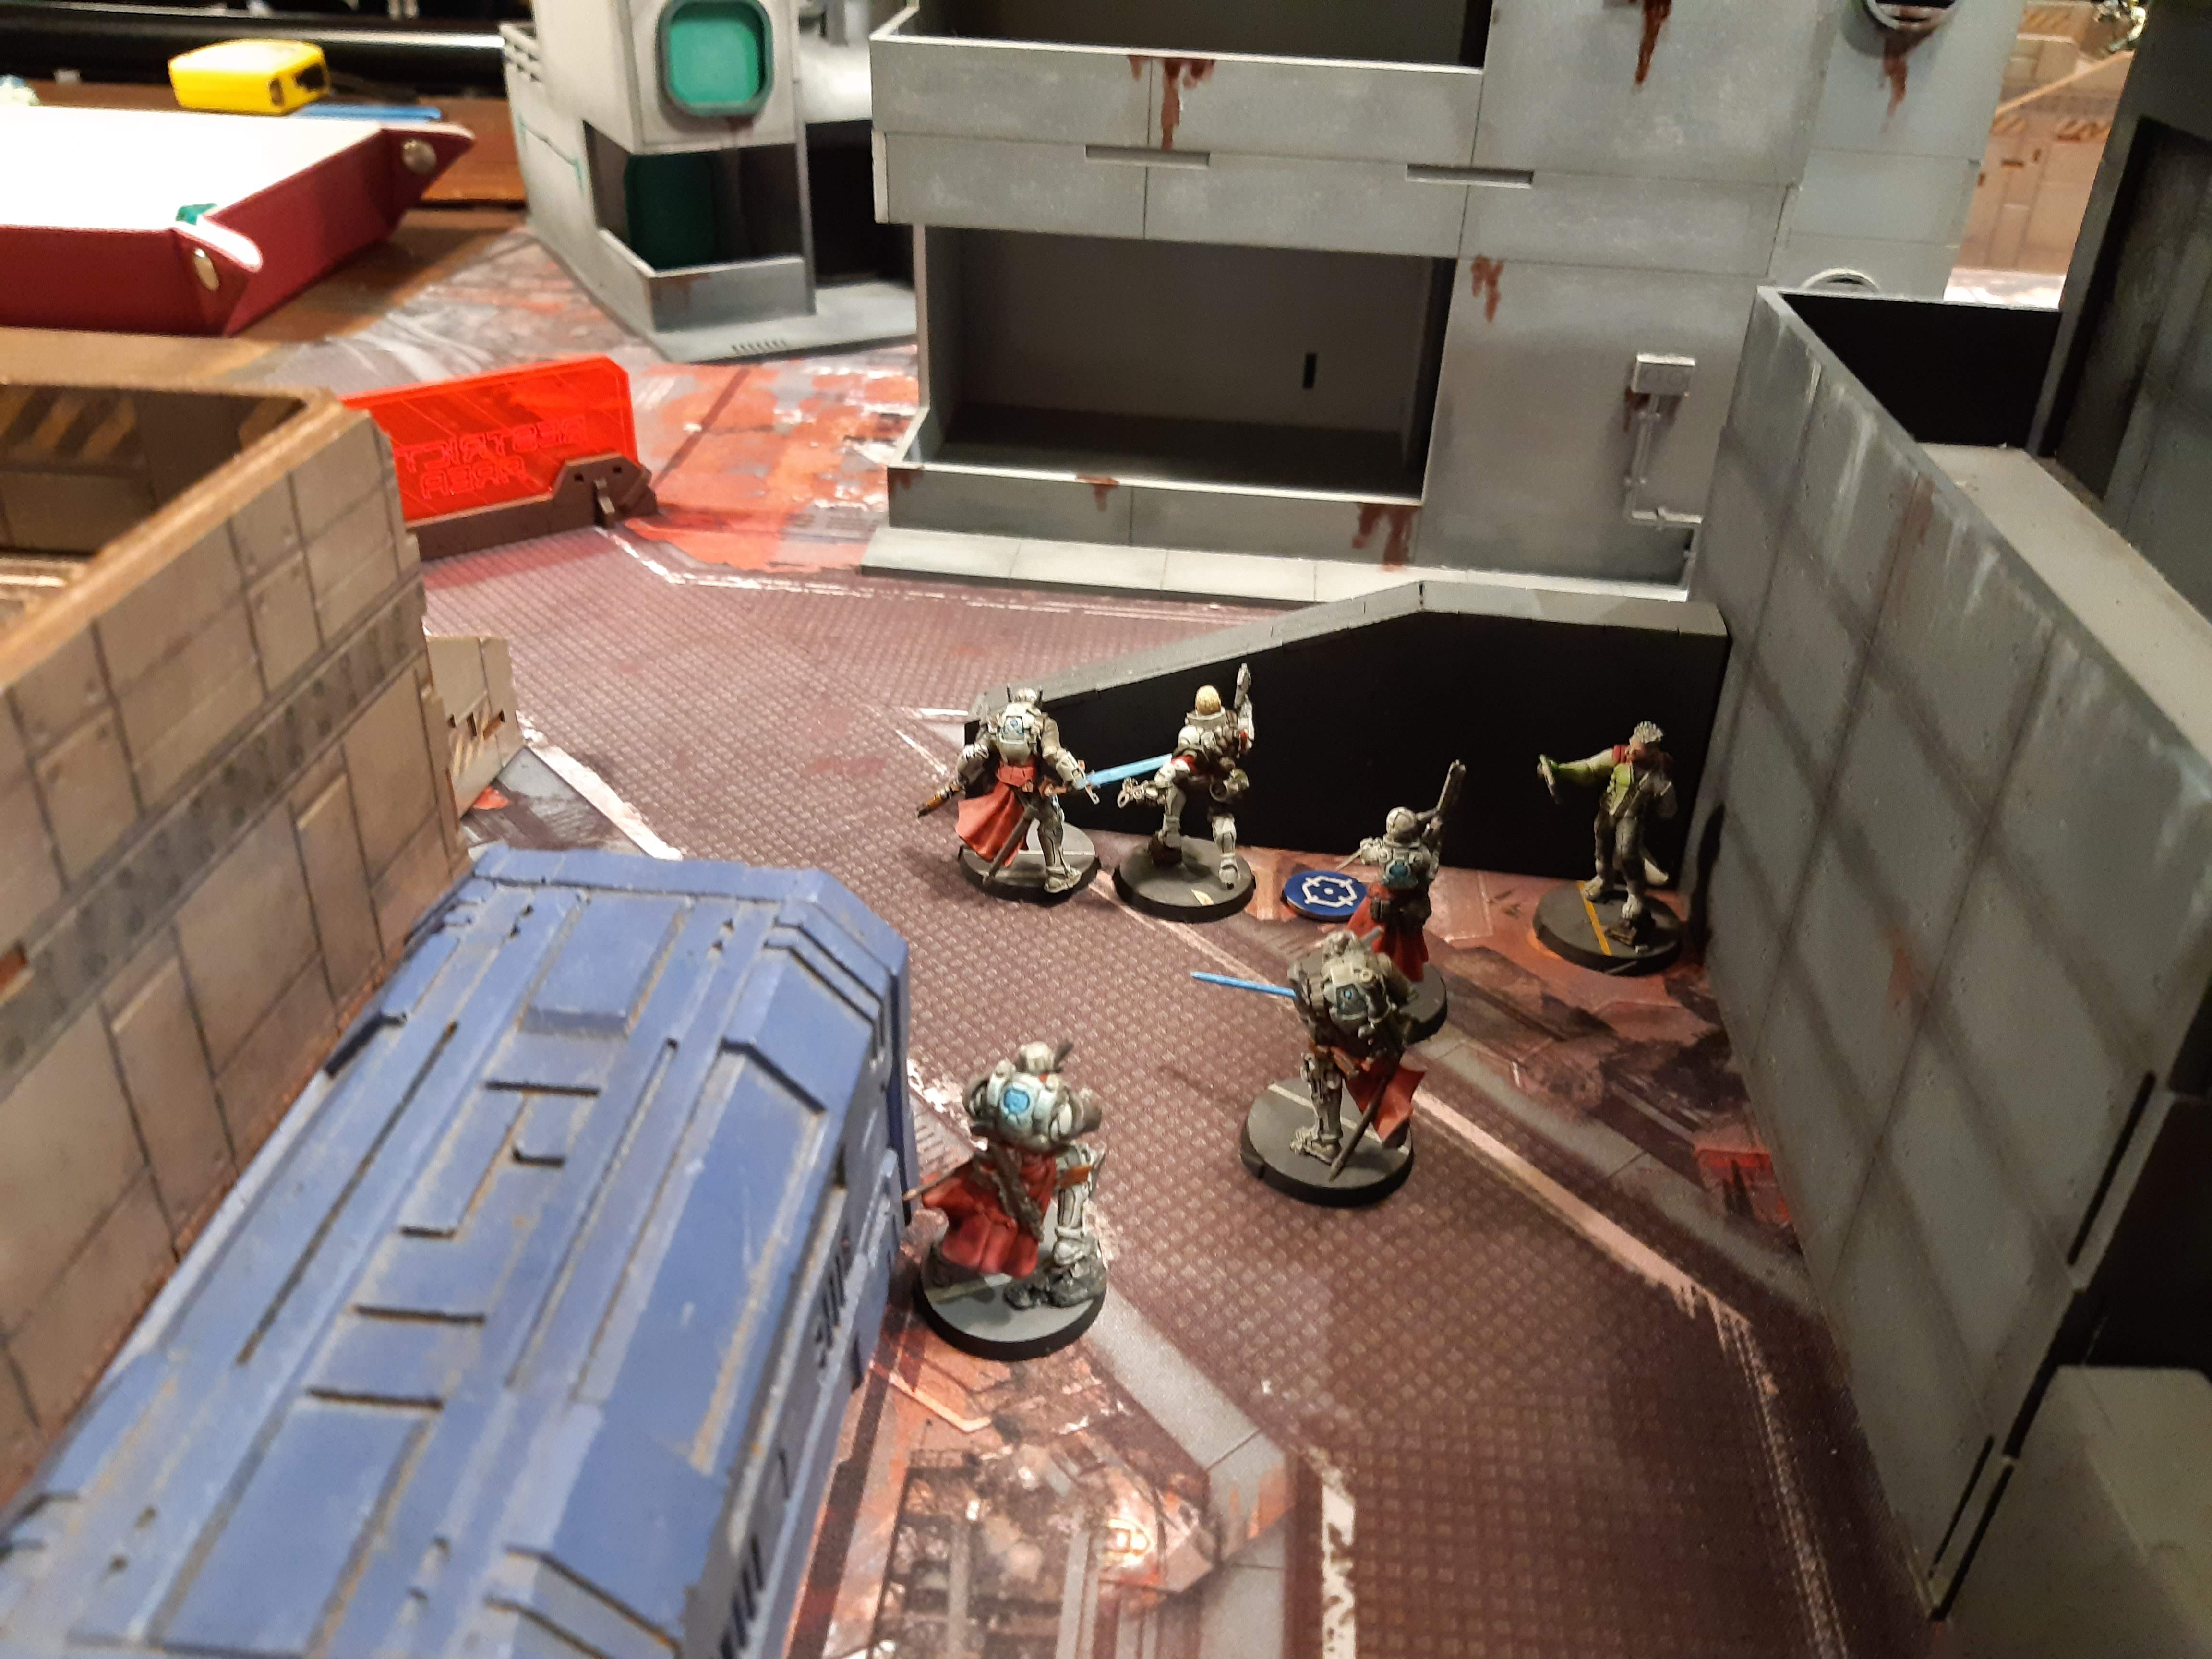
Military Orders elected to take the first turn, so were made to deploy their forces first. A Fugazi Dronbot overlooked the AC2, with a fireteam made up of a Black Friar with Heavy Rocket Launcher and two crosiers guarding the building in the centre of the PanO deployment zone. A 5-man fireteam made up of three Teutonic Knights (one with Spitfire), a Curator, and a Knight of Santiago Hacker deployed on PanO’s left side, ready to charge towards the Haqqislam zone.
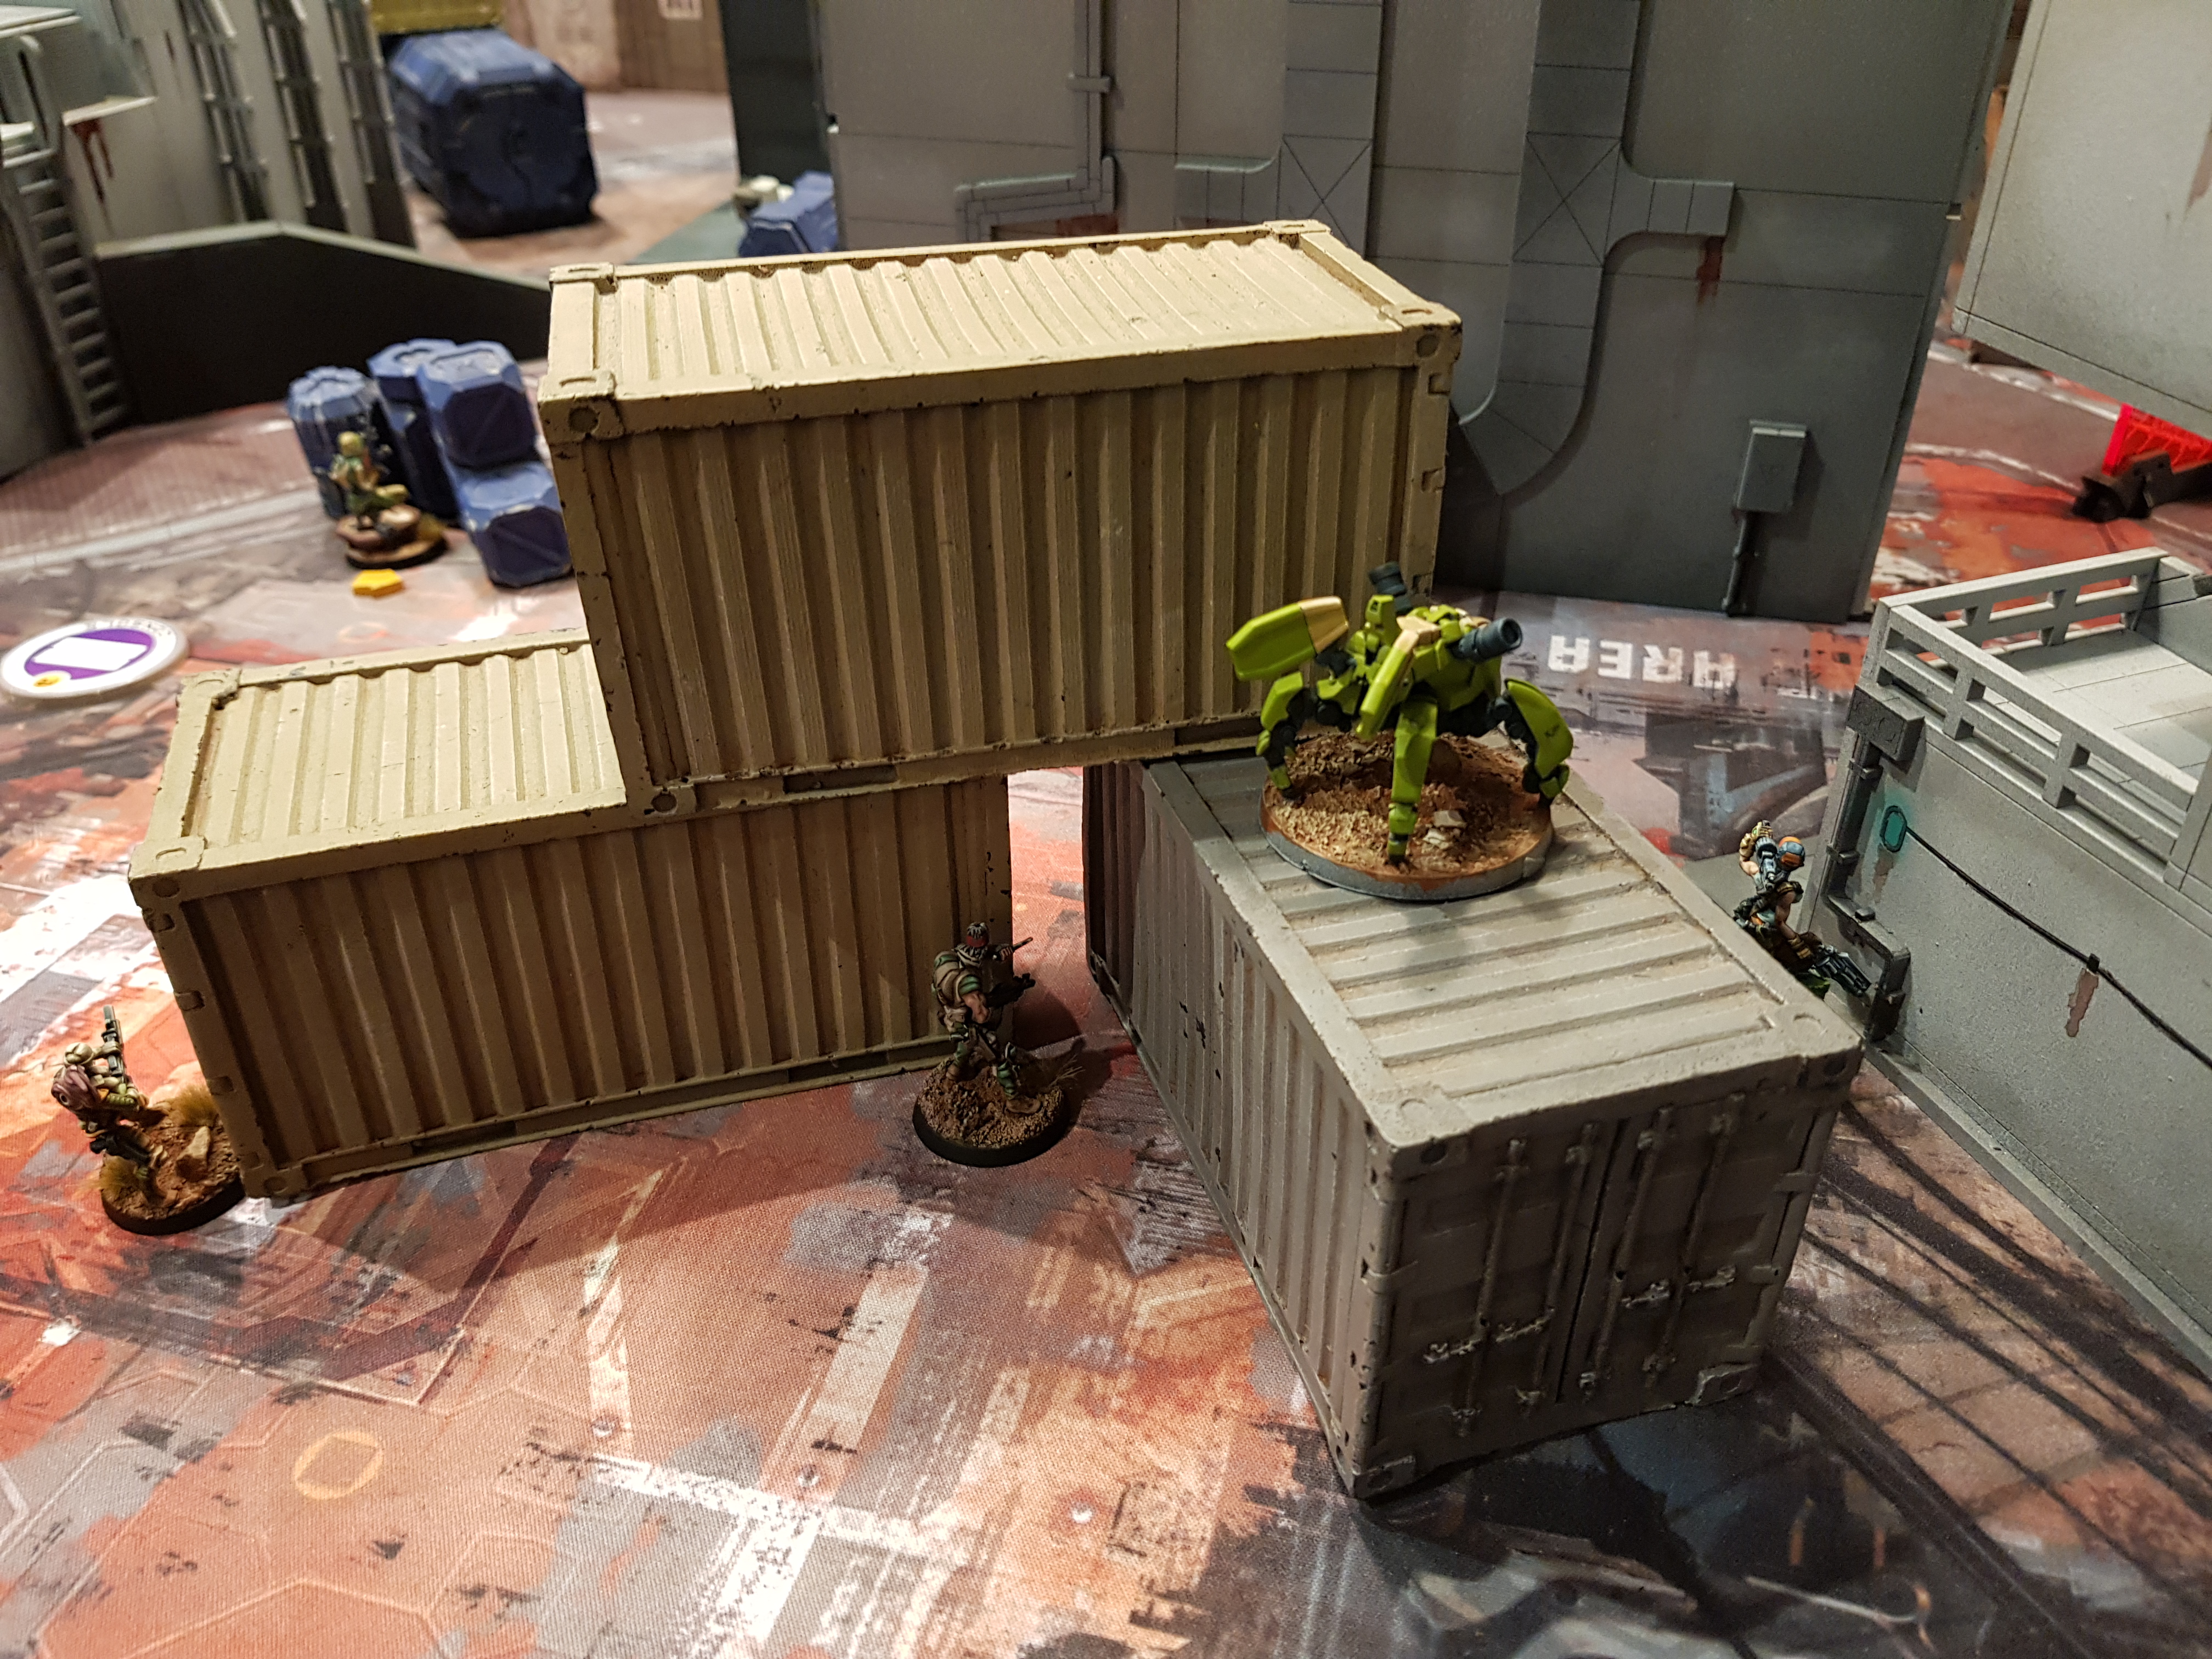
Haqqislam forces opted to deploy across their zone, spreading out their hacking potential by way of a Barid on the left flank, a Mukhtar in the centre, and a camouflaged Hawwa pushed forward on the right flank. A Hunzakut irregular pushed up onto the middle line would be ready to drop a repeater and disrupt the PanO advance. The Asawira with Spitfire was ready to push the left flank, while the Himaat’s lieutenant, a Zhayedan with HMG, overlooked the AC2 from the deployment zone. Knauf appeared on an elevated balcony on the right side, in a position that, ultimately, turned out to be somewhat unfavourable. The remotes were deployed conservatively, and two camouflaged Daylami with Panzerfausts appeared on the central building.
After the Military Orders commander deployed their Knight of the Holy Sepulchre on their right flank, an Impersonation marker appeared suspiciously near to the PanO AC2.


1:1
The Black Friar kicked off proceedings by winning a rocket duel with the left-most Daylami on the central rooftop, before a camouflaged Trinitarian appeared on Haqqislam’s left flank. Going on an absolute tear, the Barid was barely able to launch a pitcher downfield before being felled by submachinegun fire. The Trinitarian even managed to take a wound off the Asawira before falling to the latter’s Nanopulser. Meanwhile, the big splodge of Murder Knights barrel up the right flank. The Hawwa is barely able to Carbonite the Spitfire Knight before falling to a Trinity attack from the Knight of Santiago. Haqqislam efforts were for nought, as the engineer simply bypasses the Carbonite hack. Comfortable with their position, the knights hole up near their HVT while the Knight of the Holy Sepulchre pushes forwards and adopts a Suppressive Fire stance, anticipating a push from the now-frenzied Asawira (who went on to regenerate his lost wound).
1:2
The Himaat Alsahra’s plans were seemingly coming to fruition. Although some tragic losses were sustained in the first moments of the battle - the Barid and the Hawwa were sorely missed - the Haqqislamites felt they had the pieces to deal a lethal blow to the Military Order. Creeping right along the central building, the Hunzakut dropped a repeater on the other side of the assembled Knightly fireteam. Although it took a few orders, the Mukhtar was now able to Isolate the Knight of Santiago with Oblivion. It took another two orders to slap a Spotlight on one of the knights. It may have cost half a turn, but the Shaytaniyah’s missiles were finally ready to launch, and those templates were about to bring some hurt to the rampaging Knights…
…were it not for the fact that the Haqqislamite commander had not received any intel on the status of High Value Targets in the field.
[I had no idea that HVT’s didn’t function in the same way as objective markers like consoles, etc. and that “accidentally” murdering them with a template weapon is a bit of a no-no, both in game terms and in terms of common decency. This fact not only messed up a turn’s-worth of wasted orders, but put a spanner in the works of my entire game plan, my deployment having been to maximise the potential of the missile templates doing damage to a closely-packed fireteam in a narrow bit of road. Whoops.]
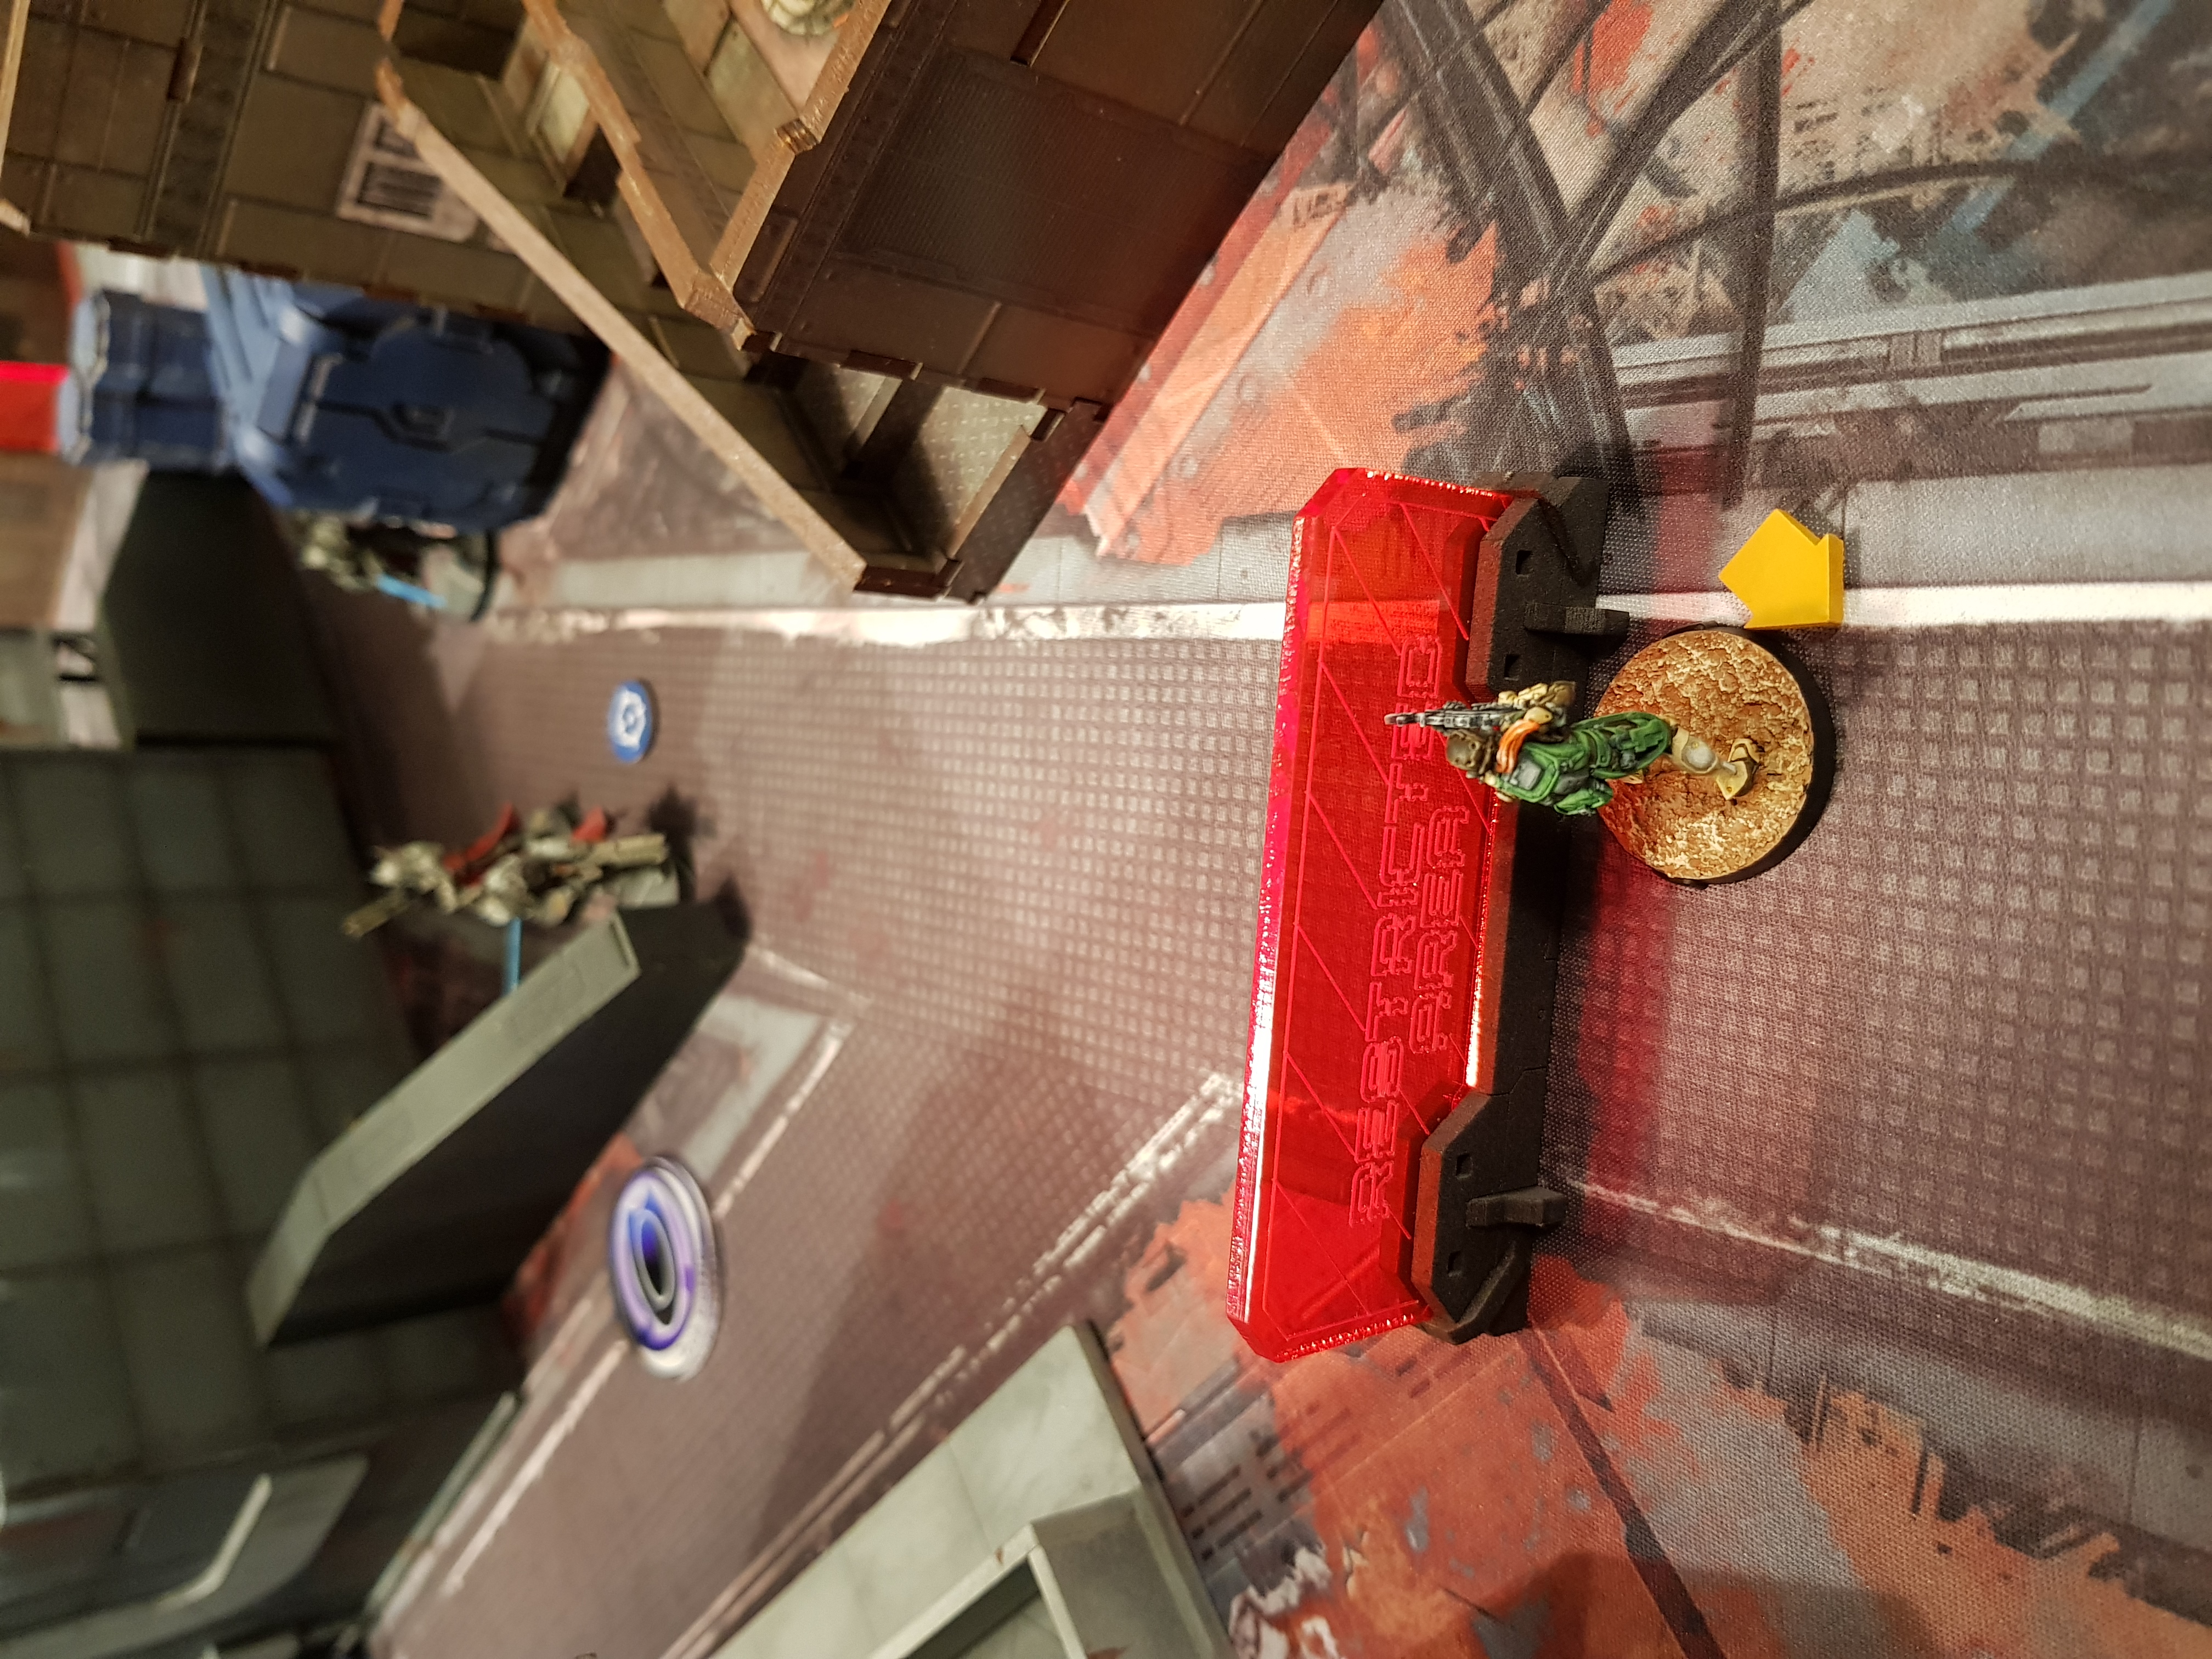
The rest of the turn was exceedingly ineffectual. The Asawira took on the Knight of the Holy Sepulchre, losing another wound for his troubles. With the wheels fully off, the Fiday made a bid for the AC2. Undiscovered, he made it to the objective. Revealing himself with a dashing “HA-HA!” (think 1960s Batman), he backhanded the AC2, hurt his knuckles in the process, and was immediately gunned down by another pesky Trinitarian hiding in the scaffolding by the objective.
Having killed nothing in the active turn, and having achieved only a Classified Objective to Target something, things were looking dire.
2:2
Of course, it could only go from bad to worse at this point. The Knight of the Holy Sepulchre holoprojection-danced his way up to the Asawira before dispatching them with a meaty right hook. Taking up a position on the corner of the building, they had clear shots at the Haqqislamite lieutenant, the Mukhtar (stupidly not facing the right way…), and just about everyone else in the deployment zone. ARO fire ricocheted off PanO armour ineffectually, while the Knight set about murdering the Lieutenant (with the assistance of the Black Friar, who had a cheeky view underneath the awning of the square central building), the Monstrucker, and ultimately, Knauf. As this transpired, the seemingly endless well of Military Orders… orders did not run dry, and the Murder Knights charged their way round the corner towards the objective. Two shotgun blasts and a mine accounted for a mighty loss of one wound to the front knight, before the Hunzakut and the Muttaw’iah were dispatched with ease. Regeneration rolls in the States Phase were not kind, and the Haqqislam forces were now in retreat. There would be no further fighting this day, only a jog back to HQ with our tails between our legs and a few lessons learned.
Lessons:
1) High Value Targets are highly valued. You can kill them with templates, but DEFINITELY should not. Great to hide your big fireteam next to if you fear getting Guided Missiled.
2) Holoprojections are a nightmare and you always pick the wrong one to shoot at.
3) Trinitarians and Teutonic Knights are terrifying.
4) Hack to isolate Fireteam leaders. Don’t forget that Engineers can just sort this problem out, though.
5) Don’t forget about the Repeater your Barid lost their life for.
6) Brutal Cities terrain is beautiful but makes it immensely hard to keep track of things happening across the table.
Thanks for reading. Any tips, pointers, completely-deserved laughter at my expense is welcomed.
Battle Report Author


Recommend Commander For Commendation
Share this battle with friends
RymotronWins

I’ve played plenty on those brutal cities boards and whilst looking gorgeous they really don’t make for a great play experience if they are cluttering up the centre.
I agree with the last sentimwnt. Big pieces of terrain look gorgeous, but make it harder to maneuver around.
Great report and great terrain shown! Better luck next time!
Better luck next time, Commander! Never give up!
well done!
Nice report, very well done.
Amazing report! Very informative and clear to follow. Thanks so much xD
Good job for this cool report. Nice pictures with suitable comments.
Great write-up! I really like the table, too – those tall buildings are great.
Harsh turn of events. That shot of all the cloaks and swords advancing towards you is a touch terrifying 😉 Love your style, the formatting is really great, and the post-game commander’s thoughts are a really nice touch. Solid reporting, commander.
Great write up and really nice diagrams/shots! super unlucky with that HVT human shield, that was an otherwise perfectly executed attack that i didn’t even know was possible! Great Game!