Fought At Zebu Research Center: Symbioresearch Labs
641 days 3 hours 27 minutes ago
Who's the Real Hector?
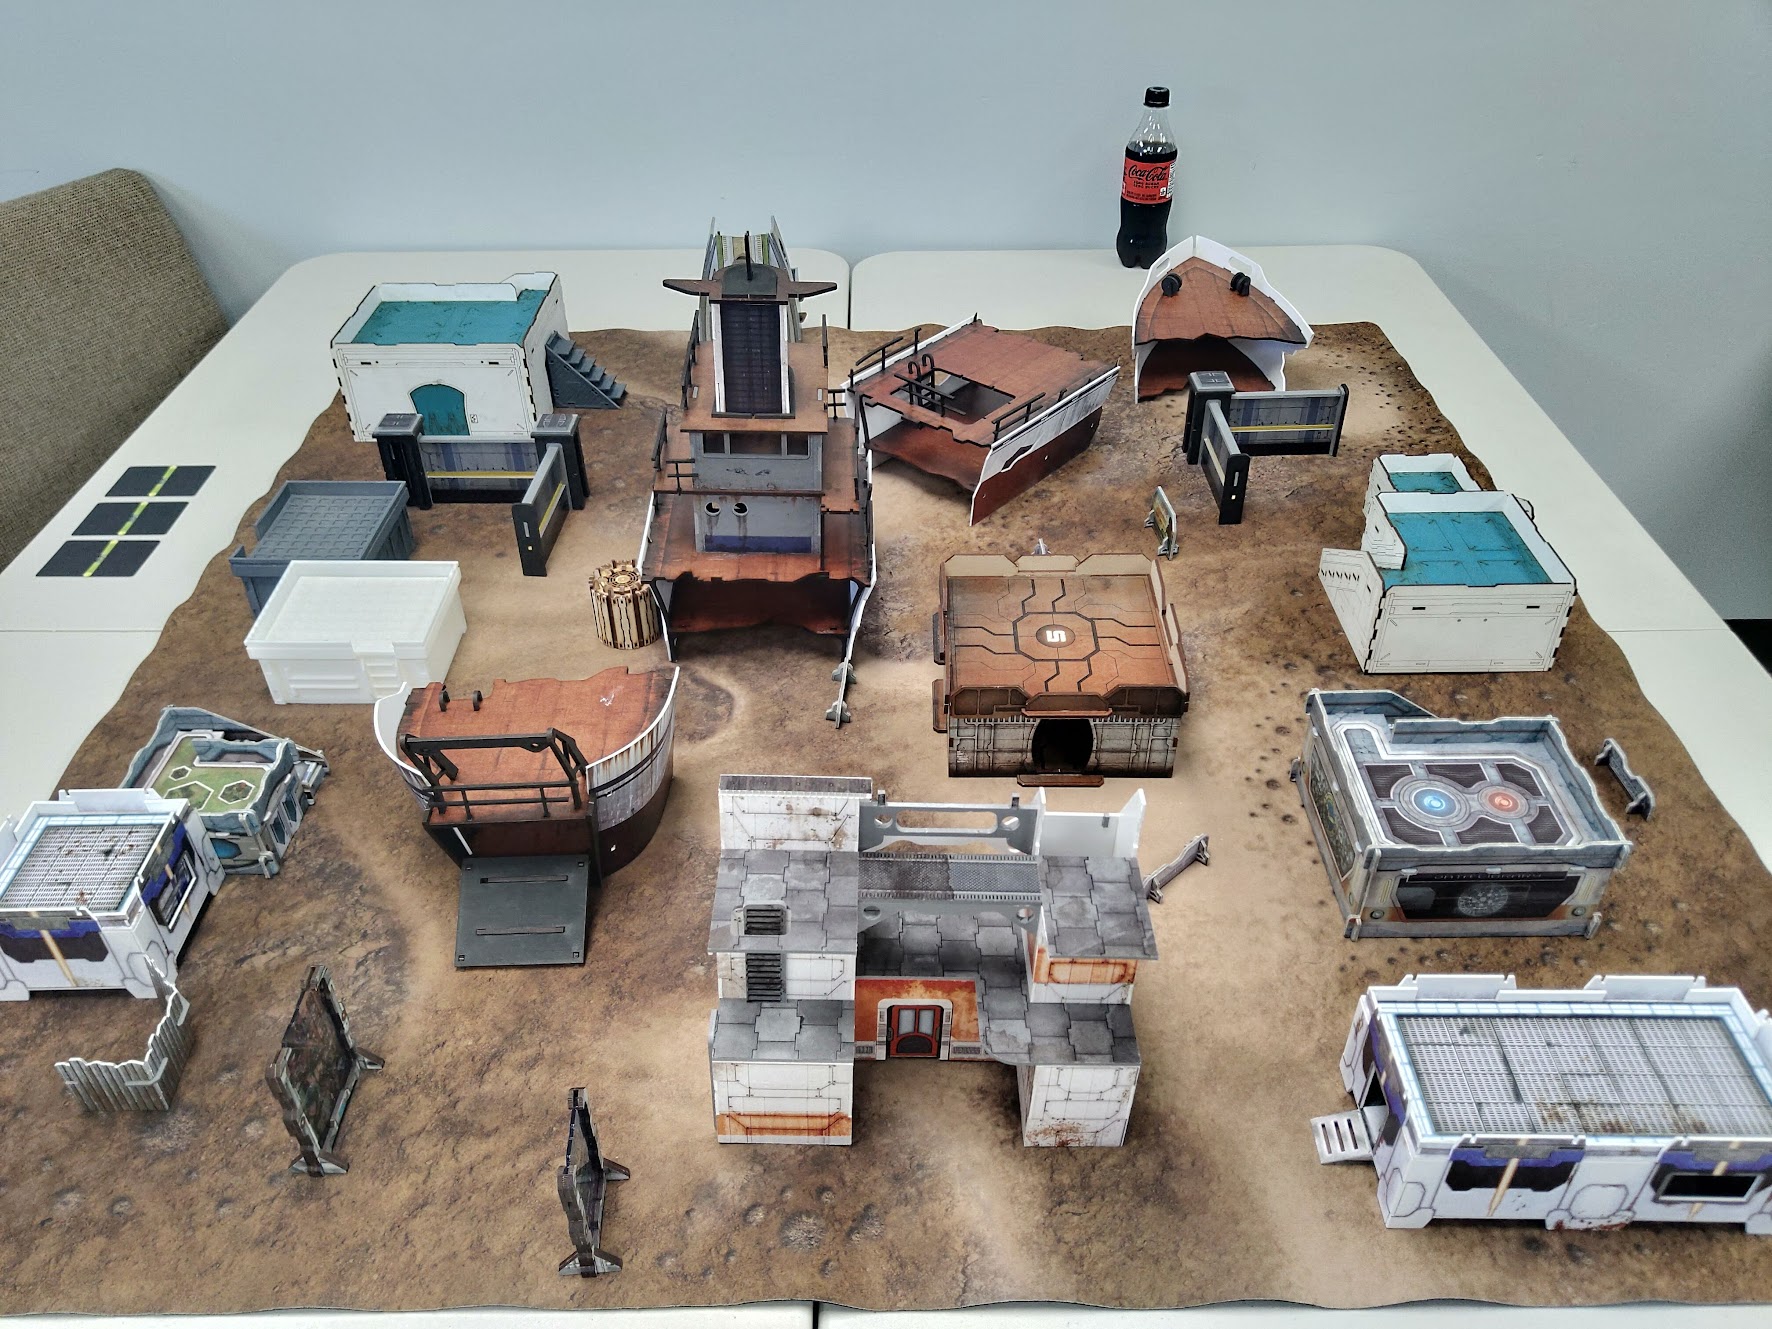
300 POINTSNote 1: Buildings were treated with the usual: see into, but not through, except for mines rules.
Note 2: Some Proxying was done, mostly by O-12. Shona and Hyppolyta are both Varangians. One Lynx with the security team is a Raveneye, and the other Lynx linking with Hector + Nyoka is a Epsilon.
Note 3: I'm writing this one in a bit of a rush so it's not going to be as nice or informative as most of my other reports.
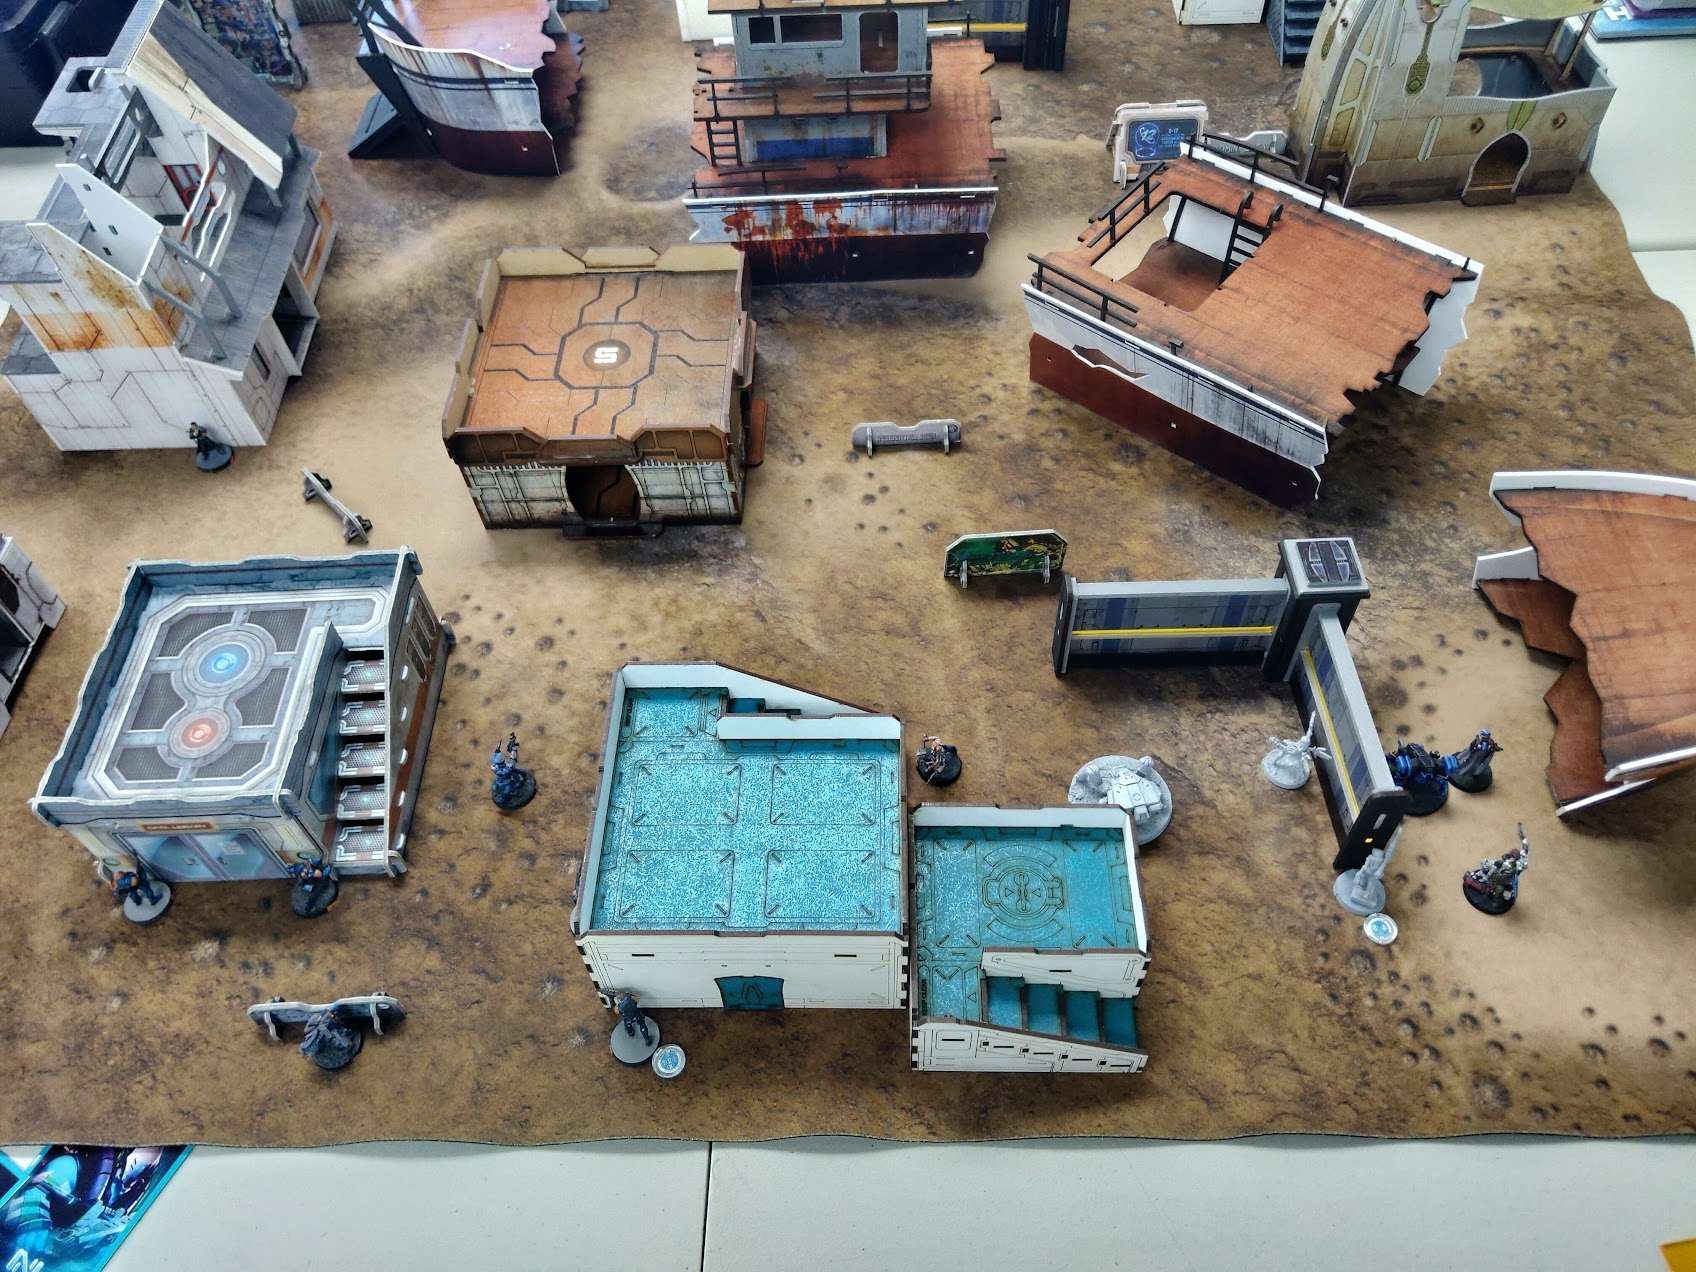
O-12 won the LT roll and took initiative going first. Phalanx picked the west side for deployment.
O-12 used Strategos to hold two troops in reserve (Hector and Epsilon HMG). Phalanx only ended up holding Pheonix in reserve.
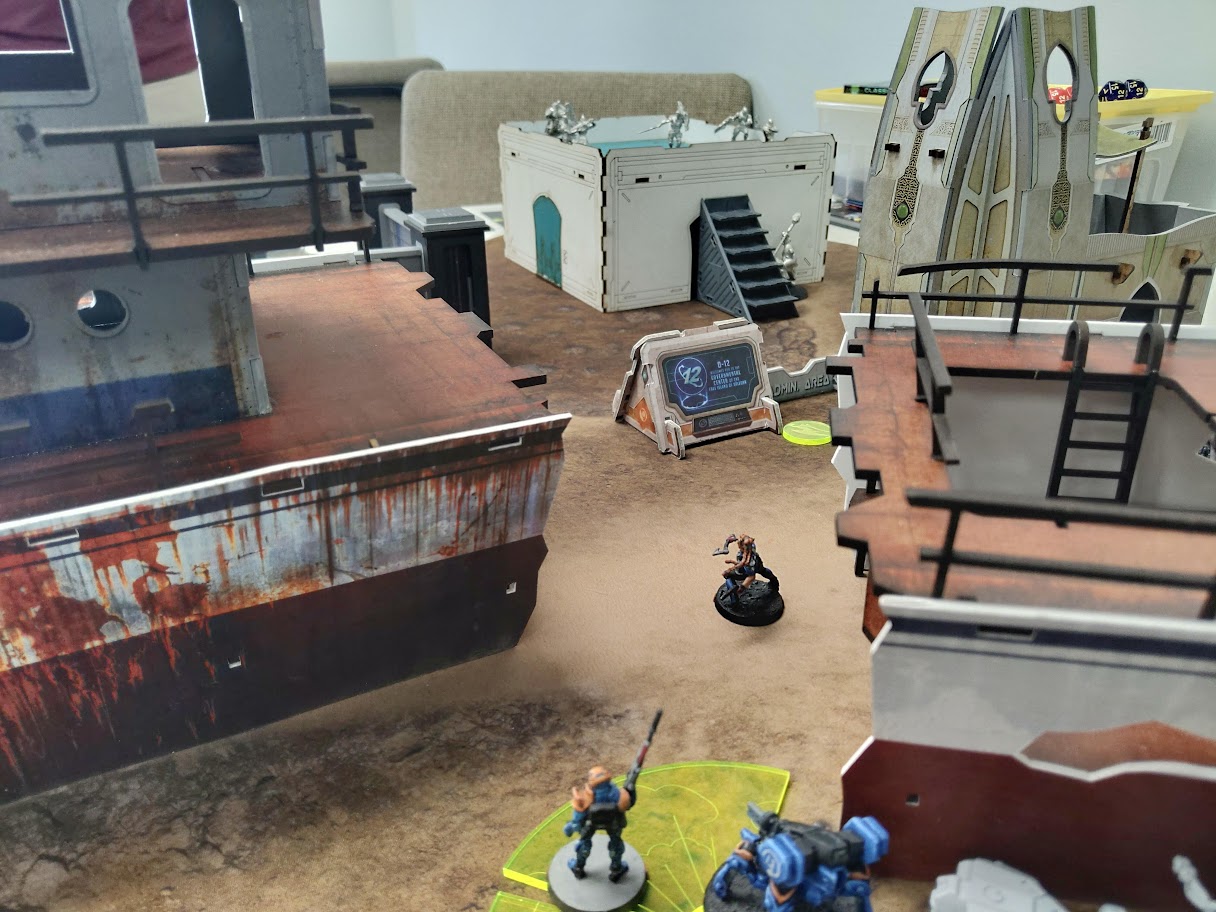
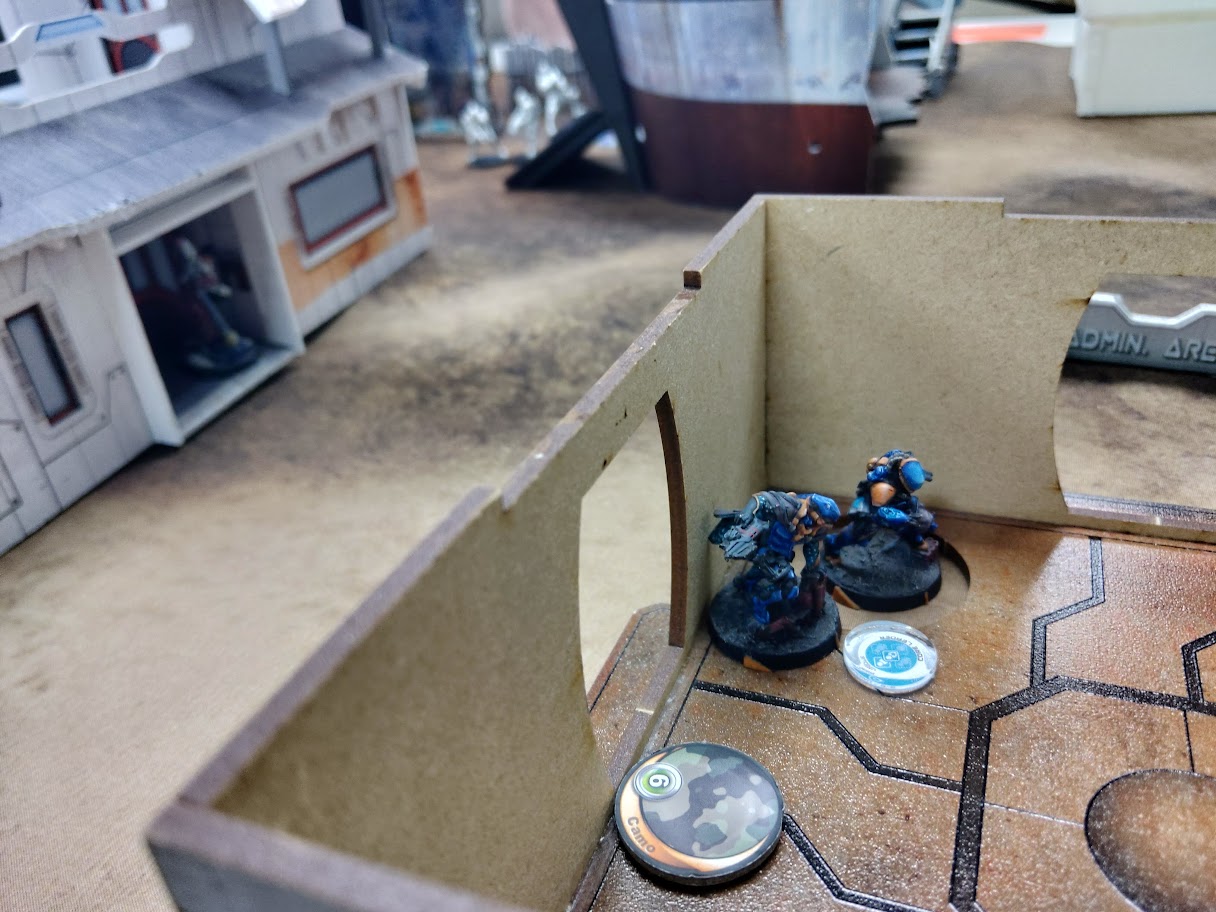
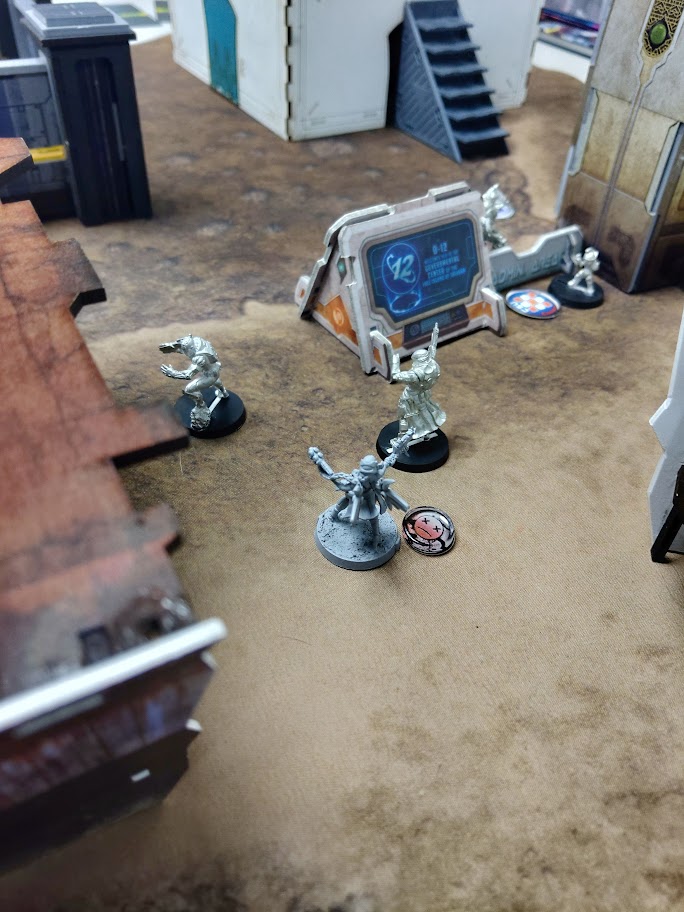
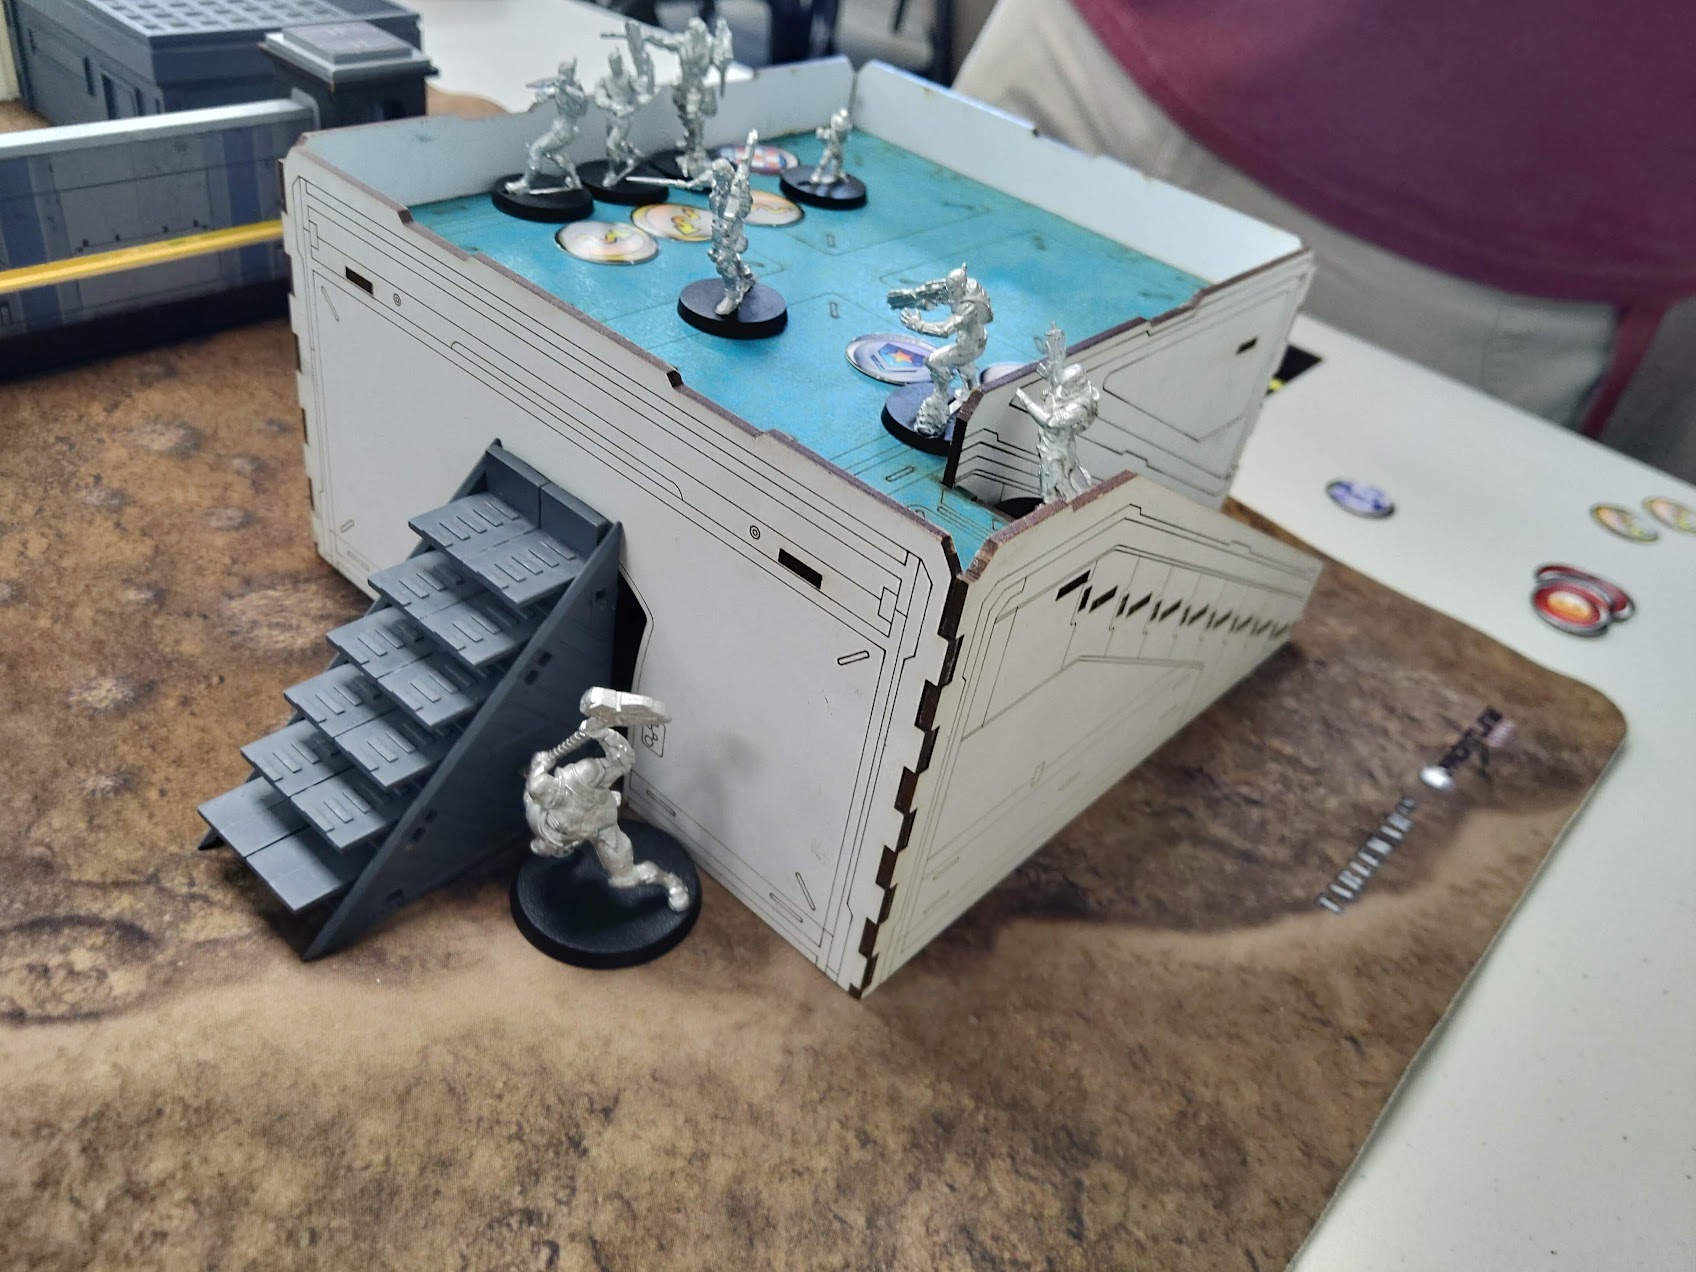 Ajax, Pheonix, and Hector all on/near the building. Ajax notably on the East side of the building, boldly standing there without cover.
- Turn starts with a number of combined orders to move everyone (including Varangians) west, hoping to have all the less mobile units clear the biotechvore zone.
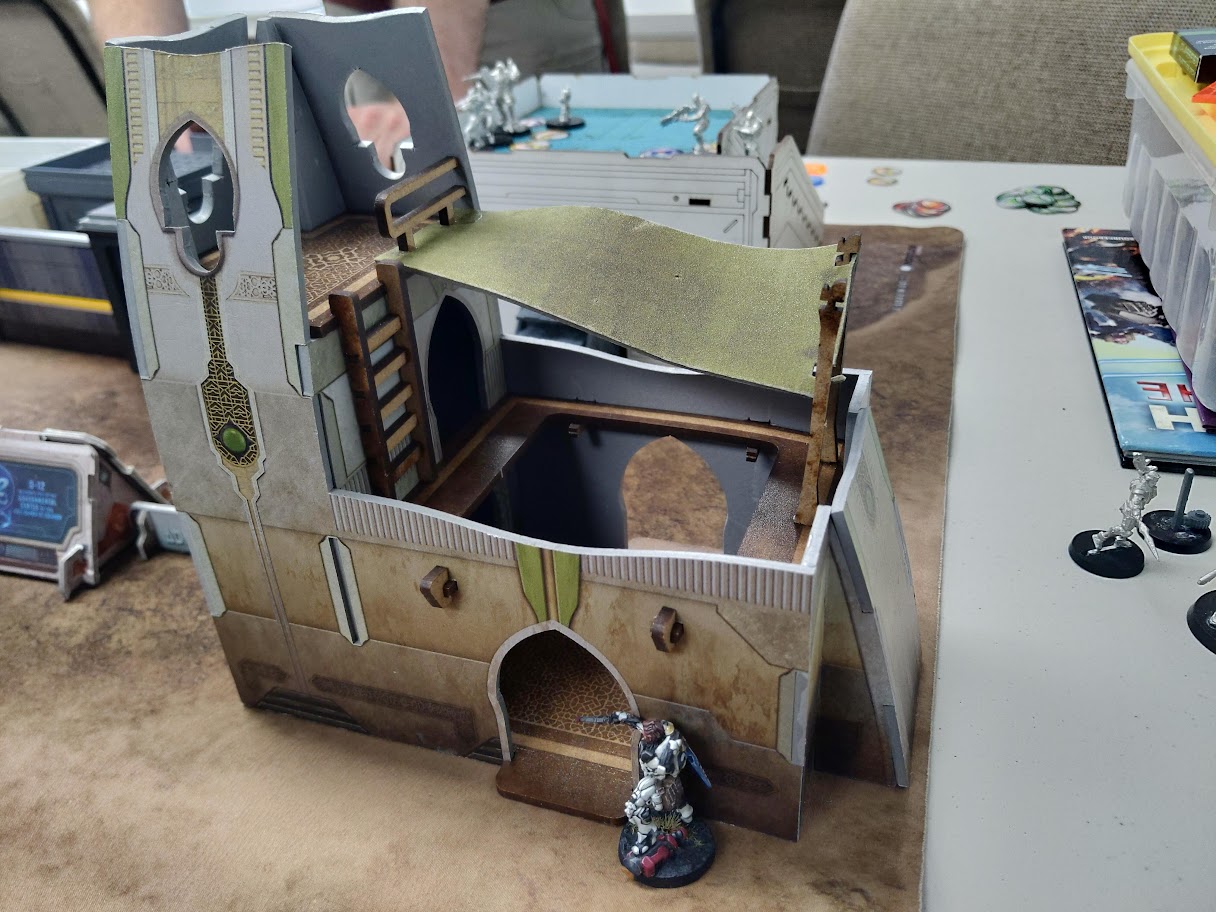
- Varangian smoke is used to cover the advance of the Security team into the building to the SE of the center of the board.
- Unfortunately, Bots and Epsilon end up bunching up near a section of ruined ship, and a Varangian manages to get all of them killed by stupidly attempting to smoke dodge when leaving smoke cover near friendlies. Everyone eats a HRL blast as a result.
 Varangian moves out of smoke and attempts to smoke dodge against Phoenix's HRL. The blast catches the Epsilon (goes unconscious) and Kytta (who tanks it). The Varangian dies.
- Hector and his team move their way up the board. The epsilon hopes to simply out dice the Pheonix atop the roof. This ends up being a terrible plan, and the Epsilon is killed as a result, breaking the Harris team.
- Hector continues forward, intent on doing some damage.
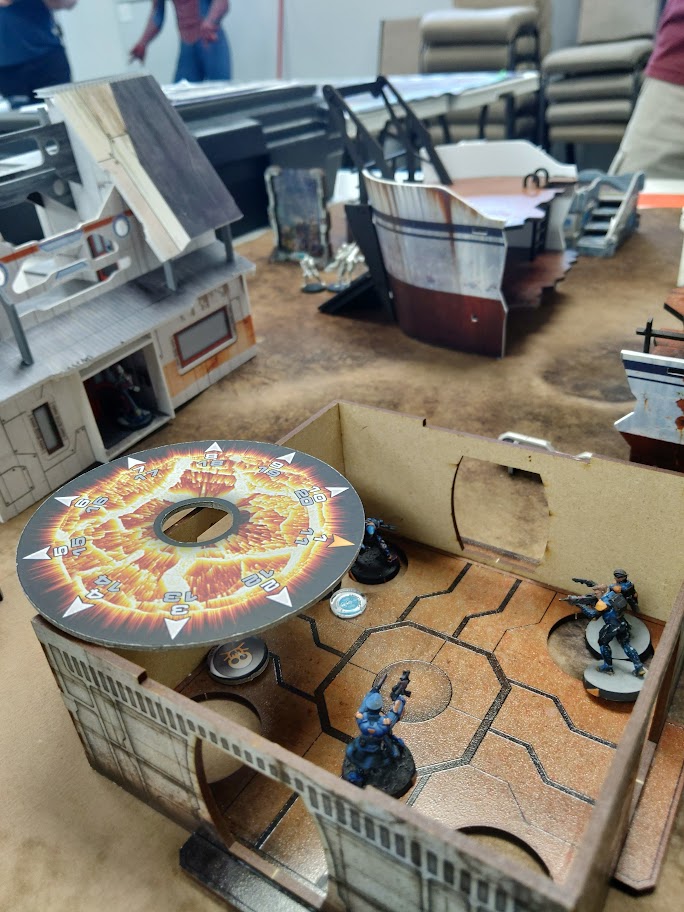
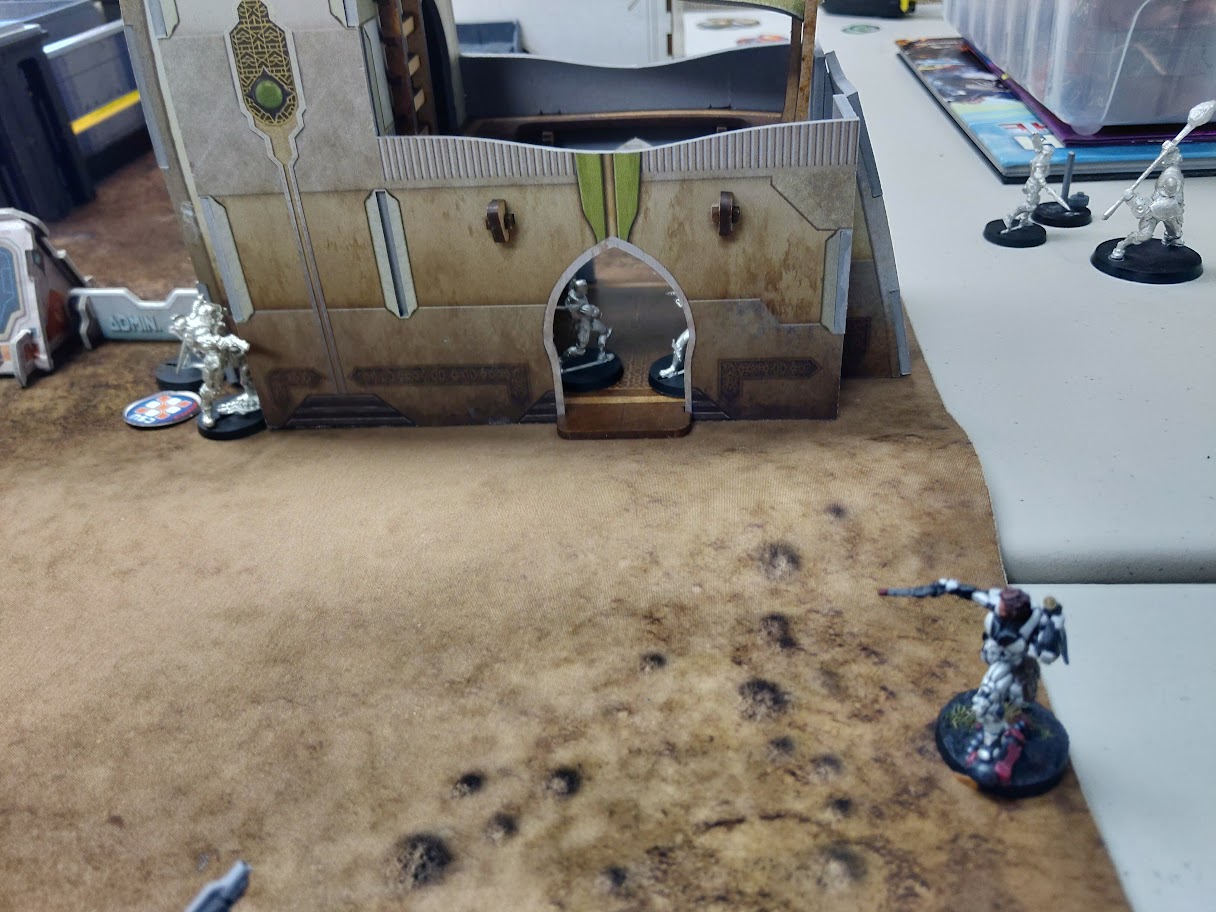
- Hector continues the assalt and moves to the western doorway, gaining LoF on the Pheonix. Hectors Plasma Carbine does manage to get the kill after some exchanged salvos.
 Hector pulls back, shooting a Netrod that was dropped on the roof of the building during deployment while he's at it.
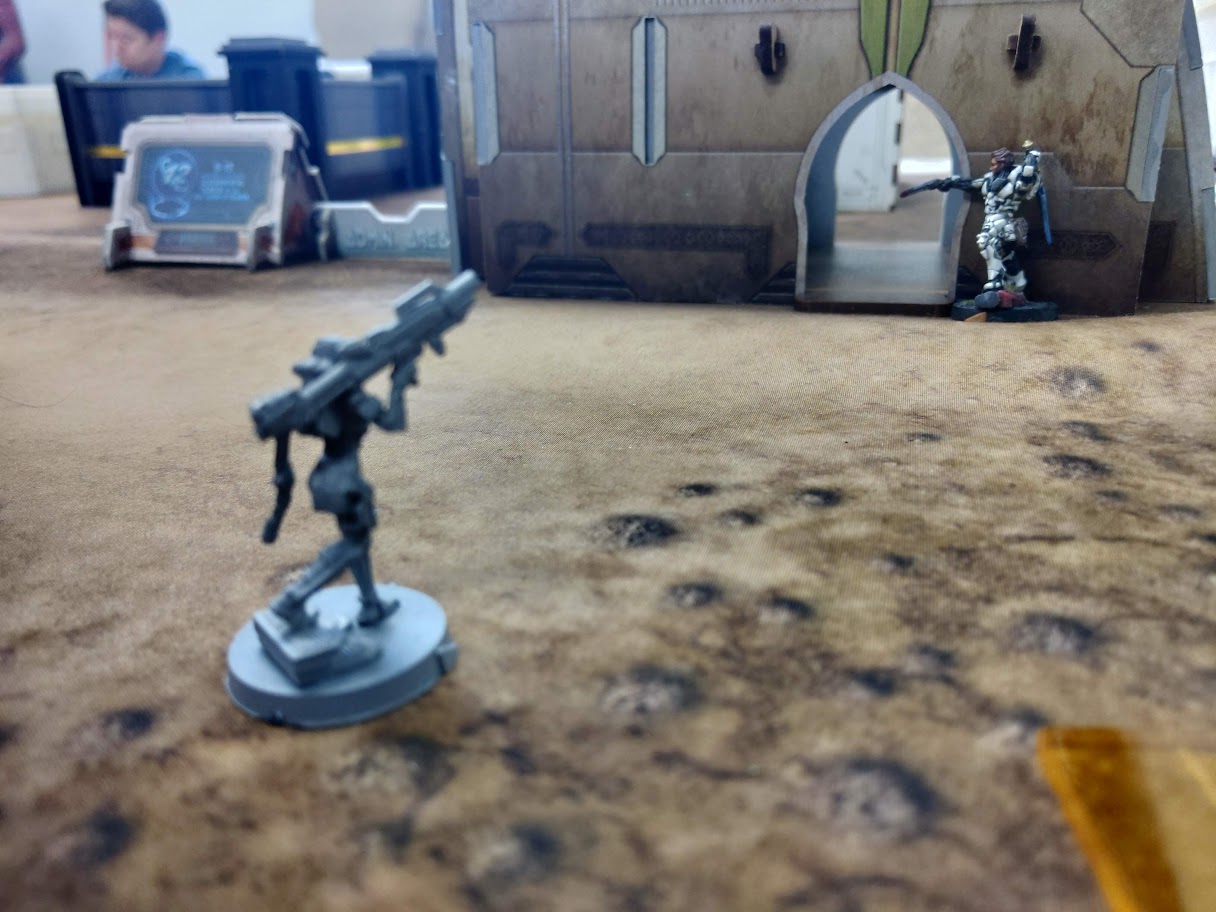 However, Hectors aggression does leave the Nyoka completely exposed, and without any more orders. O-12 turn ends.
Phalanx moves a Thrasymedes/Thorakites harris to see a camo (mine) placed by one of the Raveneyes in the core team earlier. This ends up being a brilliant play as they discover and then shoot the mine with a blast marker. Knocking the Raveneye who placed the mine unconcious.
After a couple of frustrating exchanges with the Kytta flash pulse bot, Phalanx decides to bring in Hector to clean up.
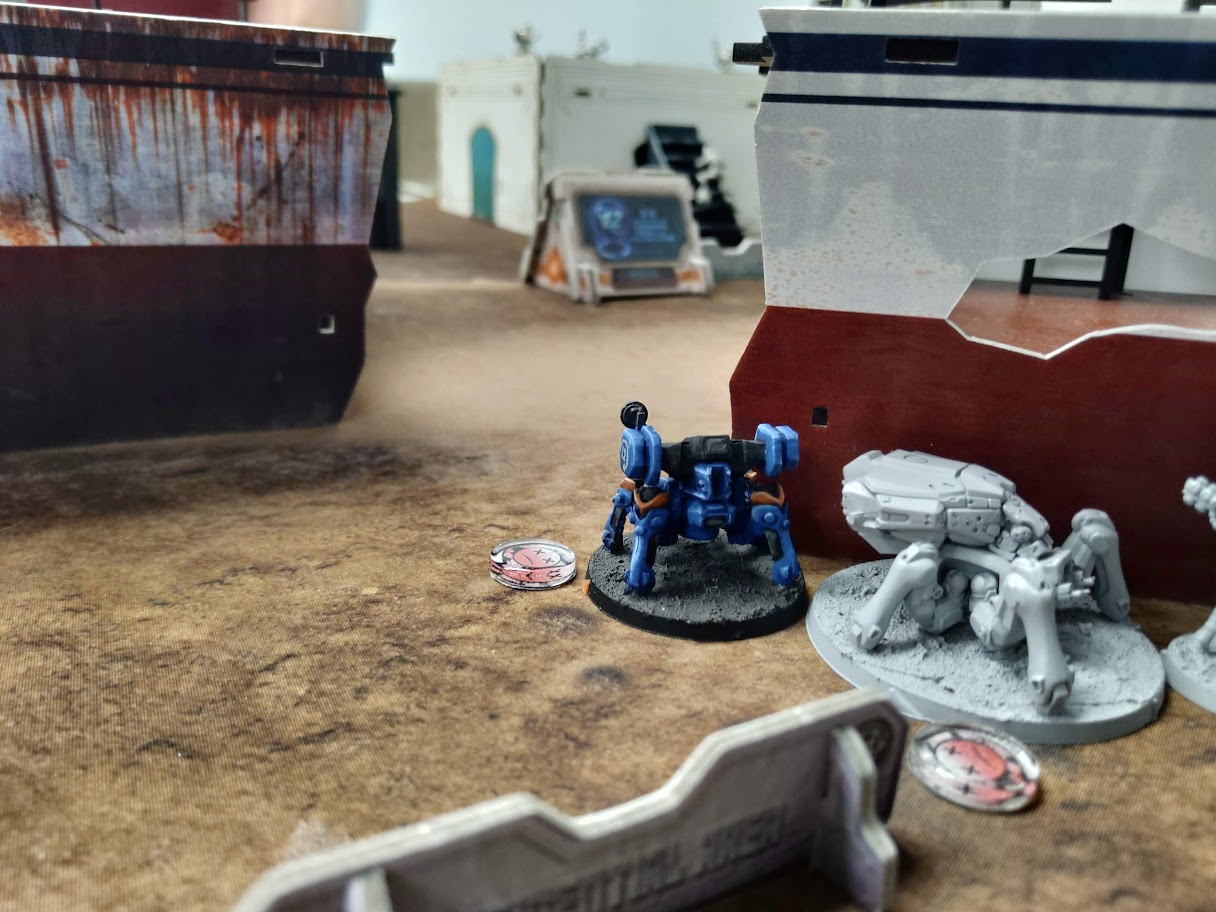 Hector uses his Plasma carbine with blast to knock both bots unconscious, and kill the unconscious Epsilon who was right beside them. Parvati (just on the righthand side) can hopefully pick them up.
- Hector continues his march forward with his team. Firing another blast at the now unconscious flash pulse bot. Finally killing both bots.
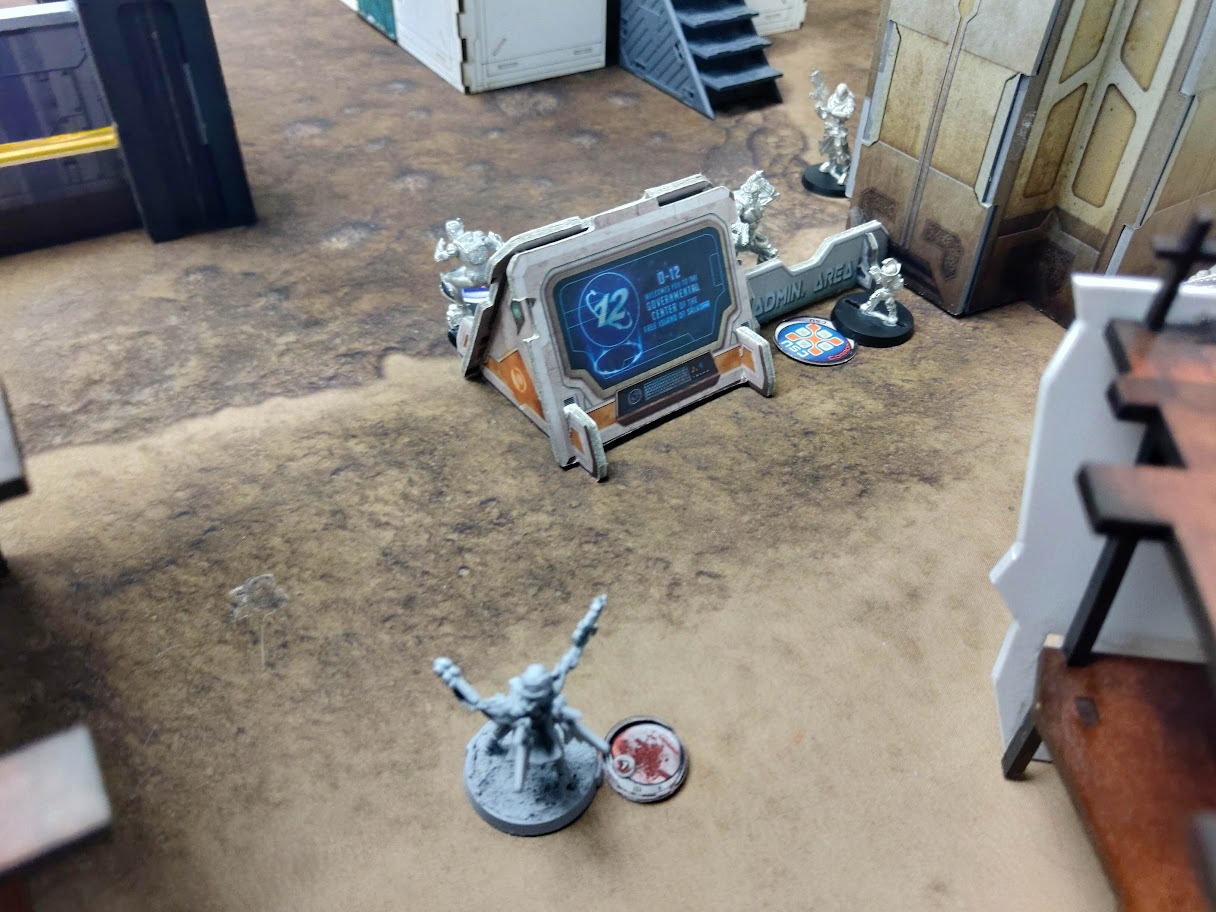
- Now Hector sets his sights on "Hector", but first, the Nyoka.
 Hector continues to push round the corner, catching Hector in the open (who had been dodging away from approaching Myrmidons), killing Hector in a single salvo.
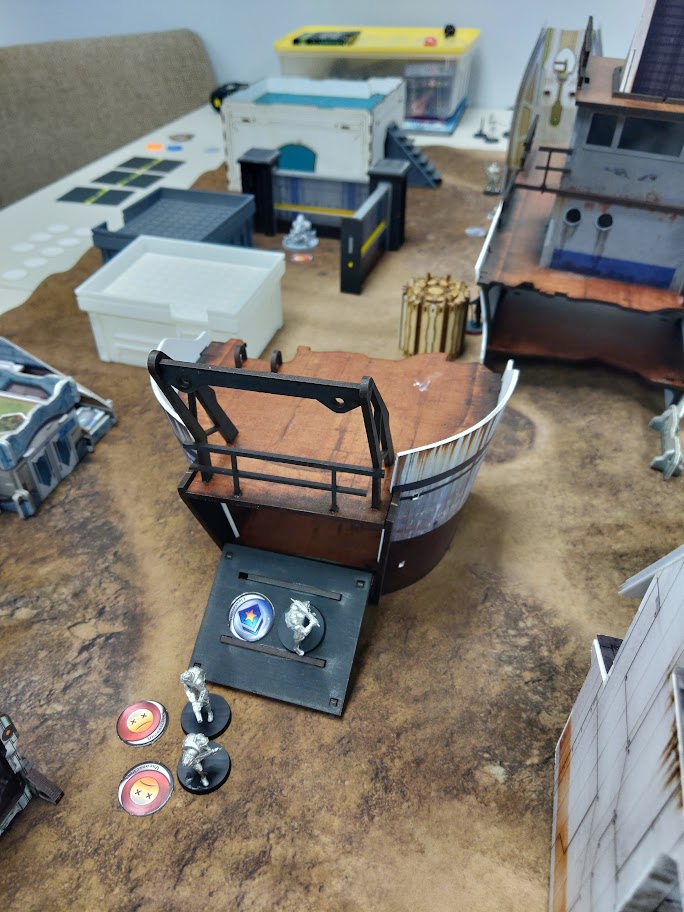 Phalanx suffers three unconscious units at the end of their turn. Both Thorakites and a Lamedh bot are now down.
- Everything that could have gone wrong, has gone wrong.
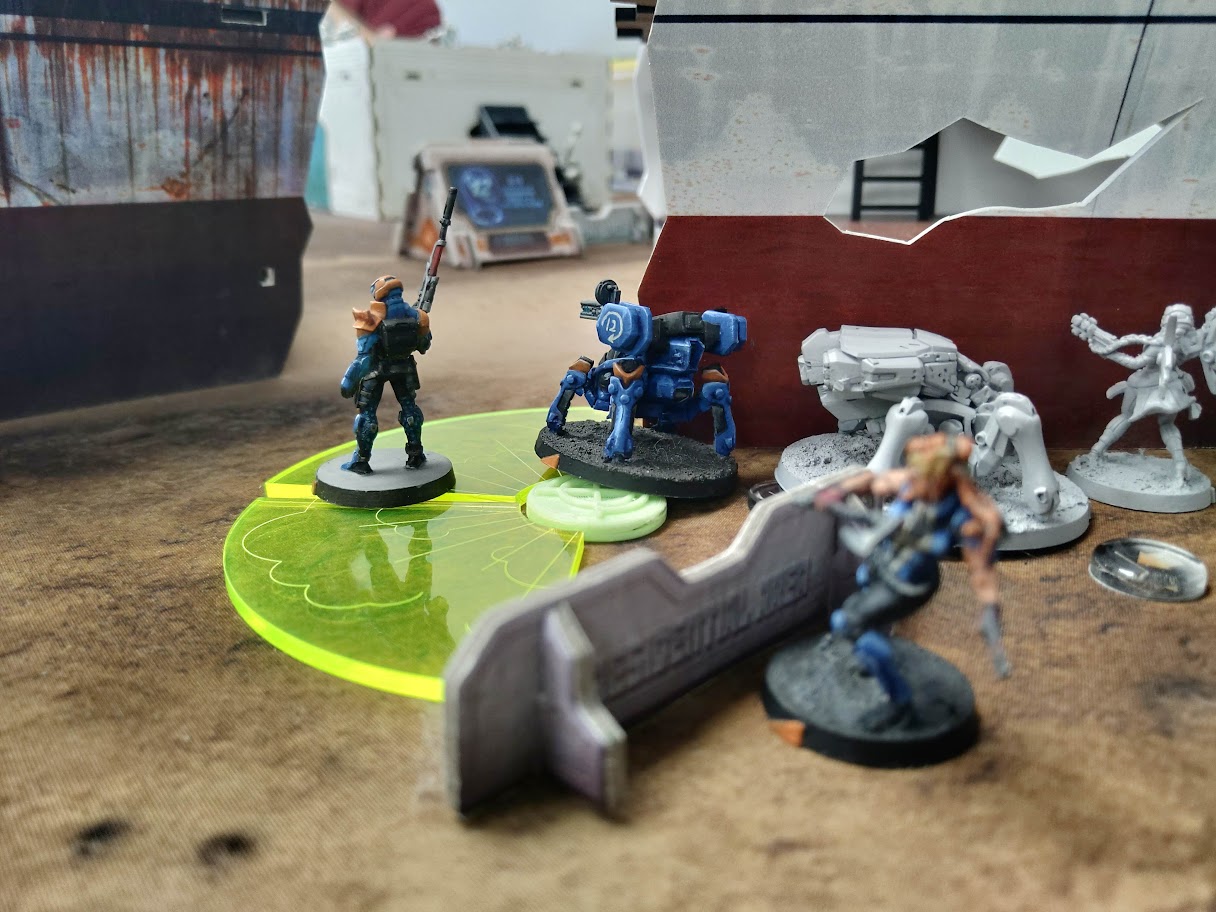
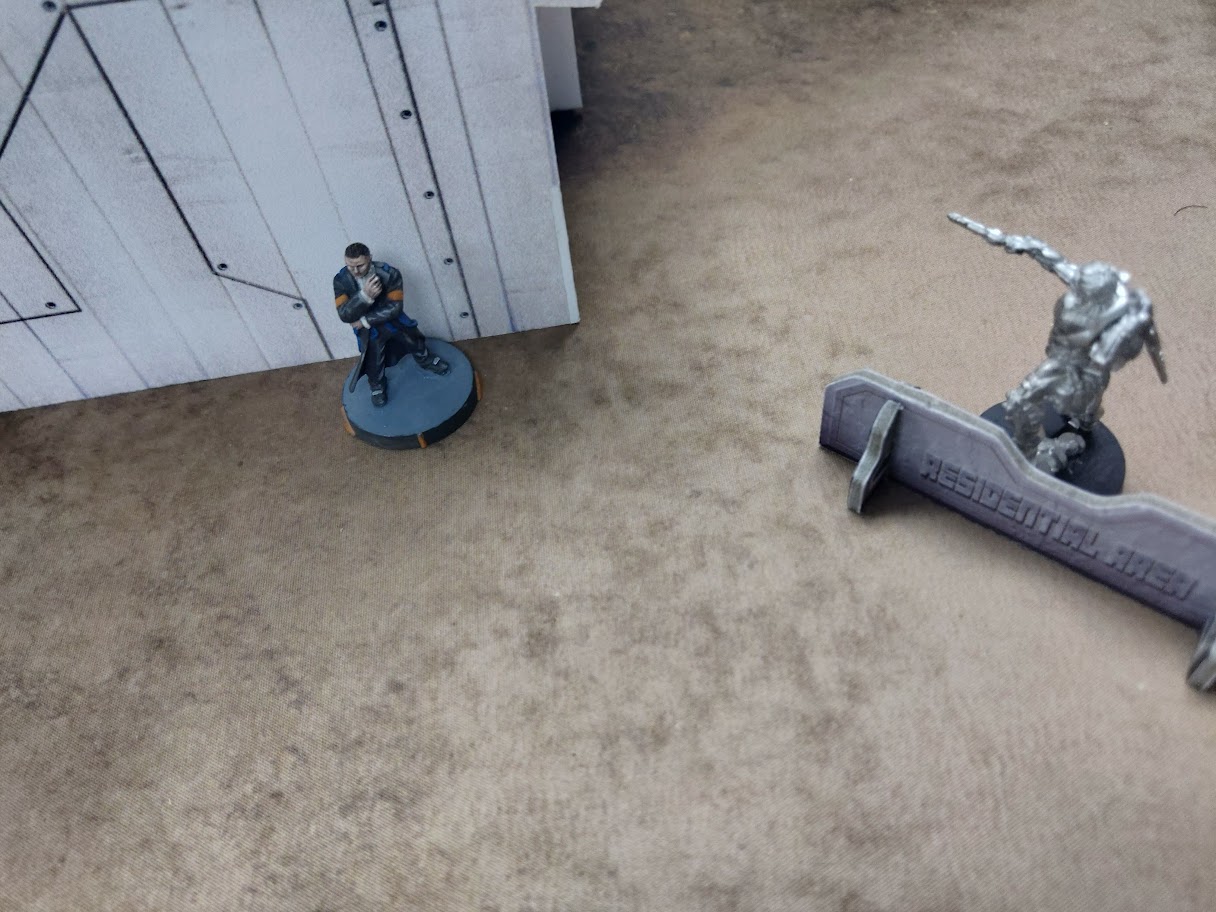
- With few options, I need to limit Phalanx's ability to kill me easily (with Hector) so I decided to try and kill him quickly with Parvati.
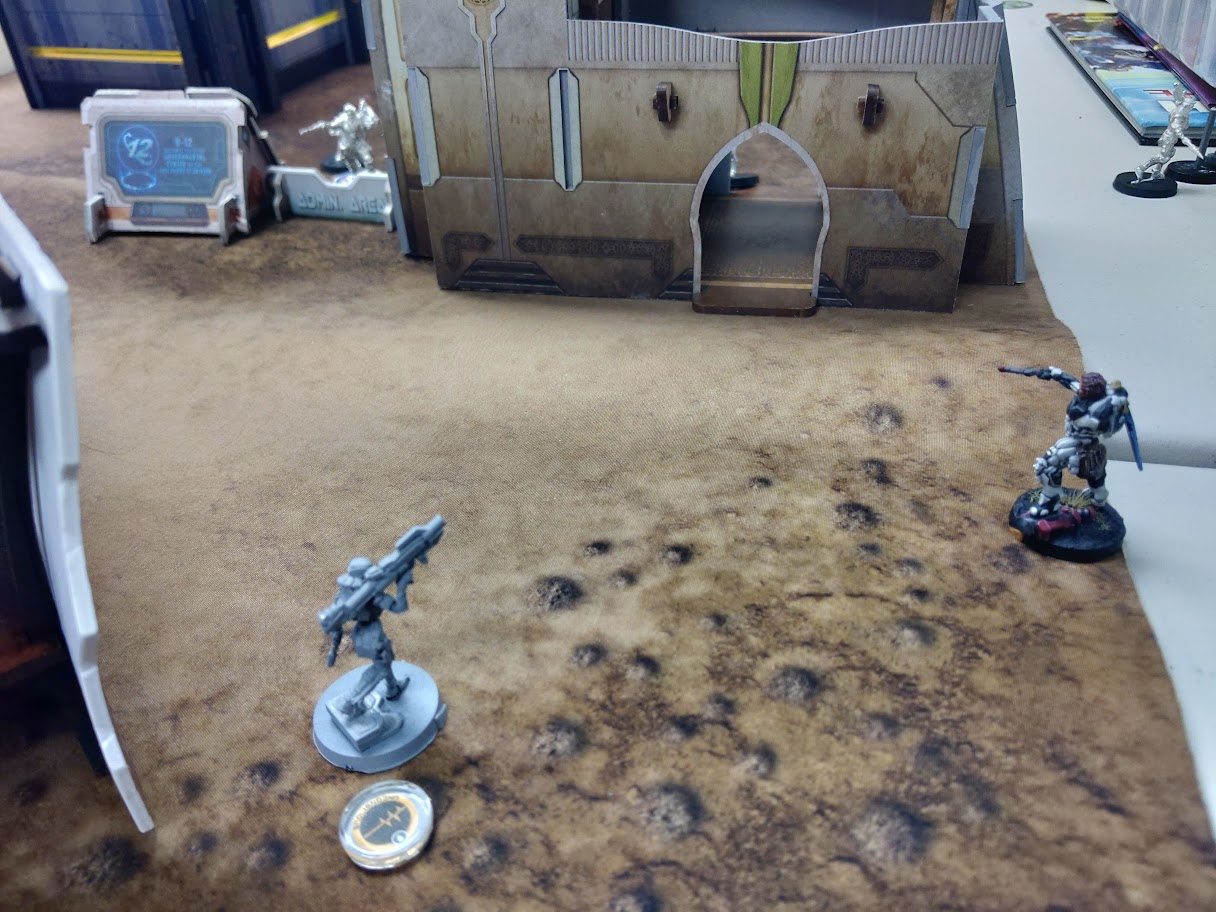
 Parvati runs out from behind cover, dodging, repositioning, and then firing her submachine gun at Hector, hoping to kill him. The gamble doesn't pay off, and she takes a wound.
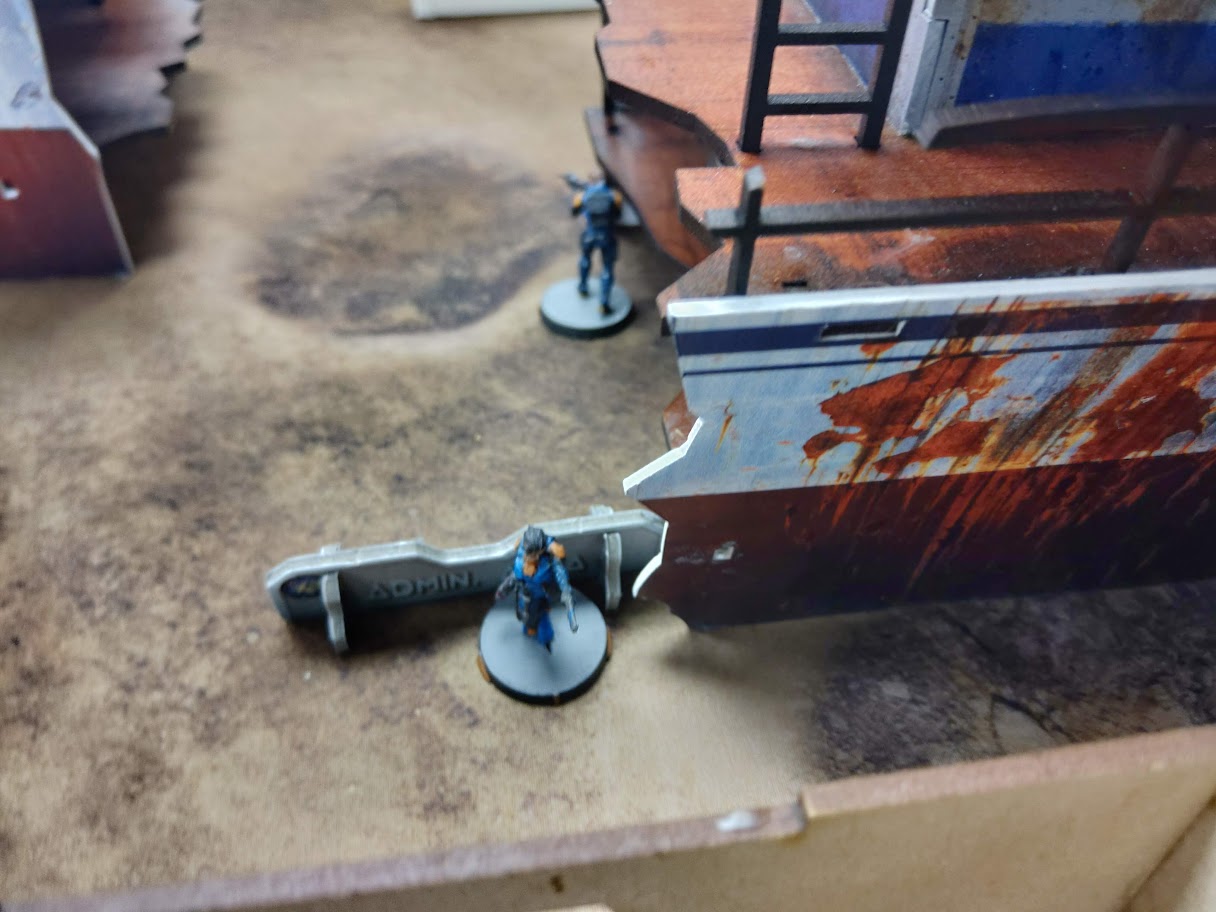 Kappa Hacker moves up, using three orders to get the HVT designation classified against the HVT on the other side of the boat ruins. Kappa FO (CHO) moves forward, hoping against hope it may be possible to get another classified if Hector somehow doesn't kill her.
- The one remaining Varangian (who was in her own combat group) spend its turn running up to Thrasymedes, and tying him up in CC. Also killing both Thorakites on the way into CC.
No O-12 units are in the Biotechvore zone.
O-12: 1
Phalanx: 0
 The fireteam quickly puts Parvati down with overwhelming firepower, and Acmon moves in and scored a classified objective using her corpse.
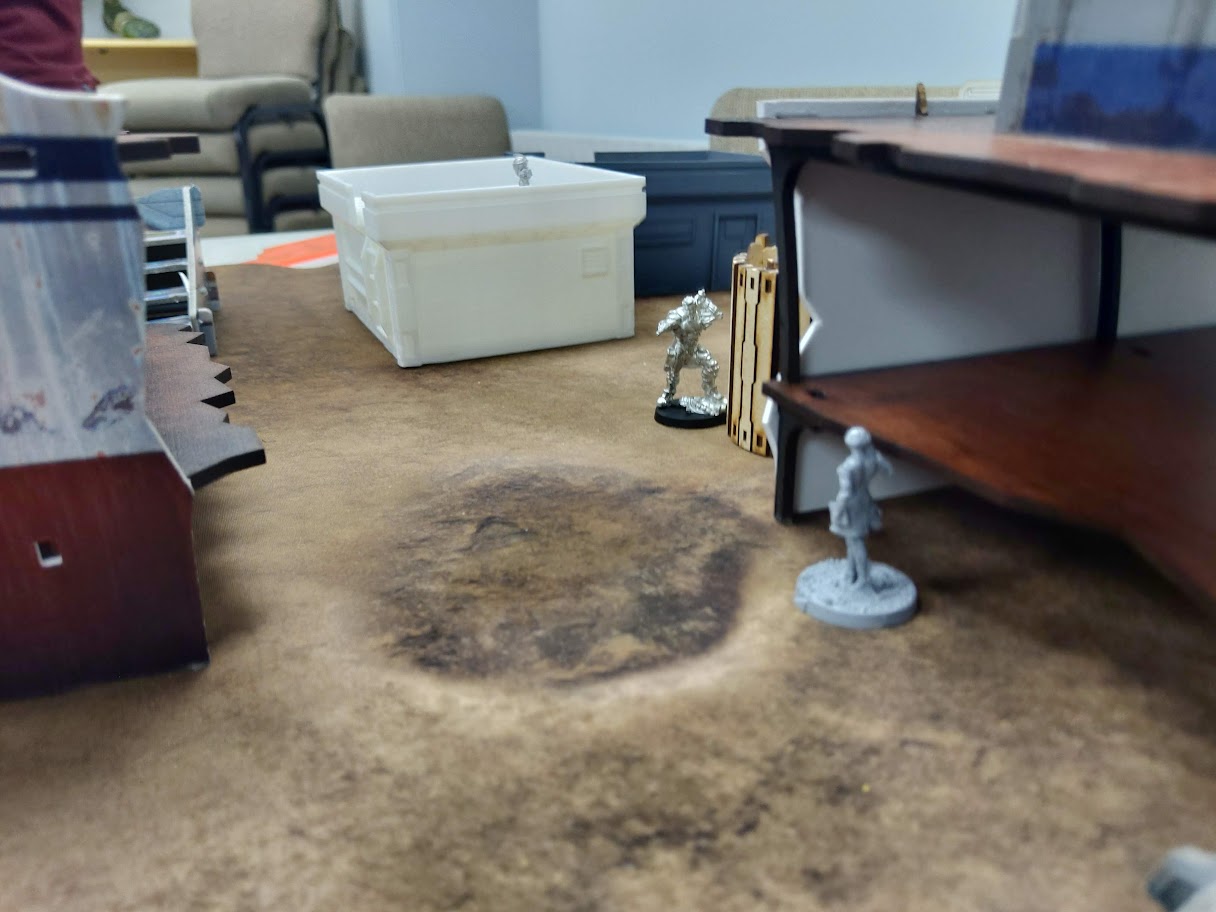 Hector makes his way with the team around the western edge of the ship ruins, killing some more members of the O-12 core team in the process. CHO tries to reveal and shoot Hector, but is unsuccessful. She is quickly killed by Hector.
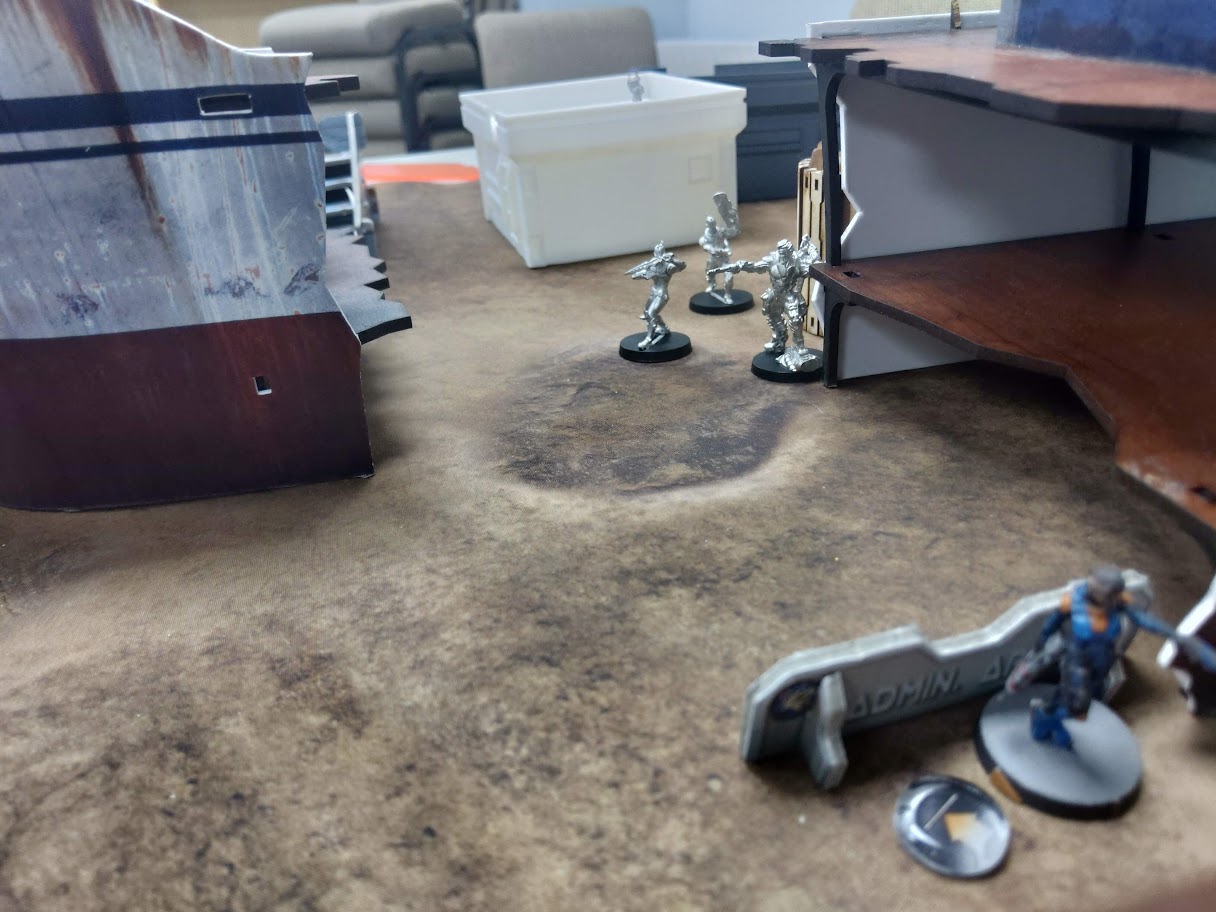 Needing to get objectives, and not wanting to end in the Biotechvore zone, Hector moves forward into range of the Kappa hacker, but also in LoF of the now free Varangian. Hector kills the Varangian, but is isolated in the process.
- Thrasymedes goes down to the Biotechvore, everyone else is safe or tanks it.
Score:
O-12: 1
Phalanx: 1
With only a Kappa hacker and a Raveneye left at this point. I set out to just try and kill Hector.
- The Raveneye moves west out of the building, and fires his SMG at Hector, Hector and his team kill the RavenEye.
- The kappa attempts the same, popping out of cover, but failing to deal any damage, falling dead.
Battle Report Author

Army Lists Used In This Battle
Recommend Commander For Commendation
Share this battle with friends
Steel FailanxWins

Good report Officer, I’ll inform Sueprvisor Imp about that strange ALEPH’s behavior ASAP.
Keep fighting for what its right!