Fought At Cameliard: Reliquary
651 days 18 hours 30 minutes ago
HUNGRY LIKE THE BLUE WOLF -Pt2
View Linked Report - CLICK HERE 300 POINTS"Do you hear that Ensign Cho?"
"Yes but I have no idea what it is sir?"
"Sounds like violins... and throat singing? But that could only mean... Get to cover ensign now!"
* Note 1: *NOTE 1: All buildings with playable interiors (exclusively the Armoury building in this game) were played under the assumption that models could draw line of fire into, out of, but not through. Template weapons functioned normally, but could not select a target unless they abided by these line of fire rules. Mines and other deployables were not affected and could affect targets through. ‘Doors’ on buildings without playable interiors were treated as ladders.
* Note 2: For O-12, Hector, Casanova, Hippolyta, and the Valkyrie are all Varangians with Trench hammers.
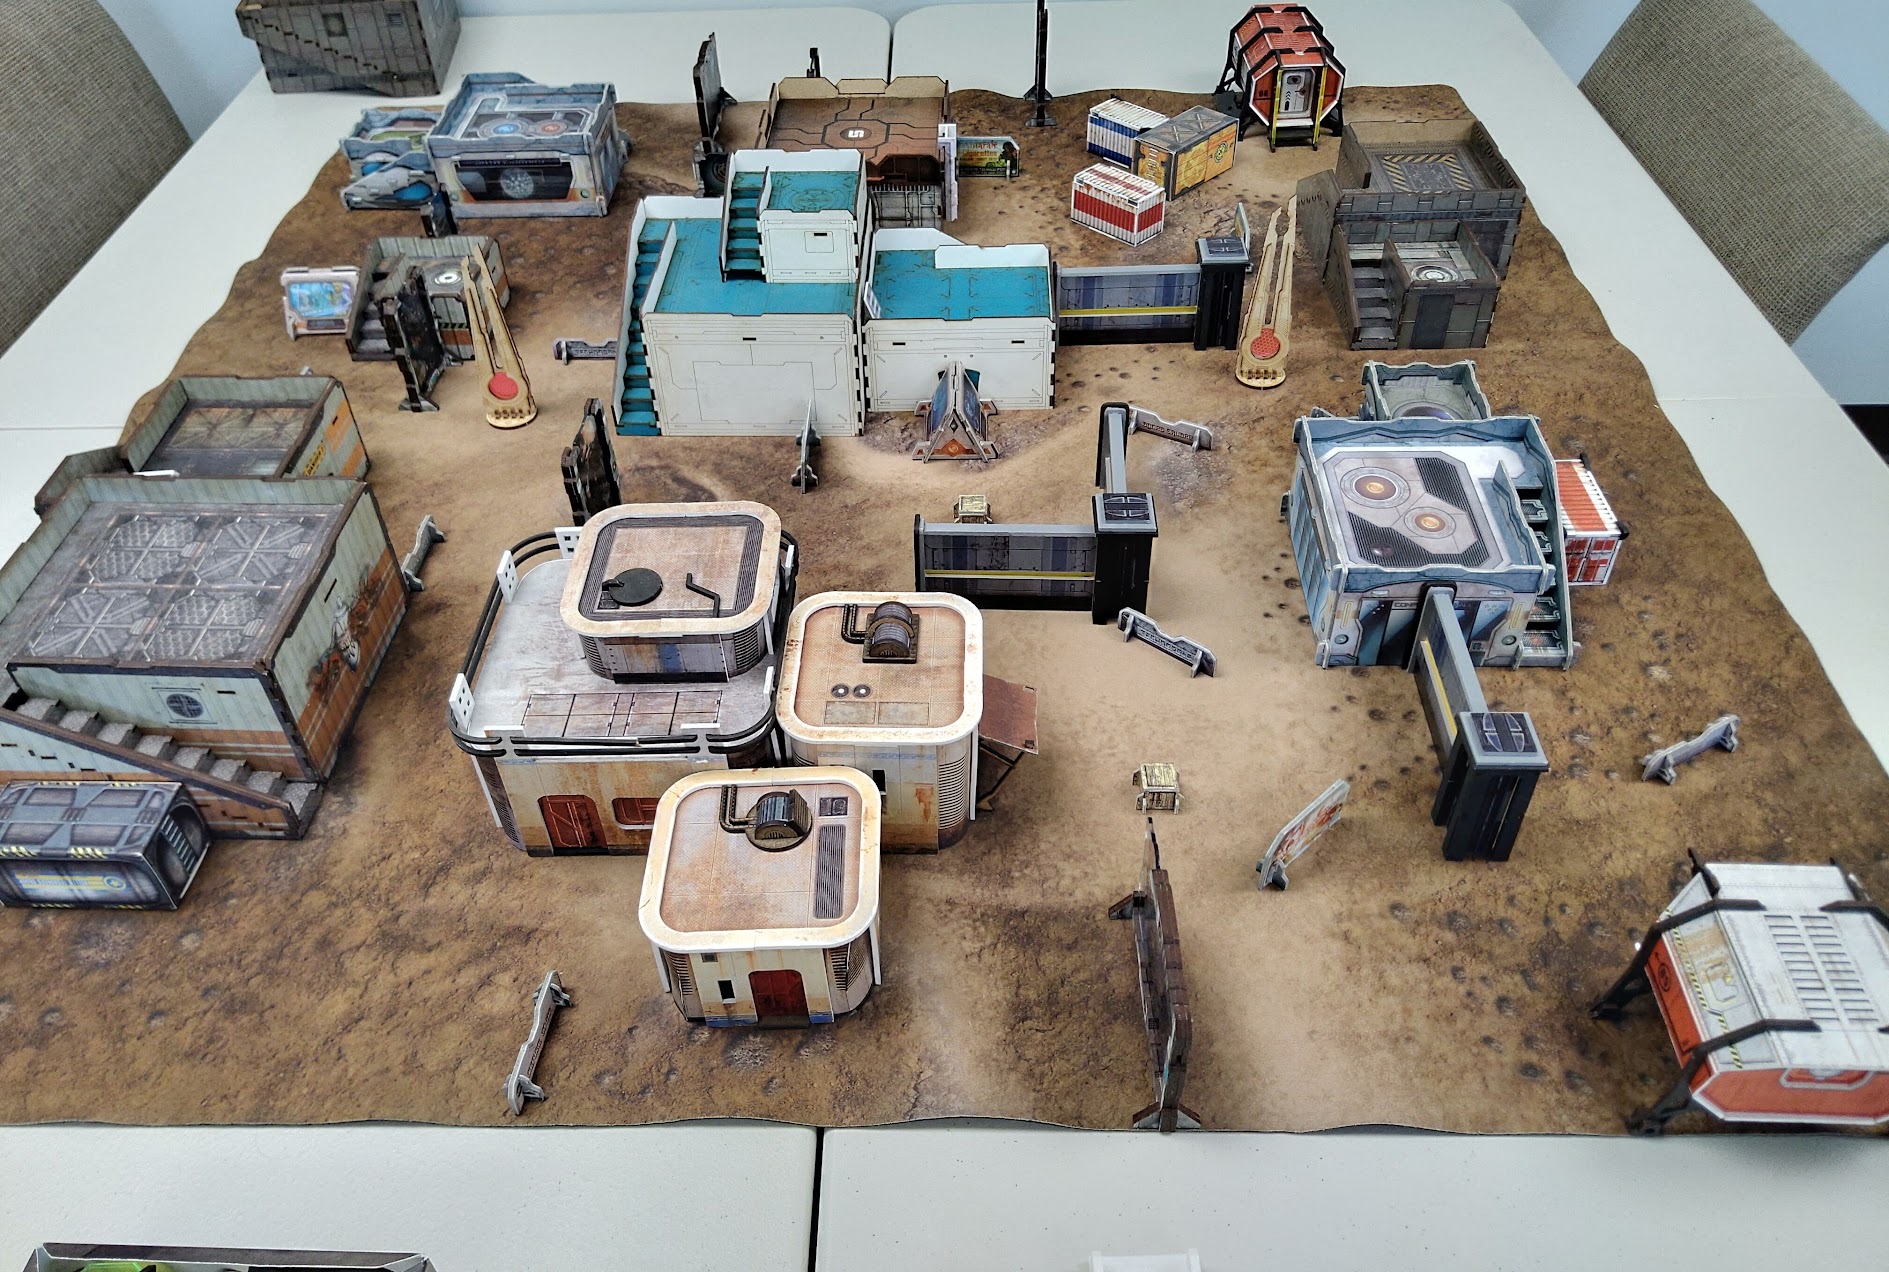
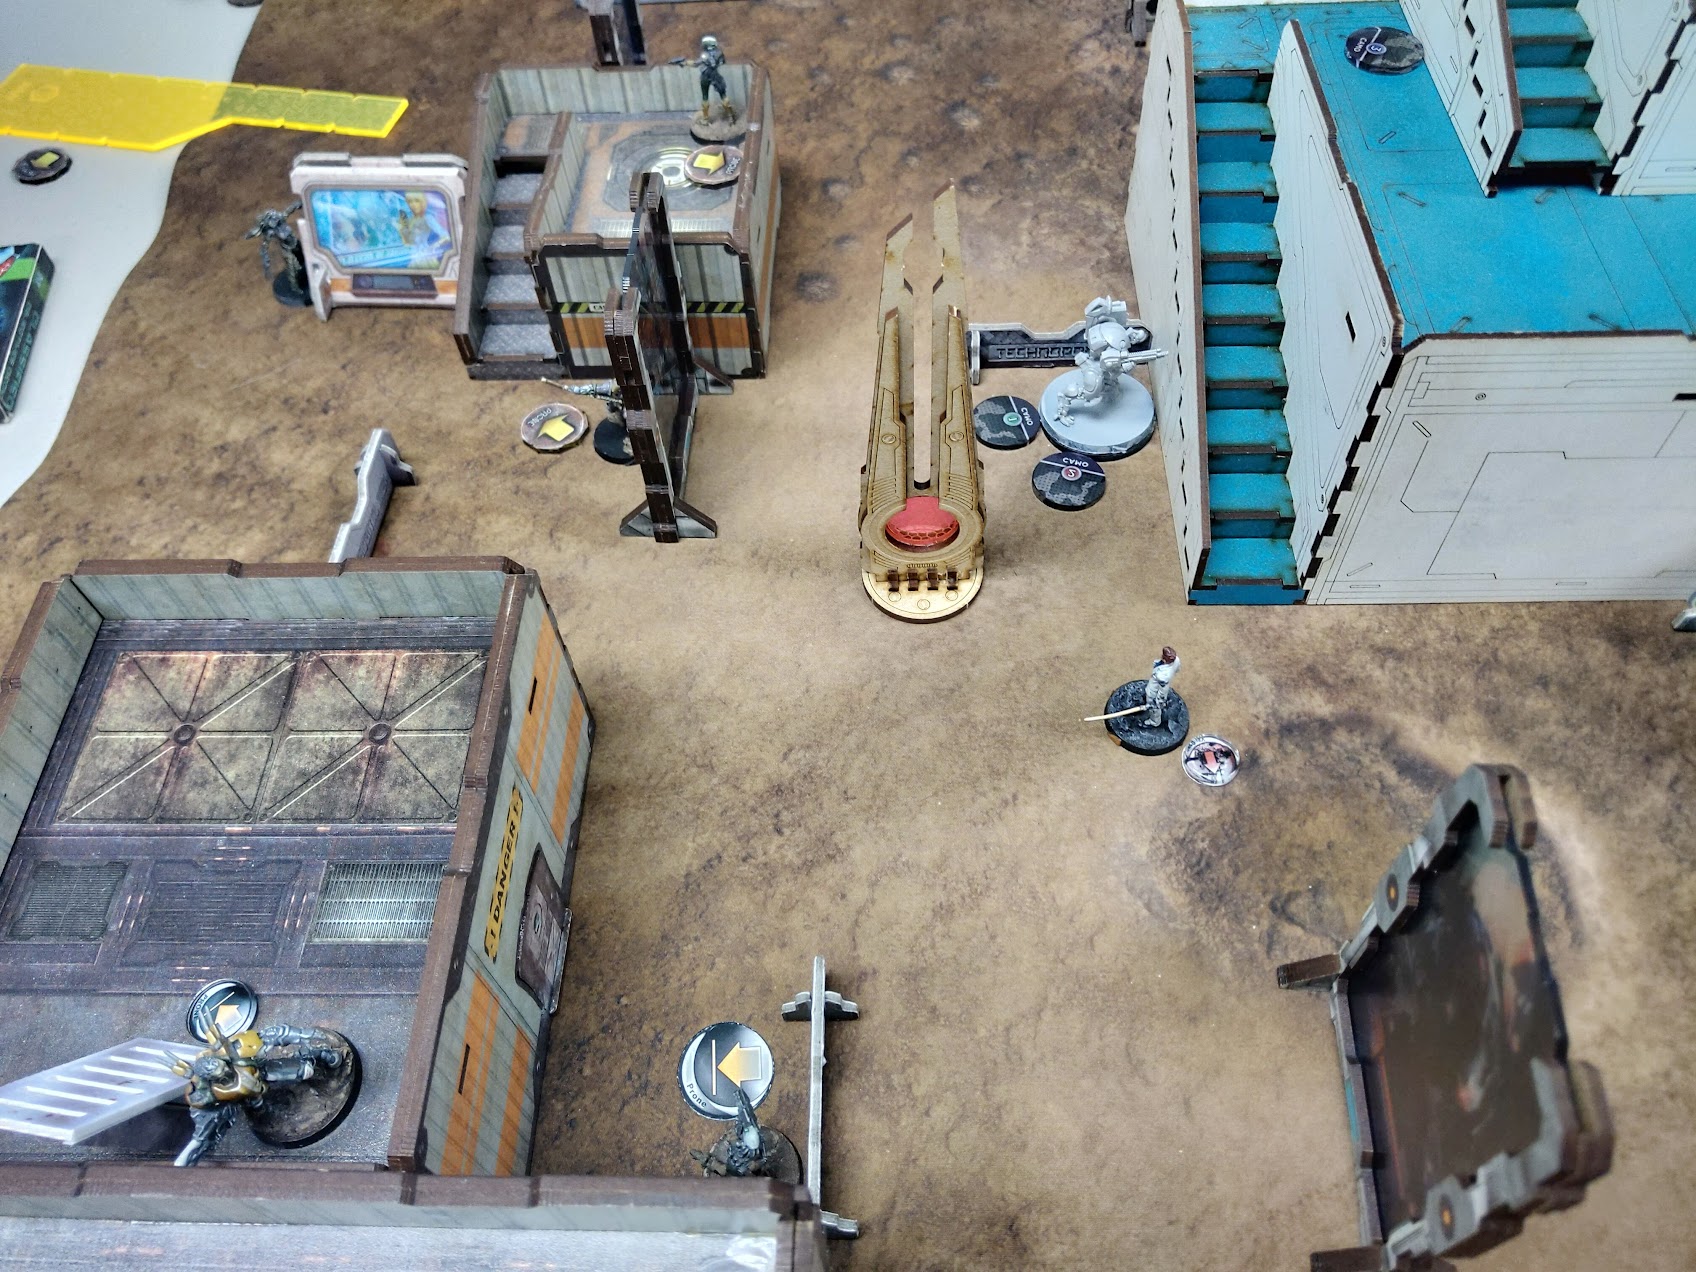
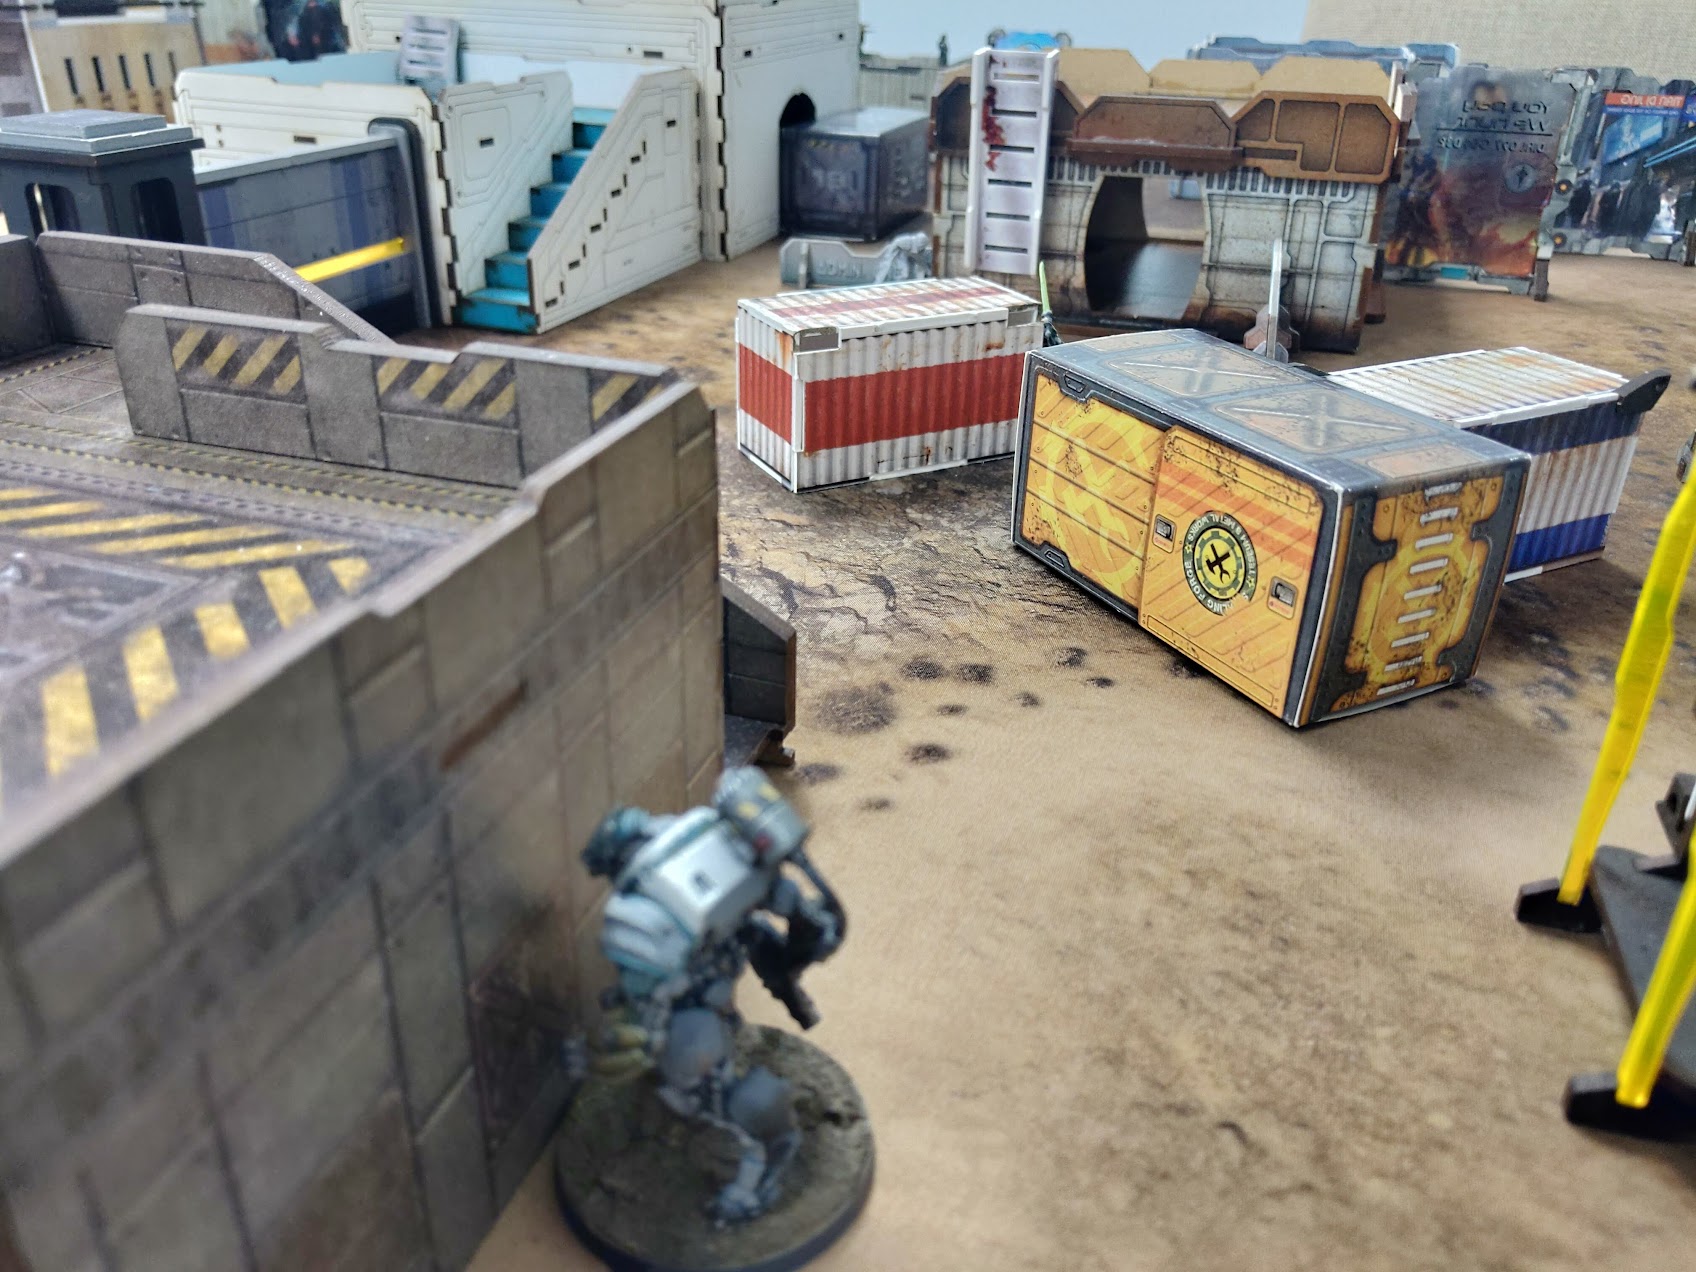
* Note 3: Referencing the first picture. North is the top of screen, east is right, south is bottom, west is left.
YJ wins the roll and takes the initiative, electing to go first.
O-12 takes the east side, feeling it is the easier side to defend.
YJ deploys first on the west side of the board. Using Strategos to hold back three units in total. Mostly monks, Kuang Shi, and a mons trucker. O-12 has no big threats to inform their deployment.
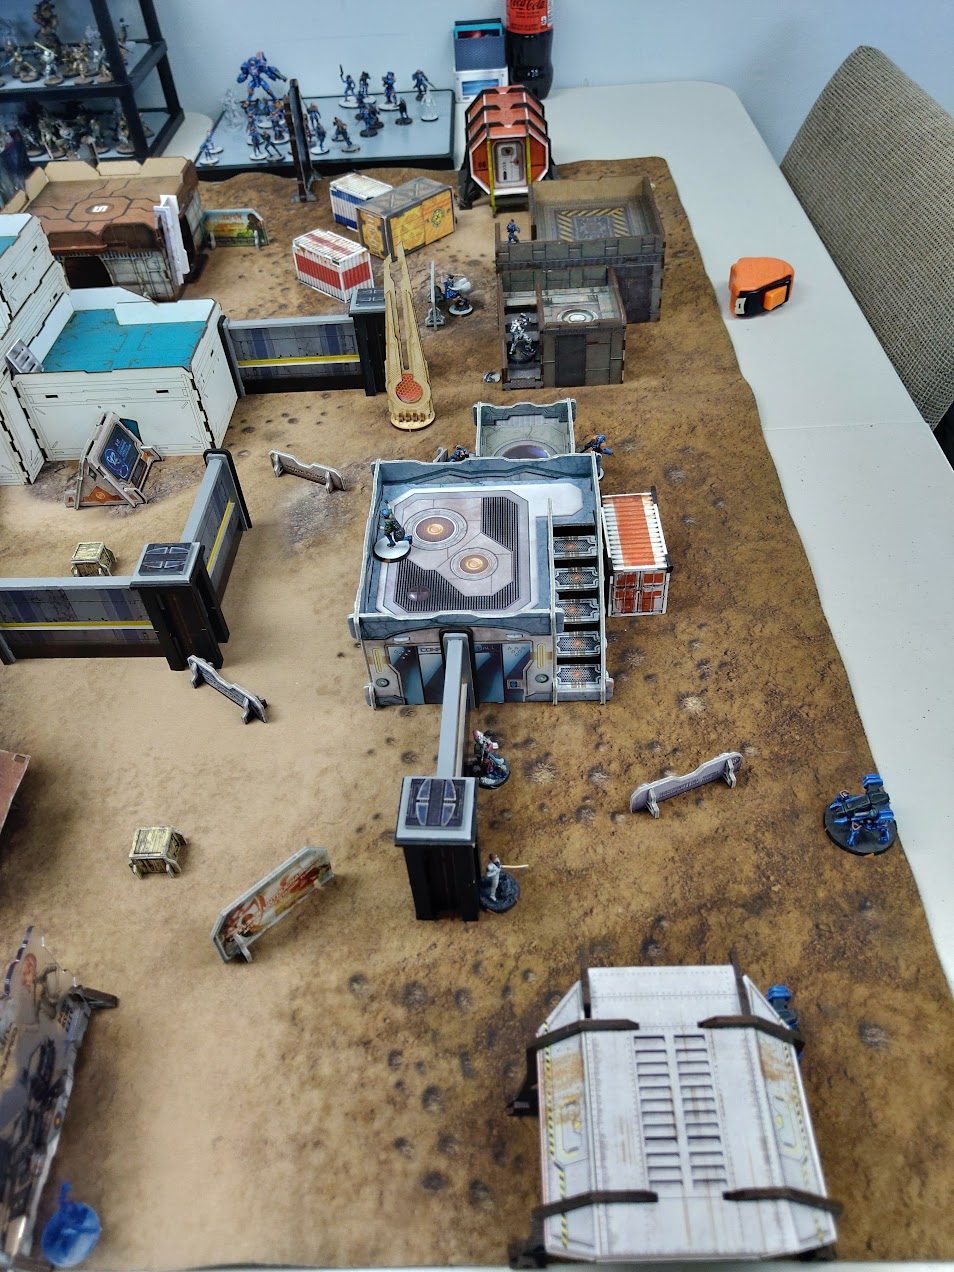
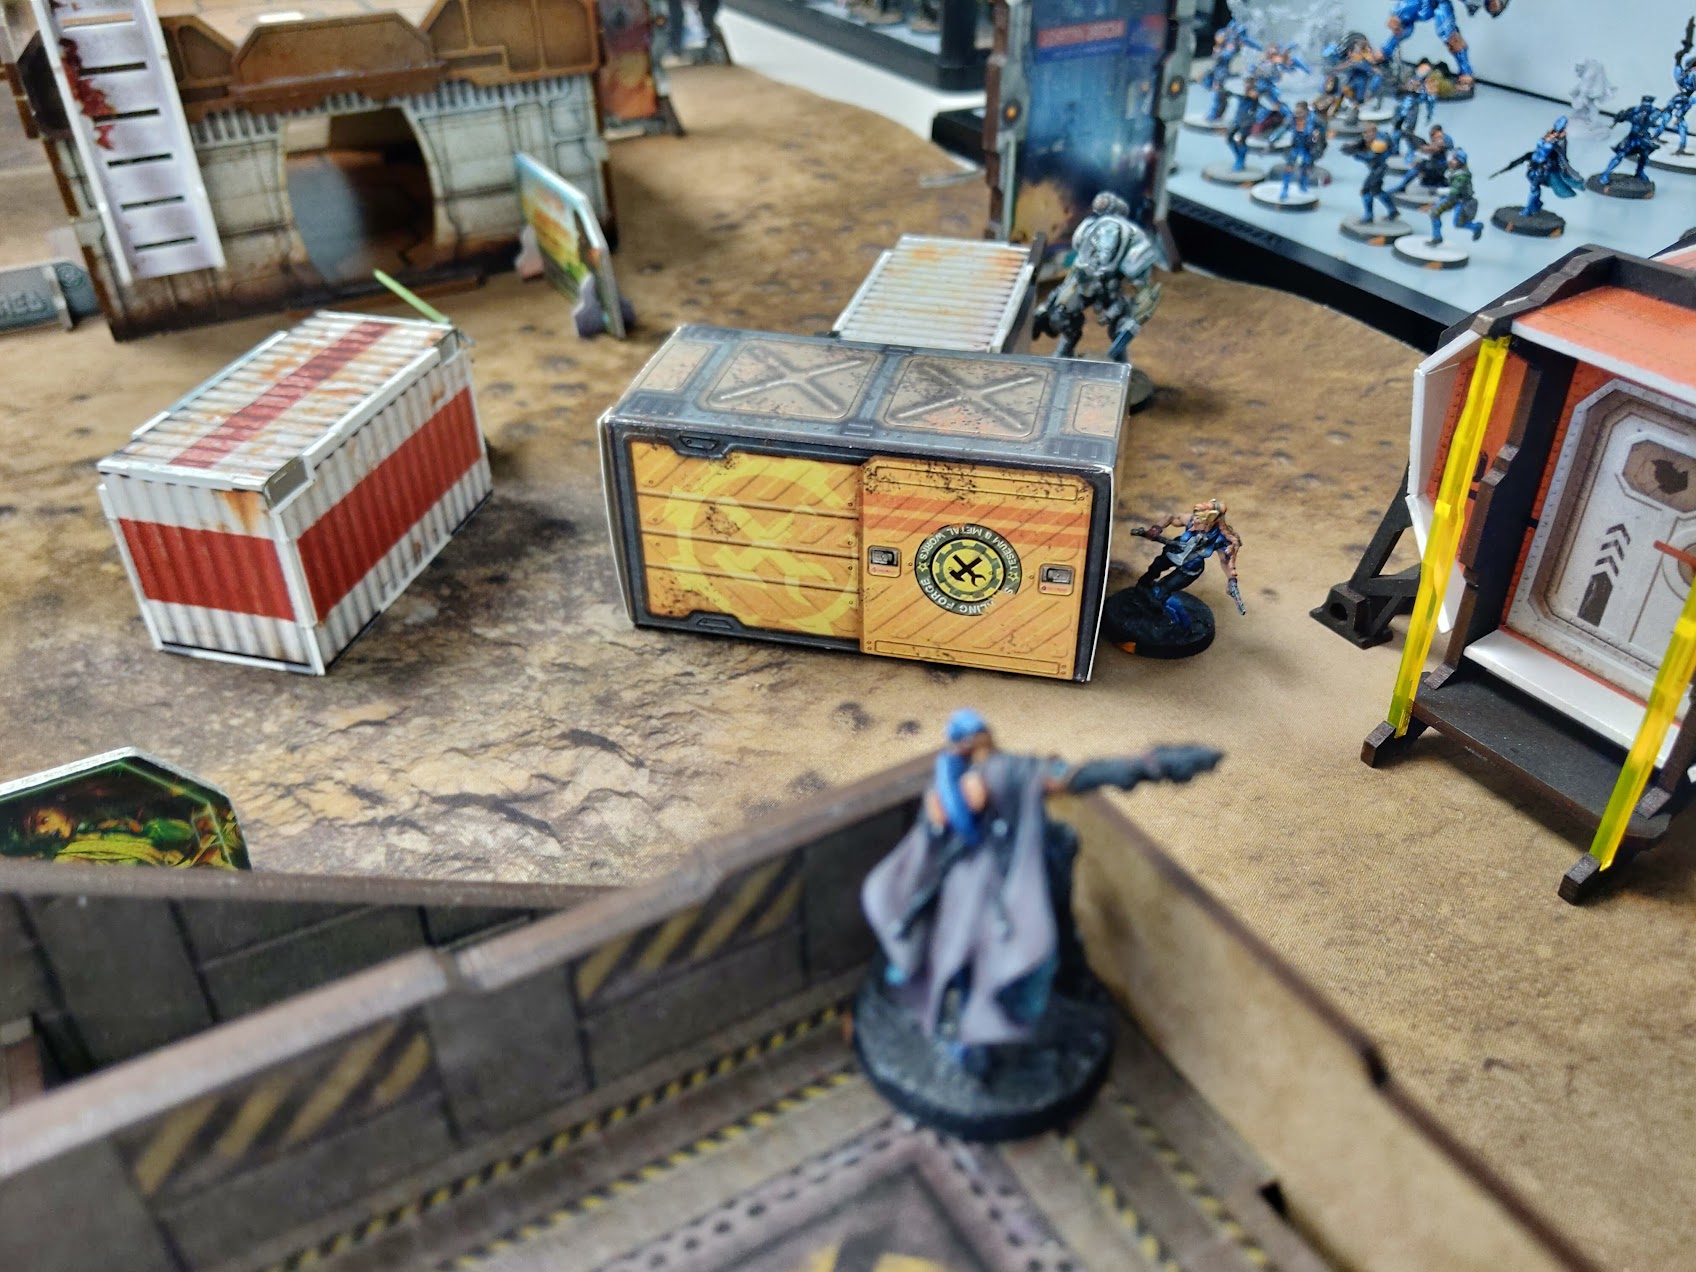
O-12 deploys on the eastern side, notably Shona on the southeast side behind the wall, a RavenEye with a camo marker near the AC2, and a Varangian nearby. Cho deploys masked as a Betatrooper prone on the top of the grey building in the northeast part of the board. Kytta bots are deployed behind the red building in the southeast, in the hopes of covering the forward deploying Crusher who was behind the sign in the South-southeast part of the board. Holding back an Omega, and selecting HD positions for two Razors and a Lynx.
YJ adds Sun Tze on the large orange building in the southwest, a camo marker (Daofei) ontop of the square building in the north, and another camo marker on the white/blue building.
O-12 deploys the Omega behind the O-12 administrative building partially covering the AC2. O-12 limits the smaller YJ command group, hoping to cripple all the Camo markers there.

- Daofei attempts to move up the board but is discovered by the Omega when he crosses from the building to the Cargo boxes.
- Deeming the Warcors journalistic integrity a threat to the YJ empire, Sun Tze illegally murdered the journalist with his sniper rifle before dropping prone on a lower rooftop.
With the initial move not going their way, YJ forces decide to bring in the Big guns.
- The Blue wolf moves around the north edge of the building, a nearby Razor, waits for the perfect moment (when his LT is about to get shot to death) to spring his (not very effective in hindsight) trap.
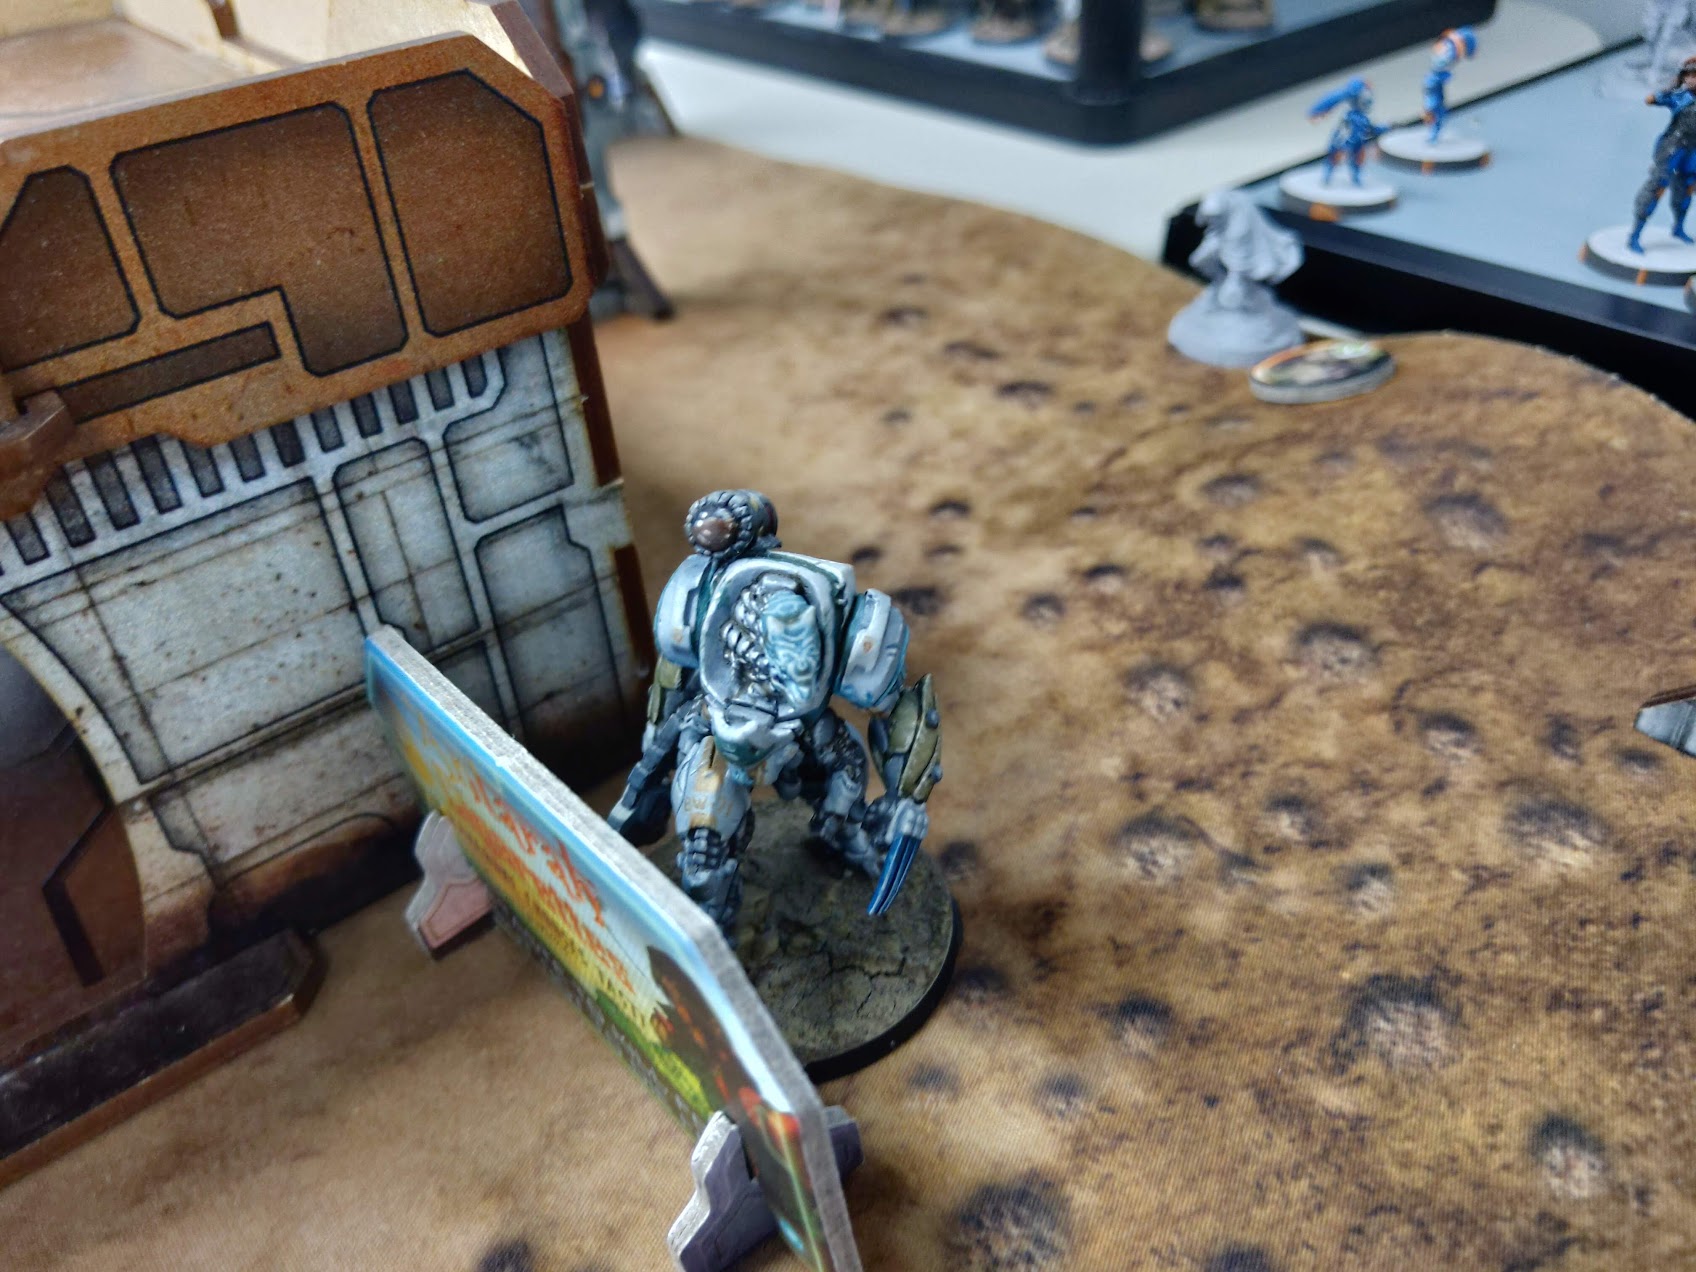 A Razor reveals itself as the Blue Wolf moves past. Dropping a mine, wishing he'd brought his Hacking kit.
- The Blue wolf decides to roast the Razor with its flamethrower as the mine is placed, the Omega the Wolf was positioning to target, dodges out of LoF.
- The wolf continues to advance around the north side of the boxes. However a Lynx reveals itself on top of the building, and fires at the TAG with its Plasma Carbine. The Varangian takes a shot with its SMG, but does no damage.
 Lynx reveals itself to fire at the TAG before it reaches everyone's favorite Ensign, but is quickly gunned down.
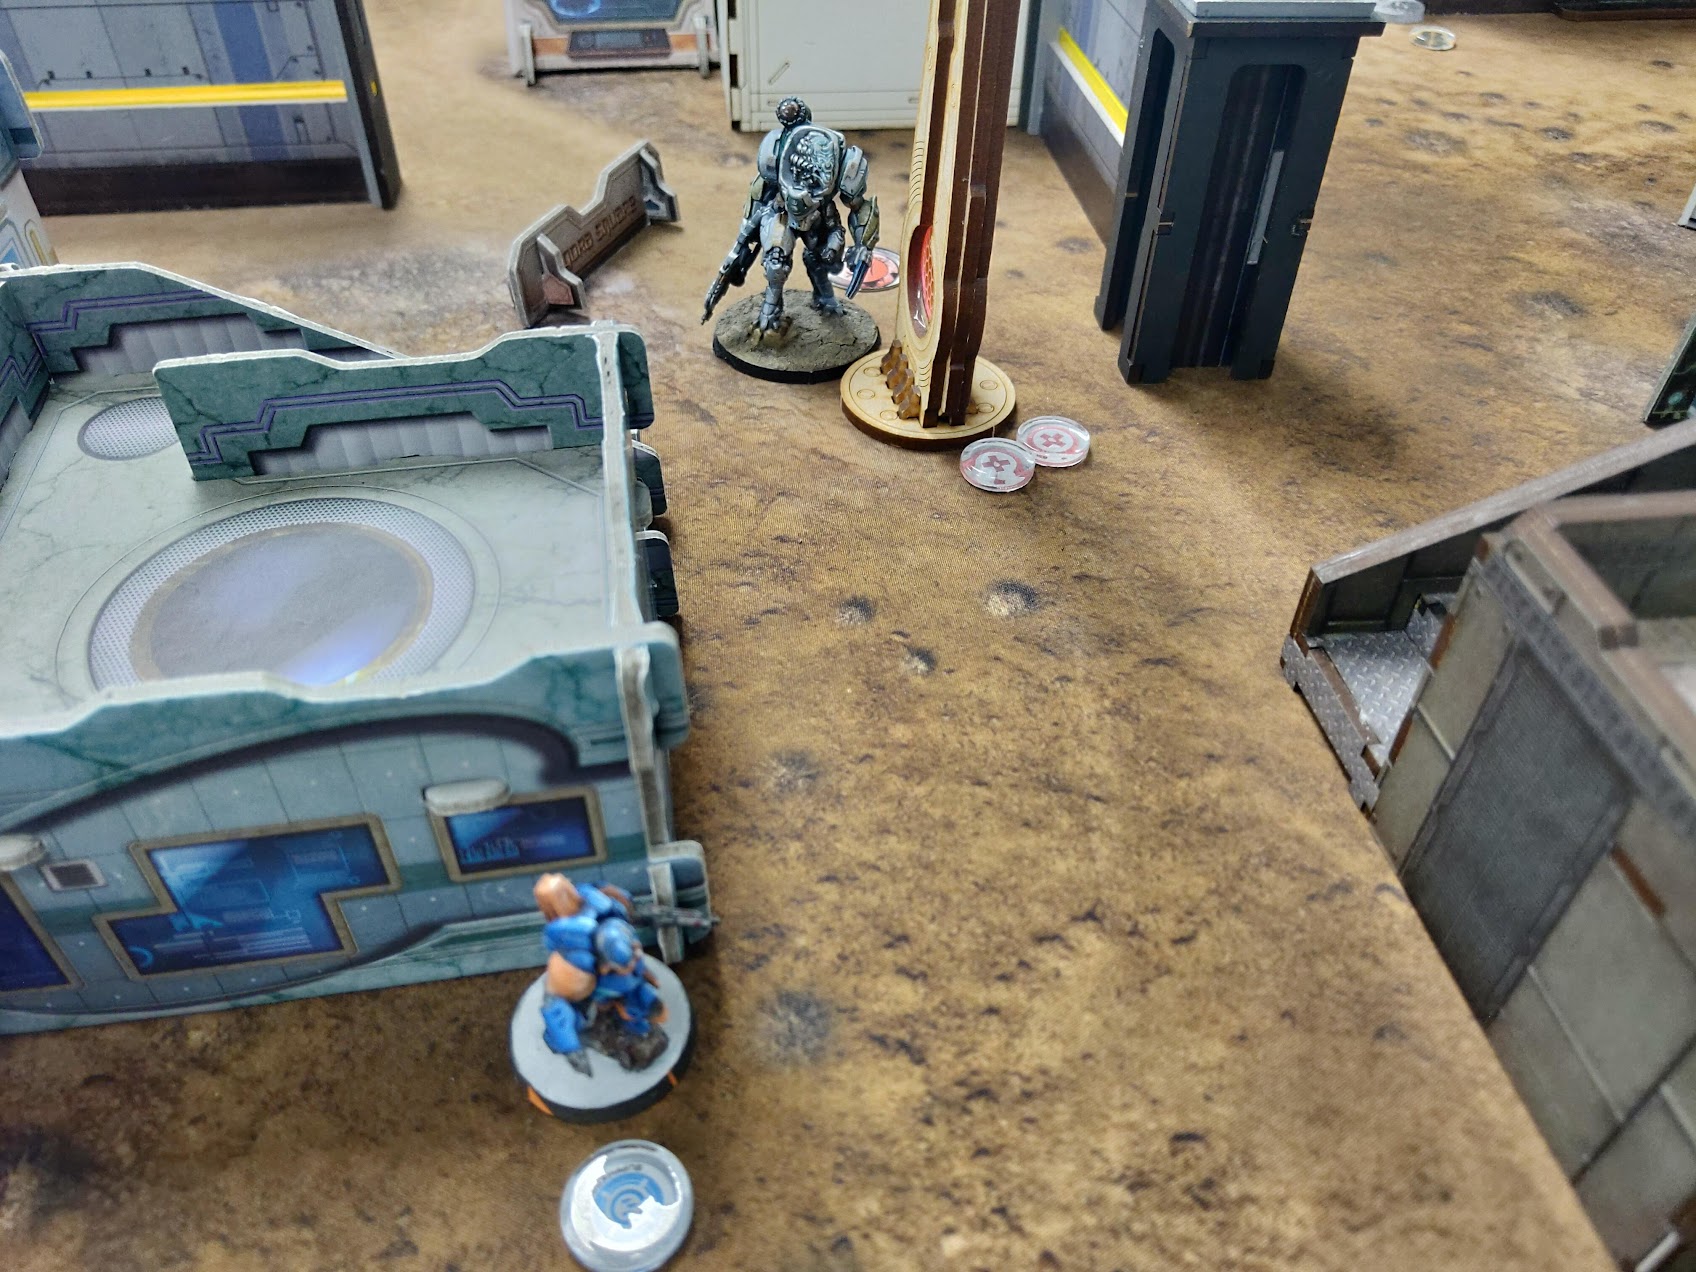
- The wolf moves up along the boxes, thinking the Varangian it's moving closer to, to be of little consequence. It gets LoF on another Varangian overtop the boxes, and can also see the Raveneye near the AC2. The Varangians both fire AP SMGs, and the Raveneye attempts to Flash Pulse. The Wolf splits fire between the three targets, wounding (dogged) the two Varangians in the process, but getting hit with, and then shrugging off the Flash pulse from the raveneye. The closes Varangian crits the Wolf and deals two wounds!
- Unwilling to risk more harm to their Wolf, the Daofei springs into action. First using an order to re-camo, then move forward, and easily put both Varangians down in a single burst.
- The blue wolf, sweating bullets decides it's time to deal with the Betatrooper that is prone on the nearby rooftop. It moves, crossing "Betas" LOF ending on the north side of the grey building. The "Beta" attempts to dodge, revealing CHO. Five Spitfire shots later, and everyone's favorite Ensign lies dead. Another unforgivable crime, preformed in cold heartlessness by the ISS Collateral Compassion Division.
- The blue wolf then moves to the northeast corner of the nearby building to get LoF one of the Kytta bots, and downs it with the Spitfire.
- The Blue Wolf gets into cover behind the grey building and goes into suppressive fire mode.
- A Monstrucker attempts to deploy drop bears to defend the YJ AC2, but fails to do so.
Seeing as nothing is going very well so far. The mission has to come first, an all-out assault is ordered on the enemy AC2. One Varangian decides to go the distance. 1 Command point is spent moving the Omega from his solitary group into the mostly intact group 2.
- Varangians surge forward, with their impetuous moves, one throws a smoke to cover the Blue wolf.
- The Sothern Varangian runs forward, managing to pick up a Mimetism -6 from the panoply on his way. Unfortunately where he was going, no amount of Mimetism would help.
Unfortunately O-12 high command gets confused sometimes and our battle strategies don't always make sense, to the enemy or ourselves! Such was the case at the Reliquary today.
- A camo marker (Razor) reveals itself in the middle of the board on the northern side of the blue building moving to the corner of the building, but not around after getting a peek at the mine coverage around the AC2. Something would have to be done before any D-charges could be deployed.
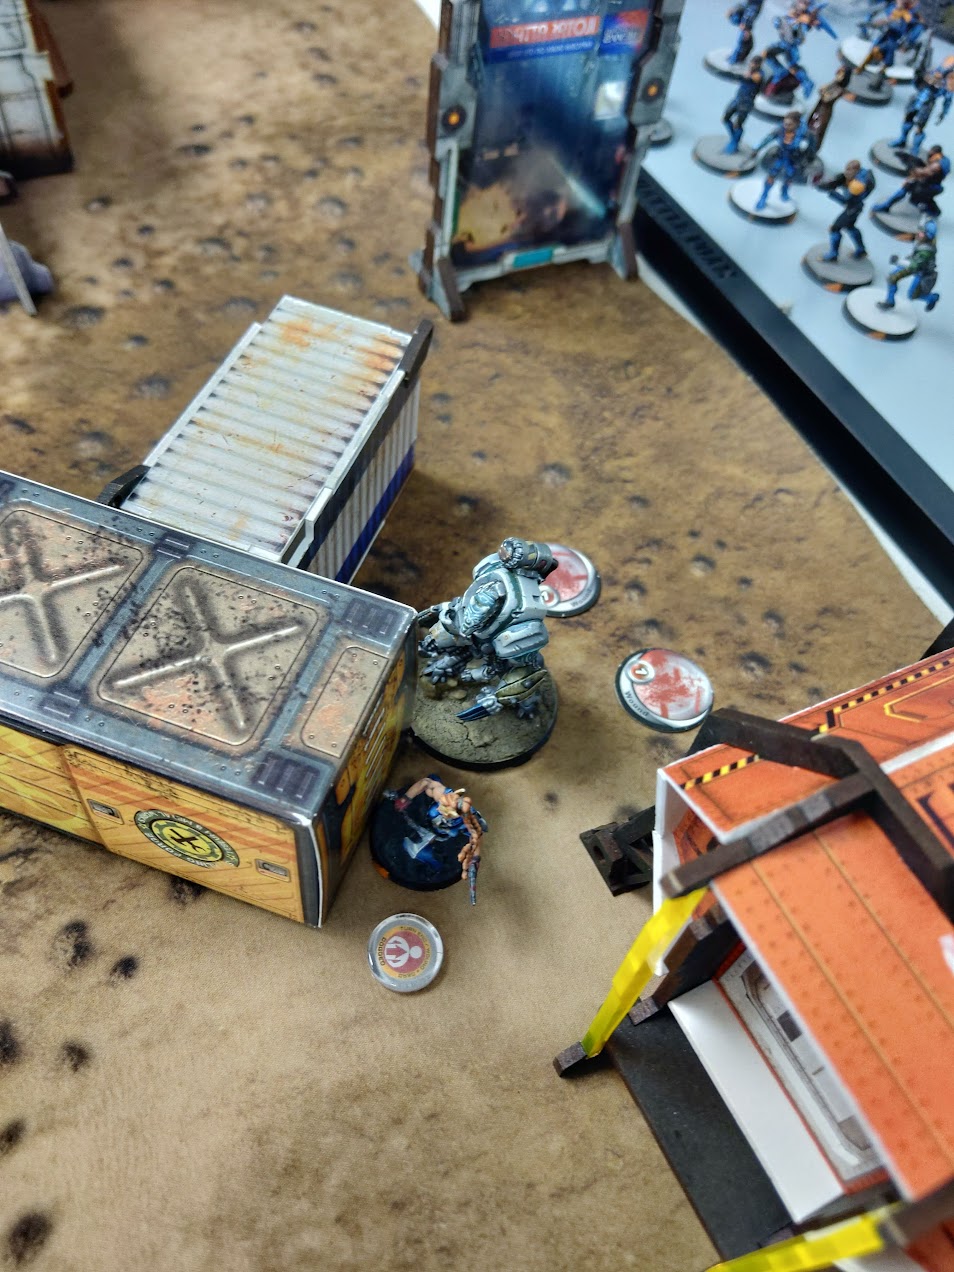
- The Varangian on the southern half of the board continues his march forward. Dodging through two mines, and (once revealed) putting SMG shots into the Long Ya that managed to dispense all of its mines. The Varangian takes a hit from one of the mines and goes dogged, but he's almost there, he may as well go the distance.
- Using the Berserk skill (but not the bonus) the Varangian surges forward and hits the AC2 with his Trench hammer. Taking a mine, and a Kuang Shi chain rifle for his trouble, the Varangian manages to do two wounds in damage to the AC2 but not destroy it outright before his demise.
- The Camo'd Razor, with only a single order left, and too far from the AC2 to finish the job. Hastily coordinates a movement order with a Kytta bot, Omega, and Crusher. Moving everyone into a better position to deal with all the remaining threats on the board. However, the Razor is discovered by a Monk in the process!
- The omega uses it's LT order to go into suppressive fire, preparing for the Blue wolf.
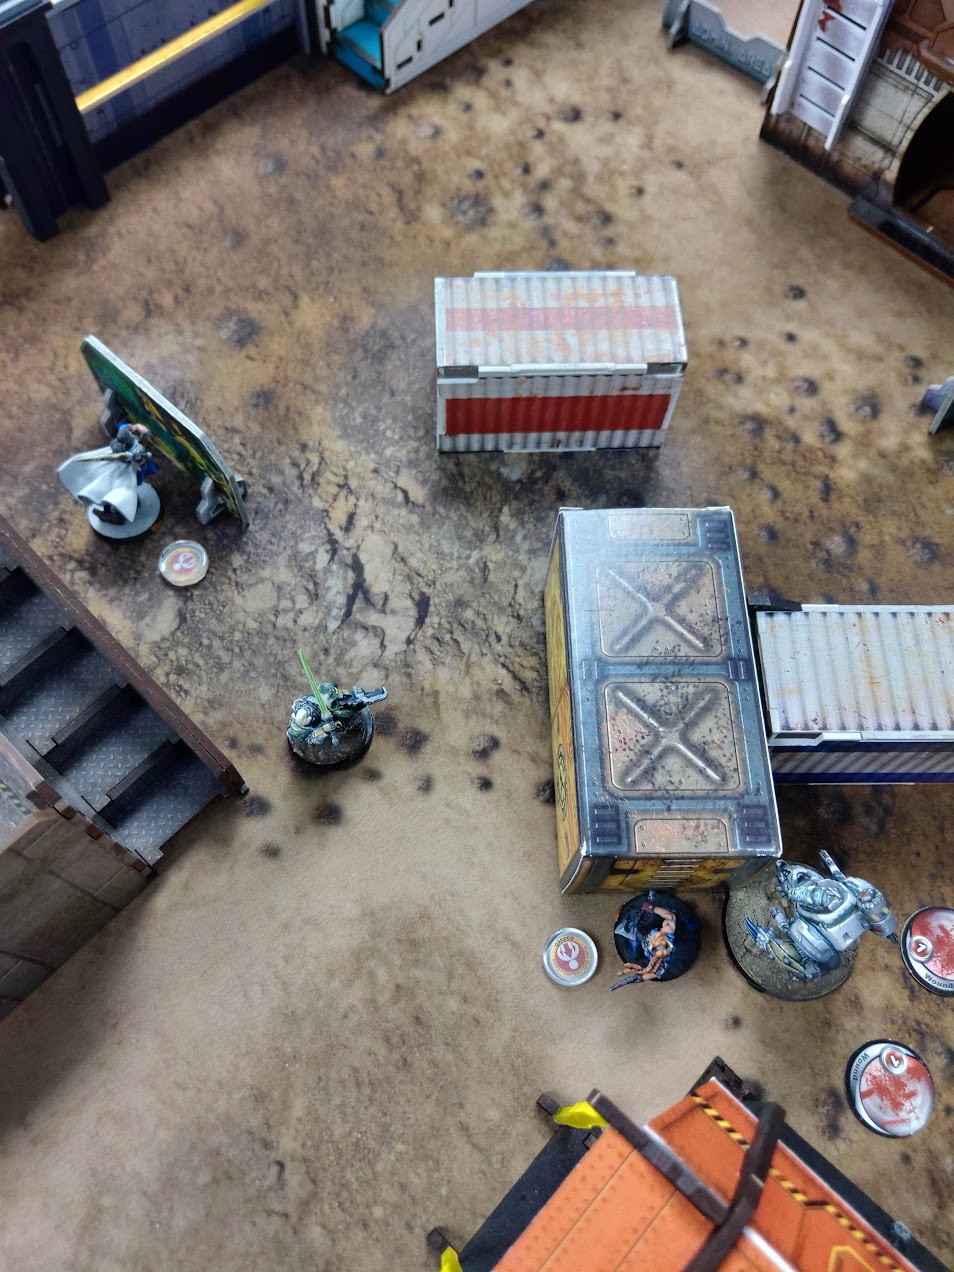
 Varangian (Casanova) sprints his way west across the board, dodging mines and firing with a crazed bloodlust into YJ ranks, only his objective in mind.
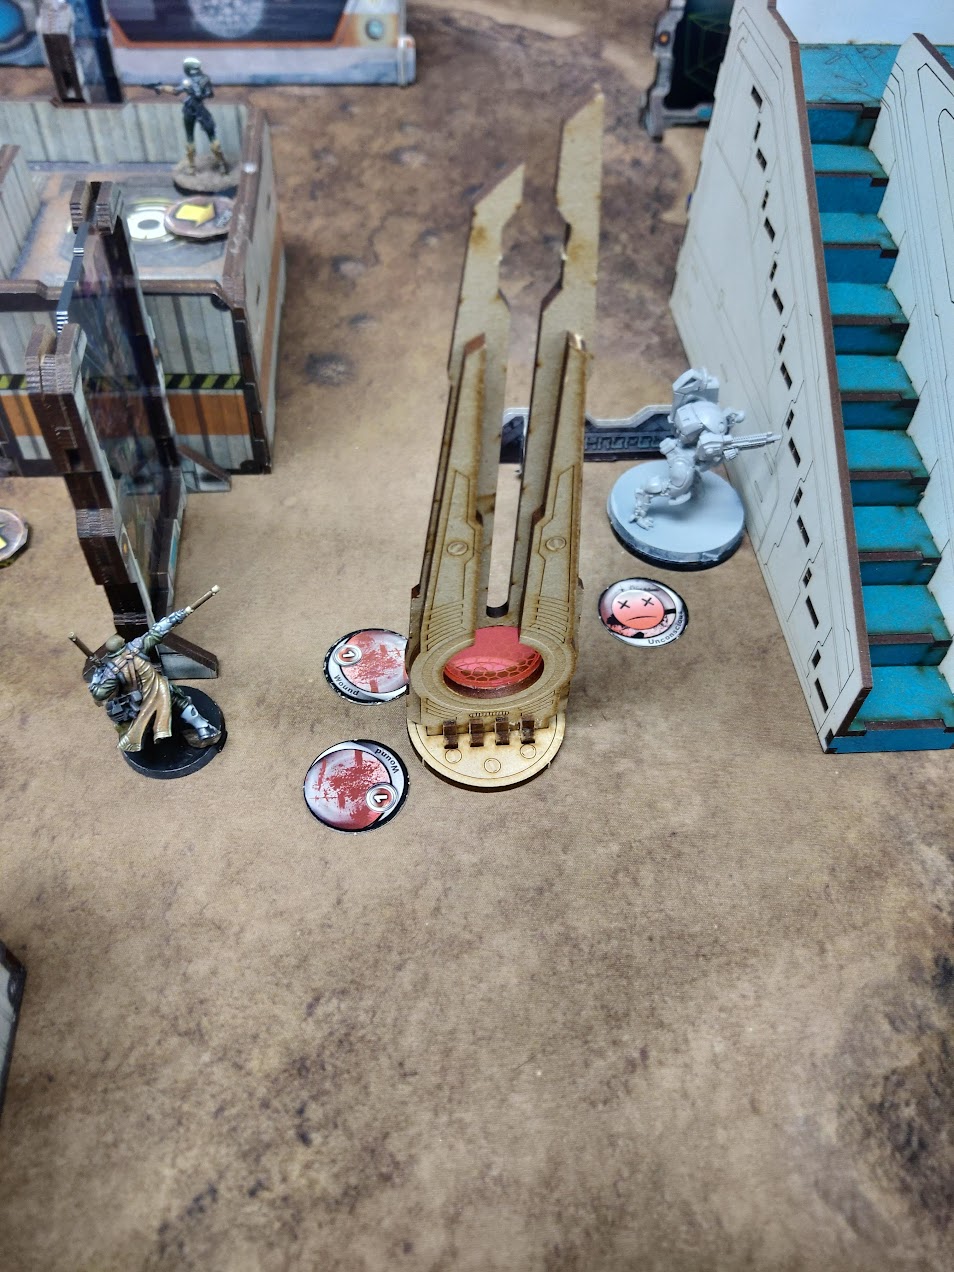 The Varangian manages to deal two wounds to the AC2 before dying, however YJ troops are able to reposition as a result.
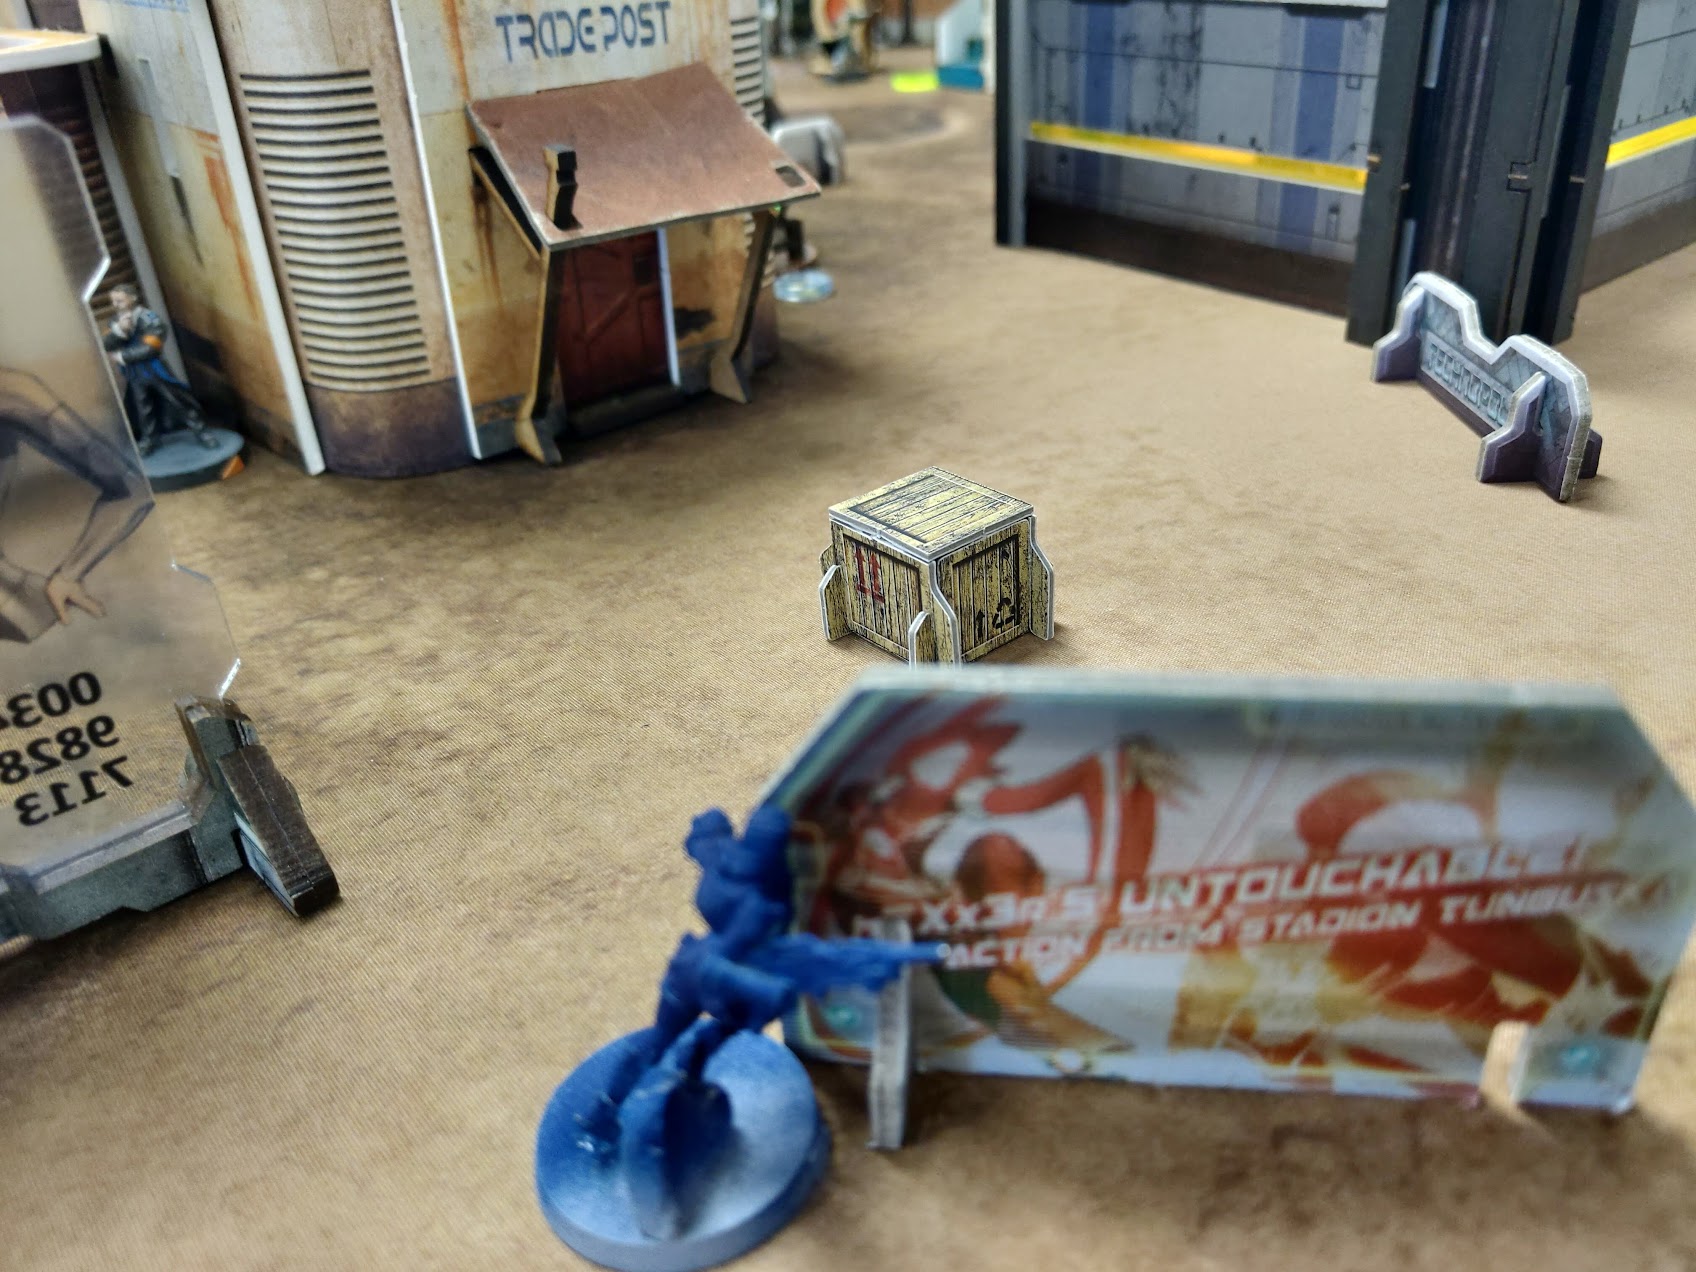 Crusher repositions as part of the coordinated order to have a clear LoF to the AC2 and the troops protecting it.
- Sun Tze climbs down from his current rooftop, moving north to the smaller building in the YJ deployment zone. He gets on top of that building to be able to get LoF on the crusher. He shoots the Crusher with his sniper rifle, proving once and for all that Sun Tze is definitely one of the most accomplished and worthy YJ lieutenants.
- Blue Wolf able to see over the cargo boxes and have a clear LoF on the Razor, fires his Spitfire, killing the Razor.
- Blue wolf moves around the corner of the building going around the west side, stopping just outside of the Omegas LoF. Killing the last remaining Varangian while he does so.
- Blue Wolf tries to discover the mine left by the RavenEye but fails to do so. Orders are running out and something drastic needs to be done. Maybe not as impressive as the Varangians dash, but perhaps inspired by?
 "Mimetism ain't gonna do ya no good when you're staring down the barrel of a YJ manufactured MK 34 Spitfire son." - The Blue Wolf pilot to the Razor, probably.
- The Blue Wolf Berserks into the AC2 taking an EM mine and suppressive fire from the Omega, He deals two wounds to the AC2 before dropping unconscious.
 Blue wolf deals two wounds to the AC2 before going down. Turns out, he only cared about getting rid of the mine.
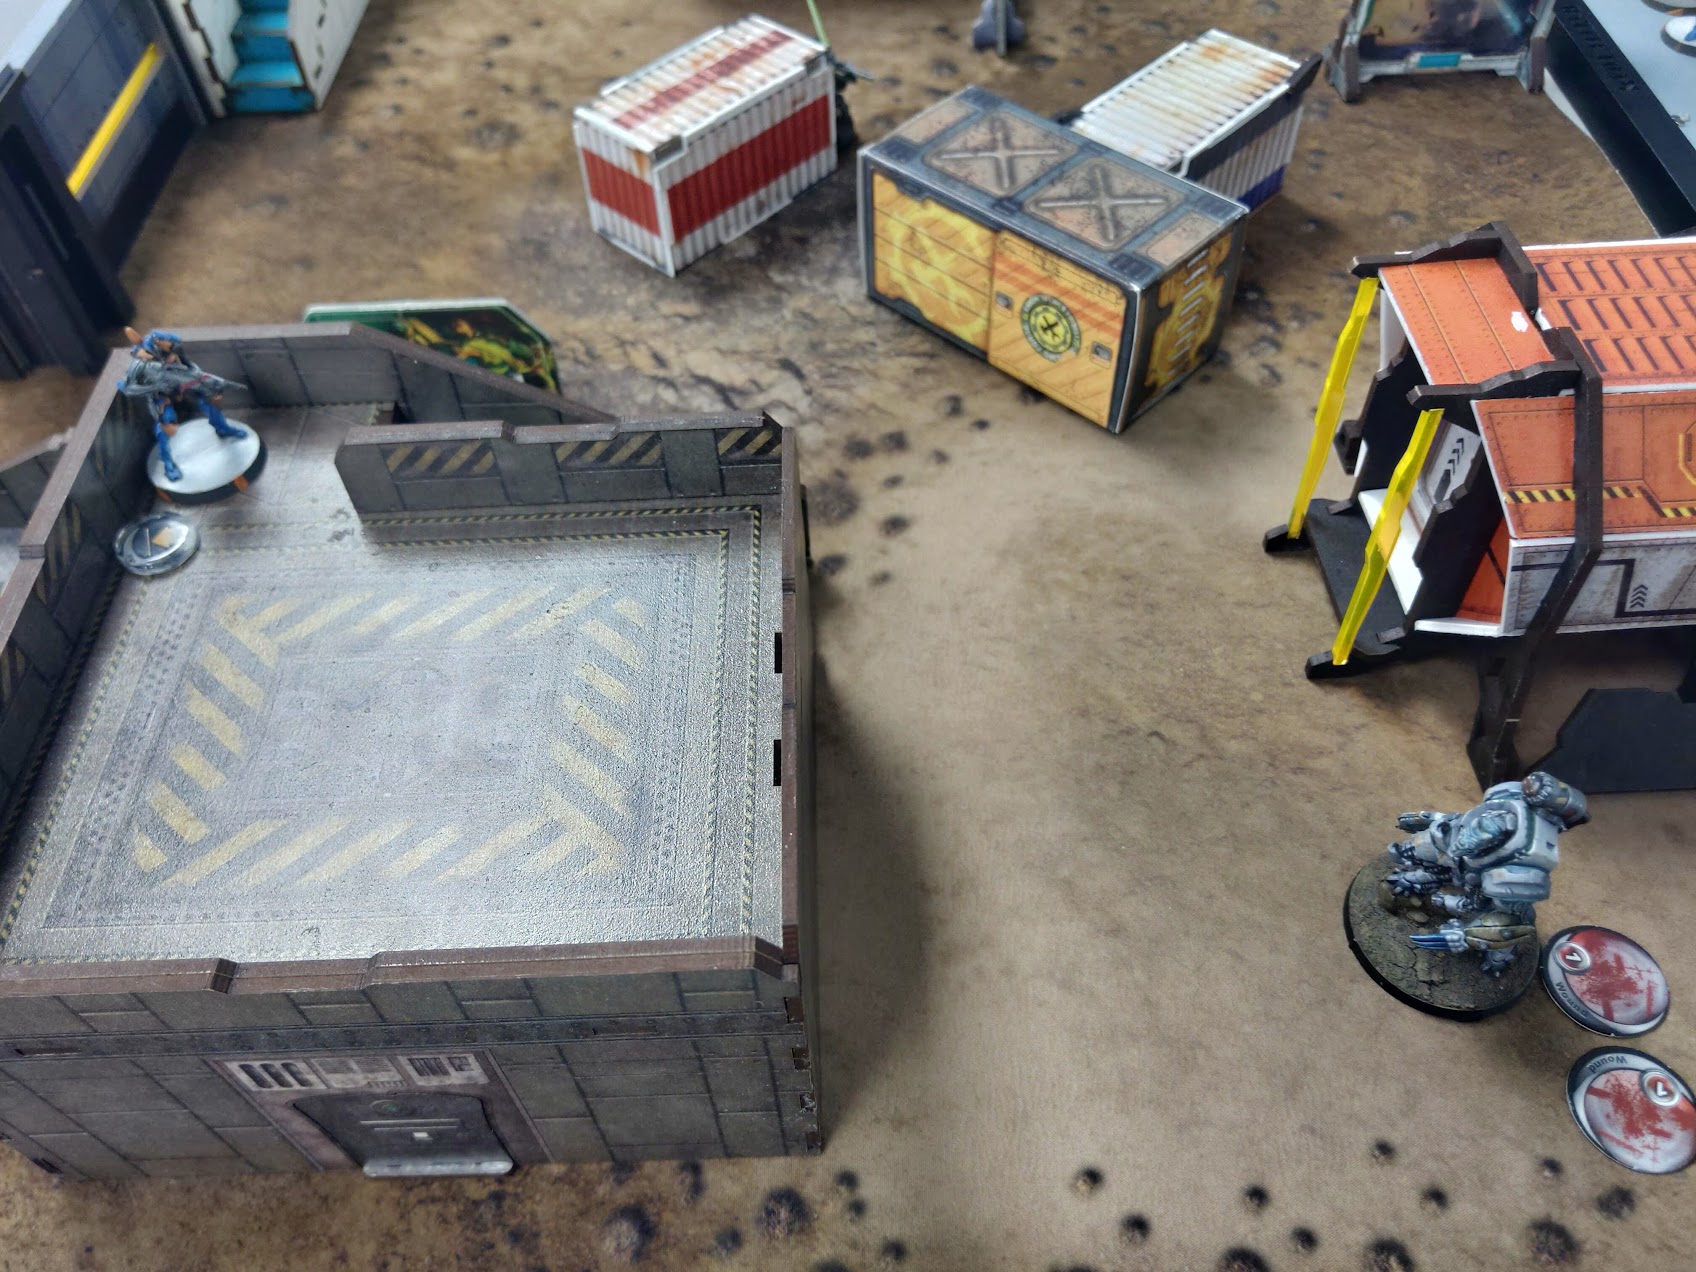
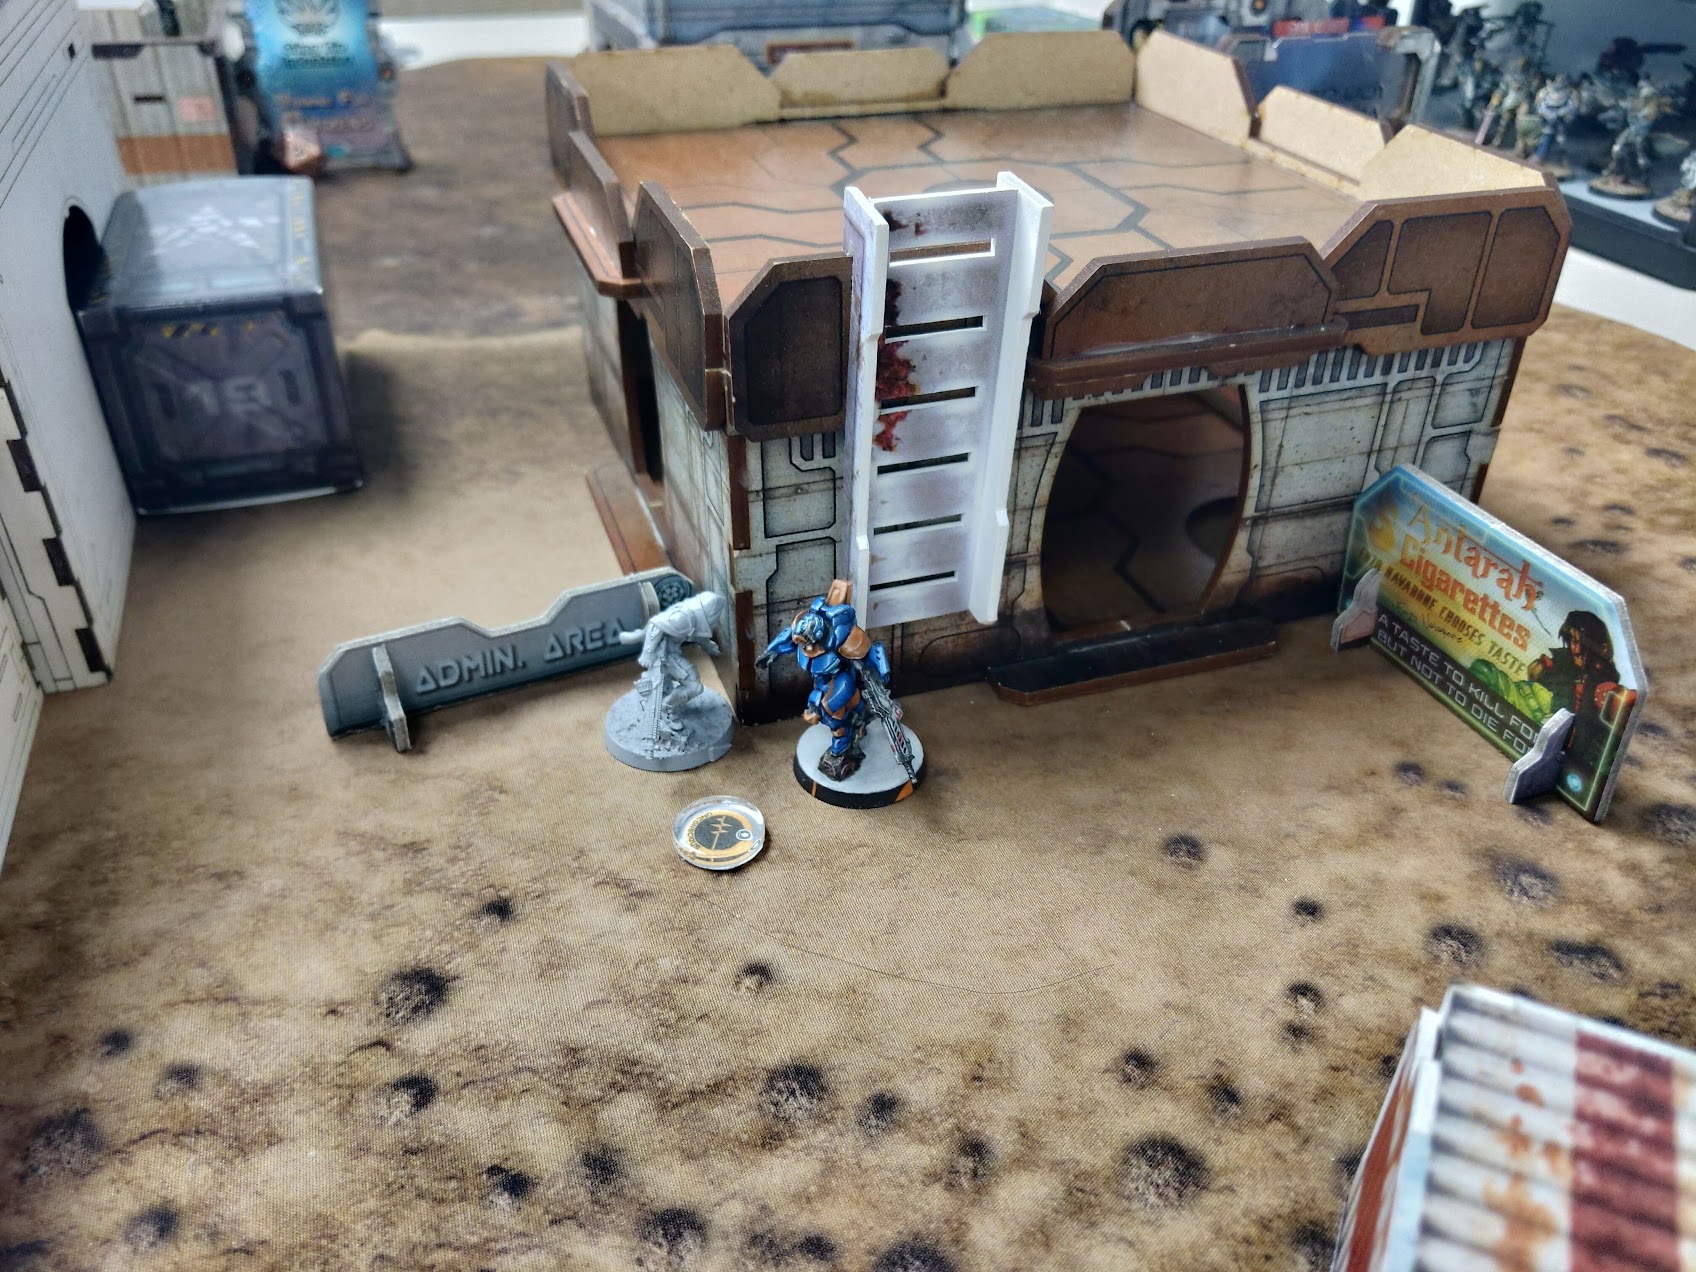
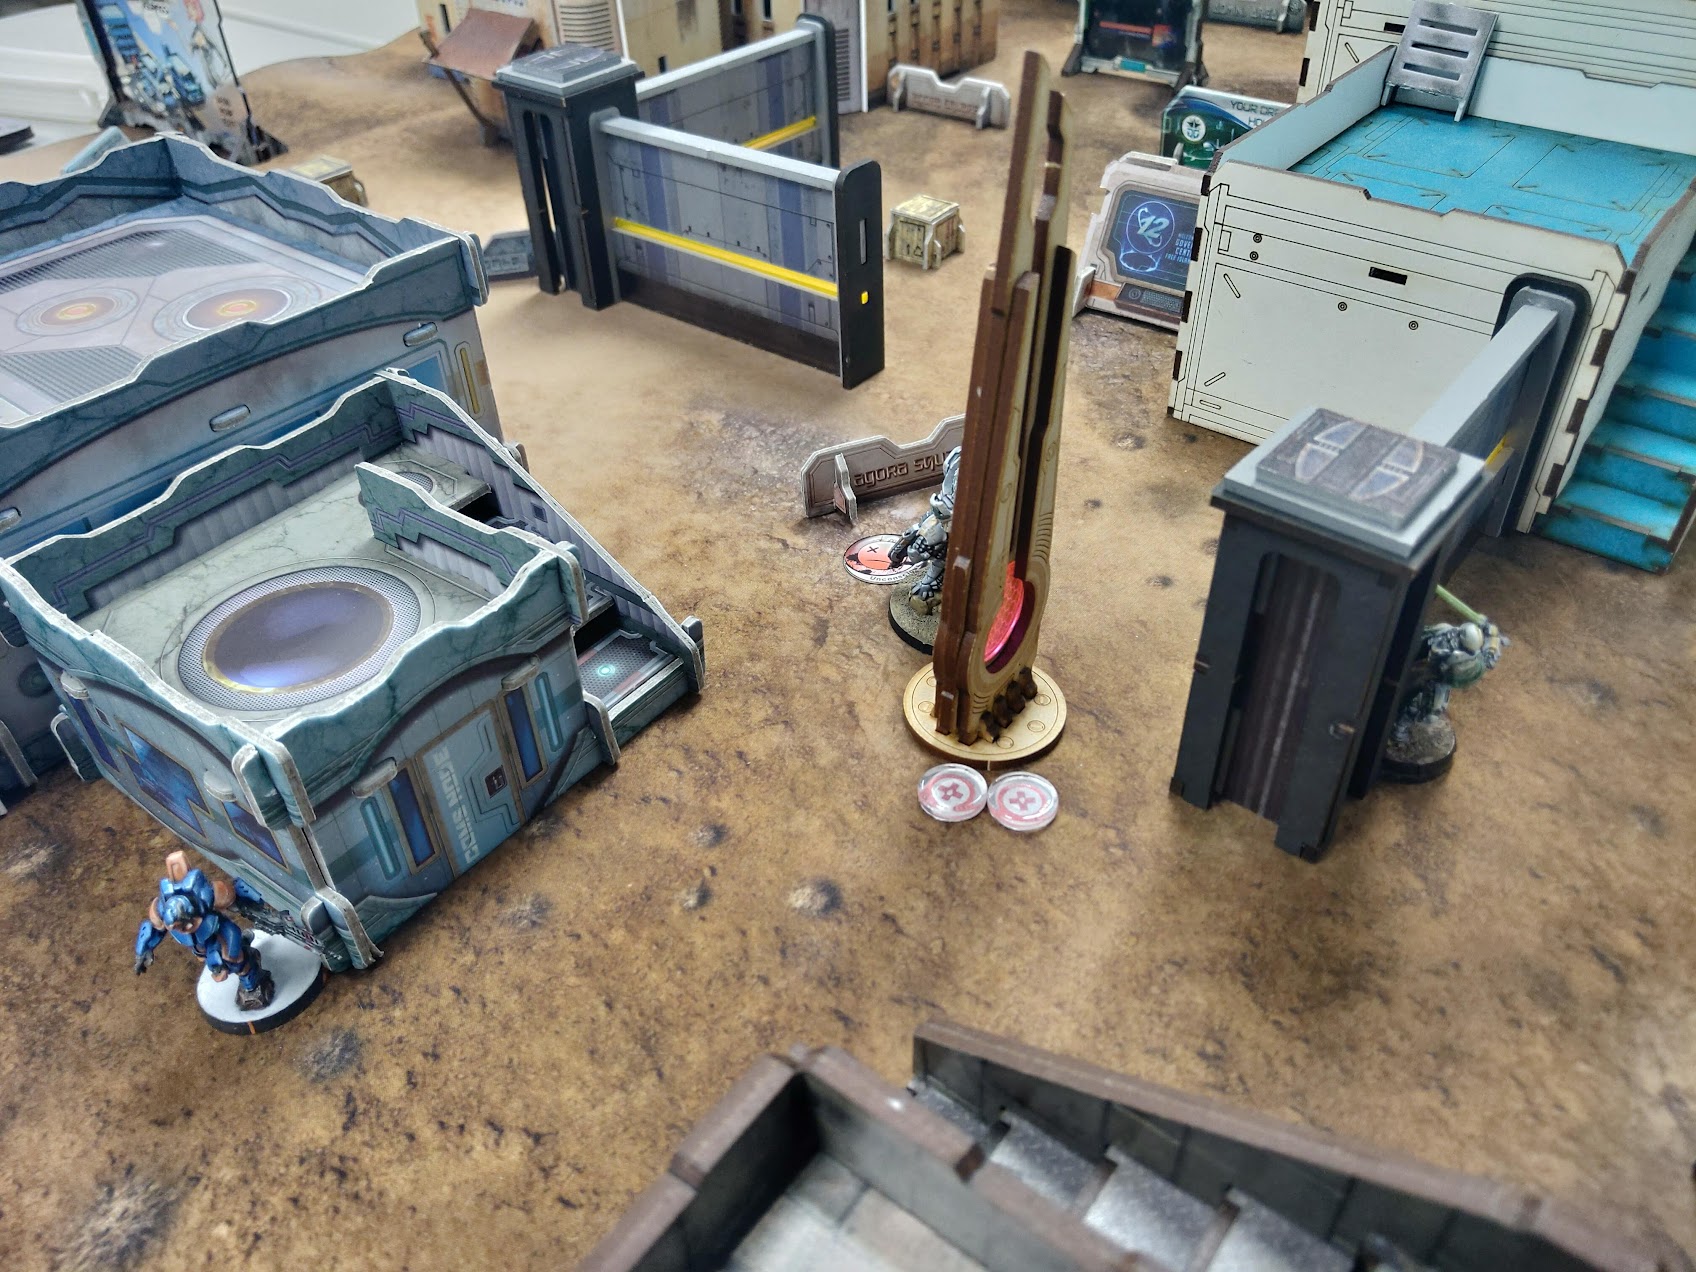 Camo (Daofei) moves towards the AC2, the Omega successfully discovers before the Daofei ends behind the wall.
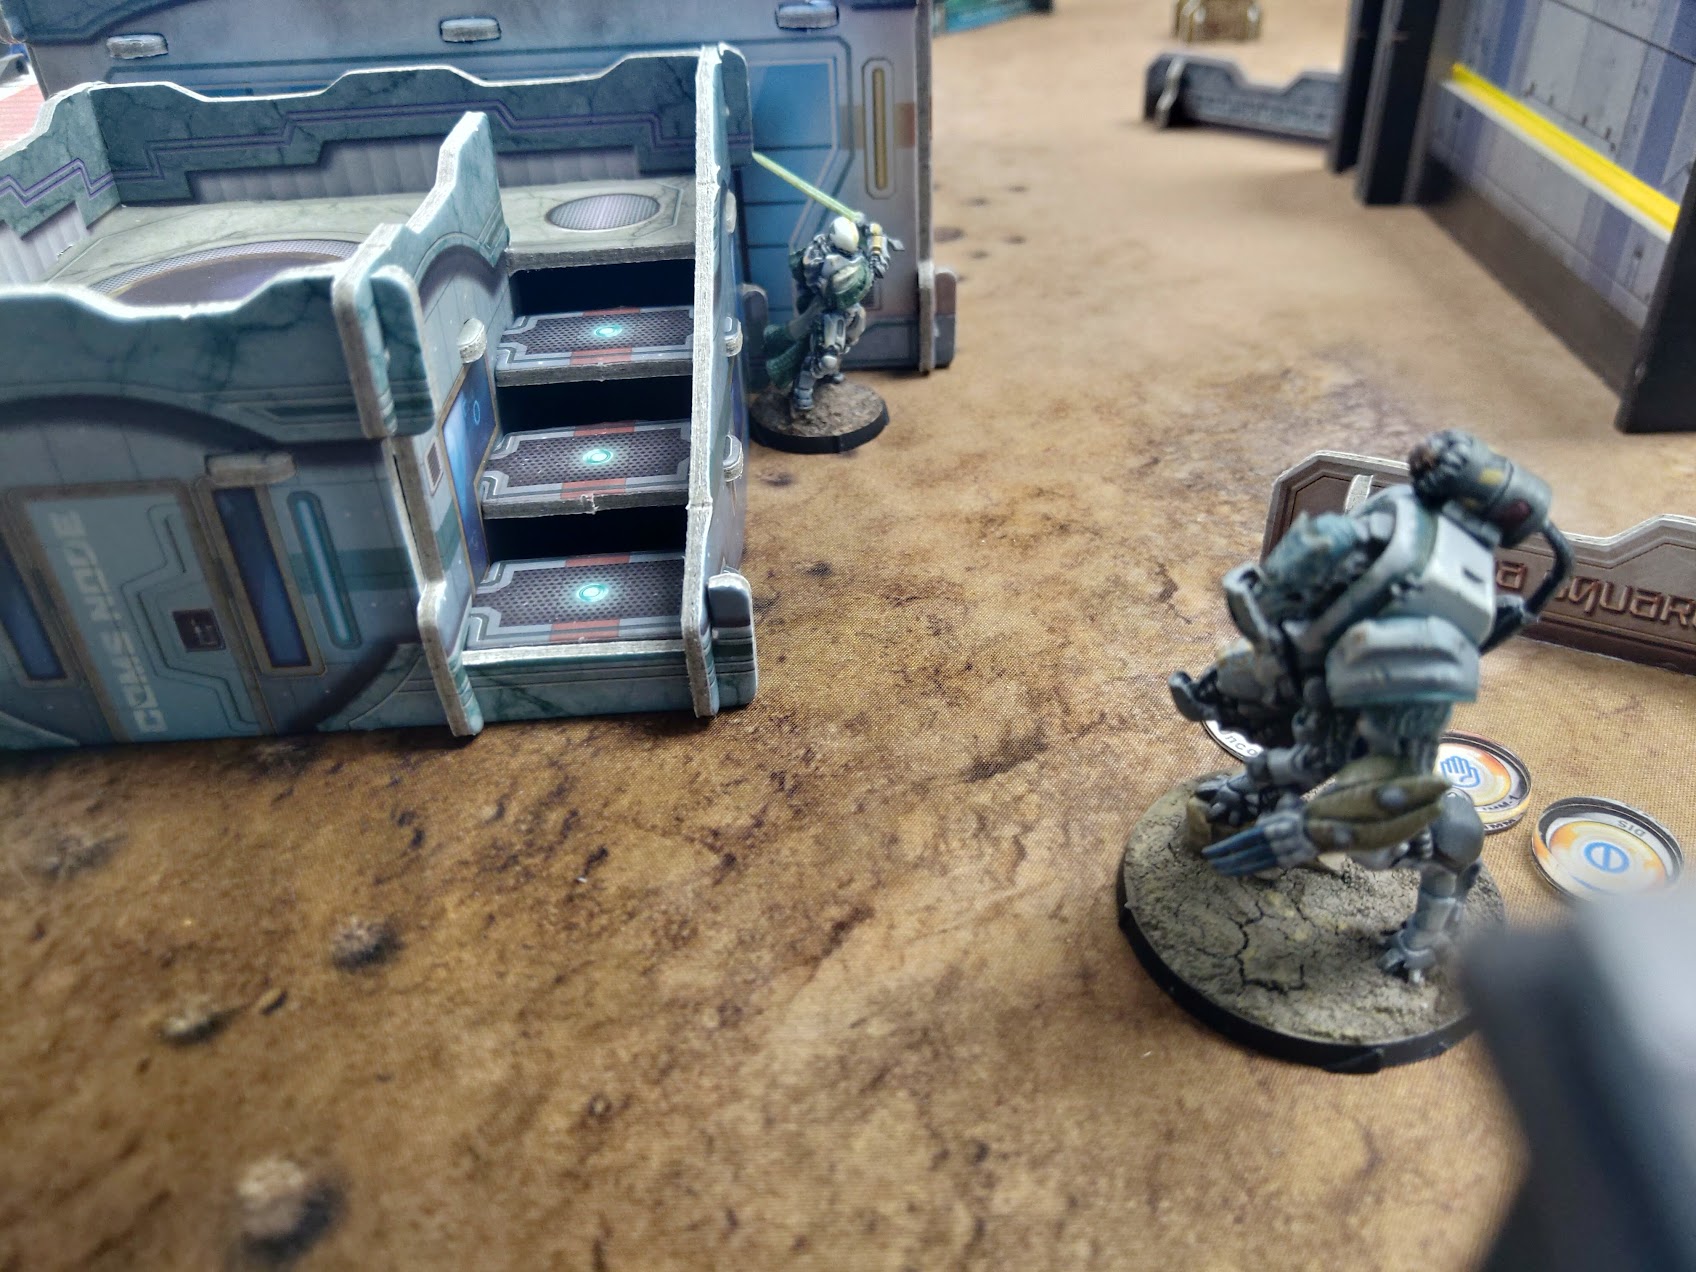 Daofei cautious moves around the wall and behind the AC2, and then D-charges the AC2. He then ends his turn by a nearby building.
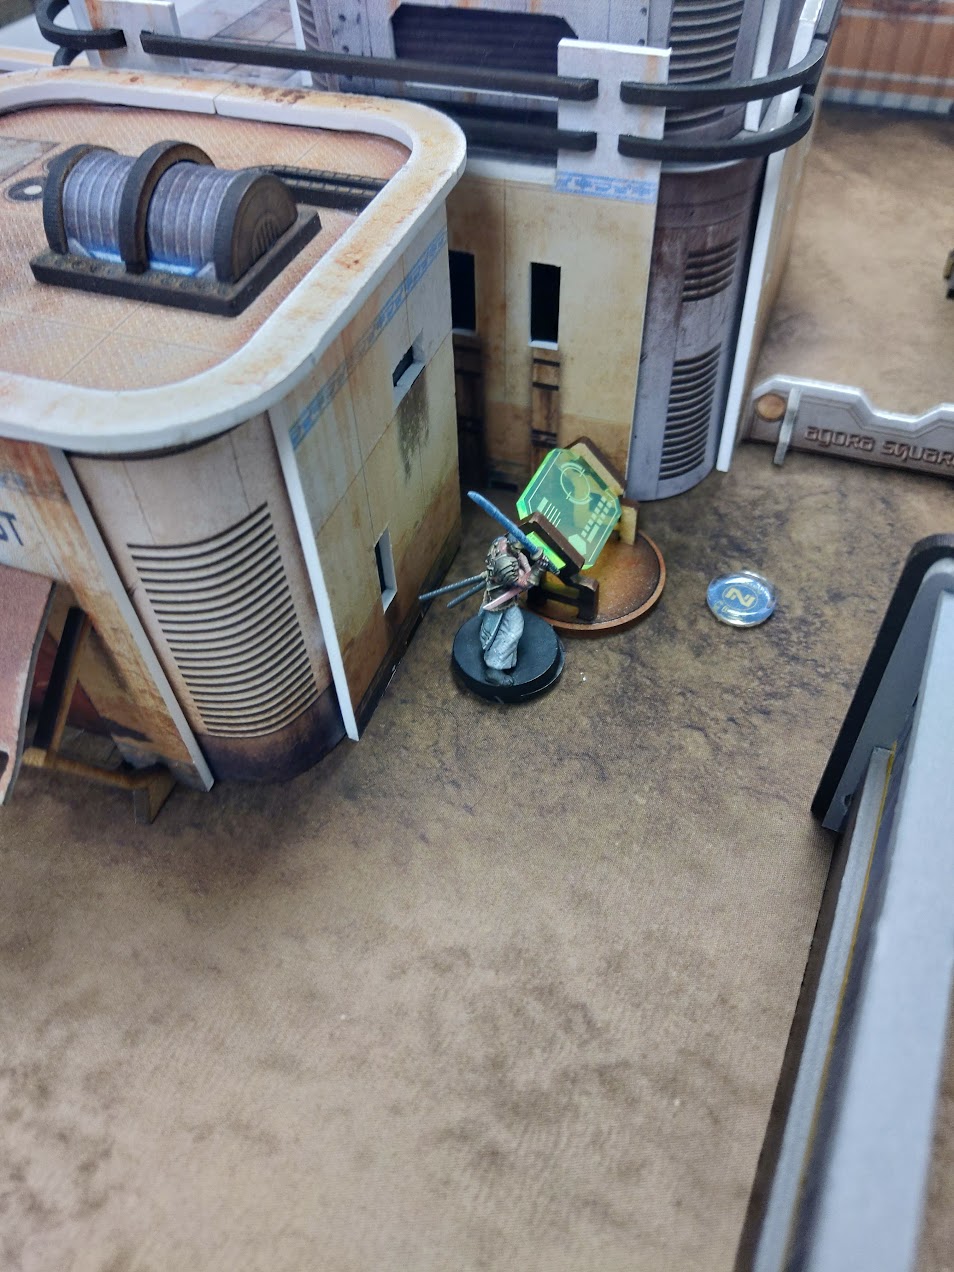
O-12 High command has set very strict rules about when a combat force can retreat from a fight. Fortunately (or unfortunately) for O-12 forces at this point, Combat effectiveness was at 25.33%, an entire 0.33% over the retreat threshold!
- The Omega moves to secure the enemy HVT, trading shots/hacking programs with the Daofei as he runs up the board. His turns ends Just short of the enemy HVT.
- Daofei rounds the corner and kills the last Kytta bot.
- Kuang Shi moves and uses a panoply.
- Beast hunter finally opens panoply and secures O-12s HVT.
With no strong options to deal with Shona or Omega, but knowing Retreat will happen next run. YJ runs down the clock.
Final Score:
O-12: 2 (2-str dealt to AC2)
YJ: 7 (1-secure HVT, 1-more panoplies, 3-str dealt to AC2, 1-remaining AC2 str)
Battle Report Author
Army Lists Used In This Battle
Recommend Commander For Commendation
Share this battle with friends
ISS Collateral Compassion DivisionWins

Good job Officer!
Very cool map! The weathering effects were really nice and made this report stand out.