Fought At Cameliard: Reliquary
652 days 21 hours 6 minutes ago
Cost of Battle -Pt2
View Linked Report - CLICK HERE 300 POINTS*NOTE 1: All buildings with playable interiors (exclusively the Armoury building in this game) were played under the assumption that models could draw line of fire into, out of, but not through. Template weapons functioned normally, but could not select a target unless they abided by these line of fire rules. Mines and other deployables were not affected, and could affect targets through. ‘Doors’ on buildings without playable interiors were treated as ladders.
*Note 2: Valkyrie, Casanova, Hypolita, and Warcor were proxied as Varangians in any pictures seen.
ISS collateral division is at it again. And this time they brought hands.
YJ won the role and took initiative, after careful consideration O-12 took the eastern side of the board. Both The east and west sides looking extremely difficult to defend, at least the eastern side has a building that should help a bit.
YJ used Strategos to hold back three troops. O-12 held back an Omega, spending a command point to place him in suppressive.
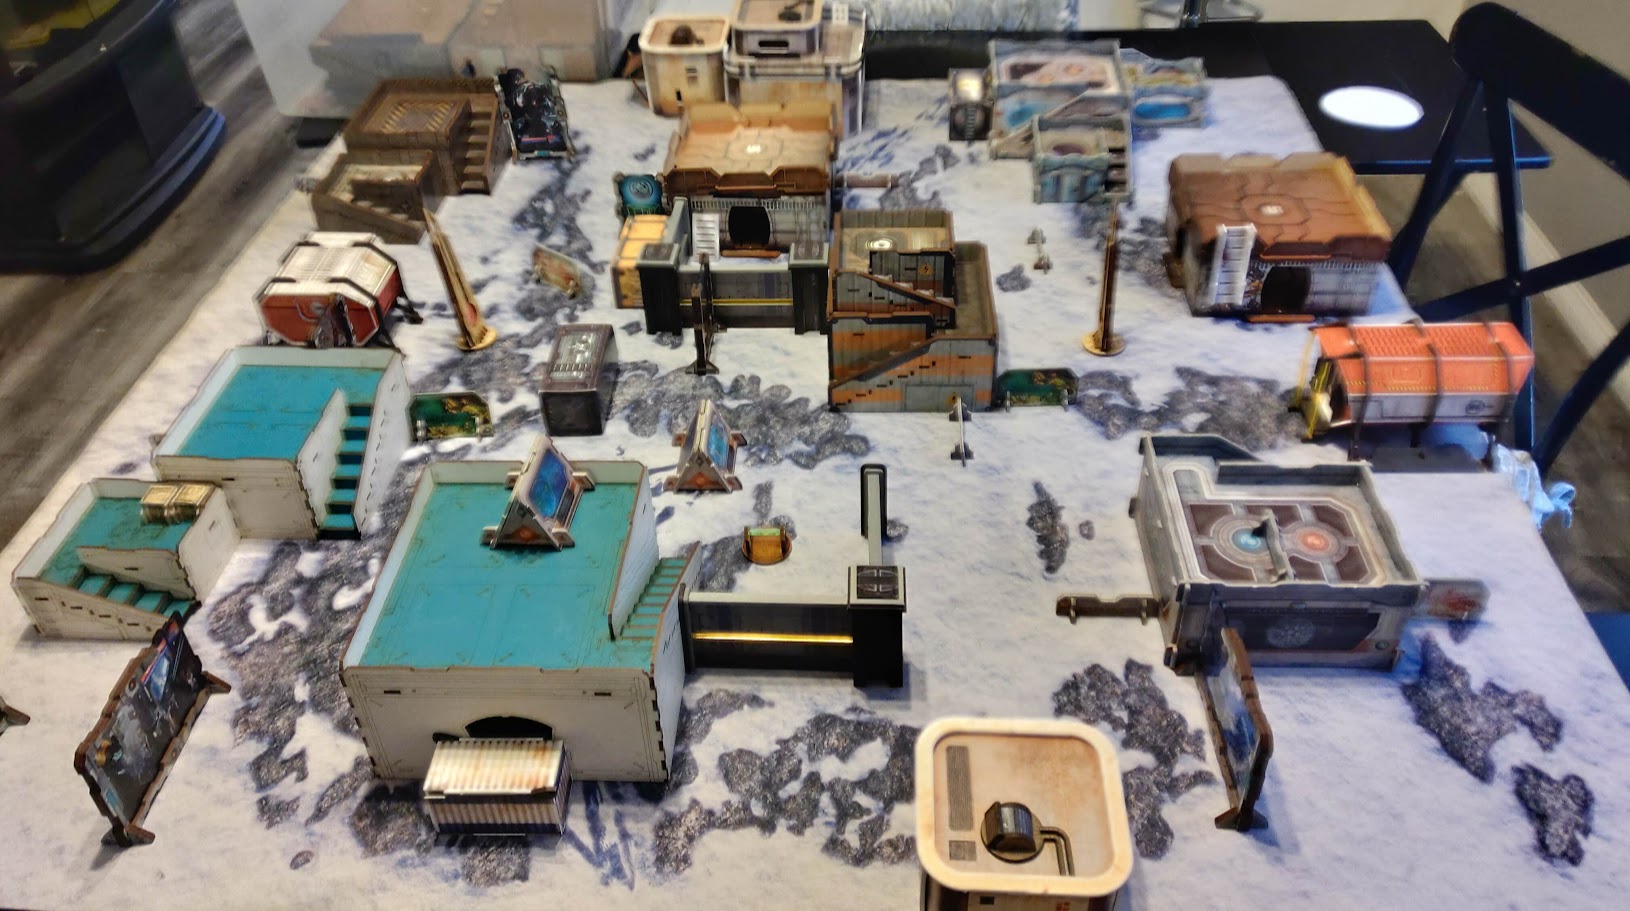 Far side is north, east to the right, south the close side, and west is to the left. O-12 took East side deploying second.
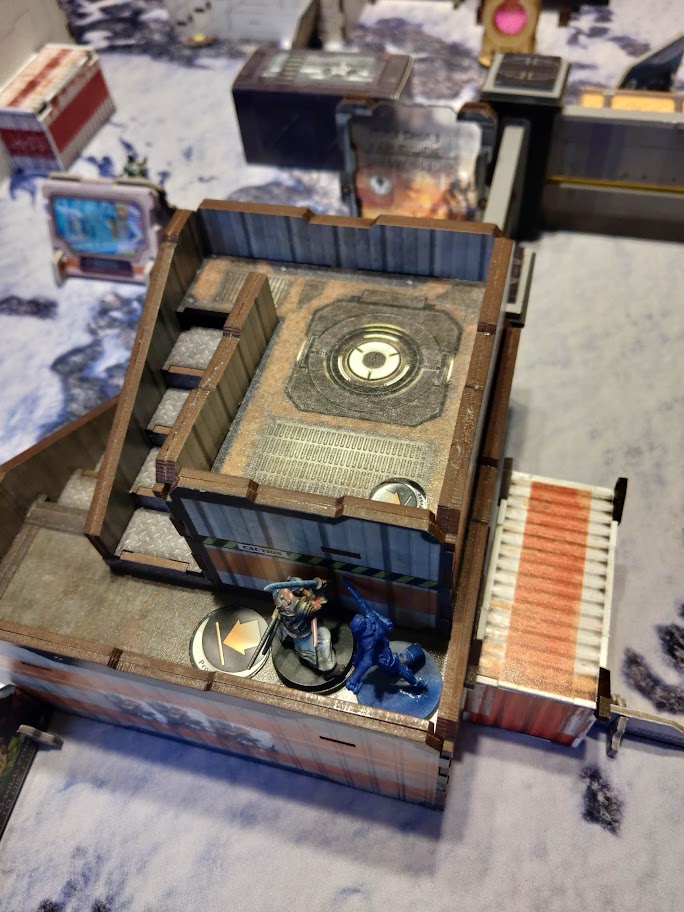
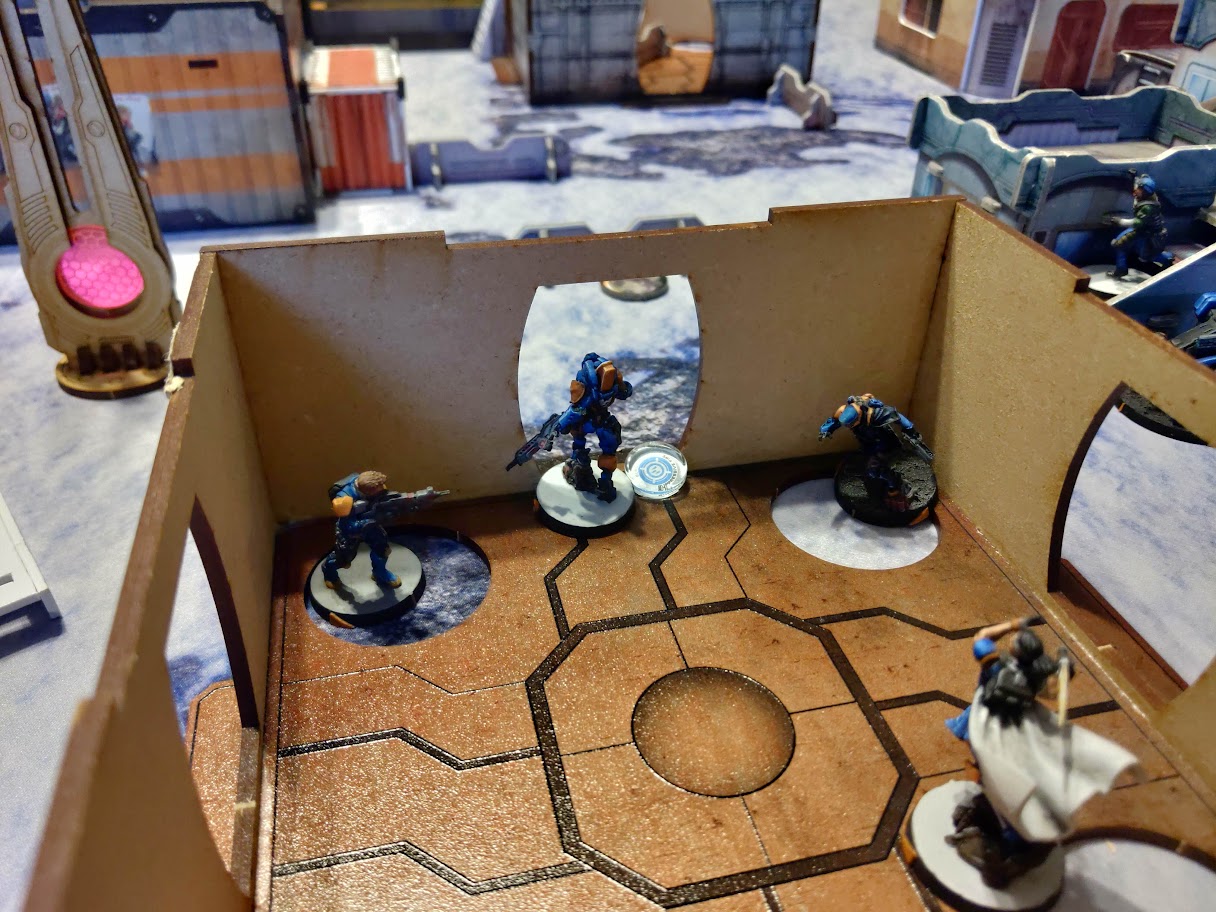 Omega deploys in suppressive mode in the western doorway of the deployment zone building. Omega is joined by a Kappa FO (actually cho), a Raveneye, and a Varangian.
- Impetuous orders see a number of monks and Kong shi rush forward.
- EVO hacker uses controlled jump (uh oh).
- Liu Xing explosive drops onto a Kytta bot and a camo marker that was overwatching the objective. Lynx specialist reveals and instead of trying to dodge simply shoots the offending drop trooper. Kytta bot attempts to dodge but fails it's roll. All three troops perish as a result.
 Liu Xing explodes onto the scene, catching the Camo marker (Specialist Lynx) and Kytta bot unprepared.
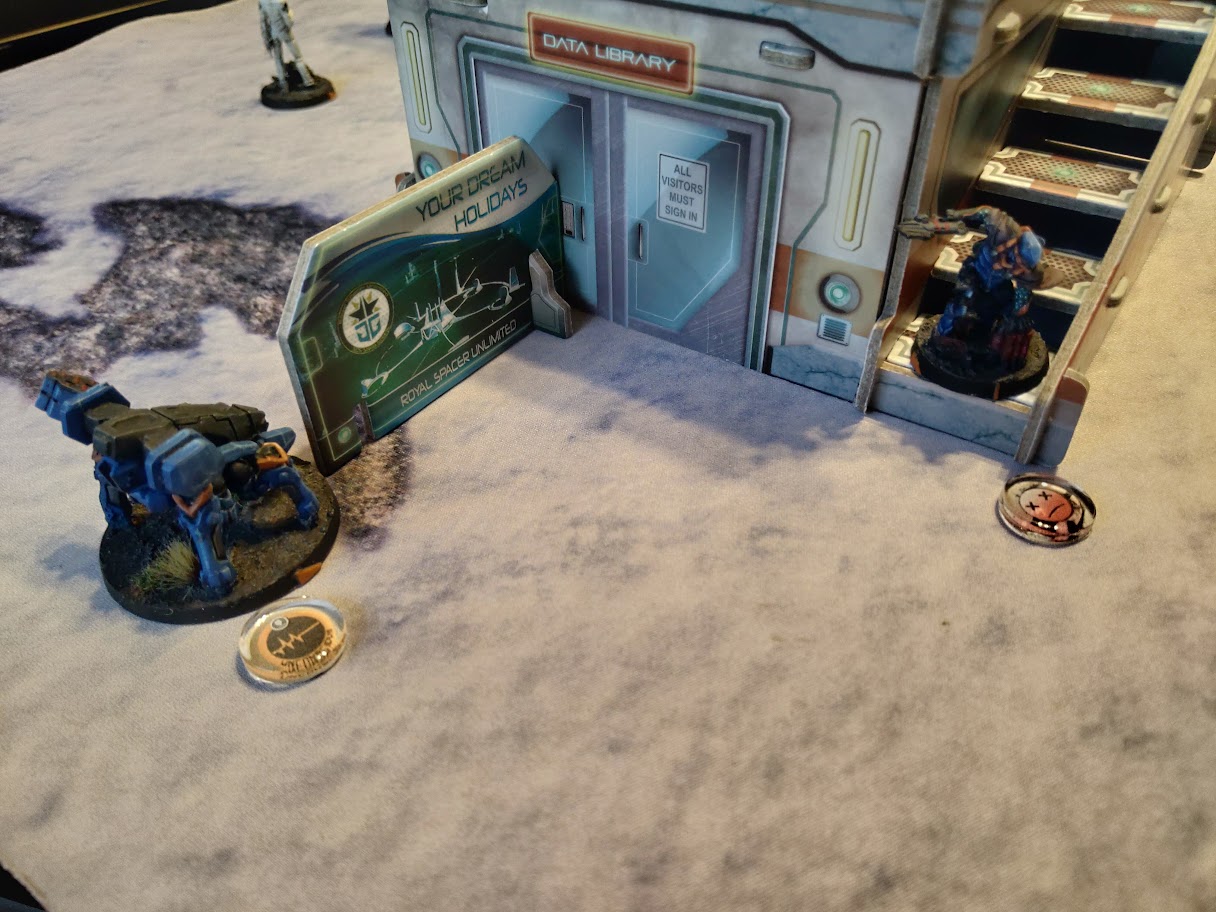
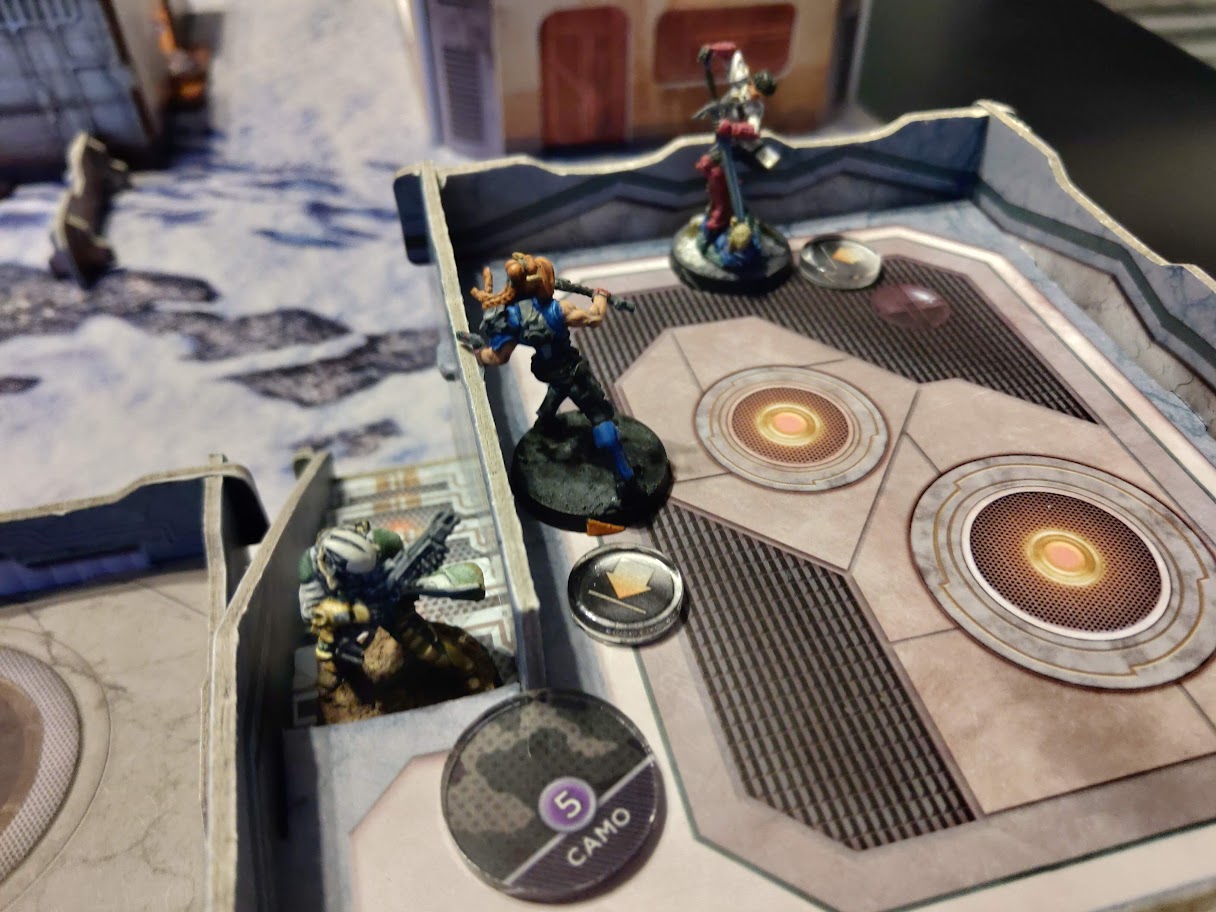
- Guilang spends a number of orders maneuvering (just outside the range of the Raveneyes mine) from the Northern part of the board into the Northeast cluster of buildings where Shona, two Varangians, and a Kytta bot are hanging out prone. Guilang drops a shock mine, and the varangian and Shona both fail to dodge before it's deployed. Now the Guilang pokes it's head out for Shona to see. The varangian with her fails to dodge at -3 against the mine and dies, Shona dodges the mine but takes a hit from the Guilang. The Guilang decides to target the other Varangian and Kytta bot, which also opens it up to Shona, and the Omega in suppressive to respond. The Guilang dies, but so does the Varangian who chose to chain rifle and the bot that failed to dodge. Only Shona is left in that cluster of buildings.
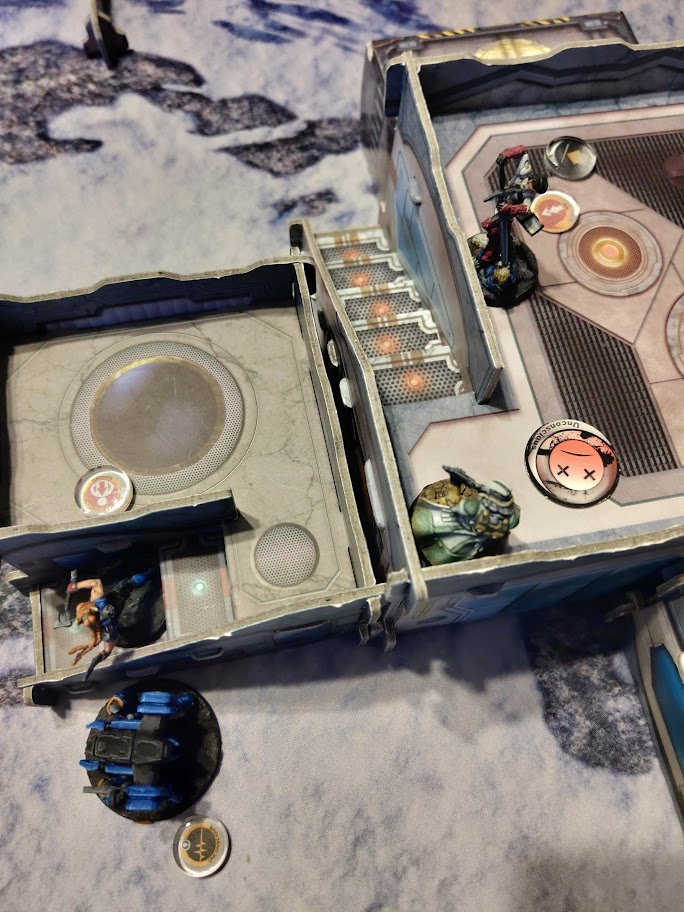
- Beasthunter in camo moves his way up the board to the crusher, and while avoiding some shots from the Omega, manages to get into CC with the Crusher and kill him easily.
- Finally, realizing that the O-12 commanders' favorite toolkit is the Razor, two dropbears are deployed by a Monstrucker around the YJ objective before the end of the turn.
While at this point I was pretty demoralized on being able to accomplish the mission, there was no way a Razor was going to be able to make it through all those dropbears and any other troops messing with him. So there was not a lot of thought being put in to any of the action you're about to read.
- Two remaining Varangians simply run forwards, needing to establish some kind of presence on the board at least.
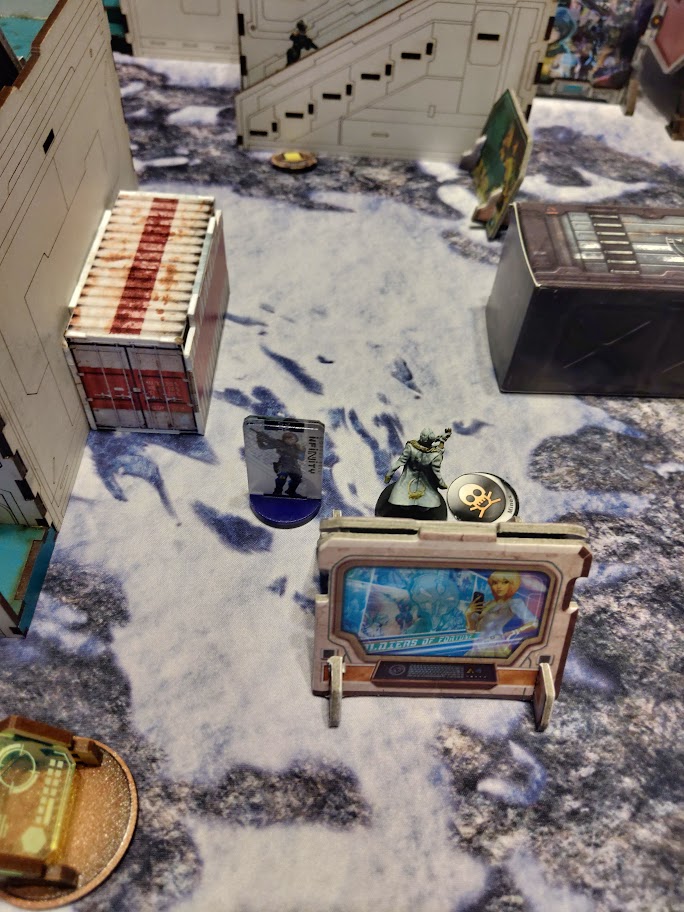
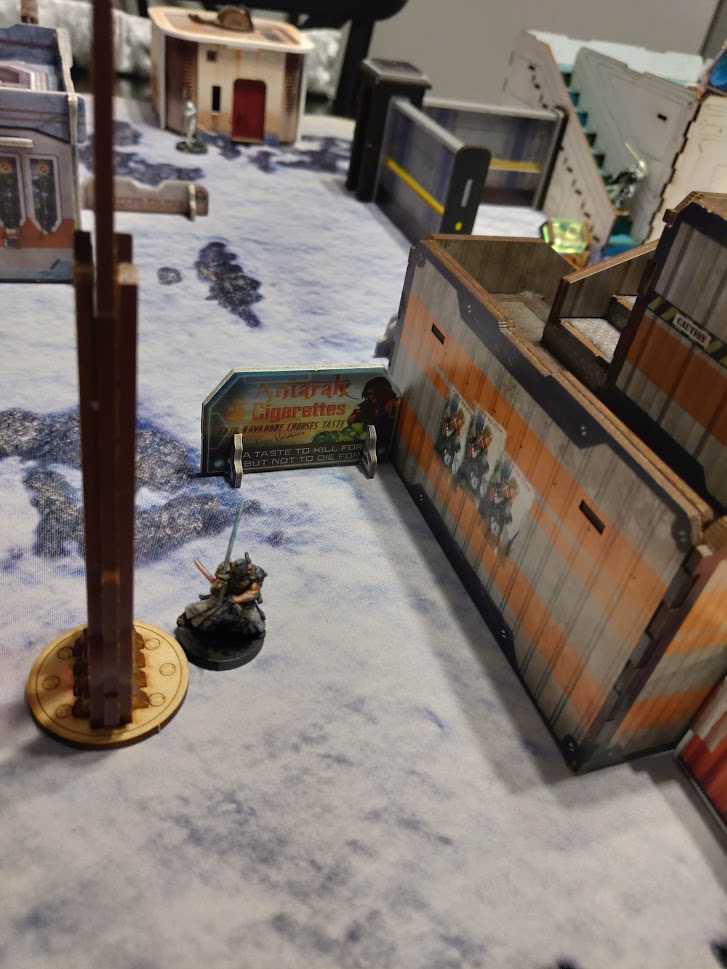
- Camo marker (Razor) appears on the southern part of the board, near one of the panoplies and moves near the HVT, hoping that the dropbear on the other side wouldn't be able to hit, however upon inspection that wasn't the case, and the Razor was caught by the mine, Sun Tze and a Daofei hacker.
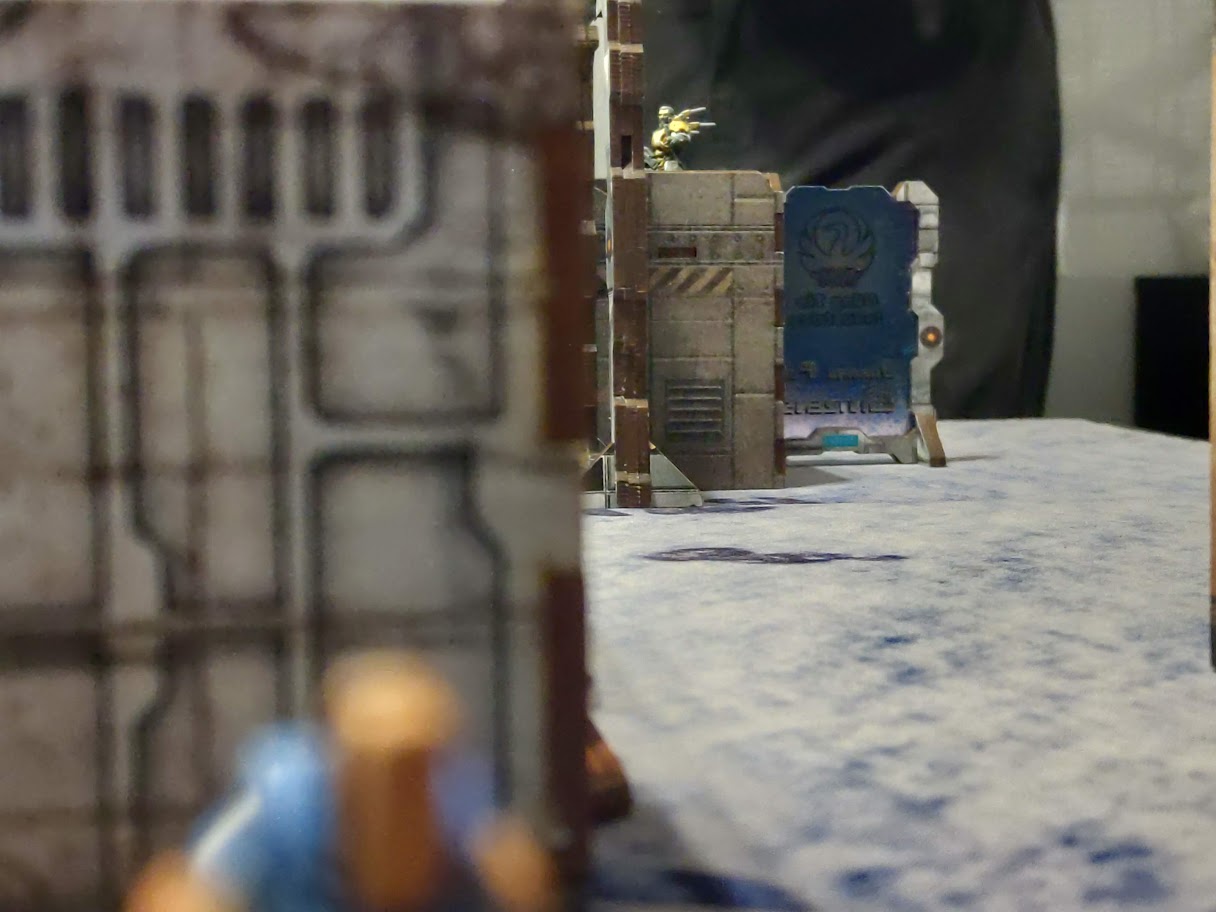
- Omega moves up the northern side of the board and fires at Sun Tze, killing him.
- Shona moves to hastily up the board and eats a Mine for it, dead.
- Omega attempts to take on the Hulang in Suppressive, but they don't hurt each other.
- A Varangian (much more disposable than the Omega) makes it's way up behind Omega and attempts to engage the Hulang but dies for it, not hurting the Hulang at all.
In Loss of LT. Those five command points are about to come in handy.
- Forgoing Impetuous.
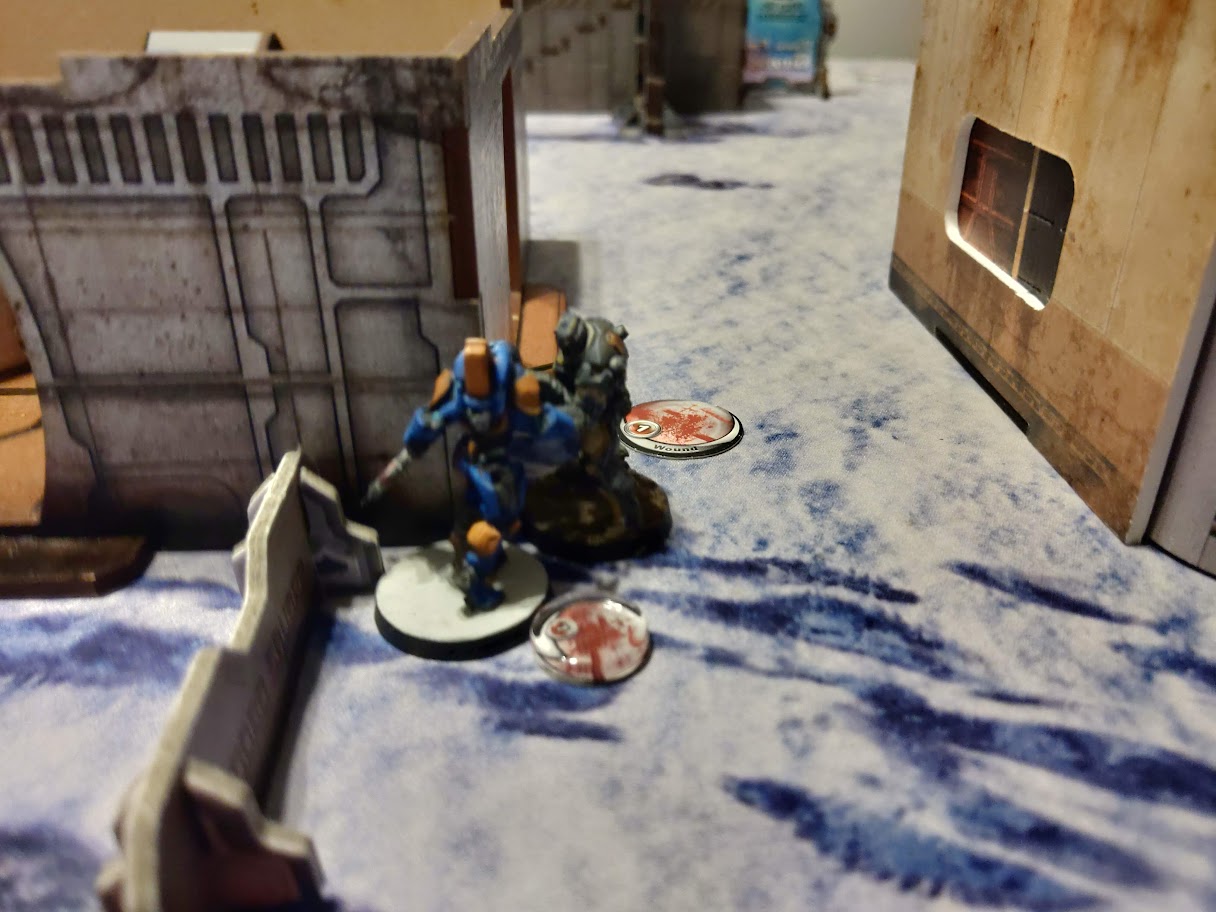
- Hulang engages the Omega in CC, Omega wound Hulang on the way in, and Hulang hits the Omega in CC, both are left standing.
- The Beasthunter super jumps into contact with the objective and attempts to CC it, tanking an EM mine in the process. The Beasthunter ends up stunned by the AC2.
- Daofei hacker comes around the corner and shoots the last Varangian on the board. goes back around the corner, and waits for the Betatrooper to try to do anything.
- Beast hunter simply goes back into suppressive with a converted order.
At this point, there was no way I could have achieved the objective since there was no way I could get the Betatrooper to the AC2 or even panoplies. So I just ran all my dudes into situations that would hopefully get them killed, and maybe if YJ's incompetence with the AC2 held, the retreat rule could at least force a draw.
- Omega attempts to CC and is killed by Hulang.
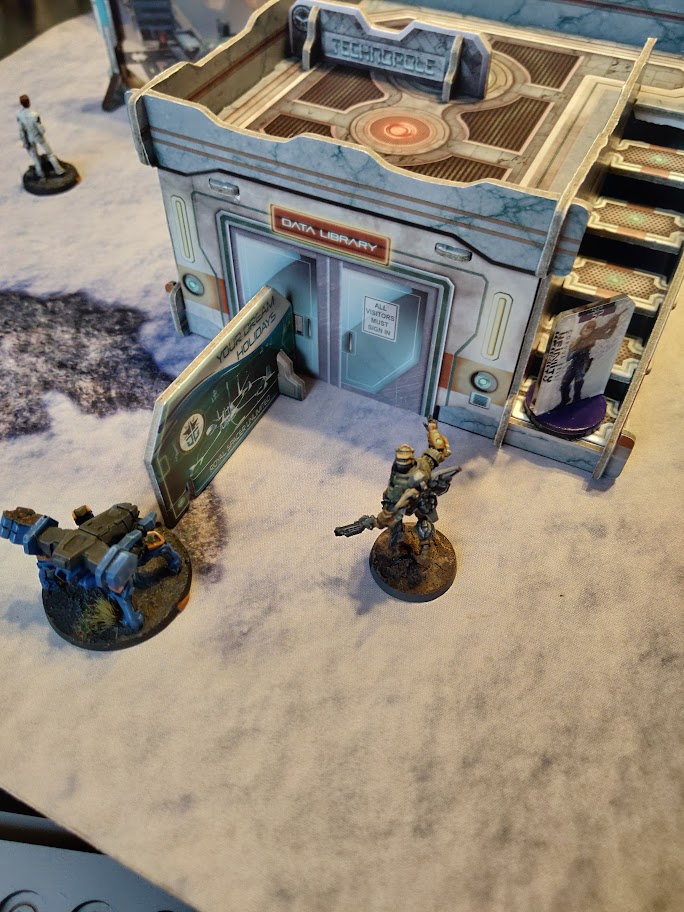
- Betatrooper scrambles over the sign in front of him to be isolated by the Daofei hacker.
- CHO moves out and trys to discover the Beasthunter who dodges around the objective to avoid being shot. She also attempts to shoot the Hulang to no effect.
- Raveneye also attempts to shoot the Beasthunter but fails to do anything.
-
Battle Report Author


Army Lists Used In This Battle
Recommend Commander For Commendation
Share this battle with friends
ISS Collateral Compassion DivisionWins

Great batrep and cool table!
Lovely table and minis, good job!