Fought At Darpan Xeno-station: Xenofarm Gamma
659 days 21 hours 30 minutes ago
An Attack on Darpan
View Linked Report - CLICK HERE 300 POINTS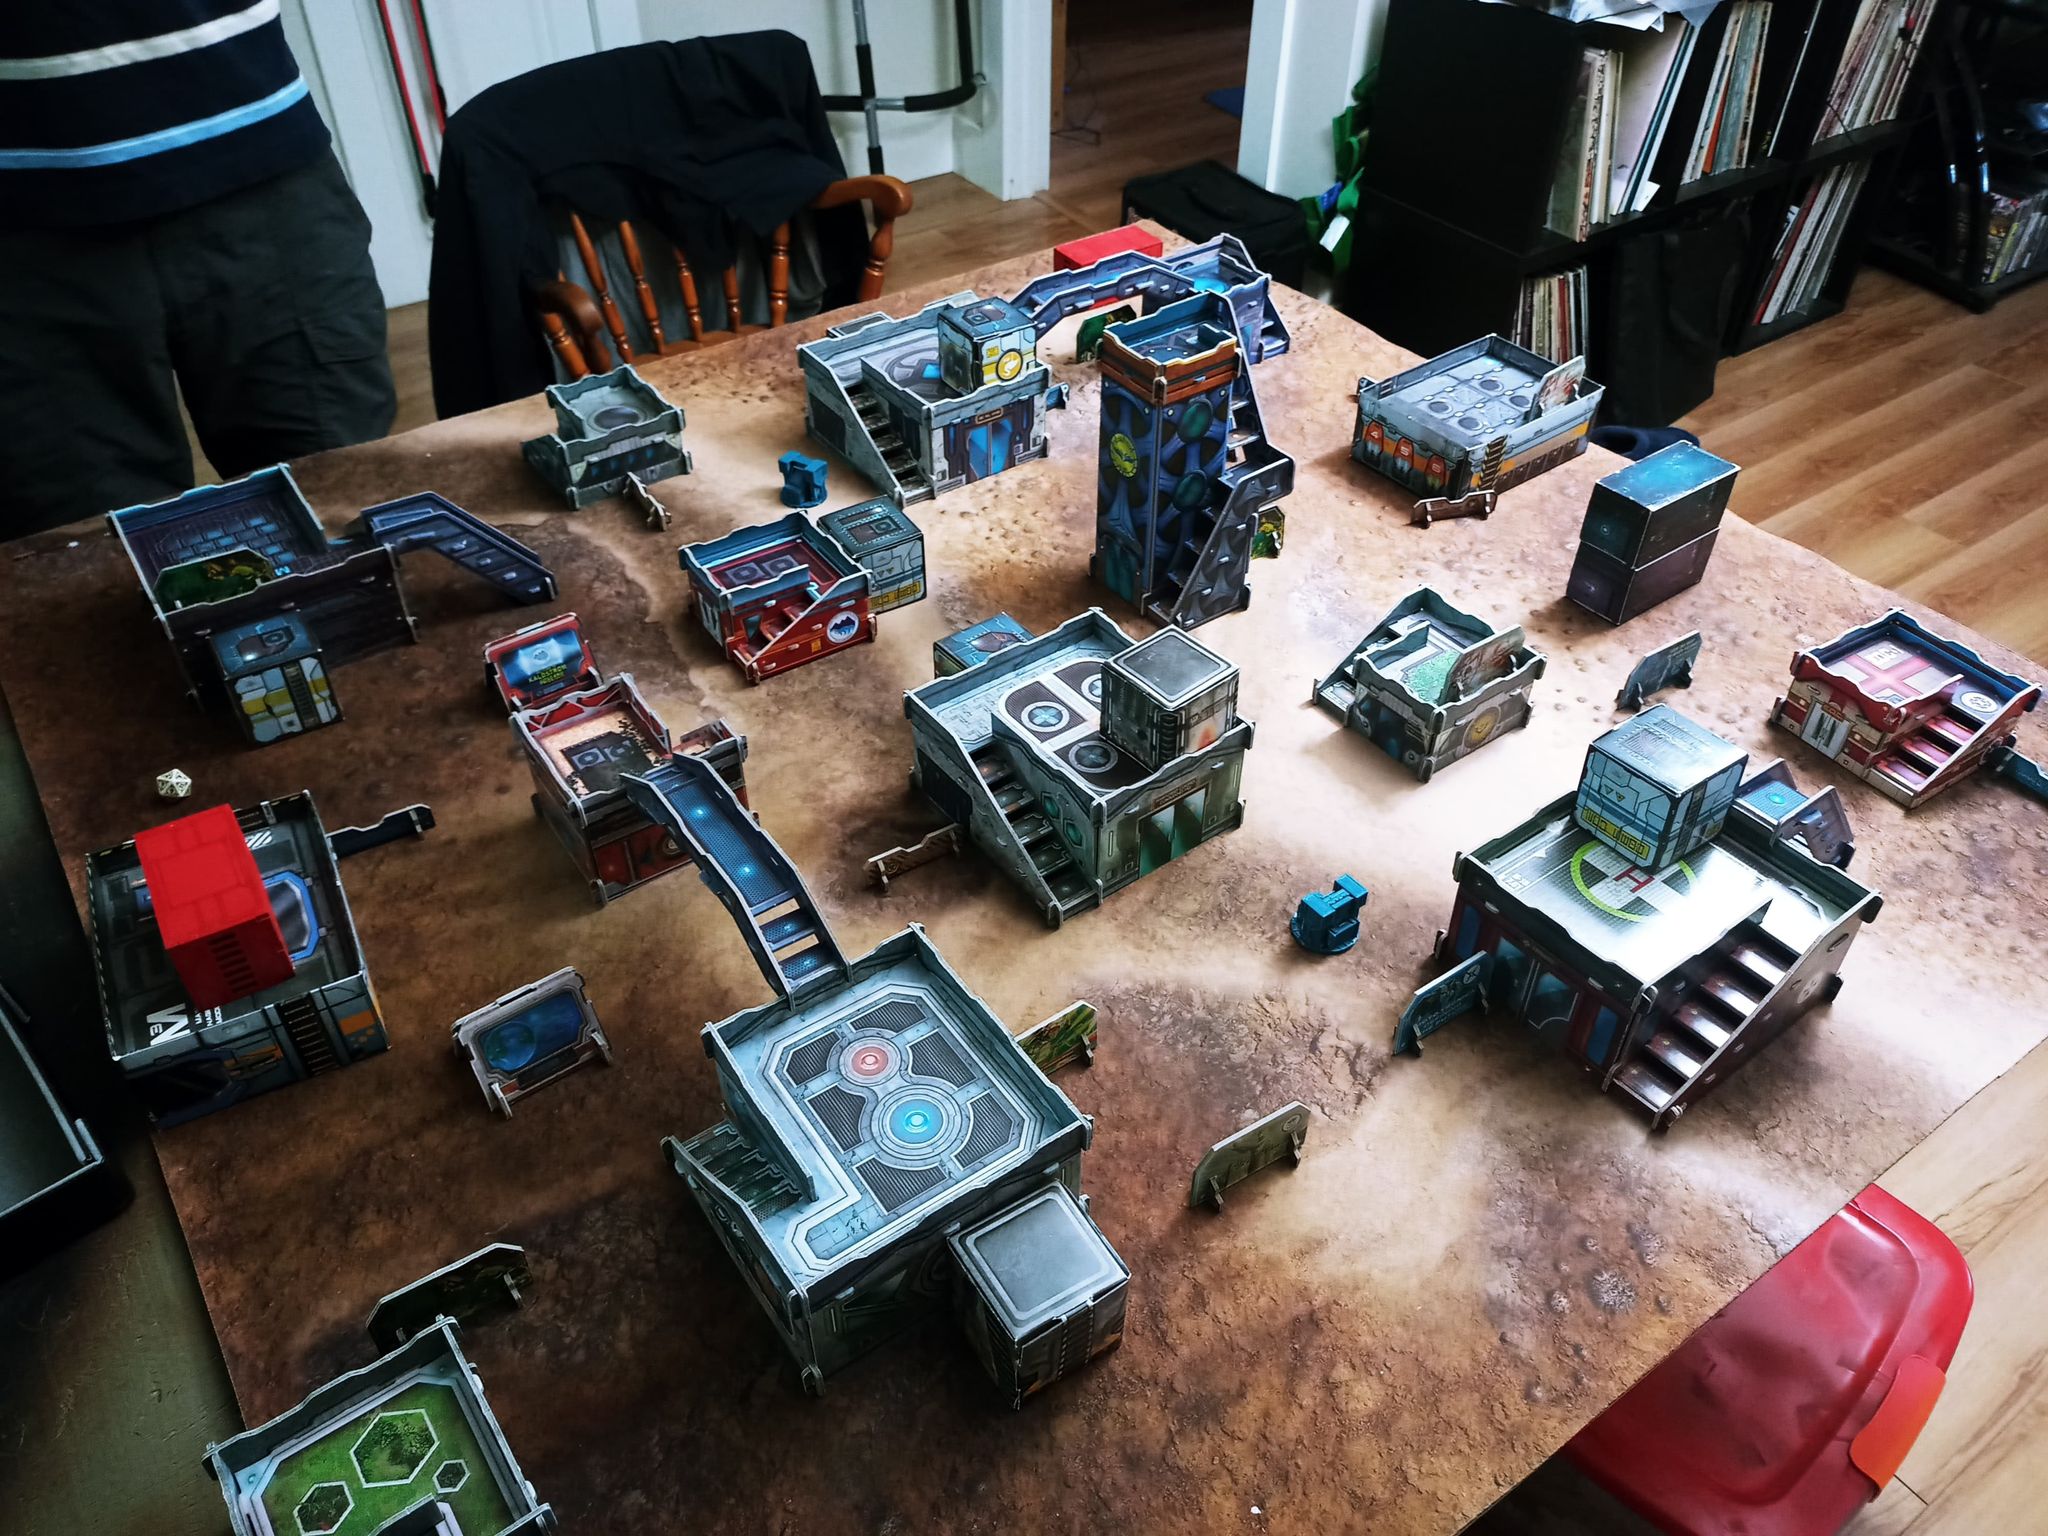
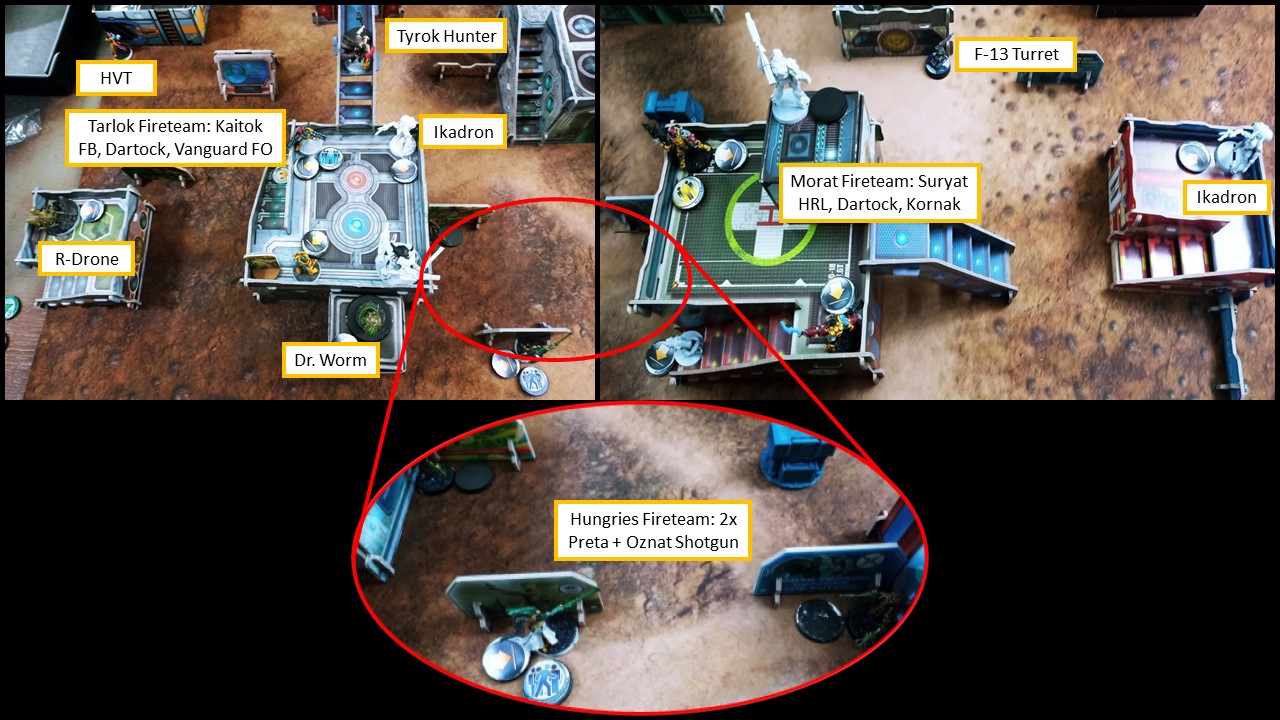
Hassassins win the Lt roll 14 to 3 and choose to take first turn. Morats deploy second and choose the side with the sniper tower in their half of the field.
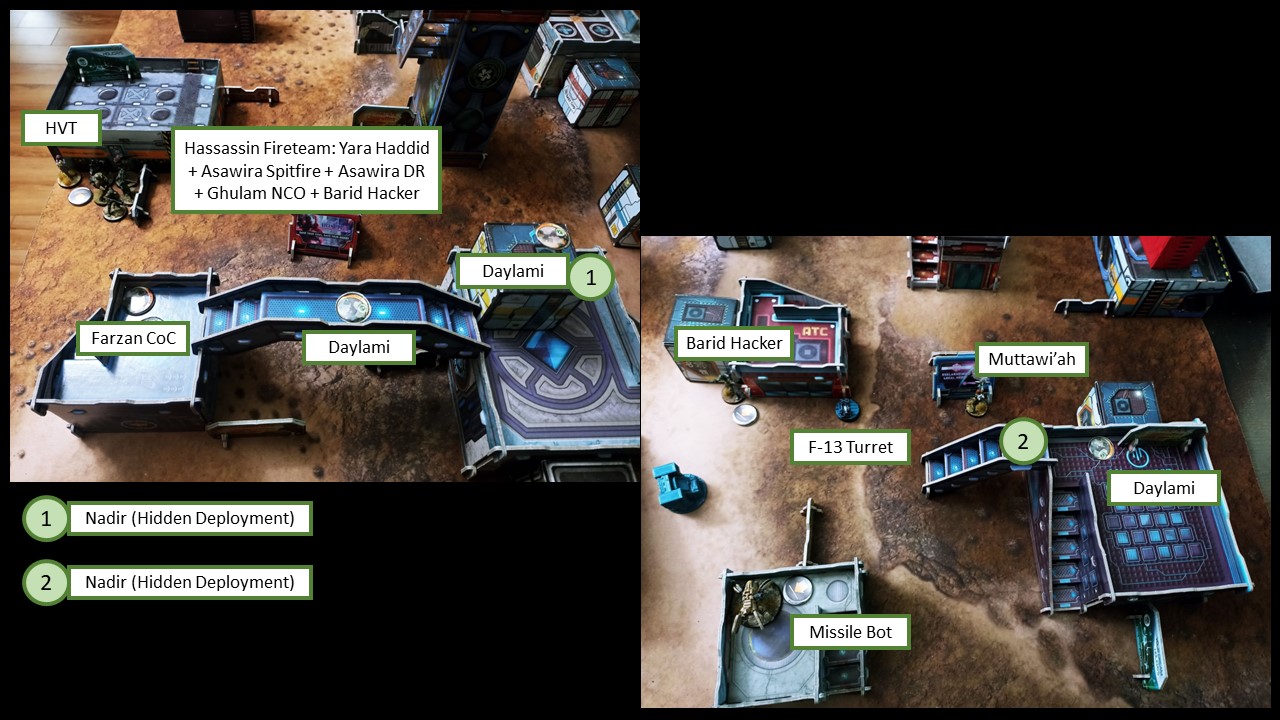
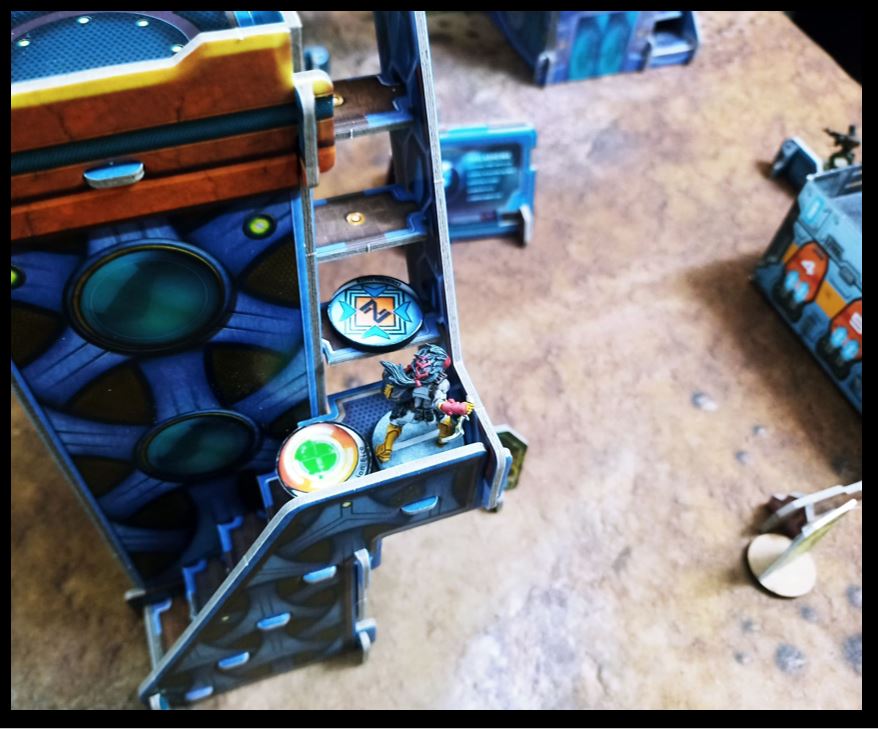
MAF holds both Tyrok Hunters in reserve, deploying them to counter the Fiday and the Hassassin fireteam with their mines. Thanks to this mission’s extended deployment zone, the Tyrok Hunter can deploy up to the center-line in the sniper tower, and MAF spends 1 Command Token to put her on suppression to slow down the link team.
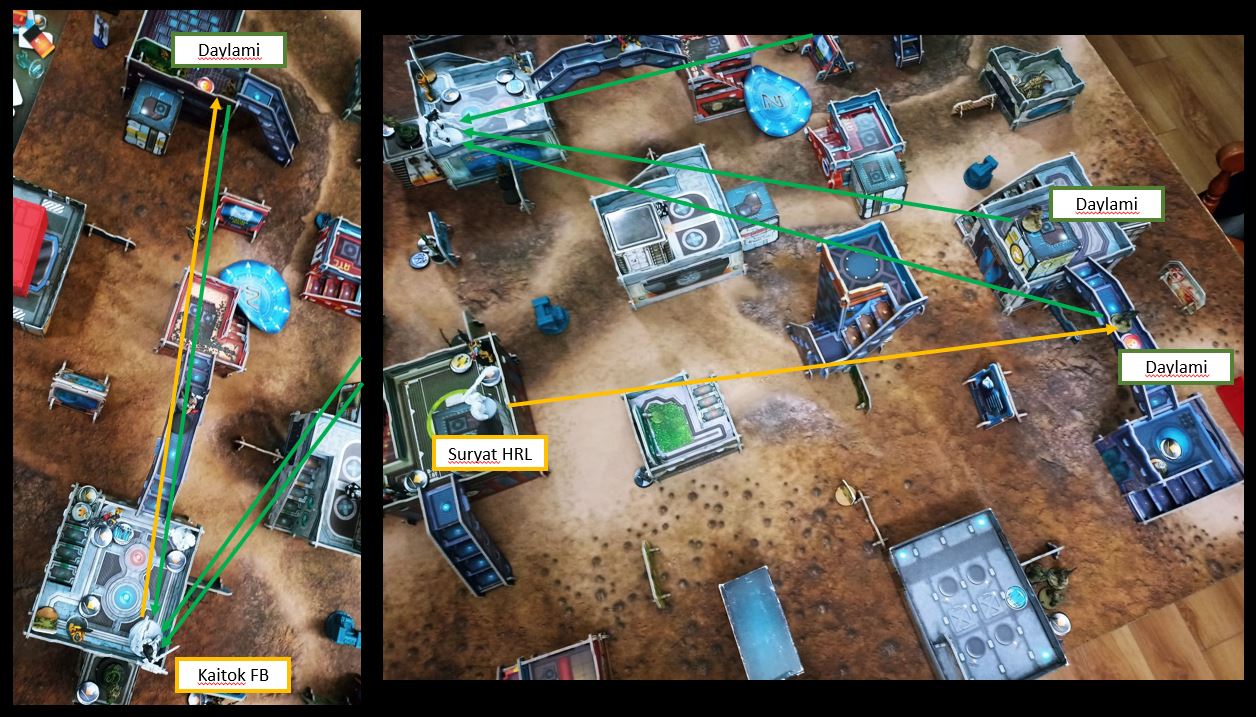
Impetuous Phase, the Mutt walks forward and throws smoke into the path of the Kaitok FB. The solo Barid then fires a Pitcher towards the suppressing Tyrok, missing the first but landing the second, then follows with a Spotlight then a Guided Missile from the Shaytaniyah onto its head. Then, 3 Daylami reveal from Camo with a coordinated order and fire their Panzerfausts at the Kaitok. The Kaitok successfully fends off one and tanks the other two hits. One of the Daylami falls to the Suryat HRL who saw it reveal. The Daylami then try again solo, with one falling to the Kaitok and Suryat, the other expending its last Panzerfaust but surviving the oncoming attacks.
The Hassassin fireteam tries to advance, first using the Ghulam to cover with smoke, then sending Yara to fight the Suryat HRL. It takes the rest of Haqq’s turn, but they gain no ground and are forced to retreat as the Suryat holds its ground.
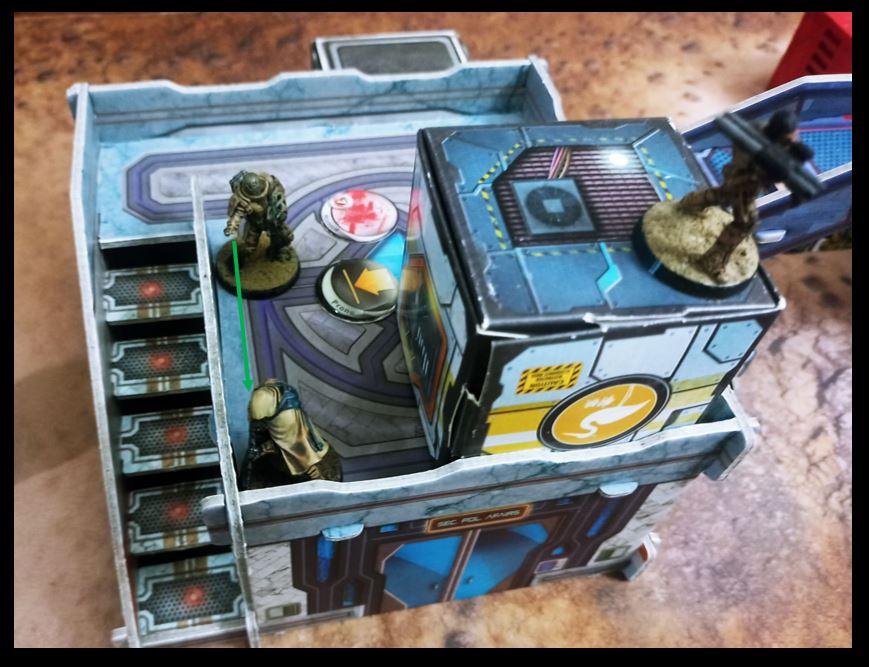
With only one casualty, the Morats are feeling good. The Suryat fireteam activates with the intention of finishing off the Daylami, but he gets ambushed by a pair of Nadir, who manage to knock him unconscious with their Flammenspeers. The Kaitok then takes over, fighting the Nadir and the Hassassin Turret, but takes 1 Wound for its trouble for being caught out of cover by one of the Nadir. It then retreats over a wall to gain cover and get away from the Turret, taking a hit from the last Flammenspeer in the process, knocking both him and his supporting Vanguard unconscious.

Dr. Worm attempts to Doctor the Kiatok back onto its feet, spending a Command Token to re-roll after the first roll fails. The Kaitok continues its fight with the rest of the orders in Group 1, but despite the Nadirs switching to SMGs, he still fails to take either of them out.
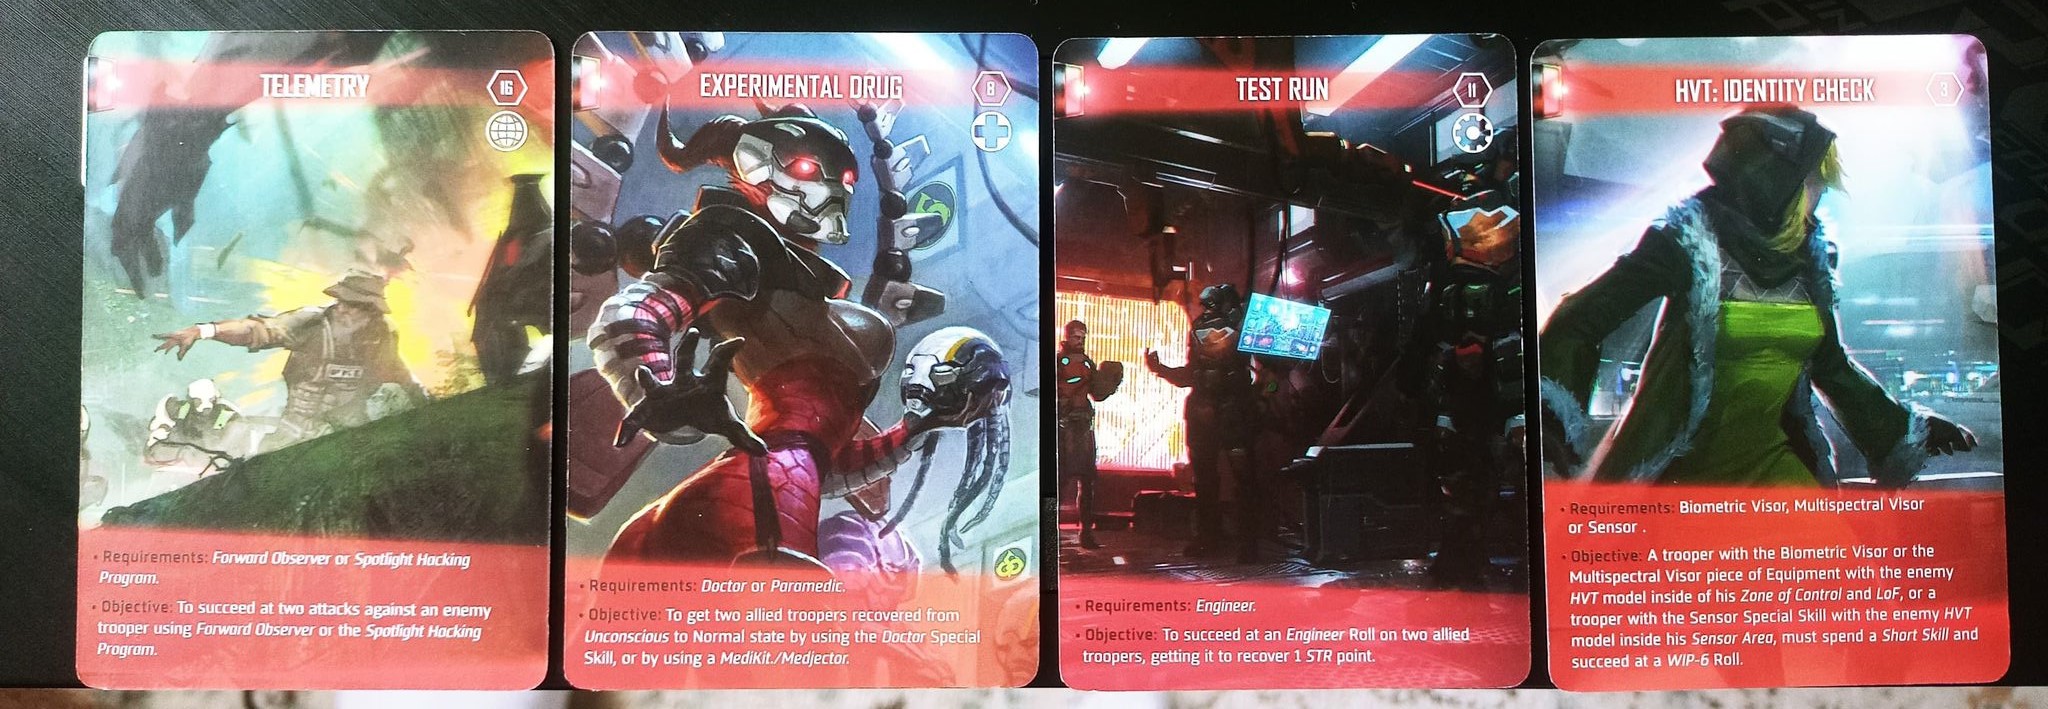
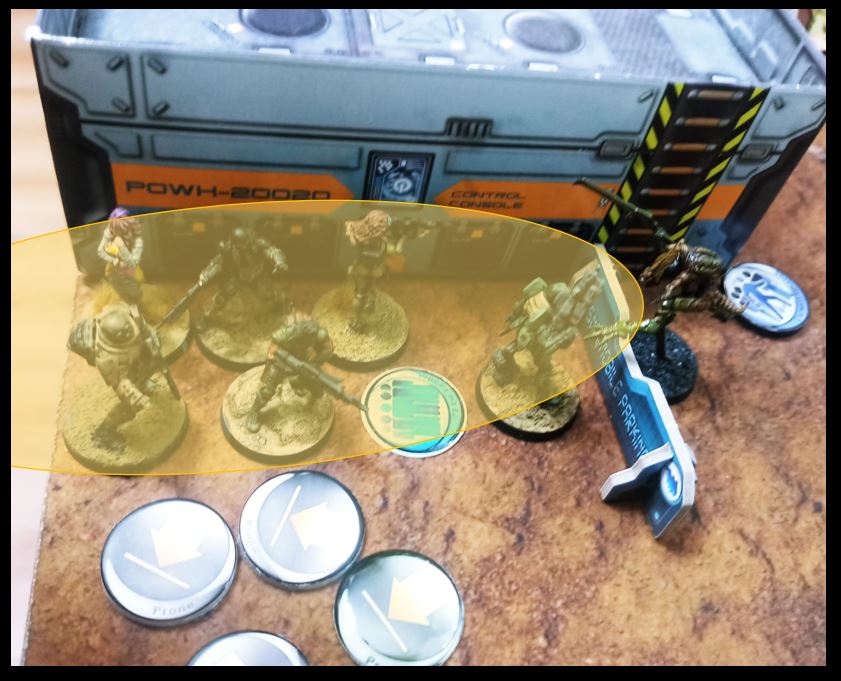
With Group 1’s orders depleted, Group 2 rushes into action. The Hungries fireteam sprints across the table, dodging all incoming fire from the Turret, Nadirs, and Daylami. They eventually make it to the Hassassin fireteam’s position intact, and the Preta sprays the whole link twice with its Chain Rifle, dealing 1 Wound to an Asawira and knocking the Ghulam unconscious. In return, the Preta is both Spotlighted and killed, which scores Hassassins the Telemetry objective.
The Mutt uses its impetuous movement to advance towards the Kaitok’s link team, then a few more orders to get in range to Chain Rifle them all. This knocks the Kaitok and Ikadron unconscious and kills the Vanguard, but the Mutt dies to the Tyrok’s mine.

The Asawira Doctor in the Hassassin fireteam revives the Ghulam, then they spend a few orders with the Barid as the leader. First, they score Data Scan on the Oznat, then they Spotlight the Onat and Preta to call in Guided Missiles on them both. The Asawira Spitfire then fights the Morat Turret, but in the process of destroying the turret, Yara is killed. The fireteam falls back once again to their initial position. The Asawira Doctor breaks off from the fireteam to go find a second target to Doctor and score Experimental Drug, but it fails the roll on the nearby unconscious Daylami.
Morat’s Group 2 is completely wiped out now. Dr. Worm begins by reviving the Kaitok again, being forced to spend a Command Token again due to failing the initial roll. It keeps trying to fight the Nadirs and finally manages to knock one unconscious, but then he once again goes down to a lucky SMG shot from the other. Dr Worm revives him for the third time, requiring a Command Token reroll for the third time as well. The Dartock that was formerly in the Kornak/Suryat link fires a Pitcher towards the Hassassin fireteam, then proceeds to Trinity the Barid to death, Spotlight both the Ghulam and Asawira Spitfire (scoring Telemetry), and then Oblivions the Asawira with the last order.
The Fiday finally makes its move, advancing under cover of smoke to fight the Kaitok. It successfully takes out the Kaitok with its Light Shotgun, then the Oblivioned Asawira kills Dr Worm with his single order, and finishes his Hacking token collection by getting Carbonited by the Dartocks.

The Asawira Doctor makes his way over to the unconscious Nadir and successfully Doctors him to score Experimental Drug. The Ghulam then moves forward with the NCO orders and enters Suppression to try to keep the Morats back from the Haqq HVT.
With no way to score any more of the main Classifieds, Morats commit to at least scoring their secondary as Secure HVT. First, Kornak fights the Ghluman NCO, knocking him unconscious. Then the Ikadron on the right flank rushes towards the HVT, deftly dodging through a harrowing gauntlet of Nadir and Daylami gunfire. On the last order, the Ikadron reaches is destination but takes a hit from the Nadir… but its luck holds and it passes the ARM save, scoring Secure HVT for the Morats.
Battle Report Author


Army Lists Used In This Battle
Recommend Commander For Commendation
Share this battle with friends
HuskerWins

Excellent report, wonderfully detailed, well done.
Great detail! Good music too, very Morat feeling.
Like the fight details in report!
Great report, Nadhir are evil.
Shame about the results (Can’t let Husker have nice things), but very well done report!
Wow! Nice work here! and thanks for the epic game!