Fought At Cameliard: Reliquary
652 days 15 hours 40 minutes ago
FEINT AT THE RELIQUARY
View Linked Report - CLICK HERE 300 POINTSINCOMING TRANSMISSION>>>
Attention all Tactical Monitoring Companies: Our agents have reason to believe the facilities at [REDACTED] holds that which we seek. The Human-Tohaa alliance has begun to fray in this region. Neither force can be allowed to maintain control of such a prize.
Therefore, it falls to us my broodkin to force the hands of the dread StateEmpire and ensure that they are unable to render aid at [REDACTED]. Analysis has determined that a concerted strike at the Cameliard "reliquary" would draw sufficient attention away from [REDACTED].
You are to rendezvous at the target location with the Charontids: the EI cannot allow us to fail.
TRANSMISSION END<<<
(Turn 1) Lured in by our feigned lack of comm discipline the humans began their assault with an aggressive opening assault. The crude human TAG succeeded in eliminating our human "grief operator" agent before positioning itself to cover our location with suppressive fire. The StateEmpire forces intent on destroying the communications link to their systems.
Having overextended the enemy machine left its systems vulnerable to informational attacks. Utilizing one of its linked drone the Charontids made quick work of the StateEmpire's defensive code and assuming direct control of our adversary. Subordinate to the sublime will of the EI the former foe turned its guns upon its erstwhile allies. The enemy forces succeed only in slaying a taigha whelp.
(Turn 2) Despite the risk the human pilot regains control and strides defiantly towards our communications array. In its frenzy of destruction the human machine once again falls under the Charontids' sway. As the array is destroyed the remaining human forces push to the center field. Faced with the tiny angry jaws of the taigha the human attempts at sabotage are thwarted and one of their number wounded. Desperate to survive the humans begin to triage their wounded.
Once again in control of the enemy TAG the Charontids directs its killing power against its own allies. Human after human falls to the traitorous onslaught. Despite its tactical value the humans are forced to fire upon and wound their own machine. It was at this moment that our own sphinx TAG erupted from camouflage to eradicate an enemy drone before retreating once again behind our defensive line. There the sphinx was able to be overseen by our Caliban engineer, who was busy restoring a damaged r-drone.
(Turn 3) Desperate and humiliated the human war machine makes a quick retreat and positions itself beyond our repeater's range. The remaining human forces repair the drones and prepare to hold their positions against us. They do not know that they have been deceived.
One attempt to loot the reliquary is made via the Ikadron batroid but proves fruitless. There is nothing more to be gained by fighting here. Our forces perform an ordered withdrawal and quit the field.
Battle Report Author

Army Lists Used In This Battle
Recommend Commander For Commendation
Share this battle with friends
SamiberiWins

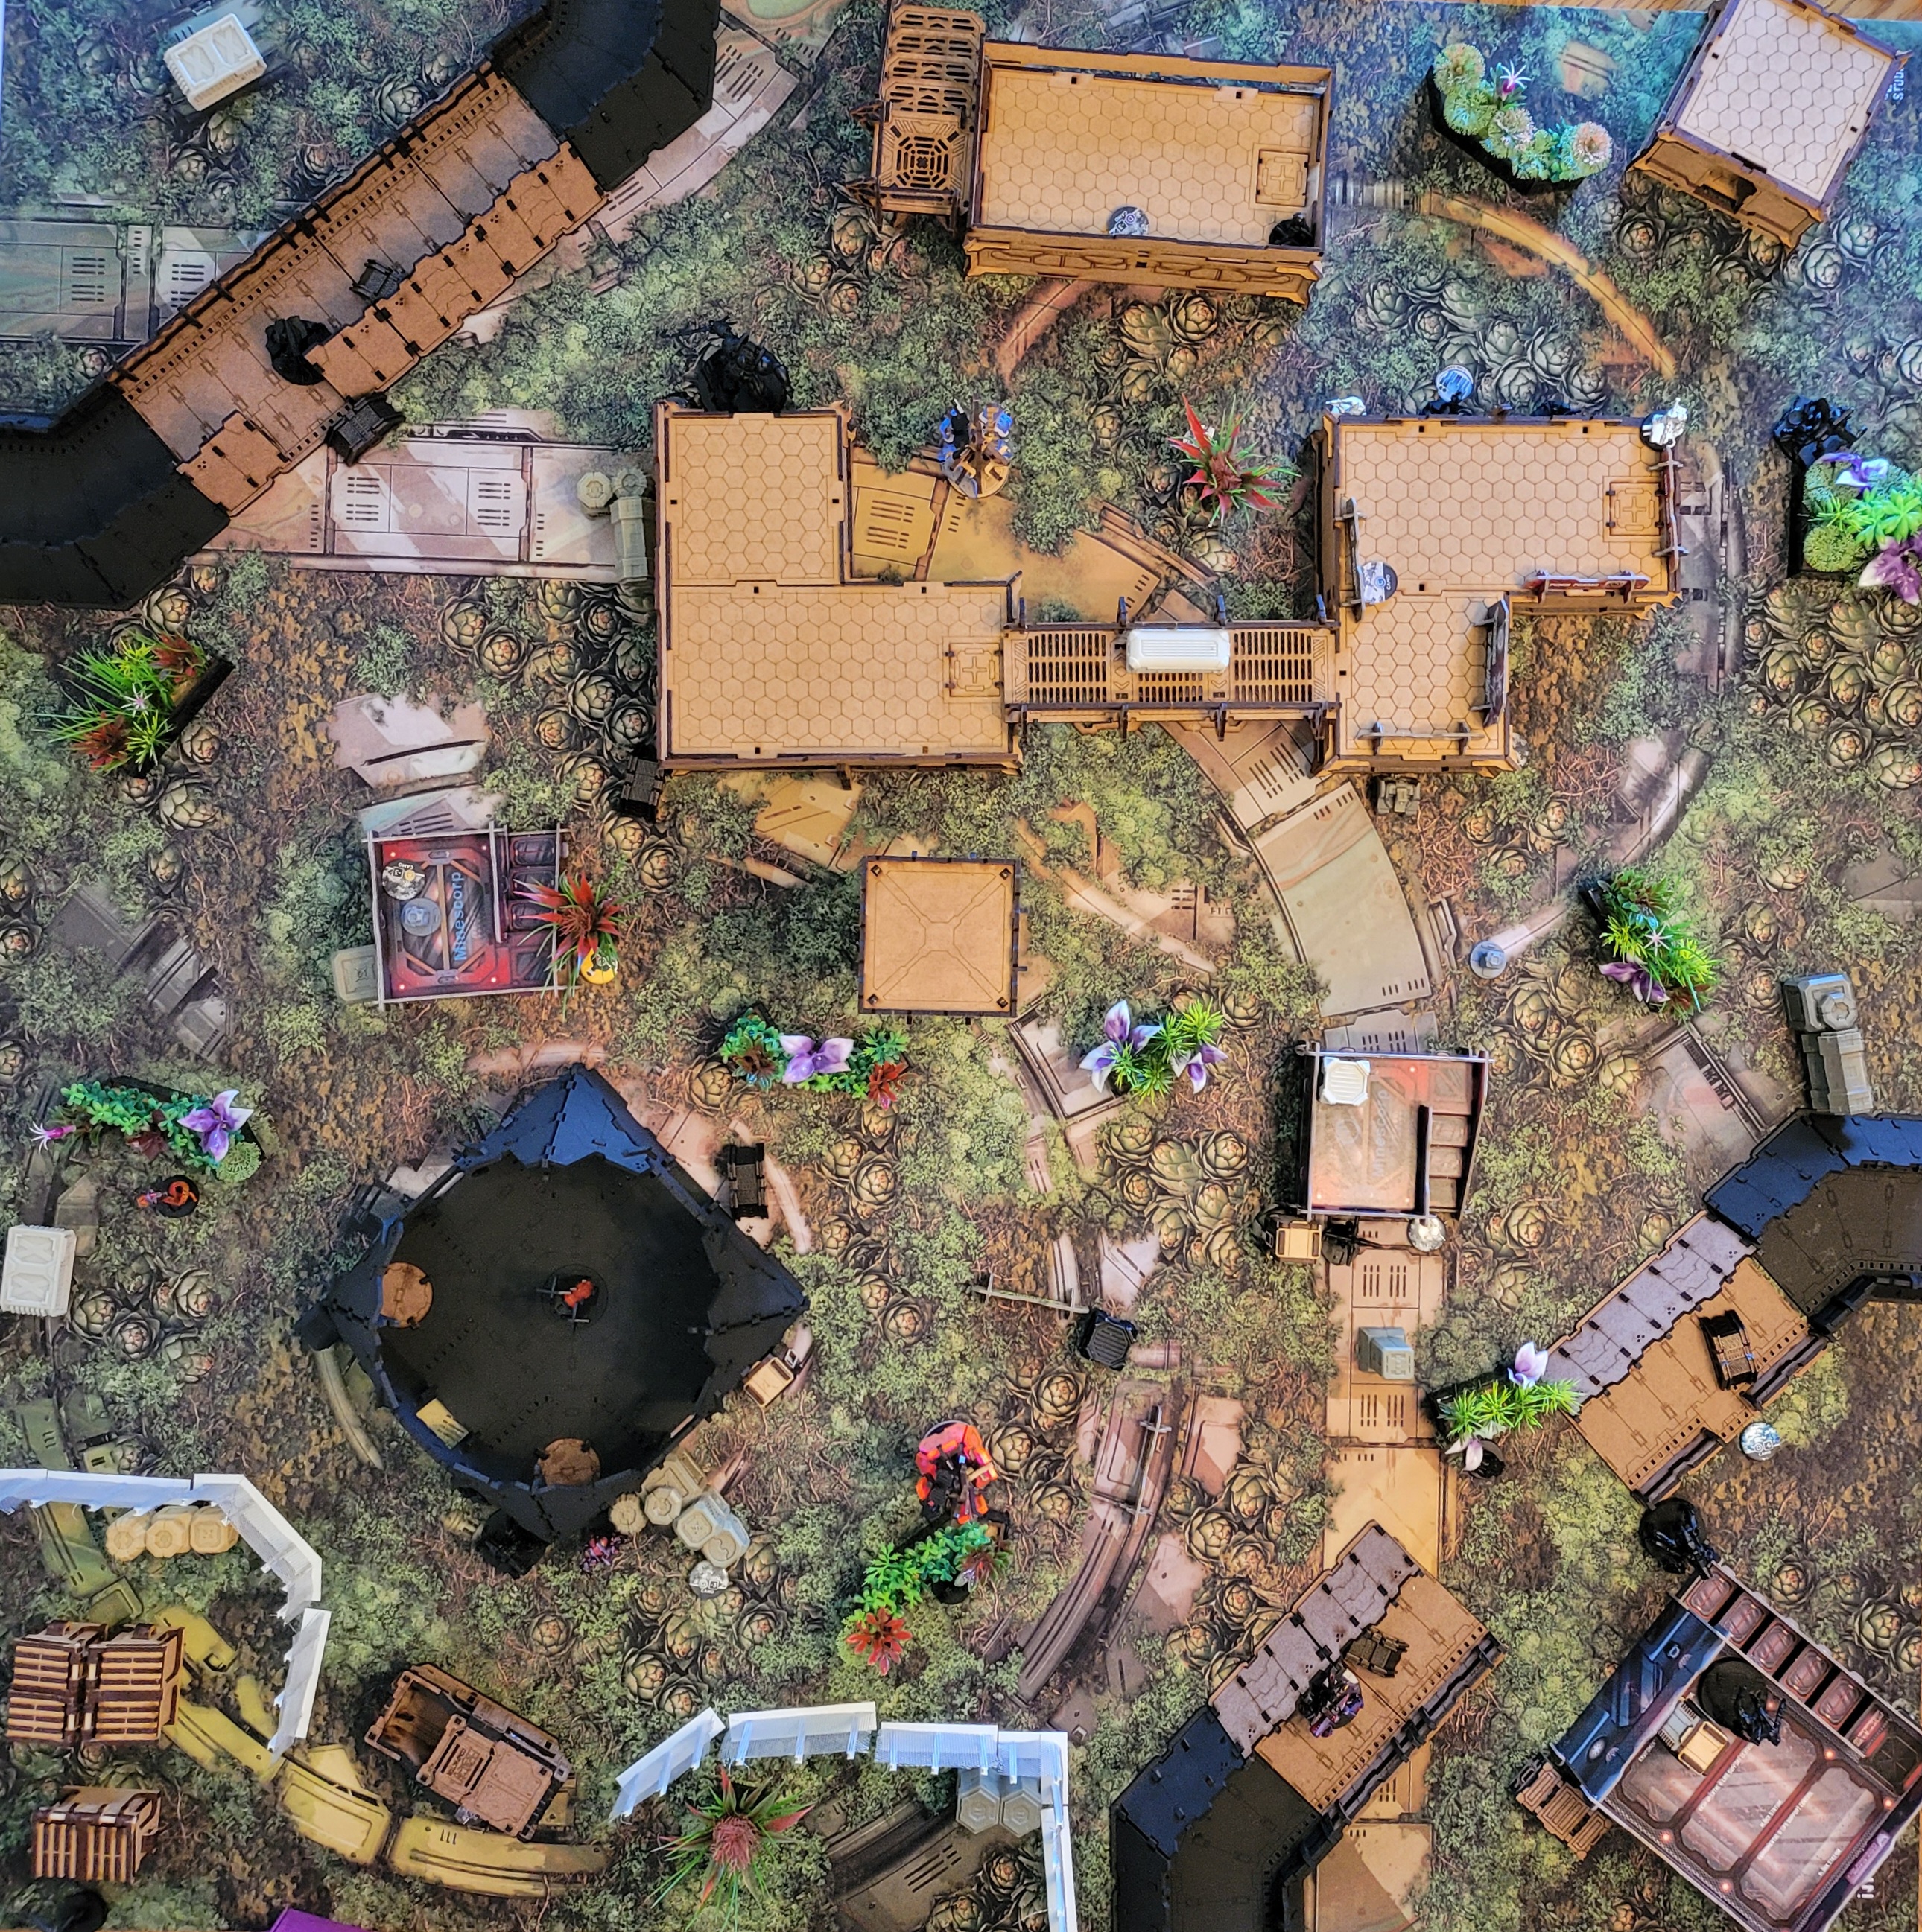
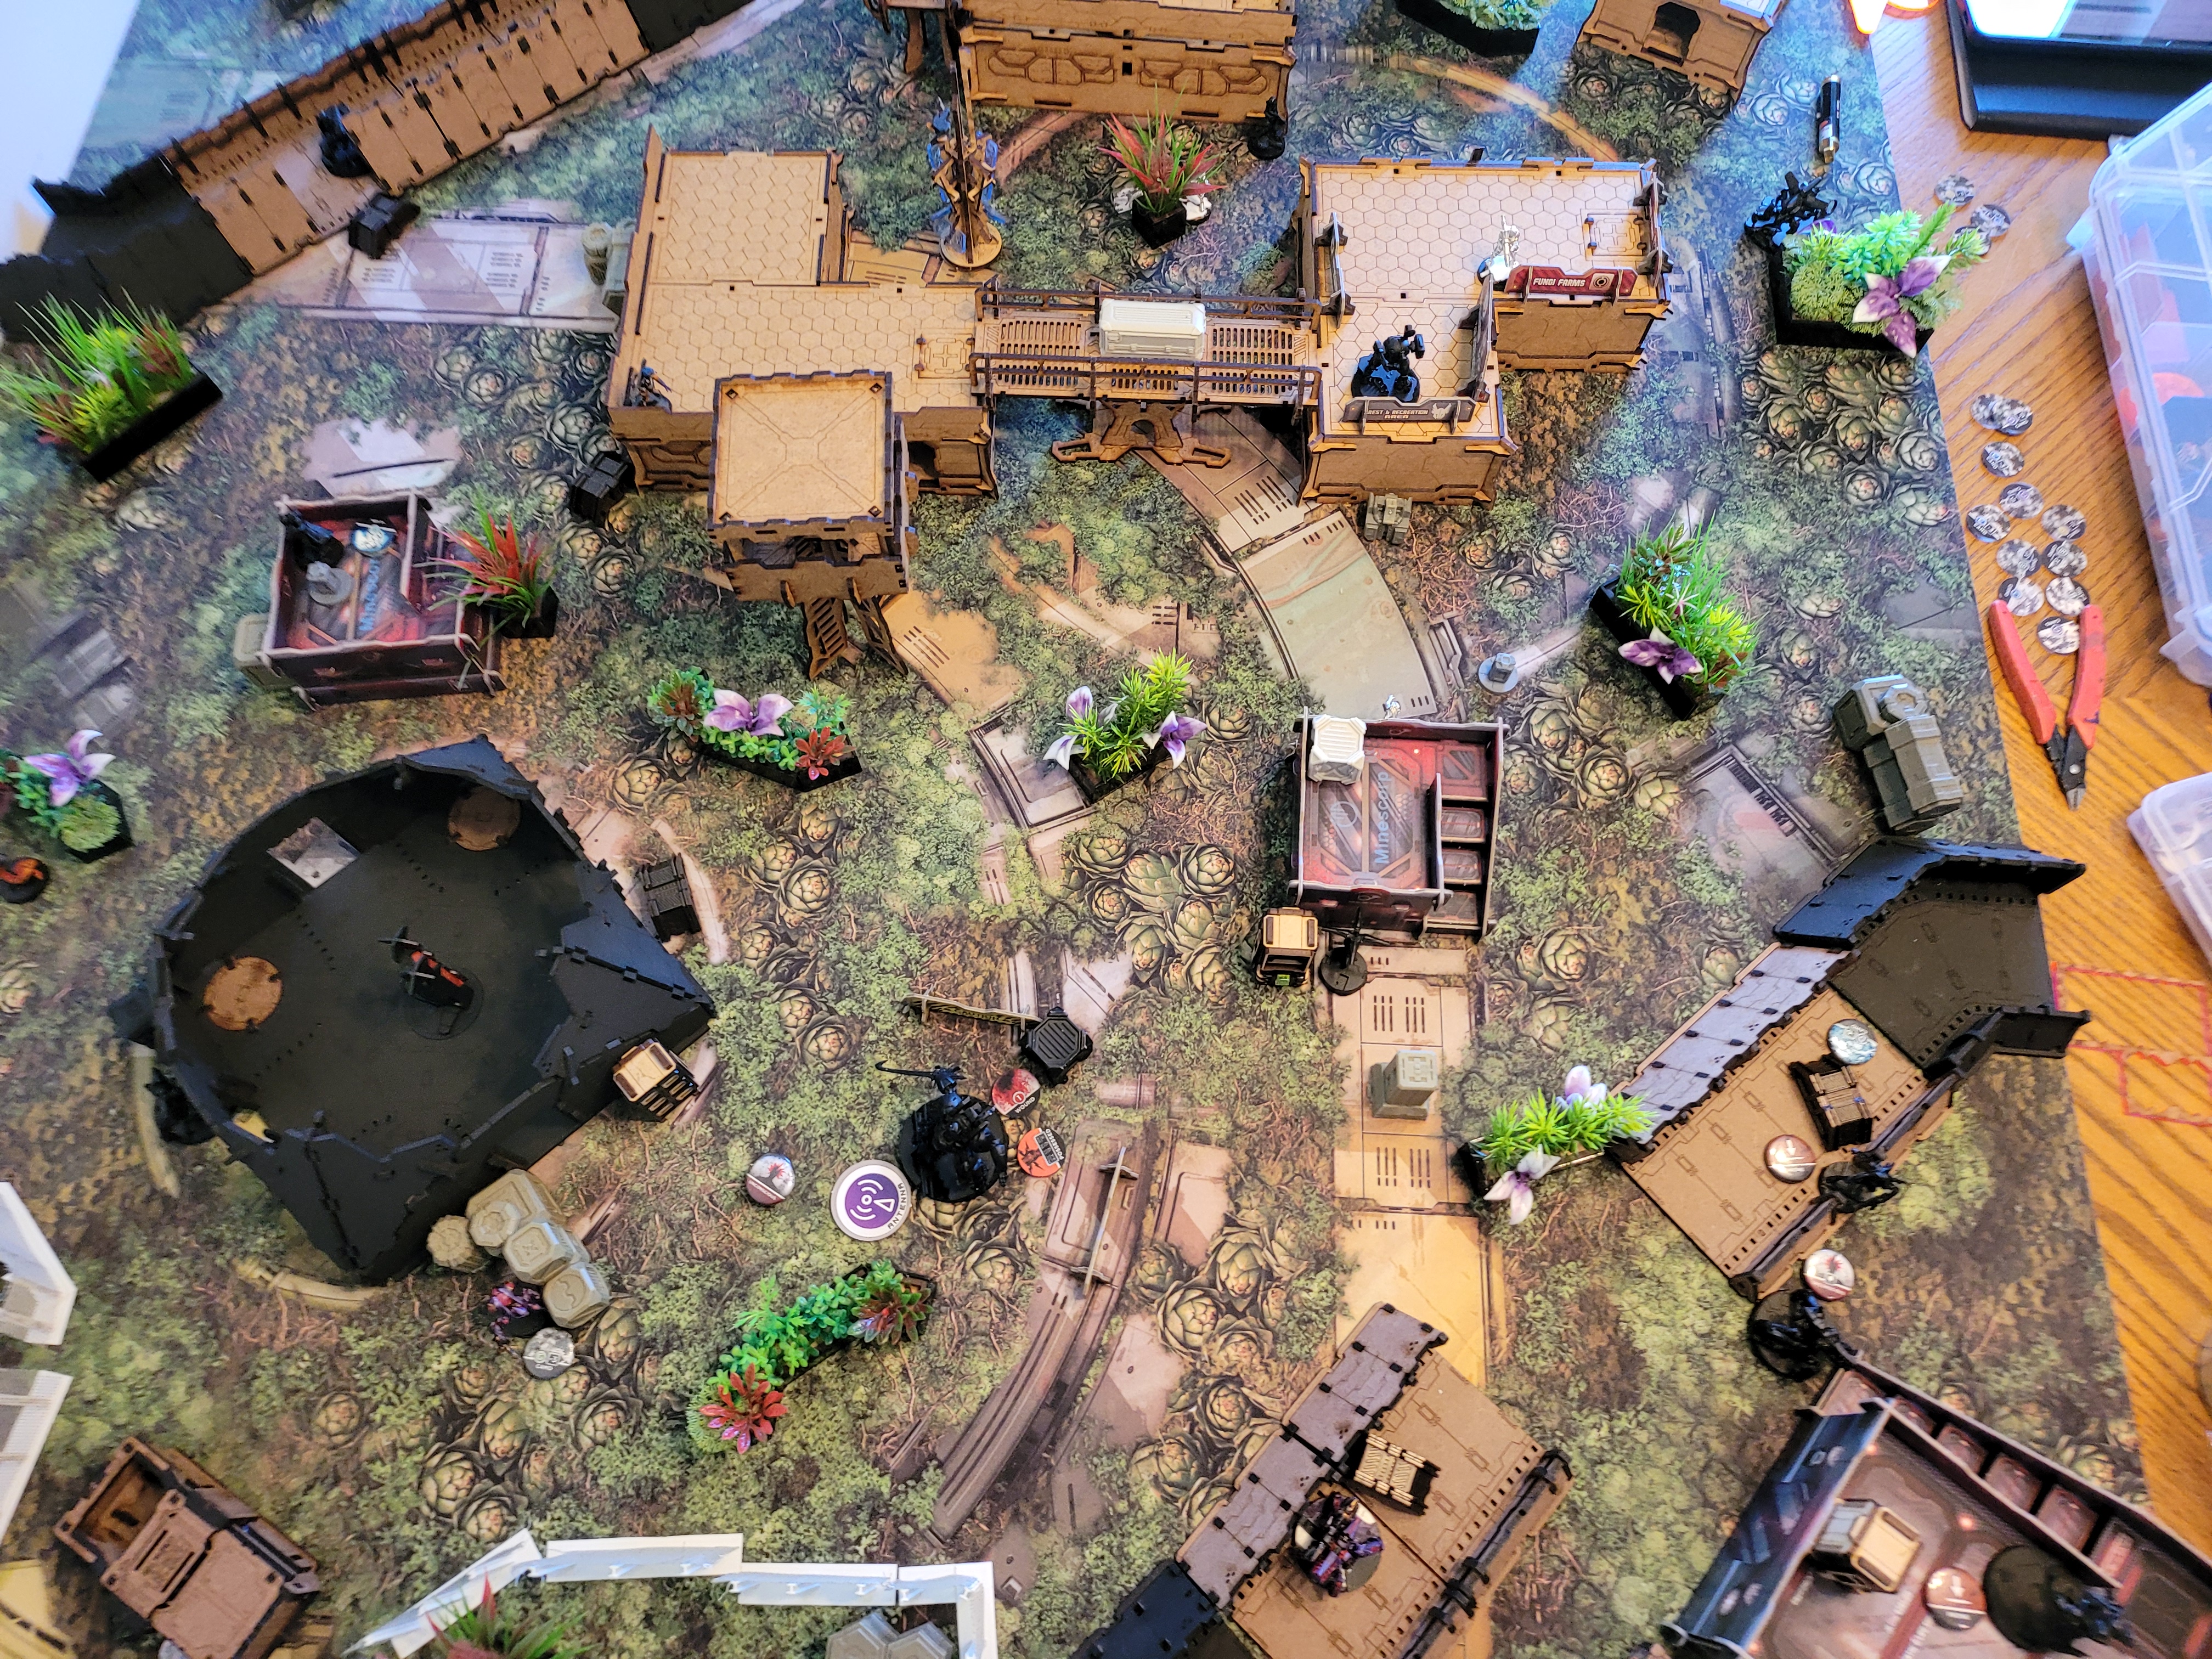
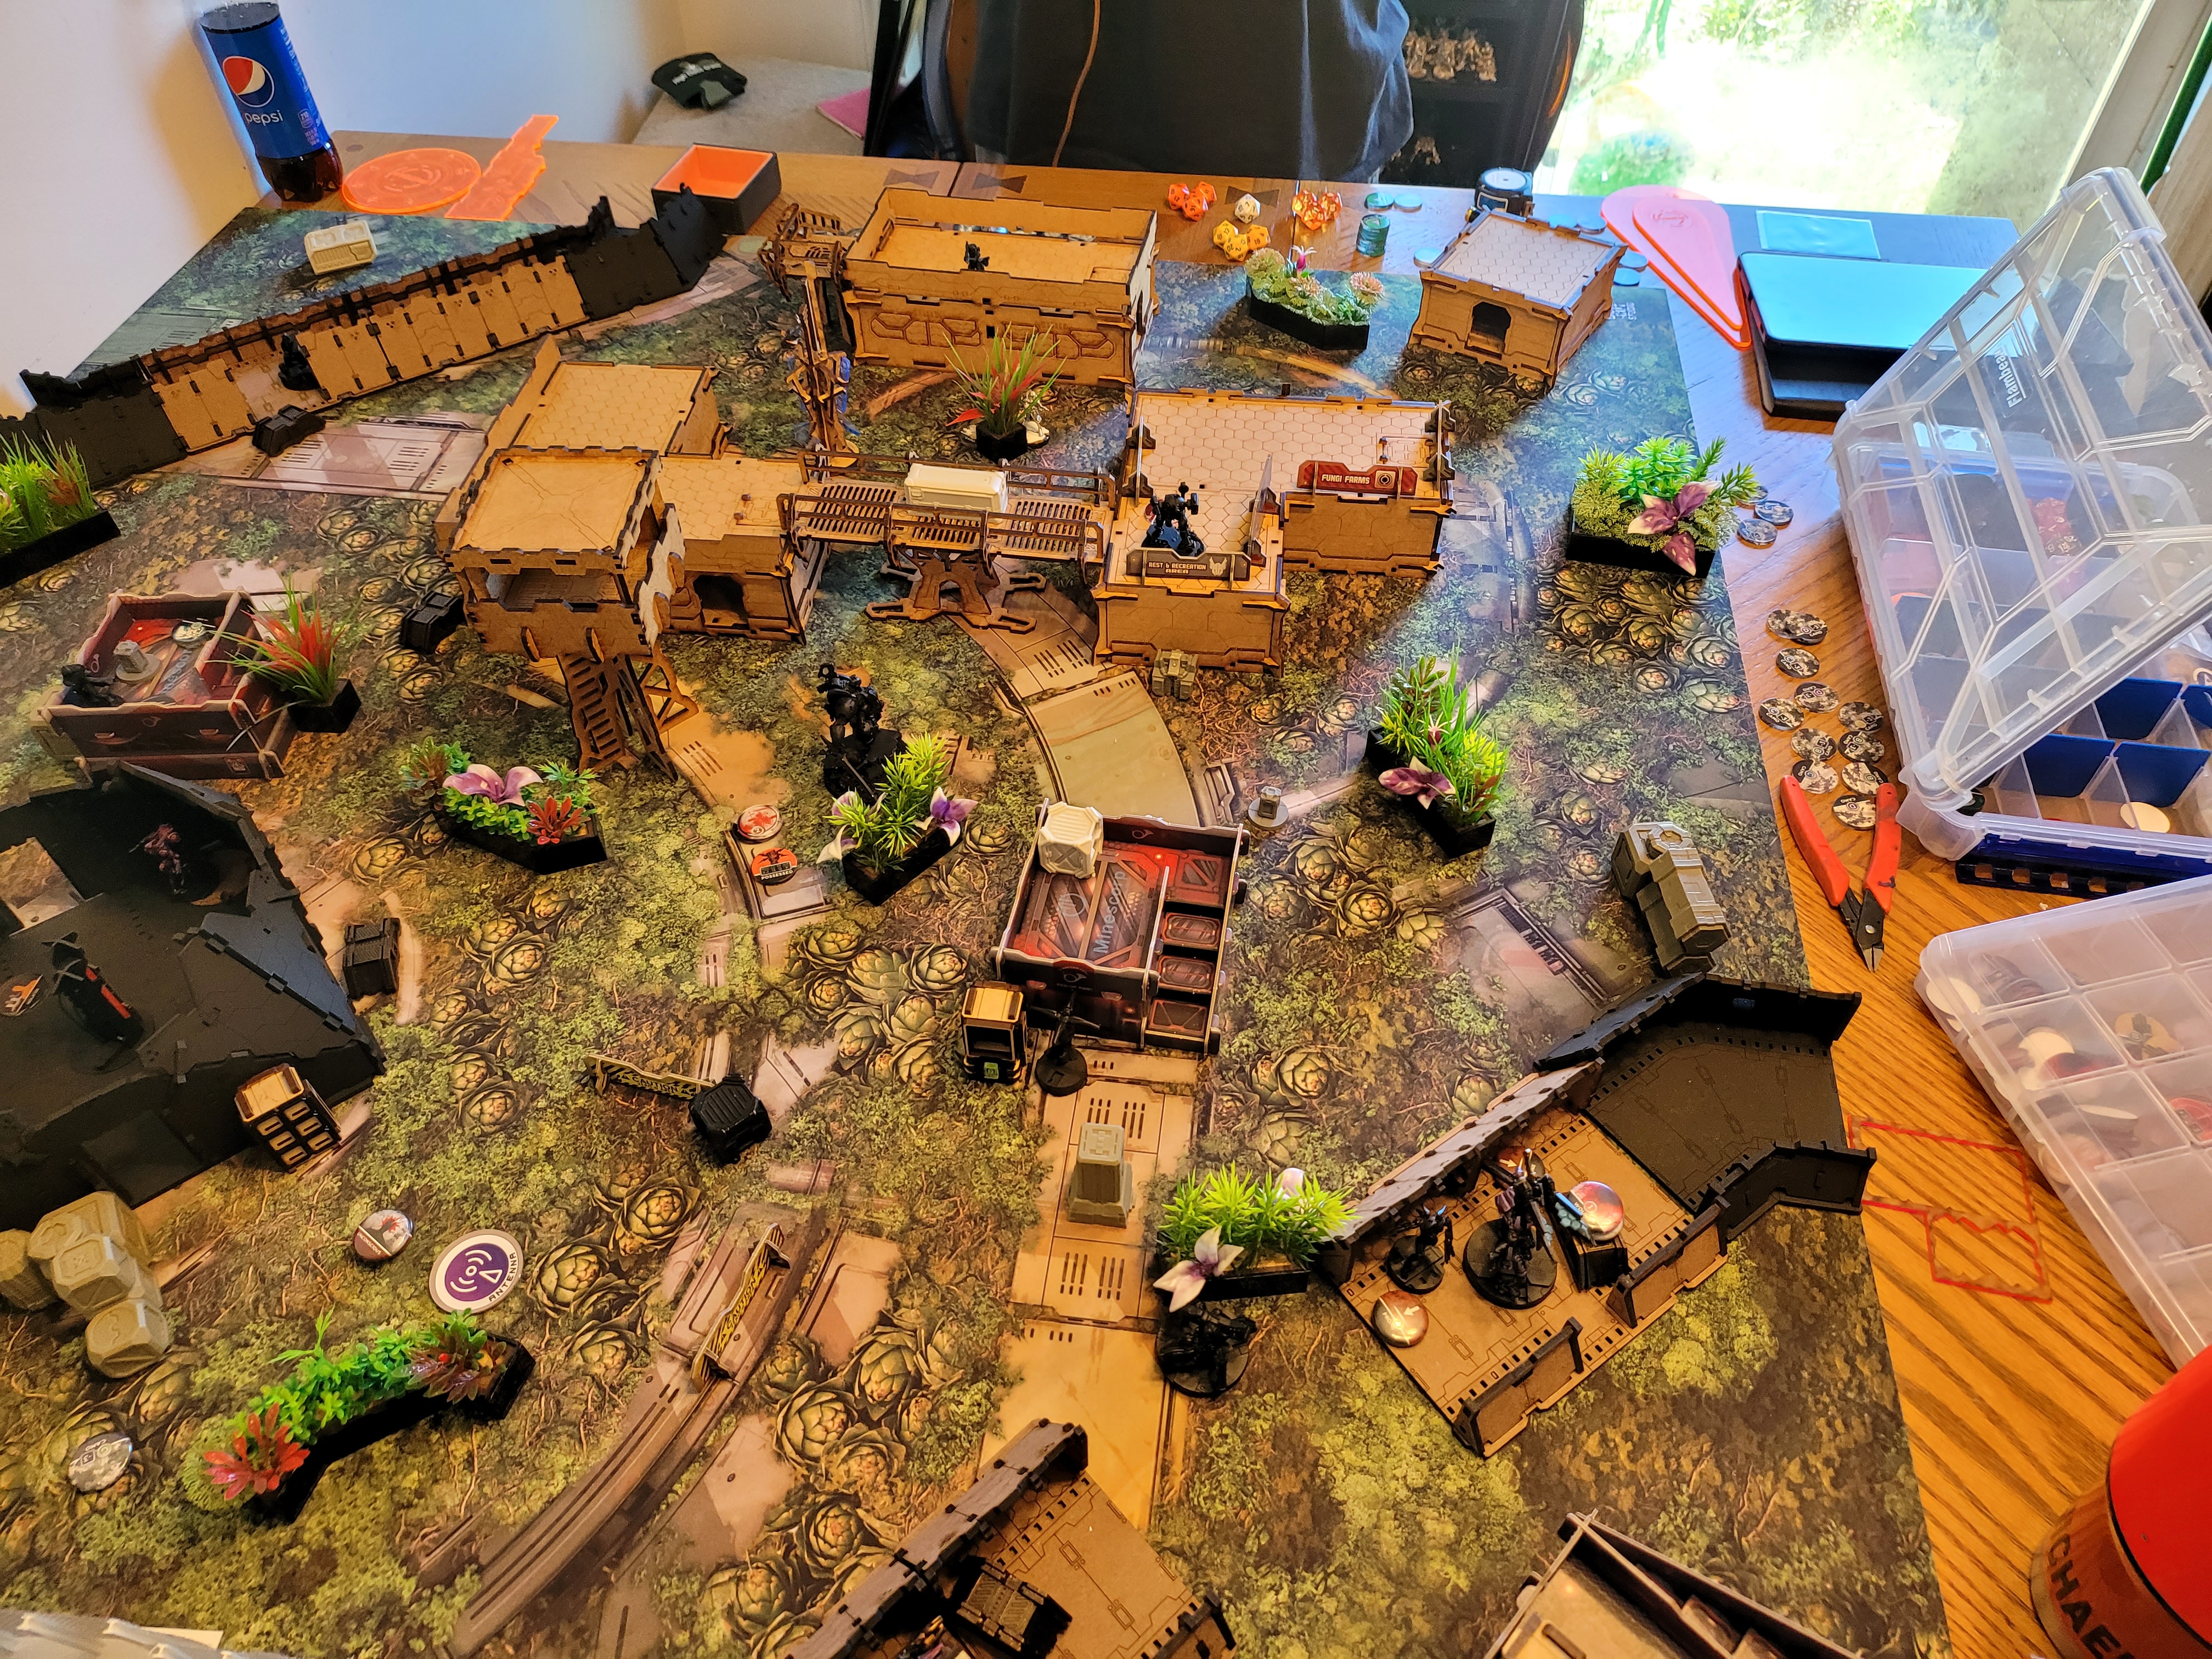
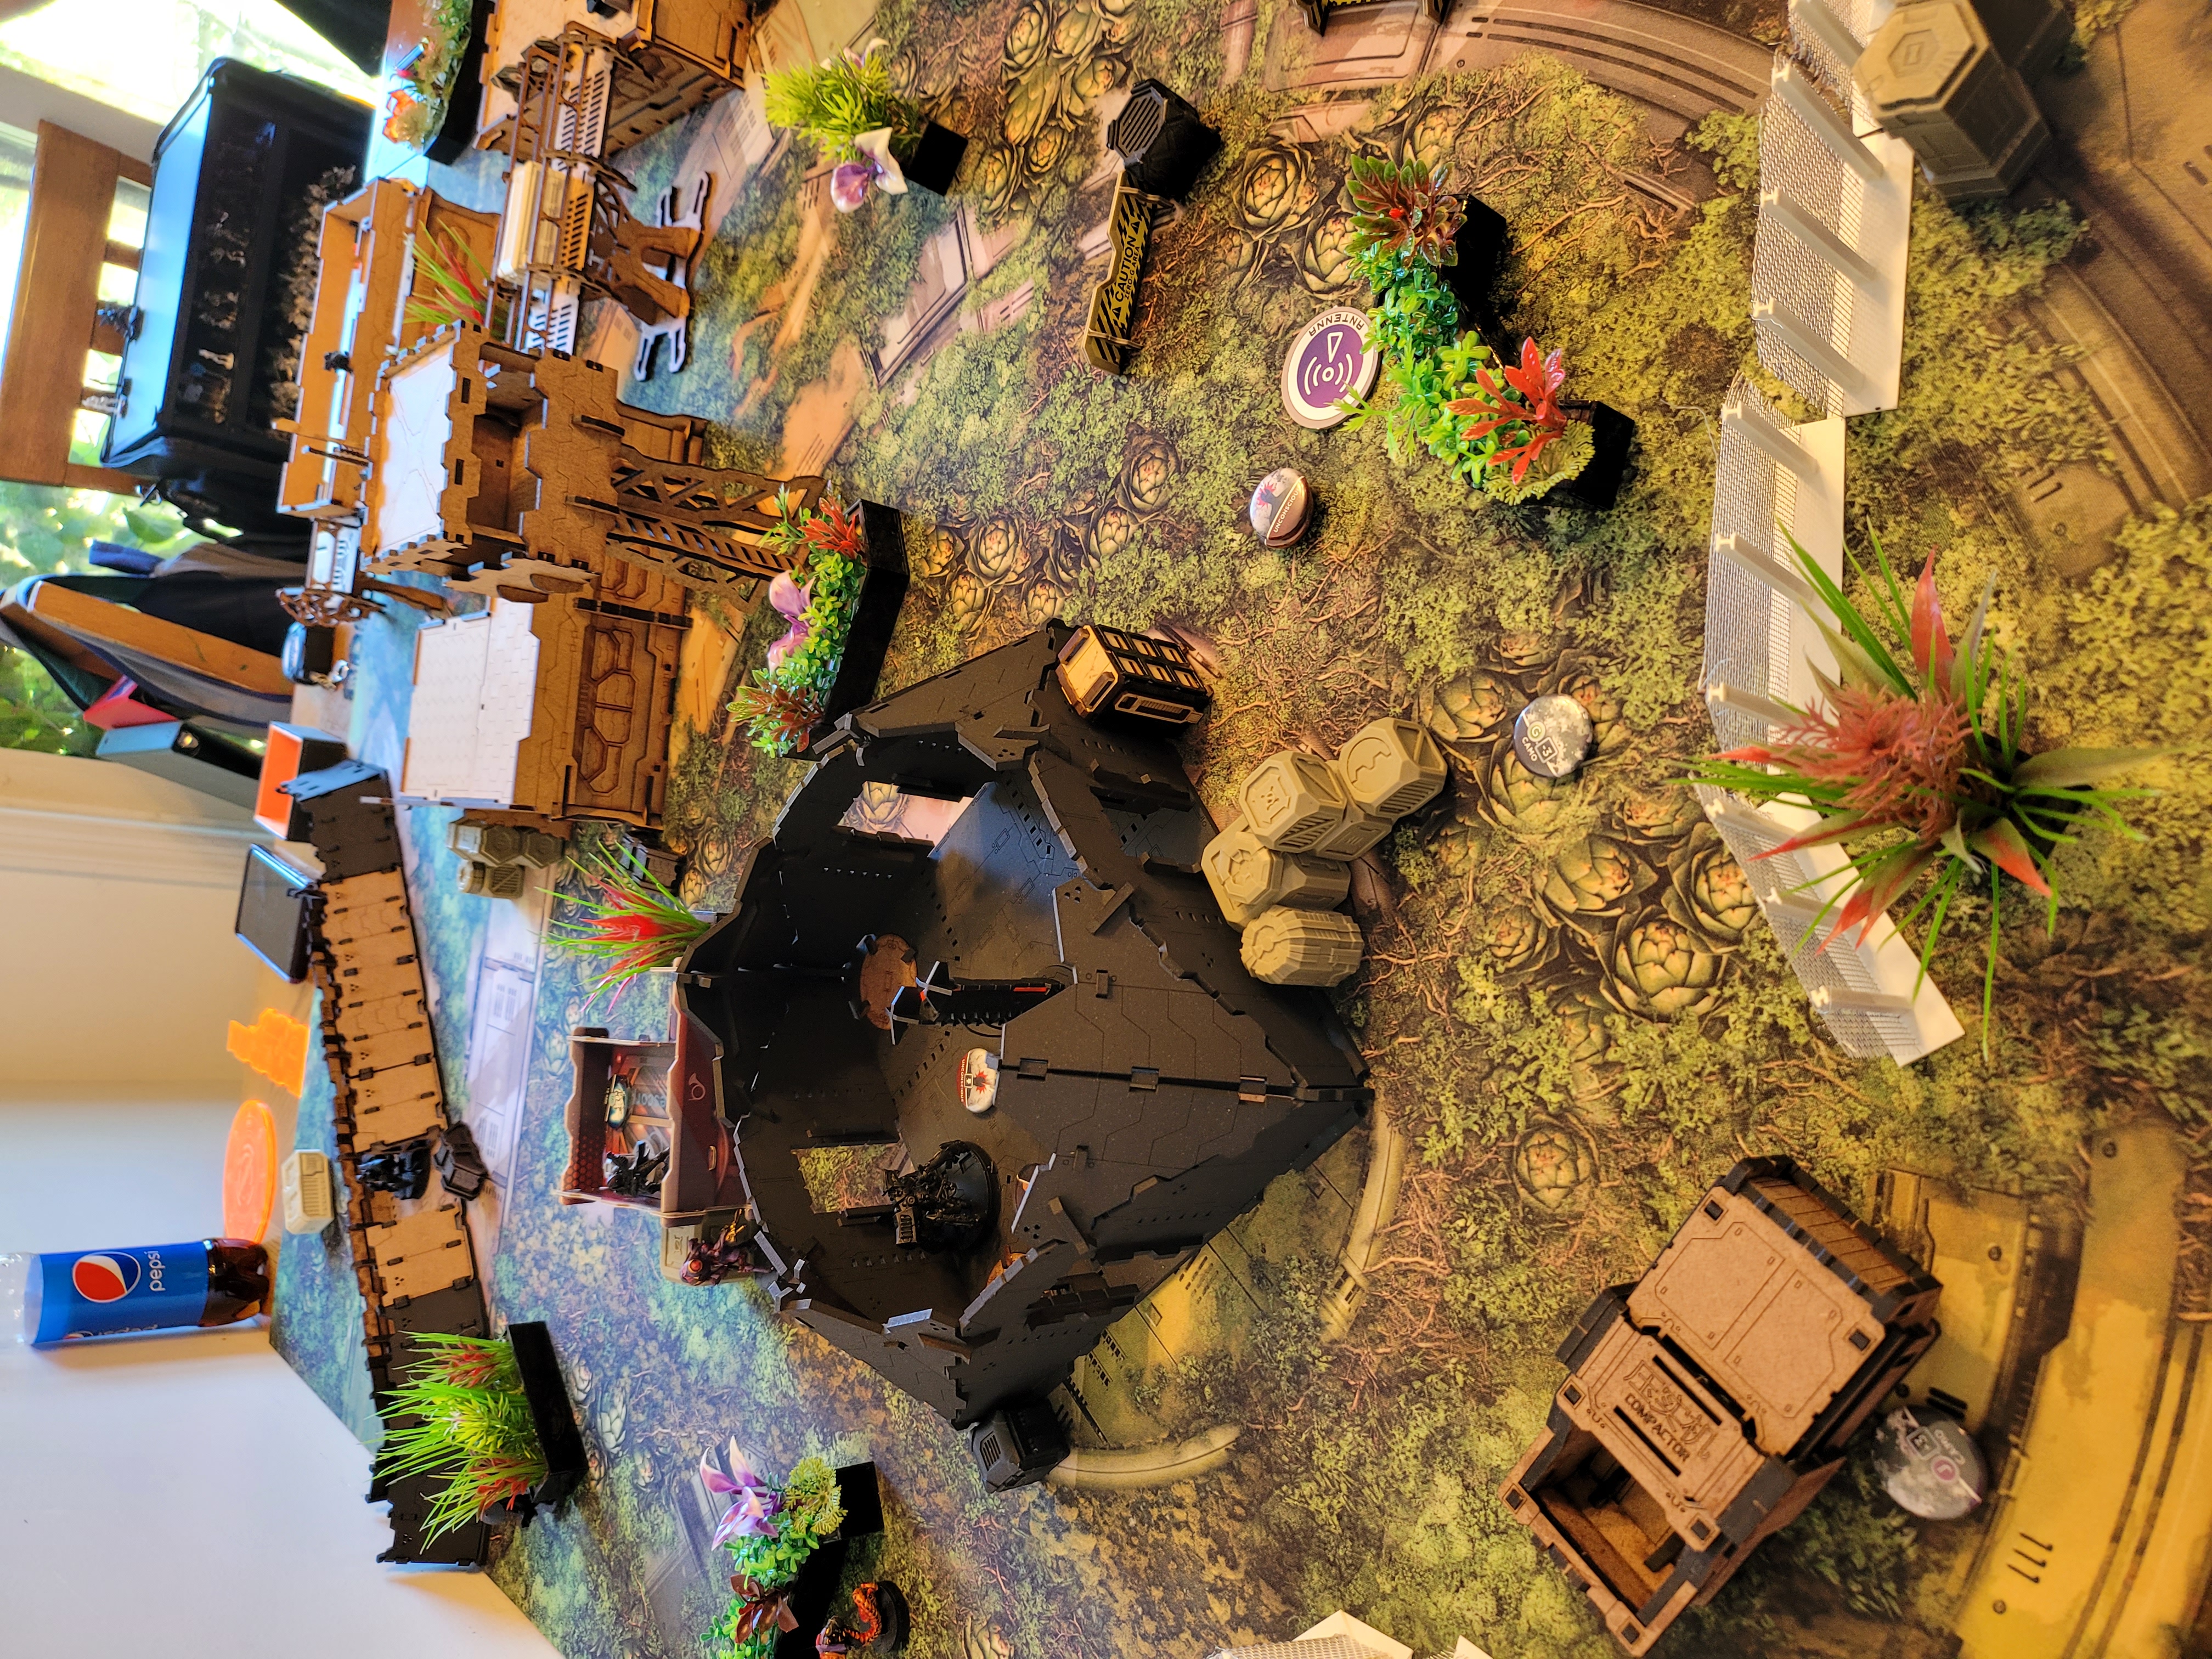
The mat and table look fantastic. Good job!
Nice try better luck next time !
great summary
Fantastic table! Great seeing the game, thanks for the report.
Great job at a narrative!
As I’ve been playing against Rasht alot it’s always awesome to see them grasp and come up with wickedly deceitful solutions to my overwhelming force!
It was indeed a fun game!
Your decision to go with the immersion on your turn-by-turn was a nice touch. It’s always fun to flex those creative writing chops. Some nice, clear pictures as well. Excellent work, commander.
Great work, shame about the result but it’s always nice to read a good report about a loss.
What a nice table! Cool report and great pictures.
Nice pics and report.
Thanks! I feel like tactically I did great. If one of my ARO total control had gone off sooner they would’ve failed to kill my tower and the game would have gone very different. Possessing the TAG twice was choice
Love the artichoke mat 😀 Better luck next time!