Fought At Cameliard: Reliquary
651 days 20 hours 58 minutes ago
Training Maneuvers at Teuton Reliquary
300 POINTS………………Document Recording the Training Events………
...............…………Cameliard Reliquary….............
………..Operation details……………..
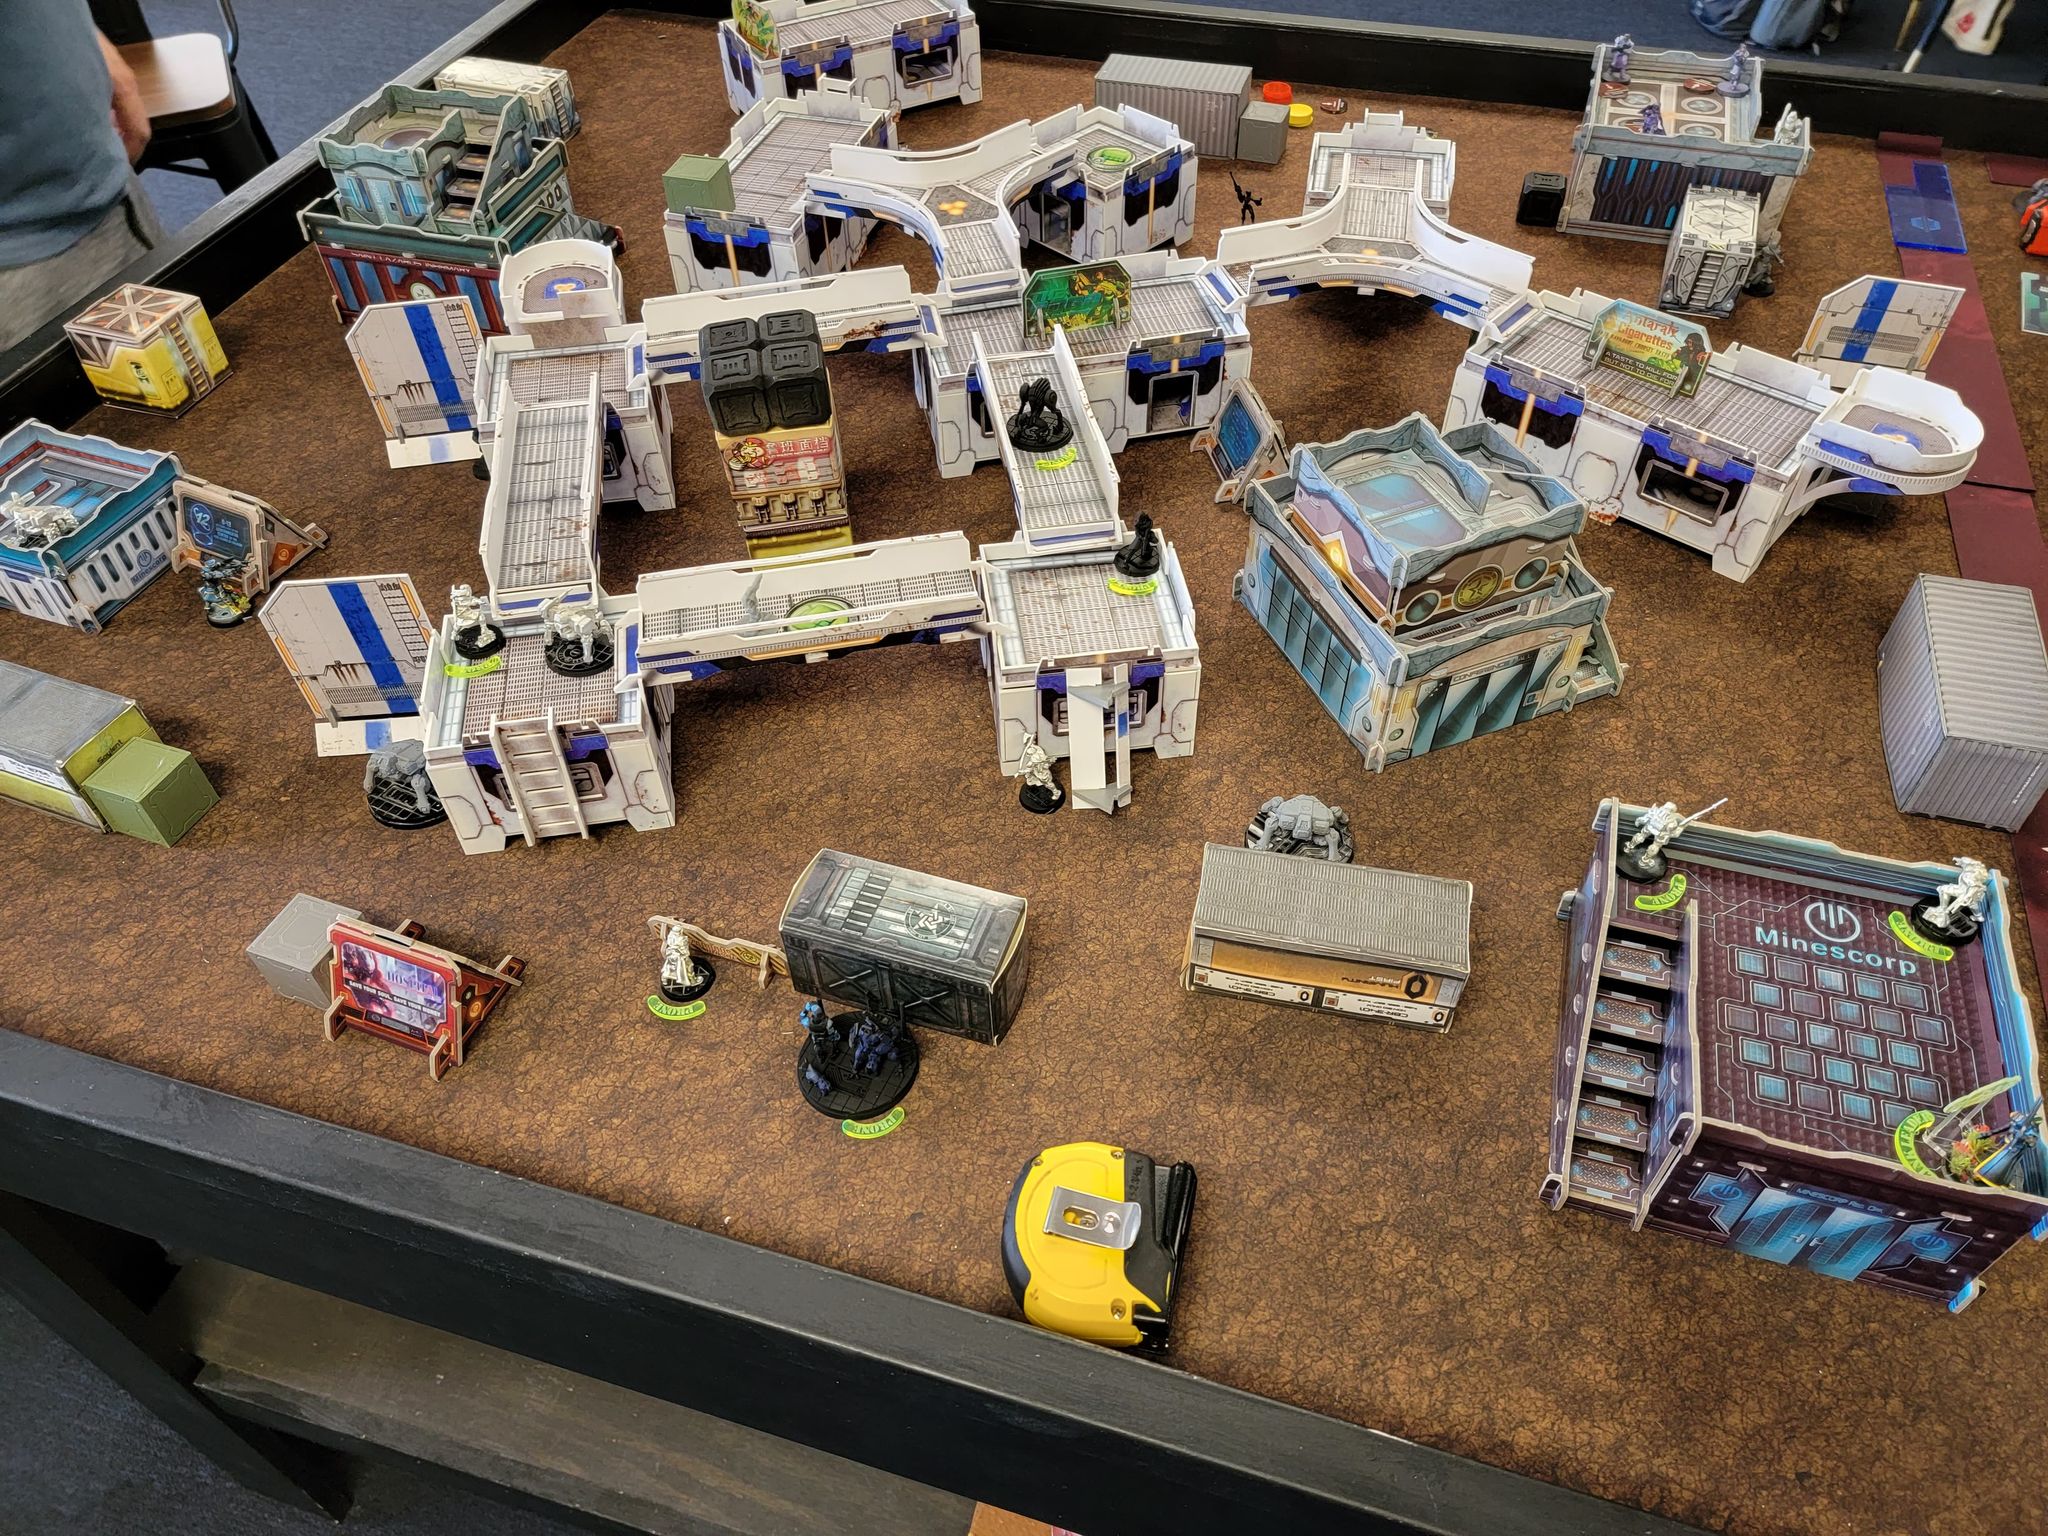
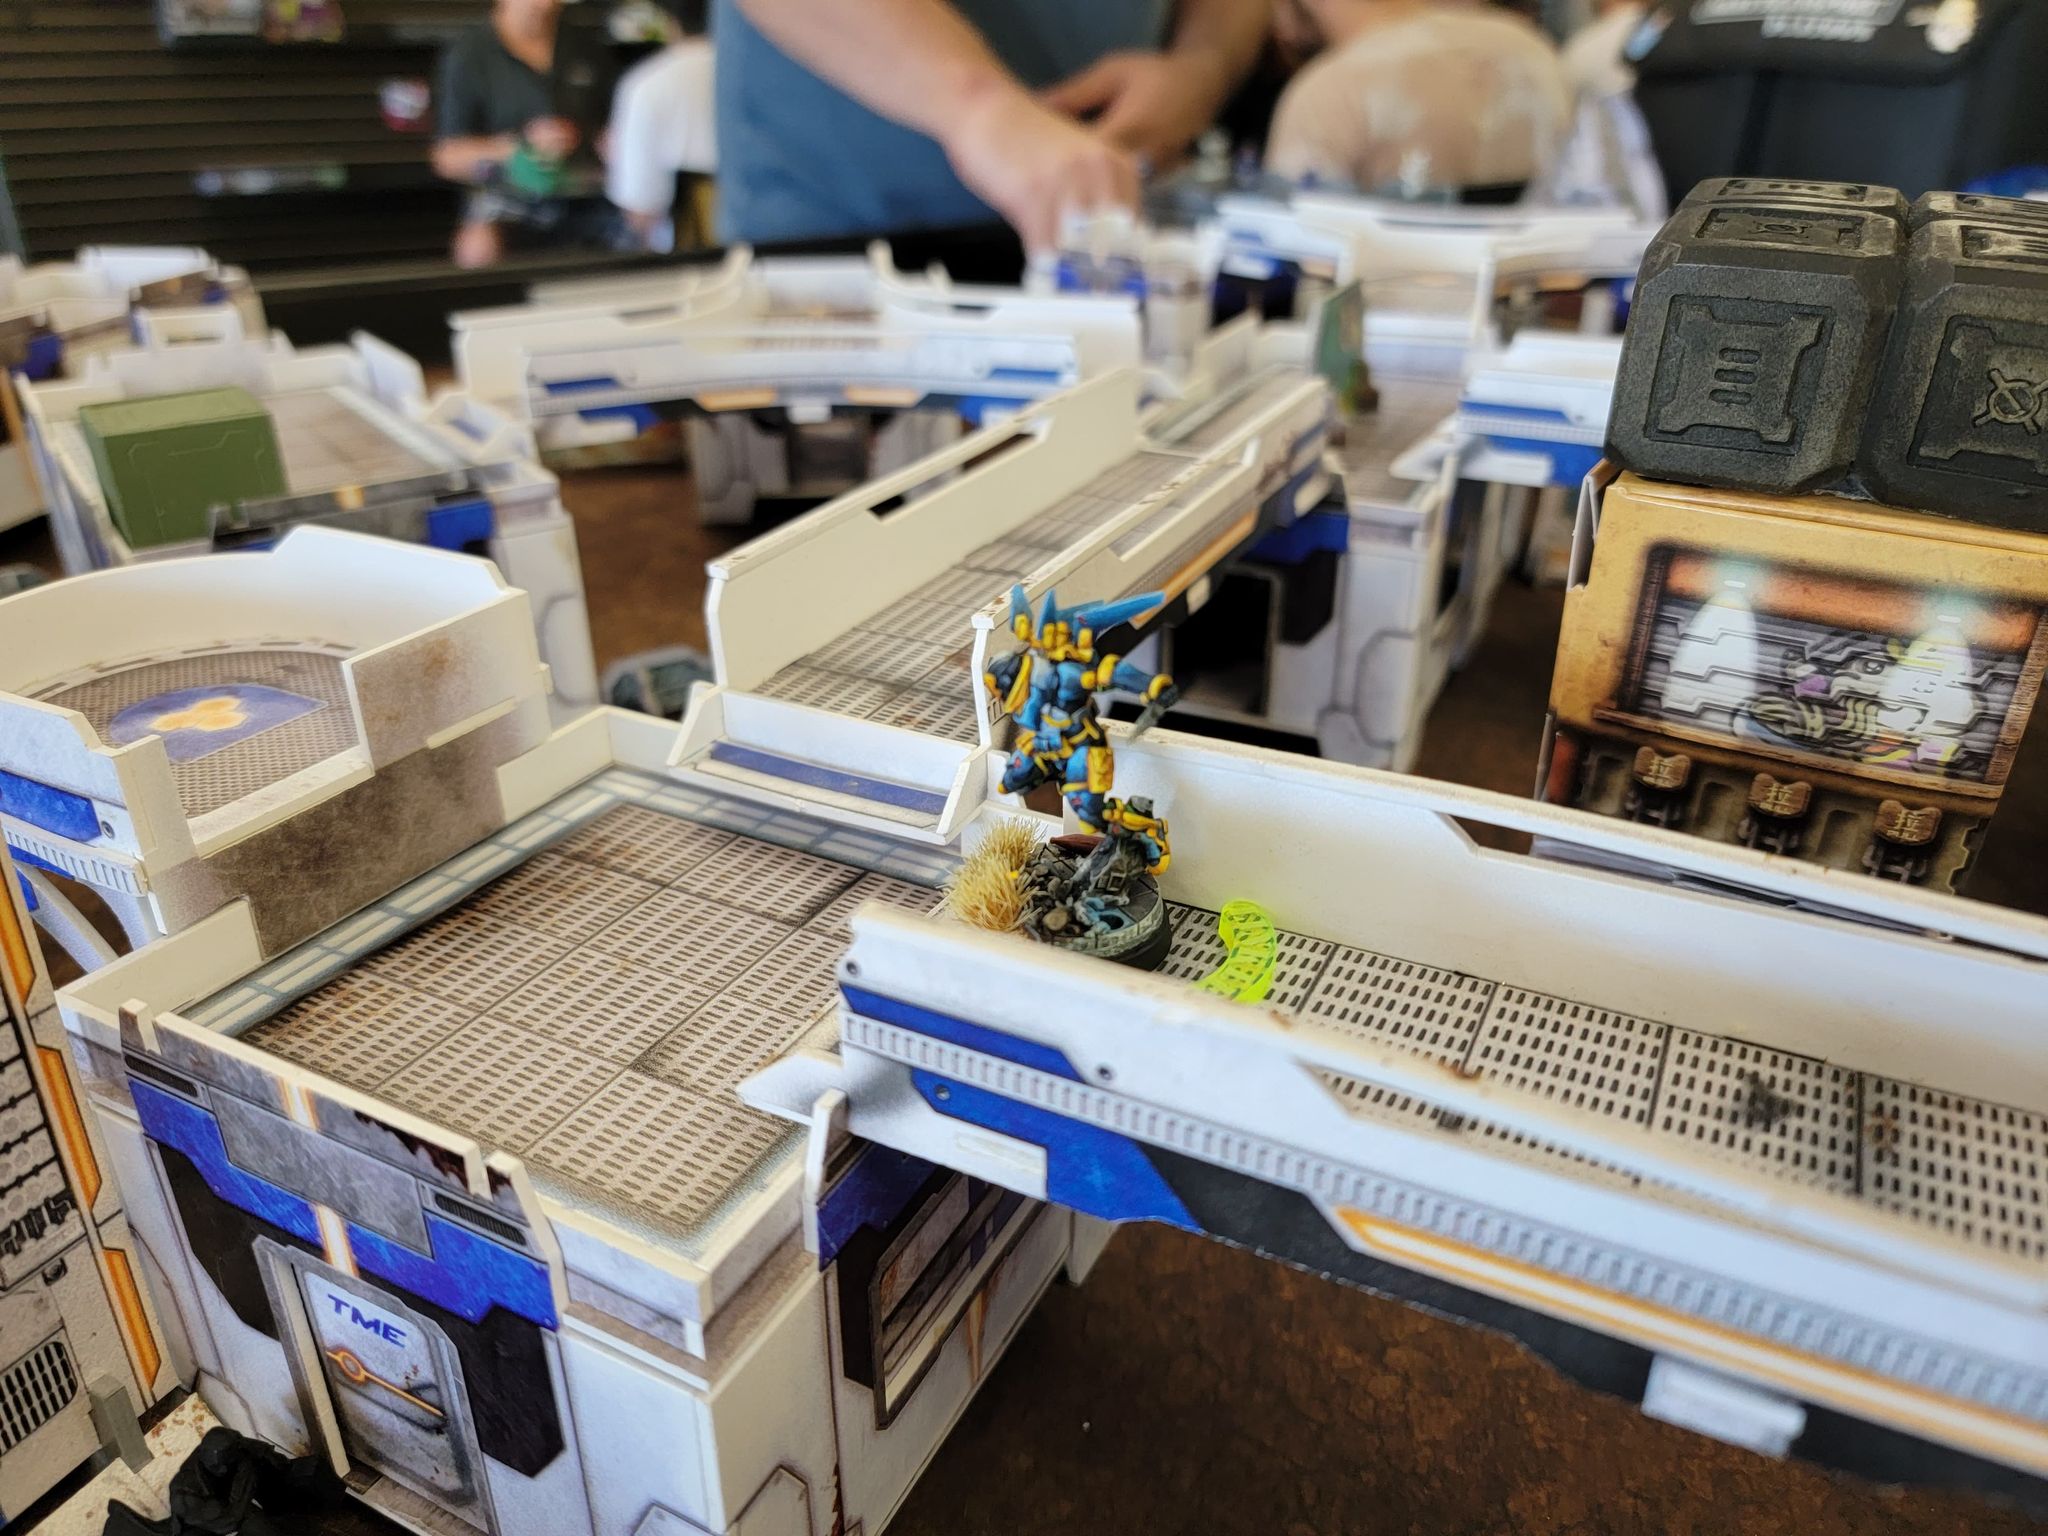
PanO Turn 1:
My opponent was playing Military Orders and had a crusader team filled with Joan and Hospital Knights with De Fersen, HMG, doctor, and boarding shotgun my left flank, and a Teuton link on the right flank with some amazing fire lanes. The Panoceanic knights went first and started storming the left side of the board with the crusader team. The HMG knight that was peeking out during deployment moves with the team and exchanges fire with the peeler, who manages to sneak a crit through and wound the knight.
They find a very fine line of sight to the crusher who is then taken out by the crusader team. They continue to push uncontested to the panoply and the shotgun knight finds a multi sniper rifle. The HMG knight follows up by finding an extra armor plate that he straps to his face. The team then runs back to prepare for any aggressive movements from O-12.

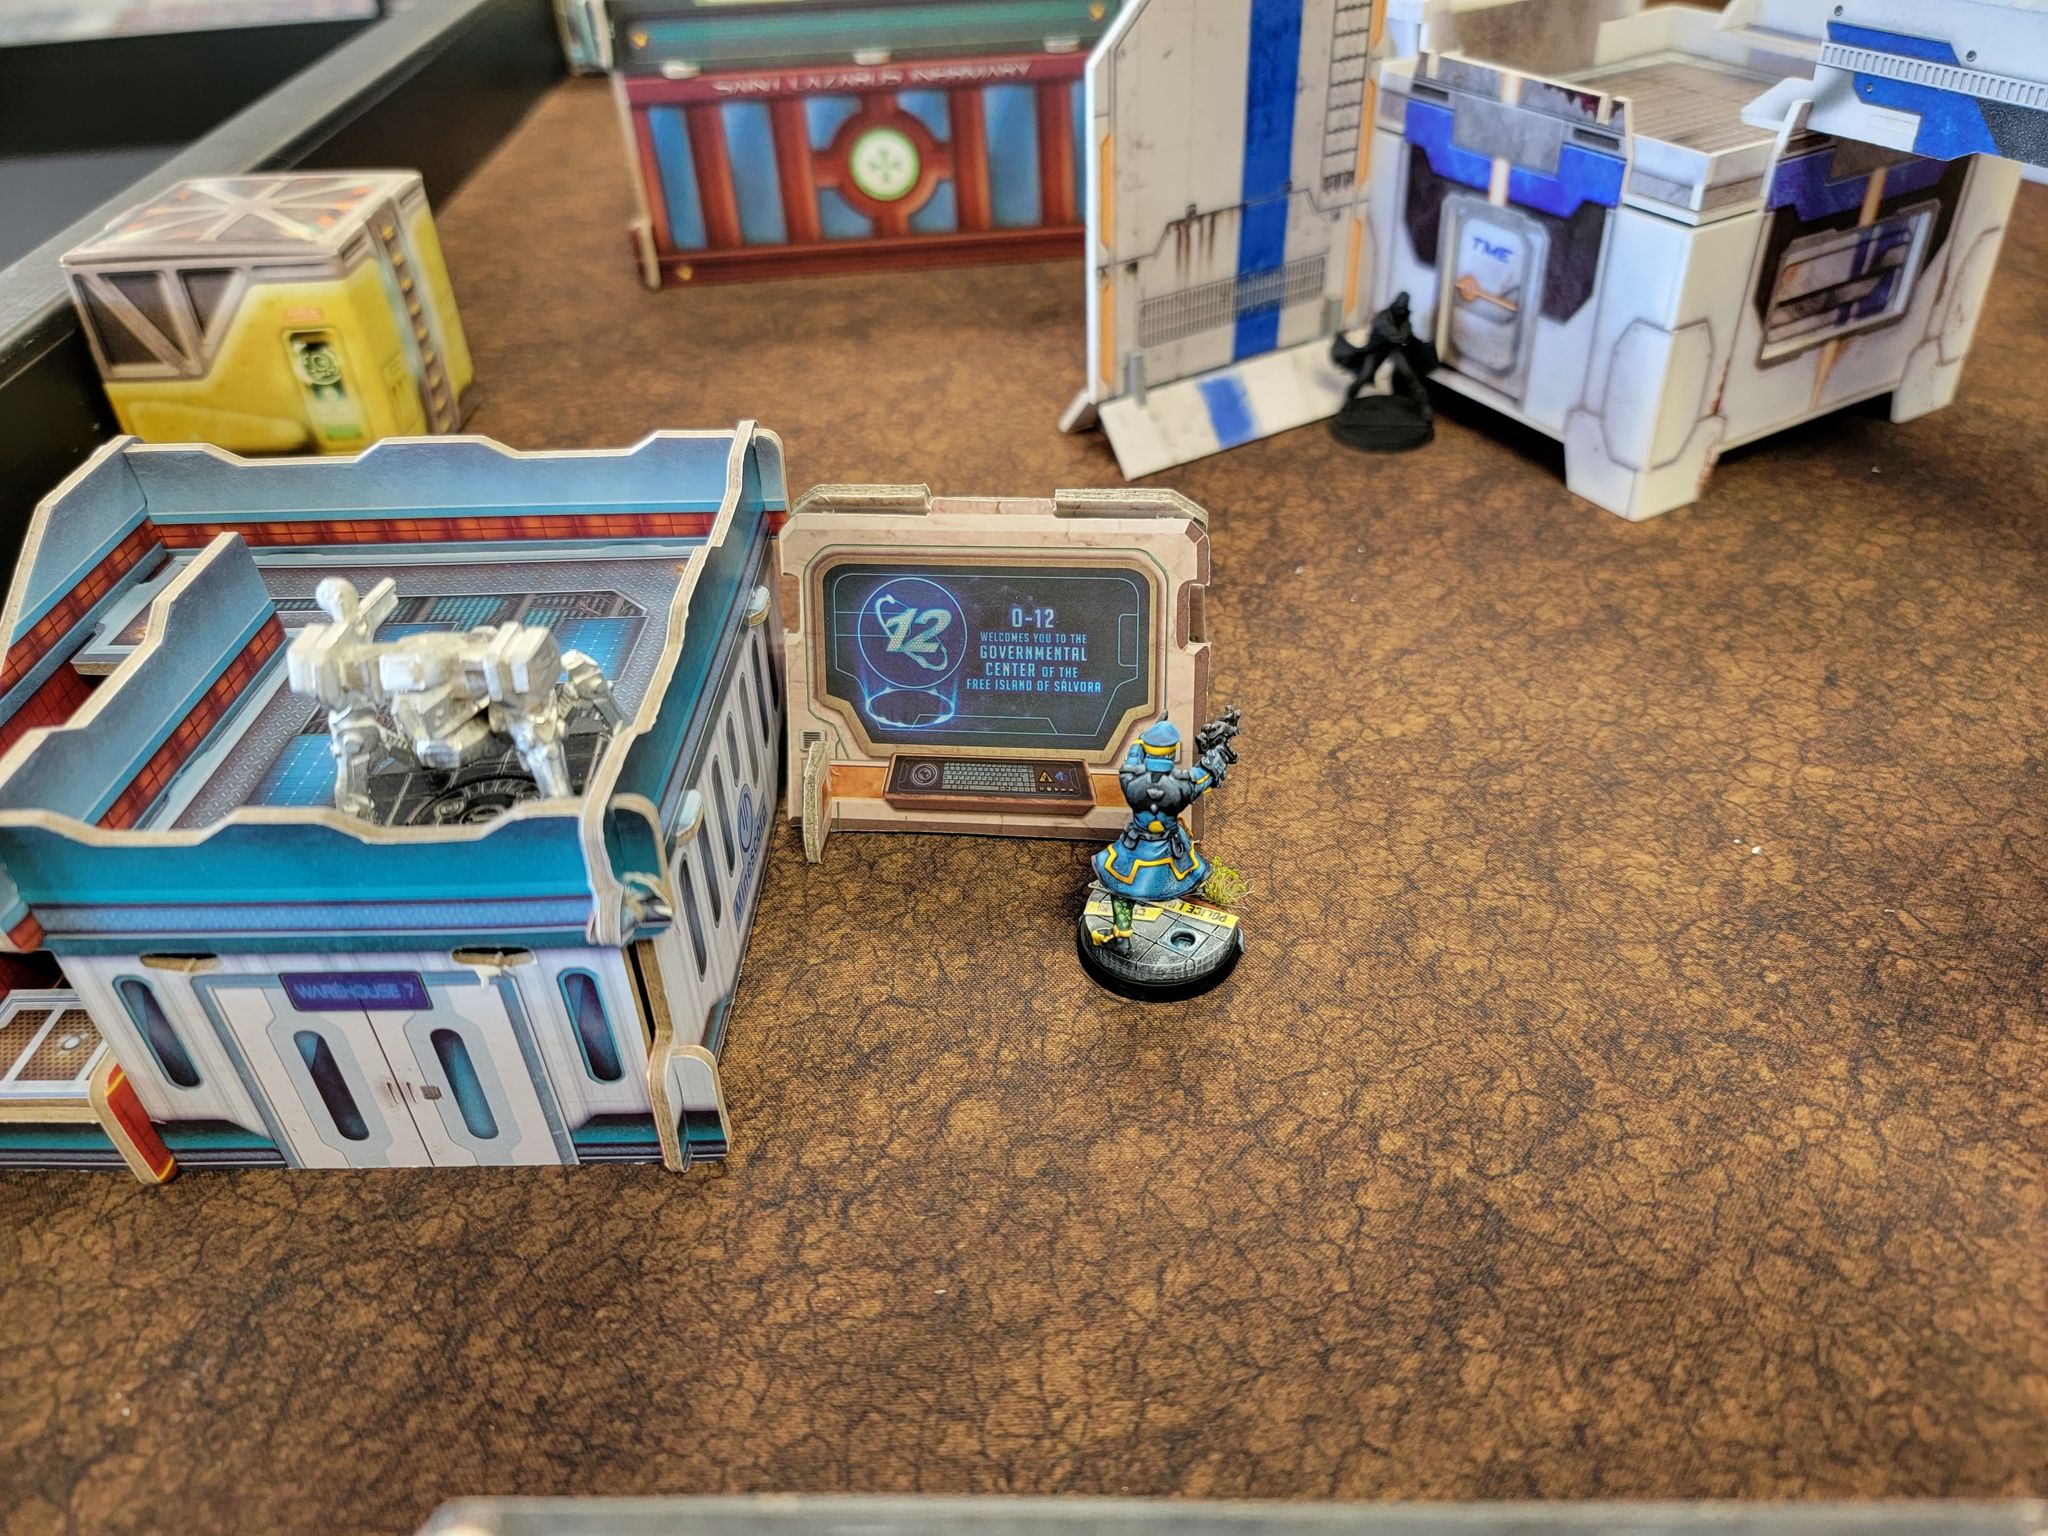
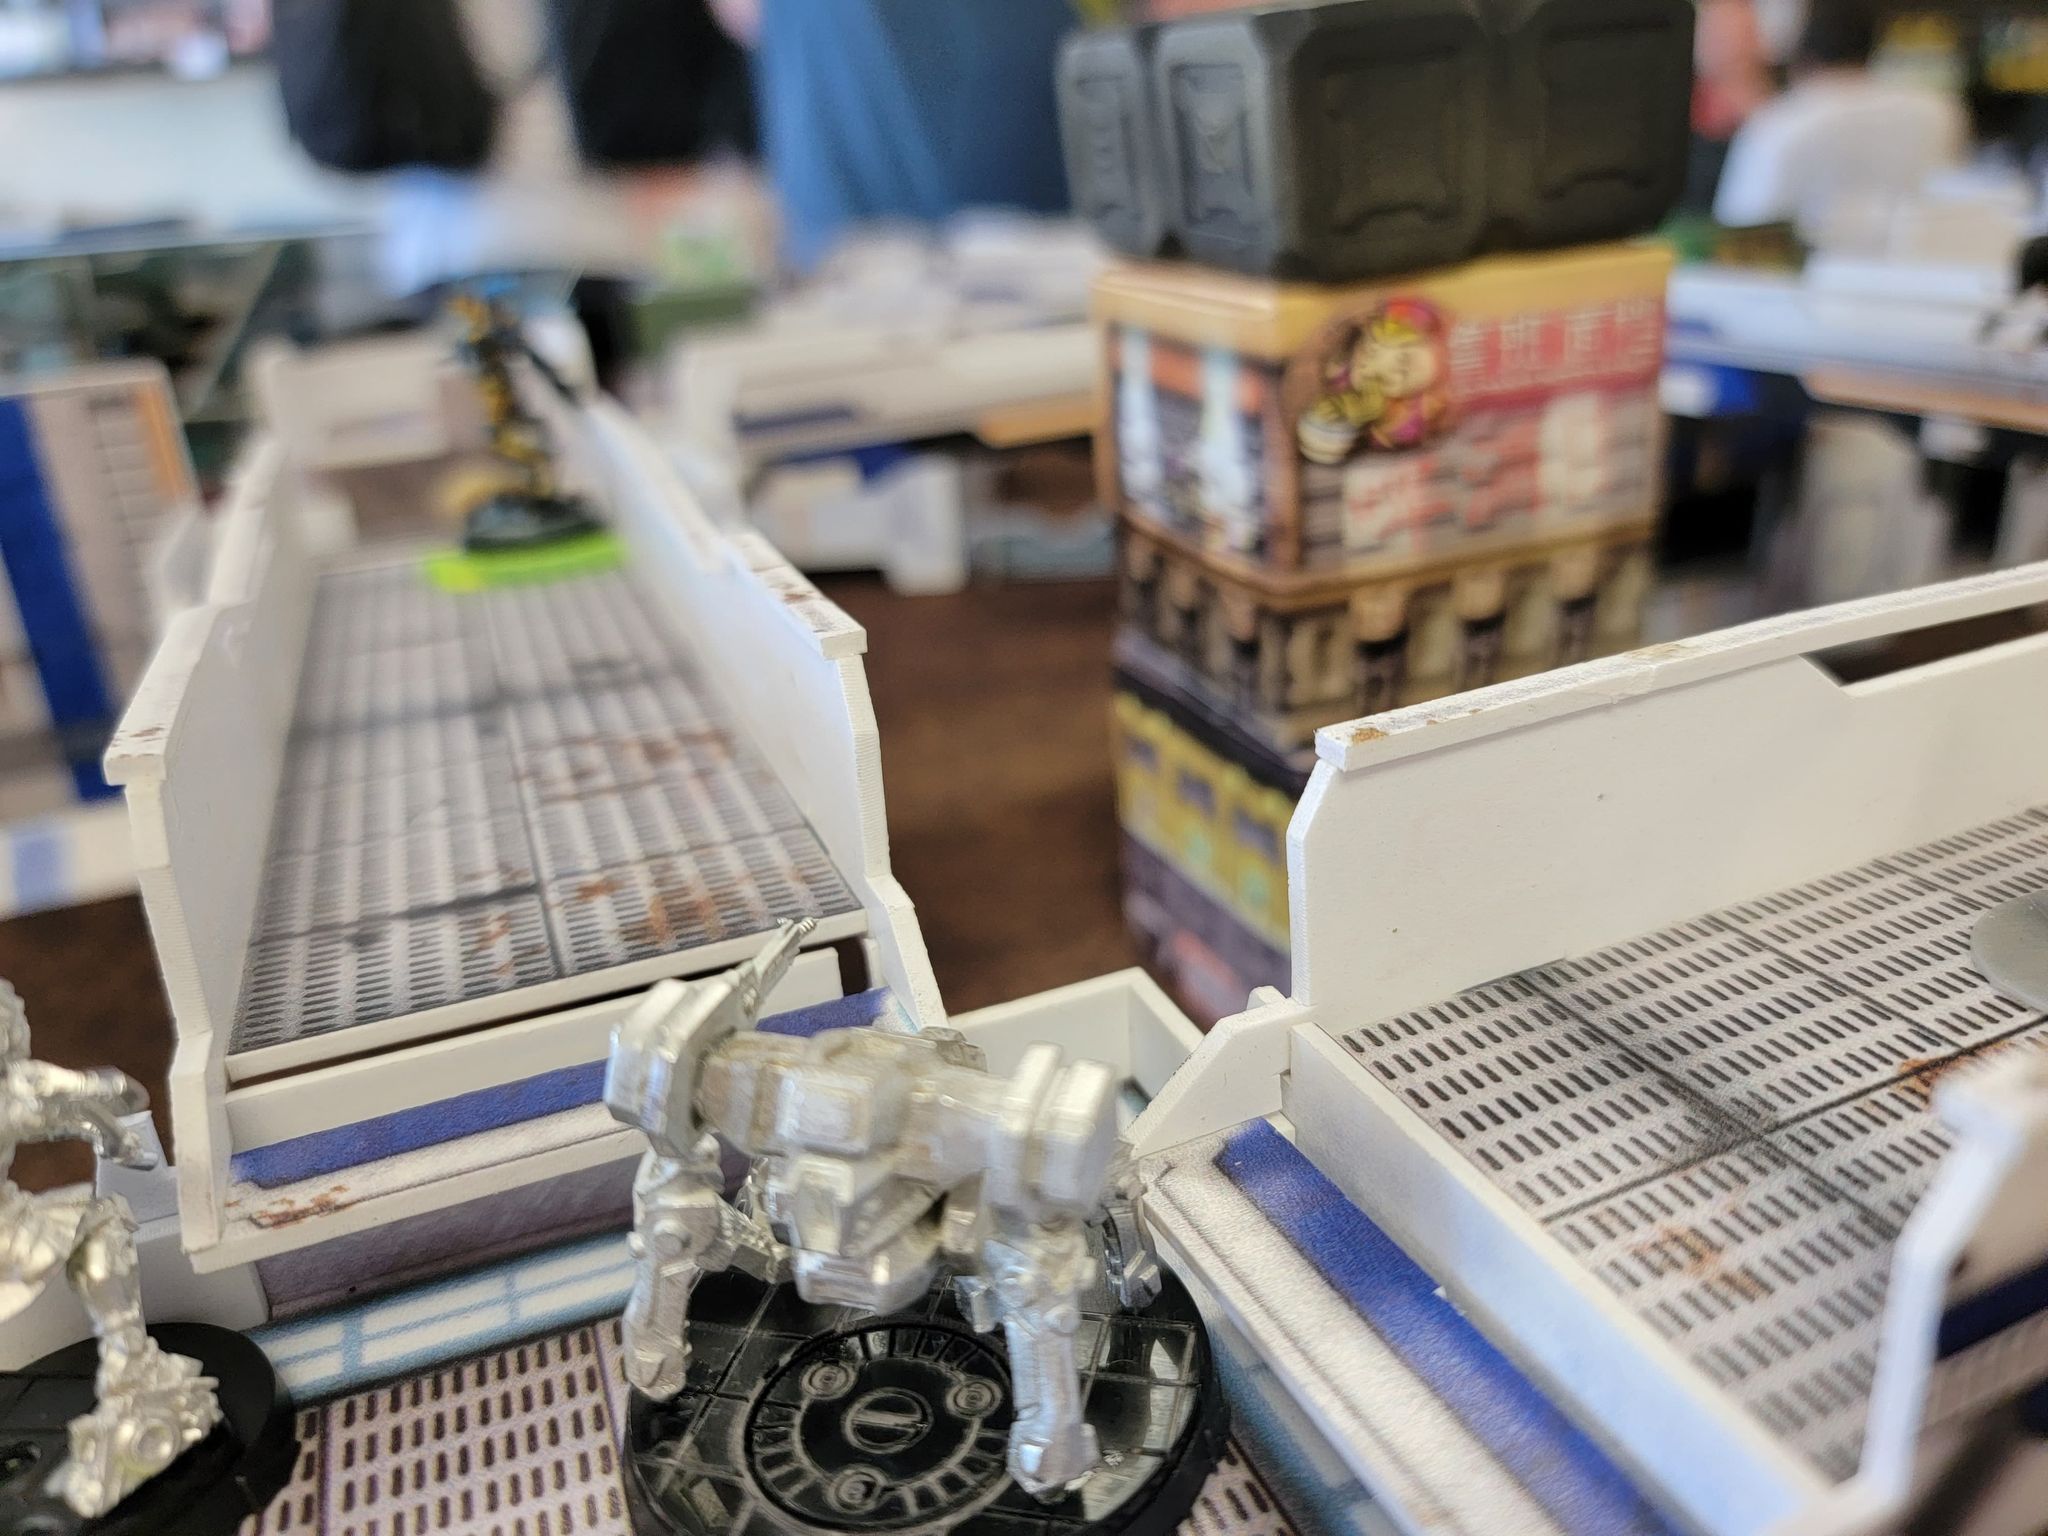
O-12 turn 1:
The varangians storm forward in their lust for battle. They both manage to throw smoke and keep themselves alive while blocking a few channels of attack. The epsilon begins a 6 order exchange with the overwatching missile launcher Teuton that was preventing an easy trek from Hippolyta to the enemy console. Unfortunately, the epsilon managed to only score 1 wound after some very consistently high armor saves from the knight before he was knock unconscious.
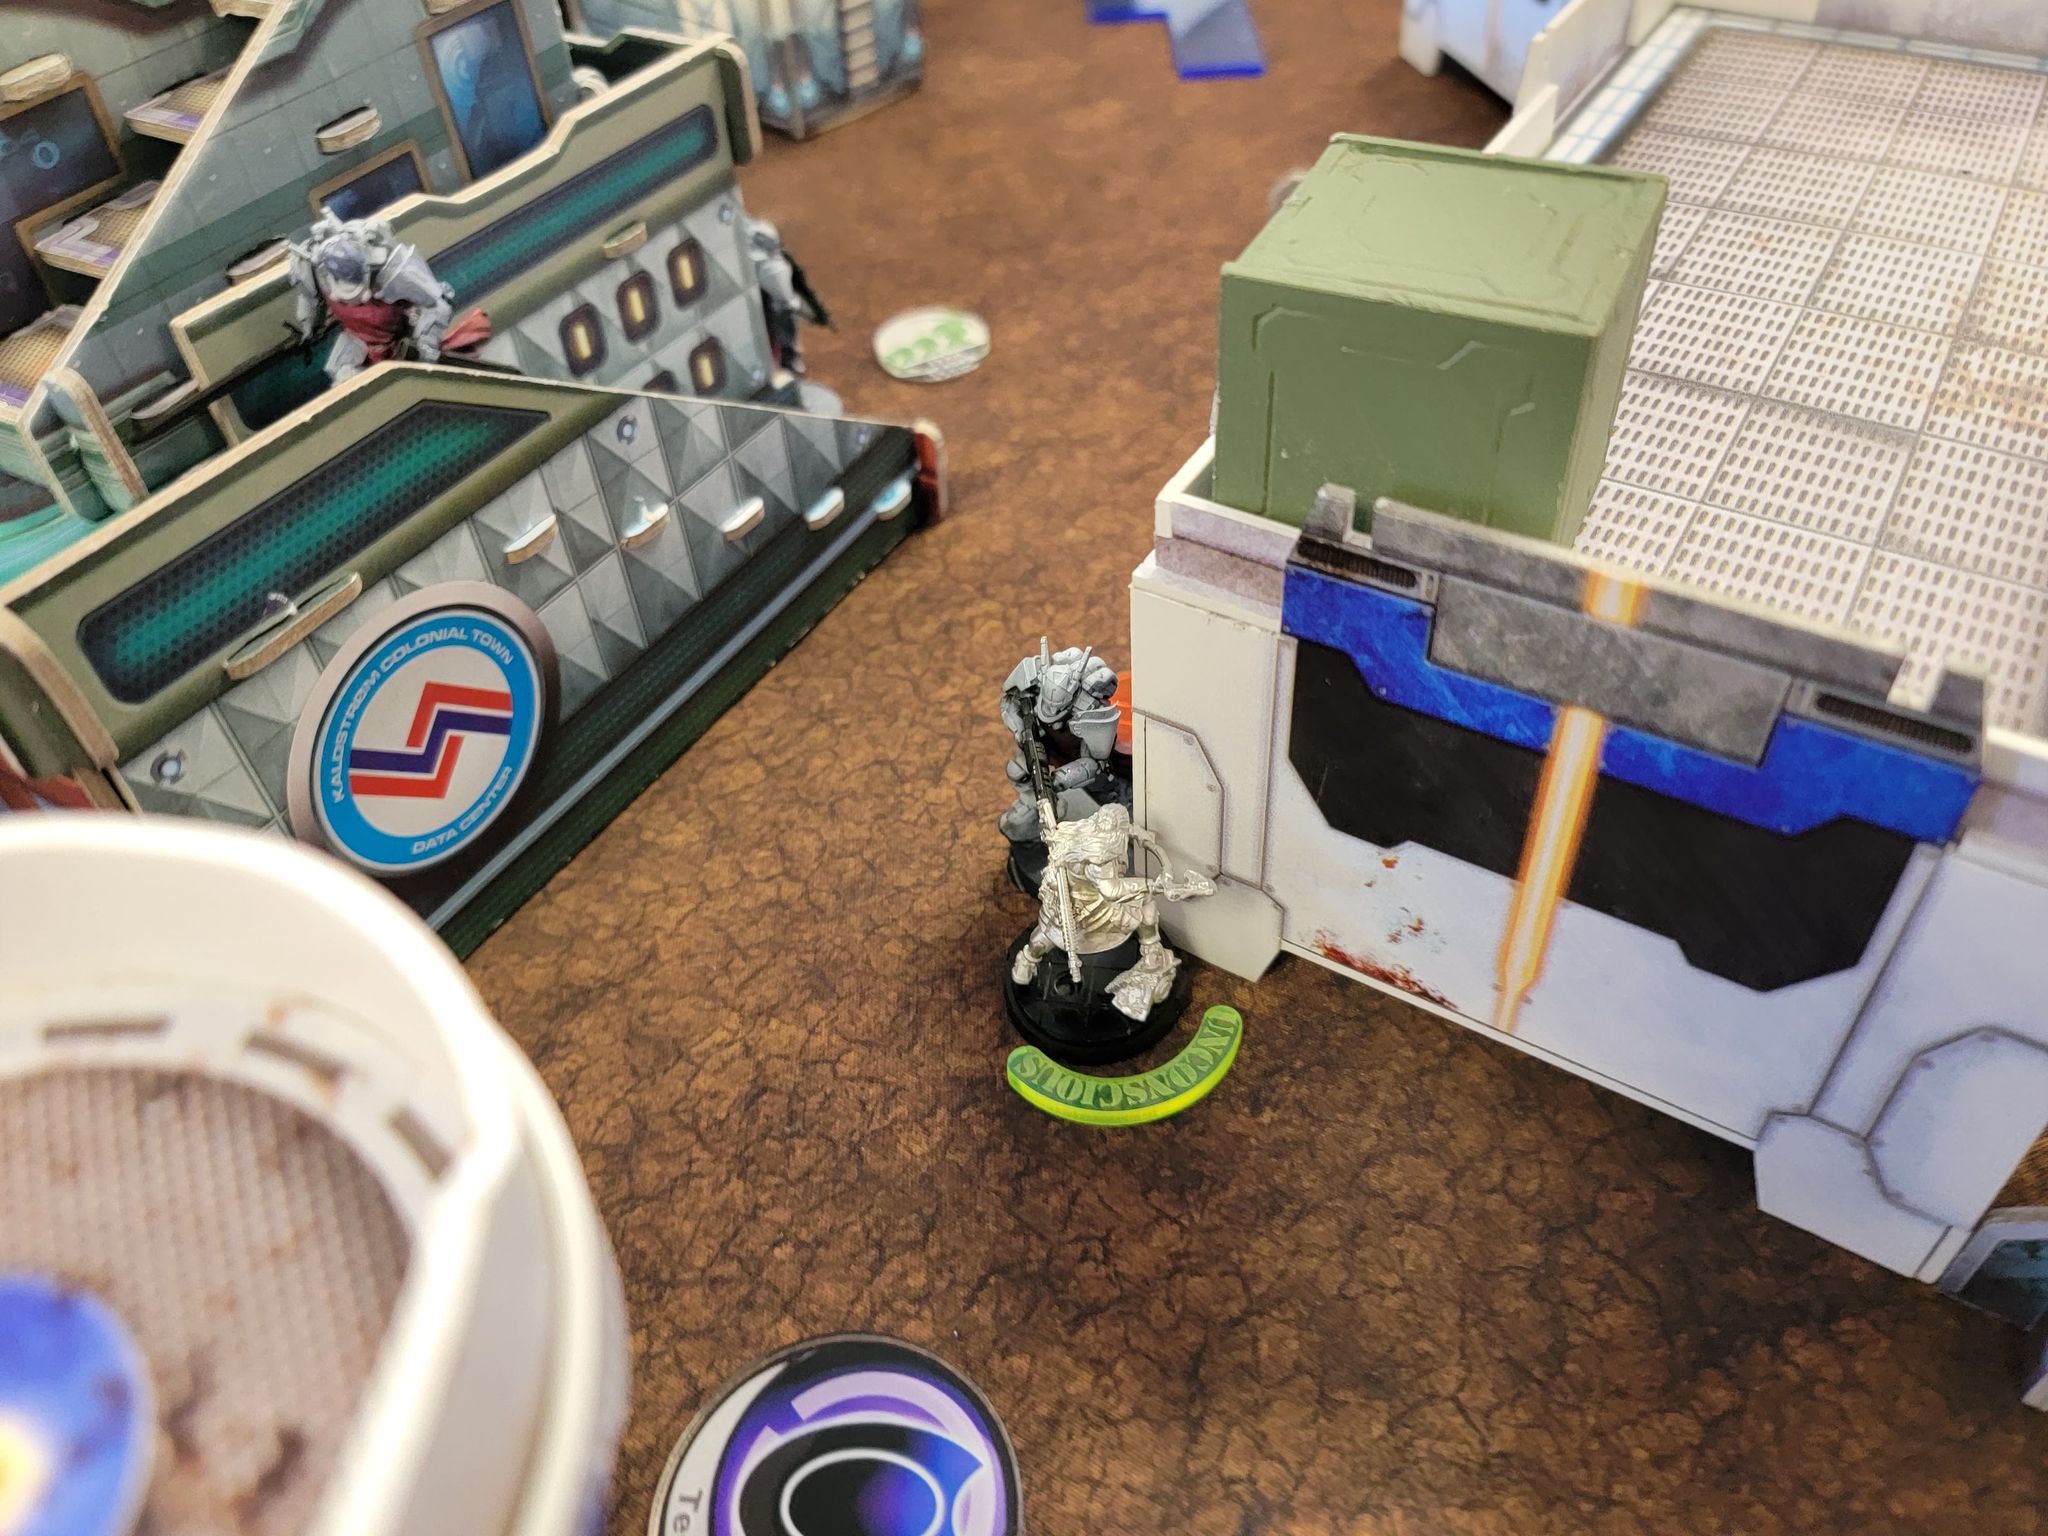
With the last remaining orders from group 1, one of the varangians attempts to move forward and dismantle one of the knights in the crusade teams to reduce their bonuses. He manages to crit, but can’t get anything through the armor to the soft meat underneath. He falls down to the knights return blow. The few orders in the other team are used to move the fuzzbot forward and is used to isolate and immobilize the shotgun knights overlooking an approach to the console.
PanO Turn 2:
The Knights begin their turn with a bulleteer moving forward to attempt to remove the TR peeler bot. Thankfully a clutch critical hit comes through and manages to put the PanO drone out of its misery. De Fersen leaves the fireteam in an attempt to kill the O-12 hackers through the O-12 remote, but is isolated for his insolence! The 3 remaining members of the team retreat to a defensive position for their console, and manage to shoot down the surviving varangian on the walkways along the way.
O-12 turn 2:
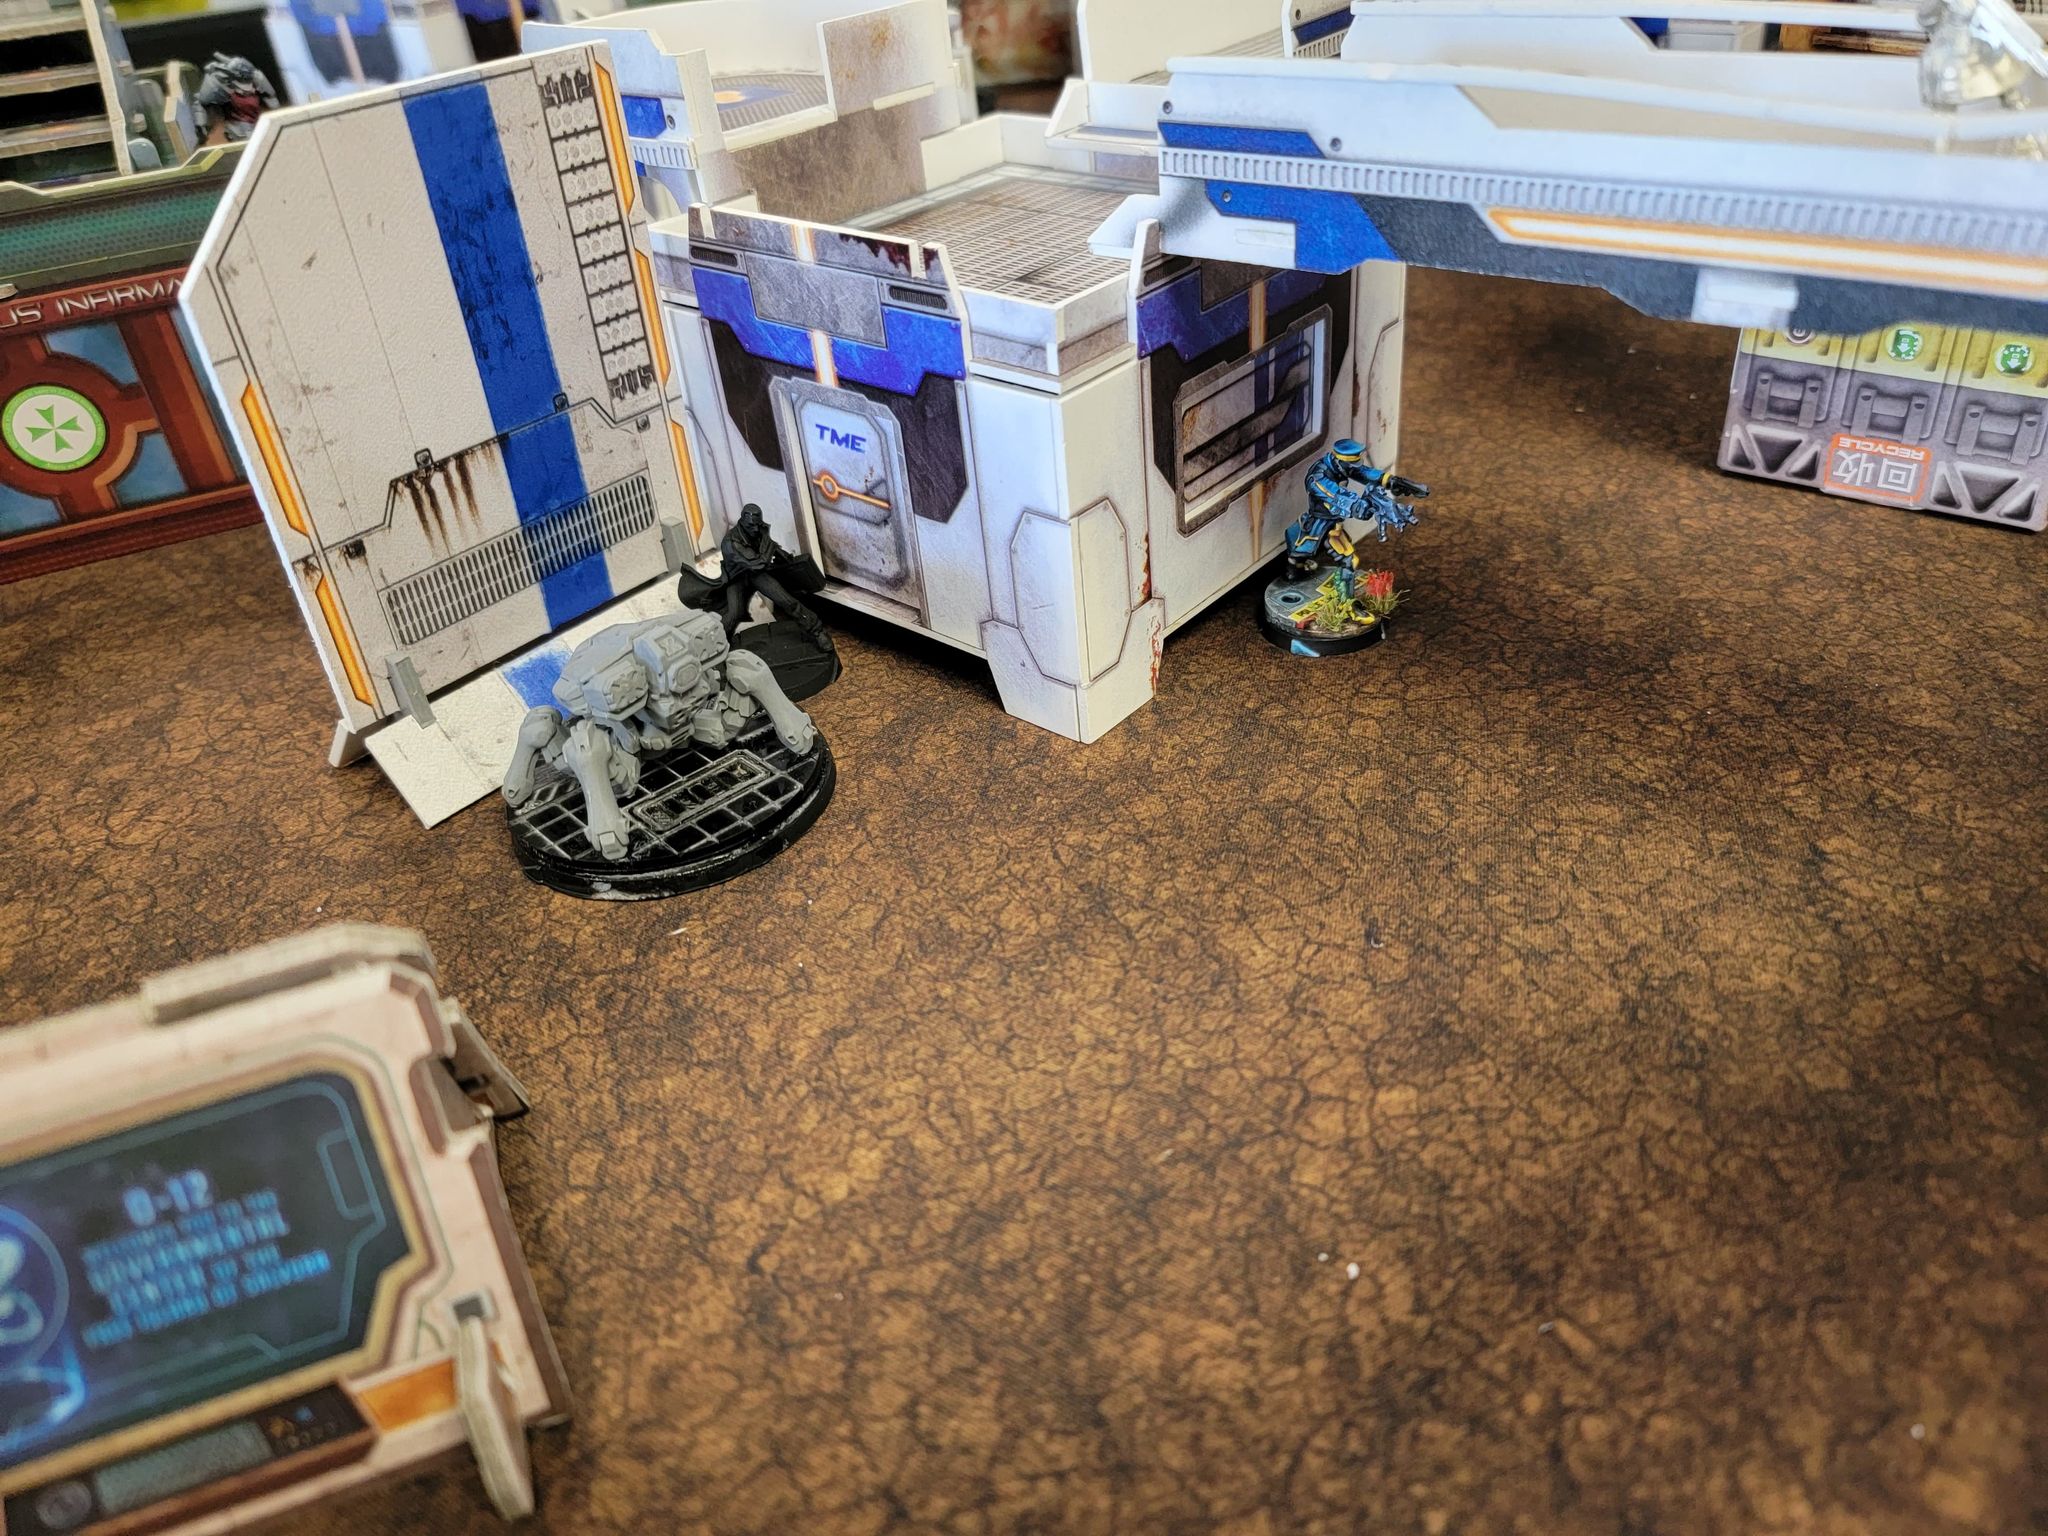
The Psi-Cop realizes that he has get to that missile launcher Teuton out of the picture if he hopes to clear the way to the console. He starts running forward, taking out the enemy defensive turret before he sets up a perfect shot on the Teuton. After 4 attempts, he manages to put down the wounded Teuton. With the perfect amount of orders to not be able to make it to the enemy console with the hidden Hippolyta, the psi cop attempts to remove another member of the crusade team. Joan manages to win the face-off and the Psi-Cop lands on his butt. The bluecoat uses the other group’s orders to get into position for next turn to attempt to immobilize any defending knights.
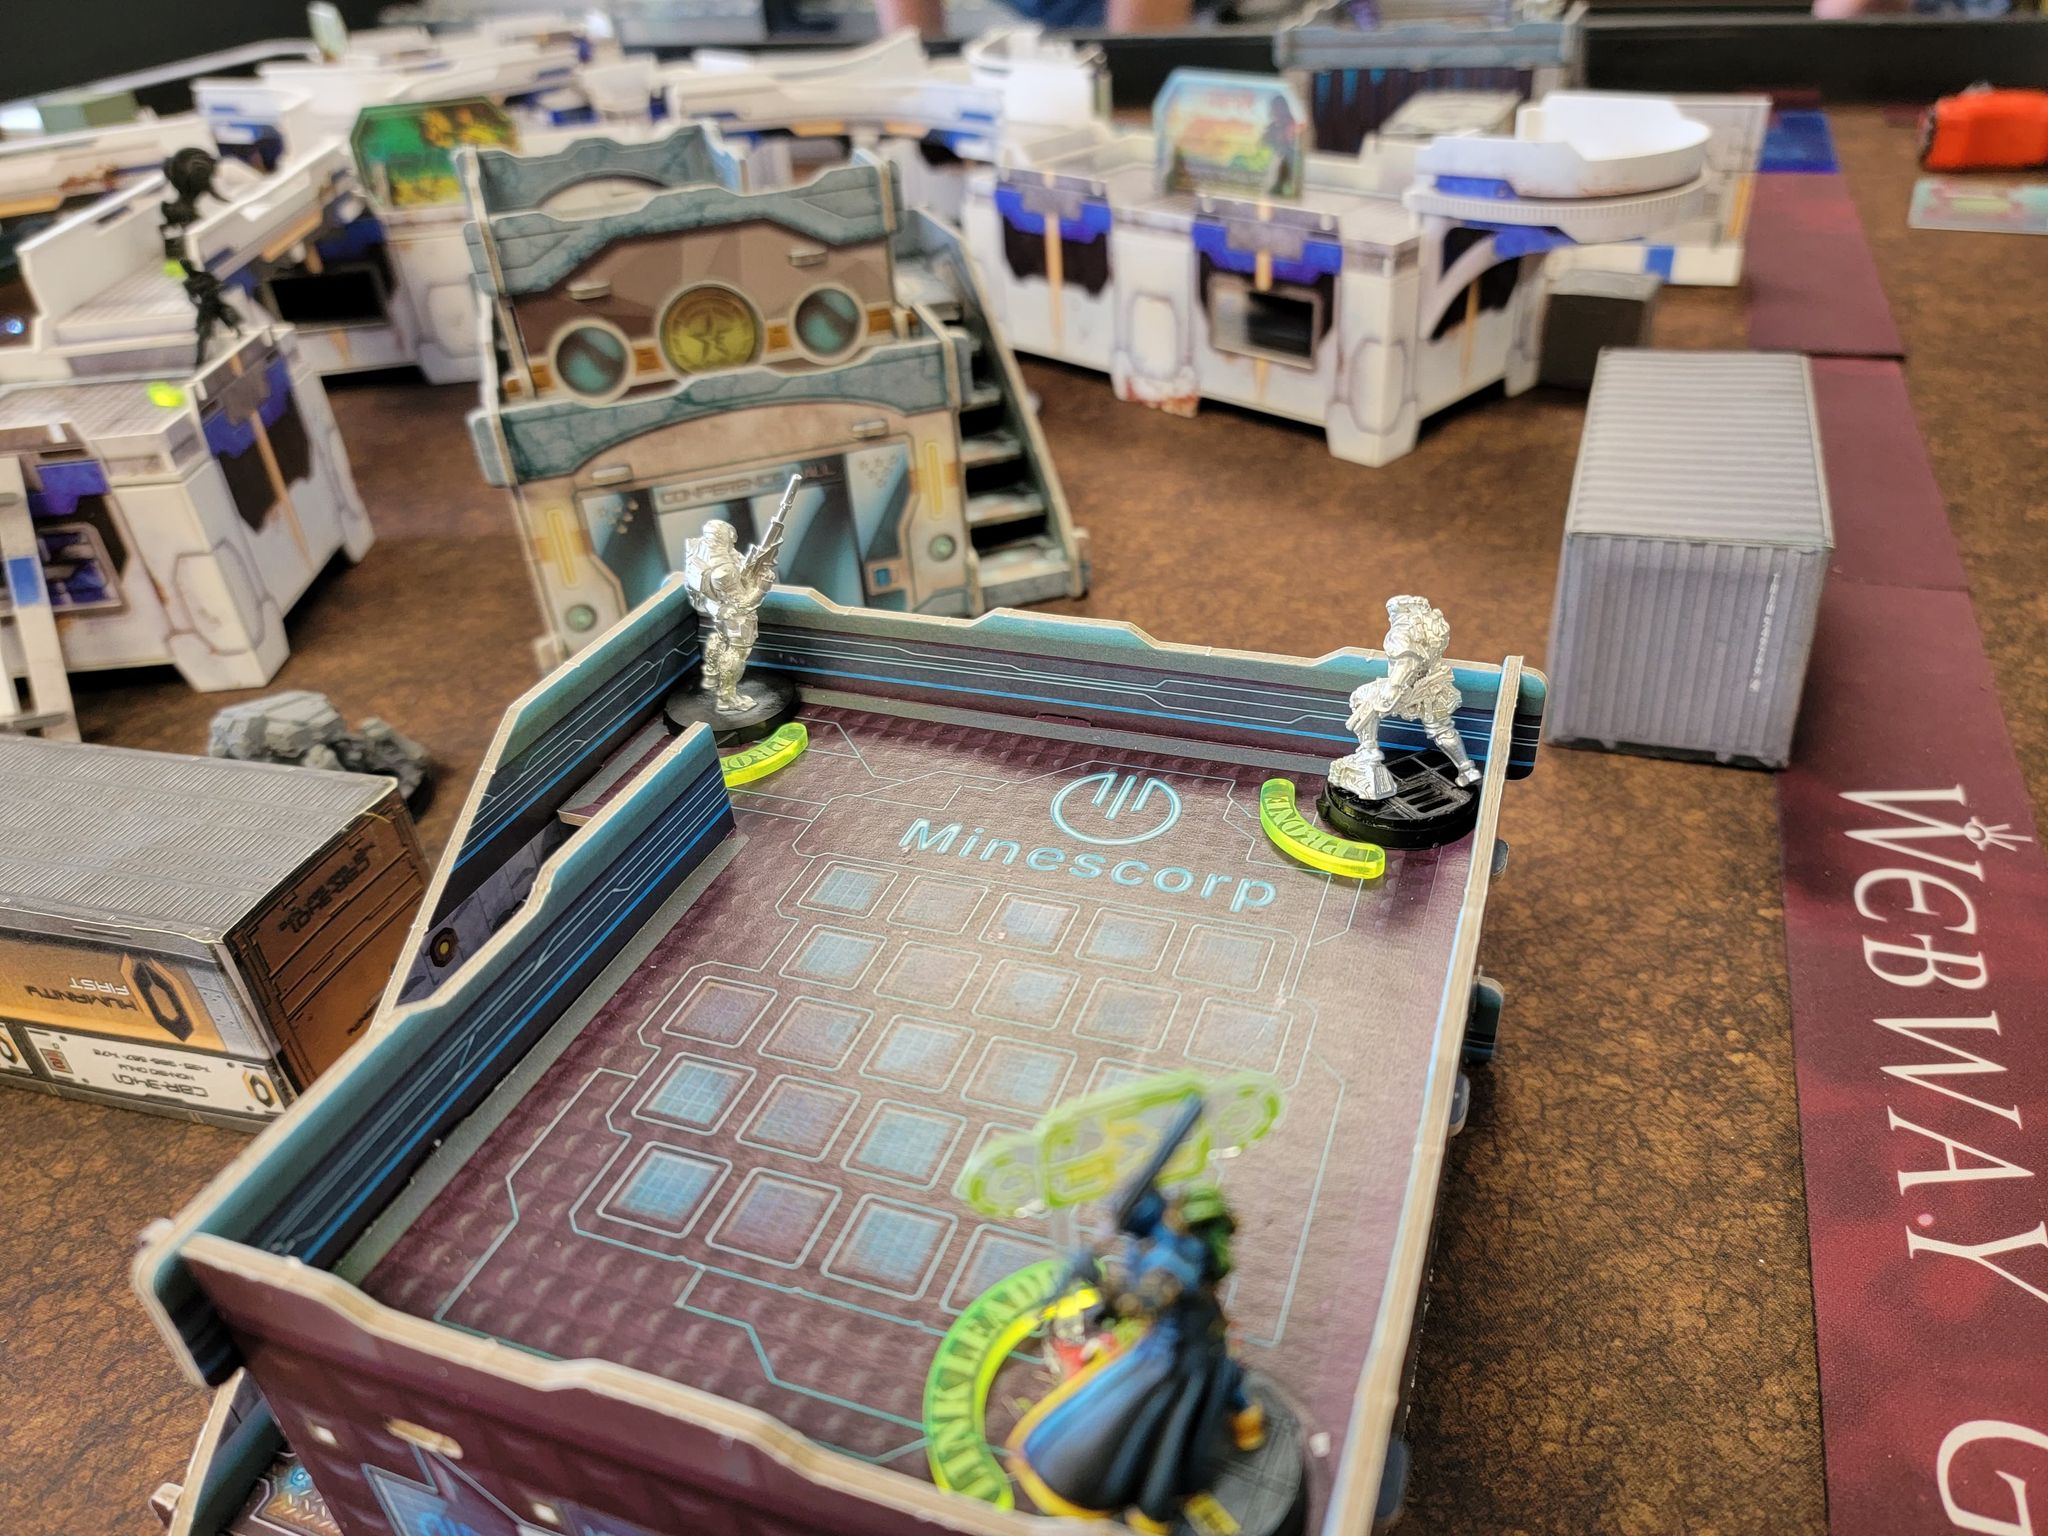
PanO Turn 3
The entire turn is spent slowly moving his crusader team forward to get directly in the way of the attack run that I would need to do next turn. They manage to put down the team sirius remote and put down the peeler along the way.
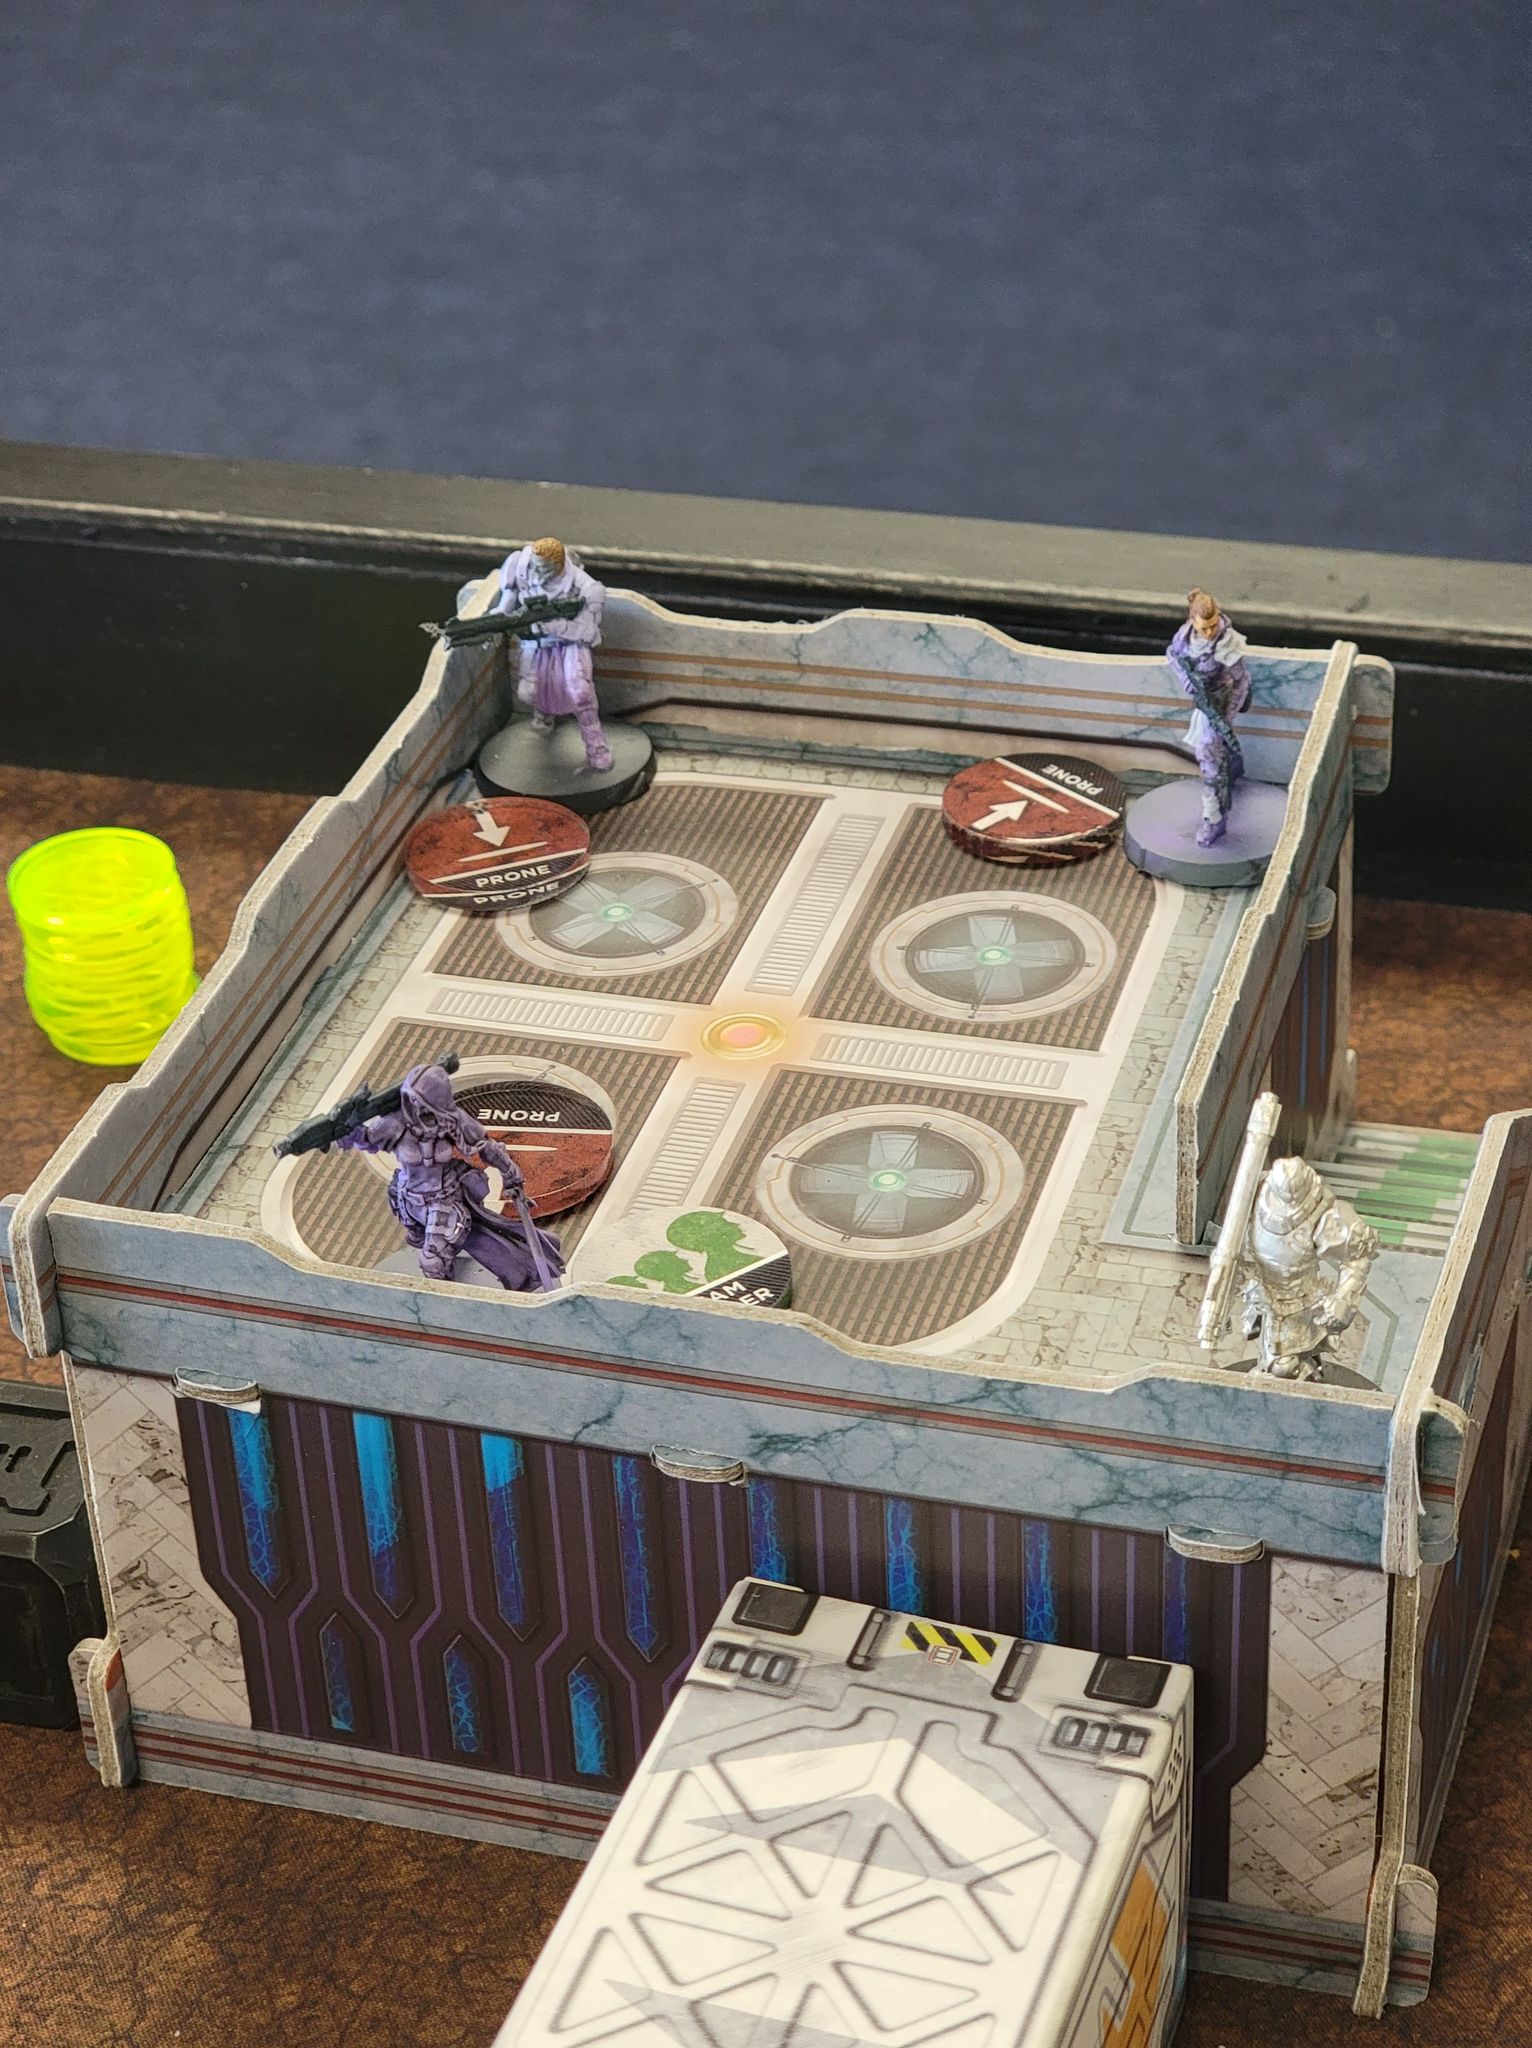
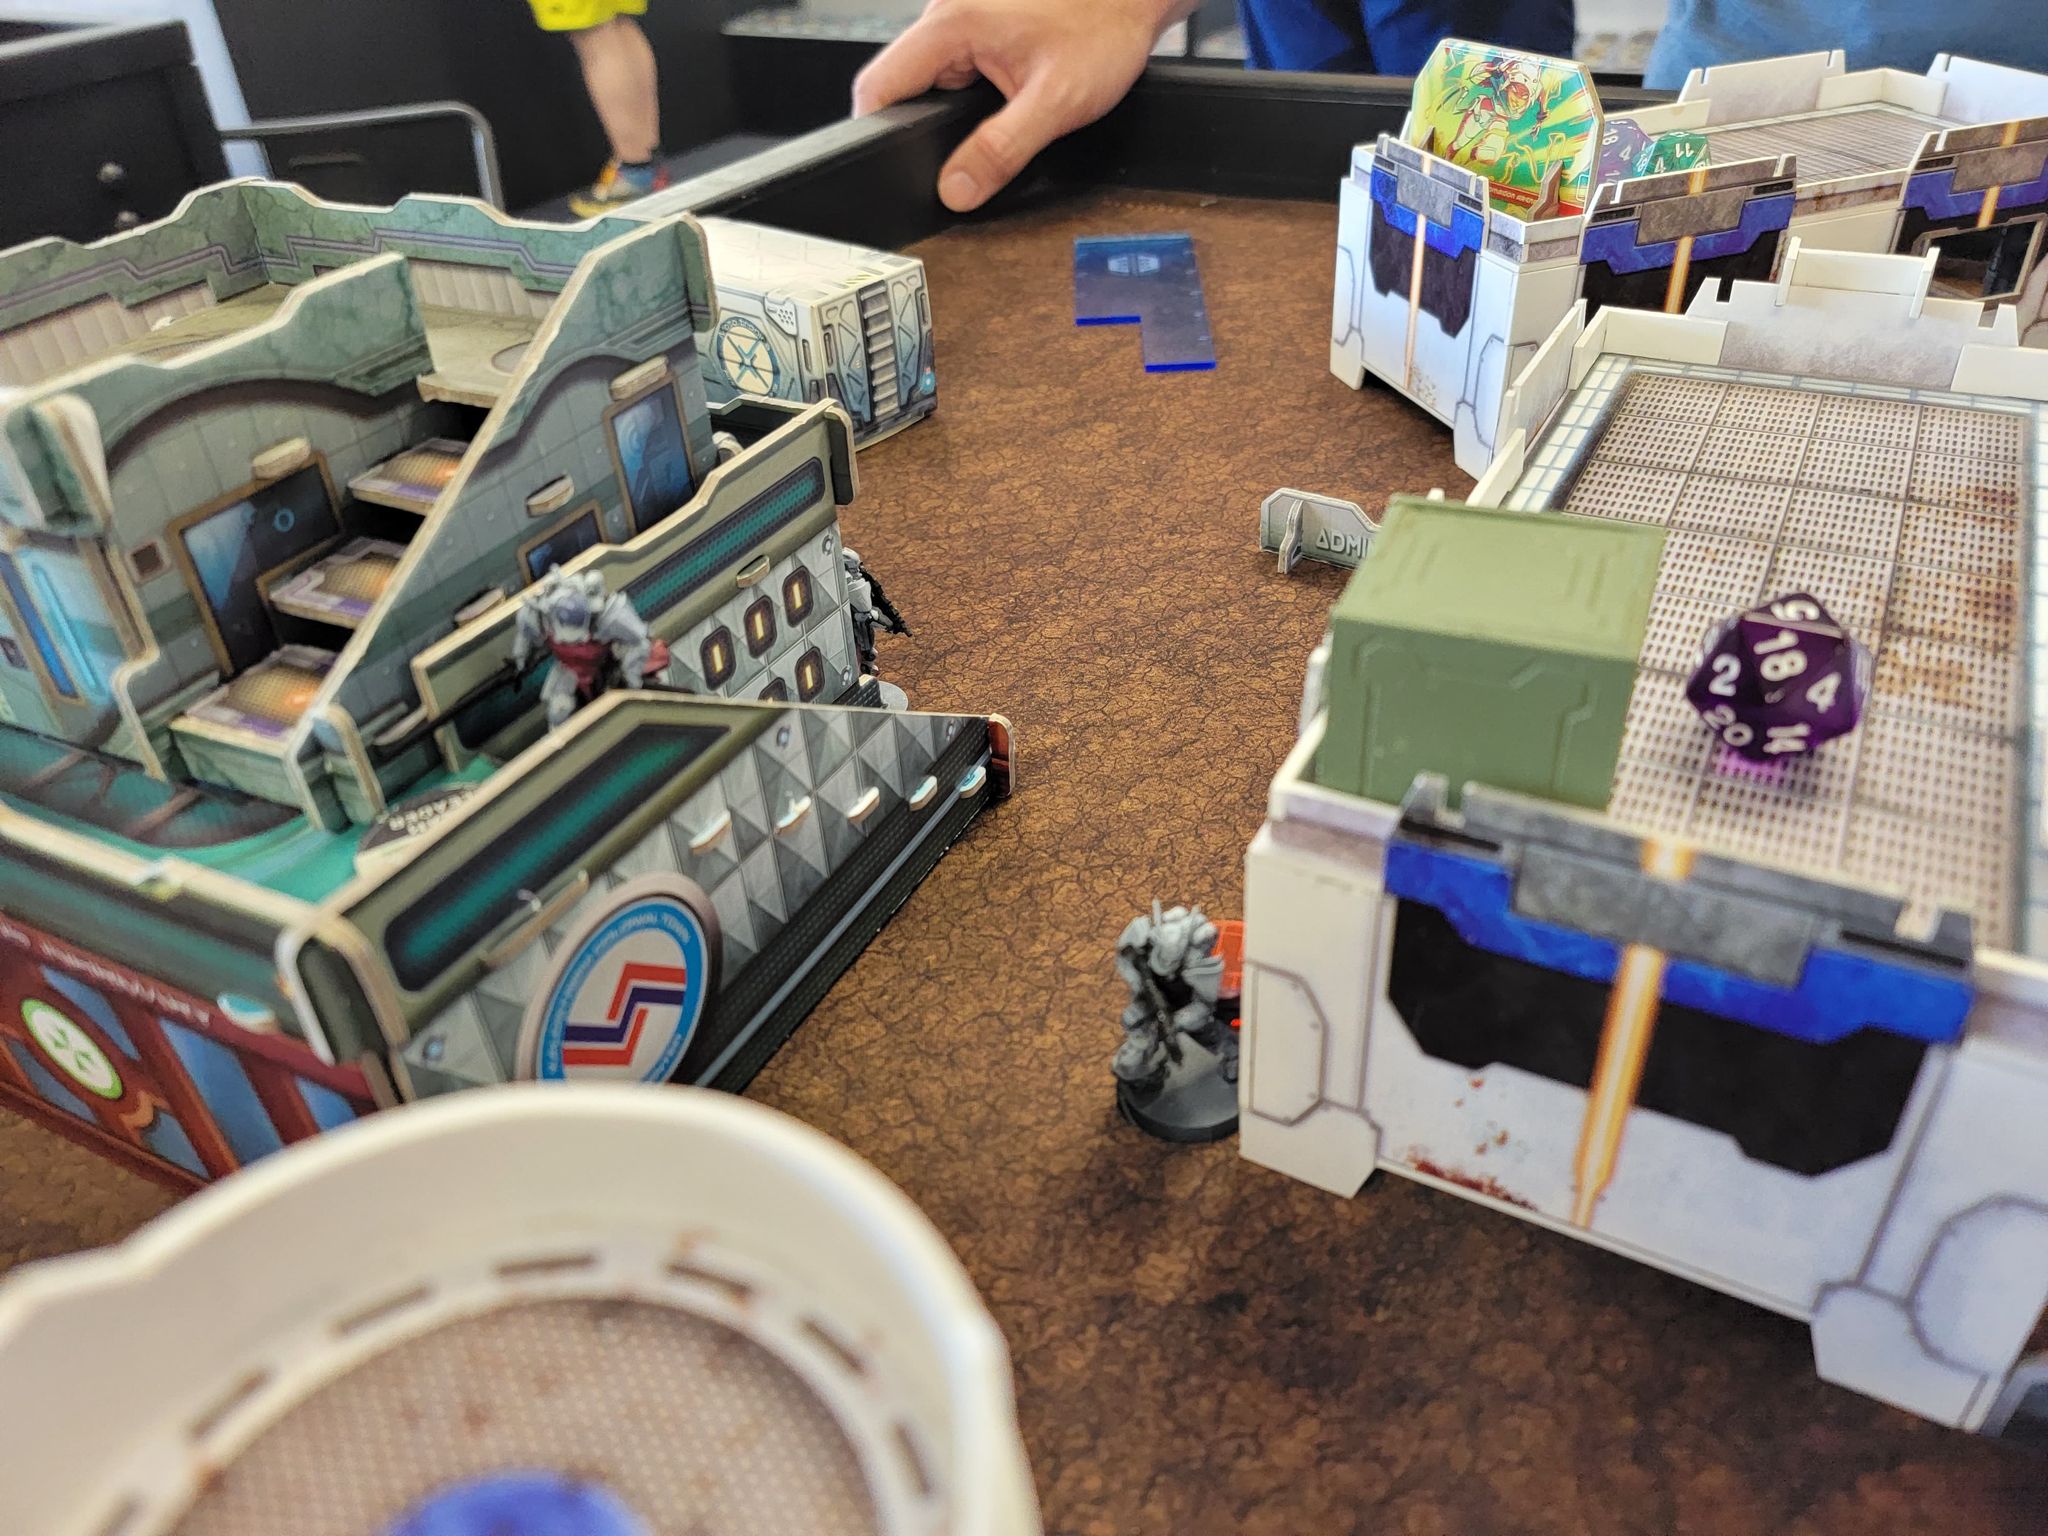
O-12 Turn 3
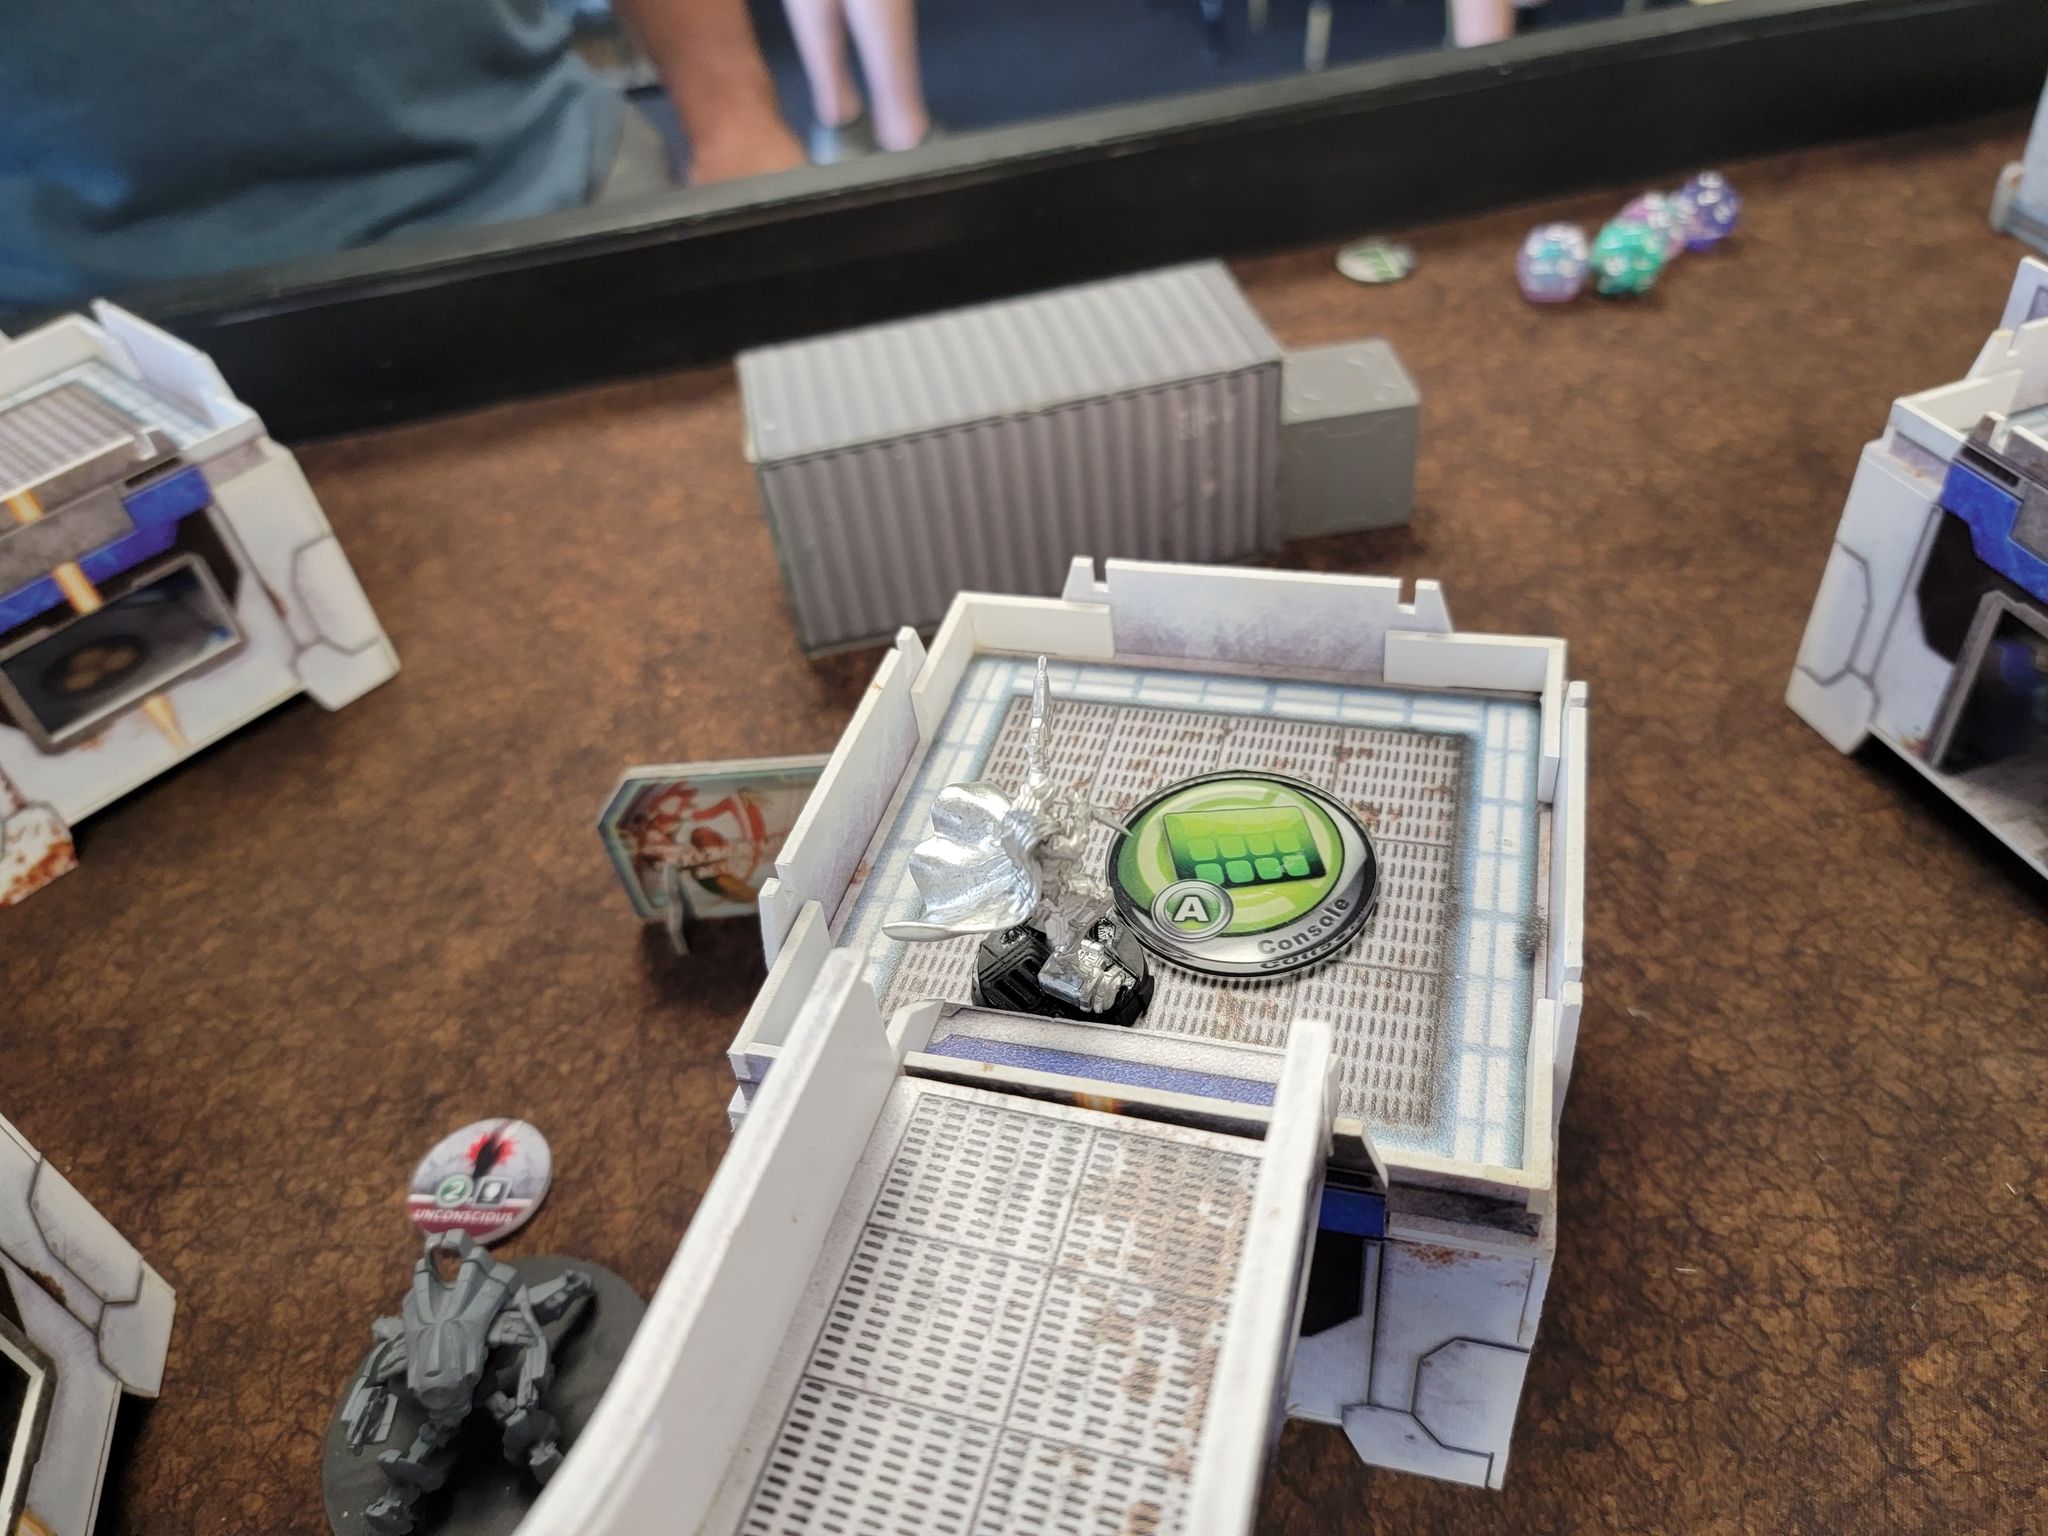
Hippolyta must be used this turn. The way remains very dangerous even with all the attempts to setup an easy channel to the console. She gets up, yeets a grenade against all the reactions. Gets it setup, and storms into the smoke. The bluecoat attempts to ease the attack by gluing the knights near the ledges. He manages to glue up one of the Teutons directly in the way, but gets put down by Joan after attempting to glue her up. Hippolyta storms through the cloud, slices one of the knights in half, and charges into the console. She manages to use all the remaining orders to smack the console around with ease, but never manages to get a wound with her exploding CC weapon.
After-Battle Thoughts
Very fun game with a very frustrating amount of passed armor saves from the PanO player. The Missile launcher Teuton just would not go down. After thinking about it, I should have just thrown smoke in front of the epsilon before the fated engagement started and forced him to put his head down, but sadly hindsight would not help me for this game.
This will be my last report for this campaign, and I have to say it was very enjoyable to take a part in the celebration. Can't wait to see you guys in the next one!
Lt. Liberty of Task Force Corgo OUT


Good job Officer!
Really cool to see the report! It was nice seeing O-12 stepping in for some variety.
I guess this report shows why us in O-12 use some PanOceanian gear : it is sturdy beyond mesure ! Good job, it was a nice try.