Fought At Cameliard: Reliquary
650 days 8 hours 25 minutes ago
Operation Hulao Pass
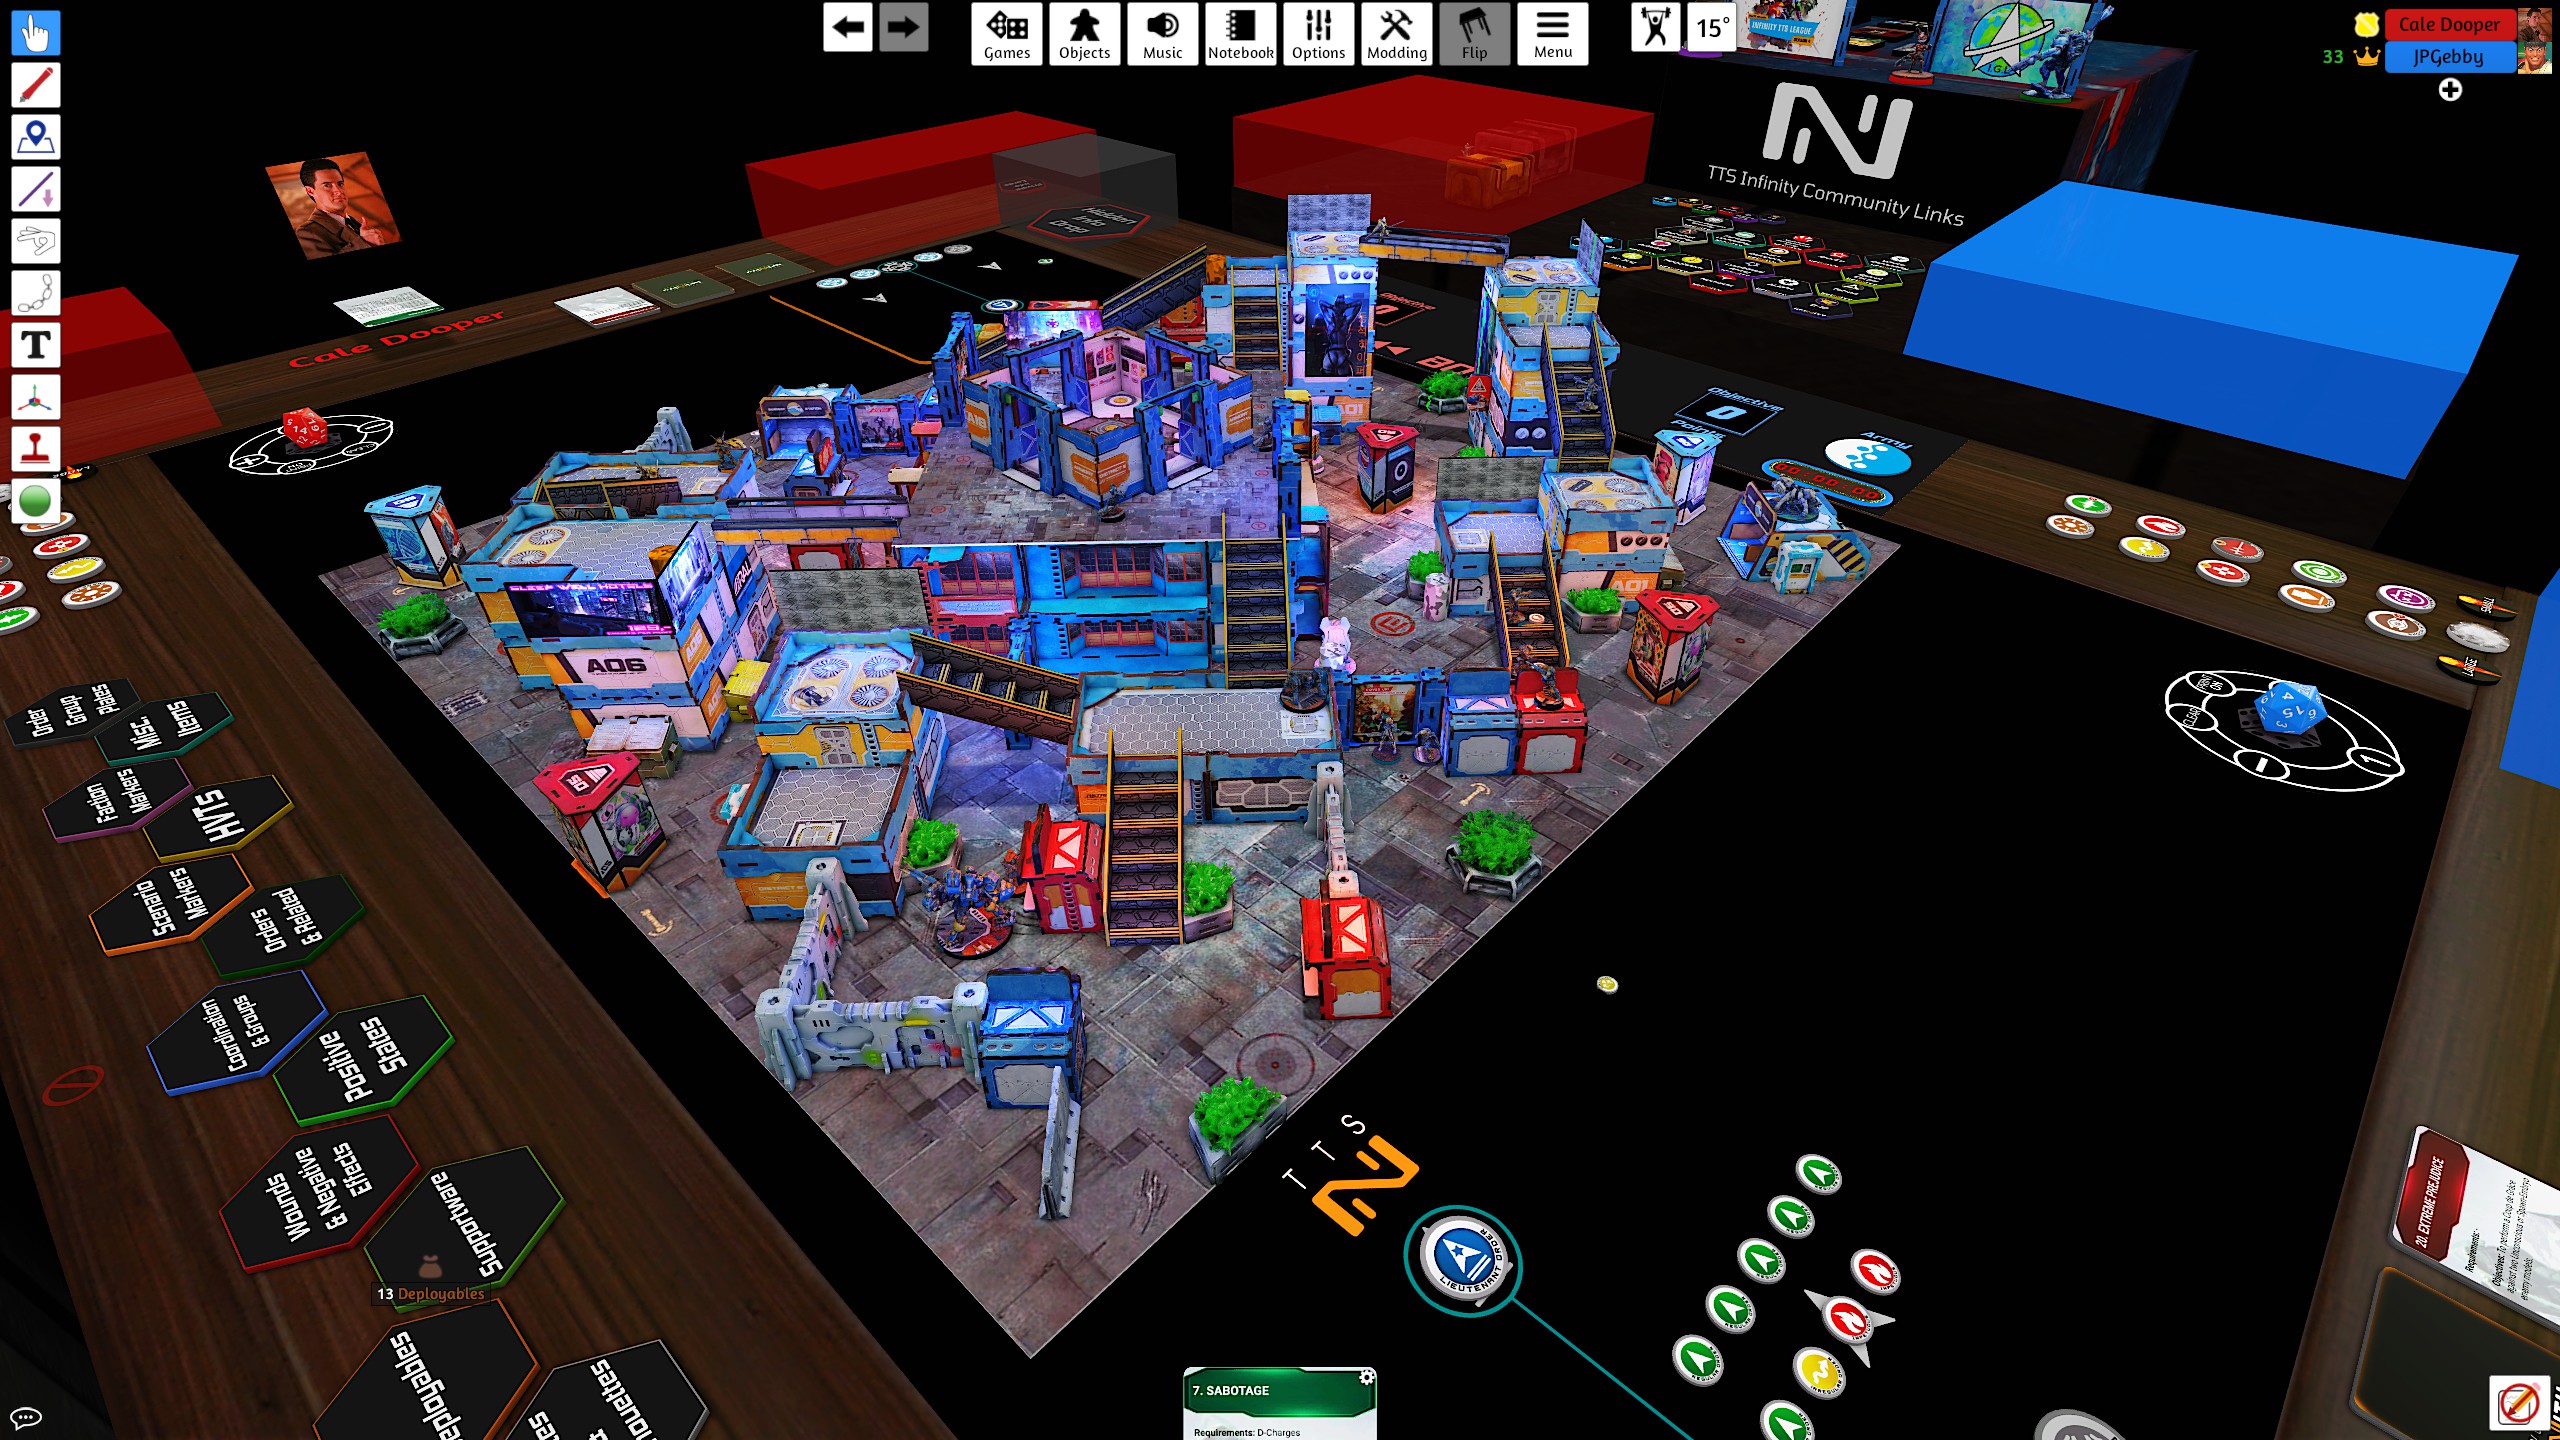
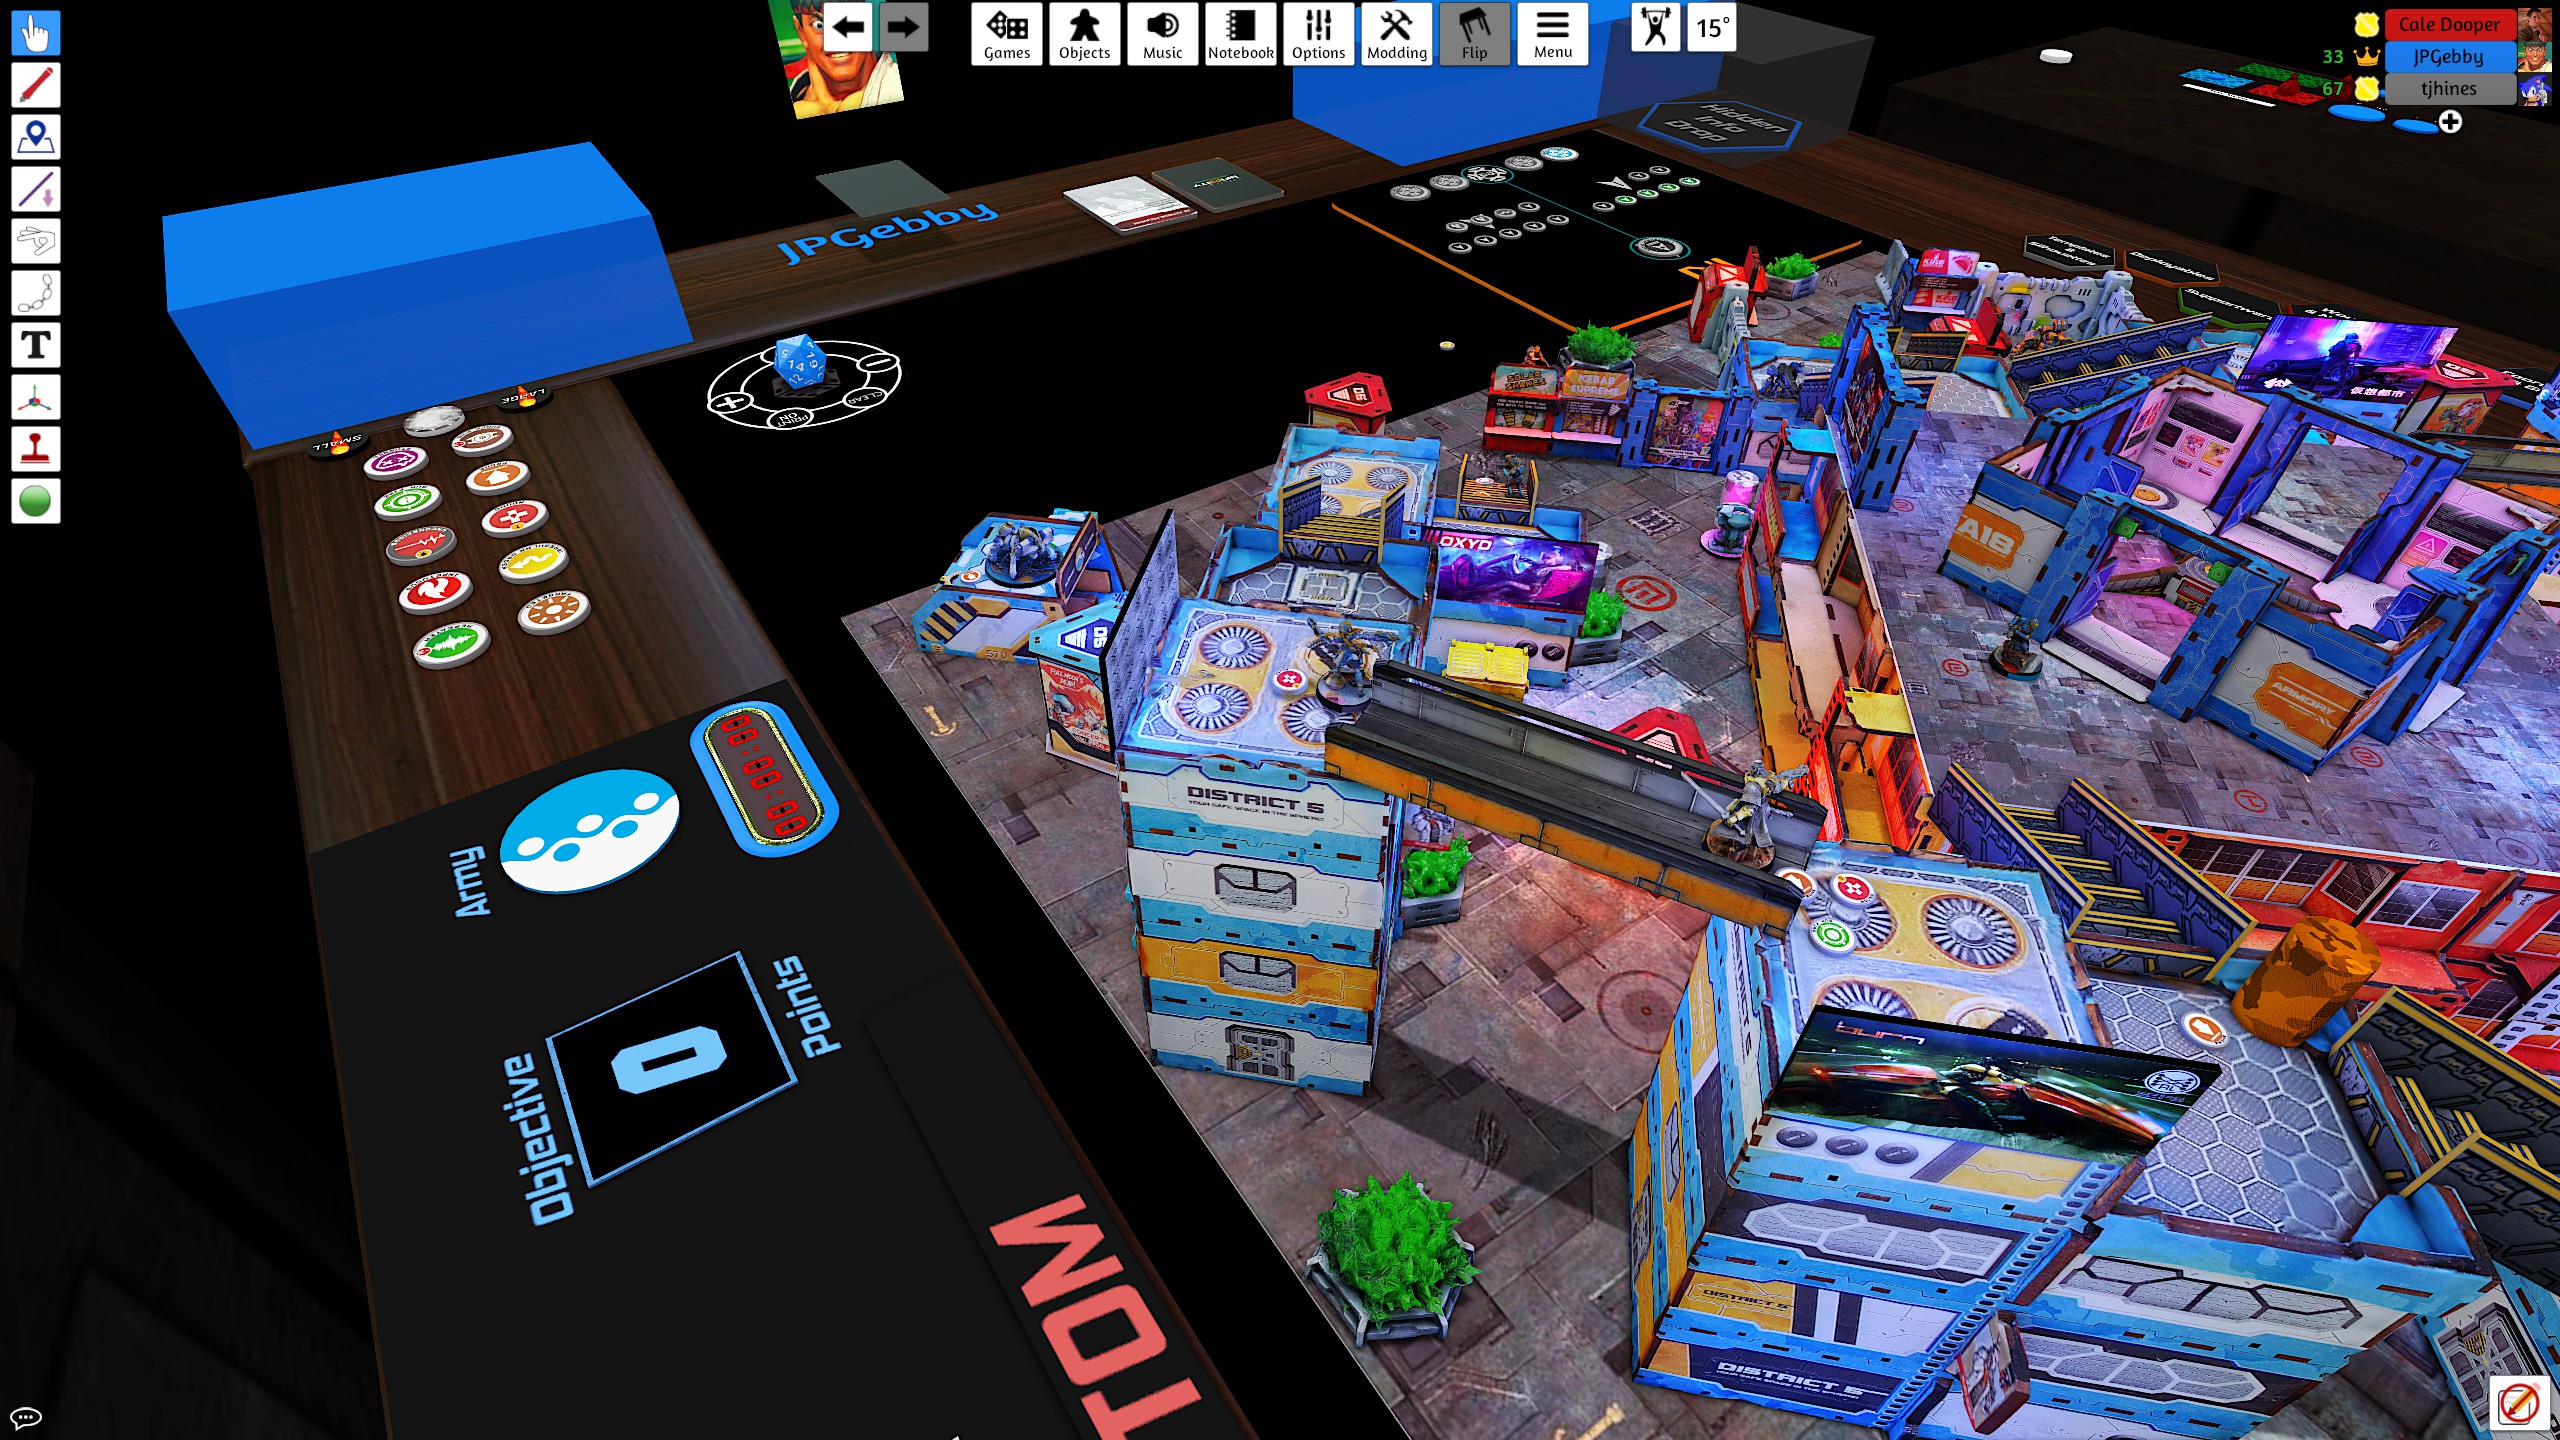
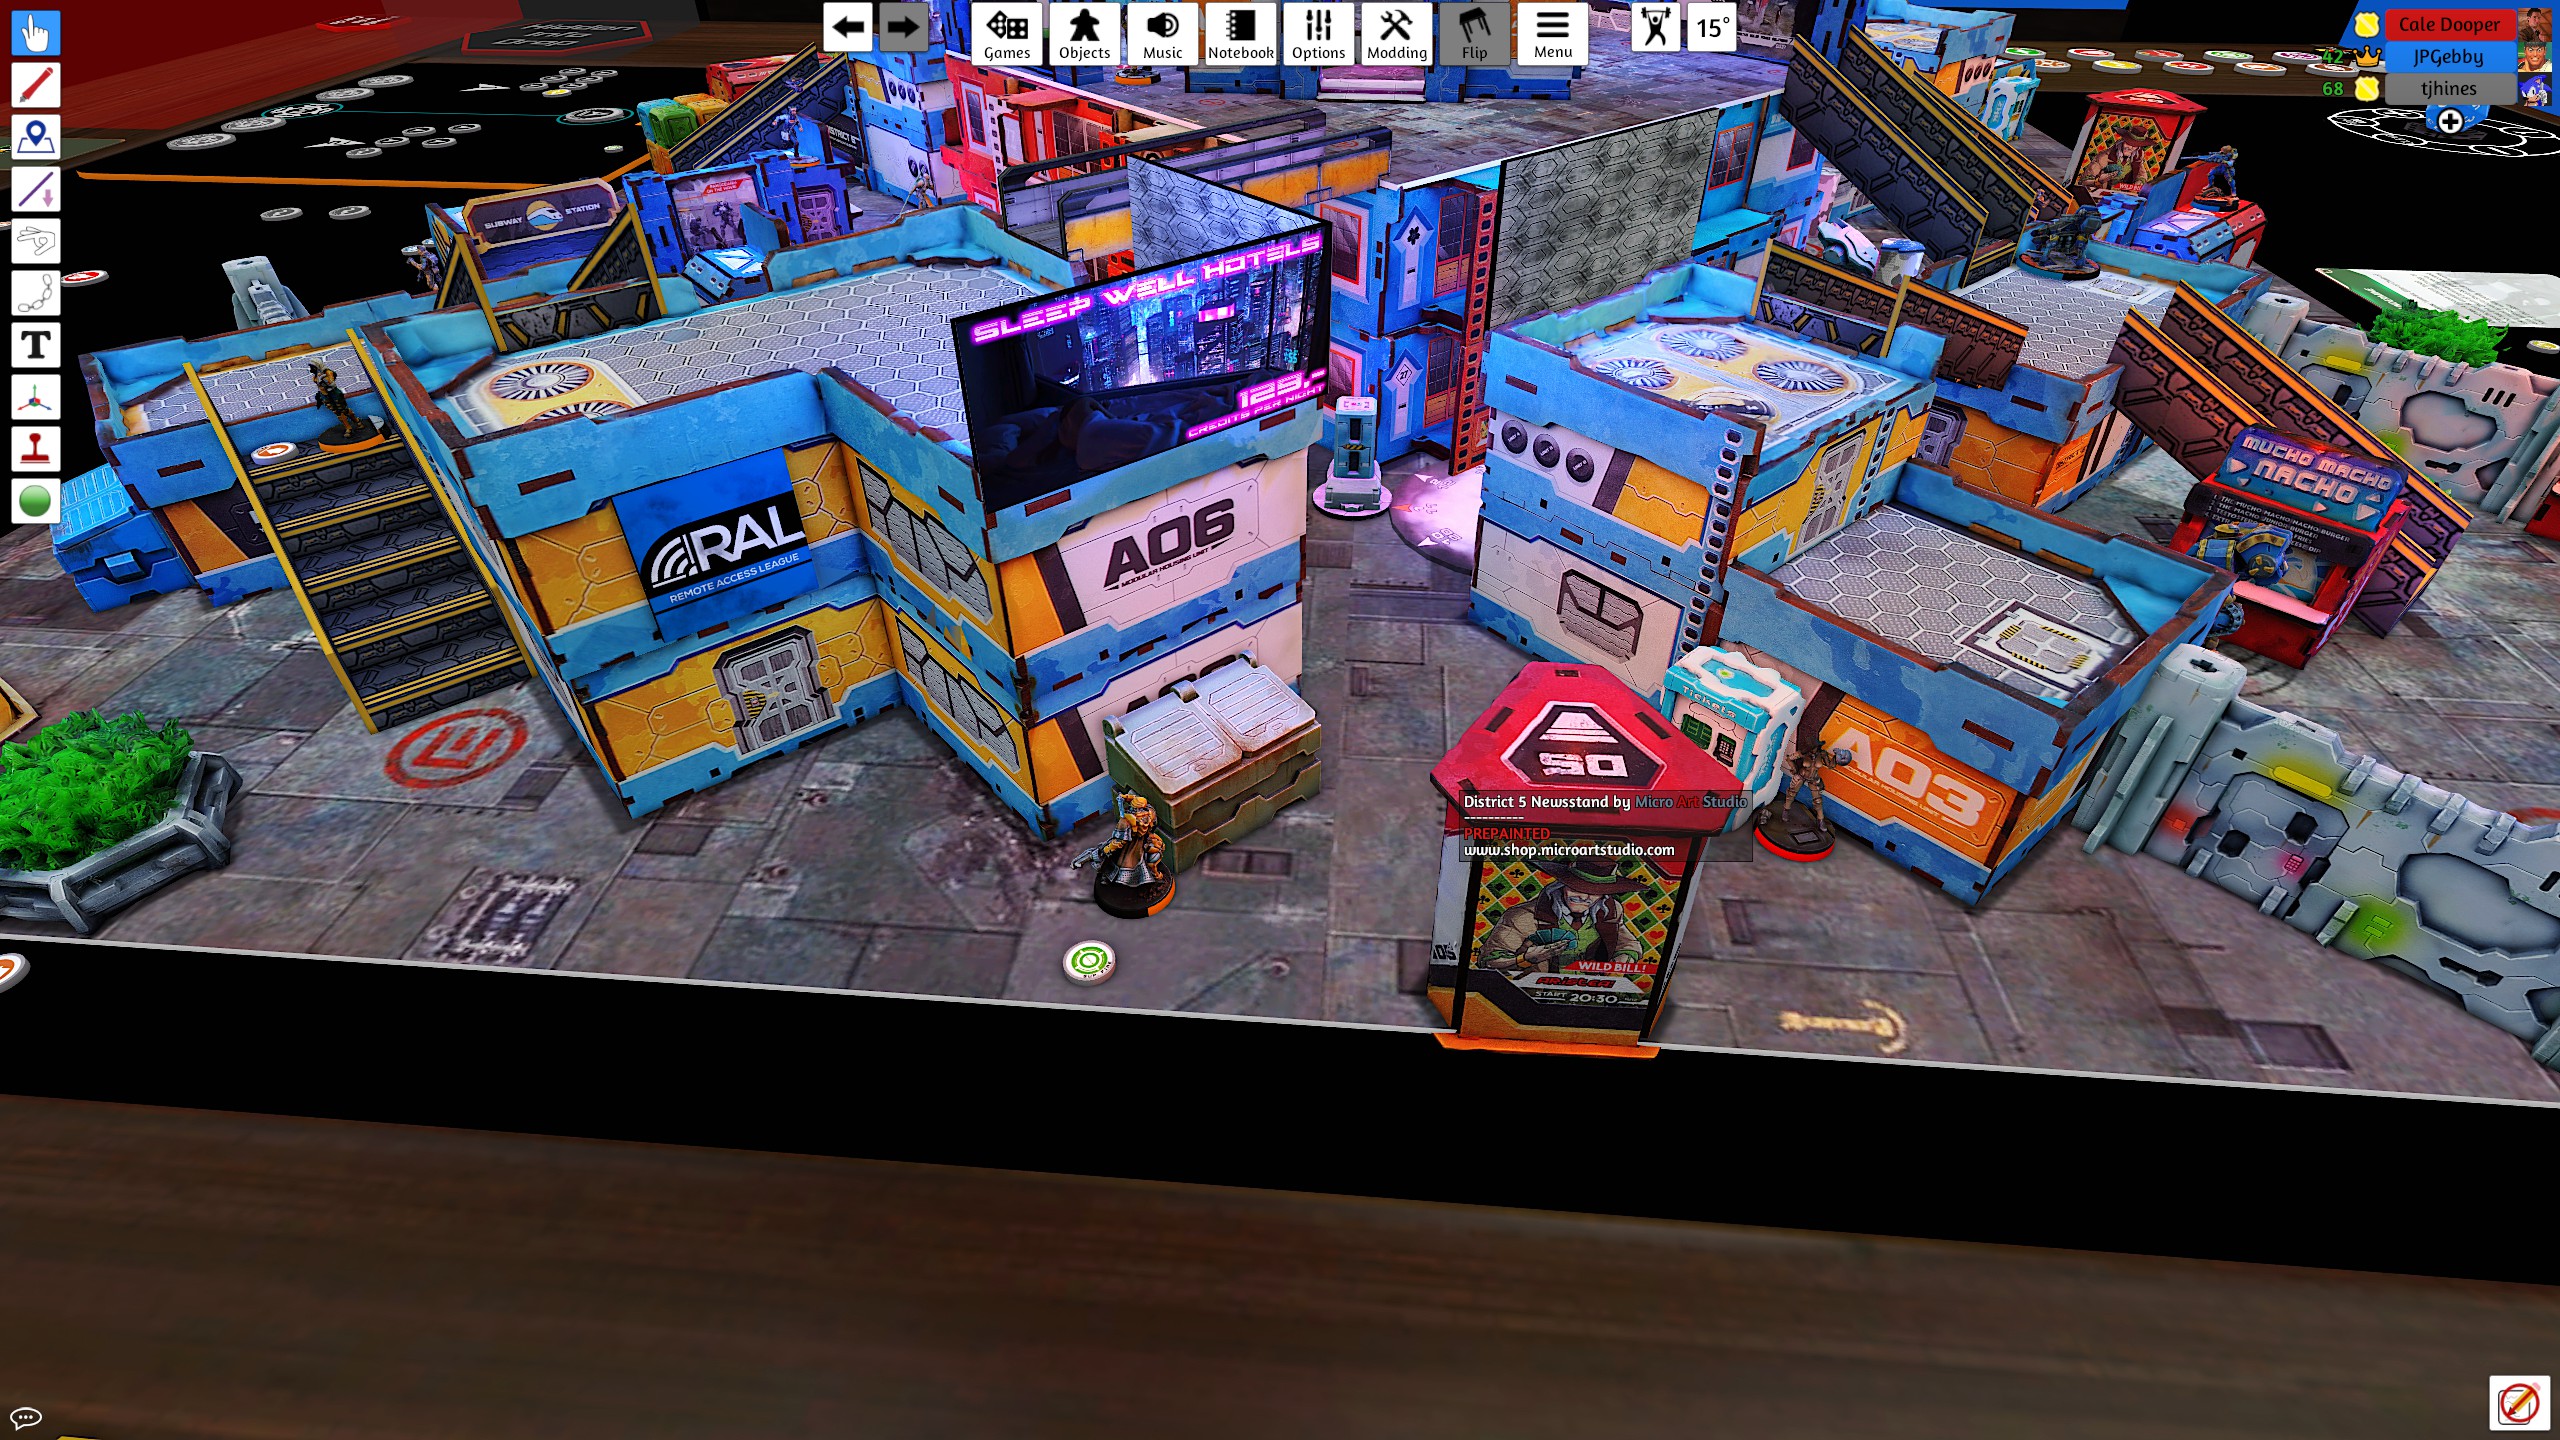
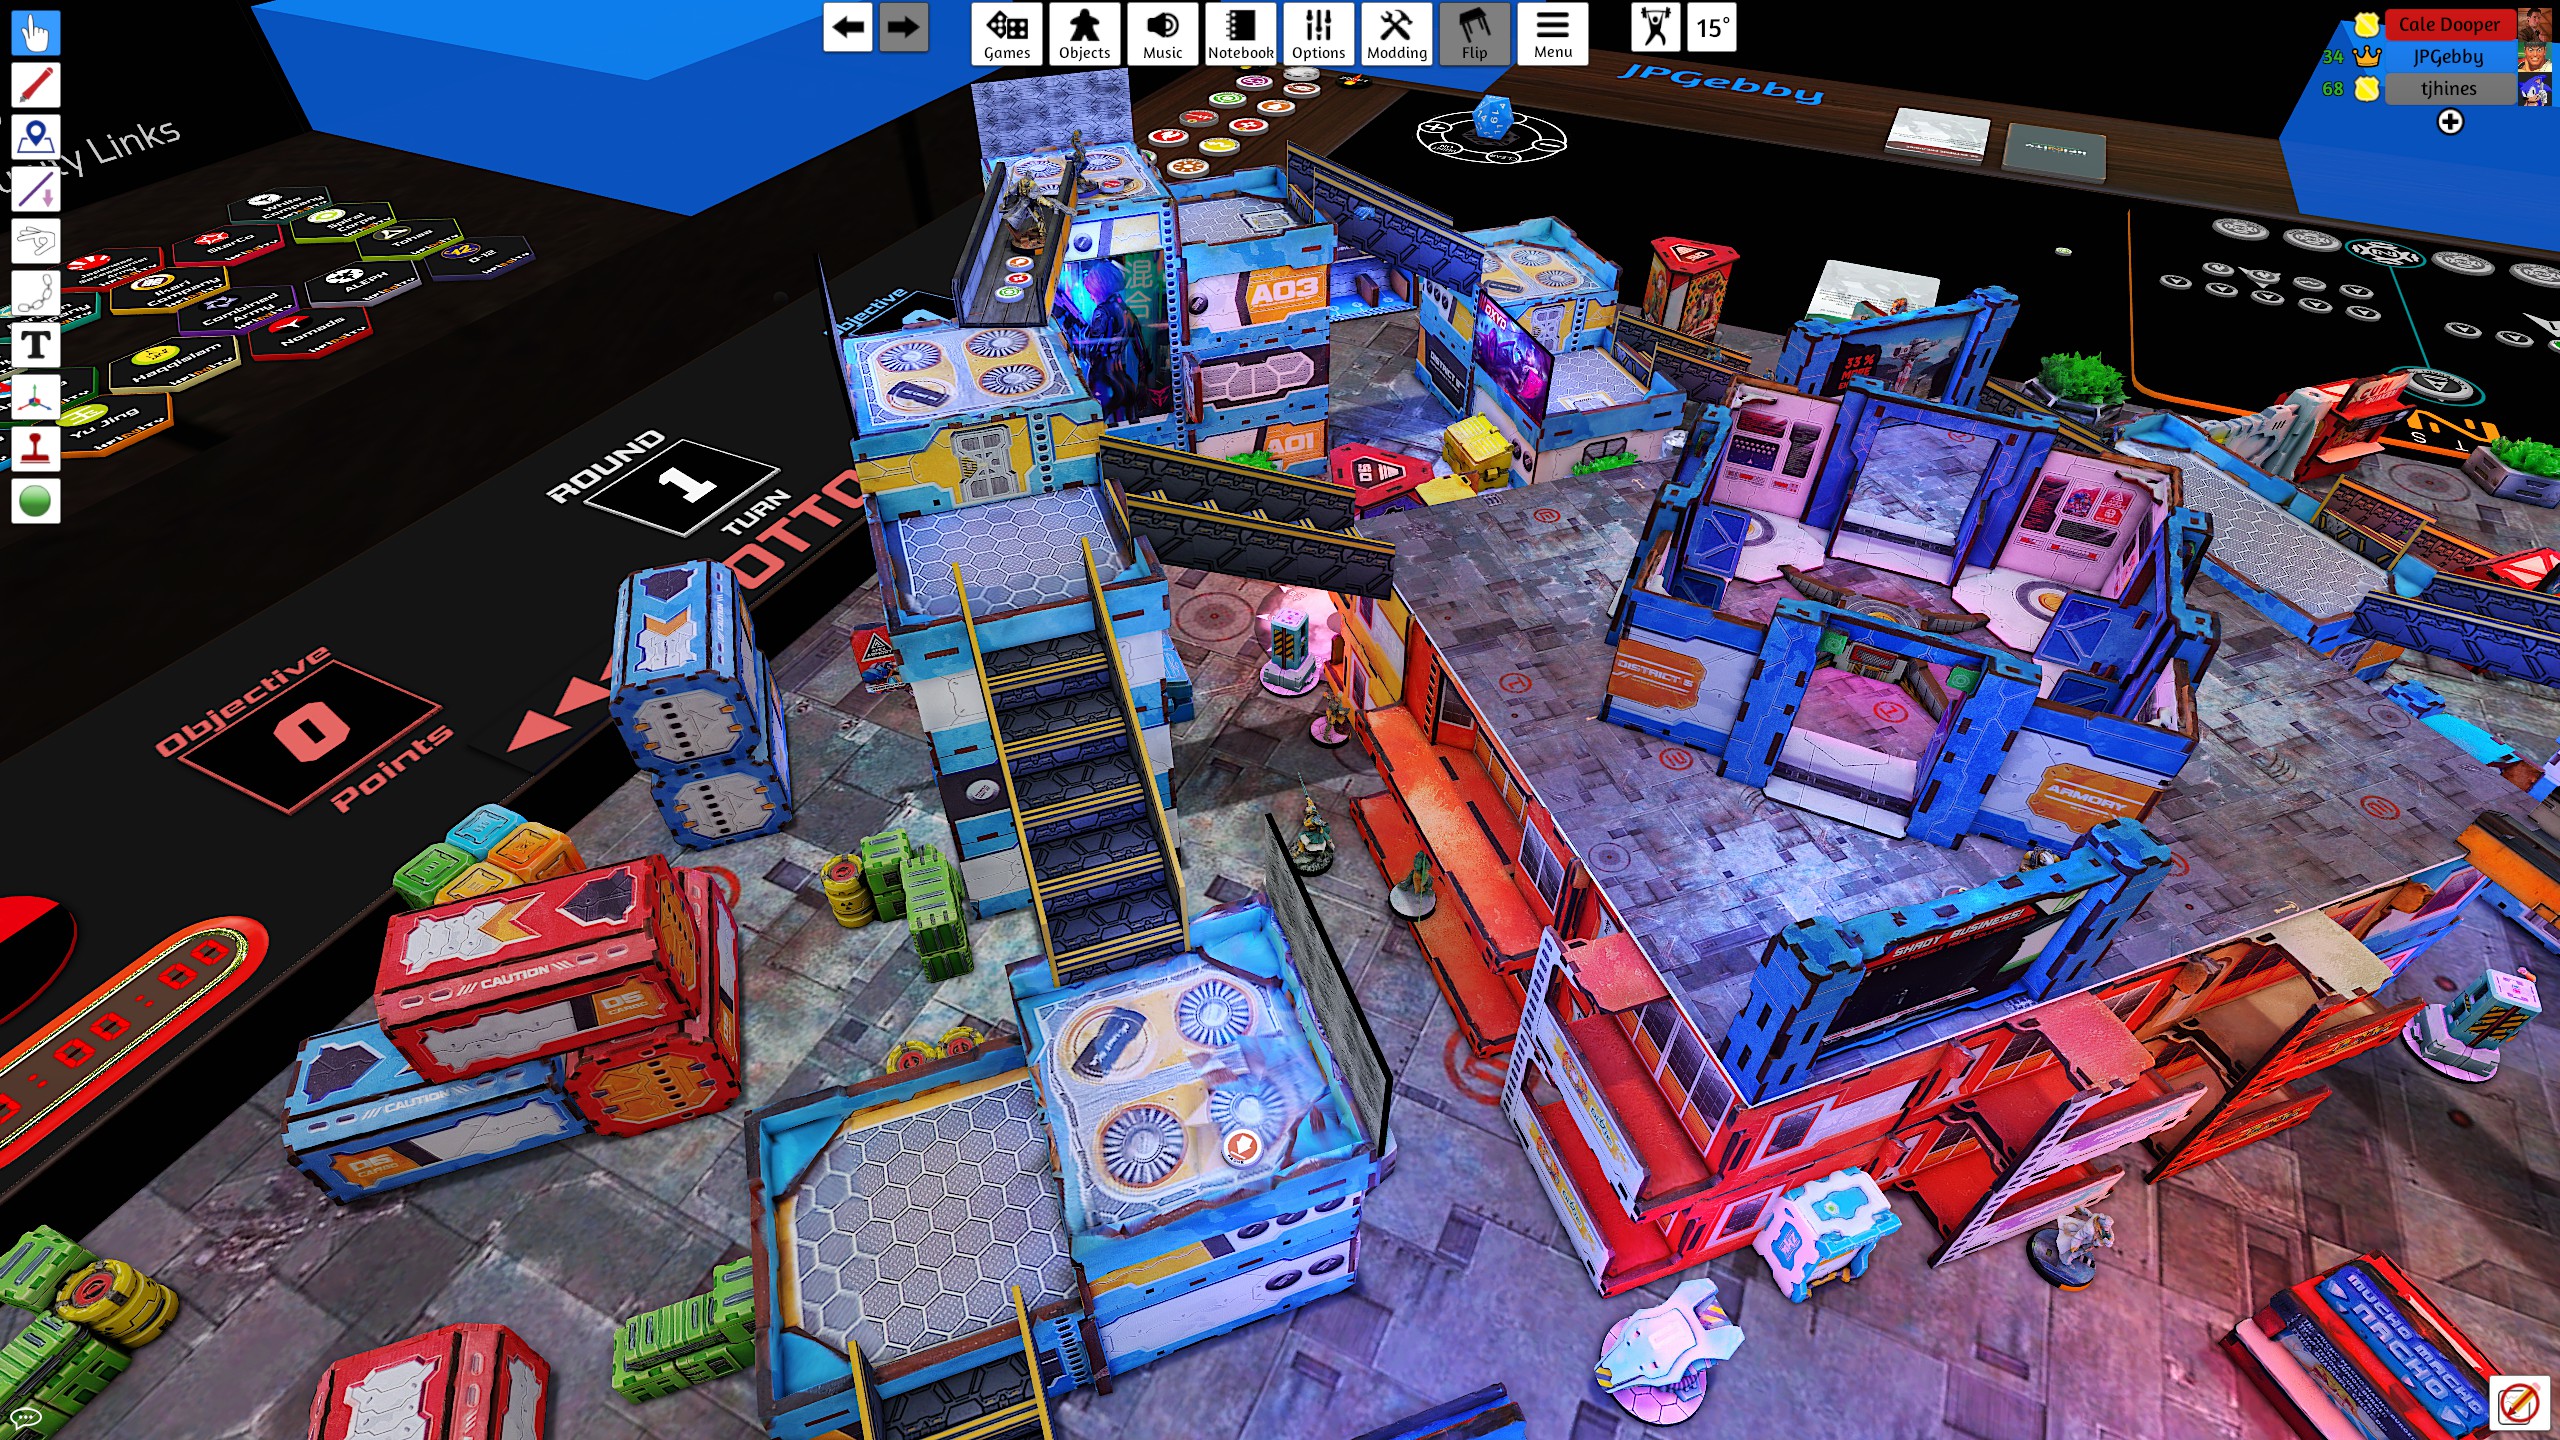
300 POINTSGreetings again Fellow Citizens, this is your Party Sanctioned Warcor ldgif coming at you live again from Cameliard. Today we have reports of our brave soldiers of the White Banner Army fighting against a corrupt branch of the O-12 Starmada Forces! They seemed to have been bribed by our eternal enemy in to defending their territory for them. Not even this corrupt form of overreach was enough to stop our valiant troops as they march to victory!
Starmada forces quickly prepare to mount a vanguard into our forces, giving us time to mobilize and plan accordingly. This preparation allowed the Dao Fei who was leading us to enter a defensive position in suppressive fire.
Starmada T1
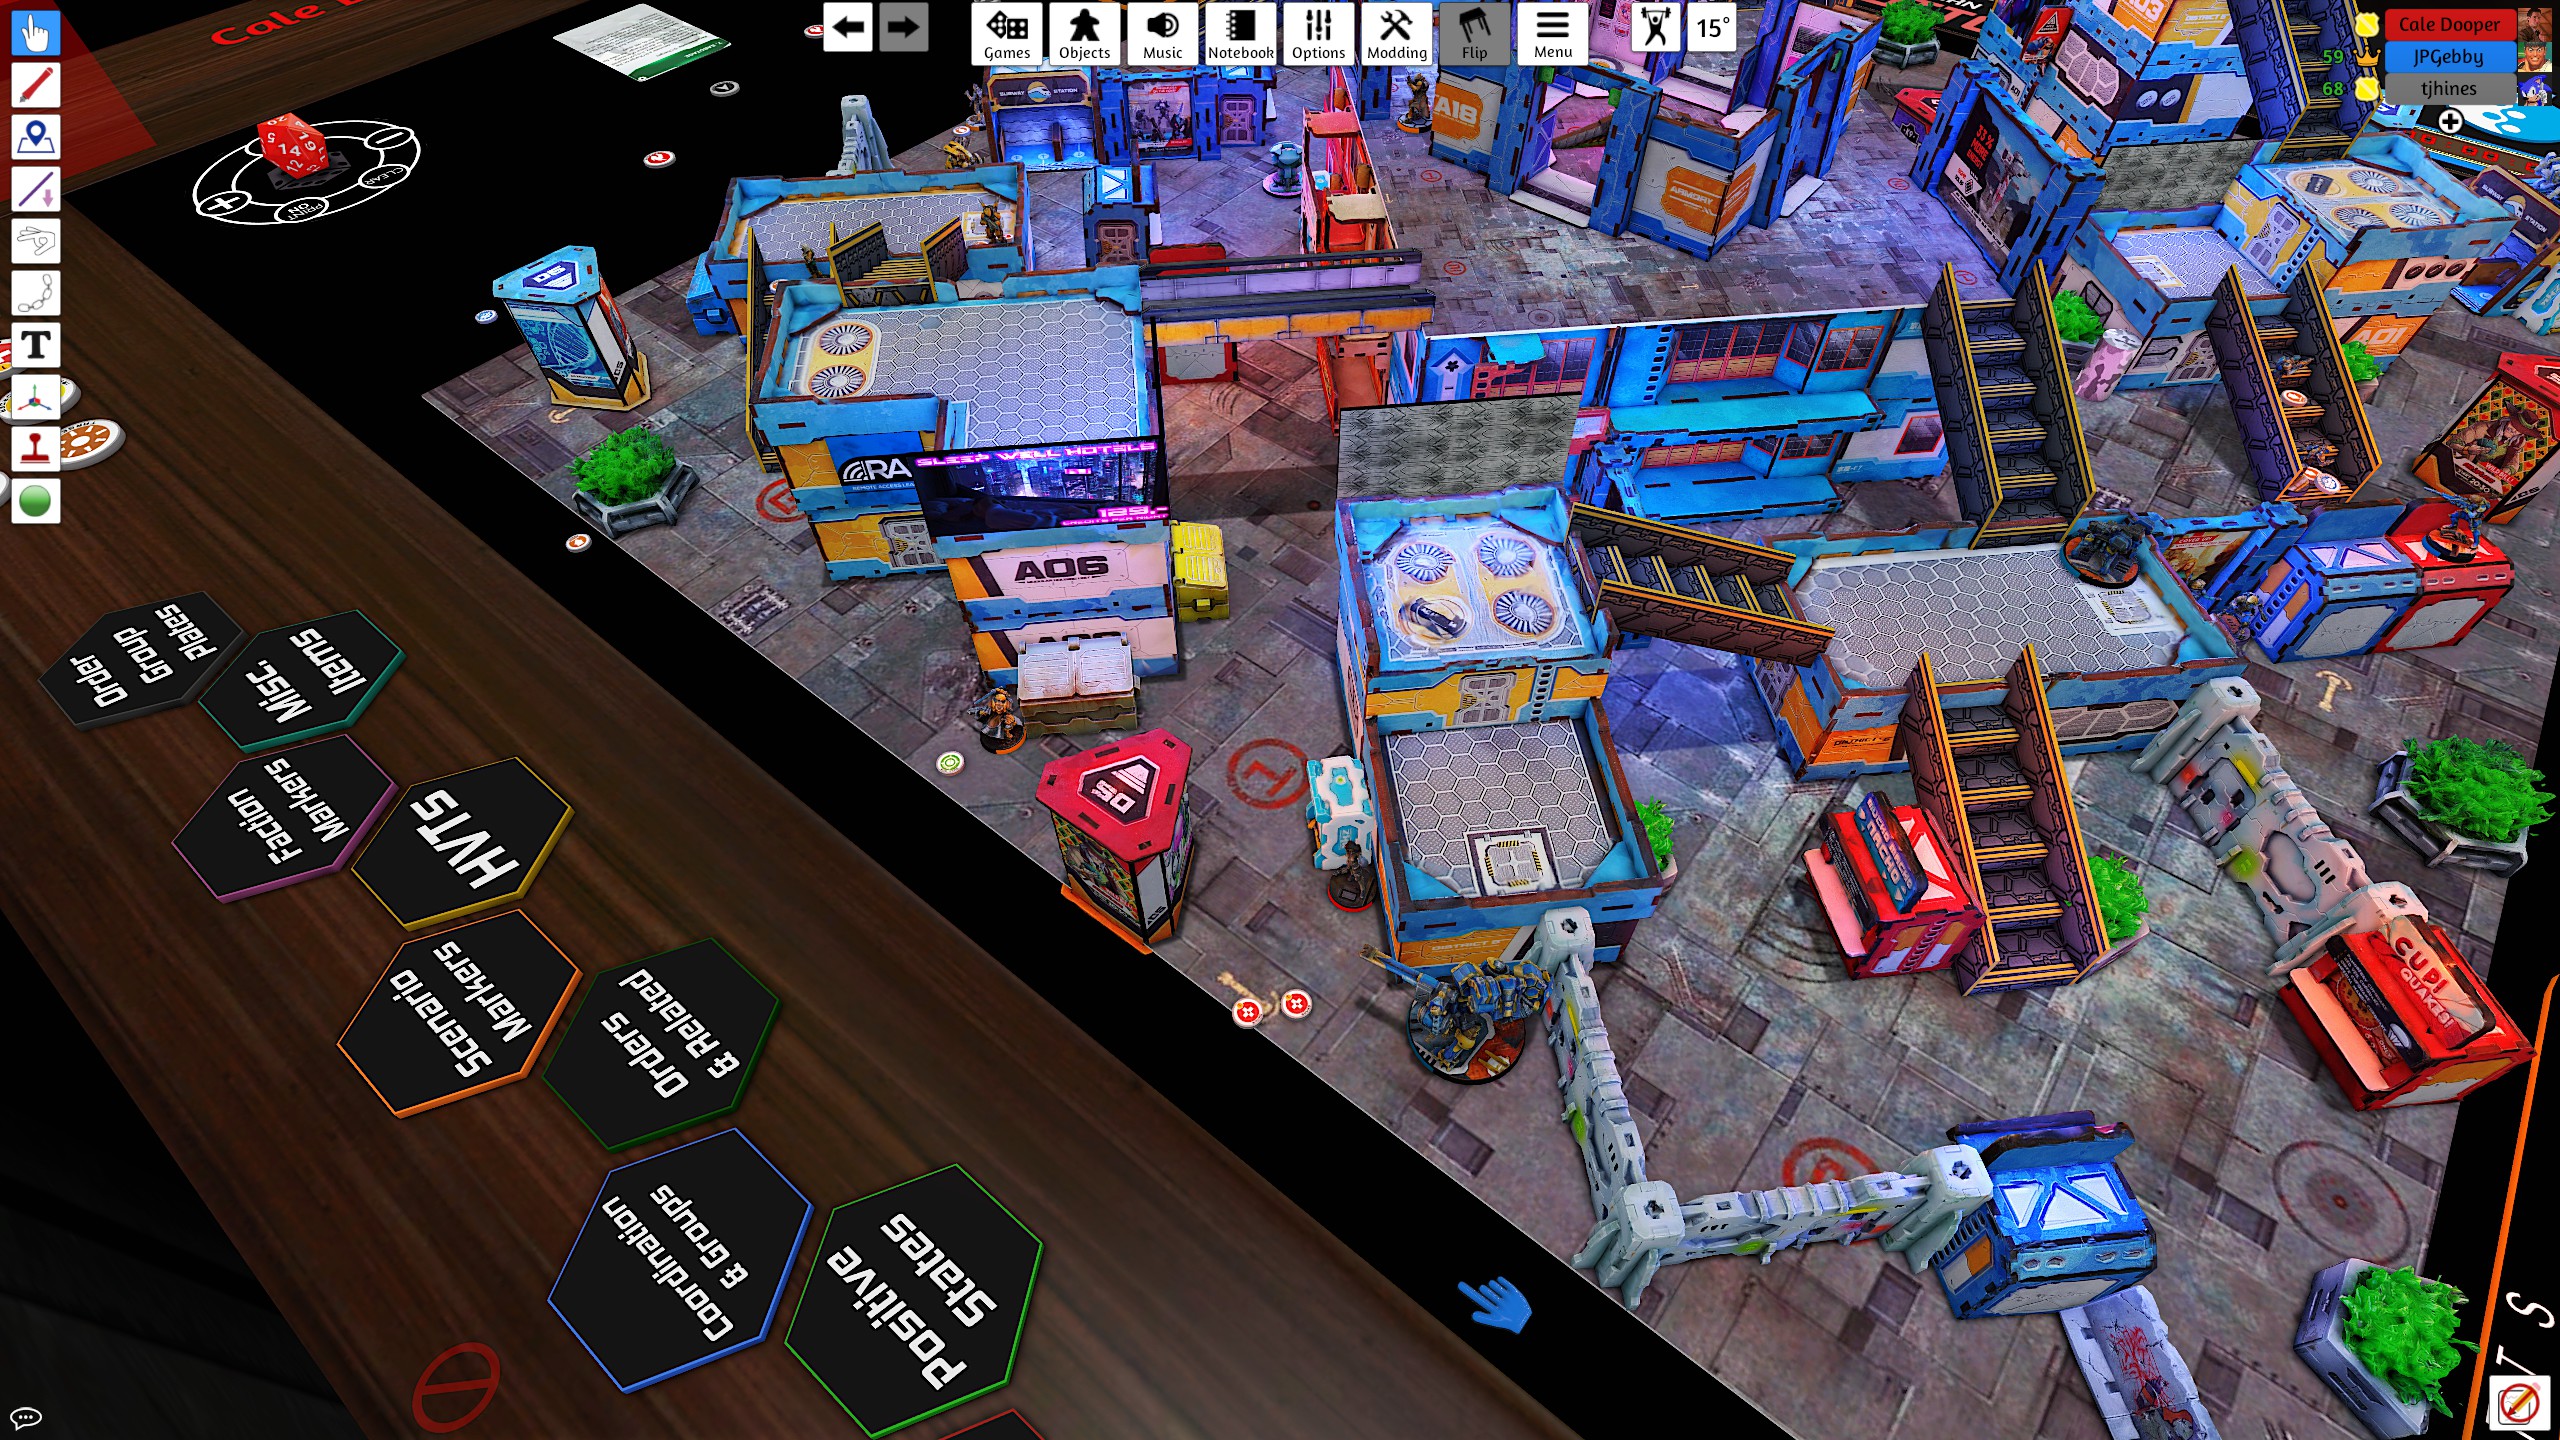
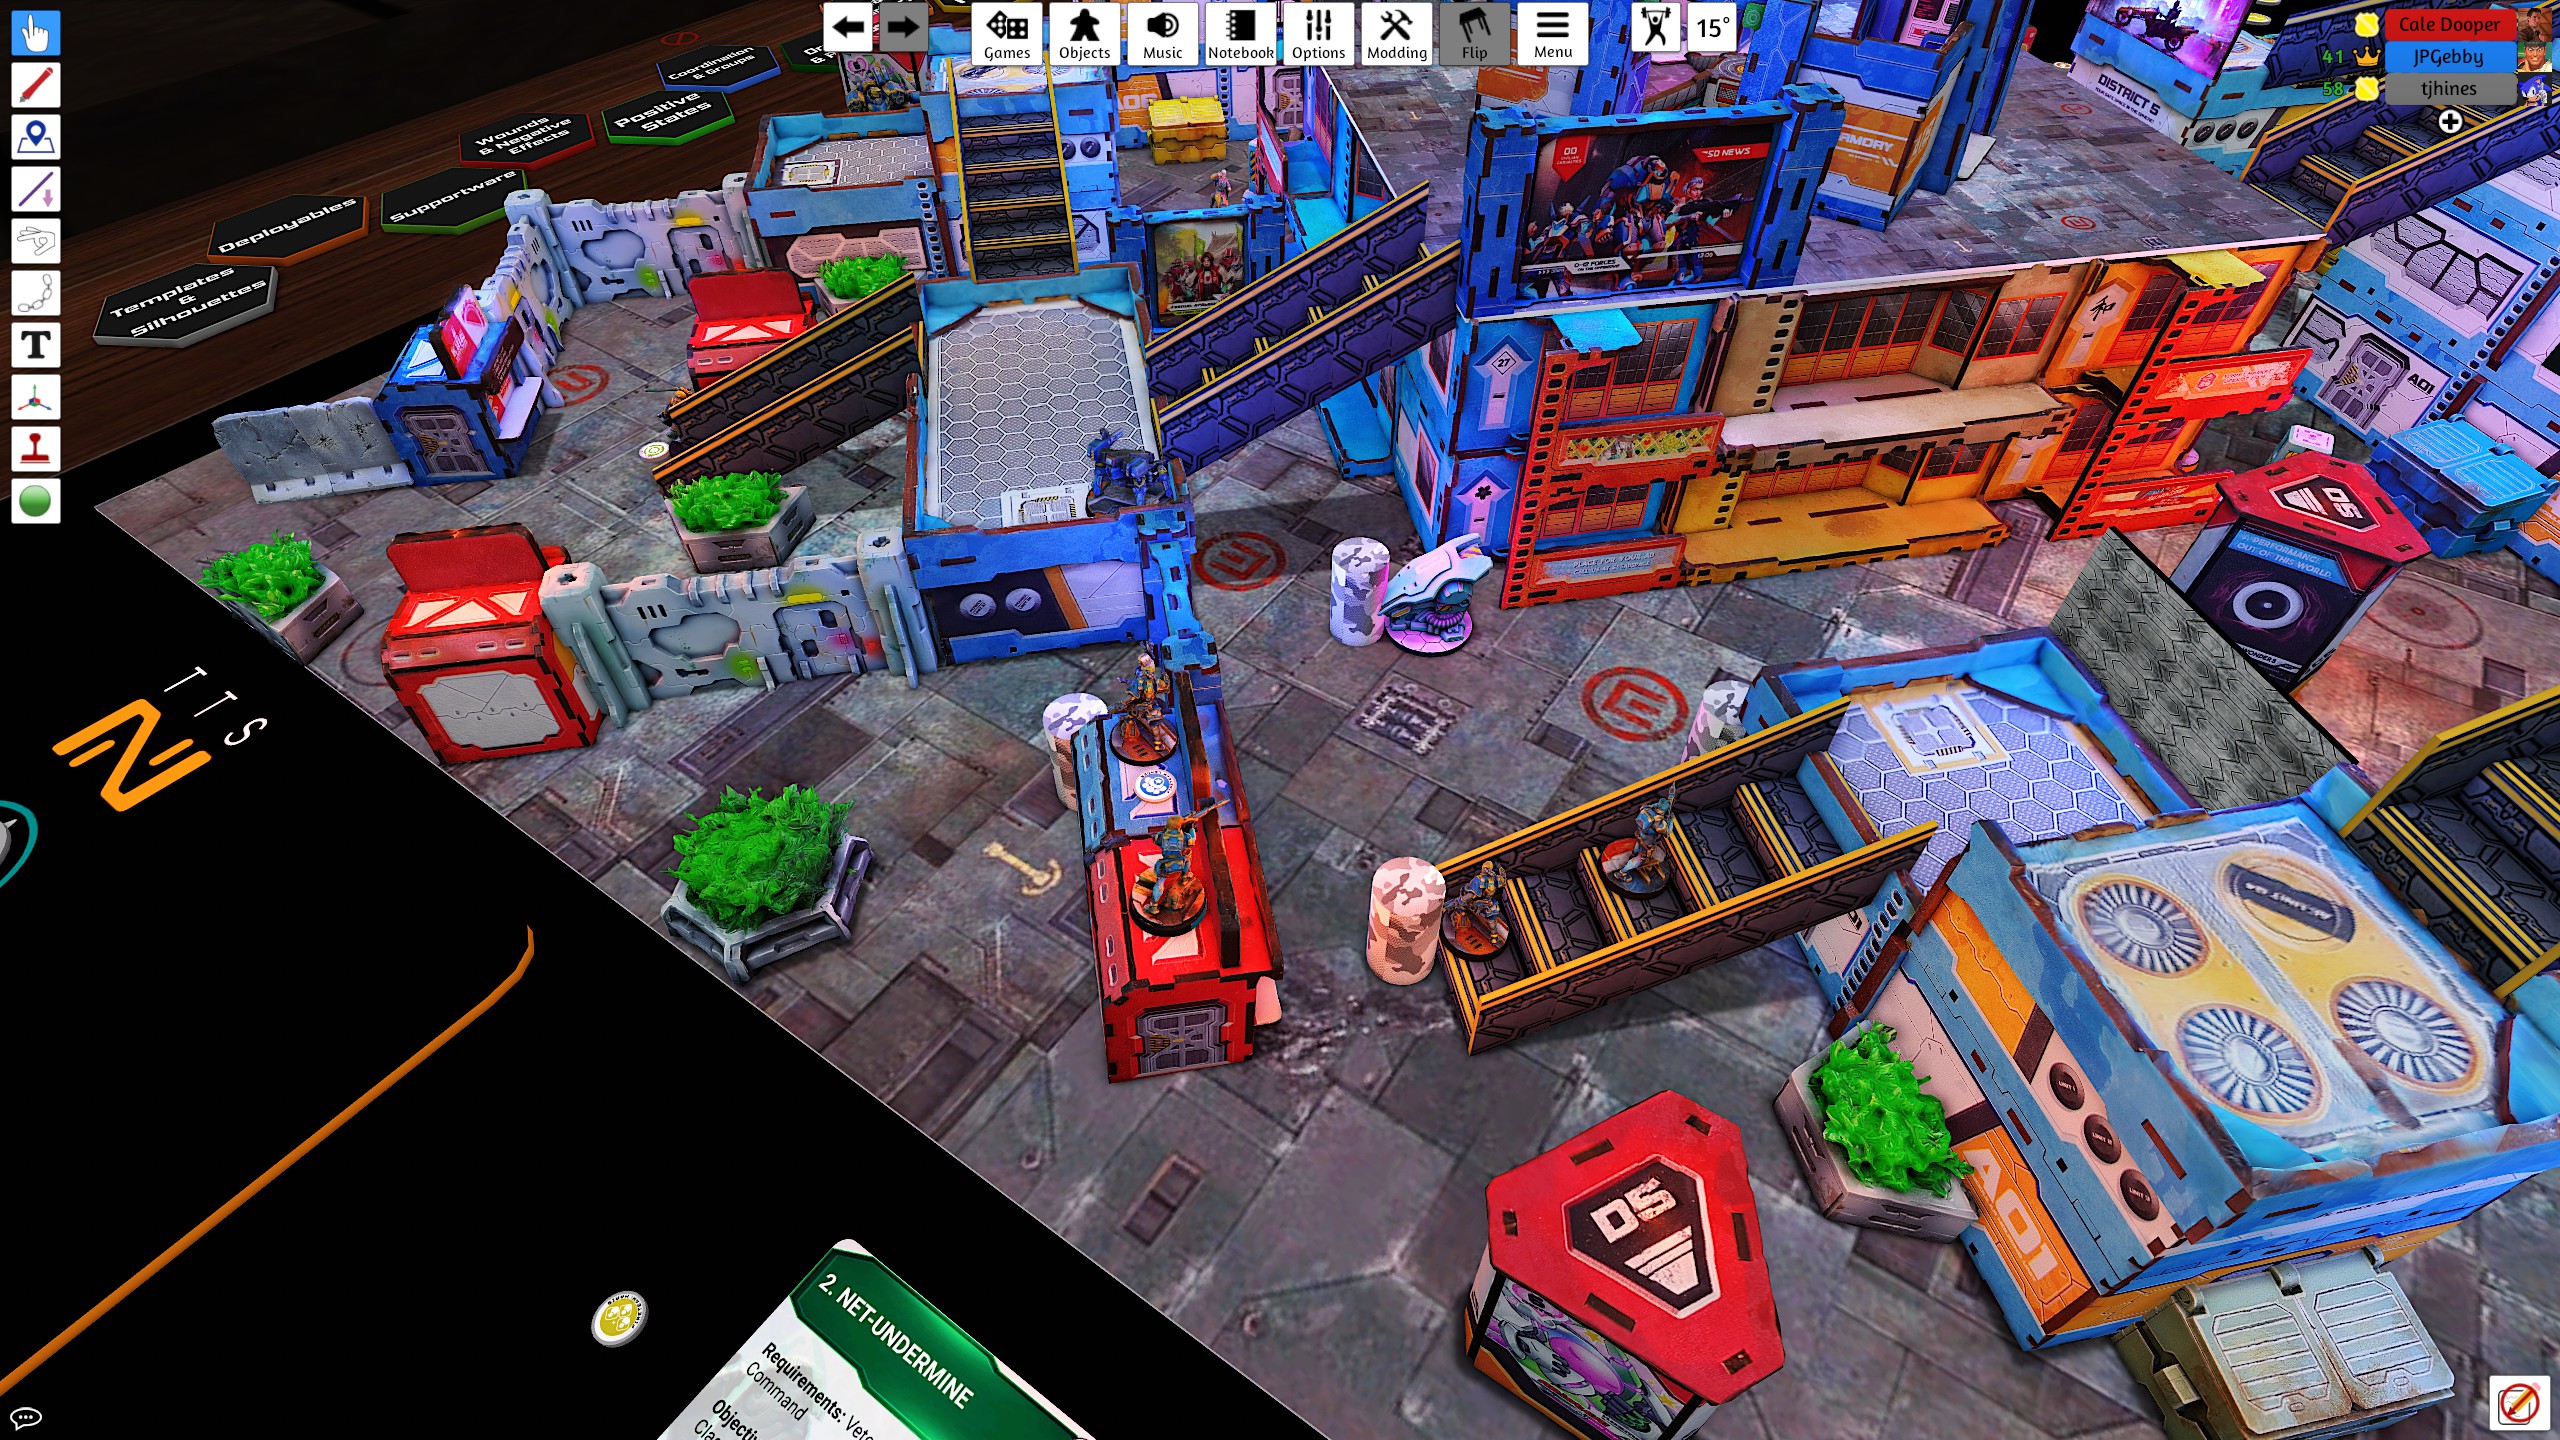
The first turn saw a lot of movement from the Starmada forces, moving up their forces to gain a foothold. Opening engagements saw a Zeta Tag Unit engage both Lei Gong and the Shang Ji at once. Lei Gong managed to score a critical hit with a blitzen… but the Zeta passed all the saves like it was nothing while also putting a wound on the Shang Ji. Realizing that sometimes discretion is the better part of valor, the Shang-Ji enters prone to gain total cover. This left Lei Gong to face the might of the Zeta Tag alone, and he was not enough, perishing in a single salvo. The Zeta then backed off into a safer location. On the other side of the battlefield, Parvati tried to make some moves on the Dao Fei in Suppressive Fire. After 4 rounds of intense firefighting both only lost a single wound. The crushers on the top of the map then make some coordinated moves to secure the center building. The Crushers try make a dent into some of the defensive Chaiyi and WarCor forces, but fail to put down anything. The crusher then both go into Suppressive Fire to maintain combat superiority on the center building.
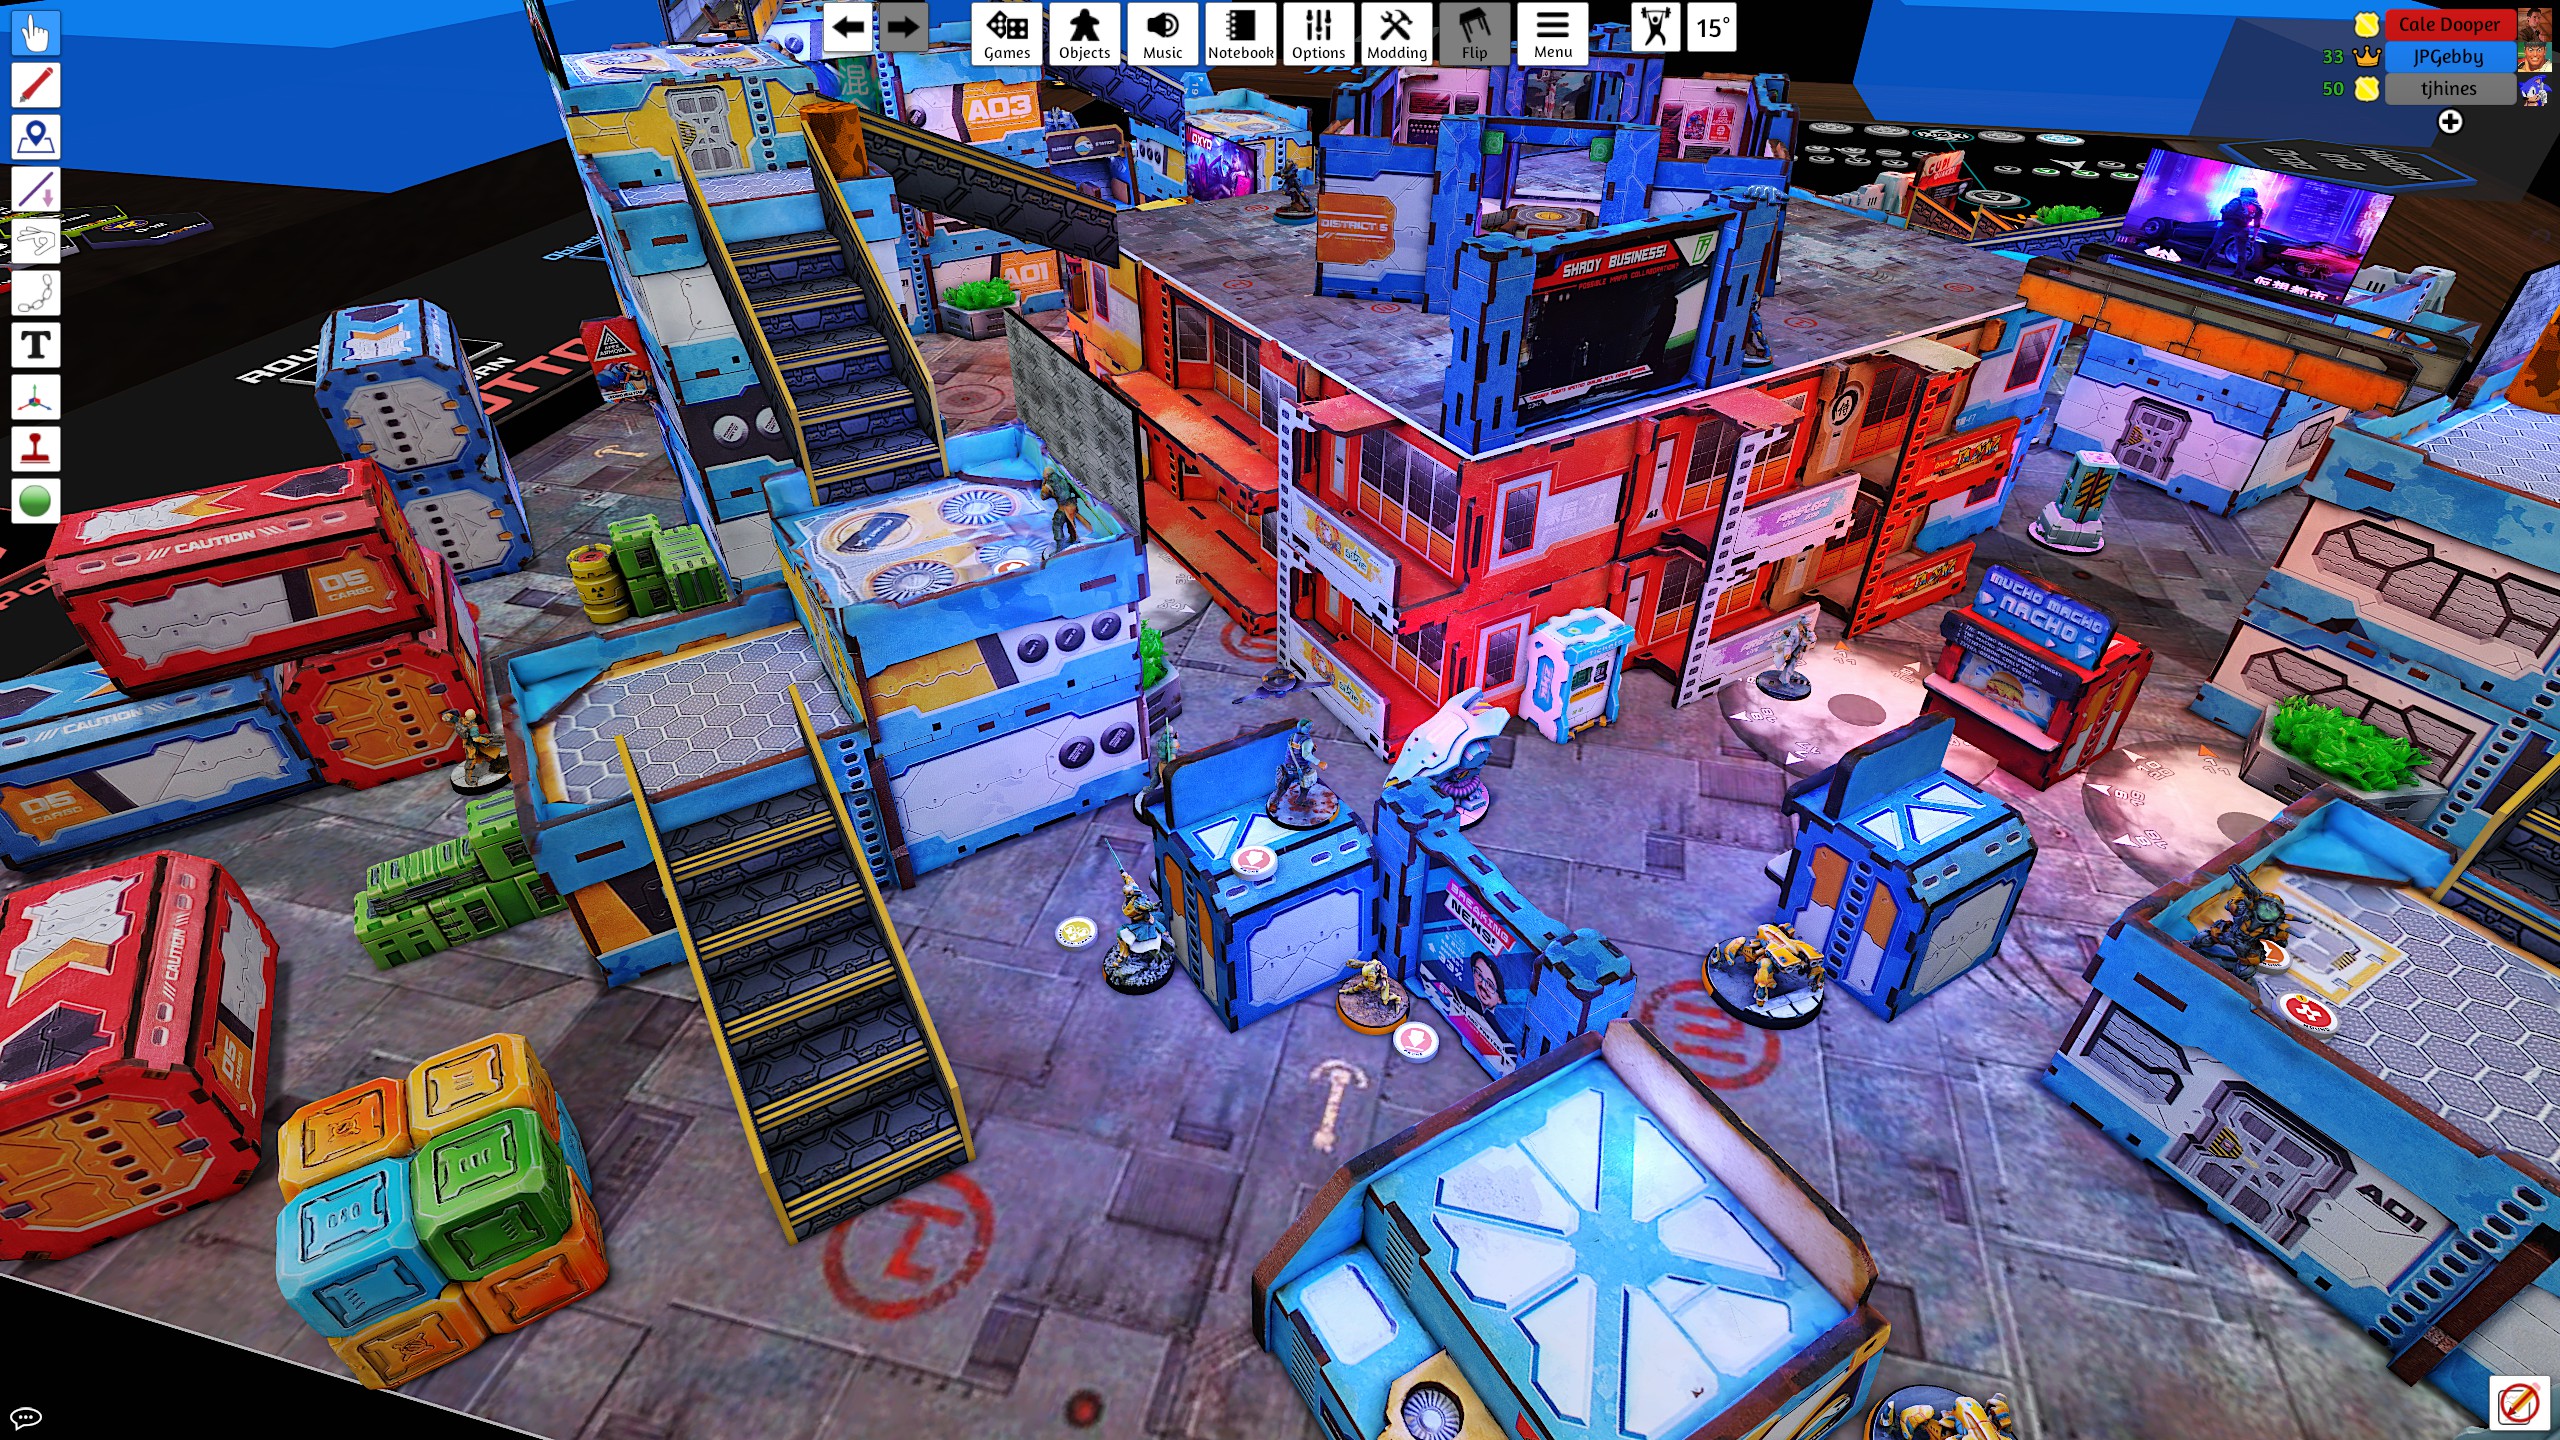
WBA T1
The monk haris with Liang Kai opens up providing some cover smoke support to the Shang Ji, preventing the Crushers from seeing him. The Shang Ji then tries to take down Parvati from afar, failing to cause a wound. The Shang Ji then meekly returns back to his covered position. The Dao Fei Lt takes matters into his own hands and finally puts Parvati to rest. The beasthunter then manages to sneak their way across the bridge to the middle building. One of the Crushers turns around almost instinctively and tries to nanopulser the beasthunter as they engage the Crusher in Close Combat. The beasthunter tanks the nanopulser and cleaves the Crusher in half. The beasthunter then sets their sights on the other Crusher, killing it in a single blow while finally being taken down by a nanopulser. With an opening created by the beasthunter’s sacrifice, the Spitfire Dao Fei moves up and plunders a panolopy for some additional armor. The Dao Fei then completes his Sabotage Classified by placing a D-Charge on a news stand slandering our great State-Empire. Finally both of the Dao Feis co-ordinate to go into suppressive fire.
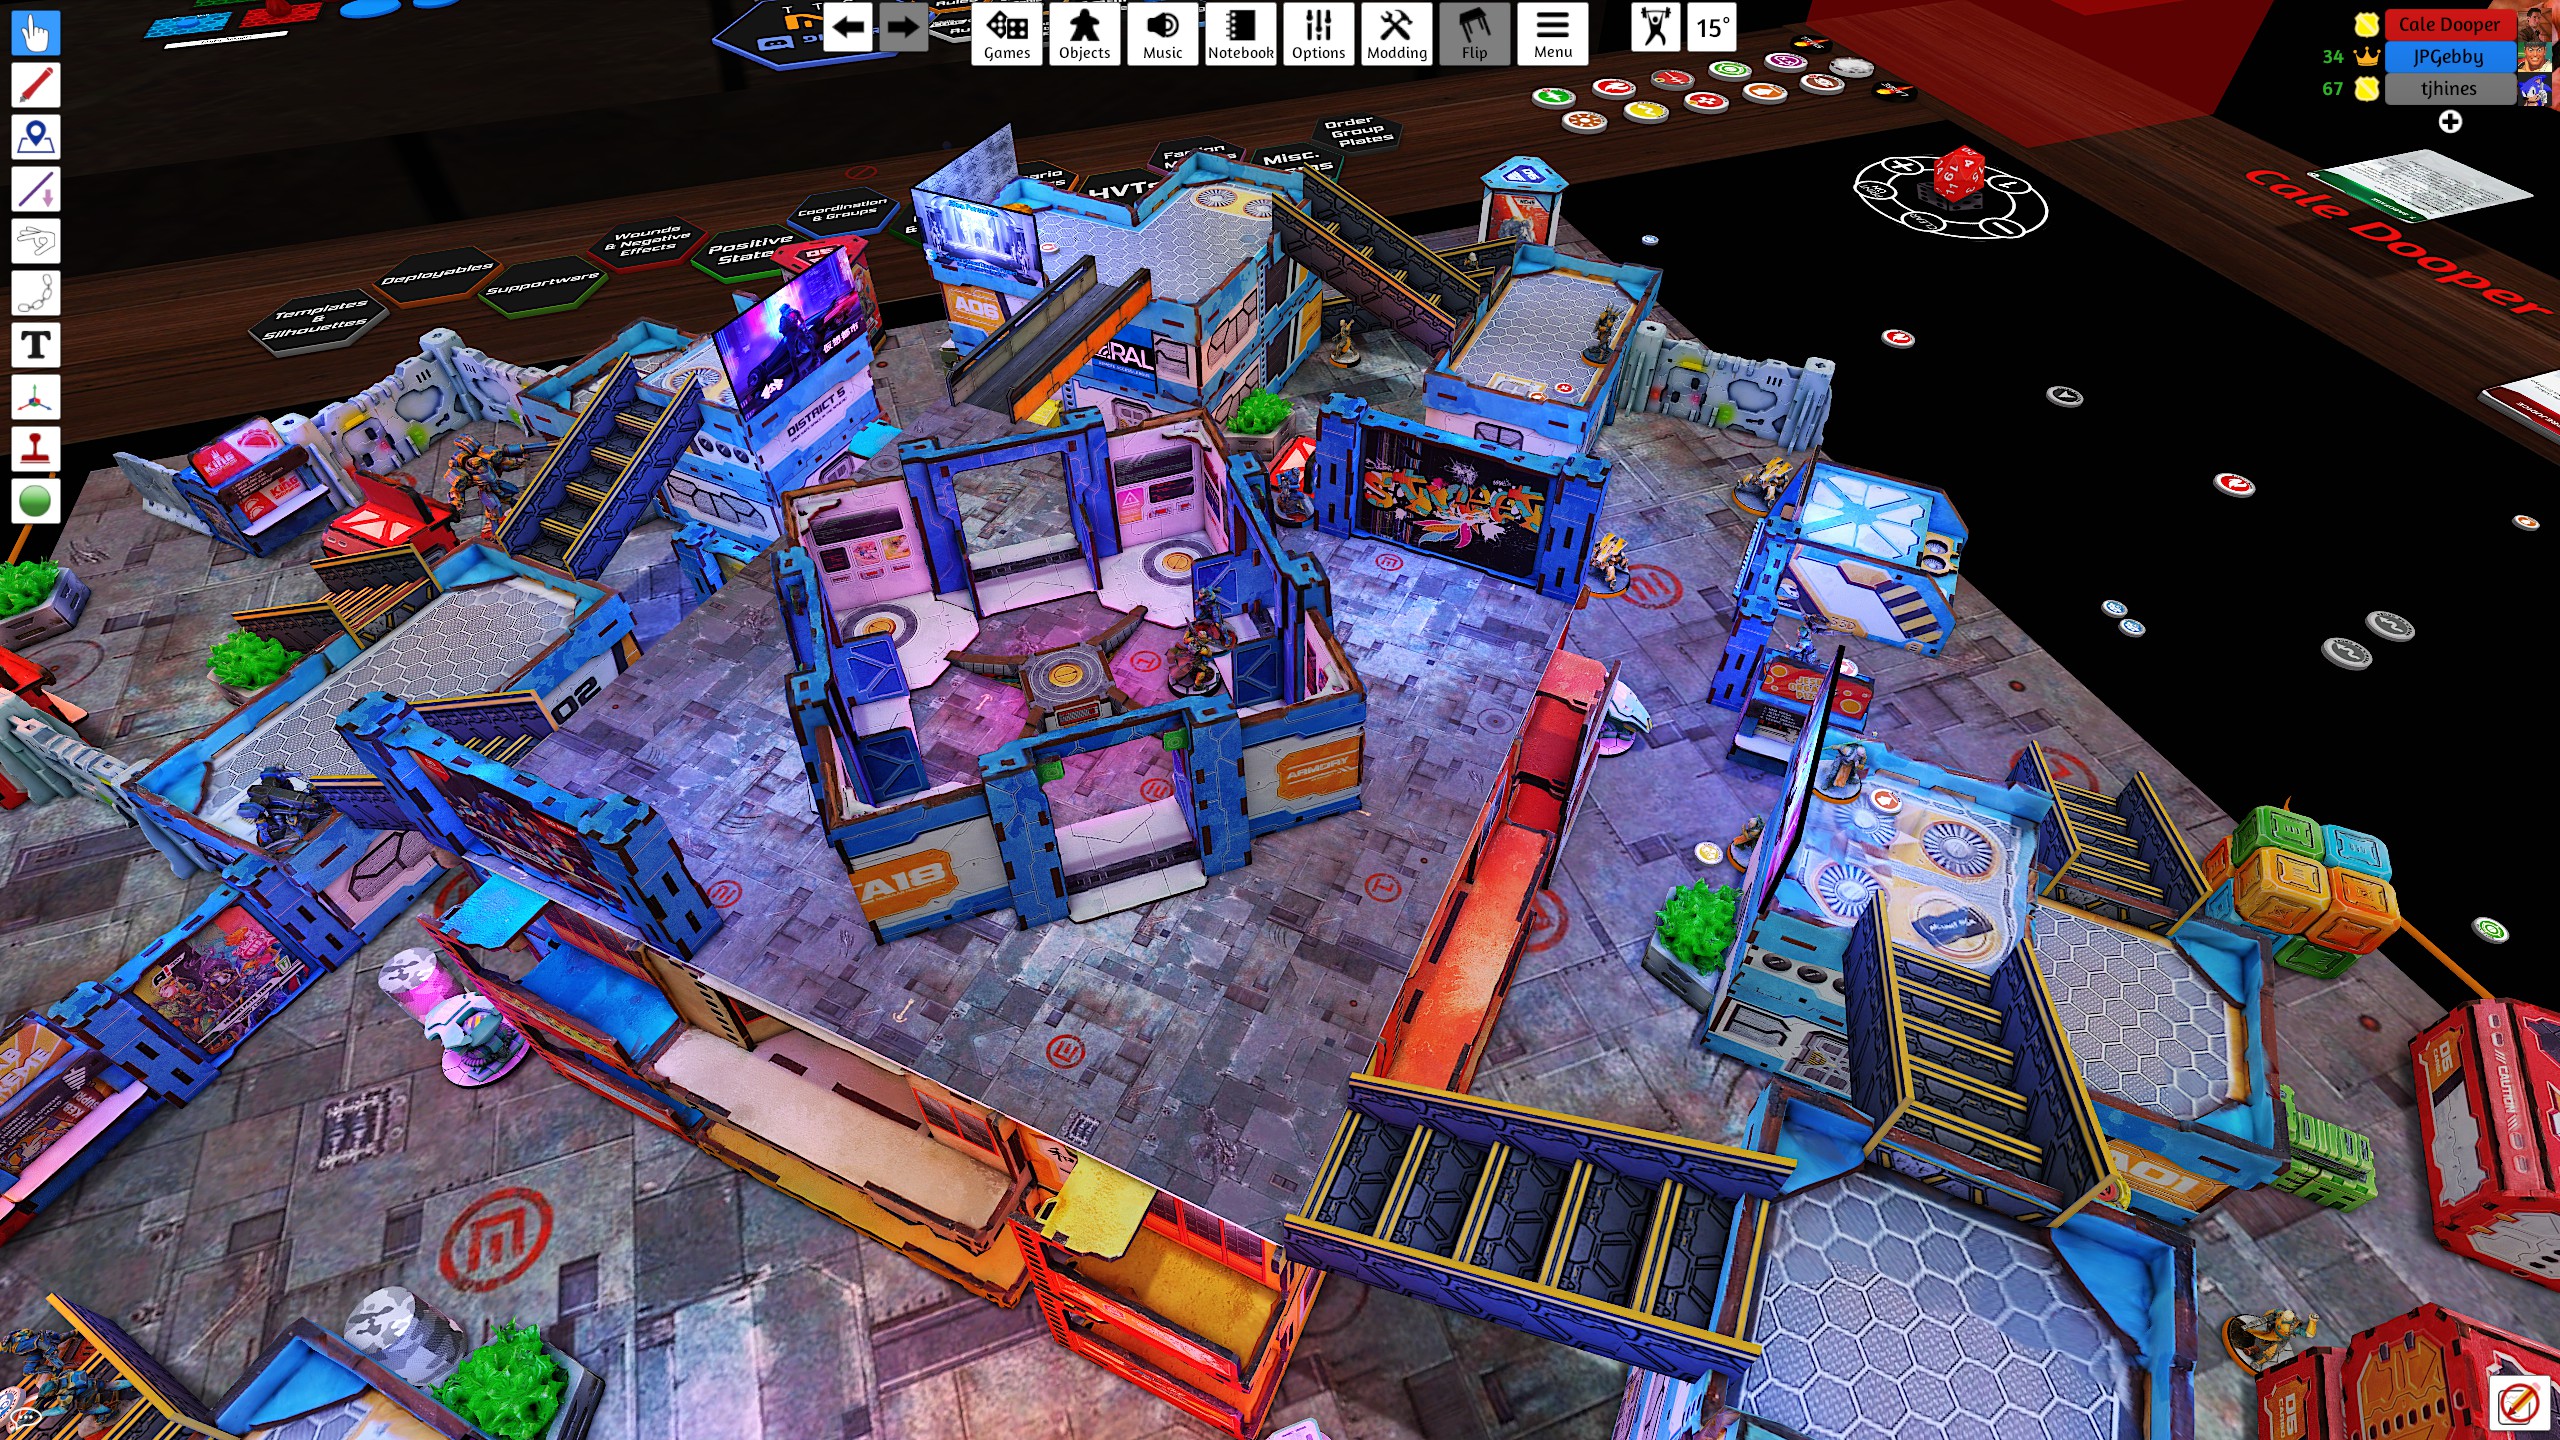
Starmada T2
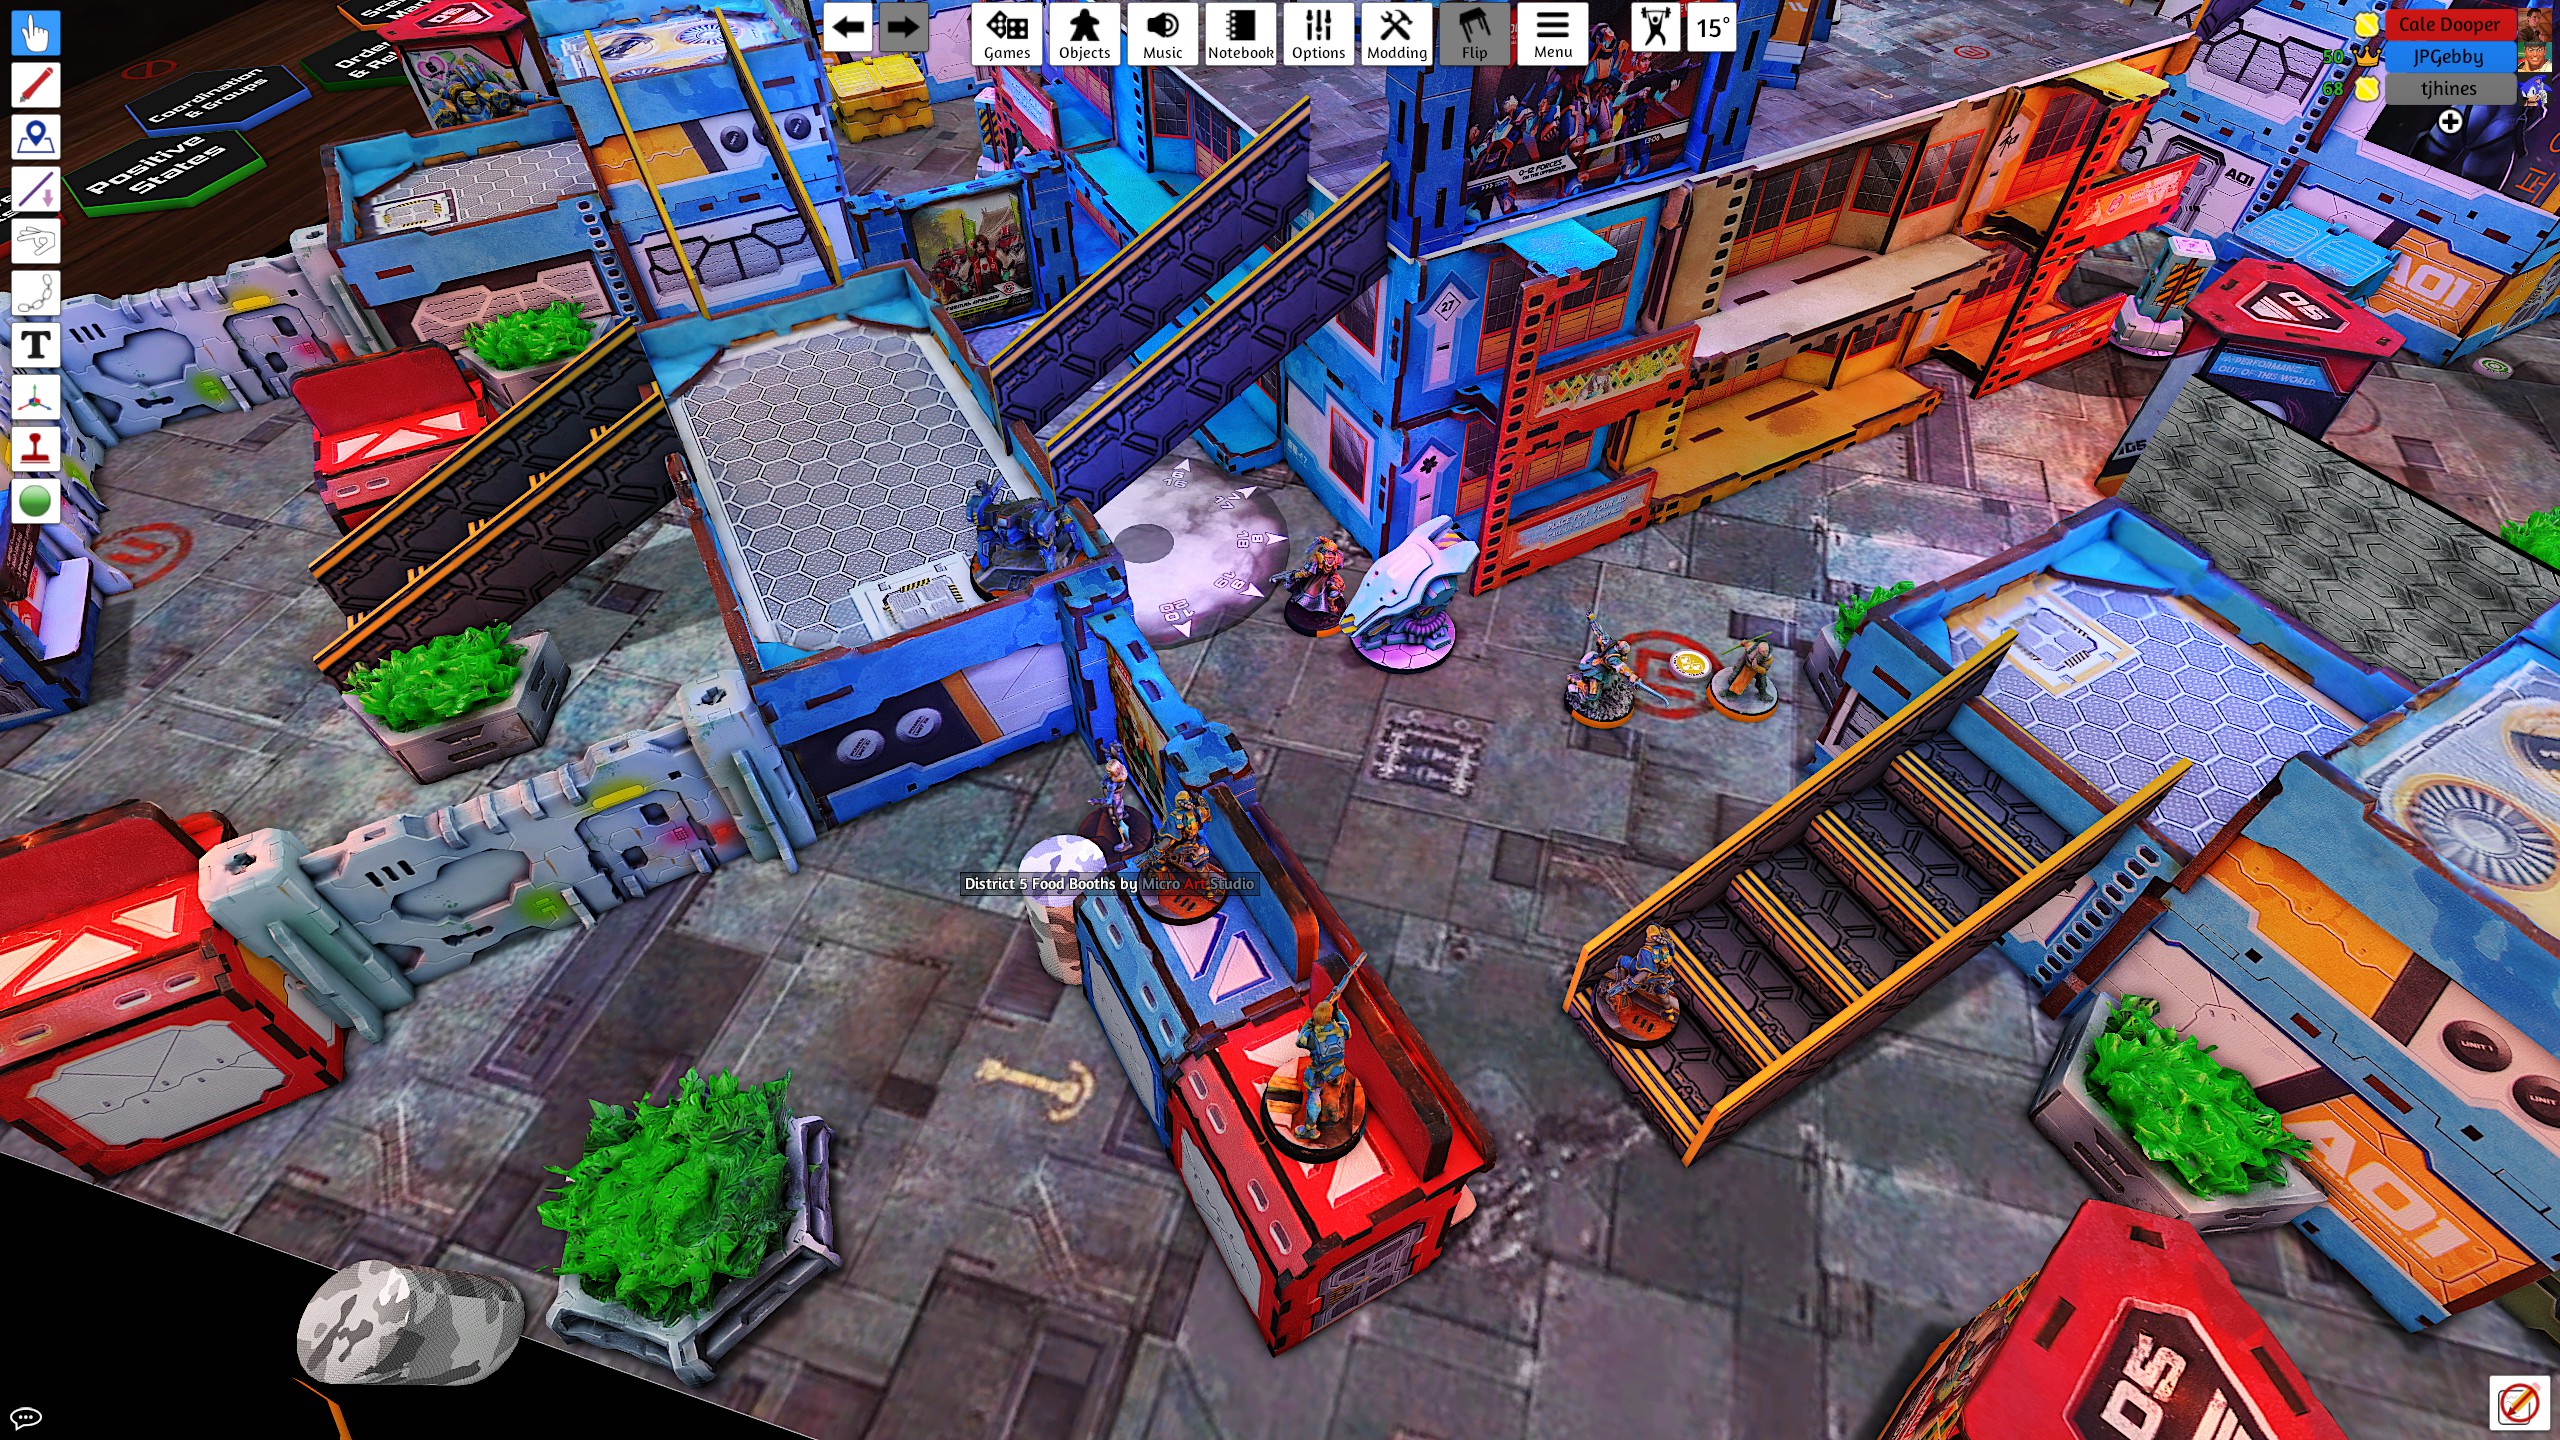
Seeking blood for the loss of the Crushers, the Zeta decides to make its’ gambit. Trying to rely on it’s superior armor and firepower, the Zeta moves up on the Spitfire Dao Fei. In a stunning upset the Dao Fei manages to take two wounds off the Zeta. Out of view of the Dao Fei for a moment, the Zeta decides to annihilate a Warcor. Taking a big a gamble the Zeta moves on the Dao Fei again with its’ heavy riotstopper instead. The Dao fei replies witha suppressive burst again, managing to kill the TAG before being immobilized by the riotstopper. A Varangian Guard then moves up and gets closer to the left side Panolopy. The other Varangian Guard then approaches on the side with the immobilized Dao Fei and smoke dodges to prevent being hit by a Chaiyi. The Dao Fei is able to break out of the Immobilized state as the Varangian Guard got within ZoC of it. The Varangian guard moves up and fails to tank a chain rifle hit from a Monk and enters Dogged, cursed to die at the end of the turn.
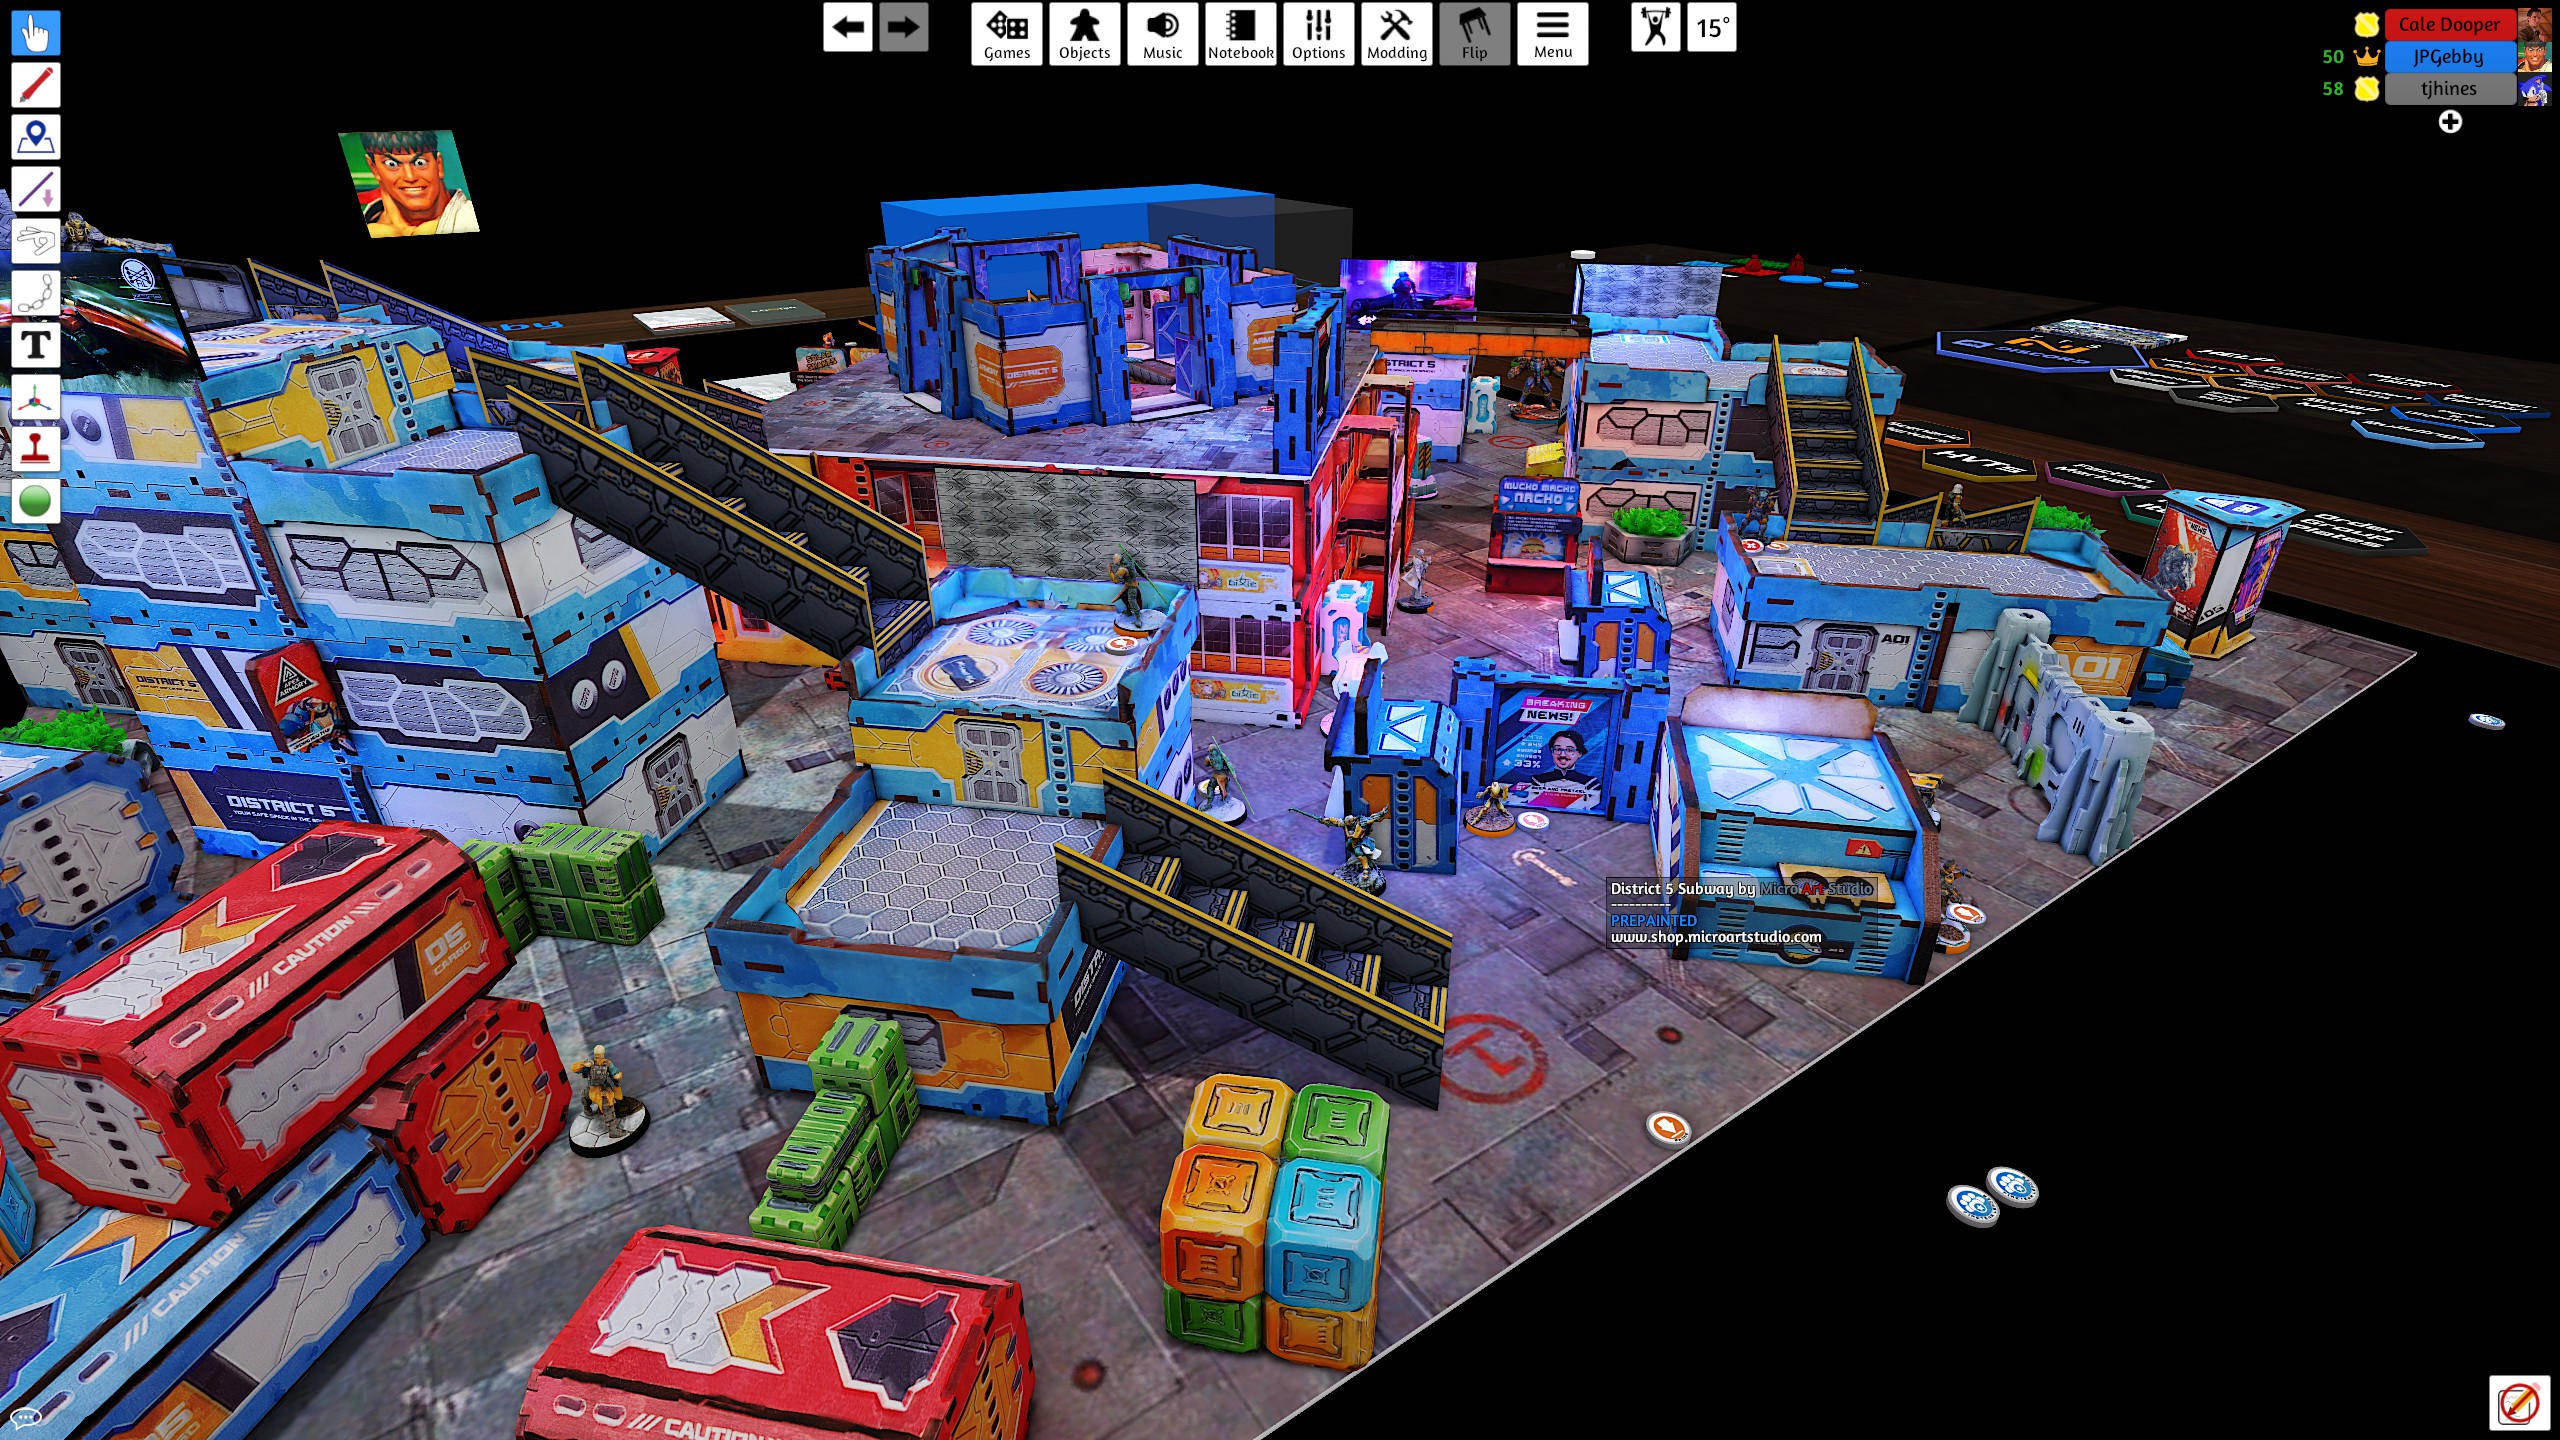 Only the smoldering remains of a Warcor exist on top of the food stand after the Zeta unloaded into him.
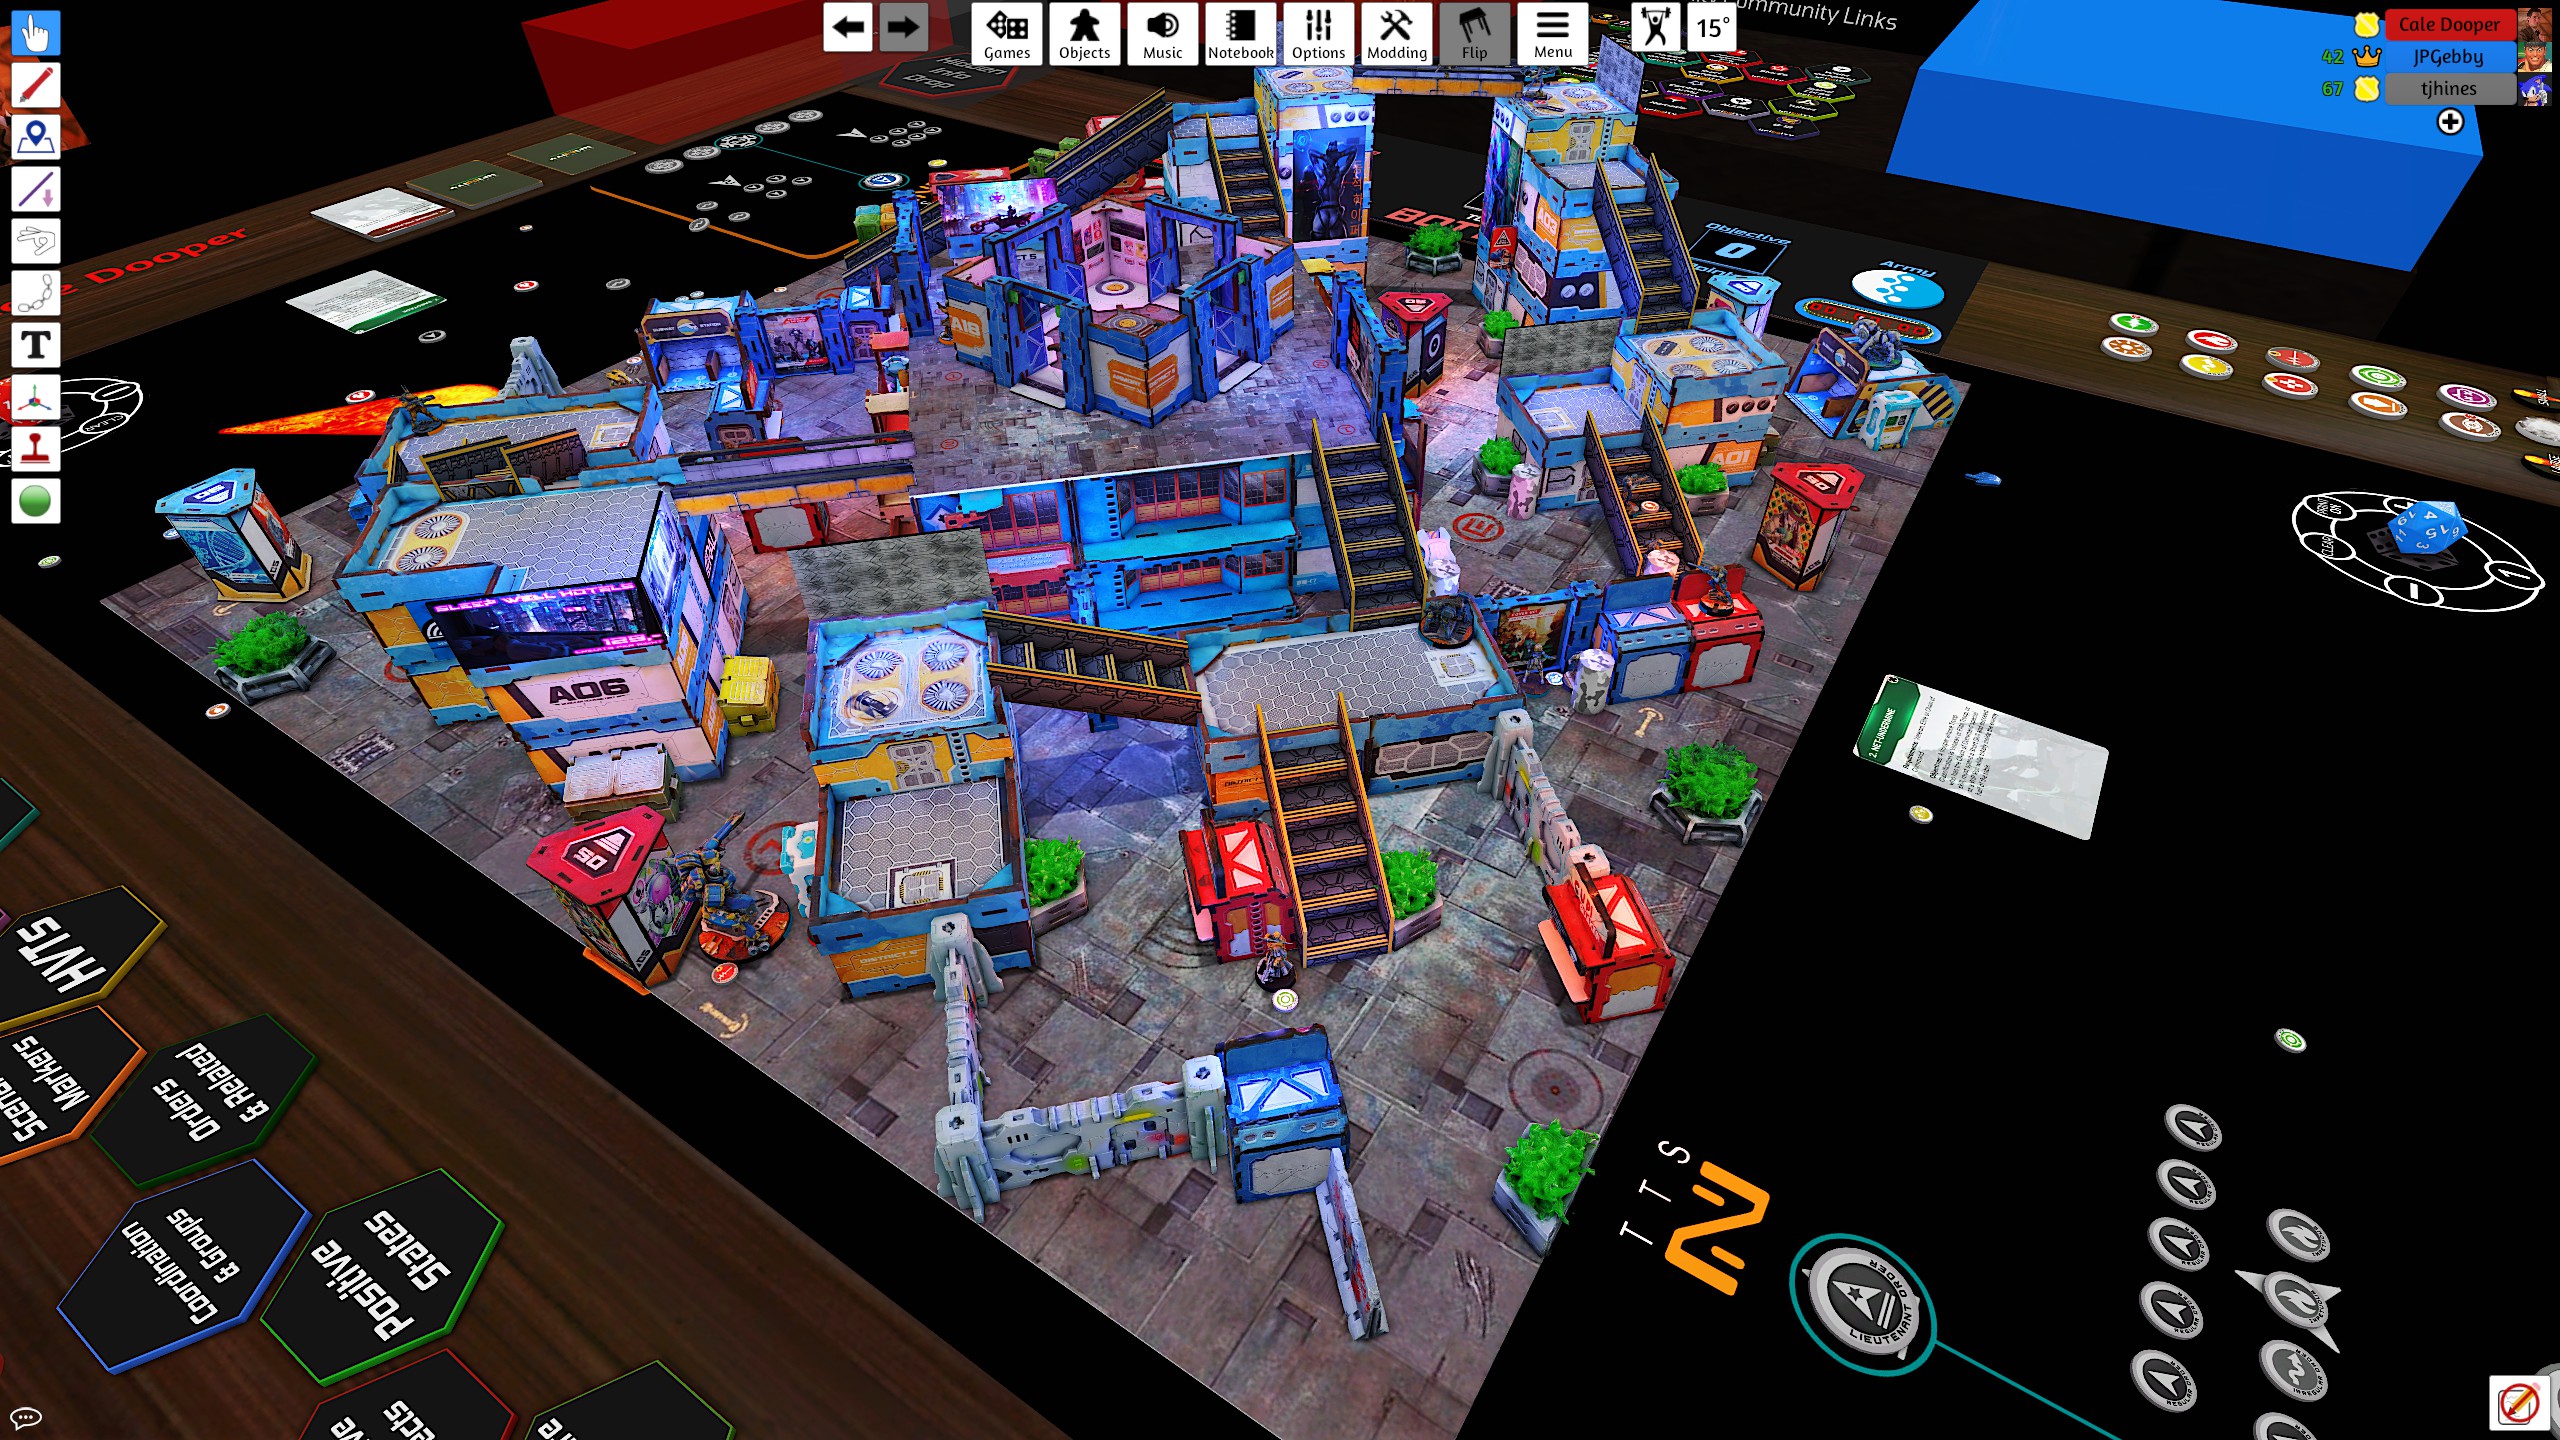
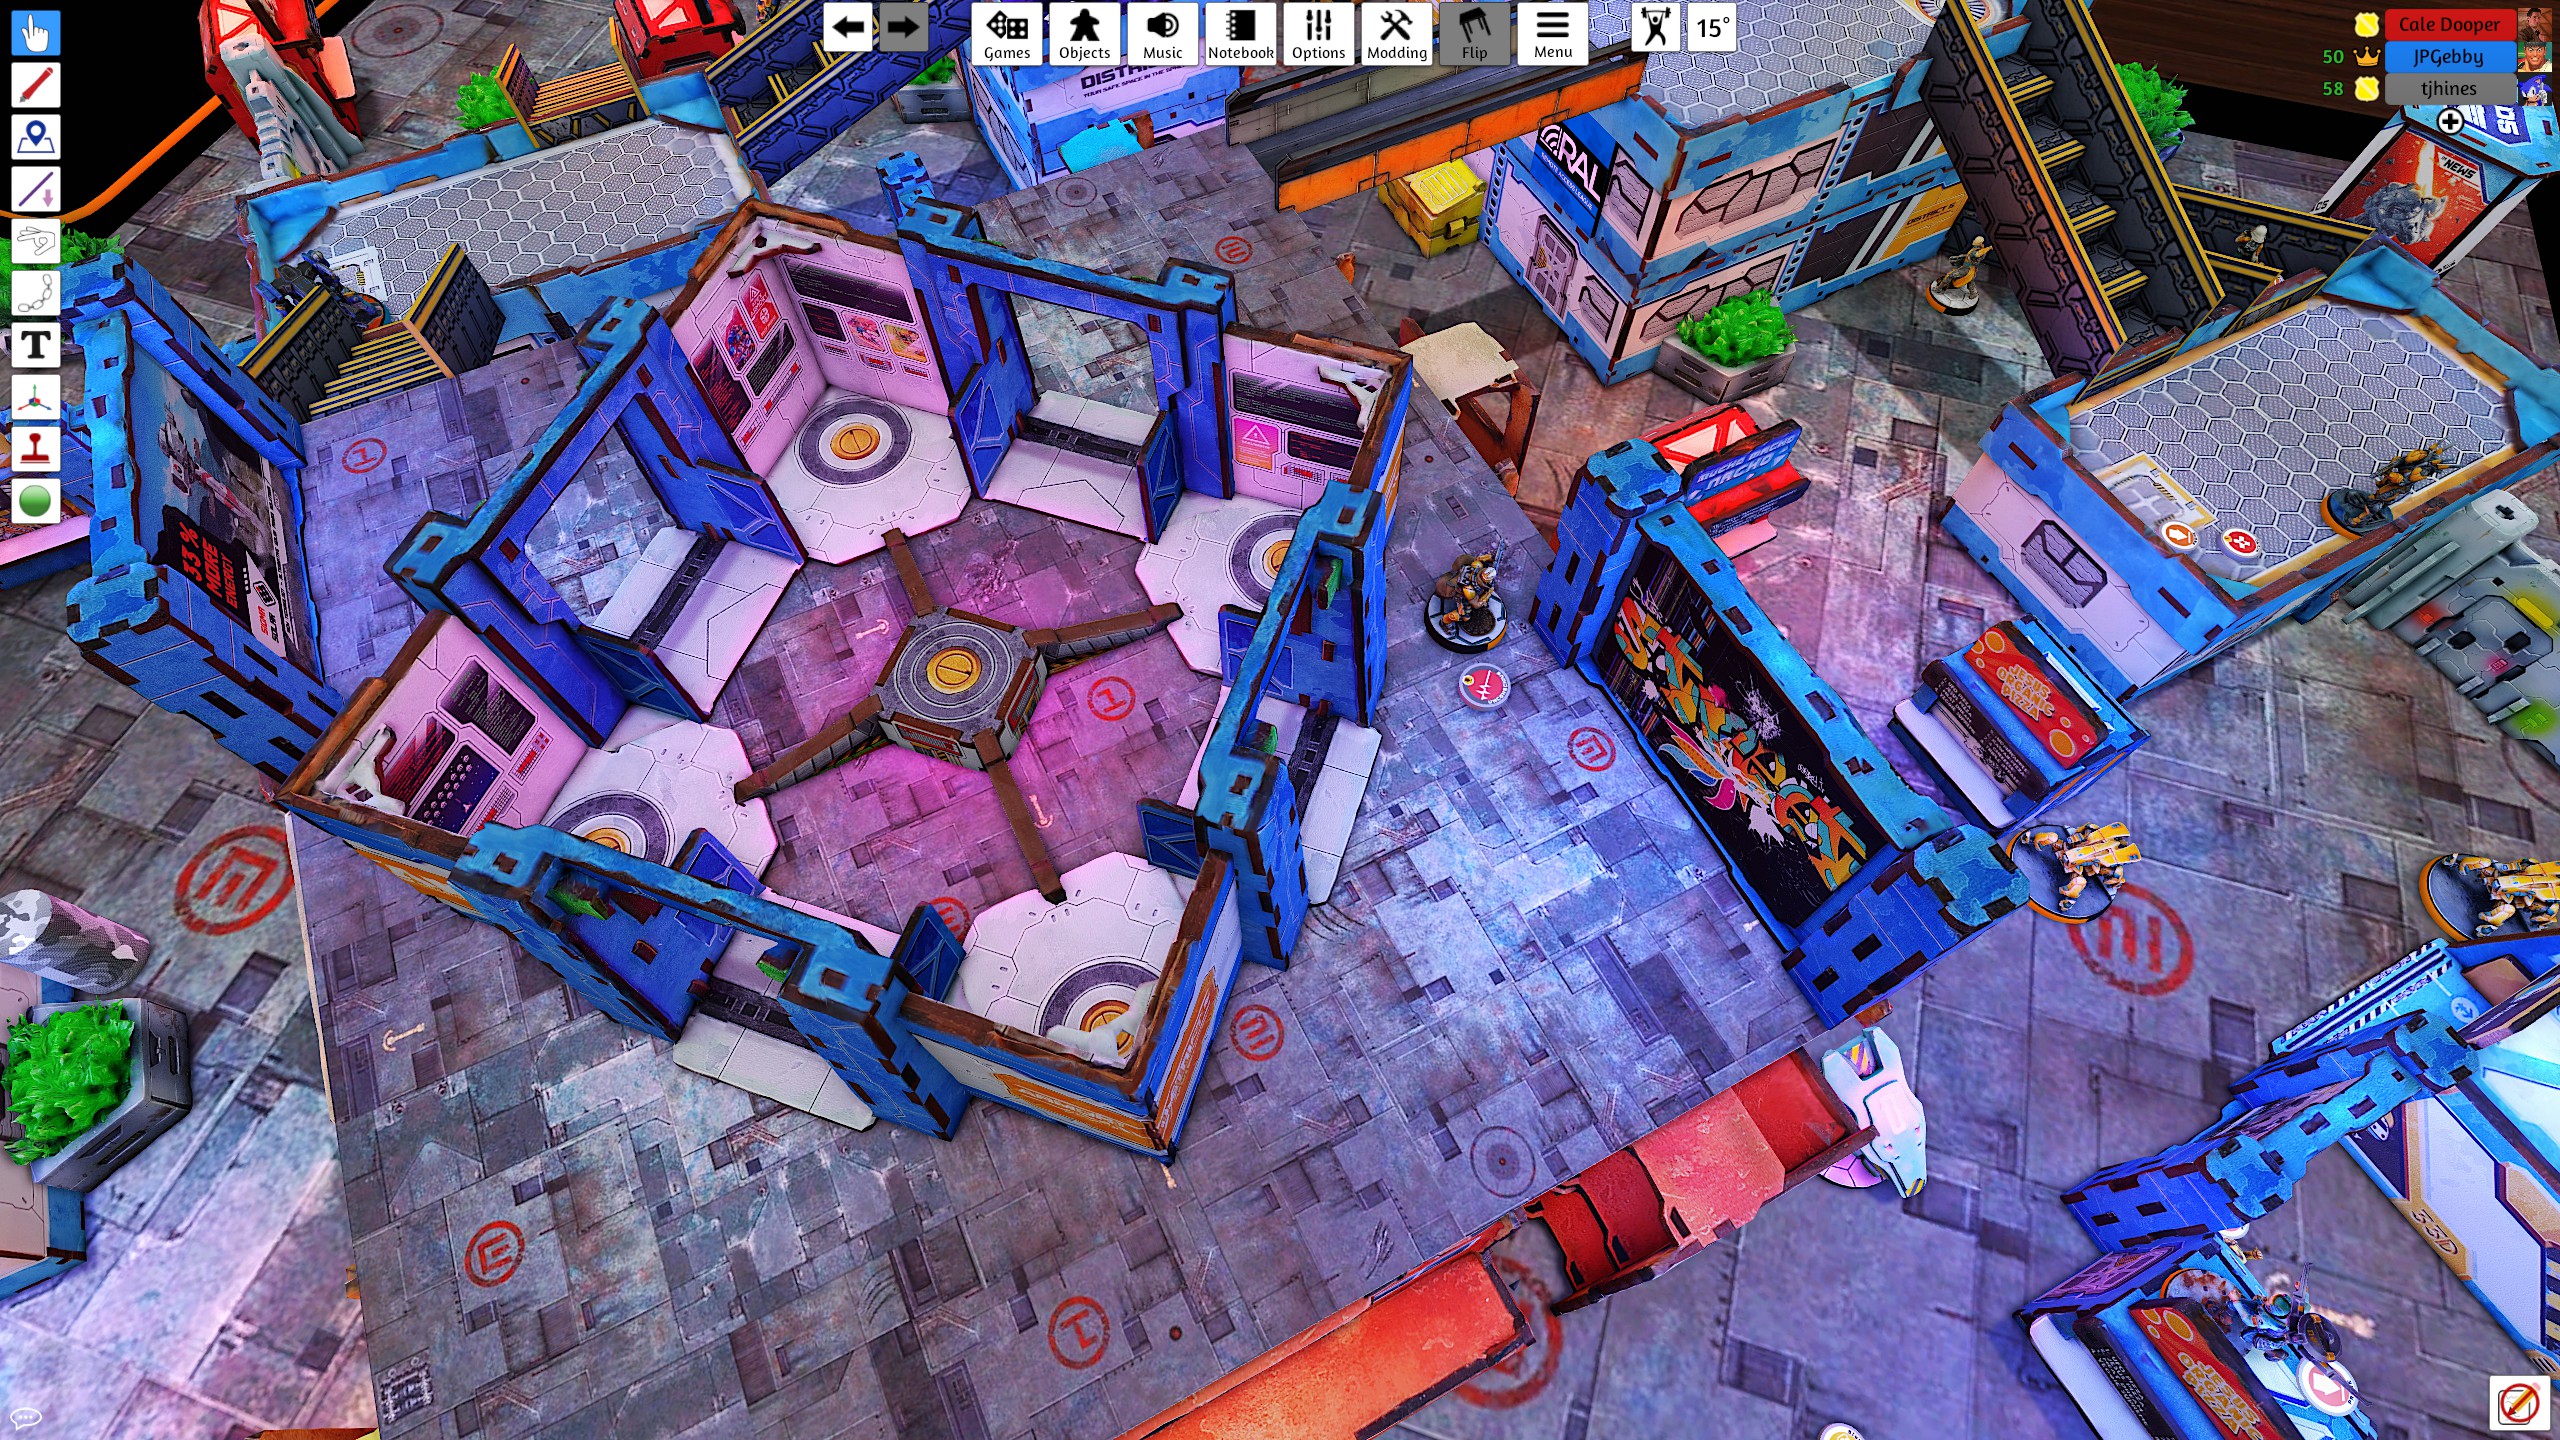
WBA T2
Rallying from a string of successes, the Shang Ji manages to take down the last Varangian Guard. The monk haris then moves up on the left side Panoply and loot it for an adhesive launcher and heavy armor. The rest of the turn was fairly dull, just maneuvering the solo monks and the two Dao Feis to secure a strike at the AC2 on Turn 3. The Spitfire Dao Fei enters Suppressive Fire to prevent any moves on it by the remaining Starmada Forces.
Starmada T3
As things are looking bleak for the Starmada forces, they try to hedge their best defensive bets by ensuring as much overlapping fire as possible to prevent any advance on the AC2. The Raveneye Officers also drop more E/M mines to provide an even more layered defense.
WBA T3
The White Banner Forces rally for one last charge into the objective. After much spectacular failure, a monk on the right side finally lands a smoke near the AC2 after 6 attempts. The LT Dao Fei then charges at Starmada fireteam, weathering an onslaught on opposing fire and taking down Cho. Led by Liang Kai, the monk haris then makes a brave advance into the defensive position of the Starmada forces. Only one monk fell in the advance and the monks were able to clear the area of the E/M mines that were locking down the area. With an opening created, the Spitfire Dao Fei uses the last few orders to approach the AC2 and plant a D-charge on the AC2, causing two points of STR damage. The Dao fei shrugs off the opposing fire miracously and stands valiantly before his foes. With this final action, a 7-2 victory with 236 points meaning was secured for the Party at Cameliard! Long live the State-Empire!
Battle Report Author

Army Lists Used In This Battle
Recommend Commander For Commendation
Share this battle with friends
ldgifWins

A victory for the State Empire! And a lovely report as well. Take my commendation you handsome devil!
Cool table, like the Batrep !
Good fight. Great victory.
nice virtual report
it was a scary battle and those monk rolls at the end gave me heart attacks!
Congrats for your win, commander! Your efforts will be much appreciated by the DDC.