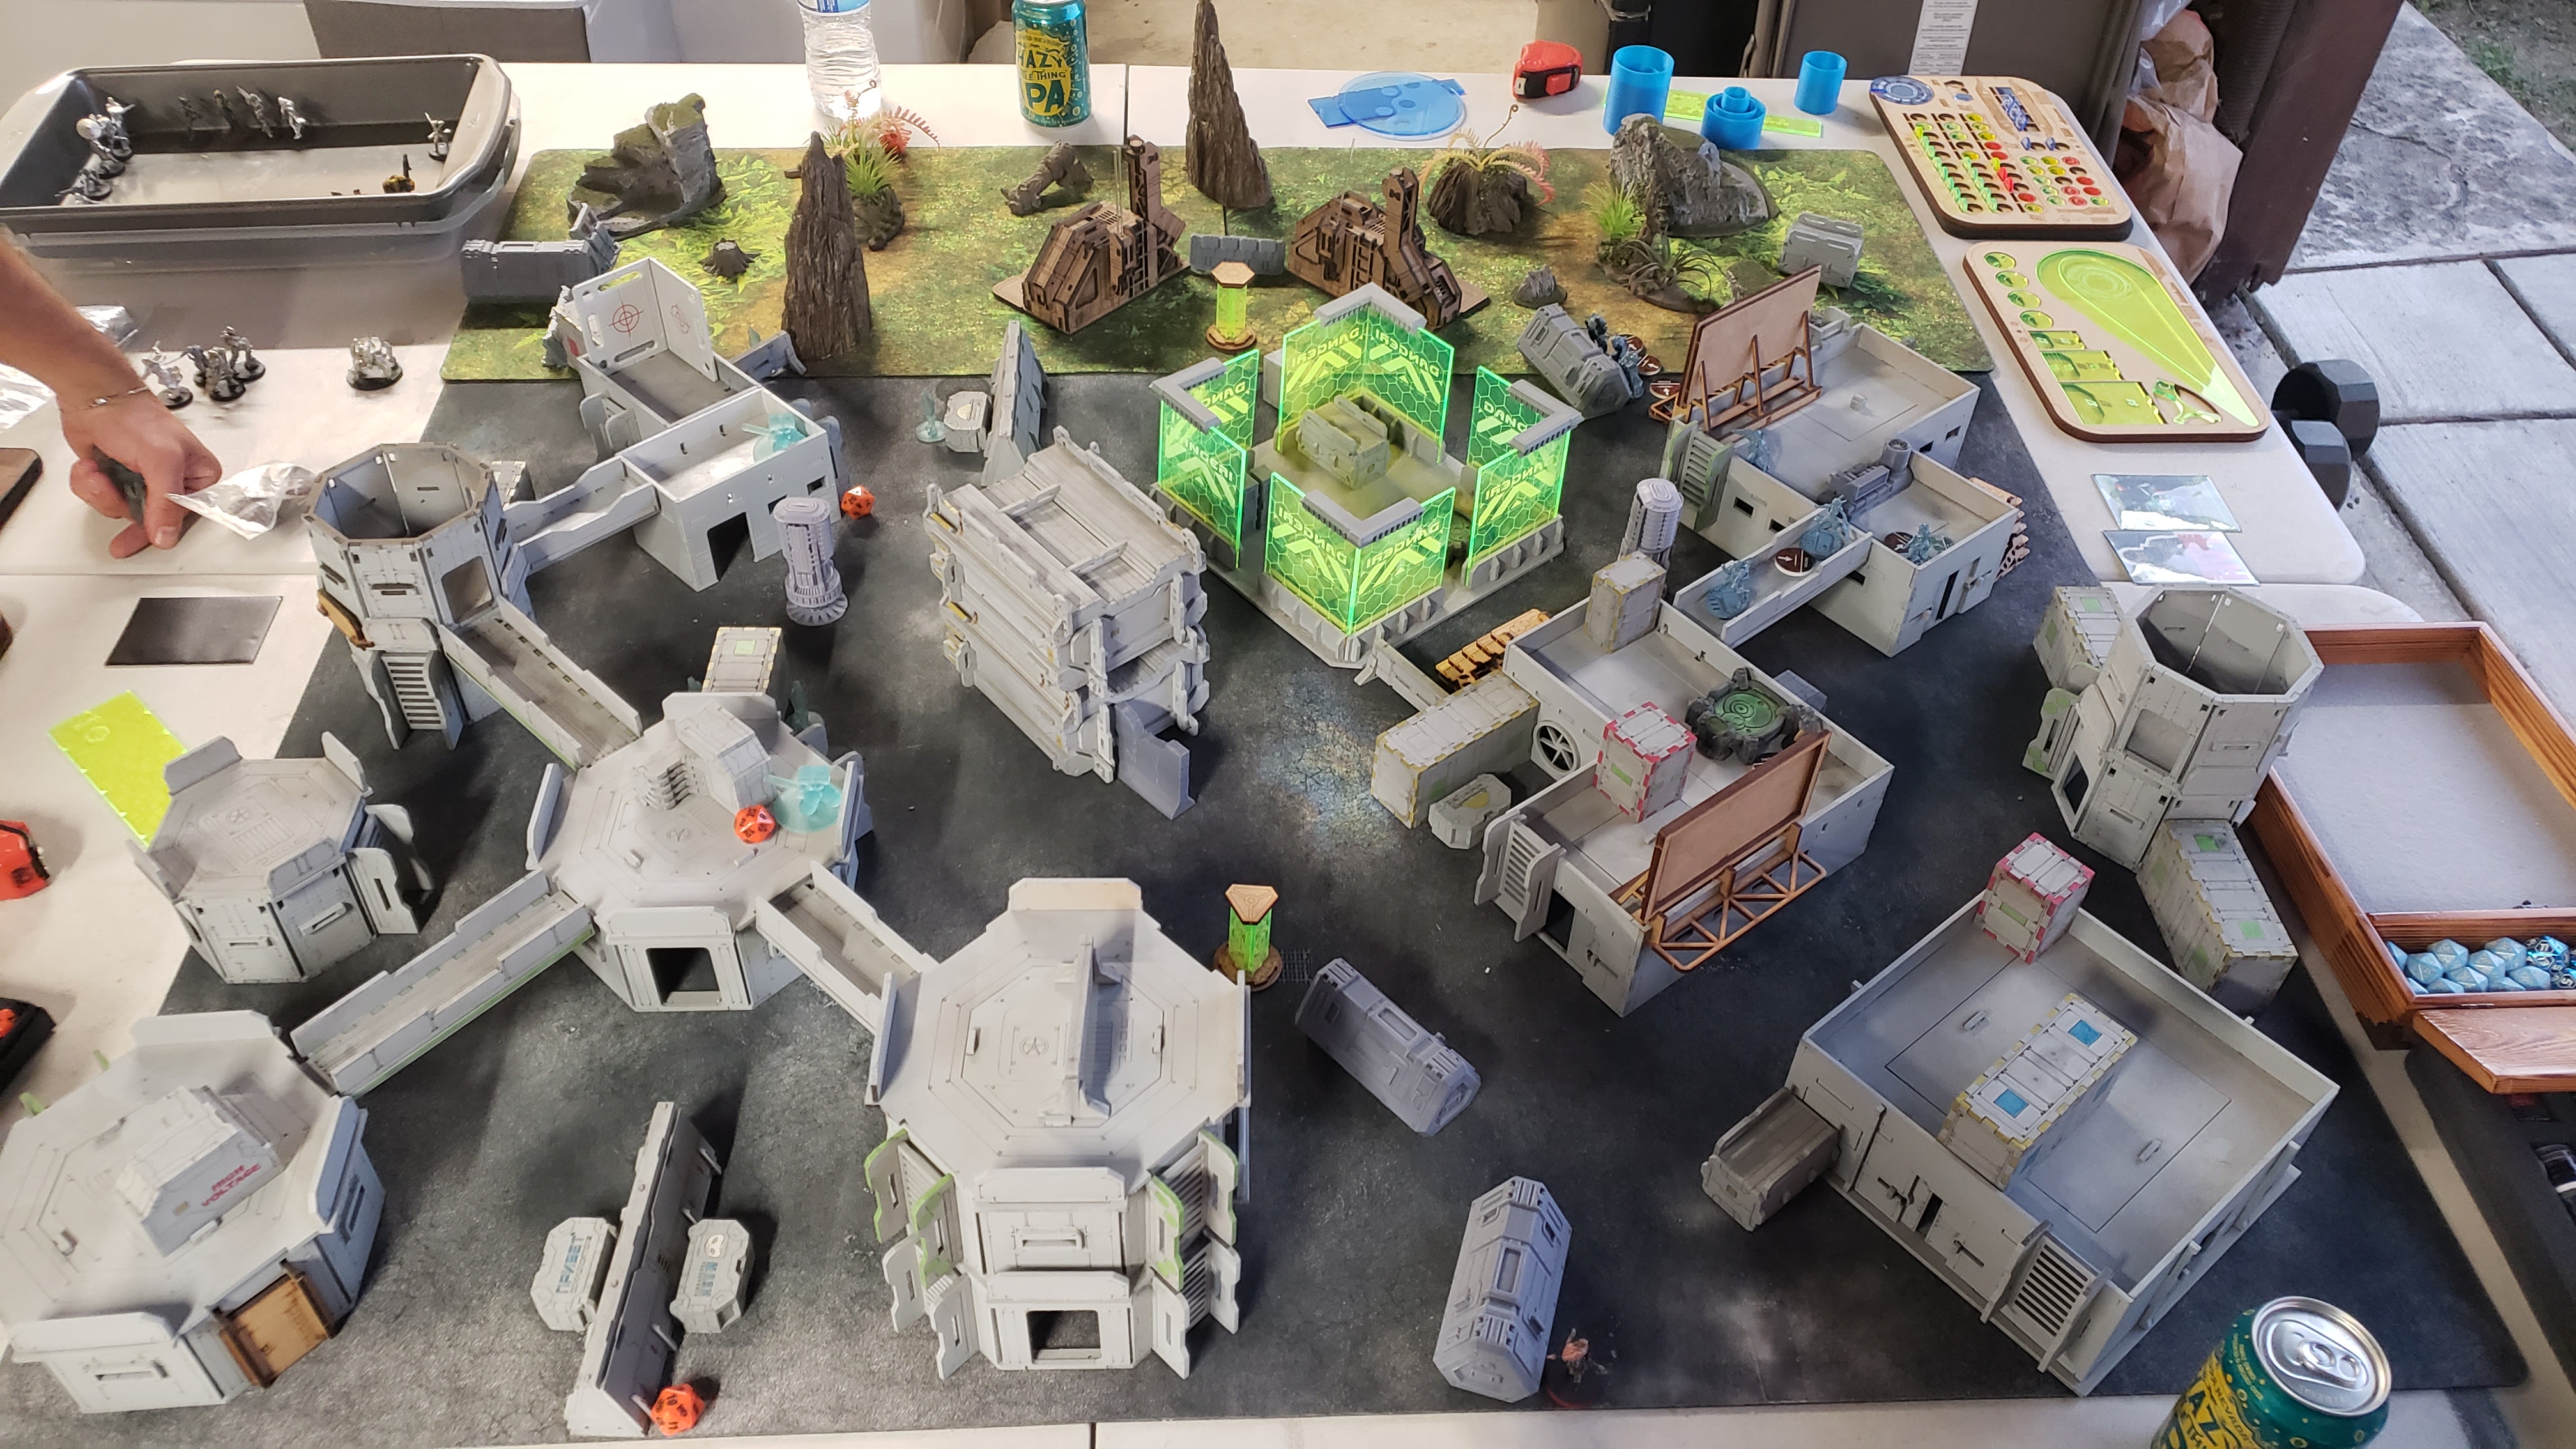
Fought At Cameliard: Reliquary
649 days 12 hours 39 minutes ago
Valiant Defense of the Reliquary
300 POINTS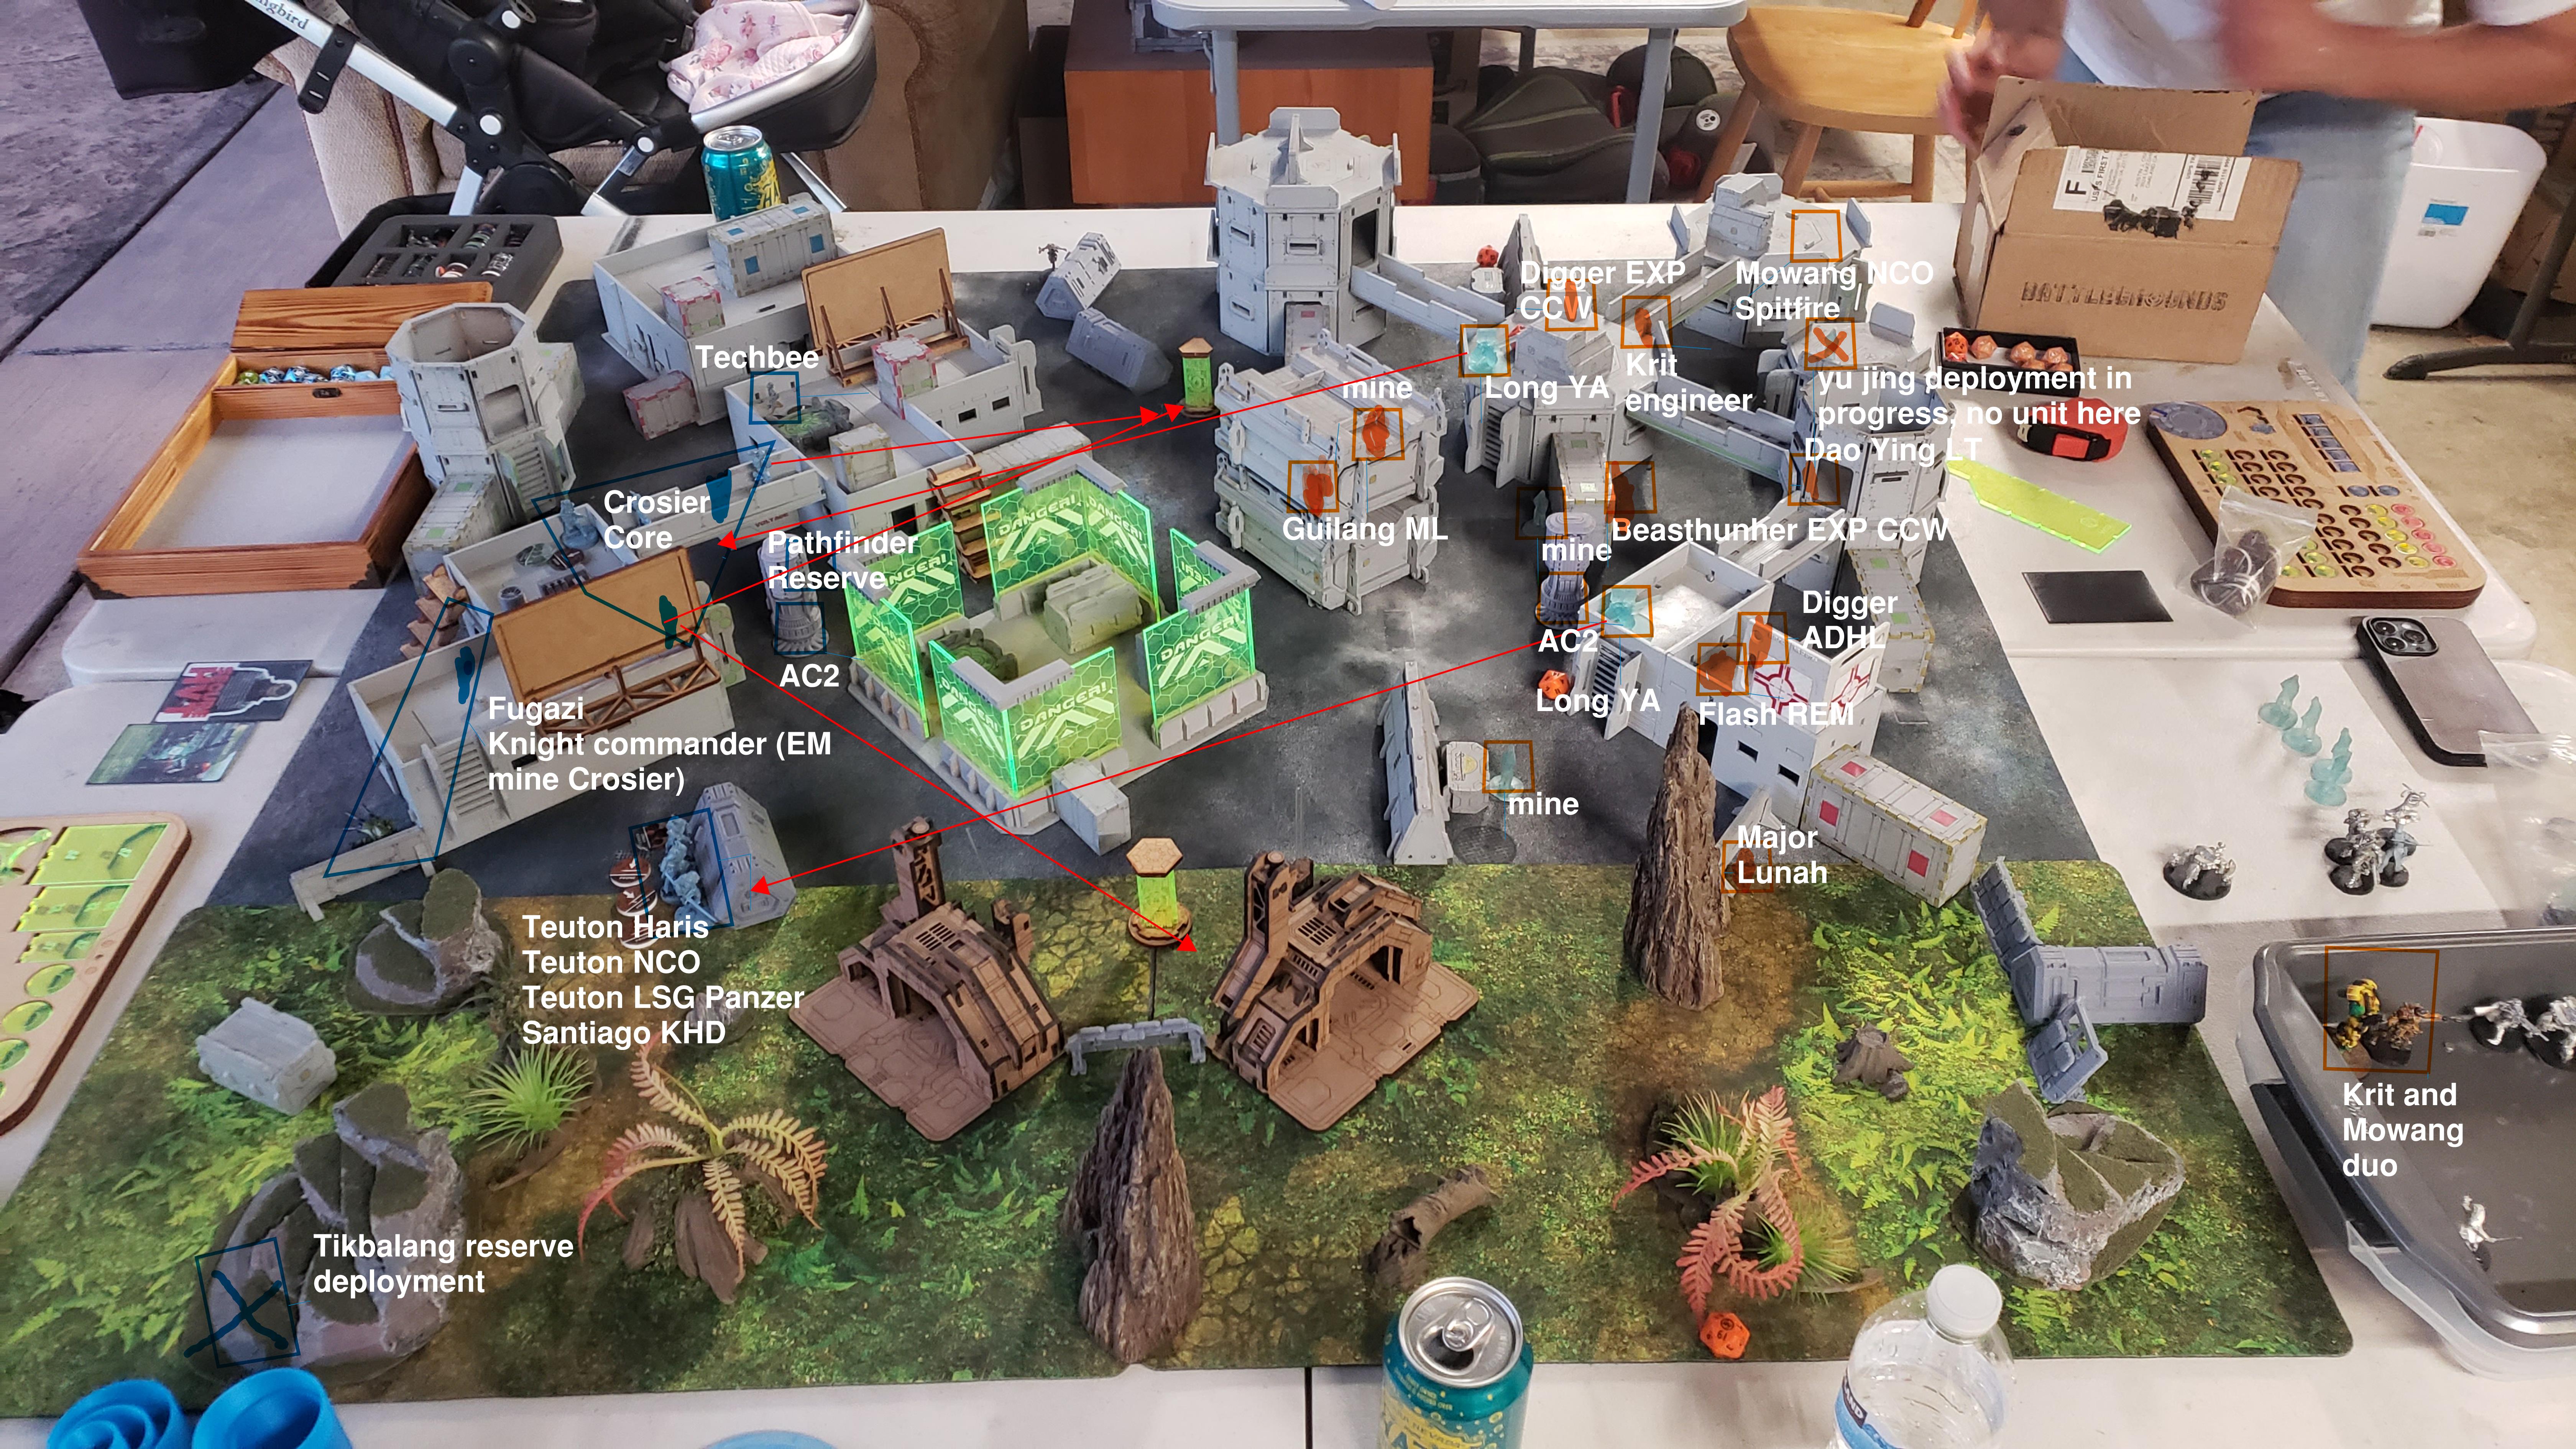
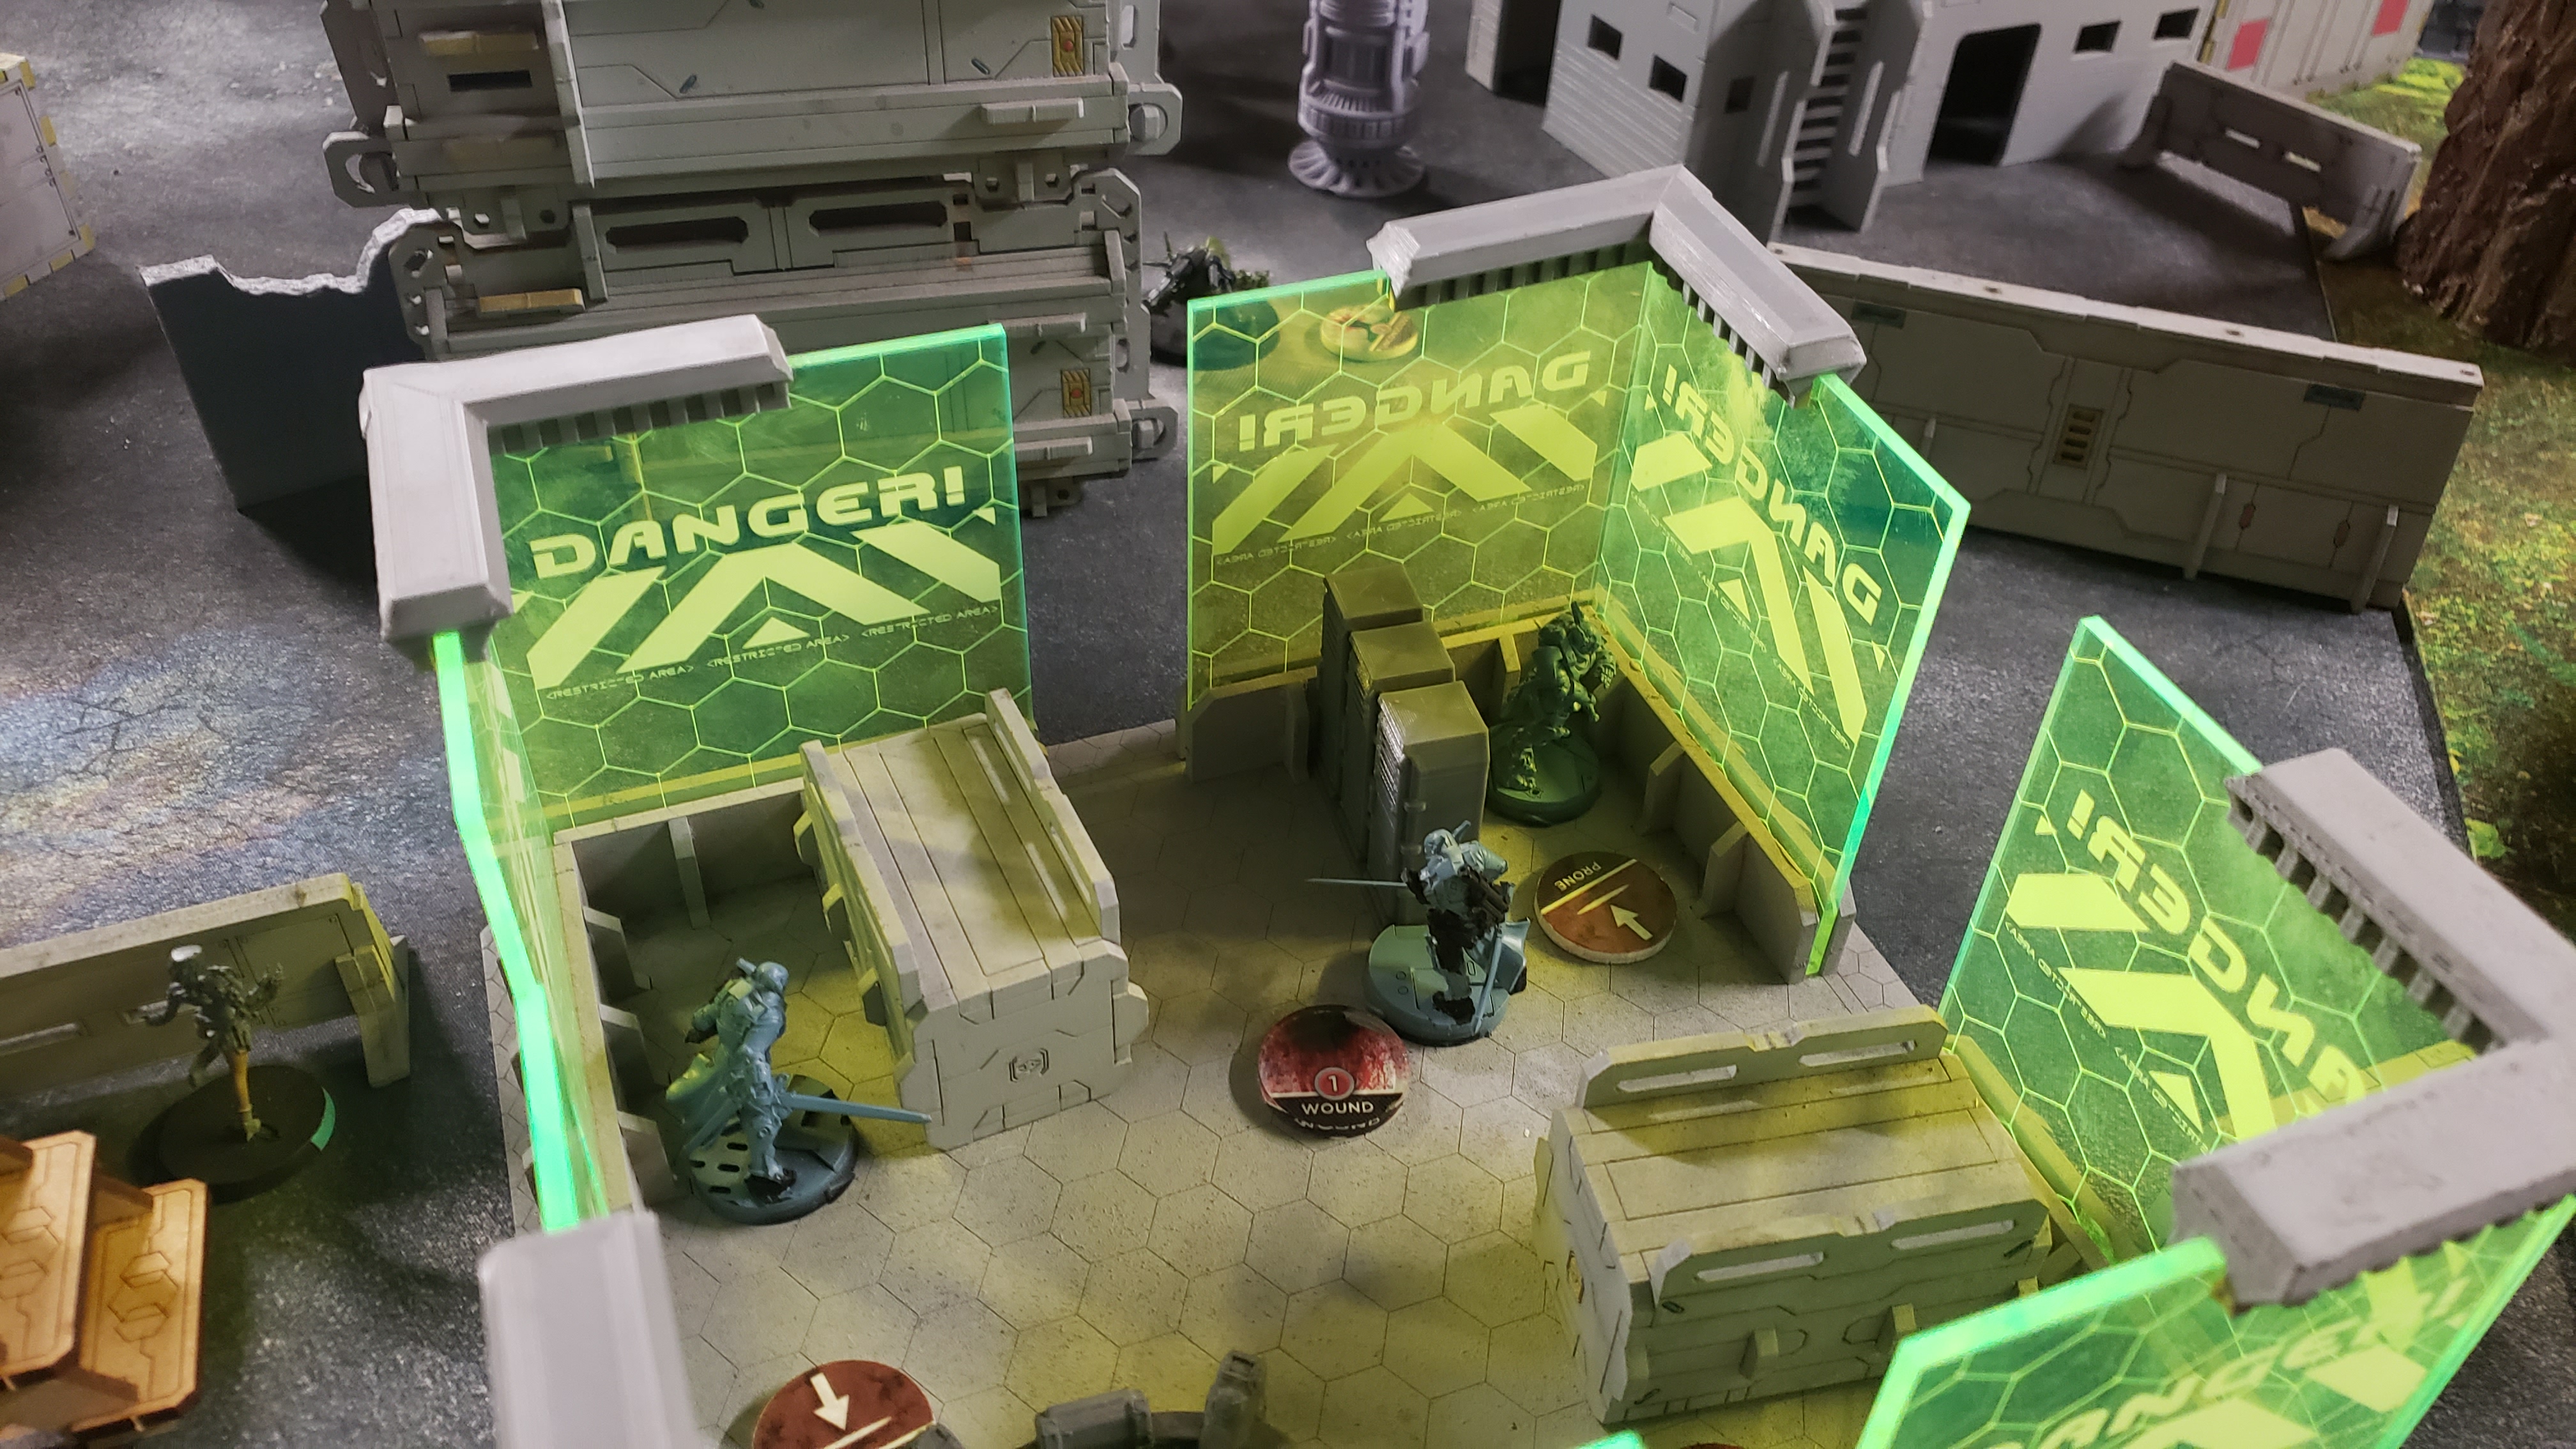
Yu Jing Operatives spotted setting up defensive perimeter to control an AC2 unit in an attempted Data heist of the facility. Military Order units move to secure their own antenna to evacuate data from the sector.
Winning the initial LT roll, I commanded my unit to press the attack first. the Unit is well outfitted for assault, and the plan is to attack with firepower, info war, and close combat prowess.
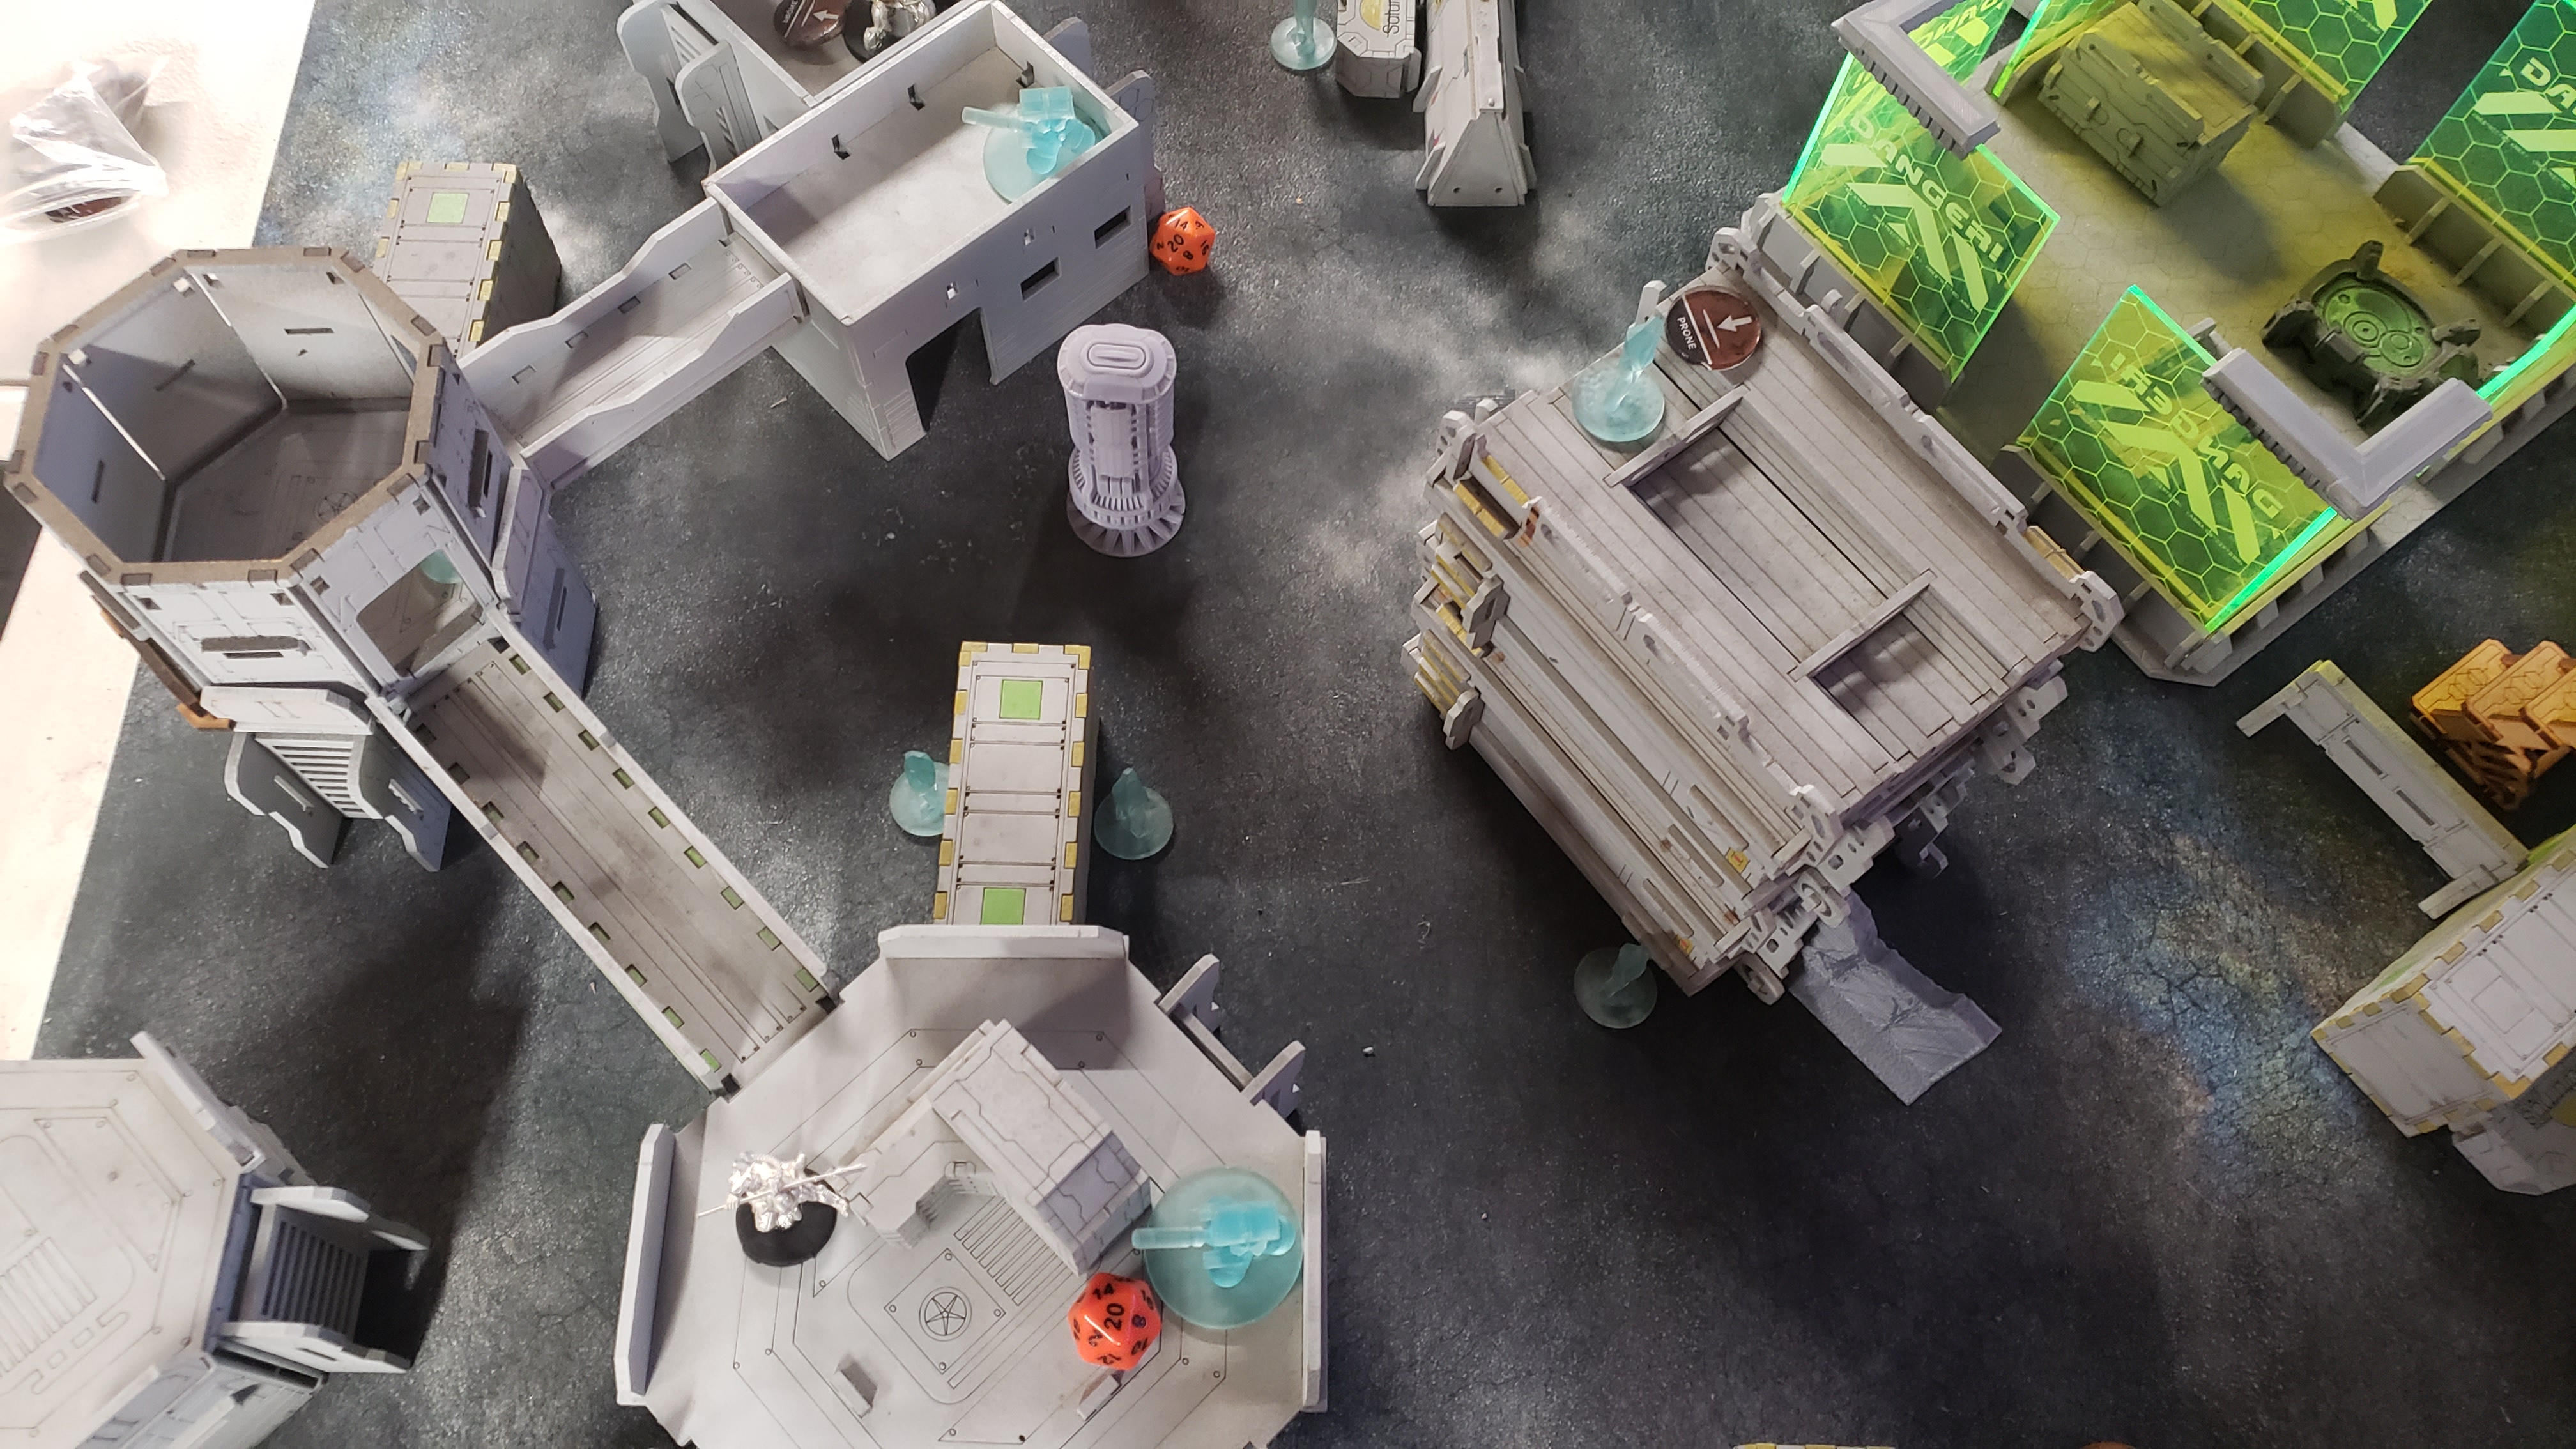
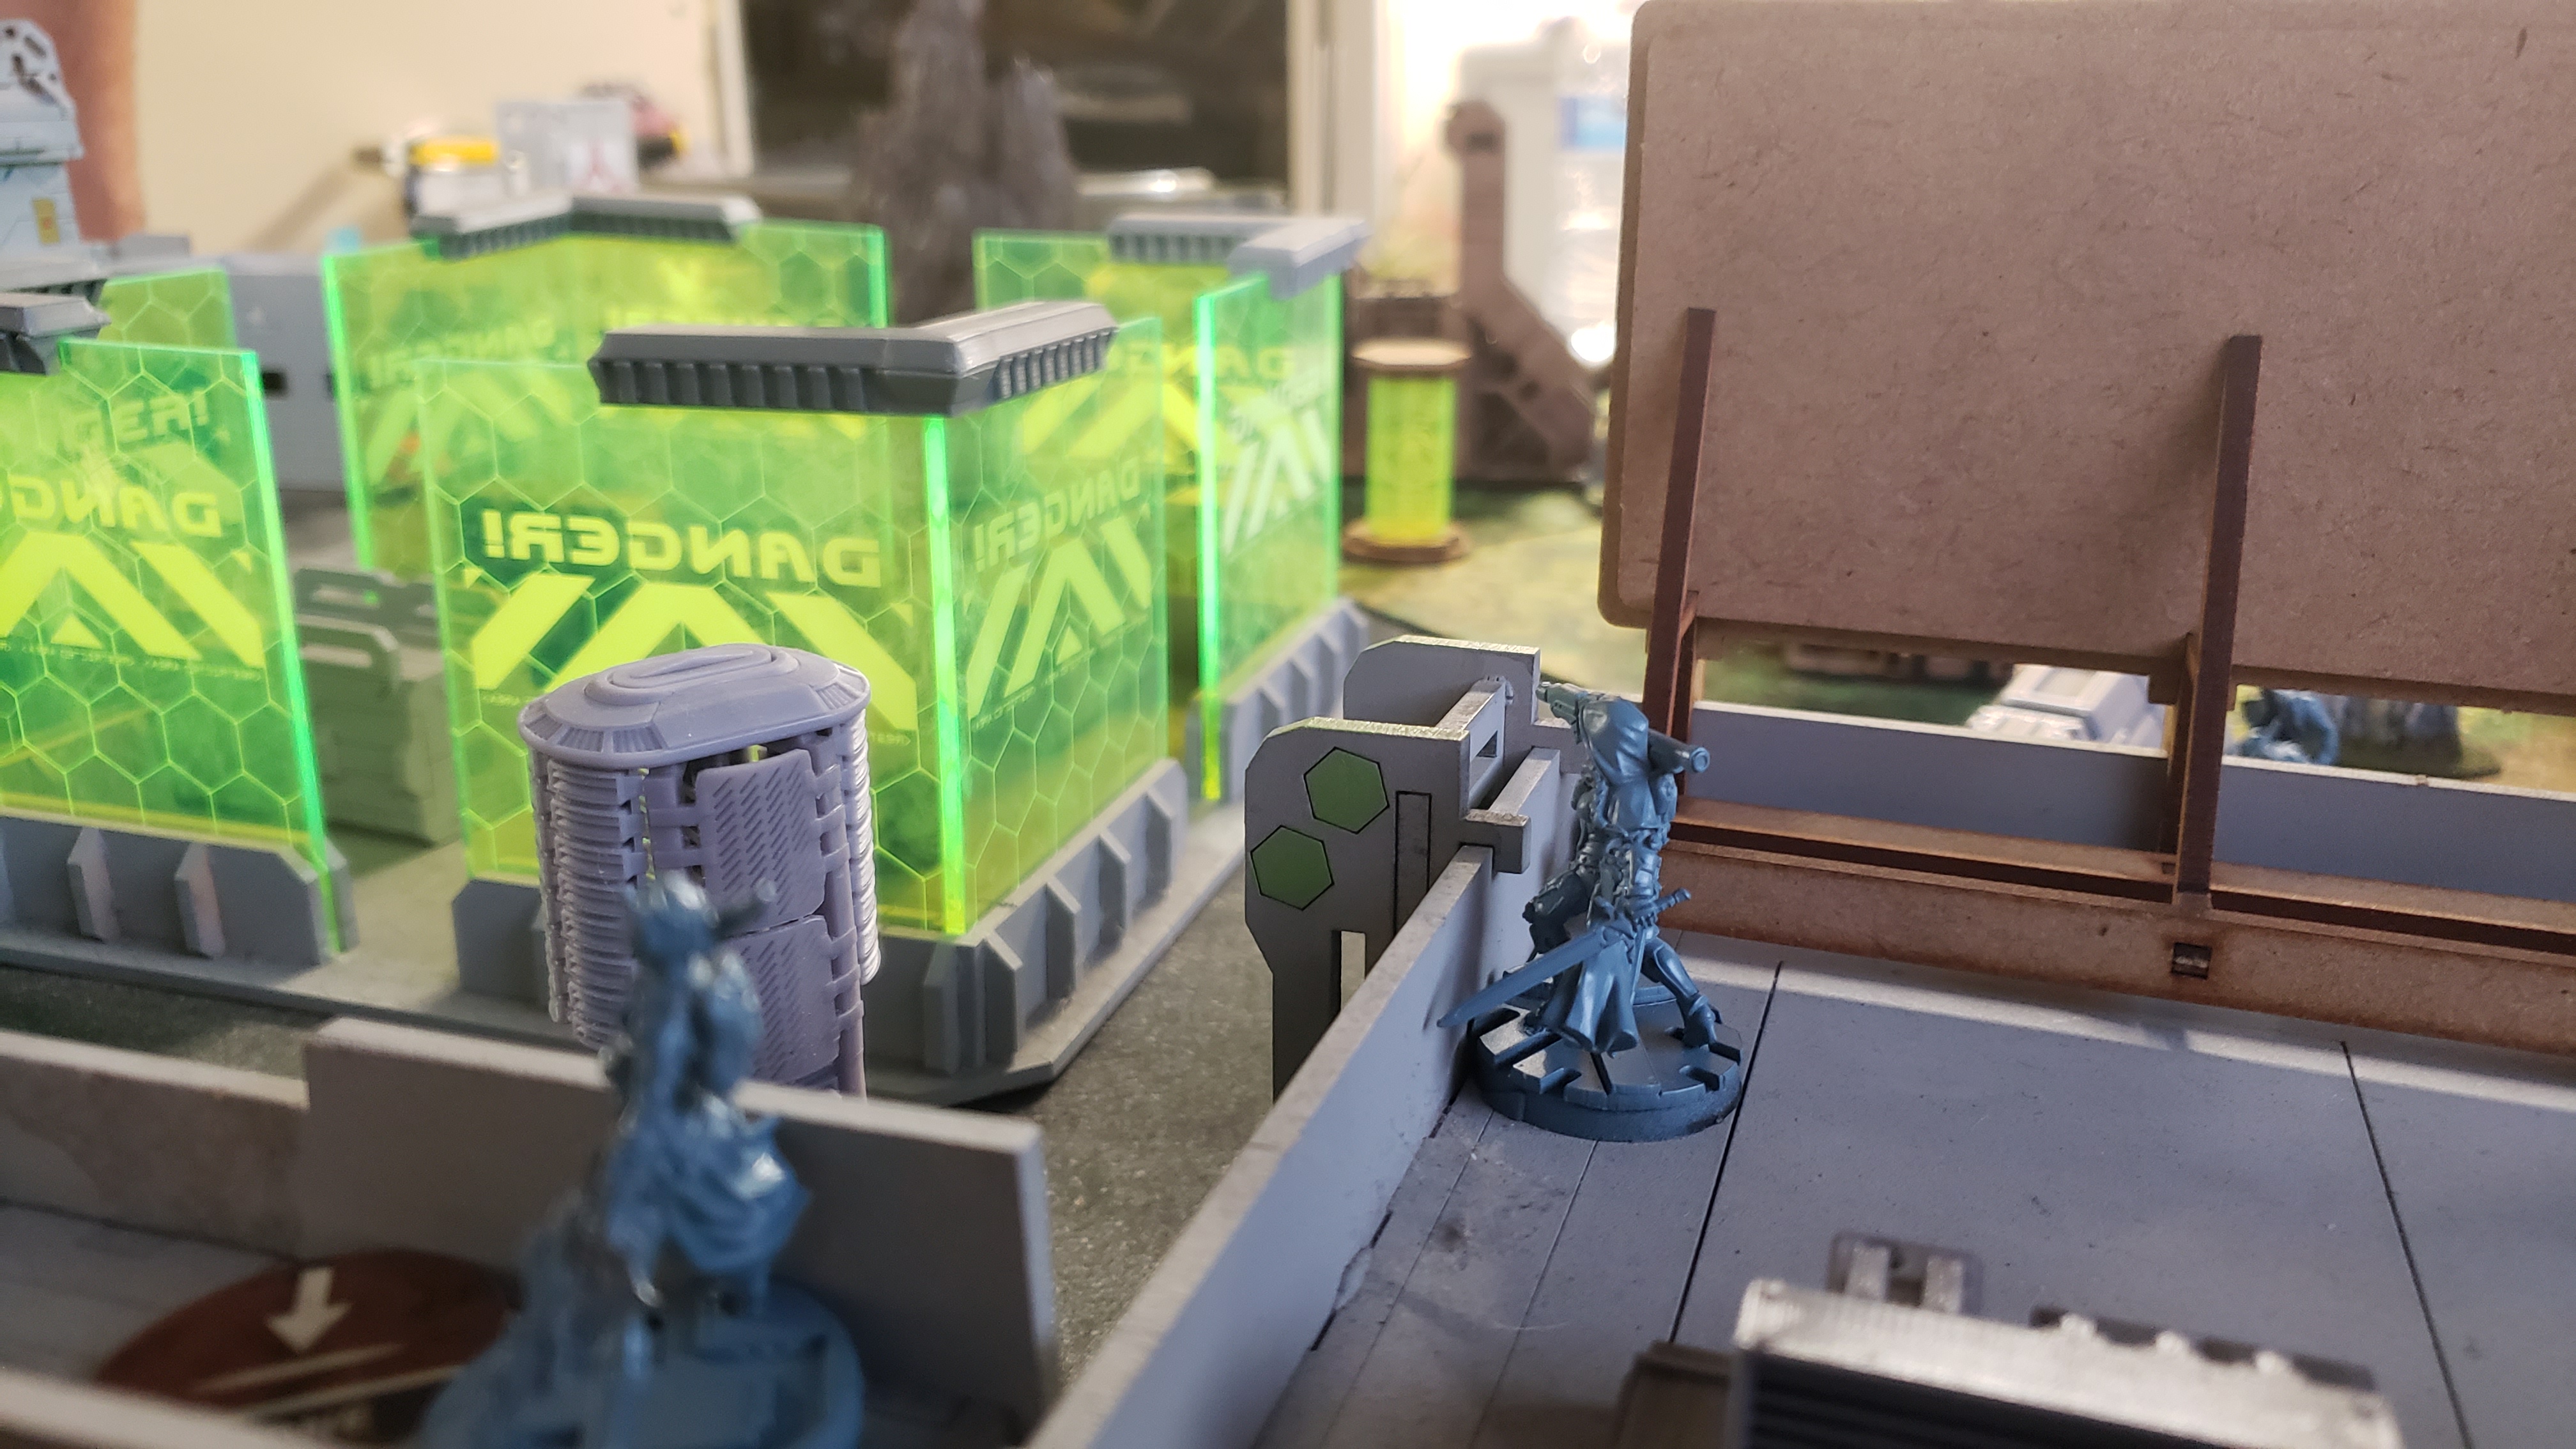
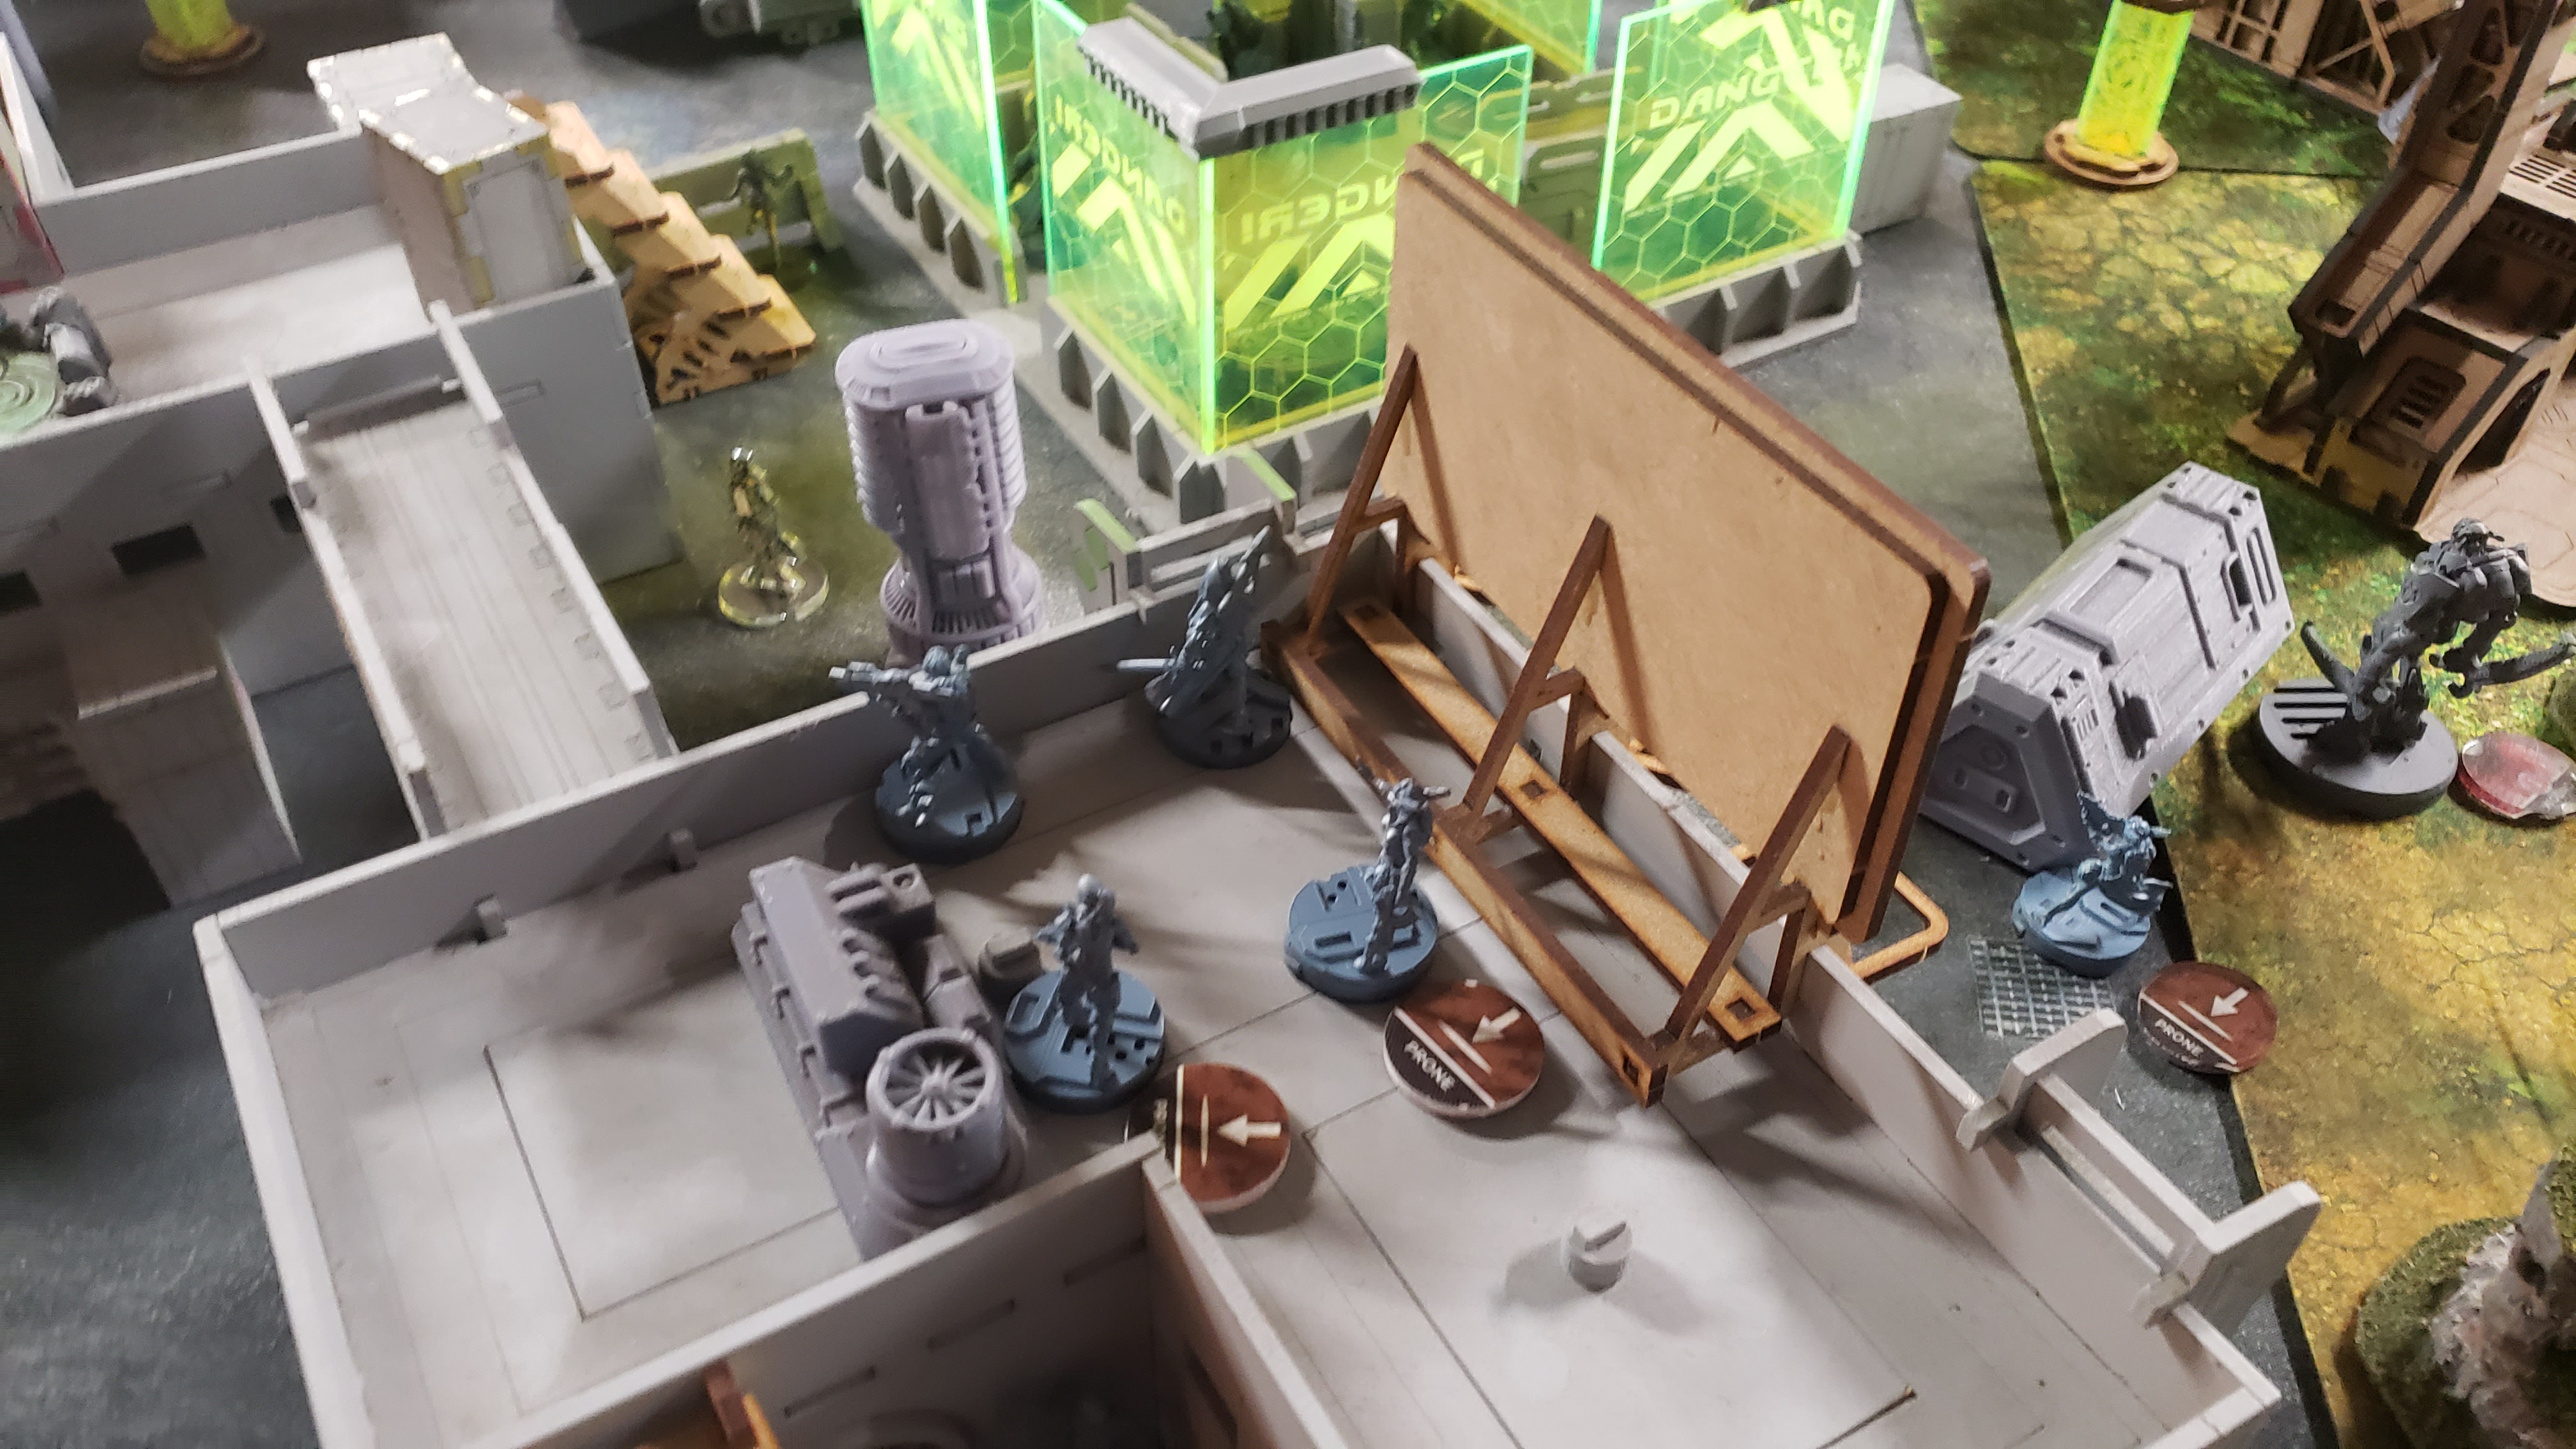
The crosier core takes overwatch positions watching the Panoplies
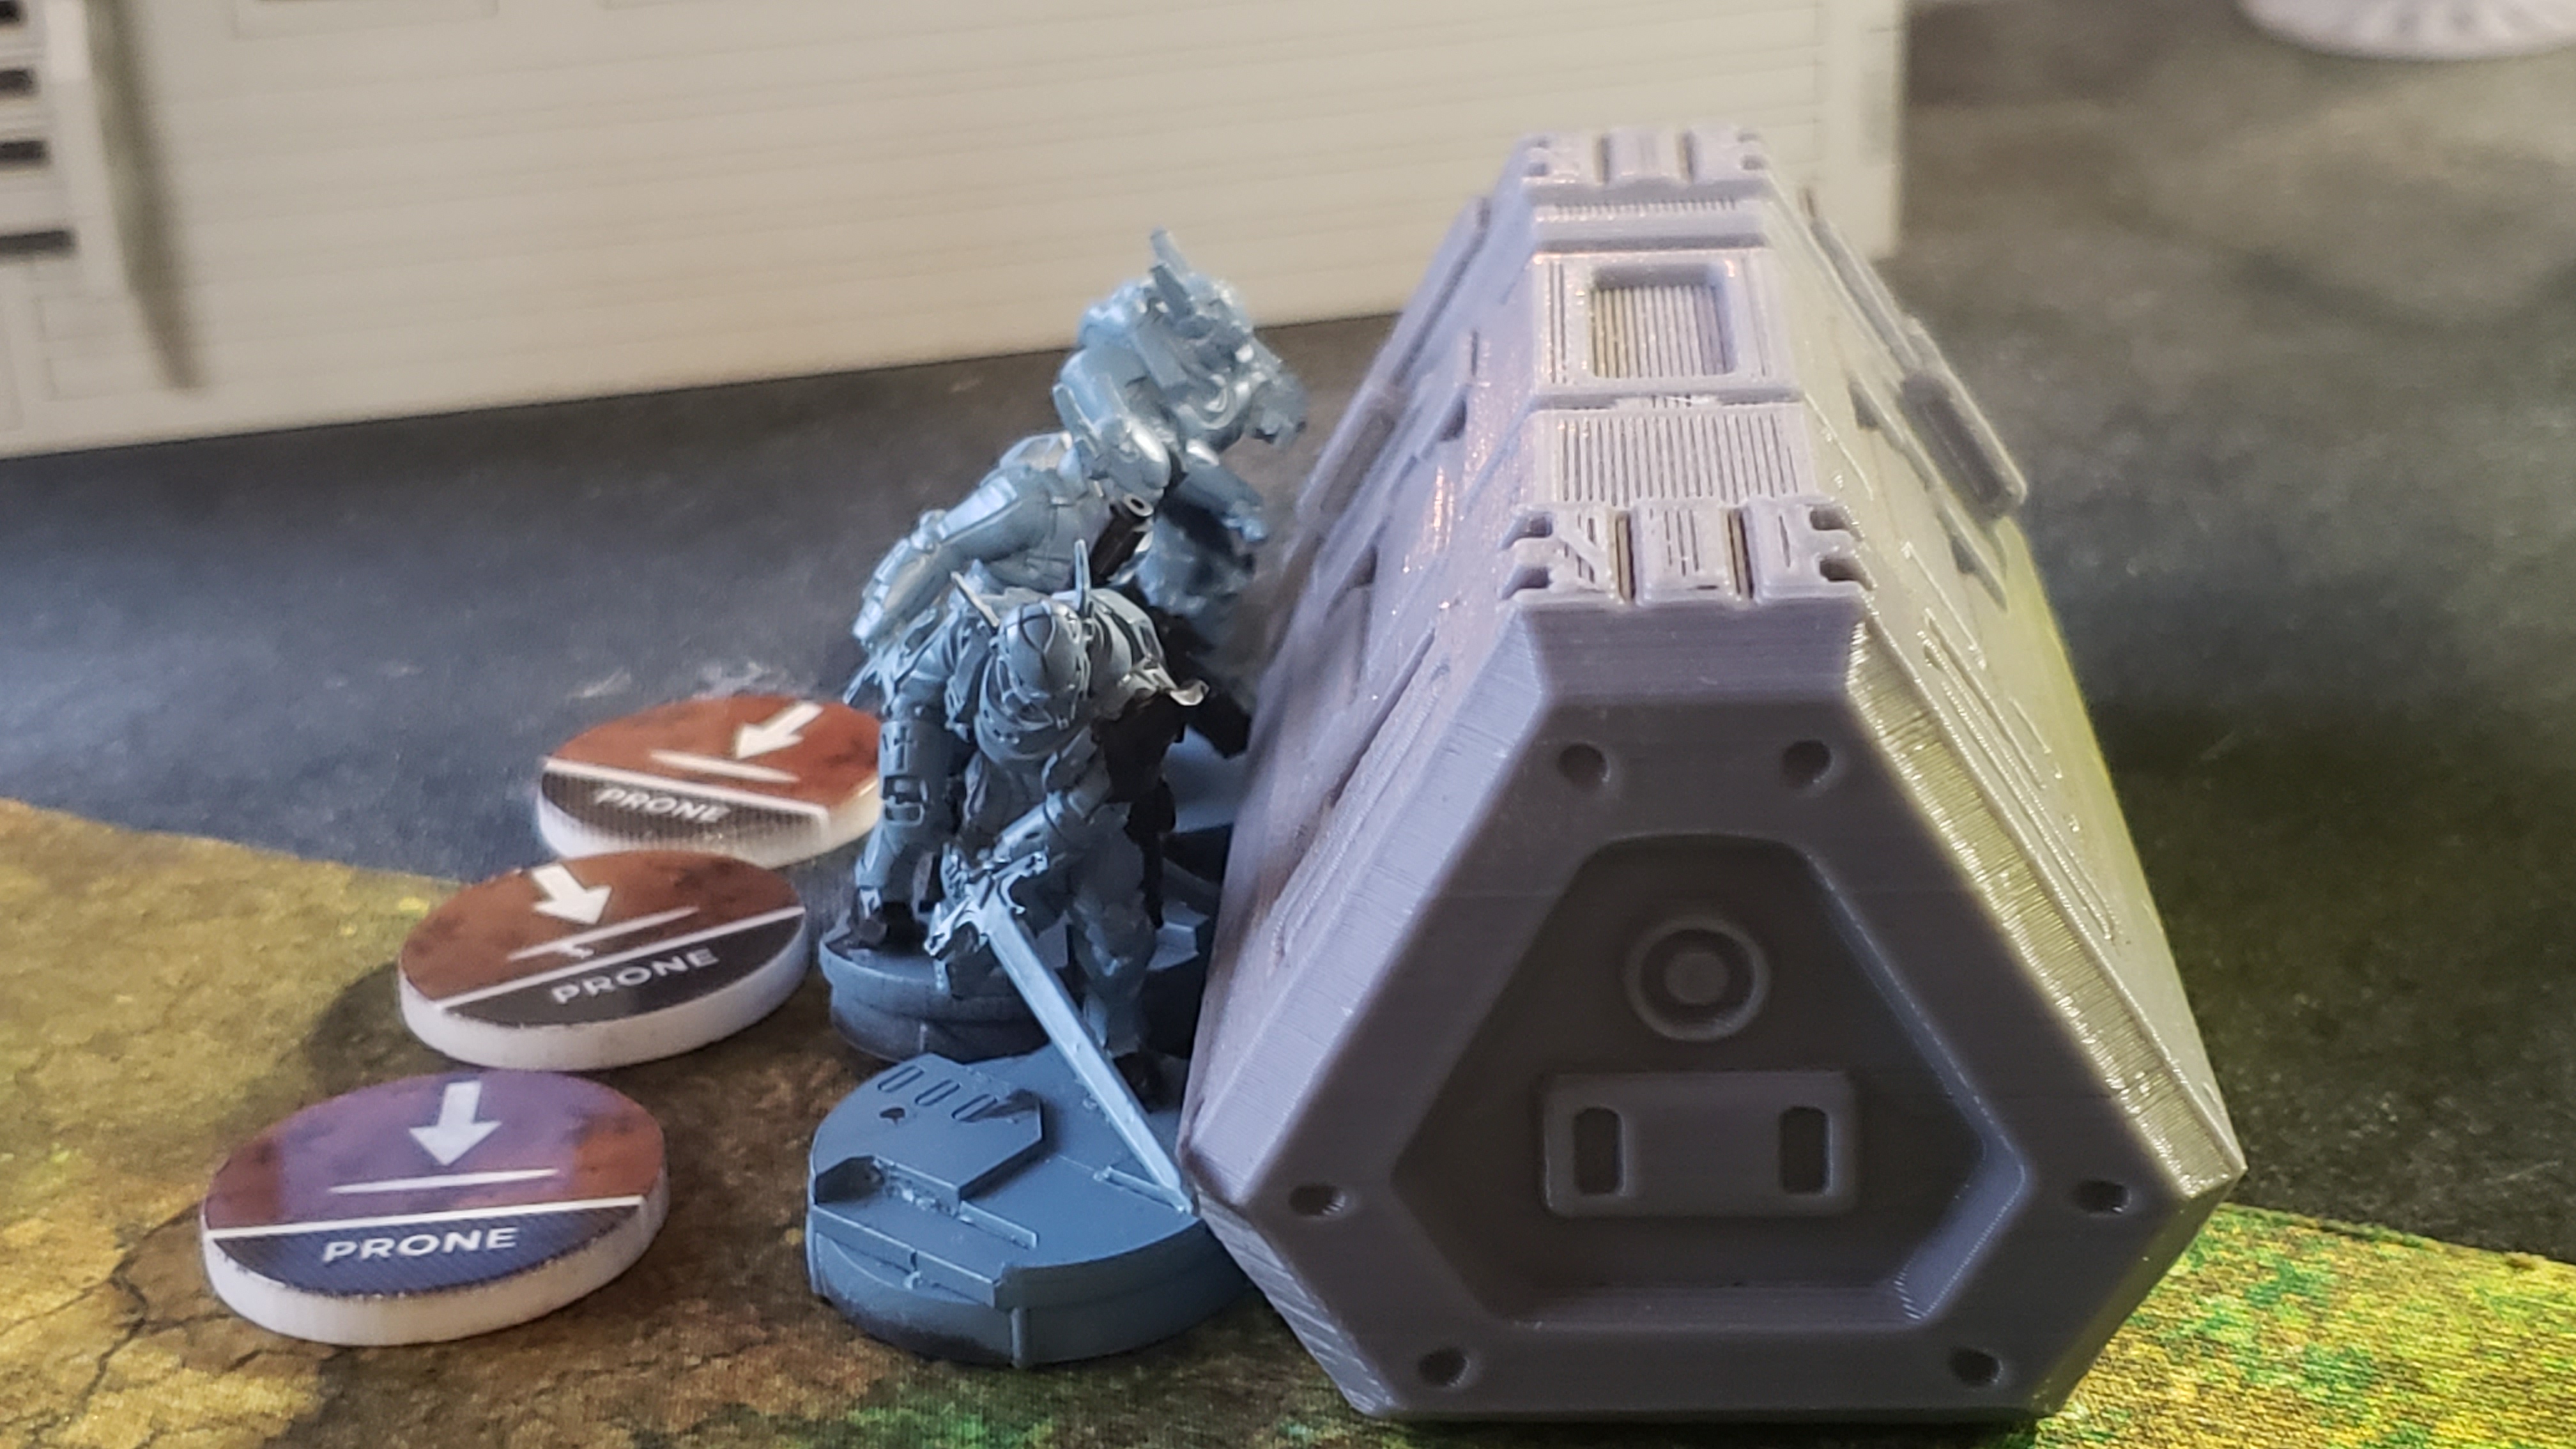
the Teuton Haris deploys in a position that will allow them to secure the Laboratory near their deployment zone while they wait for their chance to attack the objective. i deploy them in a risky spot in the hopes that YJ will deploy ARO pieces to slow them down, thus providing targets for my Tikbalang.
My reserve is the Pathfinder and the tag. I hold 2 to conceal what my reserve could be, and I want to place them in the absolutely most effective positions
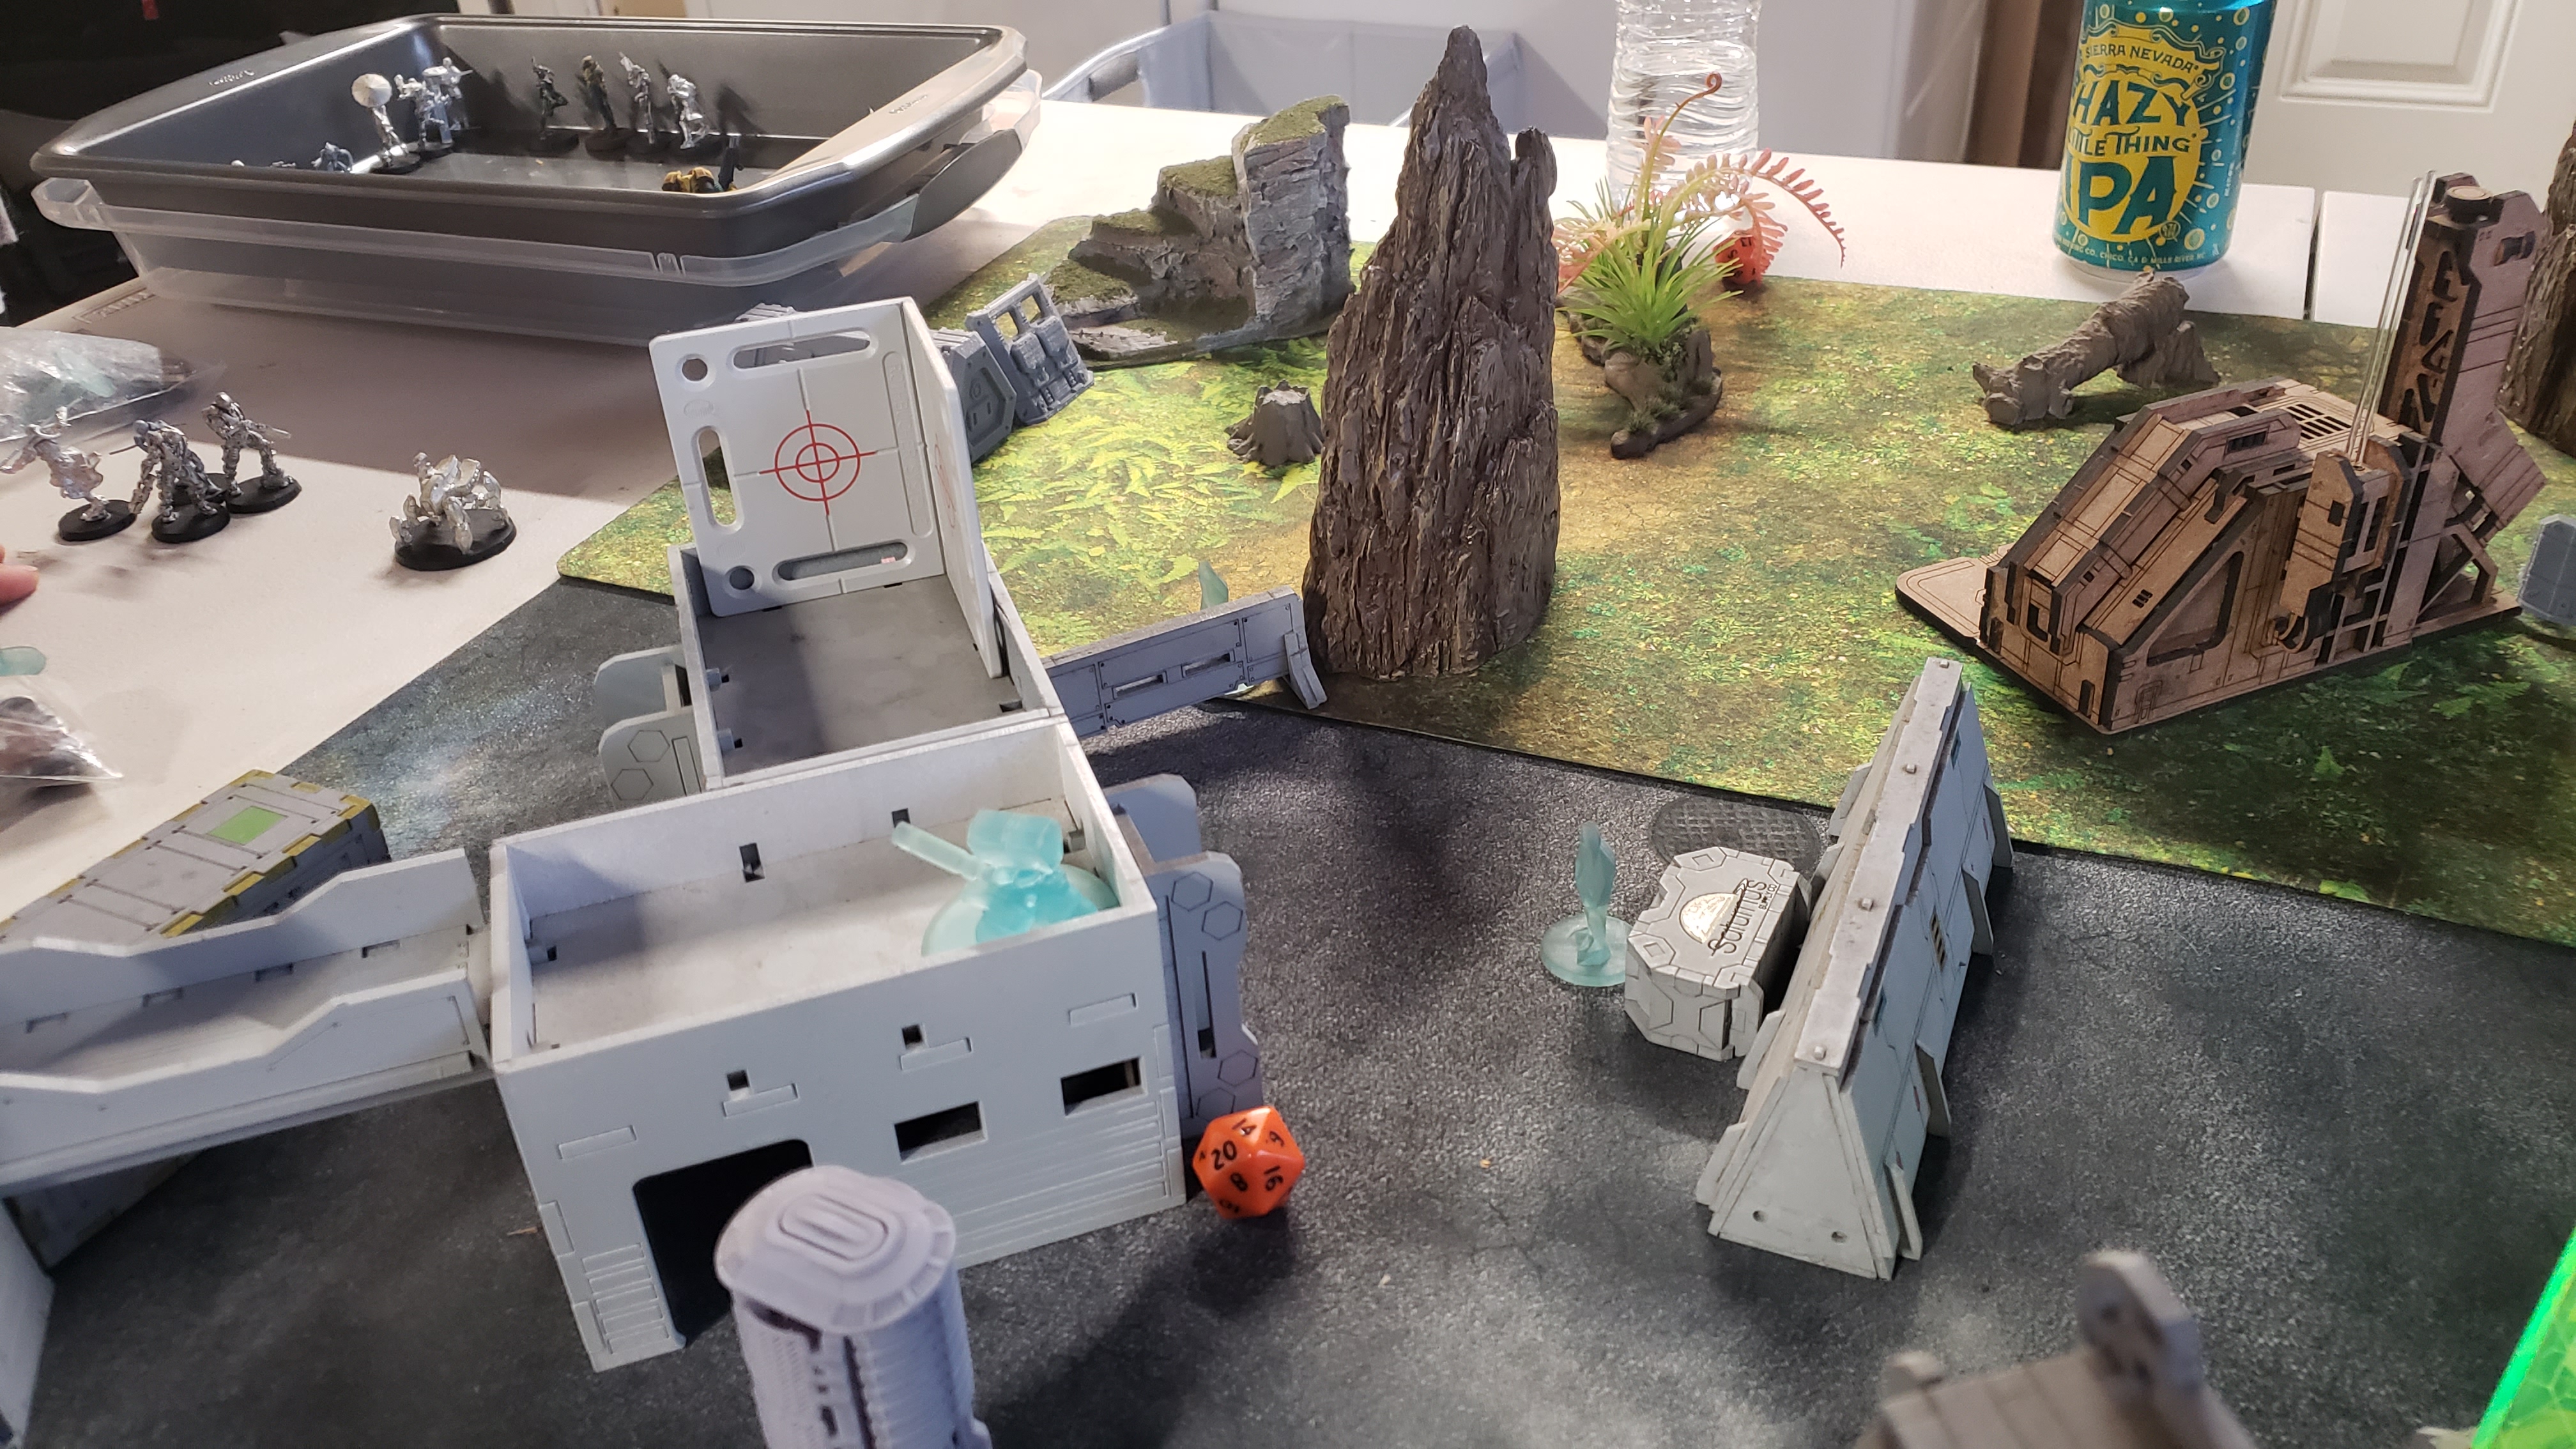
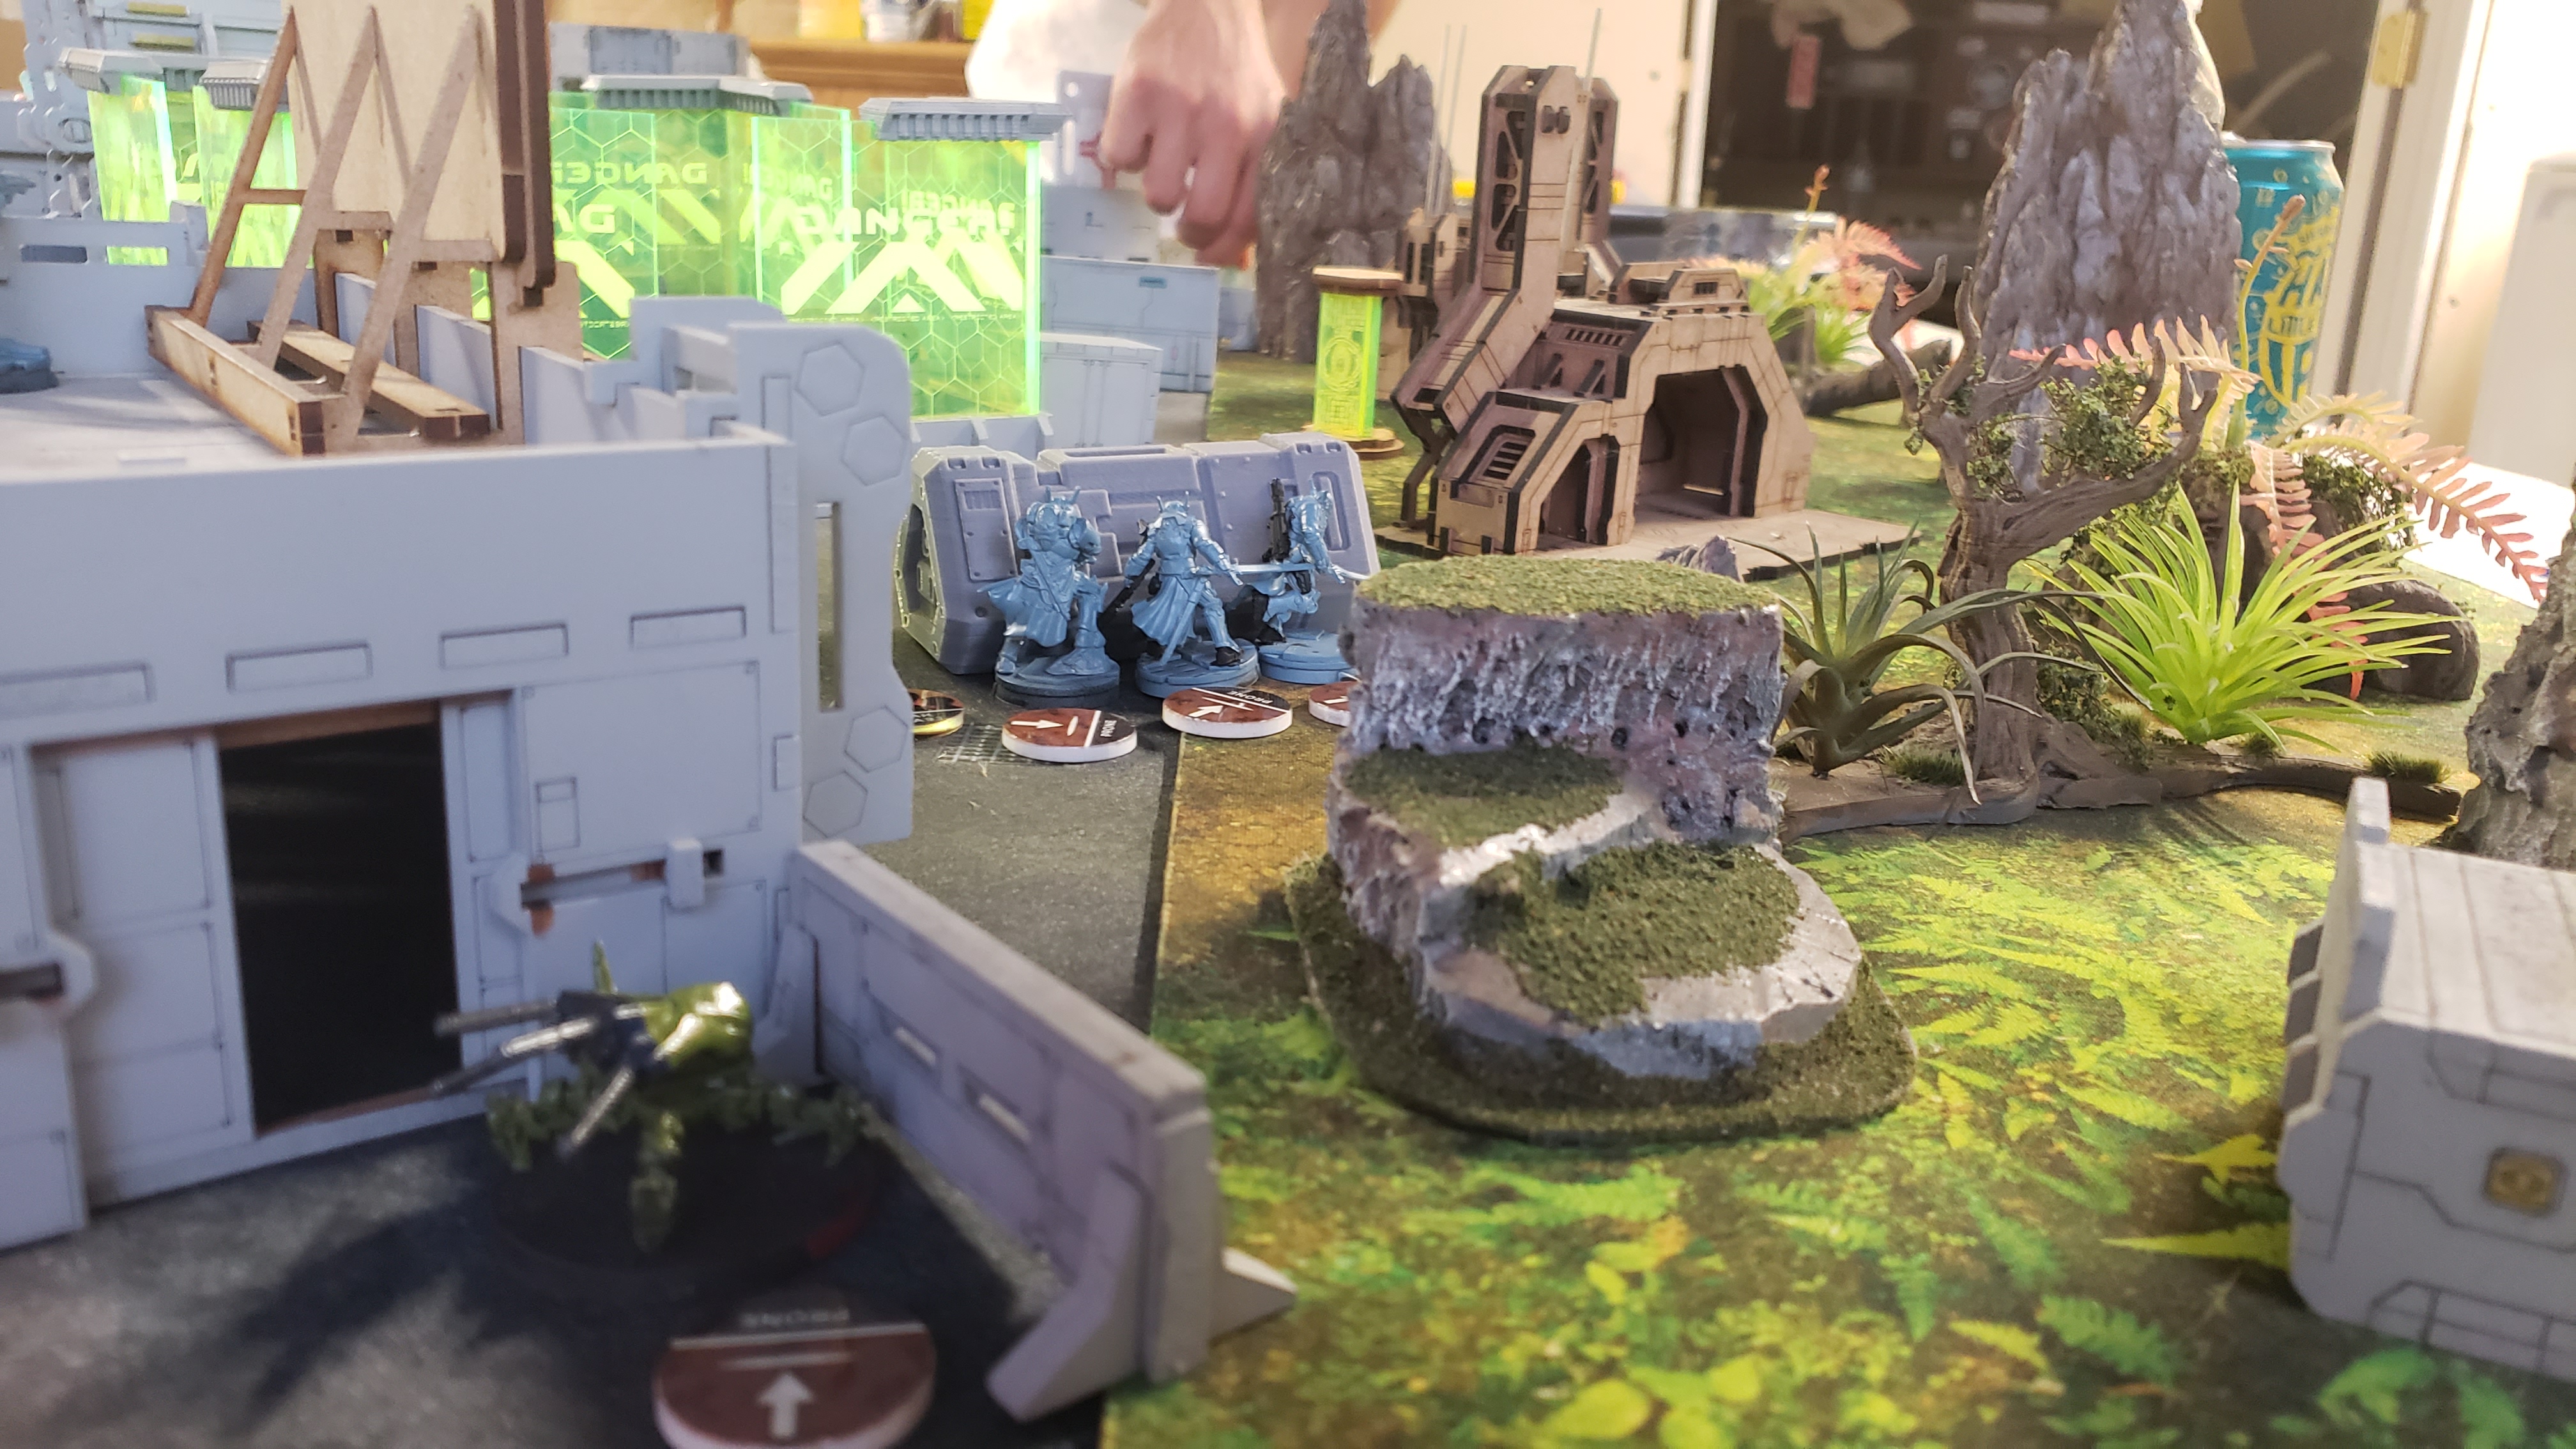
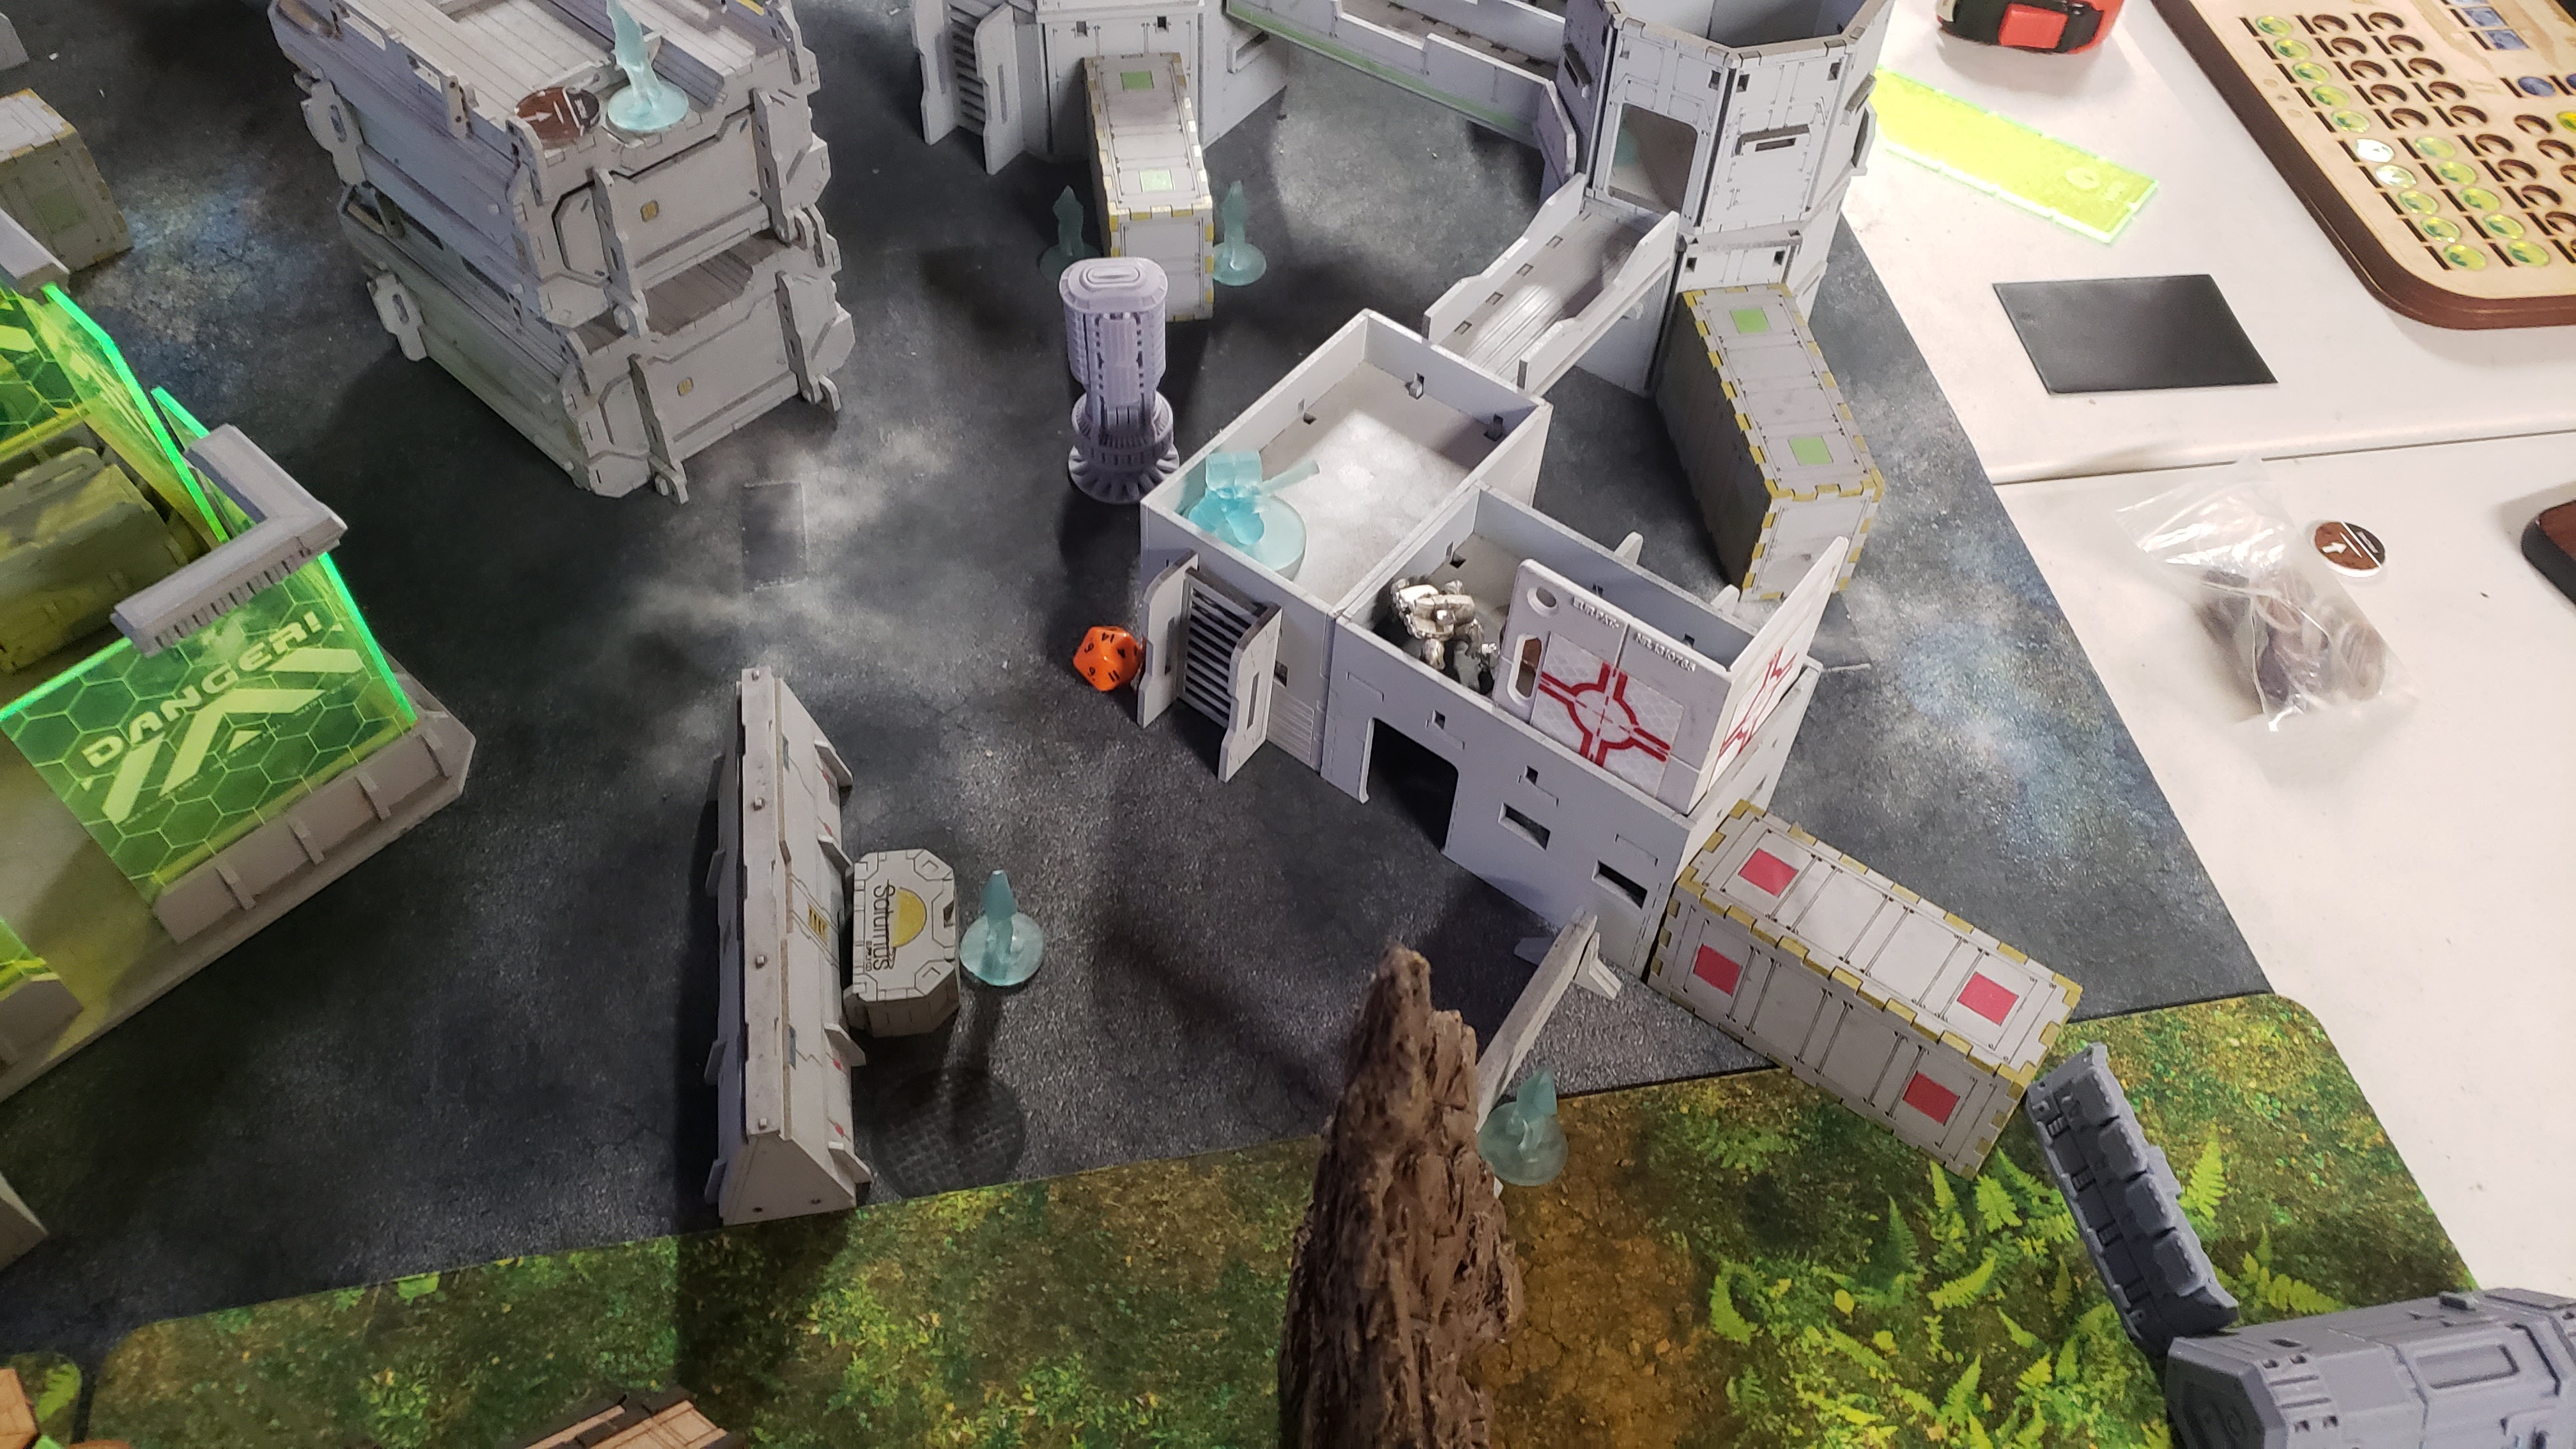
YJ deploy a minefield of Camos, repeaters, and expendable warbands. a Krit NCO waits for a Mowang reserve. I find a position where my Pathfinder Unit can land a massive sensor sweep in the 3 orders it will be afforded. the Tikbalang deploys on the jungle lane to unleash its ranged superiority on the revealed targets.


Austin Elects to sap orders from the TAG.
I waste no time and begin my attempt to sensor sweep. I send the REM down the center of the map, the YJ commander immediately sees what we are going for, and orders a long ya unit to fire. the pathfinders flash pulse is unable to disarm the panzer bots strike, and is disabled.
in order to safely repair the unit, I must dissolve the Crosier fireteam, reform it as a 3 man, and send my machinist to repair the rem with his enhanced Gizmokit. this takes a few order, but the Pathfinder Sensor REM is back up and moves again. this time, it is in acceptable range to engage the long ya with Combi fire, and is able to down the first defensive Long ya. i convert the Tech Bees Irregular order and move the sensor to its destination. the Camo'd units in the area know their cover is blown, and elect to shoot down the REM. between the sensor sweep and the AROS, several units have been exposed: the remaining Long Ya, a hiding beast hunter, a guiling minelayer, and several anti personnel traps are set off or revealed as well. the Pathfinder is disabled by enemy fire, but succeeded in turning the Yu Jing mire into a target rich environment for the heavy fire support of the TAG.
The tag Is able to take out the now revealed Long ya, Guilang, and Beasthunter. It catches a Hacking ARO looking for sight on the Beasthunter, but Tanks the hacking hit and neutralizes the Beast hunter. It pulls a Panzerfaust on its way back to a long ranged ARO position.
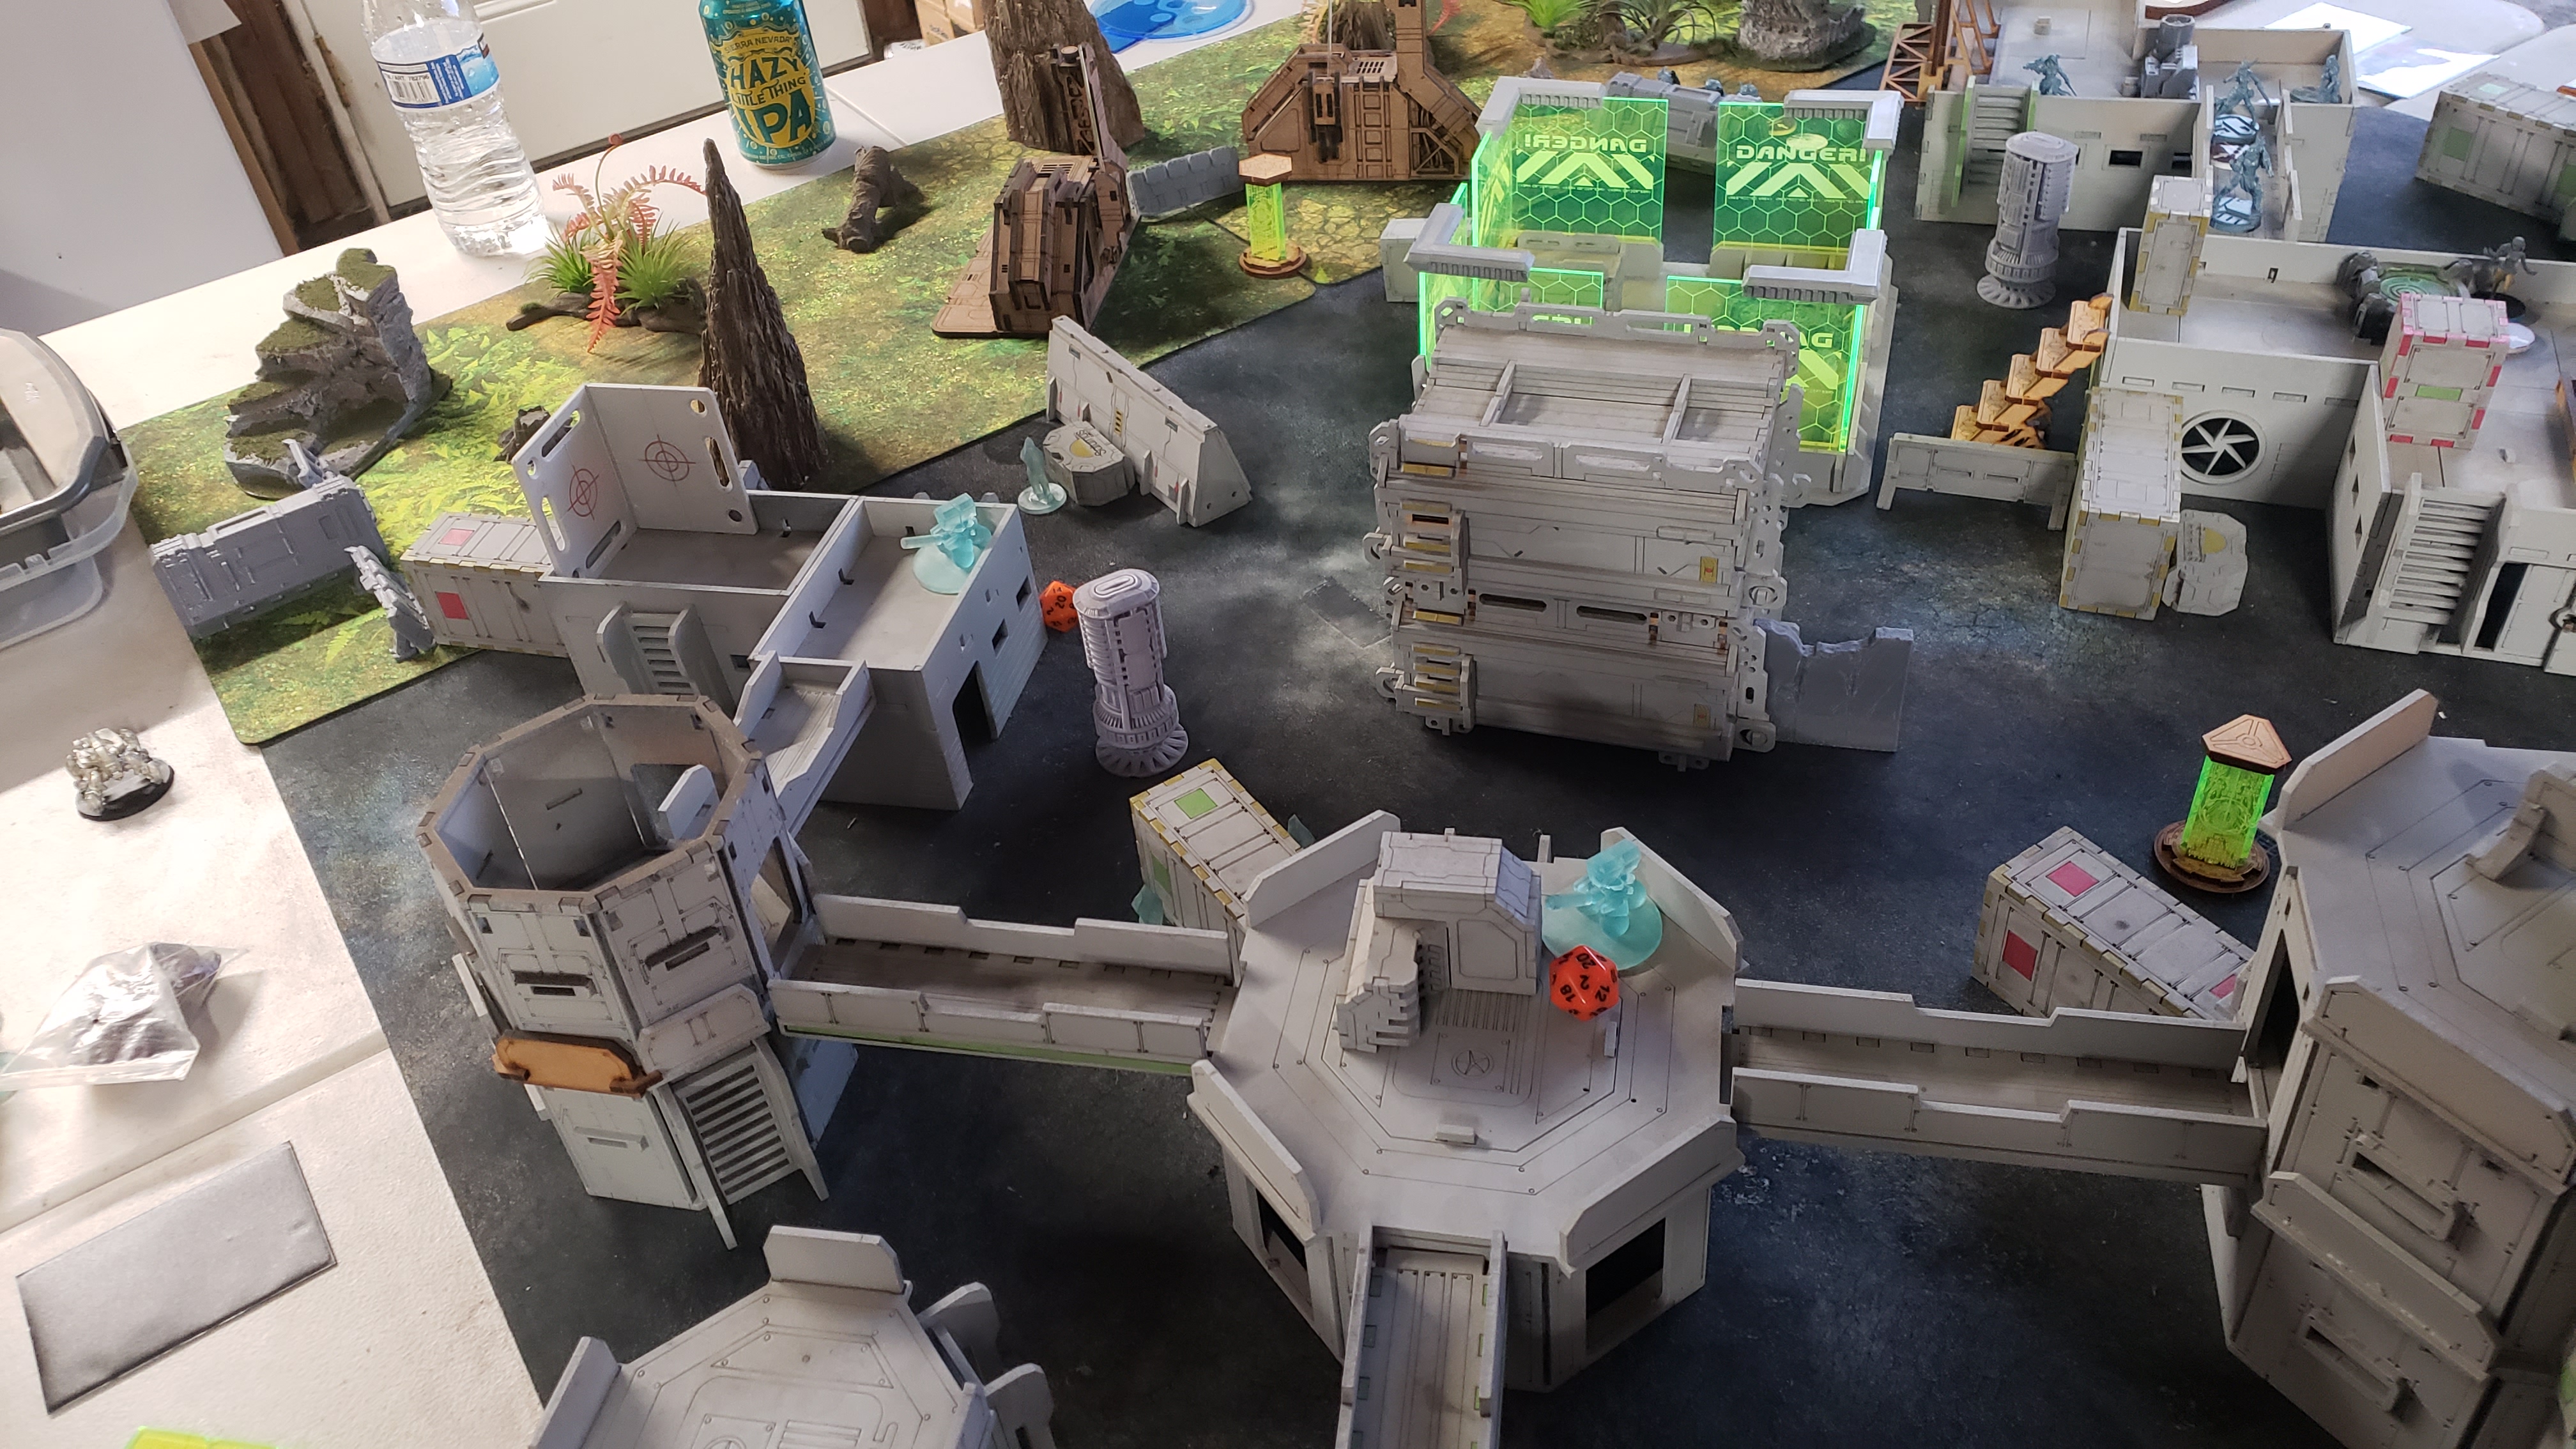
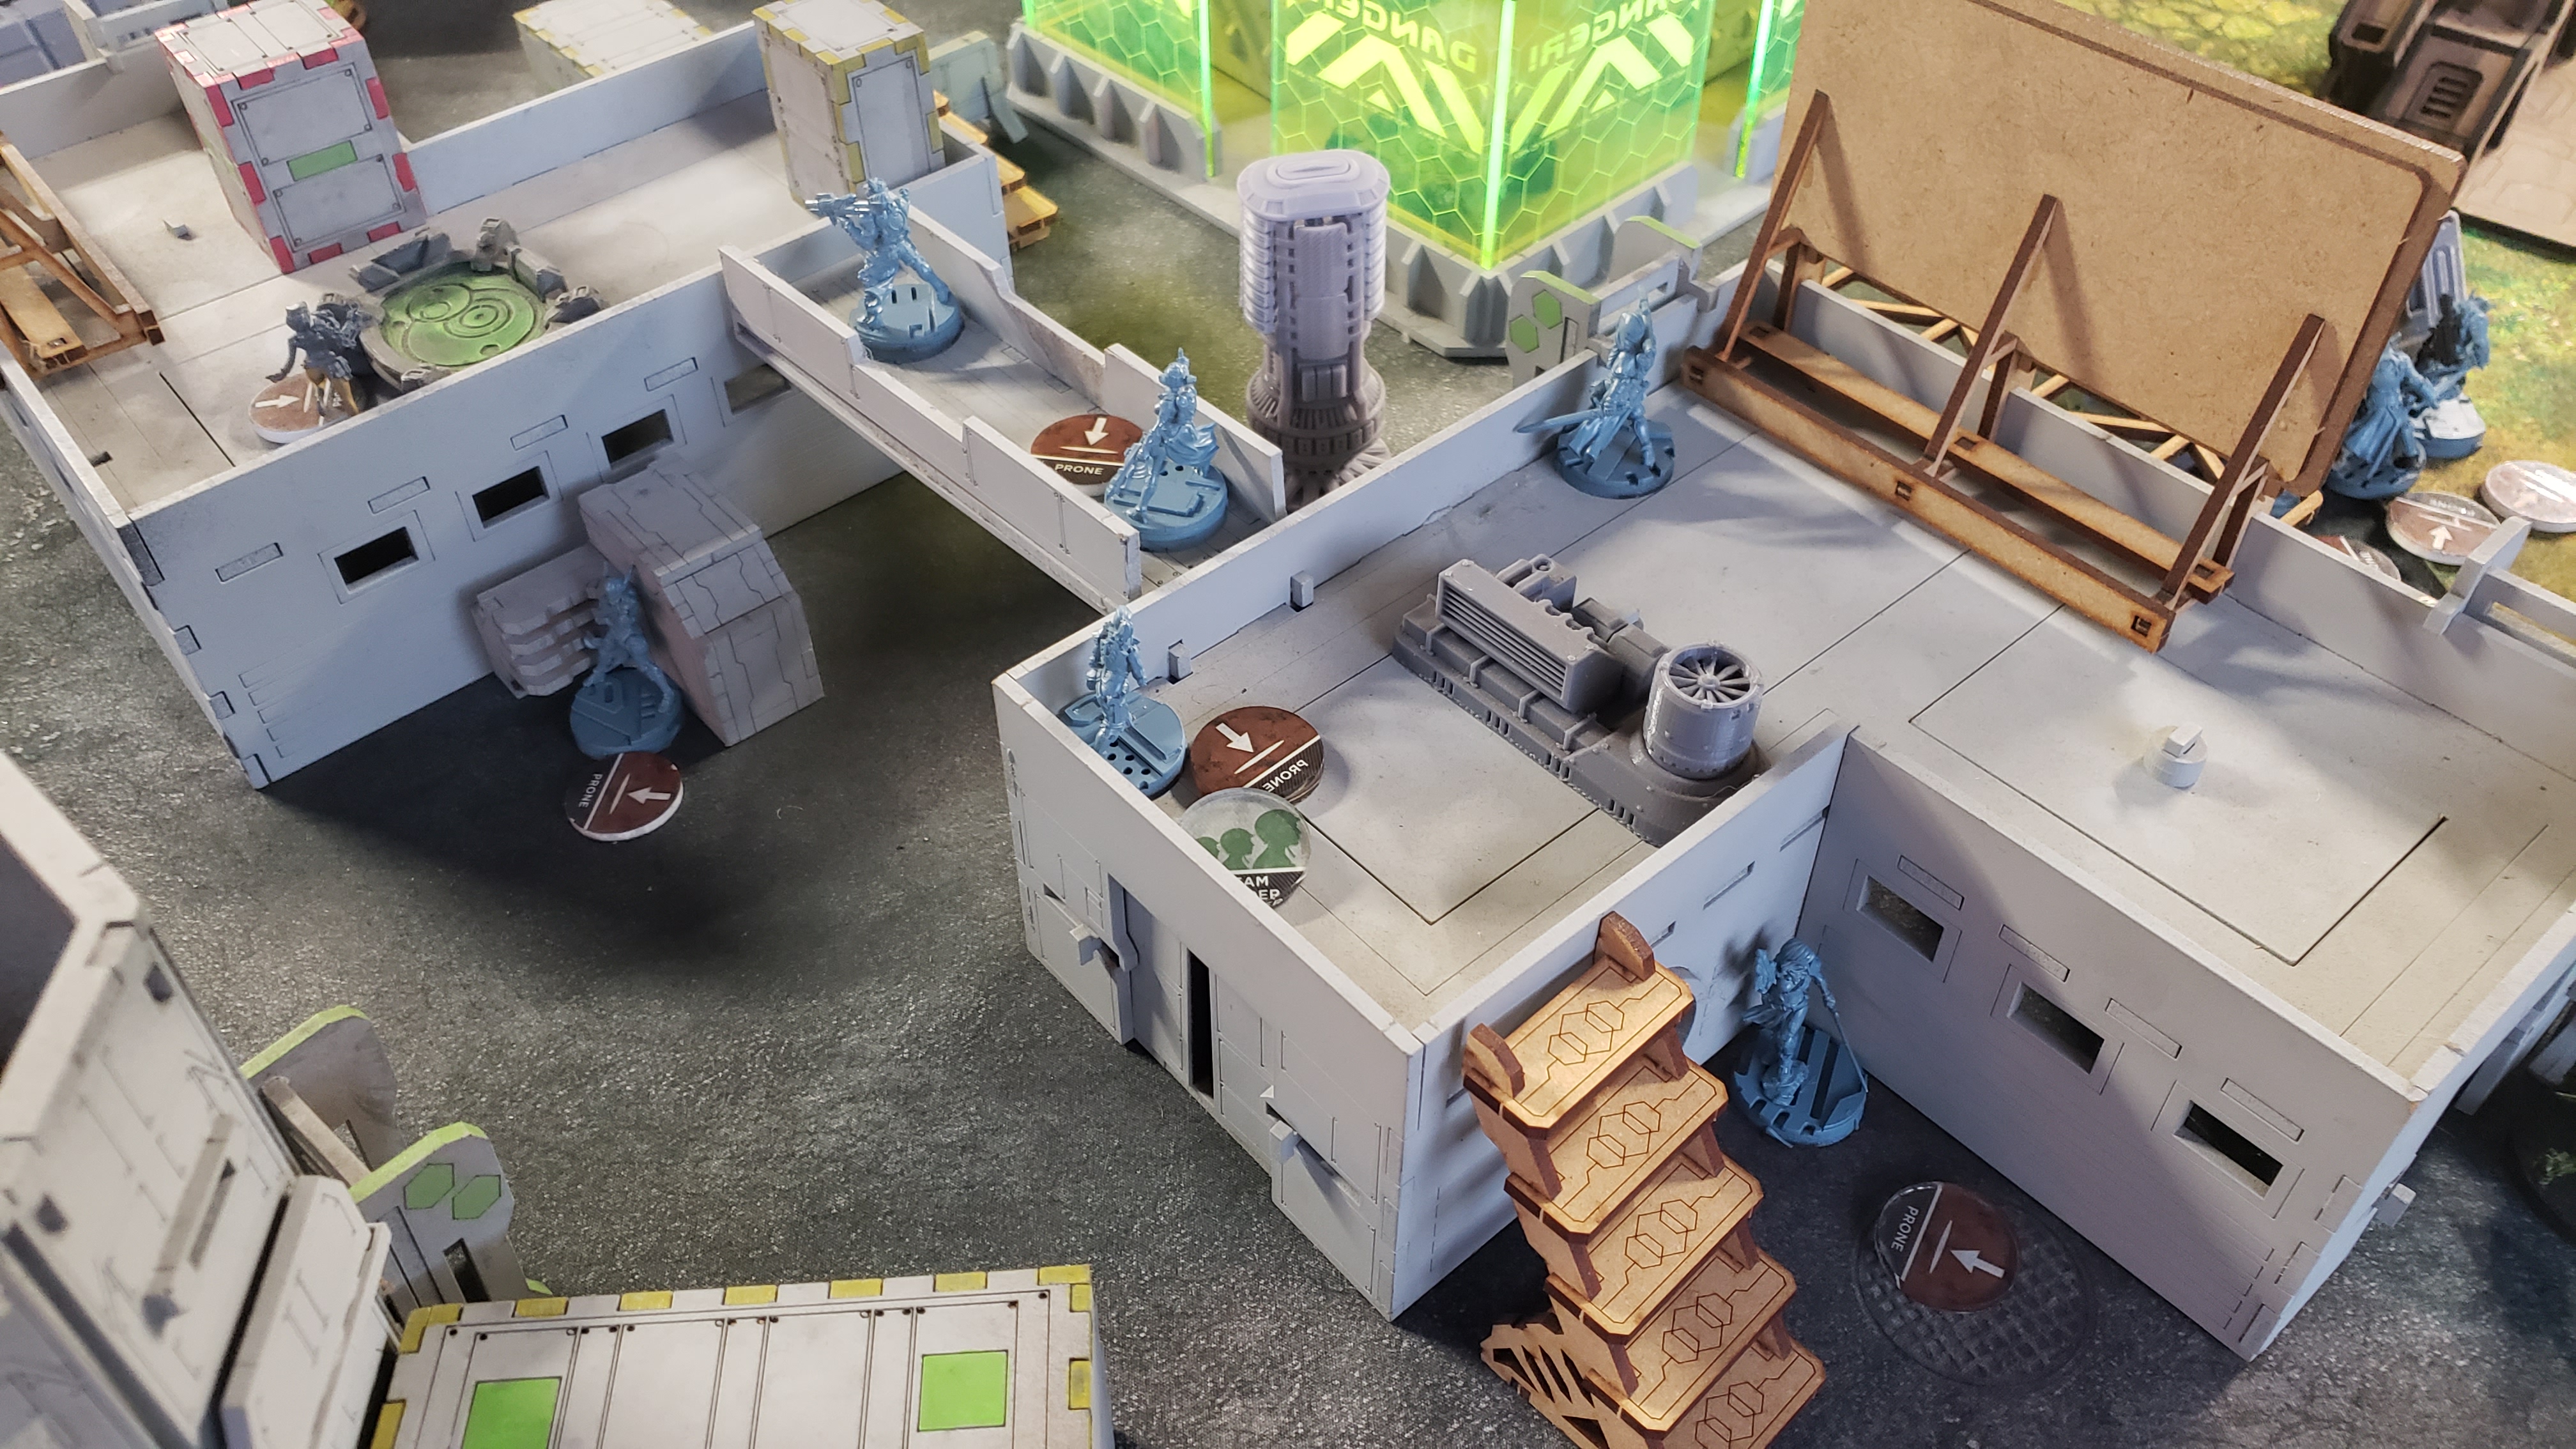
The now unpinned Haris uses its NCO orders to occupy a center table building.
I use my last Command Token to reform the core fireteam and pass turn.

Reeling from the initial loses of his defensive network, Austin determines he doesn't want to go another round with the TAG. He command Major Lunah to assault the mech. it takes her entire combat groups orders, but when all is said and done, the Tikbalang is disabled by her viral sniper.
From there, Austin repairs on of his defensive rems and sends a Monk to finish the tag.
the monk is un able to damage the tag again and dies to the Black Friars ARO on the way.

I decide with the enhanced capacity for repairs in our own tech bay, its viable to rescue the Assault Gear unit.
The NCO Teuton Moves from the lab and uses weight of dice against the repaired Long Ya to clear the way for my core.
In several orders, my Core has repaired the tag to 2 wound remaining (via burst 2 Gizmokit). Lunah is eliminated by the gun platform, who then resumes its overwatch. the core and Haris both re-position for the coming turn. the Tech bee moves to assist the defense of the haris, and possible repair the pathfinder unit in the future.
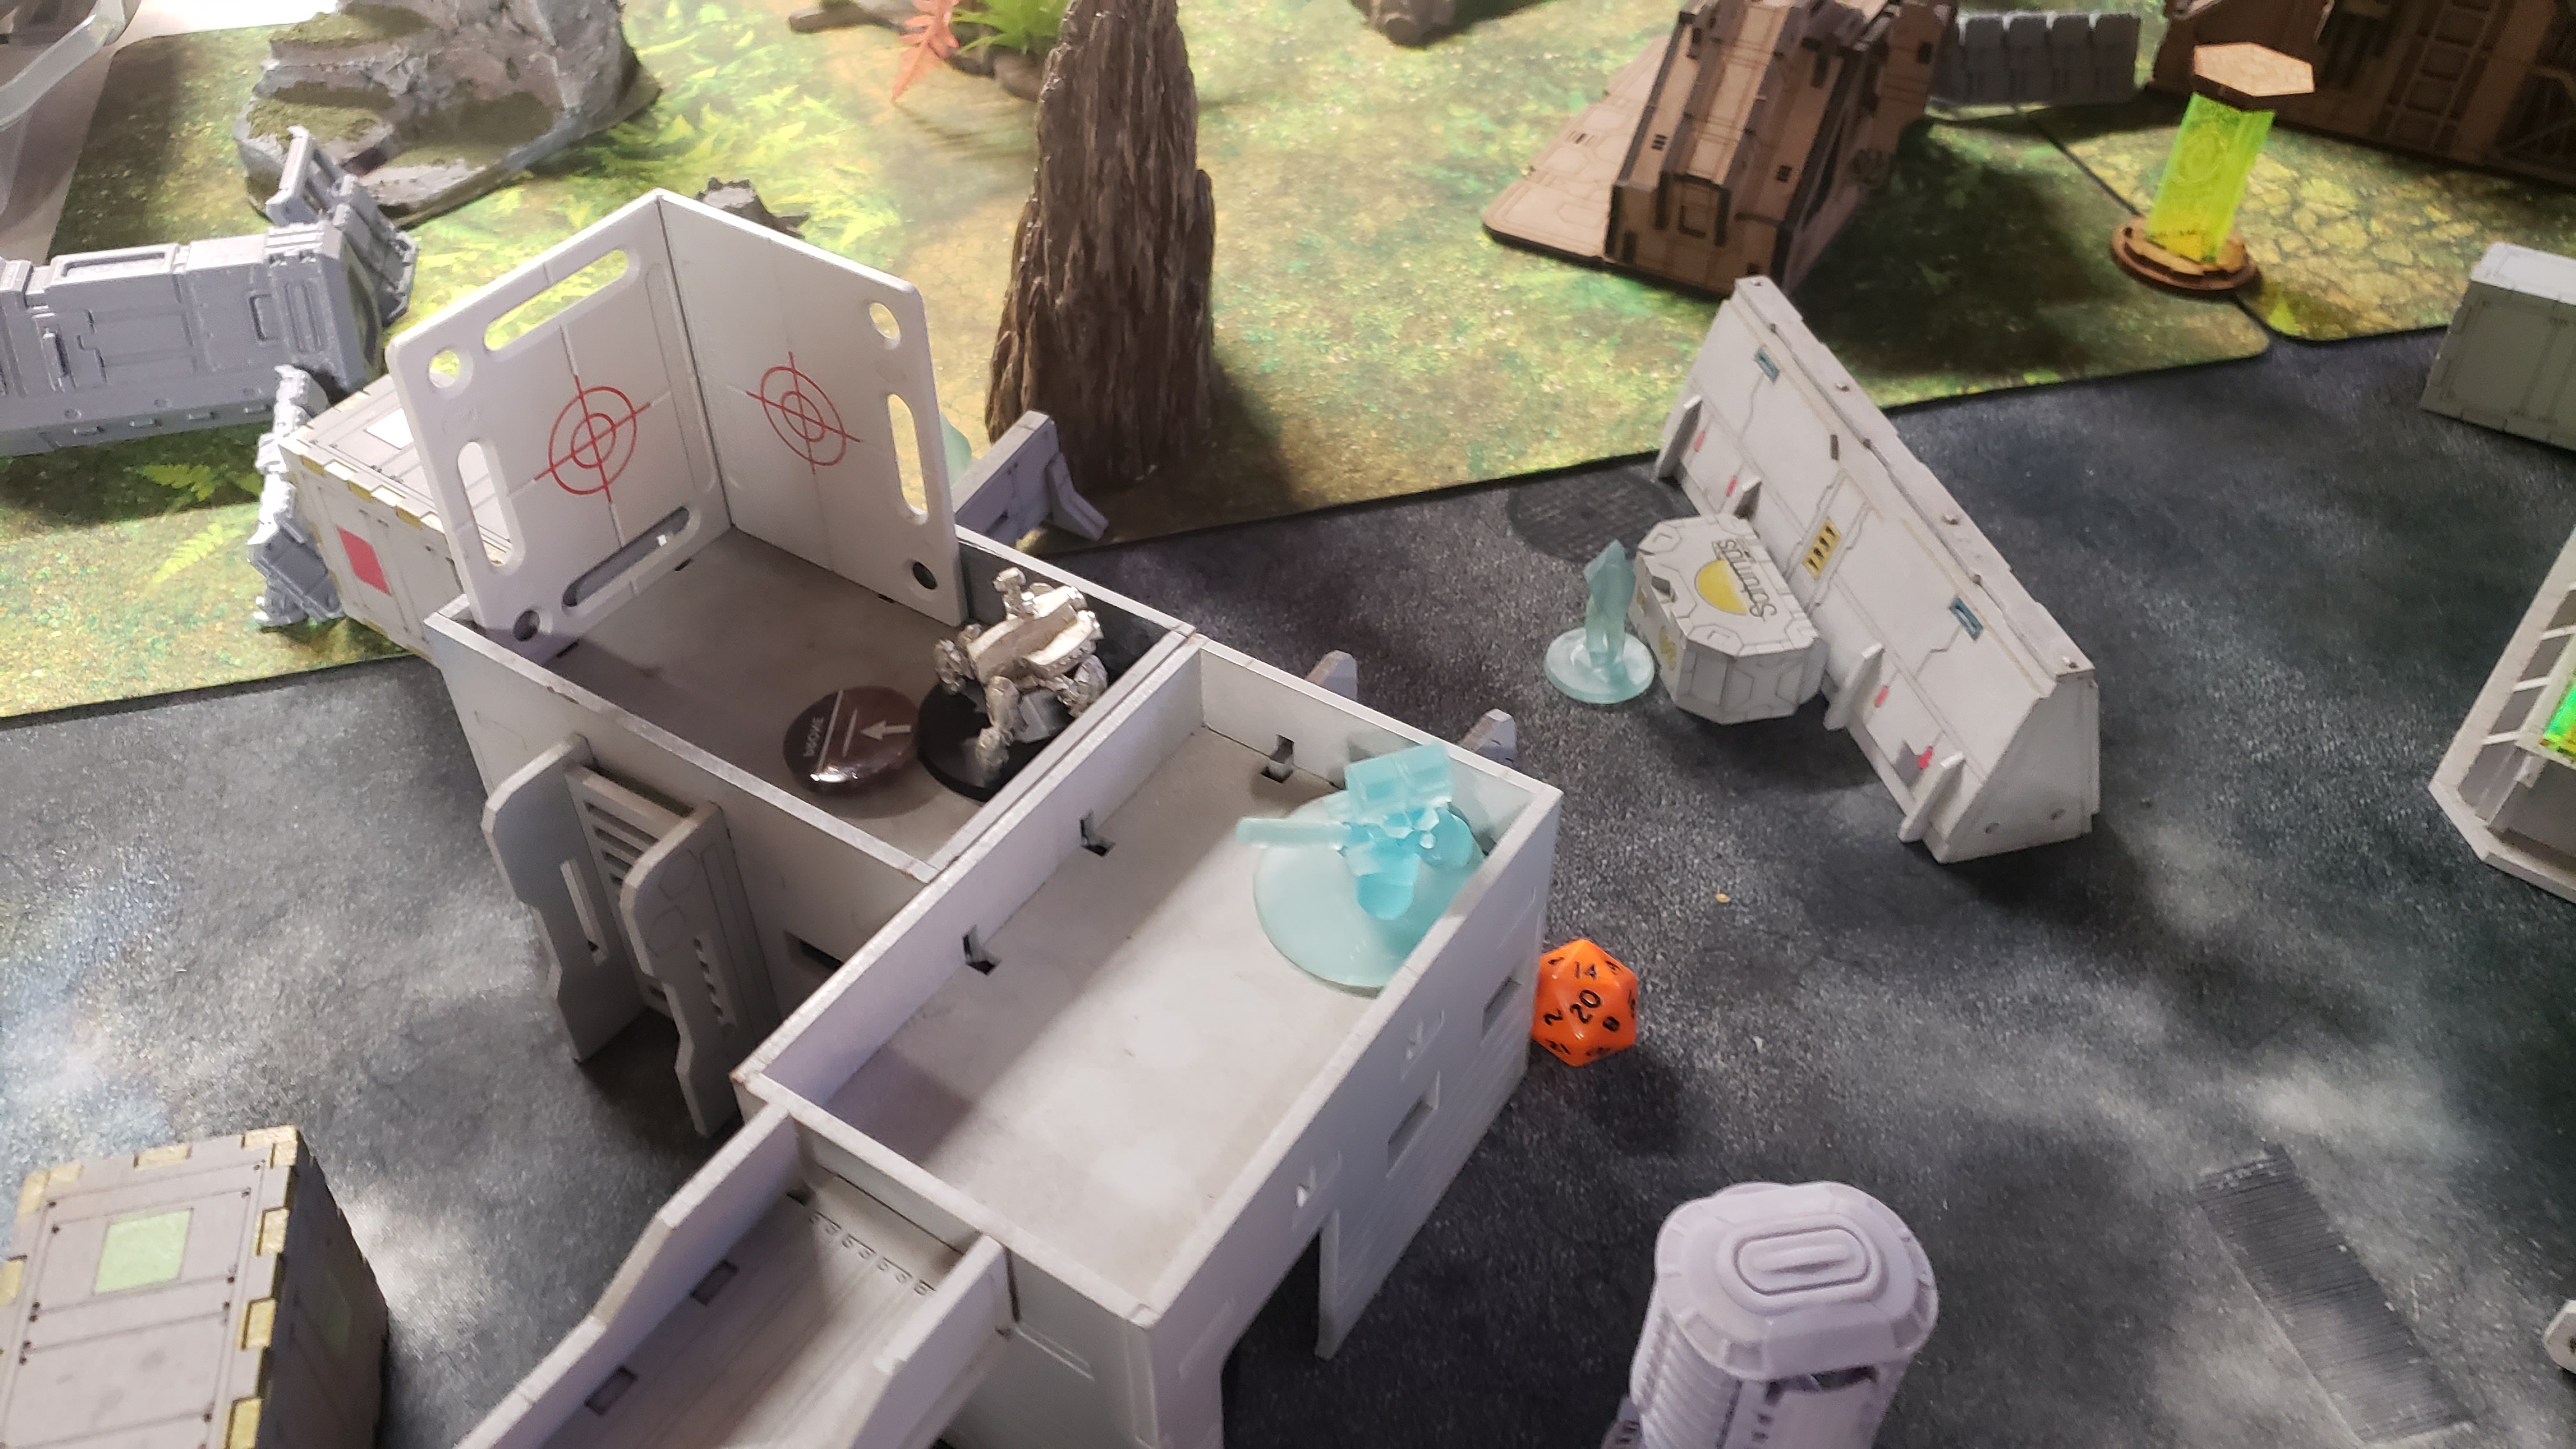
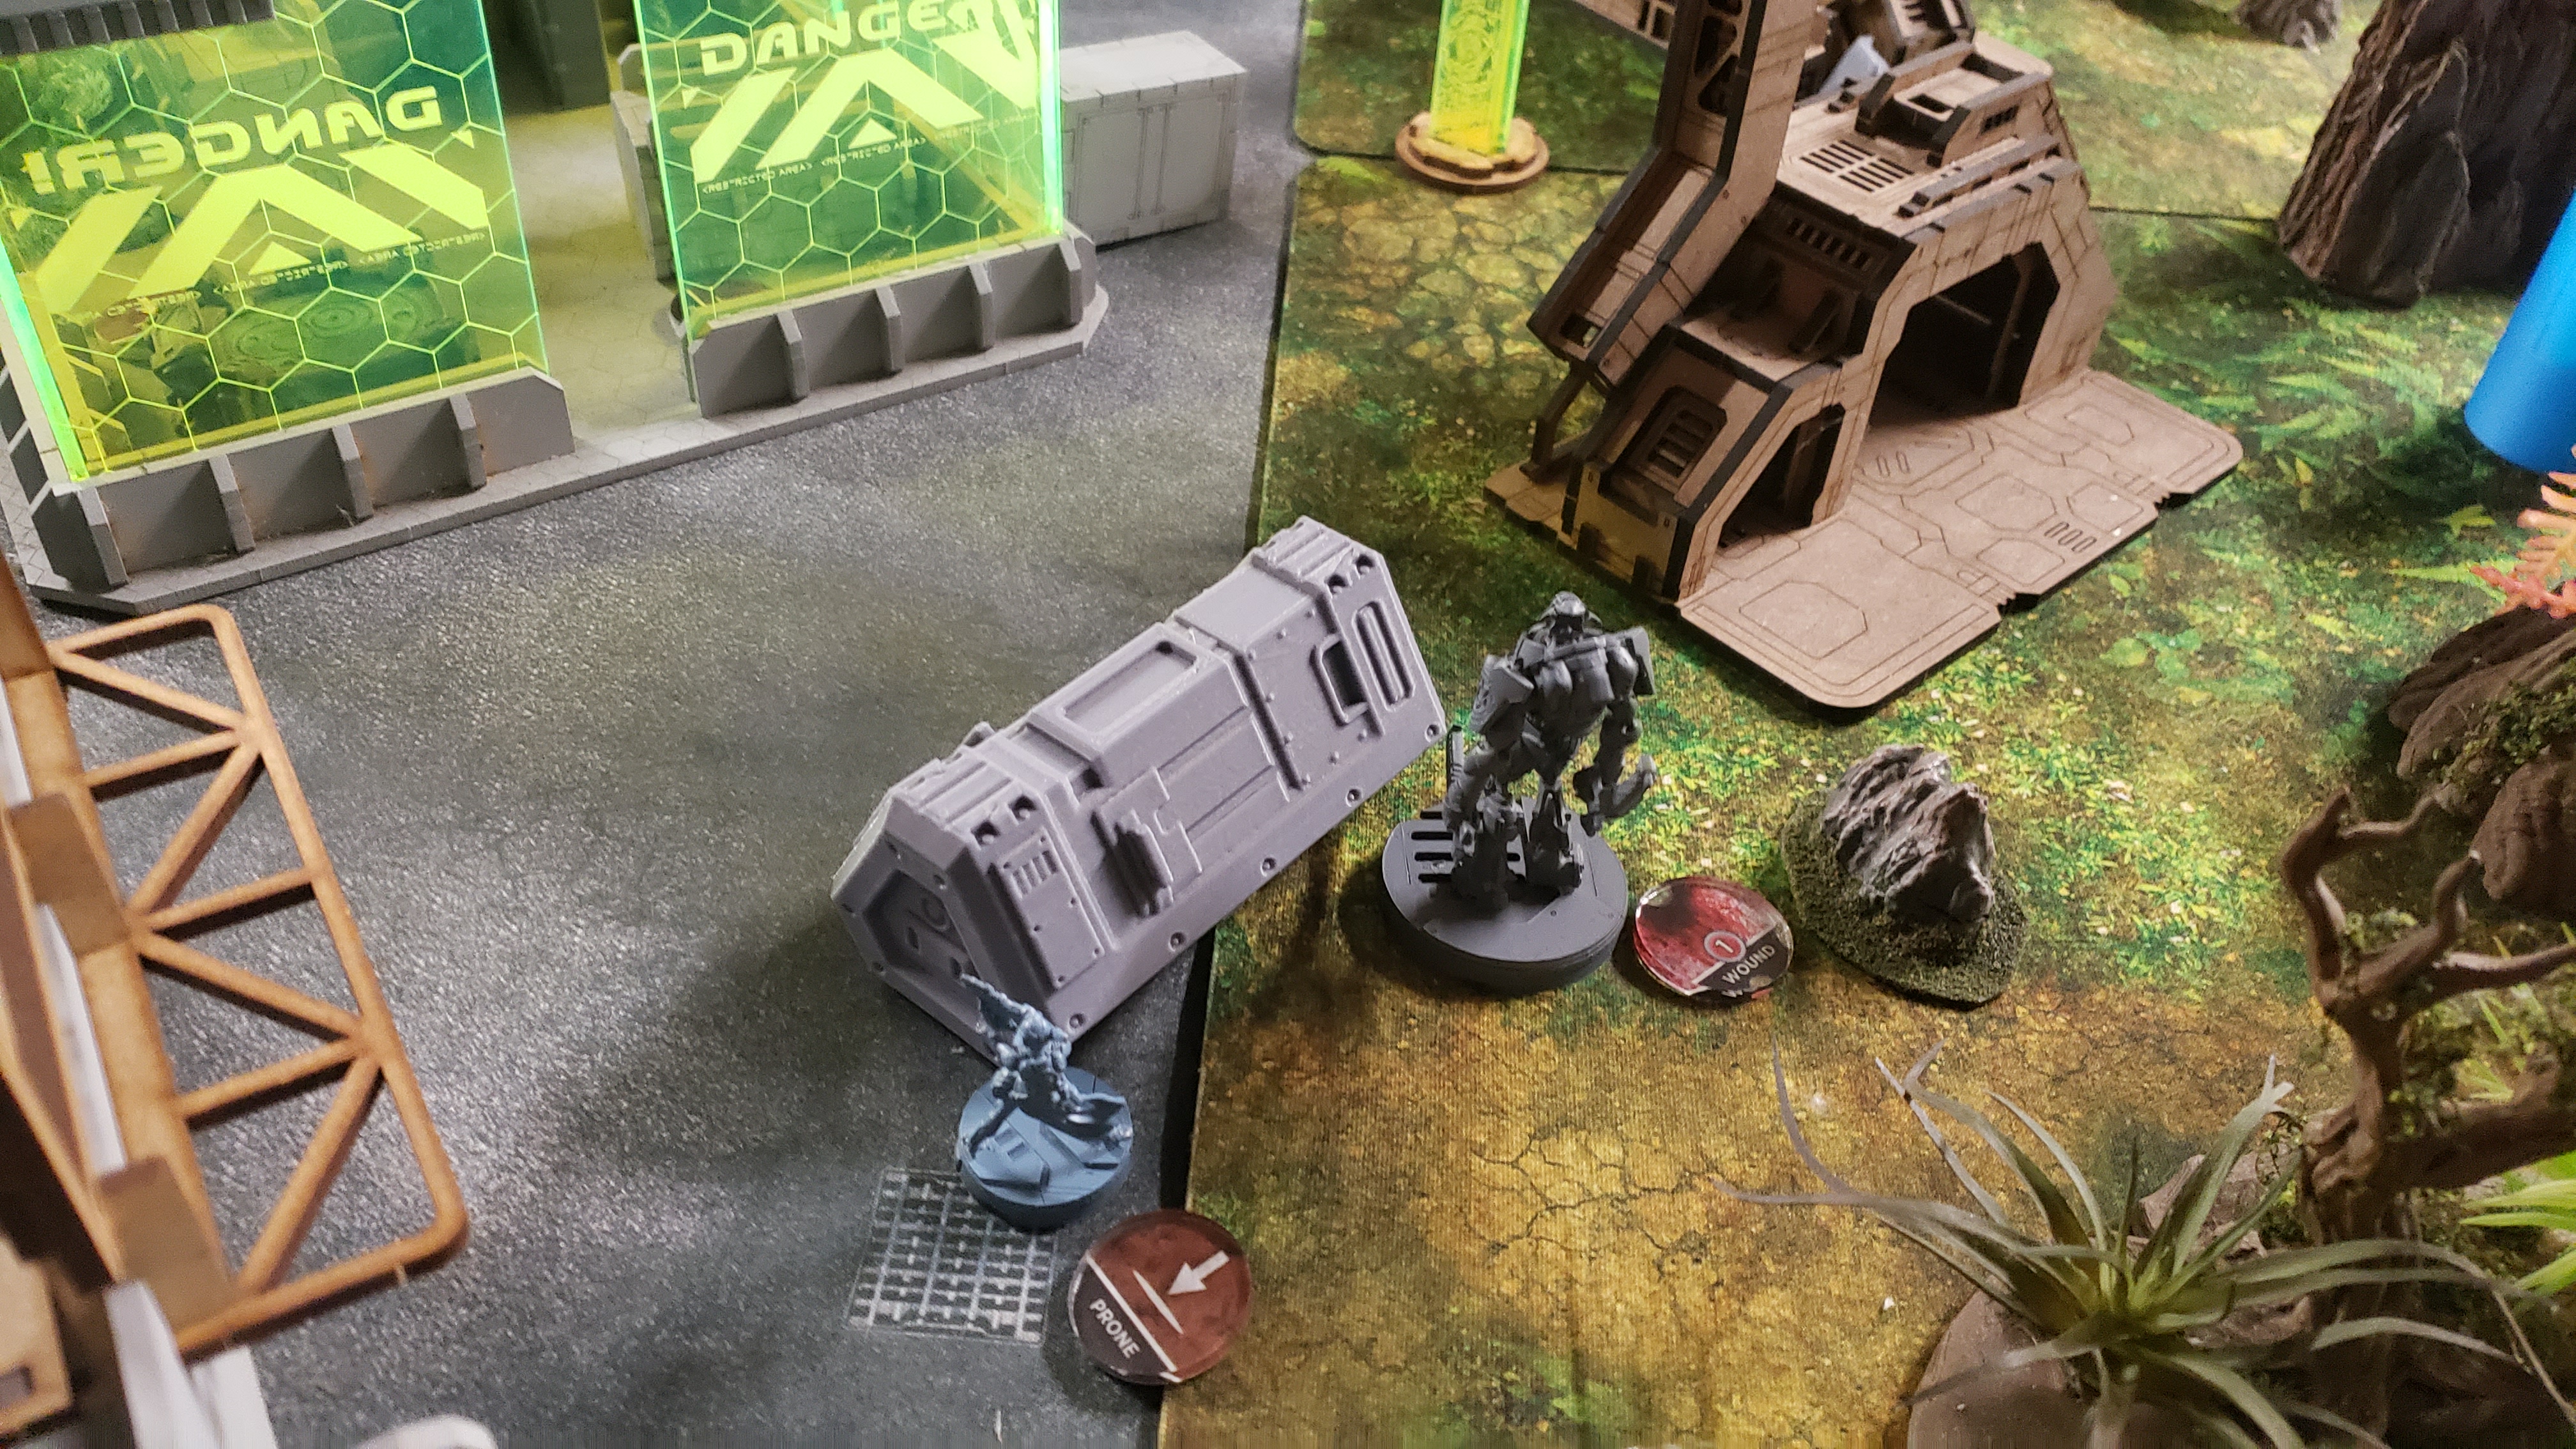 The Curator admires her repair job on the Armed cavalry unit. this is why we tow them back to base for repairs!
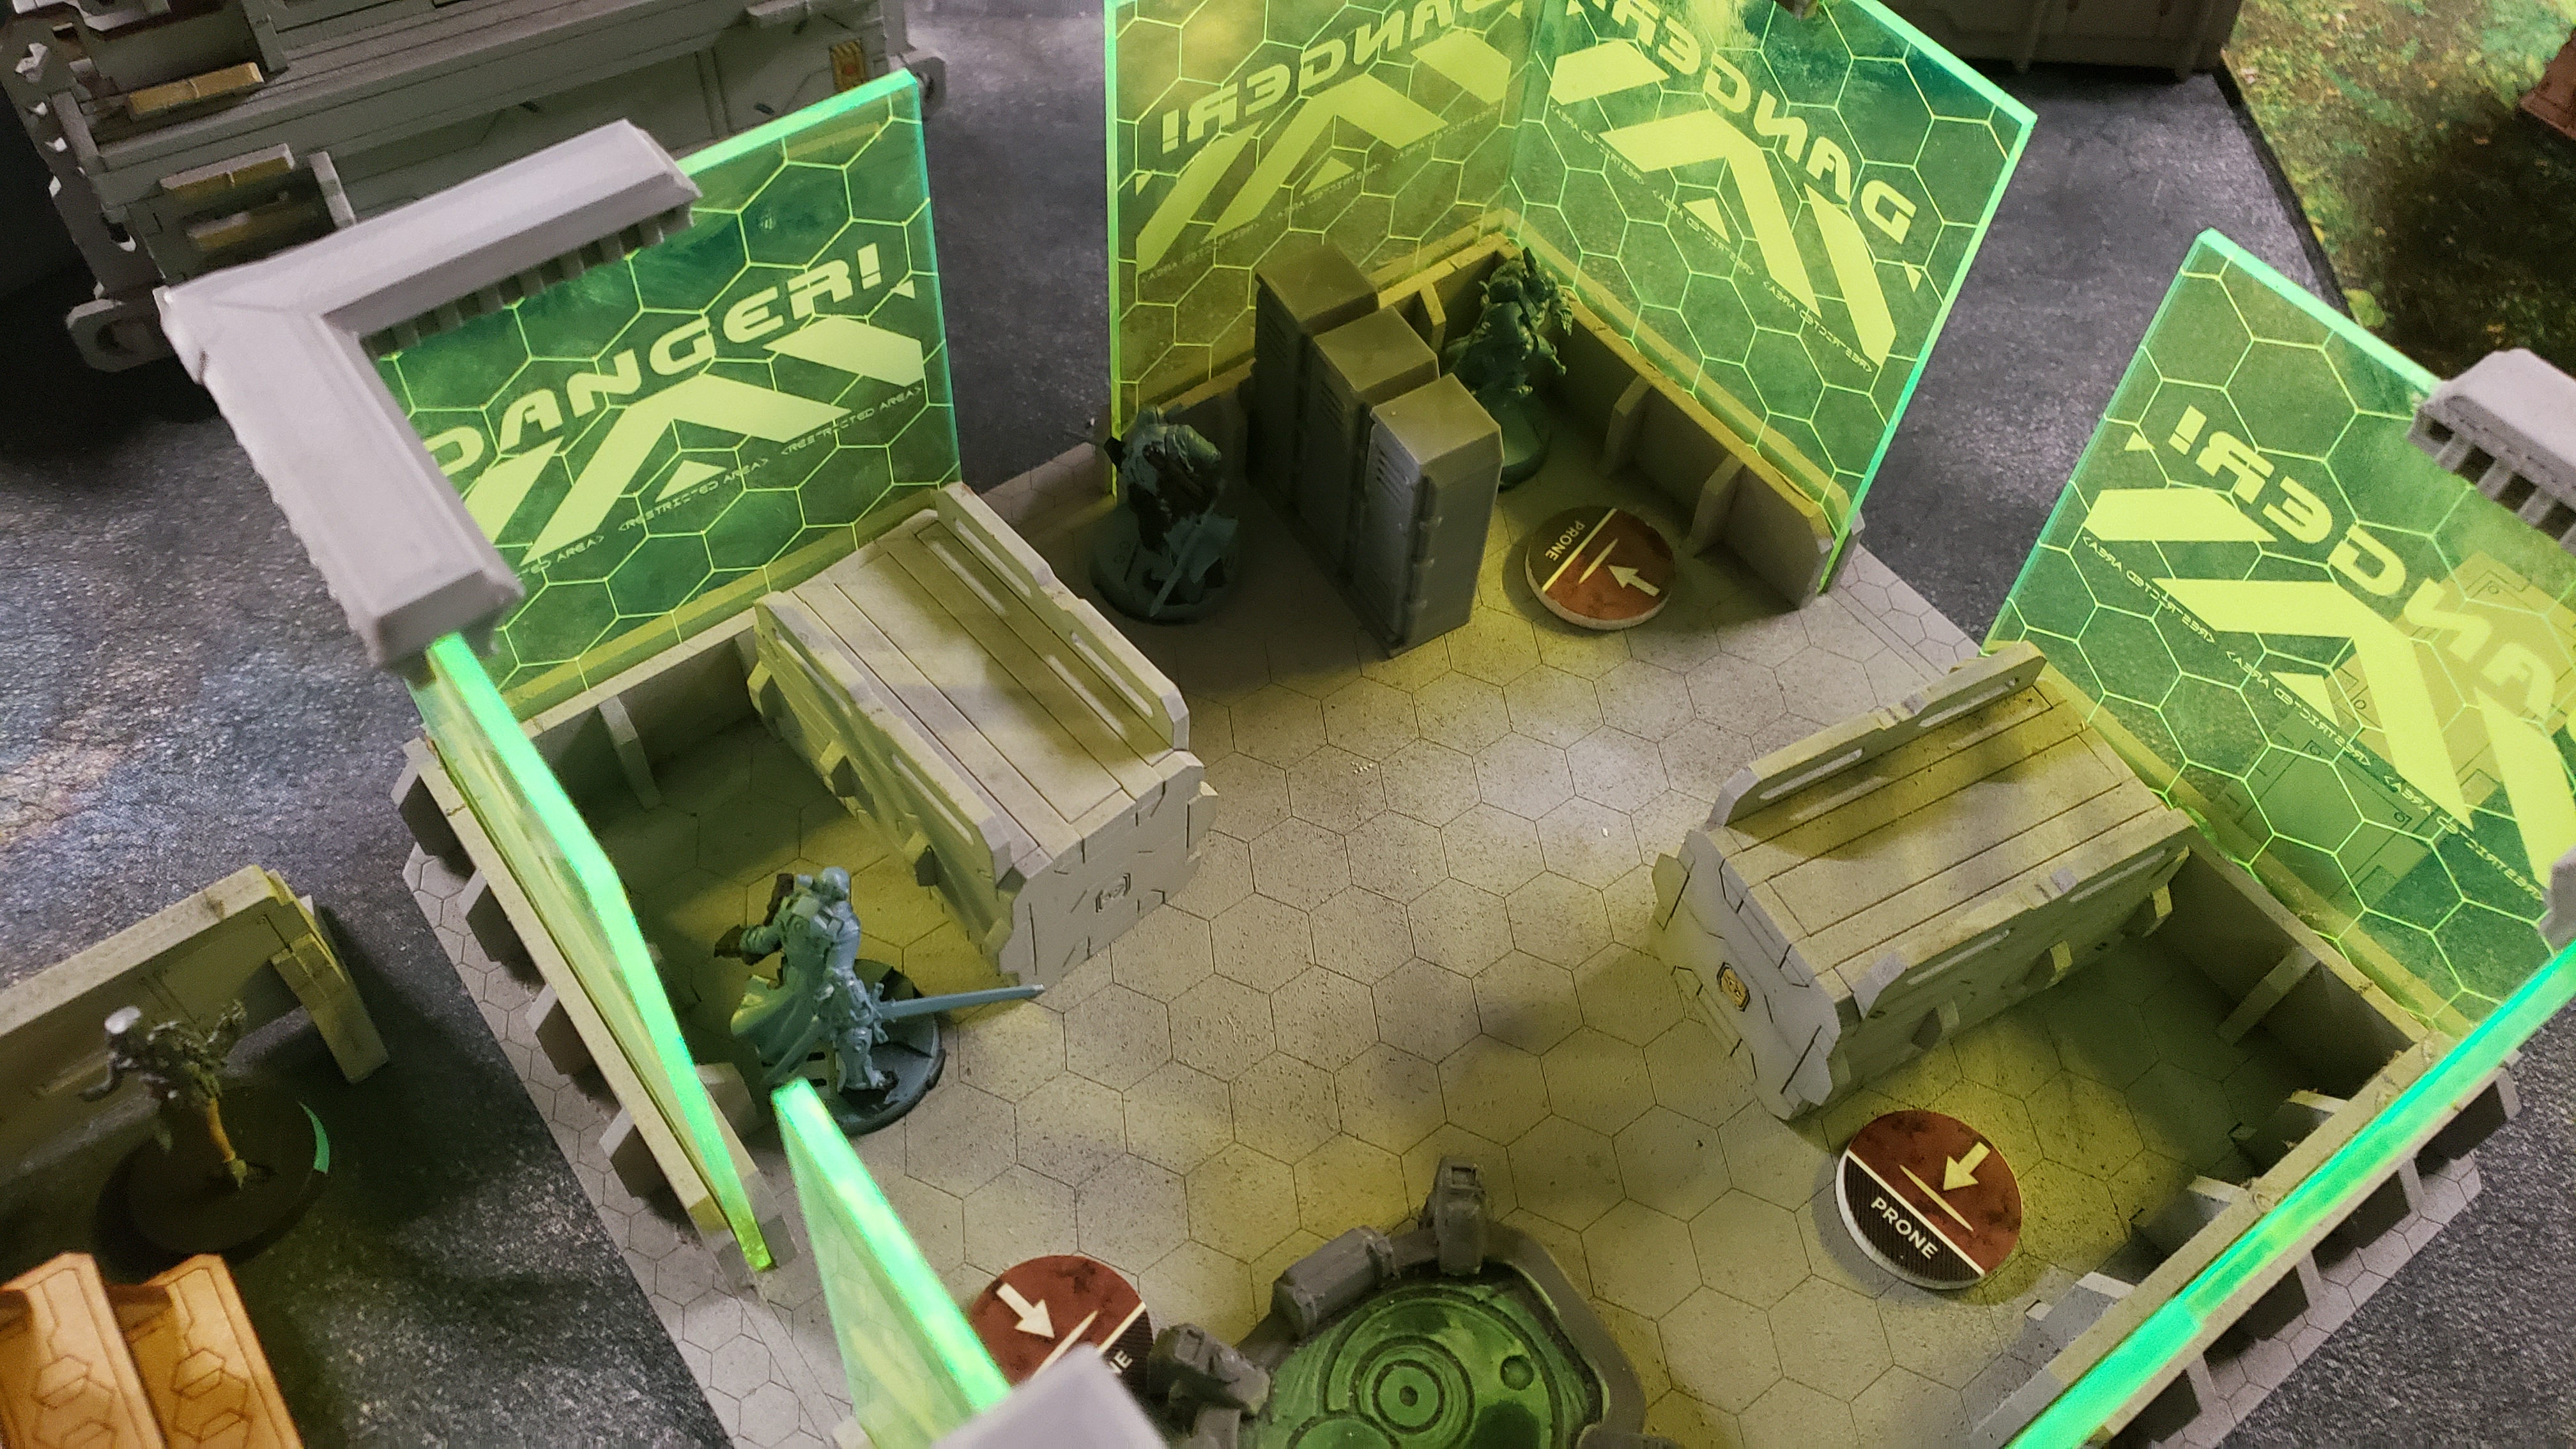
Austin converges his remaining units into one combat group.
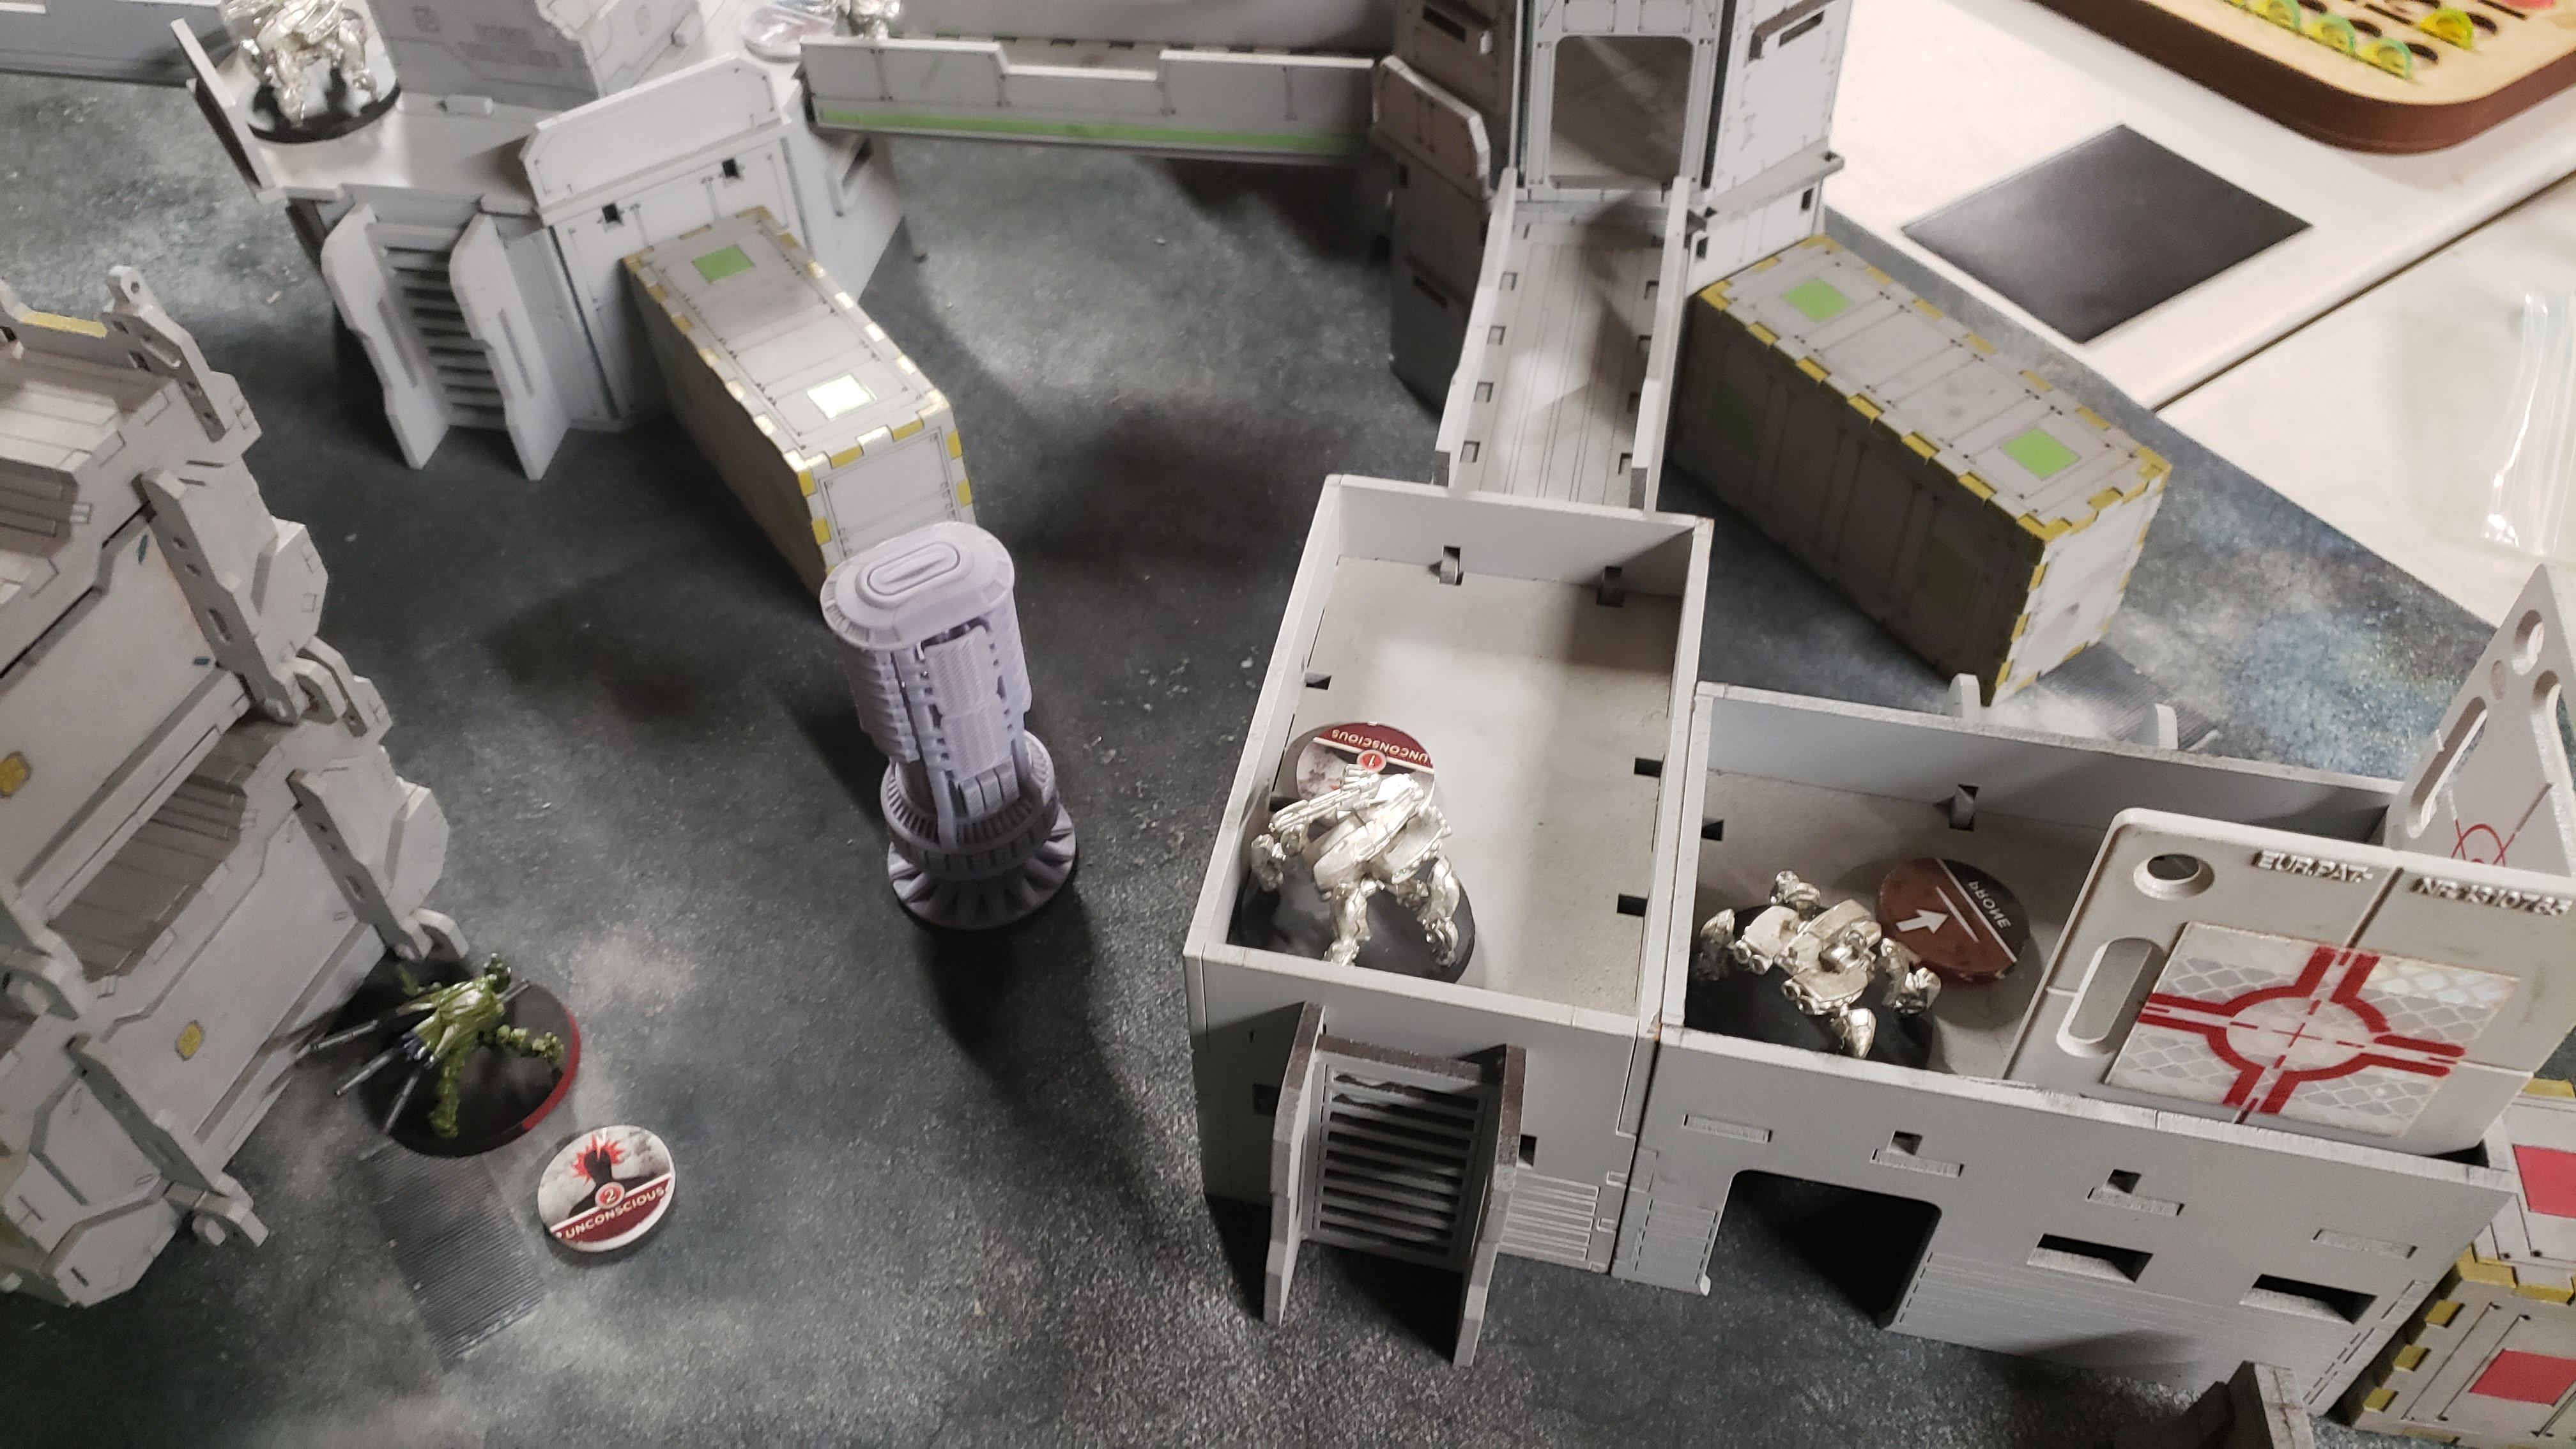
Krit tries to repair the Long Ya again, but the repair protocols fail and the REM is lost. Krit takes its place as an ARO guarding the AC2.
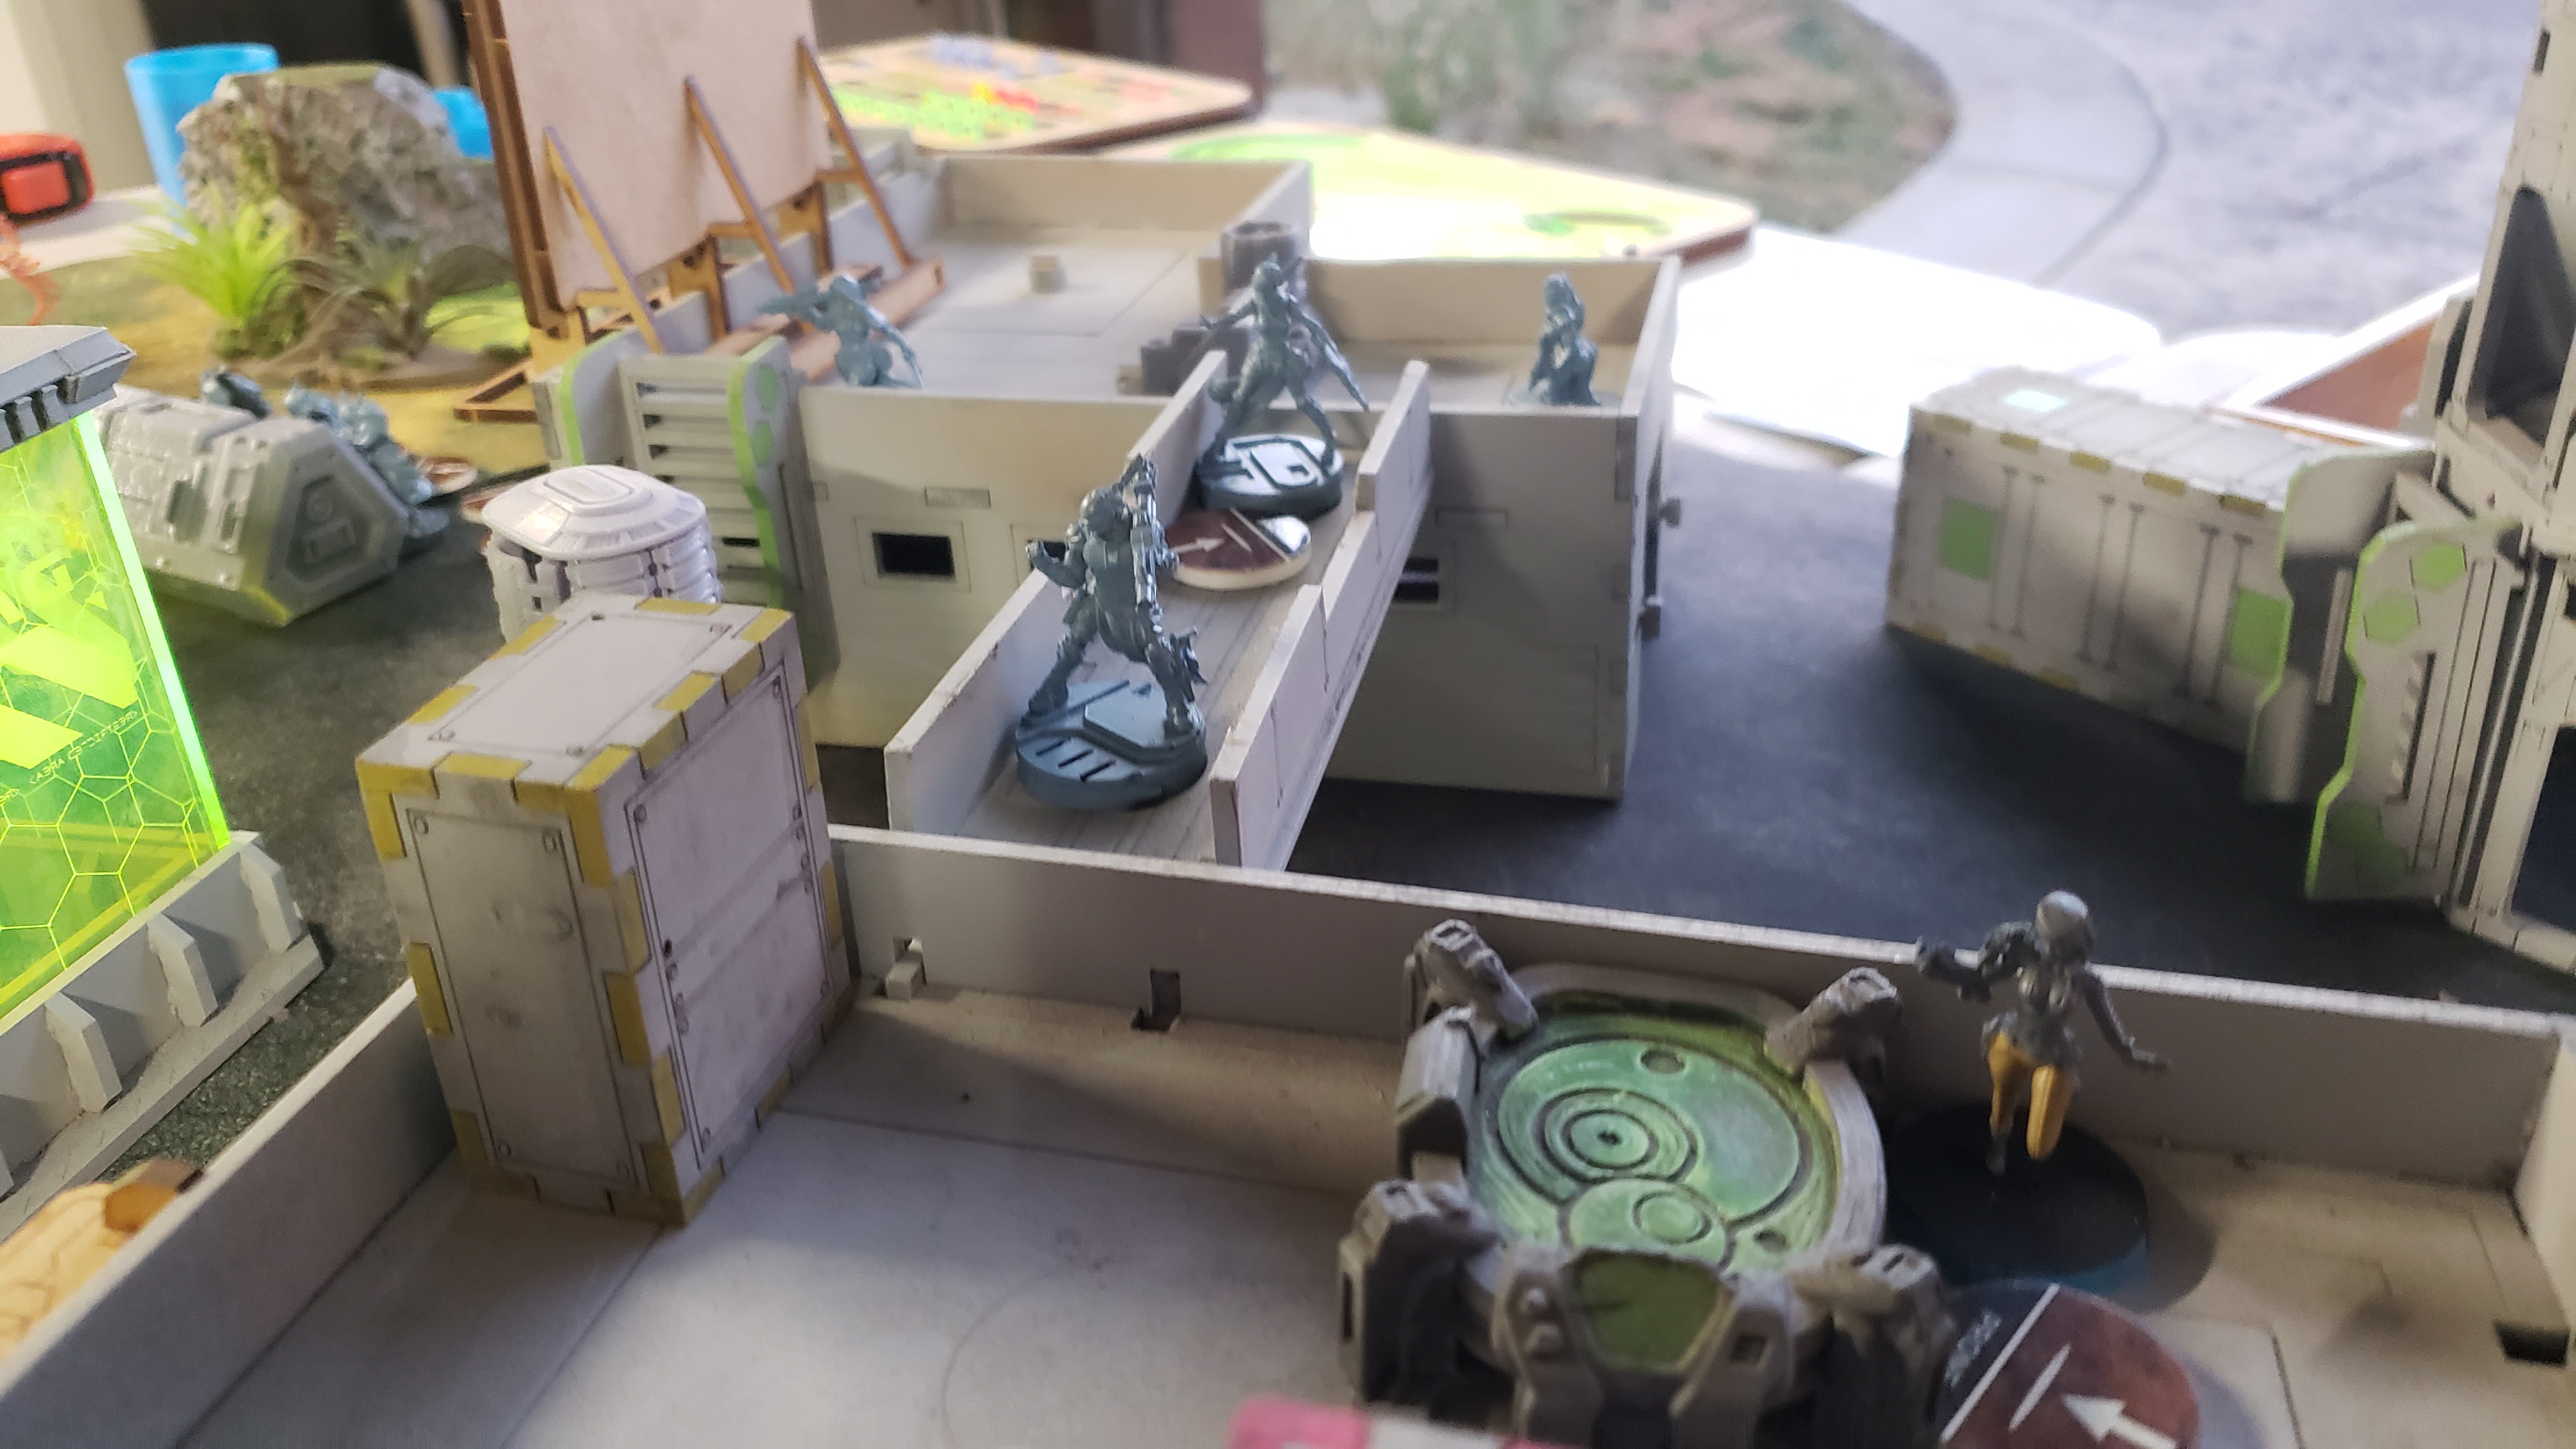
he then shifts his focus to the Mowang unit, who uses cautious moves to slip past my Cor AROs and assault the haris occupying the Lab. the Guarding teuton was unable to land his Panzer volleys, and in a few exchanges falls back into the lab with minor wounds. the Mowang waits just outside the building. the AC2 can only be assaulted over his and Krits dead bodies.
He moves his boarding shotgun Daoying LT out to watch the AC2 as well, bluffing it as a sniper.
This is it, time for our assault haris to shine.
i begin my final turn by activating the Tikbalng. in a move, it is fighting the Mowang.
its taking longer than i'd like. 3 figths and the Yu Jing brigand has only taken a wound. at this point I decide the Haris needs to get moving.
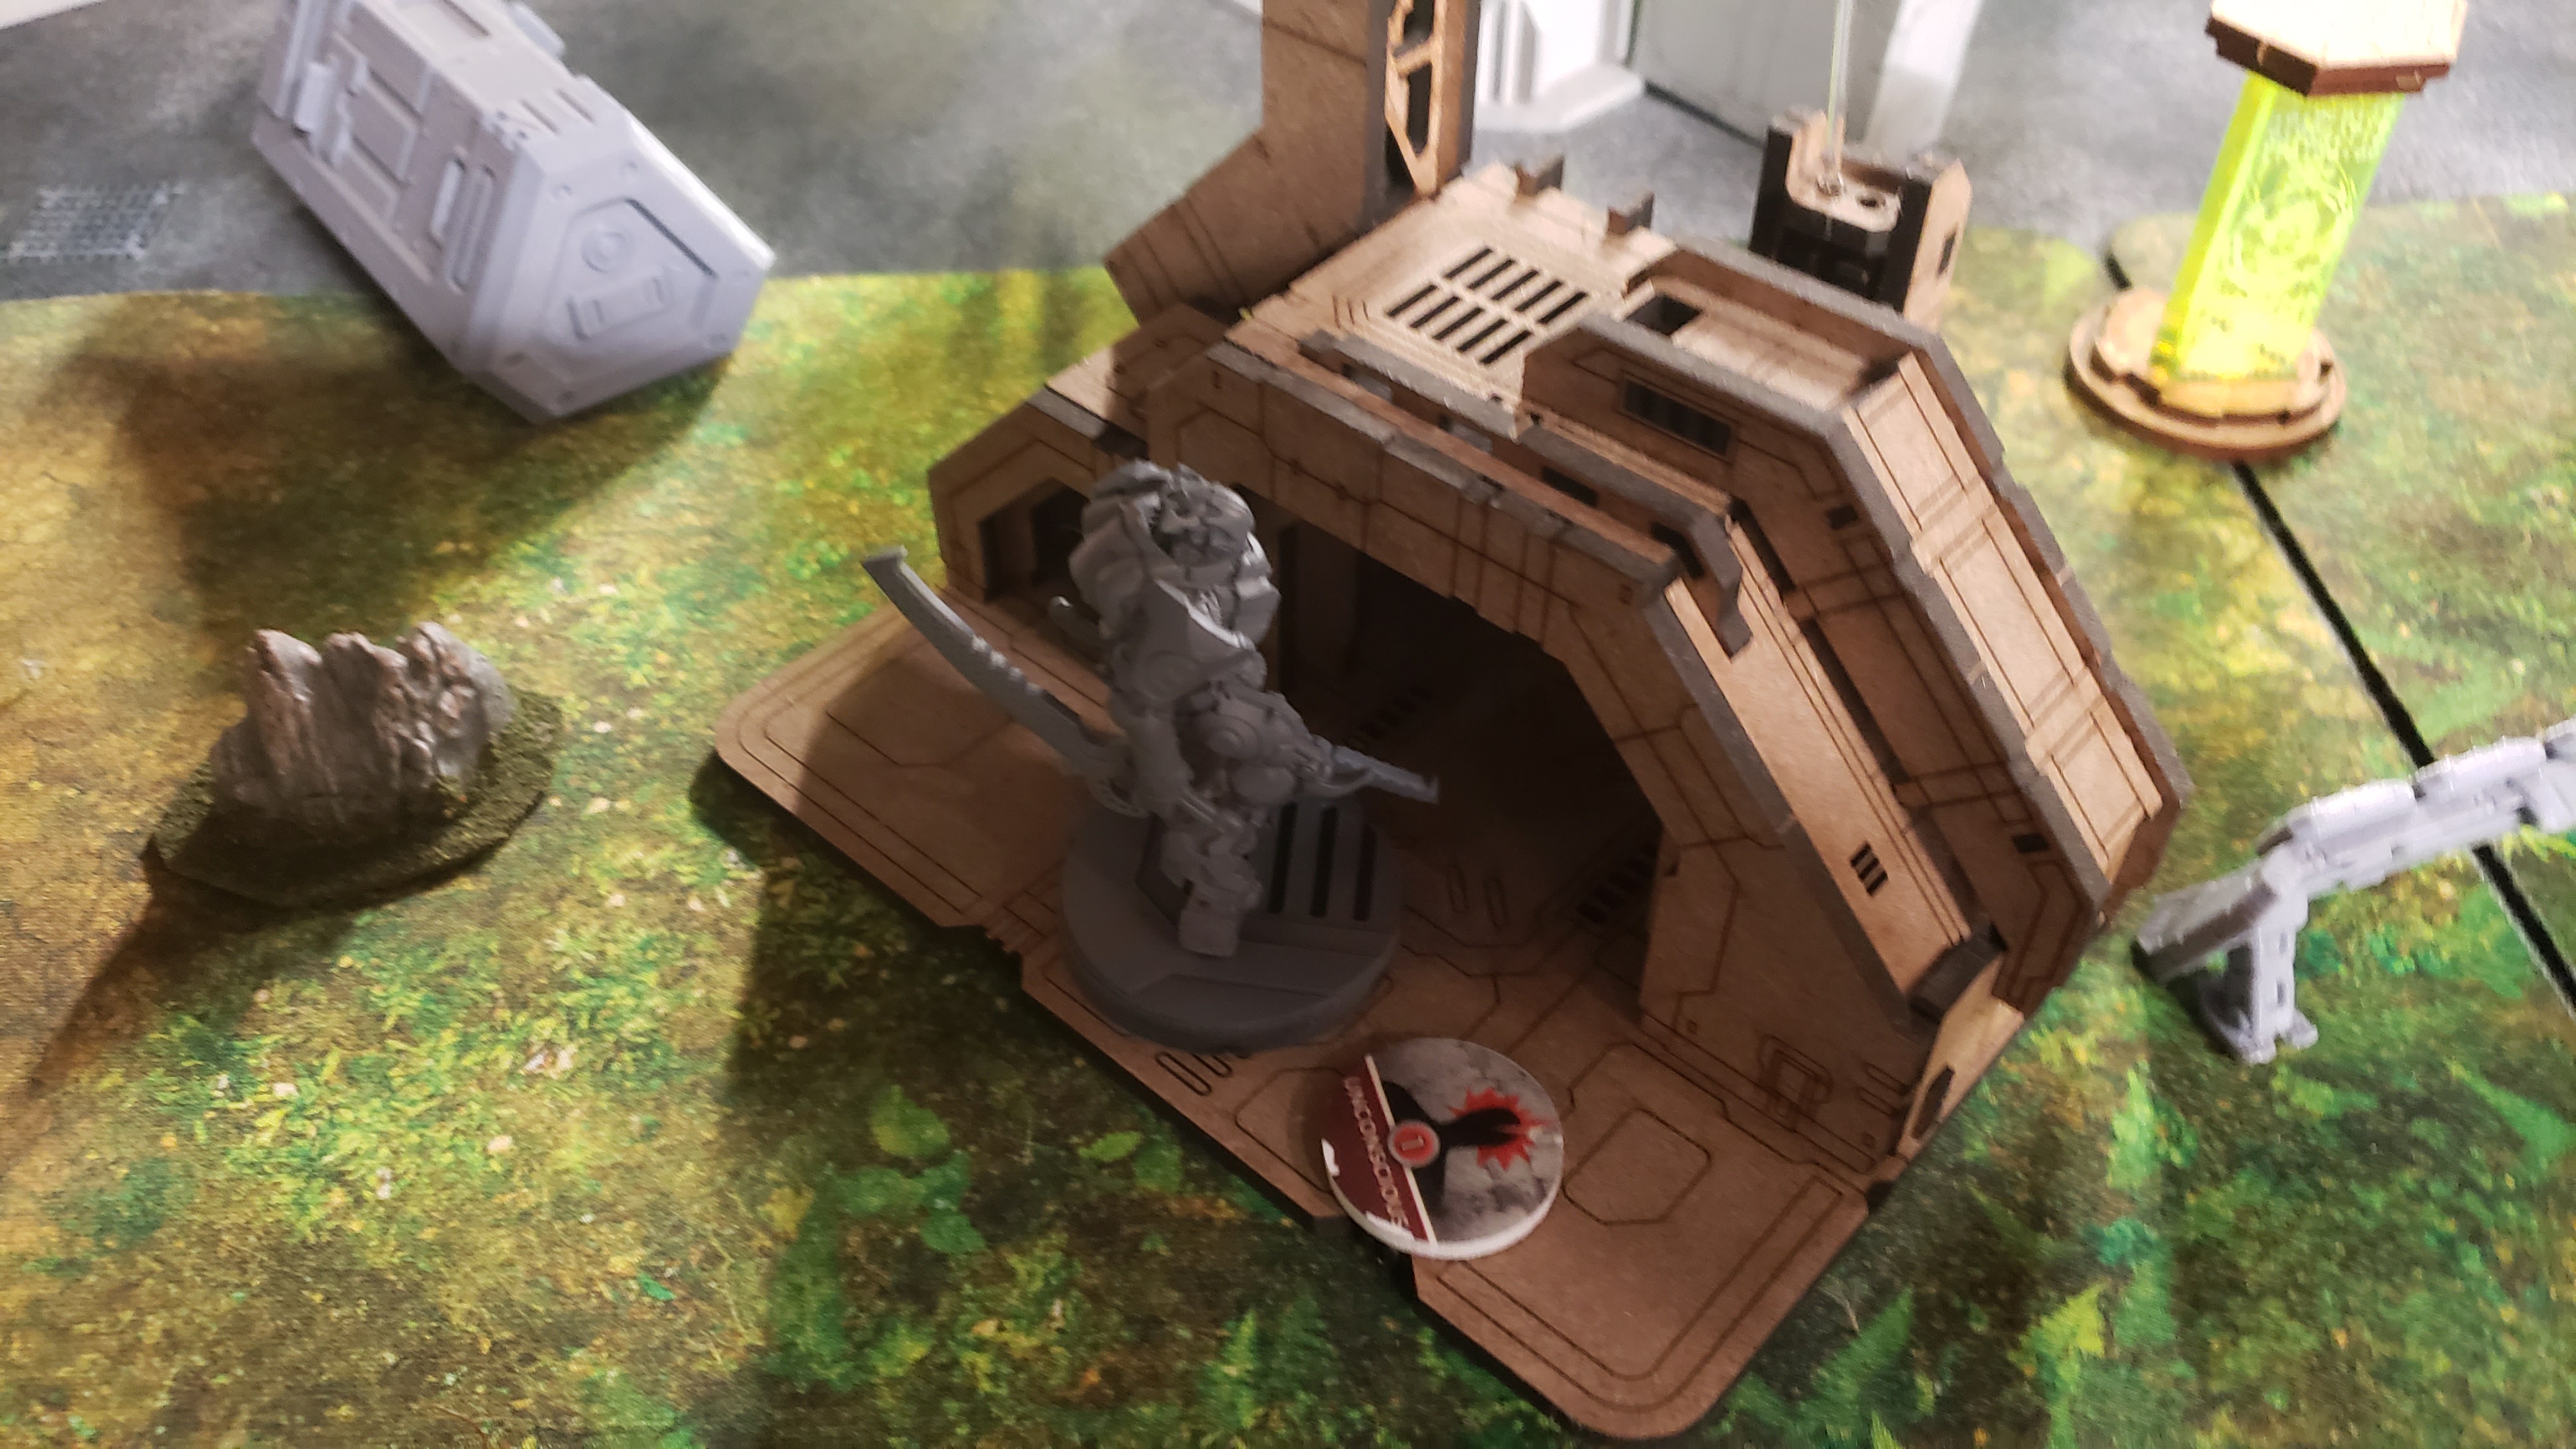
the Teuton wounded previously is able to engage the Mowang, thanks to his 7" first move. in a few orders the beast is cut down.
now the path is clear for the spitfire NCO Teuton to eliminate Krit on the way to the AC2.
so there my team is. long range AROs eliminated, 5 orders remaining. a flash bot and a few remaining YJ units lie in wait.
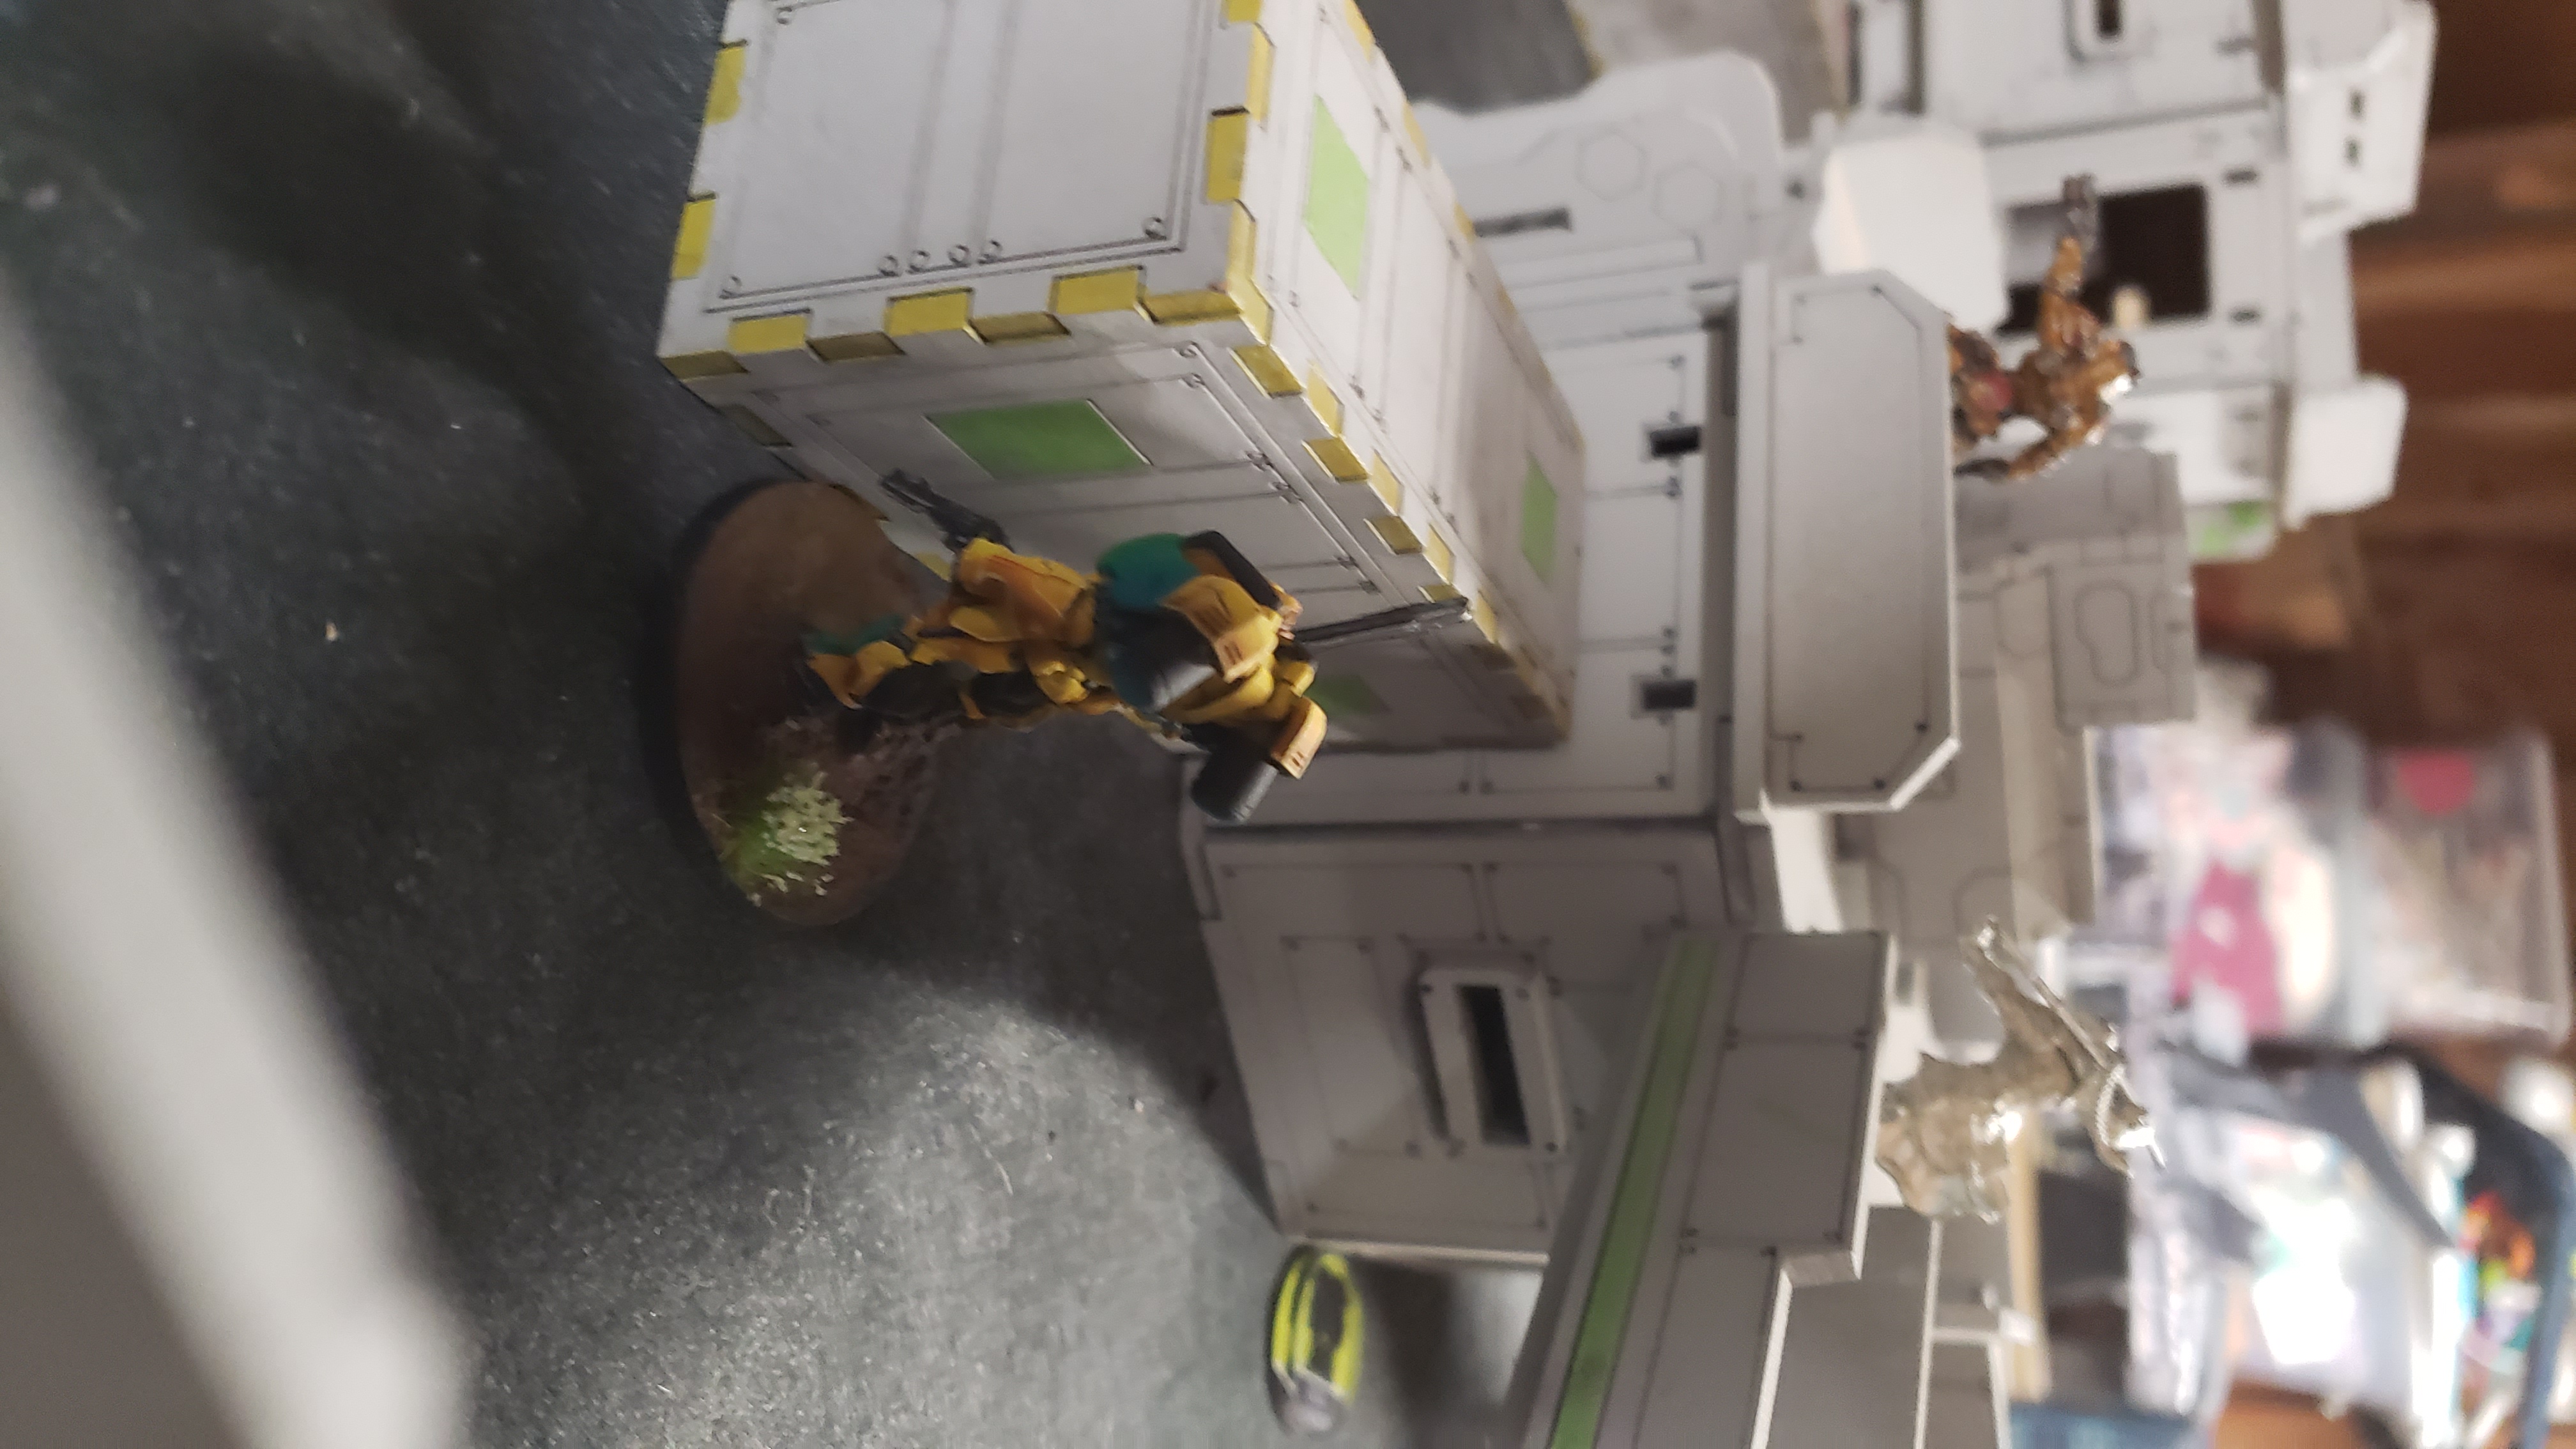
I break the link and send the Panzer Teuton at the AC2. liang kai dodges up to see him, Zanying sends a carbonite through its repeater but the Knight saves. he deals one wound to the antenna.
4 orders.
now Austin has a flash pulse watching.
santiago Cybermasks, then move moves to the AC2
2 orders left.
santiago places Dcharge, now out of site of liang, deal a sing wound. the Zanying lands and immobilizes the Santiago KHD.
1 order.
I activate the Panzer Teuton one last time. Carbonite misses, Liang lands a shotgun hit but I save. the Teuton's strike land true and deals the final blow to the objective, Halting the YJ heist.
From here, Austin has one path to score some objective points: Berserk with LIang Kai.
he tries to clear out the haris pinning Liangs path with an impetuous digger, and both LT orders from his Dao Ying BSG.
All that is Achieved however is undoing the Santiago's Immobilize, and losing the LT to a long tag ARO.
so he will need to do this the old fashioned way, dodging.
which he does! in 3 orders with 3 great rolls, Liang kai has given the entire haris the slip.
here it is, one more successful dodge and Liang can pull off his berserk. however this dodge has to fight BOTH of my Core linked HRLs.
the Order SGT and Black Friar see the Monks brazenness, and with a nod and simultaneous "For Cameliard" the both land critical hits, and the YJs chance at the mission burns away with the Monk.
By destroying the Antenna and protecting our own, in addition to the single item looted by the Tikbalang, Pano takes the win here 9-0. Our only casualty was the pathfinder unit utilized in the initial breach. tech bee unit was sent to try and salvage the REM unit, repairs we un-successful. 285 points remain.
The Yujing forces were decimated, the remaining 60 points comprised of 2 Digger mercenaries (deserted into Jungle), Zanying hacker unit (exfiltrated the AO), and the Chaiyi unit (abandoned and self destructed)
overall, the MO units ability to maximize the unique factors of this theater lead to a massive victory for the Hyperpower. the unit was commanded to continue security operations in the reliquary.
I only hope it was enough to repel the Invaders and Betrayers to the human sphere.
-End log
KevO
Hexahedron Strategic Advisor
White Company Liaison
Battle Report Author

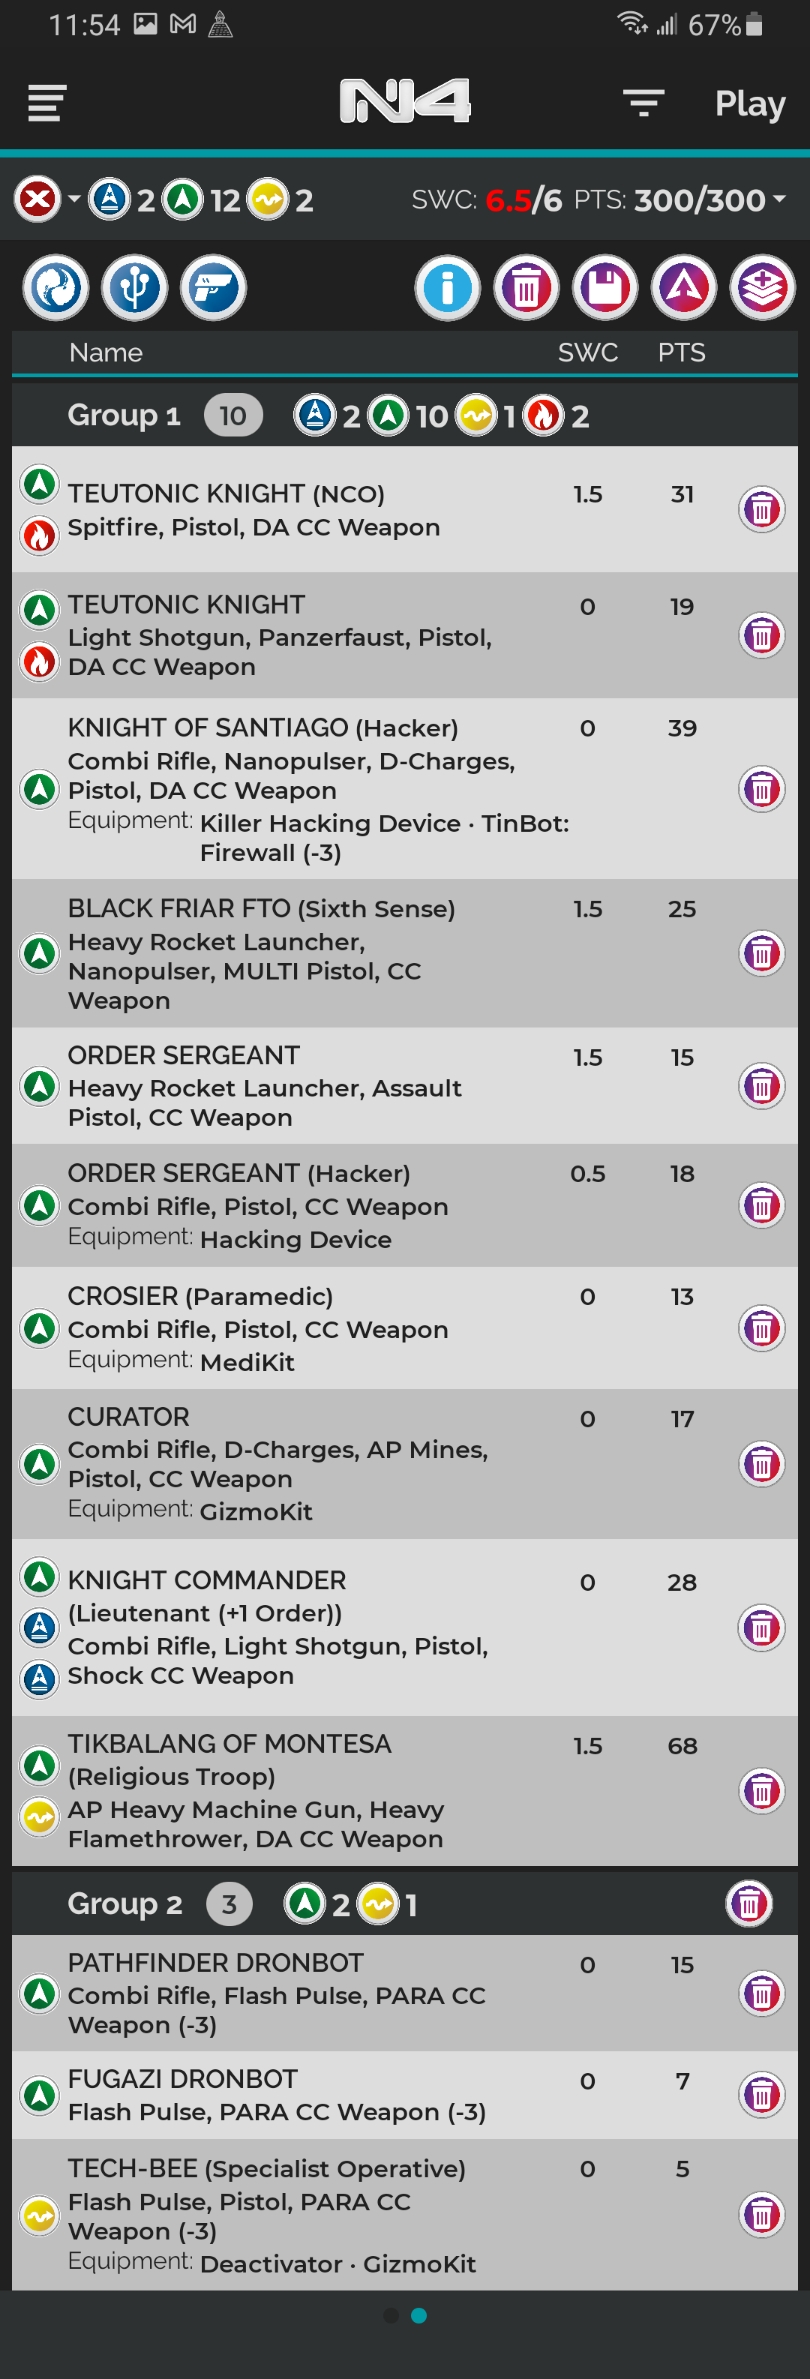
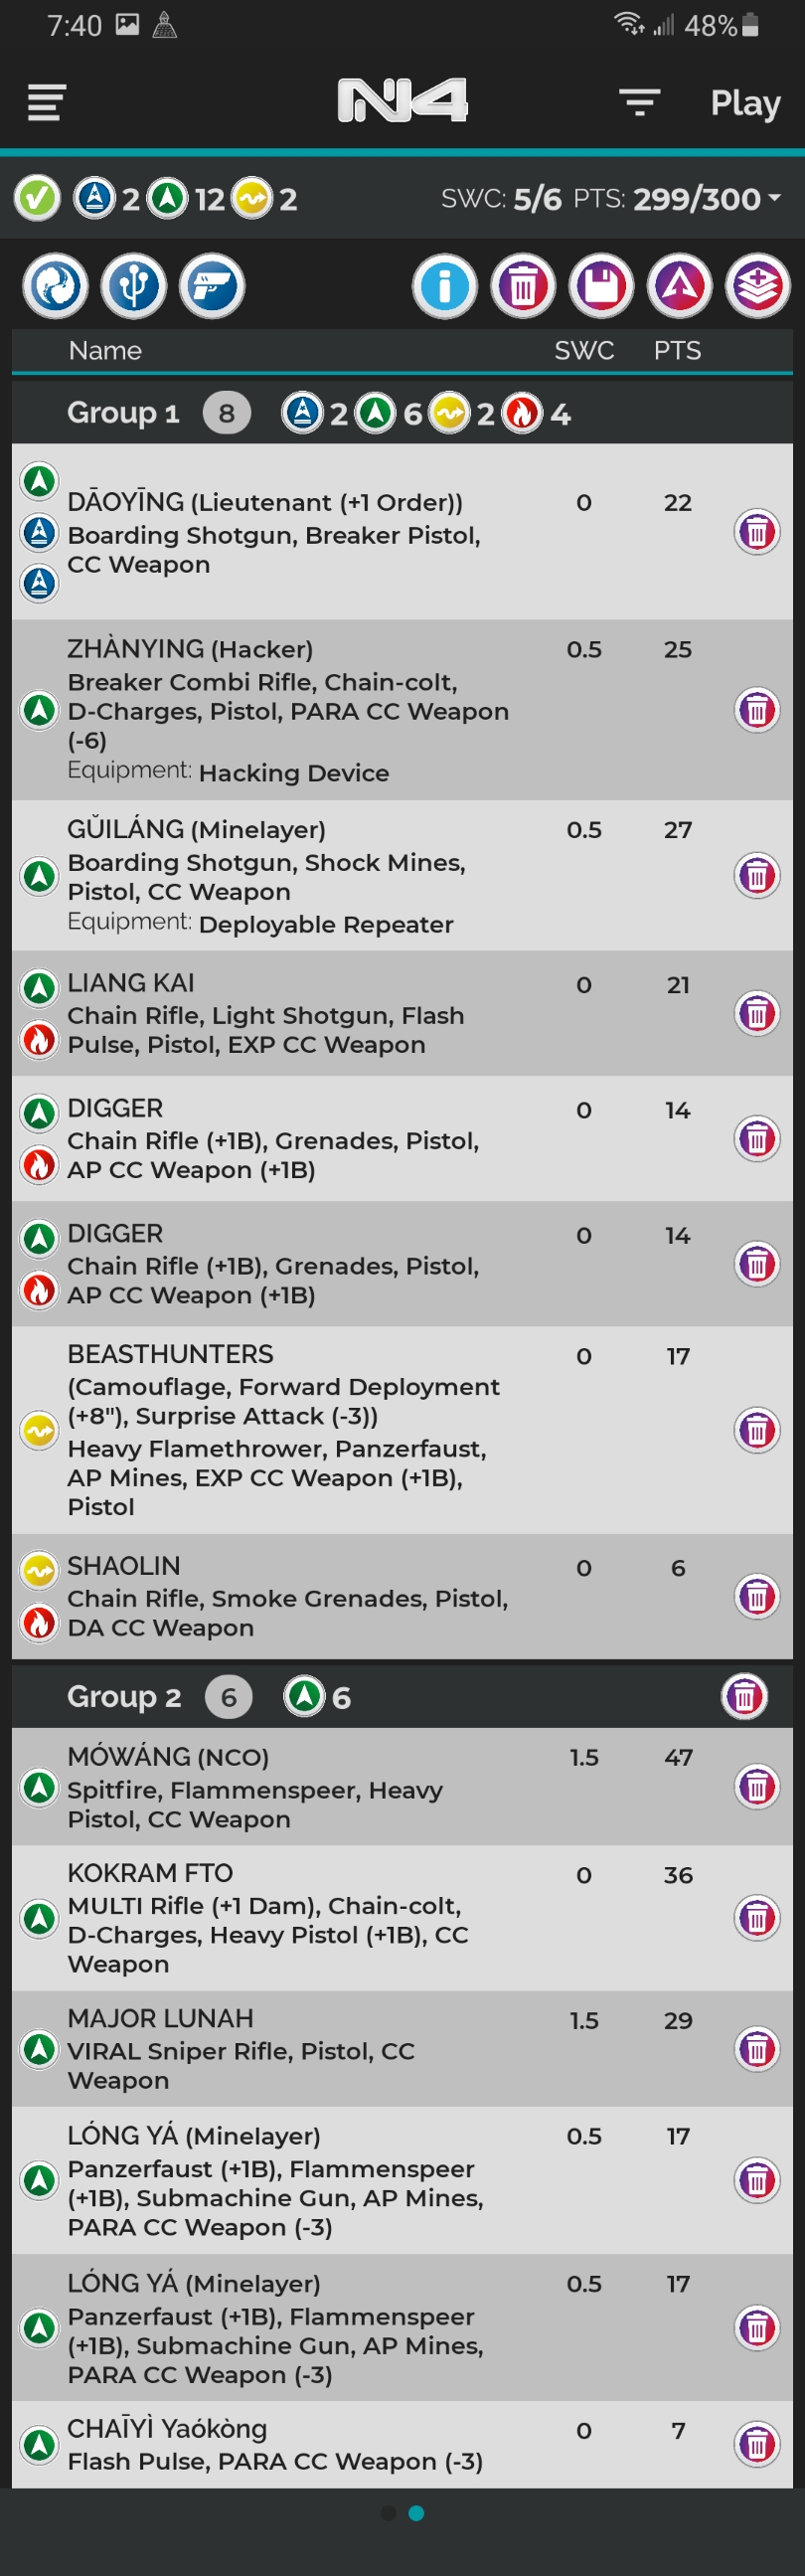
Army Lists Used In This Battle
Recommend Commander For Commendation
Share this battle with friends
KevOWins

2 swc more seems to matter XD
Great report, thanks!
Damn fine report, commander. Excellent work.
Very well done report Commander!
Very focused effort commander. The State Empire will not be stopped!
Yes! Great work!!