Fought At Gekidan Research Park: Yukimura Center
656 days 15 hours 25 minutes ago
Stopping the 7th Morat Company
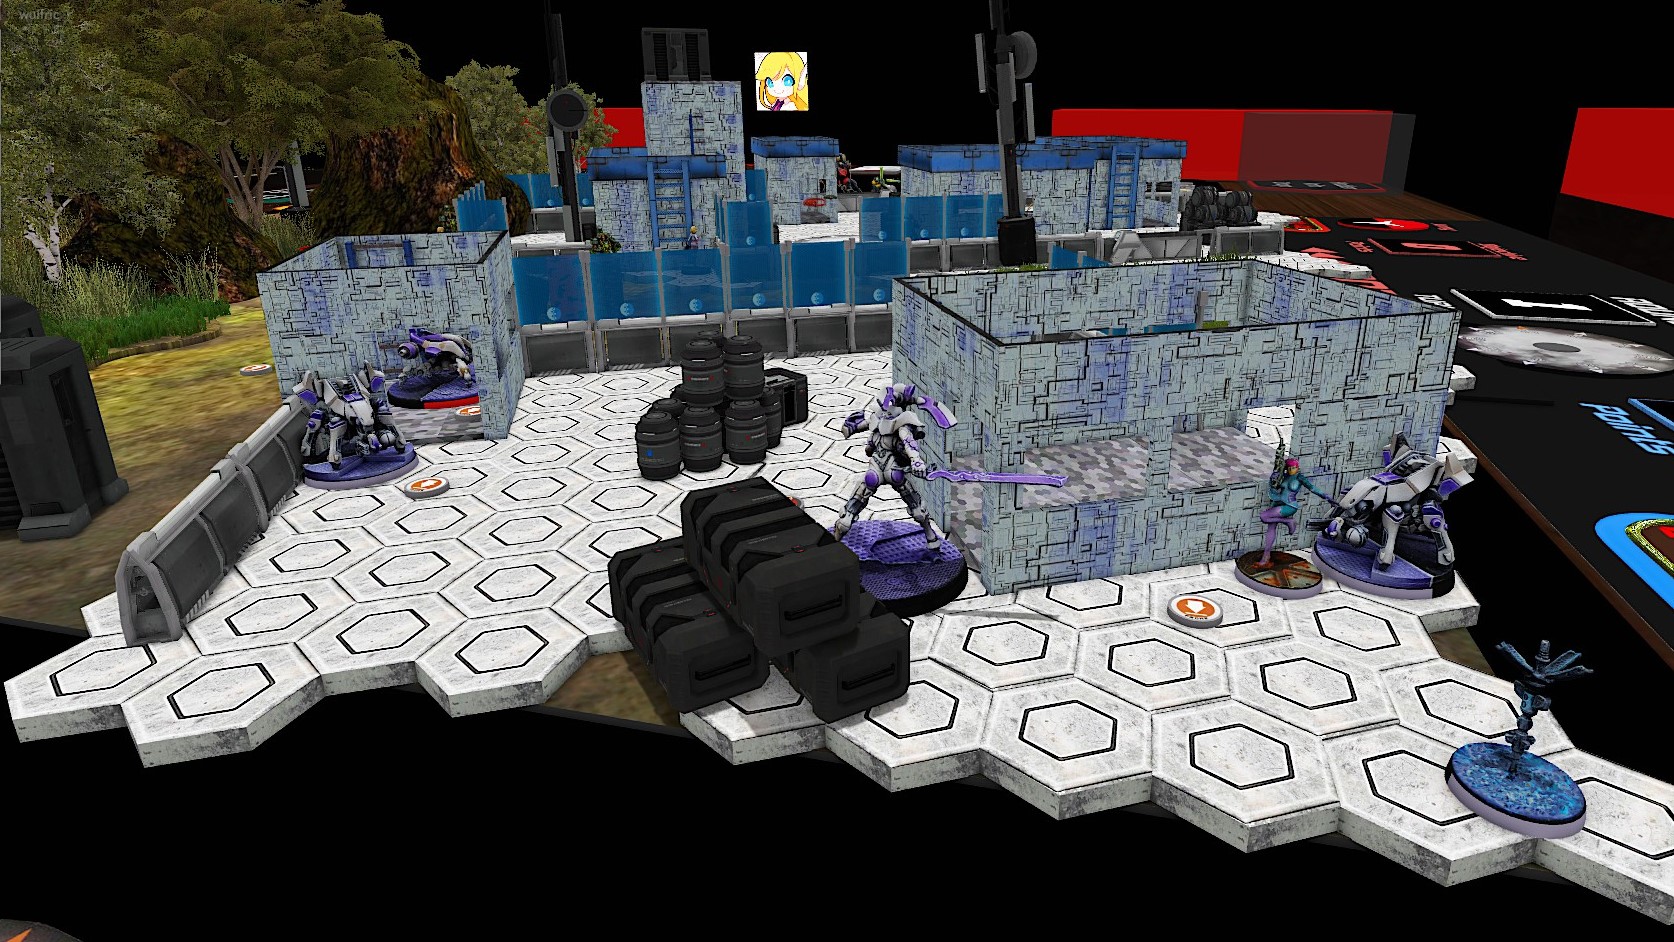
View Linked Report - CLICK HERE 300 POINTSKeeping the initiative, the Aleph forces decided to deploy aggressively, ready to fight. The Marut, seconded by a myrmidon on the right flank, will be the first to enter the scene.
The defense was ensured by the myrmidons, diggers and proxies.


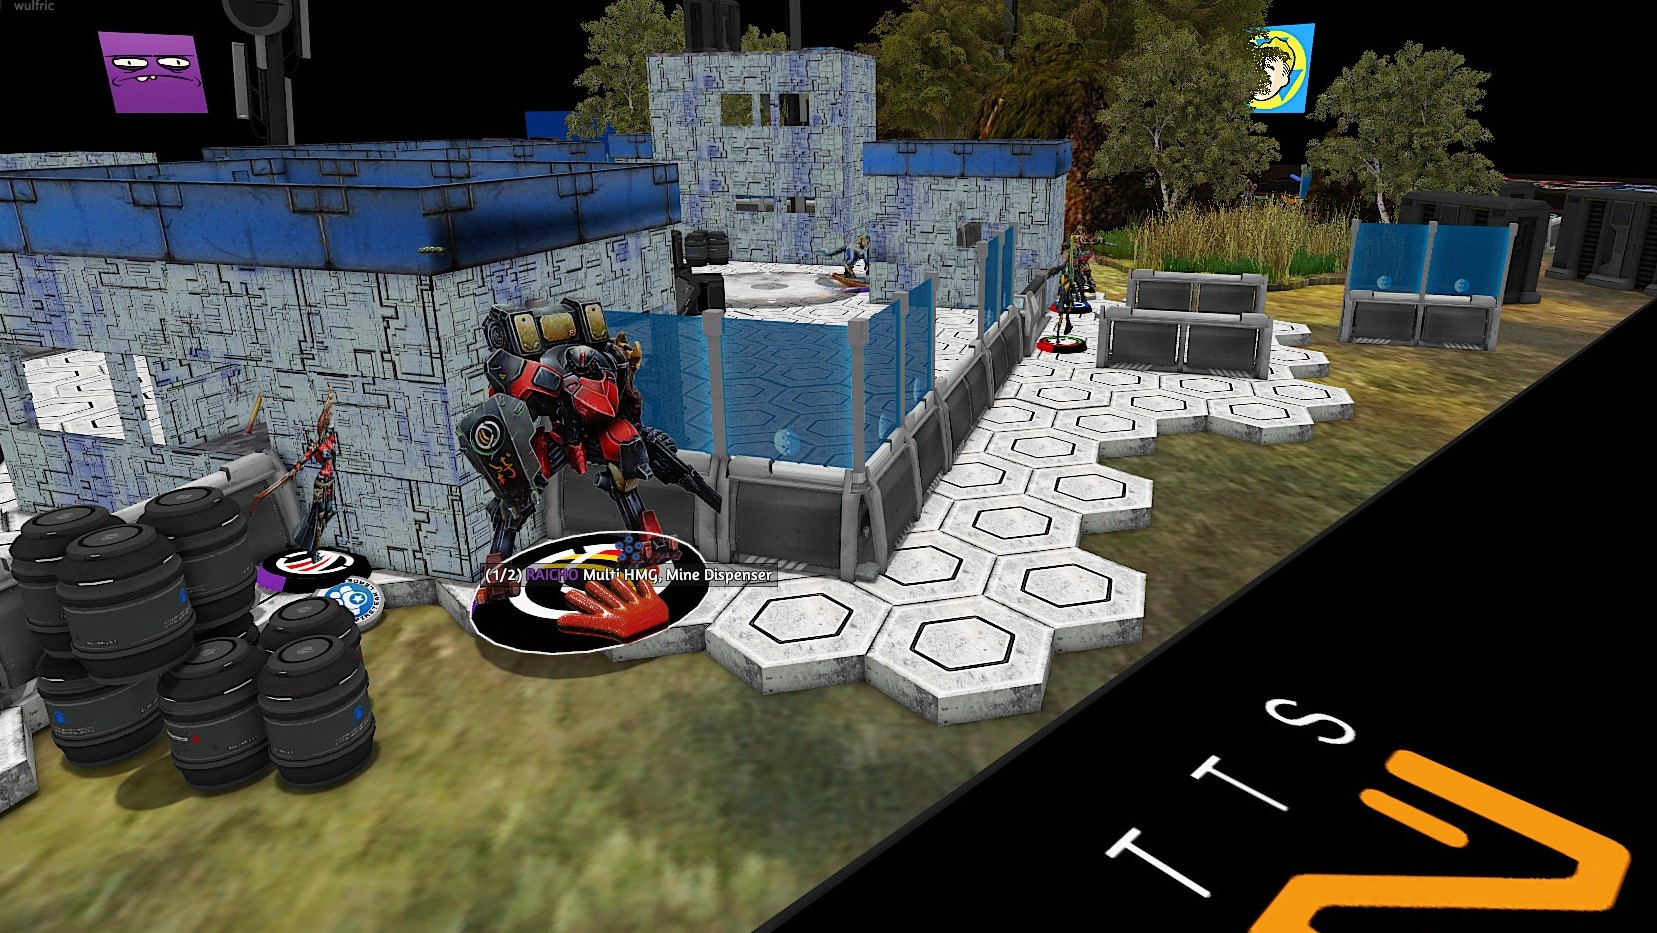
Forced into a defensive position, the Morat forces deployed around their leader, Kornak, assisted by a Raicho.
Two squads of eager Morats stood ready to take on the enemy, while a pack of Hungries entered a building, ready to pounce.

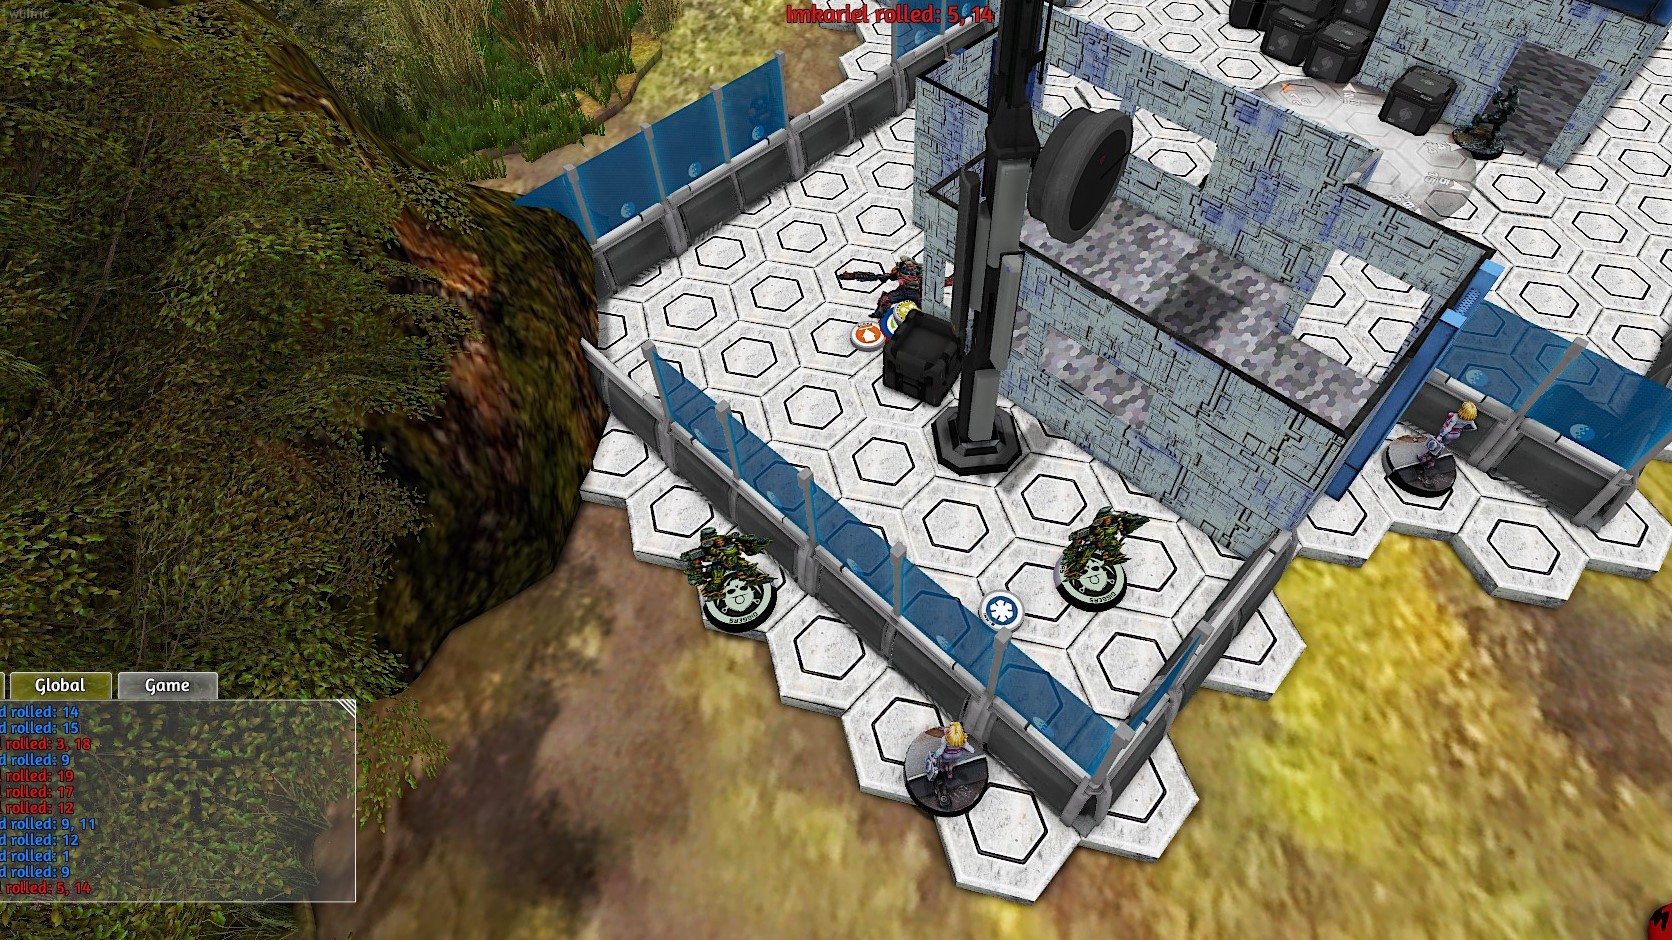
Walking together, the diggers and the Marut set off towards the morats, taking advantage of the smoke grenades of a myrmidon.
The Marut, still supported by his loyal myrmidon, went to chase an Ikadron and the Tyrok on the right flank. Returning to the middle, he tried to get a line of sight on the Raicho under cover. But he did not anticipate that during the action he would enter in the Tarlock's hack zone ! Fearing Oblivion, the Marut nullified the attack, but was hit by an explosive round froim the Raicho, leaving him barely standing! Using a smoke, he took revenge on the Raicho, wounded him badly before leaving as quickly as possible in its ranks !
Using Kornak's strategizing skills, the Morats organized the retaliation.
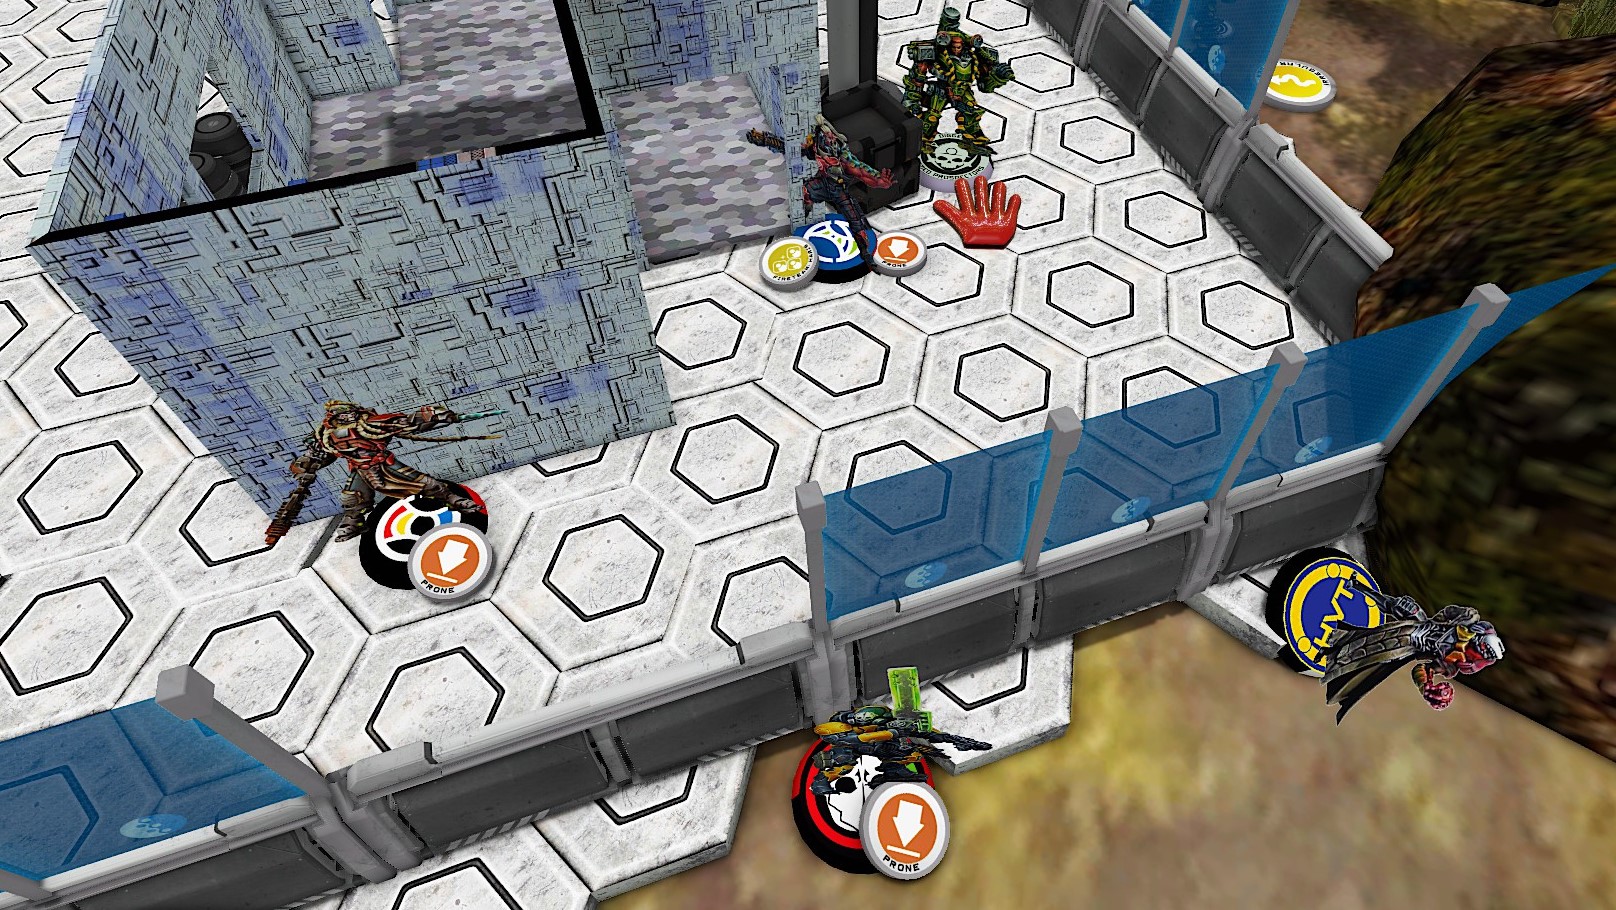
The Tarlok fireteam on the left fell back to the middle to kill Andromeda, who was completely surrounded from the start of the battle. Andromeda refused the strategic withdrawal in order to slow down the enemy army as much as possible. She died fairly quickly to the alien firepower.
The engineer repaired the Raicho which succeeded in one shot to put out of combat the Marut, which had missed time to return completely in the total cover! The shell of the Marut was nevertheless protected by a smoke screen launched by a myrmidon during the action.
The second squad, led by Kornak, advanced towards the central console but was hindered by diggers. The tarlok tried to neutralize them by voo doo tech but only one was disconnected from the Aleph network in the end.
As taught in military school, losing your lieutenant is rarely a good thing.
Continuing the offensive without Marut's tactical supervision, Aleph's forces relied on the Diggers' supposed resistance to give them time to reorganize. The Diggers set out to confront Kornak's squad, even managing to eliminate him and his hacker!
Still no HVT discovered! Time was running out !
Emboldened by the situation, the proxy transferred his consciousness into the engineer's body and repaired the Marut, which was essential for countering the enemy TAG. Animated by a cold fury, the Marut engaged the fight against the raicho which finally fell to the ground.
With the fall of Kornak, the Morats lost their ability to strike and were forced to reorganize around the once-repaired Raicho.
Sensing danger, the kyosot attempted to eliminate the diggers but died before completing its mission. The last surviving Dartok sent a repetear right next to the diggers and managed to disconnect them both. Unfortunately for them, the morats did not succeed in any other action during the operation.
(Sorry, I forget at this moment to take more pictures...)
The diggers tried unsuccessfully to get rid of the Dartok and were put completely out of action by the voo doo programs.
Forced by time to get results, the proxy activated the mk5, connected the console and discovered a false identity near him, which the myrmidon infiltrated the morat area and eliminated with a single sword stroke. The proxy then transferred to the mk2 which, although disconnected by the same Dartock, managed to discover the identity of a particularly important HVT.
Forced to engage the Raicho in order to eliminate the HVT, the Marut succumbed to a lucky shot! He had to be relieved once again by the mk1 before eliminating the opposing TAG. After a repositioning, the priority target was eliminated, and the Marut took a defensive posture near the consoles, contesting the whole area. The mission was a success!
Battle Report Author


Army Lists Used In This Battle
Recommend Commander For Commendation
Share this battle with friends
KamCordWins

Thank you Commander-Aspect for avenging our troops!
Great! My congratulations!
Excellent work Aleph commander !
A glorious win, and excellent write up! Well done, Commander!
Good job aspect! We cannot let JSA’s complacency lead to a Morat foothold on the planet.