Fought At Gekidan Research Park: Itokawa Site
646 days 2 hours 48 minutes ago
The best offence...
300 POINTS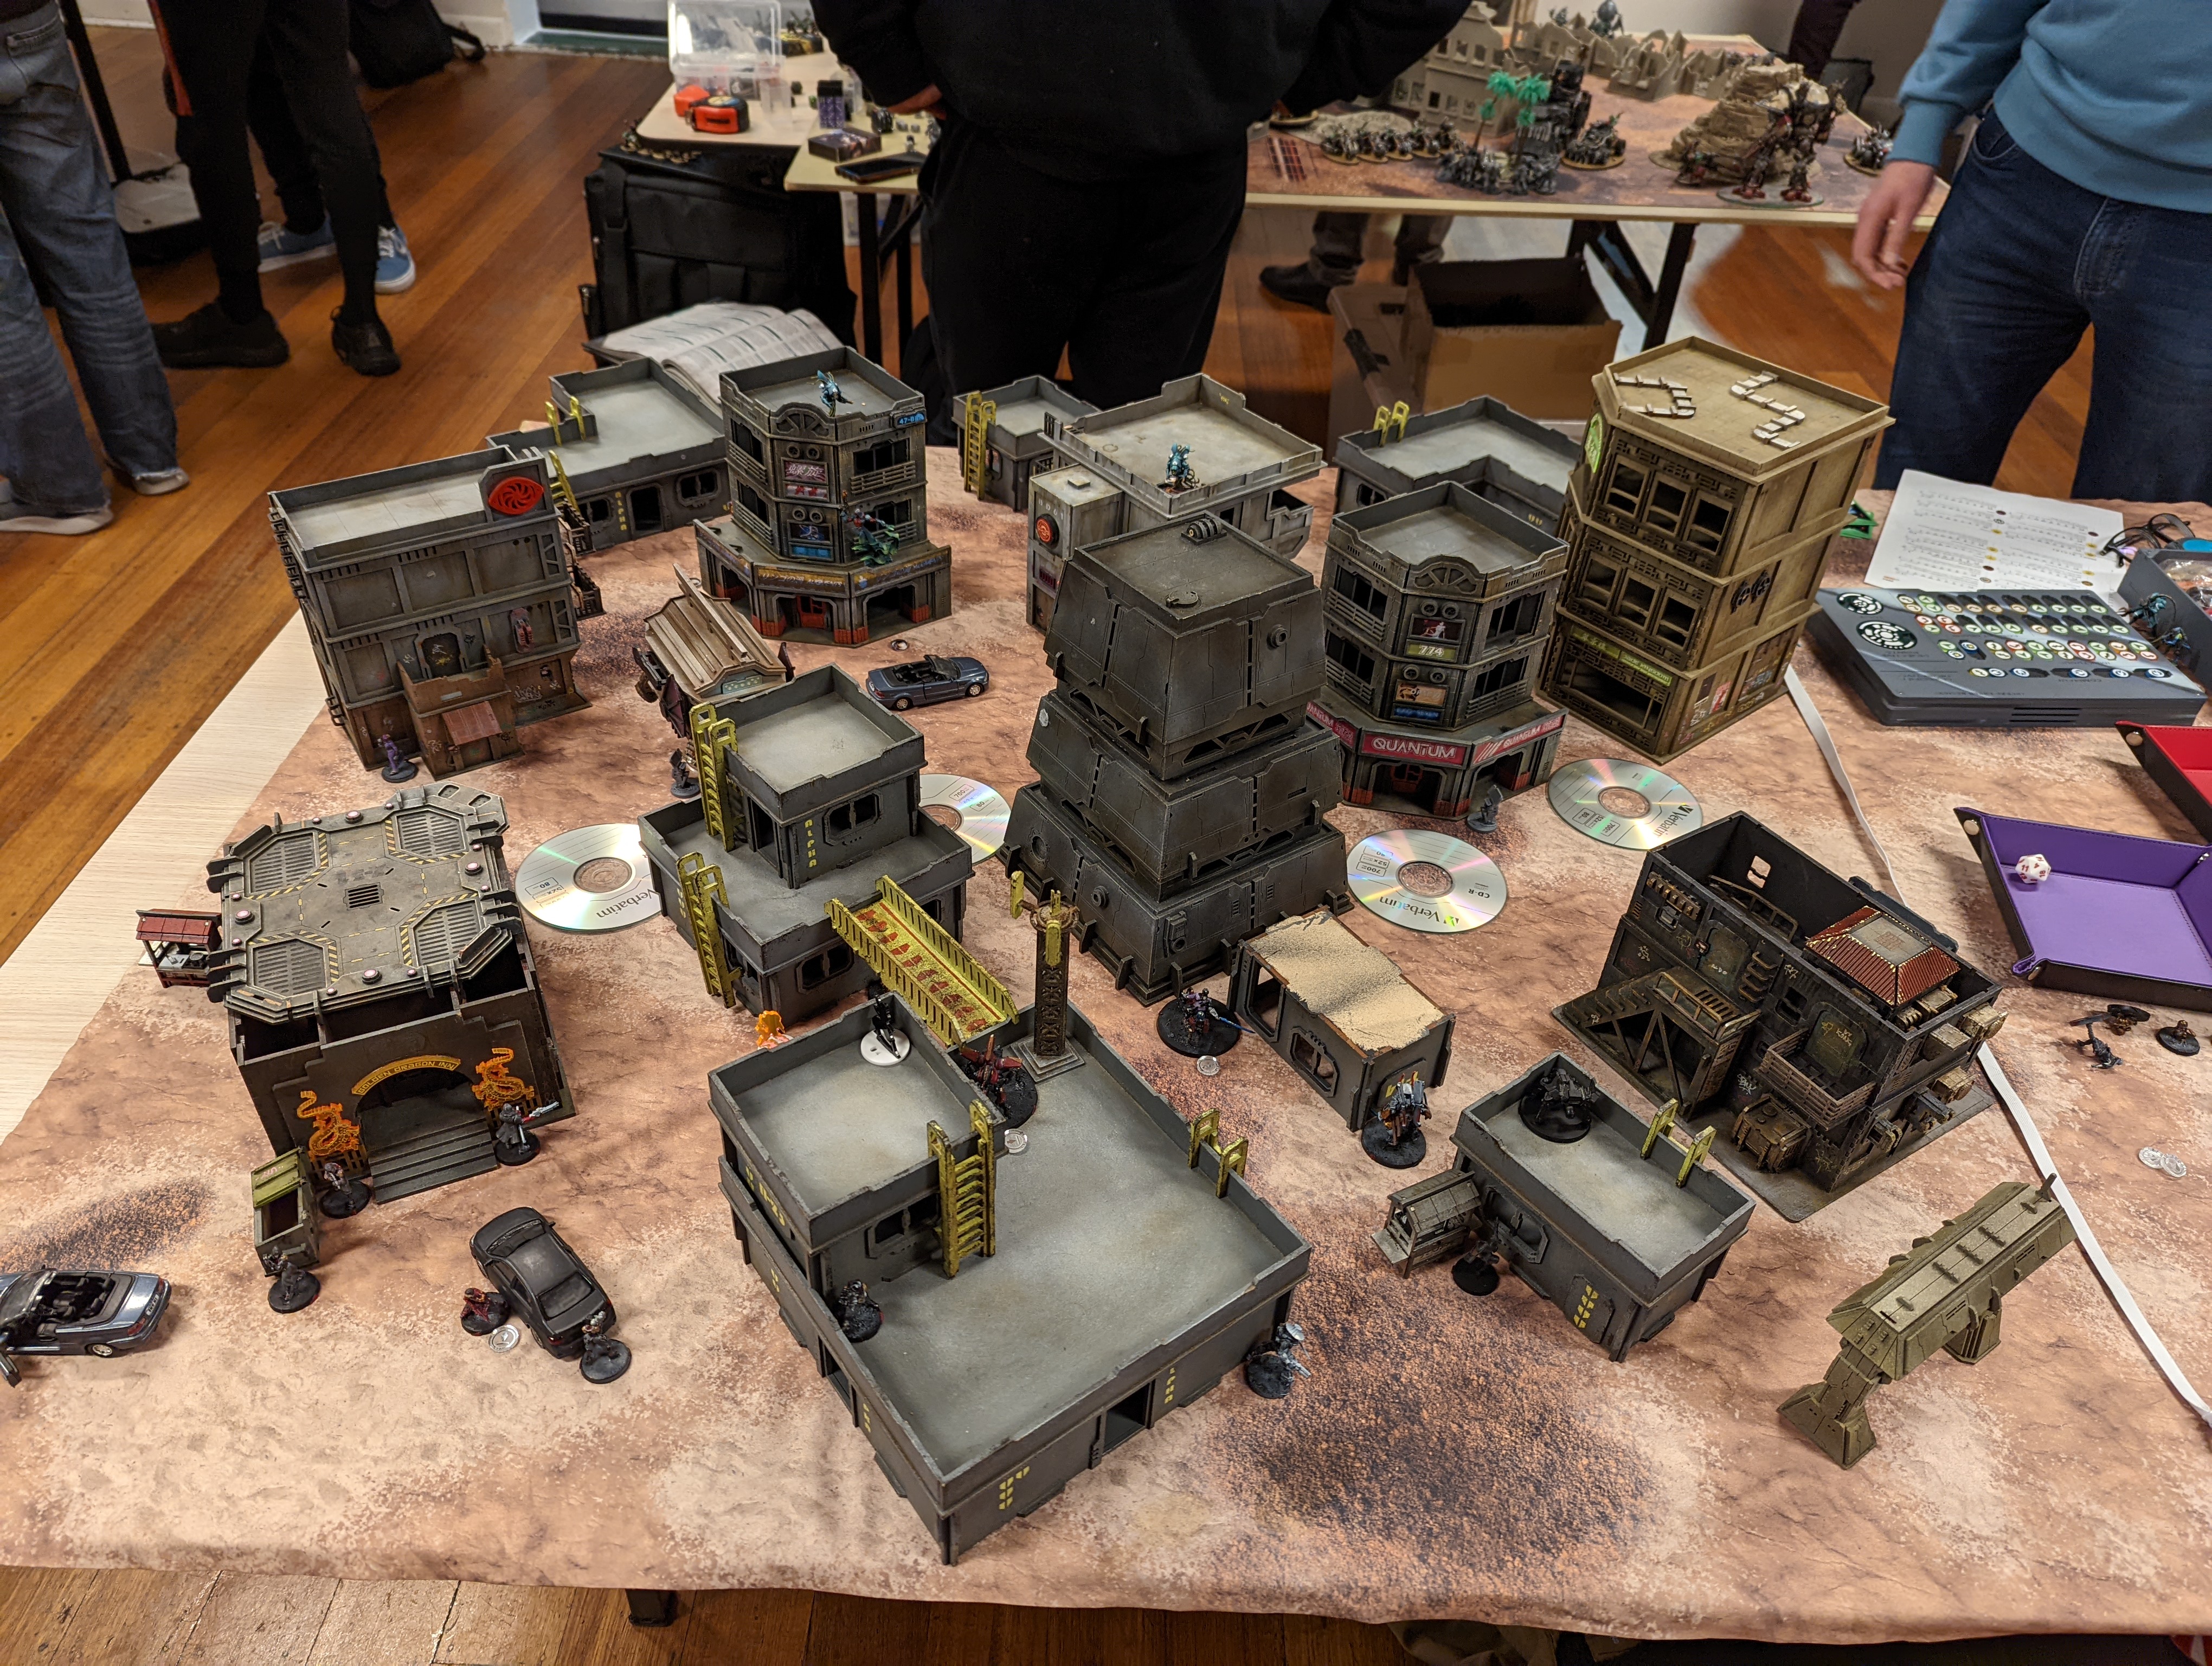
A stealth combined army troop lander streaks through the night. Touching down in a civilian area inside Gekidan Research Park, the EI attack group meets heavy resistance from some Japanese soldiers on some well deserved R&R. The unexpected defence catches the aliens unawares, so JSA gets the upper hand in acting first.
Turn 1 - JSA
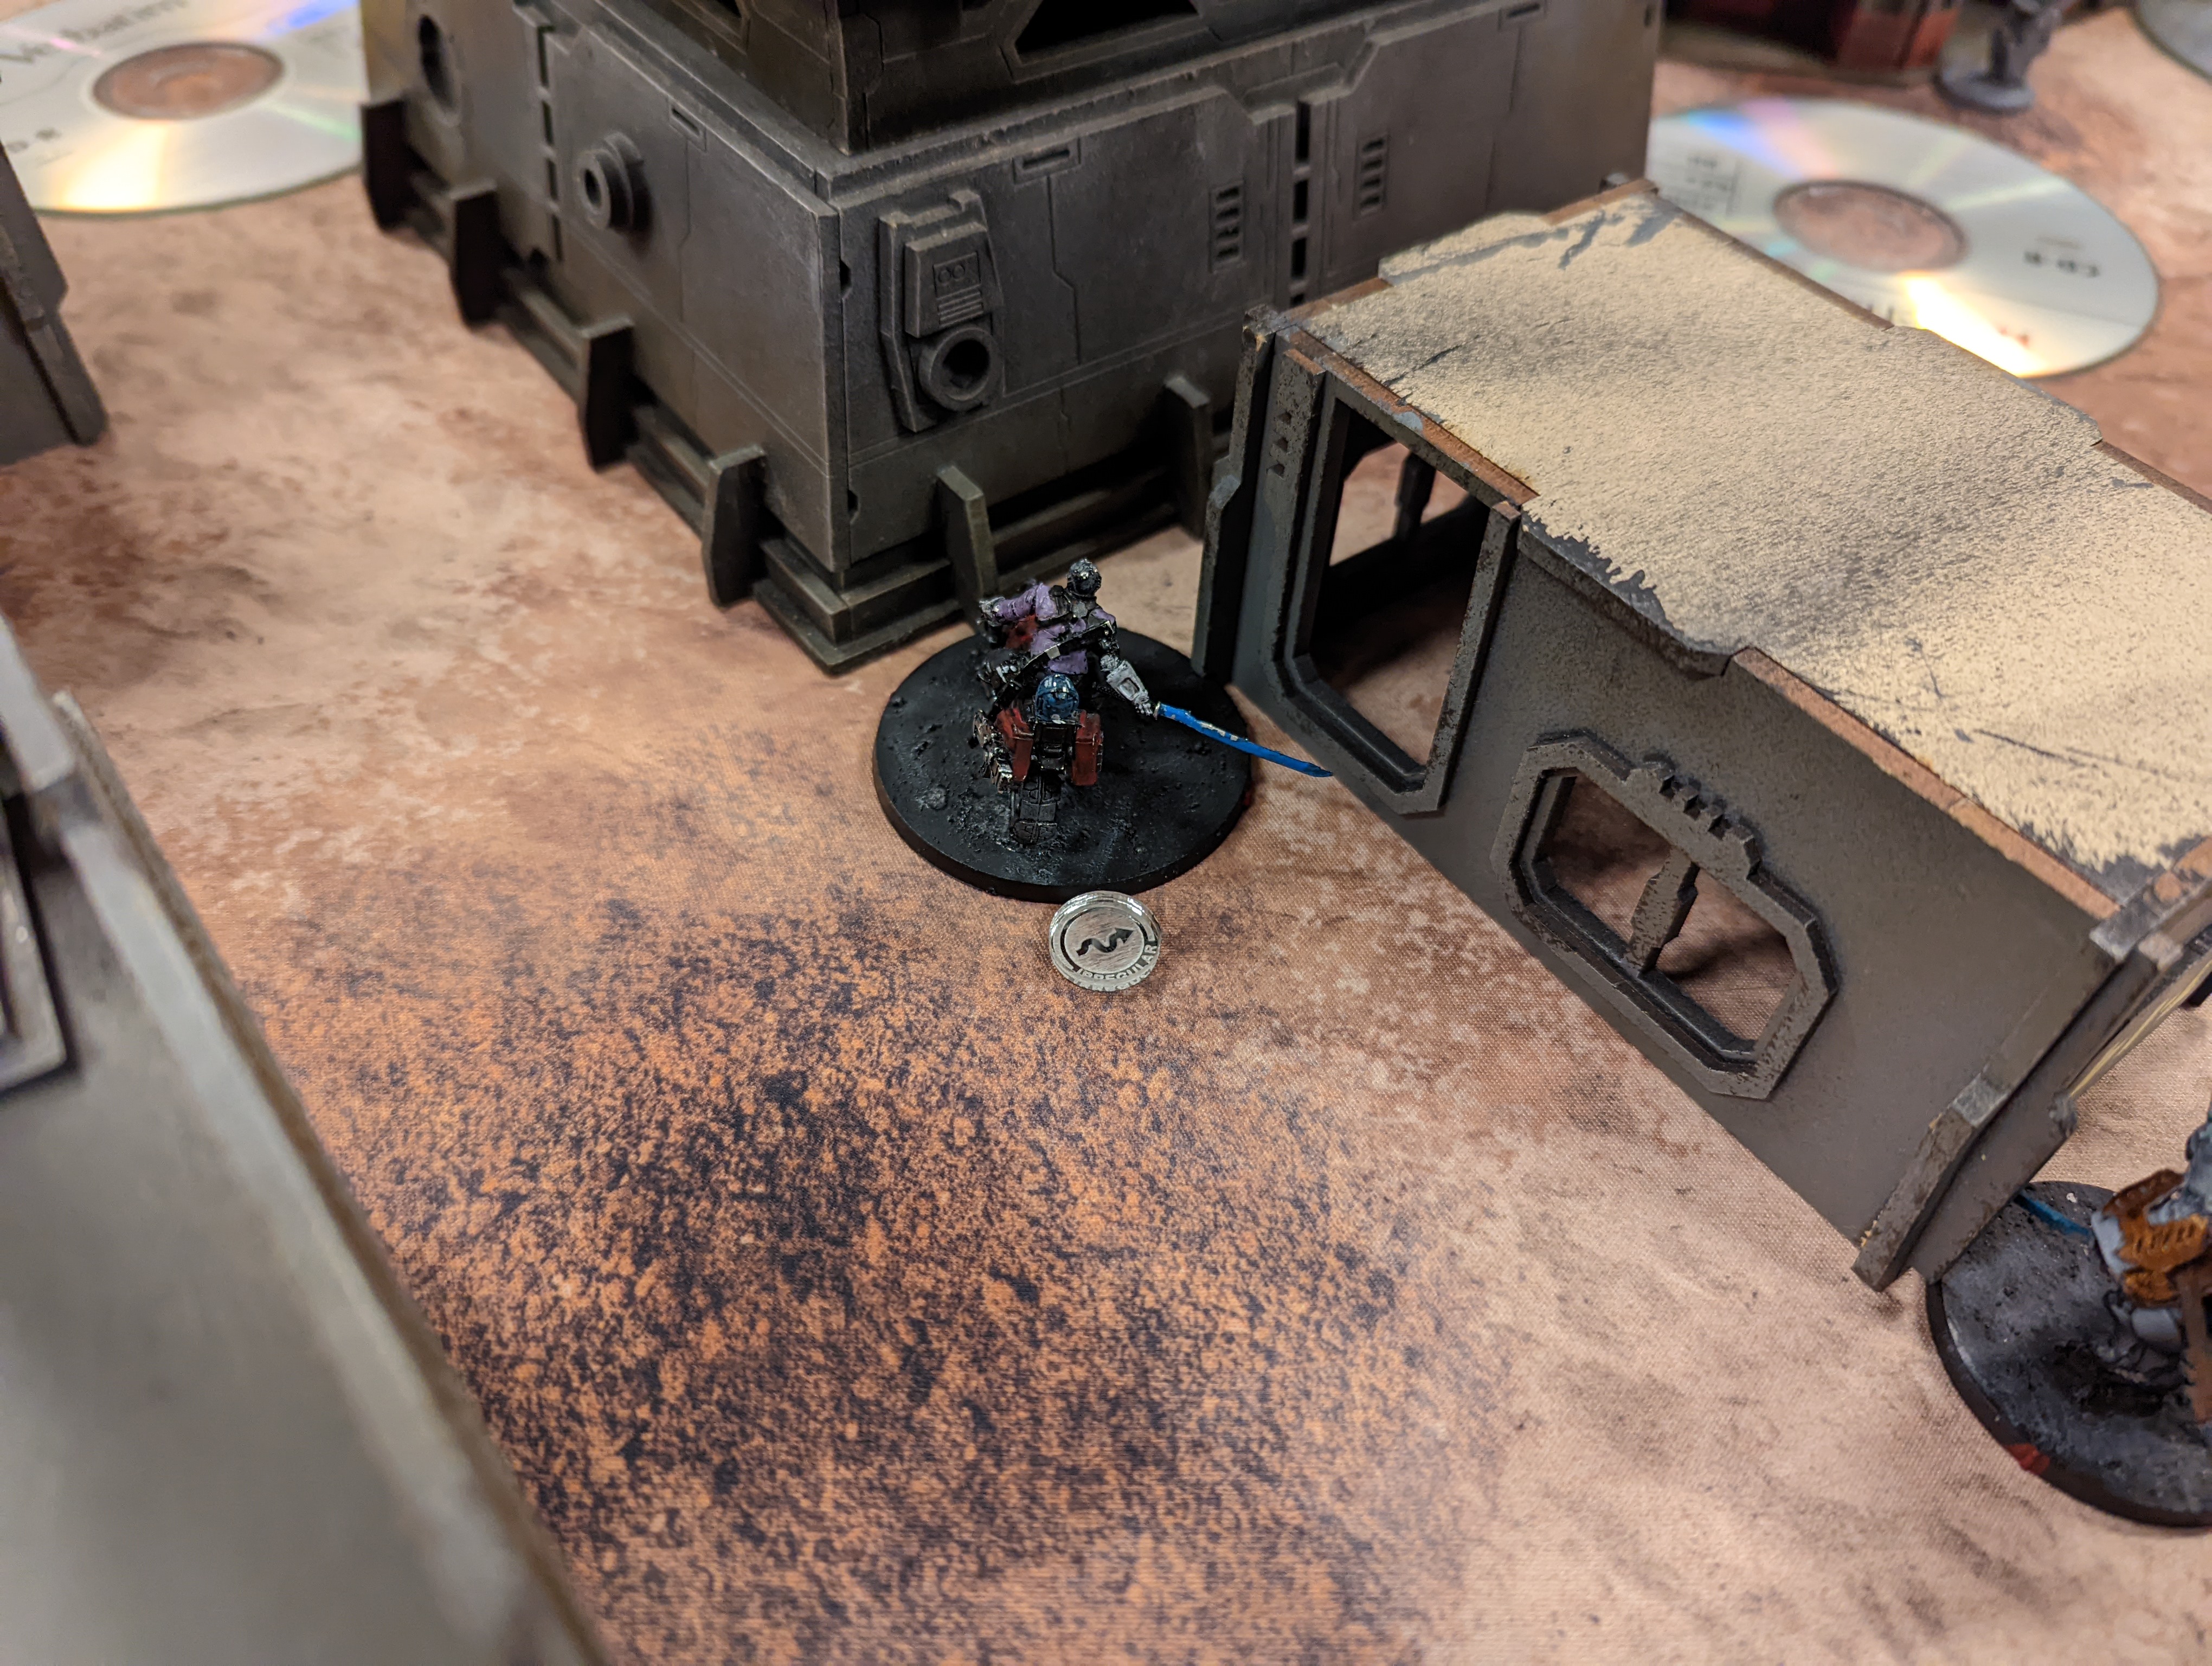
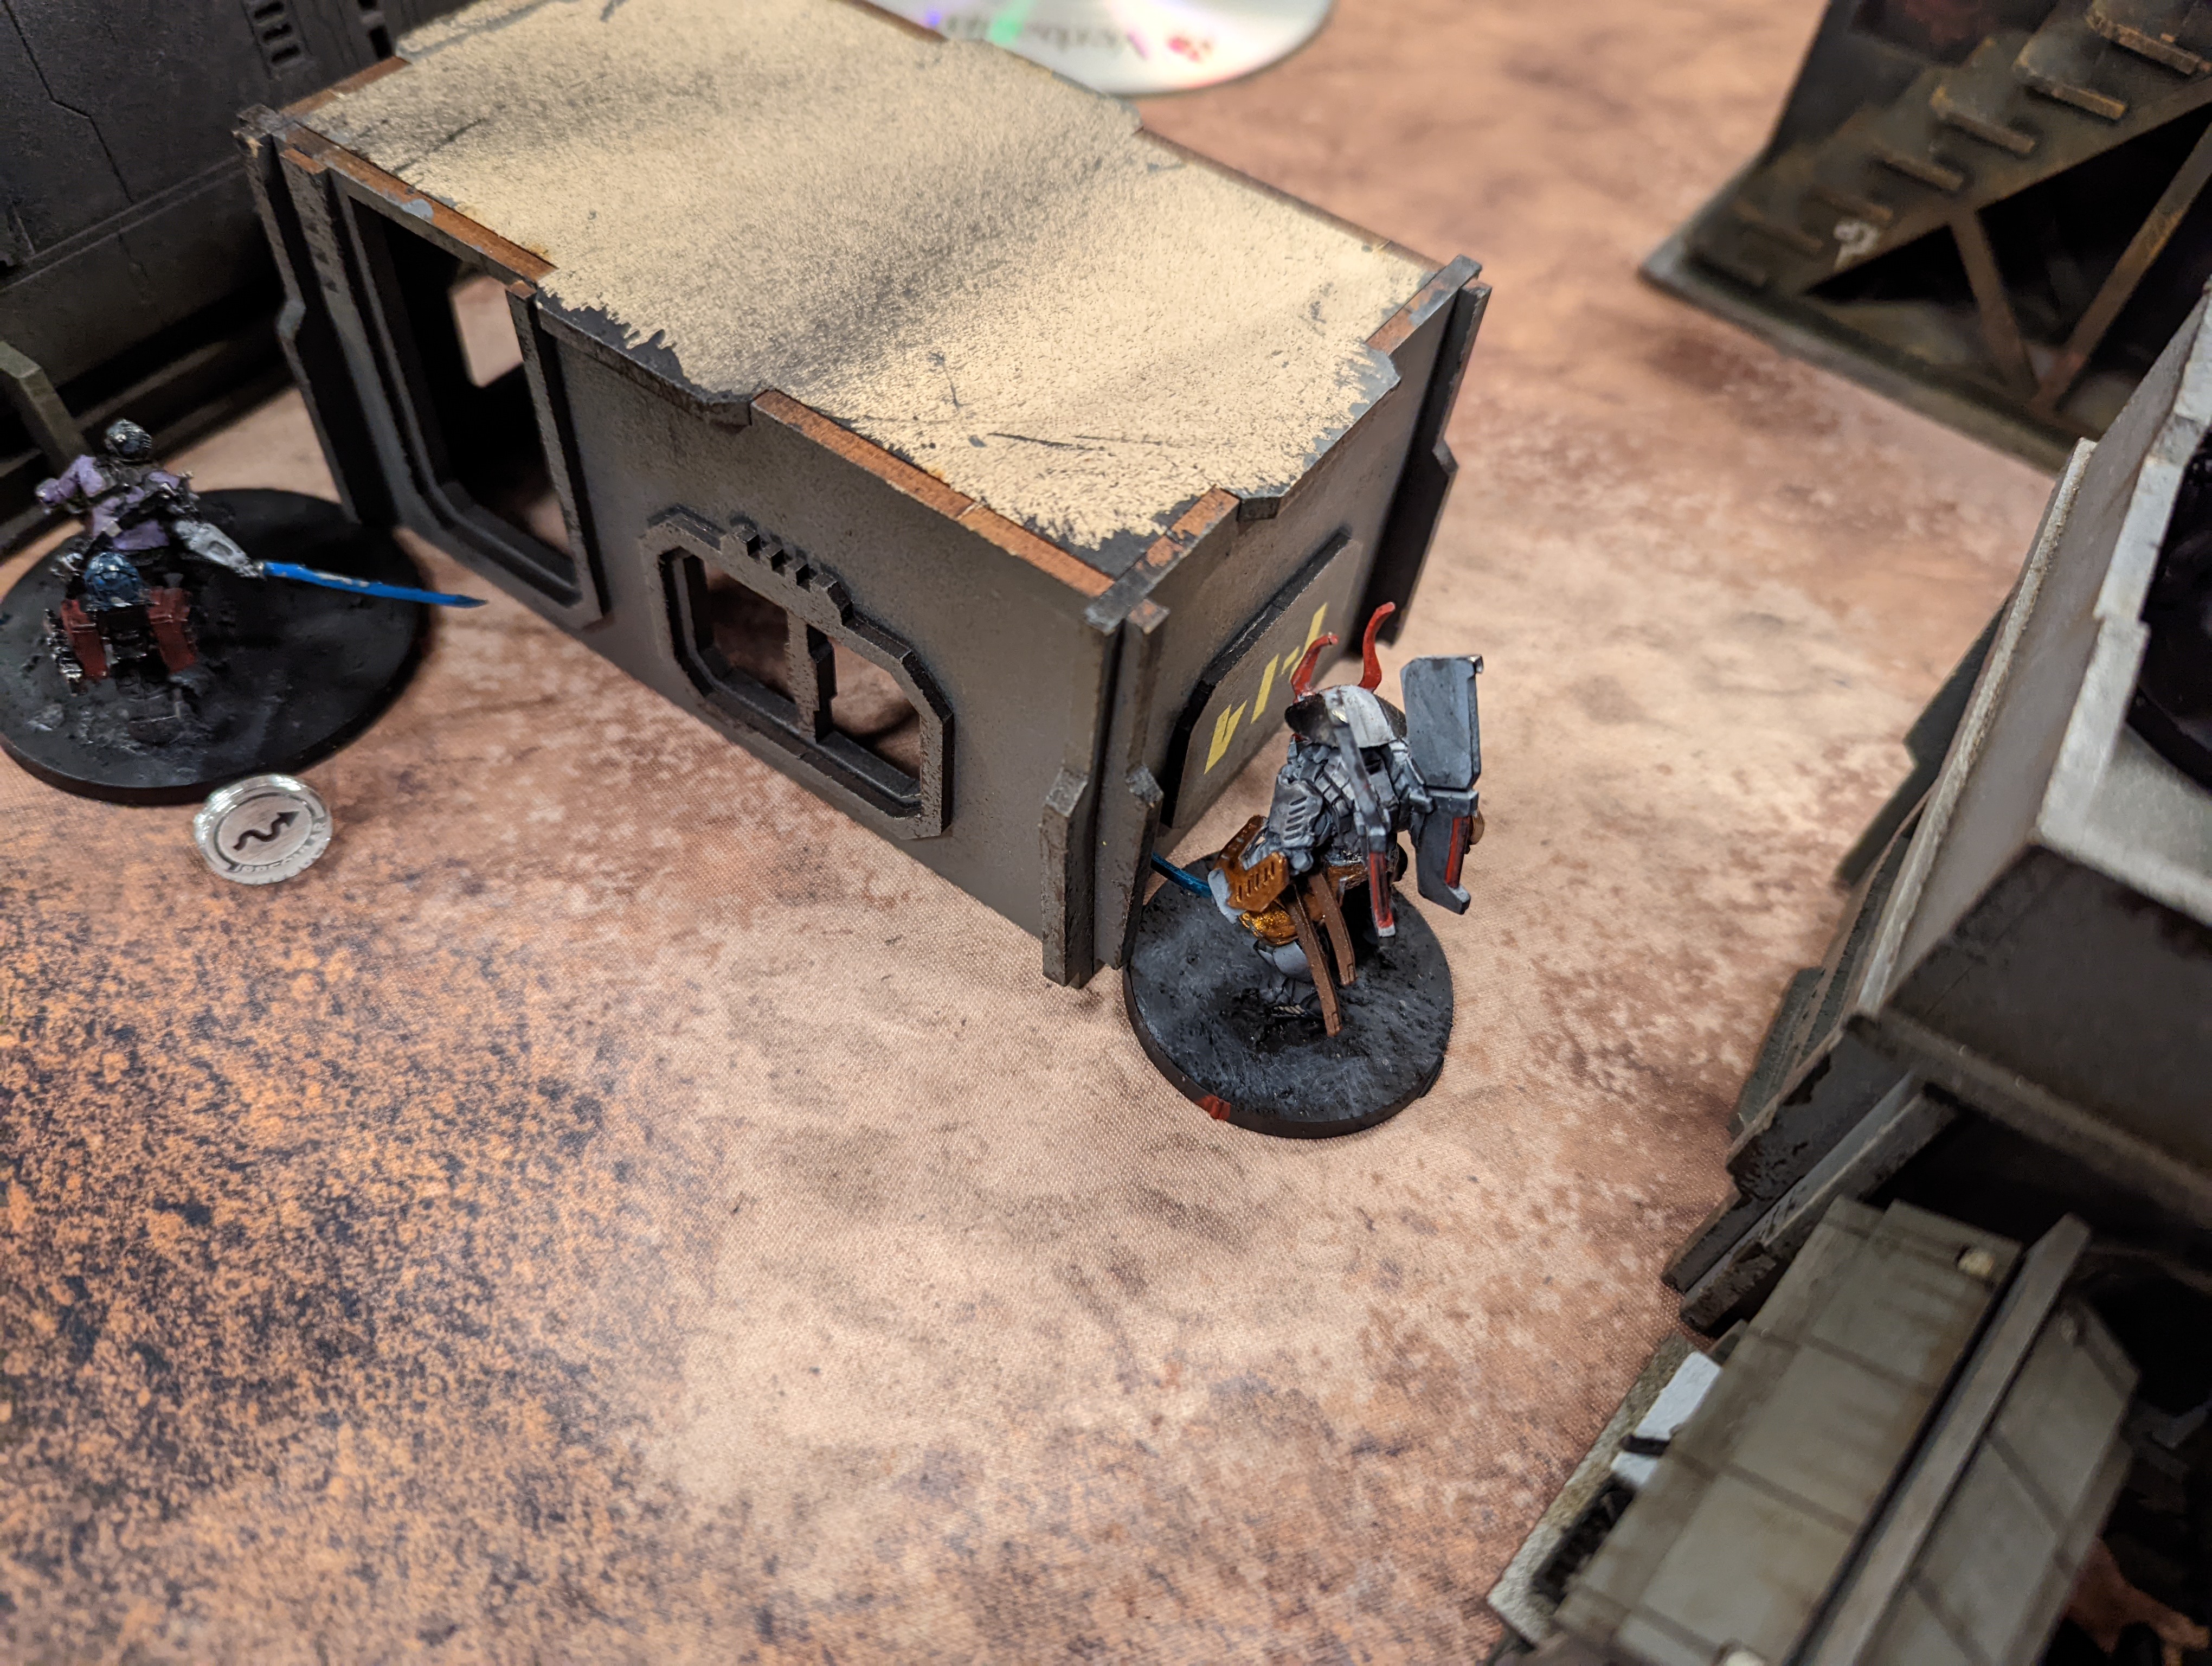
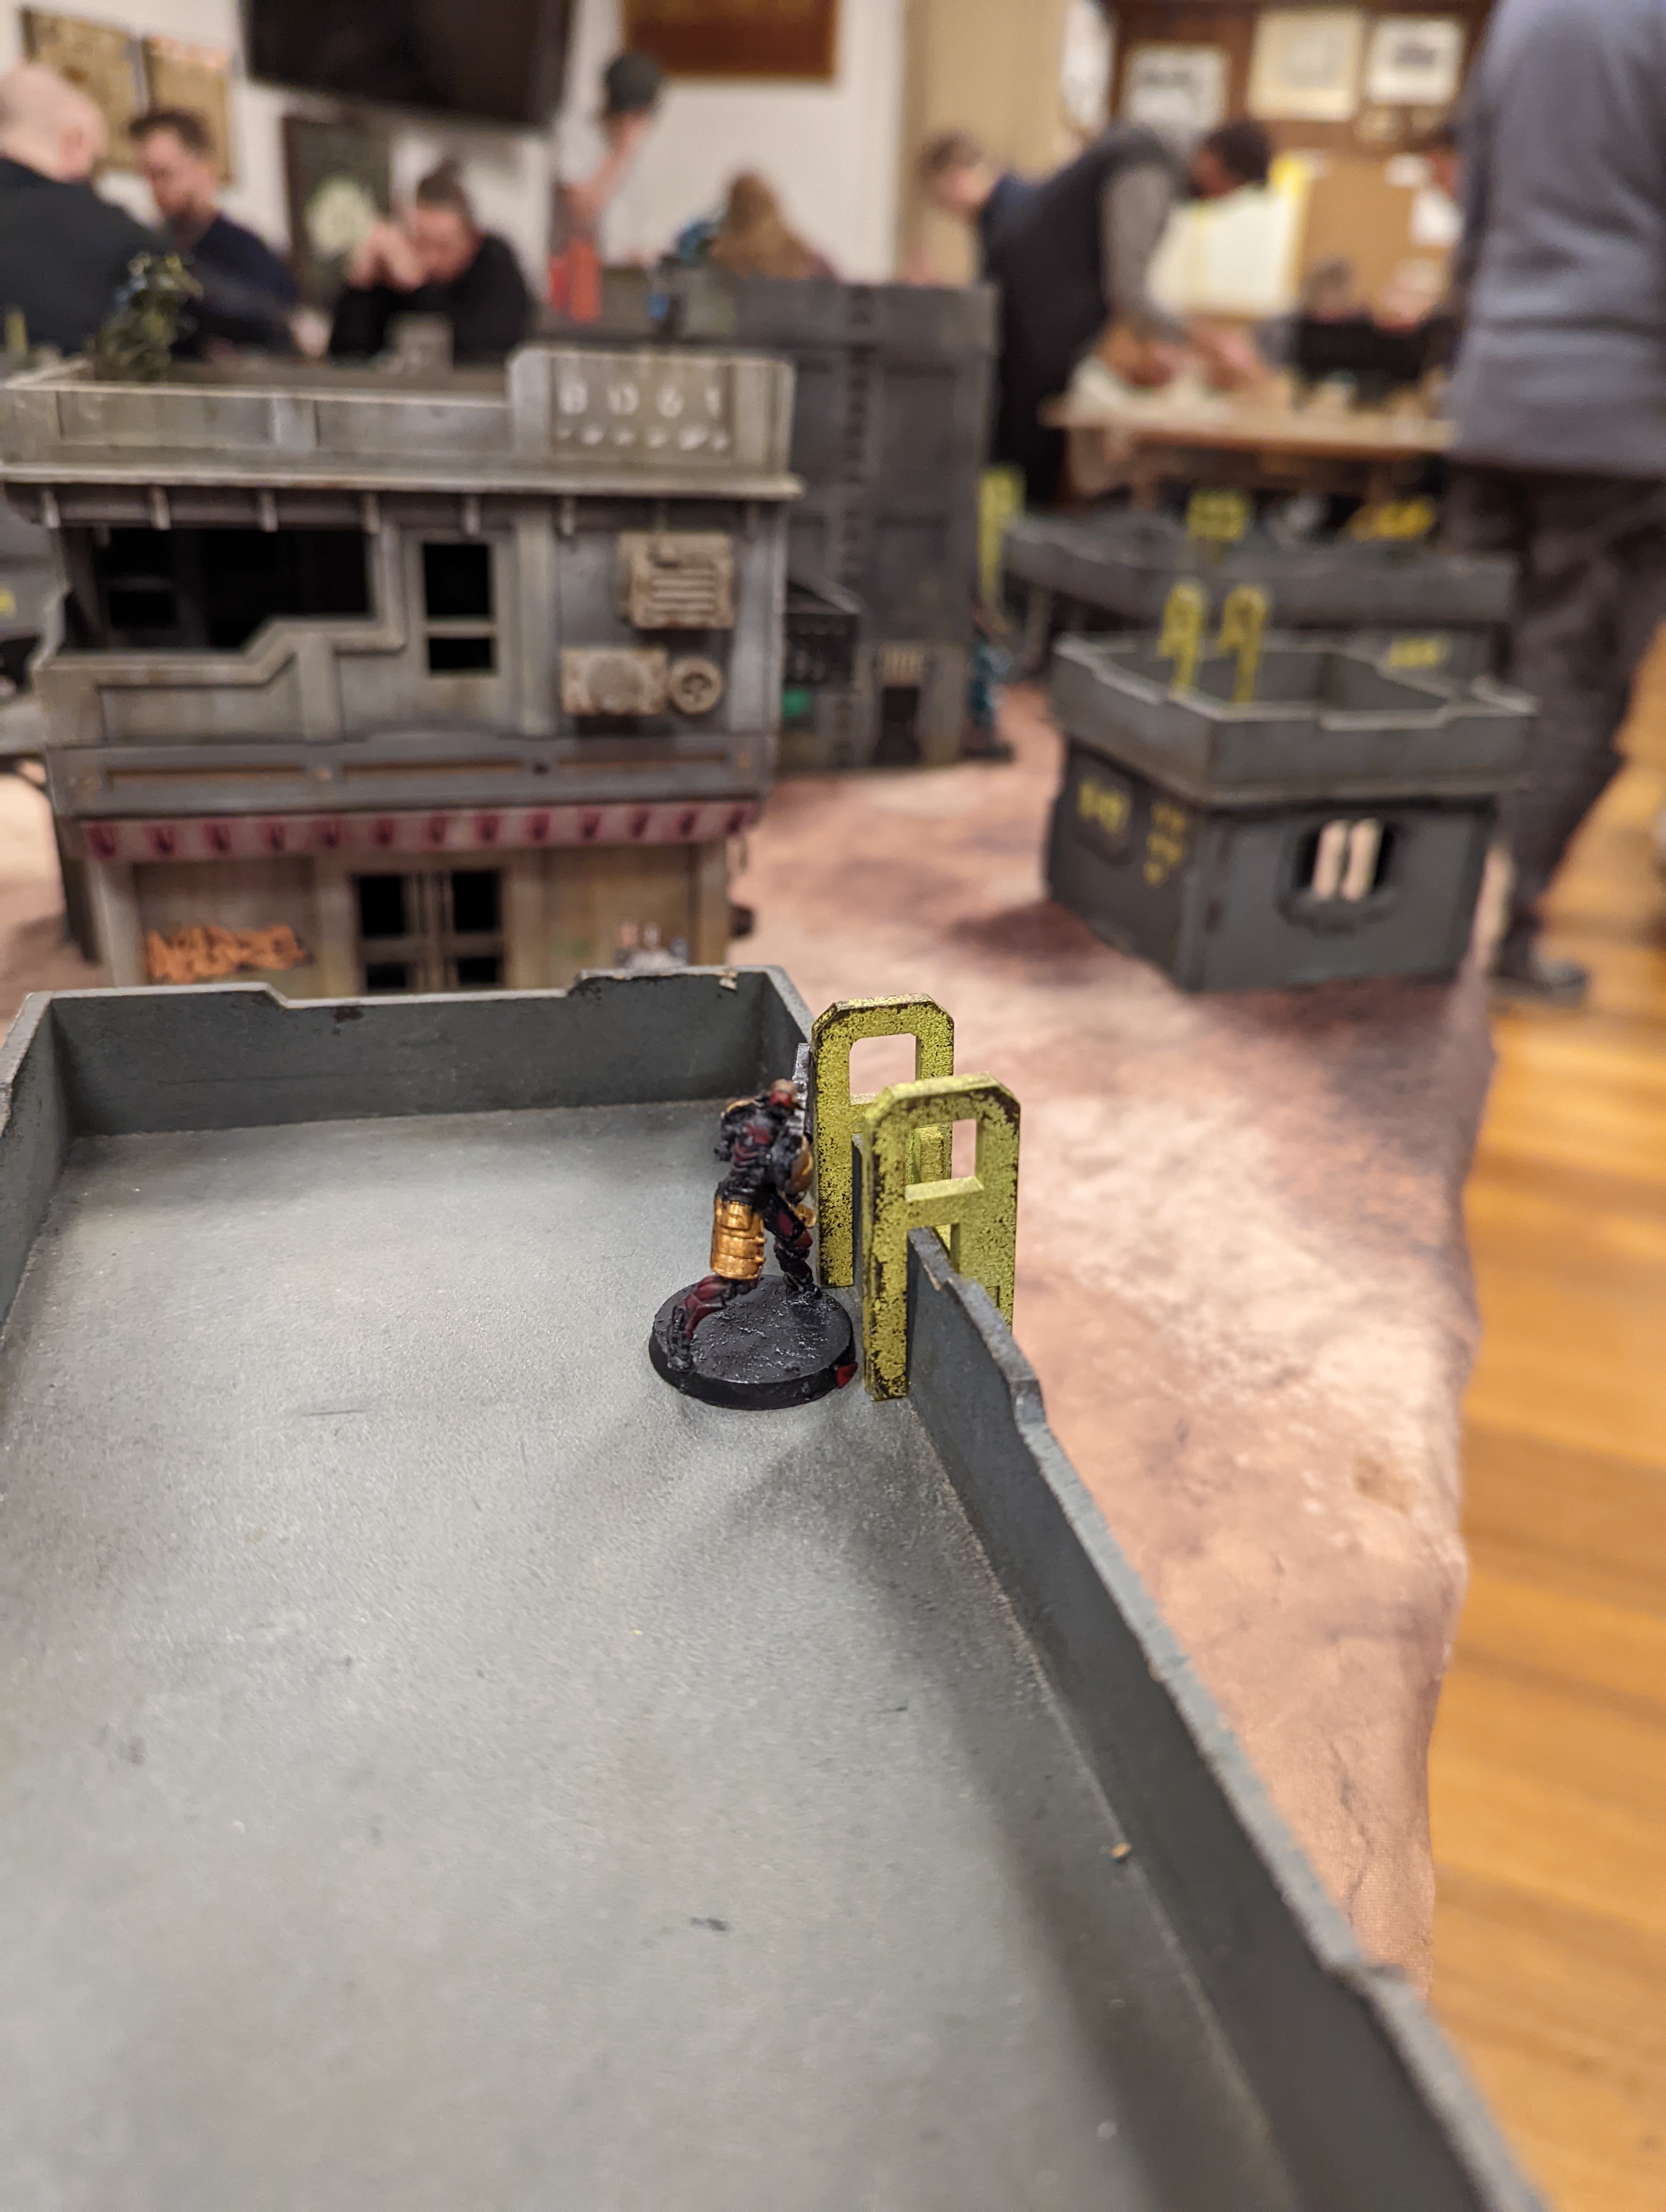
The Domaru, taking charge of the impromptu defence, rushes forward, killing a taigha creature. She then narrowly avoids the Combined Army's hastily deployed repeater network to get eyes on a revealed Speculo killer which failed to assimilated into the happy-go-lucky local Japanese crowd. Unfortunately, in the process she was flash pulsed by an Ikadron and smoke was deployed by the speculo, meaning she couldn't continue her assault. The Domaru dodged past some shots fired by the Anathematic and secured a forward position. Yojimbo continued the example, rushing forward to place some crazykoalas, and perform a few secret missions of his own (scoring net undermine, but failing to pull something from a panoply). He then rode back to a more dug in position to weather the coming assault.
Turn 1 - CA
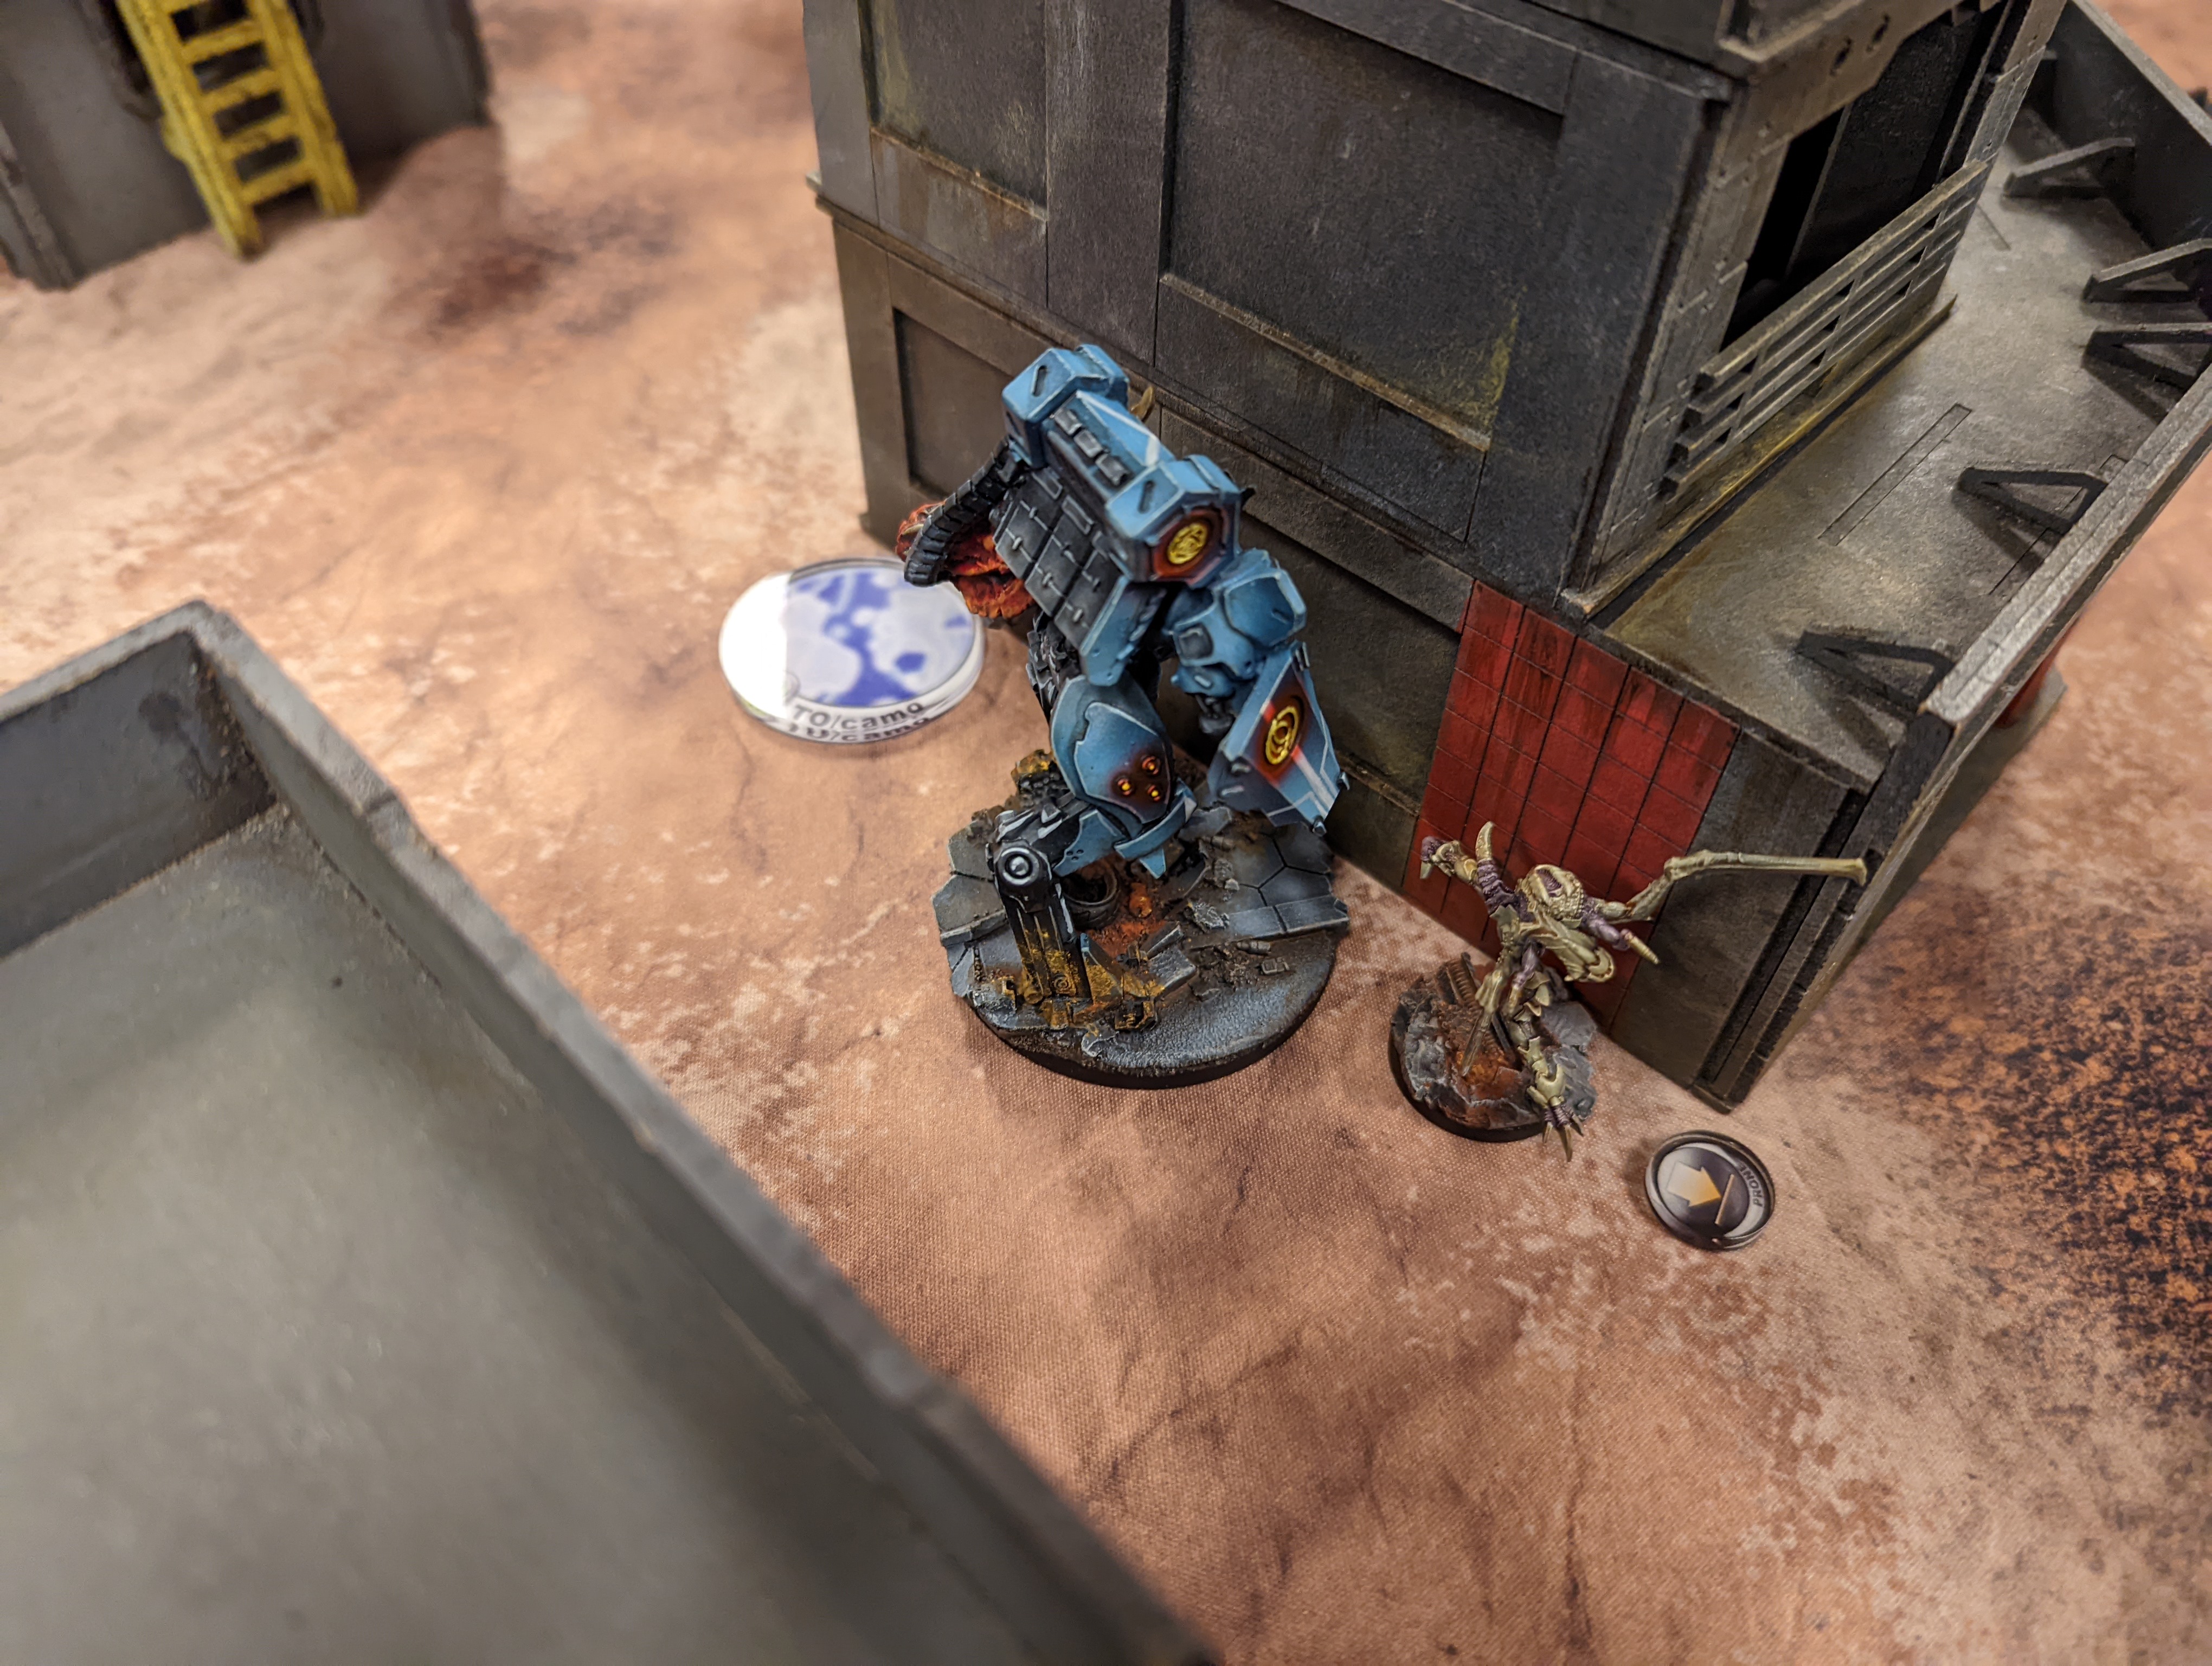
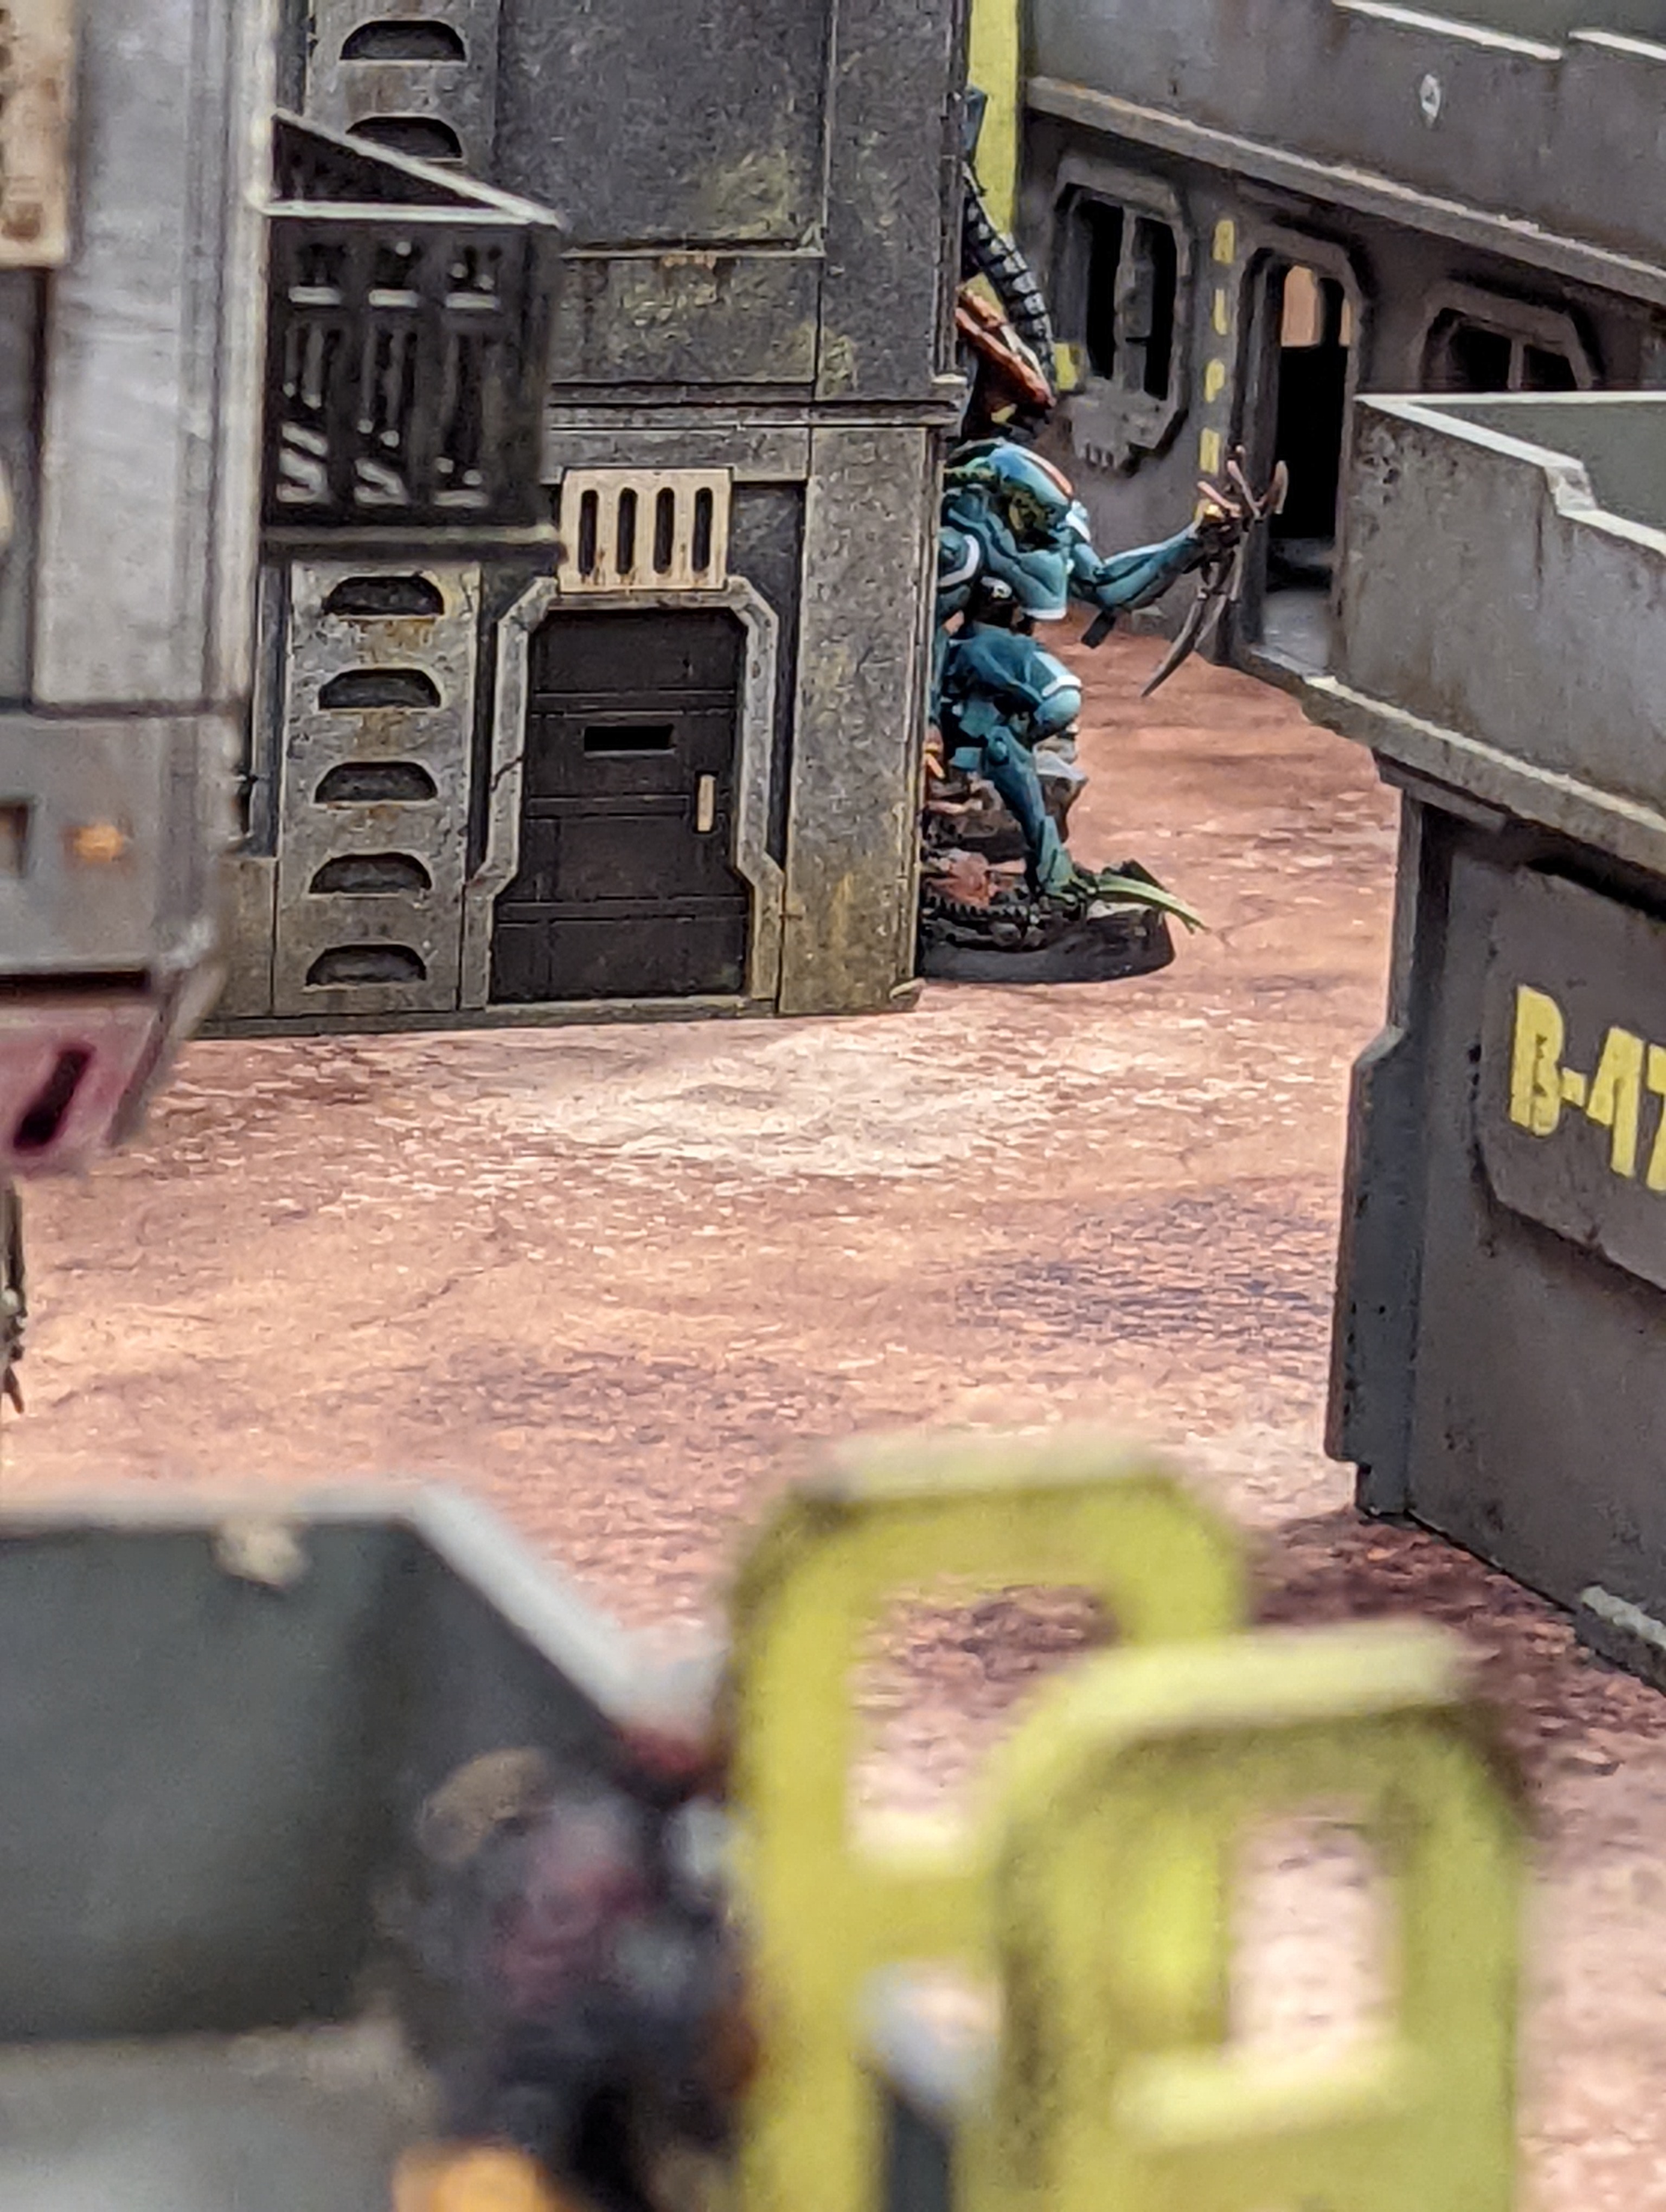
With the Domaru on overwatch, the CA commander decides to send in the Raicho Armoured Brigade. They exchange shots, with one from the Raicho breaking through and wounding our courageous lieutenant, who fell back into cover. The EI, forever without scruples, then proceeded to target the Domaru through quantronic means, subsequently using a T-Drone to drop missiles on top of her. With that threat extinguished, the Umbra Samaritan activates, jumping down on top on the previously placed crazy koala and taking a wound. It stalks forward, once again using a targeting program on Yojimbo, who is also falls prey to the guided missile launcher. The Umbra Samaritan retakes its perch. The Anathematic falls back into camouflage, moving sideways to be discovered by our keisotsu missile launcher, and performs some more hacking programs on a high value target on the streets of the urban centre. This ends the initial assault of the combined army.
Turn 2 - JSA
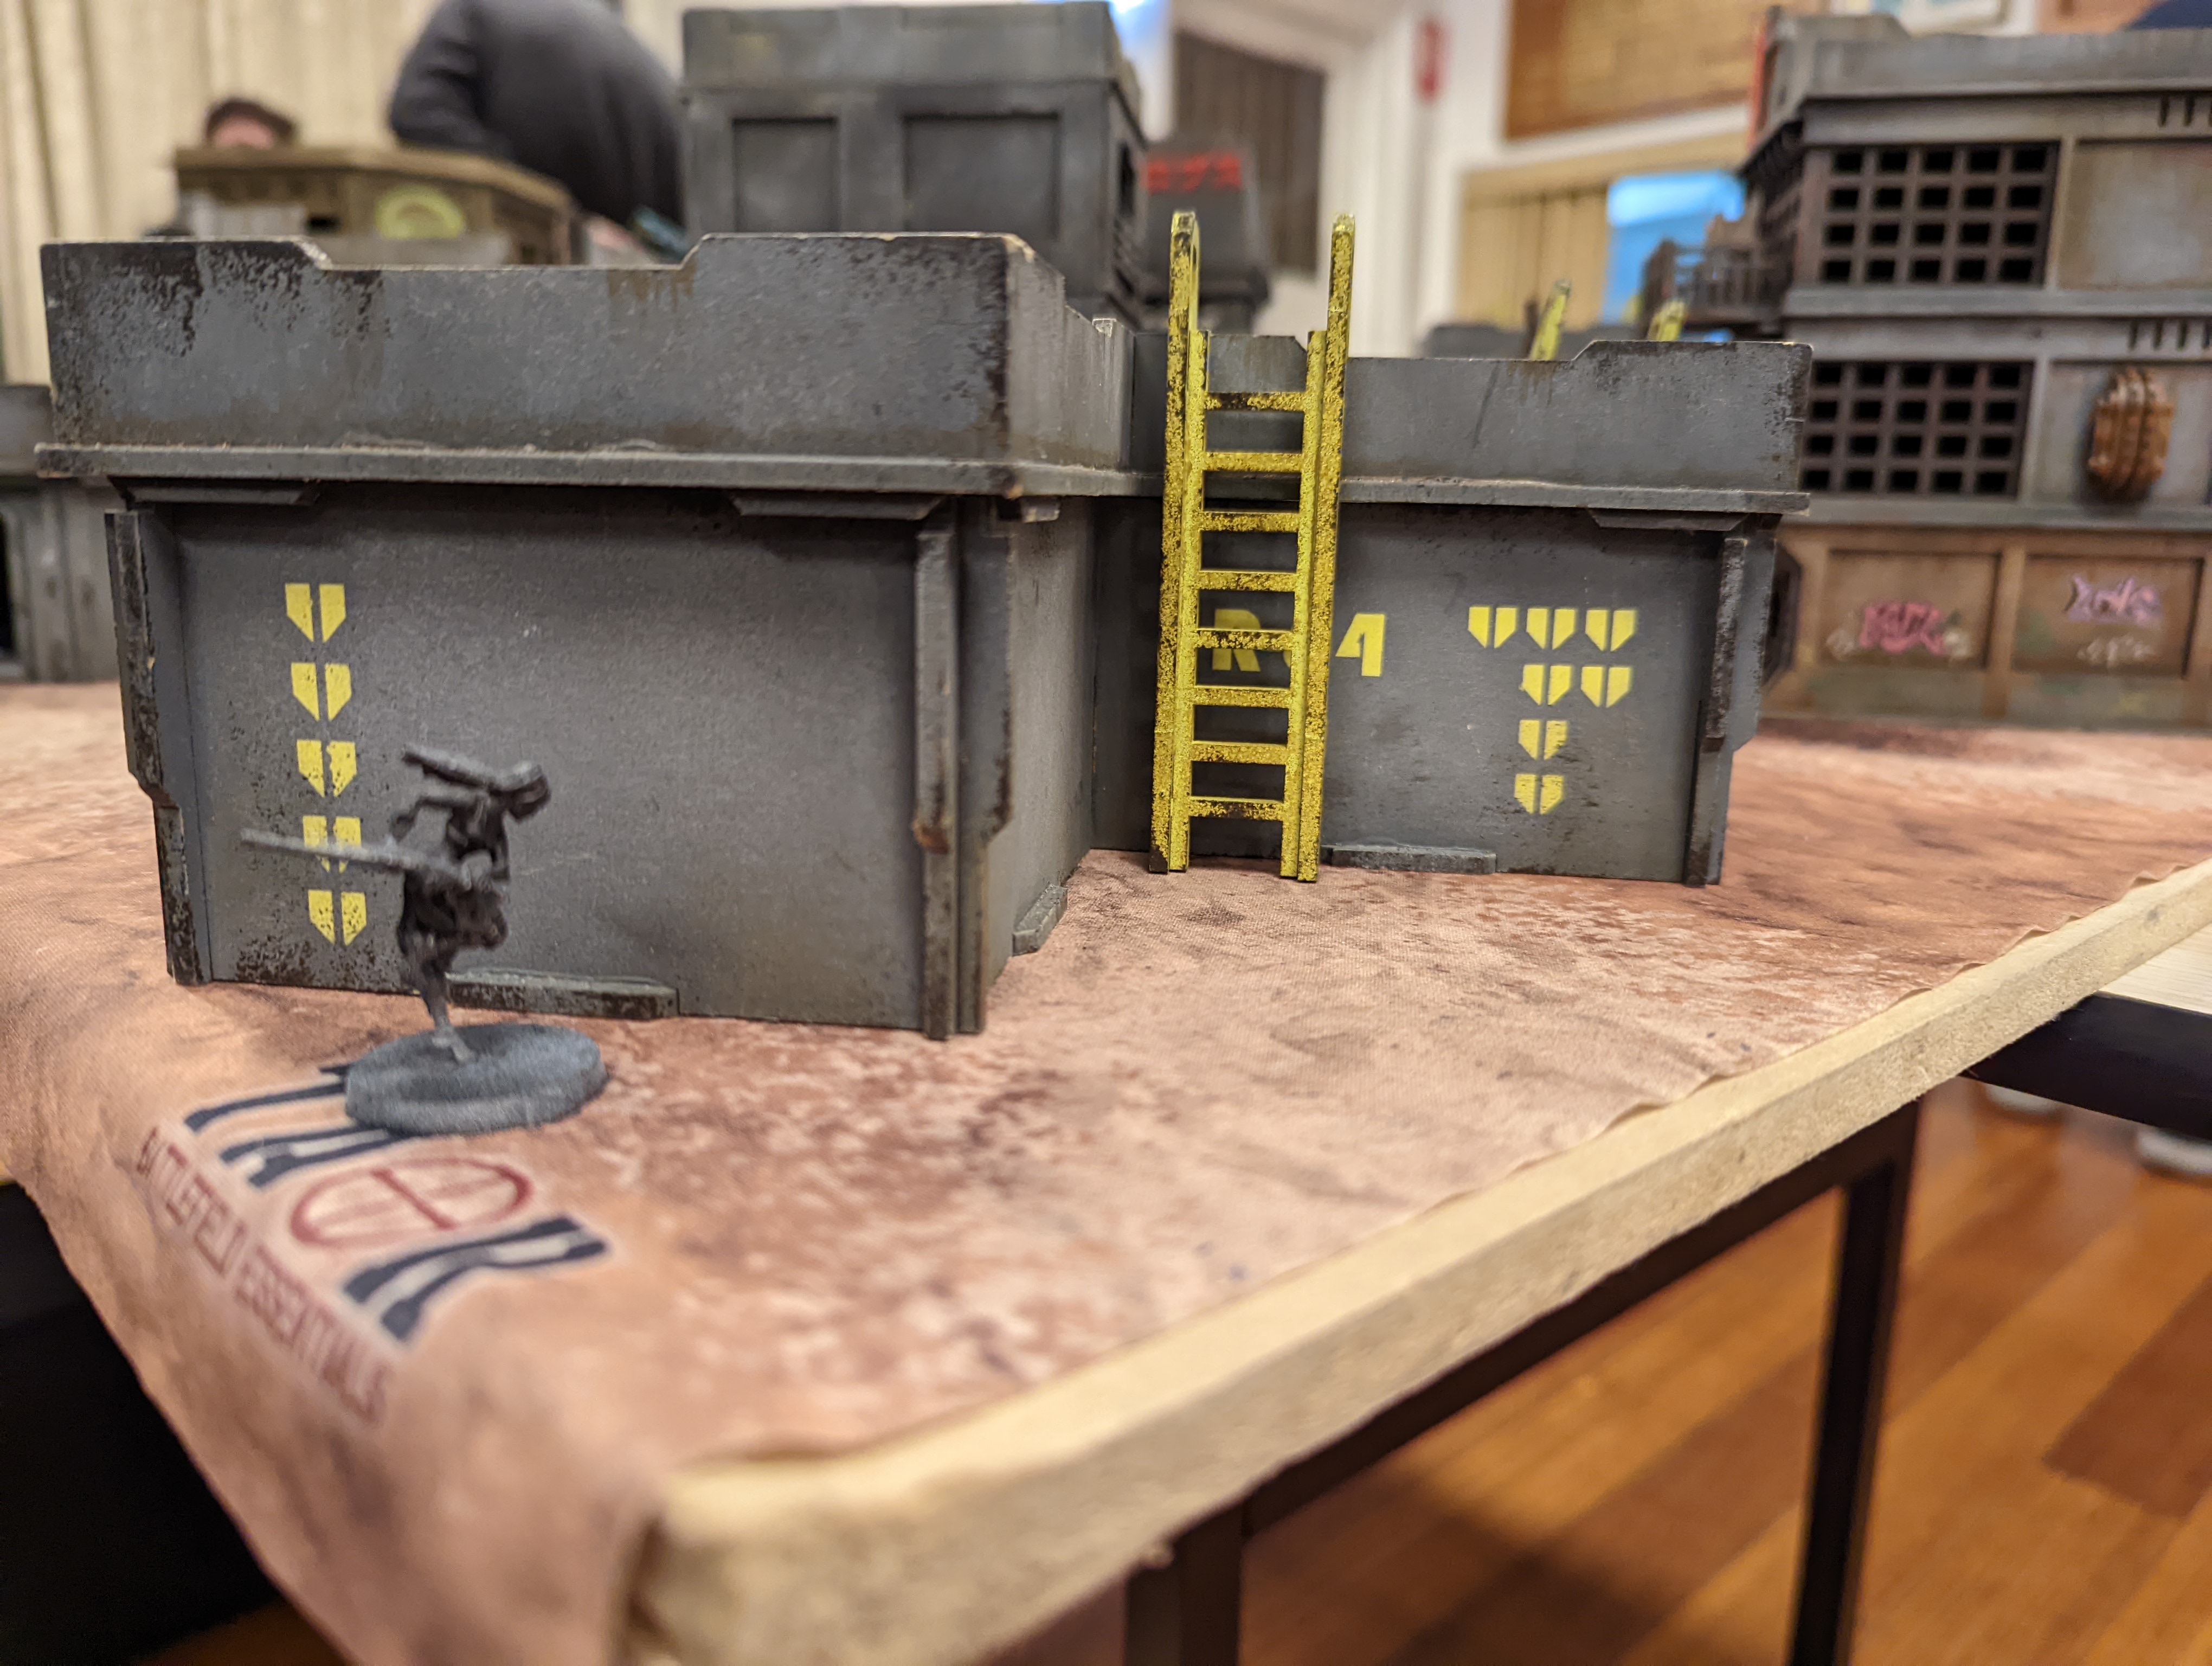
From out of the shadows, comes doom. Shinobu whips off her hat and cuts down the Anathematic in one blow. Then she set her eyes on an Ikadron and the T-drone, which both fall equally as easily. She then dips back into camouflage, deep behind enemy lines. The rest of the turn is spent repositioning Japanese assets to better assault the weakened CA line.
Turn 2 - CA
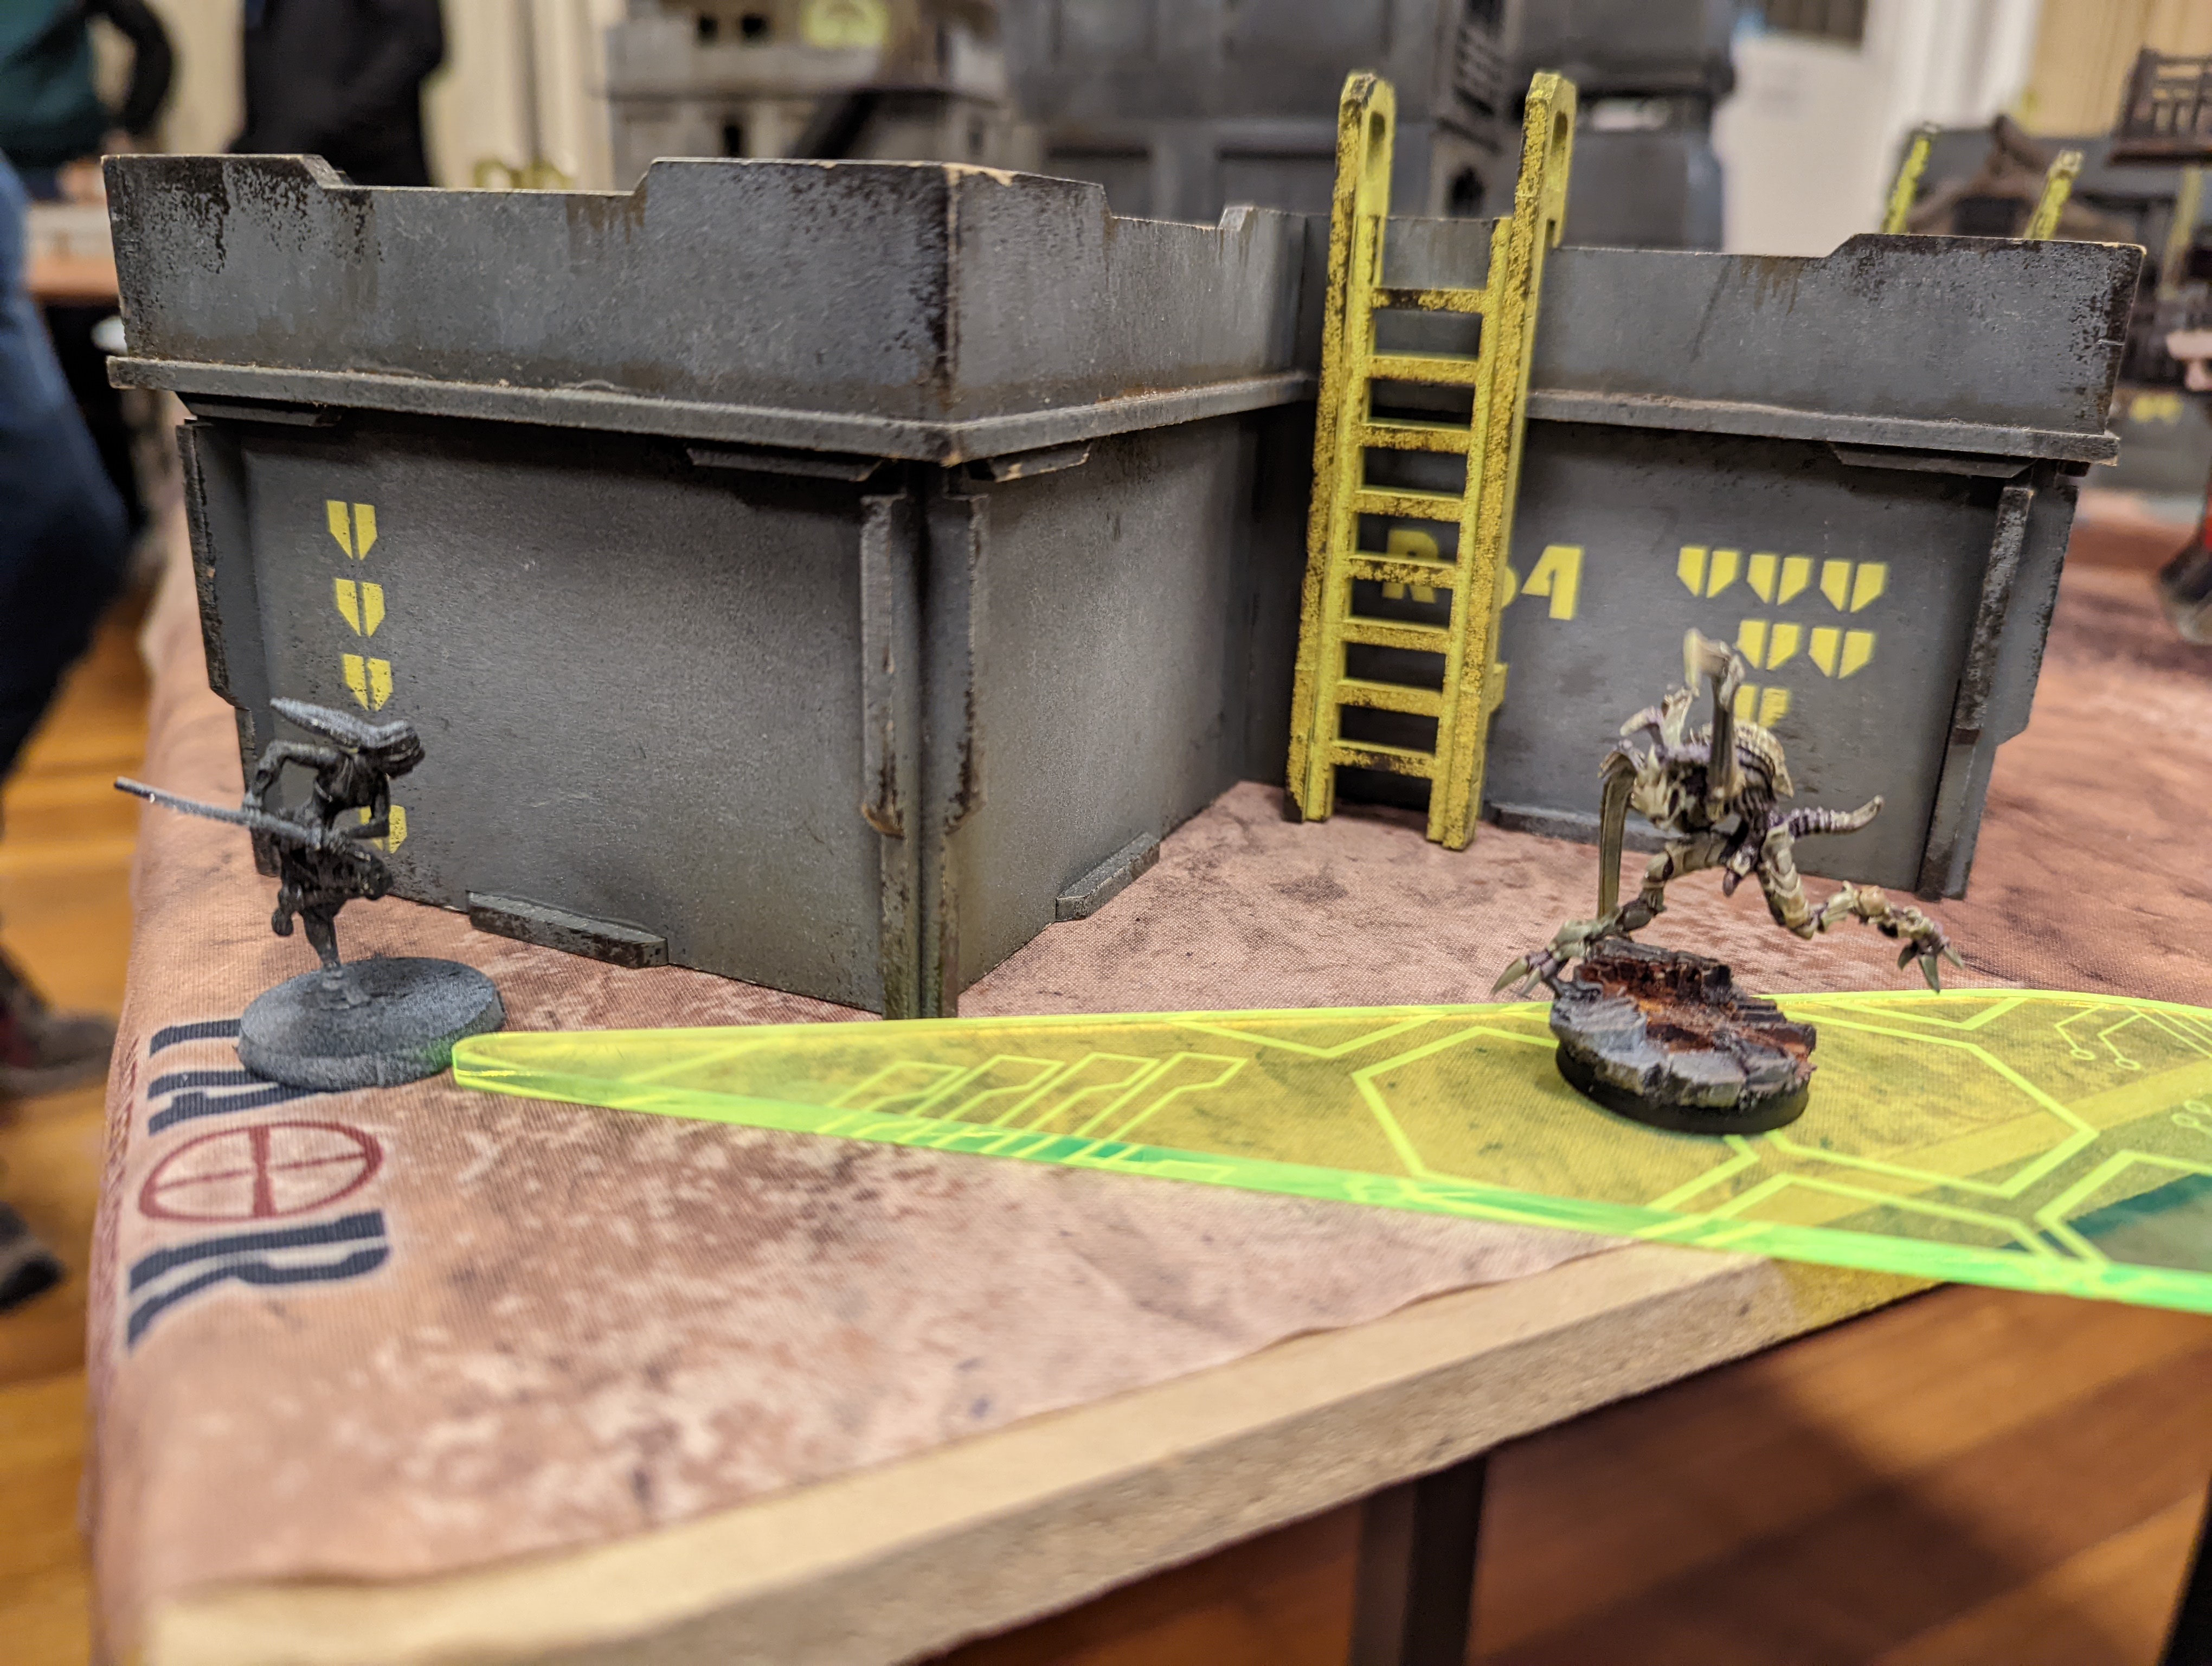
Following the decimation of the EI's favoured receptacles, a Gaki moved to get revenge by killing Shinobu Kitsune, the terror in the shadows. Unfortunately, it falls easily to a nanopulser fired in response. The Raicho moves forward to attempt to engage the Ryuken Unit 9, to no avail. The Ryuken held until the opportune moment, then struck, while his mimetics kept him safe from the Raicho's onslaught. Unfortunately, the Raicho did not suffer a wound, but the Ryuken went down valiantly after holding up the rest of the combined resources.
Turn 3 - JSA
The end of the CA offensive is drawing nearer, and the Japanese militia seem to be gaining the upper hand. Yuriko receives a secure word that a nearby building is housing what the EI is really here for, so the Daiyokai covers her as she moves up to blow the building with some well placed D-Charges. She then pulls another panzerfaust out of the panoply located close to the wreckage and kills a Liberto freedom fighter taken in by the EI. Shinobu gets intel on the location of the new commander of the Combined attack group and so moves to take out the Umbra Samaritan. Unfortunately, in the ensuing close combat, the Umbra lands a lucky blow, and the oniwaban falls.
Turn 3 - CA
An Ikadron and Taigha move to take out Yuriko and the Daiyokai, and are swiftly put down for their insolence. The Raicho backs away from it's forward position to take out a Tanko running to secure the Combined High Value Target. The only move left is for an R drone to move from it's vantage point to secure our HVT, stymying our chances to gain further points.
The game ends with the same number of Lts killed, CA scoring 3 classifieds, JSA scoring 2, pulling more weapons out of the panoplies and killing more army points. The EI turned tail and ran, escaping from any further attrition.
Battle Report Author

Army Lists Used In This Battle
Recommend Commander For Commendation
Share this battle with friends
JustJoshingWins

Like the table and the miniature !
Great name of the report 😀 and also a nice read! Congrats to the win.
Concise reporting, great pictures. Looks like this match was a lot of fun.
The best offense is to take someone’s mum out to dinner and never call her again.