Fought At Cameliard: Reliquary
648 days 7 hours 55 minutes ago
1 Round K.O. dragged out for 3.
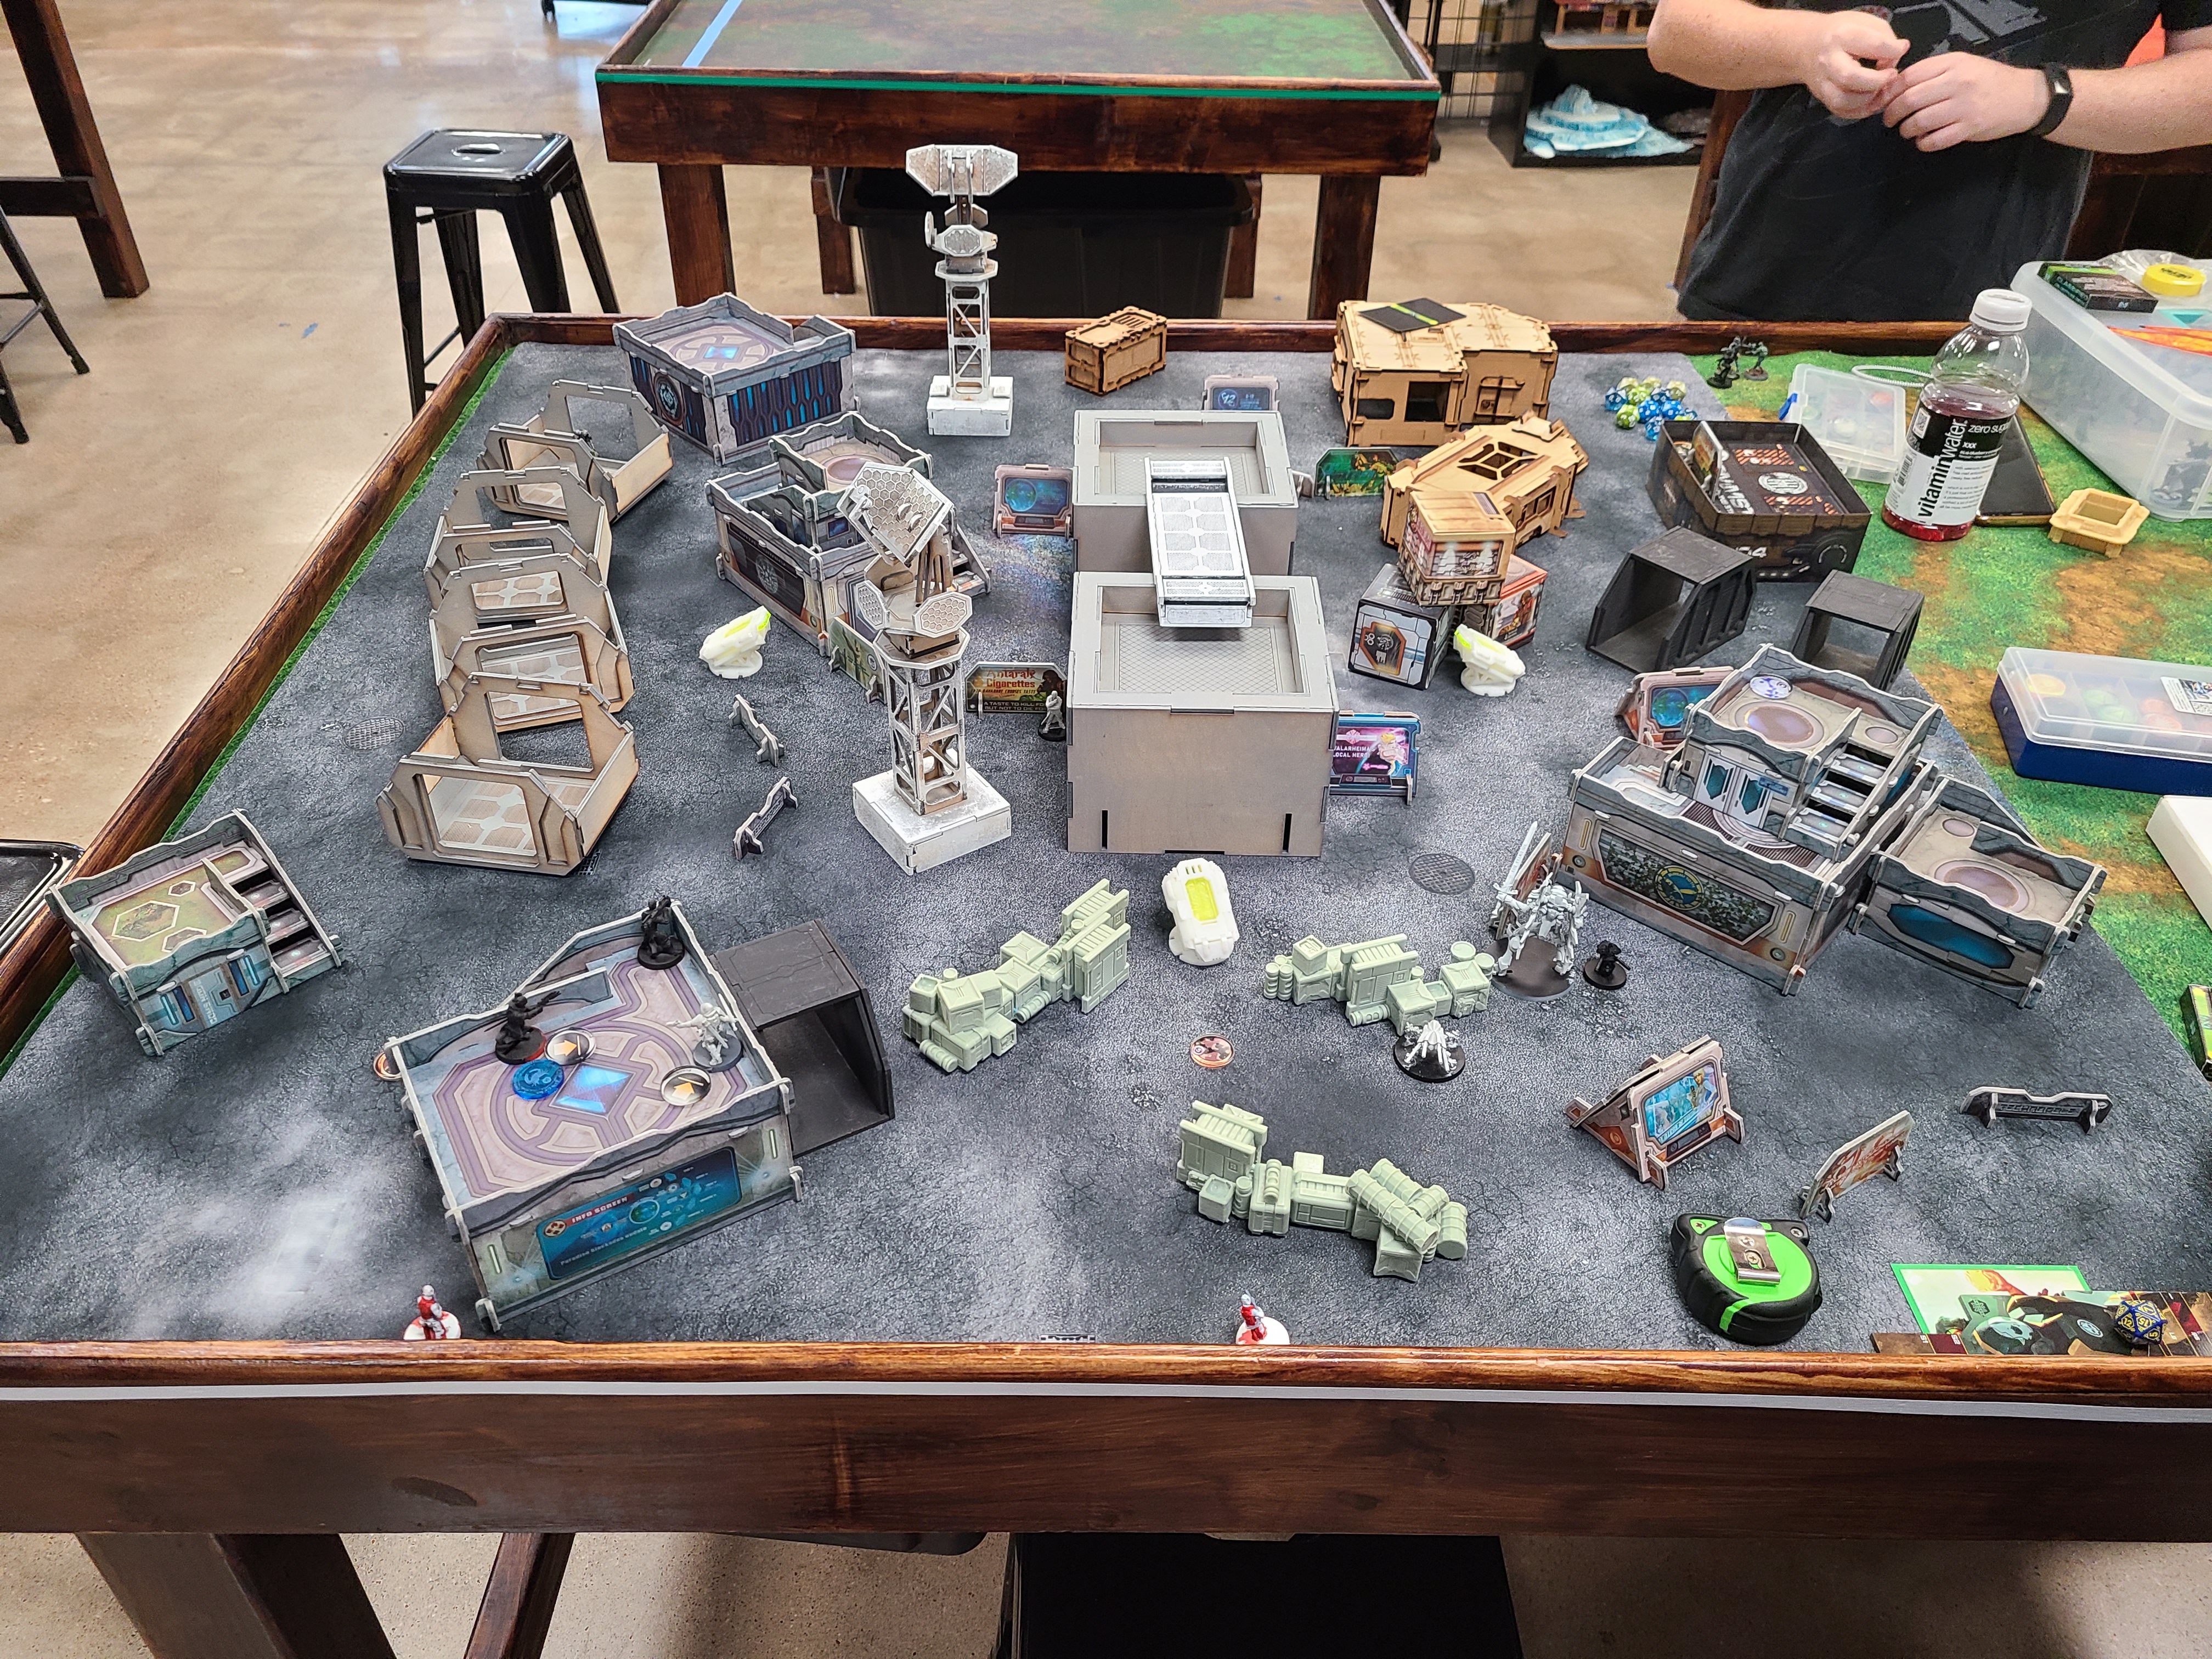
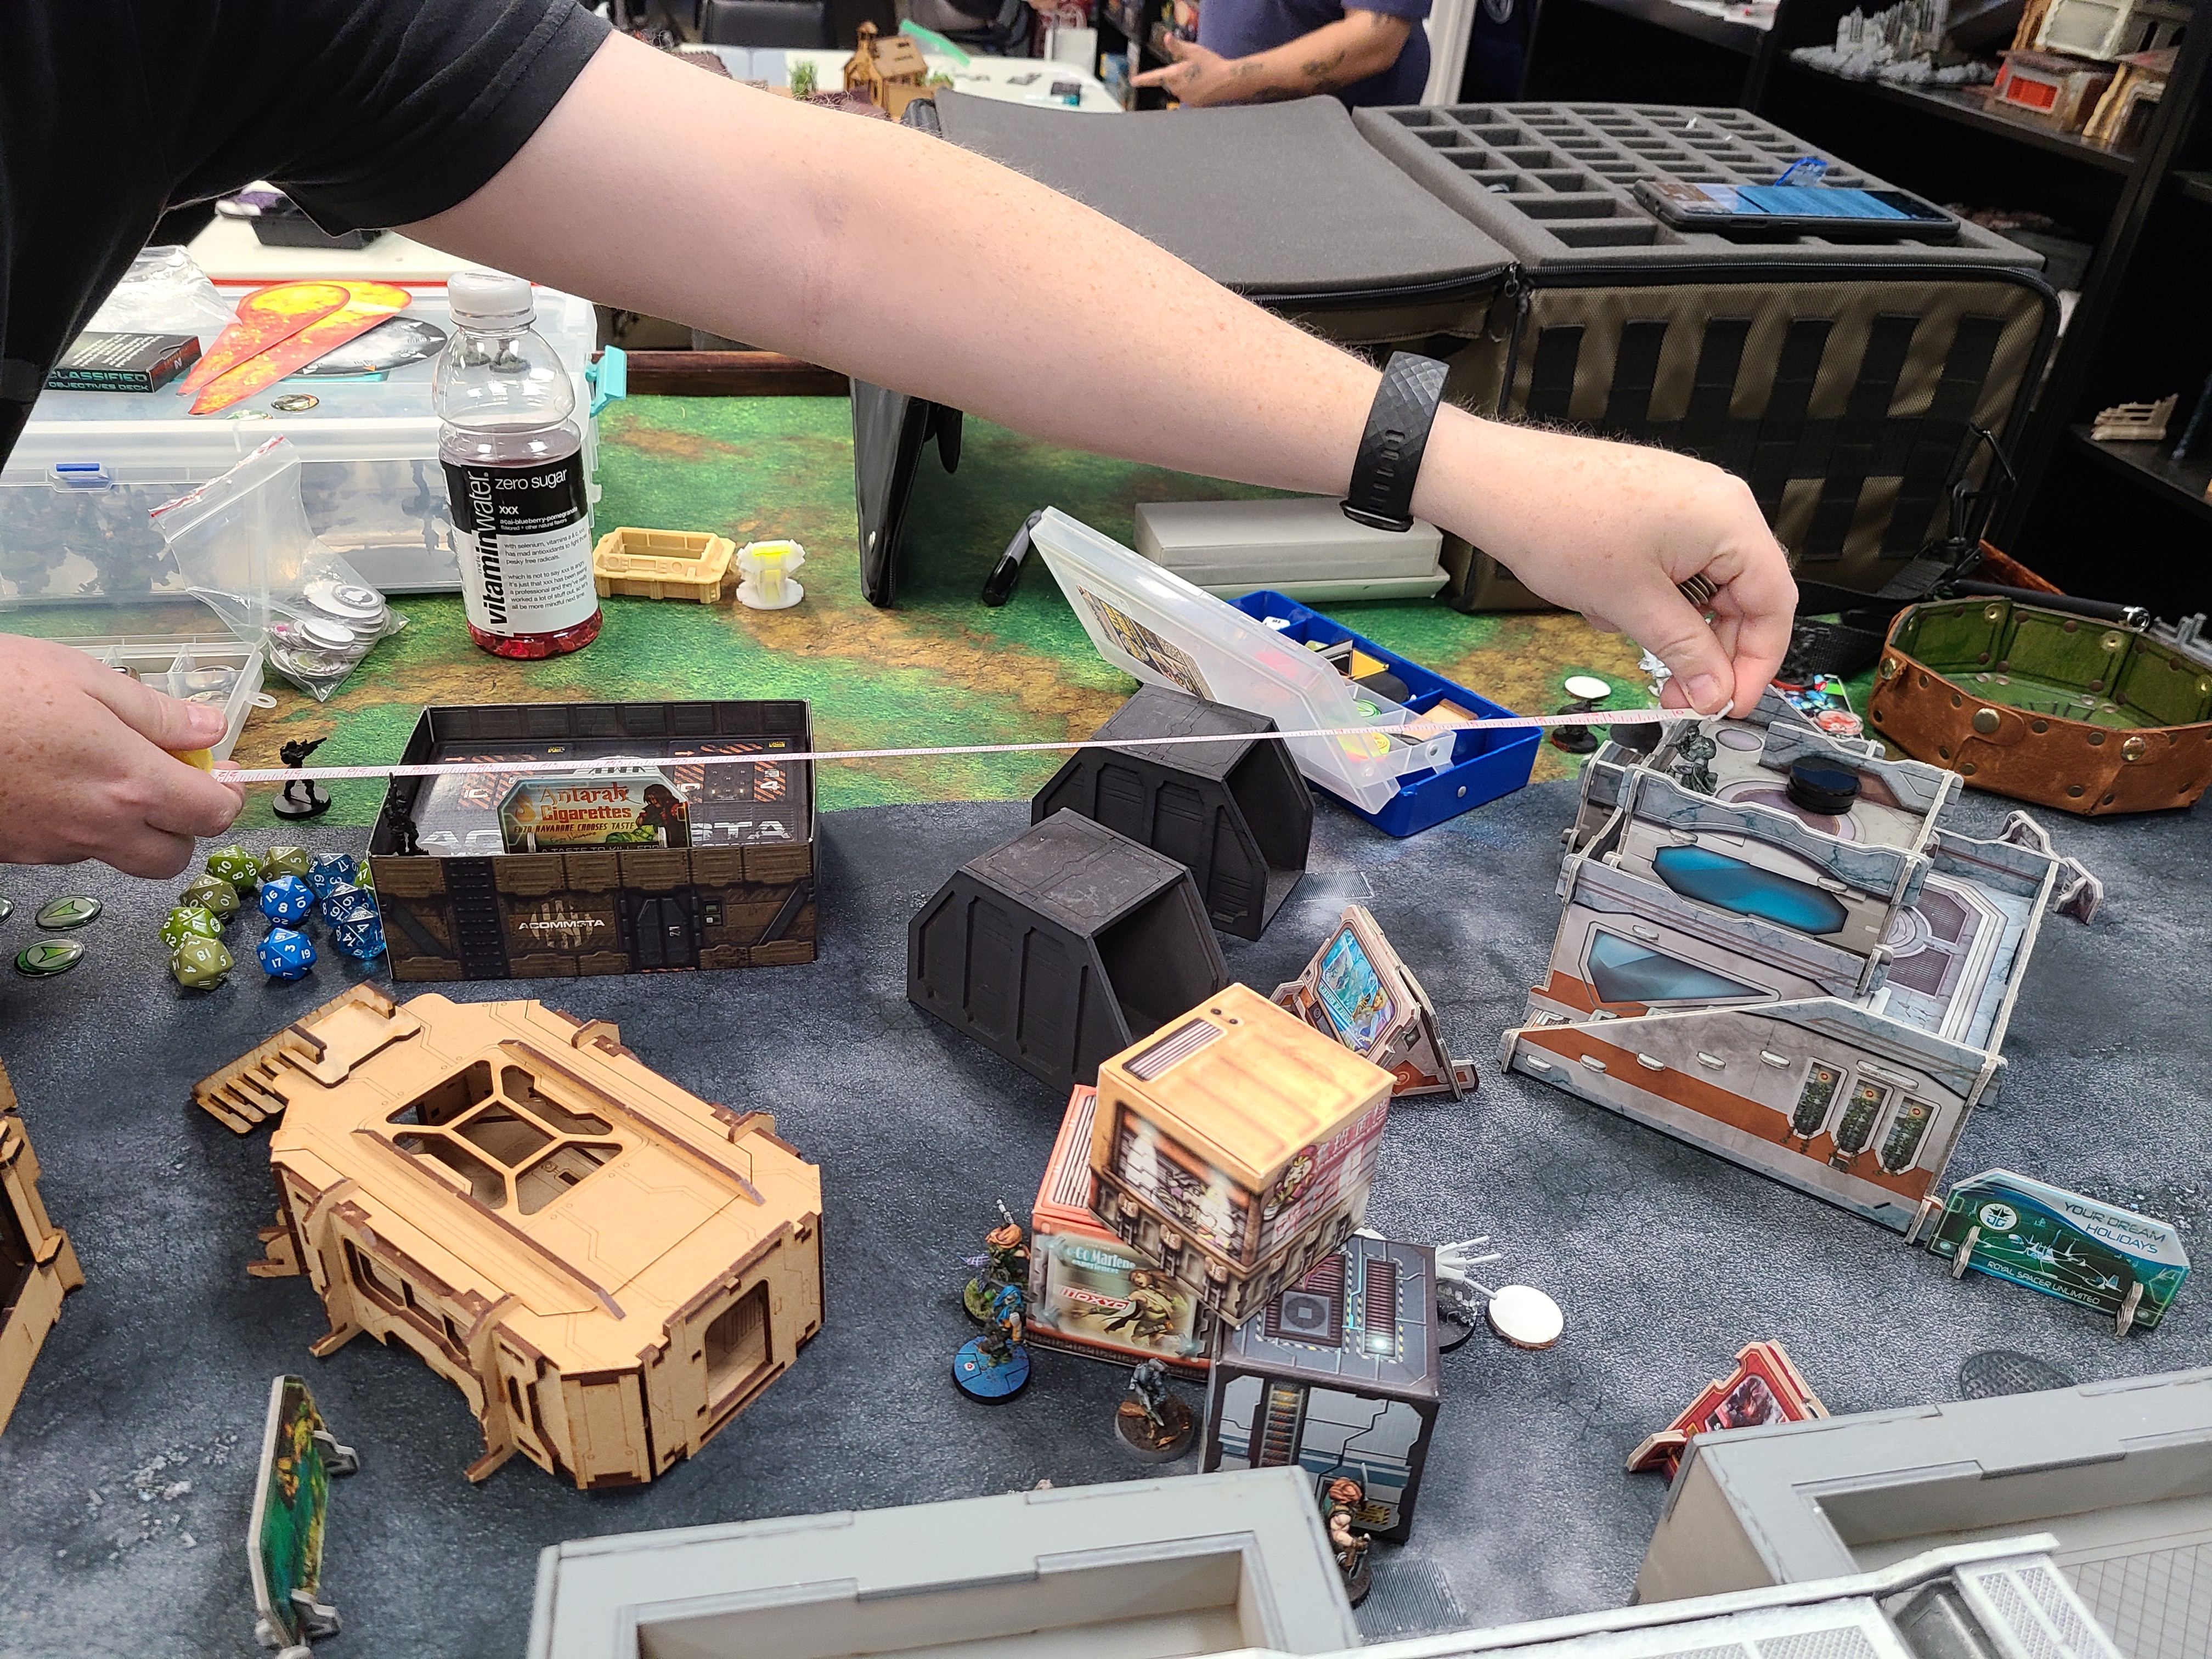
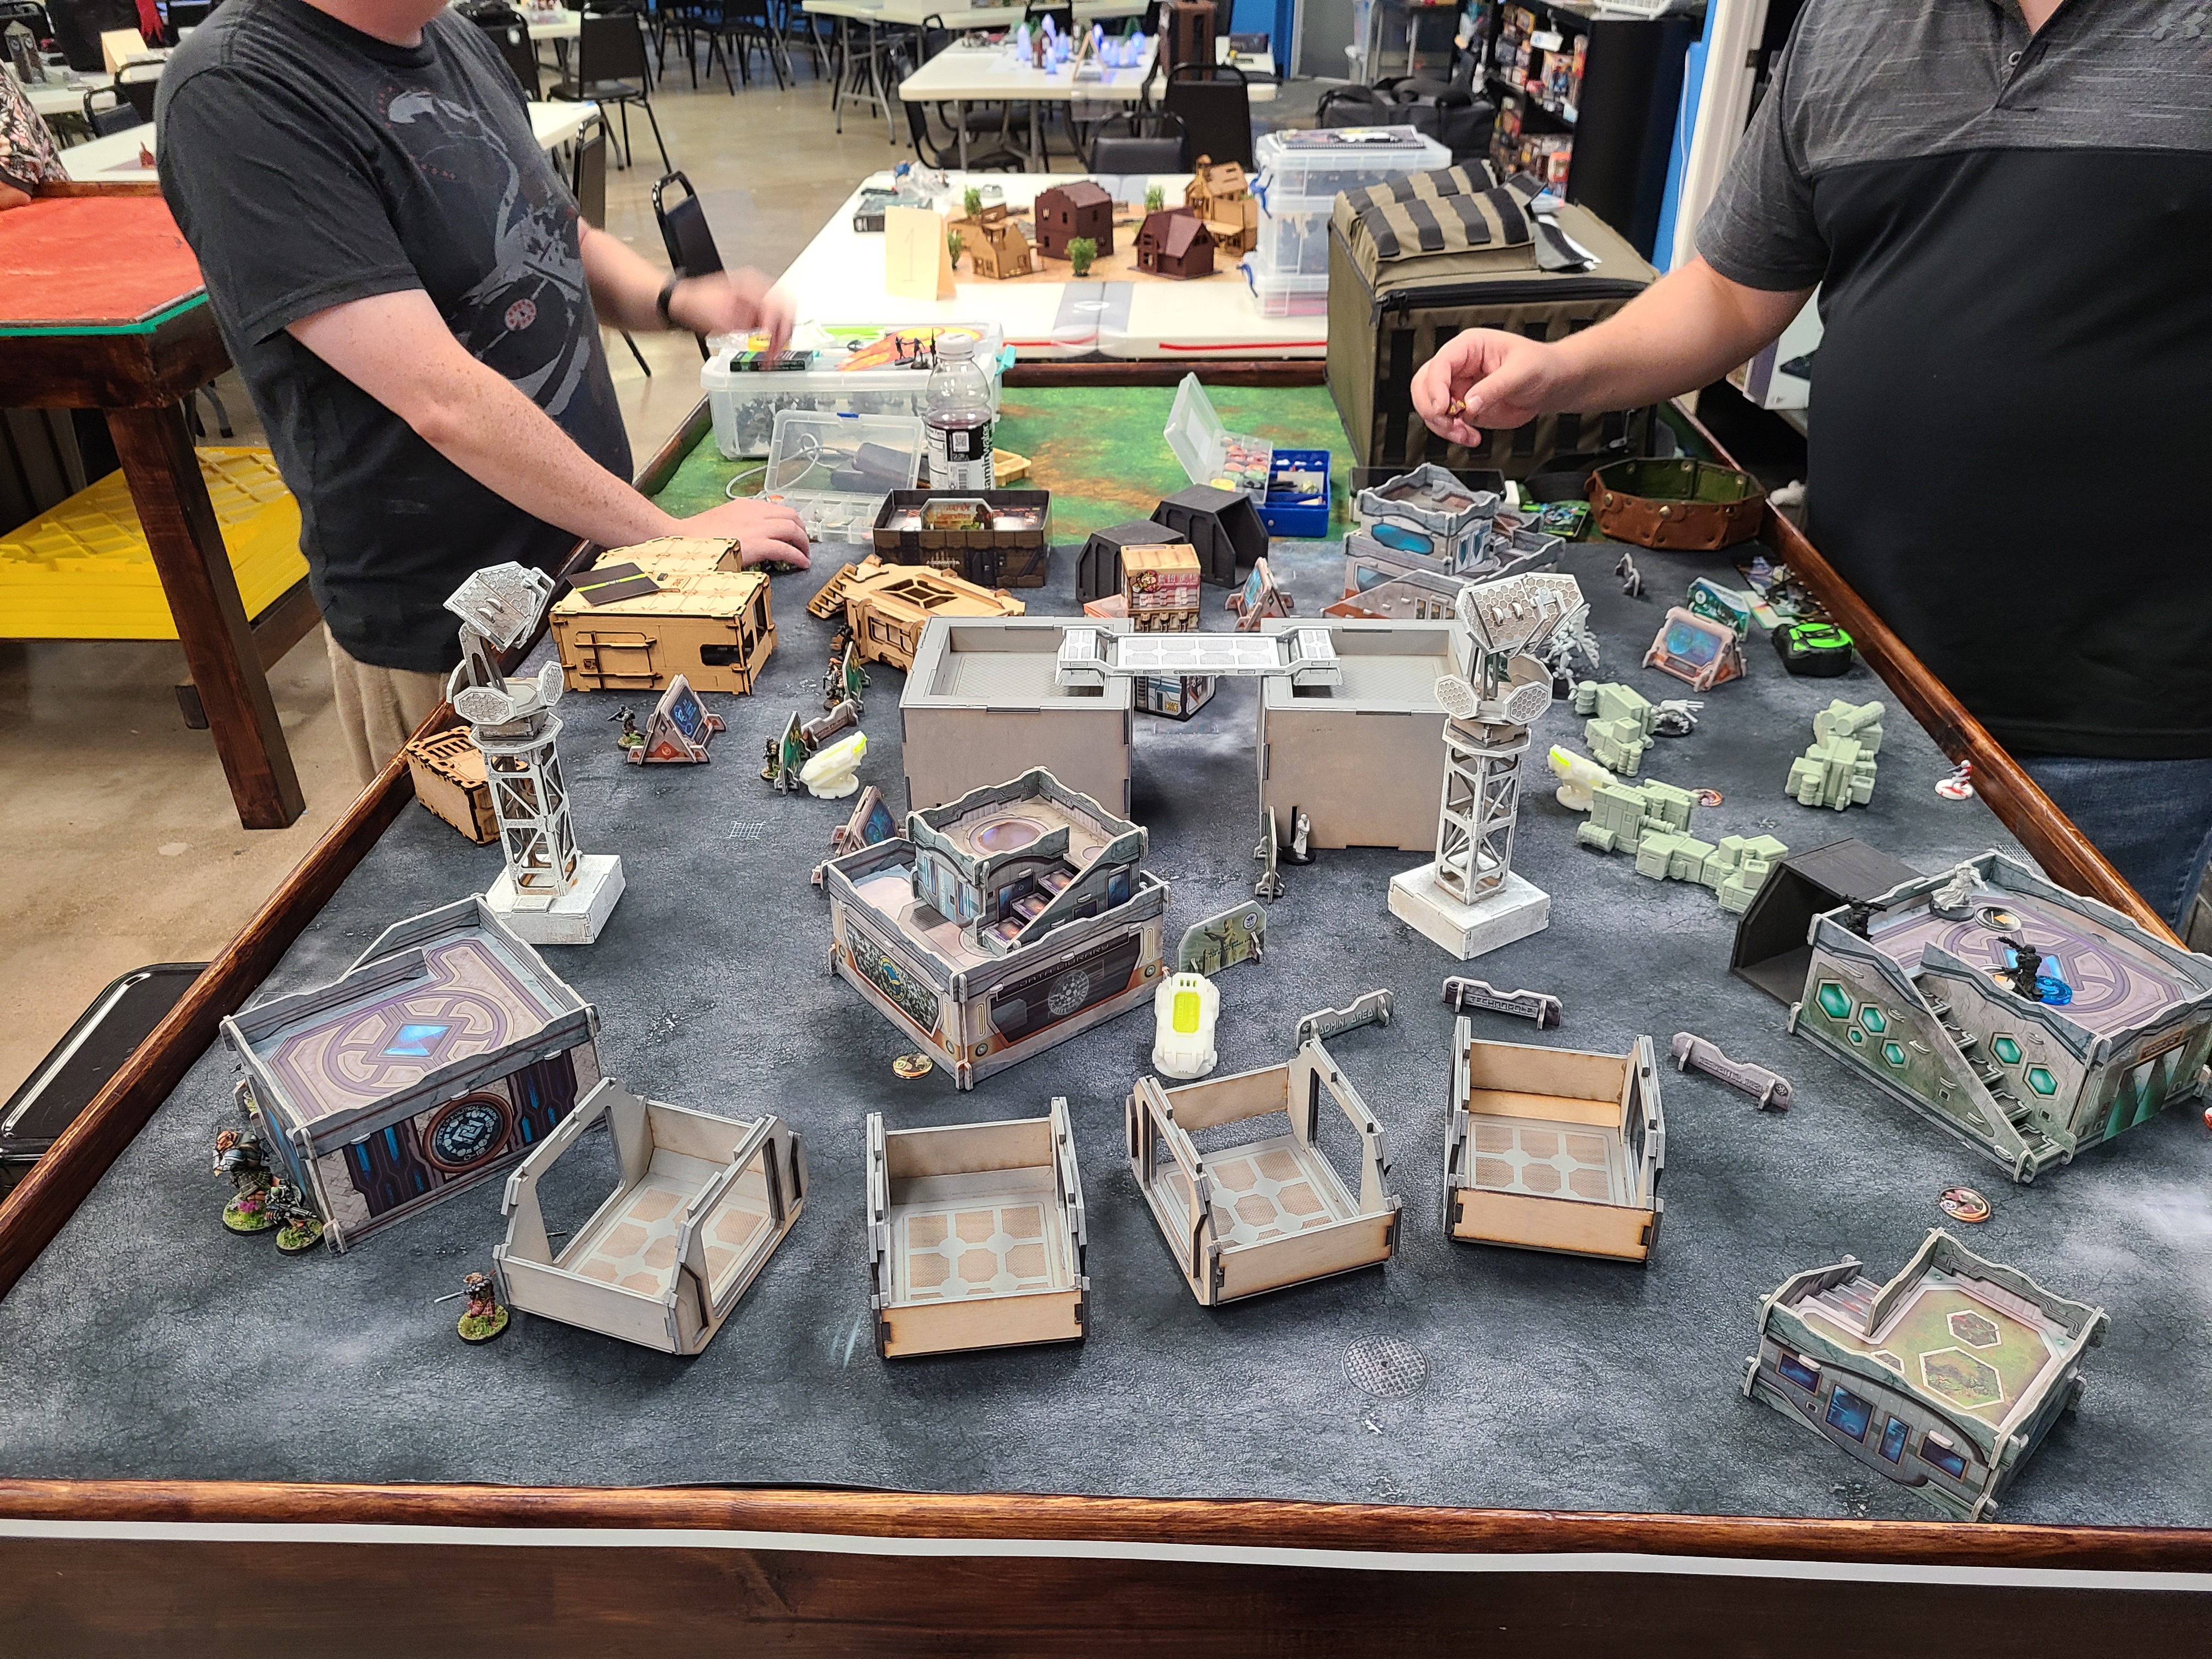
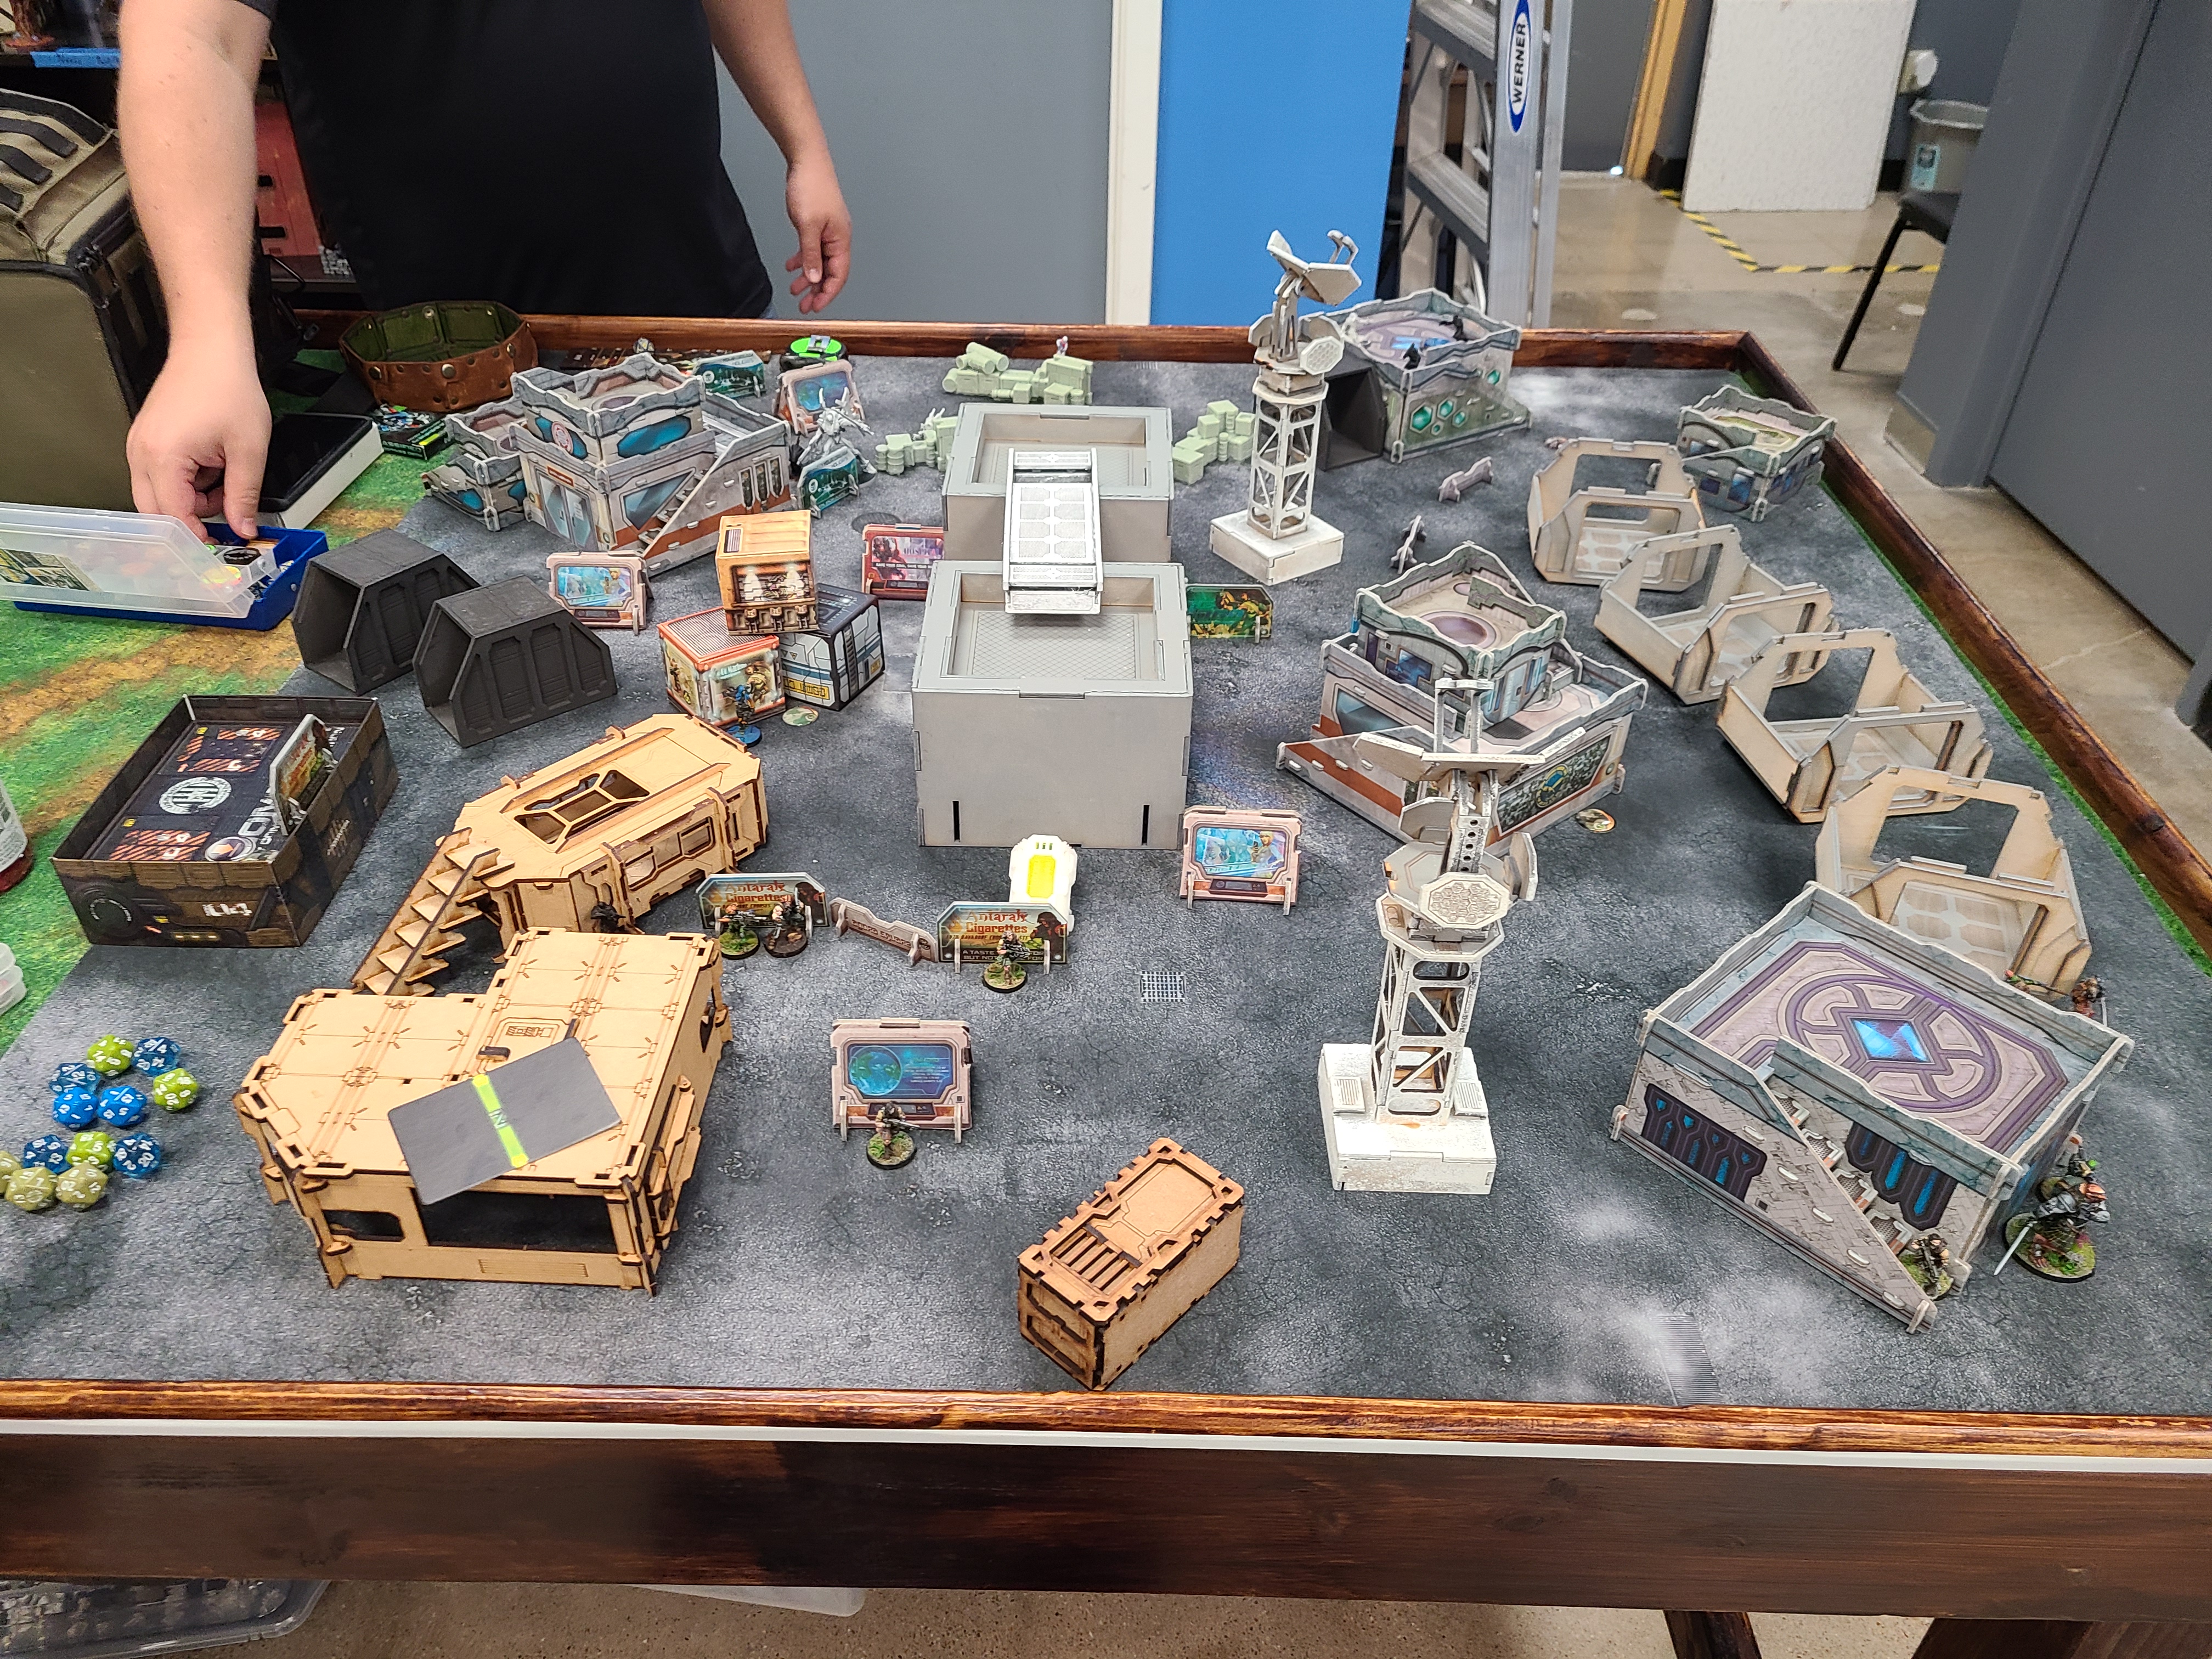
300 POINTSDEPLOYMENT
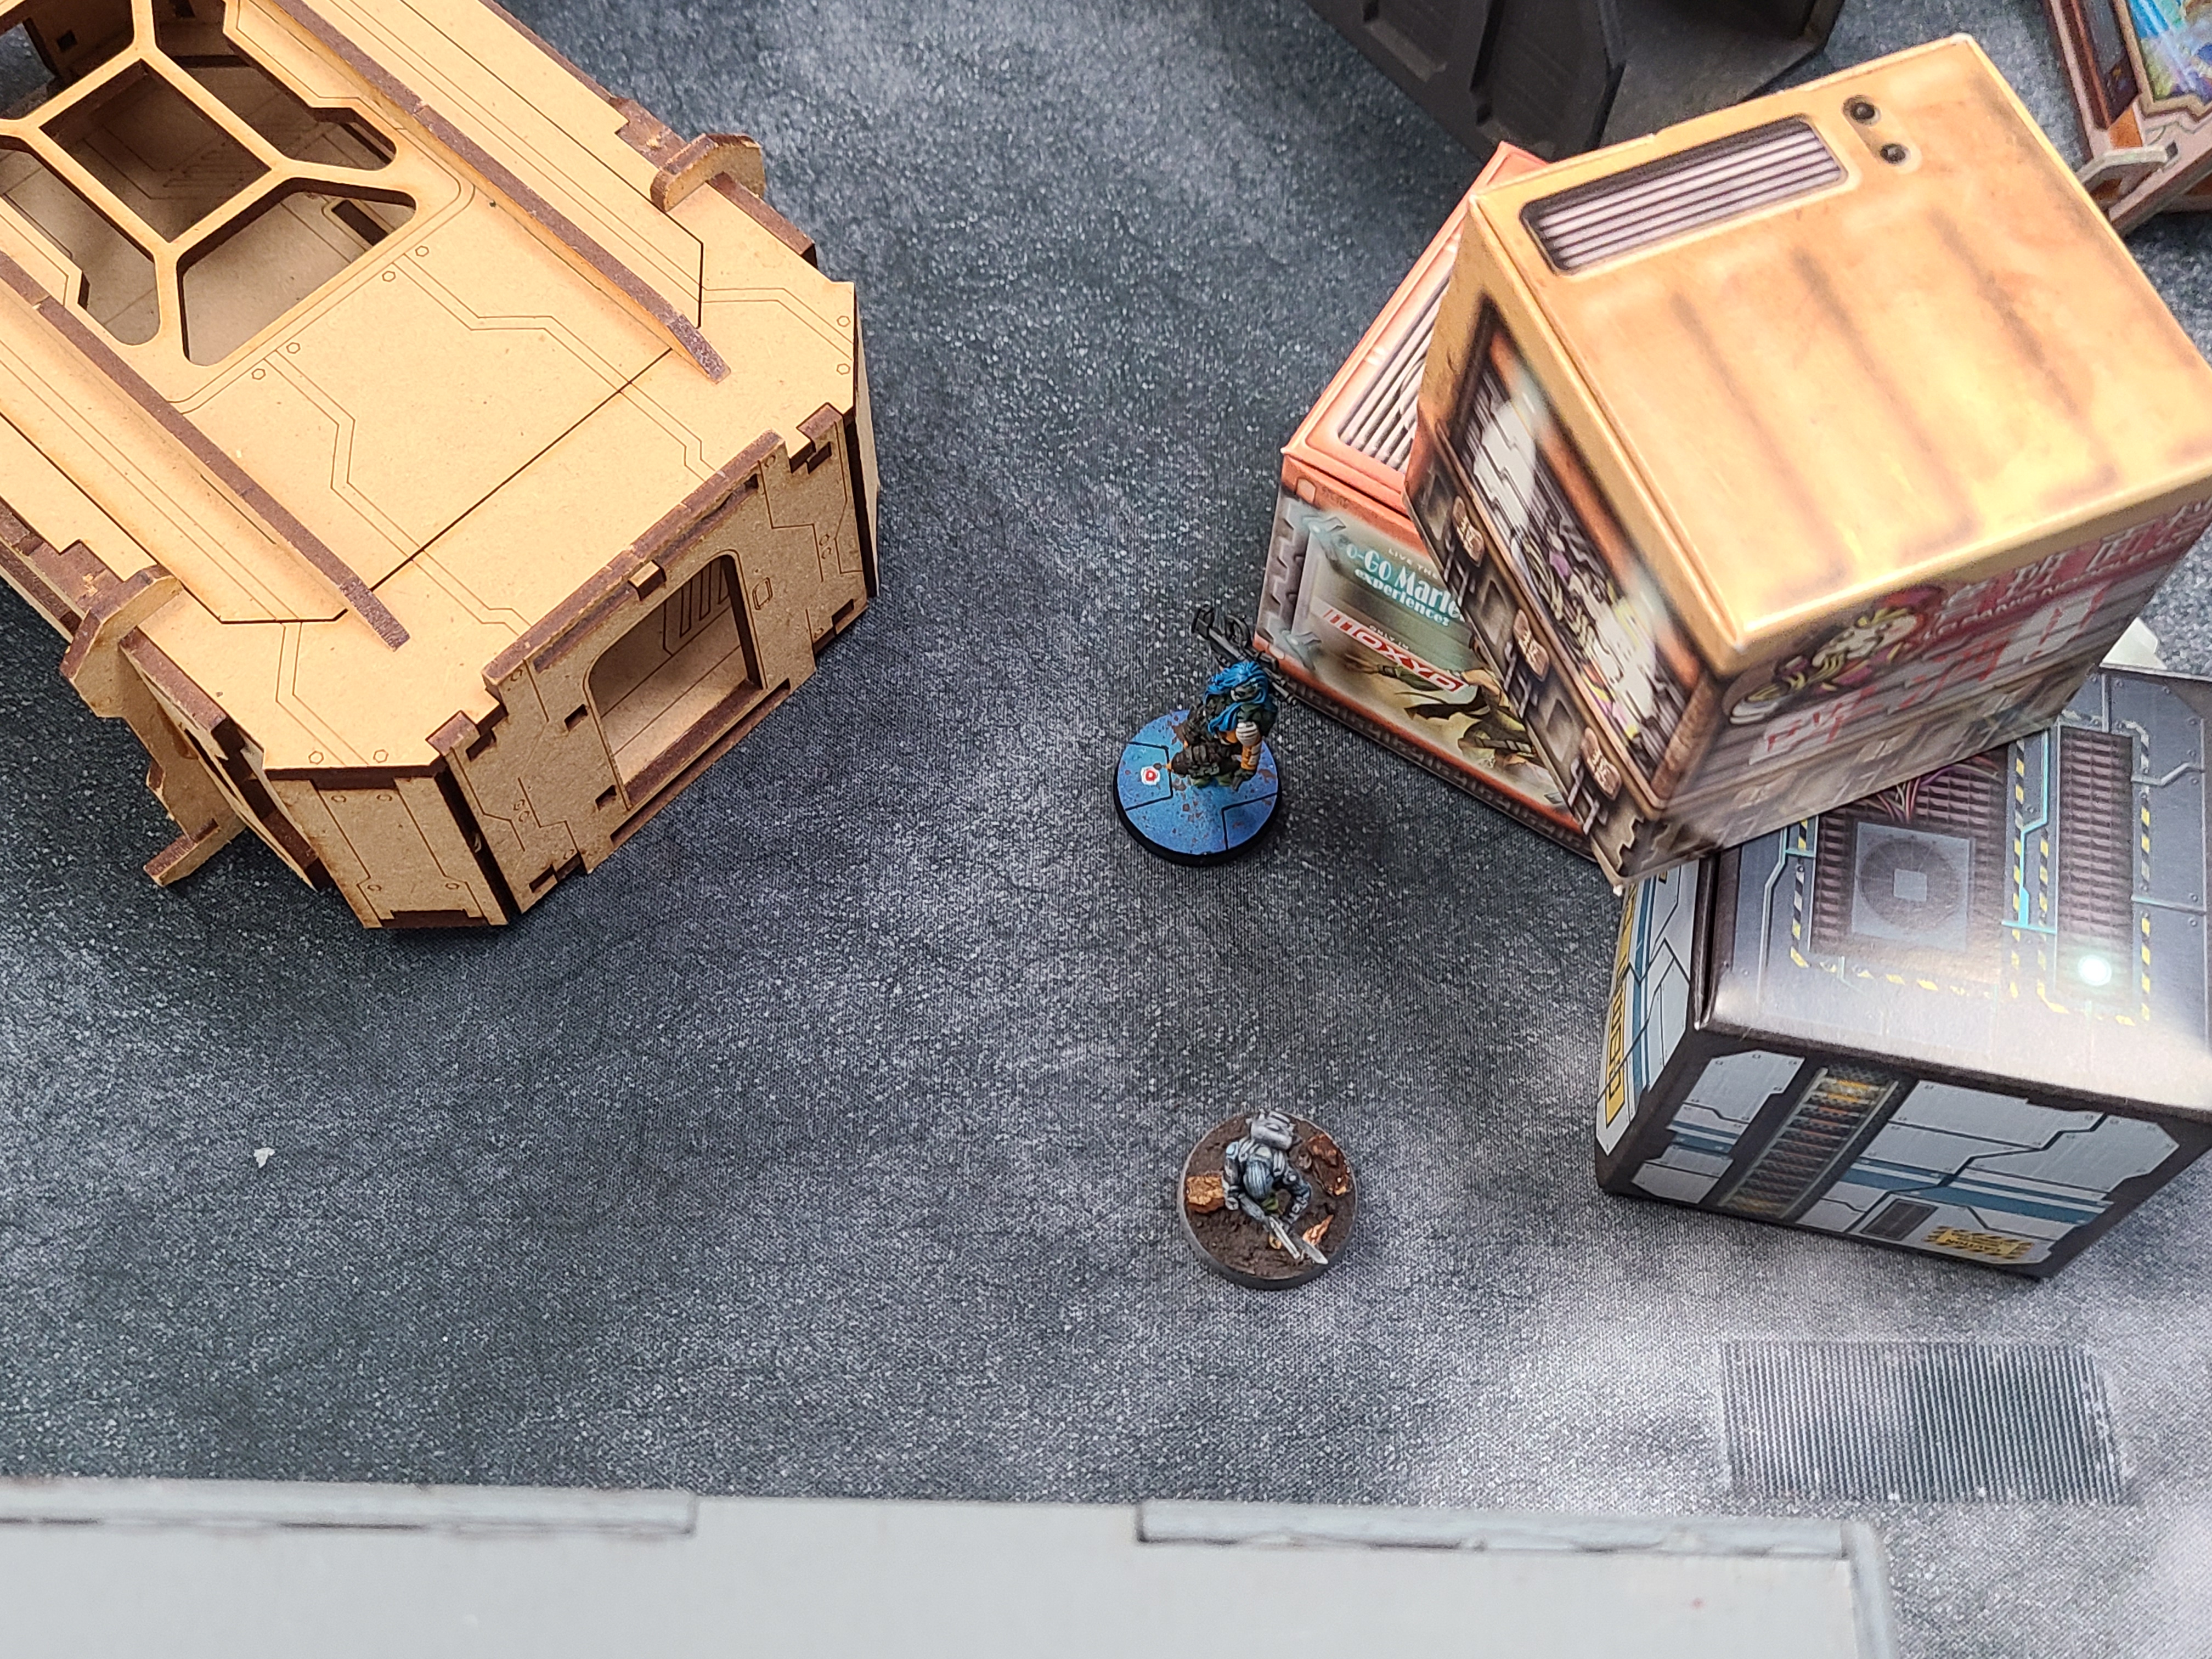
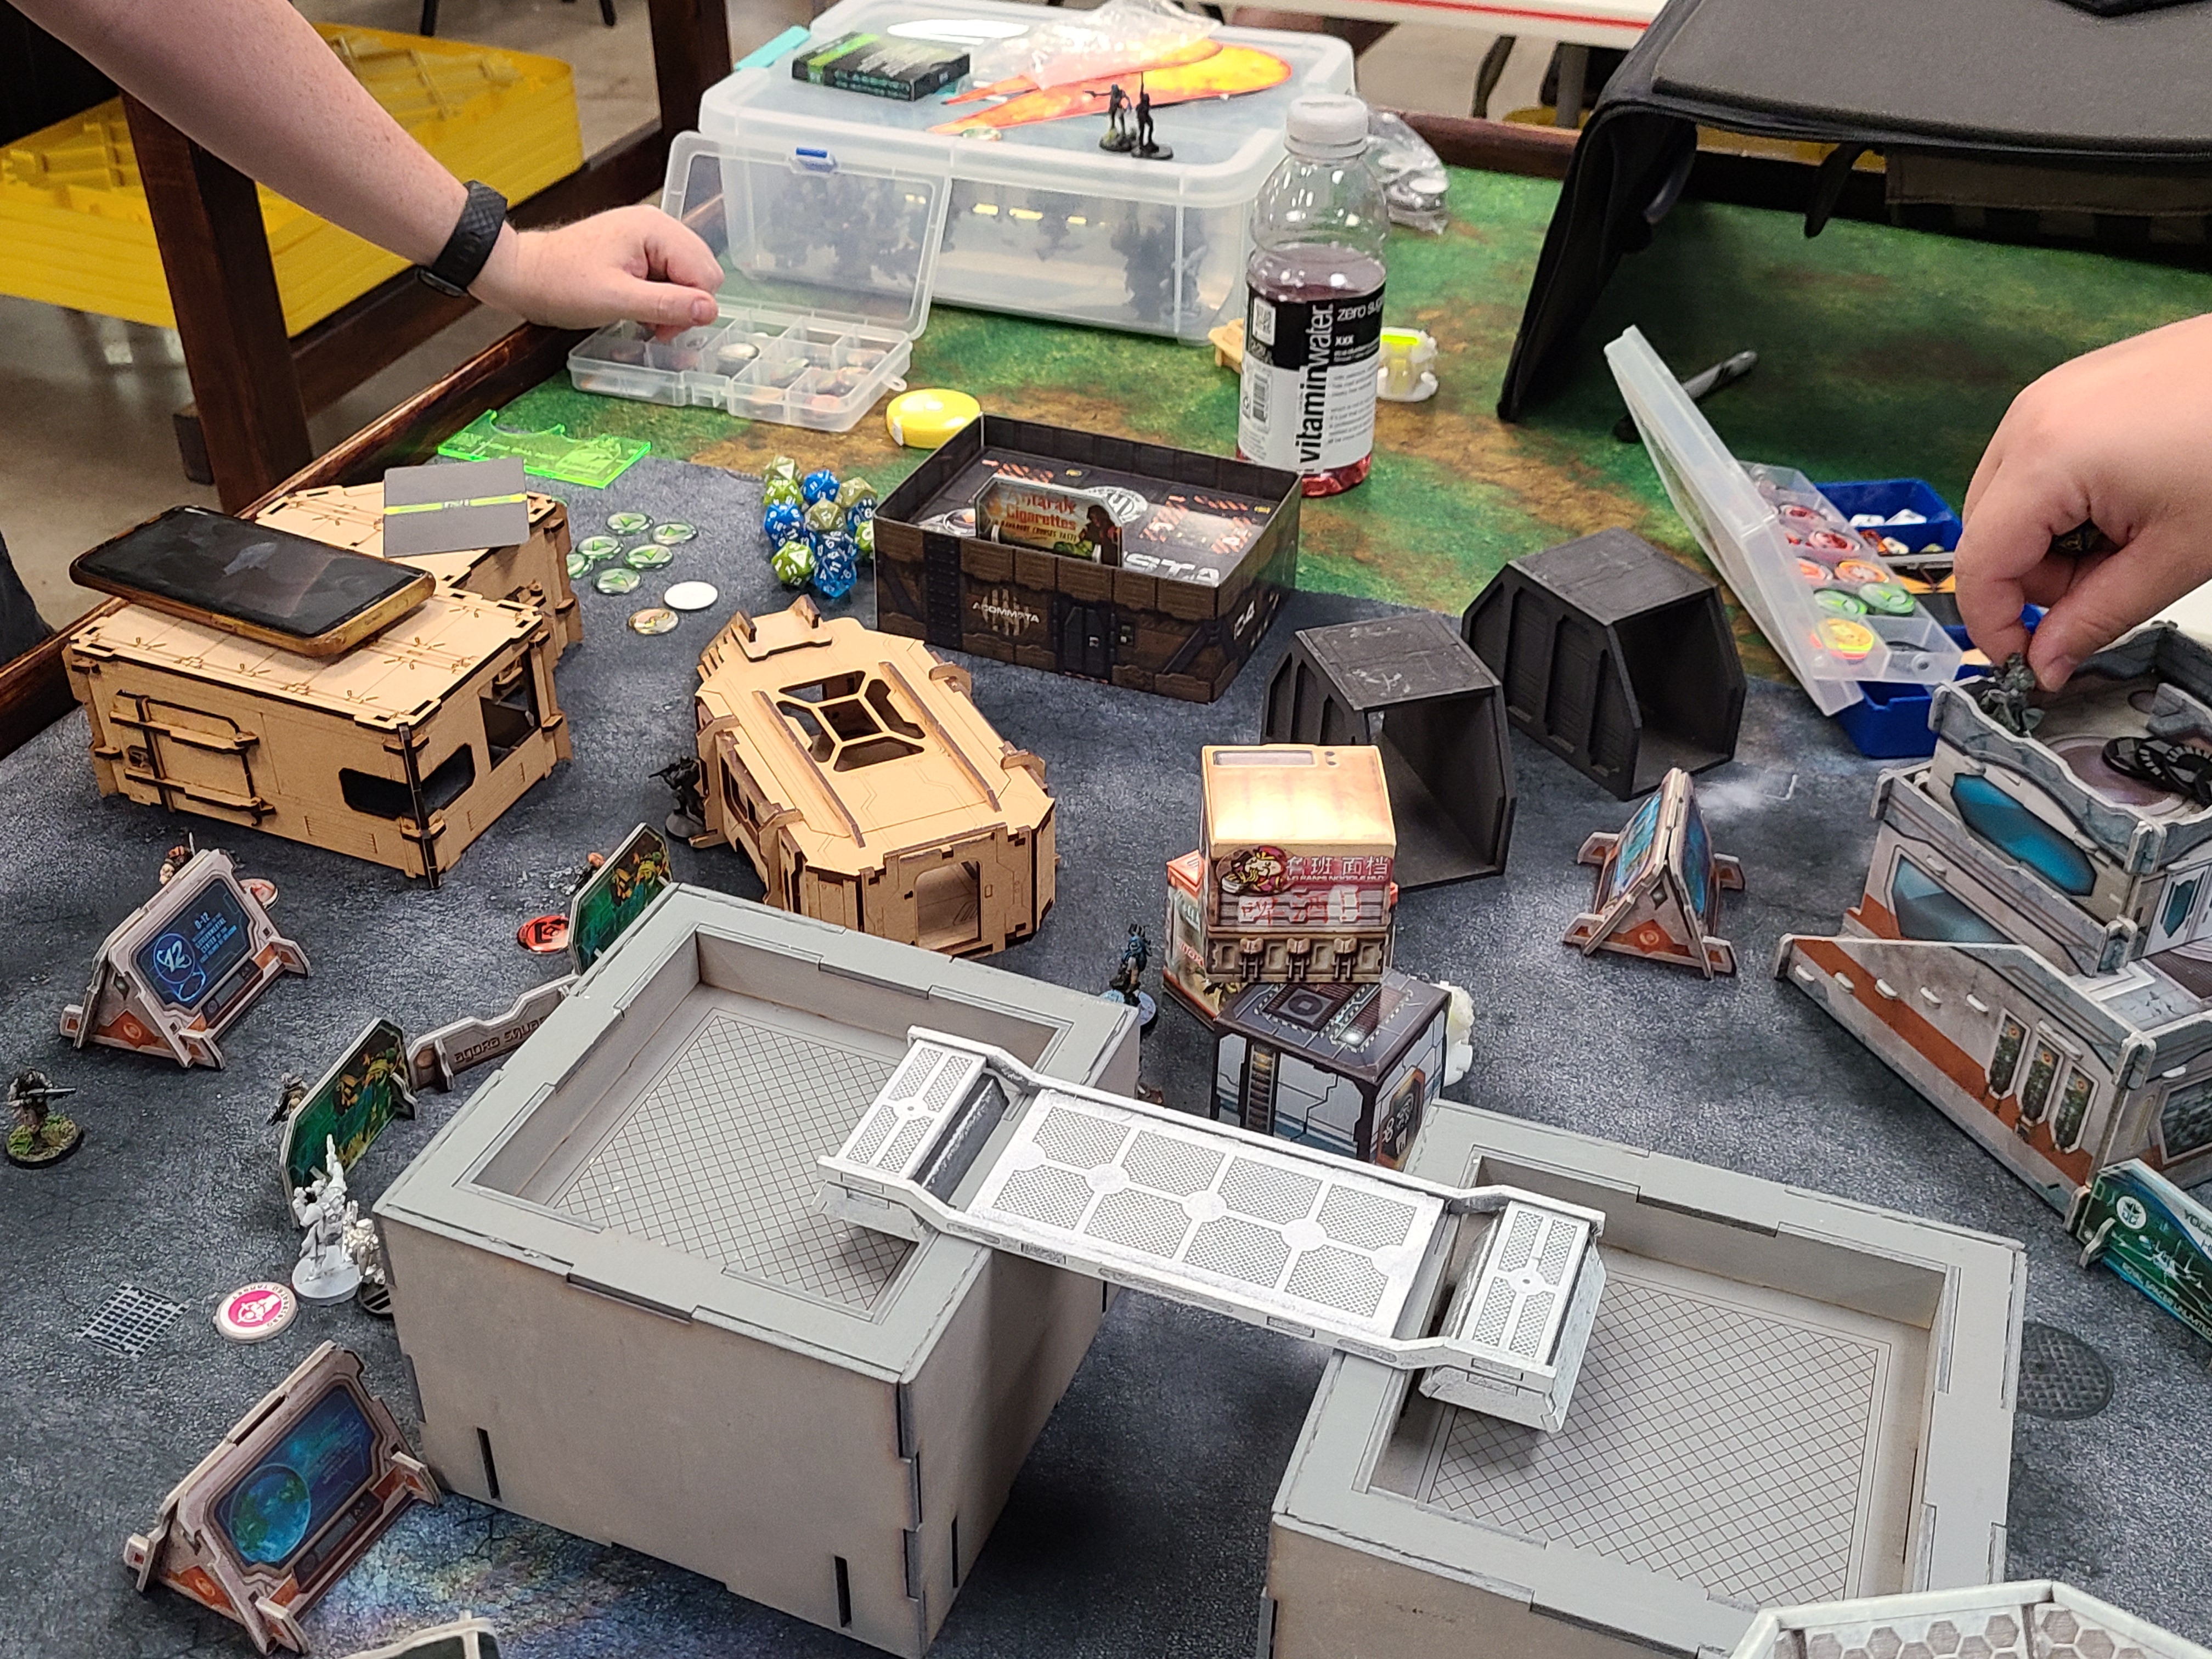
The Military Orders forces were first to take action and first to deploy to the field. They brought two tertiaries to attempt to immediately destroy the enemies AC2. Unfortunately both bungled their infiltration and had to fall back to deploy along with the rest of our forces. A third tertiary, this one with a sniper rifle, took up an overwatch on the right side of the field and a teutonic fireteam’s missile launcher protected the left side. Finally a seraph tag, it’s aux bot and a fugazi dronebot deployed right side of the table.
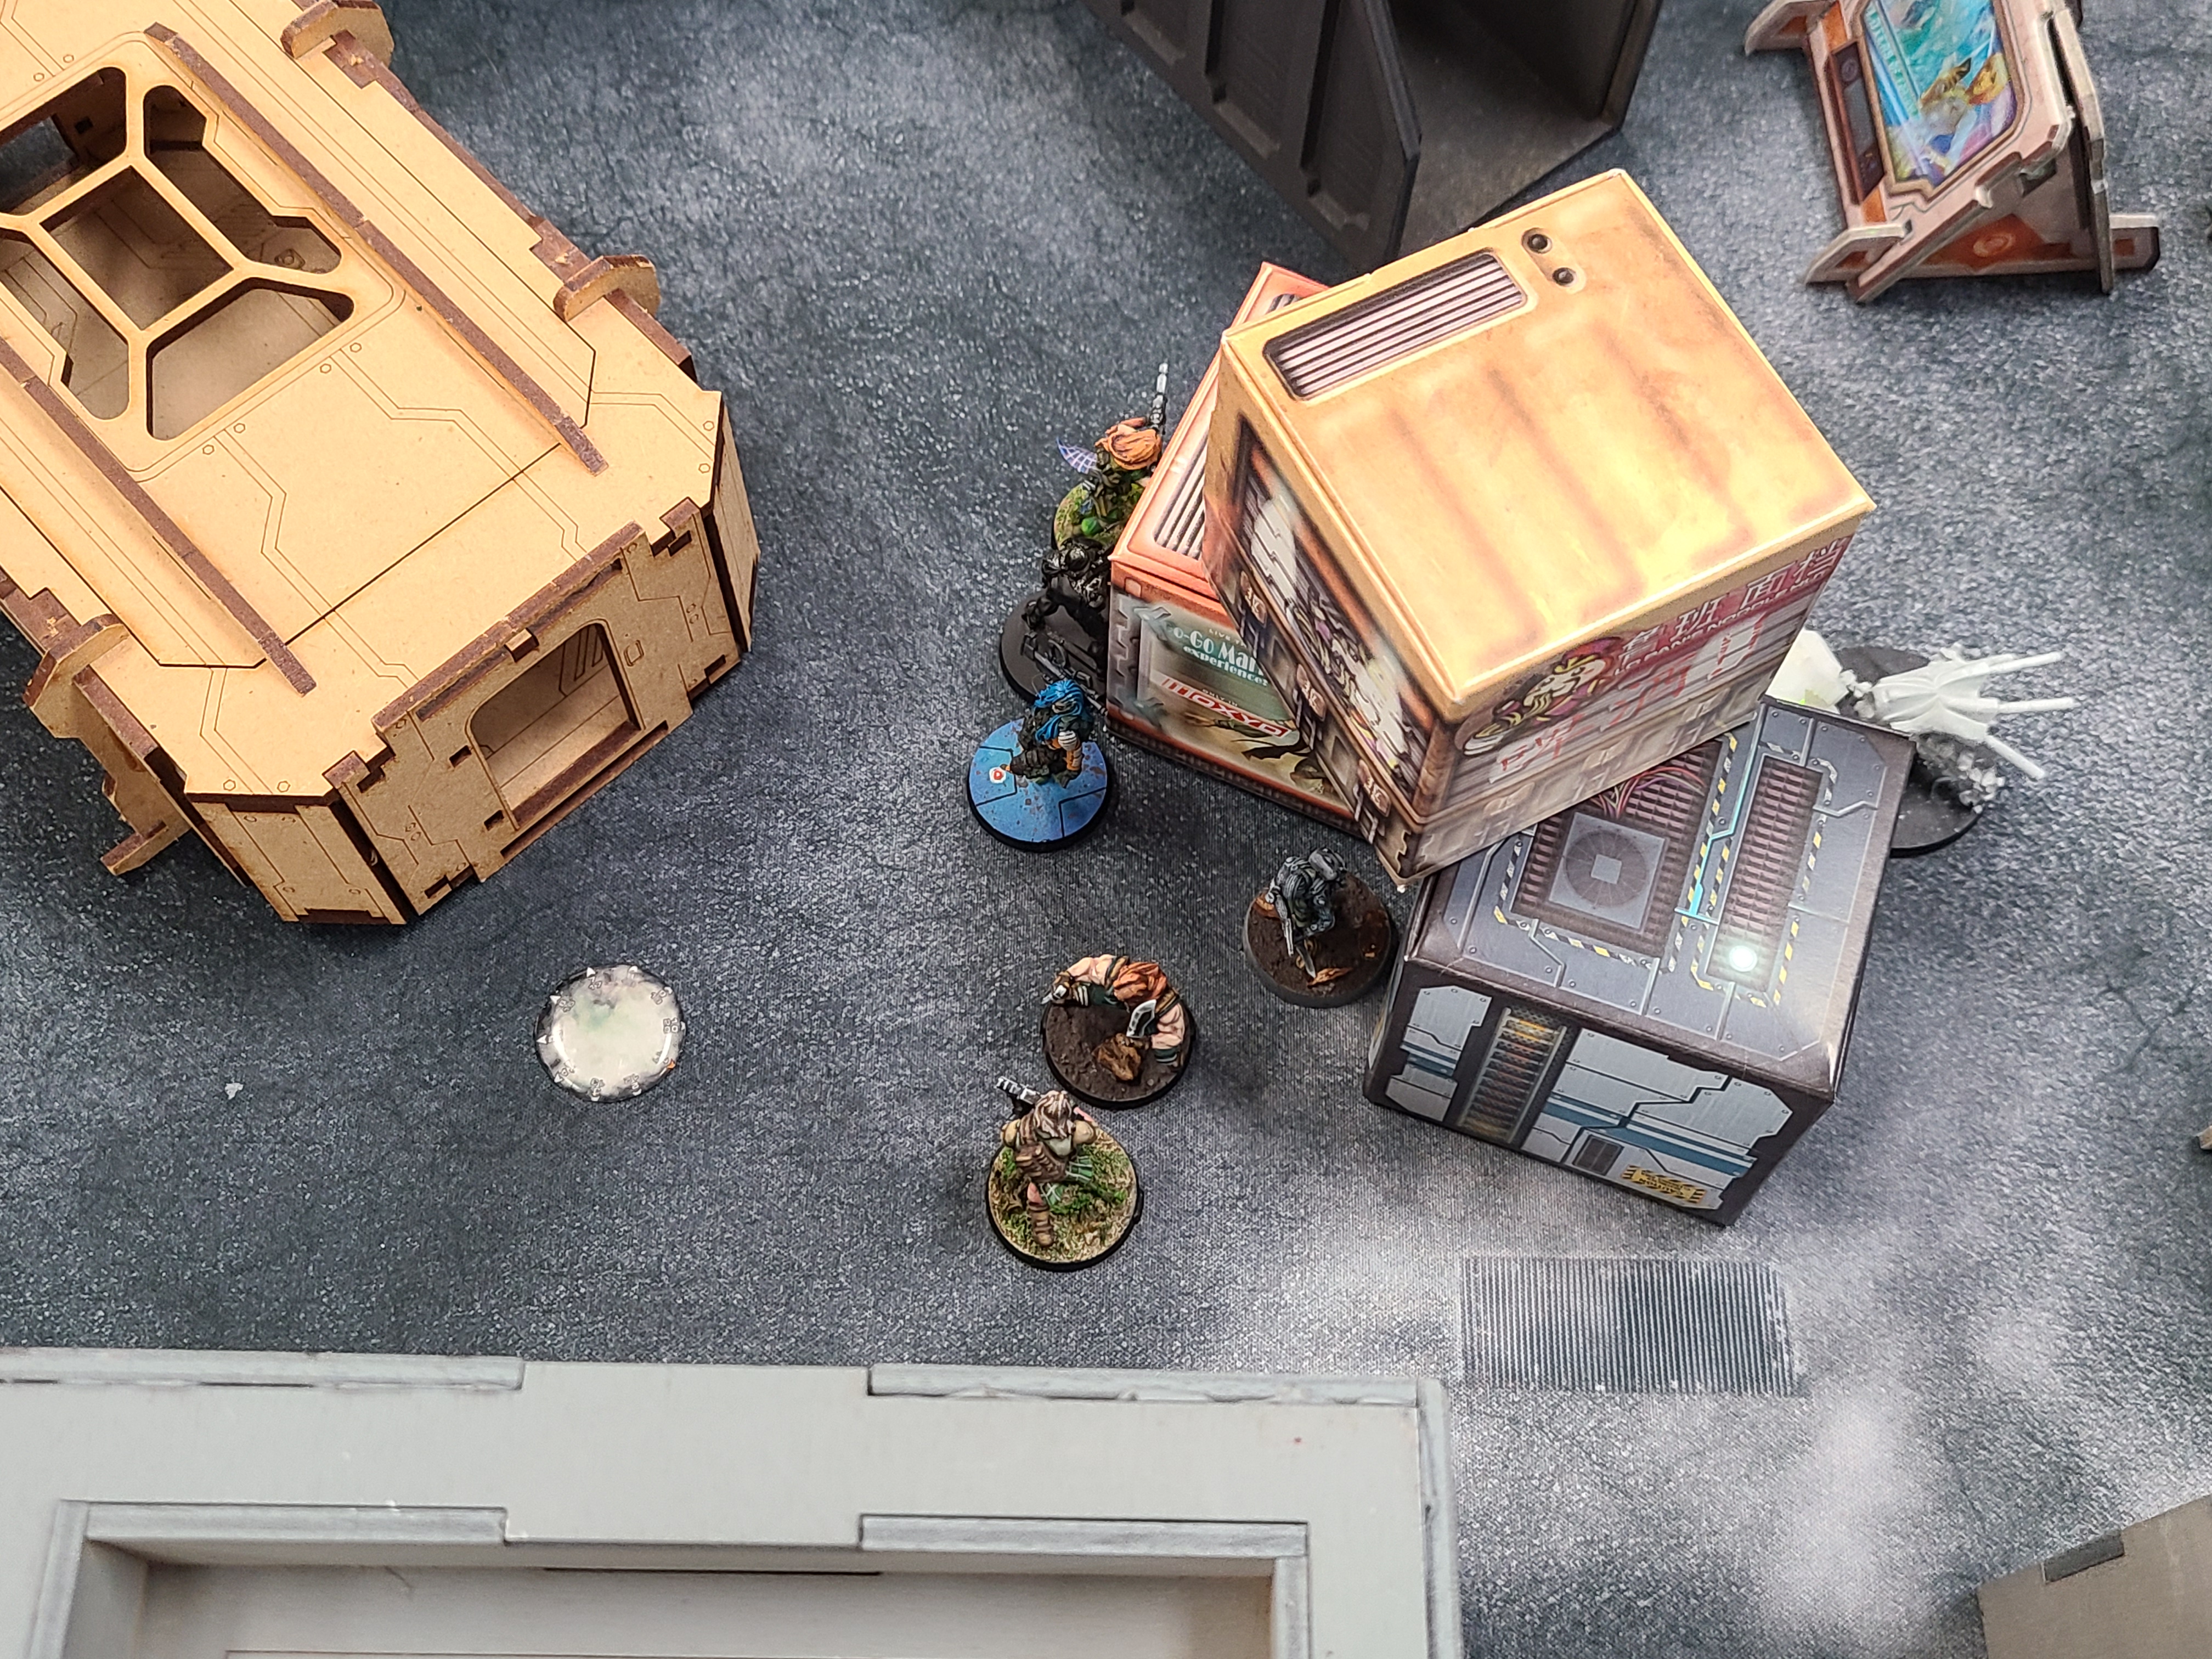
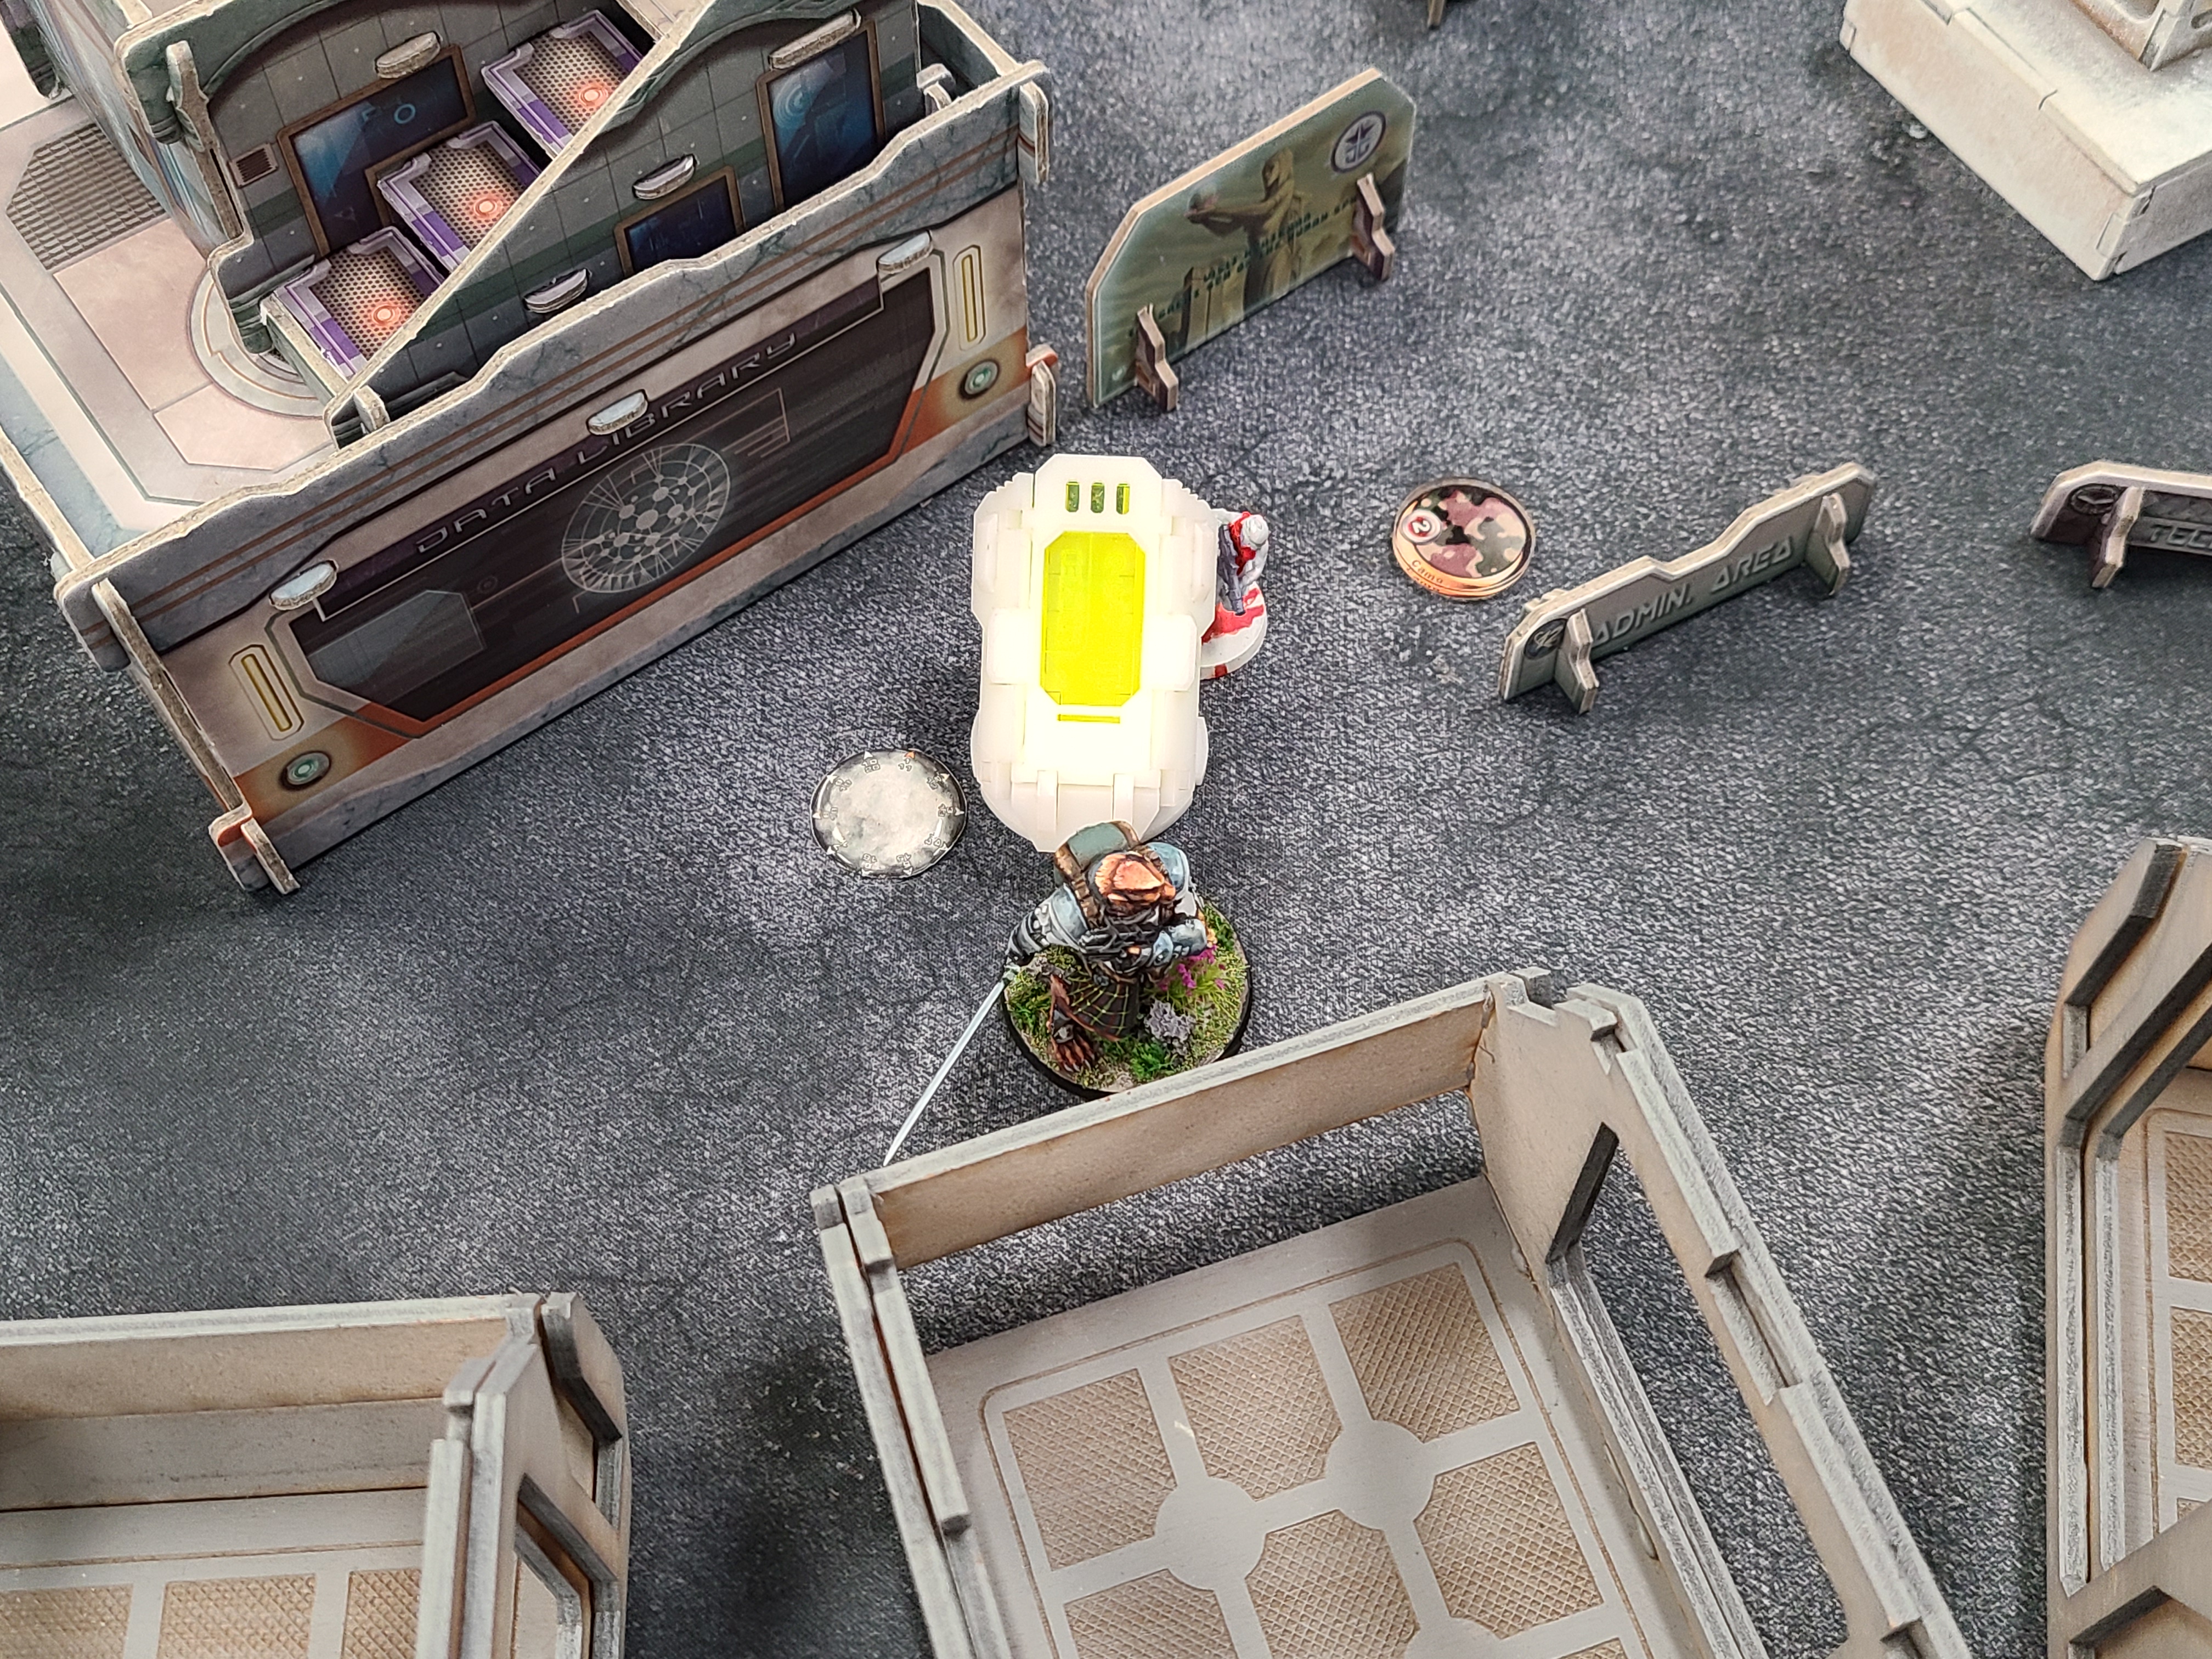
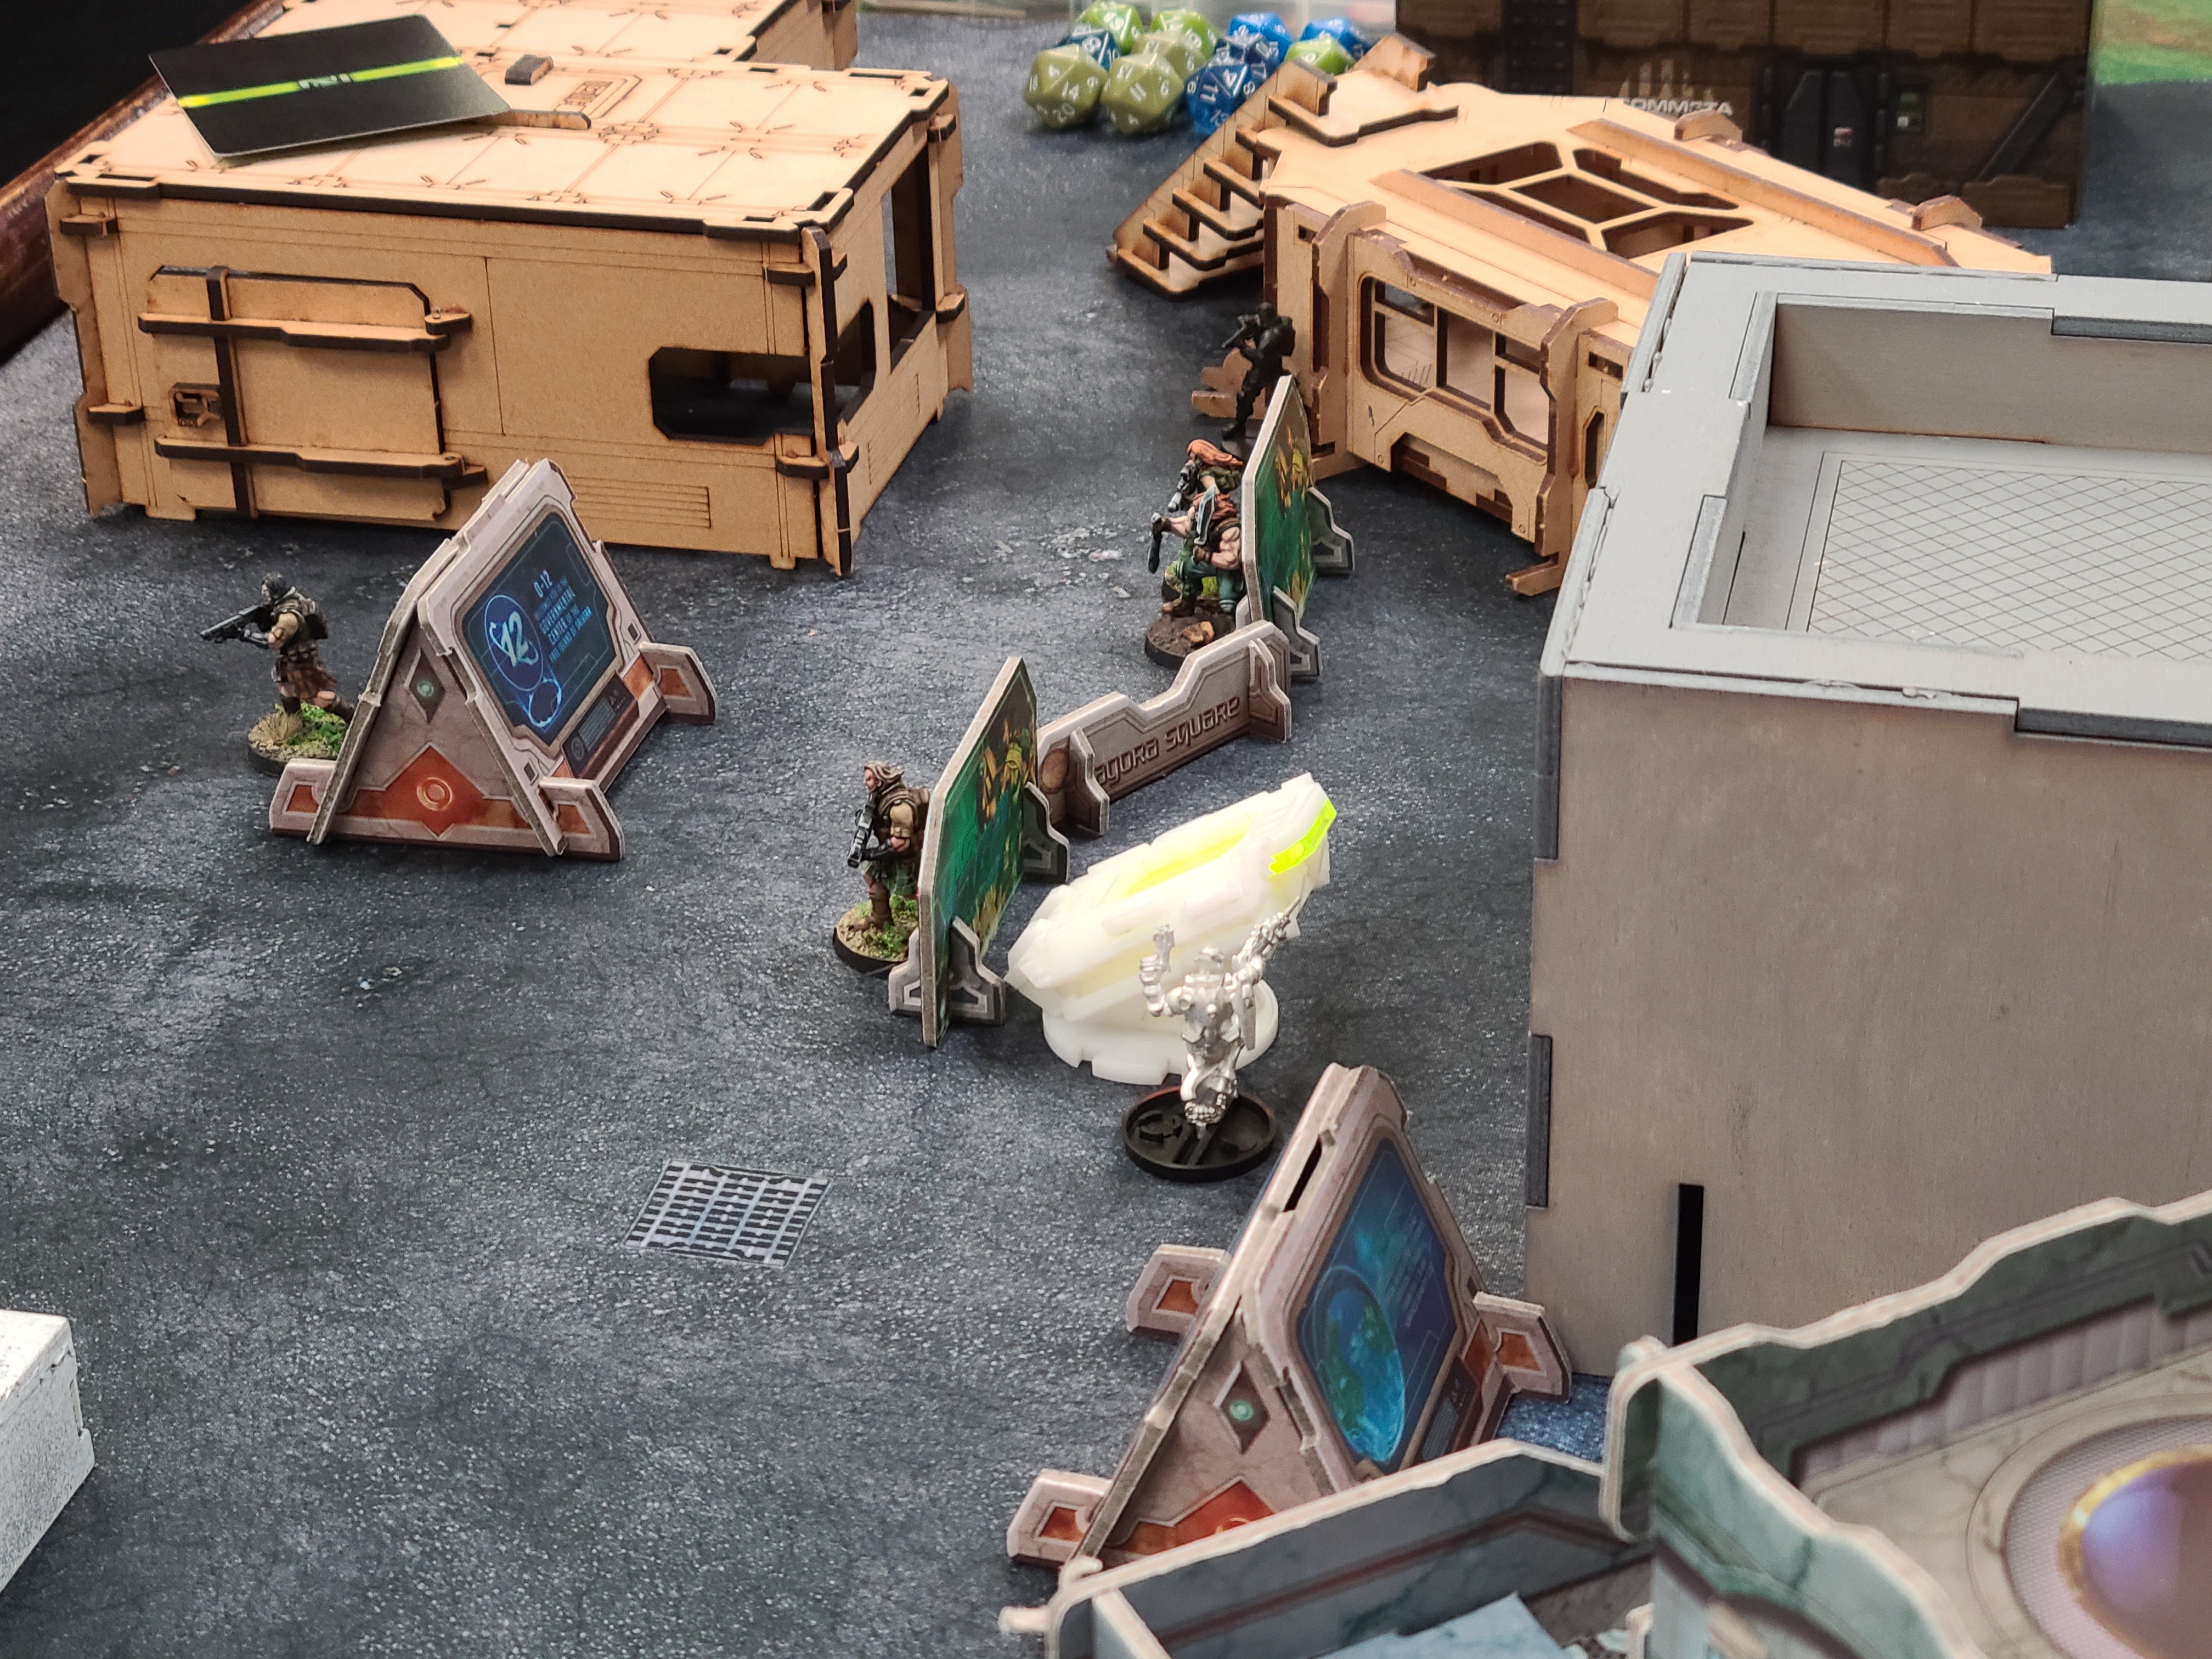
The ariadnan forces deployed a mormaer with T2 rifle in a team with ‘first strike’ Donn and Isabeau McGreggor behind a wall opposite their AC2. Accompanying that team were two highlanders. Off to the fields left were William Wallace and a Highlander Grey, McMurrough, an HMG mormaer and a highlander. Uxia Mcneil and an S.A.S. each deployed near one of the panoplies. Finally, a catteran T2 sniper deployed on the right side of the table.
TURN ONE
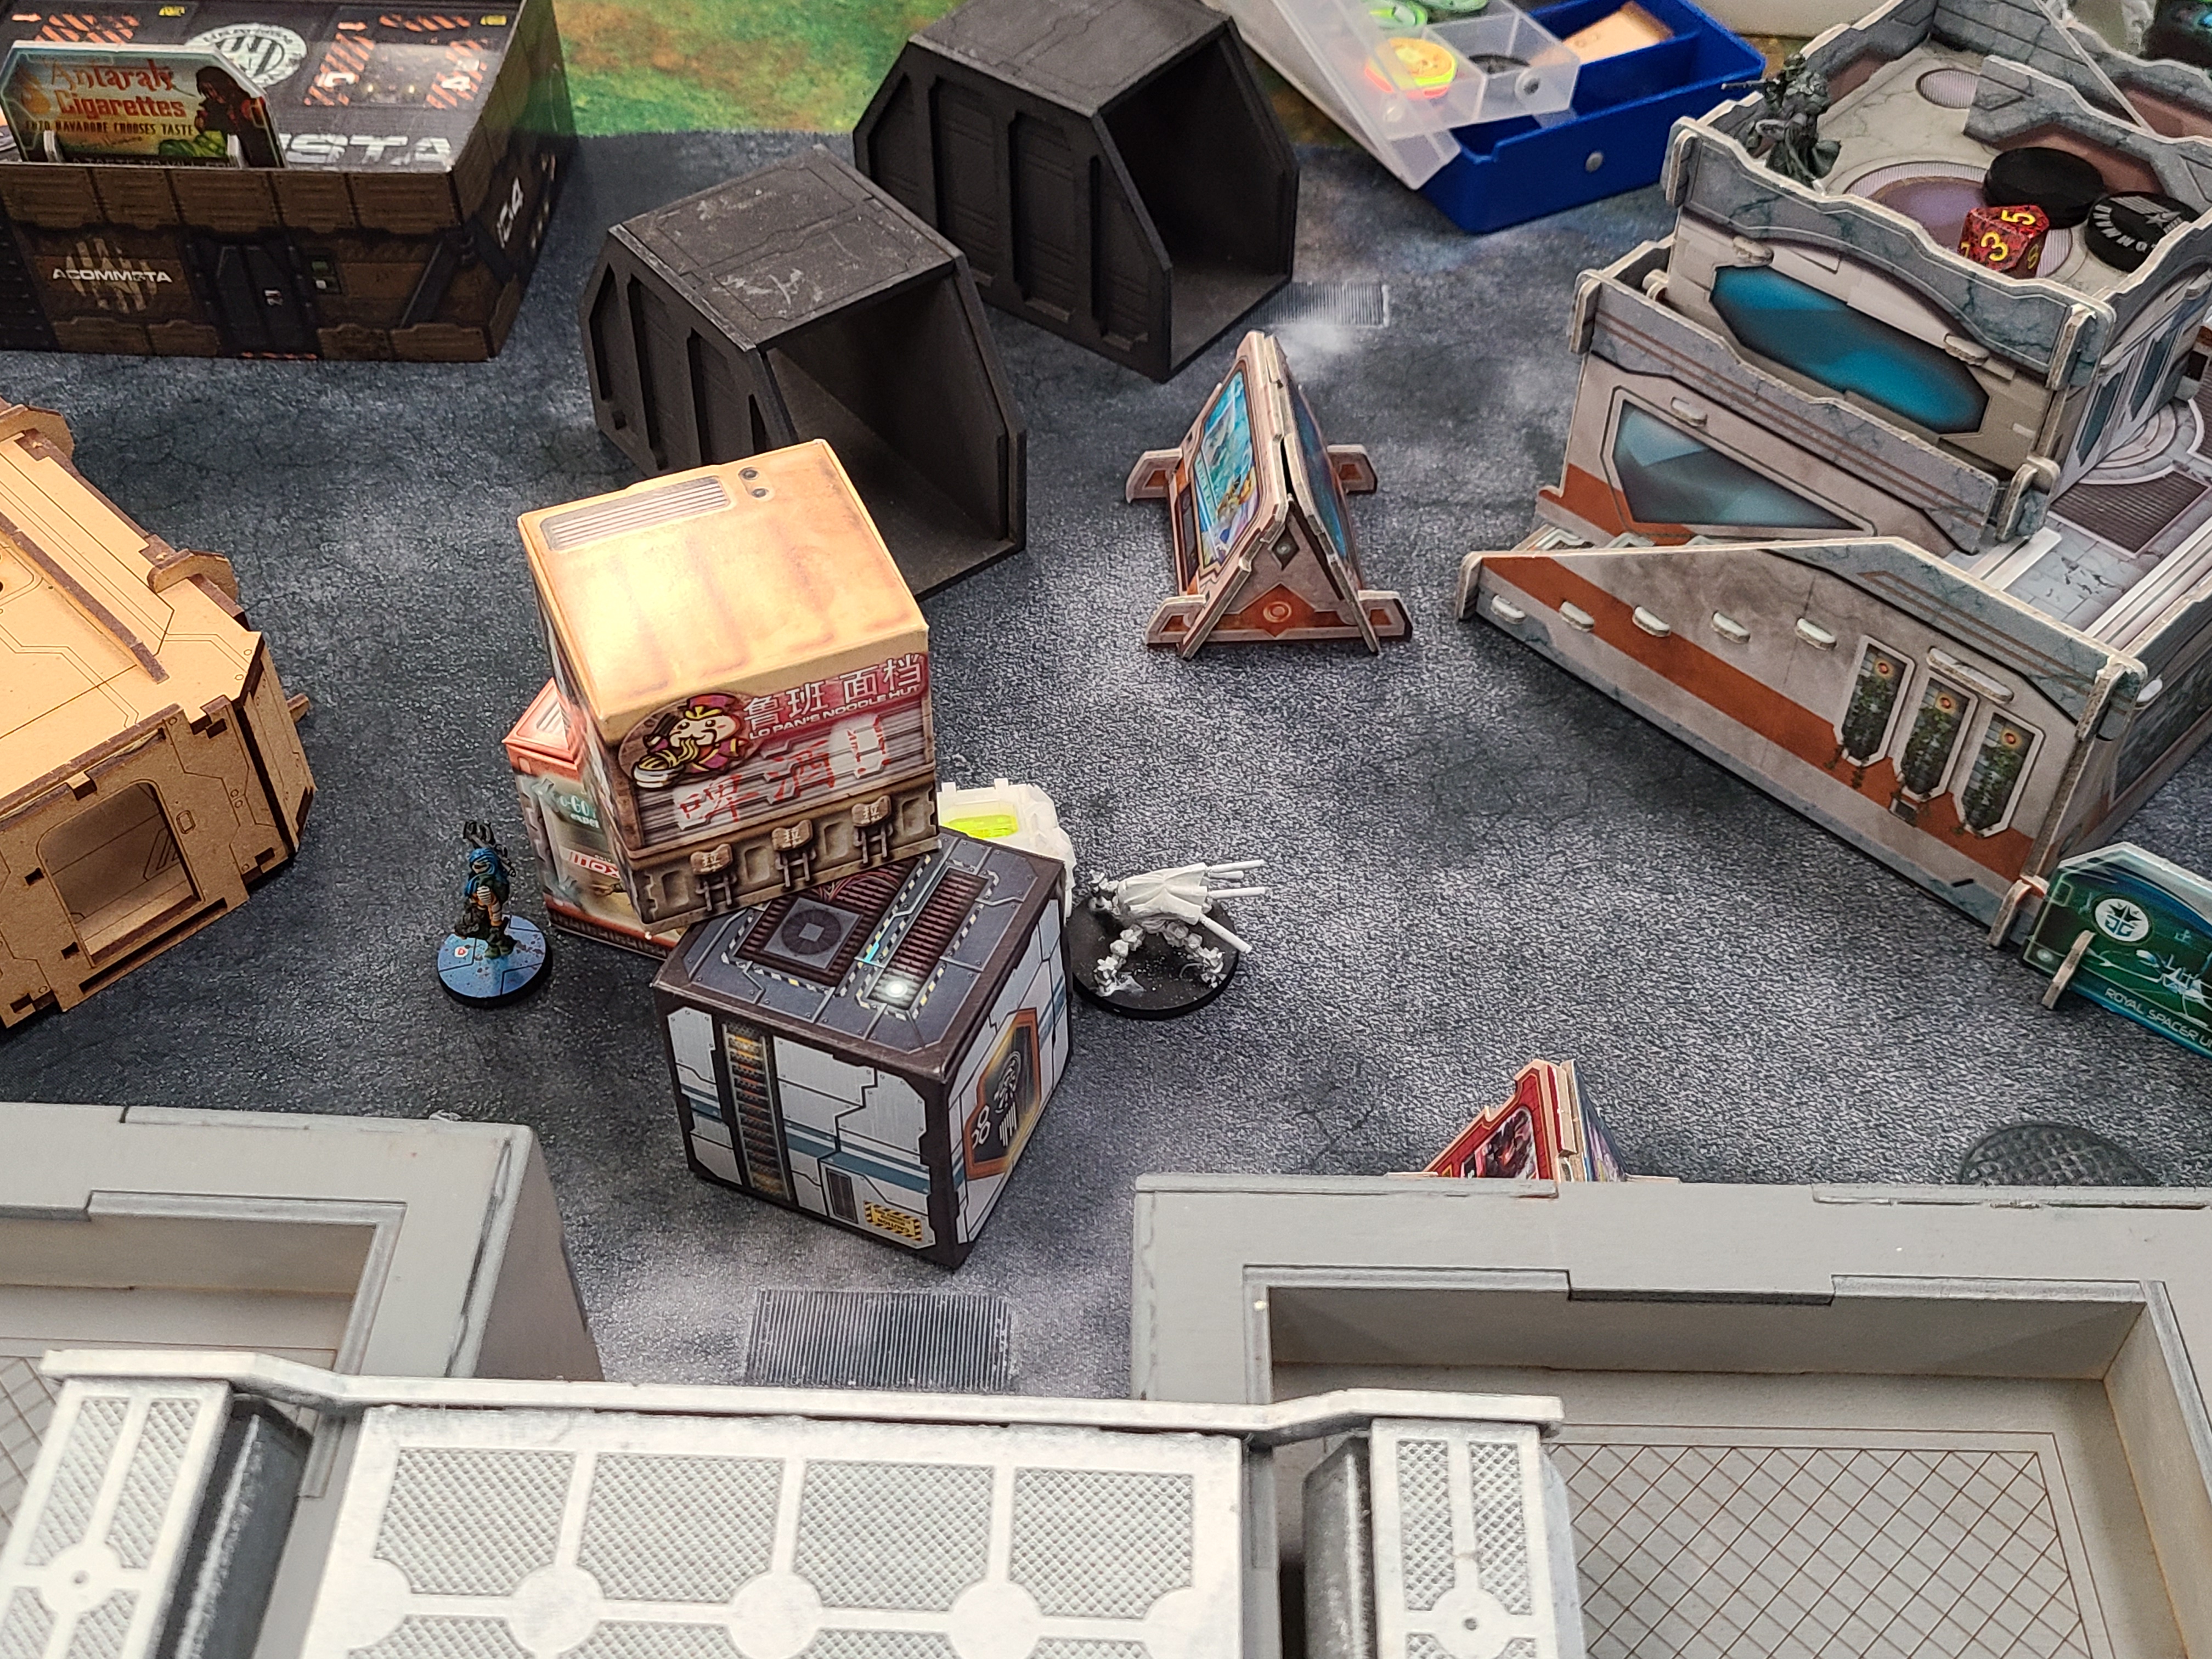
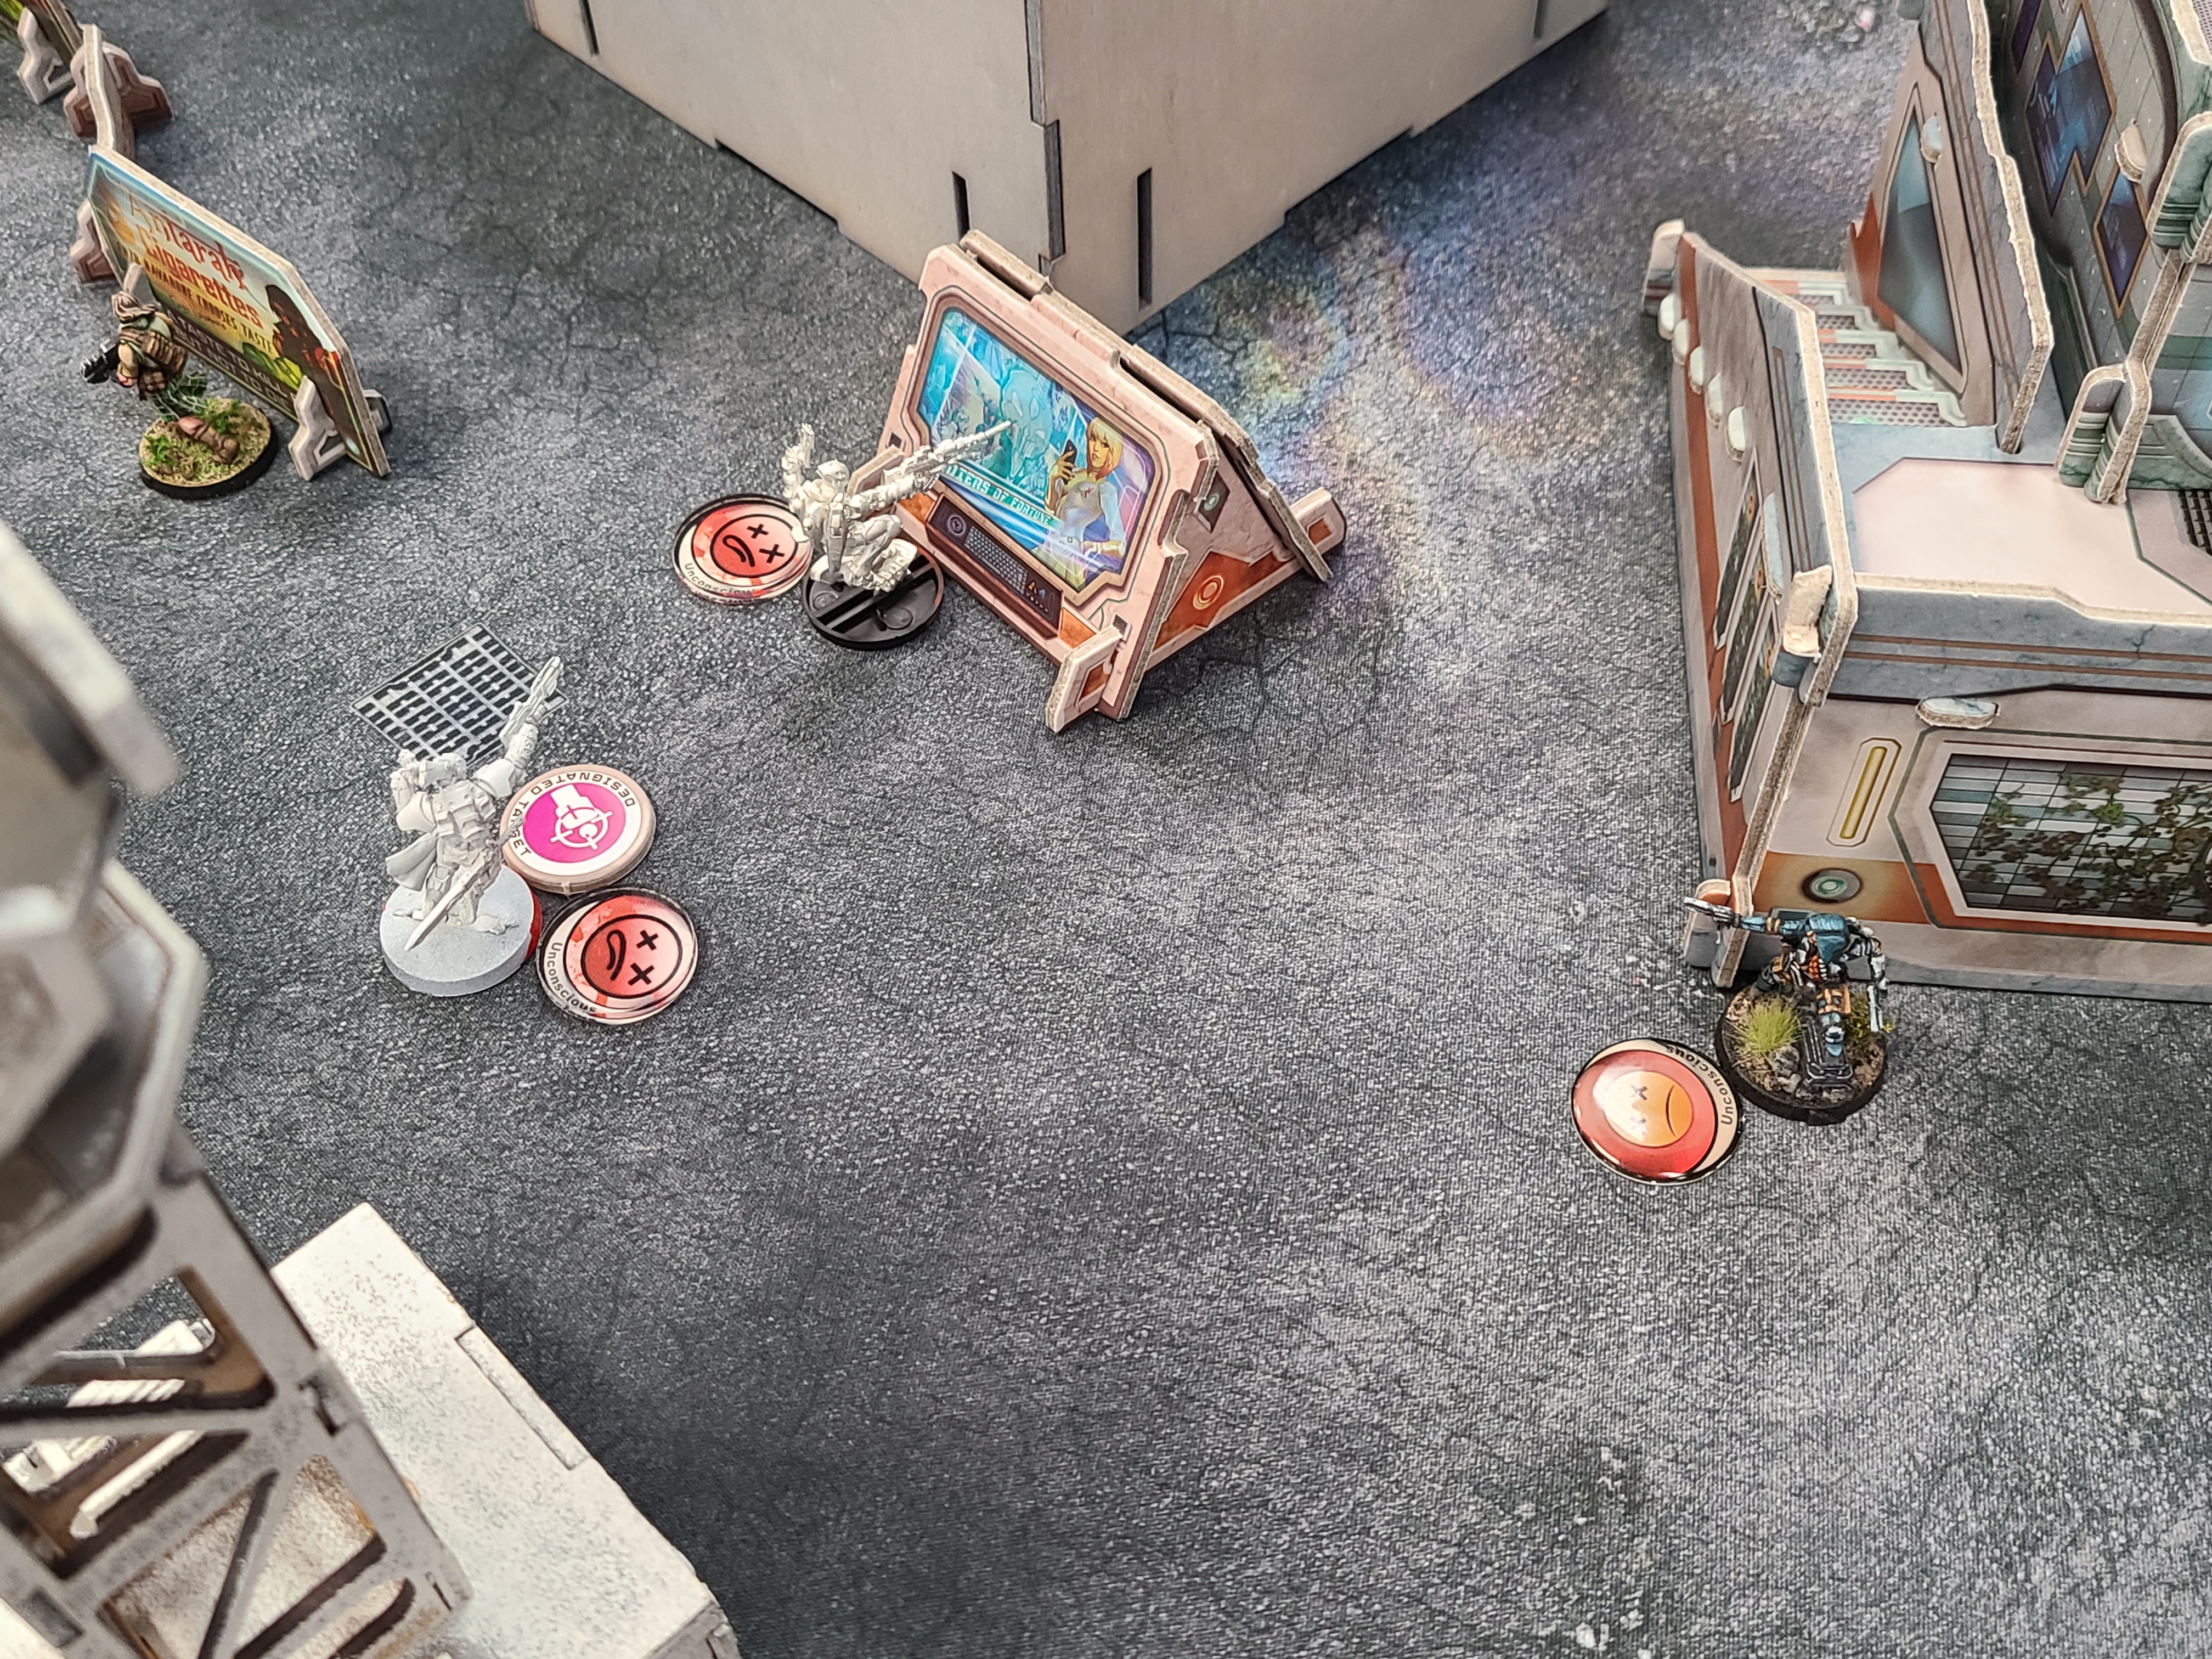
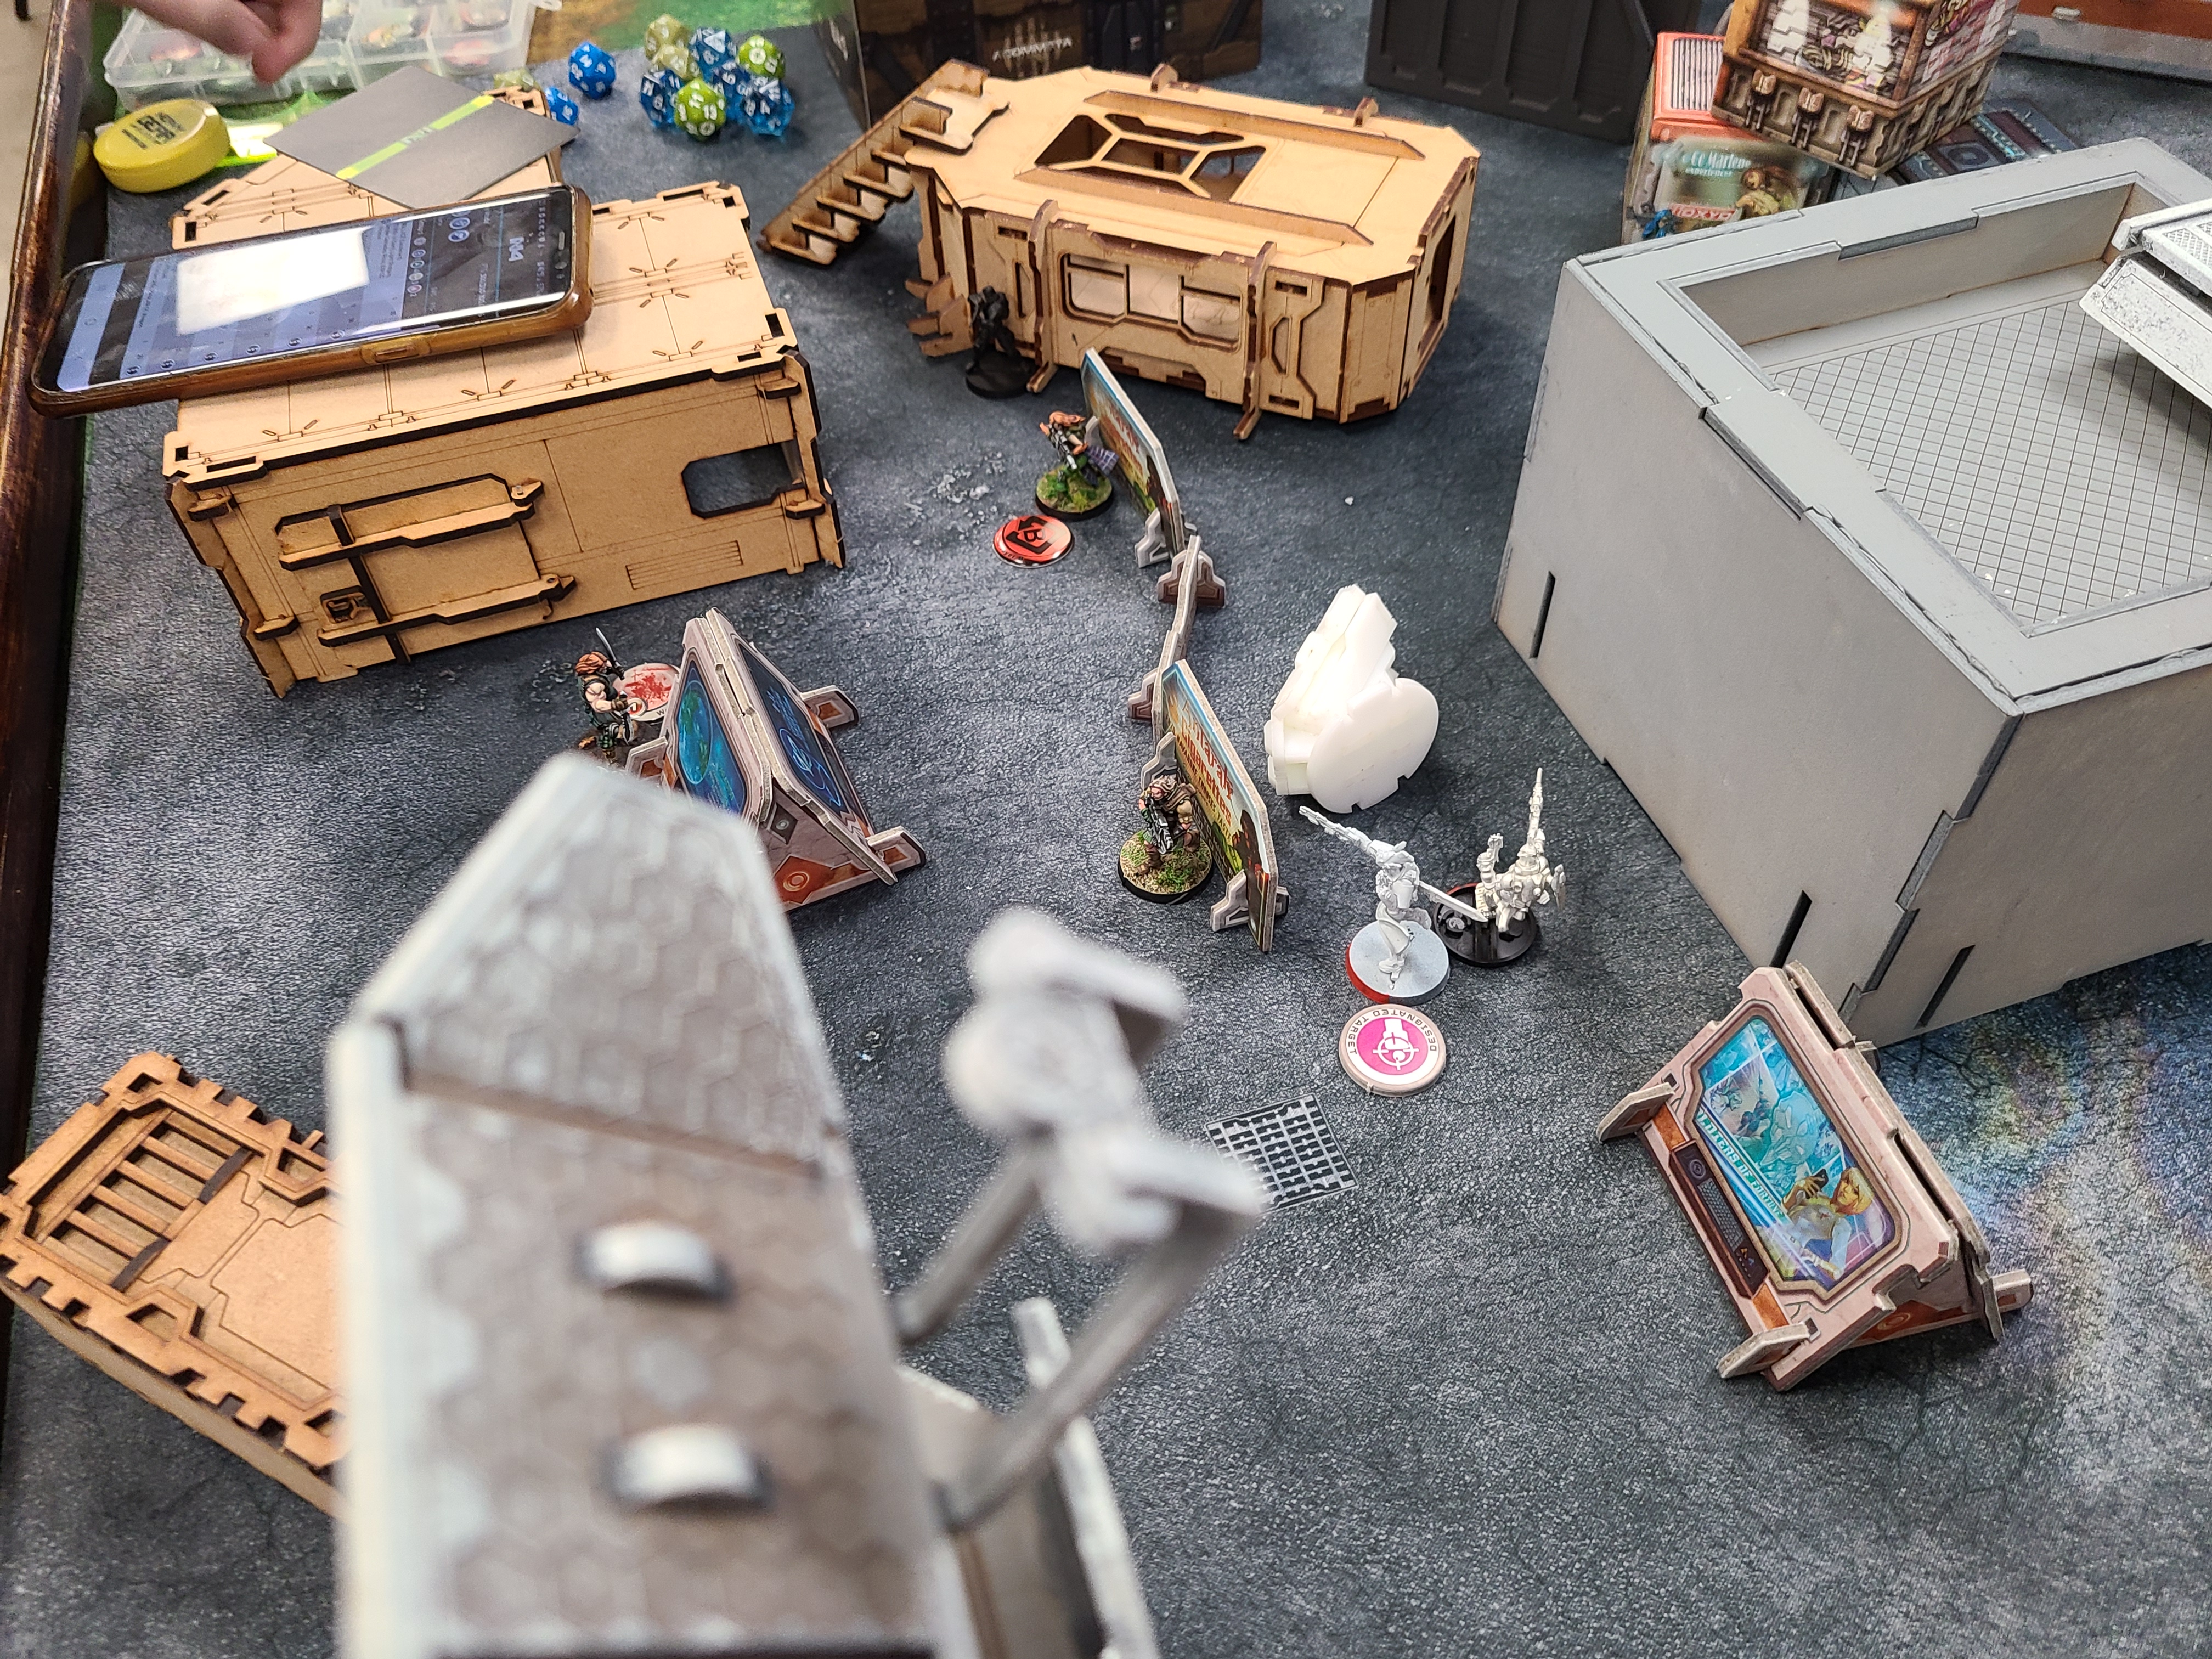
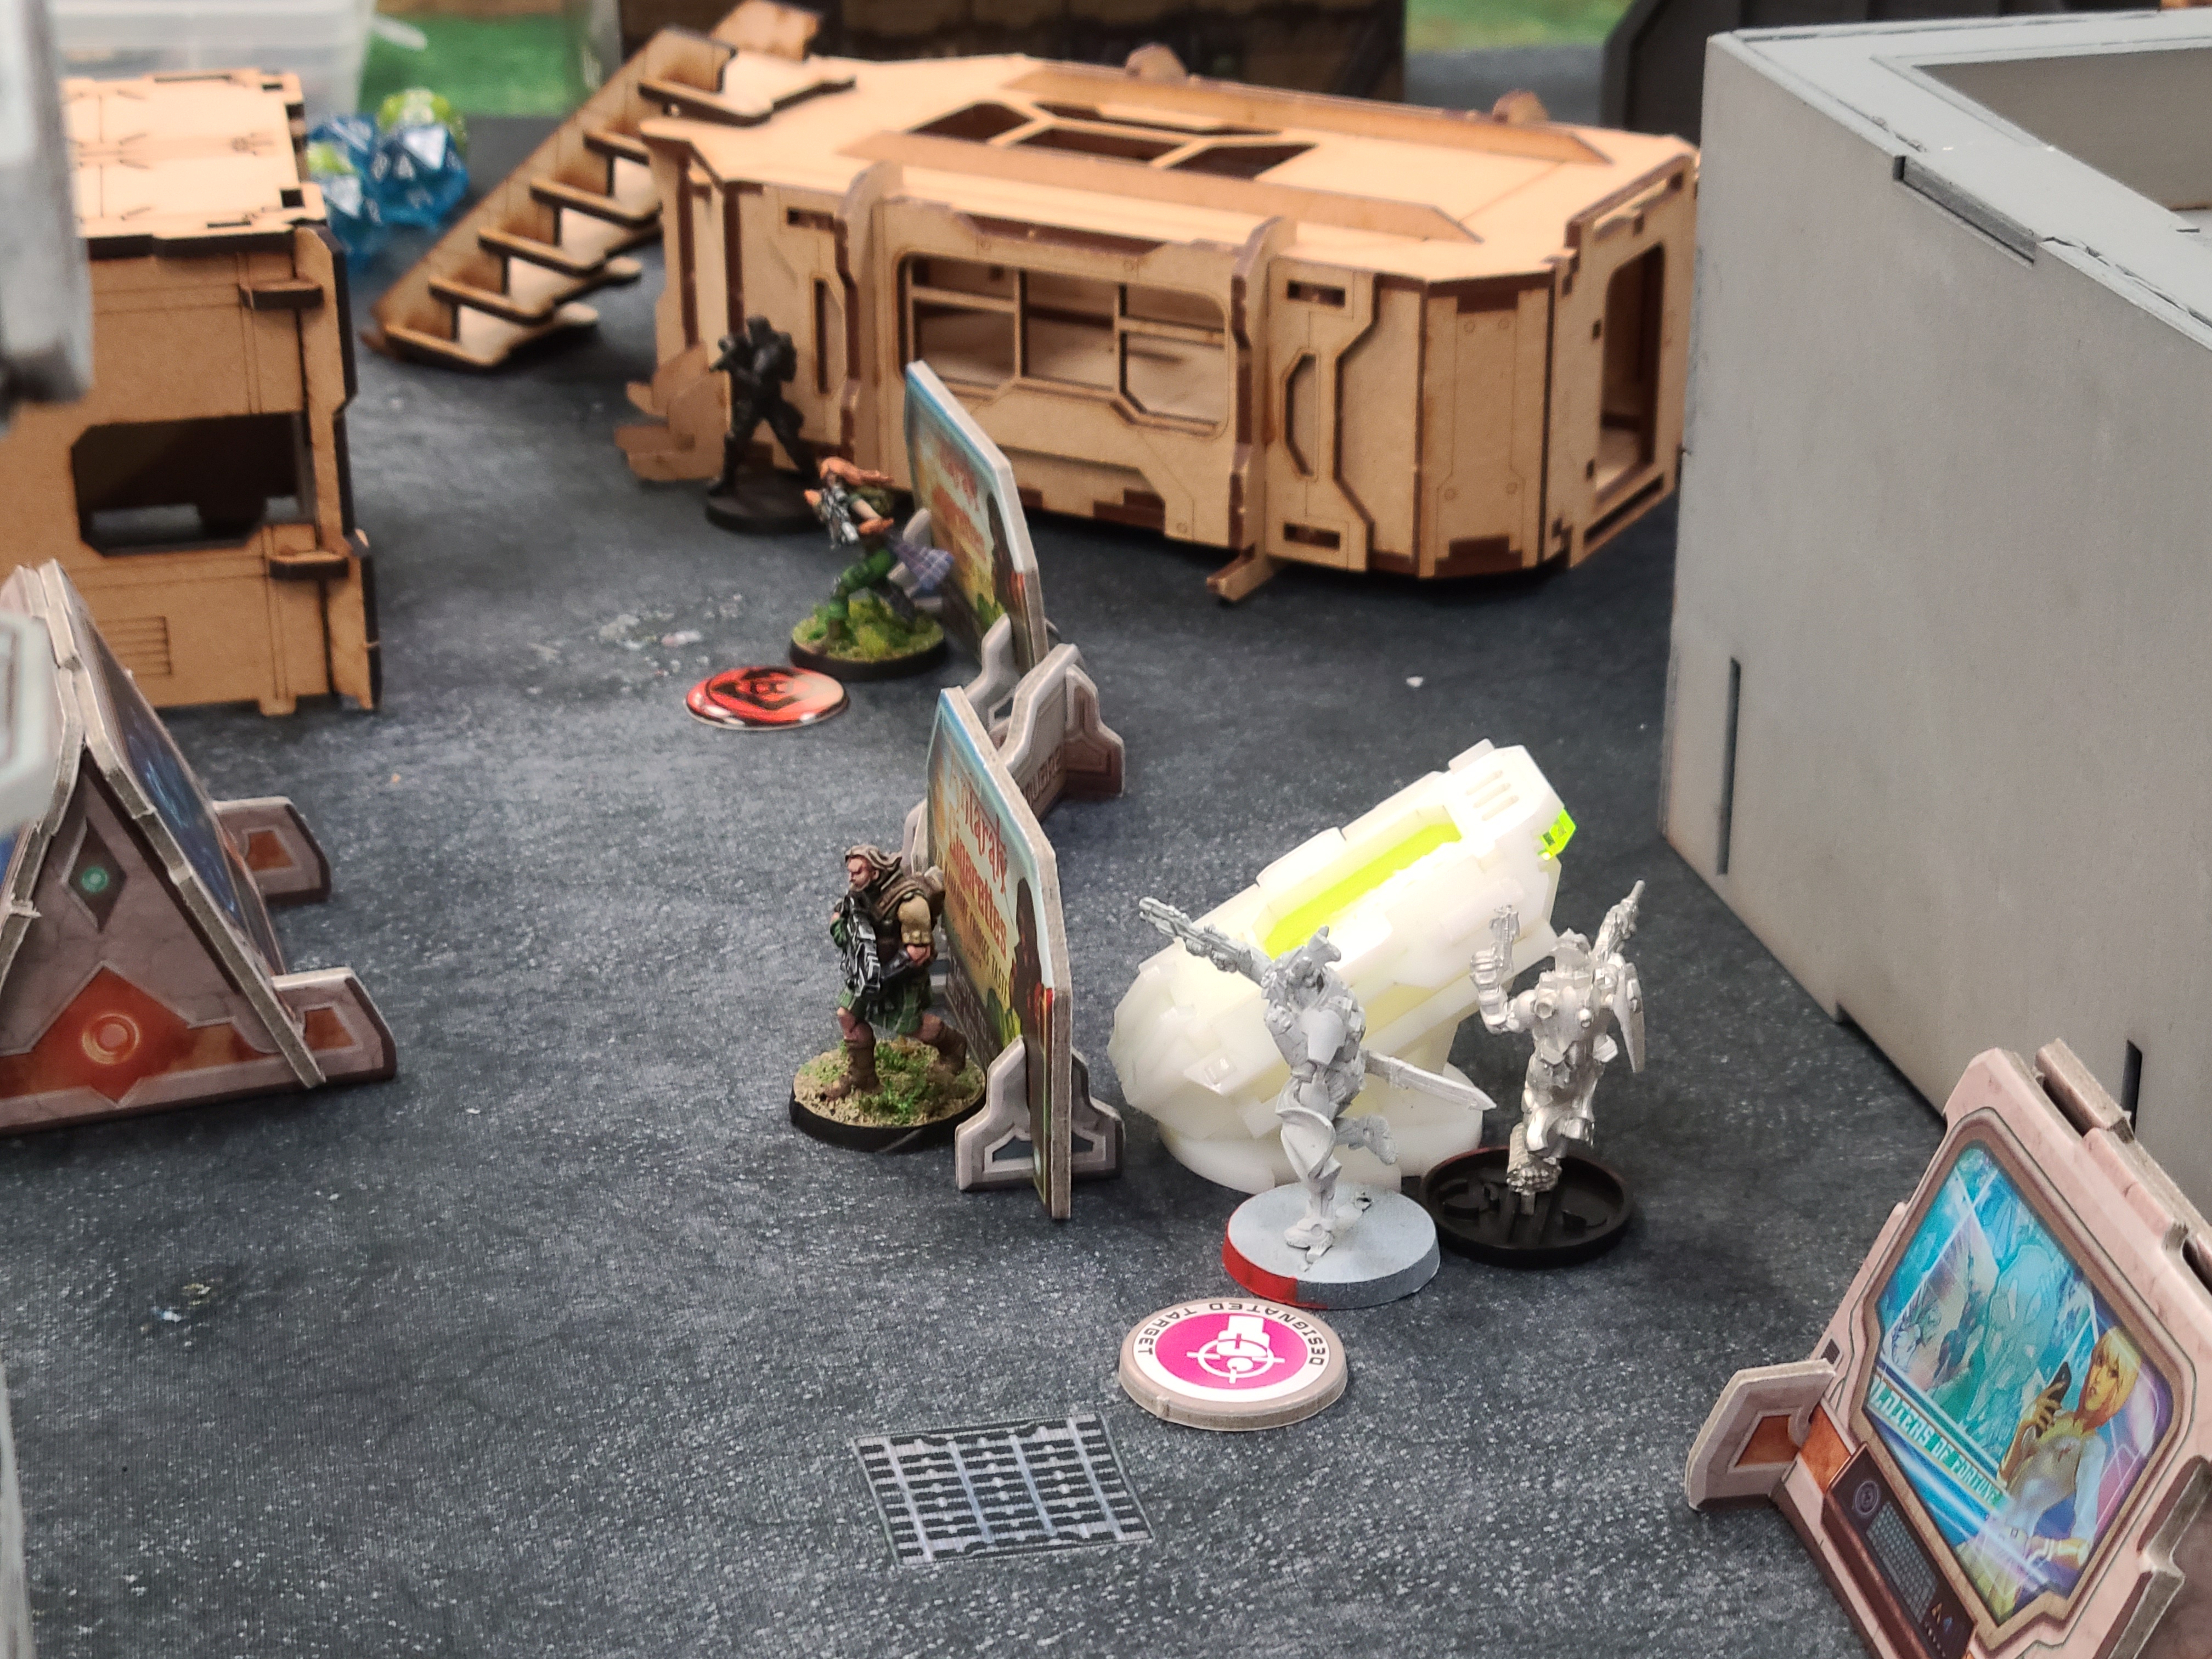
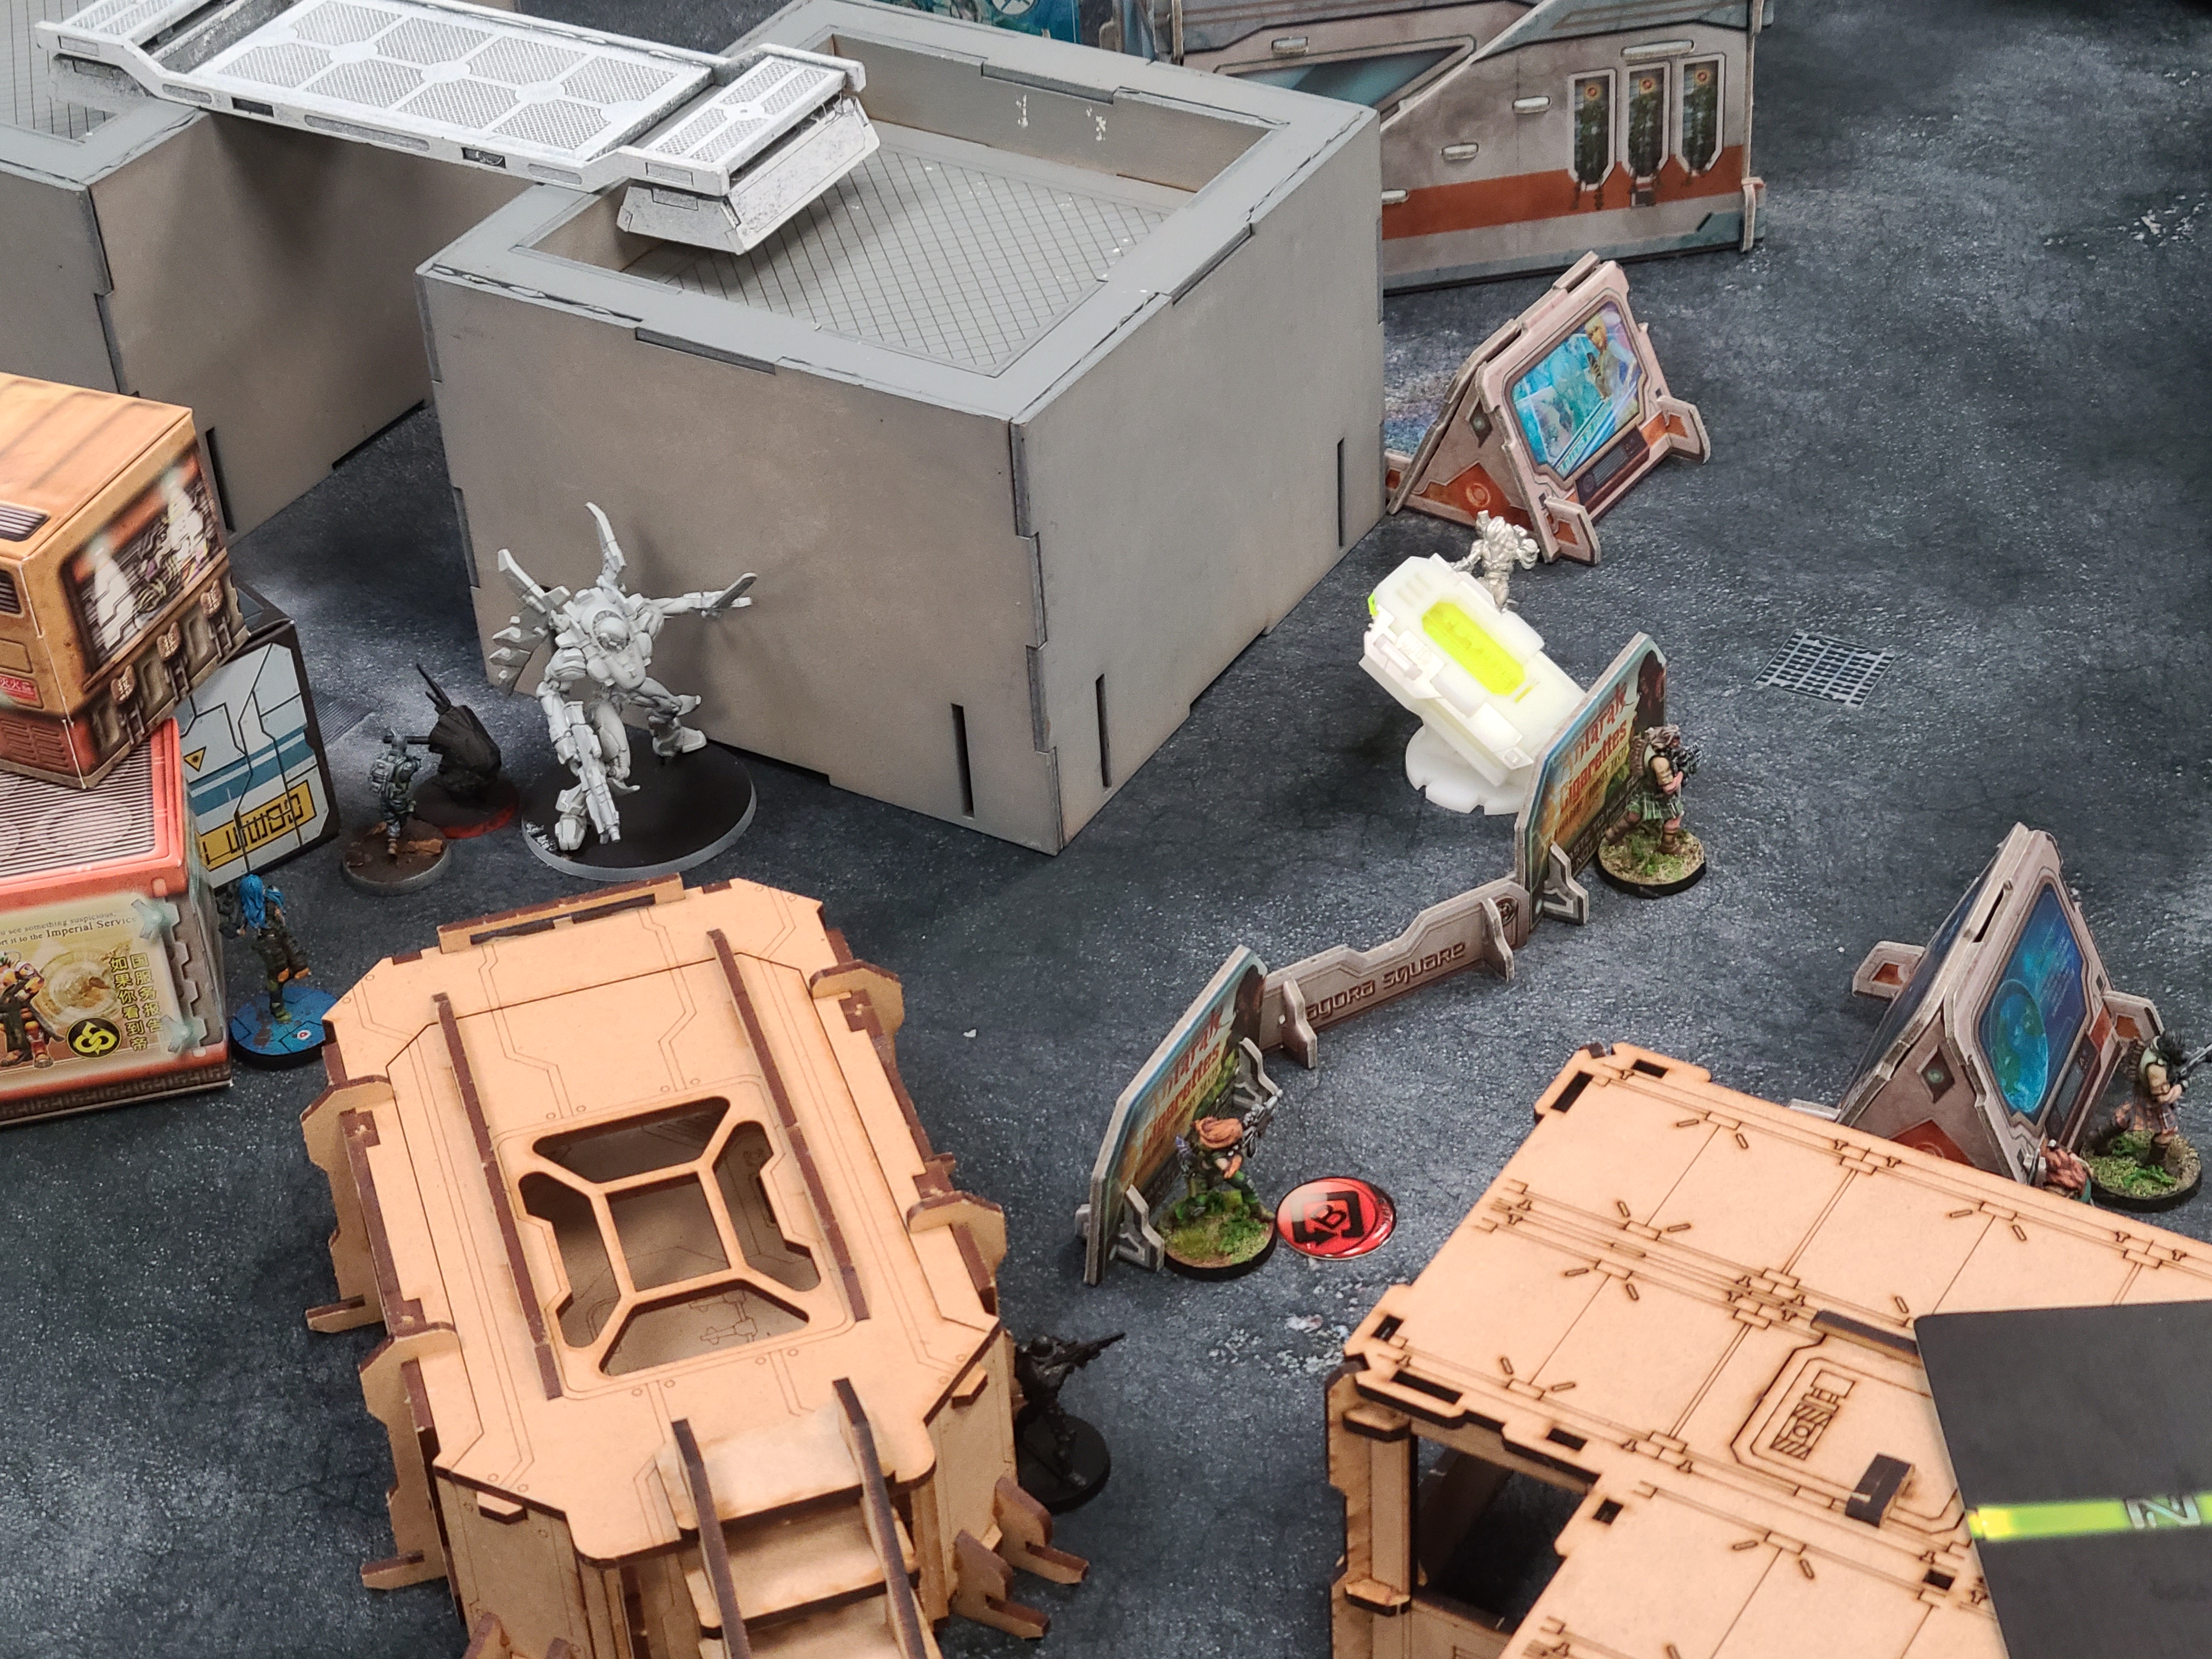
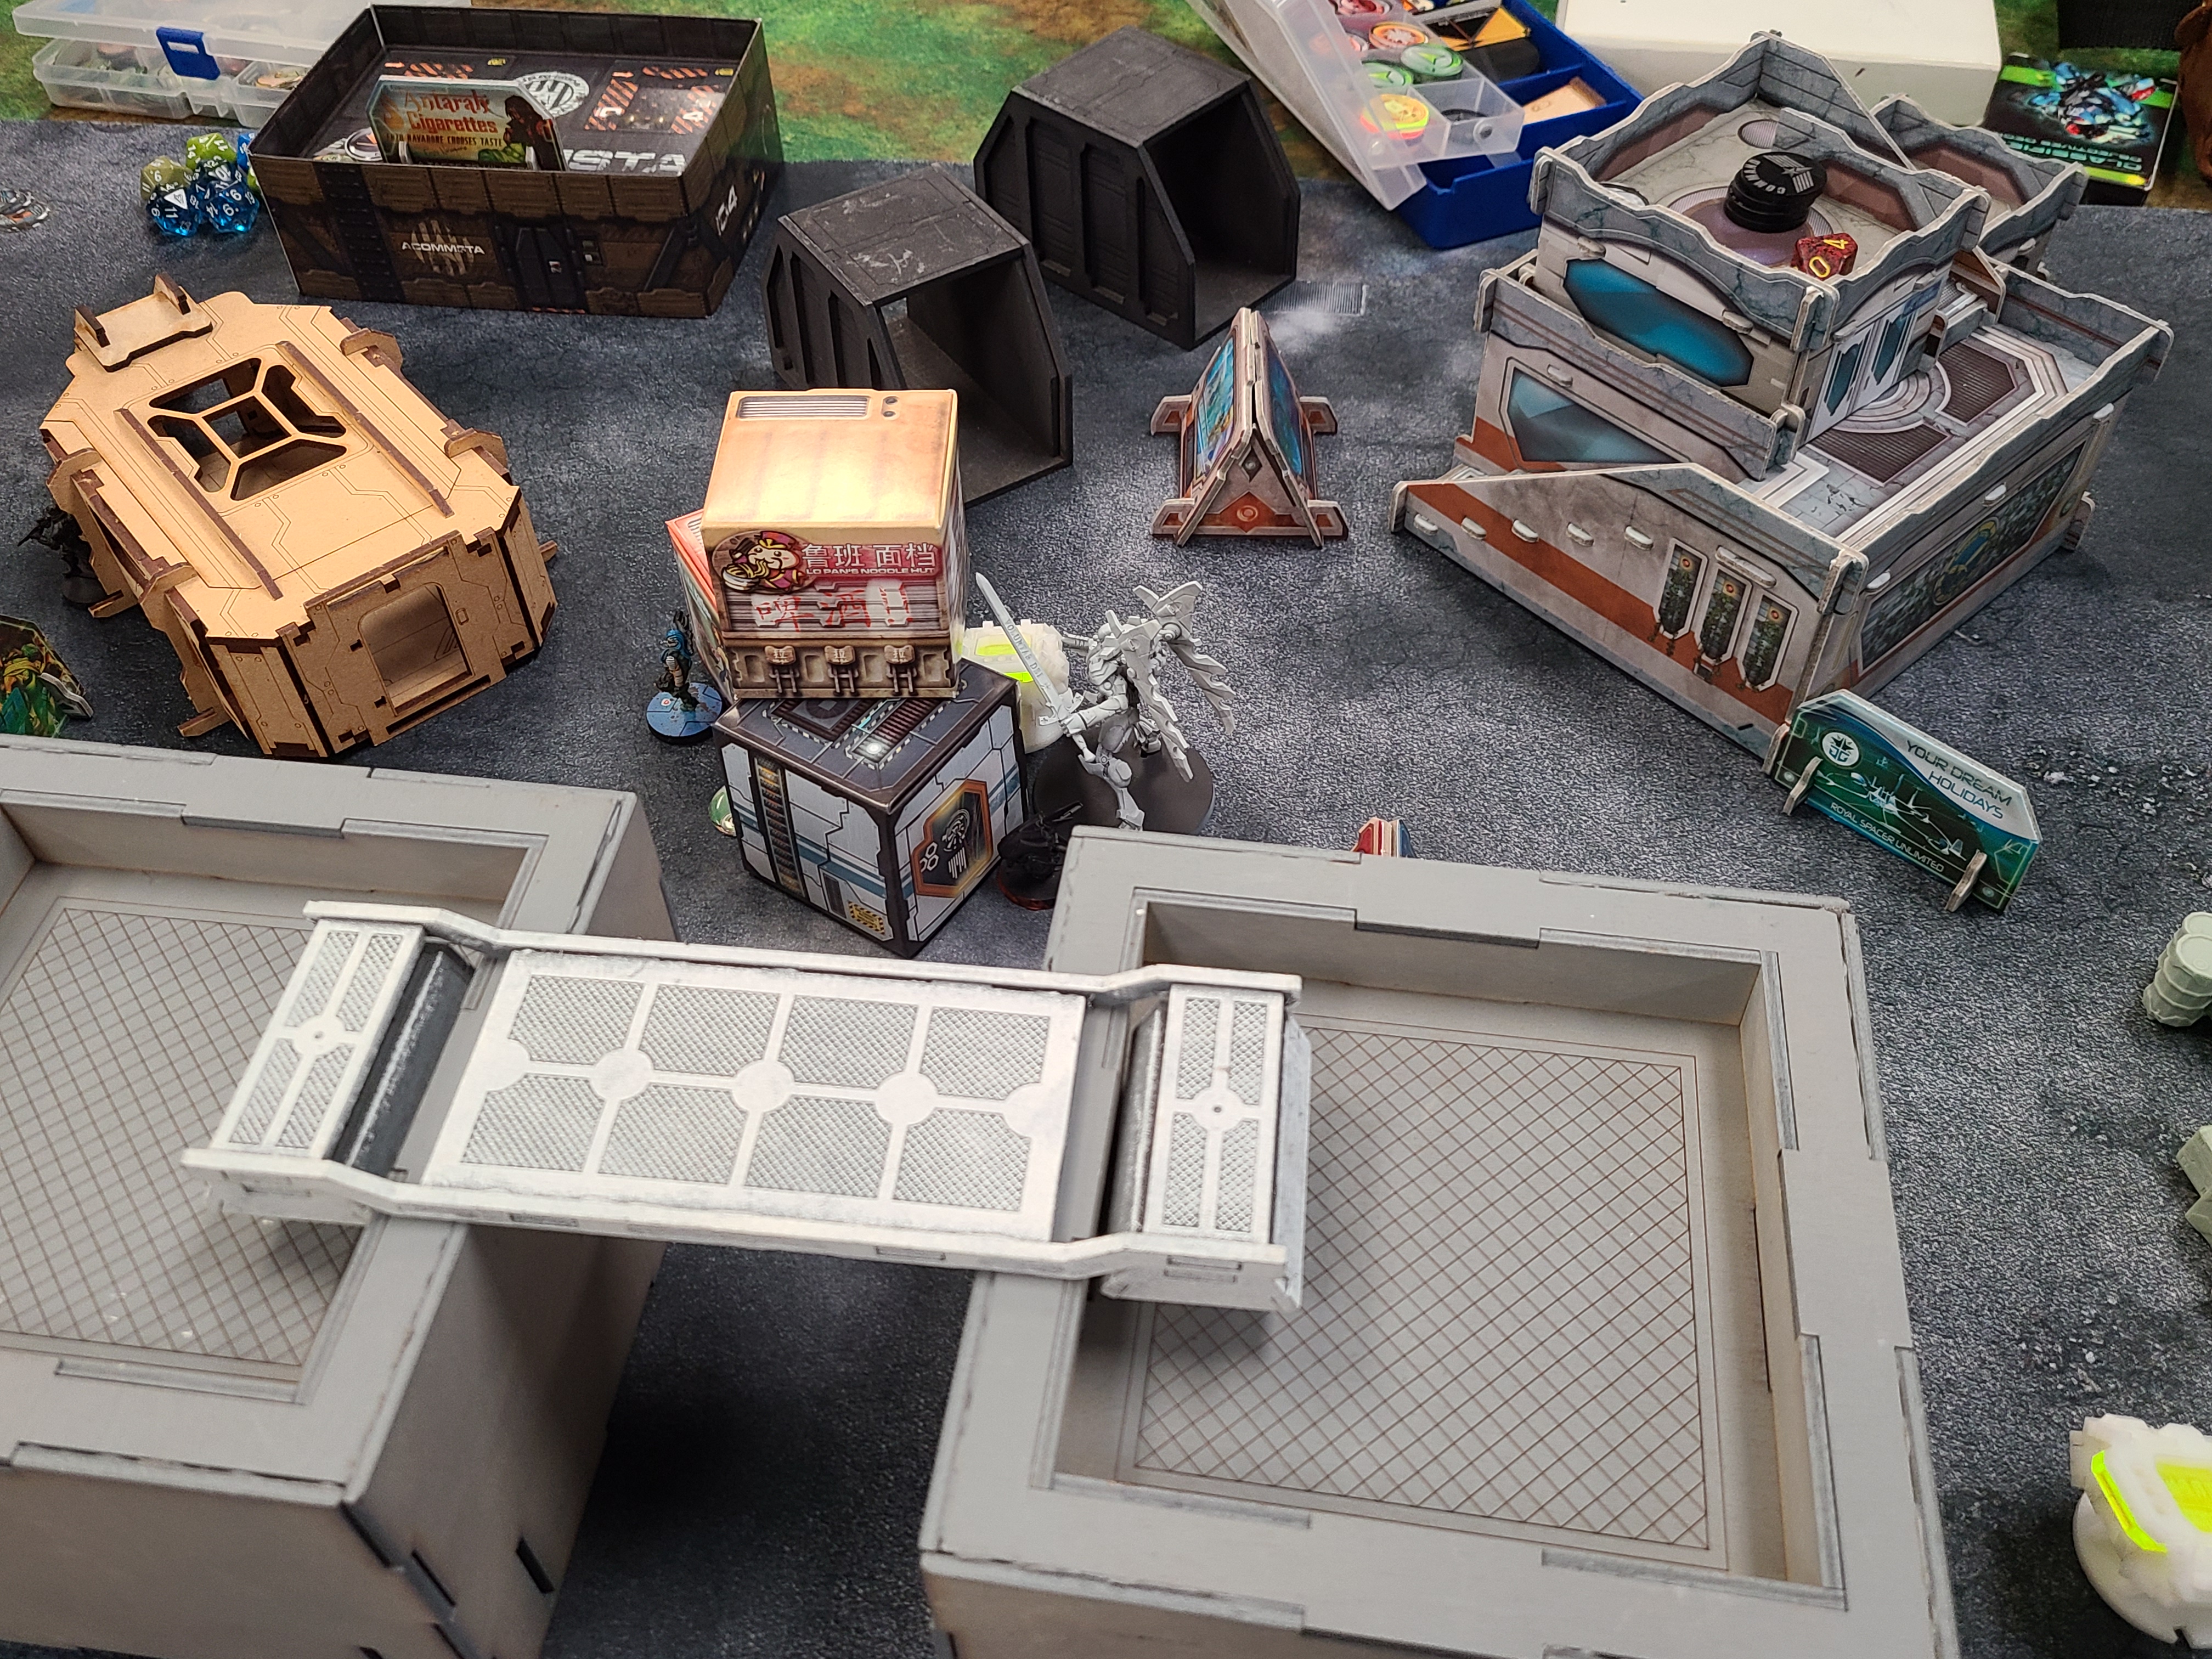
Feeling great urgency, the military orders throw everything they have to destroy the enemy AC2 A.S.A.P.. A crusader brethren makes his combat jump, using the AC2 and an Adjacent wall for cover from Isabeau’s team. Unfortunately, the AC2’s automatic defenses kicked in and the crusader was stunned. Next the seraph attempted to reach the AC2. Along the way it wounded firststrike and it’s auxbot provoked the S.A.S. to reveal itself. Unfortunately, the pilot proved too eager and got caught in crossfire from Donn and the mormaer rifle. Failing two T2 armor saves, the seraph was disabled. The last best option for destroying the AC2, a knight of santiago combat jumped, landing right next to the crusader brethren and likewise using the AC2 and wall to cover it’s jump. Where the crusader brethren failed, the knight succeeded in destroying the AC2.
With the AC2 destroyed and two M.O. troops just outside their deployment zone, isabeau’s team is locked down. The first highlander runs out attempting to lay down smok for the team, but is sniped by the tertiary. A second highlander manages to get smoke down for the team, protecting Isabeau and Donn from the two jump troops and the sniper. Now protected, the team moves around the wall, allowing the T2 rifle mormaer to take shots at the knight and crusader. Both knight and crusader make their roles and move either out of sight or behind cover. Uxia moves back from her deployment near the panoply and gets a surprise shot in with the assault pistol but fails to kill either jump trooper. In the next exchange, the crusader responds with a template and the knight fired his shotgun in hit mode, and though uxia dropped both troopers, she fell to the crusader’s template. The S.A.S. moved over to finish the seraph off. On the other side of the field, the HMG mormaer took out the missile teuton, opening the way for McMurrough and Wallace to move forward.
TURN TWO
Down most of the power of their force, the orders attempted to upgrade their units using the panoplies. Coordinating two orders, the order sergeant and the fugazi moved forward. The fugazi pulled a panzerfaust and the sergeant, an HMG. The other sergeant took some pot shots at McMurrough who hid himself in smoke and the newly minted HMG sergeant dropped a mine to check the dog face. At the end of turn the Lt. teuton stood up to threaten McMurrough in the next turn.
In their turn, the Ariadnan highlanders moved forward. One was destroyed by a panzerfaust and the other’s smoke was shot down by the sergeant sniper. Eventually, the surviving highlander managed to put down smoke to cover Isabeau’s team’s advance. Getting into position, the mormaer rifle traded shots with the fugazi and the sniper, unable to harm either and eventually falling to the sergeant’s return fire. On the other half of the table, McMurrough killed the HMG sergeant and looted an adhesive launcher from the panoply. The HMG mormaer took out the military order’s Lt knight, and Wallace advanced further up the table.
TURN THREE
Now in loss of Lt. and focused entirely on preventing the opposition from reaching their AC2, the military orders spent their remaining command tokens to pour orders into the last sergeant who ran around back and dropped a mine in way of the Grey’s advance. The sniper sergeant passed up an opportunity to discover the camo’d cateran, rather than risk falling and giving the ariadnan’s an open field.
The long awaiting cateran instead took the opportunity on his turn to engage the sergeant, but the sergeant outshot him and killed the cateran. Then Isabeau, still feeling pinned down by the sniper, spent three turns trying and failing to data scan the fugazi. McMurrough crossed over towards the M.O.’s AC2 and tanked a wound along the way from the sniper. In a fateful attack, McMurrough swung against the AC2, but the automated defenses again kicked in, stunning McMurrough. Without enough orders to get Wallace to the AC2, he instead looted the panoply.
At the end of the engagement, the Military Orders alpha strike strategy went according to plan. Though their sacrifices were certainly cleanly felt, success will easily justify all of them. Rapid resurrections certainly await those who laid down their lives in their service.
-Images courtesy of the war correspondent attached to Yu Jing commander Onaznelav’s forces.

Battle Report Author
Army Lists Used In This Battle
Recommend Commander For Commendation
Share this battle with friends
JjaroDurandalWins

Excellent report and well fought!
Good detail
Well done Commander!