Fought At Cameliard: Reliquary
643 days 23 hours 37 minutes ago
Impotent Rage Against The Machine
300 POINTSInspired by the military orders’ success in camiliard, a detachment from the Svalarheima WinterFor challenged Aleph’s forces to a training exercise. The aim of the exercise was to test a similar rapid strike tactic and to compare and prove the quality of their TAG armored forces.
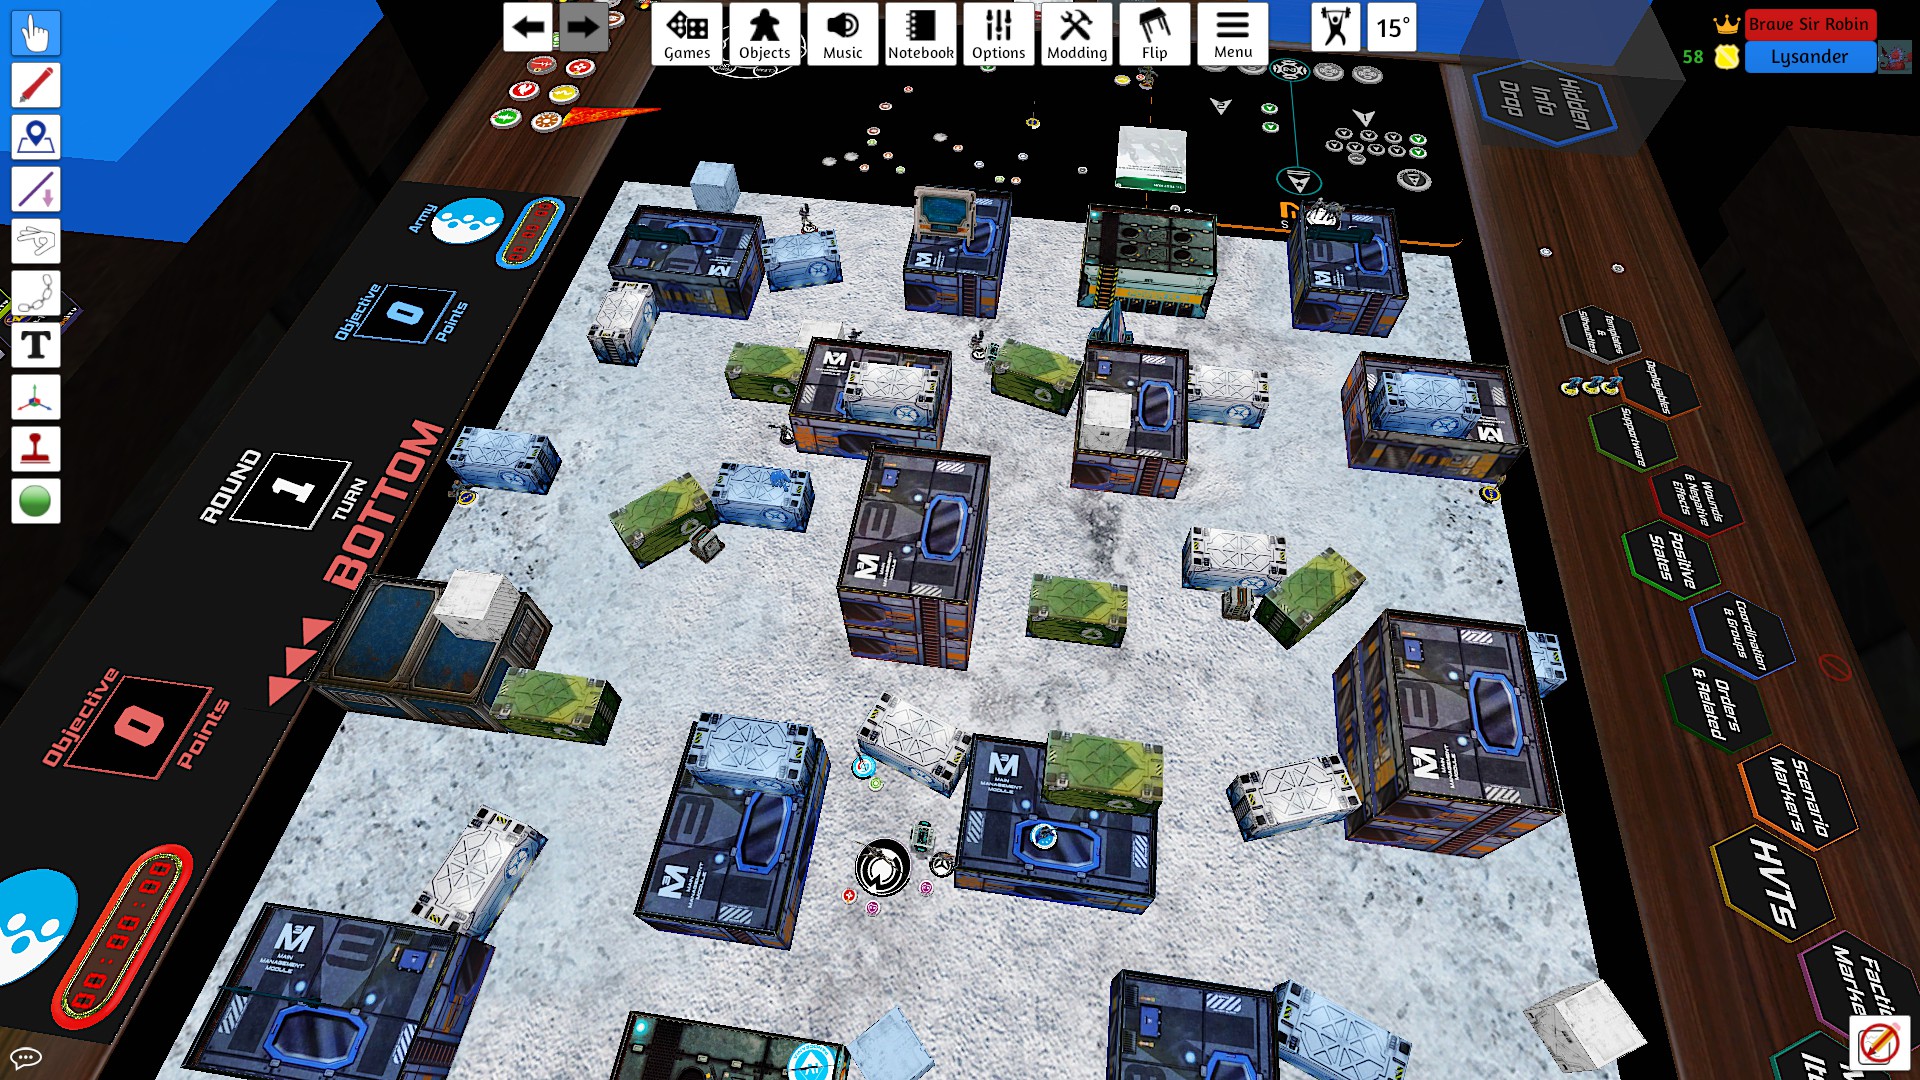
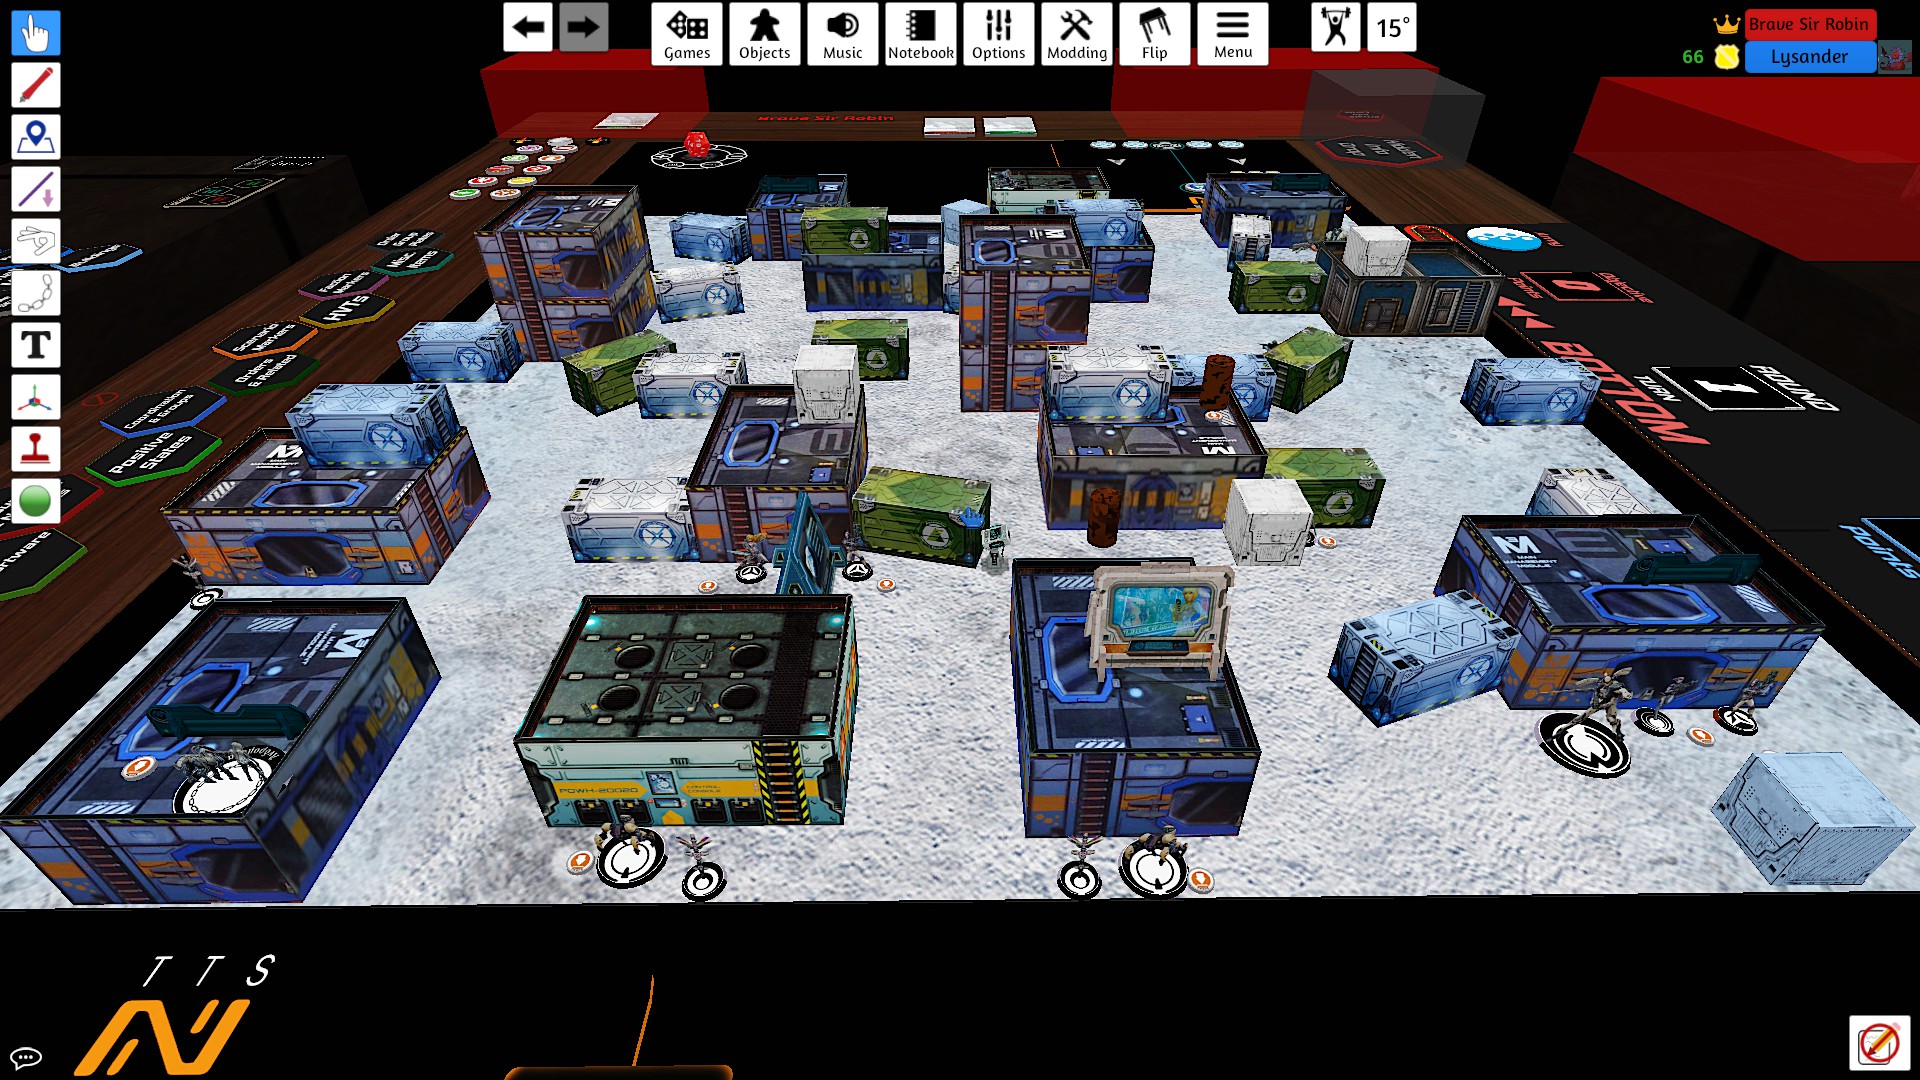
Deployment
Deploying first, the svalarheima forces deployed a jotum to both the left and right sides of the field, with the lieutenant on the right. A Locust deployed in cover near the left panoply. A Nisse sniper, accompanied by a winterfor machinist and mercenary flight officer Agnes Ferreira, near as he could get to a proper sniper nest just right of center field. Also deployed were a warcor and fugazi. The reserve troop, another locust attempted to infiltrate deeper into the enemy territory, but failed and had to set up behind the right Jotum. Right out of the gate, the notion of the M.O. inspired alpha strike seems to have slipped beyond WinterFors grasp.
On the opposite side, Aleph’s forces deployed. A Marut was in cover in the rear left field, with a nearby myrmidon. Forward of their position was a post-human forward observer. Achilles was deployed to the other half of the field. In the center, near the AC2, were a couple of camo tokens, a post human engineer, and another myrmidon. In the deep back of the field were netrods and lamedh remotes. Andromeda attempted to infiltrate near to the Lt. Jotun, but failing, hid in the back of the field.
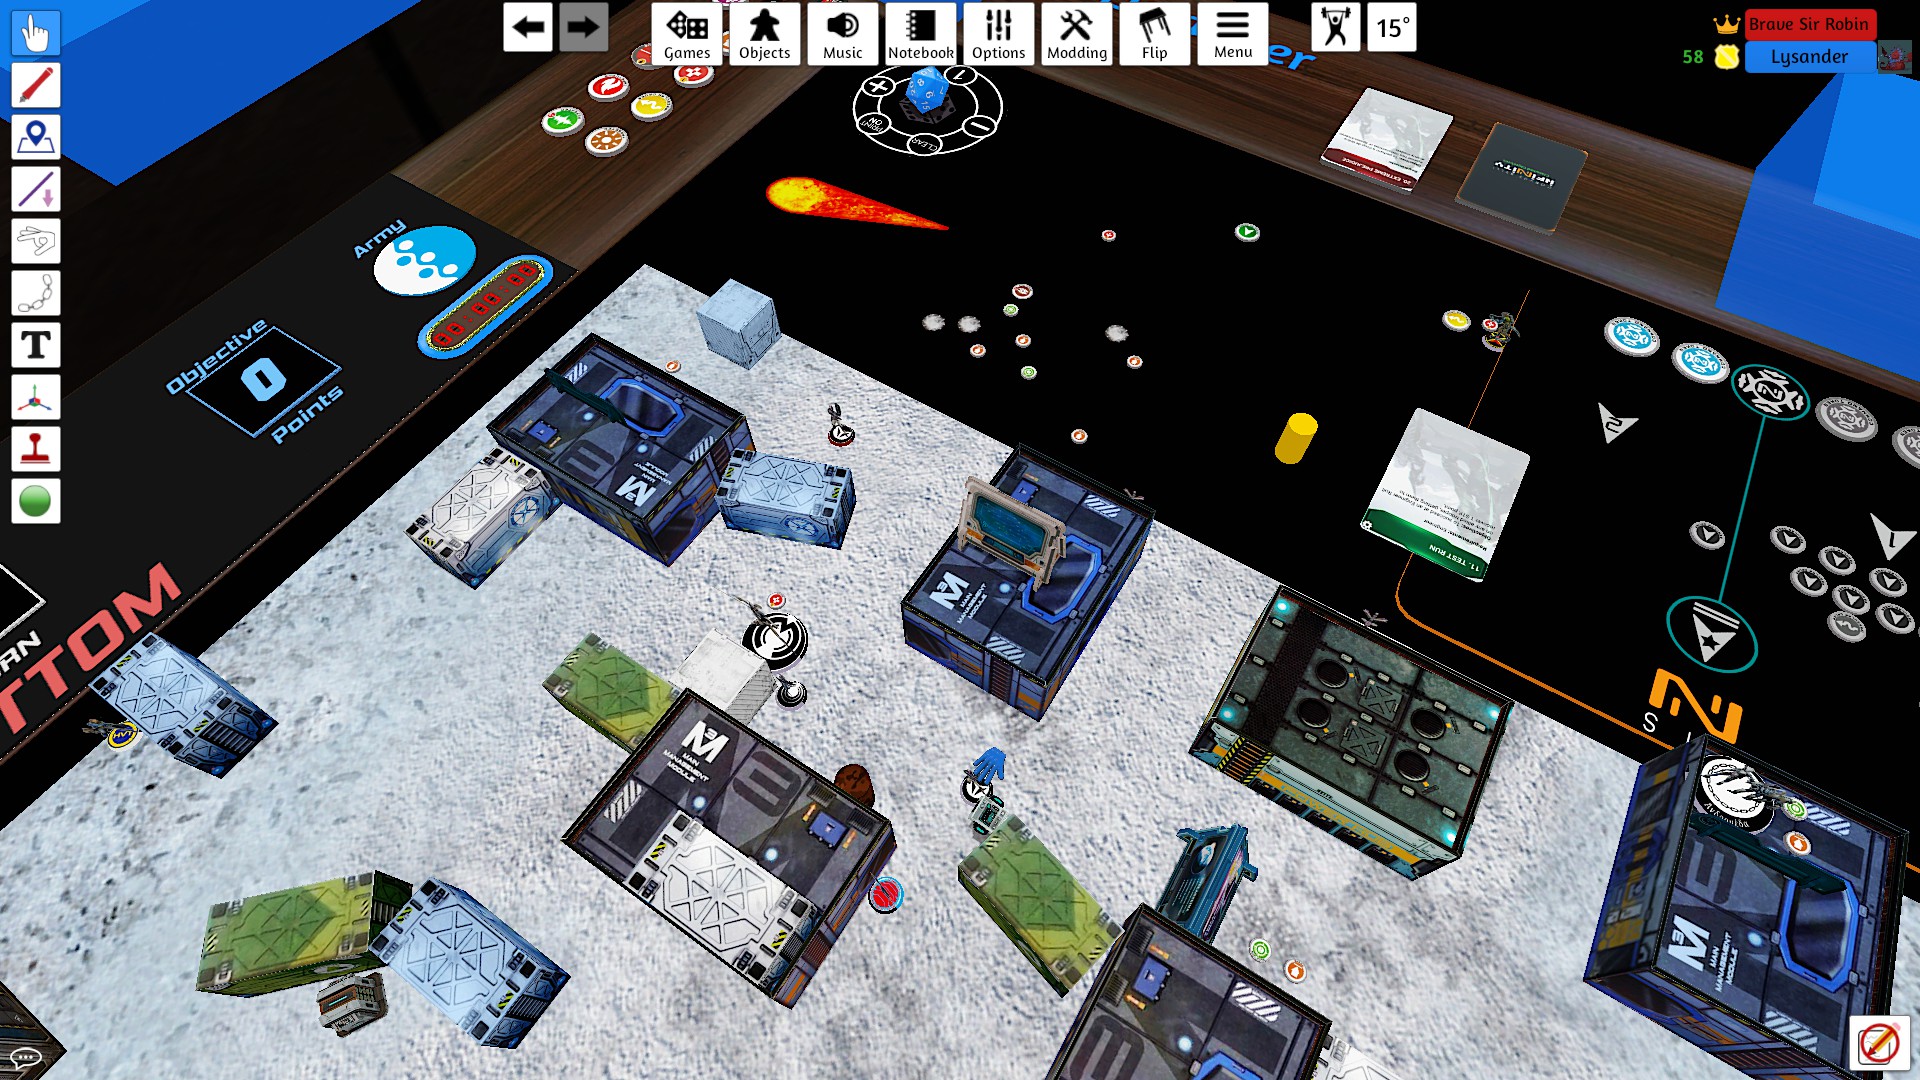
Turn One
Their expectations of having a saboteur near the AC2 spoiled, the svalerheim forces instead decided to consolidate their position around the panoplies. Coordinating an order the two jotums and the one out of place locust each moved towards their nearest panoply. Once in place, the right pair pulled equipment from the panoplies; a little extra armor for the locust and an adhesive launcher for the jotun. With the final coordinated order, the jotums and locusts went into suppressive fire.
Aleph then put the jotum’s armor to the test. A myrmidon popped smoke and the marut moved around the corner to begin the fight. Though it took a couple bursts, eventually the left jotum was disabled. The other myrmidon dropped more smoke and the Marut advanced into mid table. In quick work, the nisse sniper was killed. A series of intense exchanges was made with the remaining jotum but the marut was unable to inflict any further damage. Finally one of the camo token moved forward, climbing off of its building and being discovered along the way as a libertos by the winterfor’s warcor.
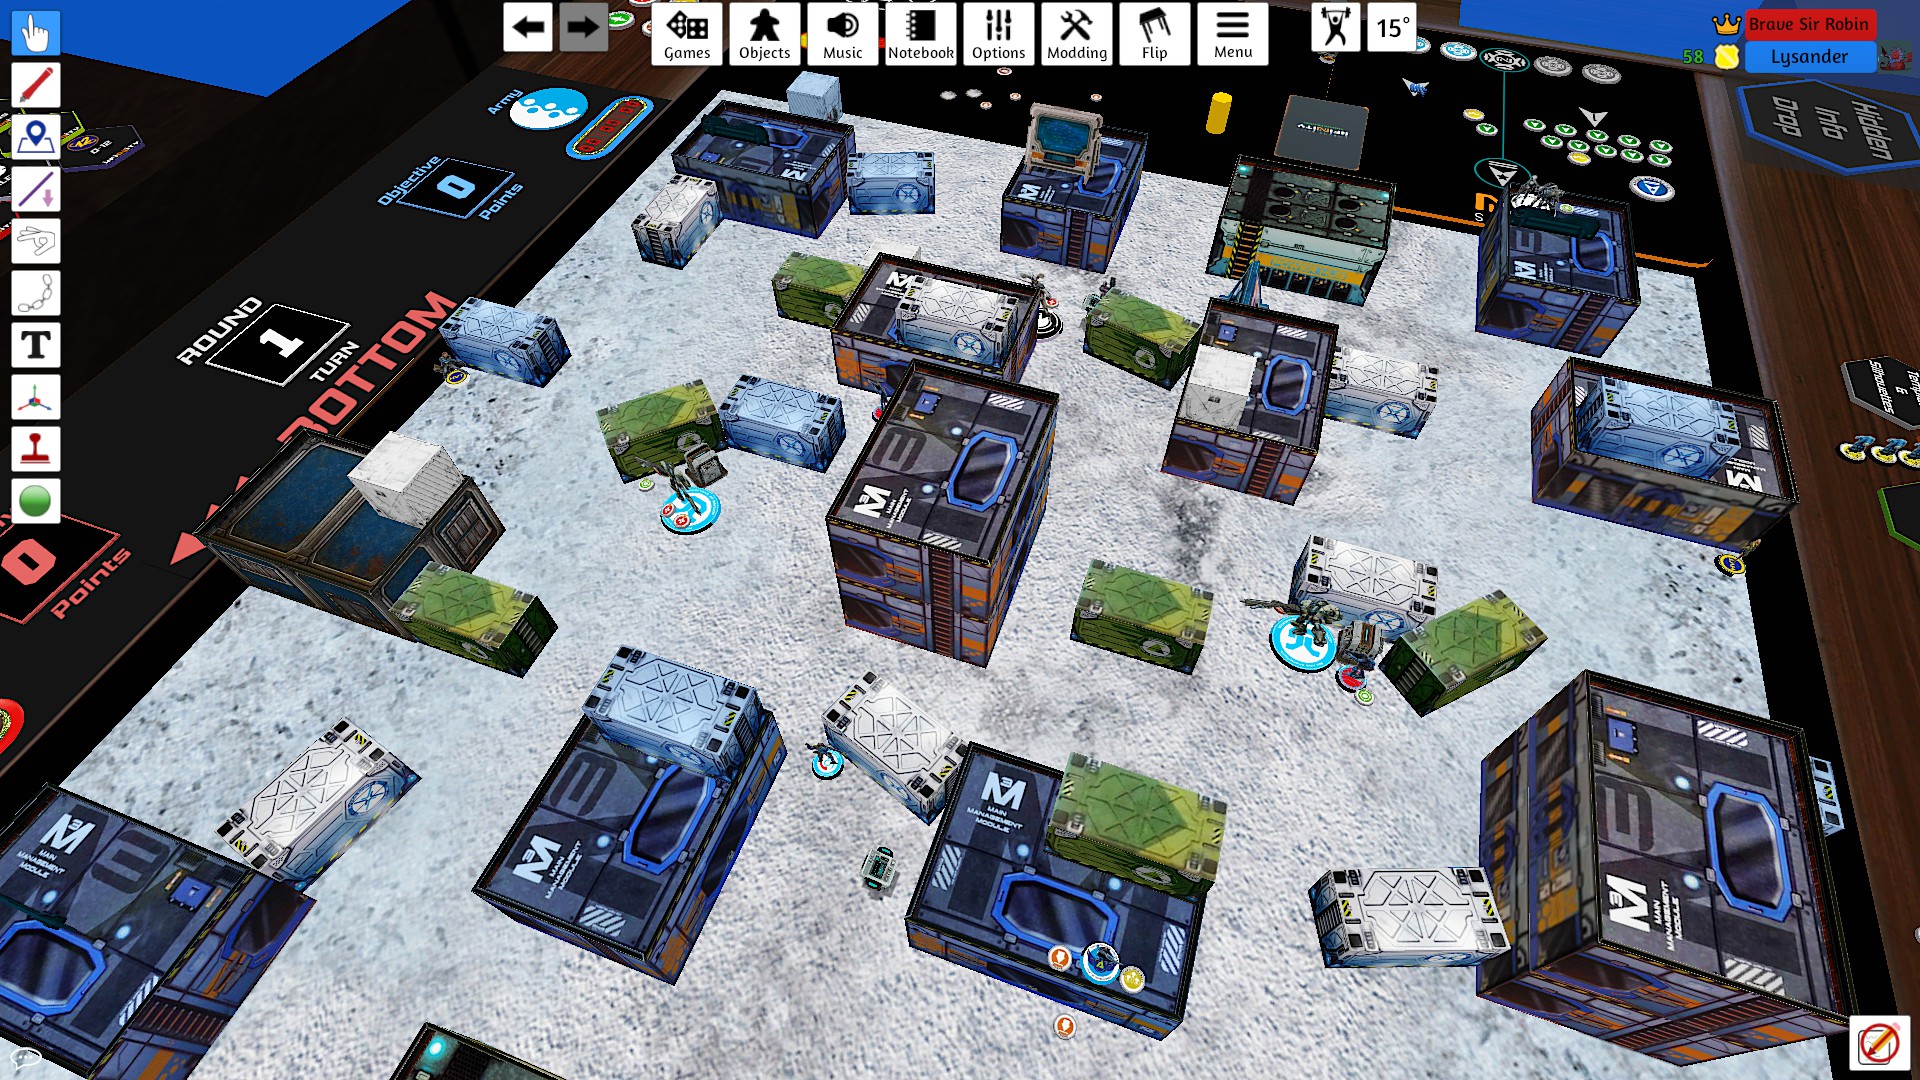
Turn Two
Still joined in battle, the panoceanian forces attempted to tilt the odds away from the marut. First, the machinist attempted to employ its gizmo kit at great range, missing with its first attempt and then succeeding in restoring functionality to the TAG. The machinist then took it’s last spare moment to wound the libertos, who would use the rest of it’s energy to keep the locust in front of it suppressed. The left locust then moved as close as it could without engaging the libertos and sent out a wildparrot the threaten the marut. The E/M trap set, the right jotum fired on the marut, and despite it’s complete inaction the jotum through multiple bursts was only able to inflict one wound. Instead of the Marut, the libertos reacted and drew the wildparrots destination away from the Marut. The locust would dive past the libertos attempting to set another wildparrot, not realizing it’s lack of further munitions.
With WinterFor’s momentum expended, Aleph took charge once more. Again, myrmidons deployed smoke to obscure the marut. It then traveled back to left field to finish of that Jotum. Doing so, it left its smoke screen. Seizing this last, best opportunity, the jotum fired its panzerfaust and was able to disable the marut. Unfortunately, the nearby engineer immediately restored the marut to functionality, completing an aleph objective of testing repair technology, and the jotum was then disabled and destroyed. The posthuman advanced and finished off the locust out of position. On the other side of the field, Achilles finally struck out, dodging the right Jotum’s flamethrower until he was just able to reach the TAG.
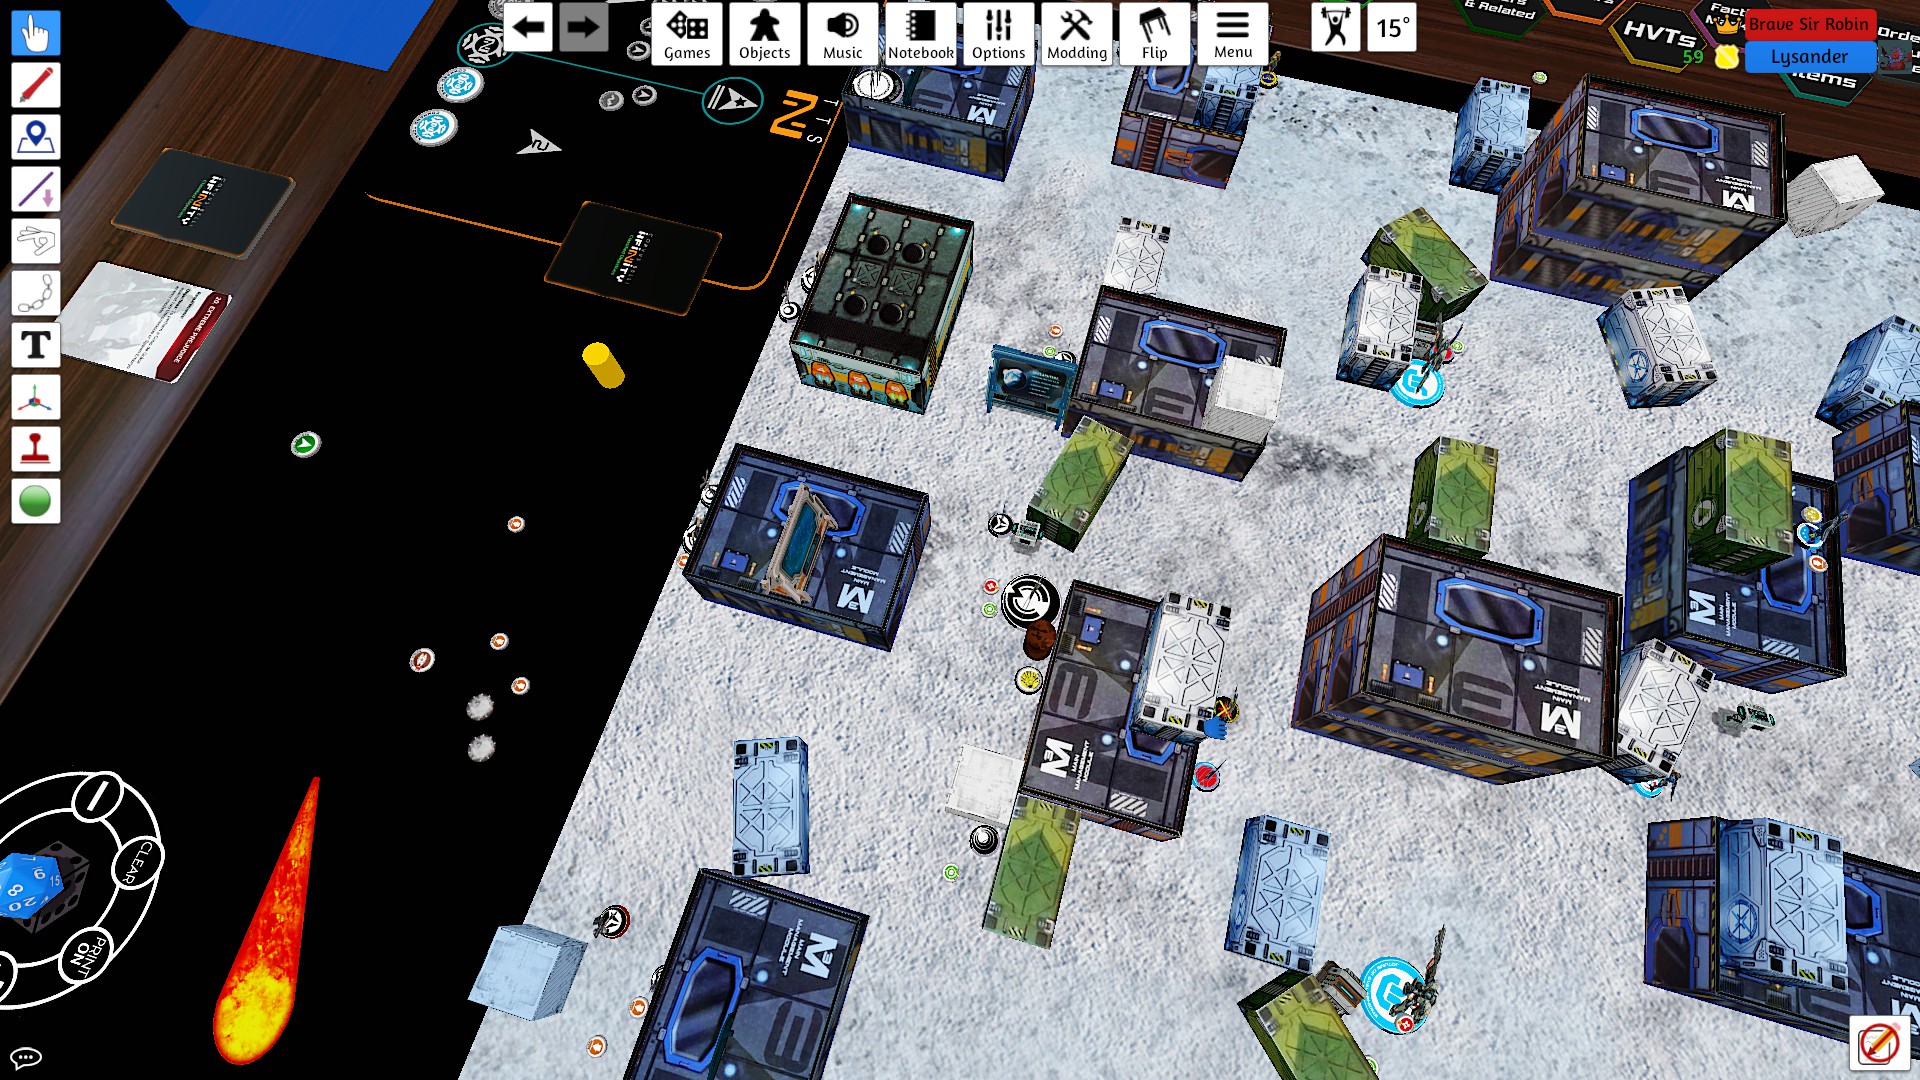
Turn Three
With Achilles tied up and the Marut out of position, the remaining locust took it’s last opportunity to strike the enemies AC2. Diving to the AC2, the locust attempted to set it’s D-charges despite receiving fire from multiple sources. Unfortunately, the locust was unable to overcome the AC2’s automated defenses and it quickly died to a mine, a chain rifle and multiple shots. With victory now a distant dream, the Jotum engaged in a melee with Achilles. Despite respecting the pilot’s gumption, the Steel Phalanx’s great hero still defeated the jotum and inflicted a wound.
With winterfor’s last offensive struck down, it fell to Aleph to take down pano’s AC2. The marut clambered over a building to assist Achilles in finishing off the jotum, trading ineffectual shots with the machinist along the way. As soon as the marut reached the close quarter battle, Achilles quickly destroyed the jotum. Now freed up, Achilles made an end run around to the Pano AC2. With victory assured, Achilles, in his overconfidence, failed to defeat the AC2 and was stunned. Surprised by the sudden turn of fortune, the Marut made a dash over to do whatever damage it could. However, it too was immediately stunned by the AC2’s defenses. The operation was quickly wrapping up and the last action that Aleph’s forces could take was to draw a single piece of equipment from a panoply.
With the exercise ending in an extremely frustrating draw for Aleph, the winterfor commander will be reexamining his strategic assumptions. The Jotums proved durable and lasting obstacles, but the offensive power of the whole force seemed somewhat lacking. At the very least, the stocks for the manufacturers of AC2 units are certain to rise as their defense systems have certainly shown their quality.


2 Jotums is unexpected boldness XD
Awesome read, thanks for the report! It’s always legendary to see a Jotum hit the field.