Fought At Darpan Xeno-station: Xenofarm Gamma
659 days 11 hours 5 minutes ago
Strange happenings at the Xeno-Station
300 POINTSThe mission was Highly Classified with the additional rules for fighting at the Durpan Xeno-Station.
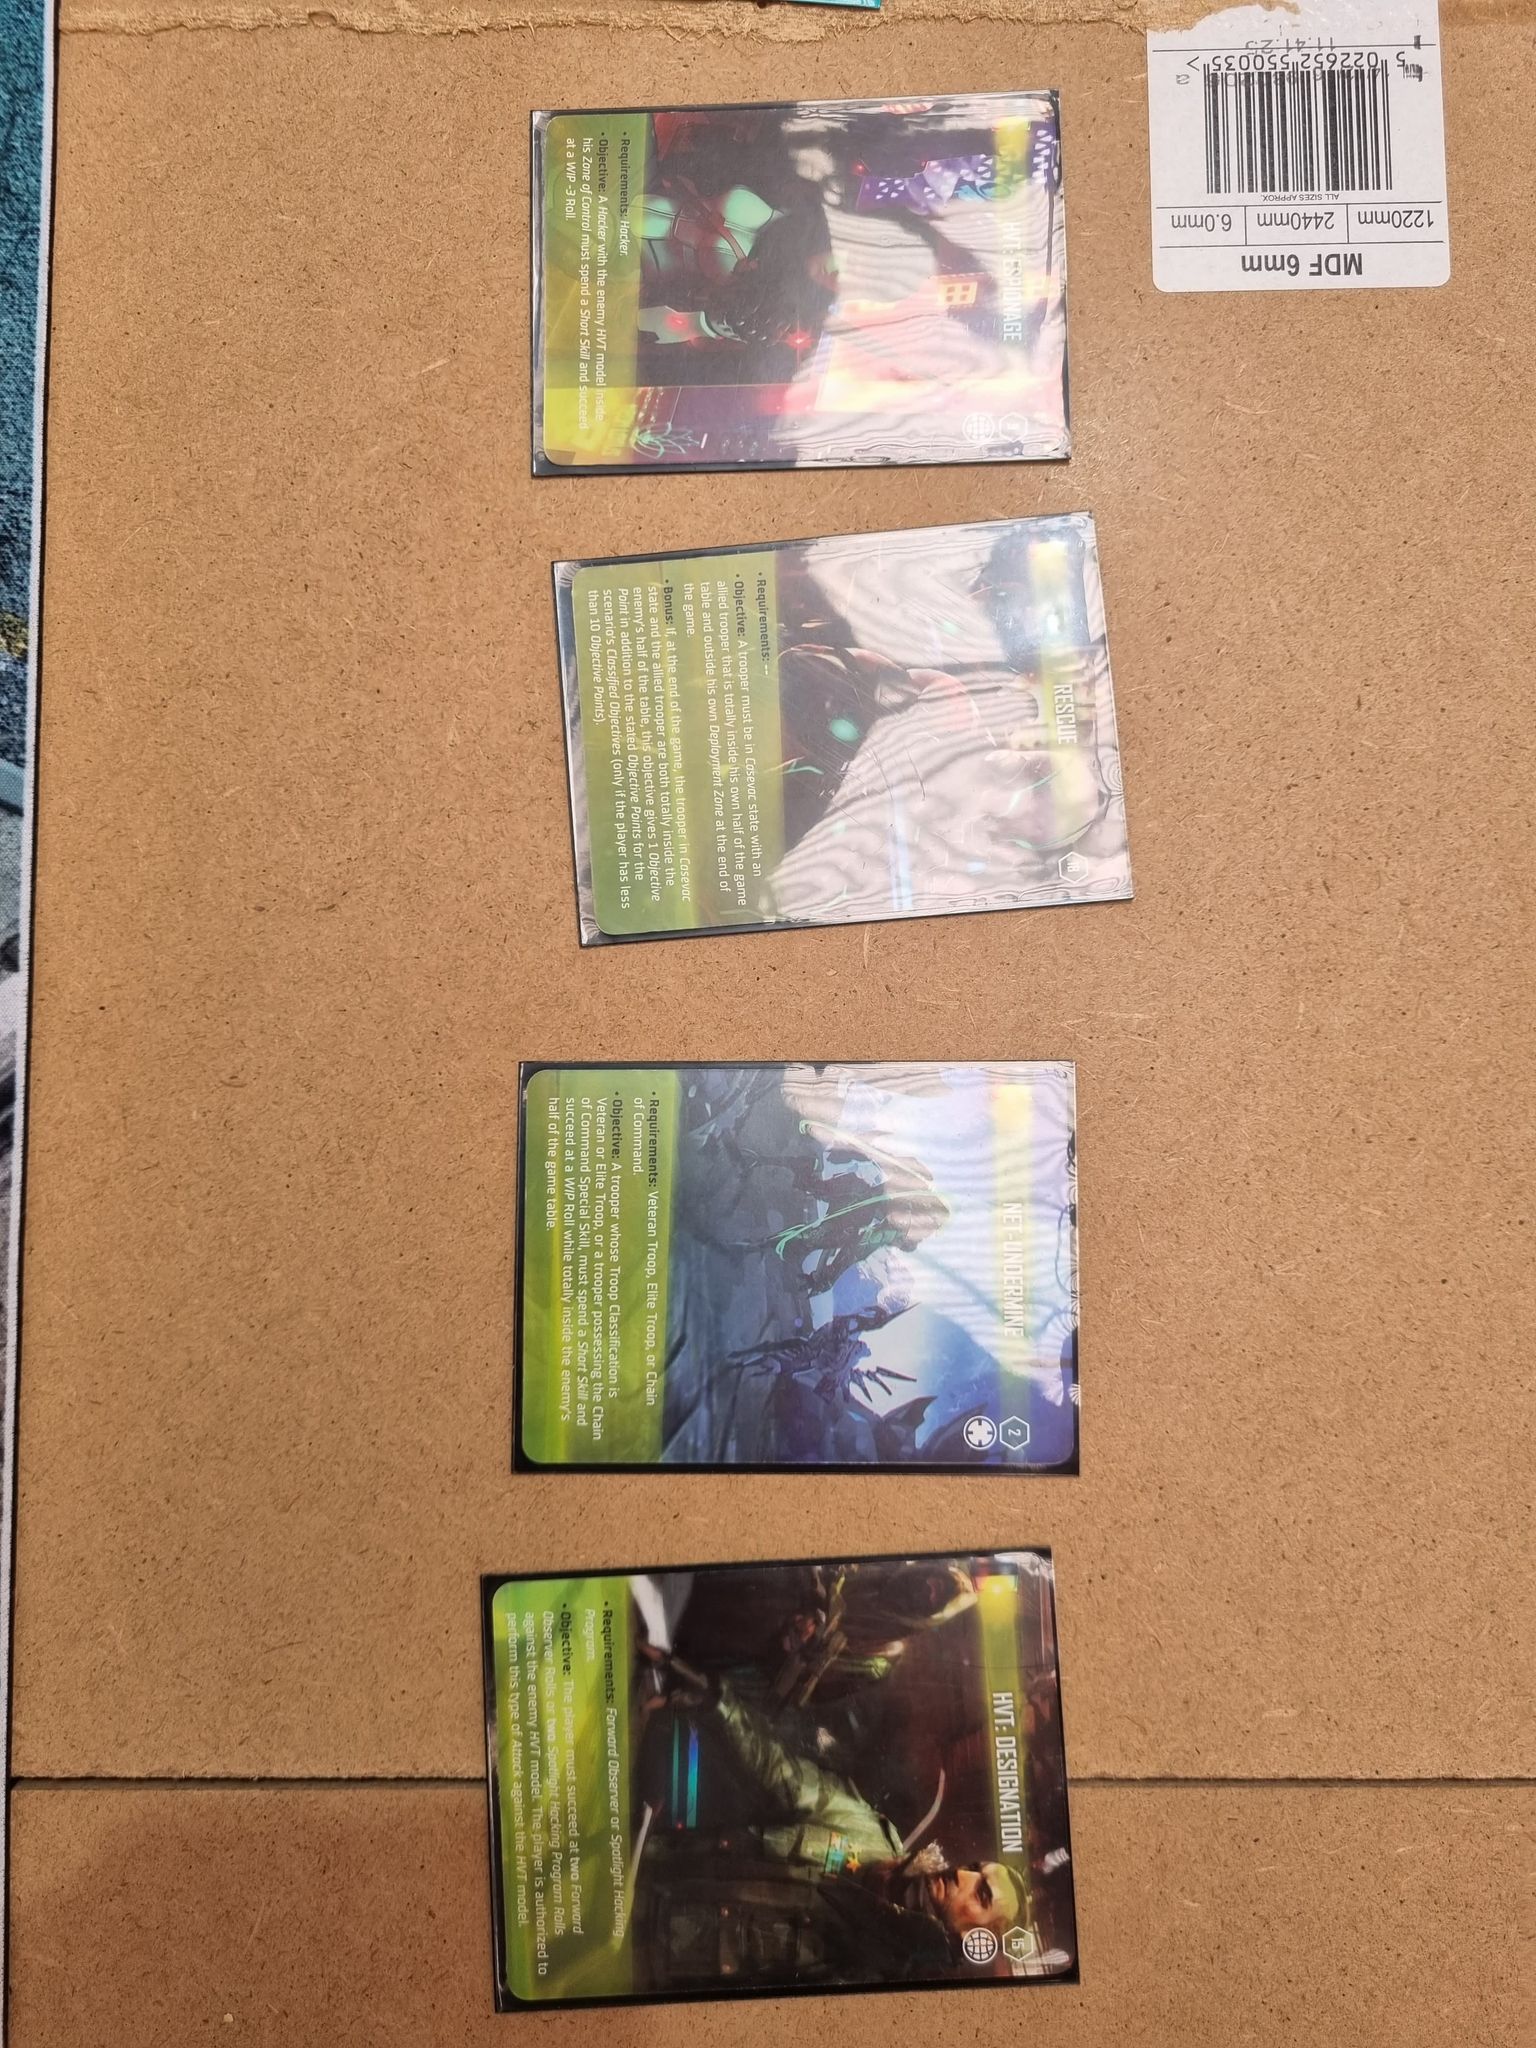
The Cards drawn in the mission were:
HVT: Designation
HVT: Espionage
Net Undermine
Rescue
The Secret Objectives were:
012 - Predator
Combined Army - HVT: Identity Check
 This table is very special to me as it is dedicated to myself and my wife from Aspect Graviton (The in-jokes are a hard one to explain... suffice to say another great board)
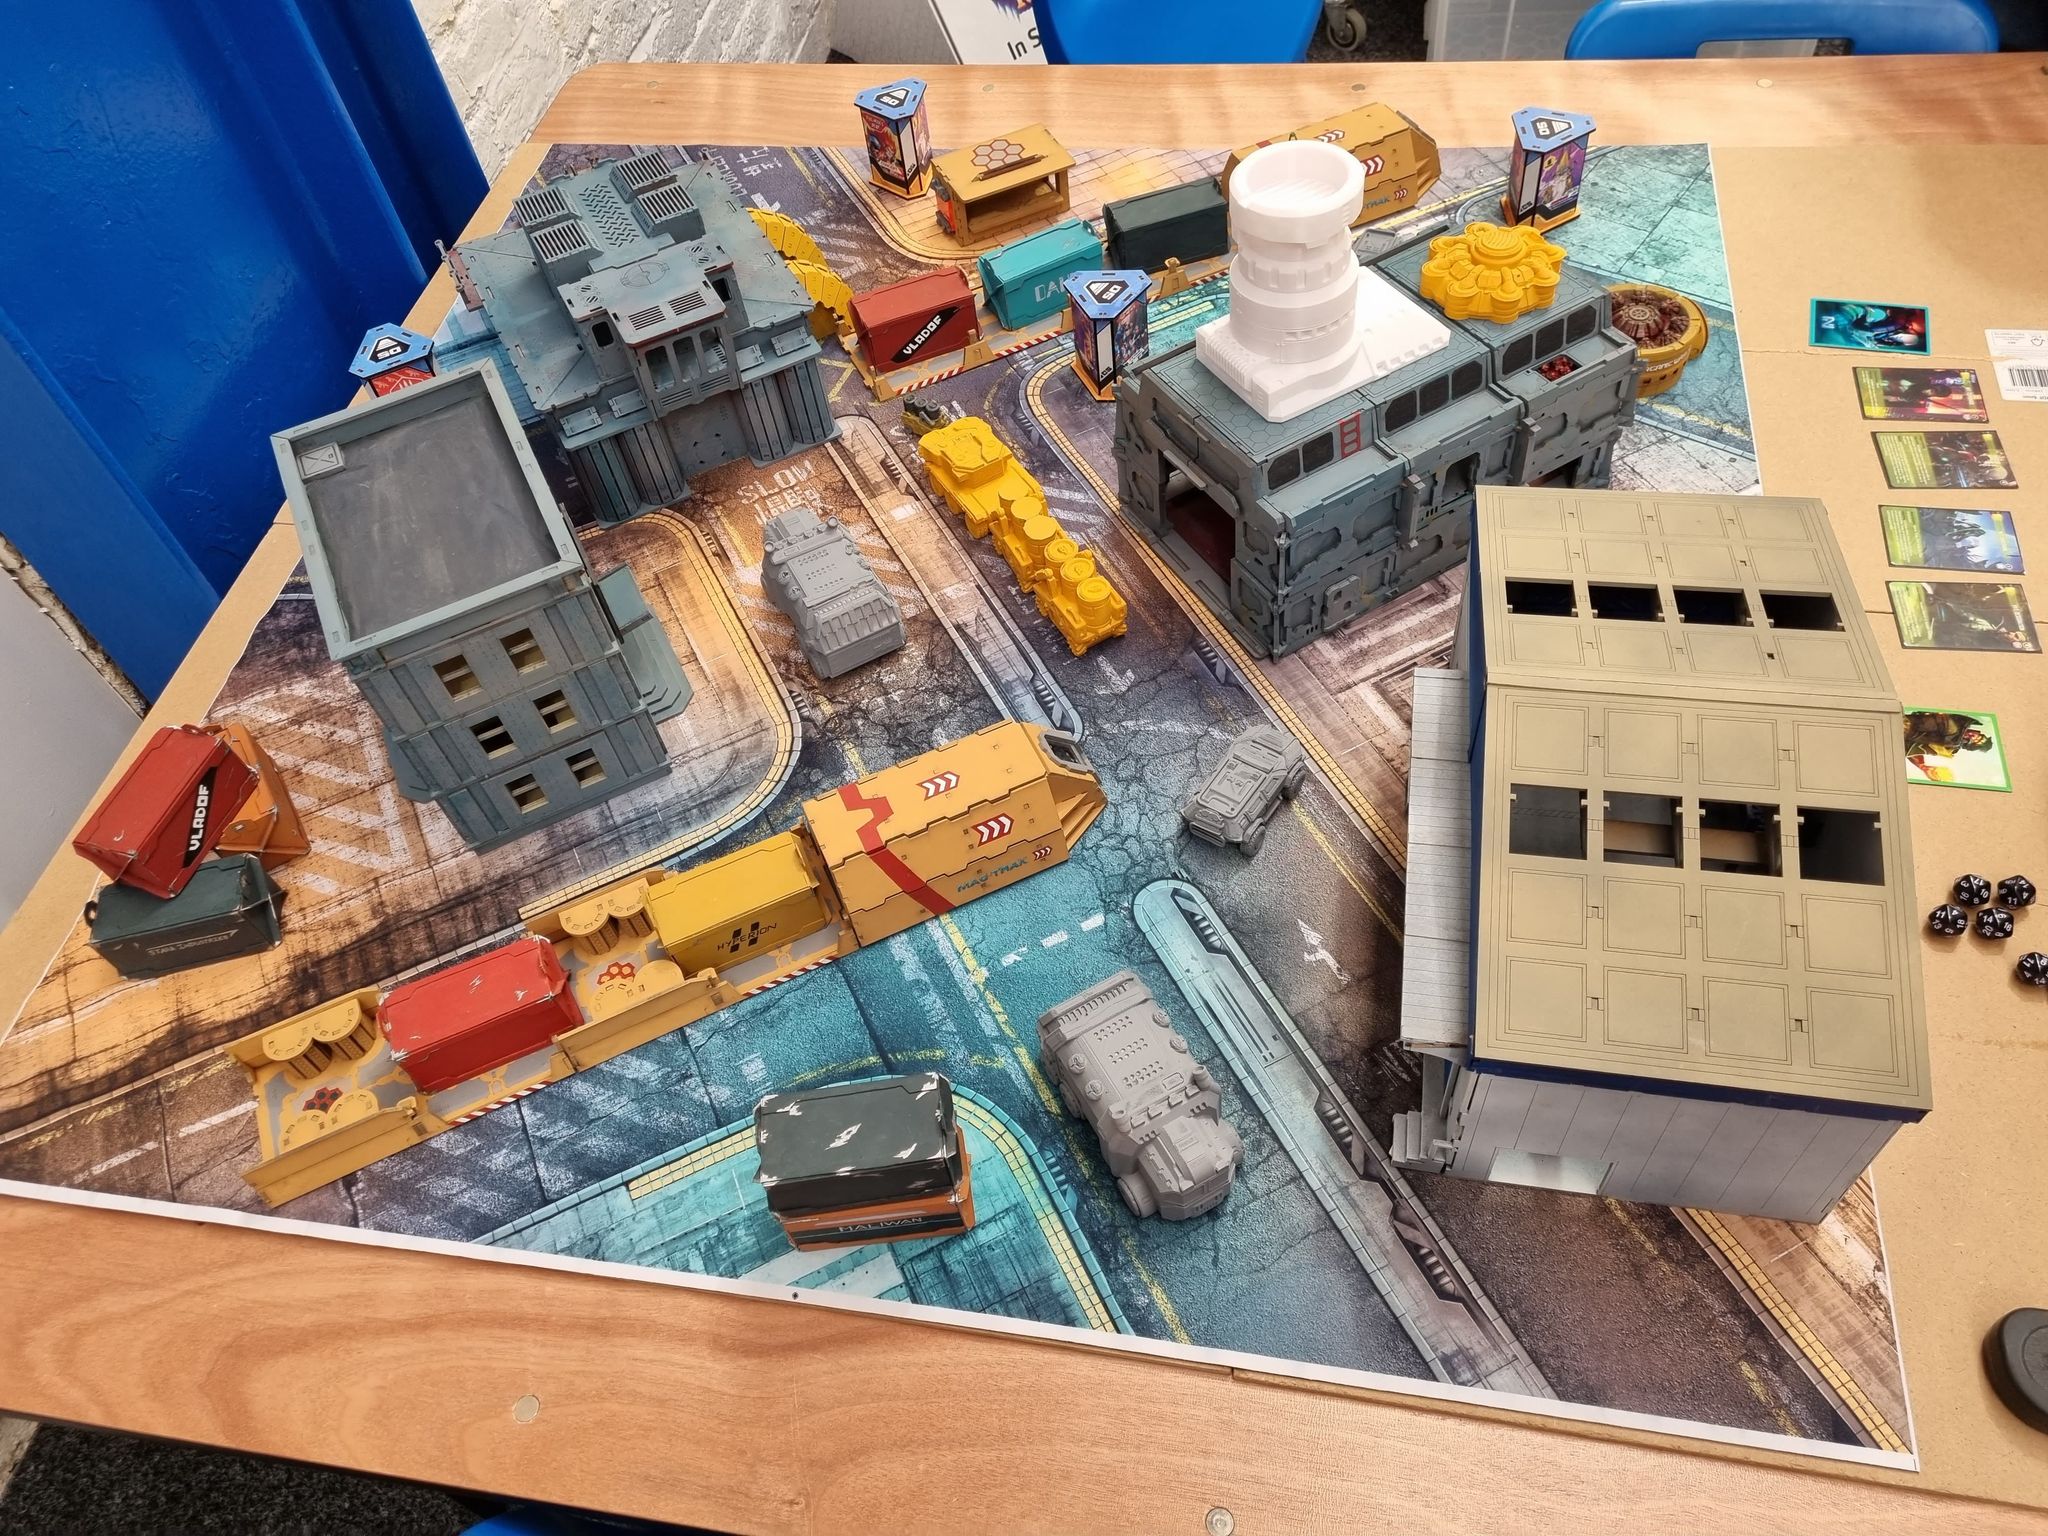
I won the LT roll and elected to go first. I was given this side of the table by Rushforth1980 and set up first. The mission adds an extra 4 inches to the DZ and an additional LT order.
The Mag train in the centre of my zone gave me a good base to work from I deployed my Charontid behind the yellow crate nice and central. The T Drone went behind the Vehicle closest to my board edge. I then split my warbands down either side of the table. I placed my HVT near to the crates on the left side which I then covered with the Dartok and an R Drone. The HVT was going to be instrumental in this game with the cards drawn for this scenario.
Medtech and another R Drone were stationed in the large warehouse to the right joined later by Nourikas as my reserve trooper. The Rindak was near to the building with the chimney.
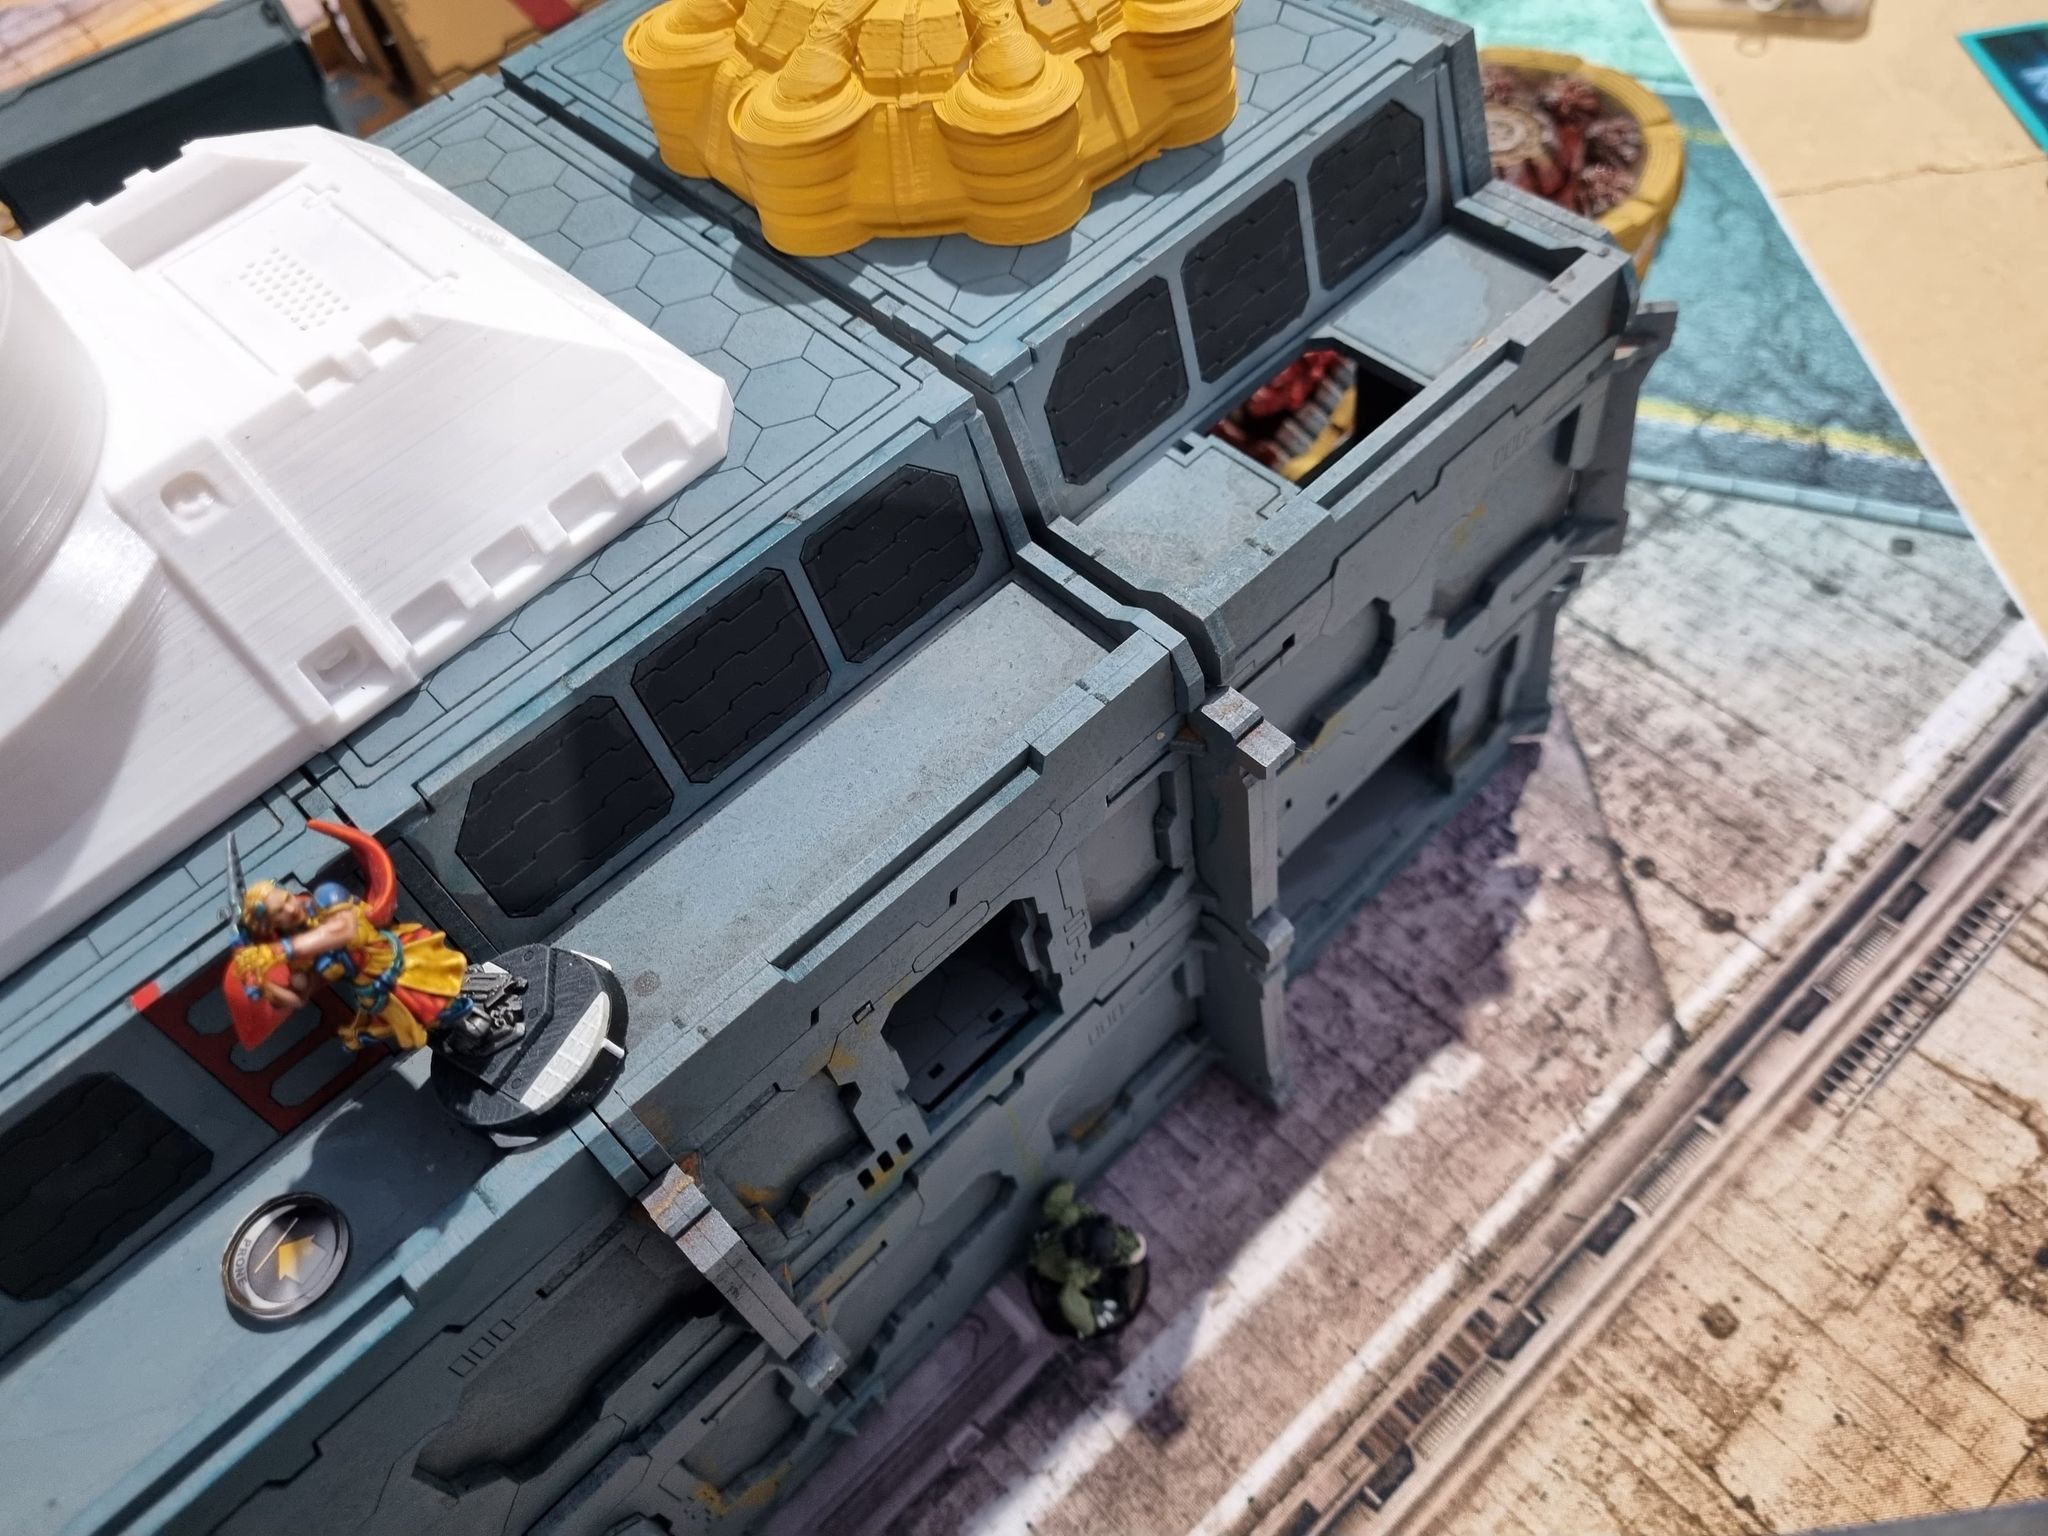
The Noctifer was stationed on the roof of the Orphanage (Don't ask...)
Taking a bunker formation the Gamma and the Epsilon deployed on the roofs of the central food stall and advertisement joined by the doctor and her remote to heal as necessary. Along the back edge the two Kappa troops went into hidden positions with the Omega on suppression at the far end of the Mag train.
Hippolyta was stationed at the back edge of the building with a chimney on the roof and the gang buster was on the right side of the same building. The team Sirious was deployed defensively on the roof near to the Orphanage with the remote on the ground to help ward against warbands getting to his HVT who was behind the advertisement board on the far right of the board.
Taking a look at horrifying fire power at the back side of the board covering a large swath of the table the Charontid took the choice to move and deploy white noise to cover the Noctifer against the Epsilon and let it have a chance versus the Gamma in a one on one fight. Taking the opportunity to remove this hard reactive piece would give me a much better go of it.
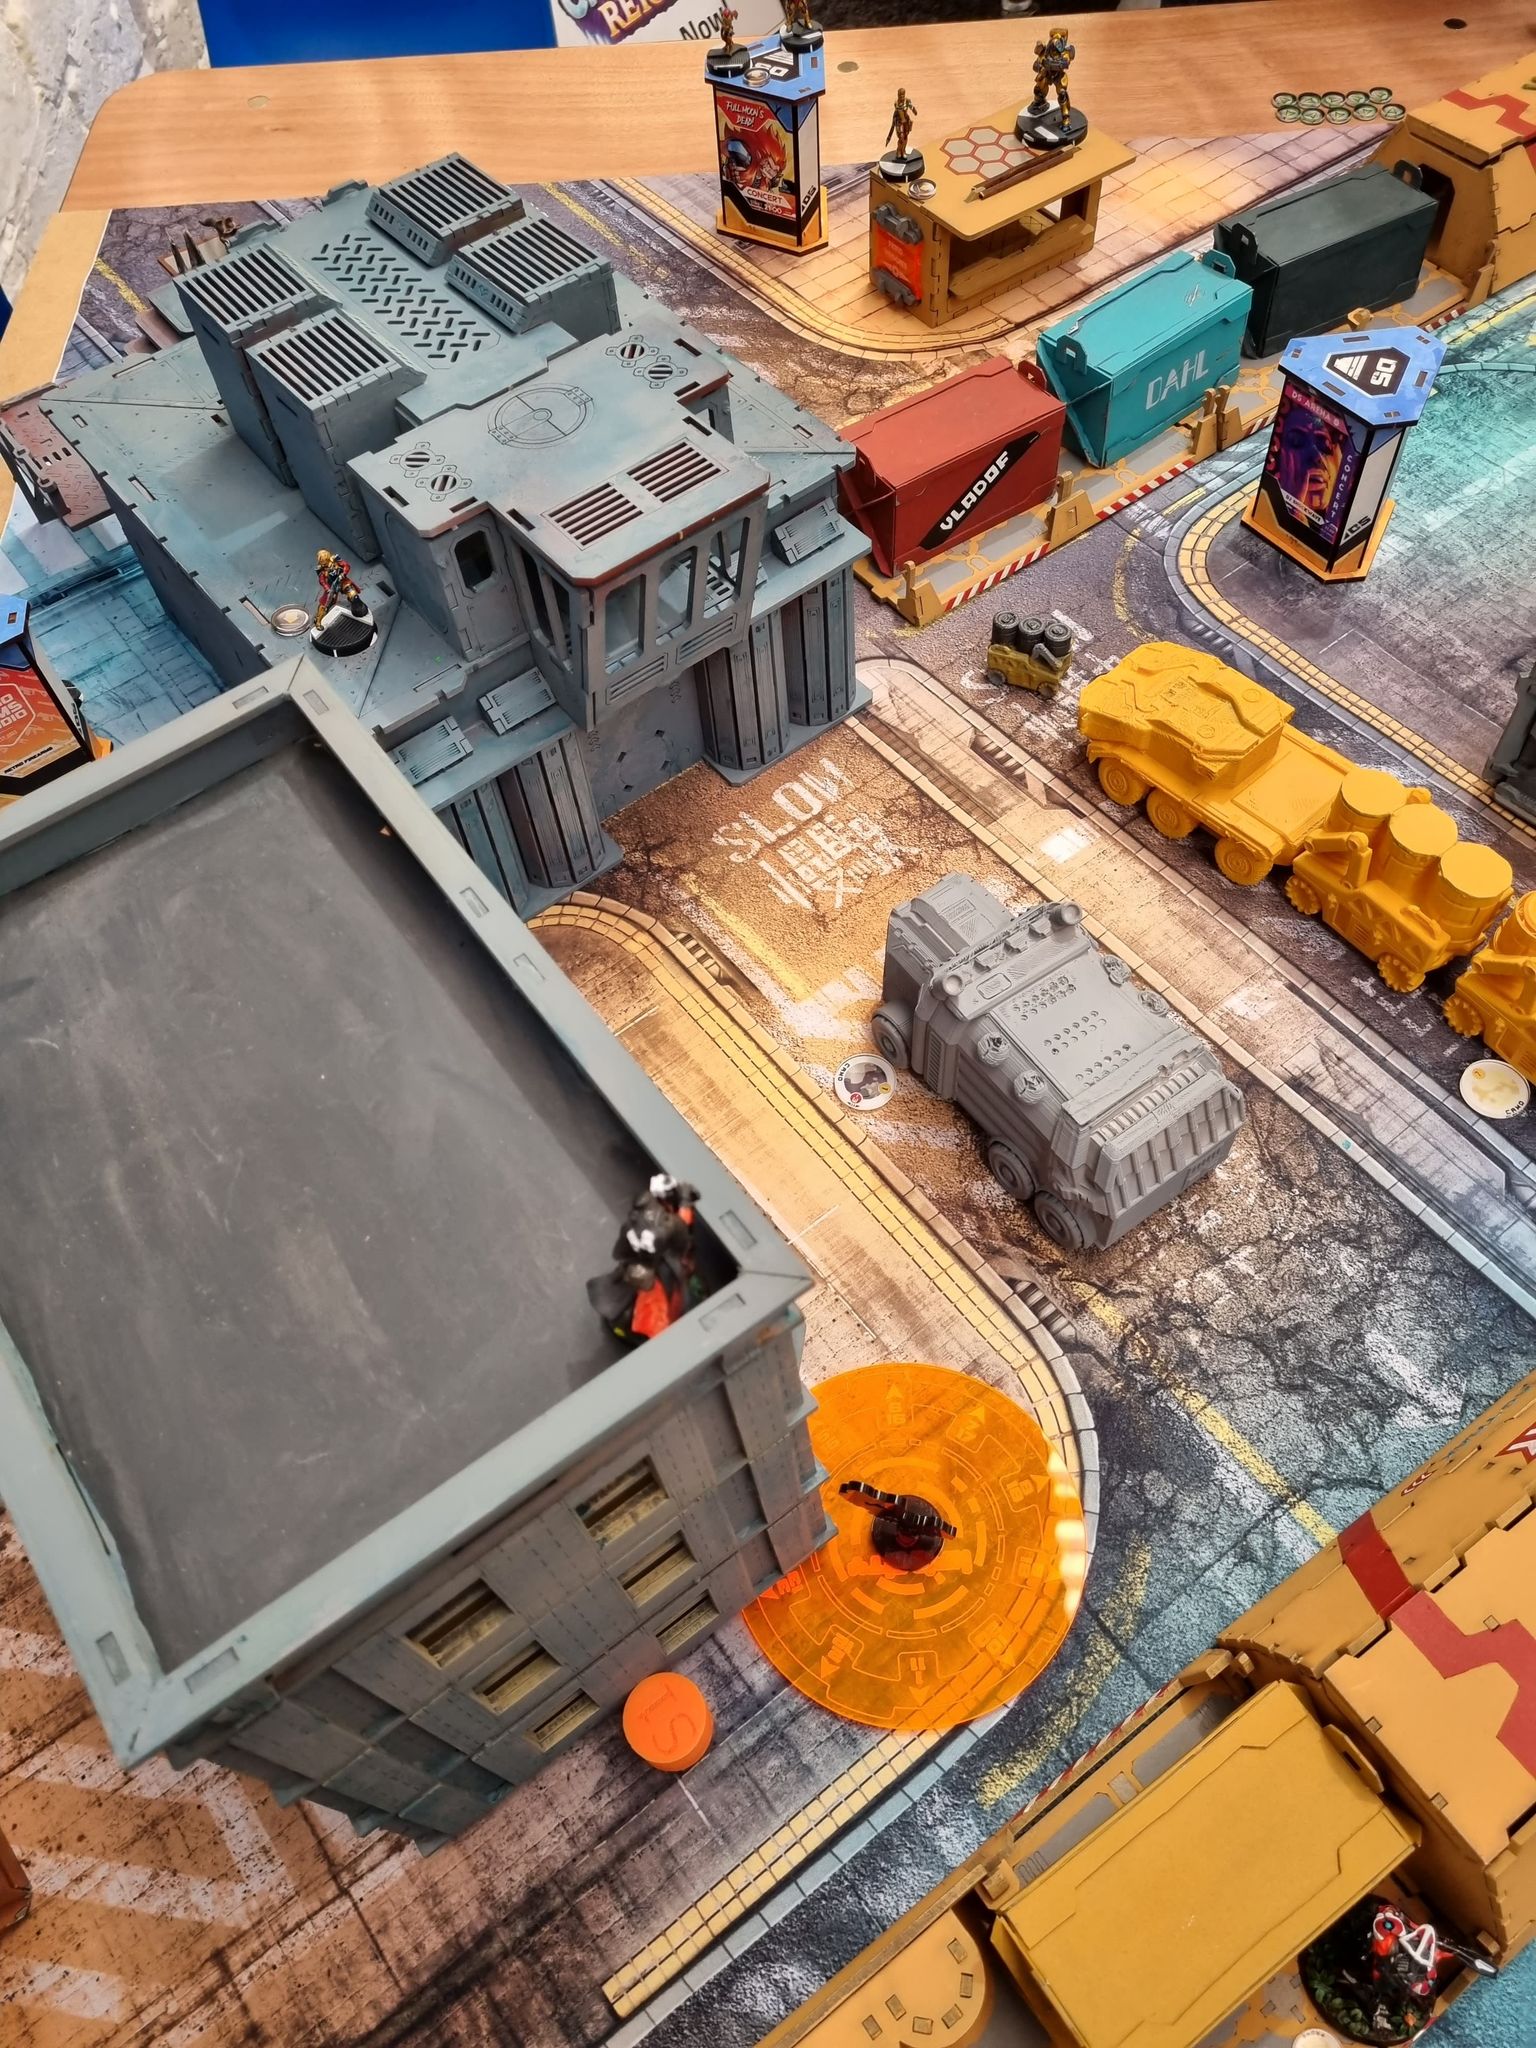 Noctifer covered by the White Noise tries to put an end to the threat of the Gamma. It took more orders than I would've liked but finally I killed the Gamma trooper and the Lambda remote... with the Epsilon tanking all saves and the Noctifer doing the same.
 Nourikas takes the opportunity to kill the gang buster on the roof in-front of him using the first of the two NCO orders.
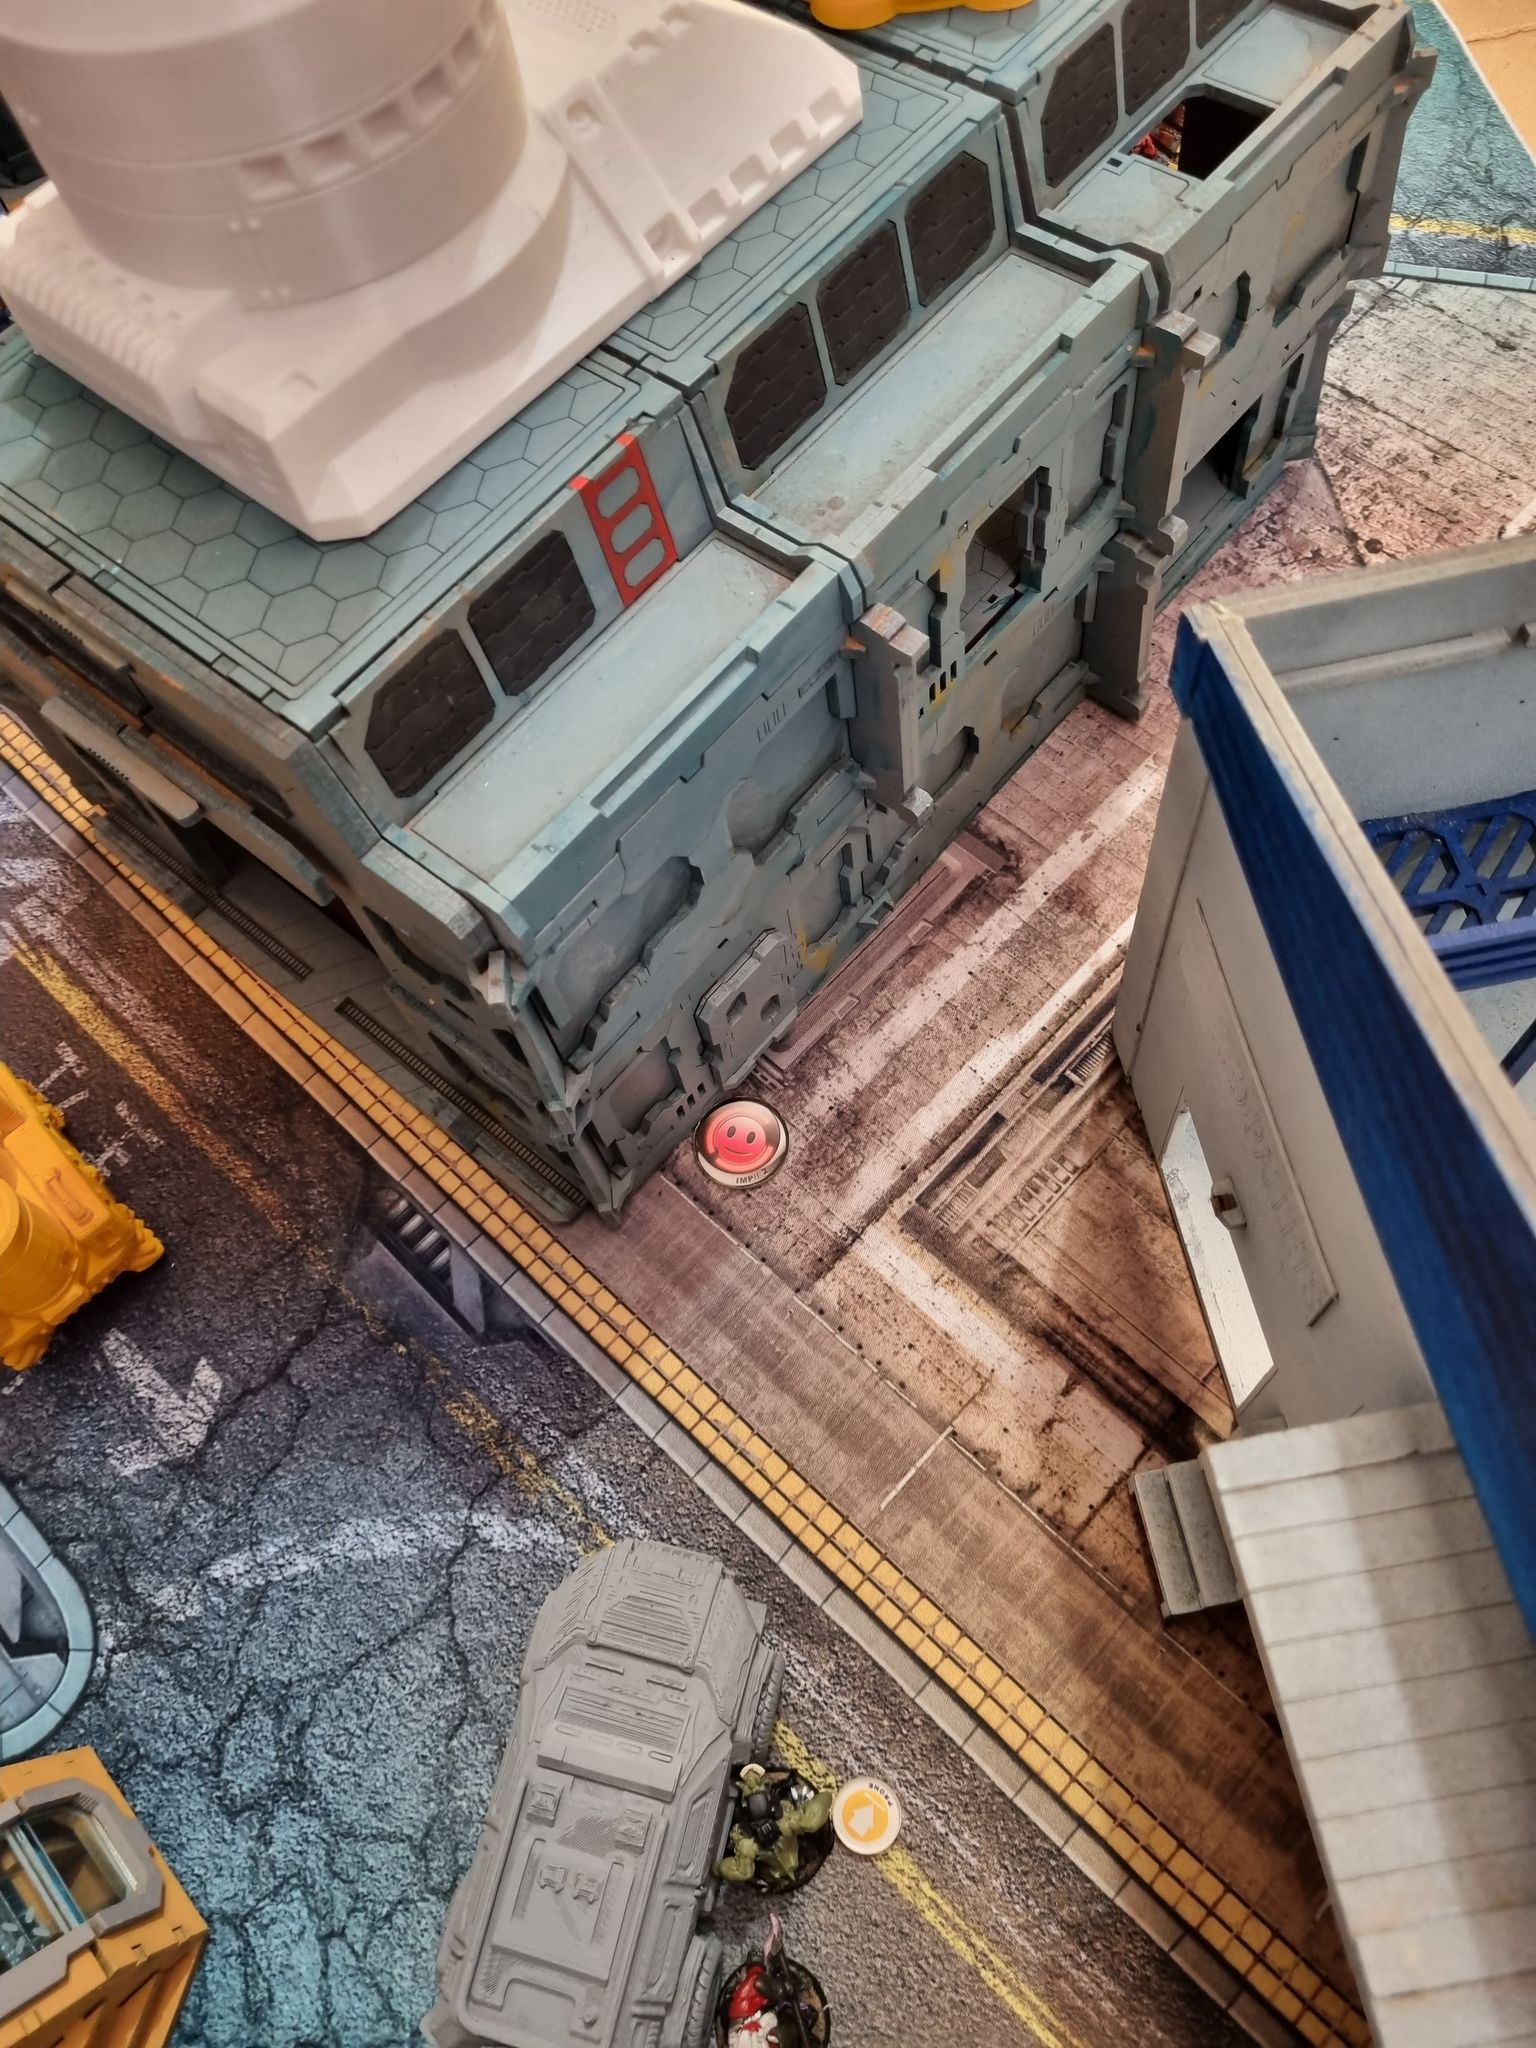
Foolishly forgetting to fall prone at the end of my orders with the Noctifer the Epsilon takes the opportunity to kill him with two orders.
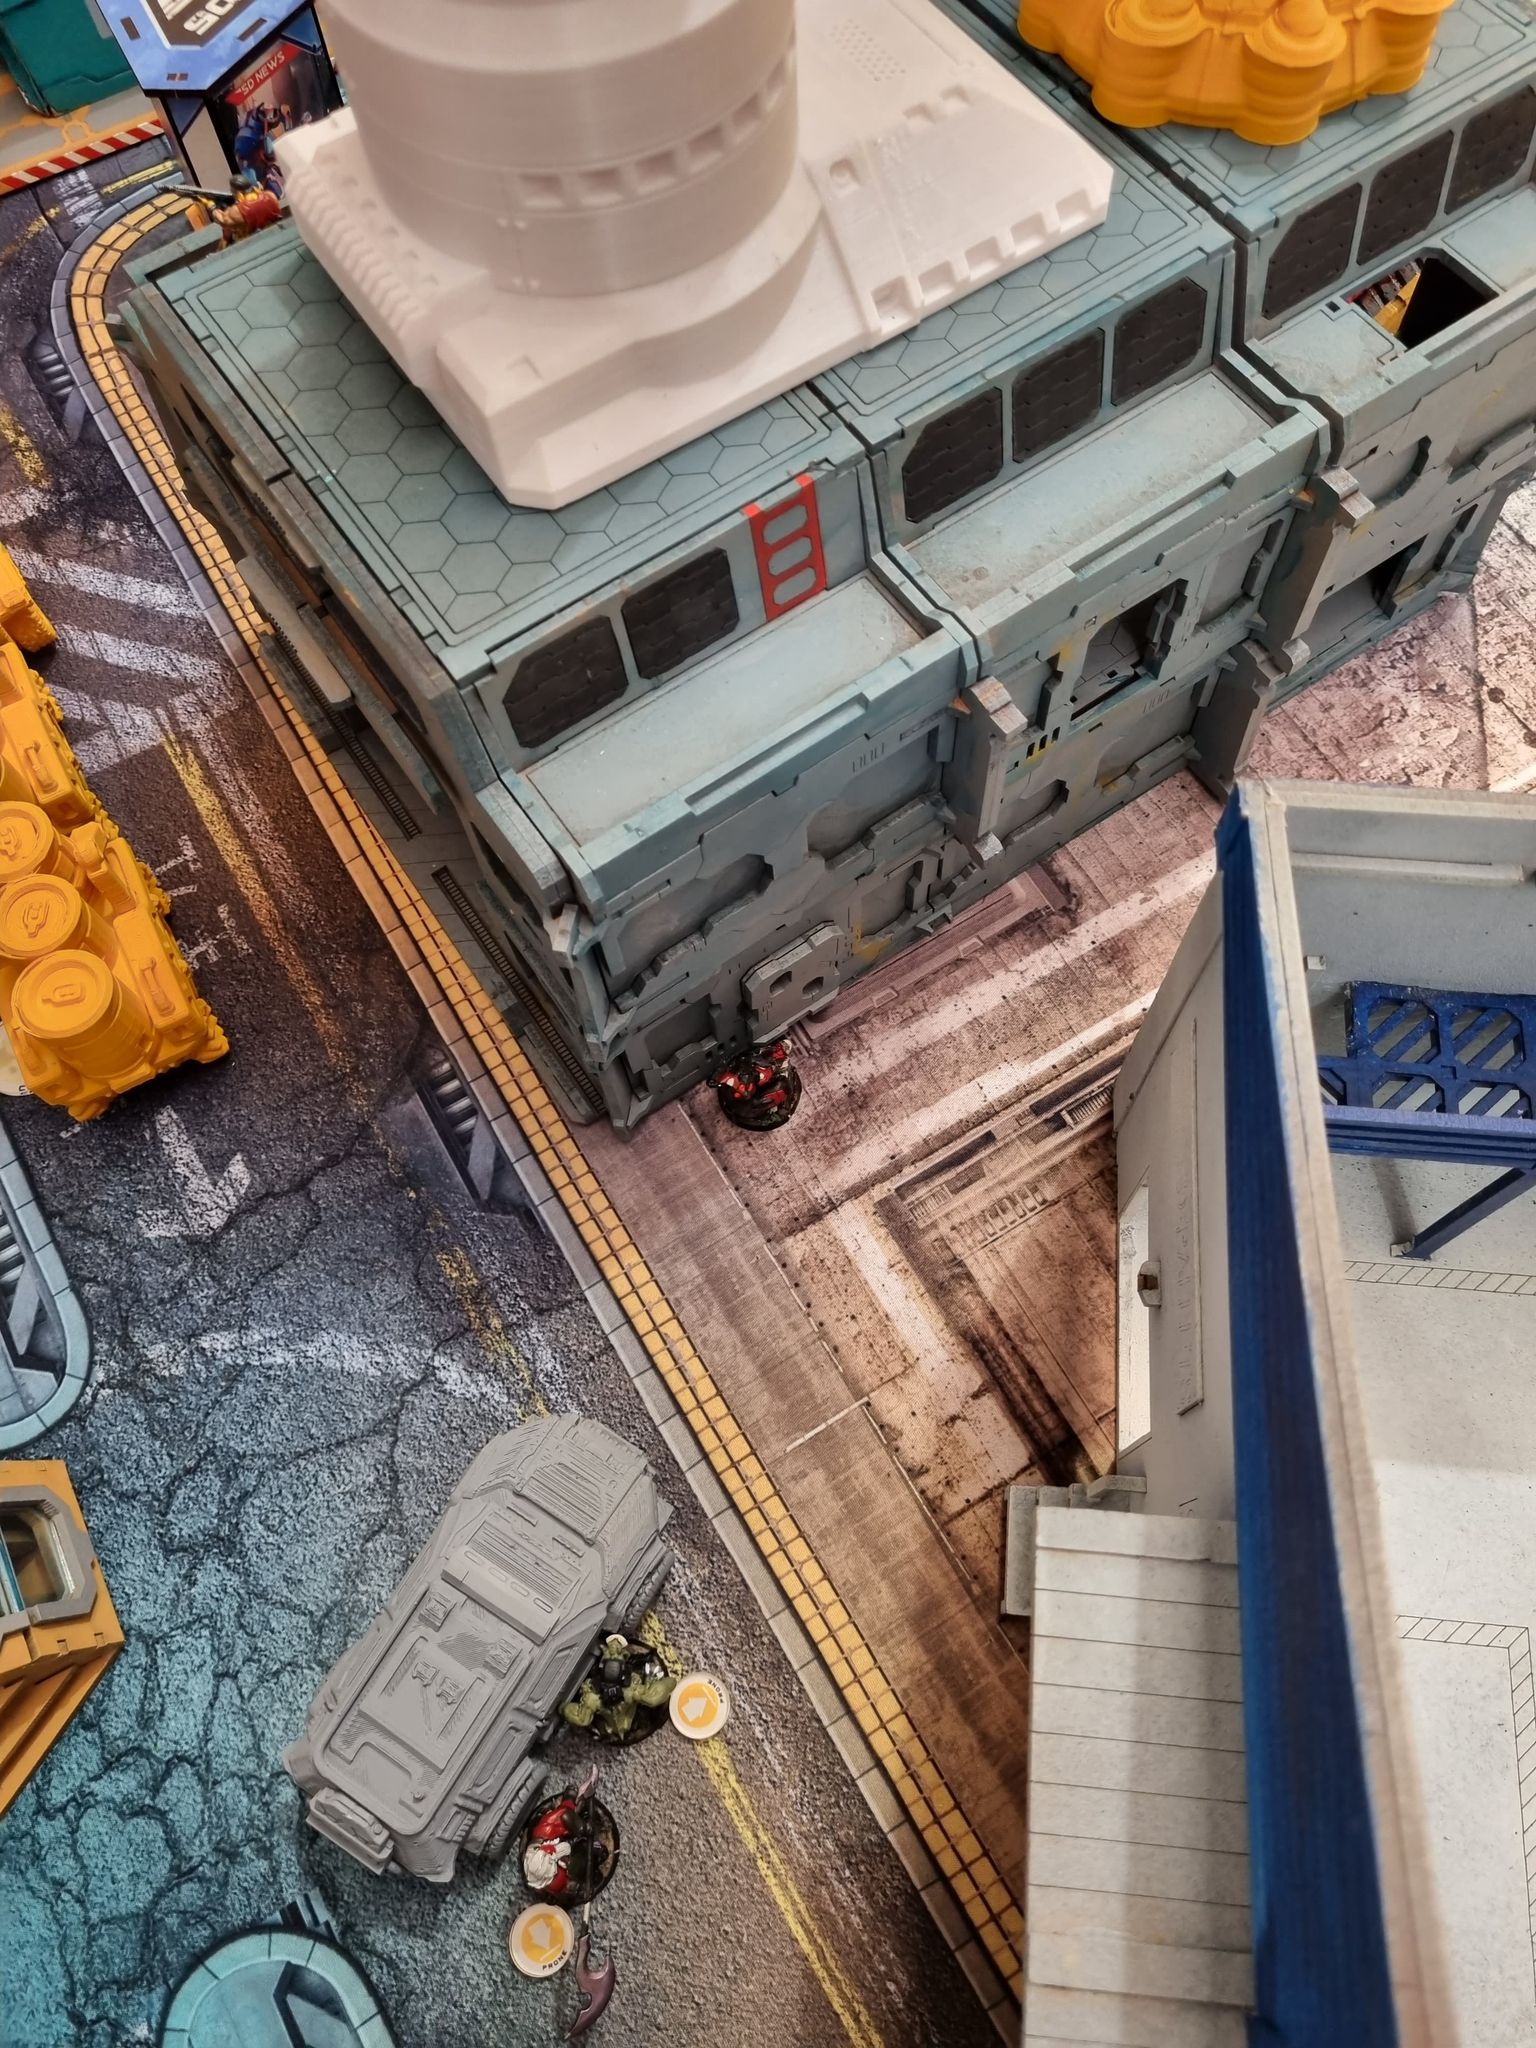
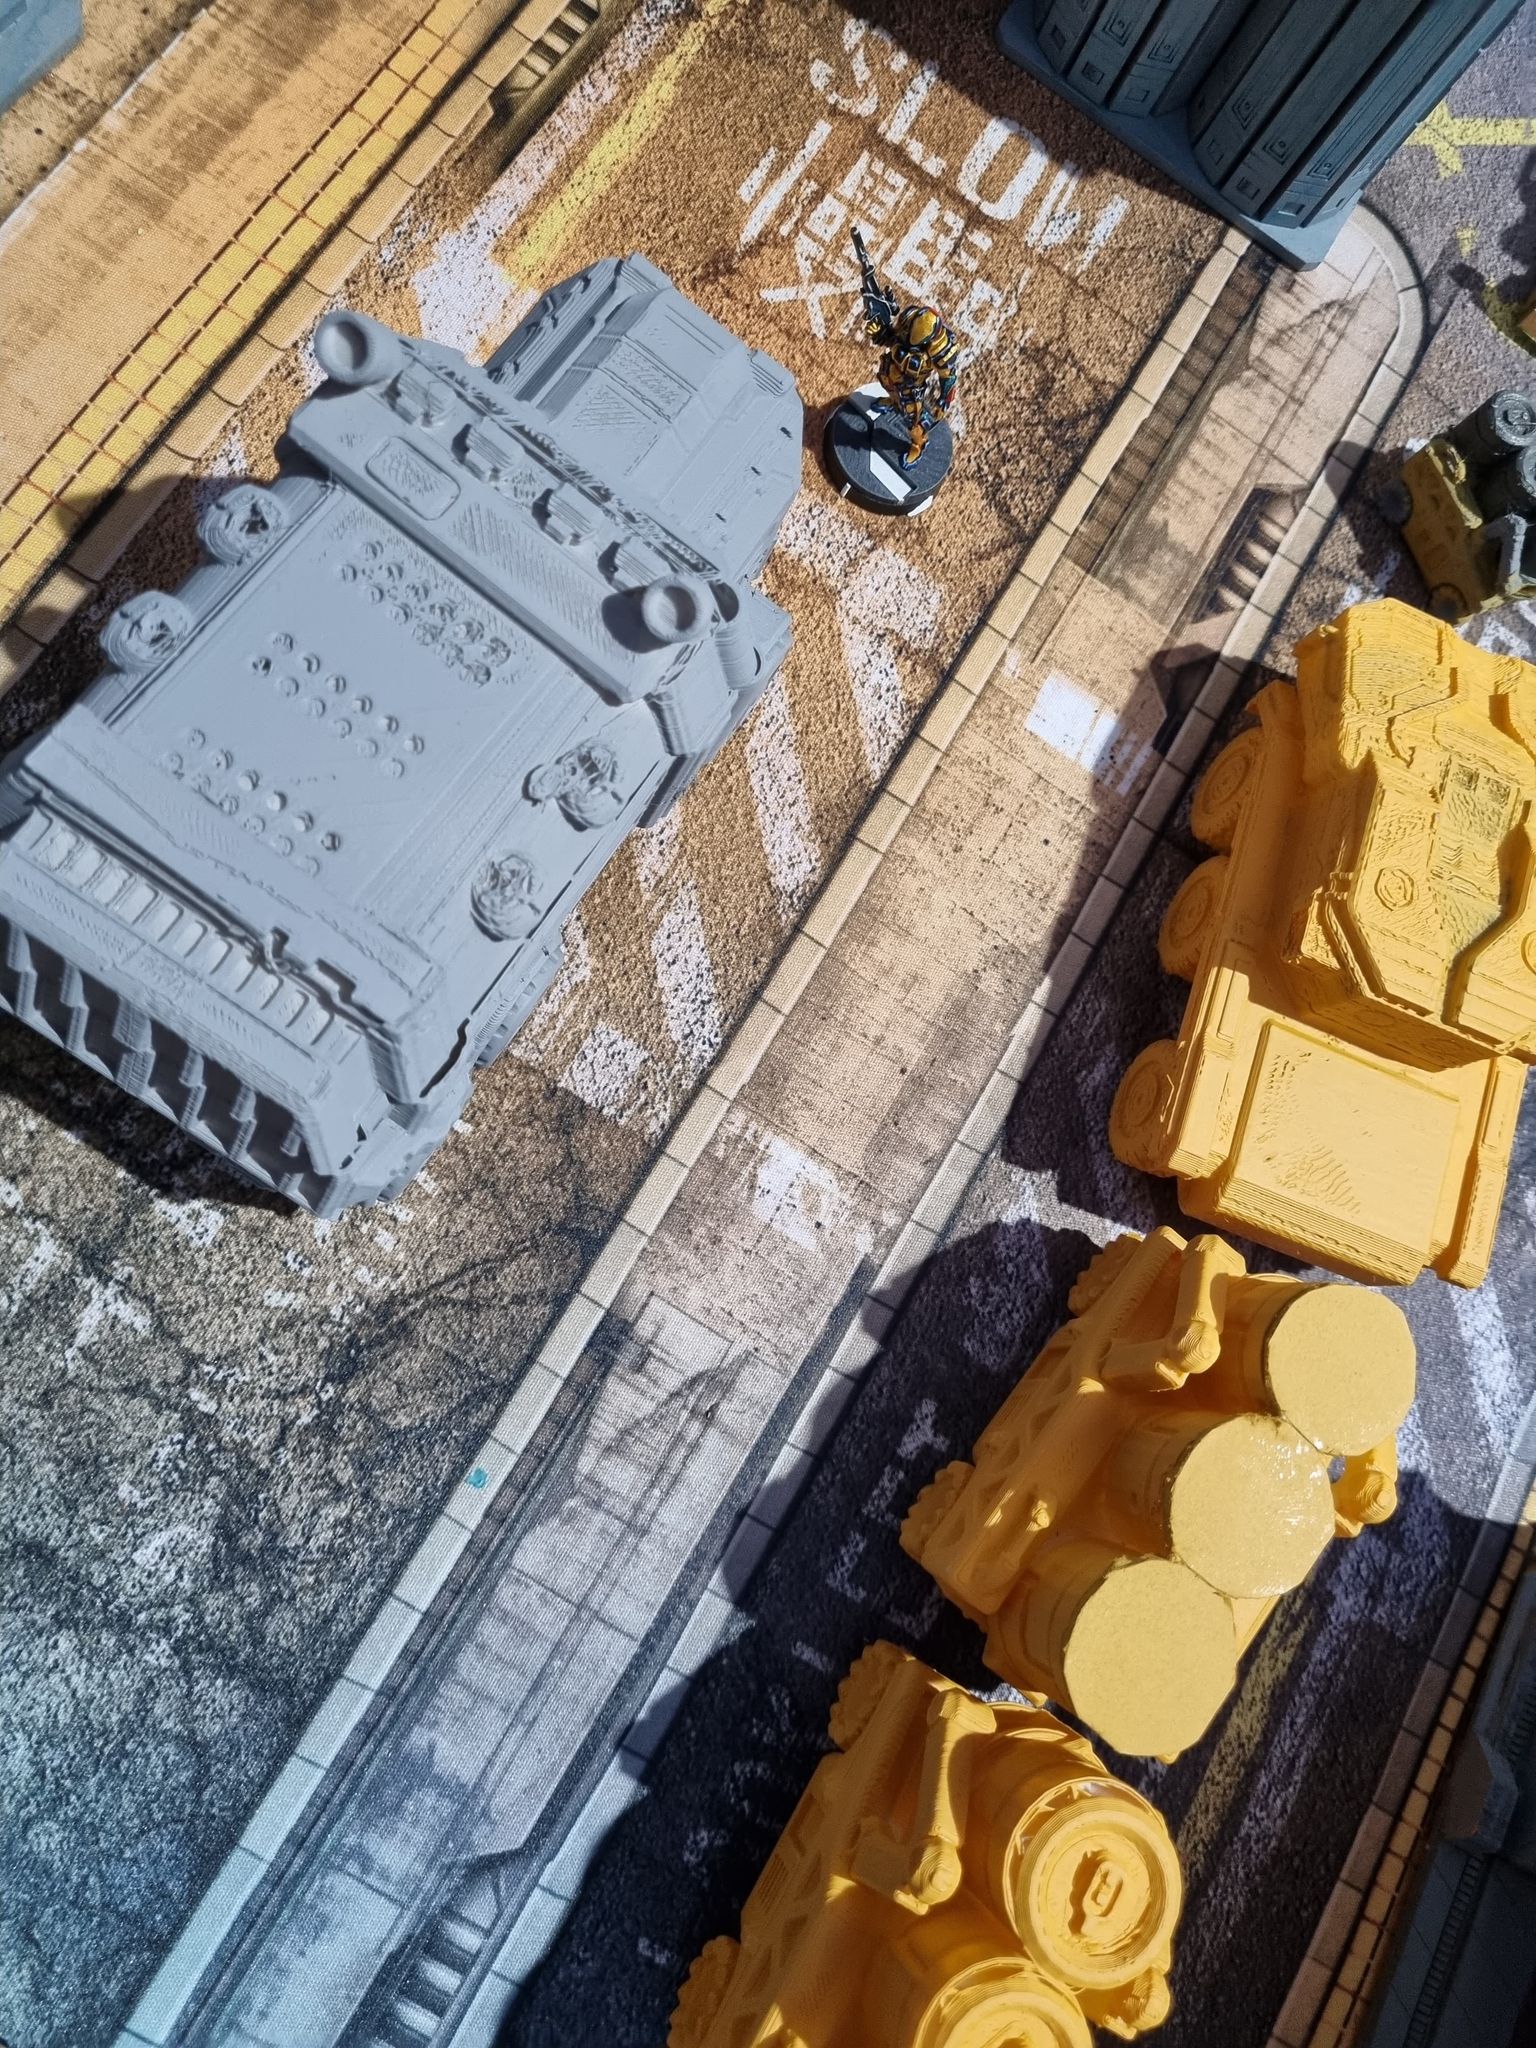
Down the left flank the Crusher unit arrives behind the Warehouse to wreak havoc down that flank.
 As he arrives he is spotlighted through the repeater by the Charontid (Trying to help out Dr Worm and the R Drone potentially cause an upset!) The crusher walks through the first two obstacles with no worries and then moves to take out the T Drone at the rear of the board. With a critical hit from the missile the Crushers rampage is brough to a quick end... (Extremely unlucky for my opponent!)
Start of my turn two I took the opportunity to complete the HVT related objectives including my own through the Charontid. Leaving me with two completed and my own private objective finished. Returning back into Impersonation state after that business was concluded.
I then went a bit rogue and decided to utilise Nourikas and the Rindak to try and assault the main forces and gut the order pool of the 012 forces.
Moving the Rindak forward I tried to dodge through the hail of fire but was expertly gunned down for my trouble. Nourikas then decided he wanted to try but also couldnt kill the total reaction turret or Hippolyta on the building and so retreated back at the end of his orders into impersonation state. I then moved a Taigha up to cover Nourikas thanks to a cautious move.
 Hippolytia took a severe dislike to the Umbra and decided to kill the poor soul after a few orders dodging successfully from her breaker rifle. His luck swiftly changed and he was gunned down brutally.
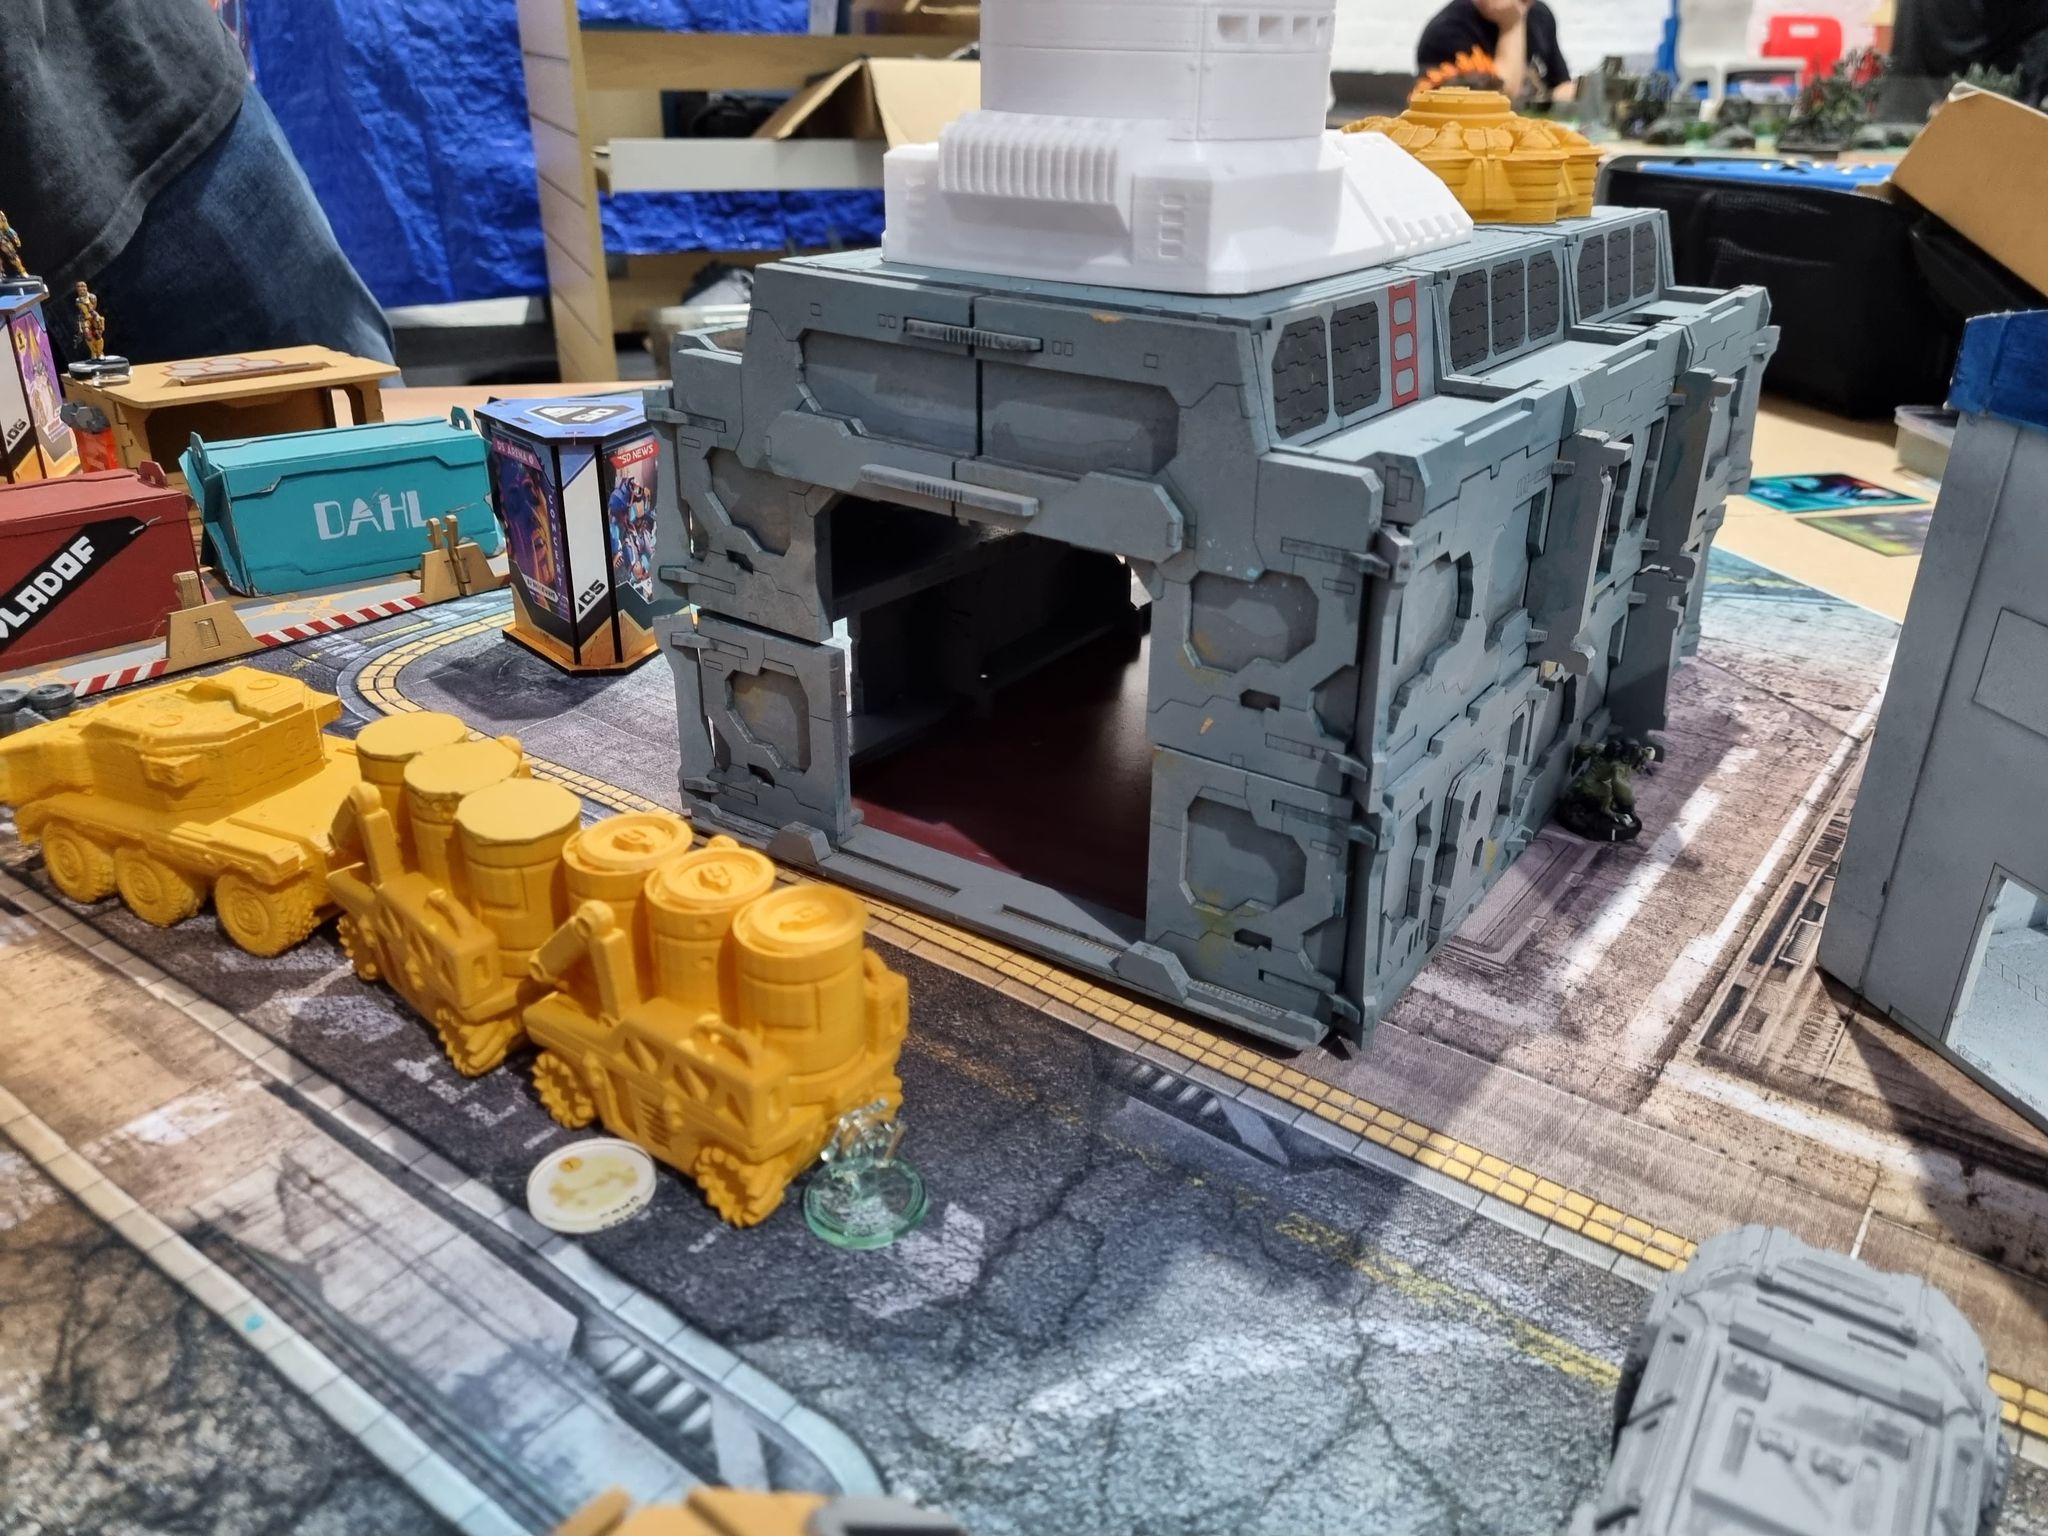 Using his last couple of orders the Daitok put down a pitcher over the other side of the table to try and deal with Hippolyta. The second lands in place and the T-Drone takes the shot destroying the Aleph recreation. I couldnt decide if trying to push the Epsilon was worth it and so I kept a relatively defensive position with my remaining troopers.
The 012 command took the chance with the lull in the fighting to sweep forward and try and claim some objectives.
 A series of combined orders and the Epsilon, Omega and Kappas have moved half way up the board removing the taigha on the left flank. The Epsilon removed the Liberto stationed in the middle of the table.
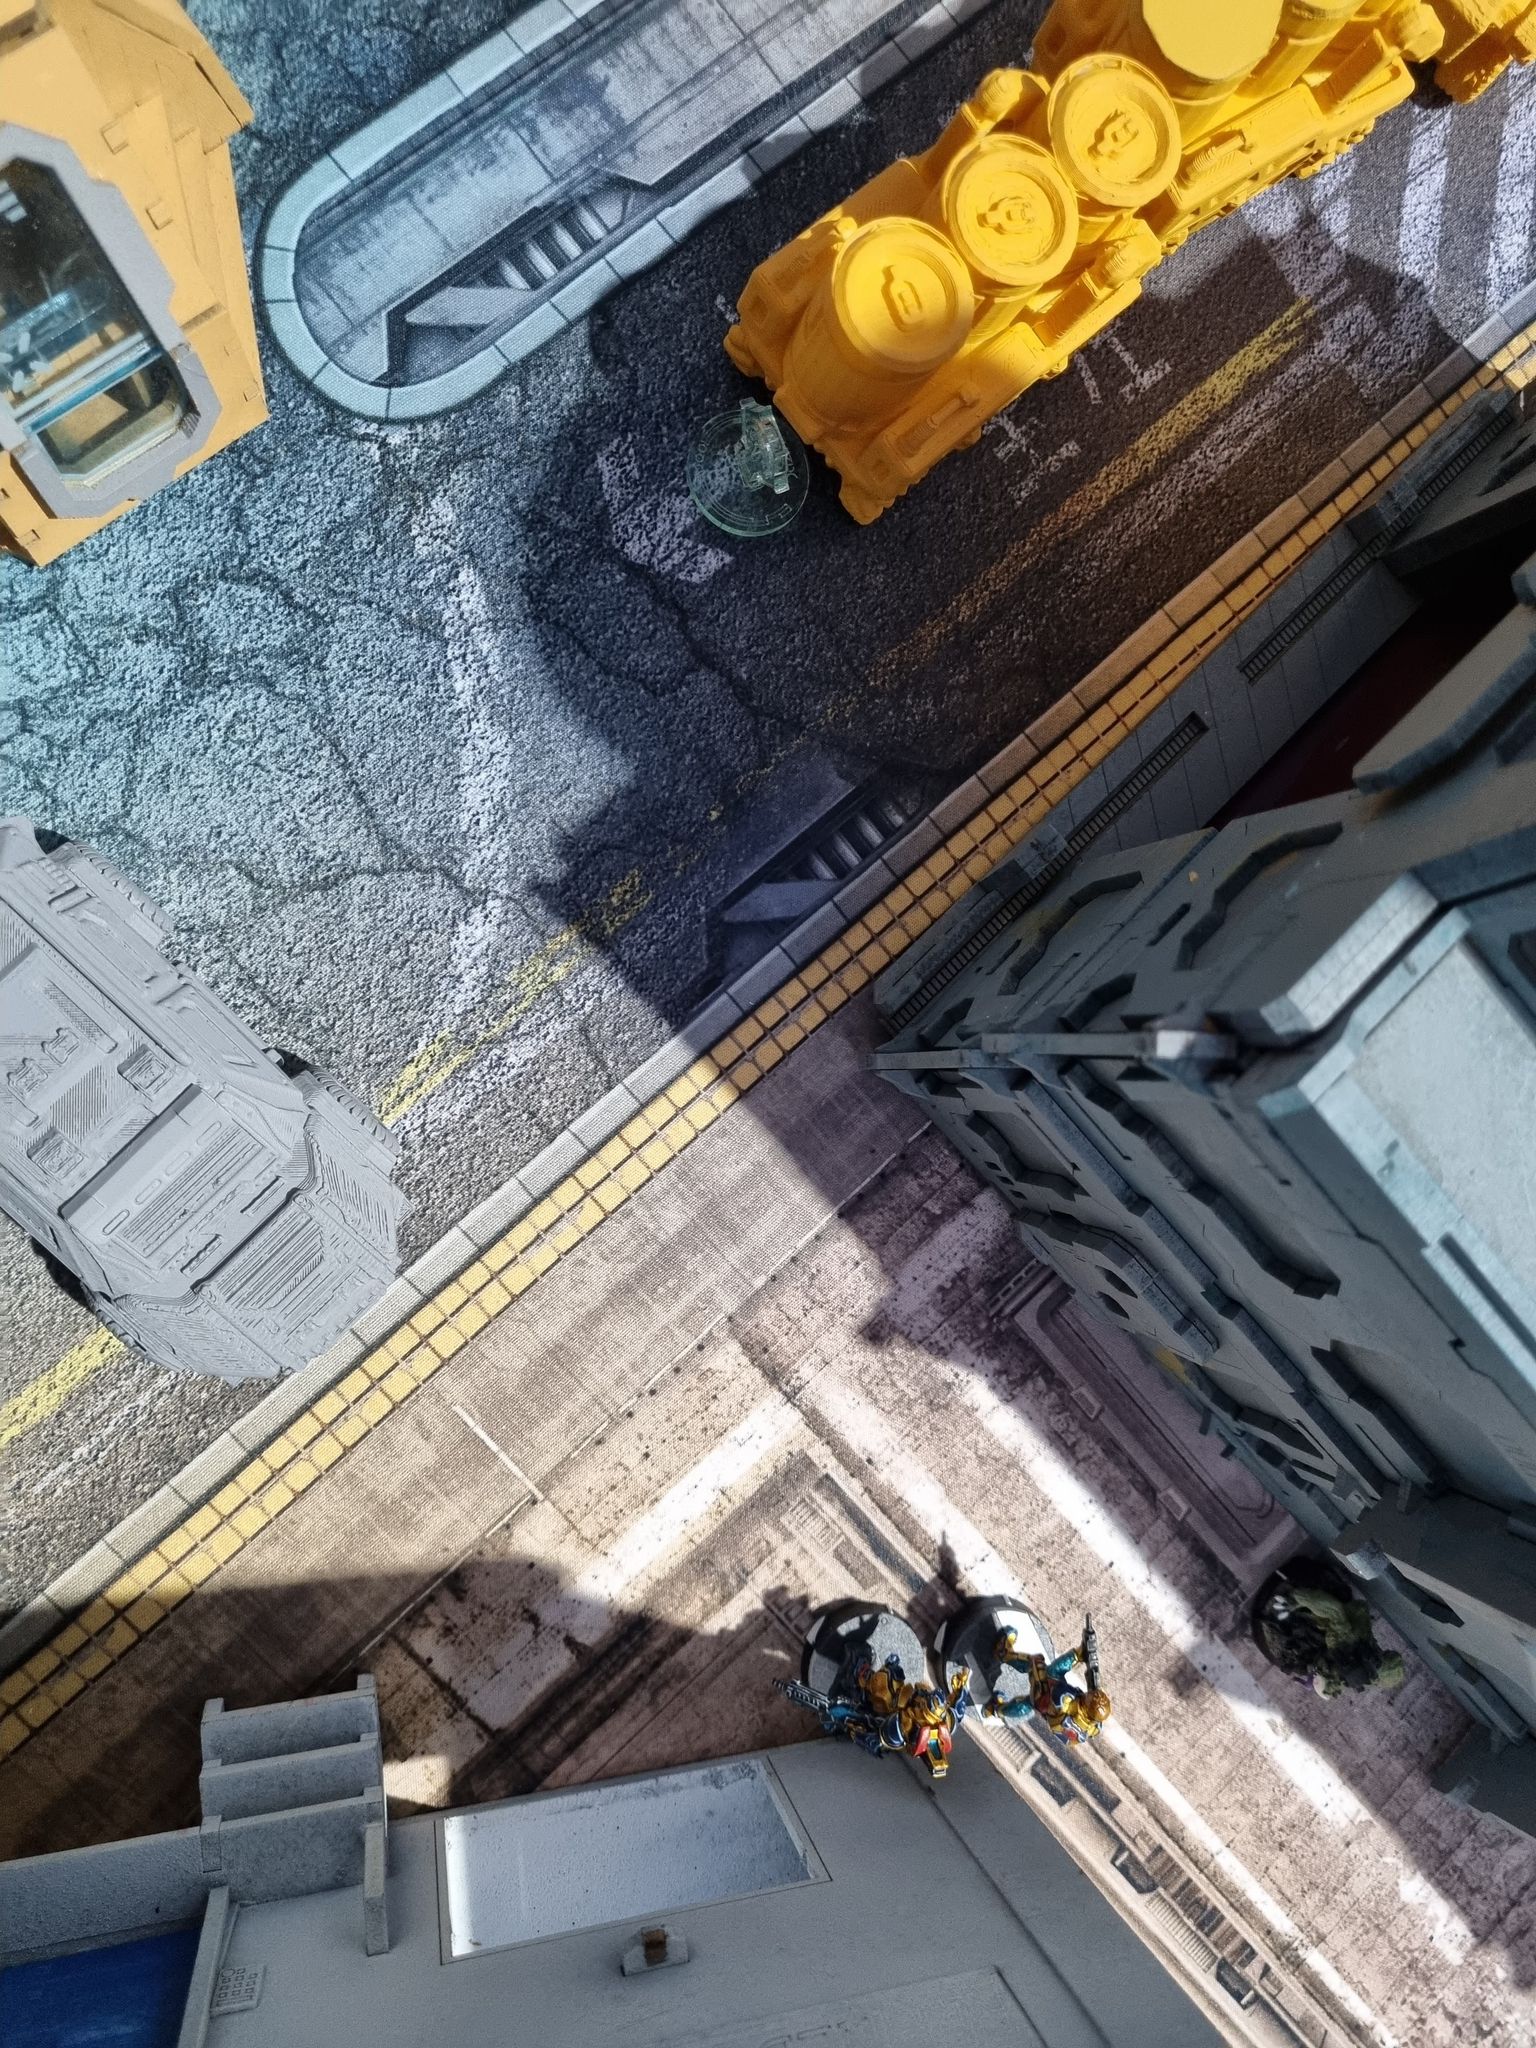
Battle Report Author

Army Lists Used In This Battle
Recommend Commander For Commendation
Share this battle with friends
GuerillajamWins

Wow Super detail
Nice report
Nice report!
Phew… I was surprised that I didn’t leave a comment… but I was blind XD))
Great detailed report, thanks.
Great report! Tnx
Excellent write up
Nice rreport i like your gaming table !
Great report dude!