Fought At Cameliard: Reliquary
643 days 6 hours 46 minutes ago
Operation Hell on Two Wheels
300 POINTSToasty’s Invincible Army win the deployment roll and he decides to go first. I am playing SAA and post up some flash bots in ARO but don’t leave out much besides what is immediately covering the AC2. I strip 2 orders from his main pool and we get started.
TURN 1
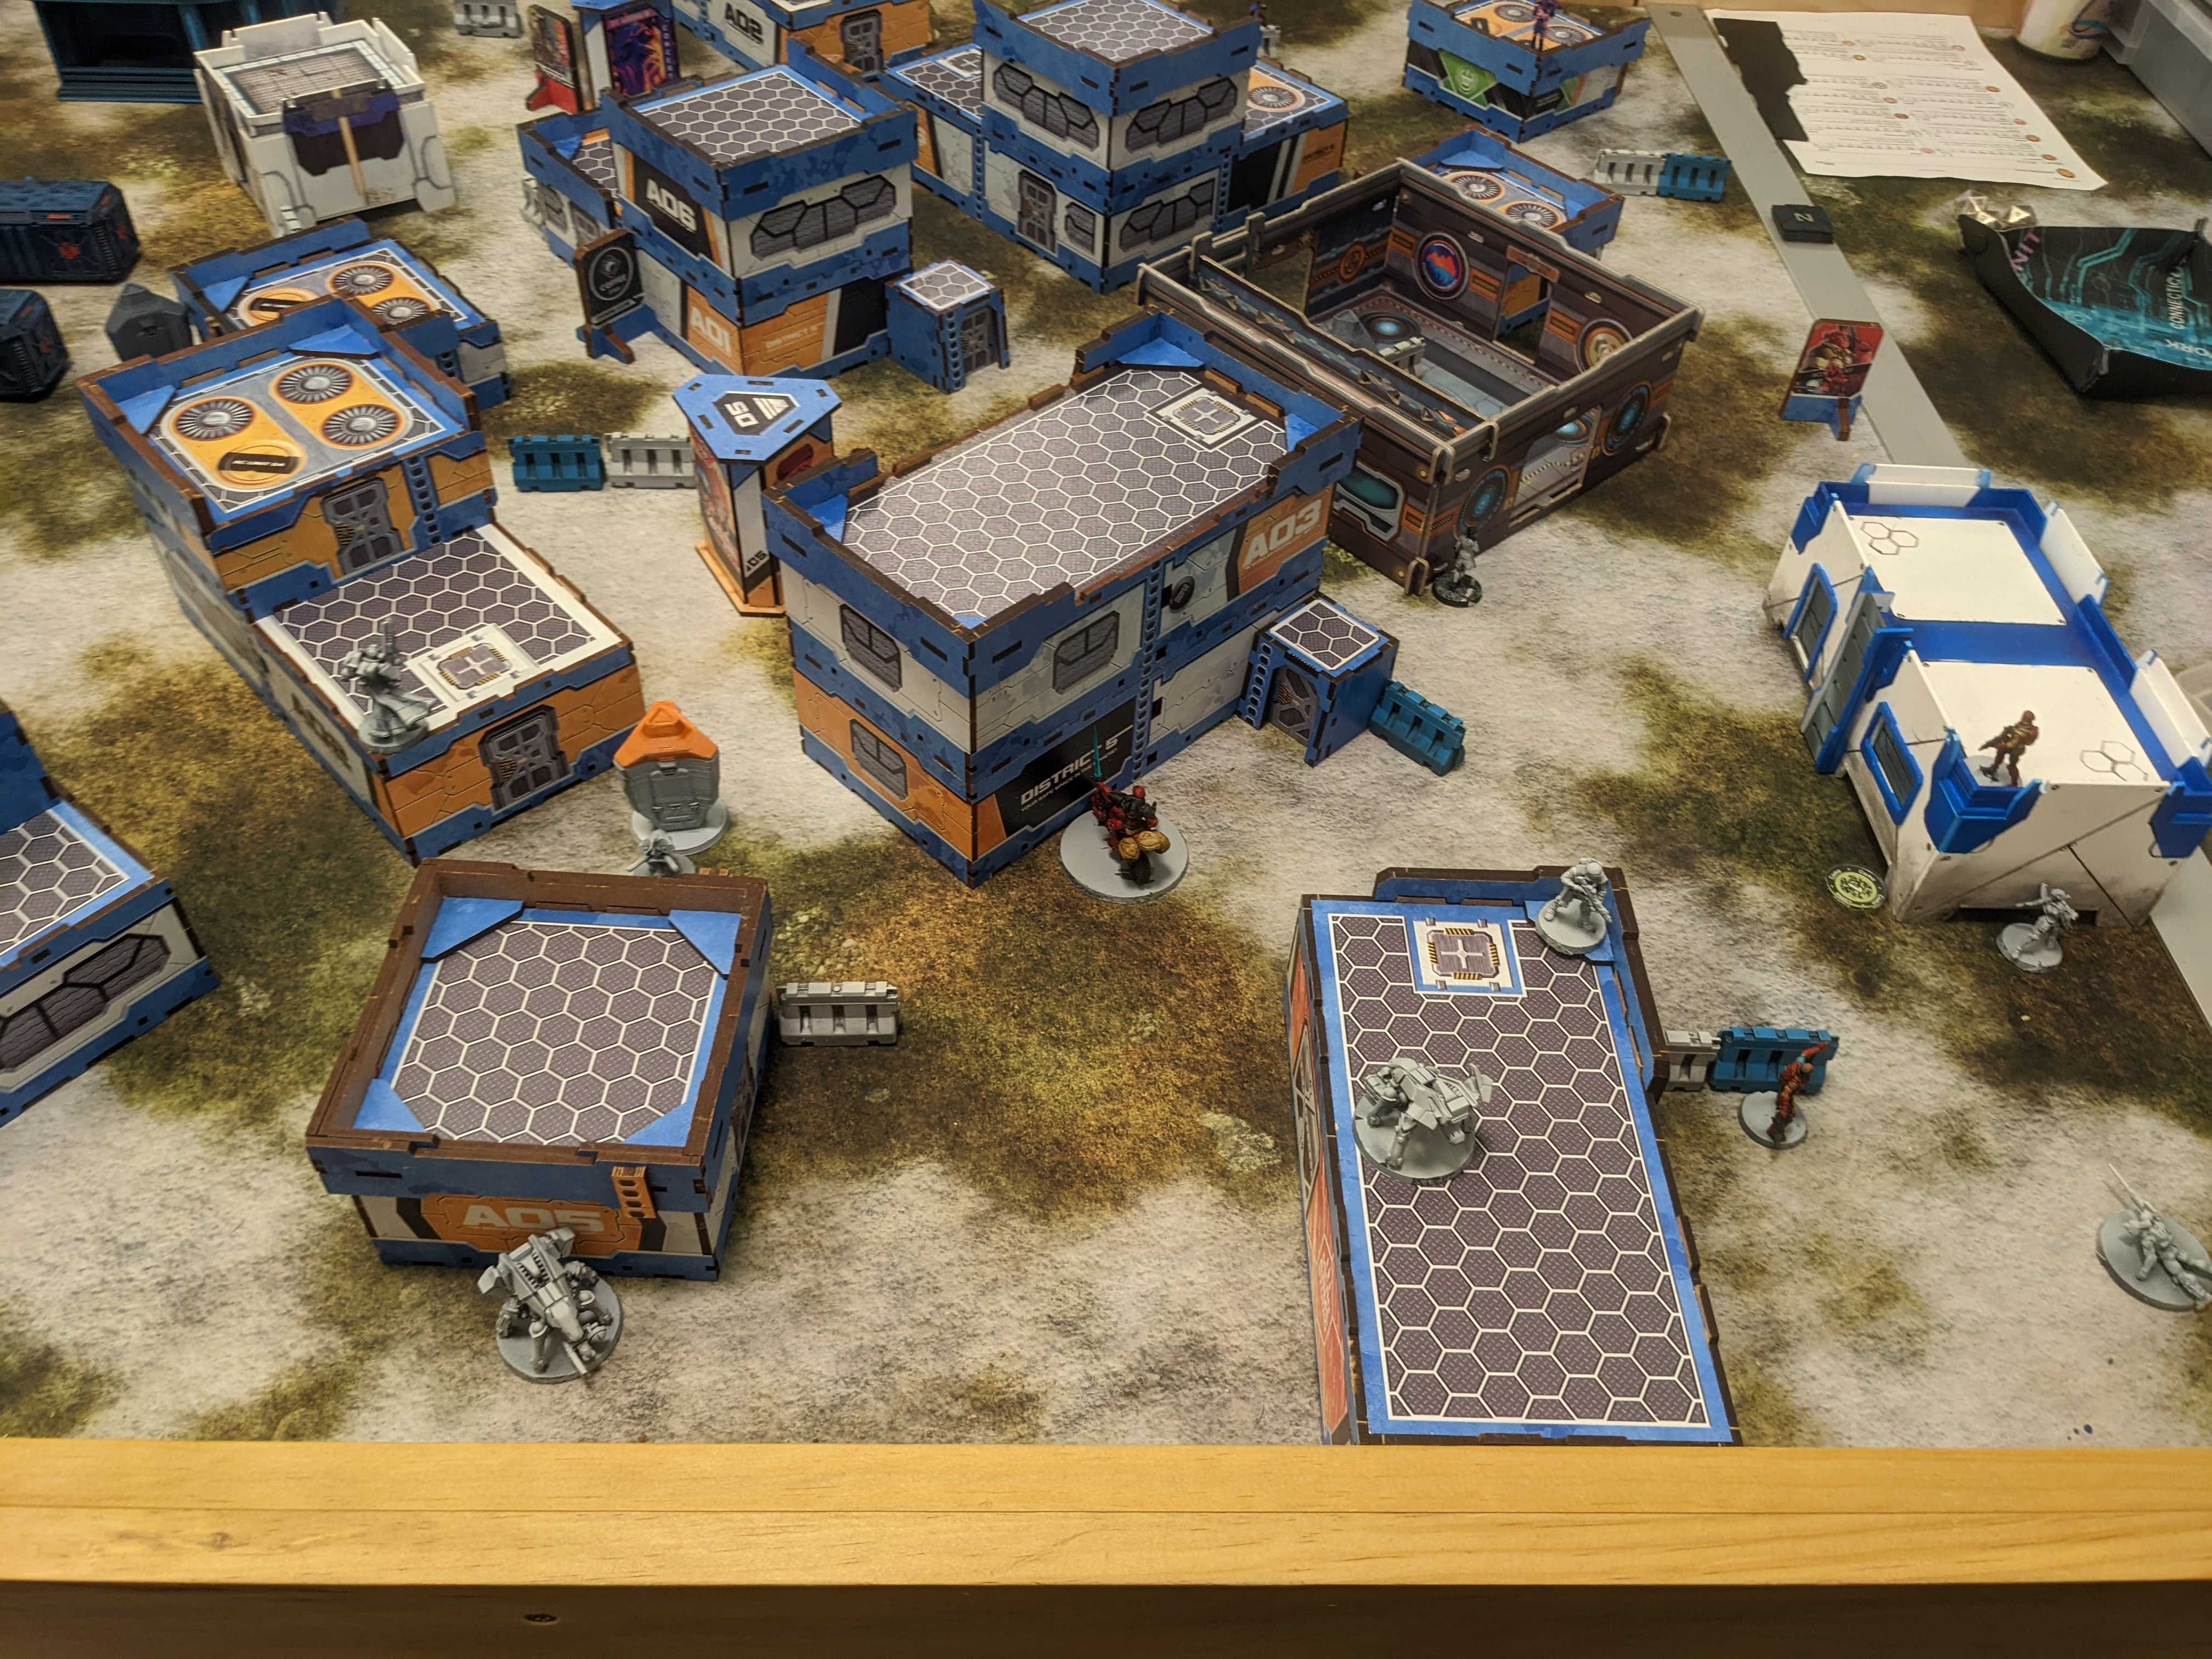
Invincibles – The rui shi gets marksmanship from the pangguling and the big stompy fireteam starts to move out from their starting position behind the central building in their deployment zone. They start by climbing up to the roof and the HMG zuyong picks off my (poorly deployed) guarda de assaulto. They then move up along the right side of the board into the objective room terrain piece. On the way there the rui shi unfortunately guns down my regular sniper back in the corner by ignoring all of his negative modifiers. Once inside, the combi rifle zuyong interacts with the panoply and picks up an HMG. The team peaks out and tries to take down my right most flash bot to open up a path into my DZ and it heroically delays them for 3 full orders before finally going down. The mine in front of the regular team takes another orders leaving Toasty with not enough orders to make an attack run. While this is going on Krit also interacts with the panoply and gets…. another HMG. The team uses their remaining few orders to post up around the room in defensible positions.
SAA – The orc feuerbach pokes his gun barrel out from behind cover and puts the TR bot unconscious. The red fury montesa then wades into the fight with the 5 man team. It starts by doing one wound to the newly HMG-ed zuyong who then ducks back into the room. It continues to shoot and puts the rui shi unconscious. He shoots at the other fireteam members a few more times, getting one wound on Krit before going into suppressive. Dart, in camo on the left side of the table, moves up to a position near the left panoply to lie in wait.
TURN 2
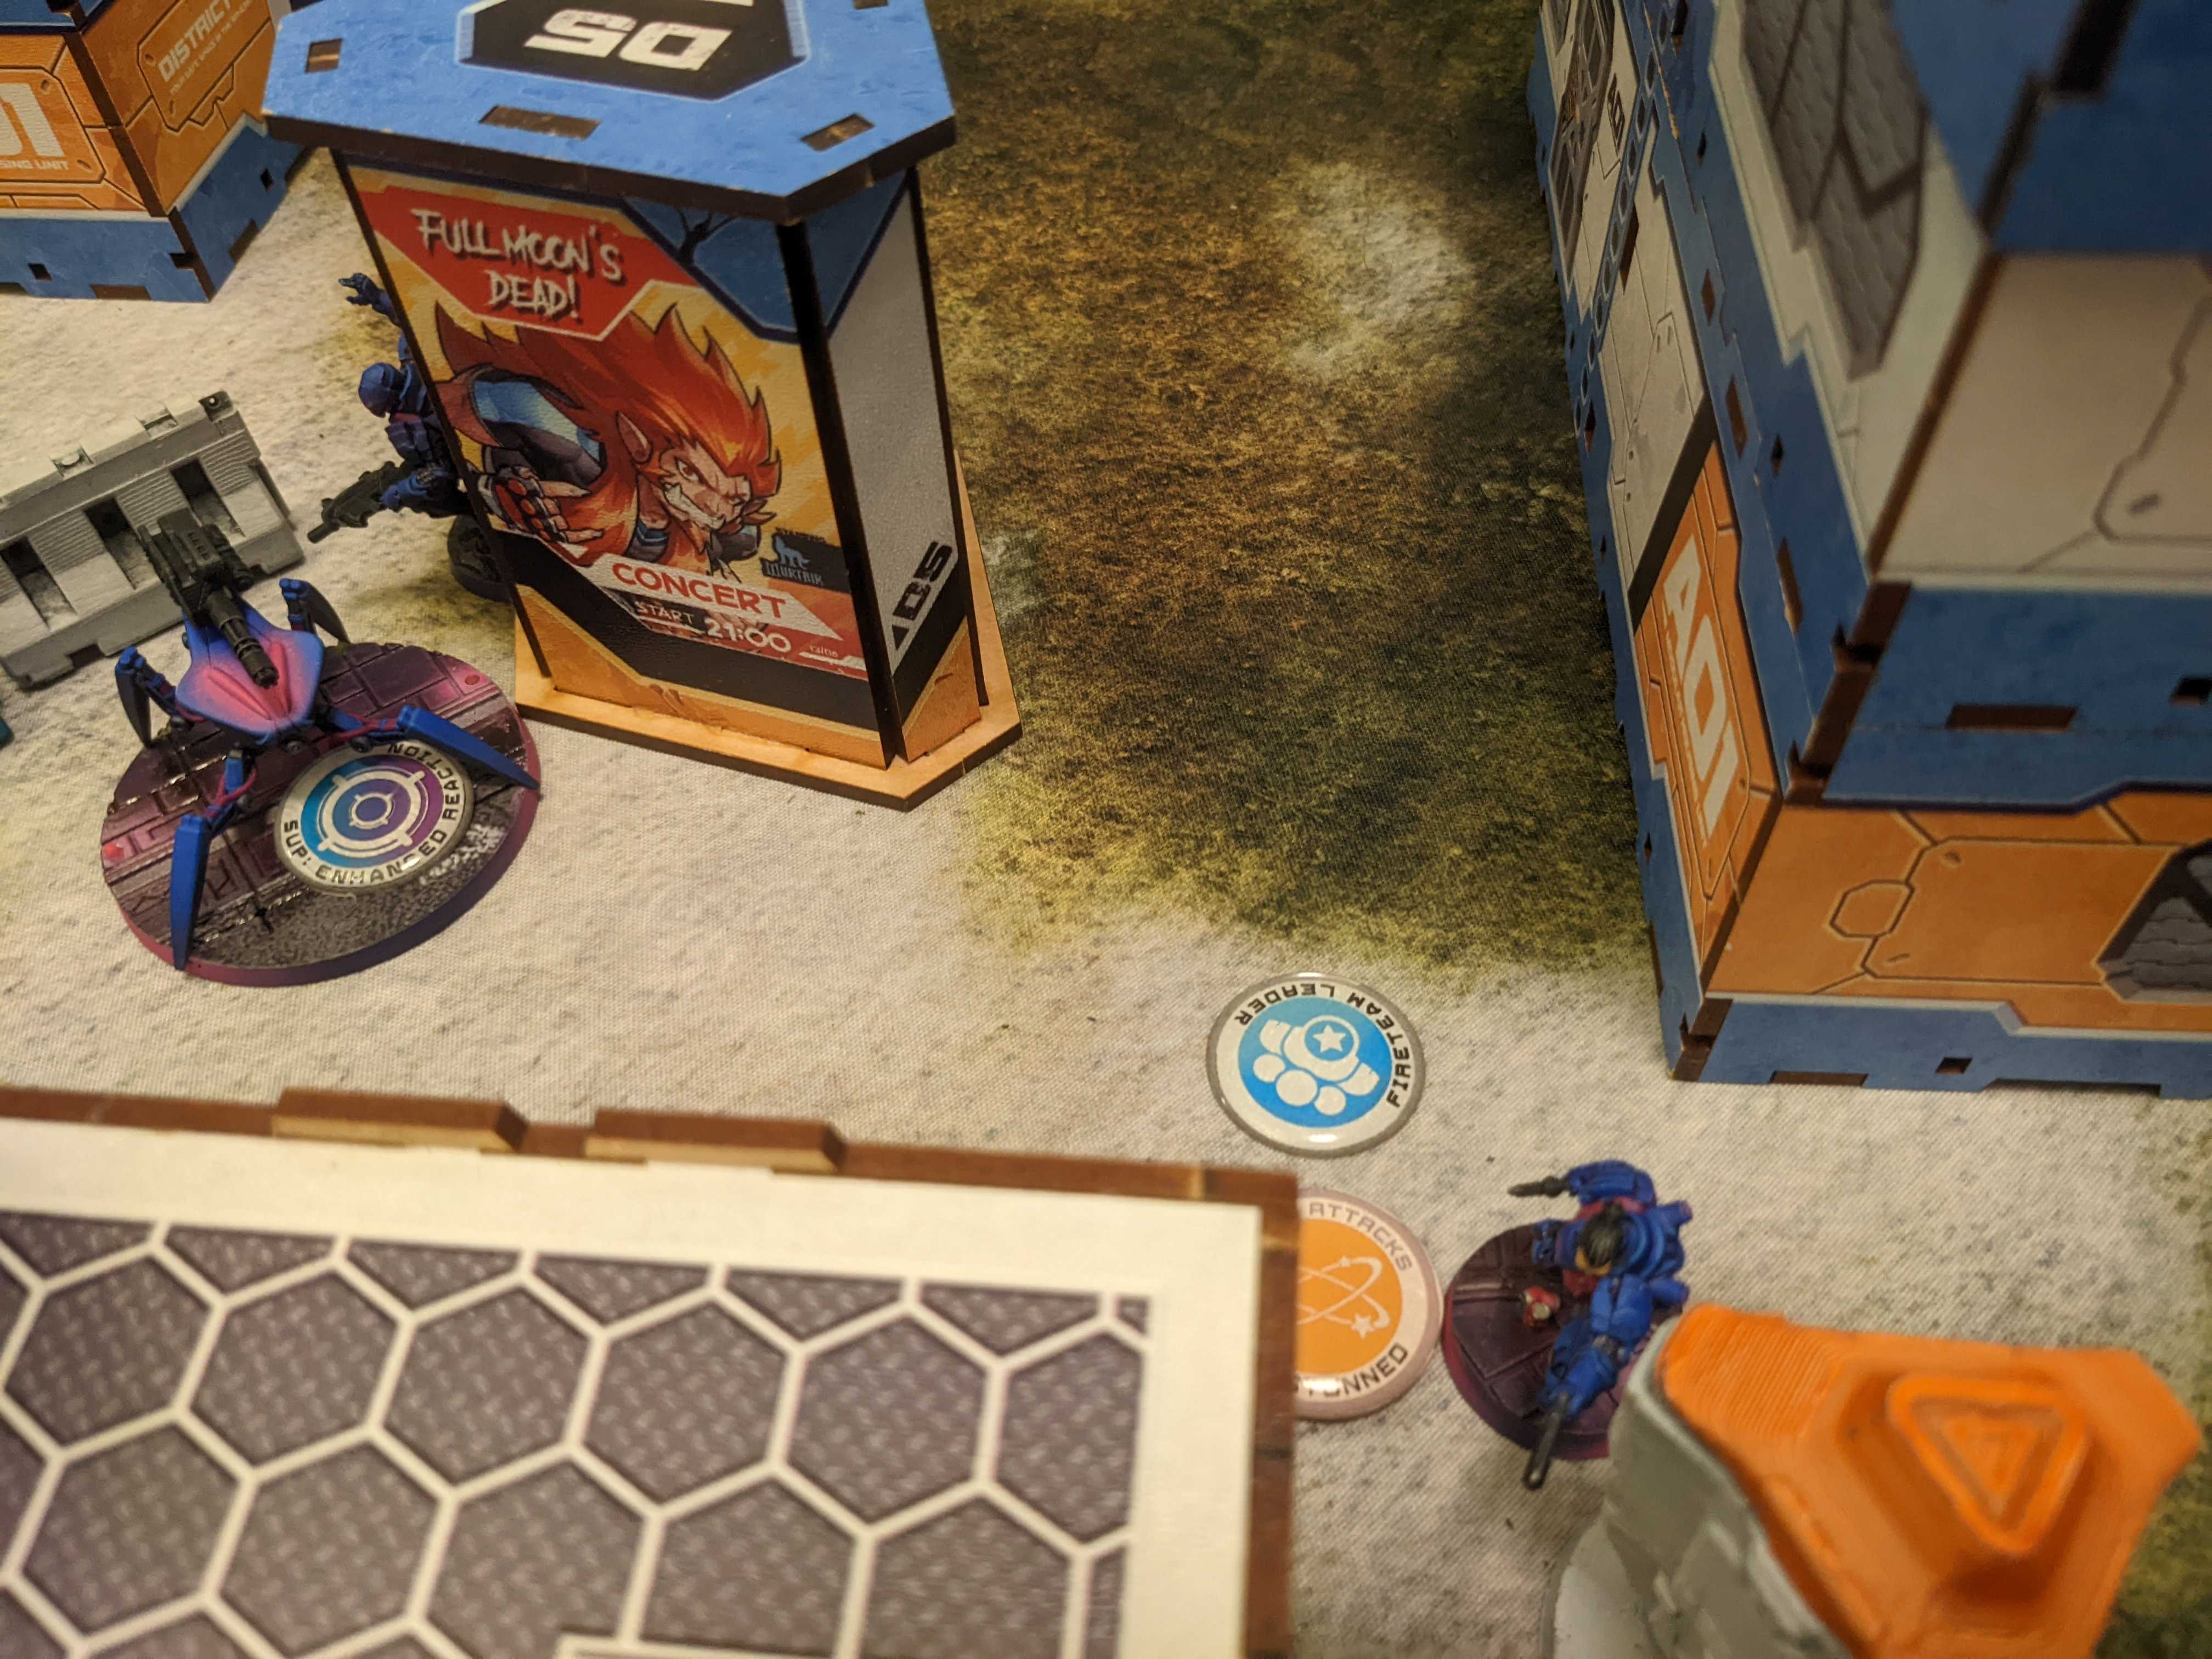
Invincibles – The turn starts with the mech engineer using his 2 yaozaos to get the TR bot and rui shi back to standing. Then the fireteam moves up through the middle of the map towards the AC2. Once they get close Dart reveals from camo and tries to take down the rui shi, but fails to wound it. Krit gets into base to base with the AC2 and slaps a D-charge on, catastrophically killing it in one order. The flashbot watching the carnage stuns him but too little too late. The bagh mari watching Krit with a shotgun gets shot from range by the fireteam With their mission accomplished the fireteam backs off to more defensible positions around his AC2.
SAA – The montesa near my (former) AC2 gets some revenge and Dart goes on a tear towards the enemy DZ on a mission to take down the TR bot for the second time, which she does (eventually) do, while killing the rui shi and a flashbot on the way there. Unfortunately the TR bot still only takes 1 wound and goes unconscious. With my last few orders I move the orc up to secure the high value target and touch the panoply getting a THIRD HMG.
TURN 3
Invincibles – The mech engineer gets the TR bot up again. The fireteam finishes pulling back around his AC2. They try to kill Dart but she makes the armor roll and drops prone on top of the roof. A liu xing tries to land on the regular in my link who happens to be the lieutenant and thankfully botches the roll, instead taking a defensive position on the back edge of the table.
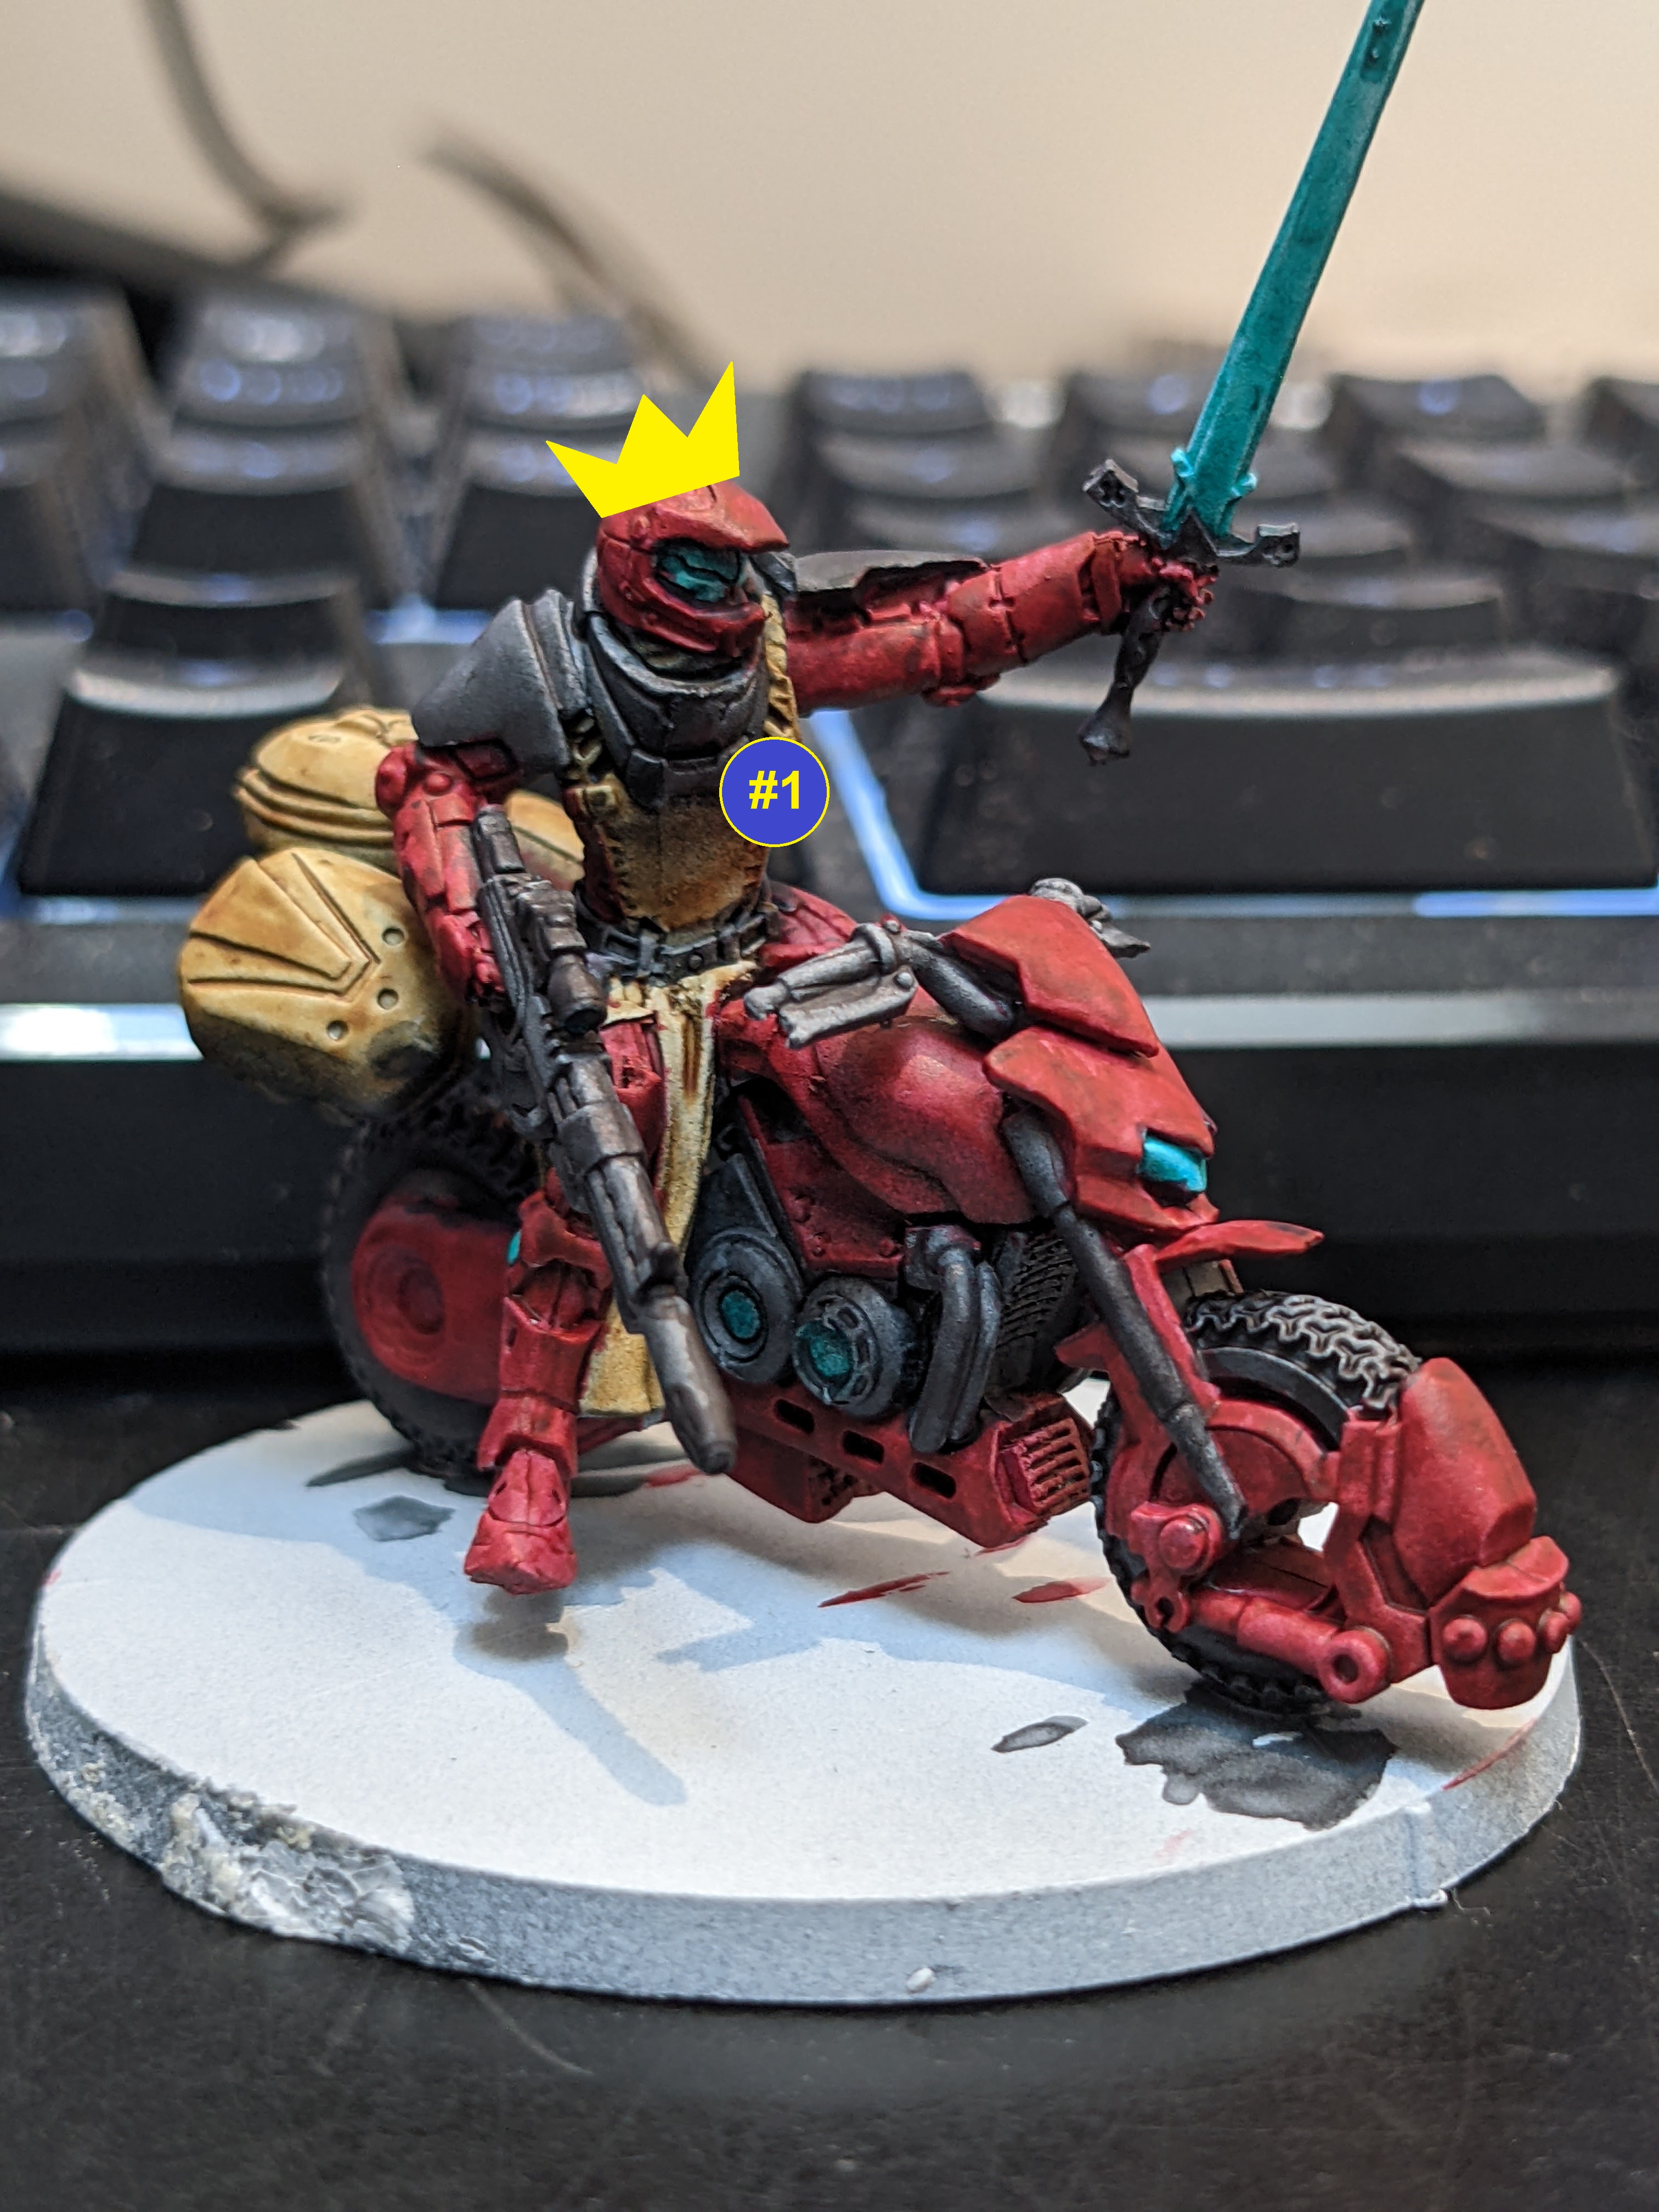
SAA – The TR bot needs to go down for a 3rd and final time, which Dart handily accomplishes in minimal orders. With that dealt with it’s time for the hero montesa to make the run of his life. He needs to start by killing the wounded original HMG zuyong guarding the long range line to the AC2, which he accomplishes. Next the final run into the AC2 has him taking 3 shots from the other HMG zuyong, a combi shot from the mech engineer, a flash pulse from the remaining yaokong, a multi rifle shot from the liu xing, and a carbonite from the zhanshi hacker. He hits with the melee attack, and only takes 1 wound from the hail of gunfire, but is immobilized and only deals one point of damage. With grim prospects I run up the other montesa from his hiding place, who makes it within charging distance, but never gets to make the swing before he too takes a wound and is immobilized. My only hope with two orders remaining is to try a contested reset with the first montesa, who needs to survive the same round of attacks as before with only one wound and then deal 2 more points of damage to the AC2 to potentially tie the game.
The flash pulse misses
The combi rifle misses
He is hit once by the suppressive HMG
And makes the save
He is hit again by the multi rifle
And makes the two saves
And in a glorious display of Shock Army’s 13 willpower, he rolls a 10 and critically succeeds the reset roll.
He follows it up with a mighty swing of his sword and the AC2 fails 2 armor rolls, destroying it and, against all odds, tying the game.


Montesa for the Win , nice report
Nice report!
Nice report, thanks!
Gotta give some love to anyone playing Shock army!
Love the Montessa Knight pic. Good job holding back Yu Jing, a draw still stops them from gaining more points.
Bikes really got buffed a lot this season
Such a close game! The great rivals meet once again on the battleground. Awesome report, it was a fun read!
Great turn-by-turn reporting. Love that knight image.
a good clash!
Better a draw than a loss!
good effort commander!