Fought At Raveneye Bow Section: Sensoring Module
660 days 3 hours 32 minutes ago
Someone replaced the dragao's ammo with nerf darts
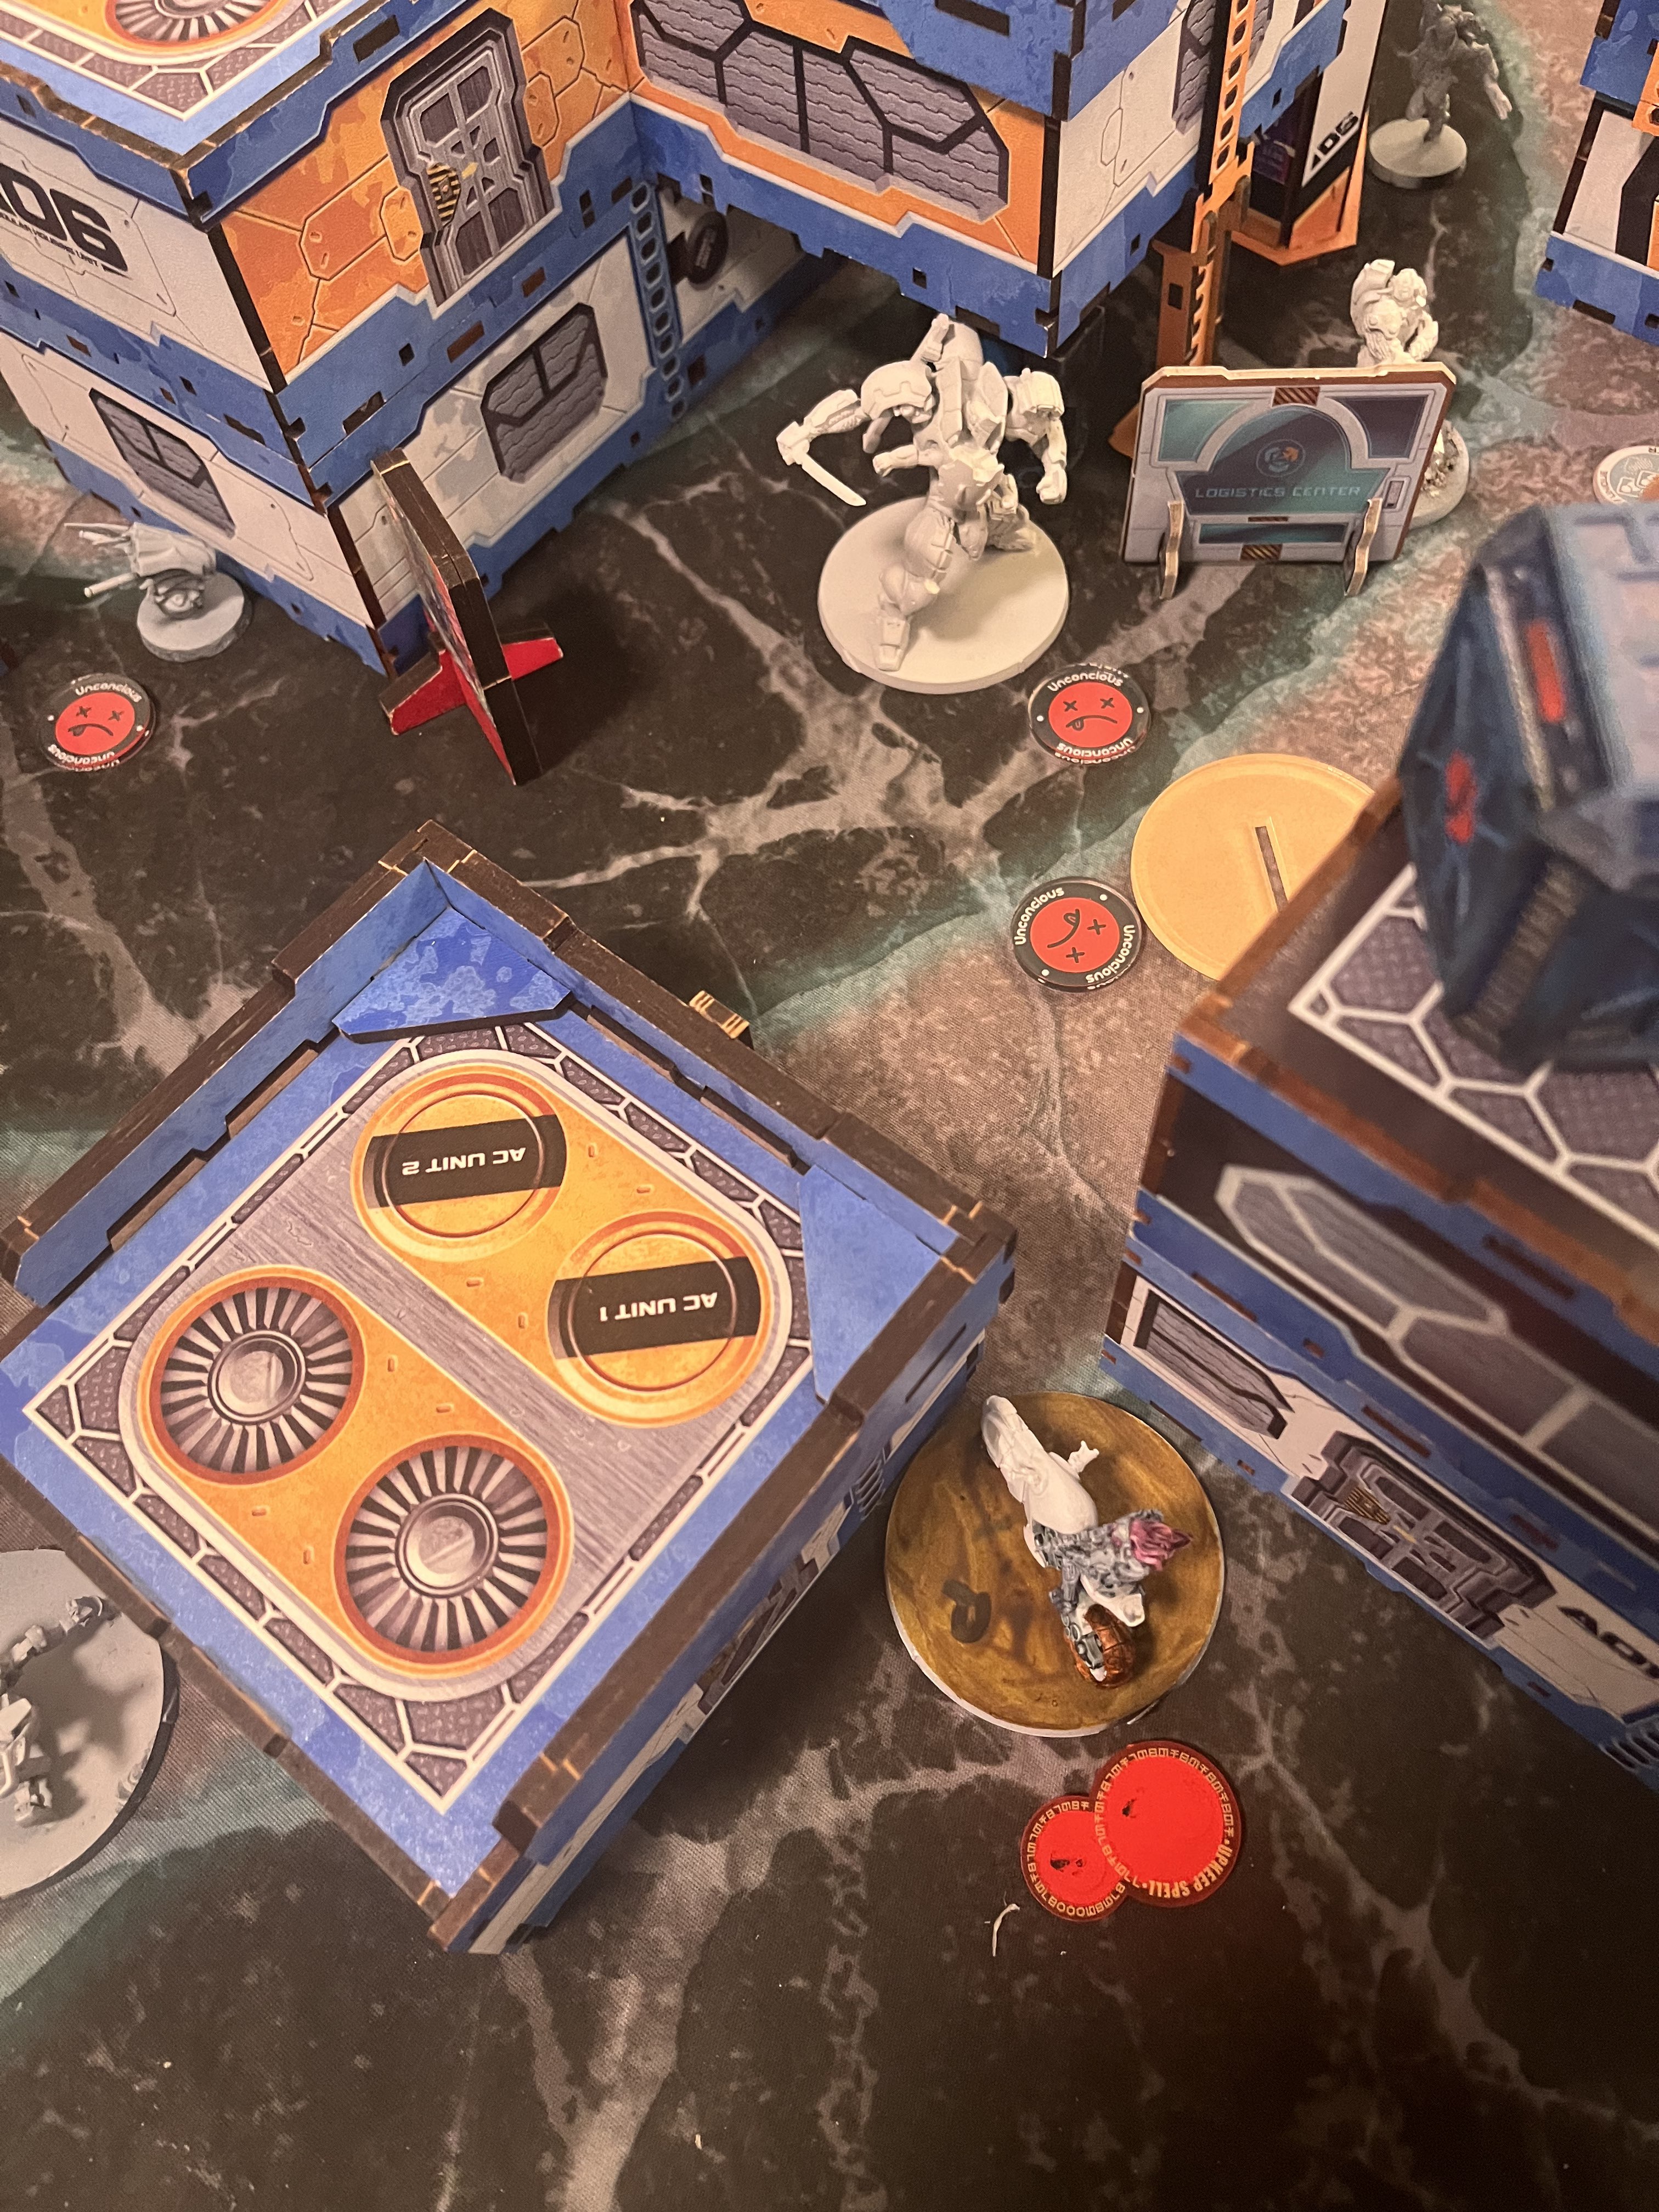
View Linked Report - CLICK HERE 300 POINTSThe Morats win the initiative roll and choose to go first, deploying evenly spread across the field and relatively far forward. My Shock Army takes a more conservative deployment, leaving a couple flashbots up for ARO and a peacemaker to intercept any potential close range threats to my dragao.
TURN 1
Morats – The gaki runs forward and trades with the peacemaker’s auxbot and the daturazi moves forward to provide some smoke for things to move into position. The core shuffles around their building with the yaogat and kaitok moving up the highest level while the dartok moves forward and fires repeaters near the left and right side consoles. He isolates my guarda de assaulto through one of them, which eventually gets to reset in ARO but is promptly re-isolated. The yaogat kills one of my flashbots. My forward positioned war-core is spotlit and missiled, but manages to eat 3 more orders in the process. Both harises move forward but the anyat one enters the hacking area of my naga in the last order and the rindak in it is immobilized.
Shock Army – The peacemaker pokes around the building and destroys the repeater near the left console, freeing up the dragao to move forward. The dragao puts a wound on the kaitok who then successfully dodges prone and knocks the yaogat unconscious but crucially fails to kill it for good. My motorized bounty hunter moves up and kills the daturazi. Naga recamos but the provided ARO unfortunately lets the rindak reset out of immobilized. The dragao goes into suppression and the guarda fails to reset with his own order and getting immobilized for his trouble.
TURN 2
Morats – The anyat haris activates and successfully throws smoke to mostly block the dragao, the naga tries to immobilize the kaitok in the link but fails. The morat motorized bounty hunter takes advantage to drive up the flank while killing my MBH. Dartok reloads from an ikadron and fires more repeaters, putting the naga into dogged with a trinity. Then the other haris activates twice and manages to get the yaogat back up with the rindak’s medikit, taking the right console on the way there. The yaogat fires through smoke and the dragao botches its armor rolls, going unconscious.
Shock Army – Orders are collapsed into group 2, the engineer moves up and gets the dragao back to functional with one structure. It proceeds to put the yaogat unconscious again and kills the dartok which was left in the wind, but then spends the rest of the turn shooting ineffectually at the two harises. Dart reveals on the right side and fails an EM grenade vs a kaitok and explodes to chain rifles. The dragao goes back into suppression and ends the turn.
TURN 3
Morats – The MBH drives up my flank, managing to get LoF to the dragao’s rear arc. It botches its armor rolls for the second time, and goes down and is then shot again to fully remove it from the table. The left side rindak moves up to take control of their console, and the right side haris all move up to touch and defend the tech coffin in the center.
Shock Army – With nothing else I can do, the regular sniper tries its best to clear the left console and fails miserably. The machinist runs up in a hail mary to score any objective points but trips on some bullets and dies without accomplishing anything.
Battle Report Author

Army Lists Used In This Battle
Recommend Commander For Commendation
Share this battle with friends
KarsaOrlongWins

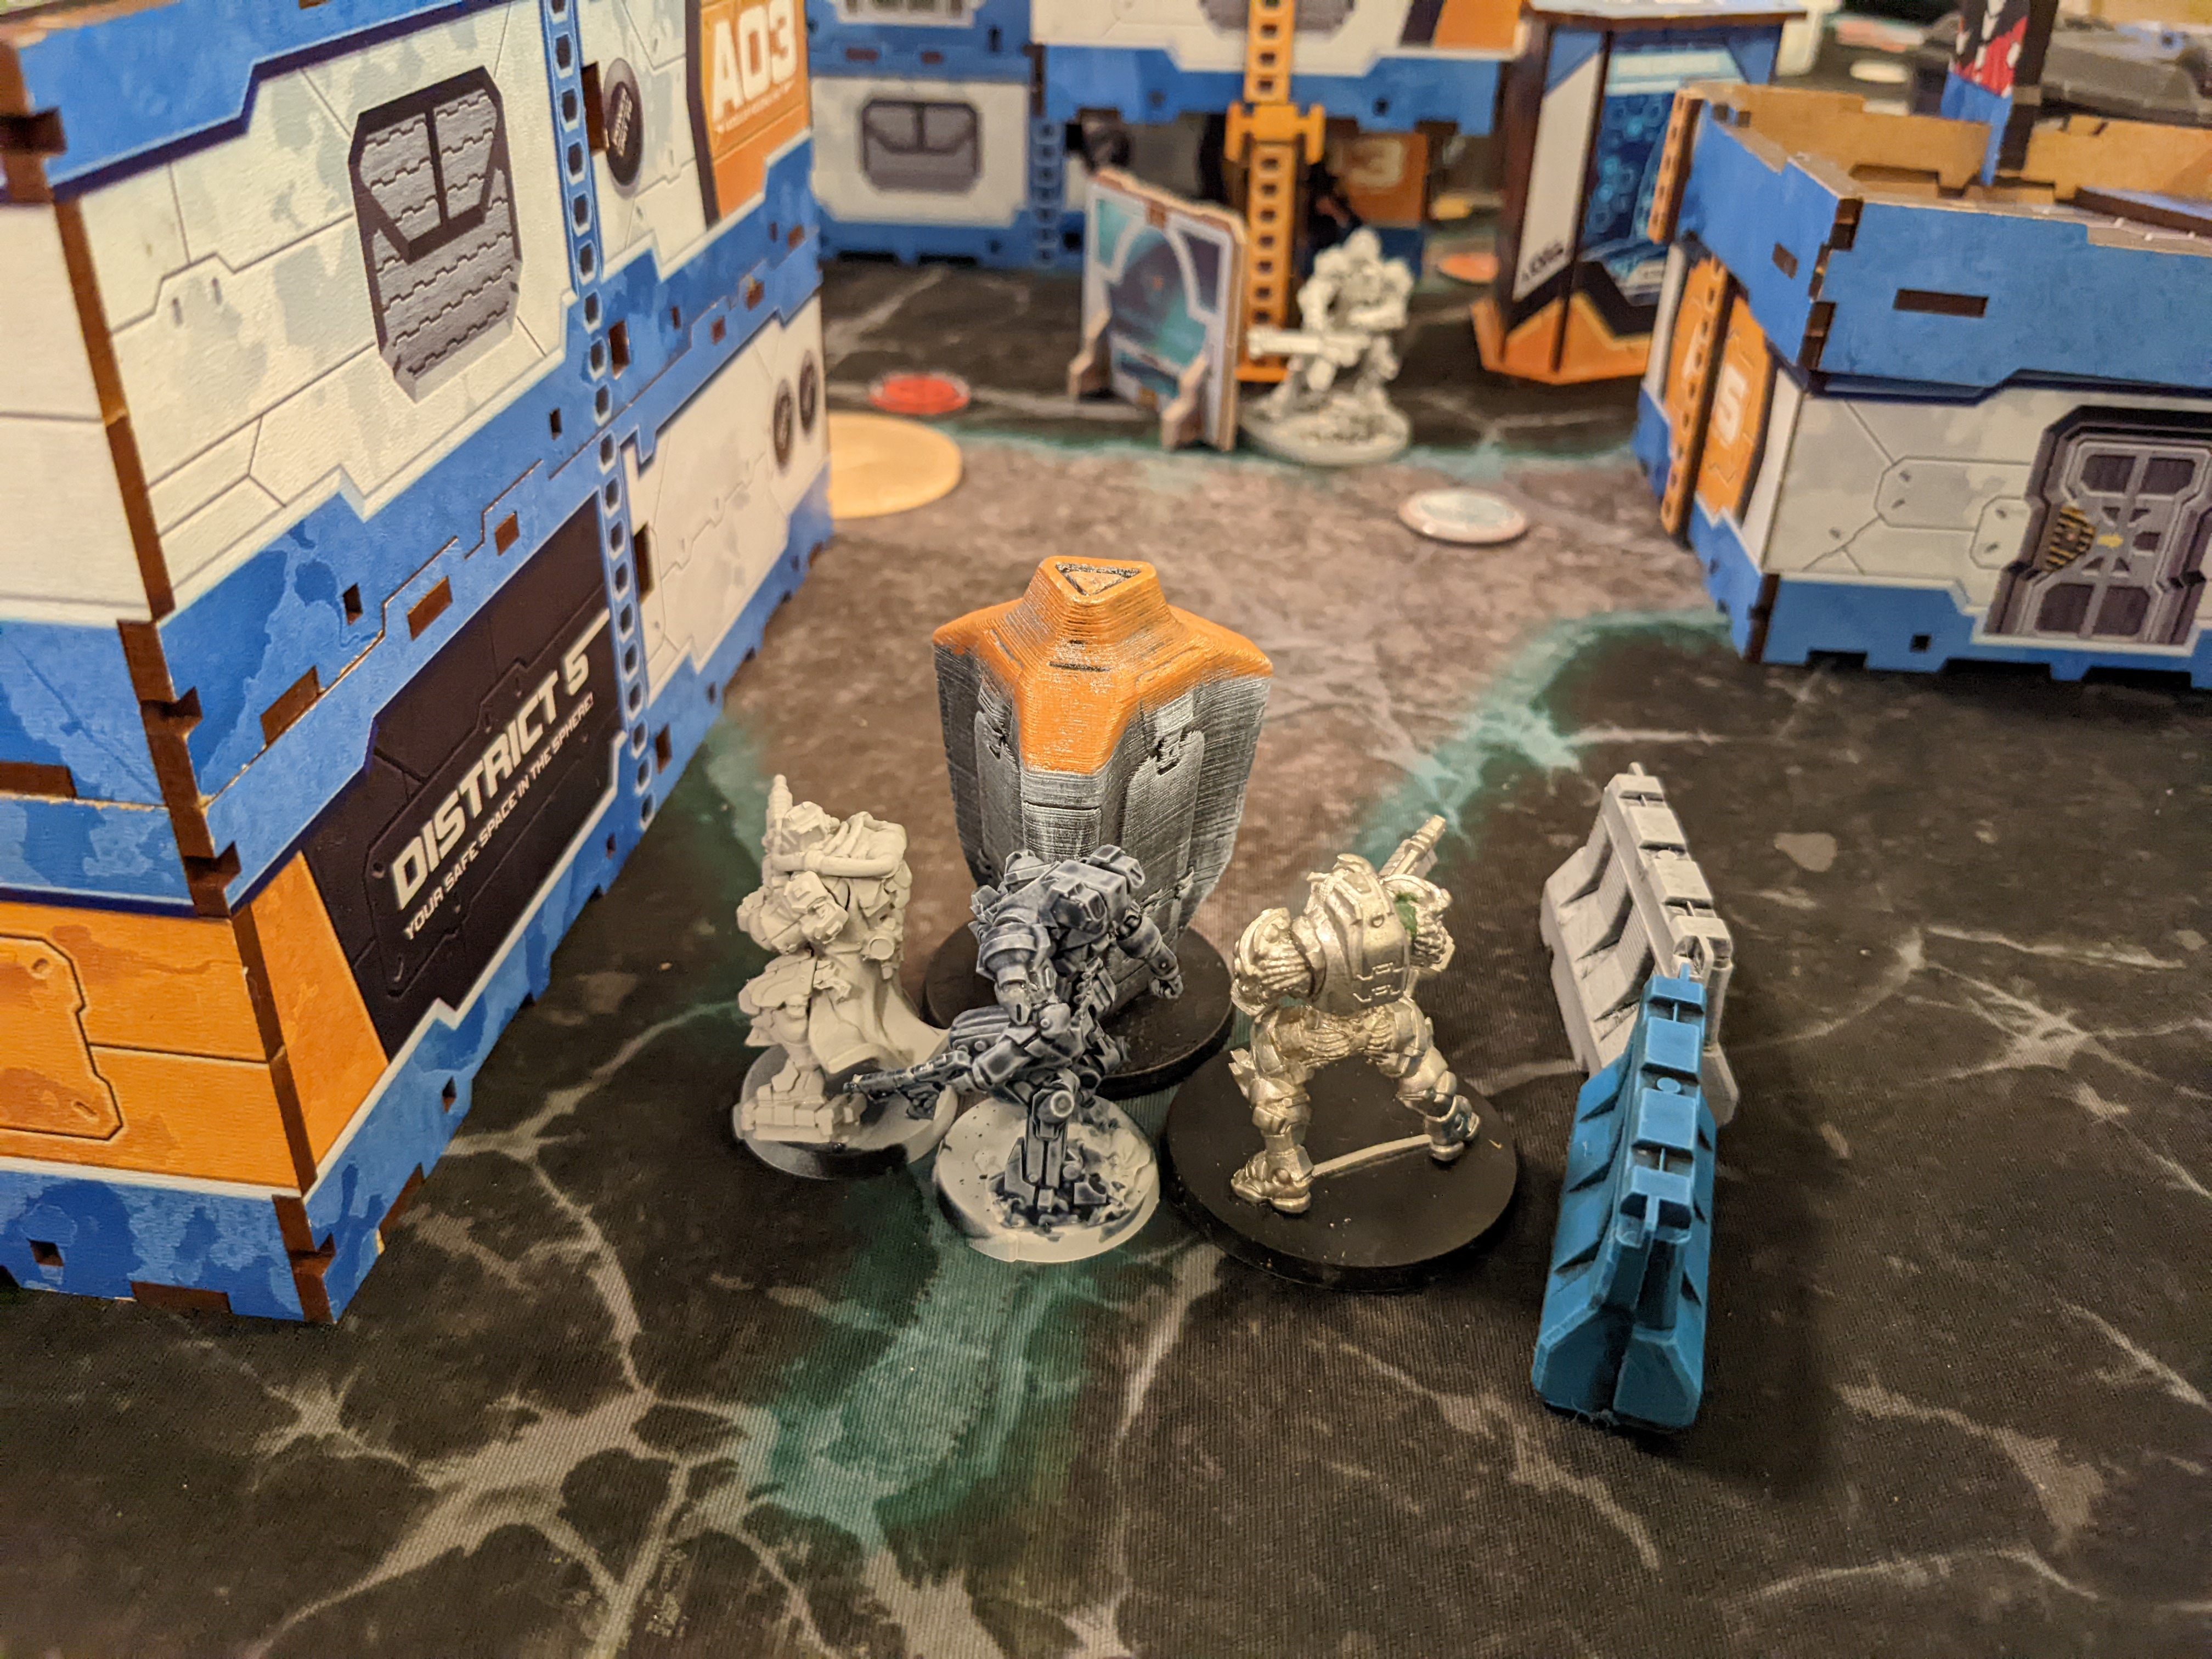
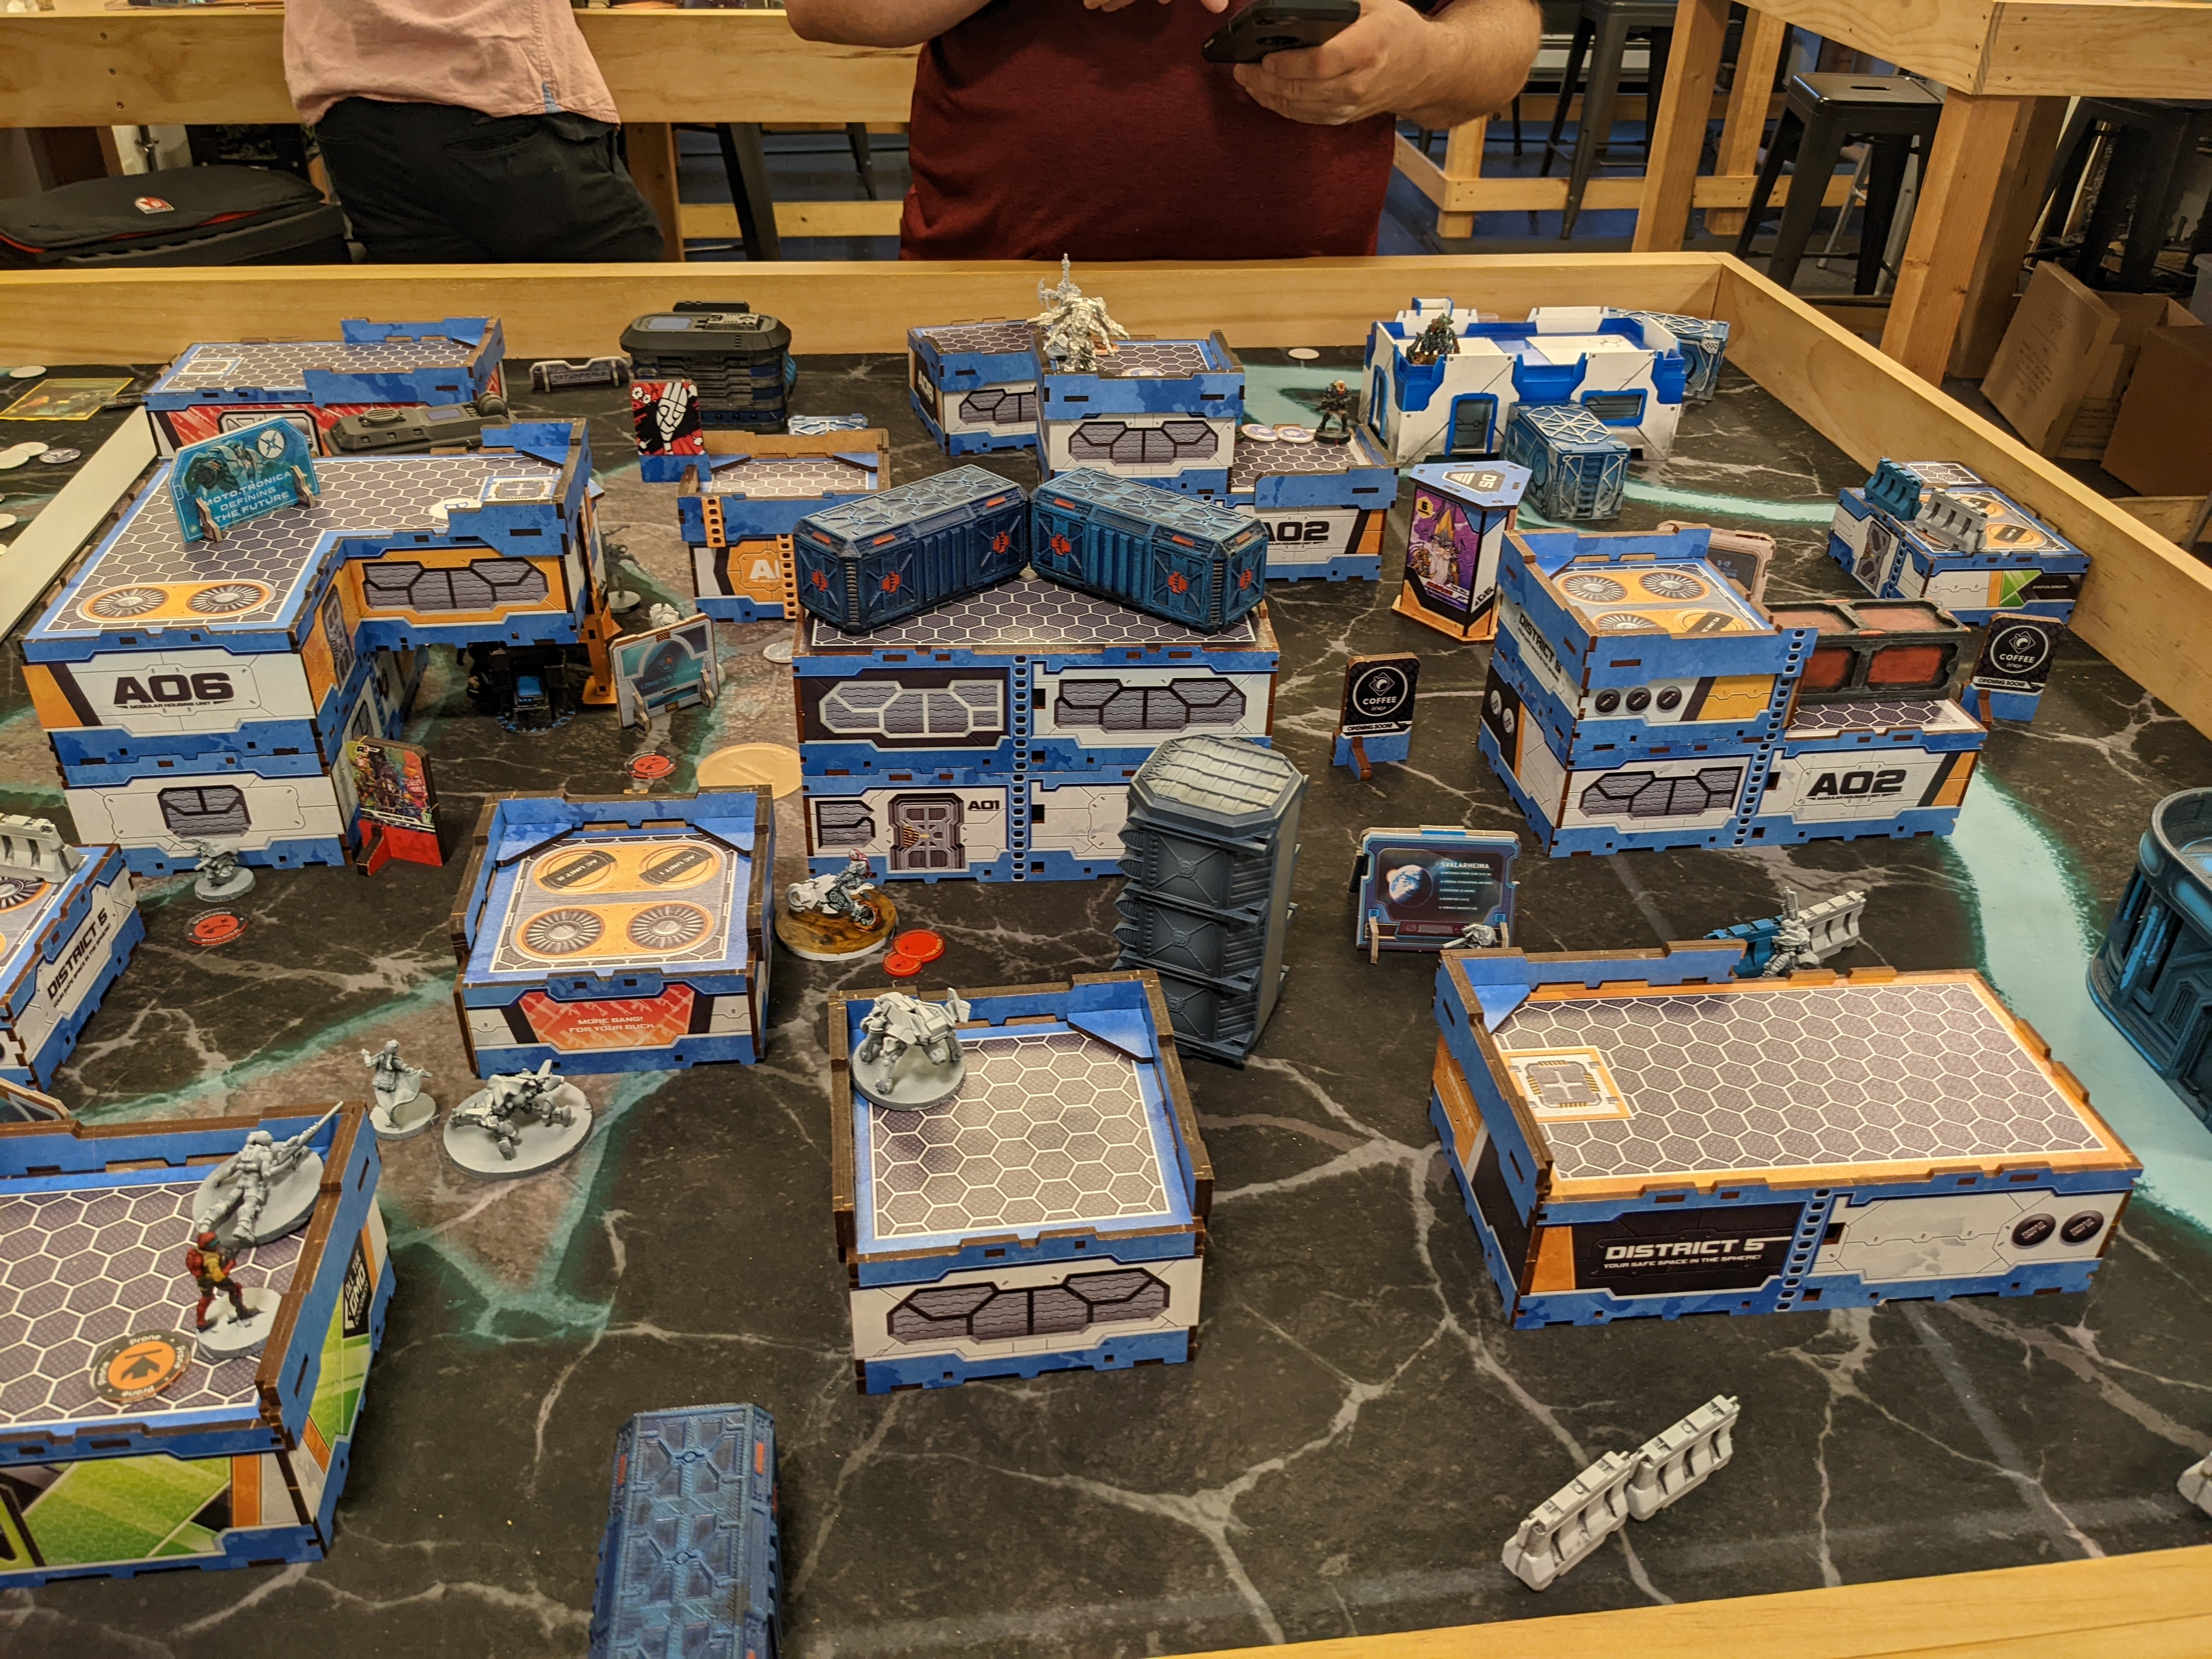
Good Looking table i love the District 5 terrain