Fought At Cameliard: Reliquary
645 days 13 hours 36 minutes ago
The blooded White Banner
View Linked Report - CLICK HERE 300 POINTSDebriefing report – Mission Cameliard Reliquary Lieutenant Ousson Métong from Guilang special trained troop
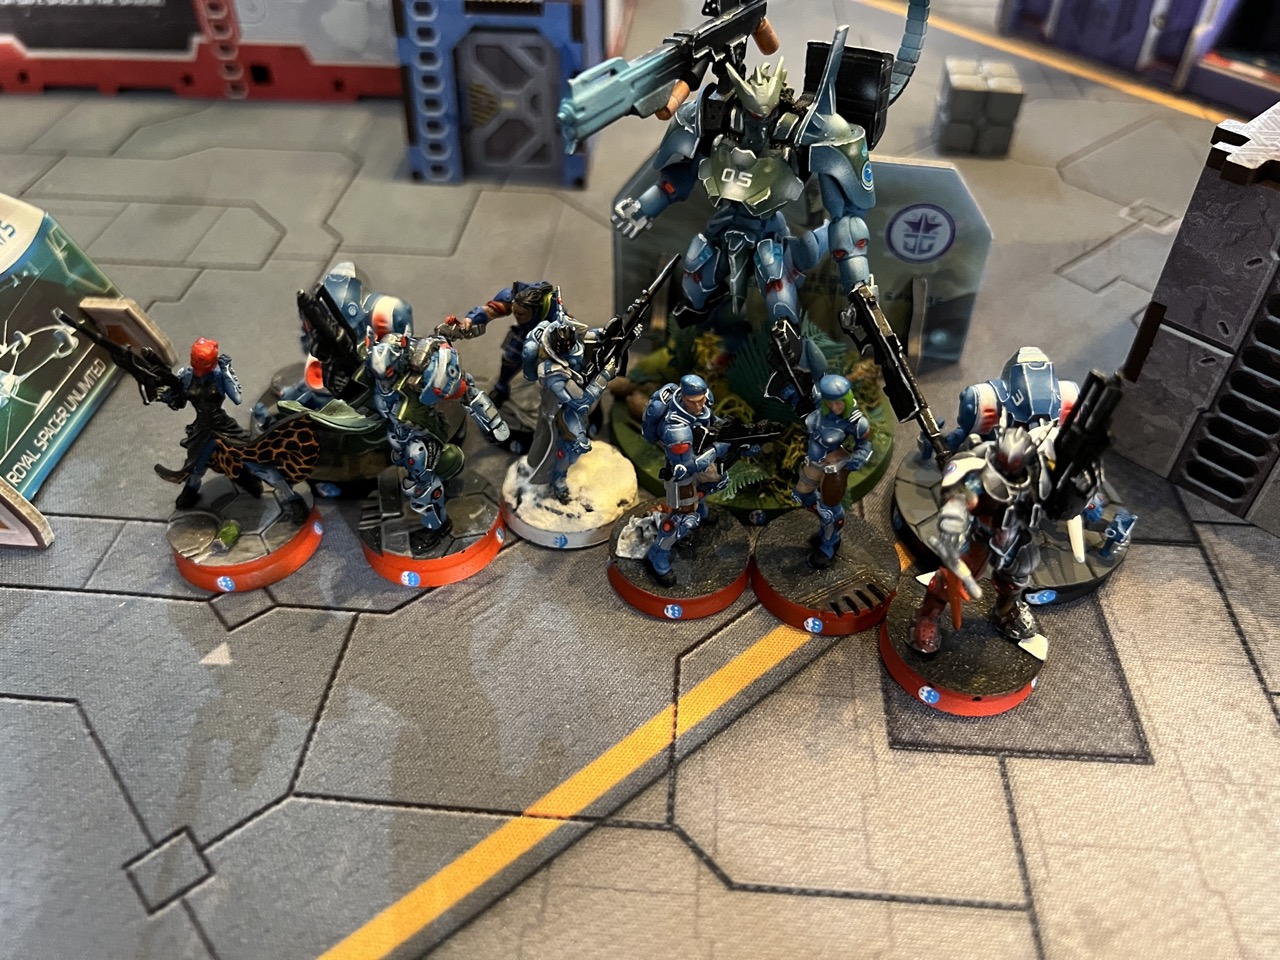
Following the orders, a White Banner detachment has been send on Cameliard in order to destroy the opponent Advanced Comm Console. A special convoy of the PanOcenian army was already waiting for us. This one was heavily armed and armoured. Aquila Guard, Nisse sniper covering a lot of sneaky angles and the Dragoes TAG. A promise of fire and blood.
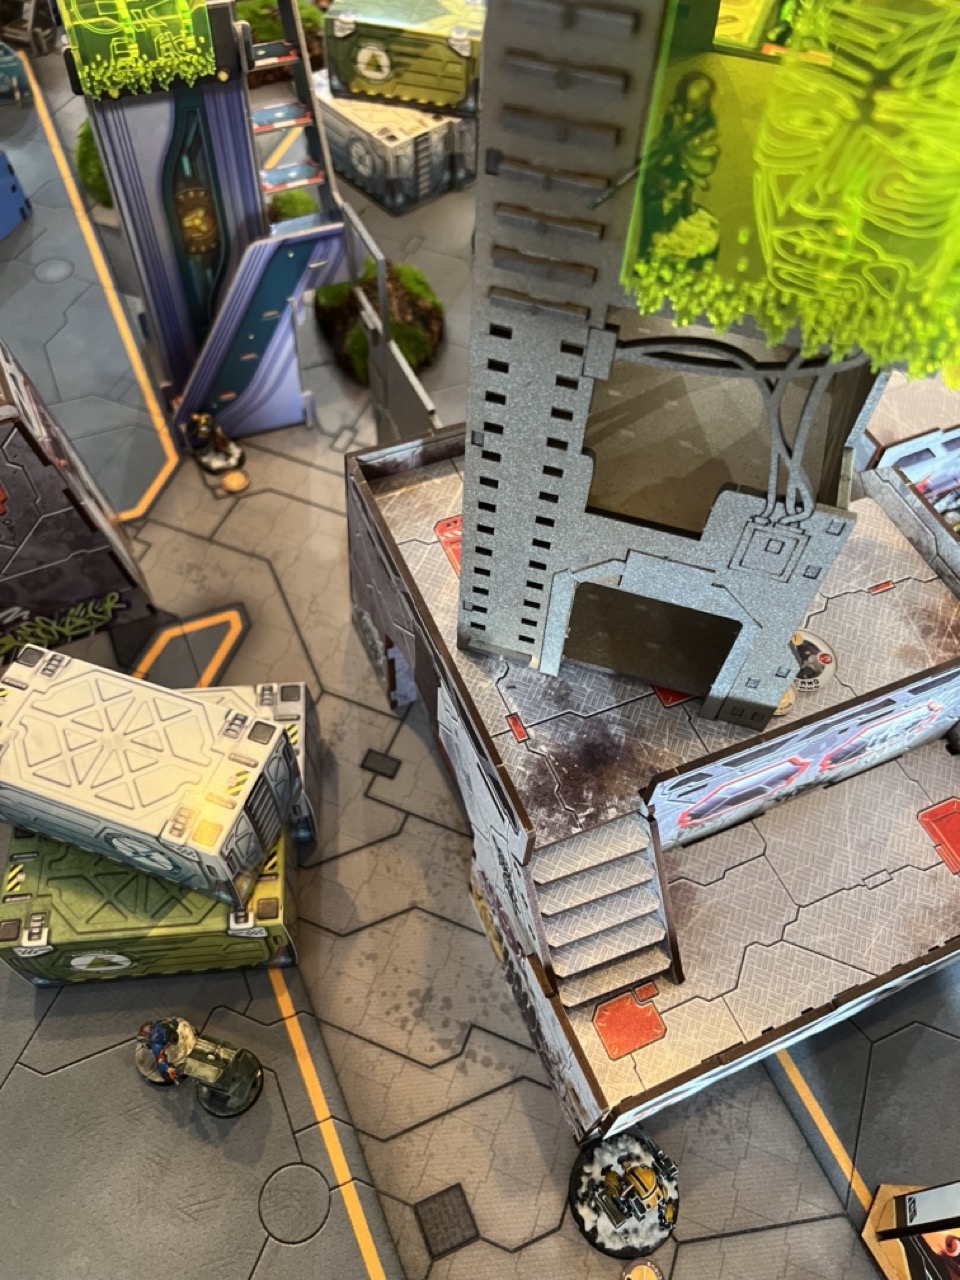
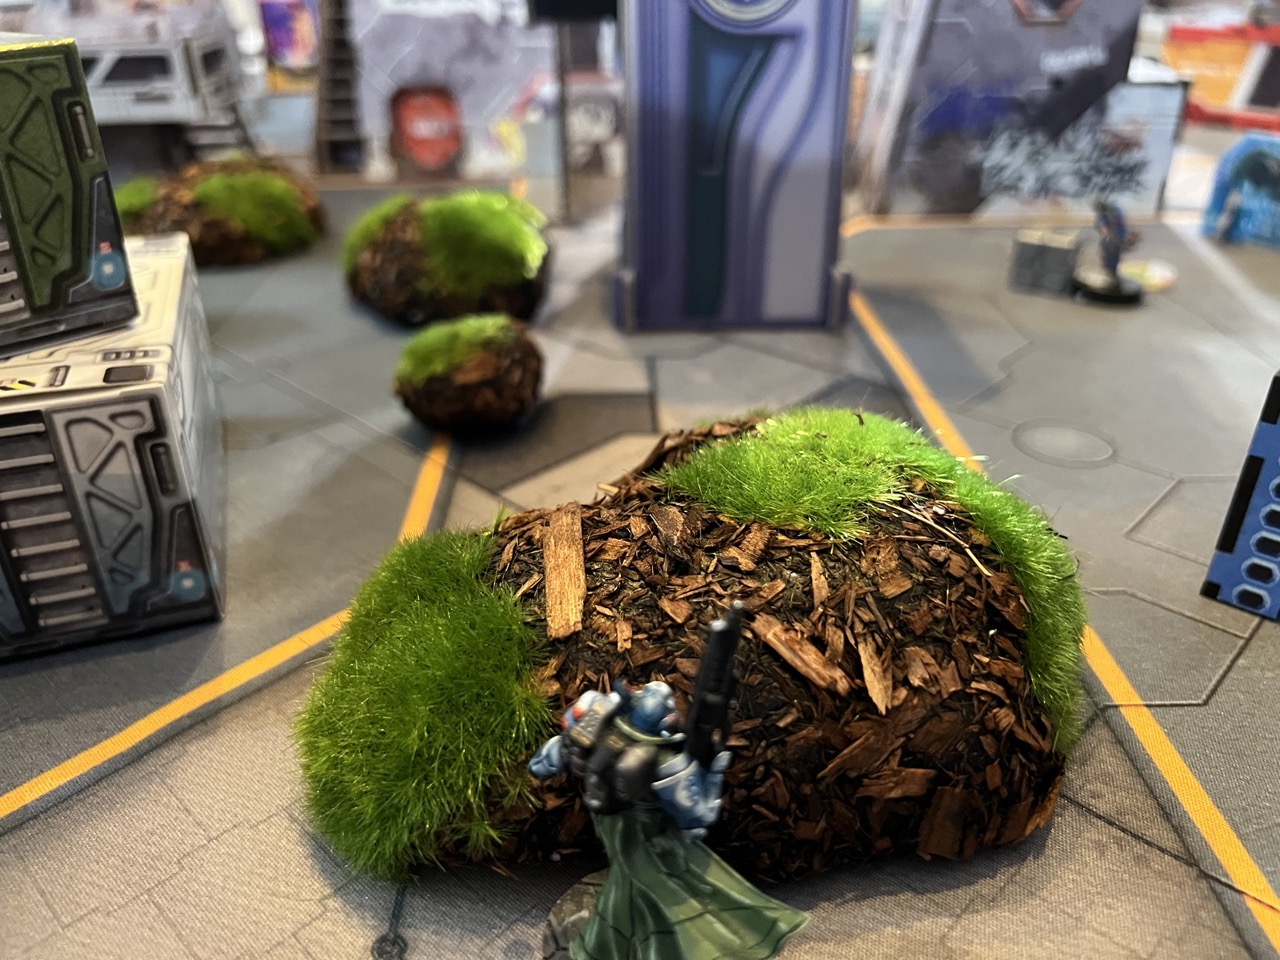
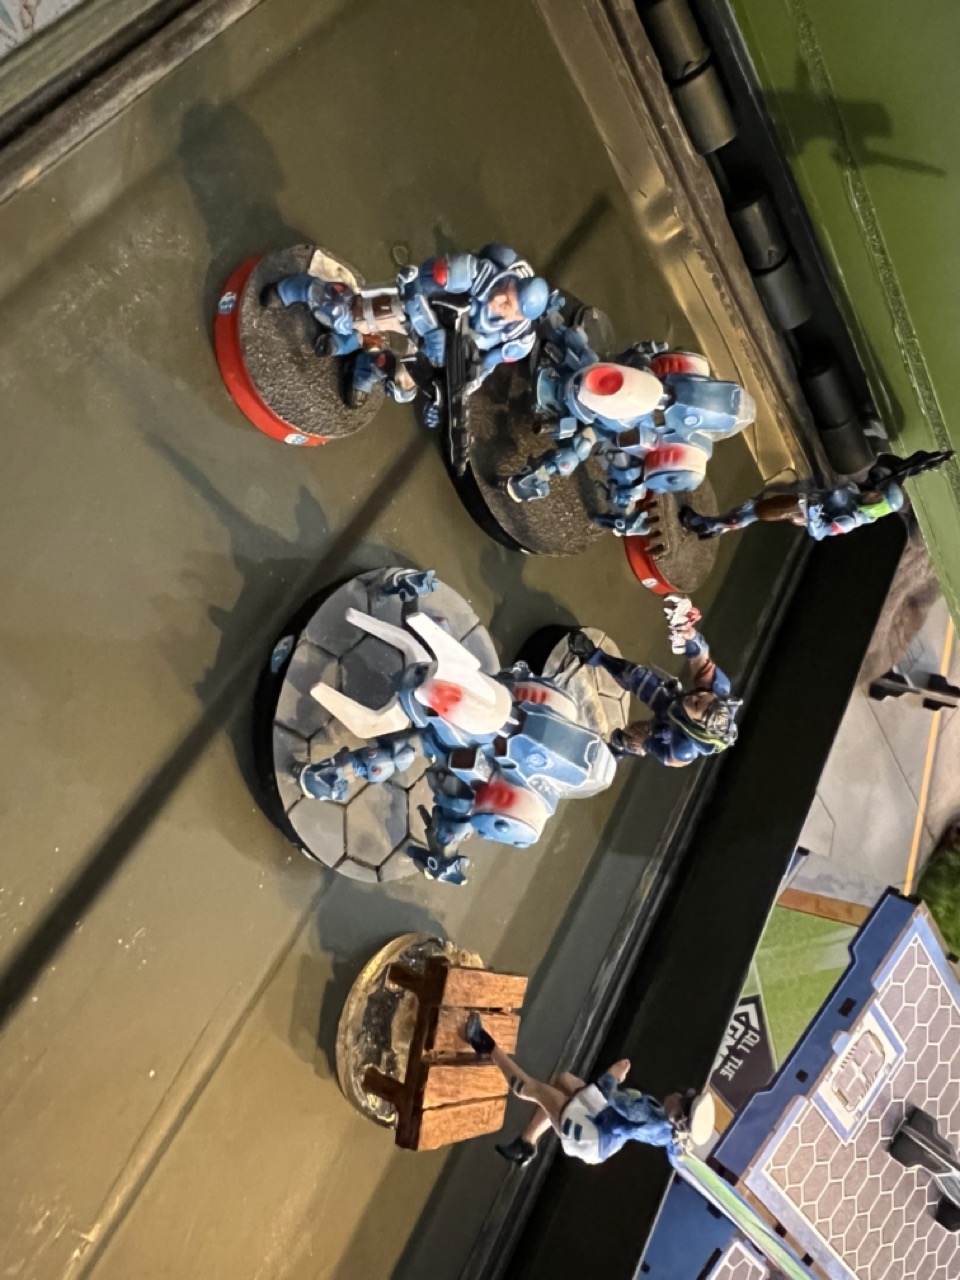
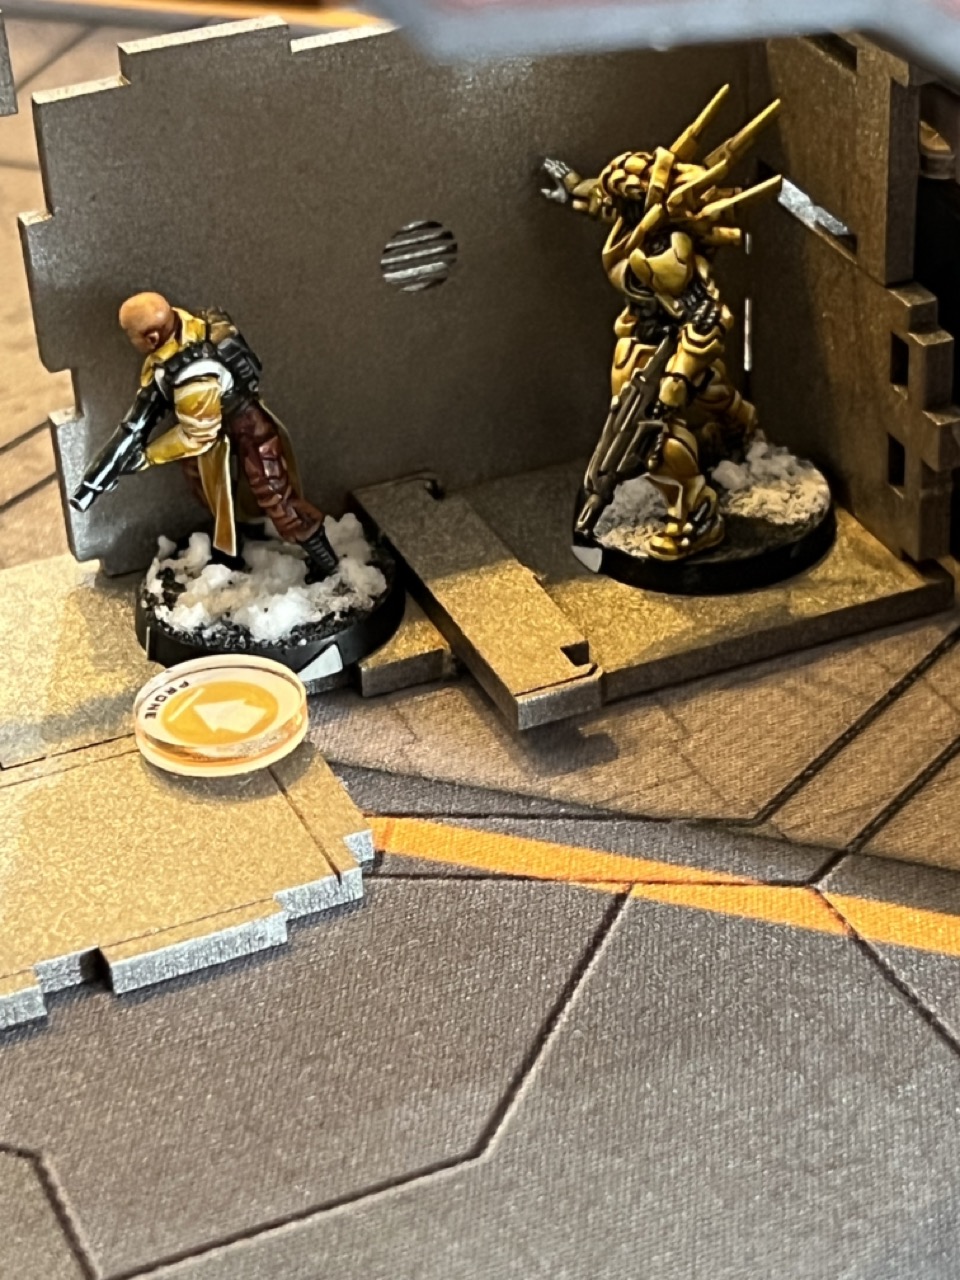
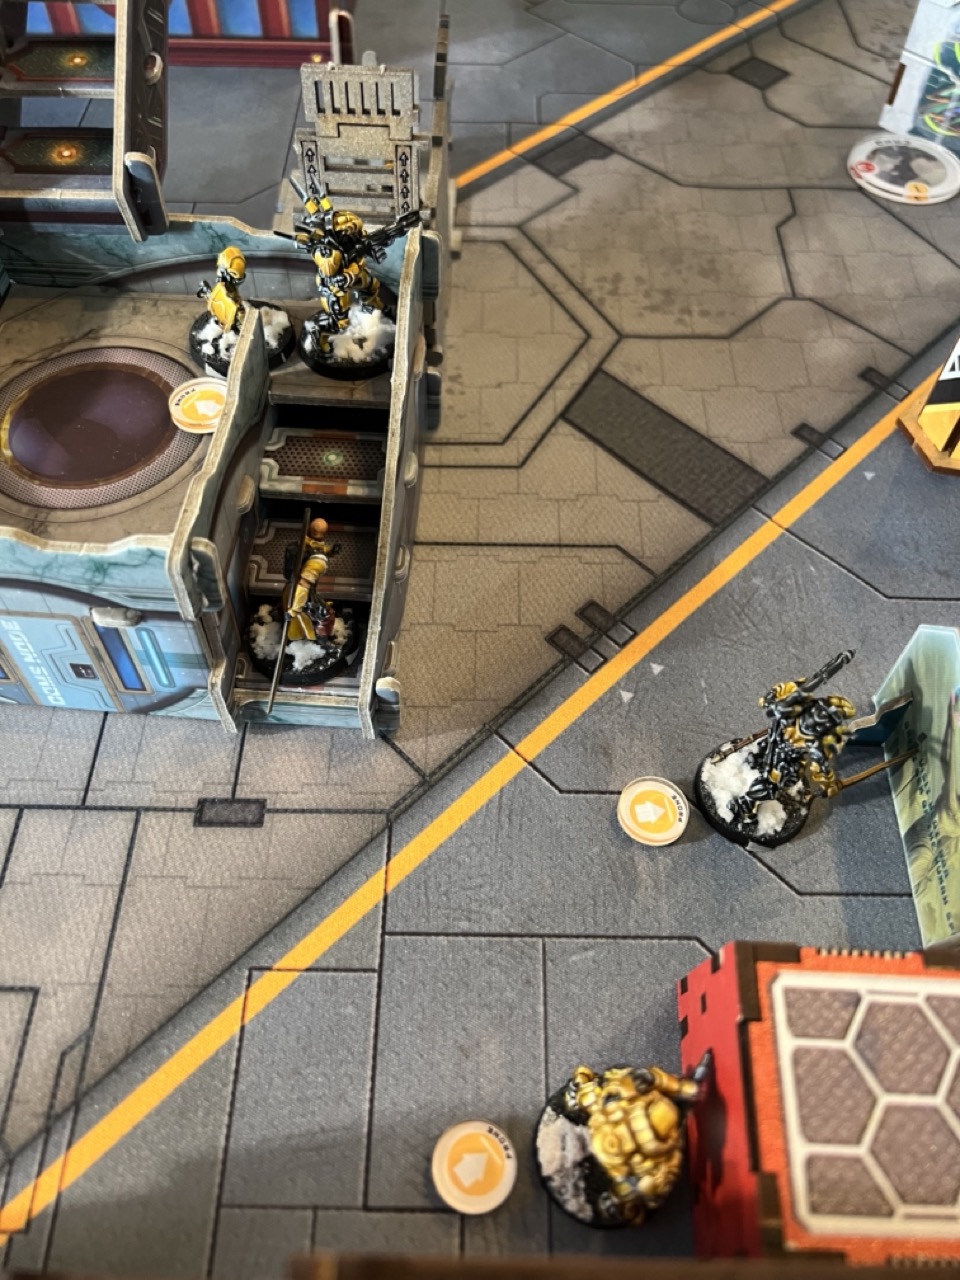
Deployed on the battlefield, I decided as Lieutenant to lead our Fireteam Core to a quick move towards our ennemy with the aim to: (1) take on some items or weapons into the supply depot (2) position our engineer close the ennemy AC2S.
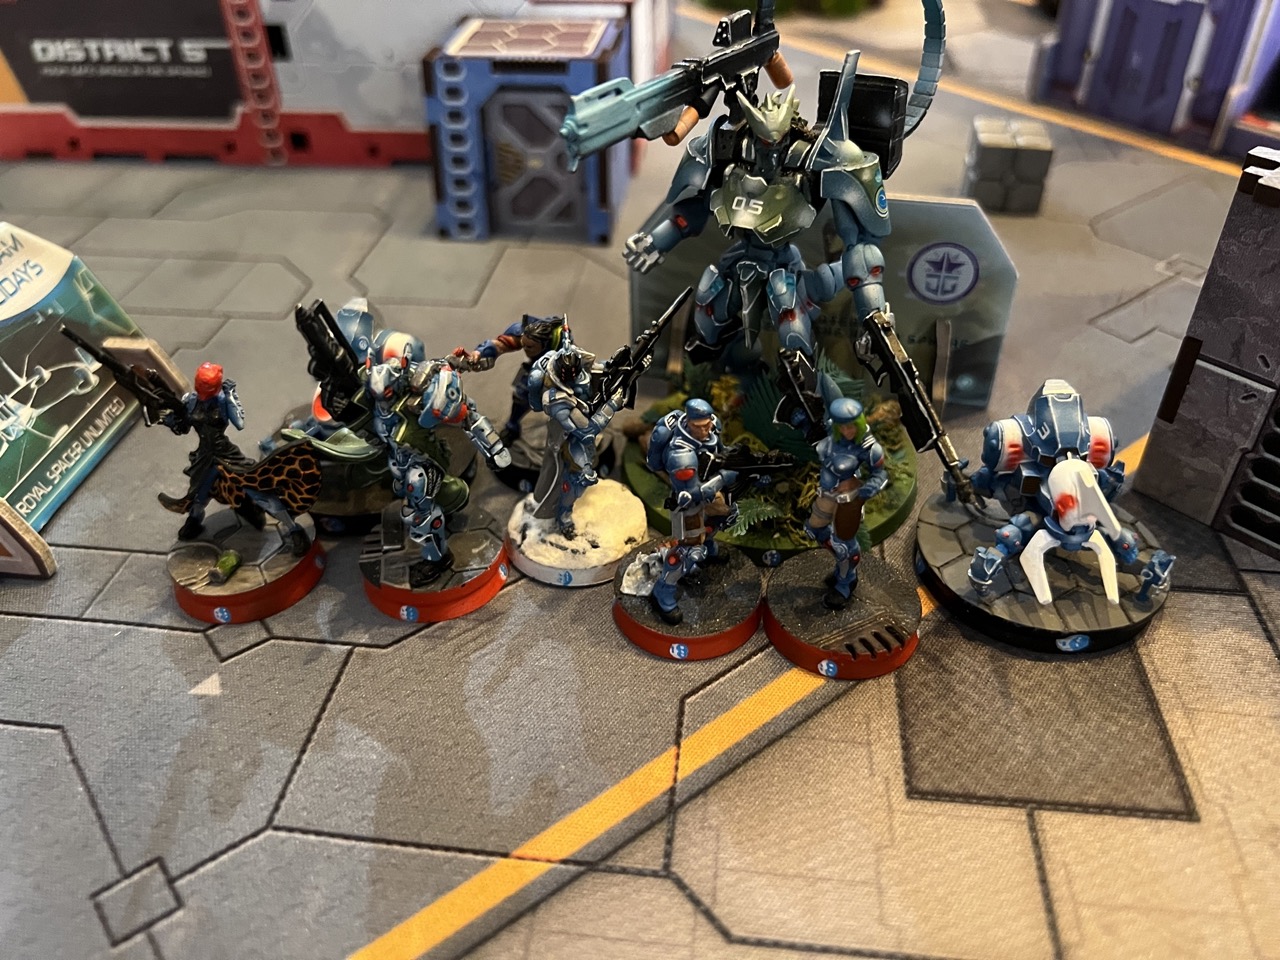
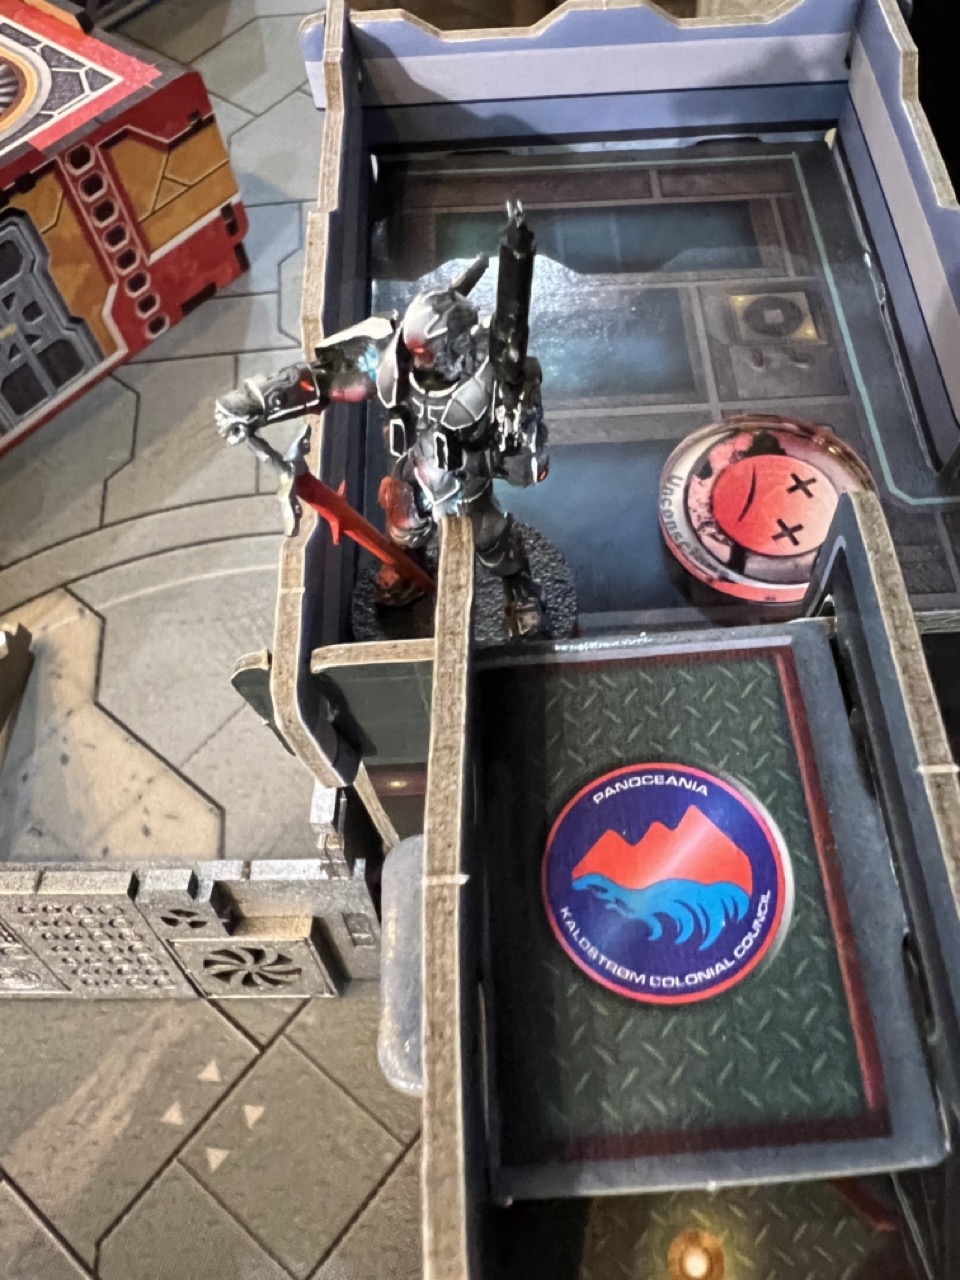
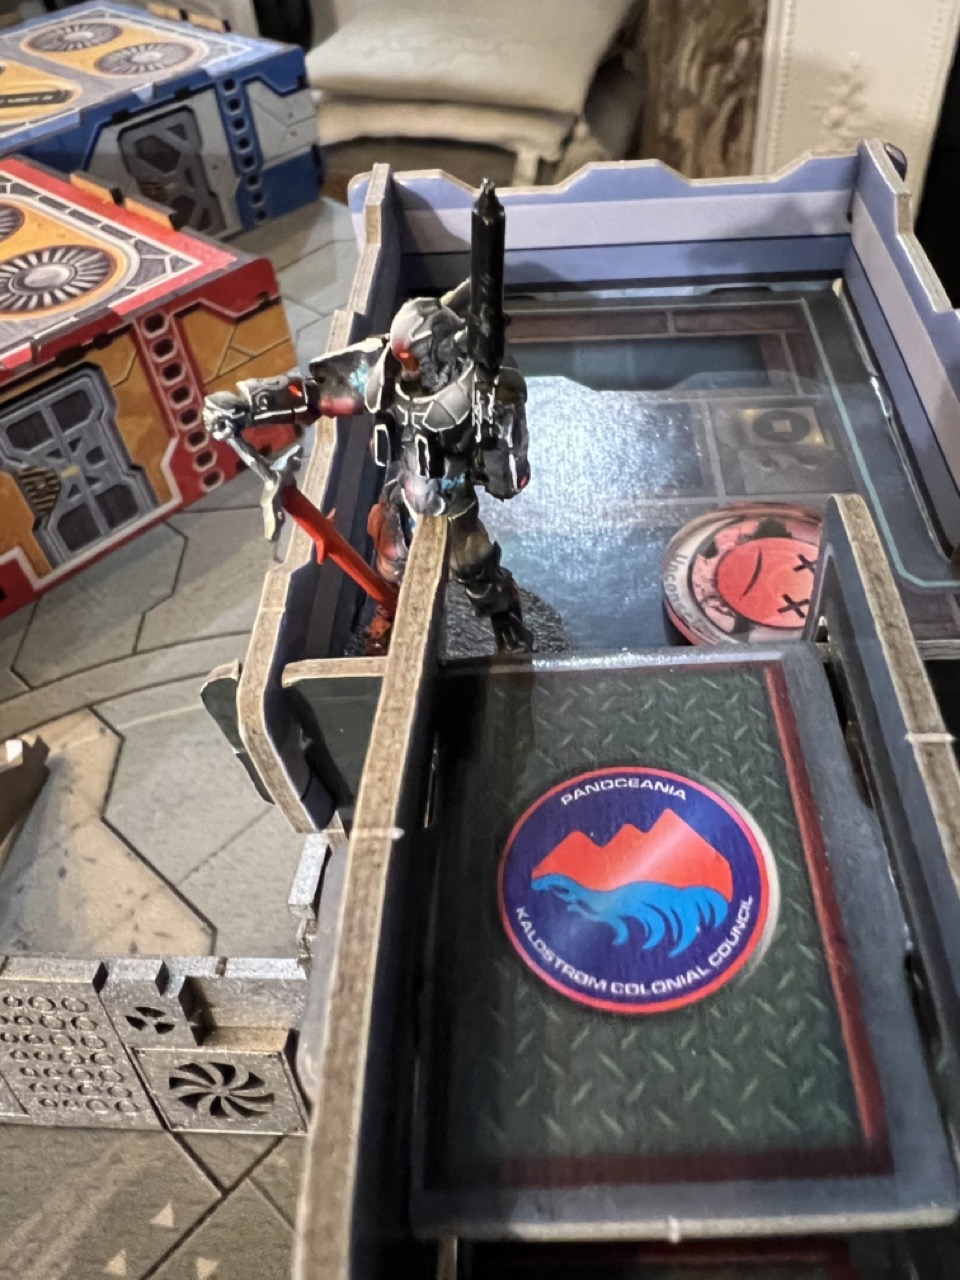
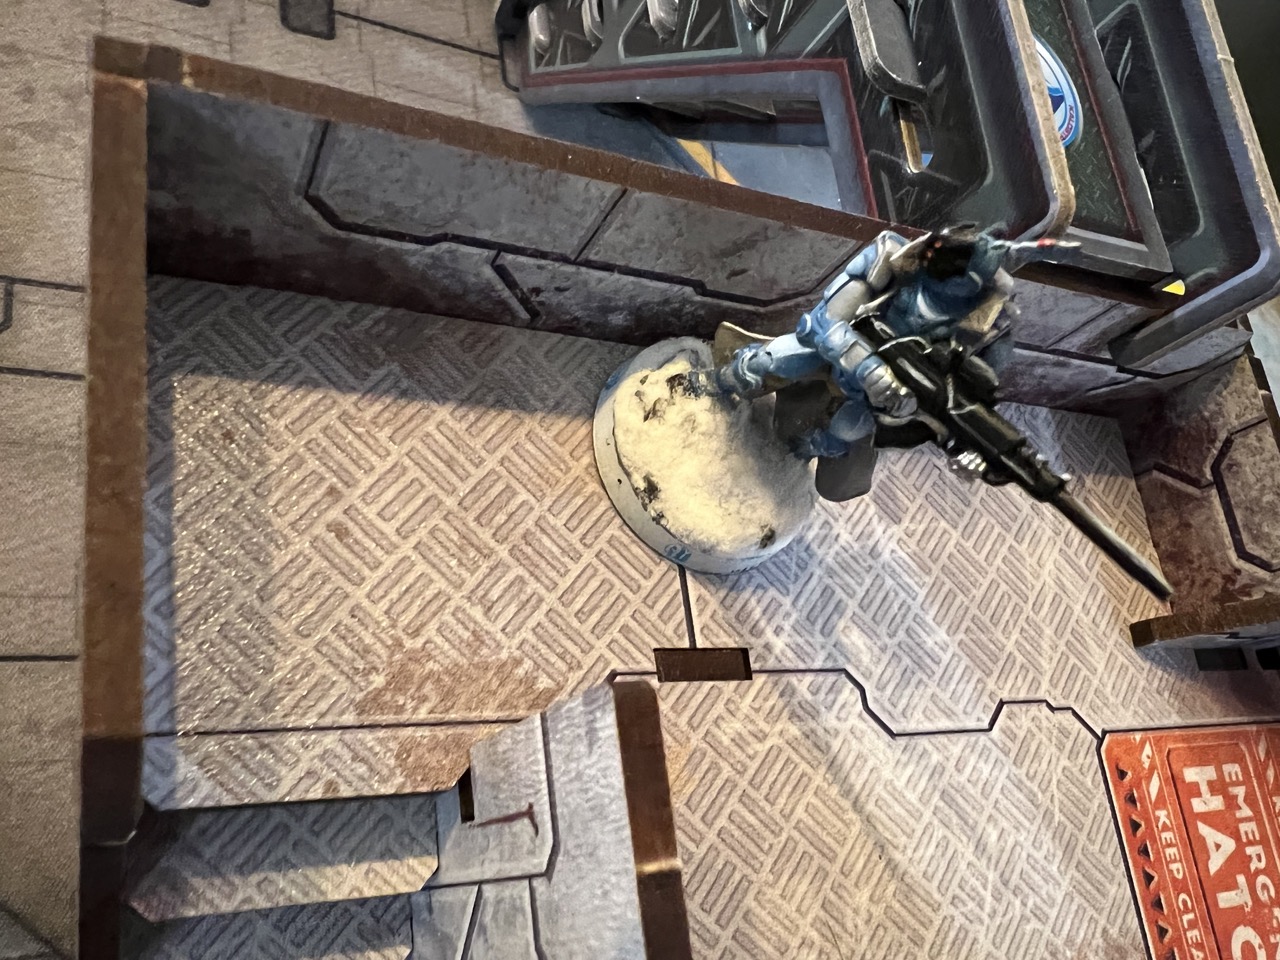
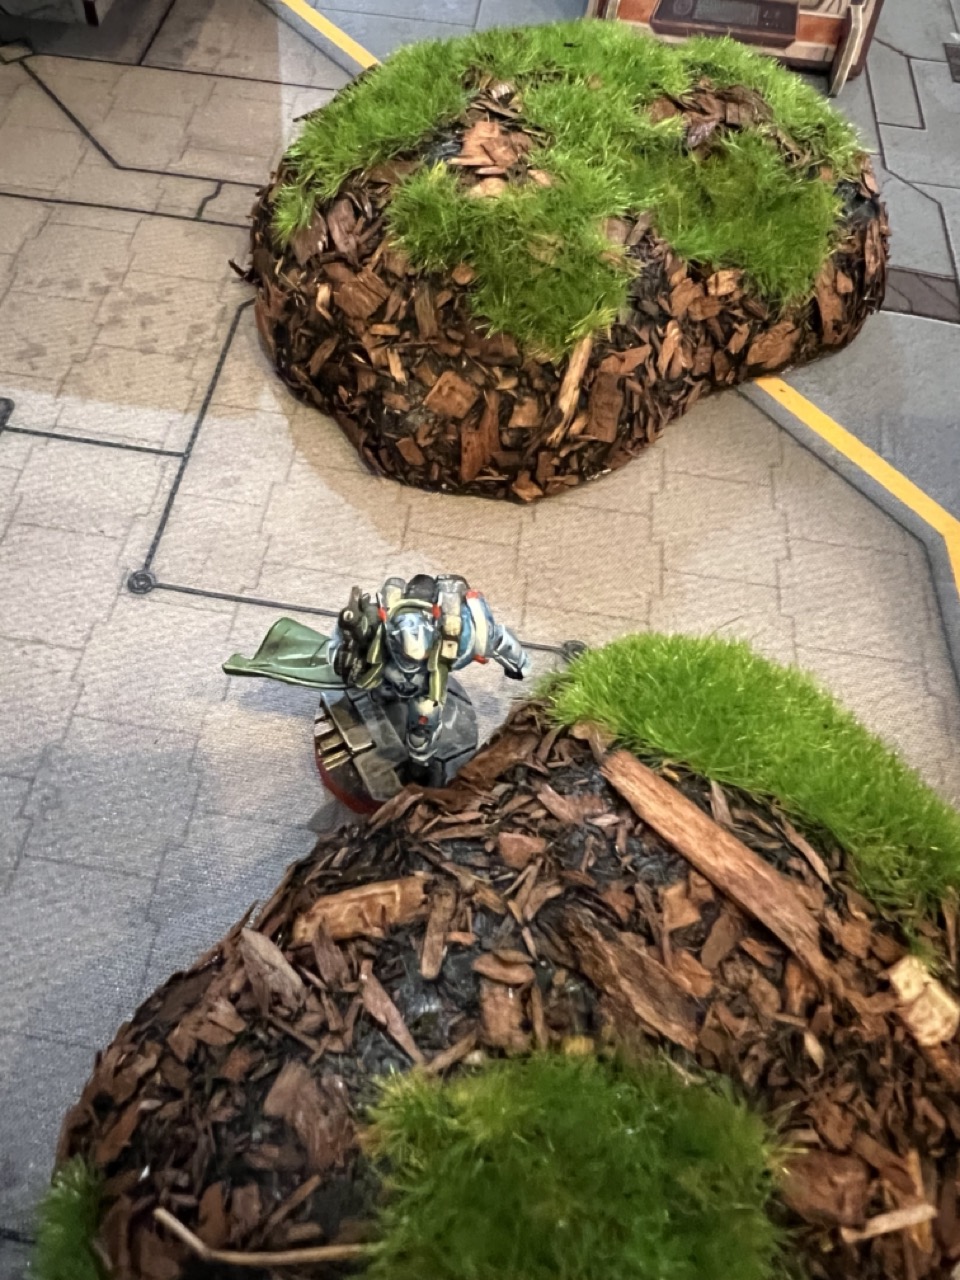
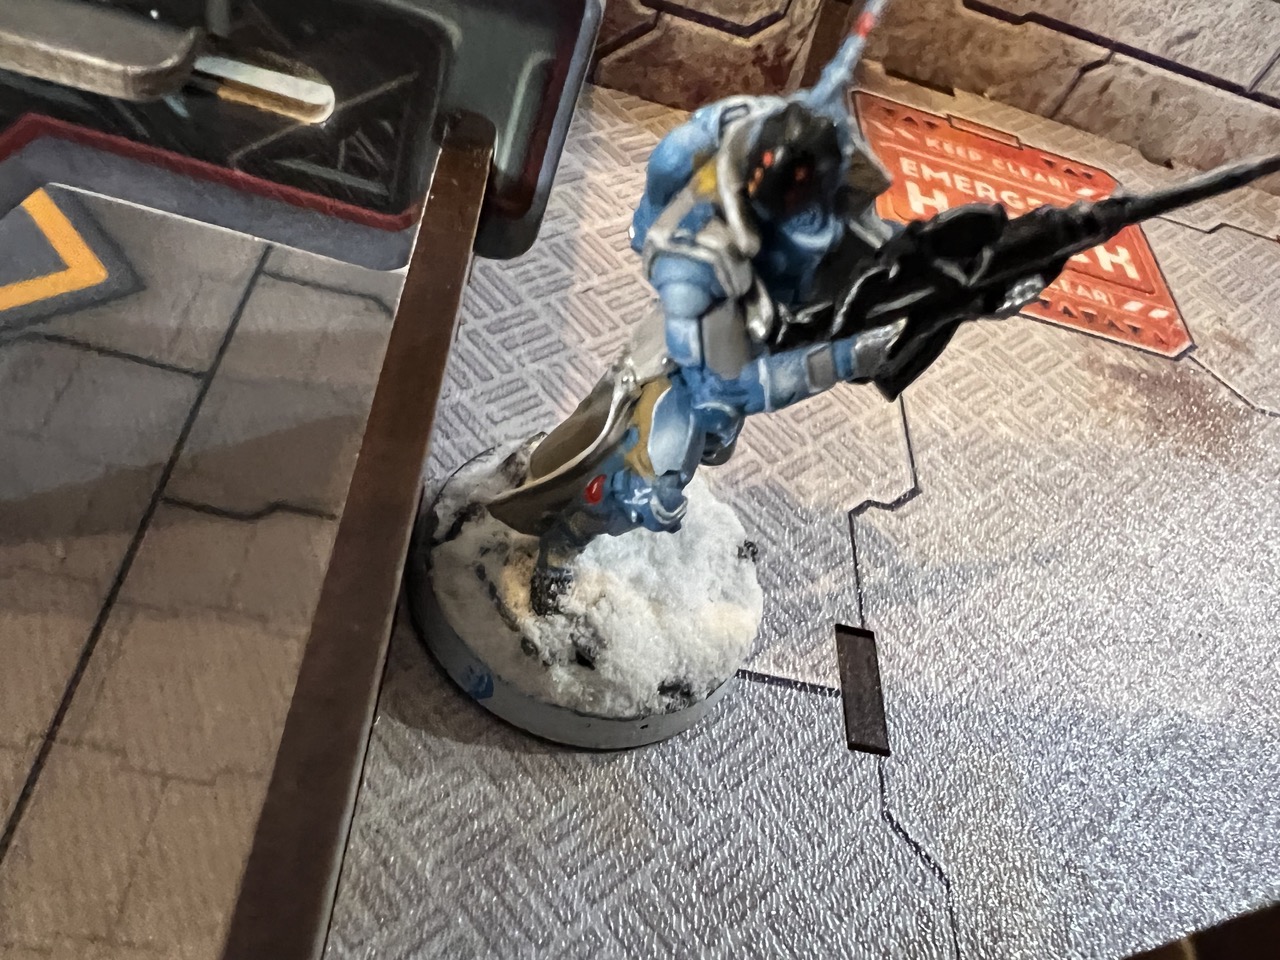
Going ahead was not easy, the Nisse sniper VMS 2 and the Aquila Guard VMS 3 were blocking any secure move with the Shaolin Monks smokes. Despite this, we decided to move forward, I ordered to our Shang Ji who’s carrying the Heavy Rocket Launcher to neutralize the ennemy… Vainly. The Nisse survived 3 shots. At the same time, the Fireteam was going through a sneaky line of fire and the Aquila missed his opportunity but… The worst was suddenly appearing in front of us, on a building, a Swiss Guard.
Luckily, the Swiss Guard missed his target and the FT neutralized him immediately with a rocket. It was promising but not enough, the combination of the Aquila and the Nisse were complicated and I was thinking of the Dragoes close to us.
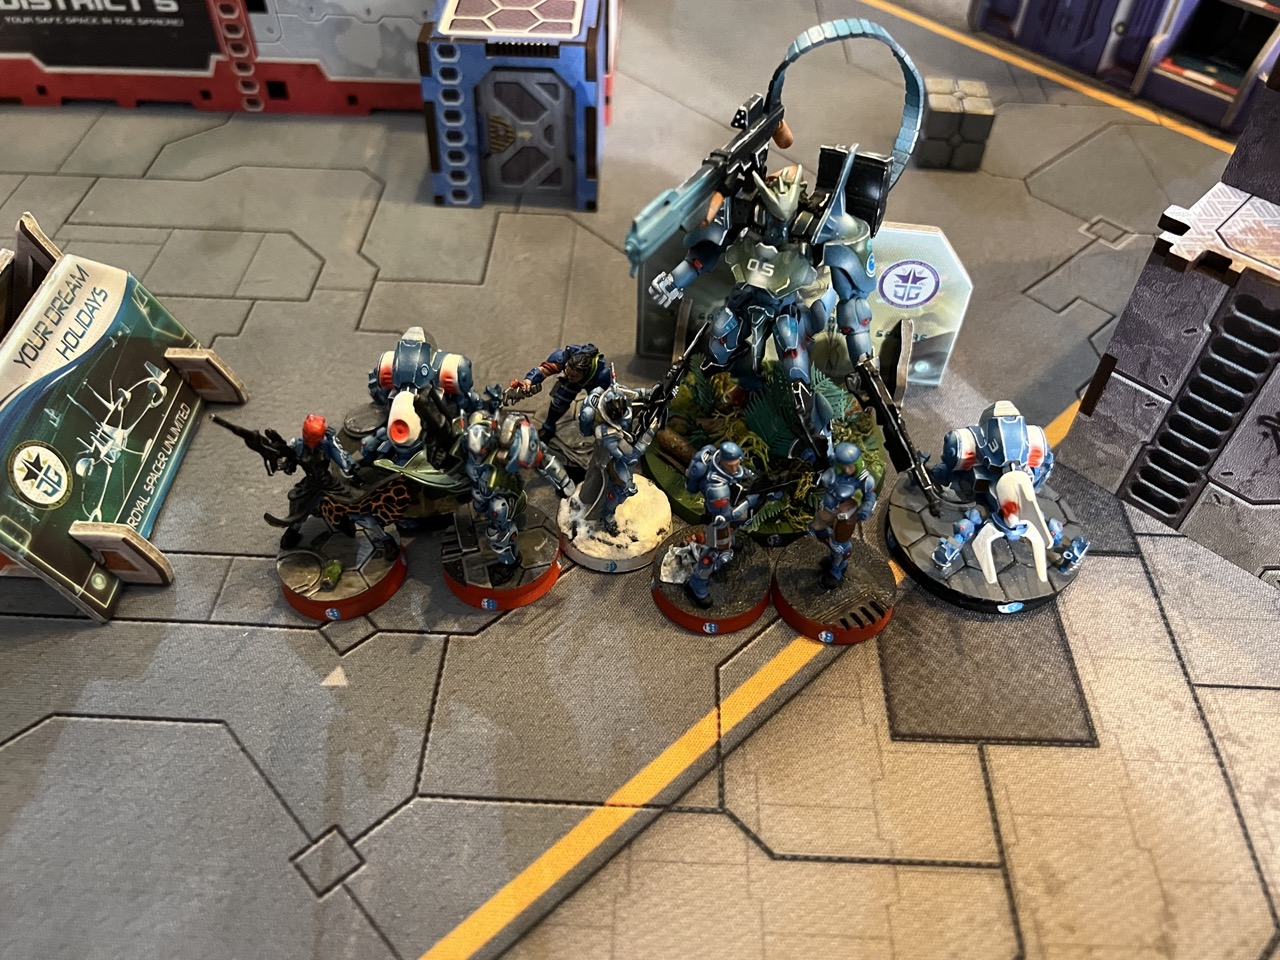
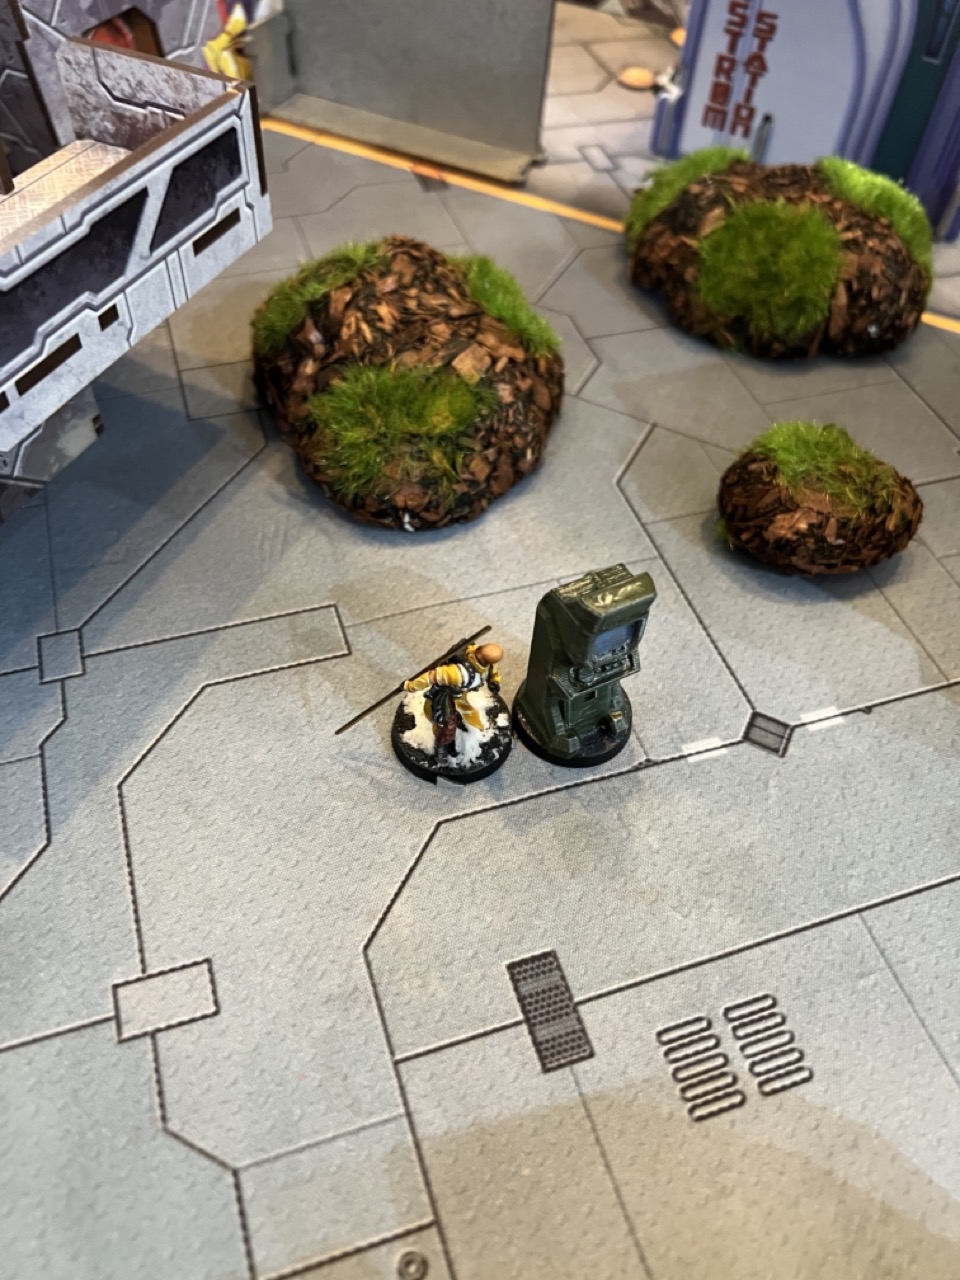
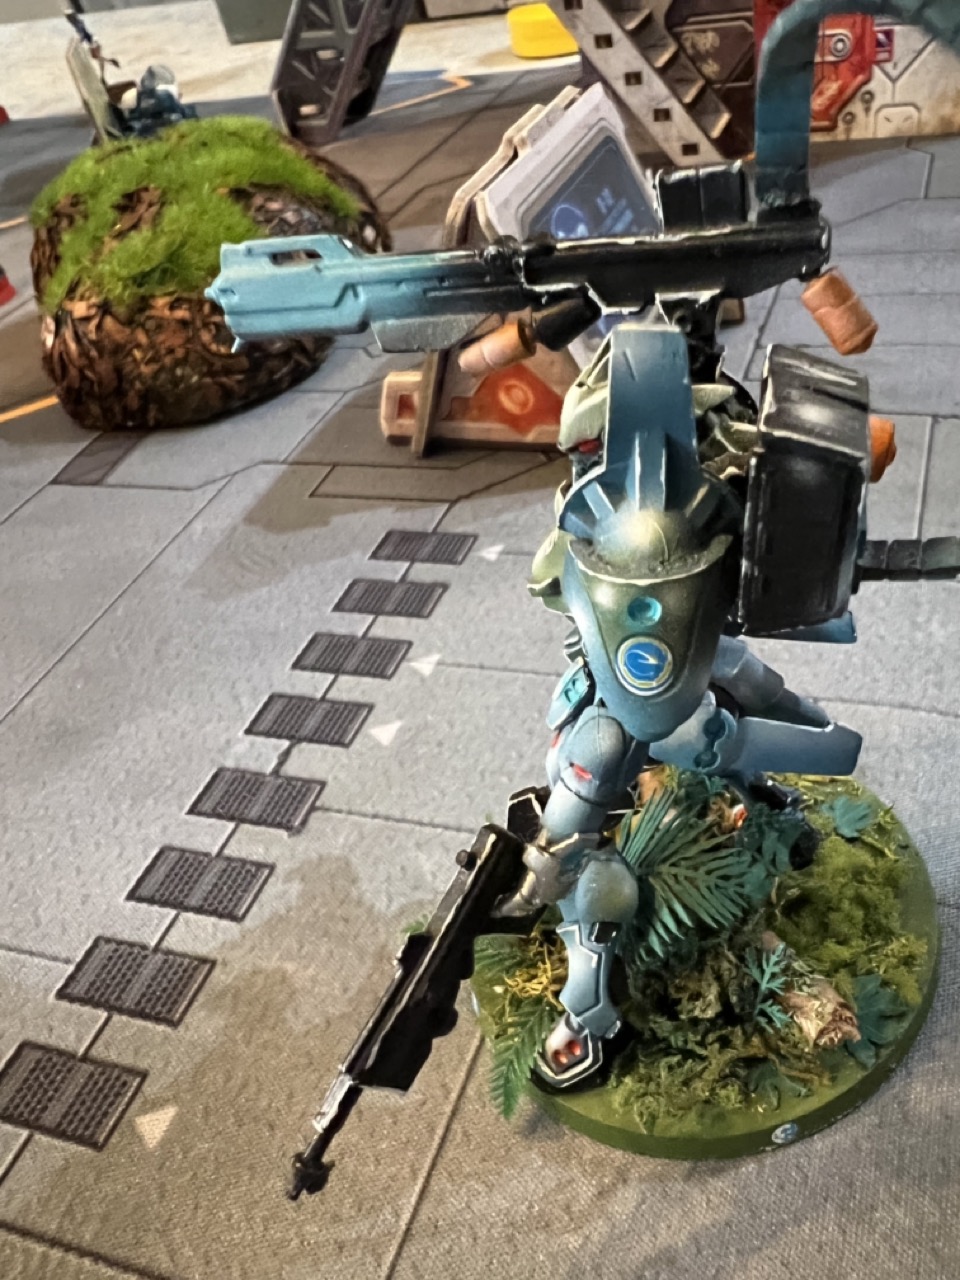
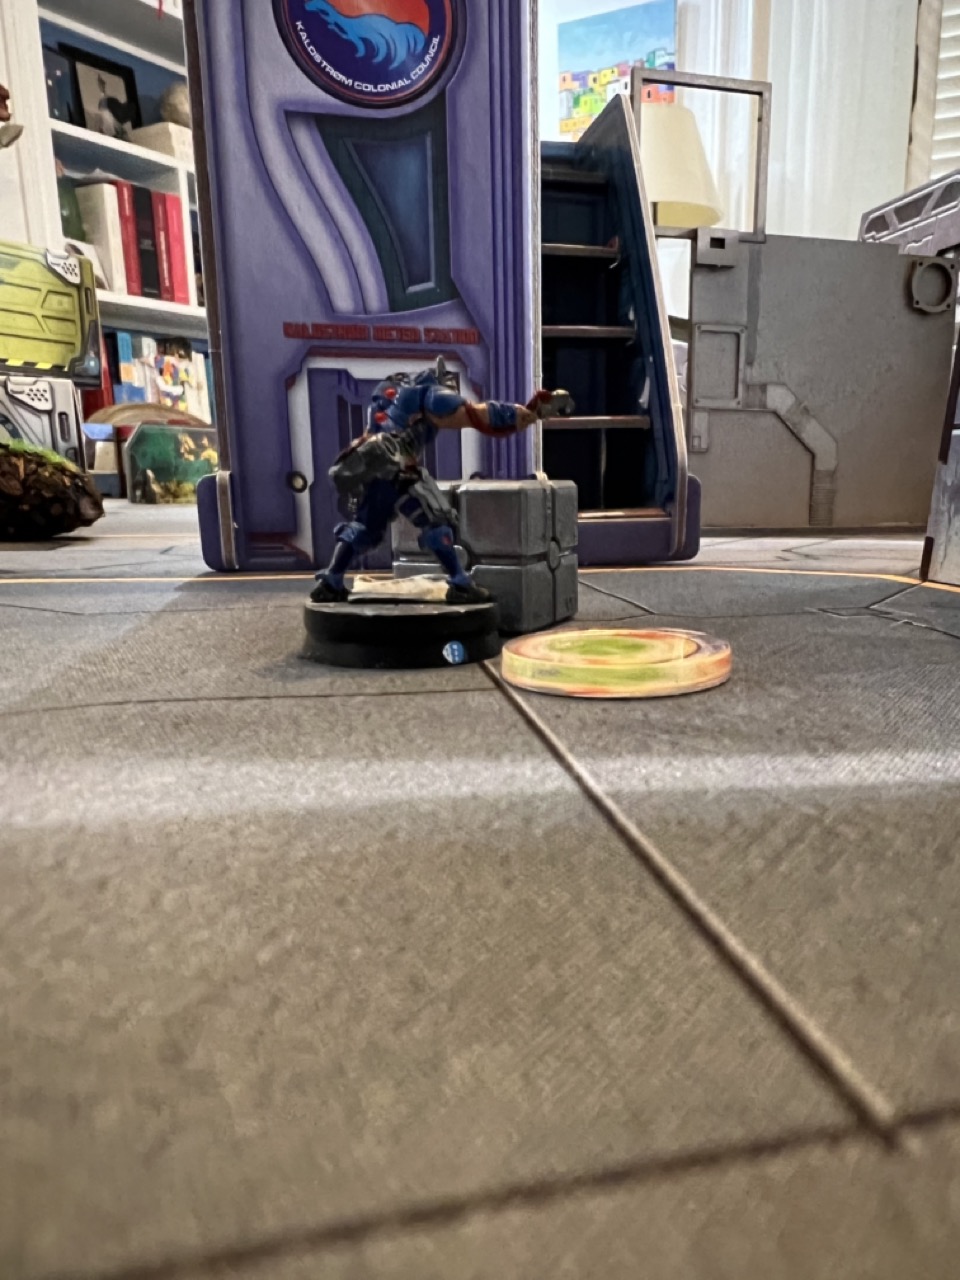
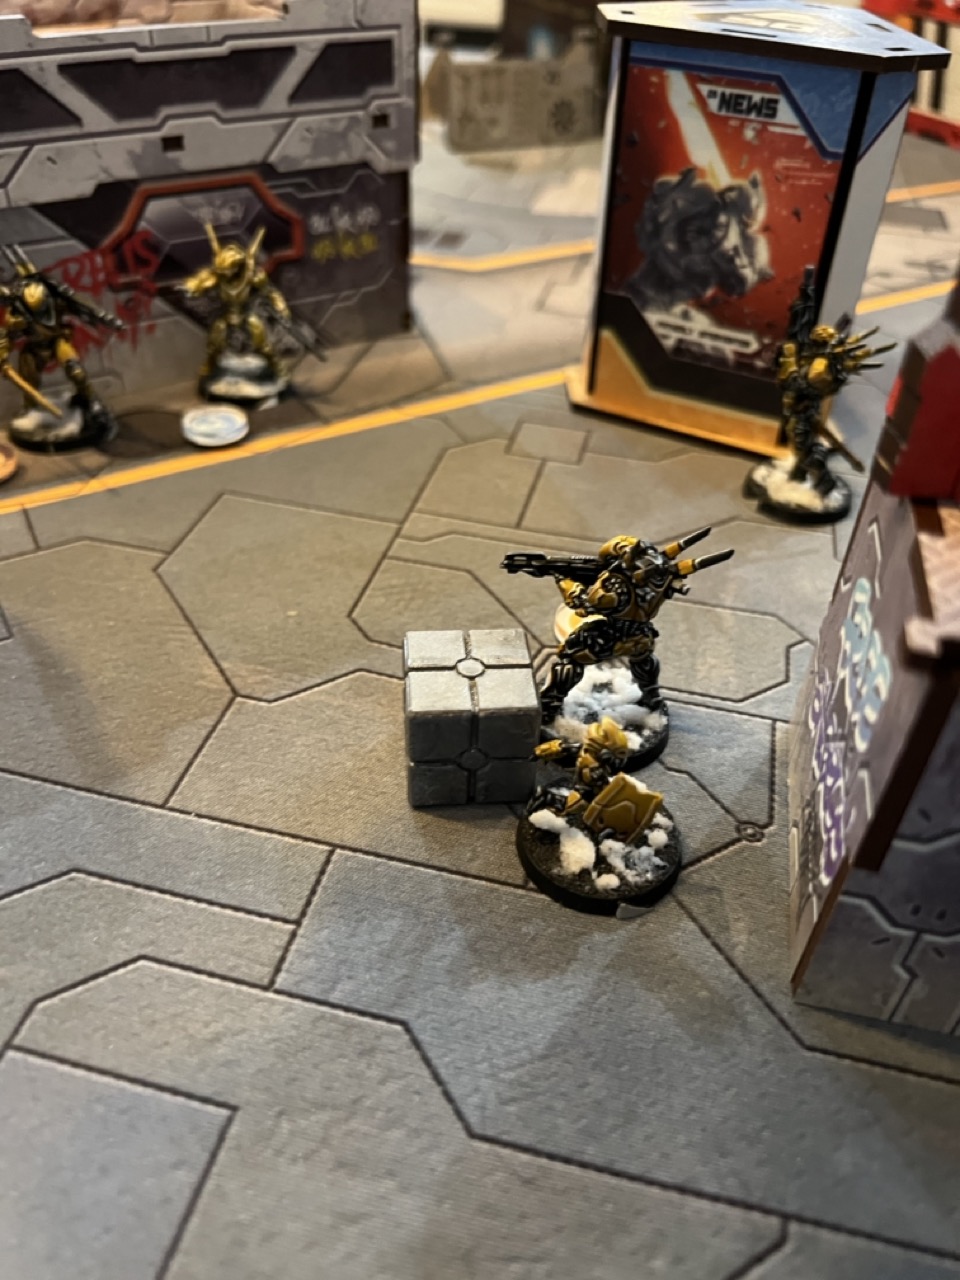
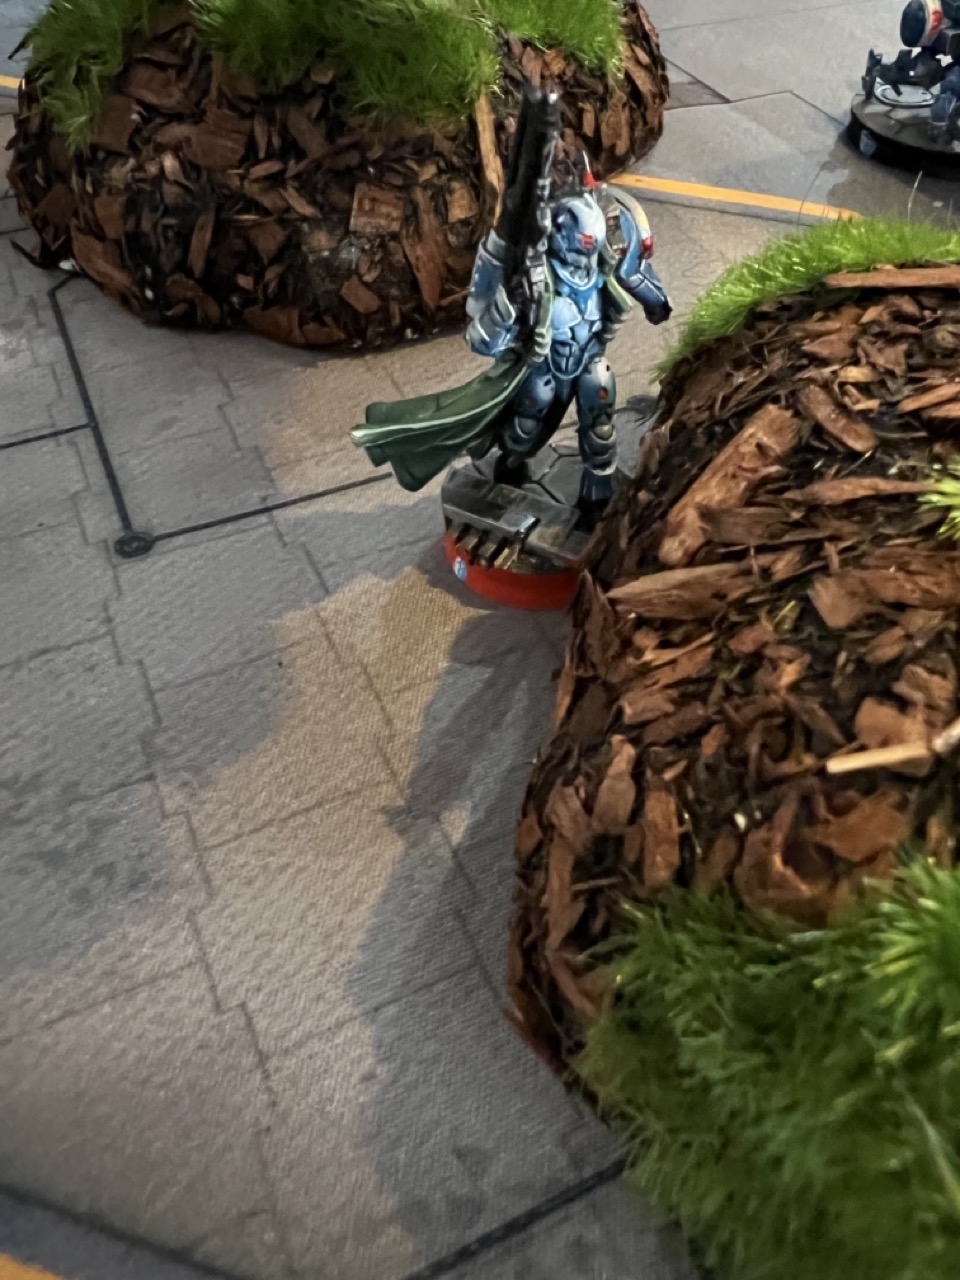
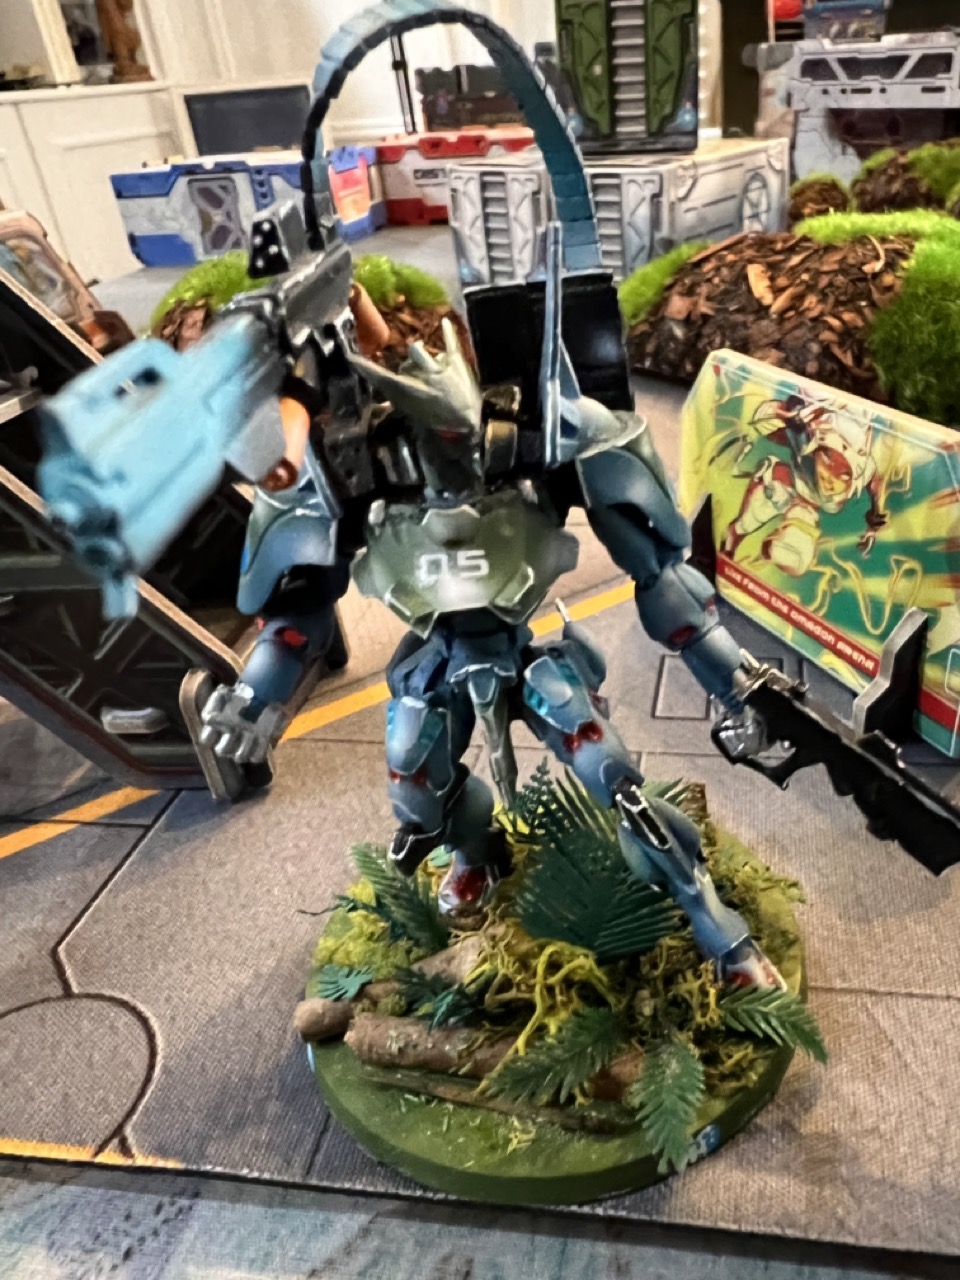
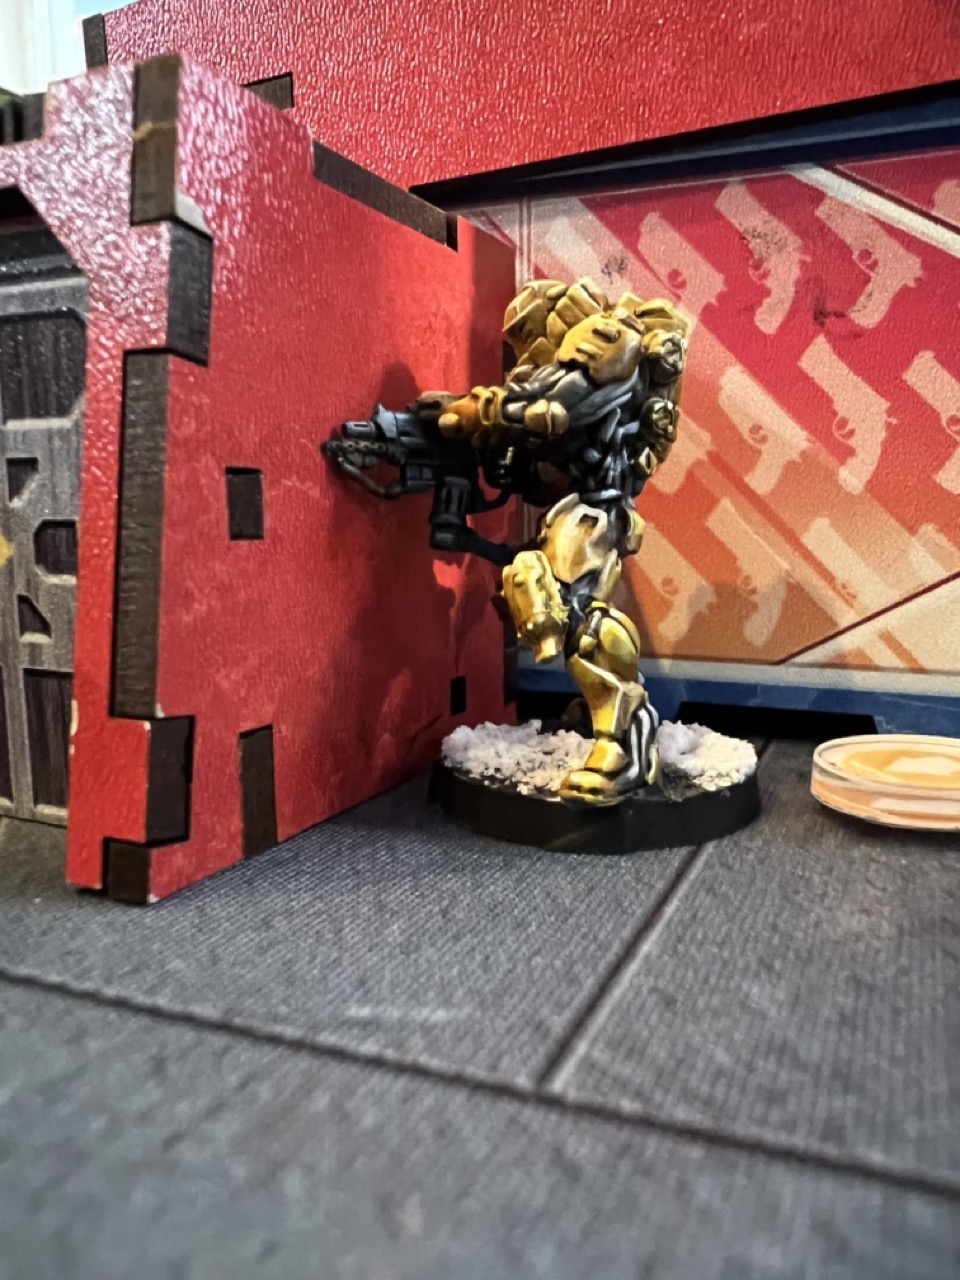
The PanOcenian’s reaction has been quite prudent. Knowing his position quite good to keep our FT stuck, the TAG left his protected area in order to hit troopers from the Fireteam. This opposition has been devastating for us because we lost our Jujak Engineer who was in charge of destroy the AC2S. In reaction, to stop this potential slaughter, I ordered to the Hundun Ambush Unit to appear in order to threatened the ennemy. Once our shot of Heavy Rocket Launcher hasn’t been impacting enough the armoured of our ennemis. In all, almost 8 rockets have been launched during the opposition, we killed only a Fusilier engineer, the Swiss Guard and the Aquila Guard troopers. Maybe we should challenged the quality of our ammunitions for this material.
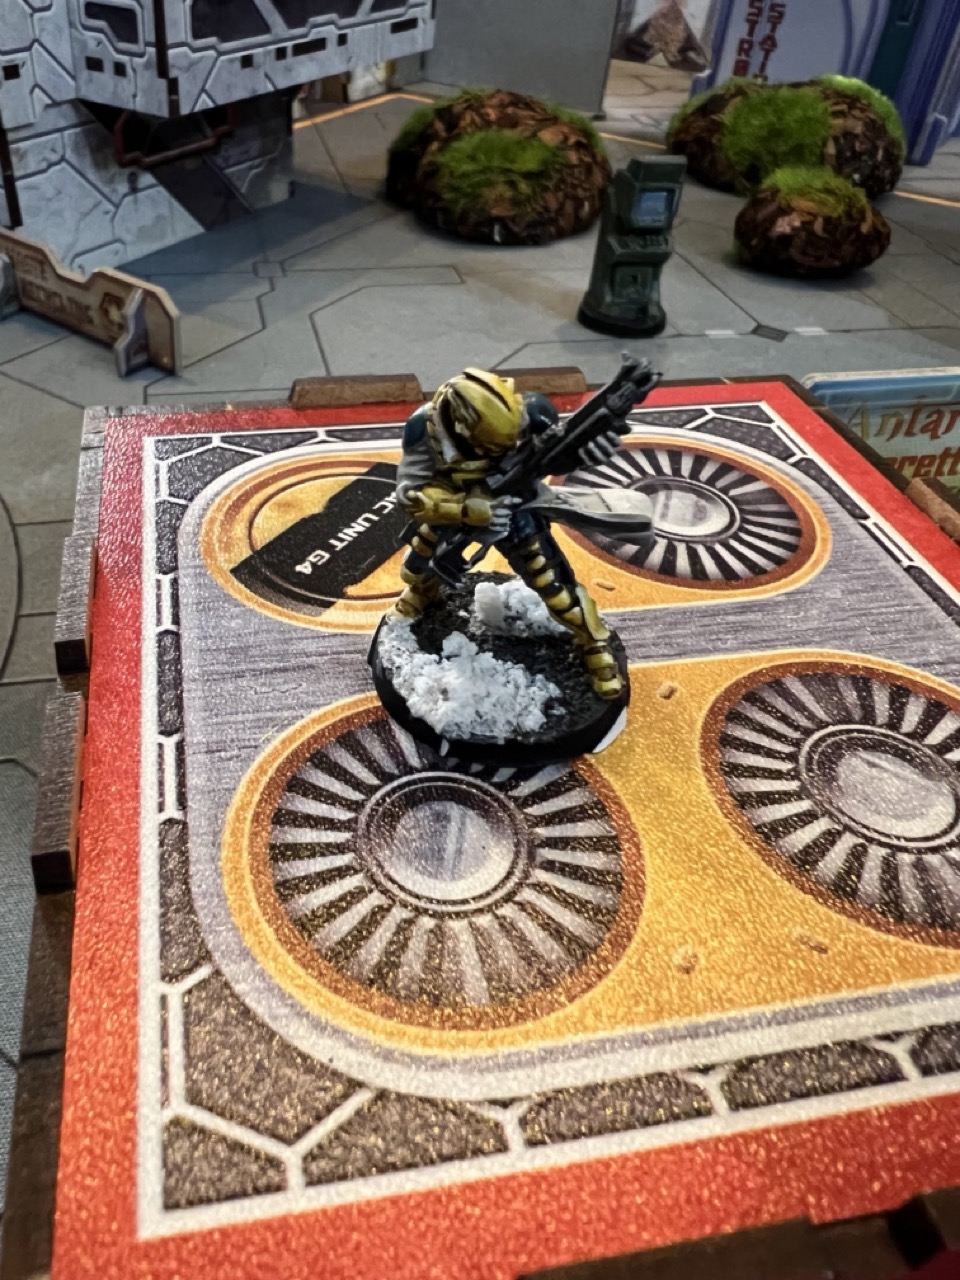
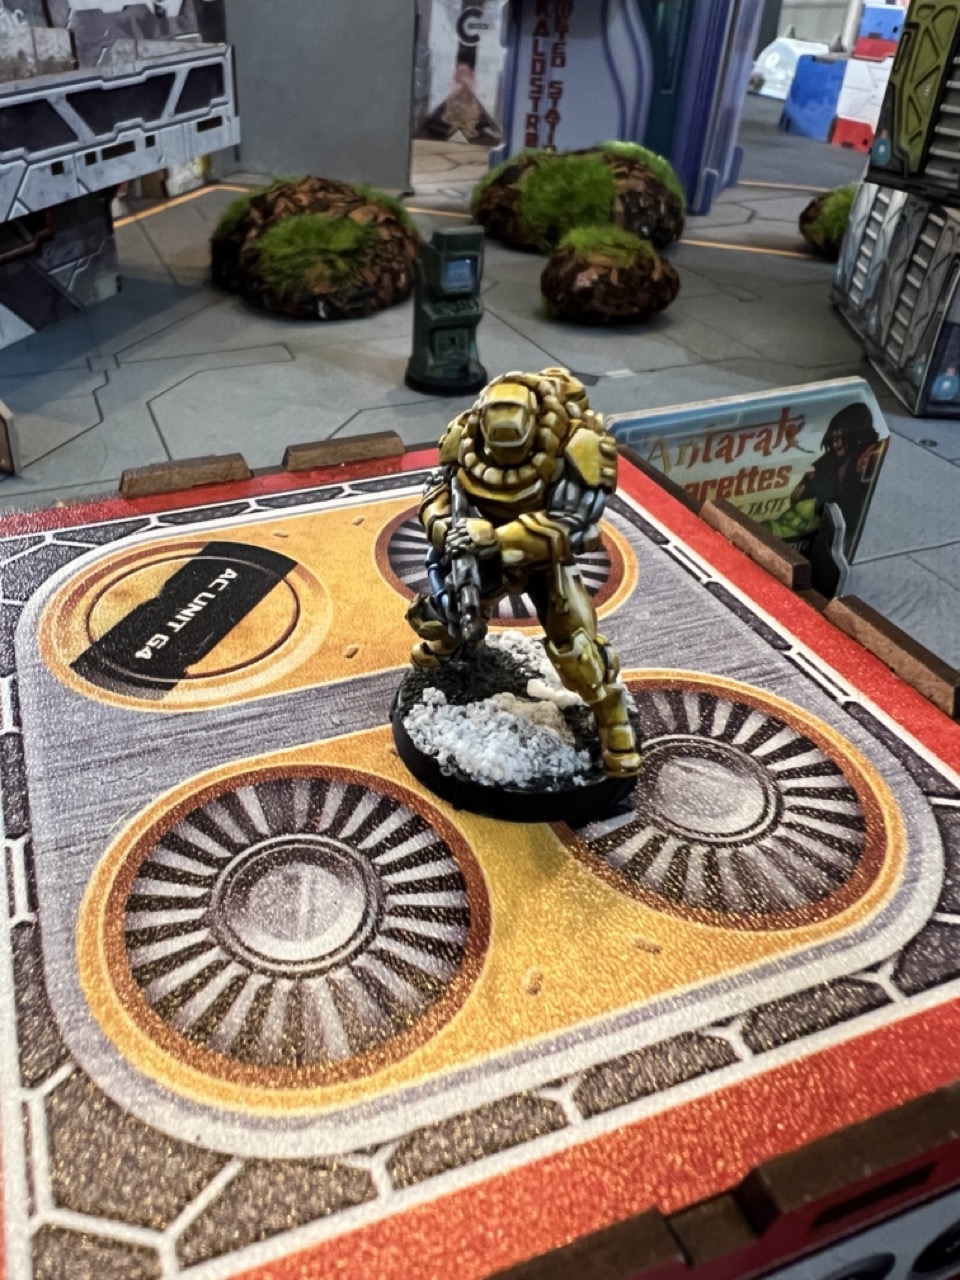
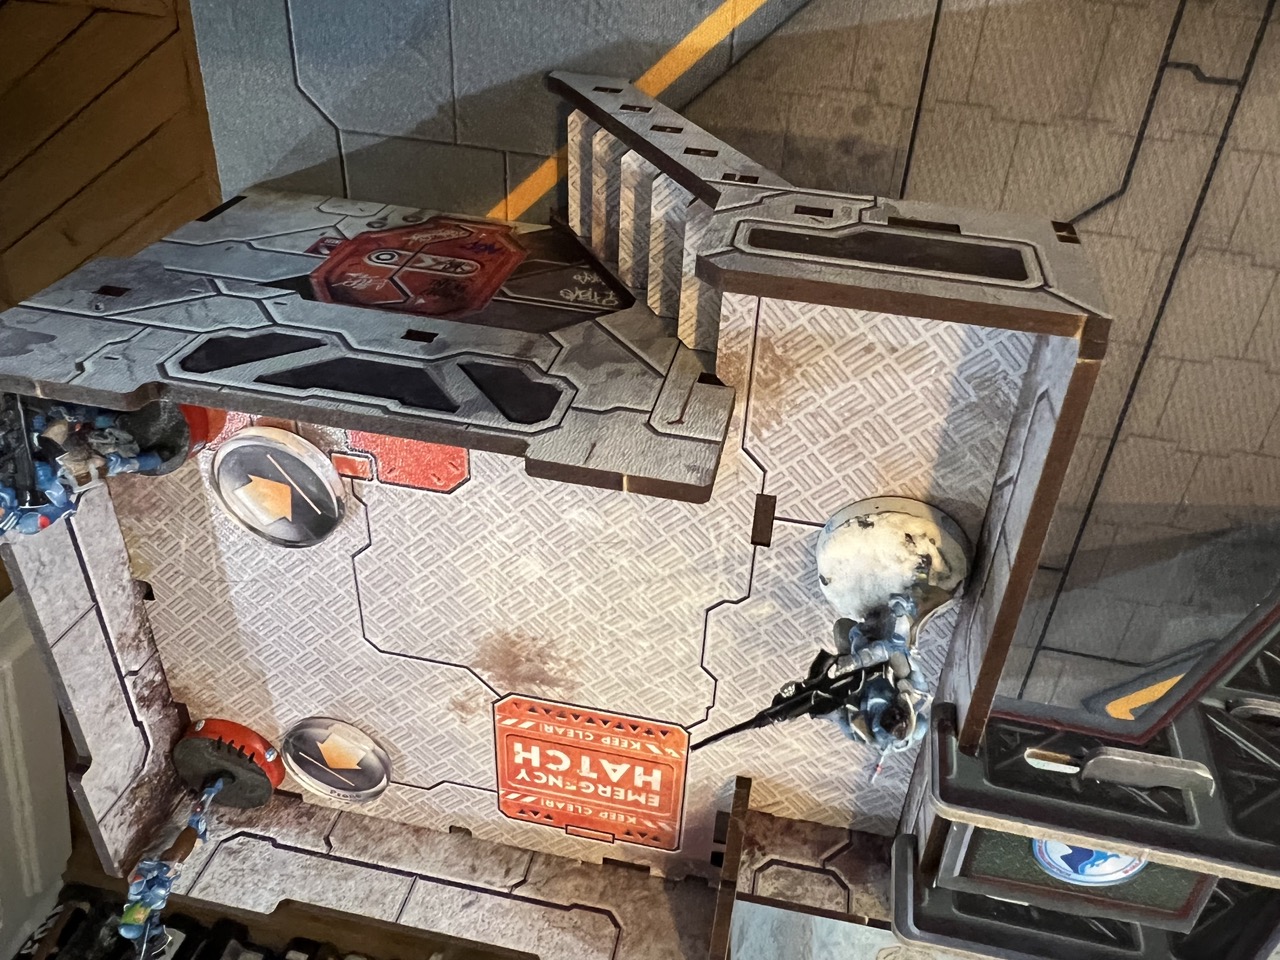
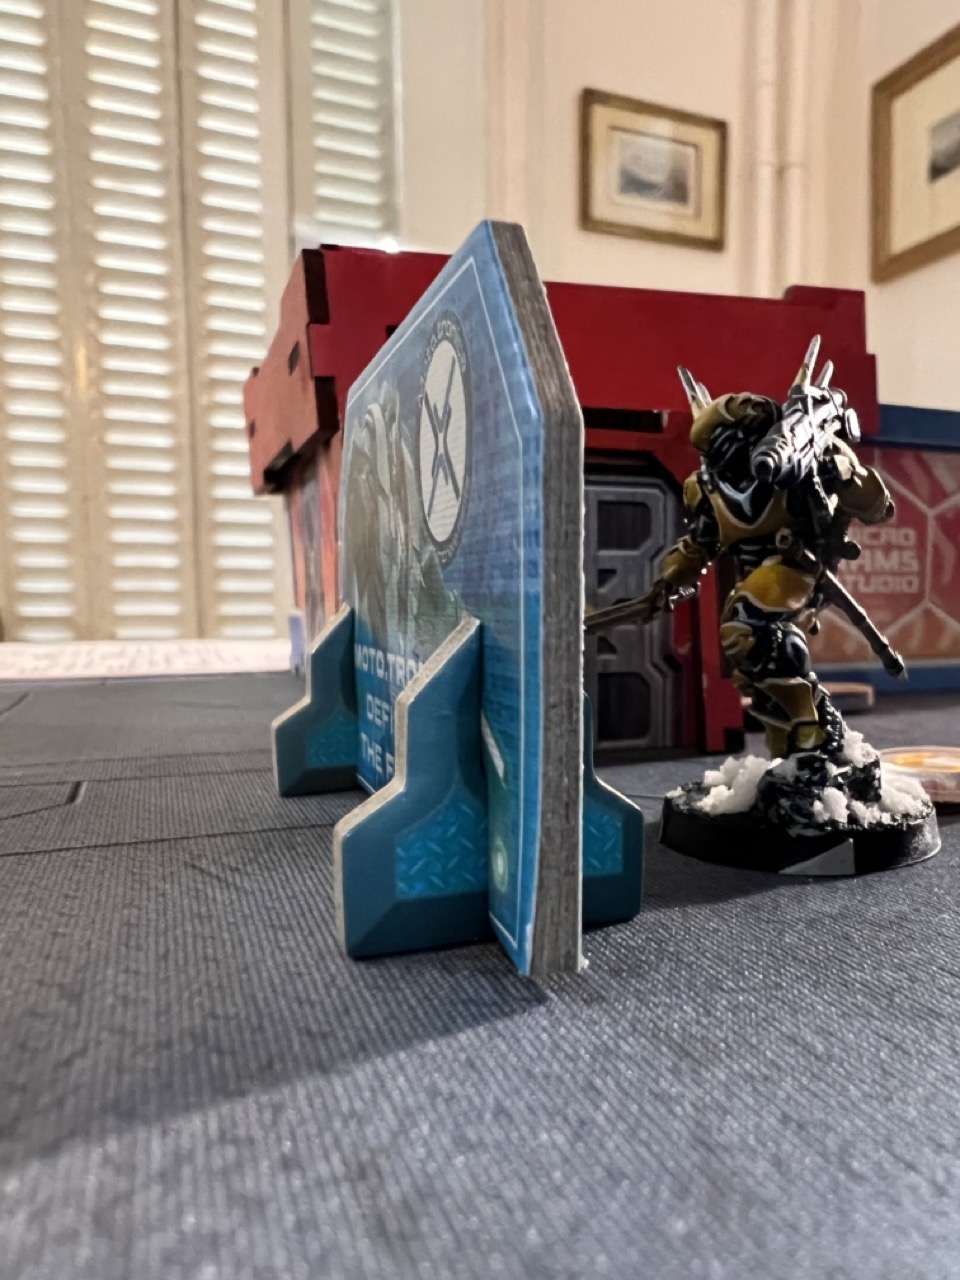
Without our Engineer, I knew that our main priority for the mission was almost over. I decided to anticipate the next moves of the Pano troopers in order to damage control the situation. Our FT made more supplies to save an objective, our classified mission was not possible to achieved without Engineer as well, so I ordered a withdrawal movement in order to protect our AC2S.
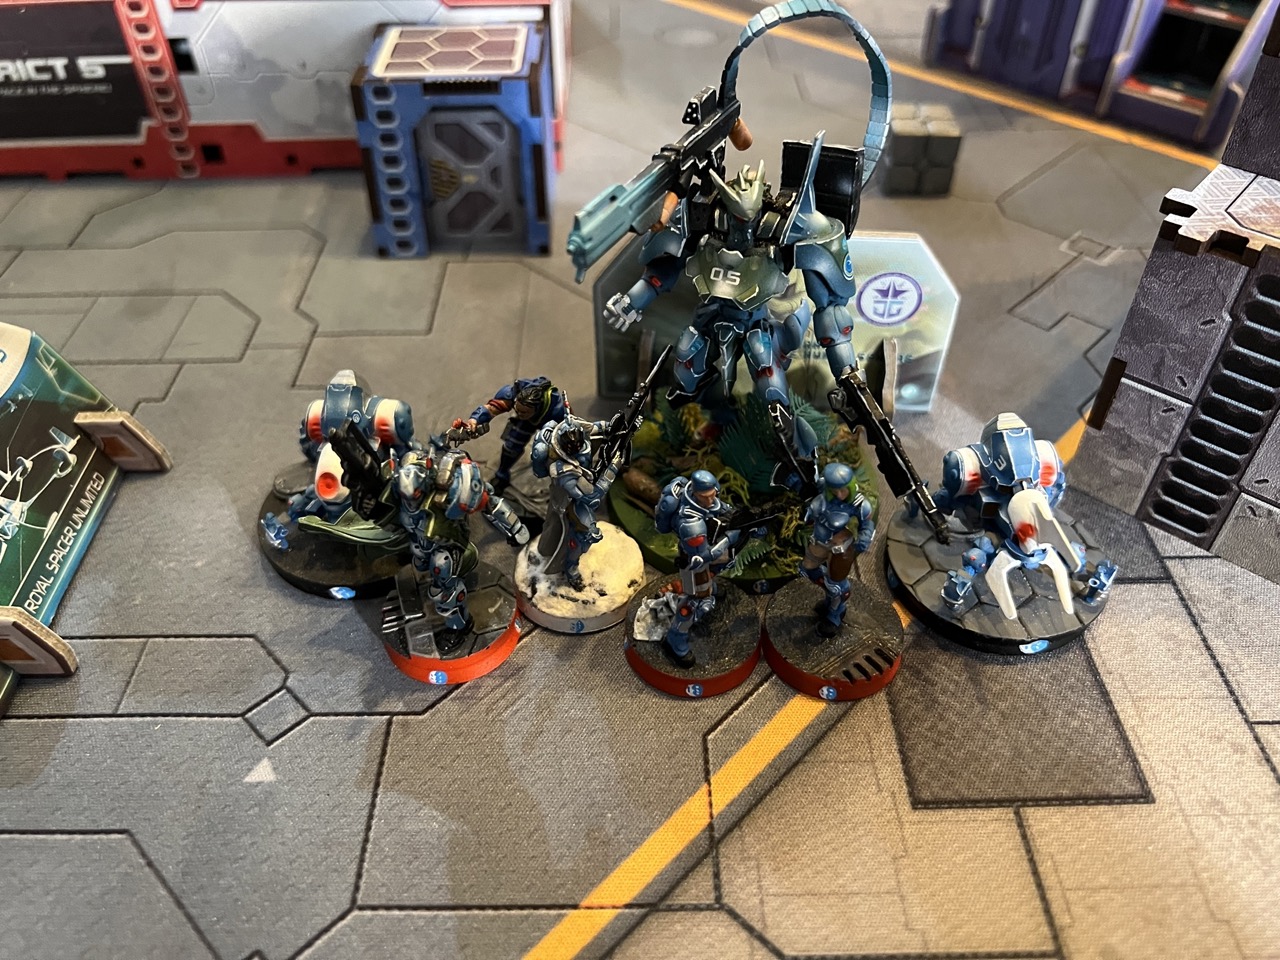
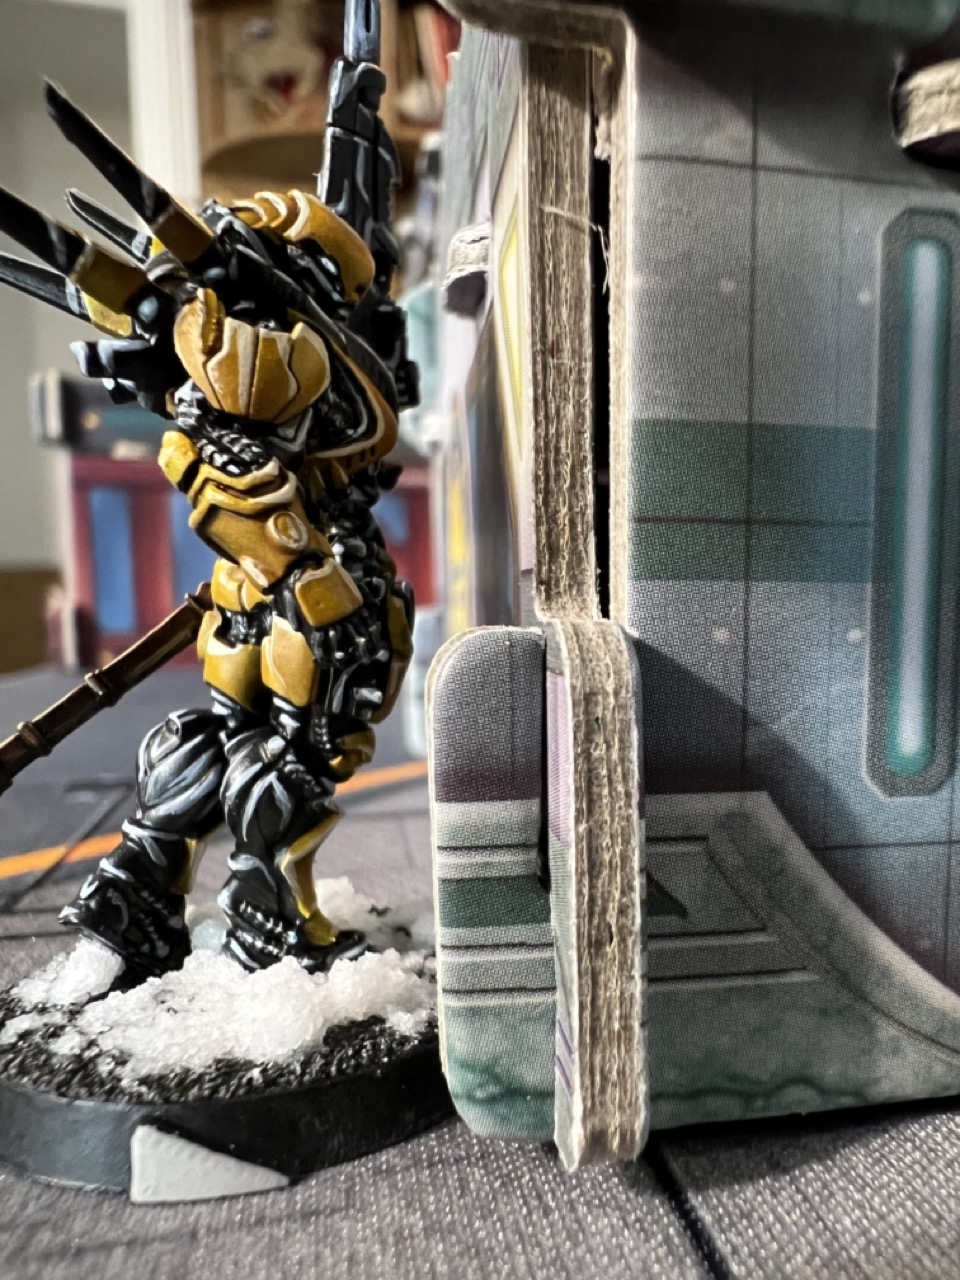
It was the best choice, a draw fight would have been possible but unfortunately in an epic move from his engineer, he has been able to damage slightly the structure of our AC2S, he has been immediately killed by a rocket launcher missile but no one on our side was able to repair it on time.
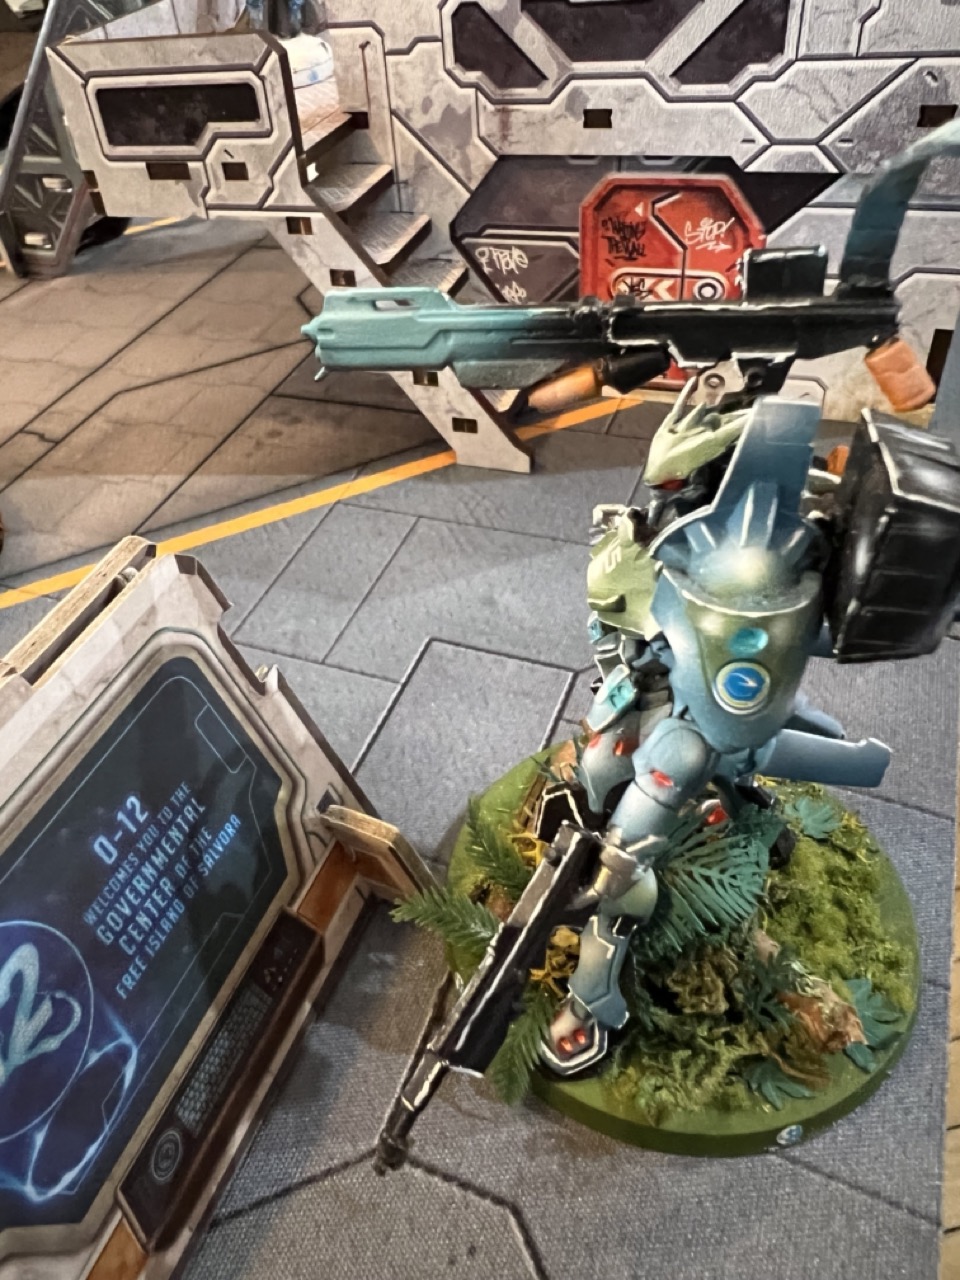
This conflict has been highly violent, the fire power has been incredible and the tension very high on the battlefield. The White Banner has been blooded and the Pano army won the opposition on a detail, almost by chance. It was a skirmiche, not the war, the White Banner will clean up that affront.

Battle Report Author


Army Lists Used In This Battle
Recommend Commander For Commendation
Share this battle with friends
DunanWins

Really cool report! The State Empire will endure.
Nice batrep, keep it up!
And yes, nice minis does usually result in more pictures 🙂 Who doesn’t want to display something beautiful that they have made?
Nice with a lot of pictures and with a detailed write-up. I would recommend next time if possible to throw some smalle sections of text under each picture detailing what we are seeing under the “add more” option, but well done indeed. A valiant effort, even if a loss. Keep up the good work for the State Empire!
Anyway, when you have nice minis, you want to share it!
Yes, maybe too much, next time I’ll try the video!
Wow that was a lot of pictures.