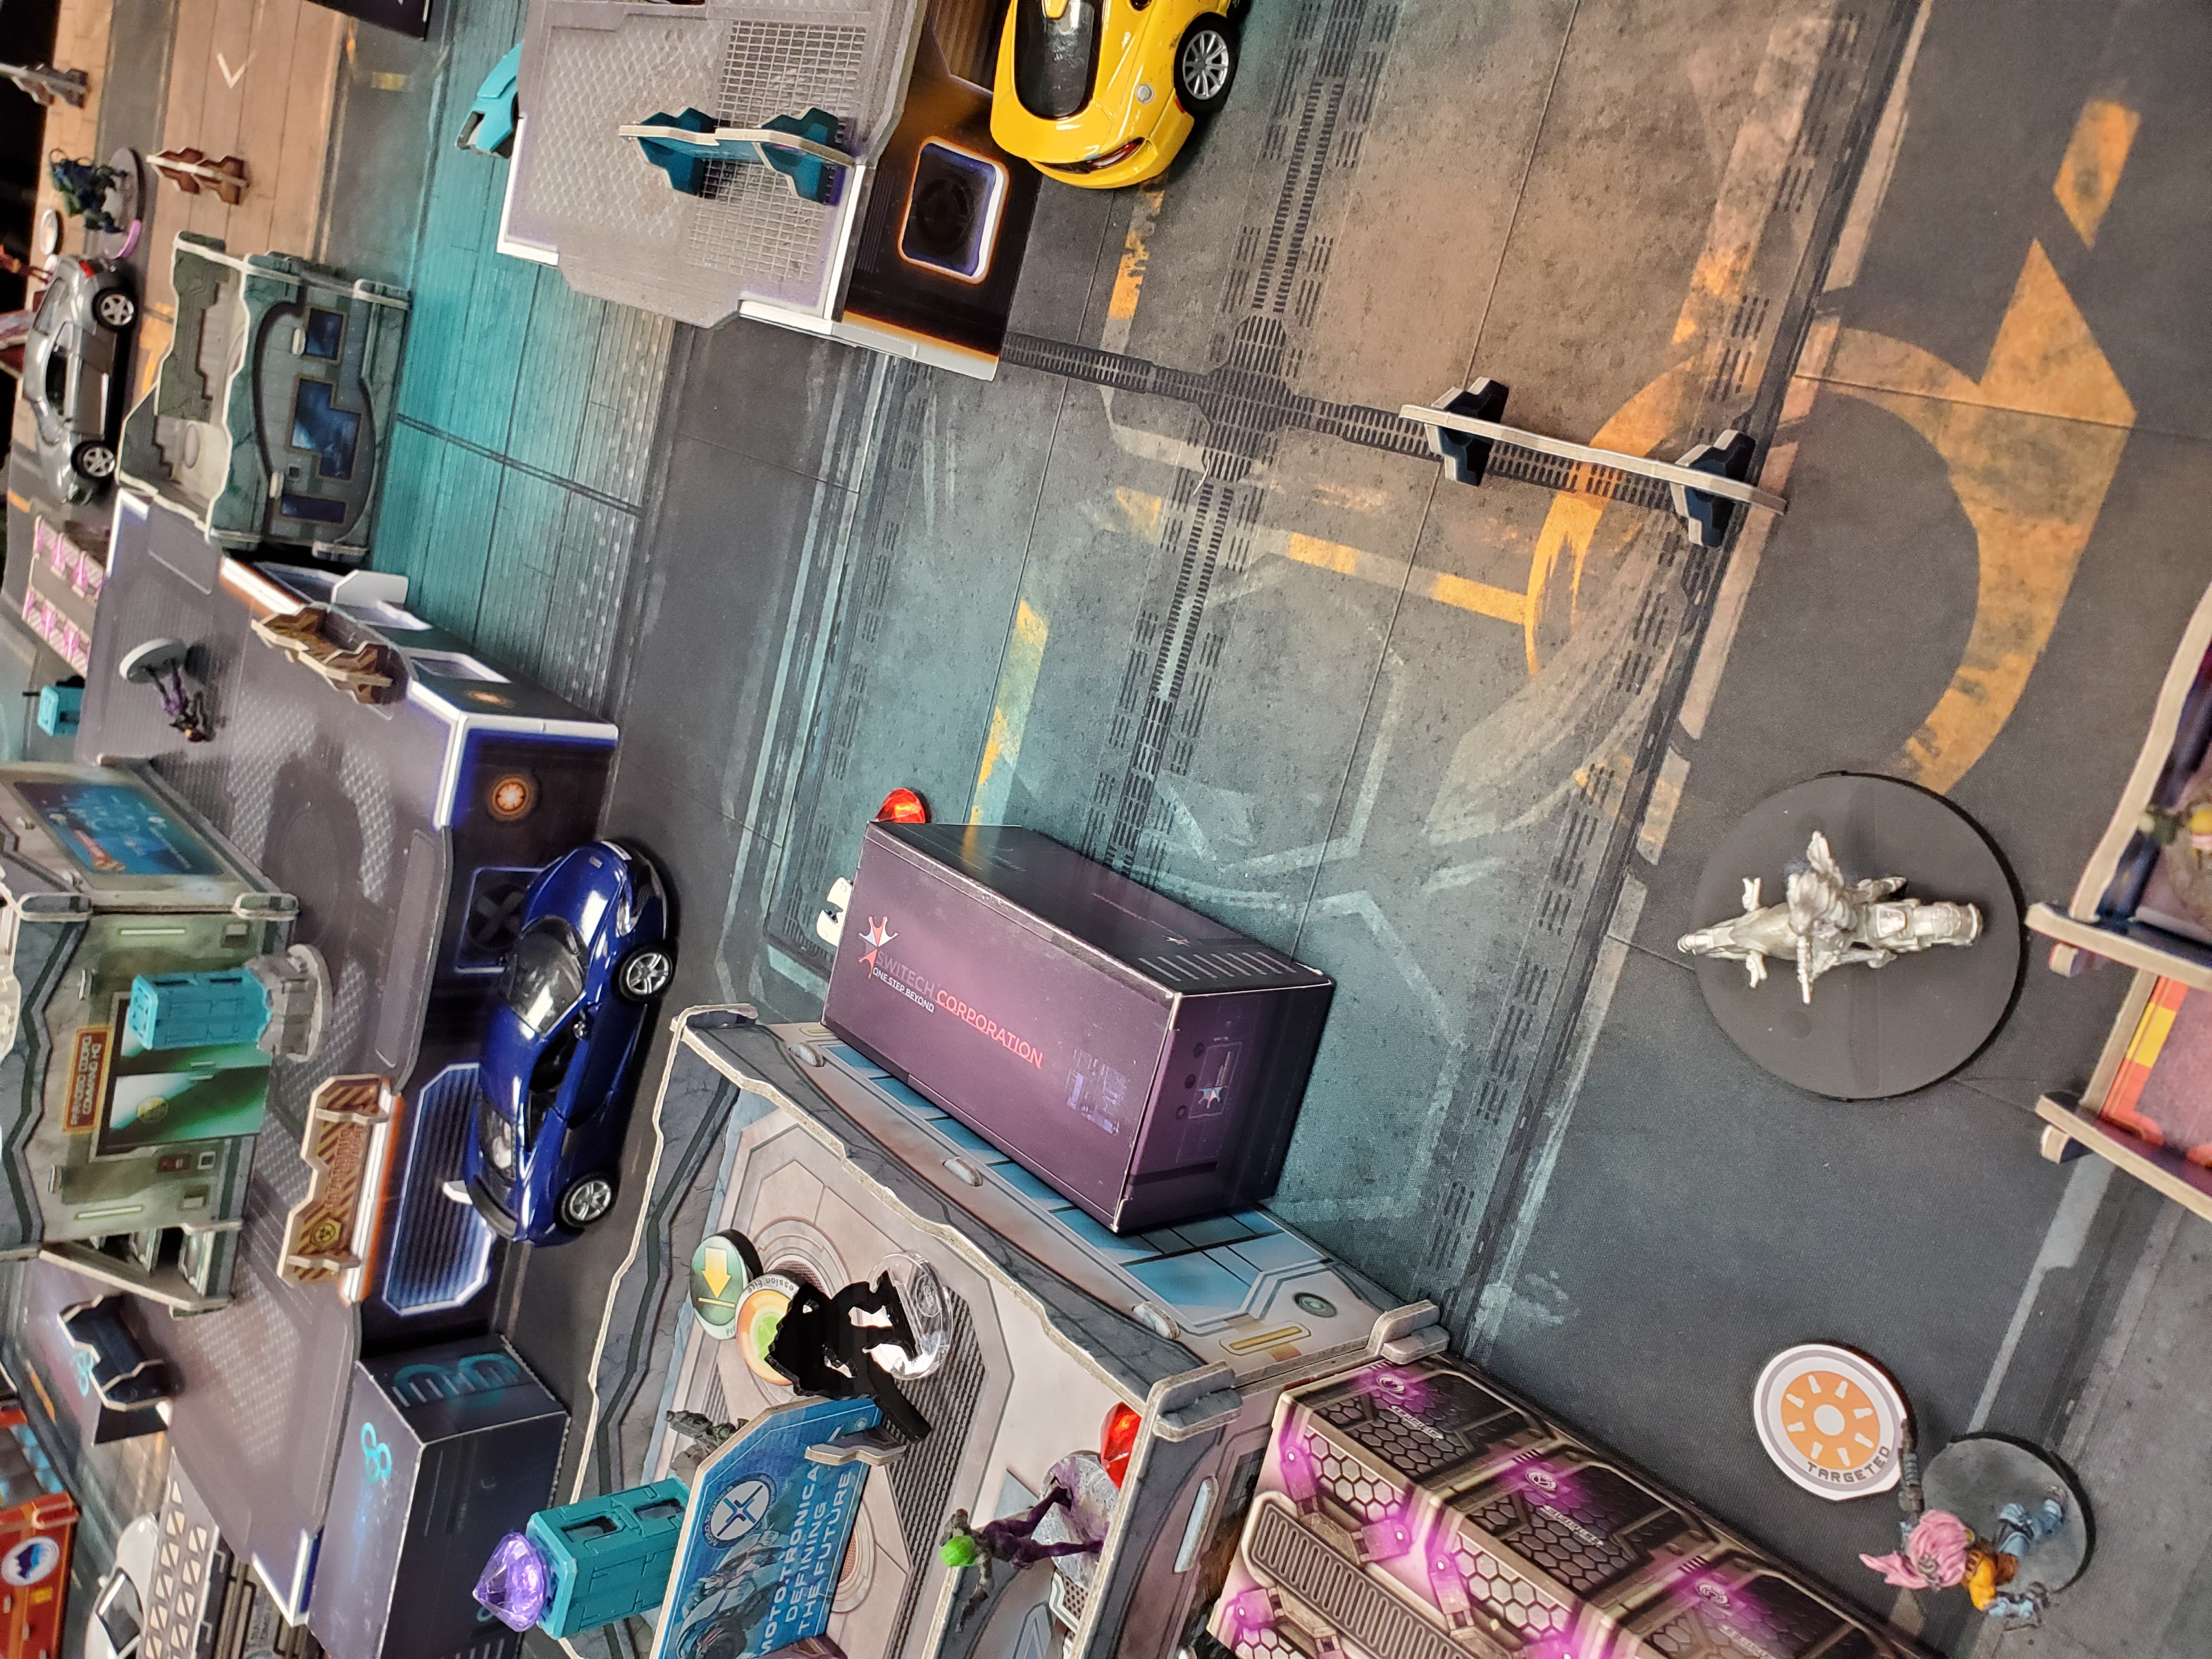
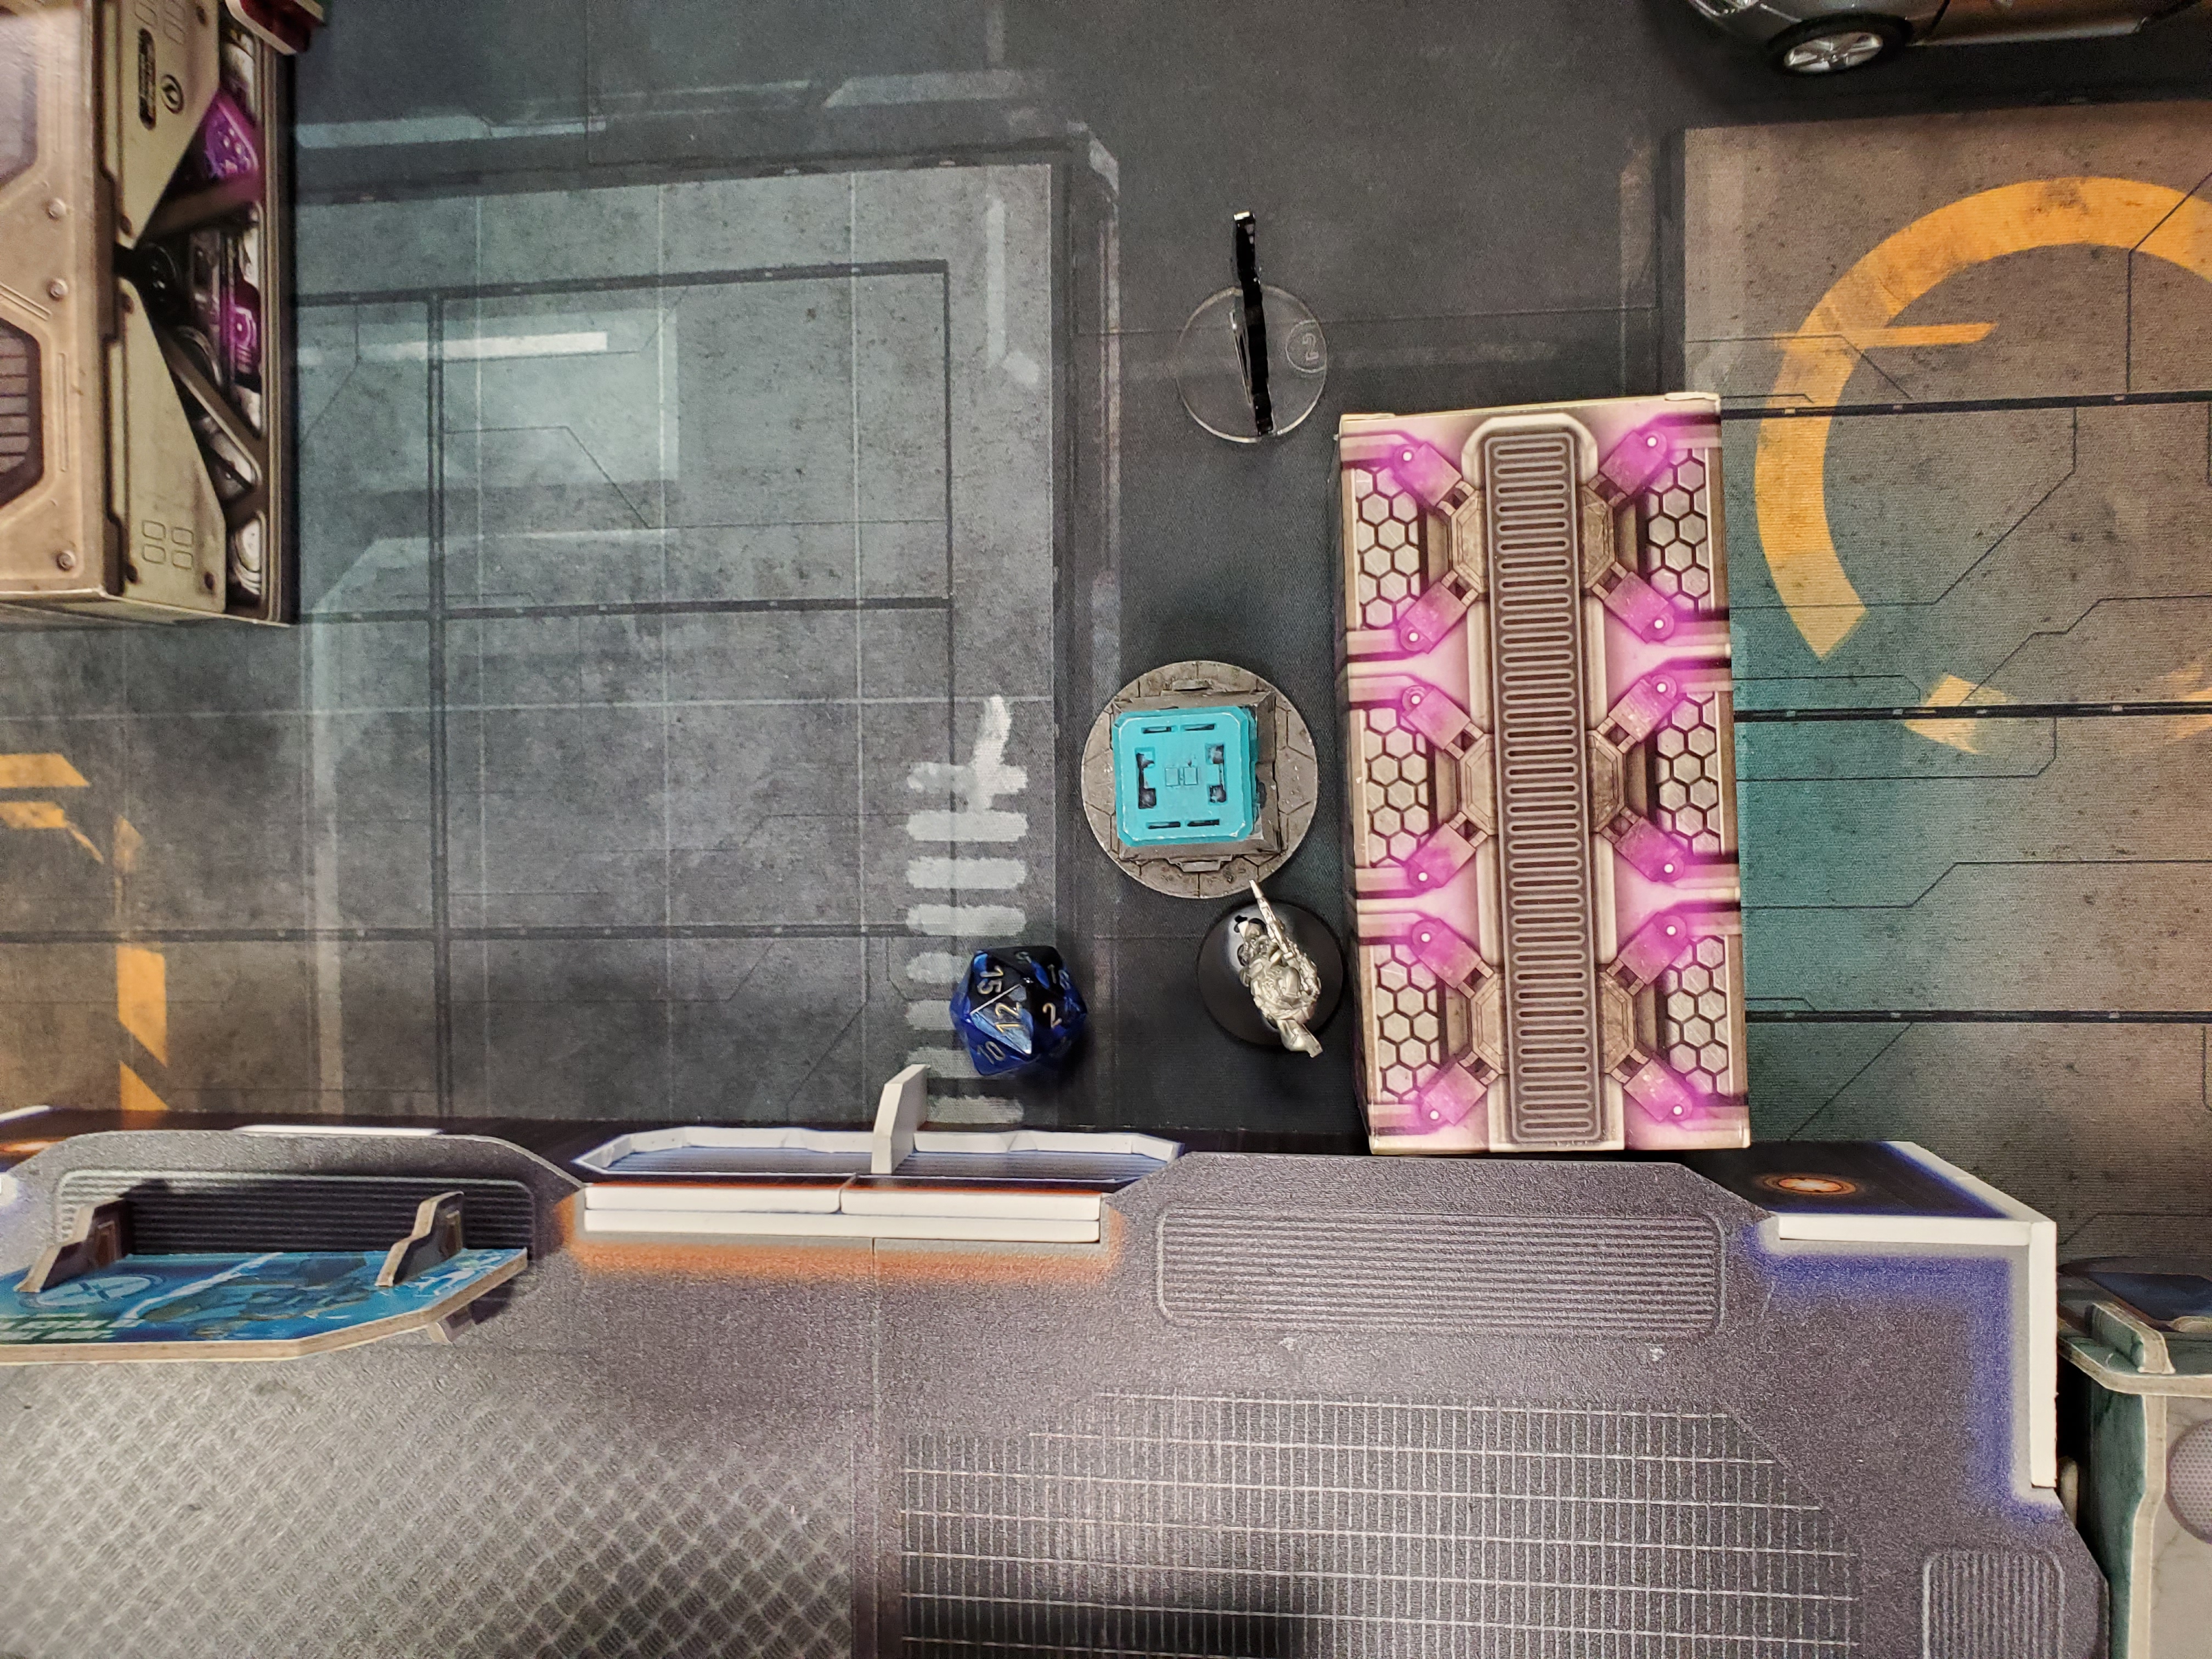
Fought At Gekidan Research Park: Itokawa Site
654 days 22 hours 15 minutes ago

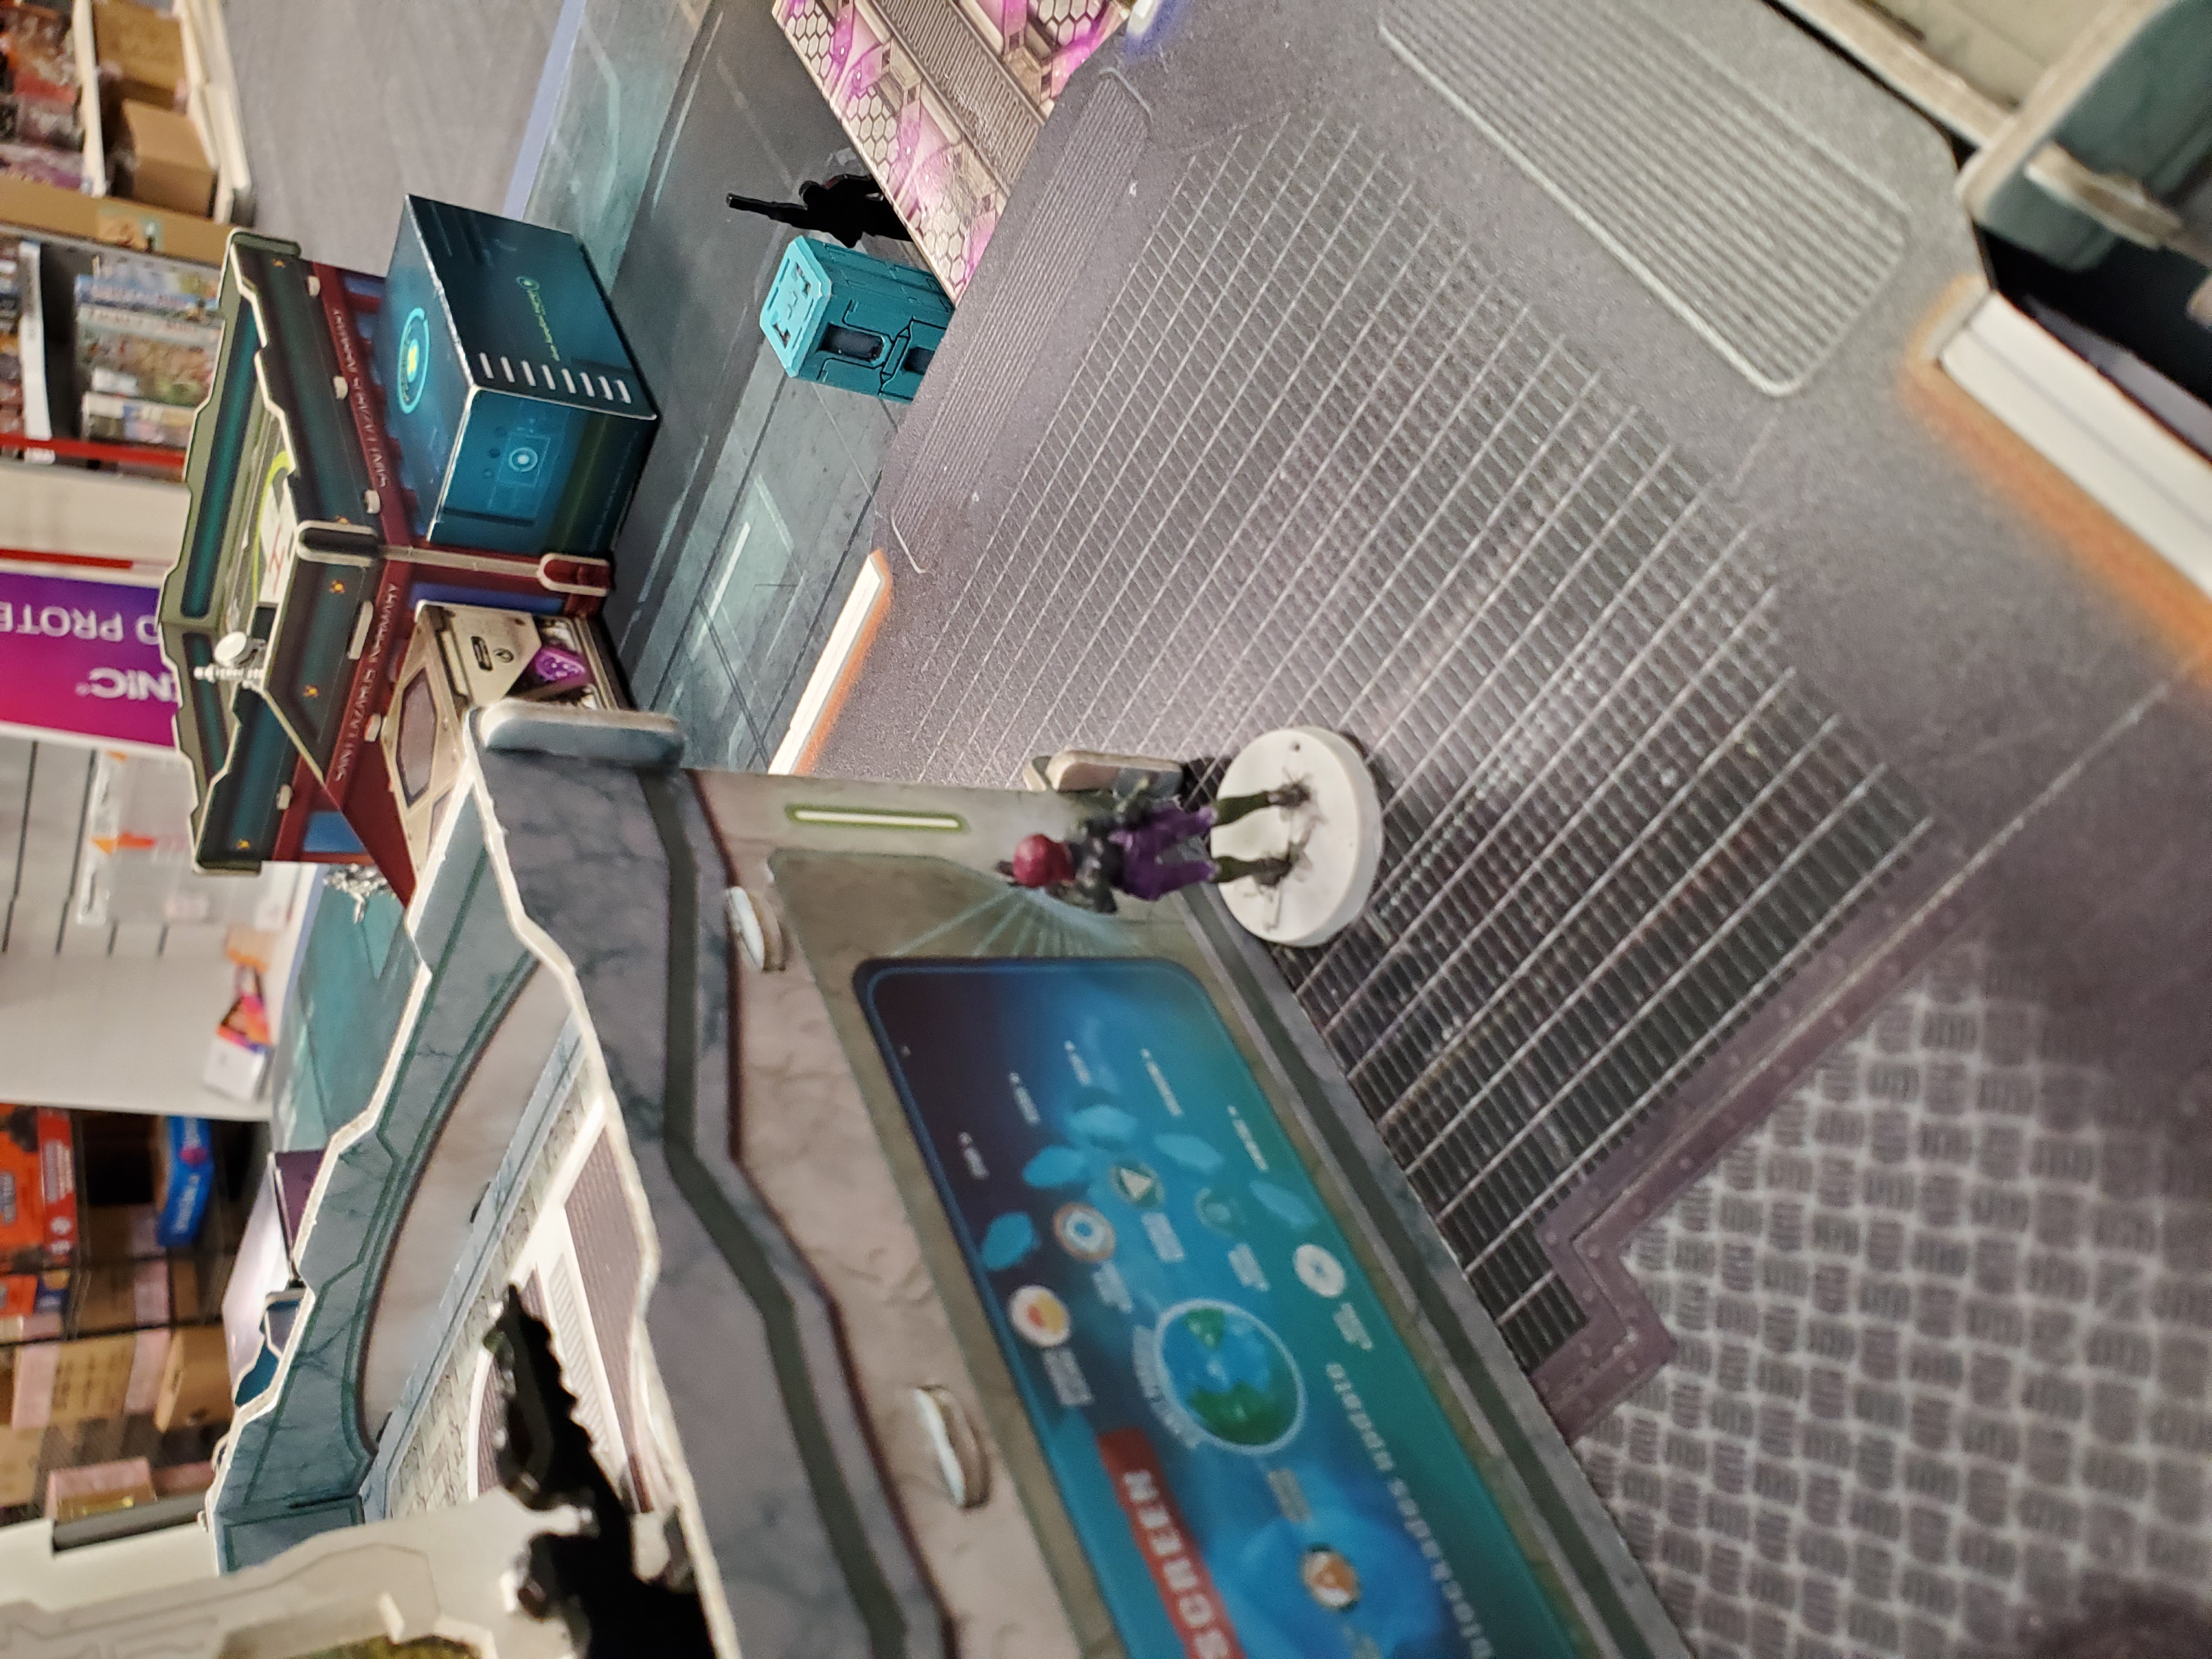
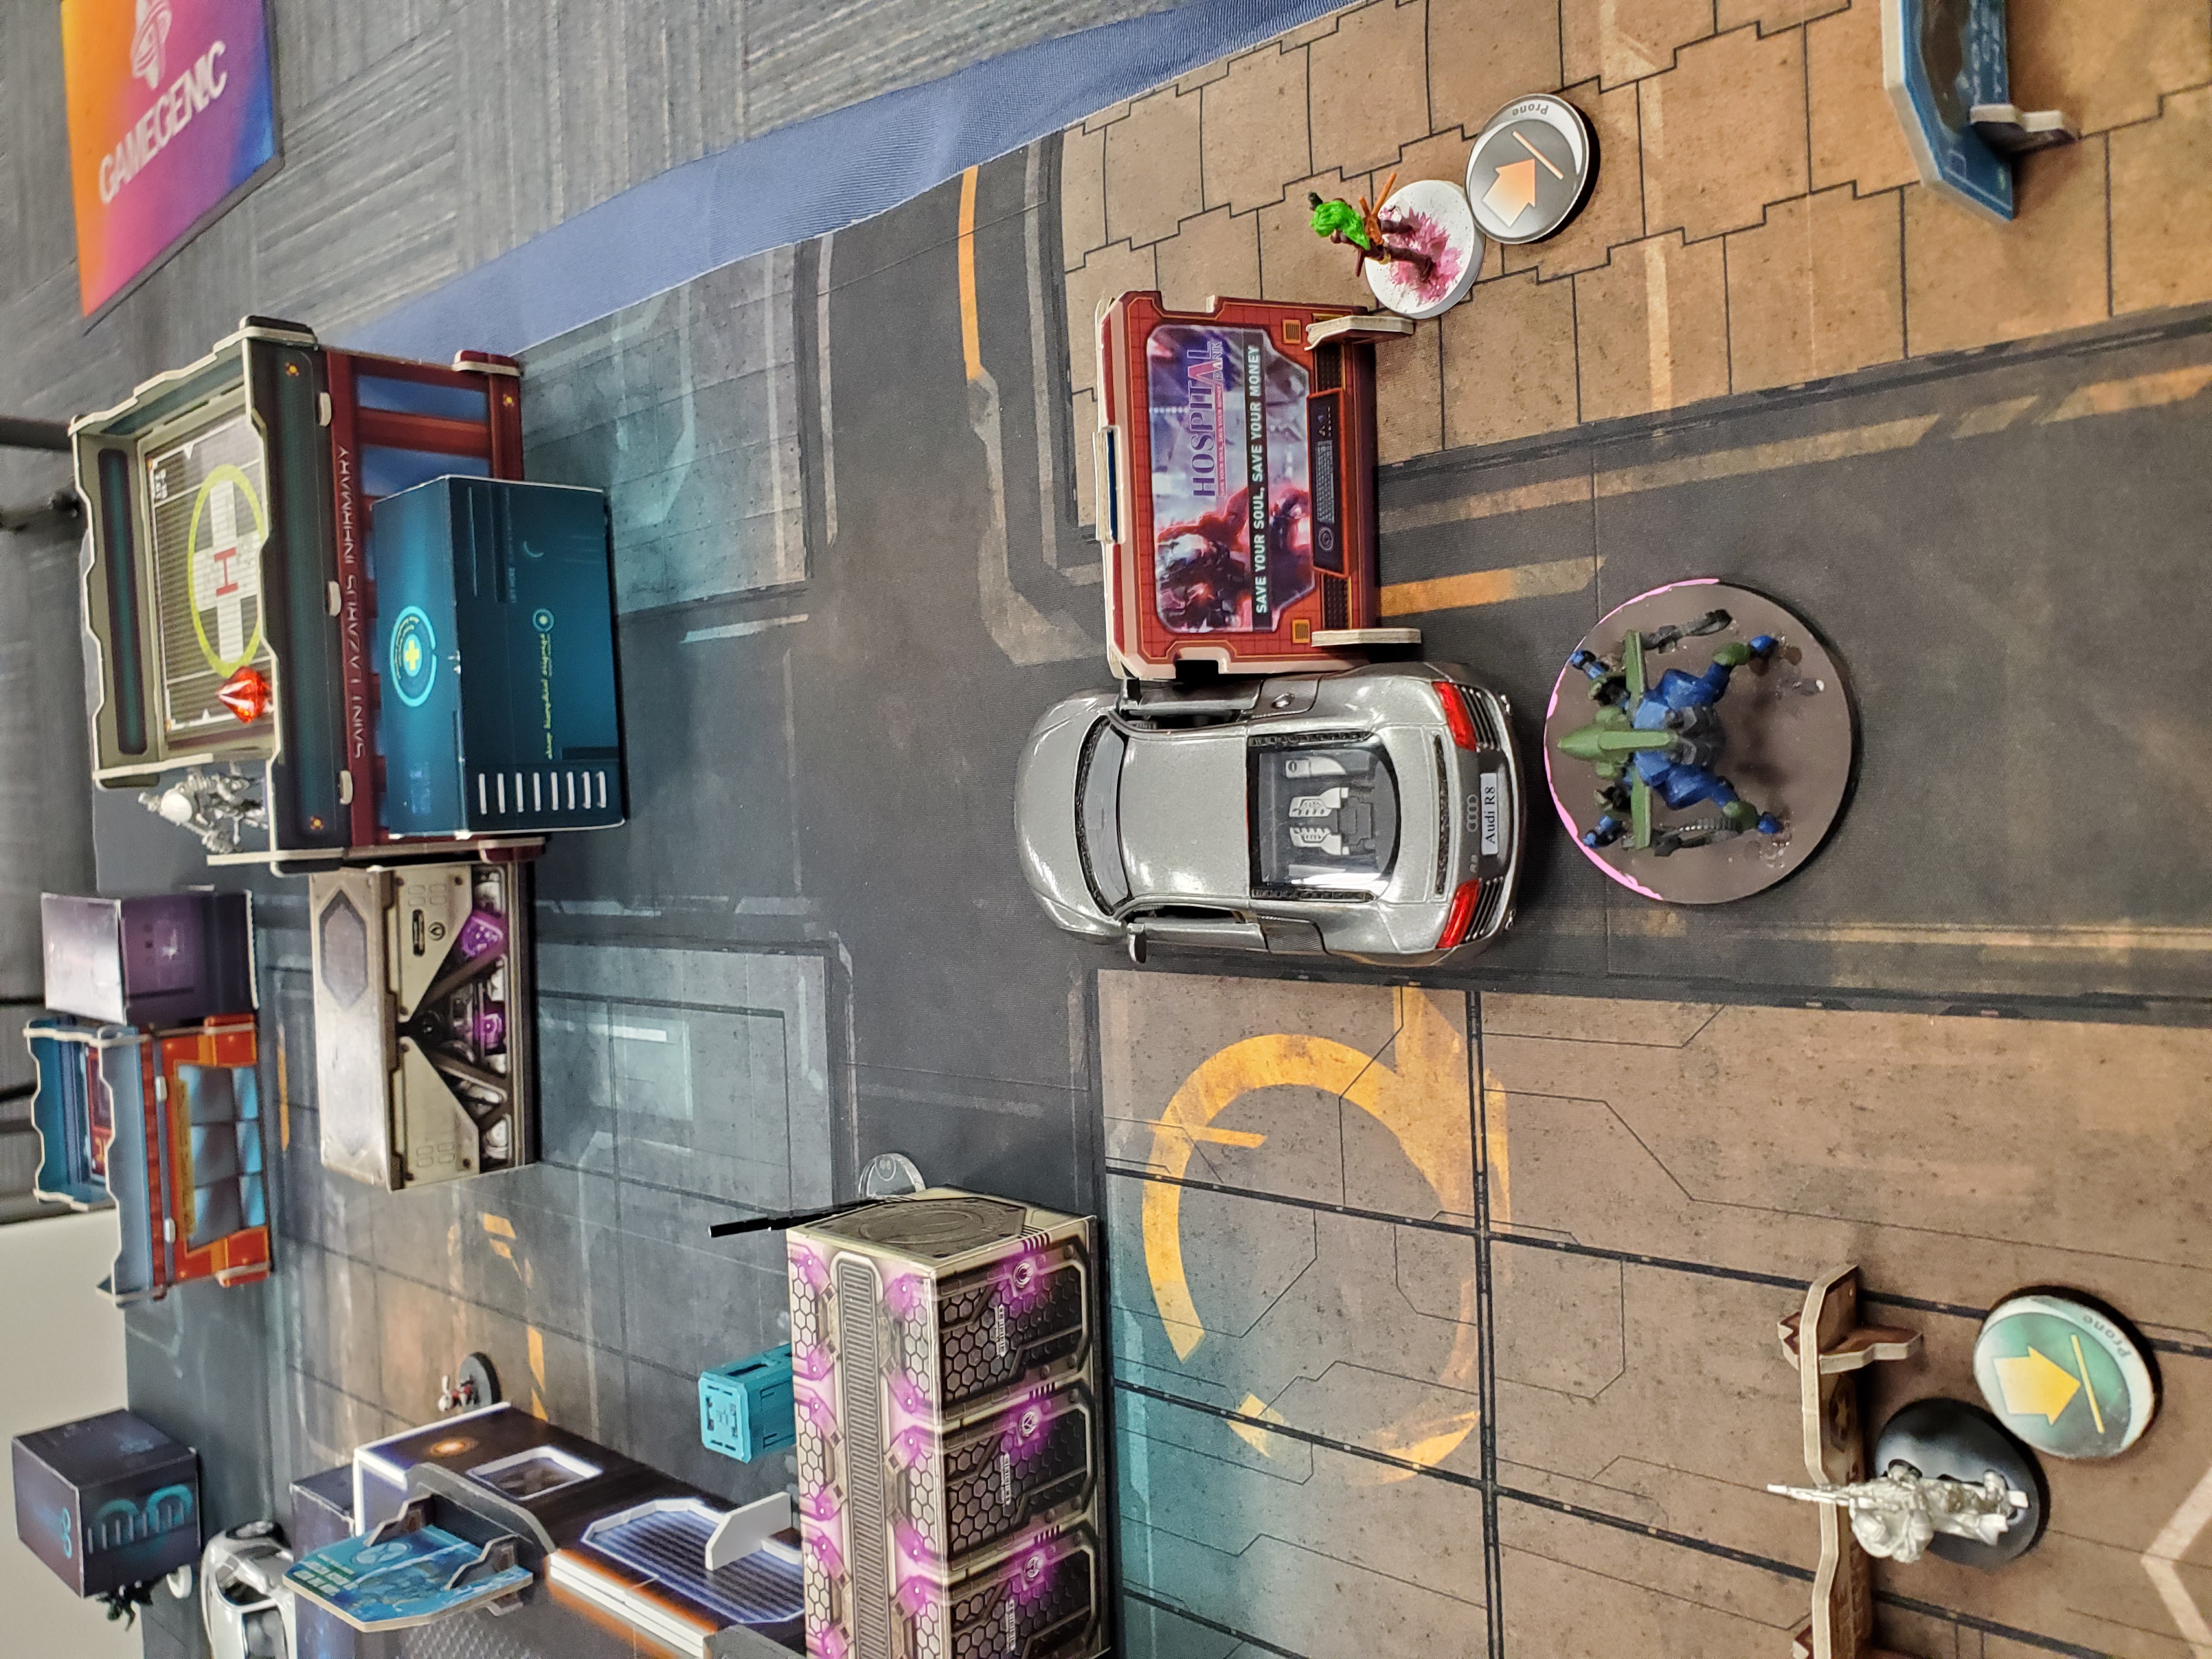
In this training exercise, this commander takes full advantage of the tricksy White Company forward board presence by throwing forward 2 guilang skirmishers, one hacker and one forward observer, and 2 Nokken minelayers. Normally, leaving the linked Haidao sniper is a decent ARO idea, but probably not a good idea, thanks to the saturation zone. If the guesstimate is correct, though, staring down a Tanko ML should be within the 24in, so the Tanko would be firing one shot on 11s vs one shot on 13s; not the greatest odds, but slightly in the Haidao's favor.

Of course, the odds are a little too close. They're even better when the Haidao whiffs the shot completely; he instantly explodes to the missile in a single order, which is quite unfortunate for trying to slow the Ikari advance down.
The Nokk also overwatching the Tanko hit with her combi, but the Tanko's armor held fast. On the left, the linked Wu Ming attempted to fight the suppressing Nokk prone on some stairs. Between the mimetism-6 and suppressing fire, the Wu Ming had very little hope of hitting, but he did down the overwatching warcor, failing to hit the Fugazi (which had missed its flash pulse, a portent of missed flash pulses to come).
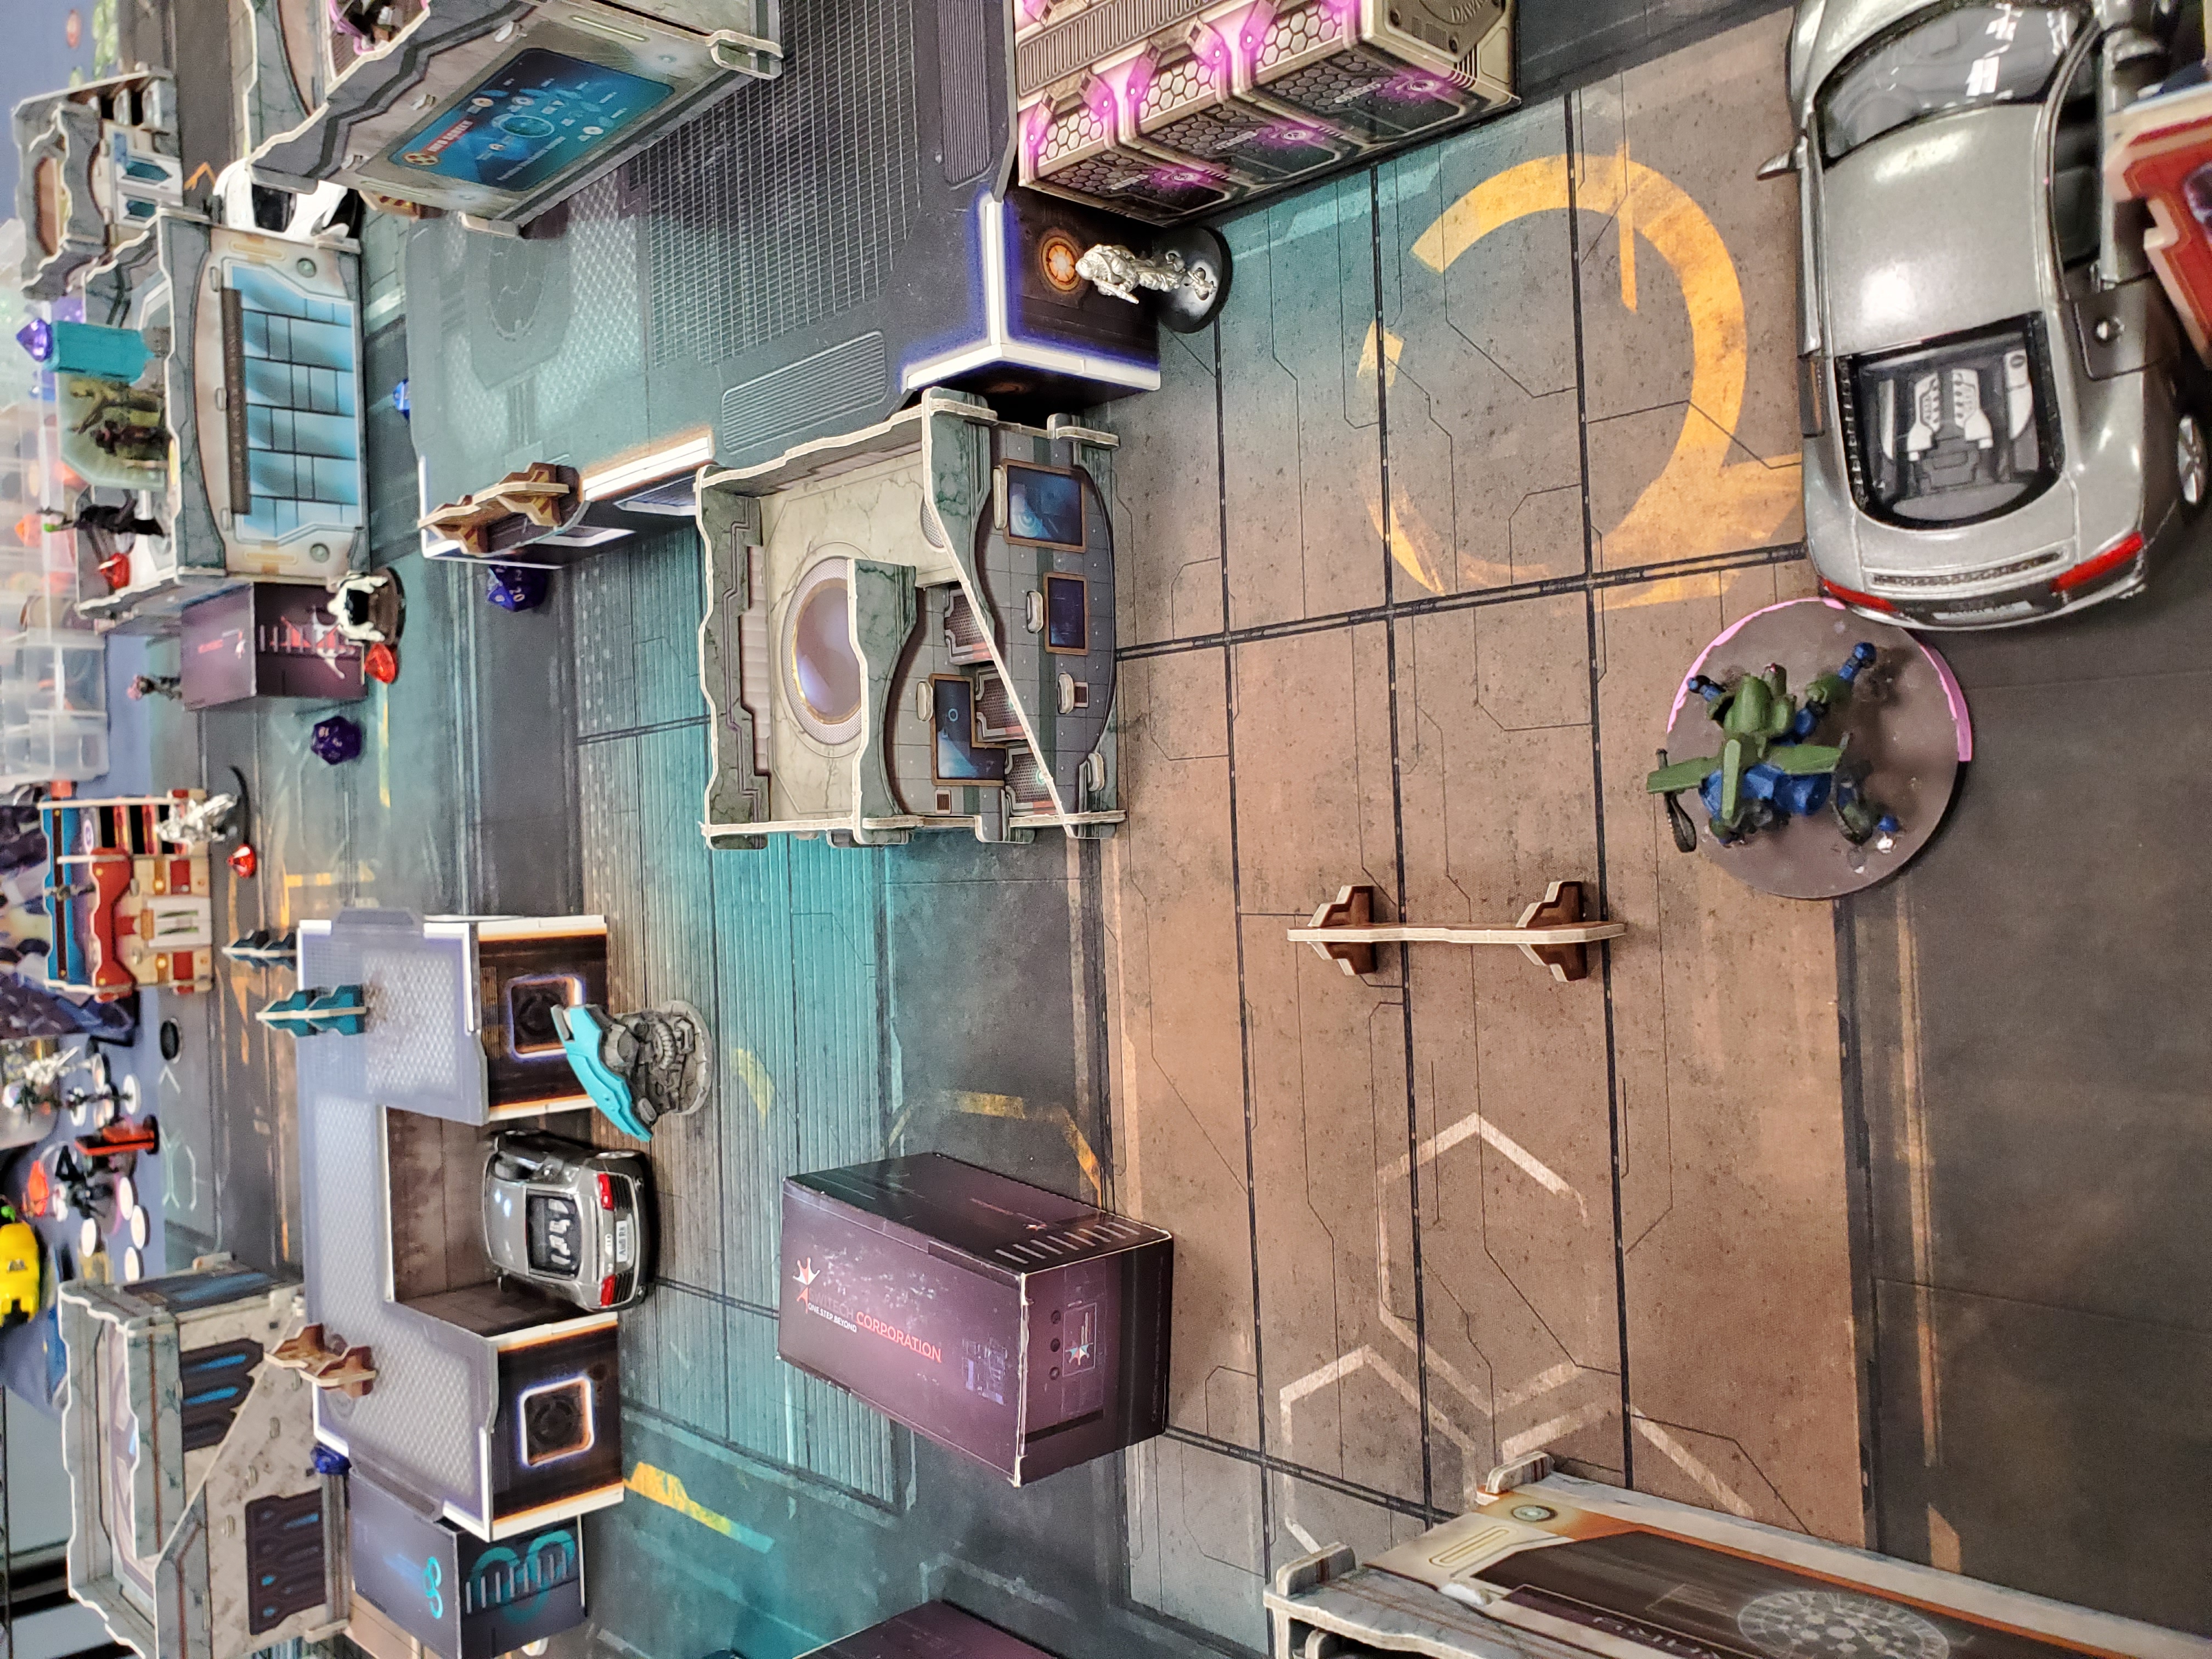
The loss of the Haidao freed up Yojinbo, who crossed the board to the White Company's left flank, throwing smokes as he went; it seems the Ikari commander-in-training was worried that something would pop out of hidden deployment to try taking a cheeky shot. There was nothing, so Yojimbo probably wound up wasting a couple more orders than he needed to throw smokes.
Clearly, Yojimbo was meant to clear the Nokk out of the way with his NWI ability to tank a wound from suppression; unfortunately, he failed to dodge the mine guarding the stairs and instantly died. Had the trainee sacrificed a nearby krakot instead, that may have been more efficient.
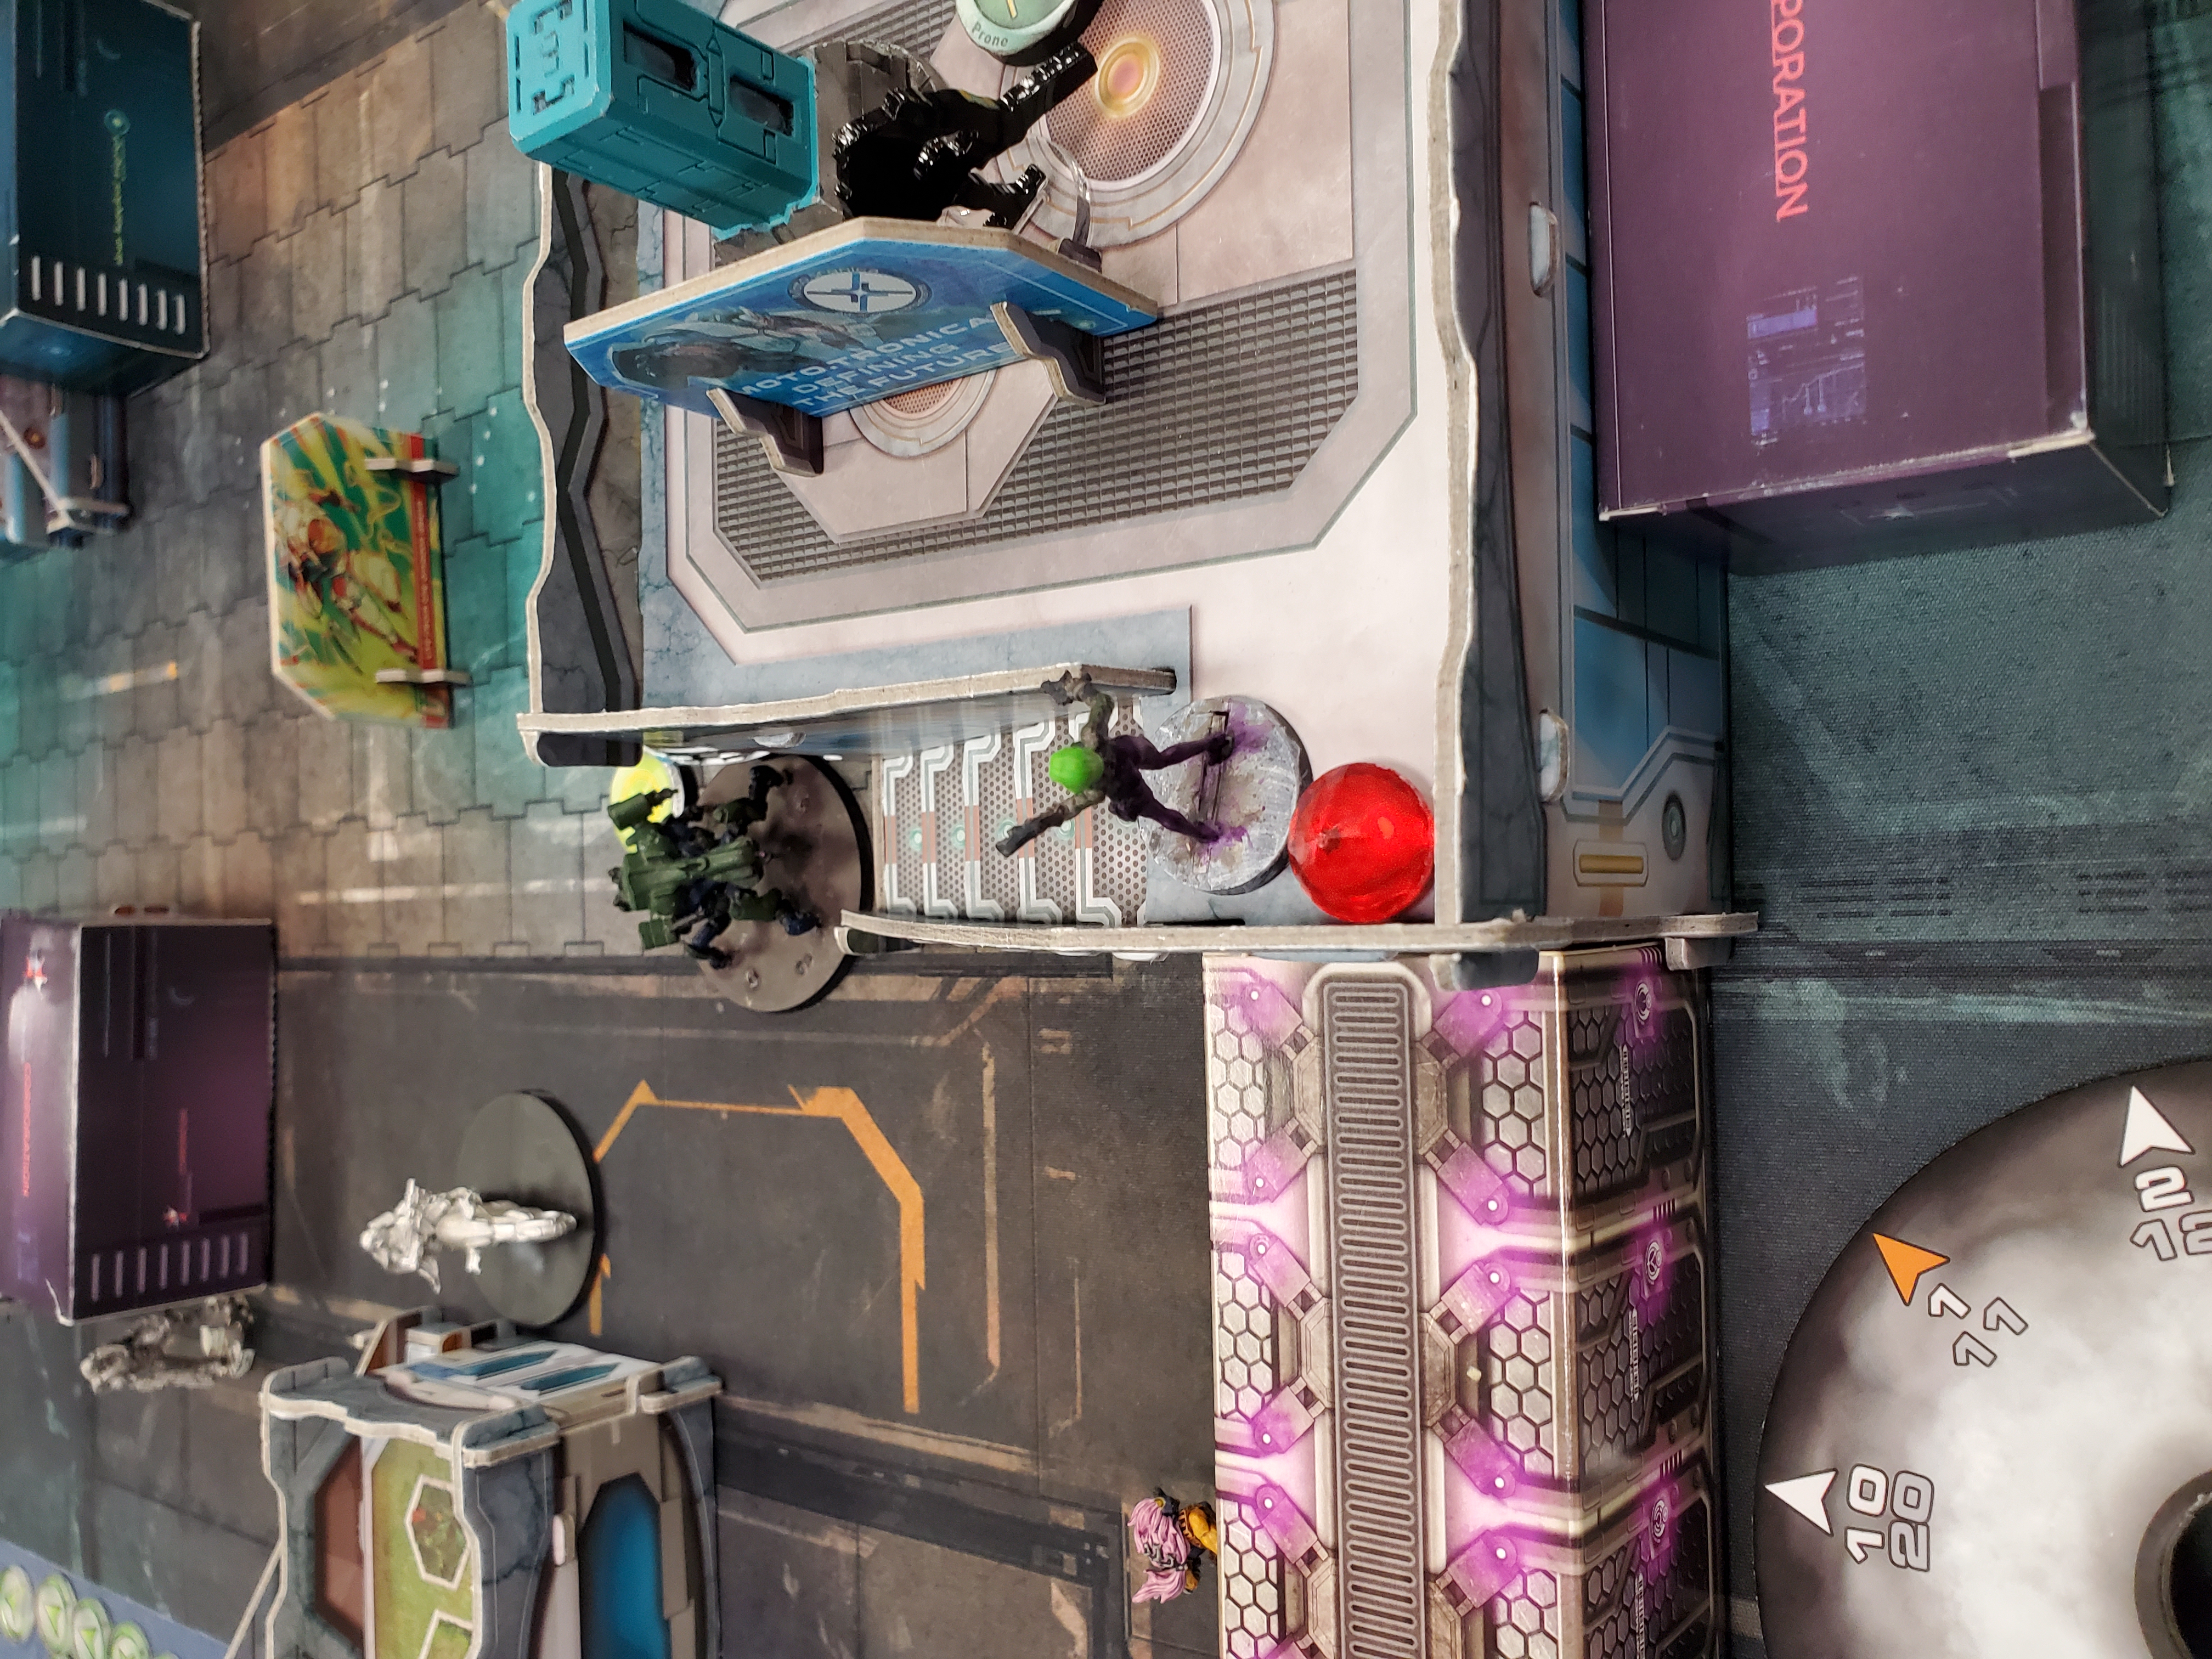
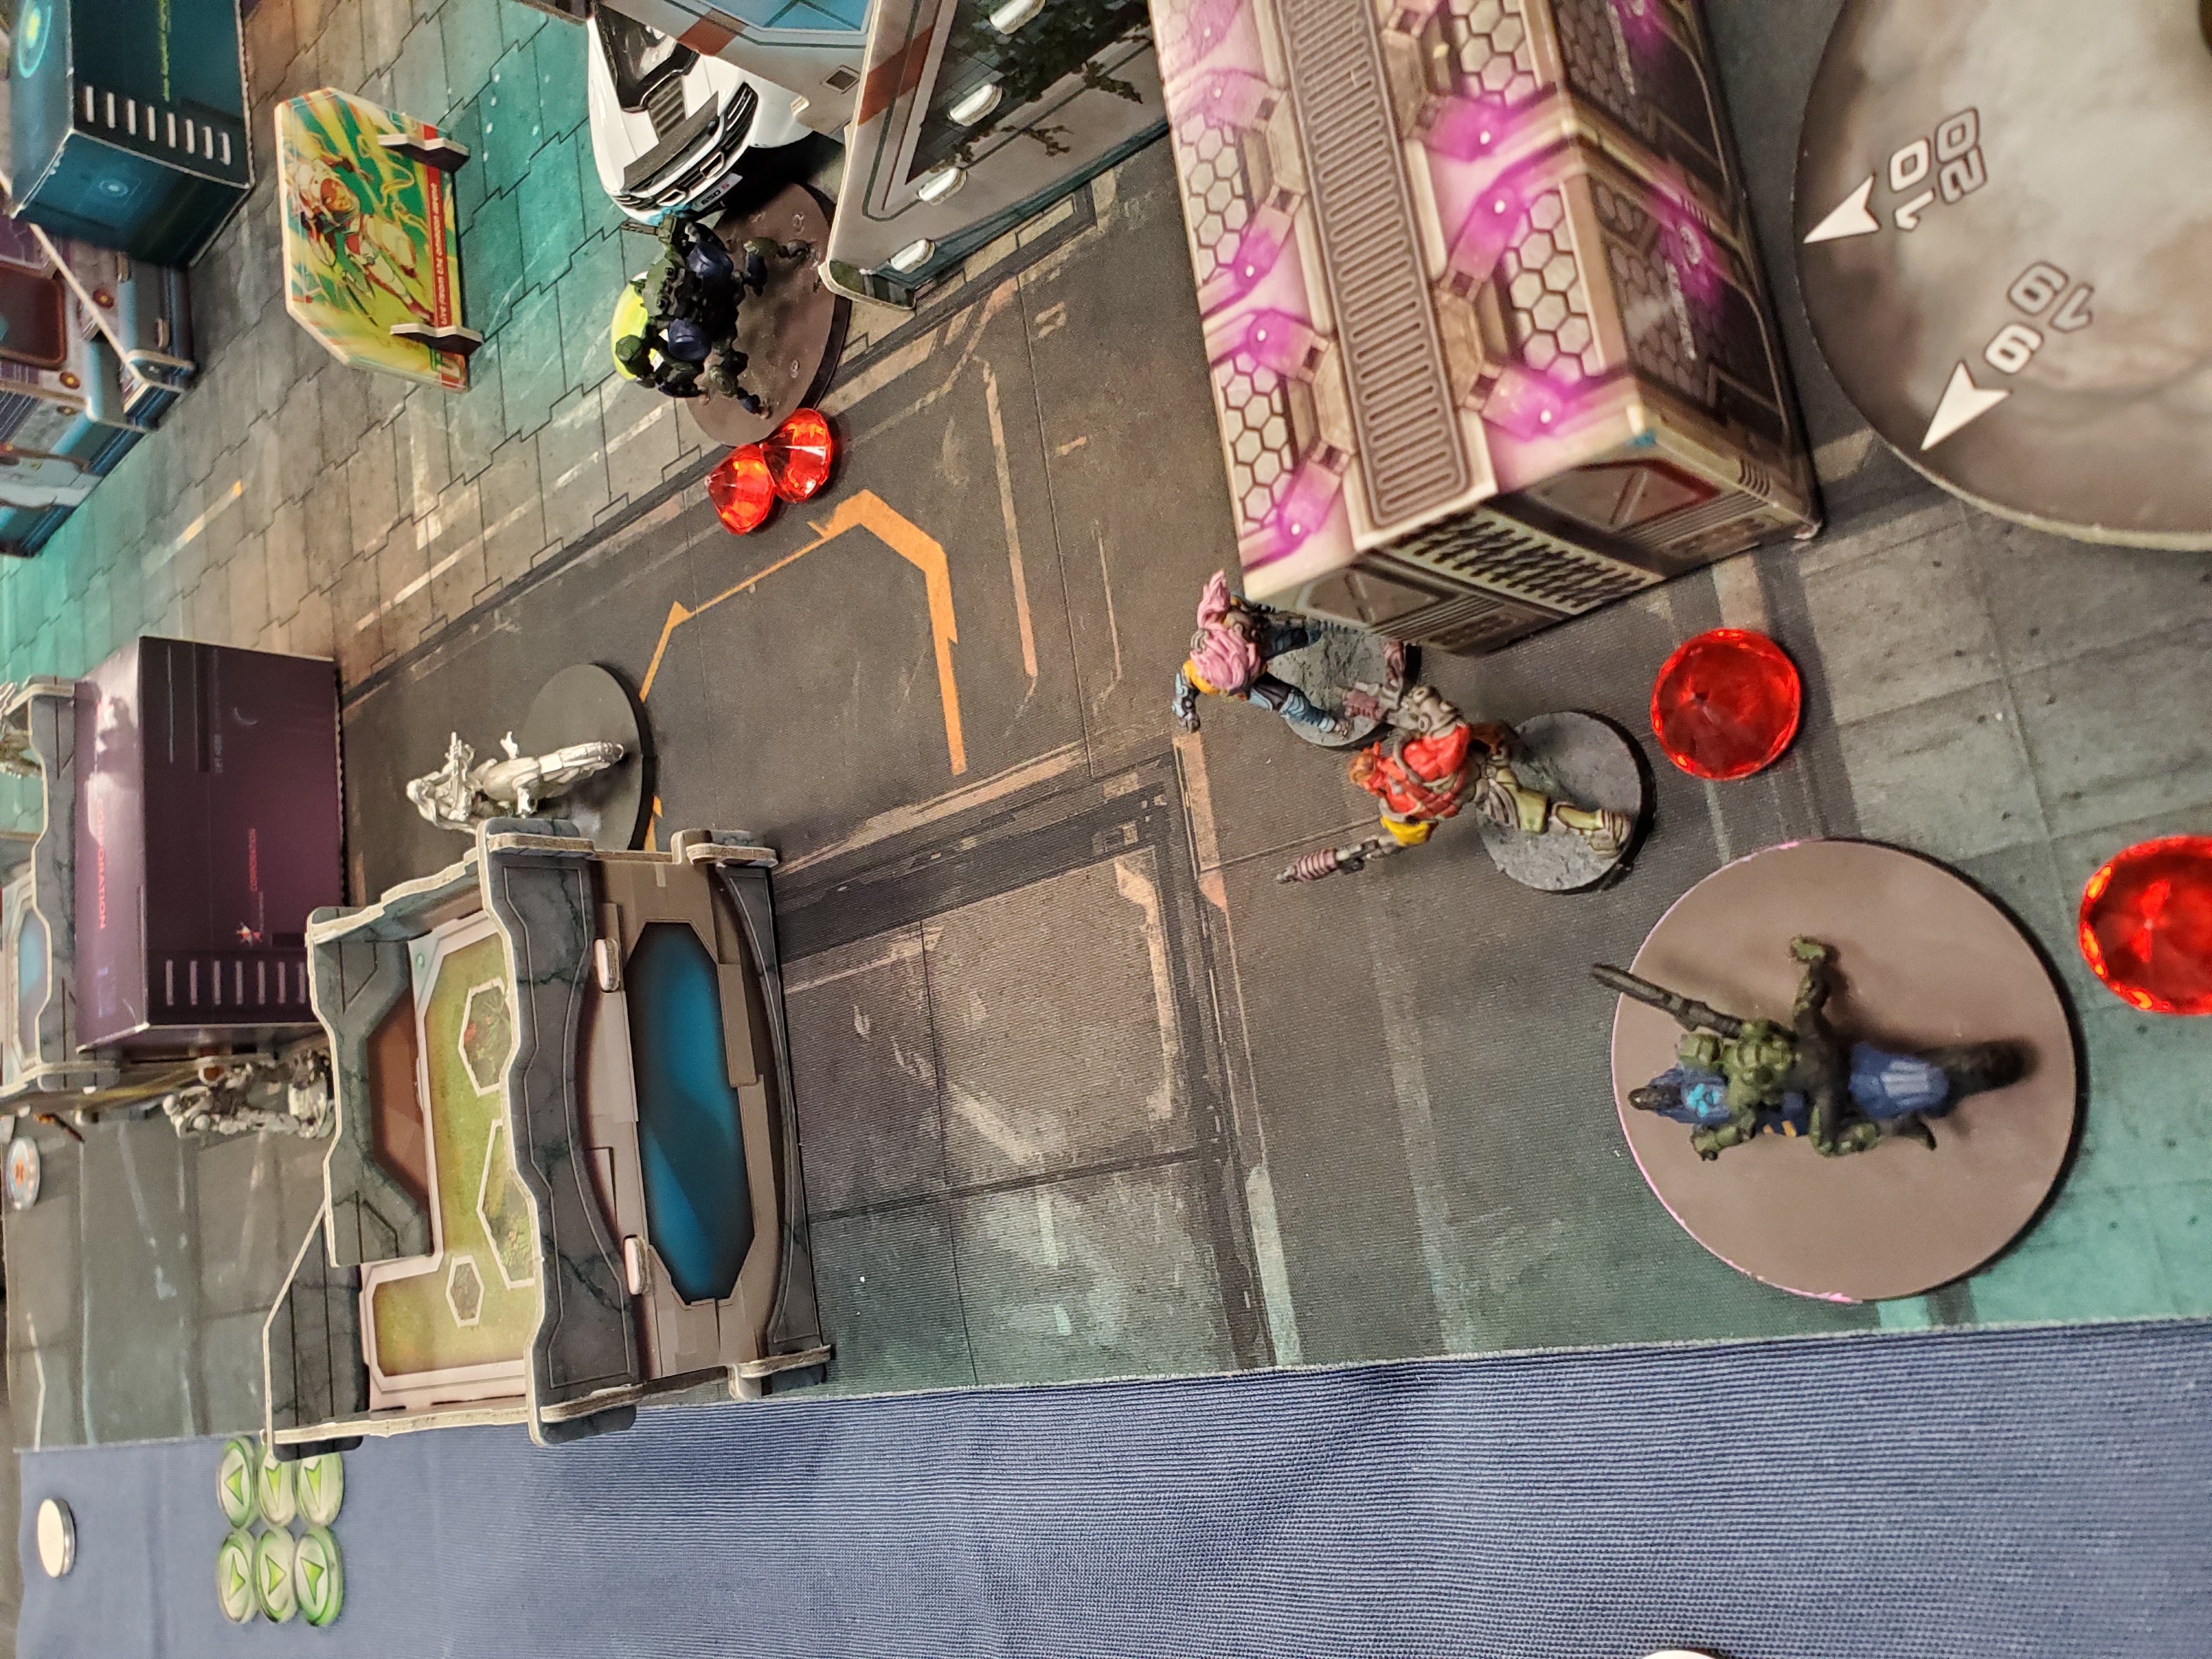
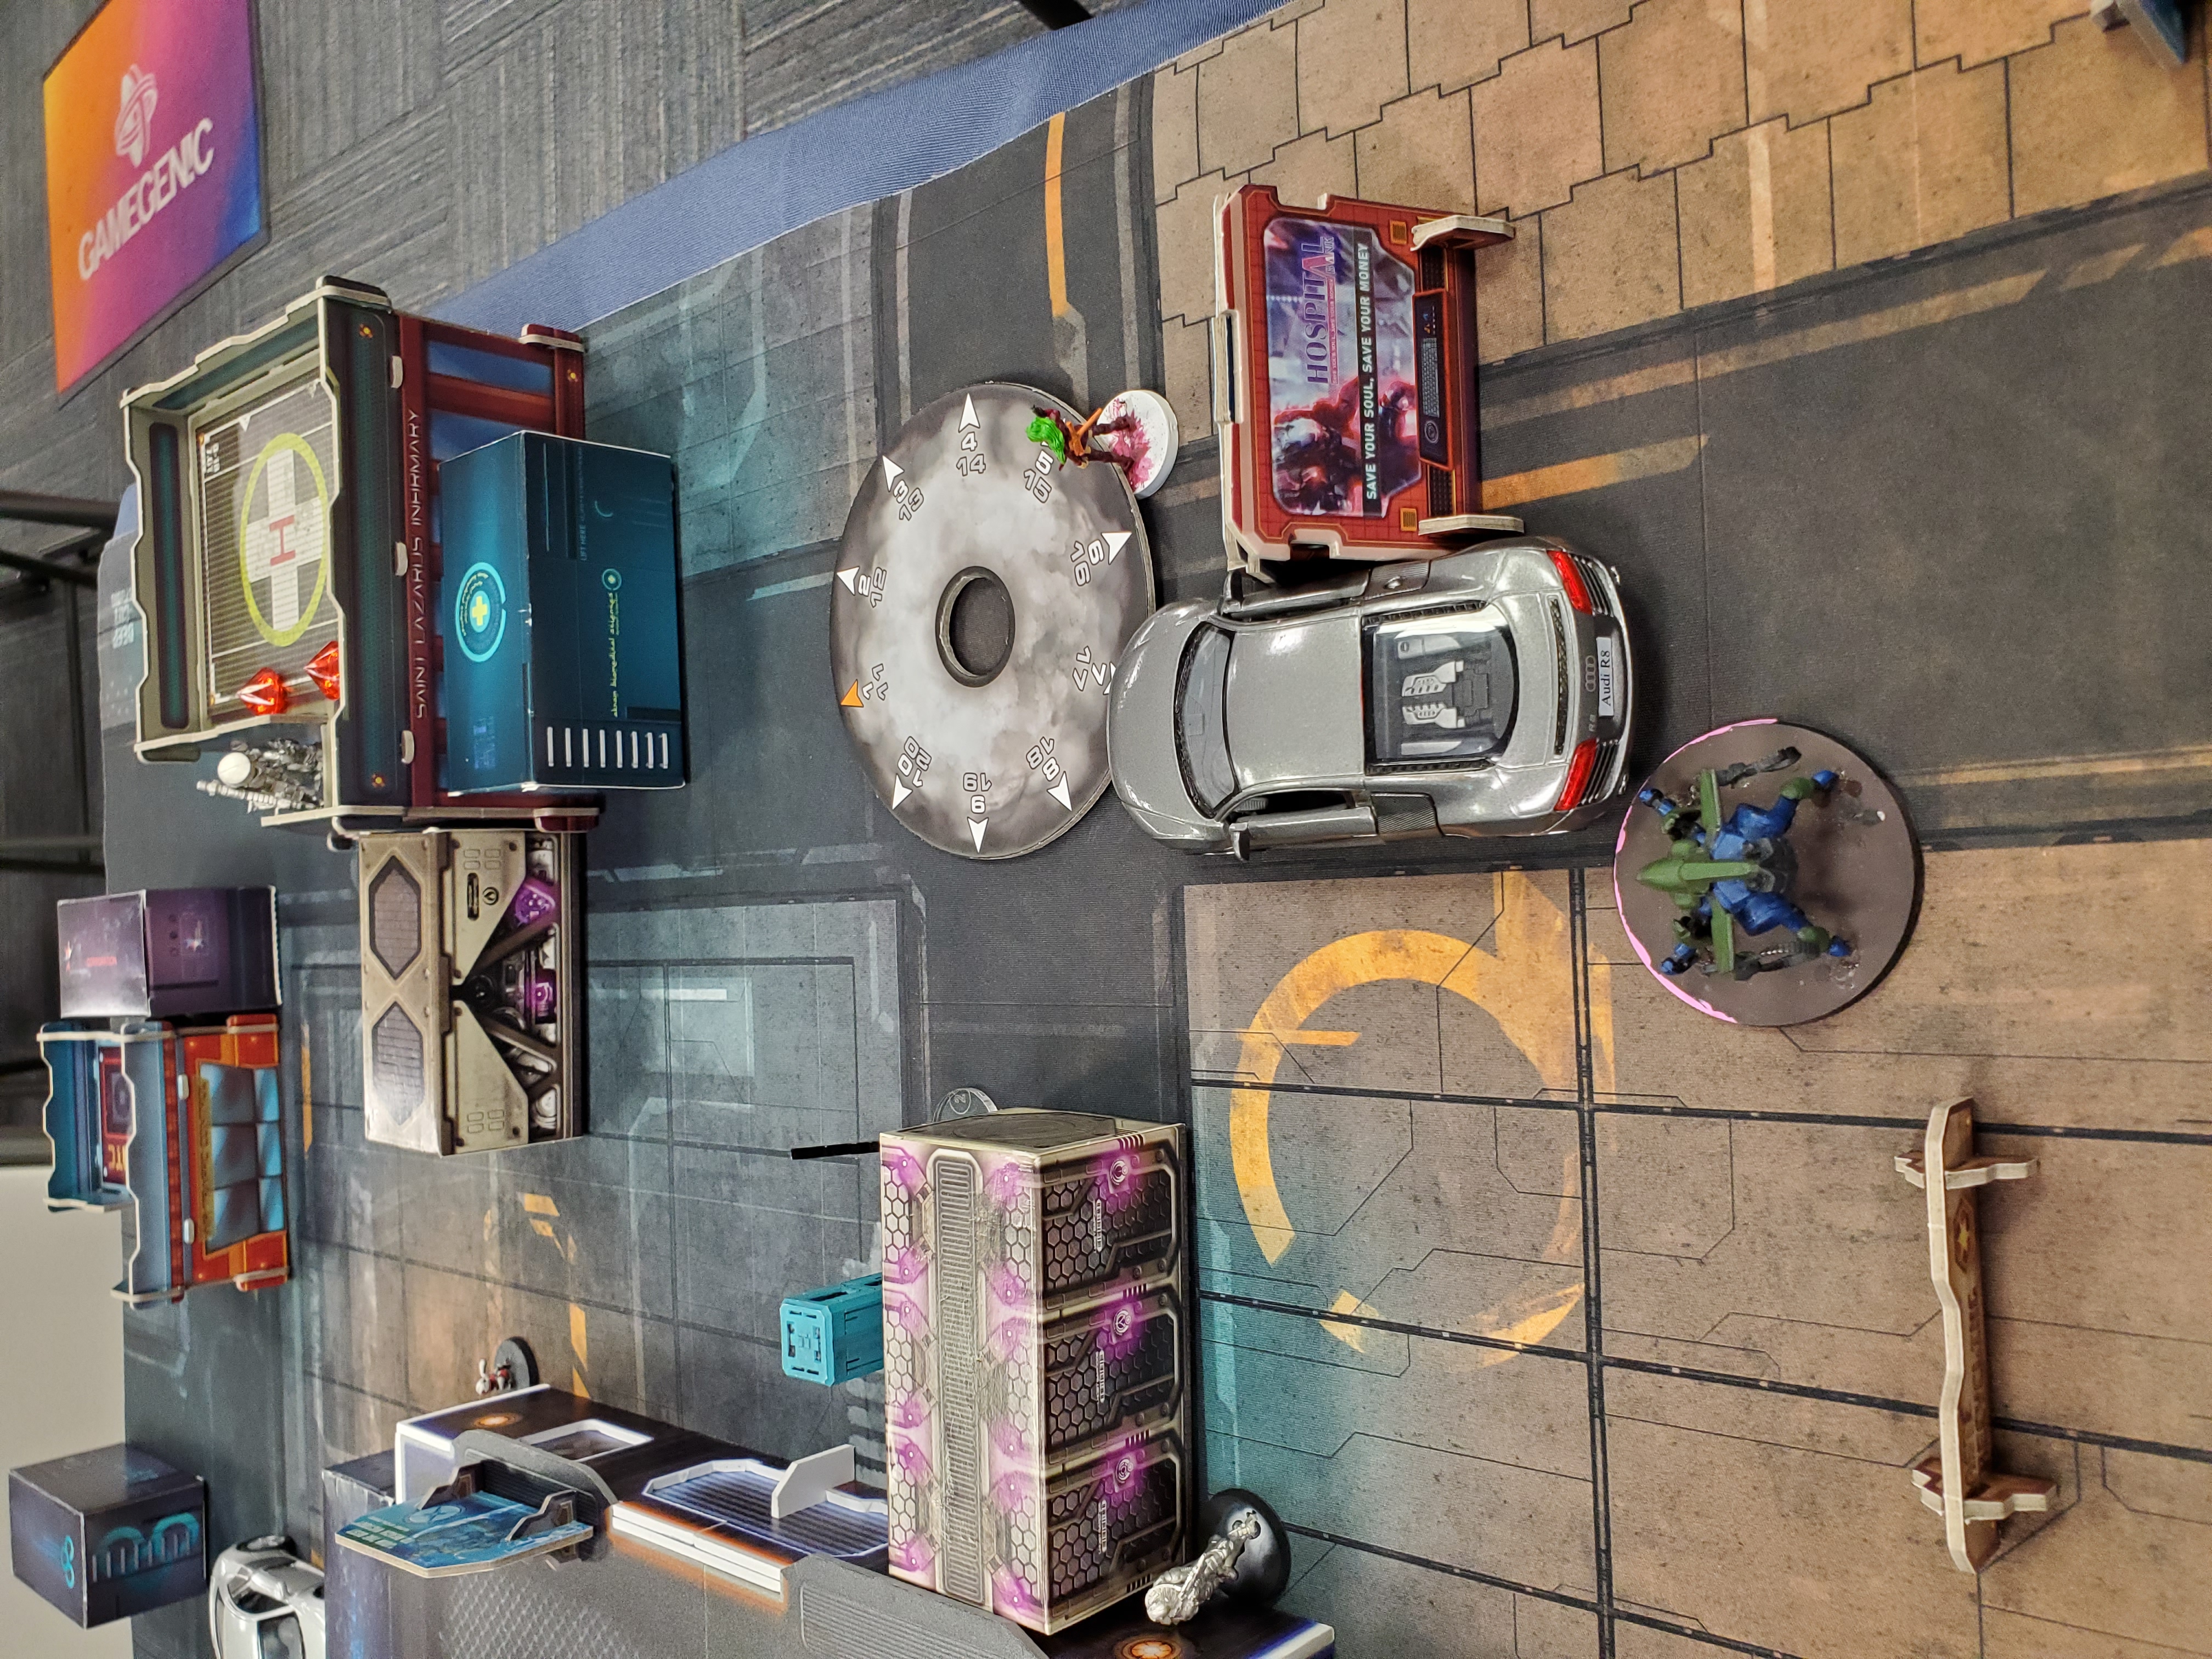
As it was, the Rui Shi crossed the board to the left flank, getting boosted along the way with marksmanship, and hosed the Nokk, downing her. To delay the pending White Company counterattack, the Rui Shi entered suppressive fire
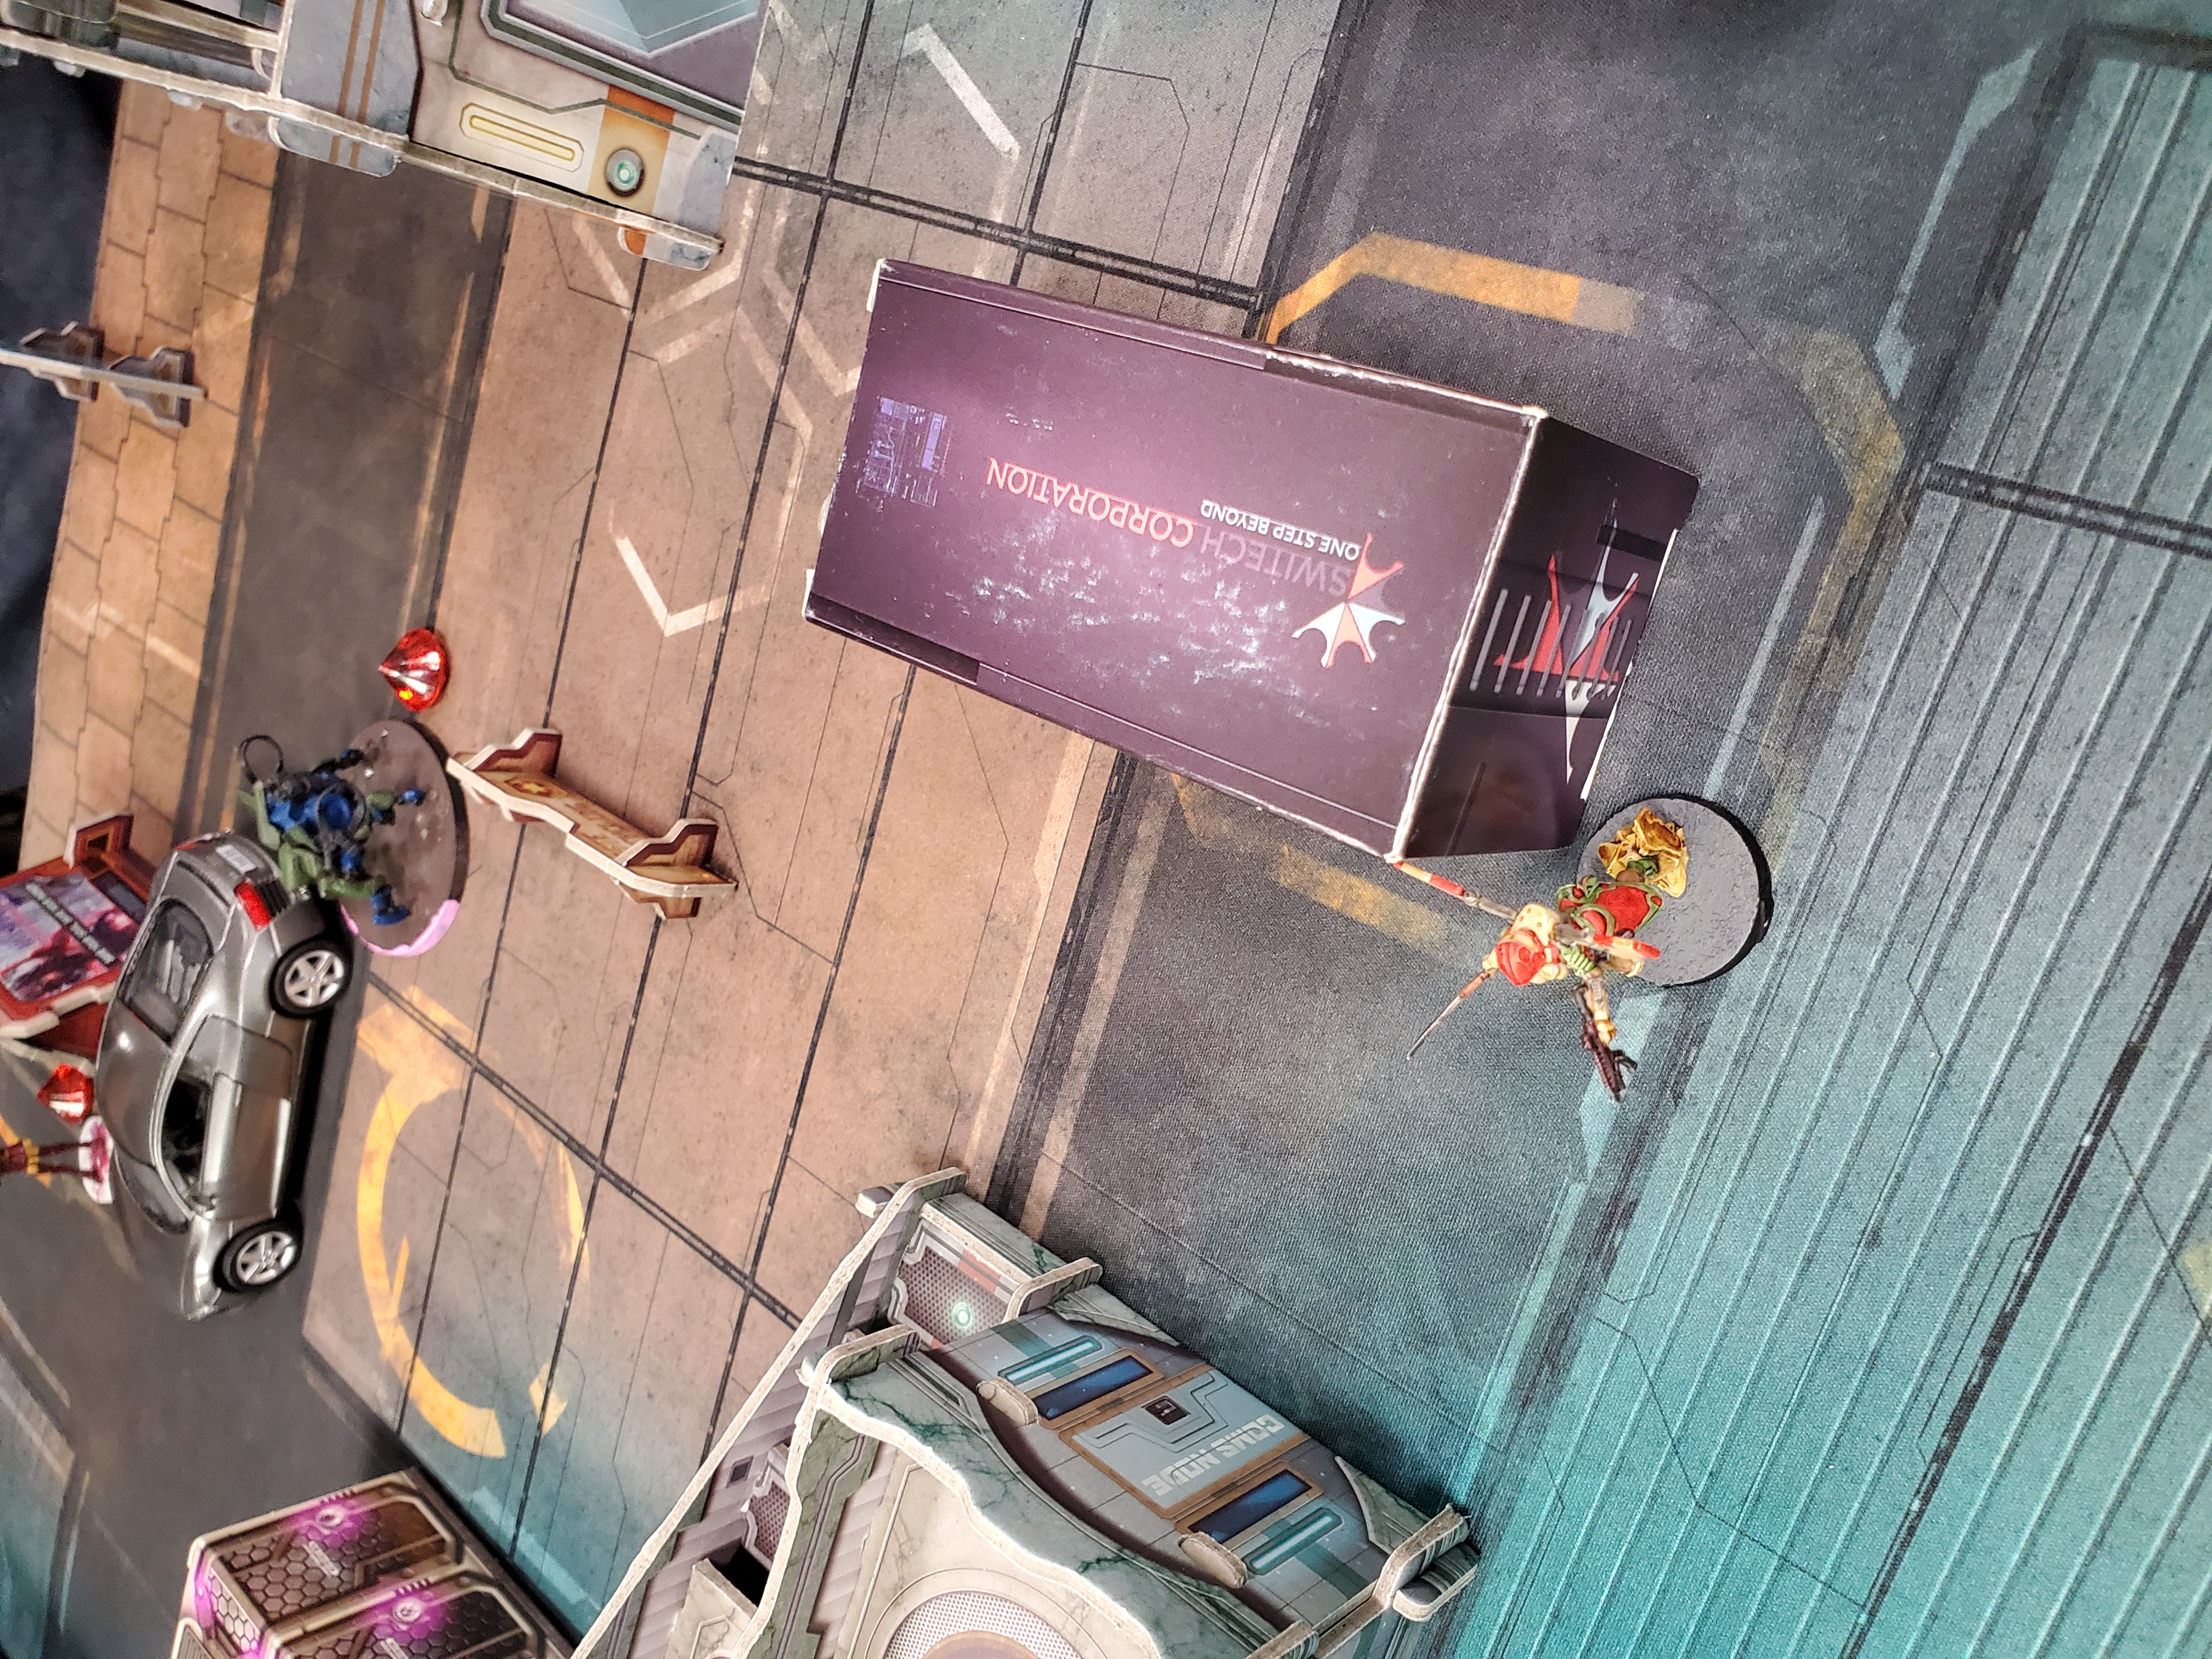
The left varangian impetuously moved forward, throwing a smoke to cover for the red fury biker. She then continued forward to successfully trench hammer the Rui Shi, who had to break suppression to turn and face the right direction (having been shot at from behind and surviving a parachuting spitfire tiger soldier). The Rui Shi went down after catching the trench hammer to the proverbial face; the lucky varangian survived getting shot by both Wu Ming, who whiffed their shots. This allowed her to slide forward and down the krakot with her chain rifle; Kendrat survived and the varangian went down to a hail of shots.
Meanwhile, the tiger soldier got stuck after taking down a keisotsu from behind.
With the Tanko's linked bonus down slightly, the bulletteer attempted to bring down the Tanko; the Tanko survived a little bit by dodging, but wound up dropping unconscious to the sustained fire.
At this point, the red fury biker tried moving forward to try and take out the opposing counterpart and Kendrat. Whiffing completely against Kendrat, he also wound up getting beat by the other biker; he survived the red fury, but went down to the Wu Ming's HMG shot. Quite unfortunate, since now two impetuous troops are going to be allowed forward into this commander's back lines. In an effort to mitigate this setback, the guilang FO up high set a mine; the pathfinder pulled to the right.
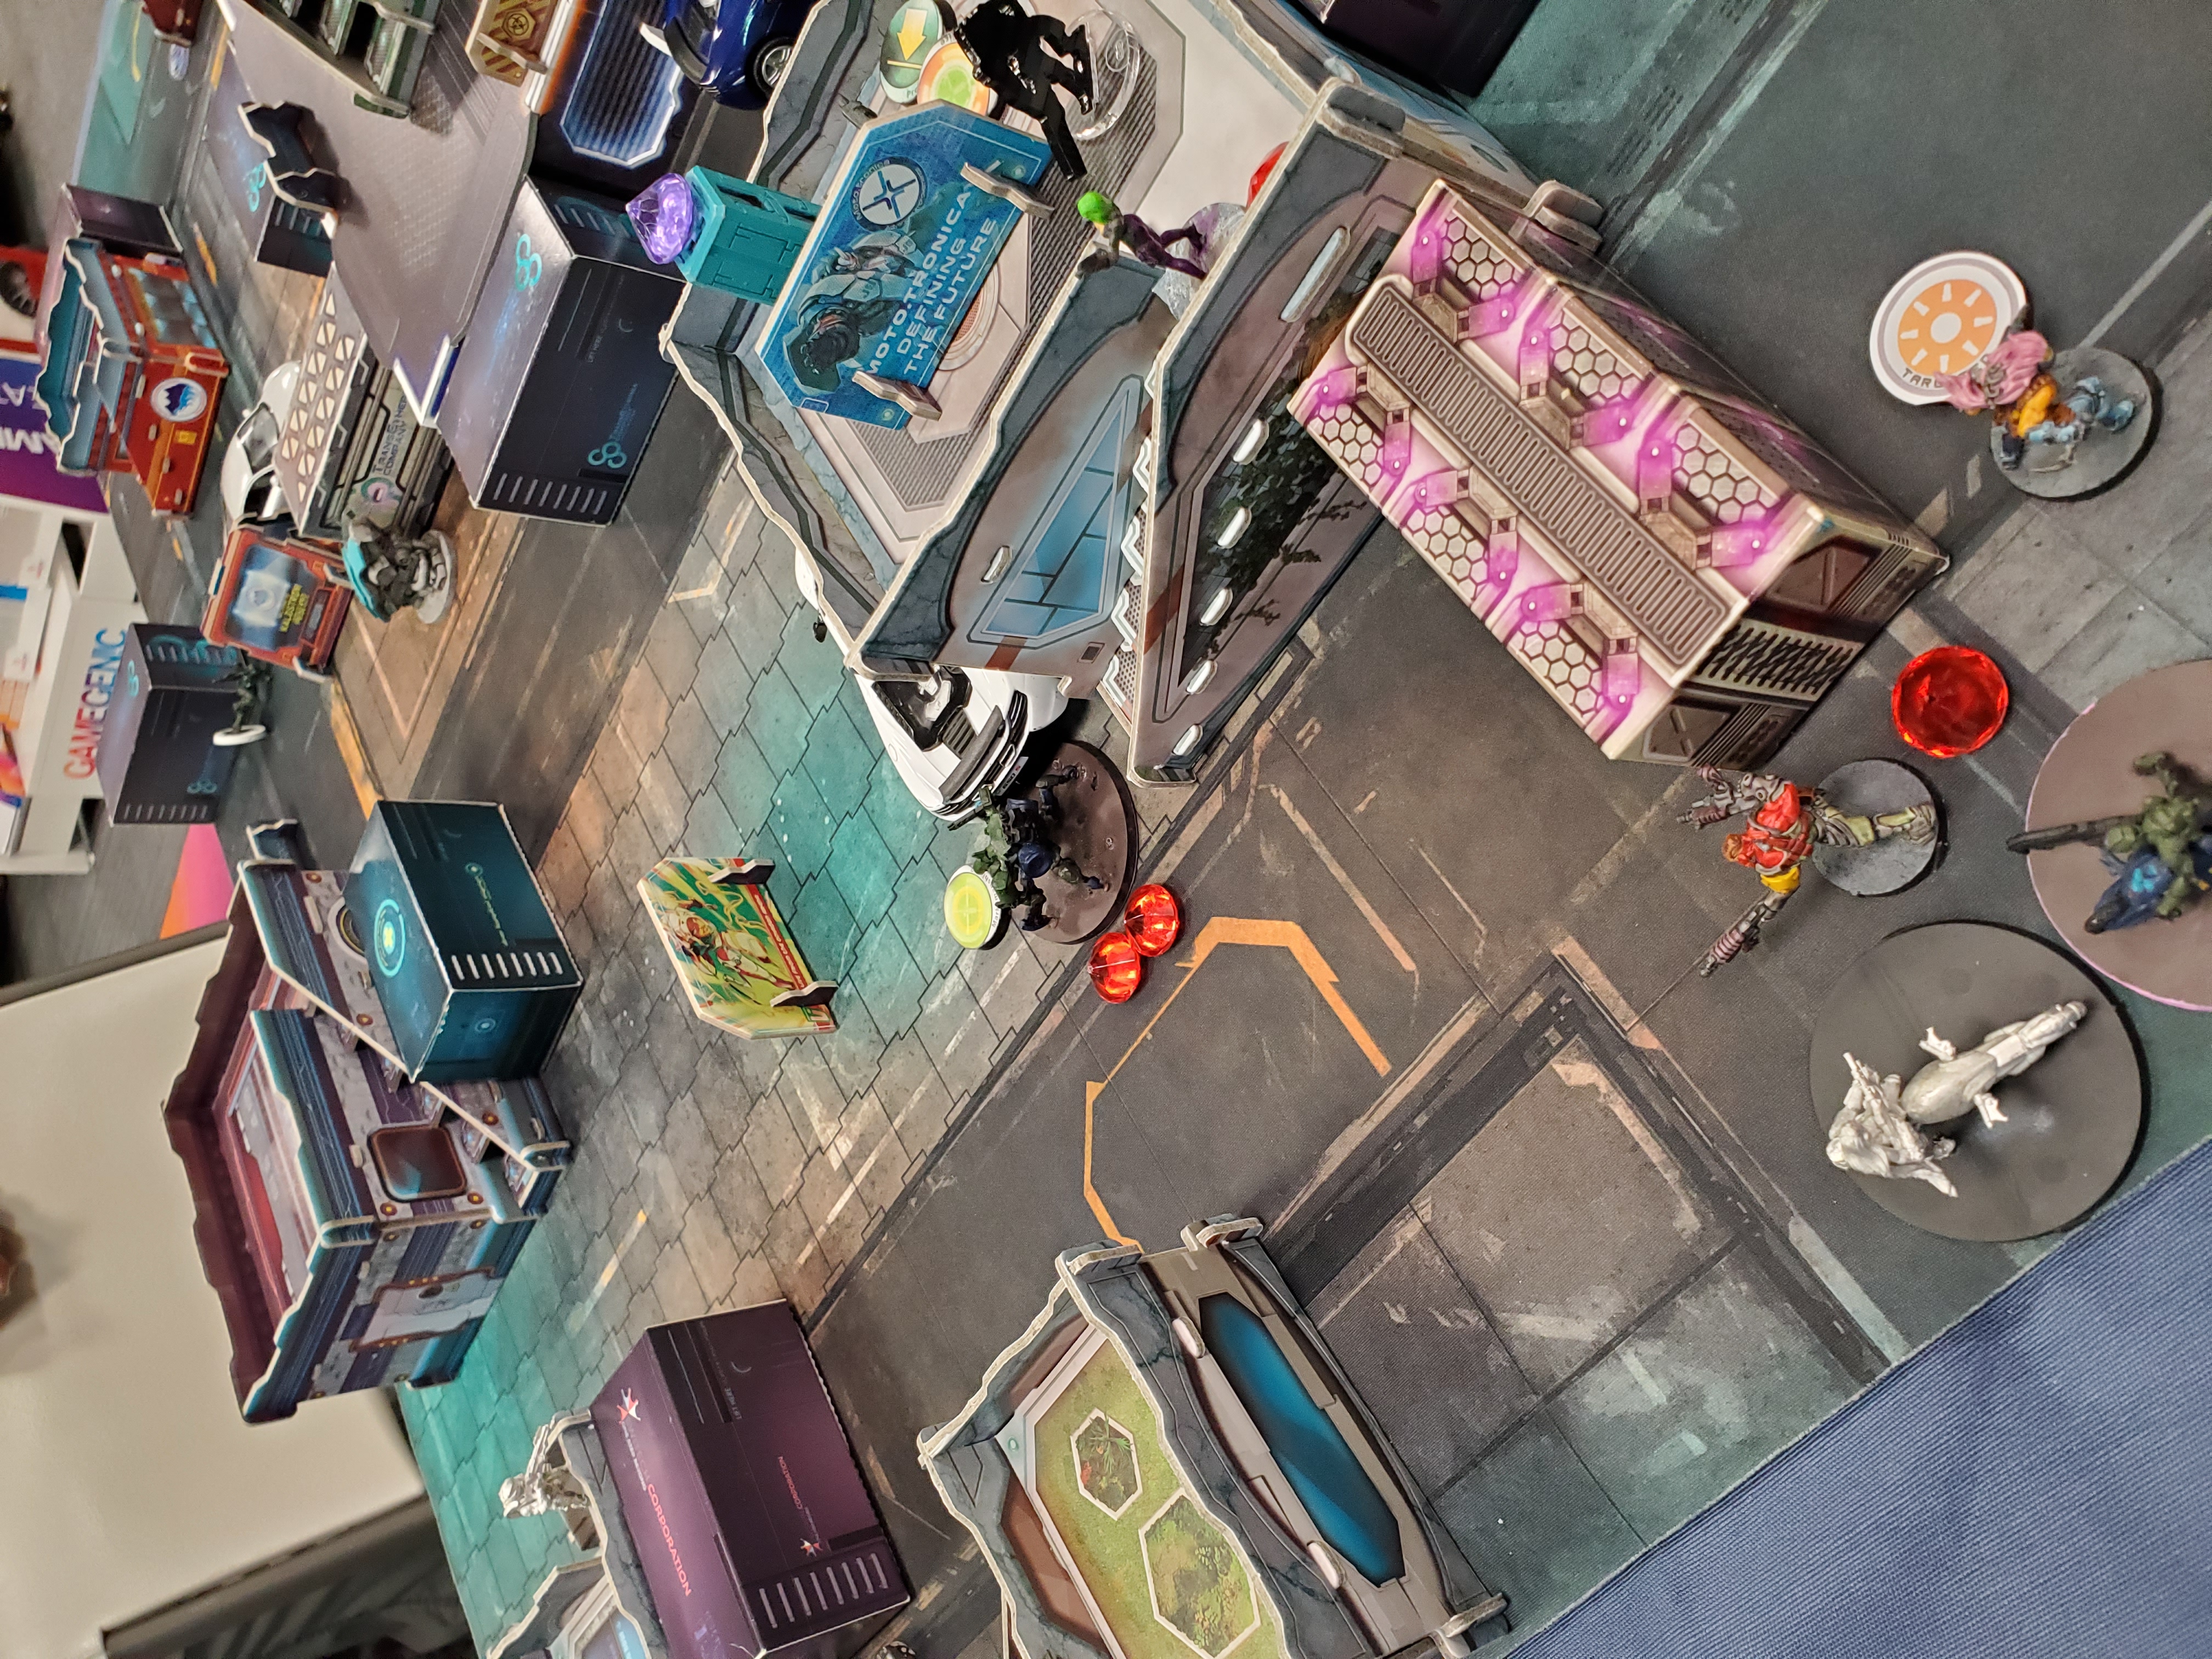
The opposing biker charged forward, 360 no-scoping the tiger soldier all the way in the back. Kendrat moved forward and was spotlighted by the guilang hacker, who dropped his camo state in the center of the map. To deal with the offending pathfinder and its obnoxious repeater, the wu ming ball started moving forward; it took a few traded bursts of fire, but in the end, the pathfinder went down after dealing a lucky wound to the wu ming HMG.
With the guilang hacker revealed, a ninja hacker revealed itself, also in the center of the map, successfully oblivioning the guilang. Freed of the guilang temporarily, the ninja then spotlighted the suppressing Nokk; the guilang successfully reset out of the isolation.
However, the guilang could not stop the opposing biker, who drove forward and, using the spotlight to help aim through the mim-6, blasted the Nokk from behind, but not before she was able to down the paramedic keisotsu, who brought back the tanko.
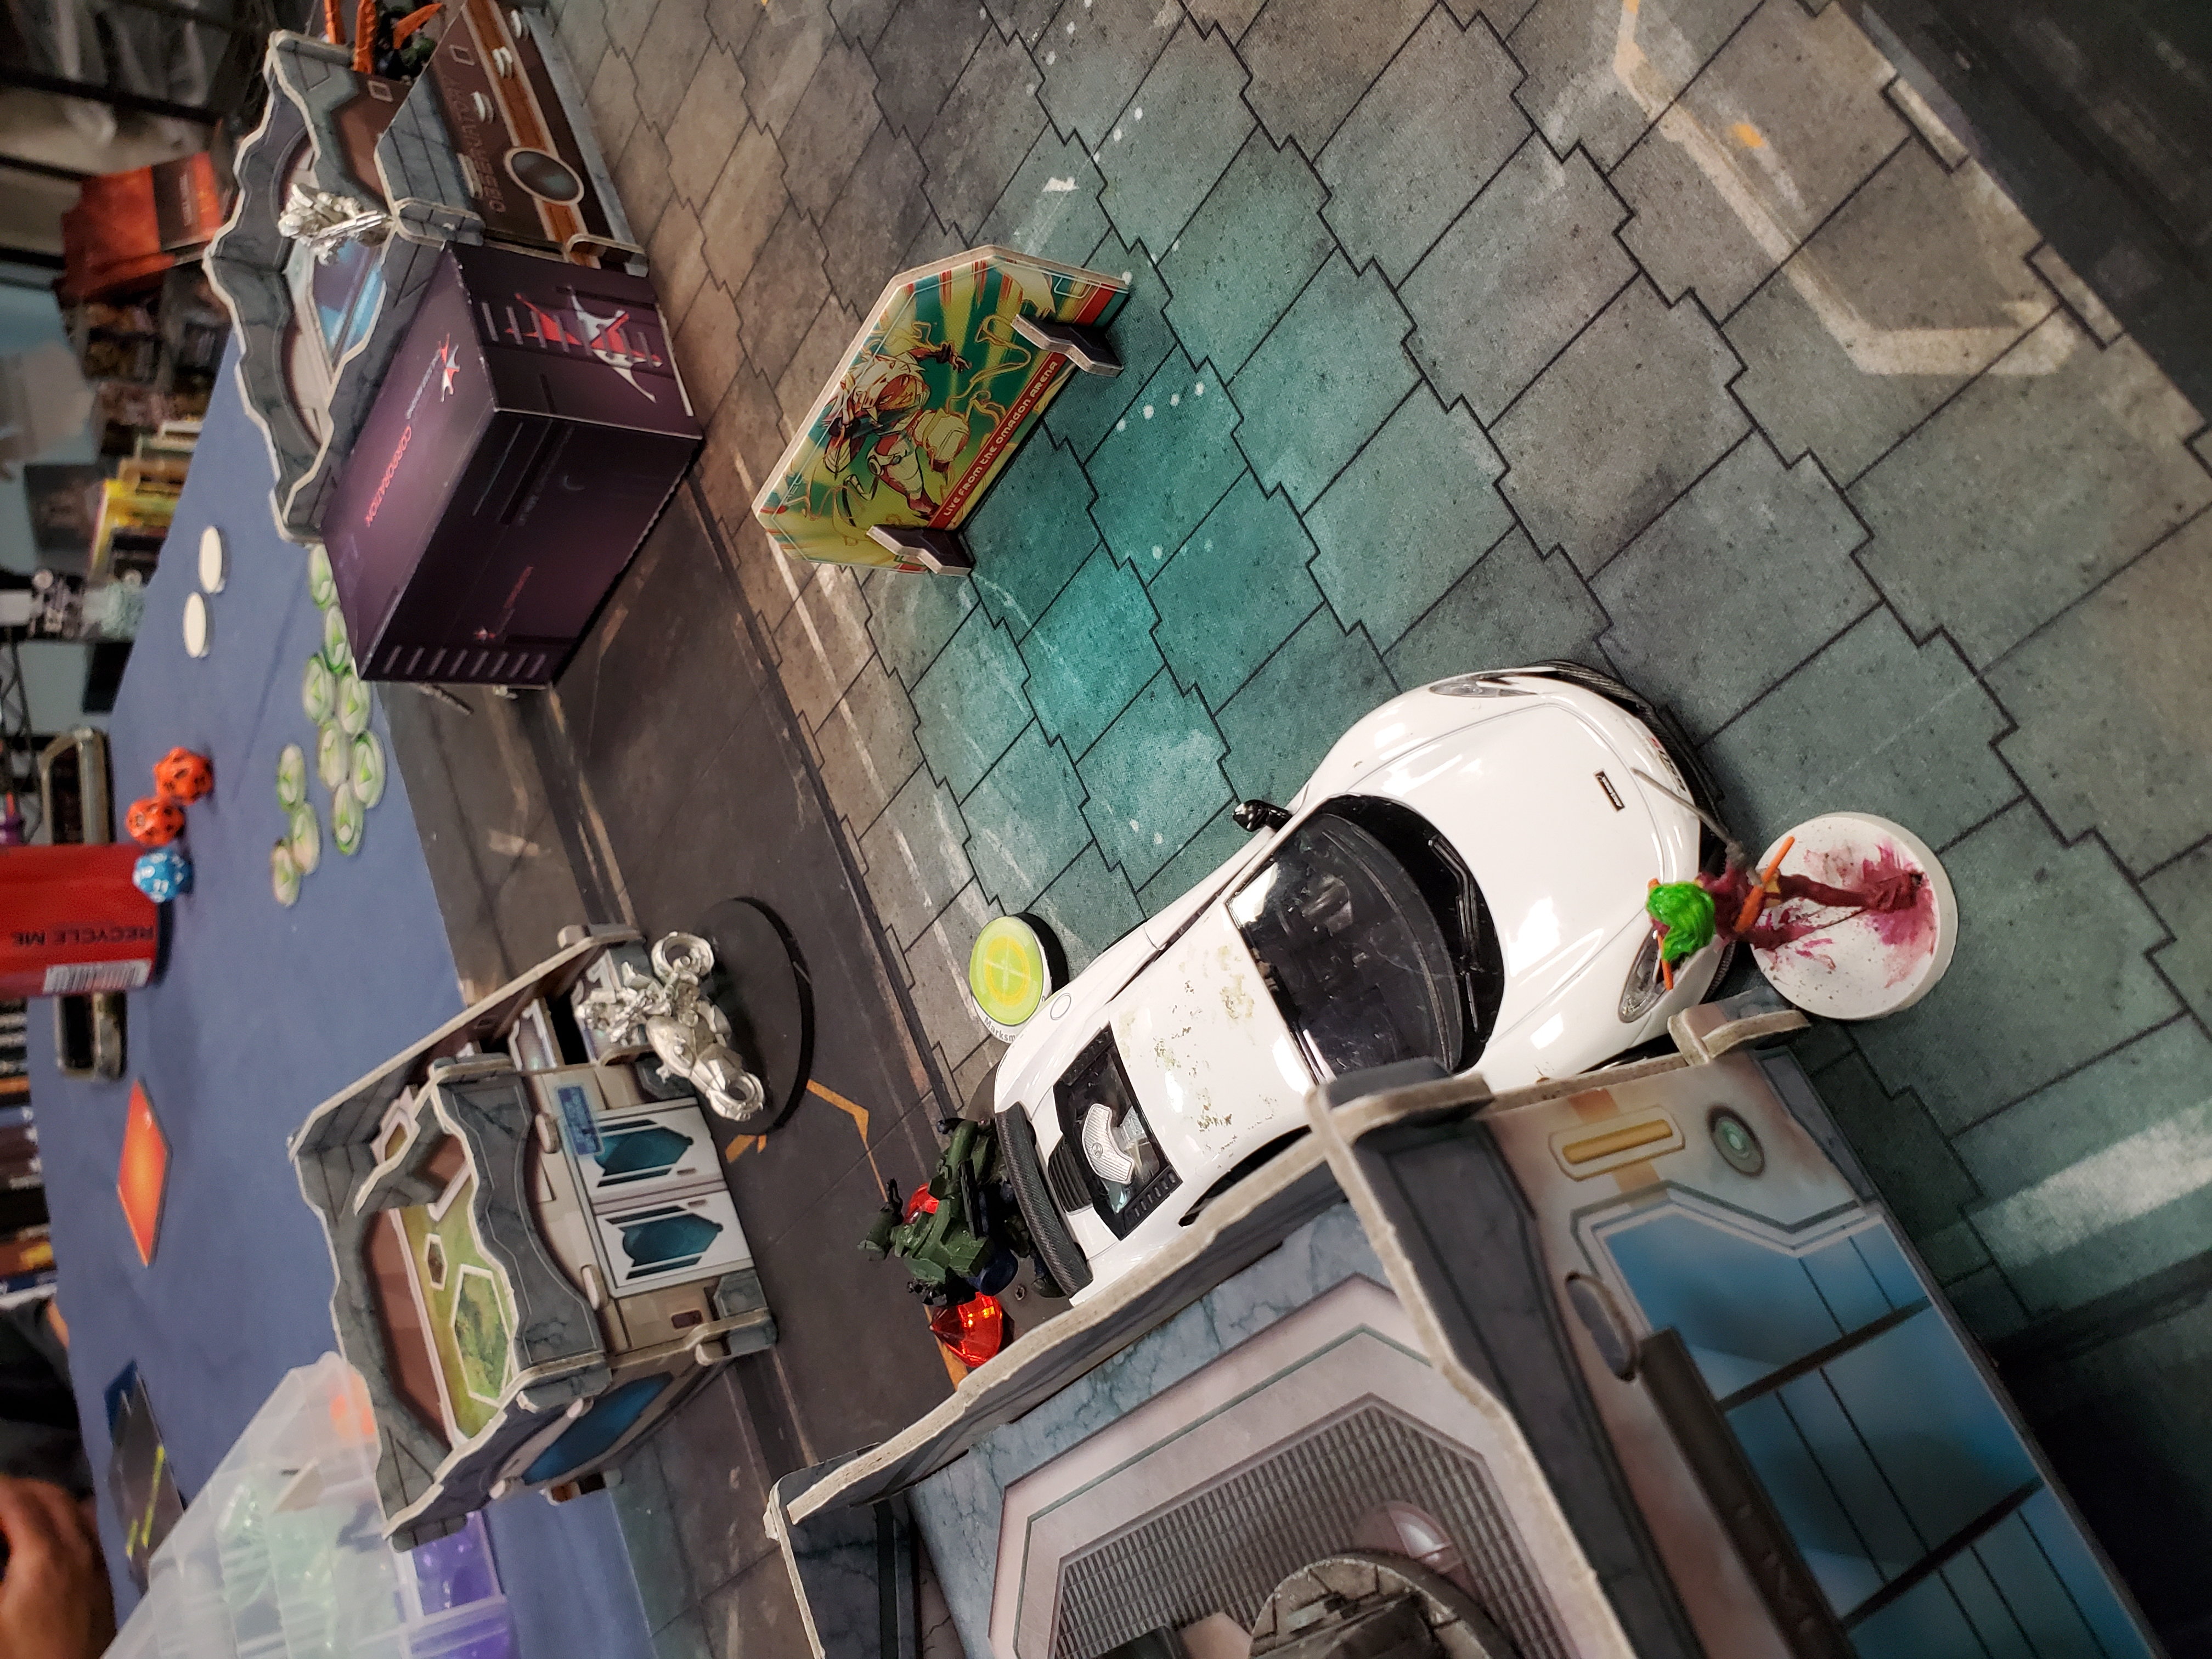
Having slowed the Ikari down just enough, the right varangian threw a smoke grenade to cover the bulleteer from the rezzed Tanko; the bulleteer then took the opportunity to down the biker.
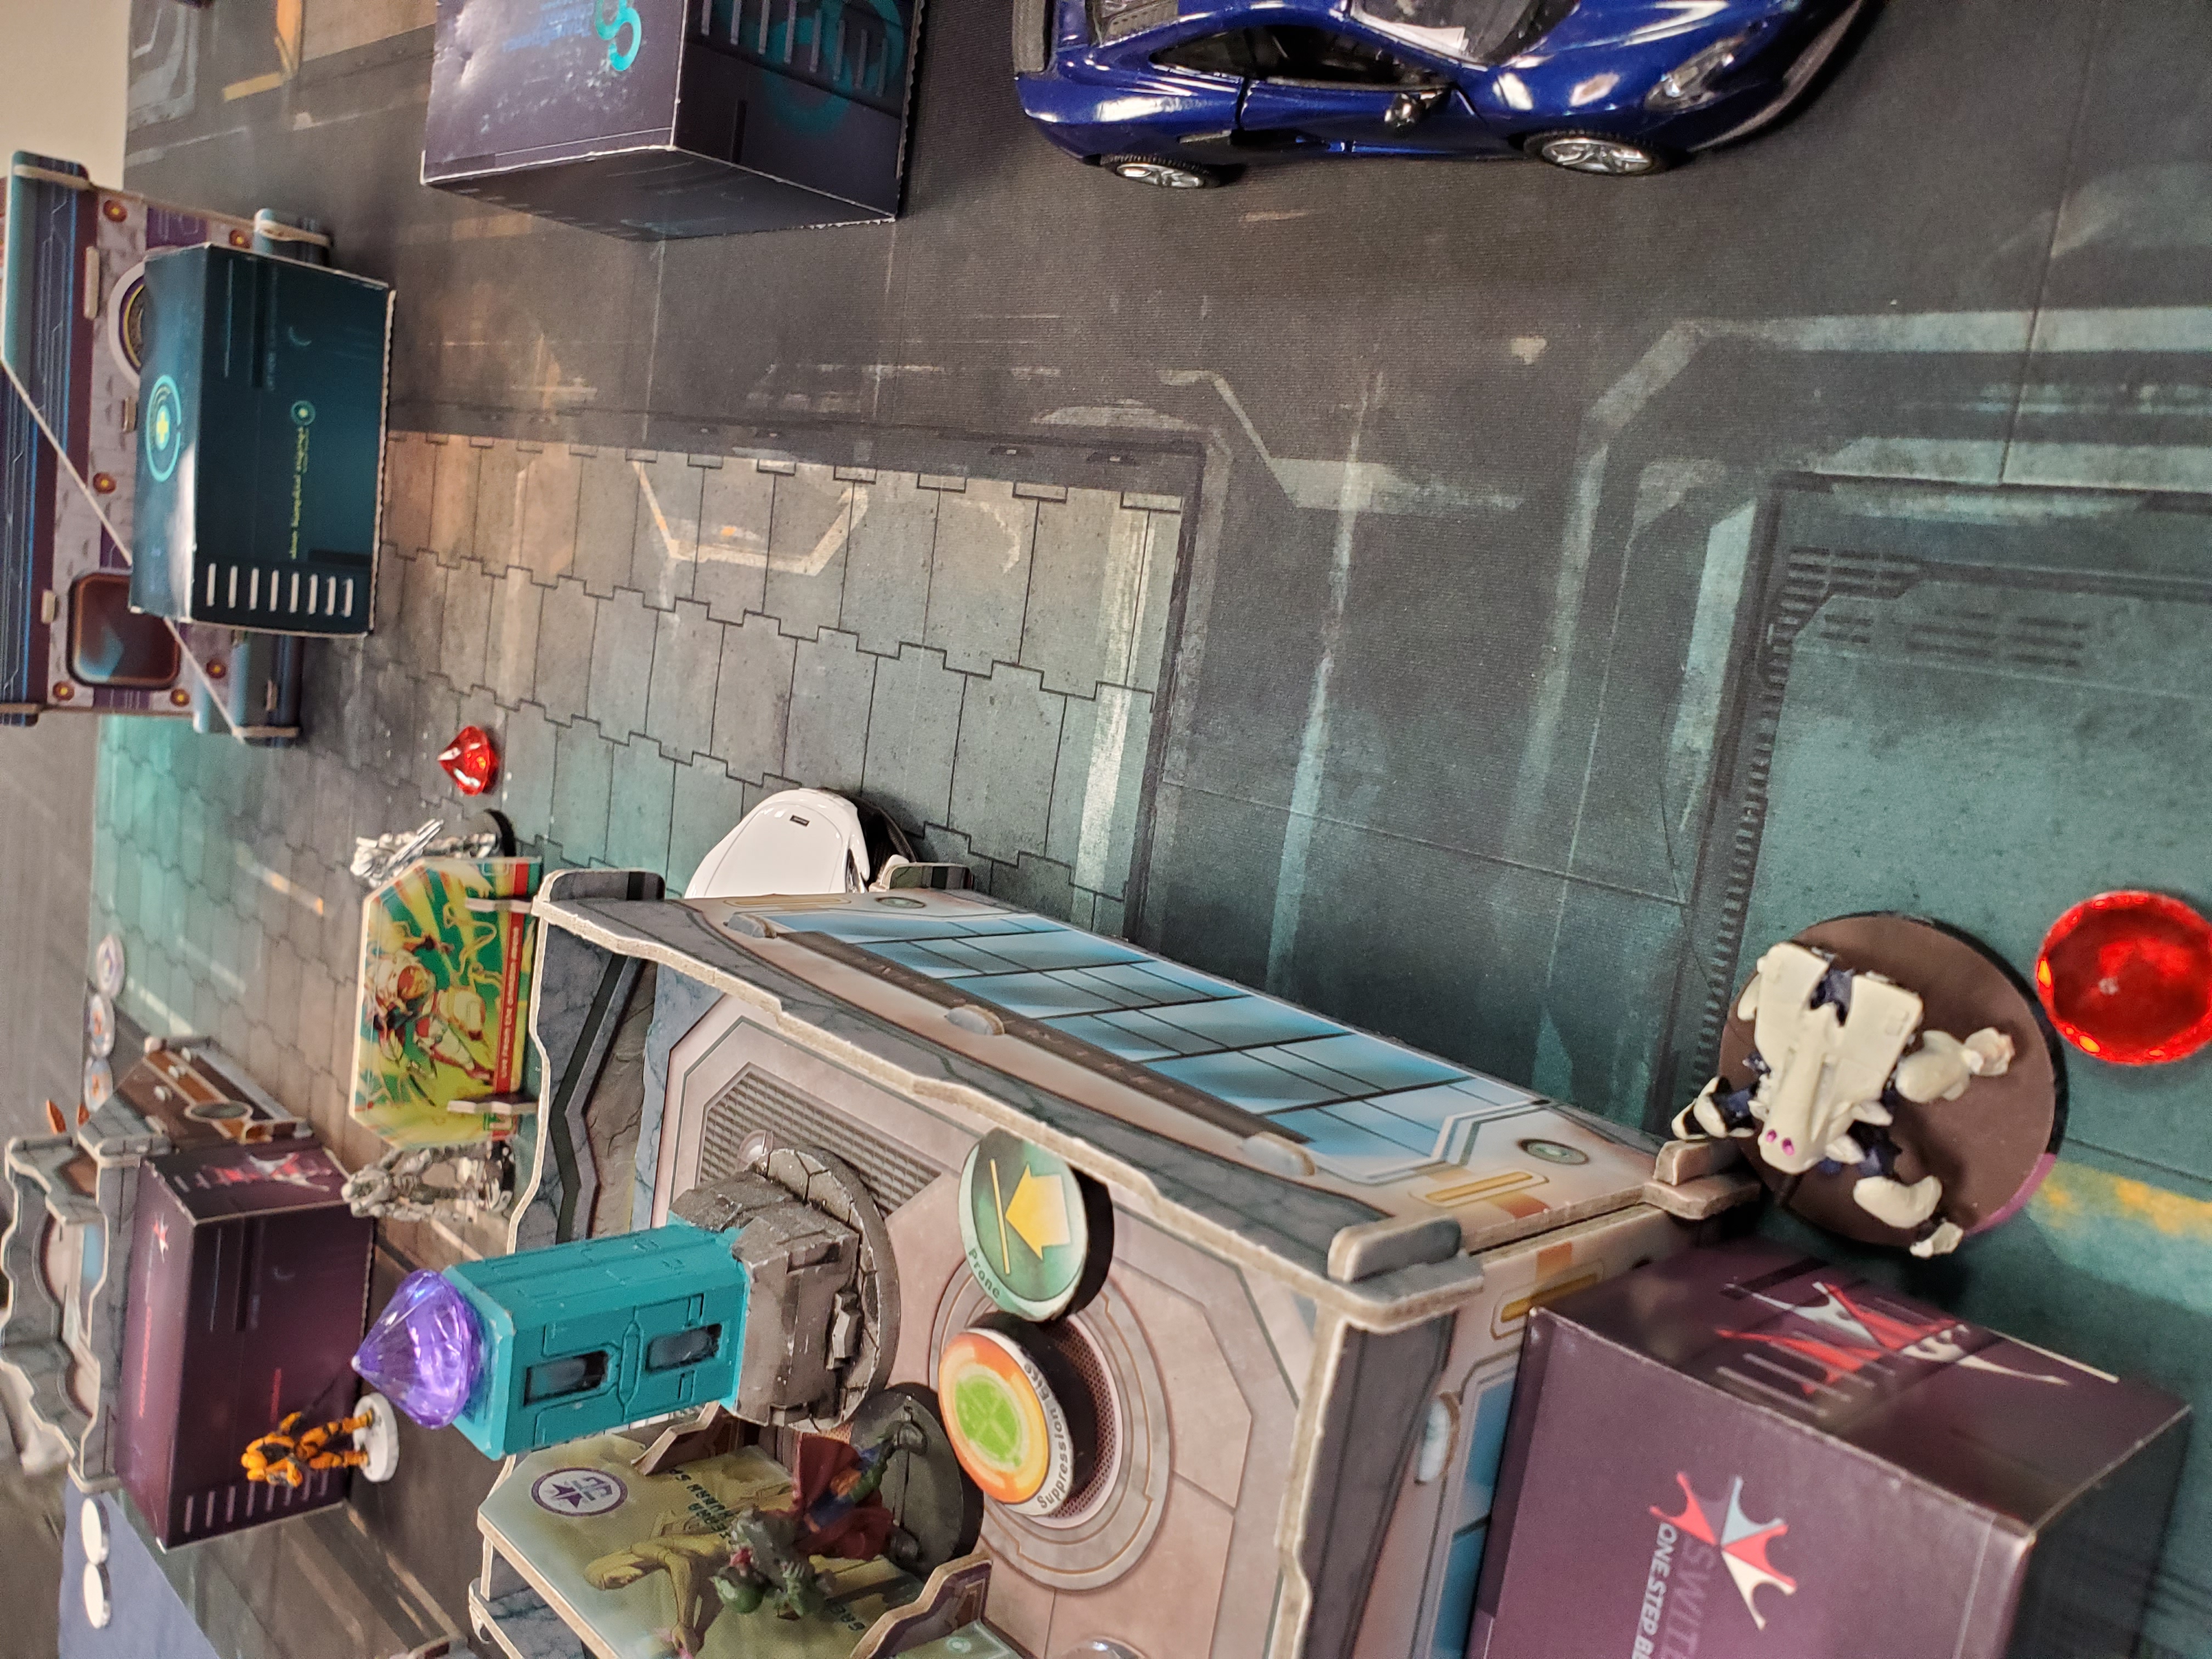
With the Tanko back, the bulleteer had to shuffle a little over to bring him back down; the tanko straight died in the ensuing flurry of bullets. This cleared the way for the karhu to climb up and try taking potshots at the keisotsu lt who had revealed himself, but the keisotsu's armor held fast.
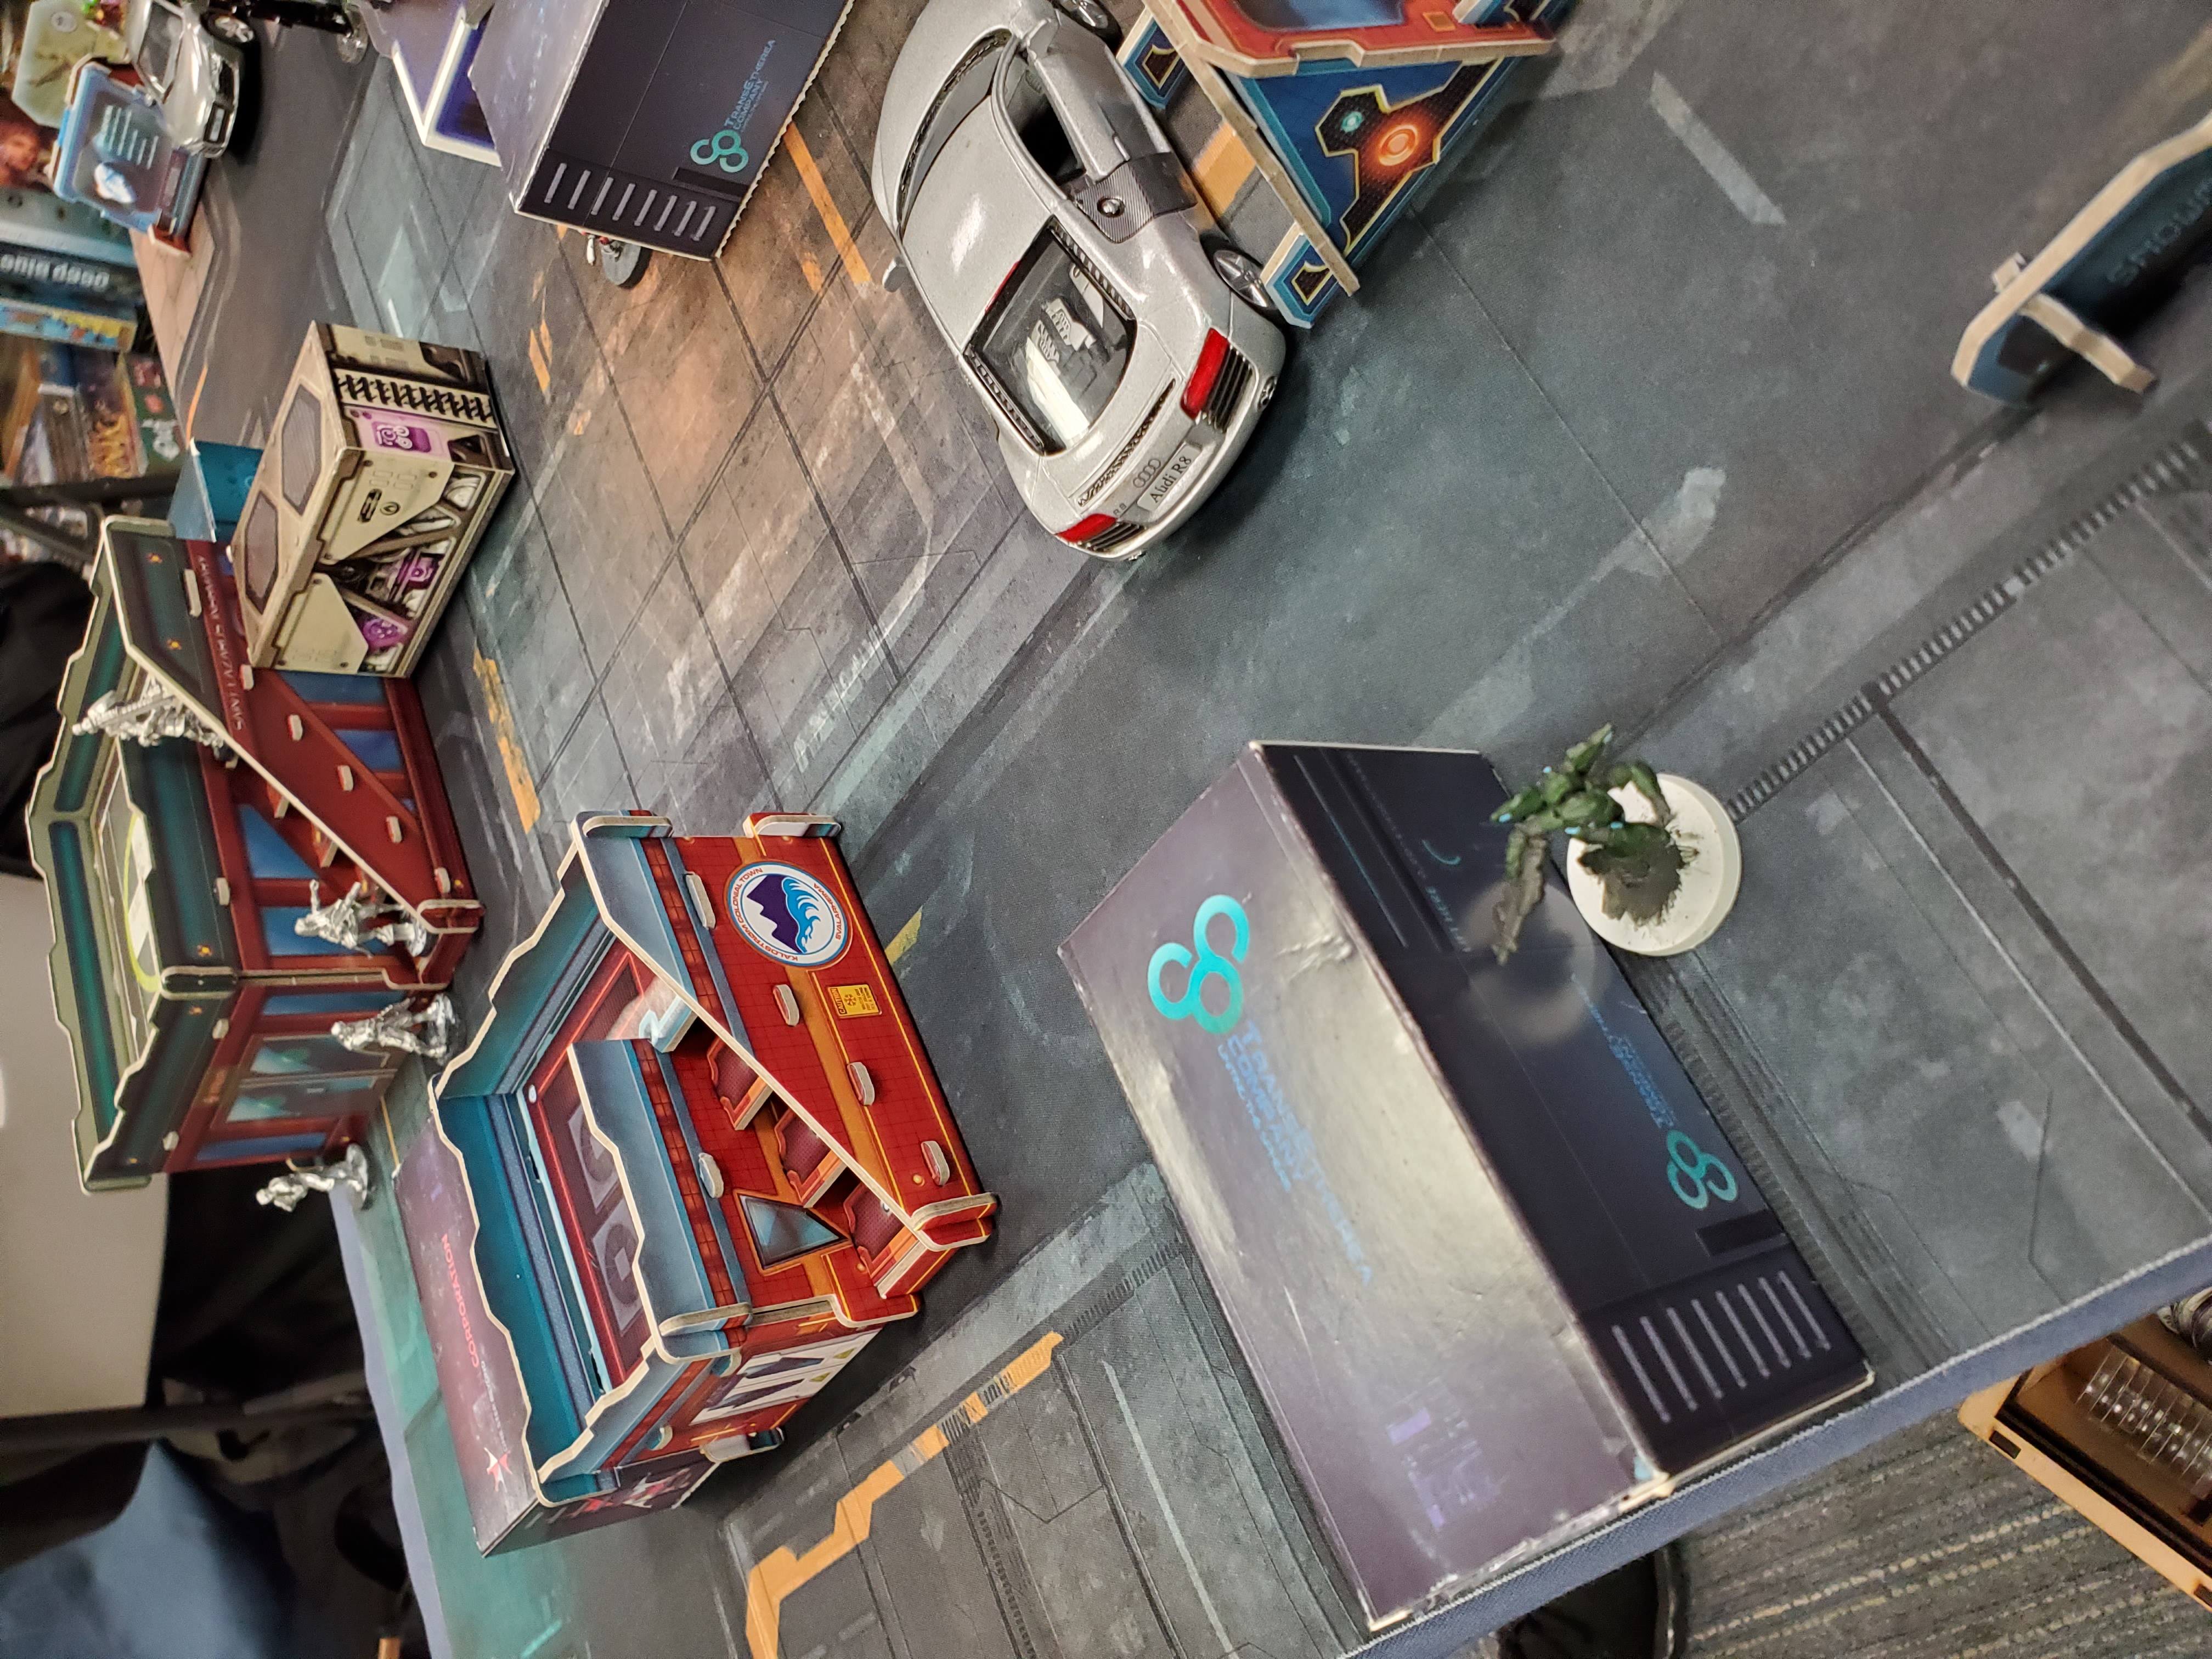
With this commander's backline now wide open, a bashi bazouk waiting around took this opportunity to parachute in. He moved forward, shooting the bulleteer in the back and survived getting shot at by the varangian, who missed. Taking this opportunity to hobble White Company, the bashi bazouk pushed his luck, trying to shotgun the karhu at close range; the karhu's armor miraculously held.
Now in retreat, the karhu remained the only active operative, as the rest of his team started to fall back around him. Using the only order available to him, he climbed straight up and over, into a hail of gunfire from a keisotsu, bashi bazouk, and wu ming. He clutched the roll to activate the console, winning the game.
White Company is a lotta fun with a bunch of random, tricksy things. For this mission, leaving the haidao standing with the saturation zone was definitely a mistake; when he would normally make a gunfight dicey, instead, it was too close for comfort and I paid for the mistake almost instantly, hah. Because of the saturation zone, I'm strongly considering swapping out the haidao for a nisses HMG or something to throw more MSV2 HMG bullets at problems I need removed; the mimetism is also handy for winning those gunfights.
The problem is that swapping for the nisses means I have to downgrade a fusilier to a fugazi, which makes my lt that much more obvious. Fingers crossed that I'm able to really hide him or cover him reeeeeaaaal good from assassins. I dunno; the new experimental list is gonna be fun, hah.
Battle Report Author

Army Lists Used In This Battle
Recommend Commander For Commendation
Share this battle with friends
EDOCGenKipWins

Great report, and good battle! Nice looking table.
Cool batrep, like the table and mini !
Awesome report, I just wish you had rotated the pictures
Yeah my neck hurts after looking at the pictures. But still looks like a cool battle 🙂
Ugh, also, reminder to self to always take pictures not vertically, otherwise all my pictures get put on their side, for some reason. Bleh