Fought At Darpan Xeno-station: Xenofarm Gamma
656 days 9 hours 36 minutes ago
Greed always Punishes
View Linked Report - CLICK HERE 300 POINTSObjectives:
1. Capture
2. HVT Retroengineering
3. Extremis Recovery
4. HVT Designation
Personal Objective:
HVT Kidnapping
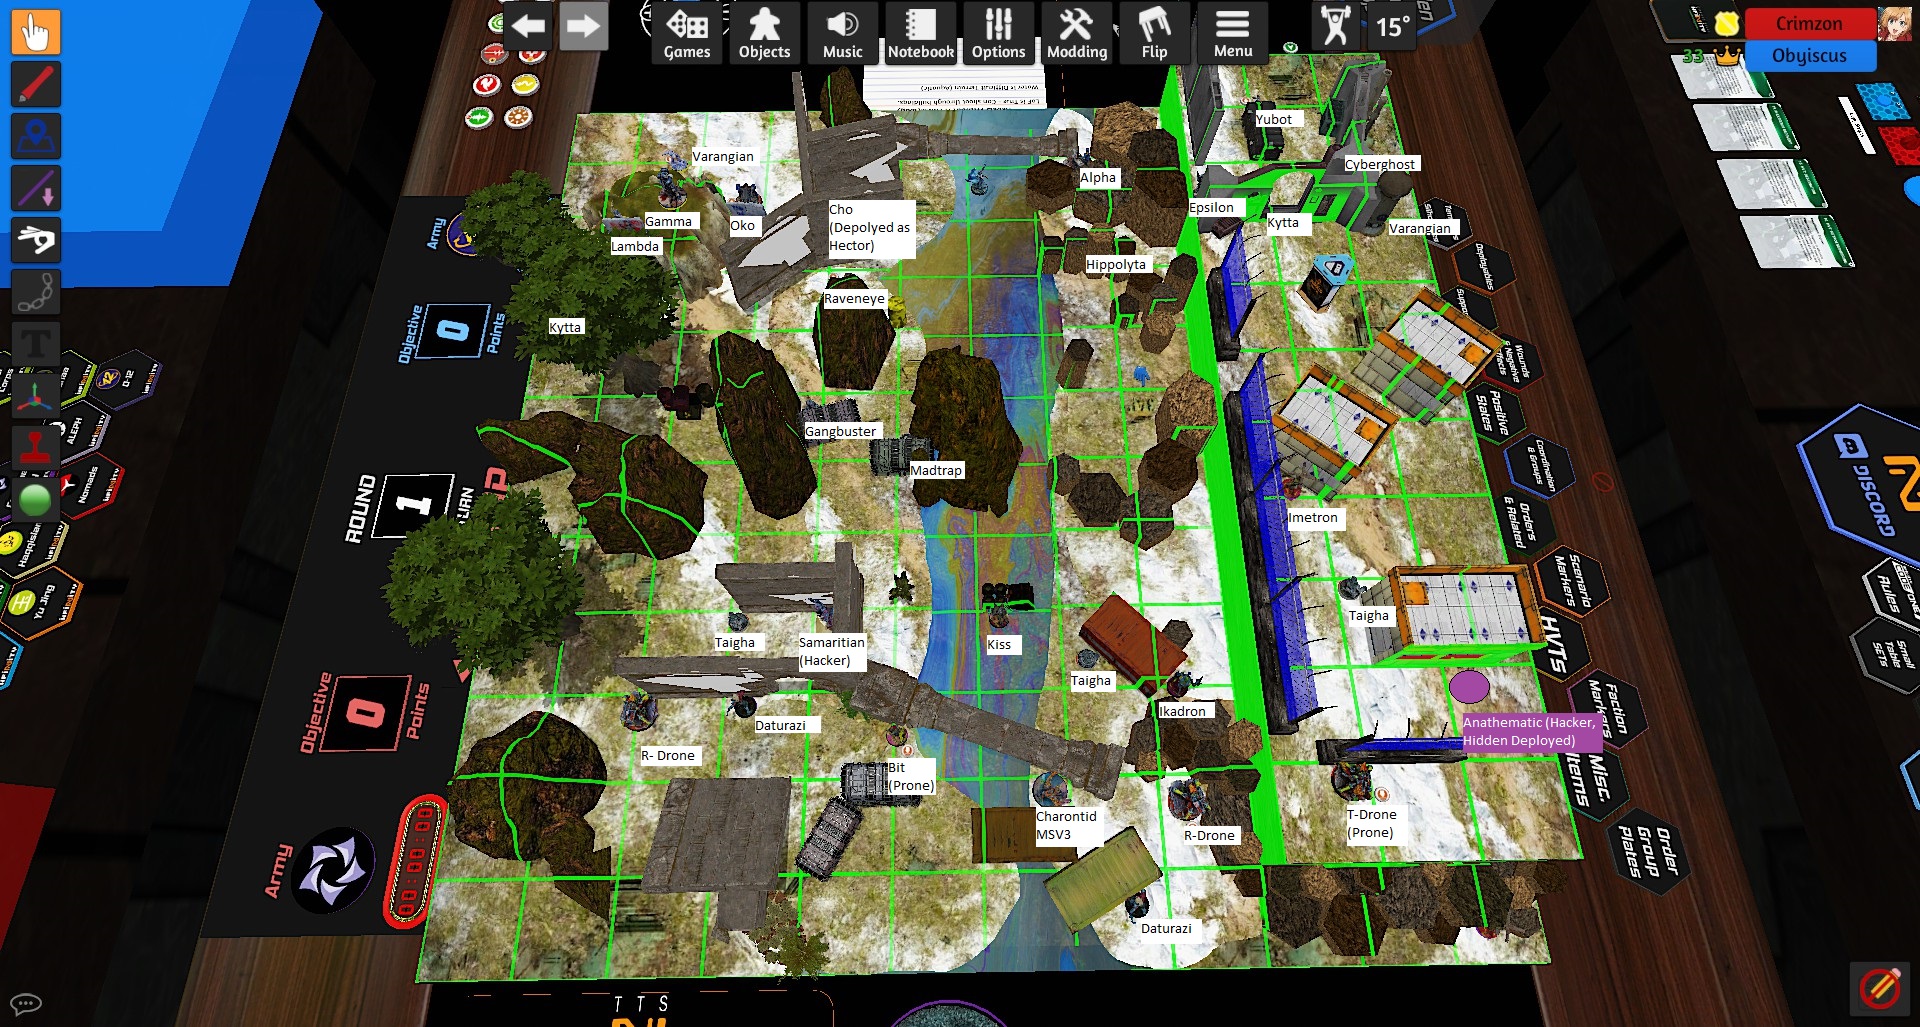
Dice were rolled and I have decided to go first, but this means, I am also deploying first.
Preface: I play a lot of shasvastii, but I am taking this event as a chance to play and learn what Vanilla Combined can offer. Let this be a record of my learning games as I expand into Vanilla from Shas.
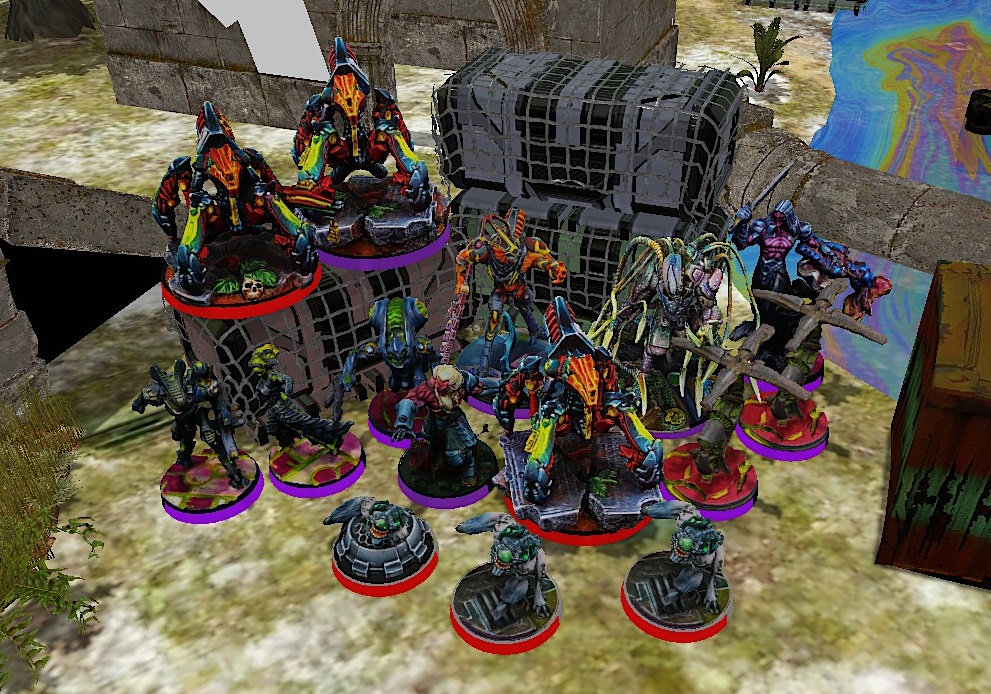
Shasvastii is where I am home. Unfortunately, this is not the purpose of this game. If you ask anyone who has ever played me, they will tell you that I am a greedy player who likes to gamble a lot, and what say greed more than running both the Charontid and the Anathematic in the same list! Having both EI aspects in the same lists puts me in a very bad disadvantage if ever they get taken out so they need to be supported heavily.
They Idea is very simple; I have 2 Huge threats in the Charontid and Anathematic. I take the MSV3 HMG Charontid and support it with smoke (Daturazi) and the Hacker Anathematic. (Who doesn’t love a Burst 4 Trinity right?) To support the Anathematic, Bit and Kiss and the Umbra Samaritan hacker seems to be good here. Bit and Kiss for their pitchers and the umbra for spotlight when the Anathematic is still in hidden deployment. The T-Drone because spotlight plus guided can be an option and Ikadrons for baggage (if ever I need more repeaters) and Imetrons for orders.
Now let’s talk about Taighas…. They are the road blocks people have to deal with and would often trade for more points than they are worth. But since this list likes to engage in the long range, the Taighas should be played a bit more defensively (I am really bad at this). After all, just having them around the aspects can deter close range engagement as not many would like to deal with the Taighas.
My list enjoys long range engagements, whether it is the HMG on the Charontid, B4 Trinity from Anathematic through repeaters, or guided missiles from the T-Drone. The Charontid is placed centrally with the as much sight as possible. Daturazi with smoke close by and ready to apply smoke and a Taigha near by to help in case of close engagement. Drones with repeaters are scattered across deployment in so that should my opponent should end up in close engagement, they risk spotlight with I hope with will also help deter him from wanting to enter close range. On the left side, Similarly I have placed my Umbra supported by another Daturazi and a Taigha. Bit and Kiss are in the middle to open up options as to which repeaters need to go. I withheld the Anathematic and pass the torch to my opponent for deployment.
There were many things to note here, even for someone who is bad with O-12 such as myself.
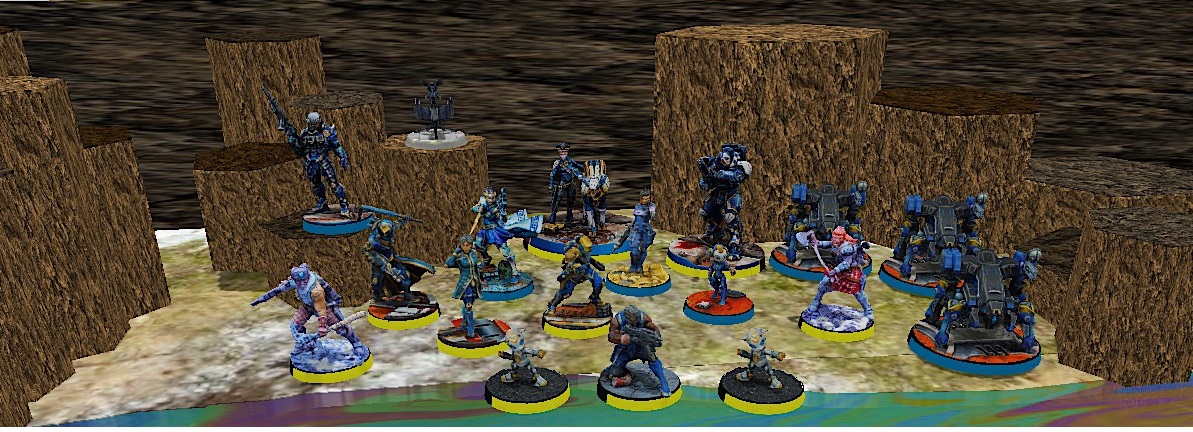
1. The Alpha or Hector should the LT.
2. The Gamma should not be ignored and can wipe out everything I own if I am not careful. It is also my Charontid so I really need to be careful.
3. The Epsilon that was deployed watching the Charontid, Bit, Kiss, a Taigha, and most important, that path my Daturazi would make during Impetuous phase.
4. Hippolyta, the close-range threat I have been fearing.
Since with Impetuous can move without the Epsilon opening fire, so I opted for no movements during impetuous phase. Daturazi dropped prone, moved, and was able to land smoke just close enough to reach the Charontid allowing a fight with between the Charontid and the Epsilon without interference from the Gamma. Many Shots after, Epsilon fell unconscious but now out of sight. Charontid fired shots onto the Gamma. Many shot later… nothing happened. On the left side, under smoke cover, the Umbra and Taigha advanced, I attempted hack the Gangbuster with the Umbra but once again, nothing happens, Realizing I should be using repeaters, Bit and Kiss advances and launched repeaters, 1 near the Gangbuster and 1 near Hippolyta, the Gamma ARO shoots, and Kiss fell. Revealing itself, the Anathematic hacked the Gangbuster unconscious, as well as targeted Hippolyta who was finished off by the T-Drone with its guided missiles.
White Noise was placed in front of the Gamma and fired shots at the Charontid. After a few shots later, the Charontid fell and the WIP 16 moved to the Umbra. Using the Yubot, Epsilon got back on his feet and took out Bit. He processed to hunt down the Umbra which dodged out of sight of Epsilon, but now in sight of the Gamma. Gamma fires into the Umbra who returns fire hoping to get the Lambda under the plasma template. Shot fired…. Umbra missed and was shot to death by the Gamma. Cyberghost used Cybermask to make himself more difficult to hunt down.
Having taken so many losses, it is no longer time to play annihilation. The R-Drone on the left side advanced toward the O-12 HVT and through its repeater, Anathematic spotlights and secures HVT Designation. Realizing I can no longer get capture due to the death of the Umbra, Extremis Recovery requires a dead body, and there no engineer for either my opponent and myself to do the retroengineering, my only hope is to secure HVT, and make sure can’t do any more of his…. This means I go back to playing annihilation… Afterall, if I put enough pressure my opponent into thinking he need to remove the Anathematic, 1. He won’t be doing the objectives and 2. If the Anathematic goes down on his turn, I would start my turn in retreat with me being on top being the only one with objectives completed. With this plan in mind. Anathematic advances removing as many models as I can which includes a Varangian, the recovered Epsilon and the Raveneye.
Gamma repositioned, and attempted the remove the R-drone on its way… The R-Drone flashed the Gamma stunning him. This forces my opponent to use move orders to unstun the Gamma and he attempted a few more shots at the R-drone. By some blessings of the dice gods, this R-drone kept making saves before eventually falling leaving behind a huge bite mark in my opponent’s order pool. The Yubot advanced, and moved to touch the body of a Taigha who previously failed in his advance to get me a body for Extremis Recovery and engages the Anathematic. The Anathematic shots and misses….. Free Extremis Recovery for my opponent. This Yubot is now base to base with the Anathematic. This was when my opponent figured out what I was up to. He was about spend resources to kill my only offensive piece left. Figuring out that killing the Anathematic was a bad idea, the Cyberghost moved to isolate it leaving me in Loss of Lieutenant.
Sadly, this was not how I pictured how the last turn would be. With Veteran troops in the form of Imetrons and Daturazis, and some command tokens, there are orders to accomplish secure HVT but without retreat denying my opponent of his last turn, there is much more I need to do. My current plan: 1. free the Anathematic from the Yubot as it is securing my HVT, and position him to make my opponent’s last turn difficult, 2. find a body and perform Extremis Recovery and 3. finally move something into HVT range to secure it. This was a lot harder to accomplish than it sounds. To do one, an Ikadron moves and shots it’s pistol into the Yubot… fails. It moves closer to negate cover, shoots…..fails. I missed a line of sight and got flashed from far away. One just got harder to do. The Anathematic tries to remove the Yubot himself….. fails. Moving on to two, a Daturazi moves forward and throws a grenade at a Kytta and takes him out. Advancing towards to Kytta, the Daturazi performs Extremis Recovery ignoring a spotlight from Cyberghost far away, dice rolls….. Success! With that two is done! With all of this being so close to the O-12 HVT, three has been completed as well! Unfortunately, there were not enough order to move the Daturazi to a safer spot but its not too bad of a turn considering the very limited resources I was left with.
At this point, the game became extremely easy for my opponent. A Varangian moves with his impetuous and shoots the targeted Daturazi winning the face to face. The Gamma ran forth picks up the fallen Daturazi and accomplish capture. Ending the game here would mean a minor victory for my opponent but he decides to try for more points. The Cyberghost advances ignoring all rolls from the Anathematic (mostly due to the Anathematic failing in every roll he made) and spotlights my HVT accomplishing HVT Designation ending the game with a score of 2 points for the combined army and 9 points for O-12.
This was a tough game to play and I have made mistakes after mistakes. Biggest which was pointed out to me after the game which was leaving Kiss standing the middle of the field when I should be had him prone. There was also a chance for me to spotlight and guided missile the Alpha instead of Hippolyta. I choose Hippolyta in the end as I valued Hippolyta to be more dangerous since I guessed Hector to be LT and Alpha to be chain of command. Moving the Umbra so early in the game was probably not the greatest decision either. I should have played a bit more defensively force my opponent to come to me and not rush forward like an idiot. (My models are impetuous, but I shouldn’t be!) All in all, taking such a greedy list was extremely fun and I learned a lot just from putting them on the virtual table. I think I will make some adjustment to this list and playing with it again. If you have read up to this point, thank you. And if there are any tips you would like to give this Vanilla Combined Newbie, please let me know!
Battle Report Author


Army Lists Used In This Battle
Recommend Commander For Commendation
Share this battle with friends
ObyiscusWins

The Human Sphere and O-12 shall stand against any alien threat on our beloved planet! You won’t win this war!