Fought At Raveneye Port Battery: Ammunitions and Supplies Module
654 days 15 hours 51 minutes ago
Operation New Home Turf
300 POINTSSumi Na So! Sumi Na Ze Hamak!
After our battles in the jungles of Talok we got a new mission from Ze Tasuk:
Secure orbital dominance!
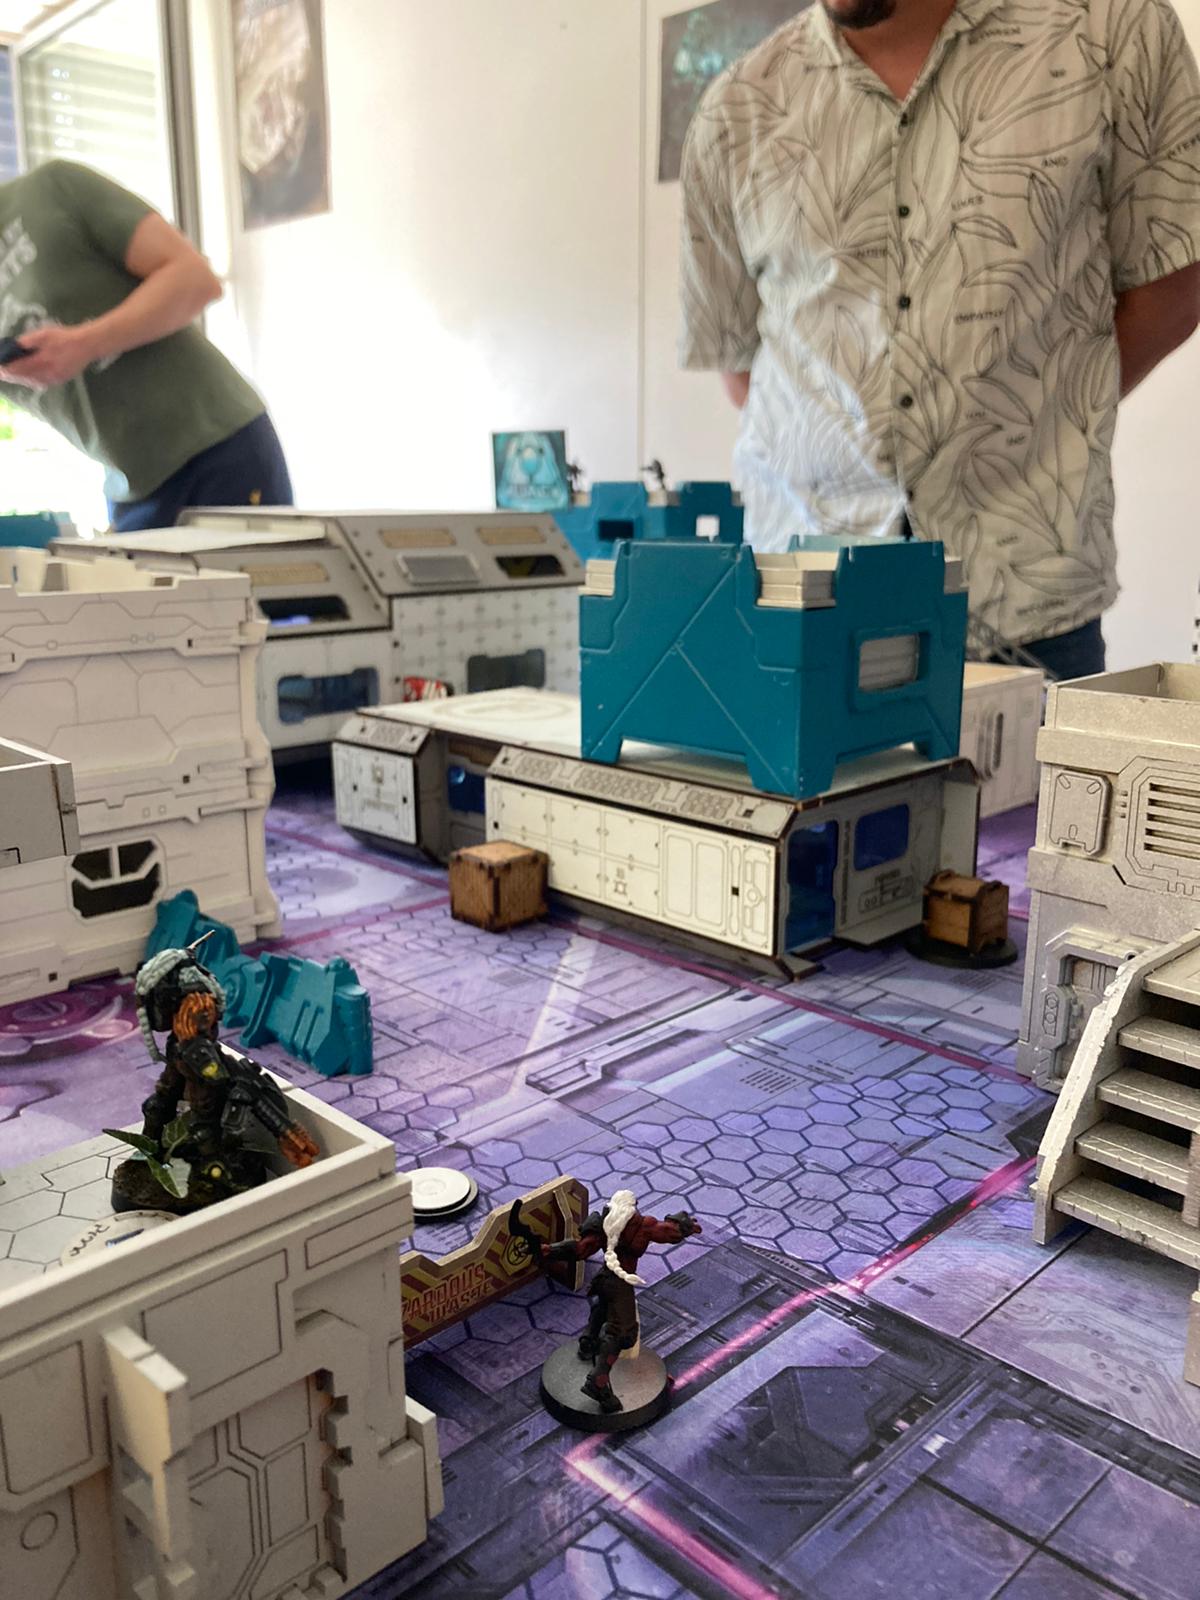
Our target was set and we were preparing to launch the assault on the Raveneye Port Battery!
Knowing where are we going we were able to prepare and bring glory to some of our oldest camerades!
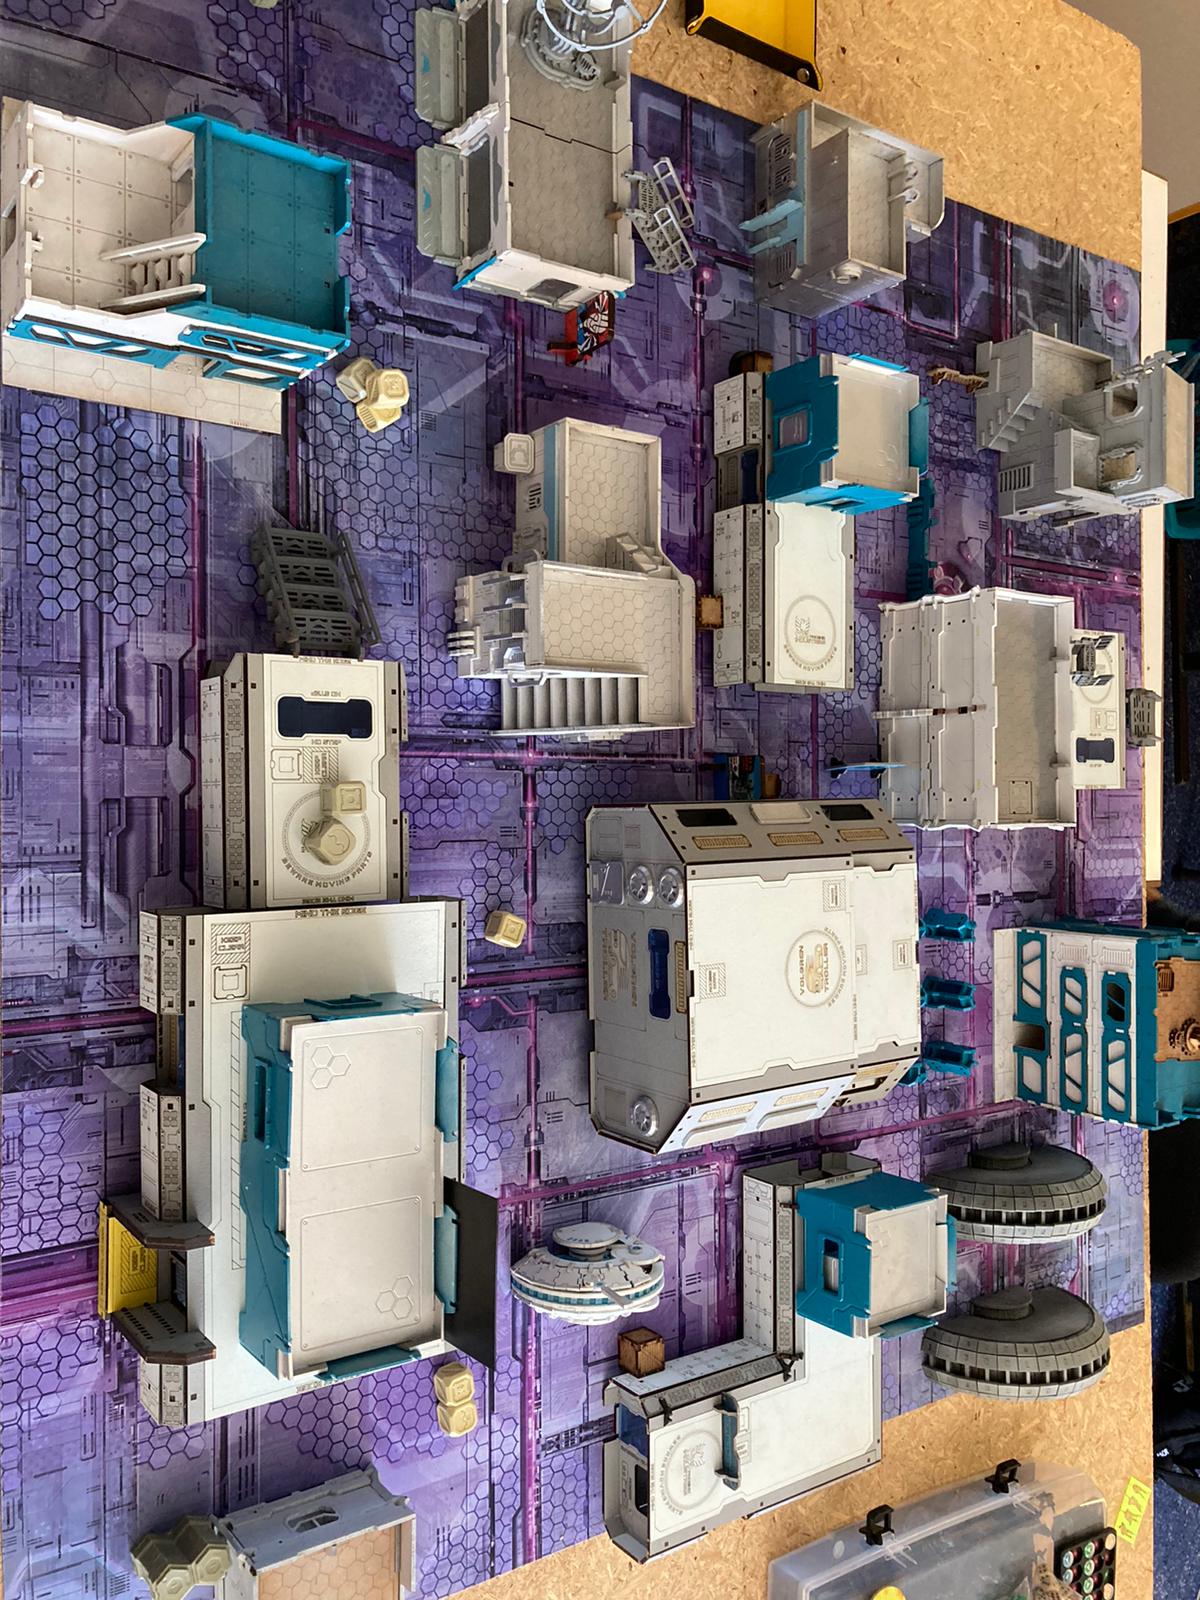
Seeing that those honorless Nomades wrestled back supremacy of the Port Battery of Raveneye from us we prepared to come back and annihilate them once and for all.
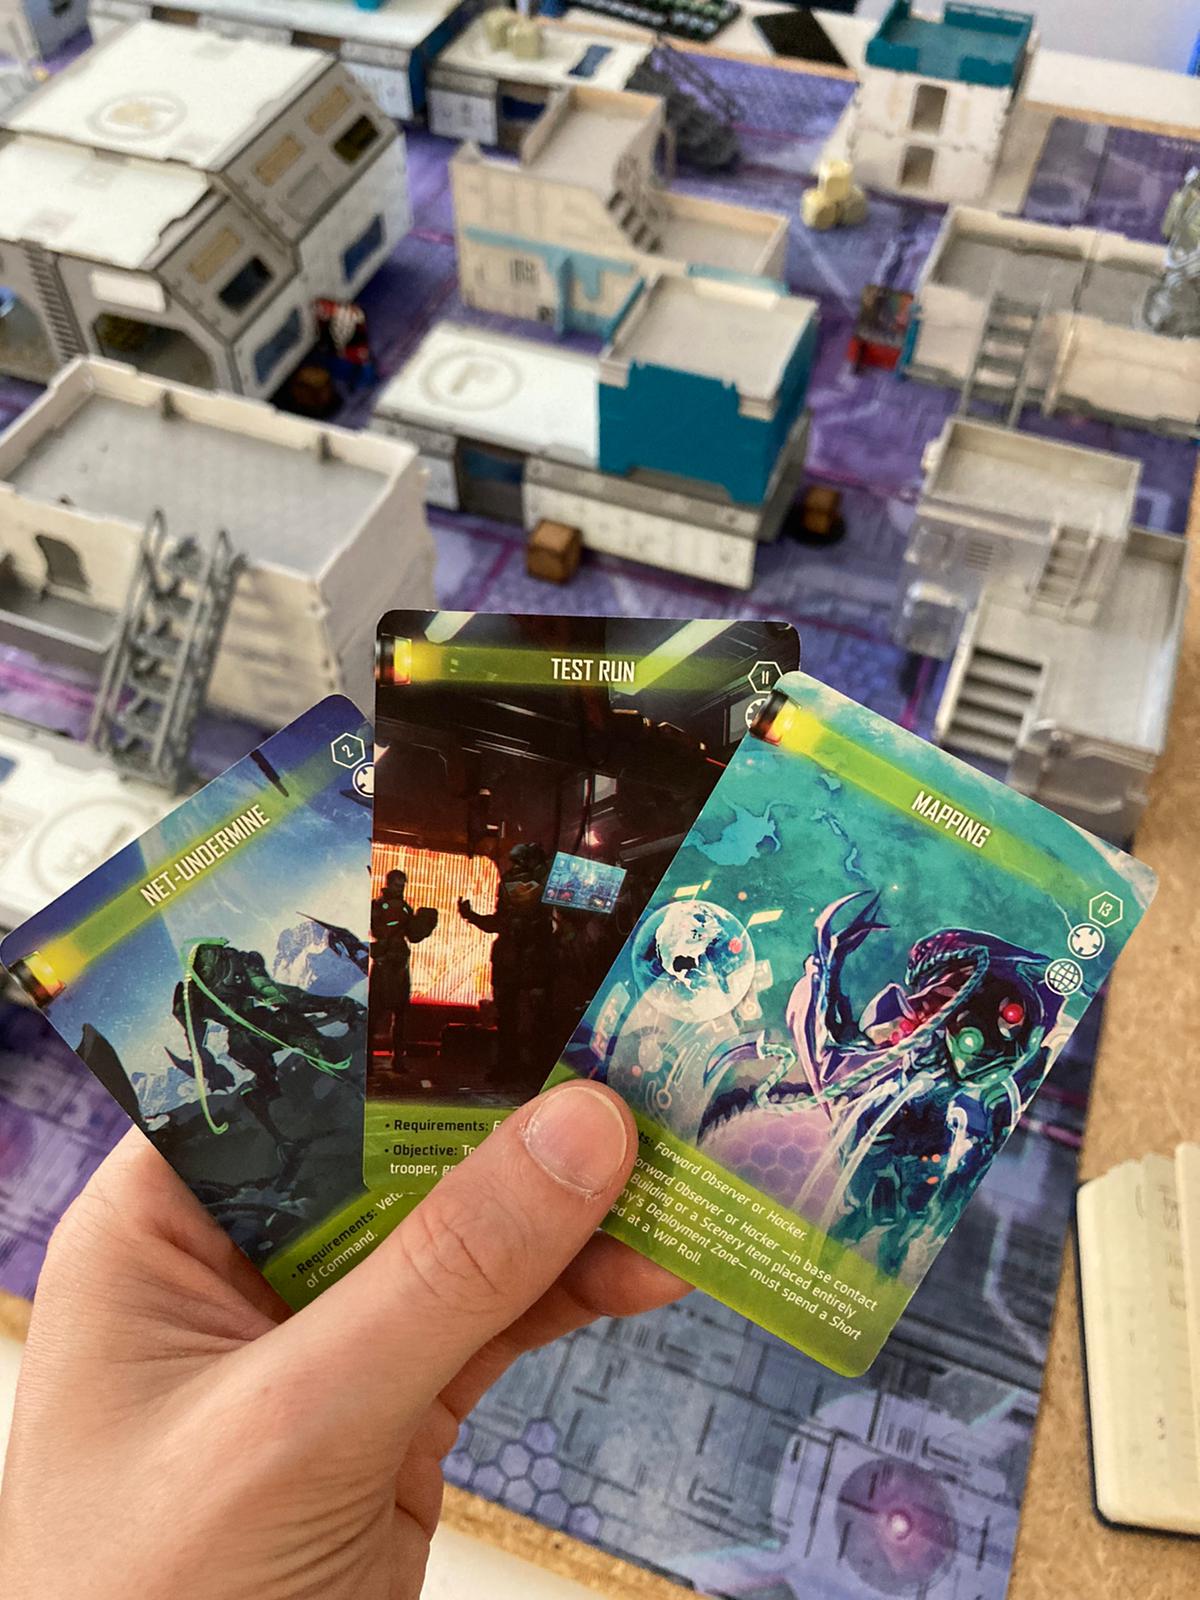
Besides taking back the supremacy over the Port Battery we have some secondar objectives that I will see done!
The unusual properties of the field of battle enabled me to send in some nasty supprises for our enemy that they were not expecting.
We were forced to deploy our forces first but could are taking the initiative now to strike them hard, fast and without mercy.
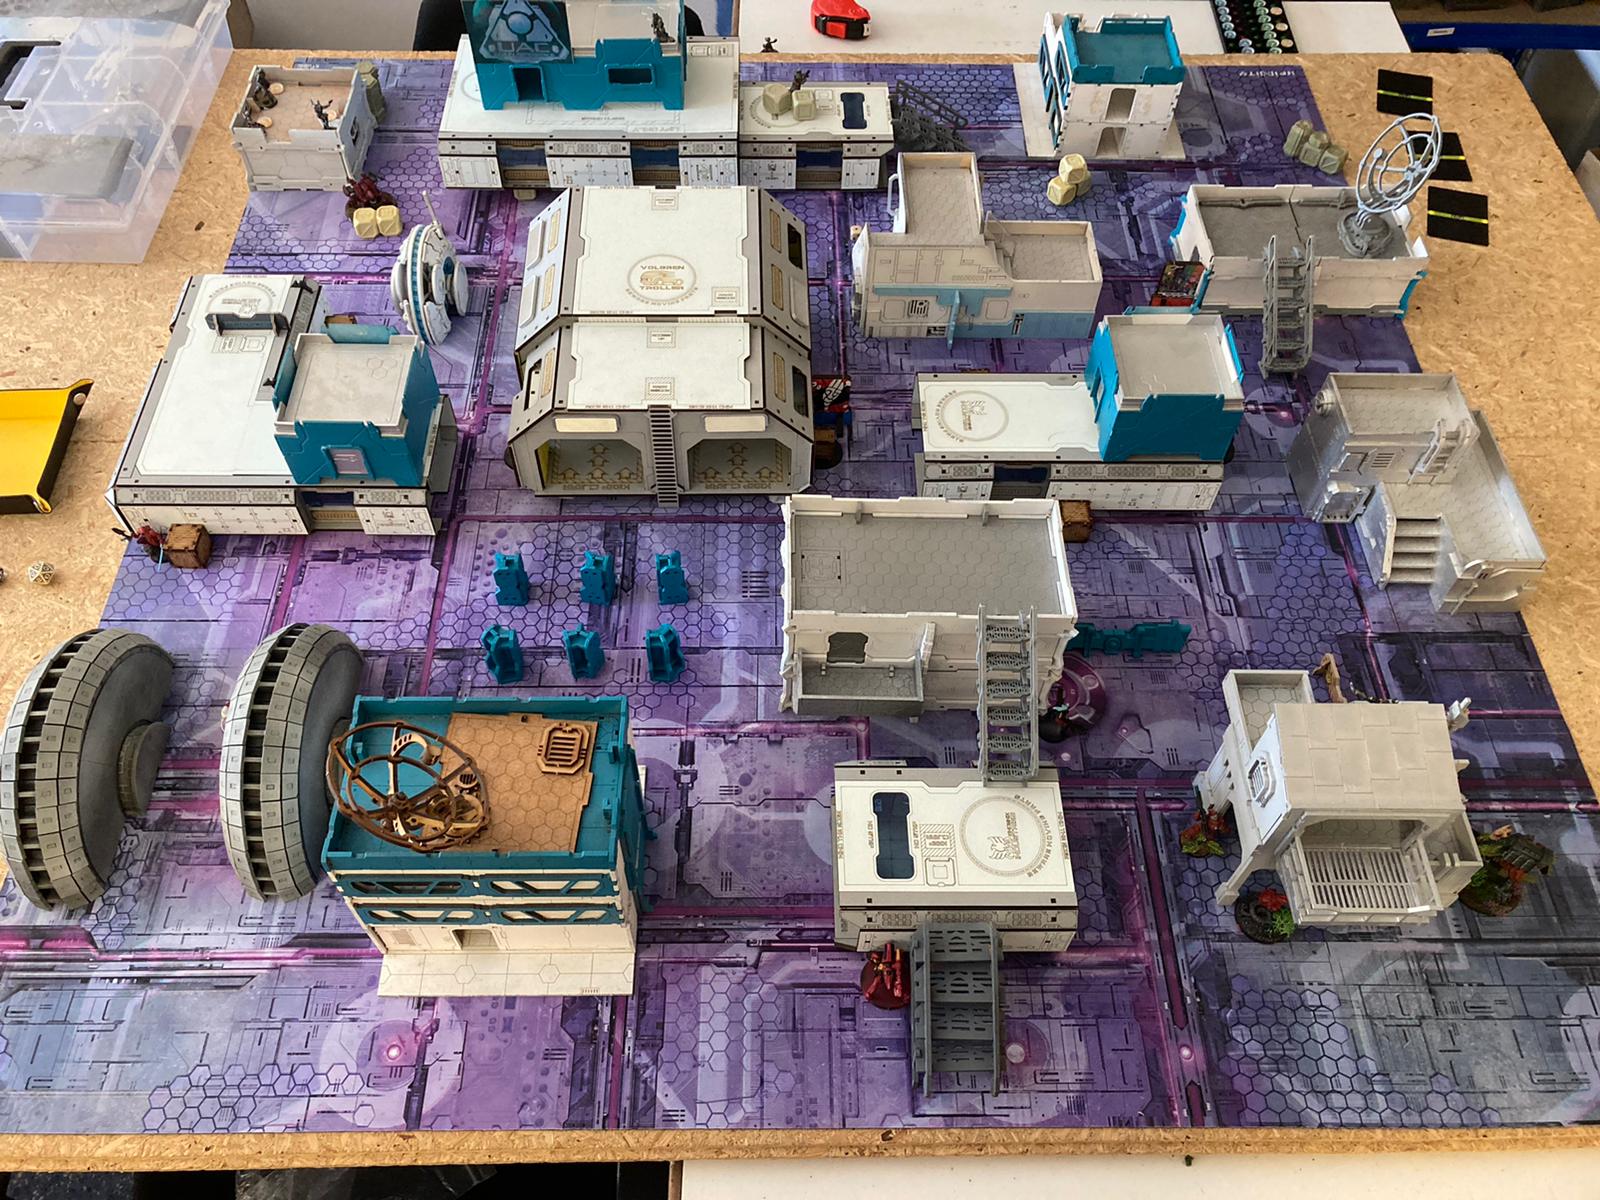 Our Deployment is very aggressive. I plan to take one of their flanks and wipe the floor with the remaining Nomads while the Umbra Legate we are supposed to rescue is on his own for the time being. We have an enemy to crush!
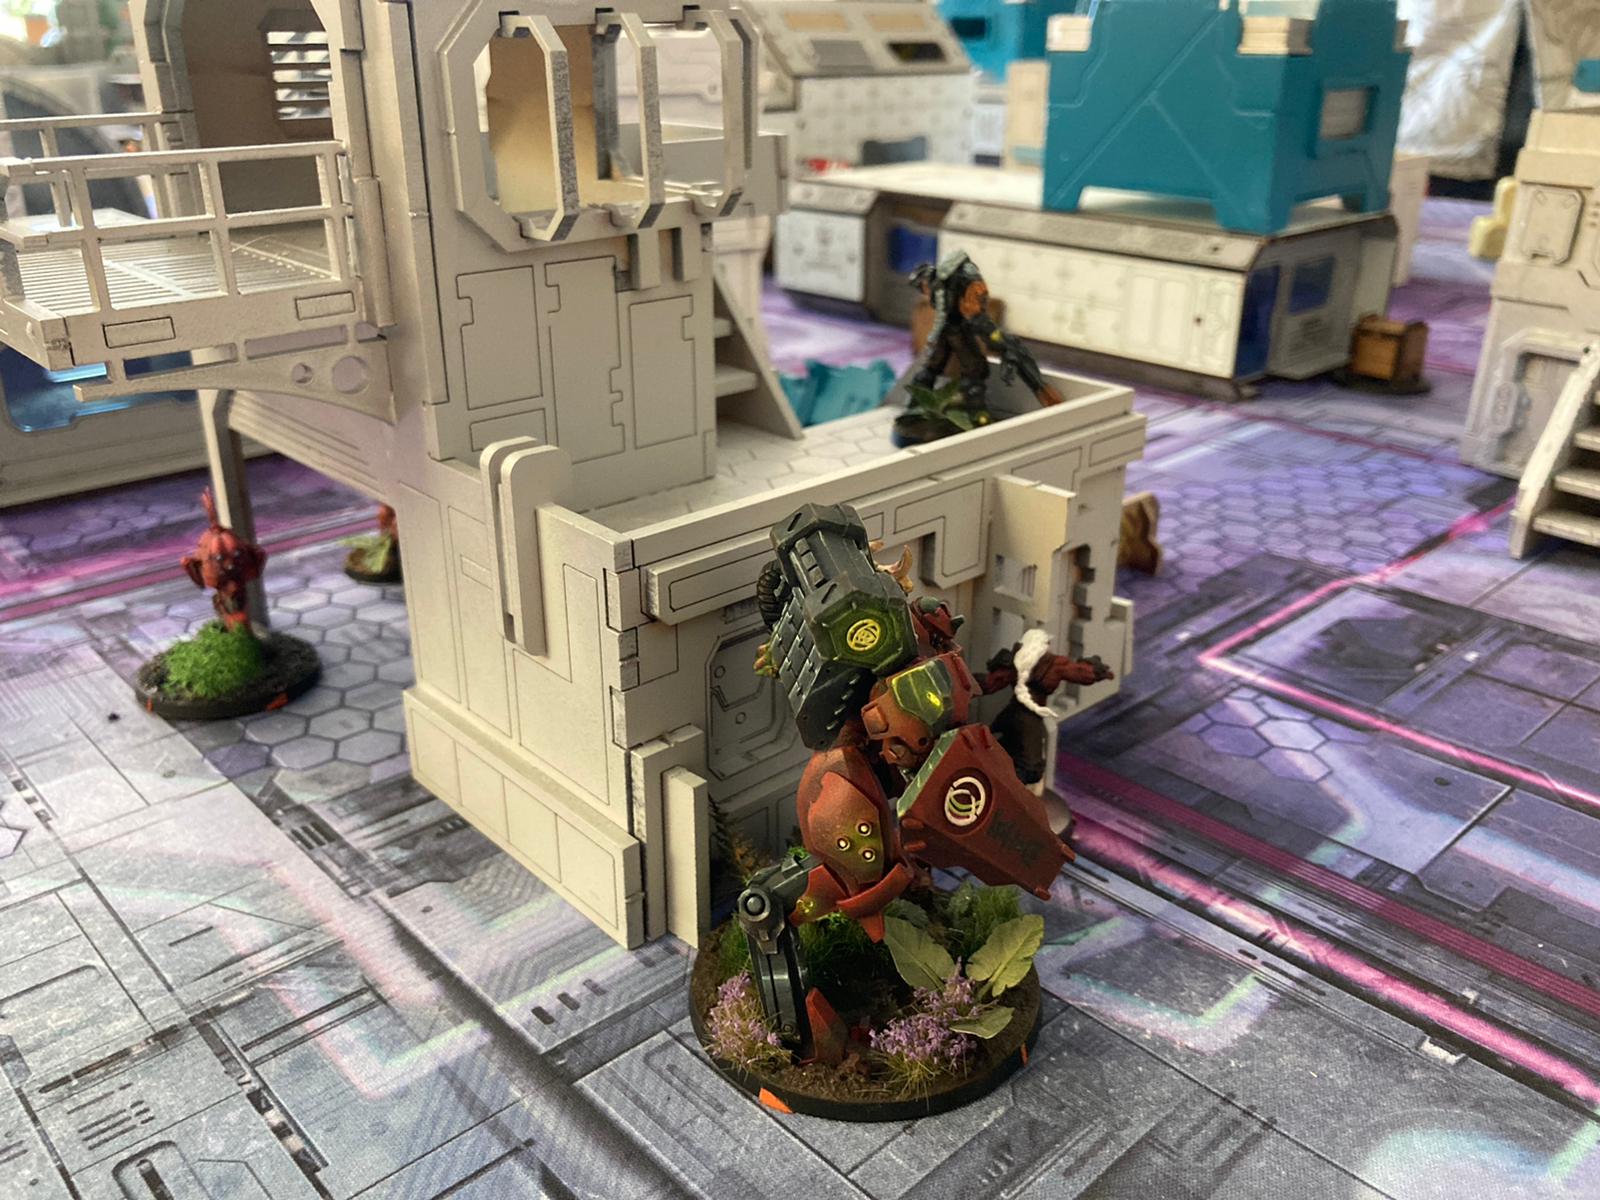 Kornak will relay my orders to the battlefield. He is briefed and knows the tatics we will apply for total suppremacy. While he has his trustworthy Raicho covering his back he himself will advance with his Harris Team: A Suryat for heavy fire support and one of our best Dartok Troopers to give the Nomads a taste of their own medicine! His rear is covered by this dispicable Worm with a slave and an E-Drone. If we did not have to test the new engineer tools on the field I would never take the Worm into my ranks. Luckily we also have two fine Daturazi giving support on both flanks. The E-Drone will be of crucial importance to help our oldest brothers to take part in this glorious victory for Morat Supremacy!
Impecious as the are my Daturazi are storming into the direction of our enemy the first one gets picked by an enemy fireteam and their Fauerbach up while laying down smoke cover for his commander and most importantly the Raicho.
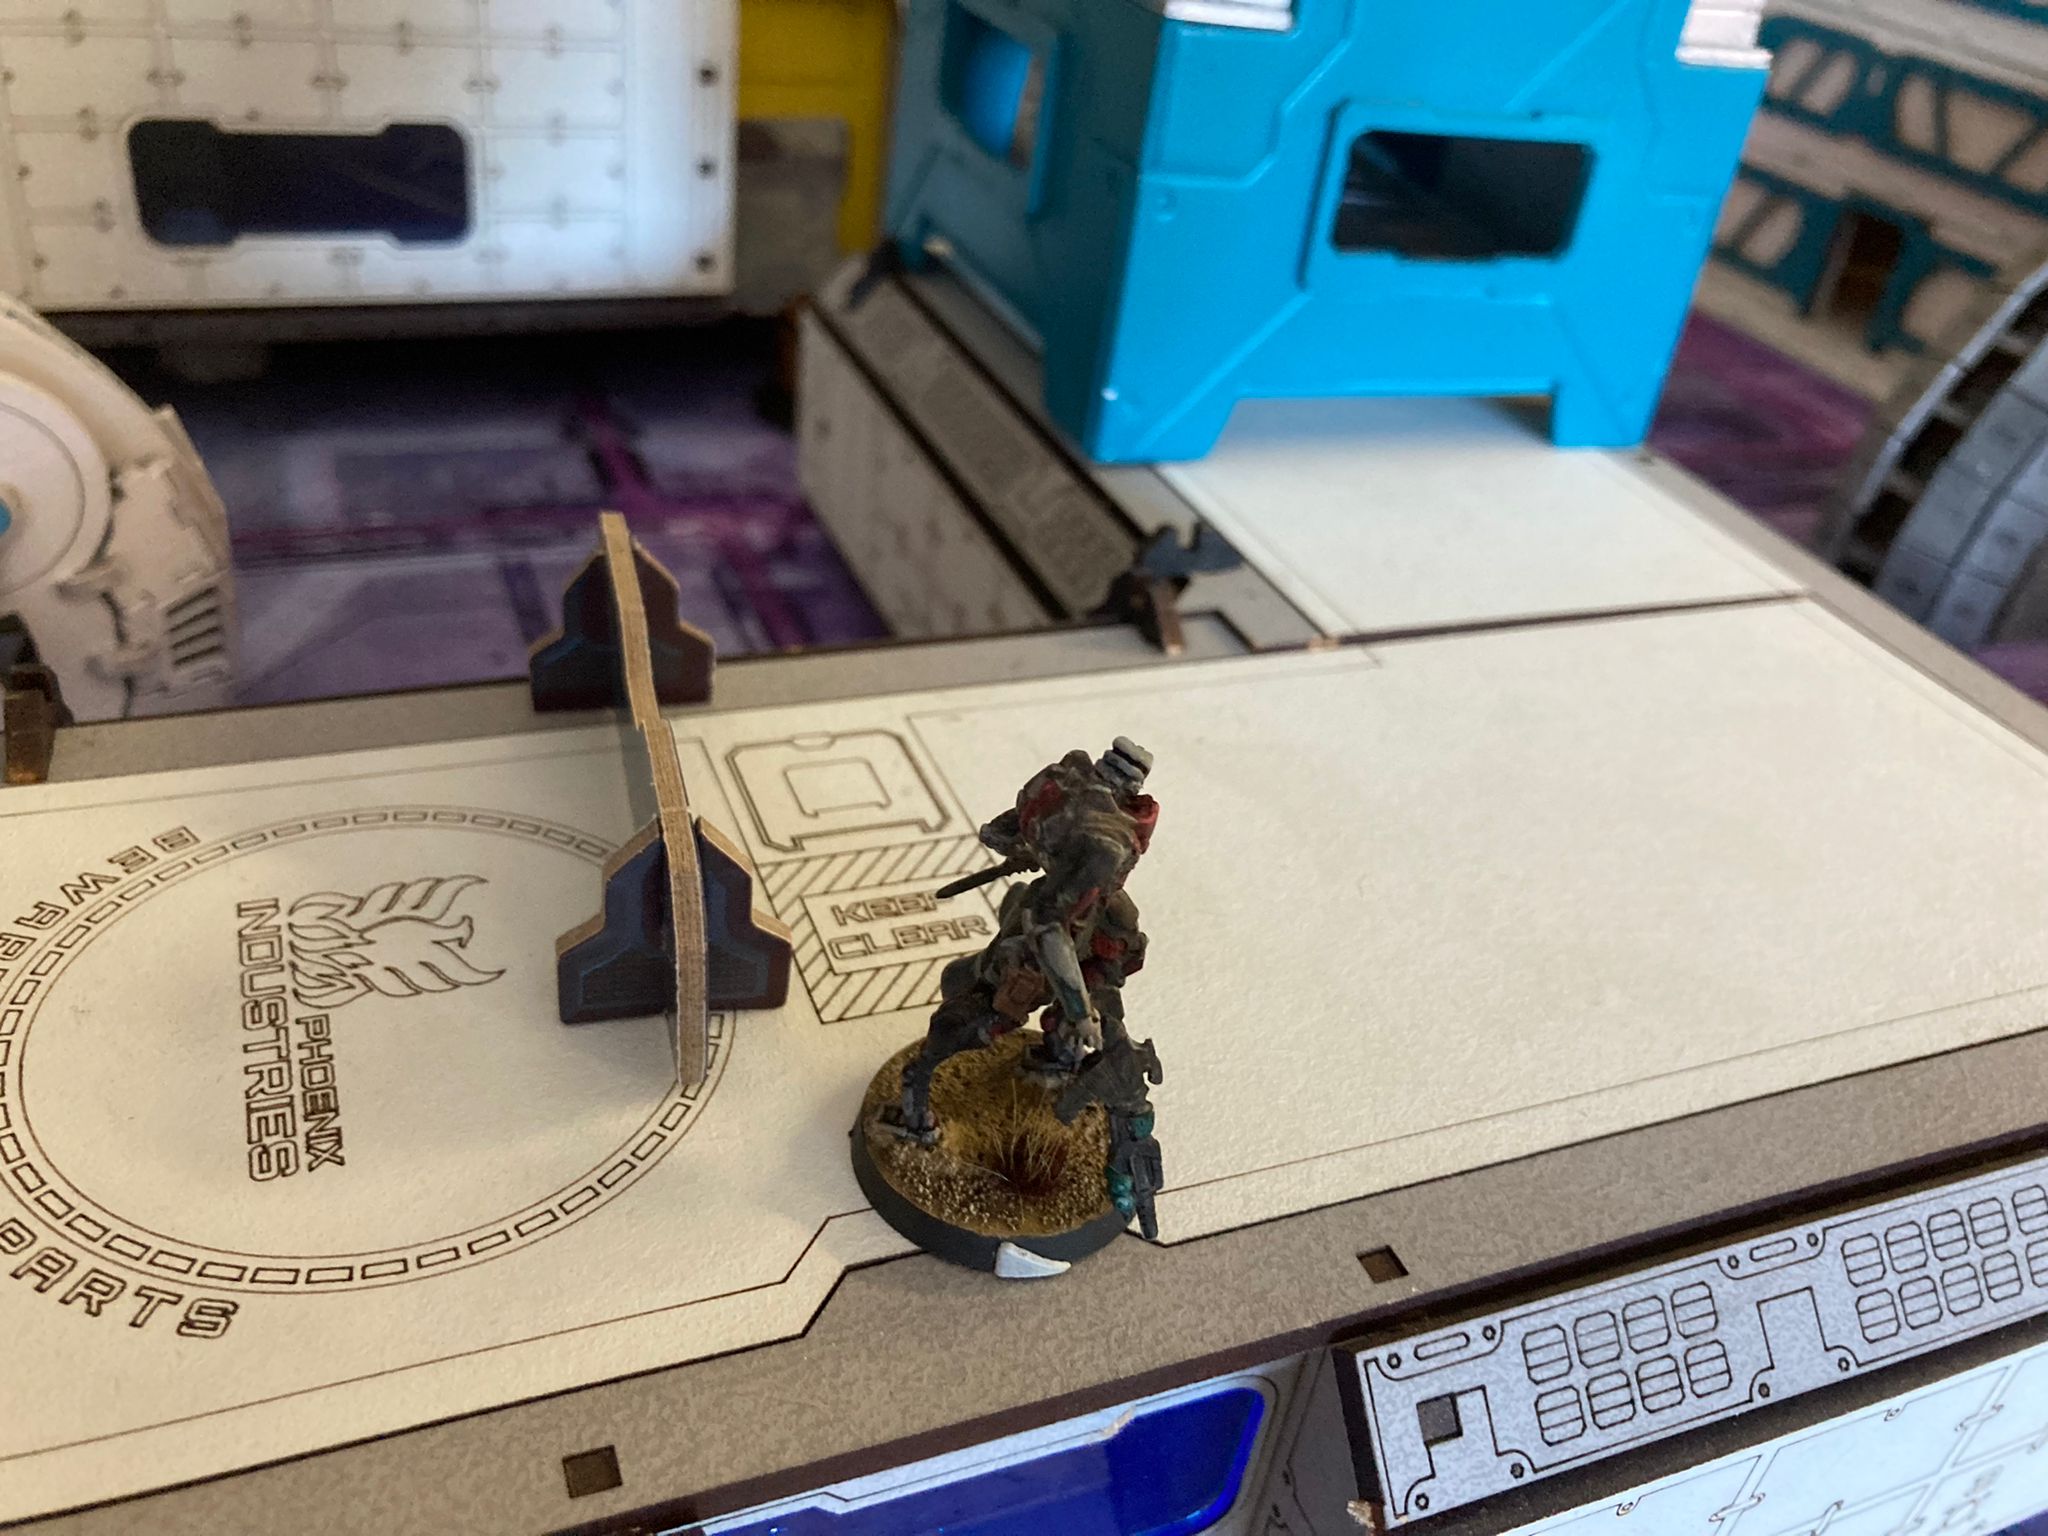
 The Raicho uses the chance to advande and to do what we brought him here for: With unlimited ammunition he let it rain mines. He managed to set some in front of the corner straight ahead where not the enemy Evo-Hacker is stationed but also one human woman called Problems. She needs to go and our trap is set.
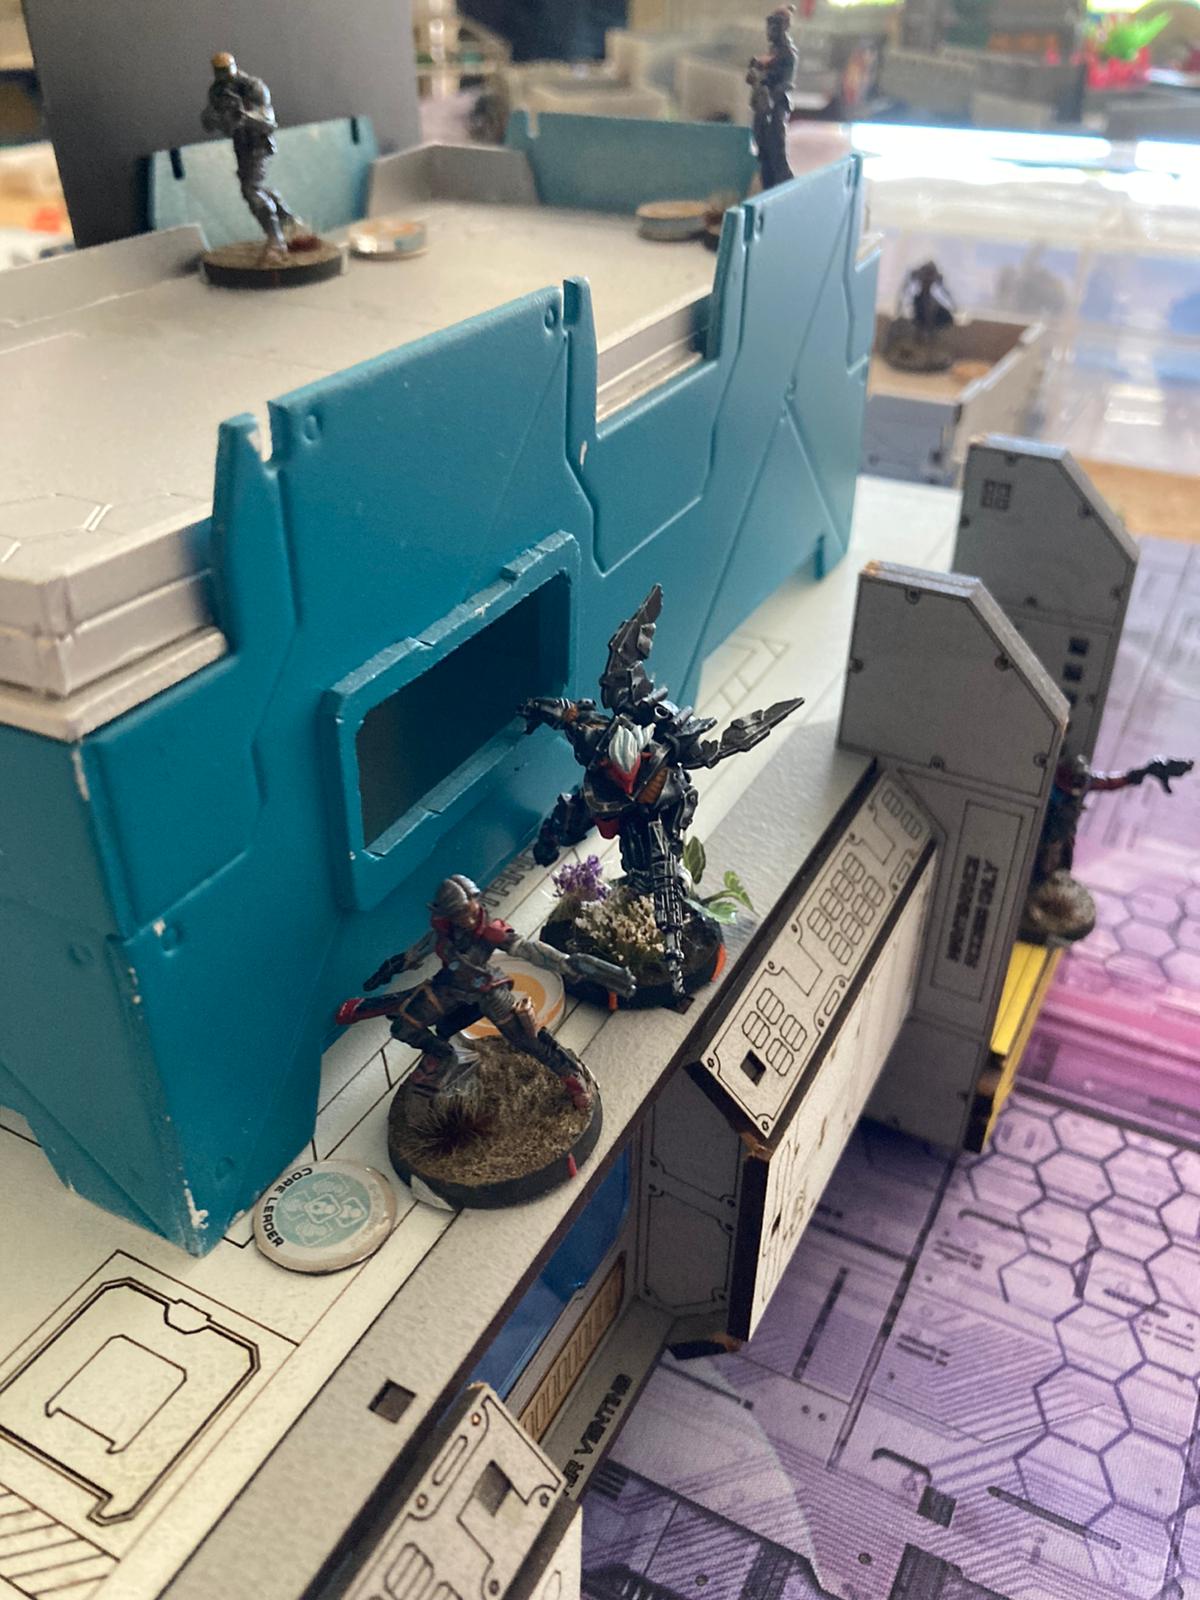 After the E-Drone has activated its Support Ware to take even more advantage of the battlefield and its special characteristics it now is time for old veterans to join the fray! Our intel gave us a good idea that one small human on the battlefield might be a primary target. And so I send the first into action!
 This Problems human wants to help the little one by hacking apparently. Bad for her that this did not work. And even worse that she triggered the mines our Raicho just set. Judging by the deafening silence after the explision I'd judge we don't need to worry about her anymore. And Intel cannot confirm any activity from their EVO hacker as wenn. Sadly the tiny human seems to have survived the landing of our glorious Taryot. Still he is still standing and still online. He will bring himself even more glory!
 Our second Taryot crashes in the Harris on the left flank of the table. As our intel suggested it is a team of Perseus, a Vostok and a Hollowment. But not for long. The Vostok and Perseus decide to dodge and the Hollowman shoots! The glorious brother's armor hold but he also seems to get hacked! He landed in repeater range and a Securitate hit his system with an Oblivion. He struggles but forged in countless battles the Veteran holds the cowards attack! Still no enemy is hurt dodging successfully.
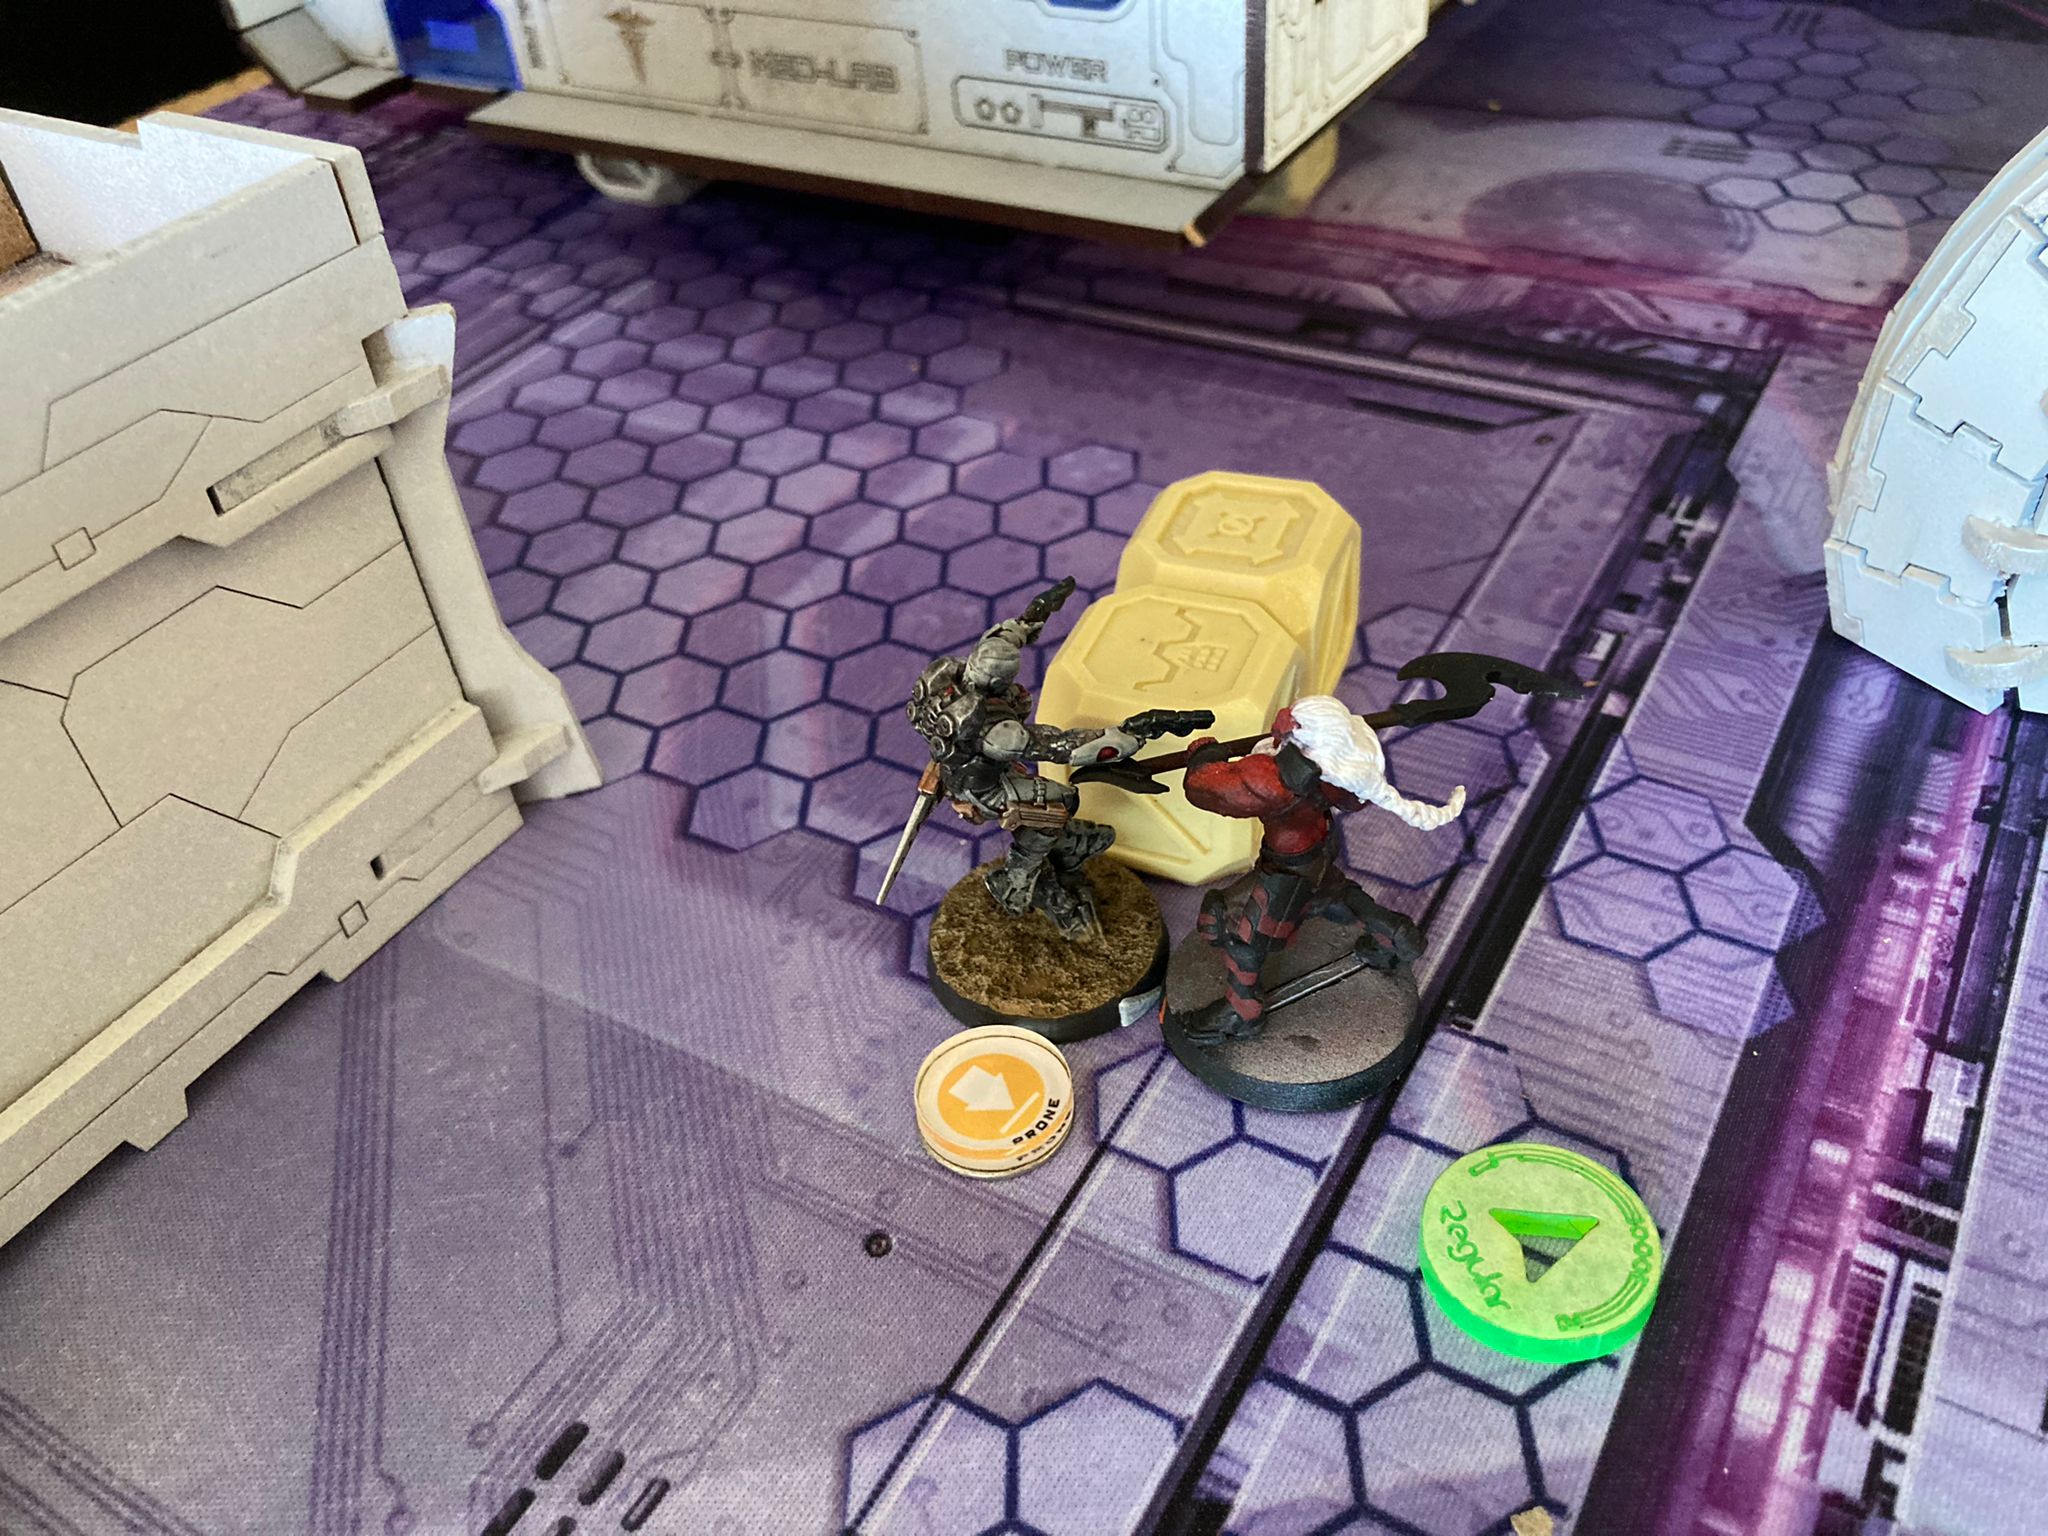
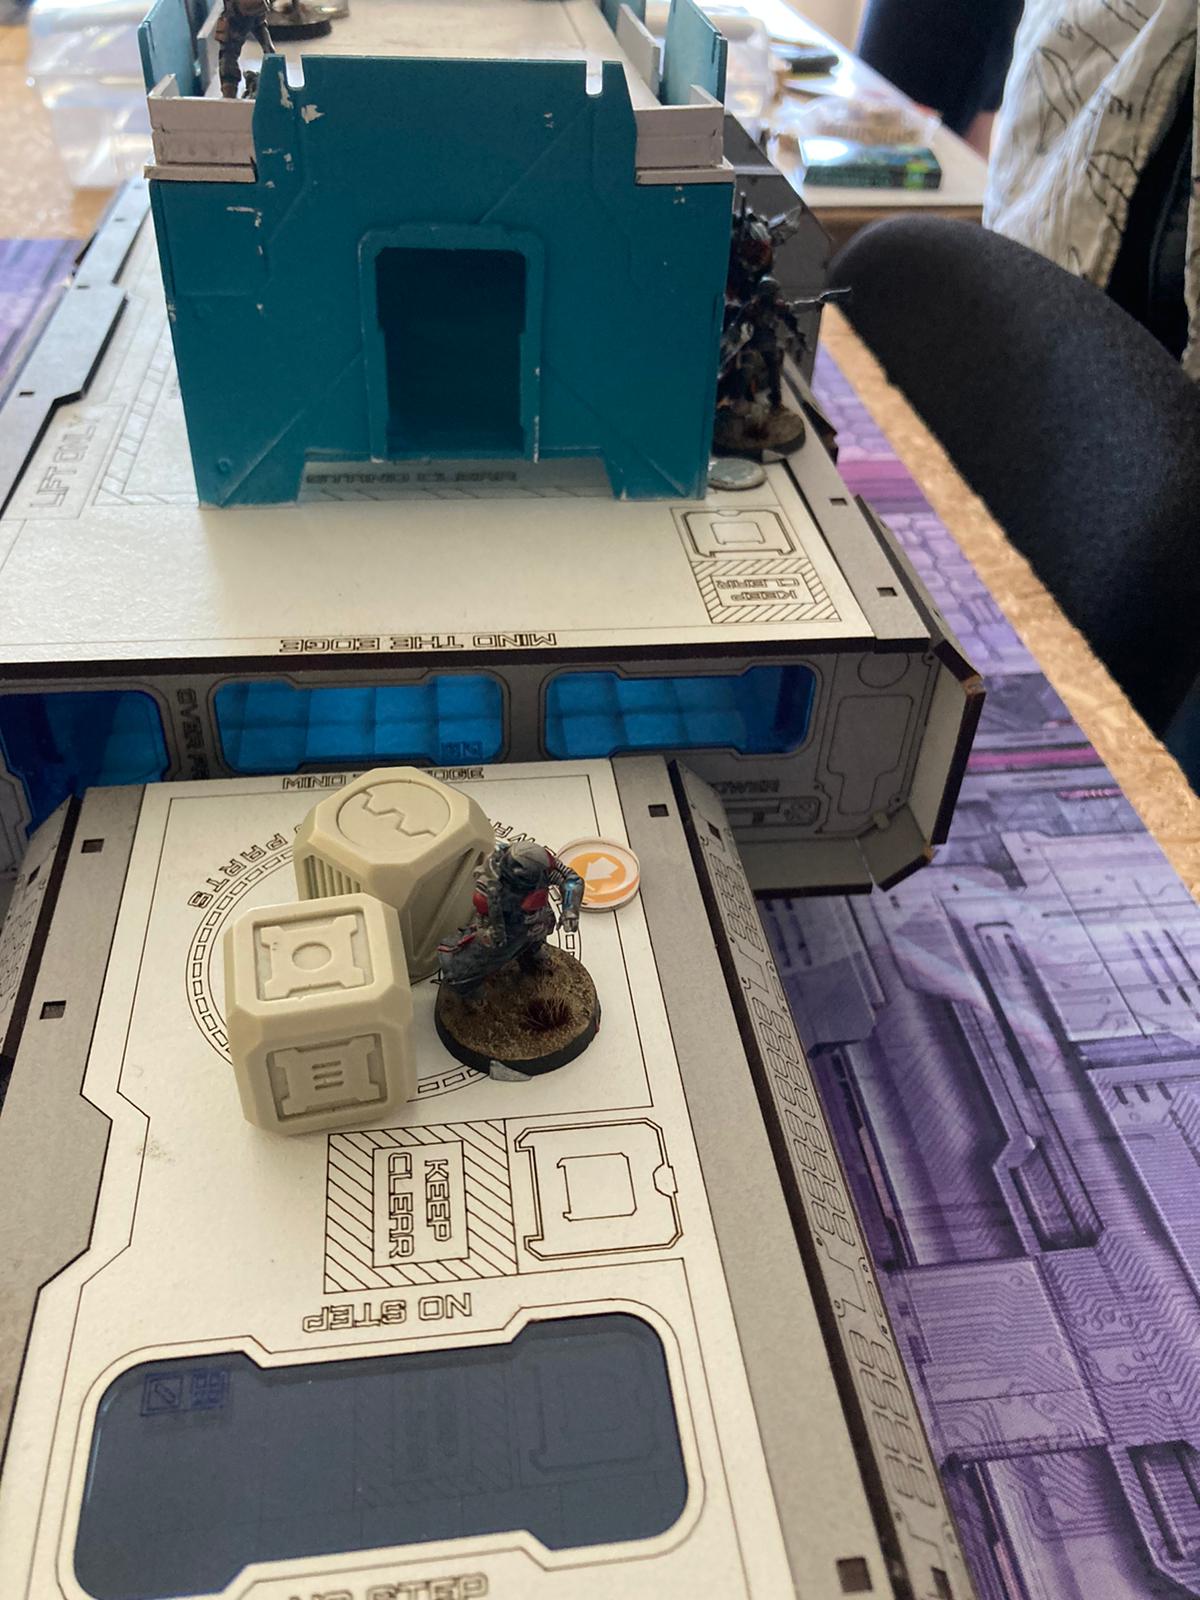 The first Taryot is the only one in striking distance! I send him forward and the little Securitate in front of him dodges while the Interventor uses another pesky repeater to attack the honorable Taryot with Carbonite breaking their Fireteam. The Taryot knows what to do to bring glory to his So! He takes his Boarding Shotgun and sprays them both. The Securitate dodges while the Interventor goes down. While the Taryot struggles to shrug of the hacking attack, the Securitate takes her chances and goes into melee.
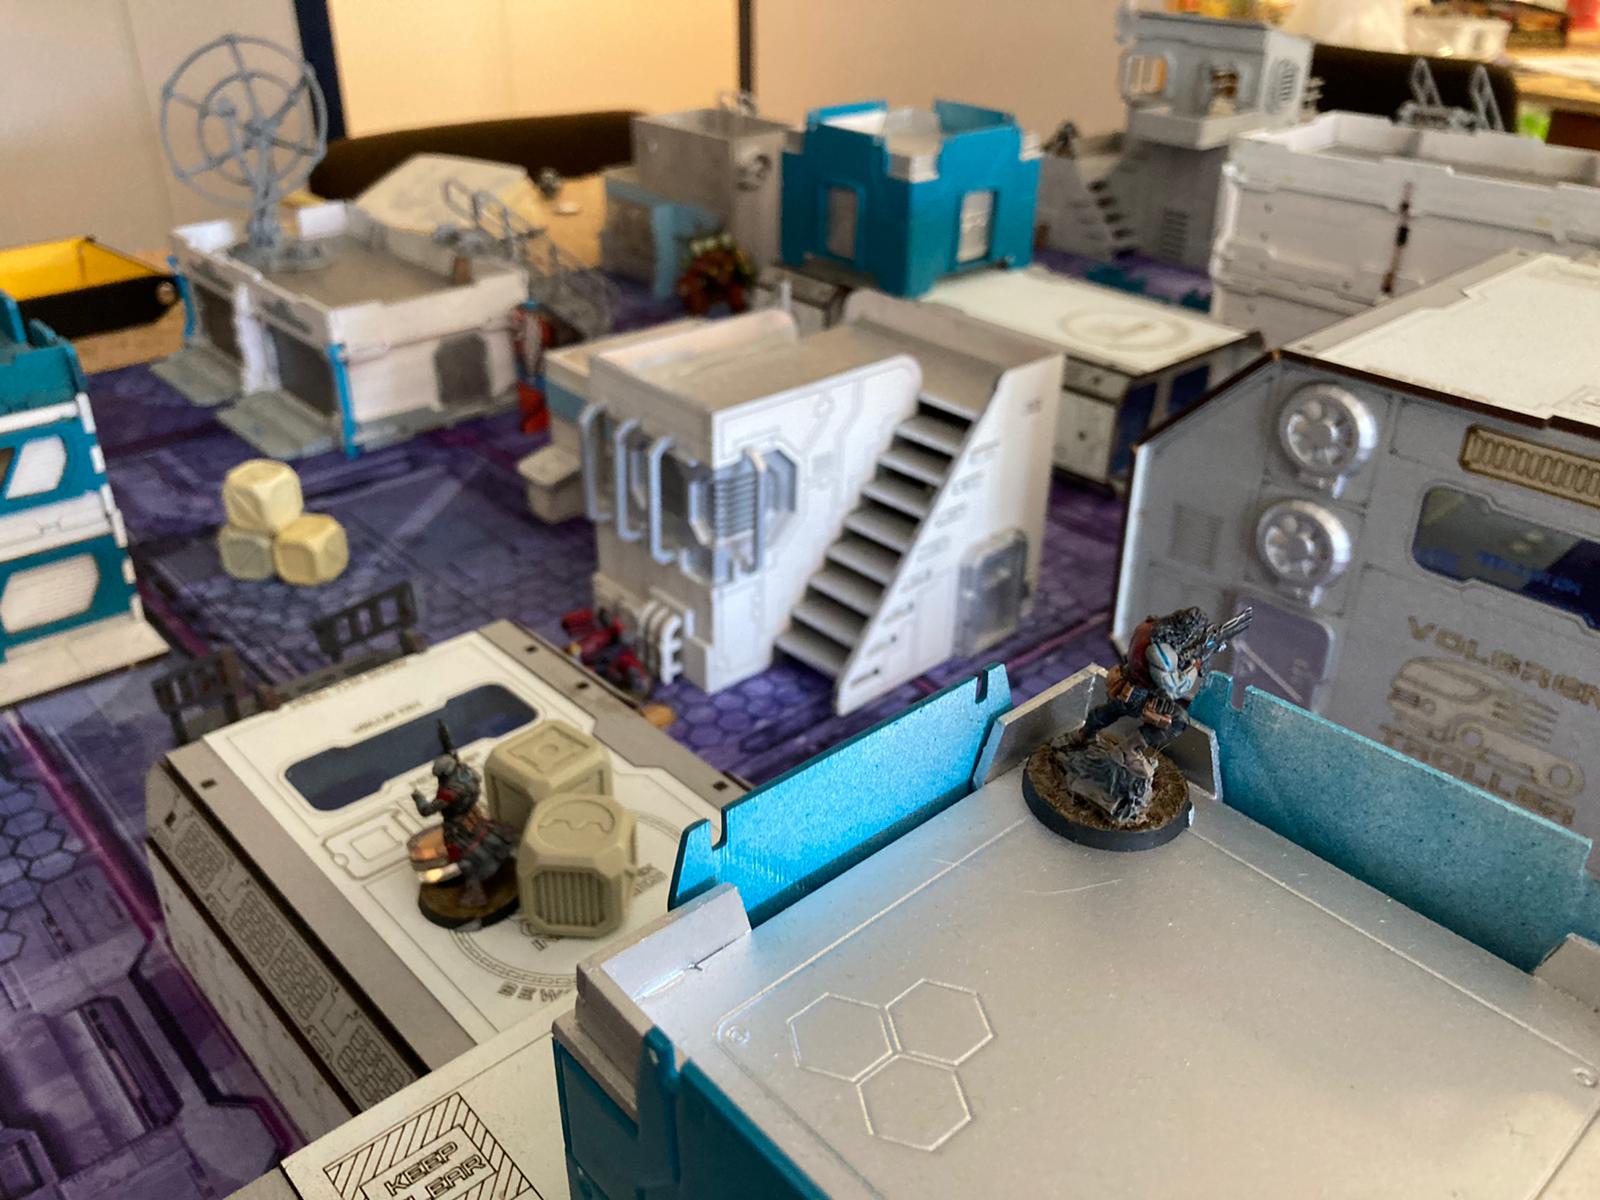 But first things first. The Raicho advances and avenges our fallen brother. Now he has almost free reign of the right half of the table. Only this pesky Vostok is challenging him at the moment. But the enemy stirs and we will need to wait on how the battle developes.
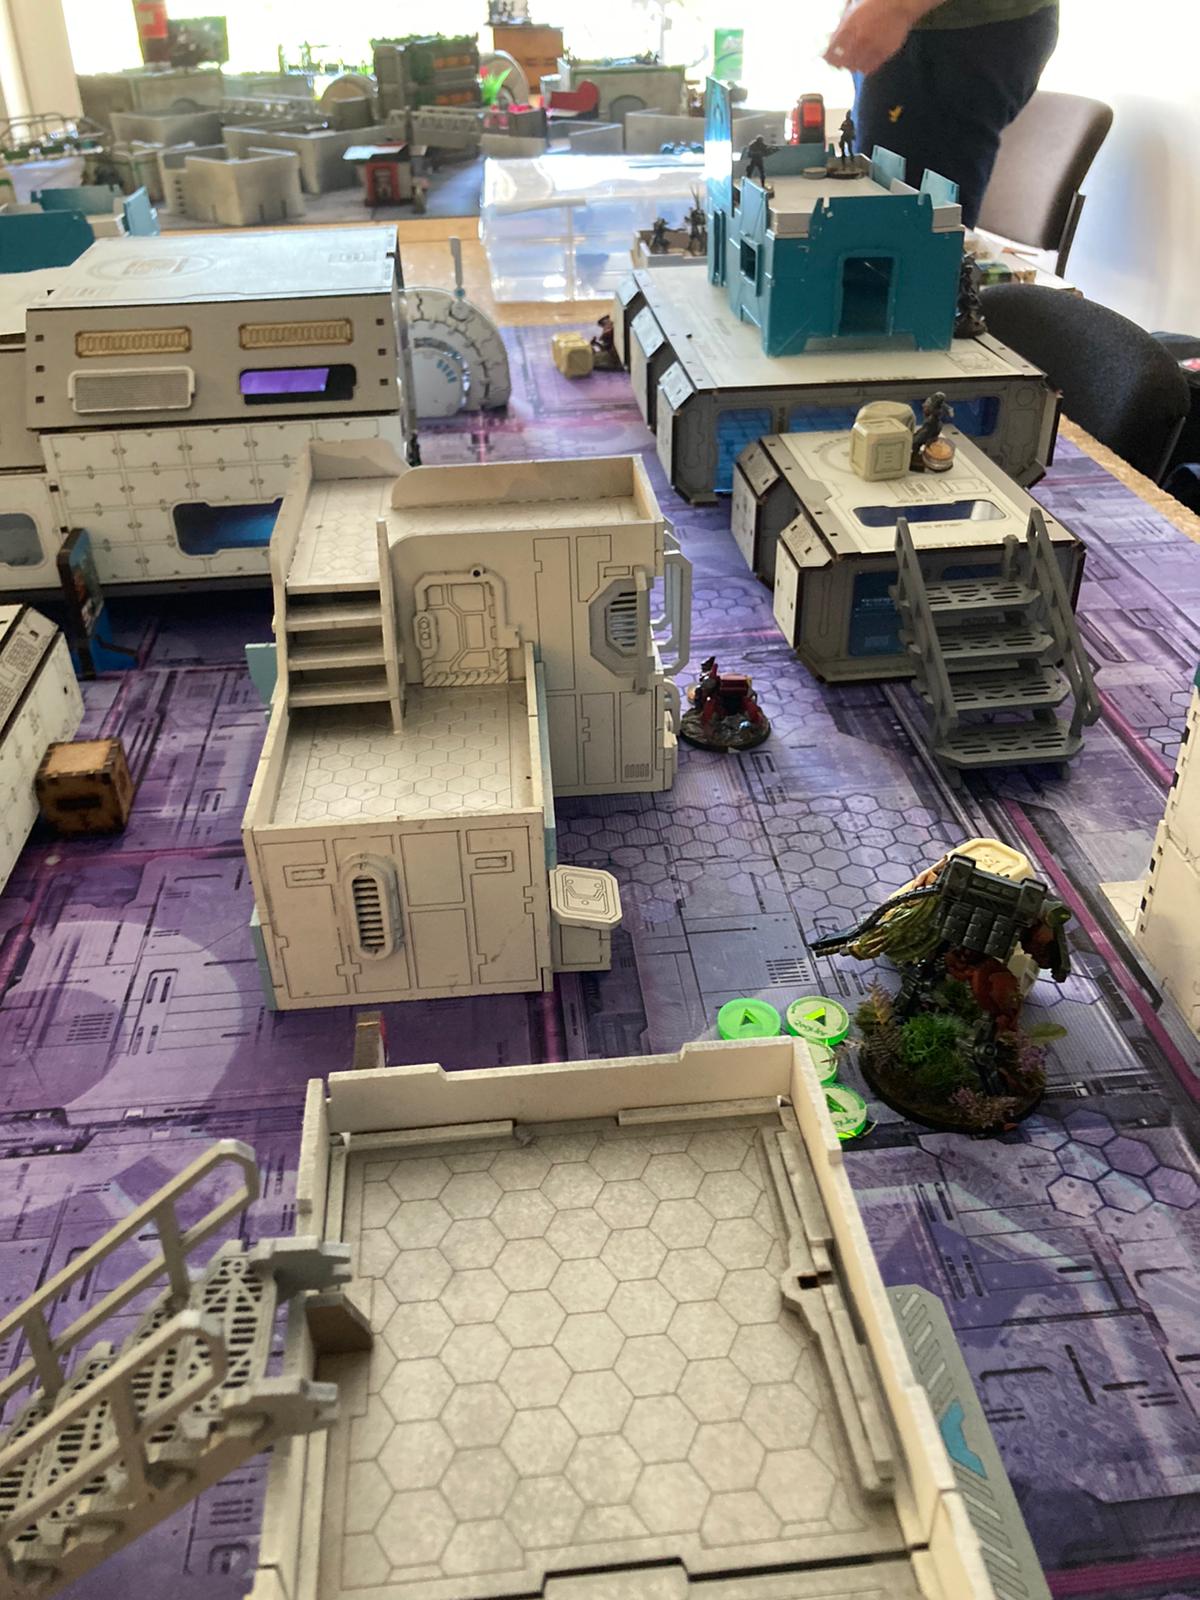 The Raicho moves and confronts the Vostock critting him two times but only letting this damn machine take one wound. Stury lump of metal!
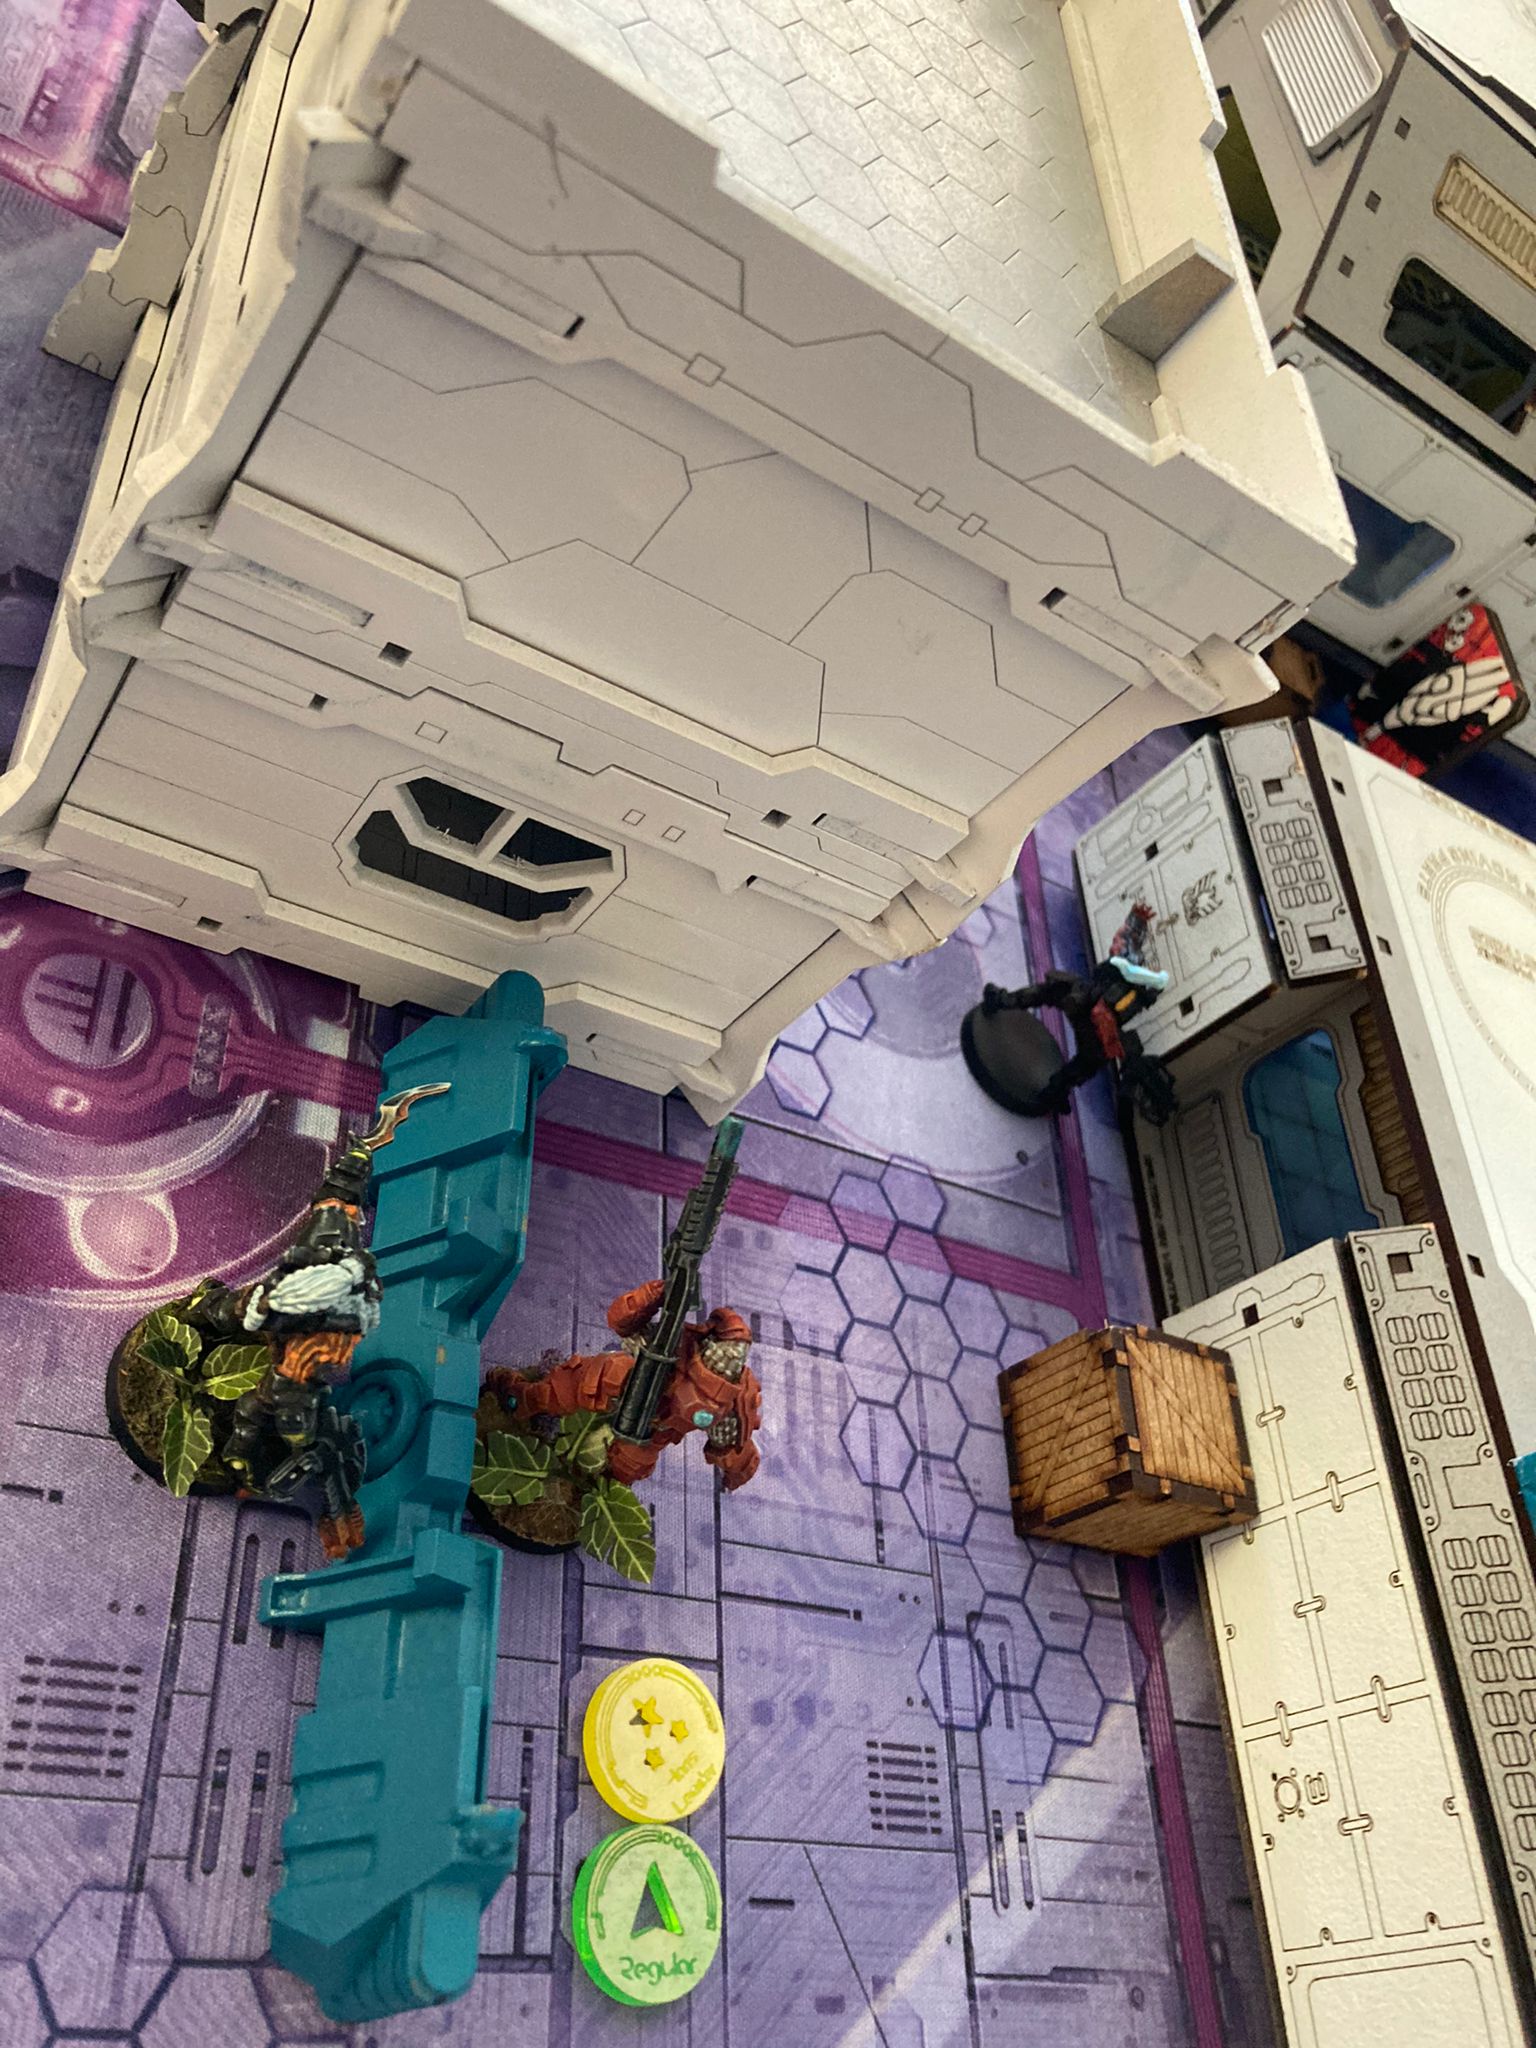 With the enemies locked down we need to advance! Kornak and his team are securing ground working to achieve our secondary objectives and setting up some repeaters in the midfield to secure all important space. But the enemy suprises us. We are taken on the backfoot!
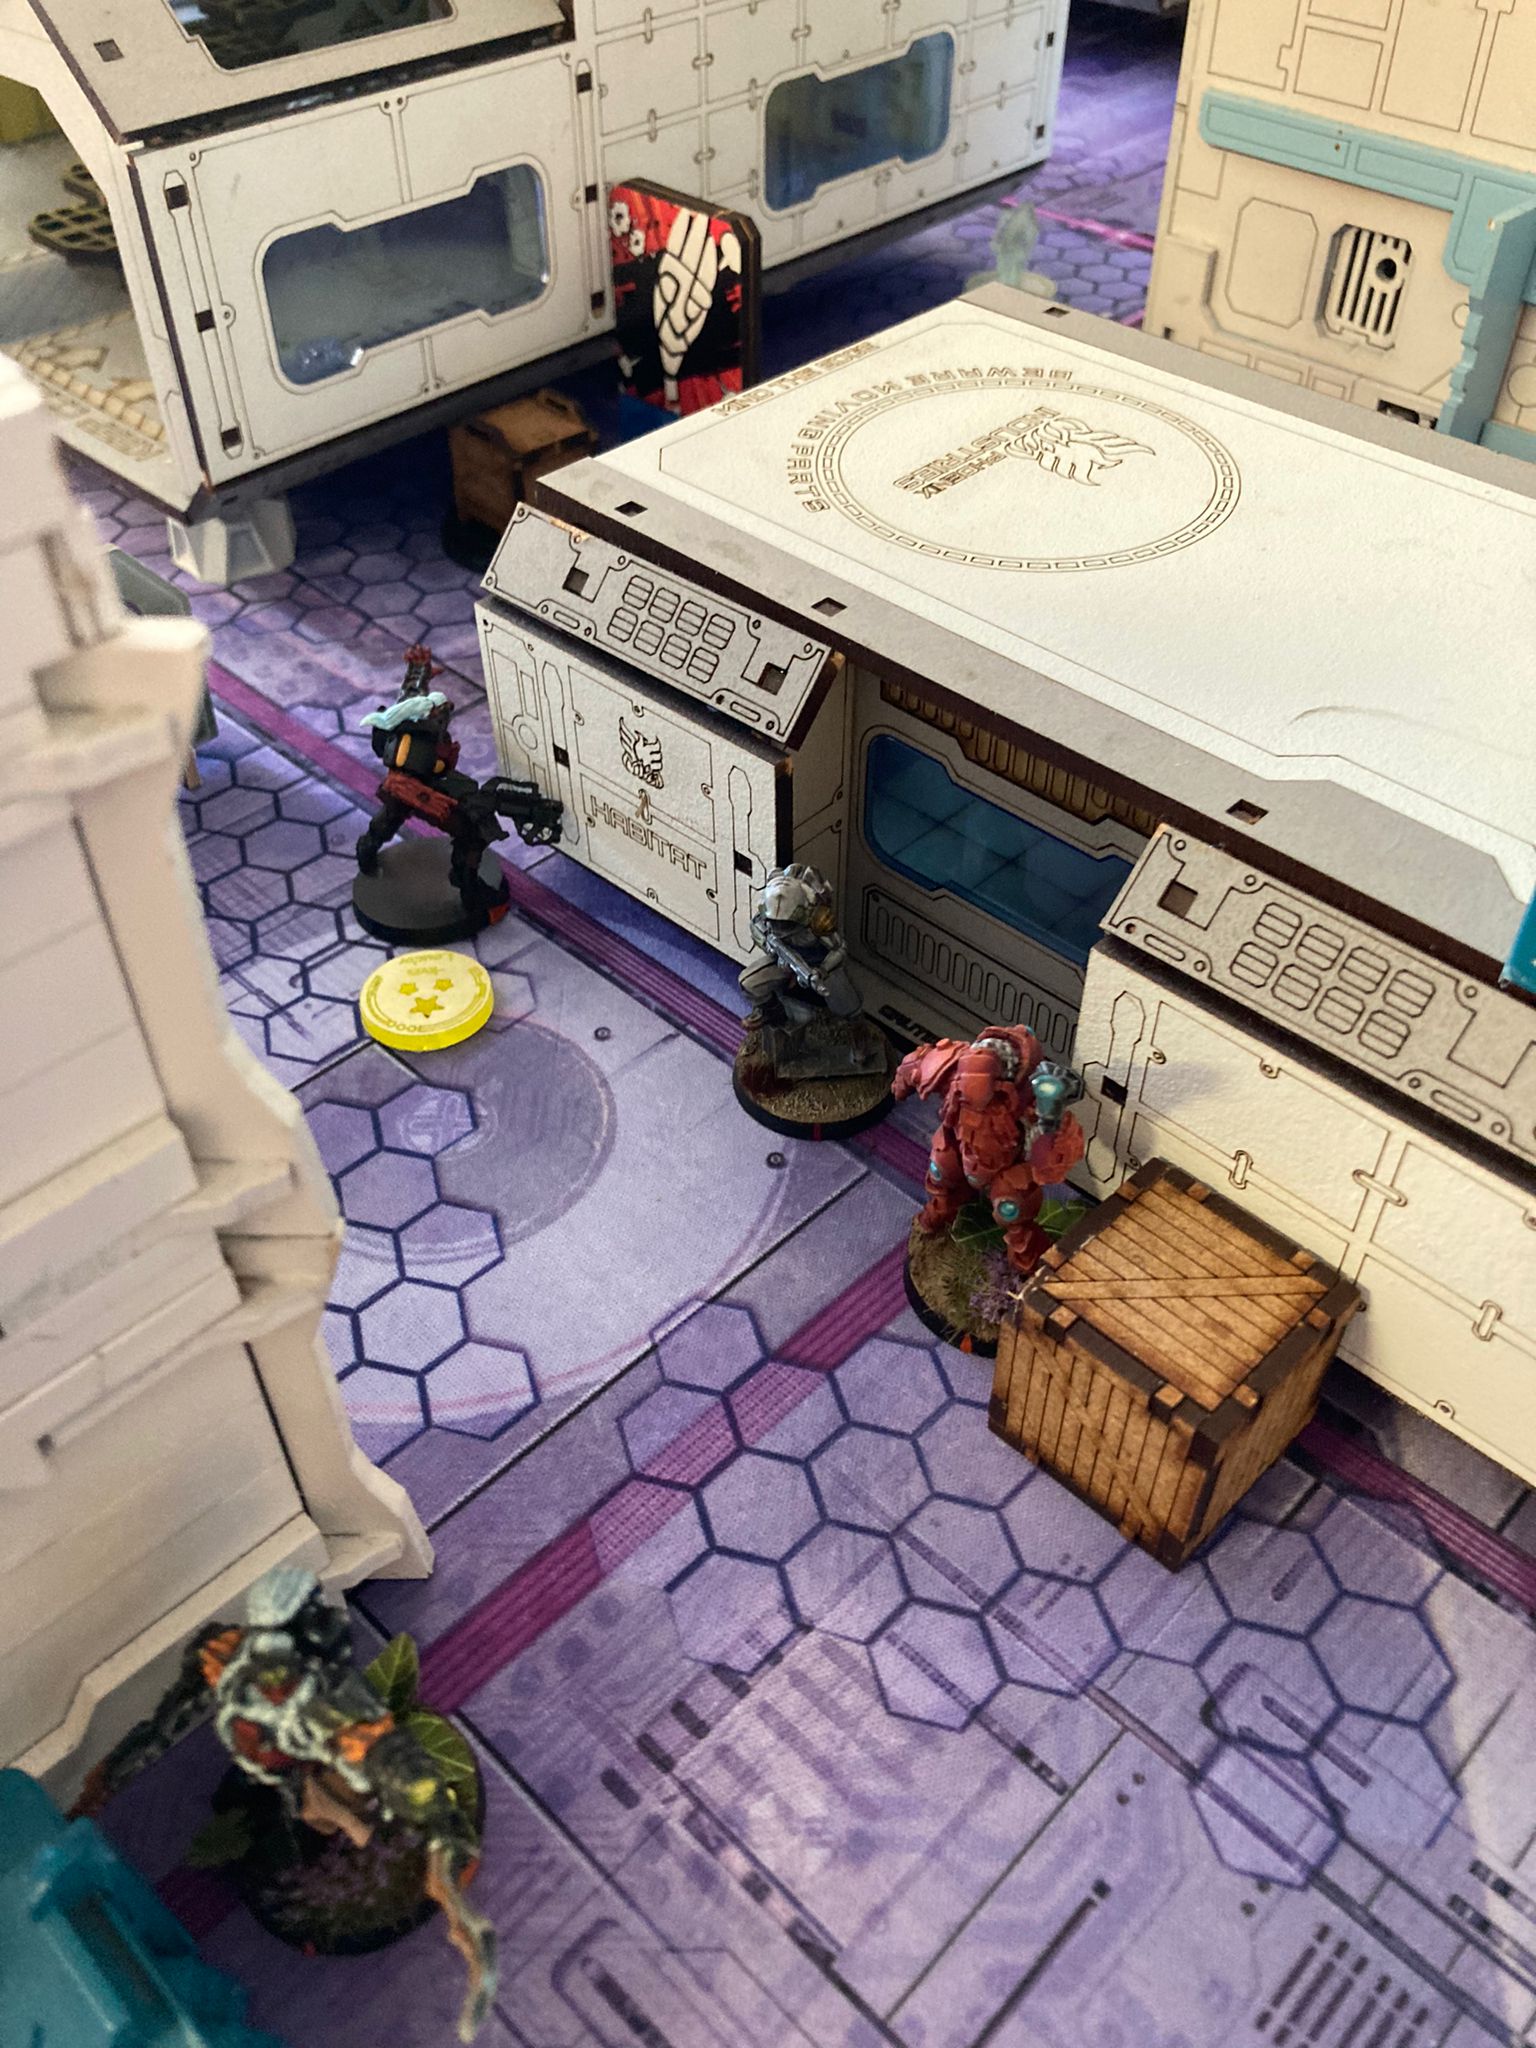 Kusit! We got careless! A mercenary, our database identifies him as Raoul, lands in our midst. Keritok no BekuKt! We manage to regroup but they are getting more and more aggressive. This tiny human storms my Suryat trying to get an angle on Kornak. He must be his target! Luckily the Suryat does not only know how to use his Rocket Launcher. We swiftly executes the human with his trustly pistol in melee. He might have been lucky but my Morat is not dead!
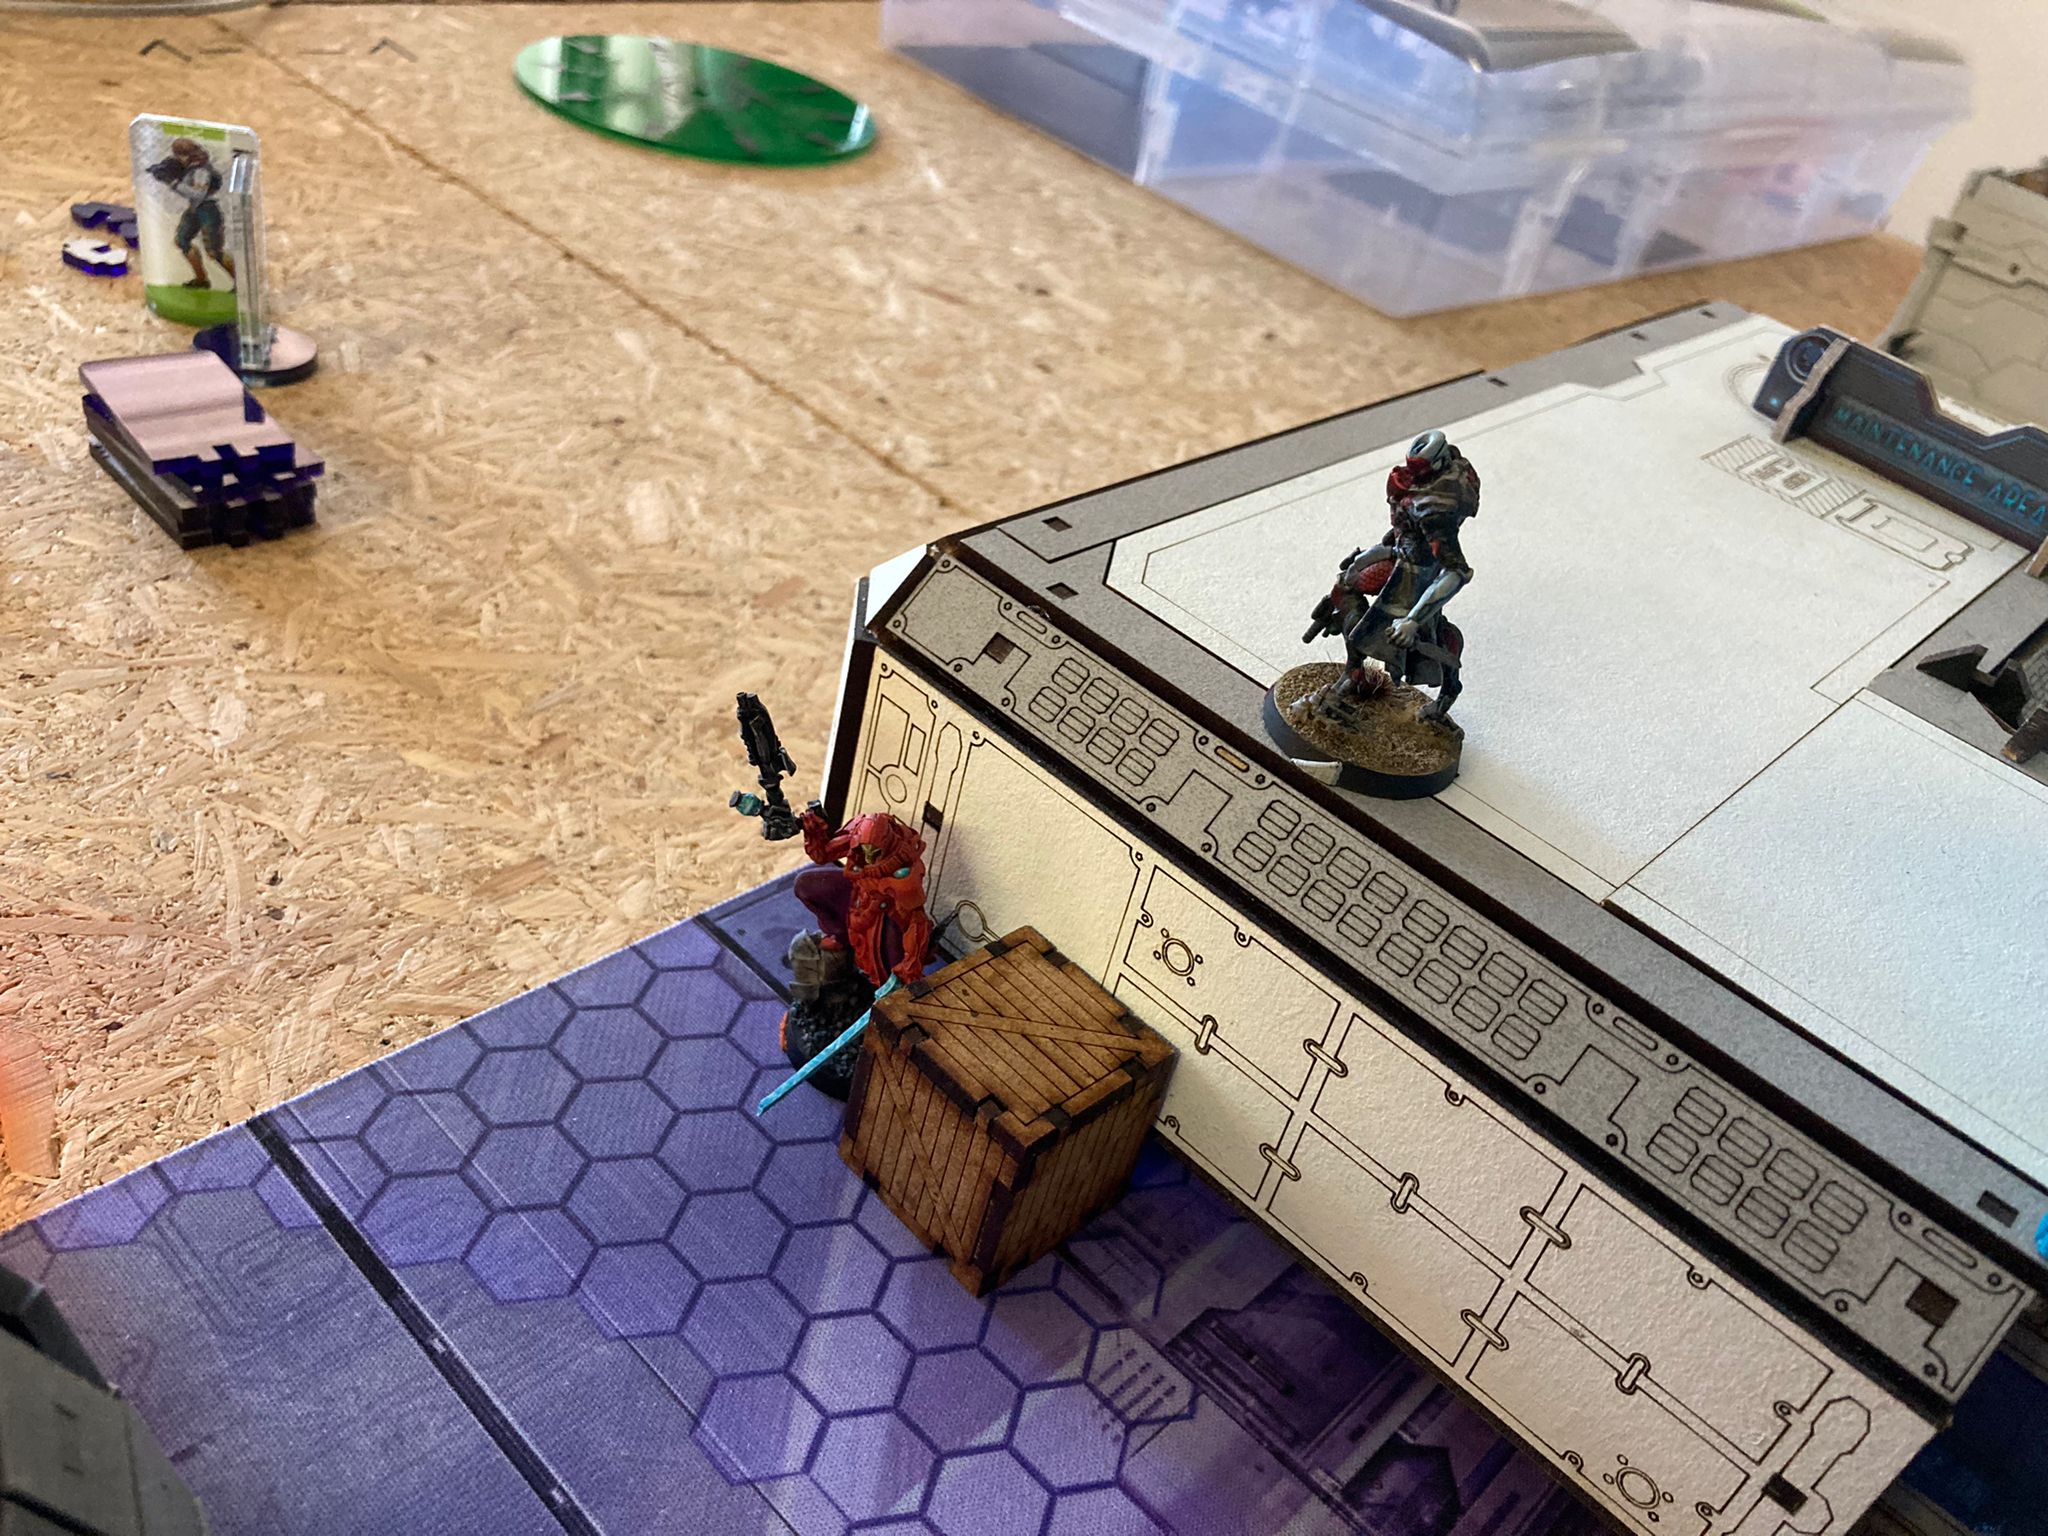
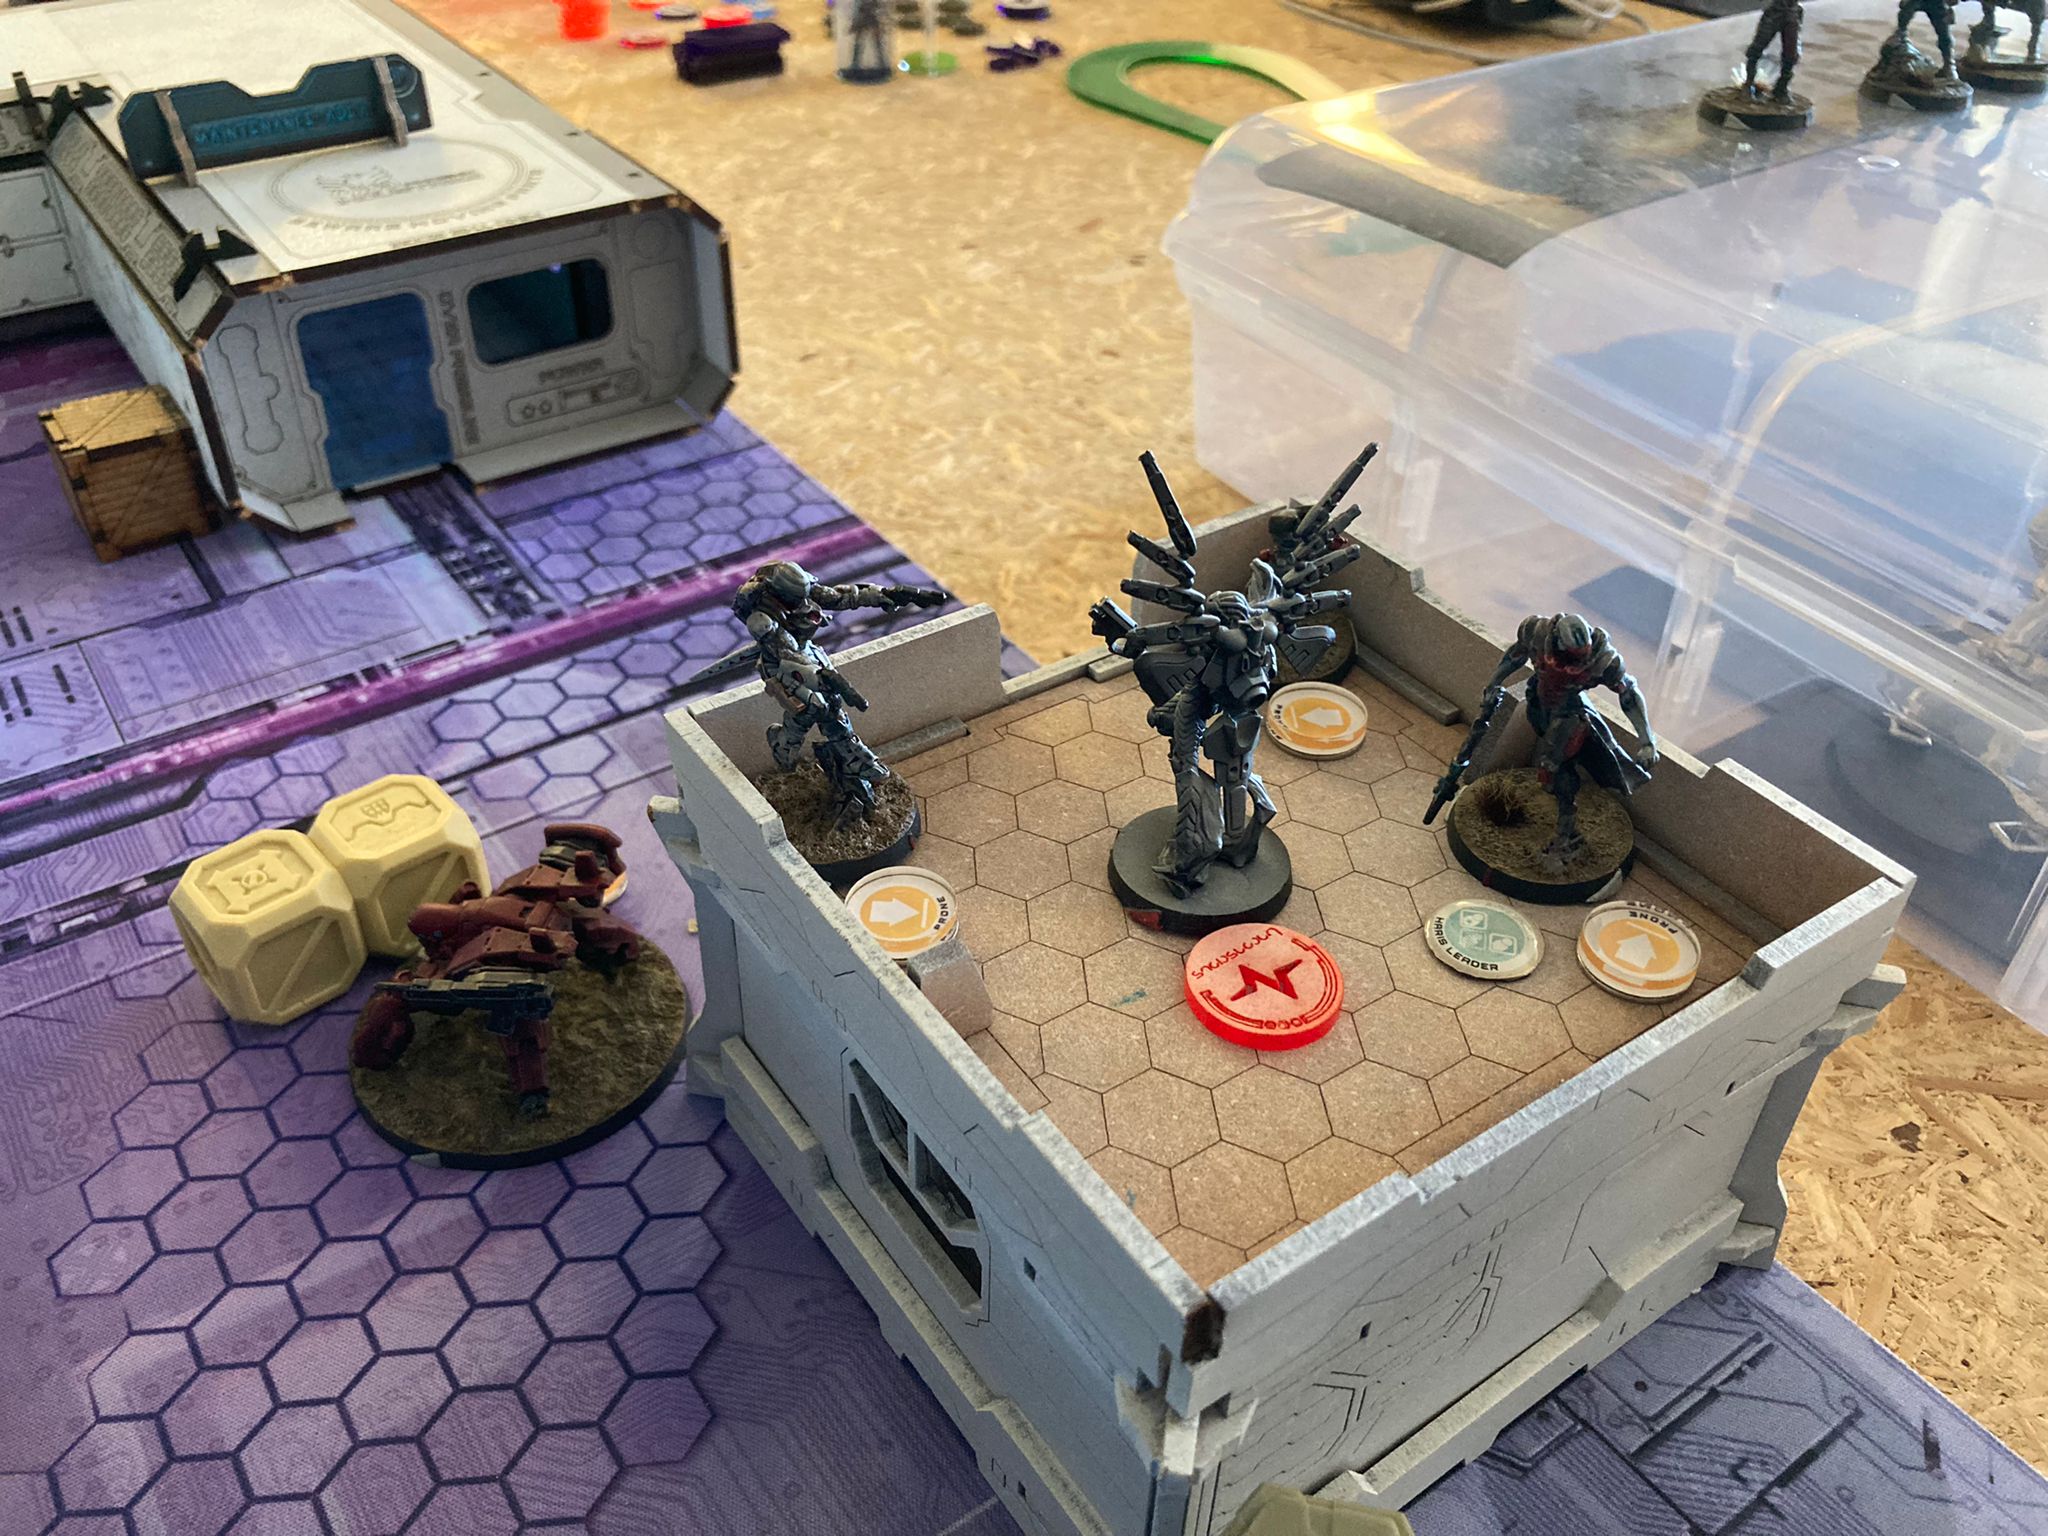 The Hollowmen takes his chance reforming his Harris with the Vostok and Perseus. After doing so he tries to shoot the Taybot that seems to have lost track of him, killing him on the post by shooting our veteran with this Breaker Rifle and then without honor killing the honorable brother lying on the ground with his filthy knife scoring! But the Vostok had lost track of our Raicho it seems. So we fire on this piece of trash. Missing.
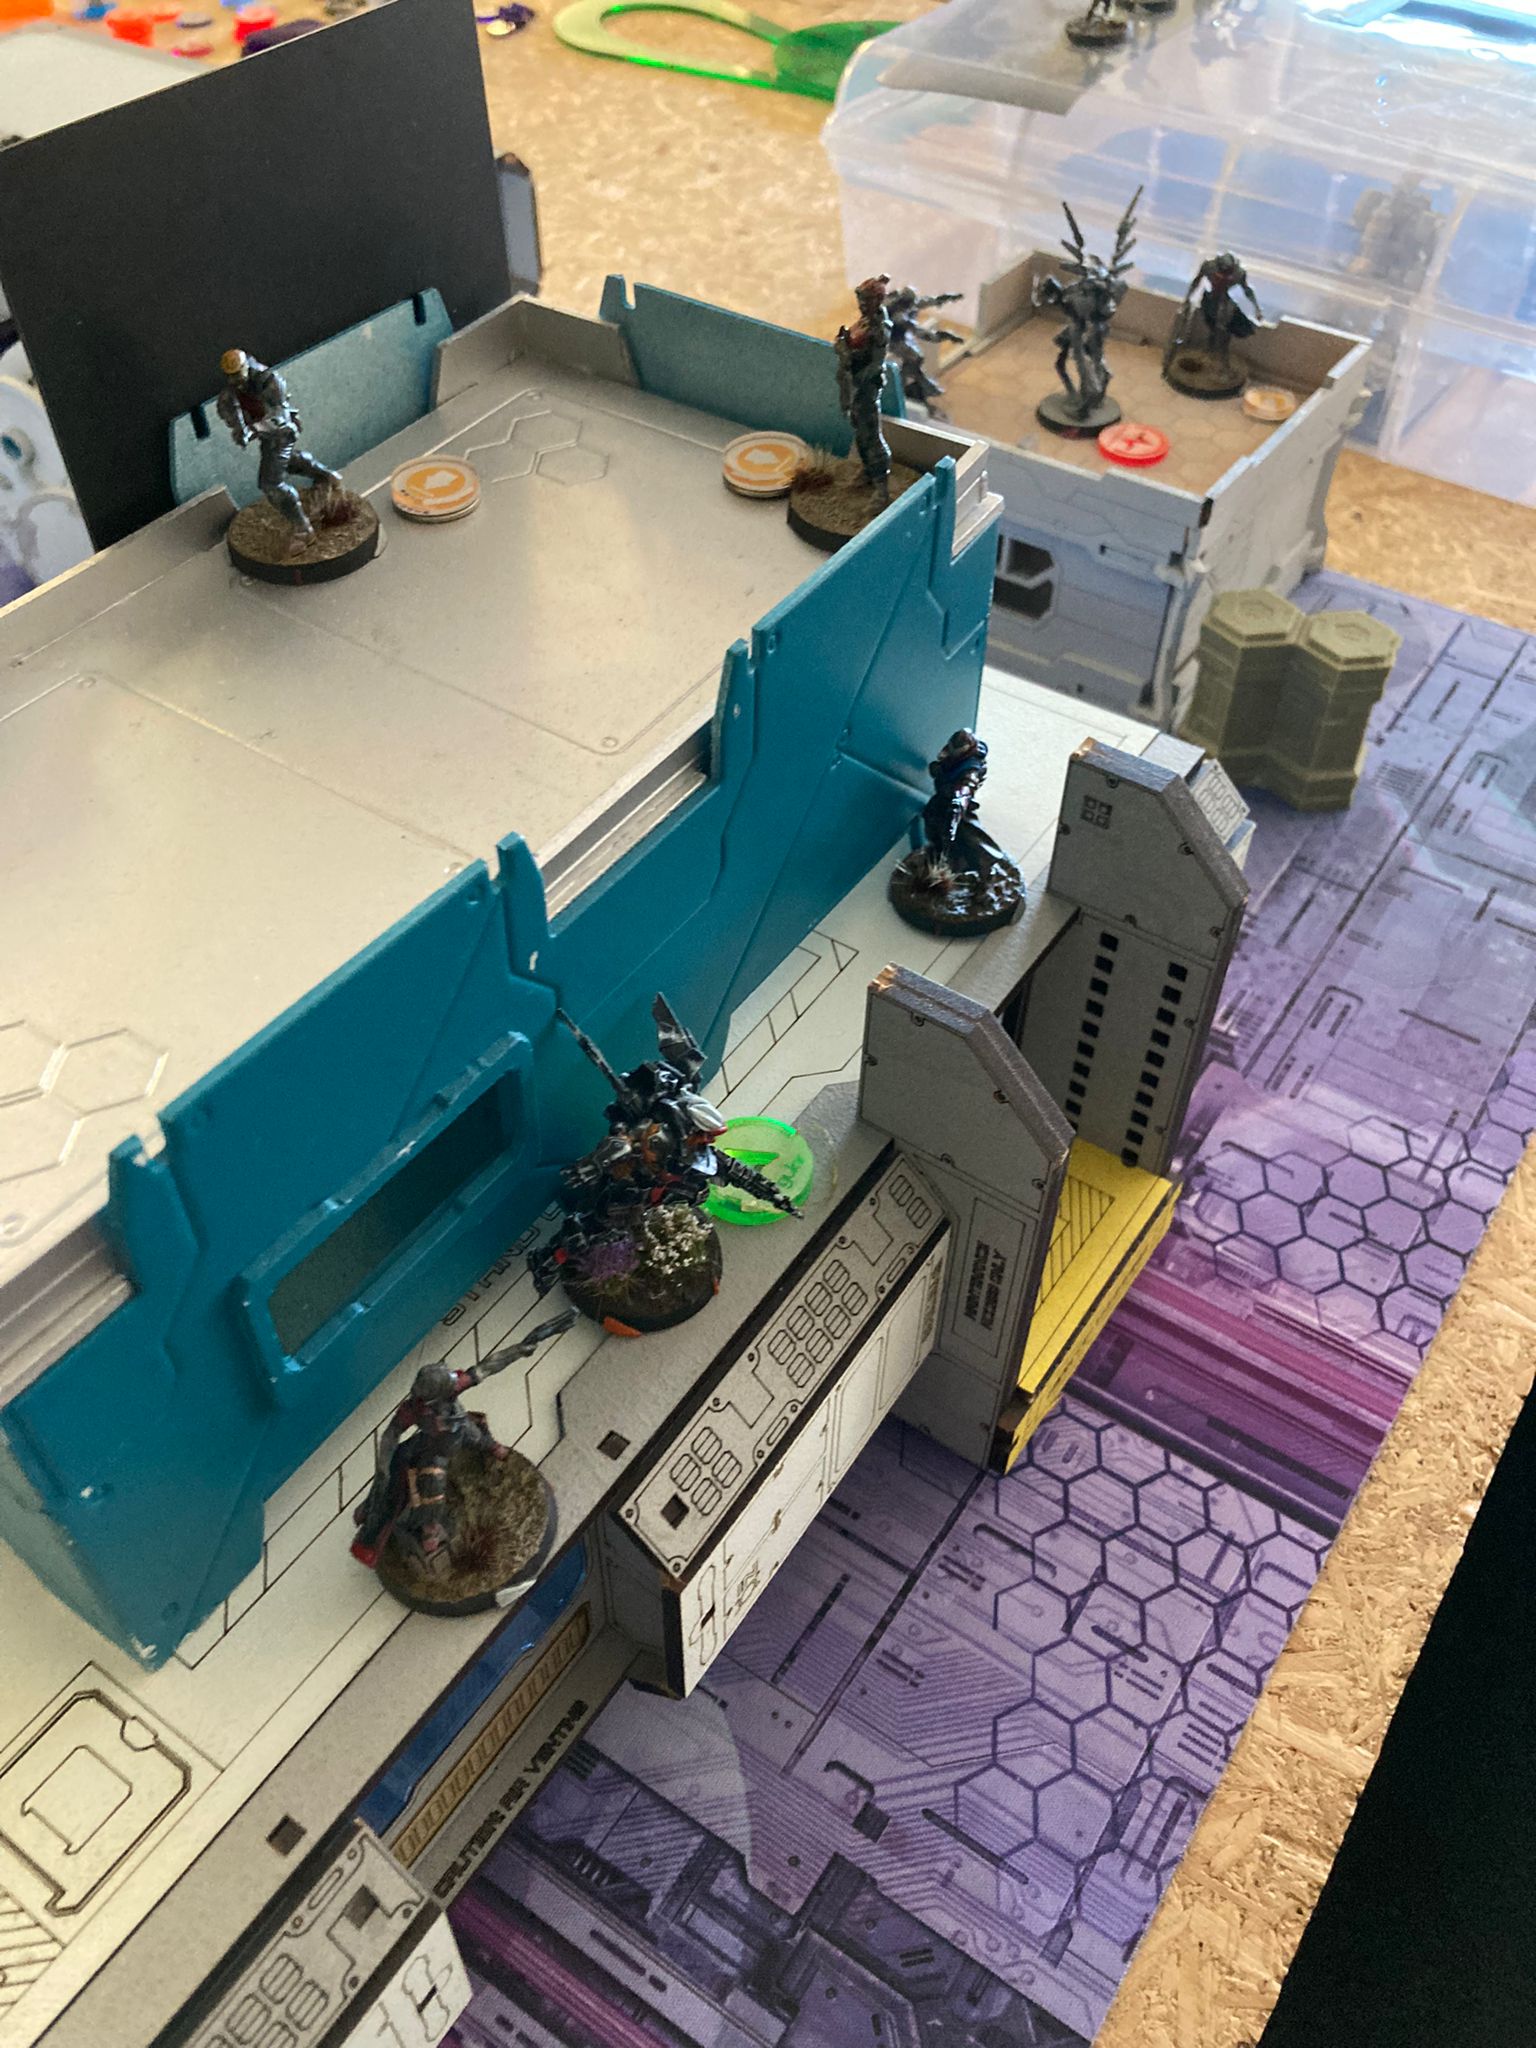 The enemy clockmaker seems to see a need to support his Vostok by bringing hin Palbot in position near him while engaging our last remaining Taybot. But doing so enables the Taybot to dodge out of melee. The enemy Lieutenant, I am sure that this oh so small human is of siginficant importance, is in danger again! Time to strike!
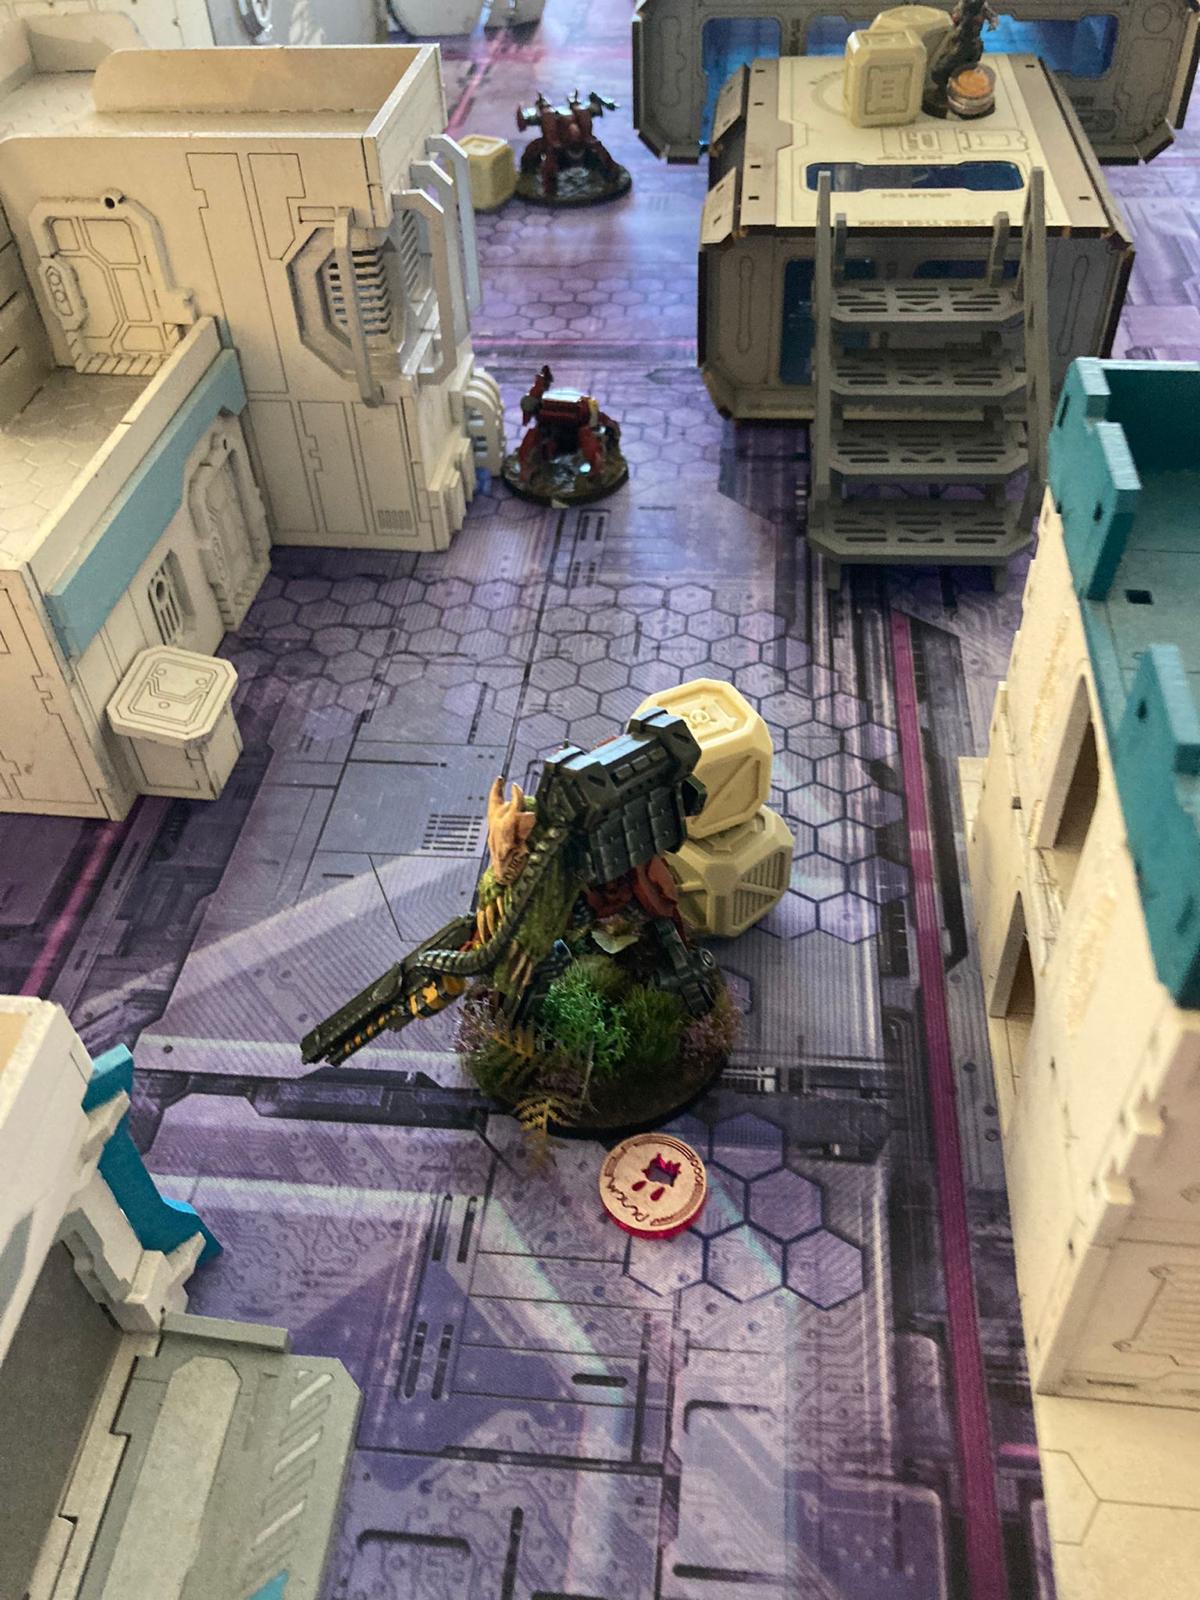 The Vostock begins to put preassure on the Raicho leaving hin harris behind. While approaching the Vostock is hitting the Raicho several times but its superior armor holds! While approaching into its good range the Vostock pampers the Raicho continuously dealing only one wound in the process. Still our Dartok does no manage this hunk of metal. I thought they send me the elite!
 The situation for the enemy is looking grim. A job well done. Now it is time to ensure our control on the Battery. As I said I though they send me the elite but after watching my Dartok failing to oben one supplybox three times in a row I am sending Kornak now! As I though he is more capable and aquires a new armor that resembles that of the Raicho in resillience.
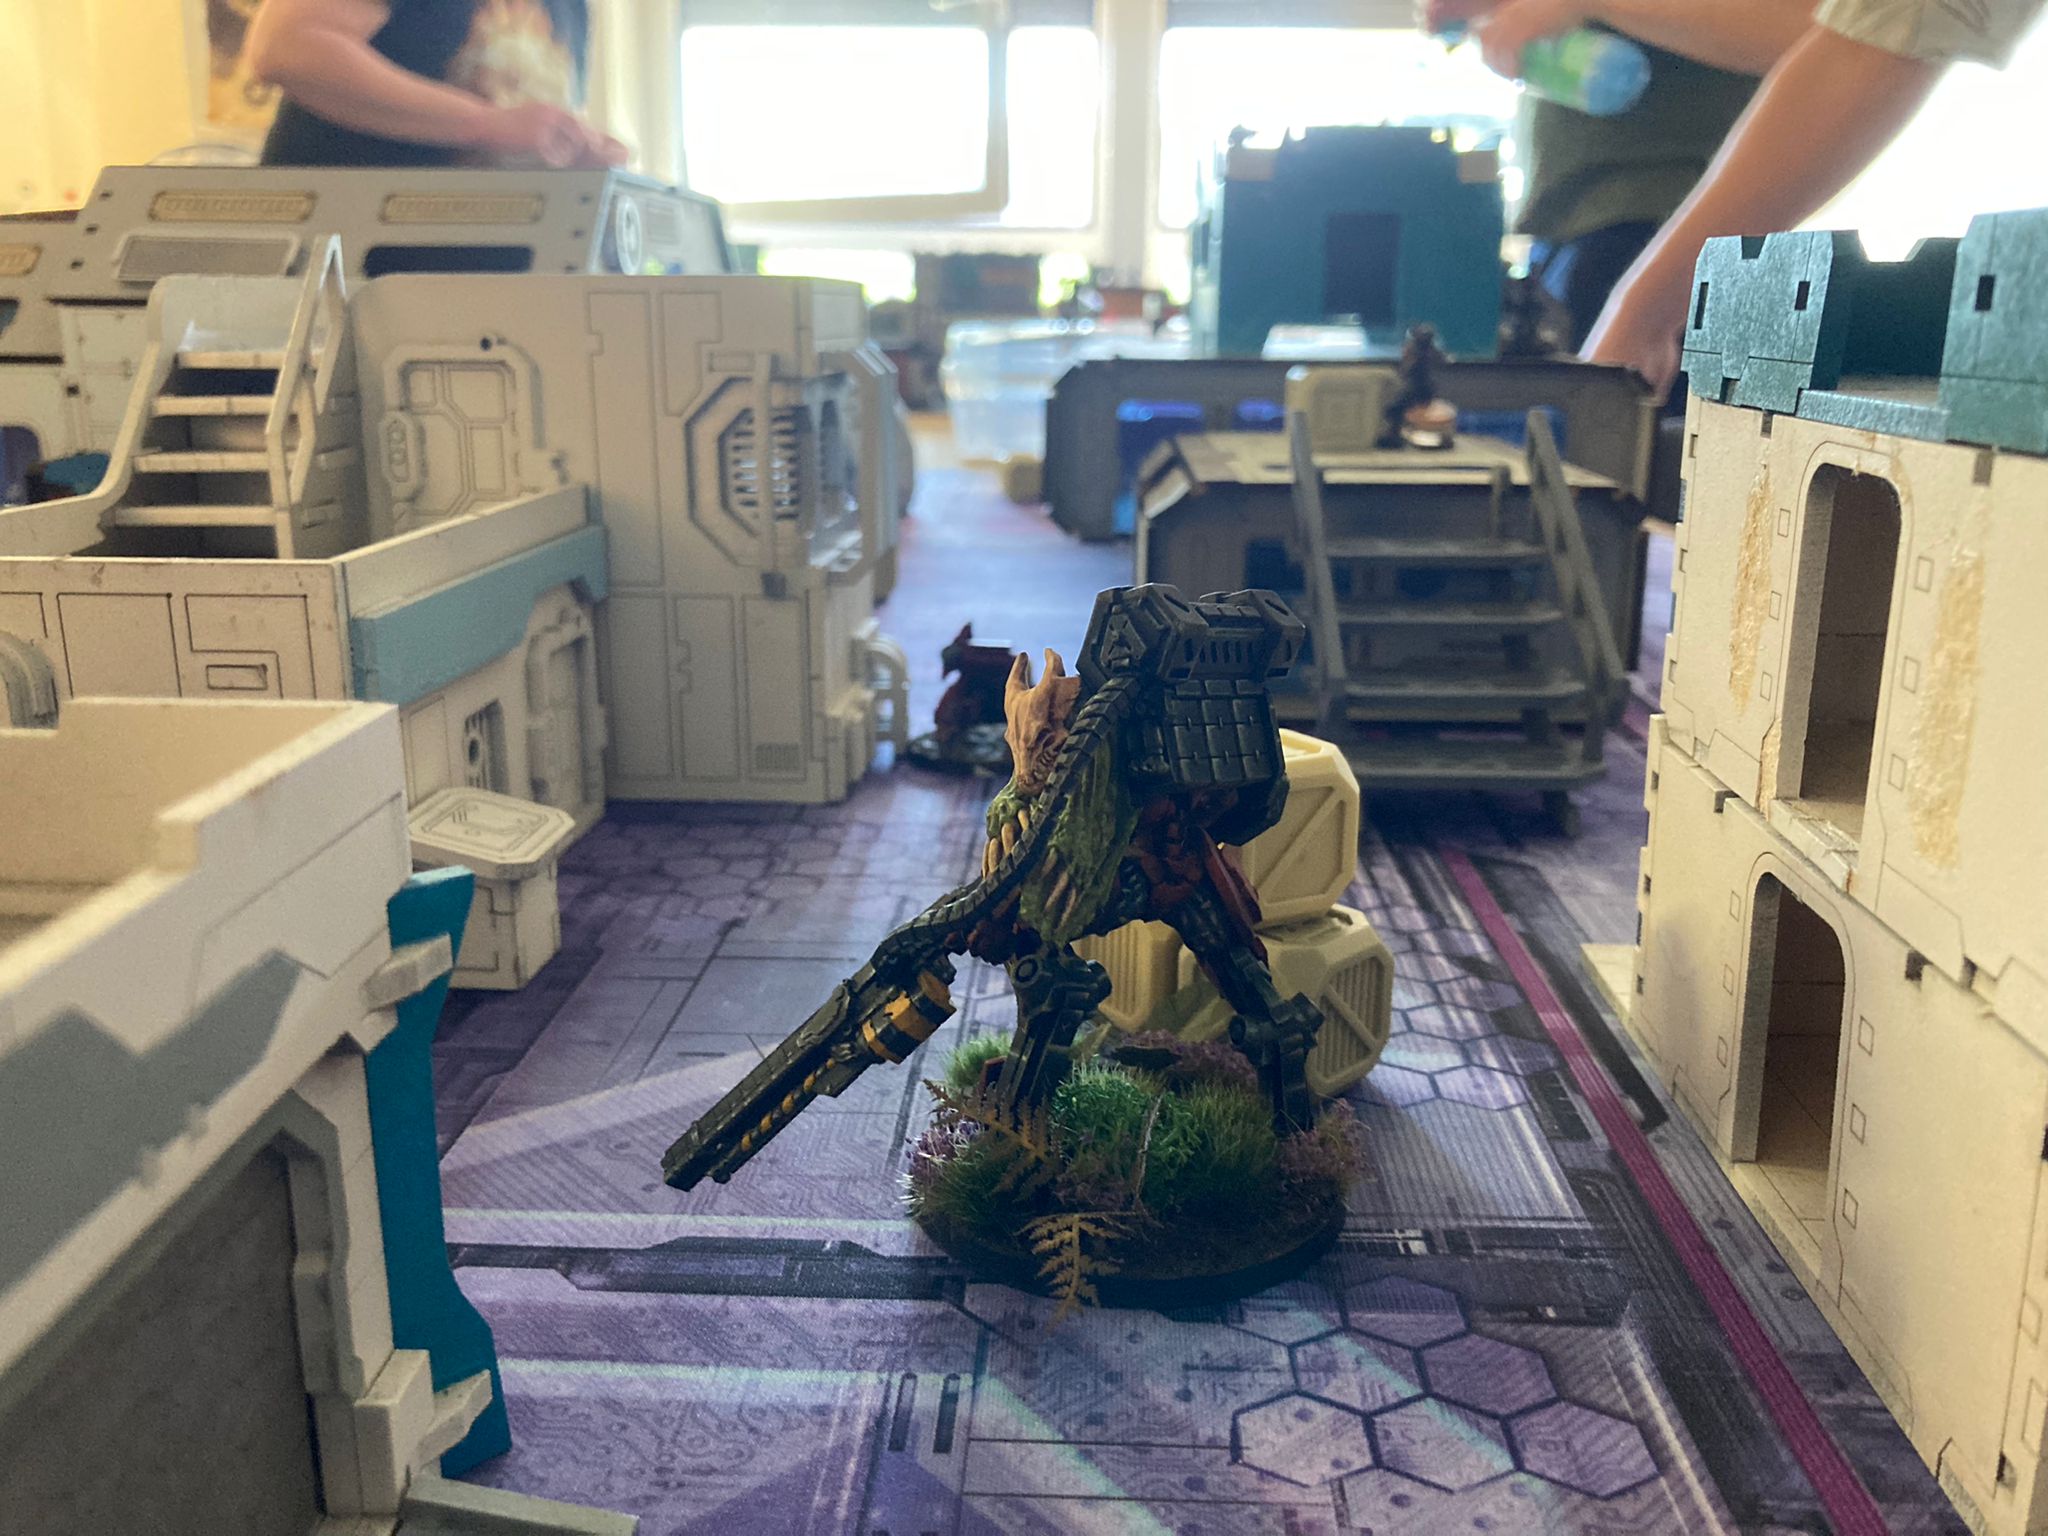 After managing to open one PanOply we need to make up our inability to open the quickly with more aggression. The Raicho attacks the Vostock and finally takes it out. Now we need to focus to get our objectives done. This time the Dartok and Kornak excell and are able to map the surrounding and undermine the enemy network.
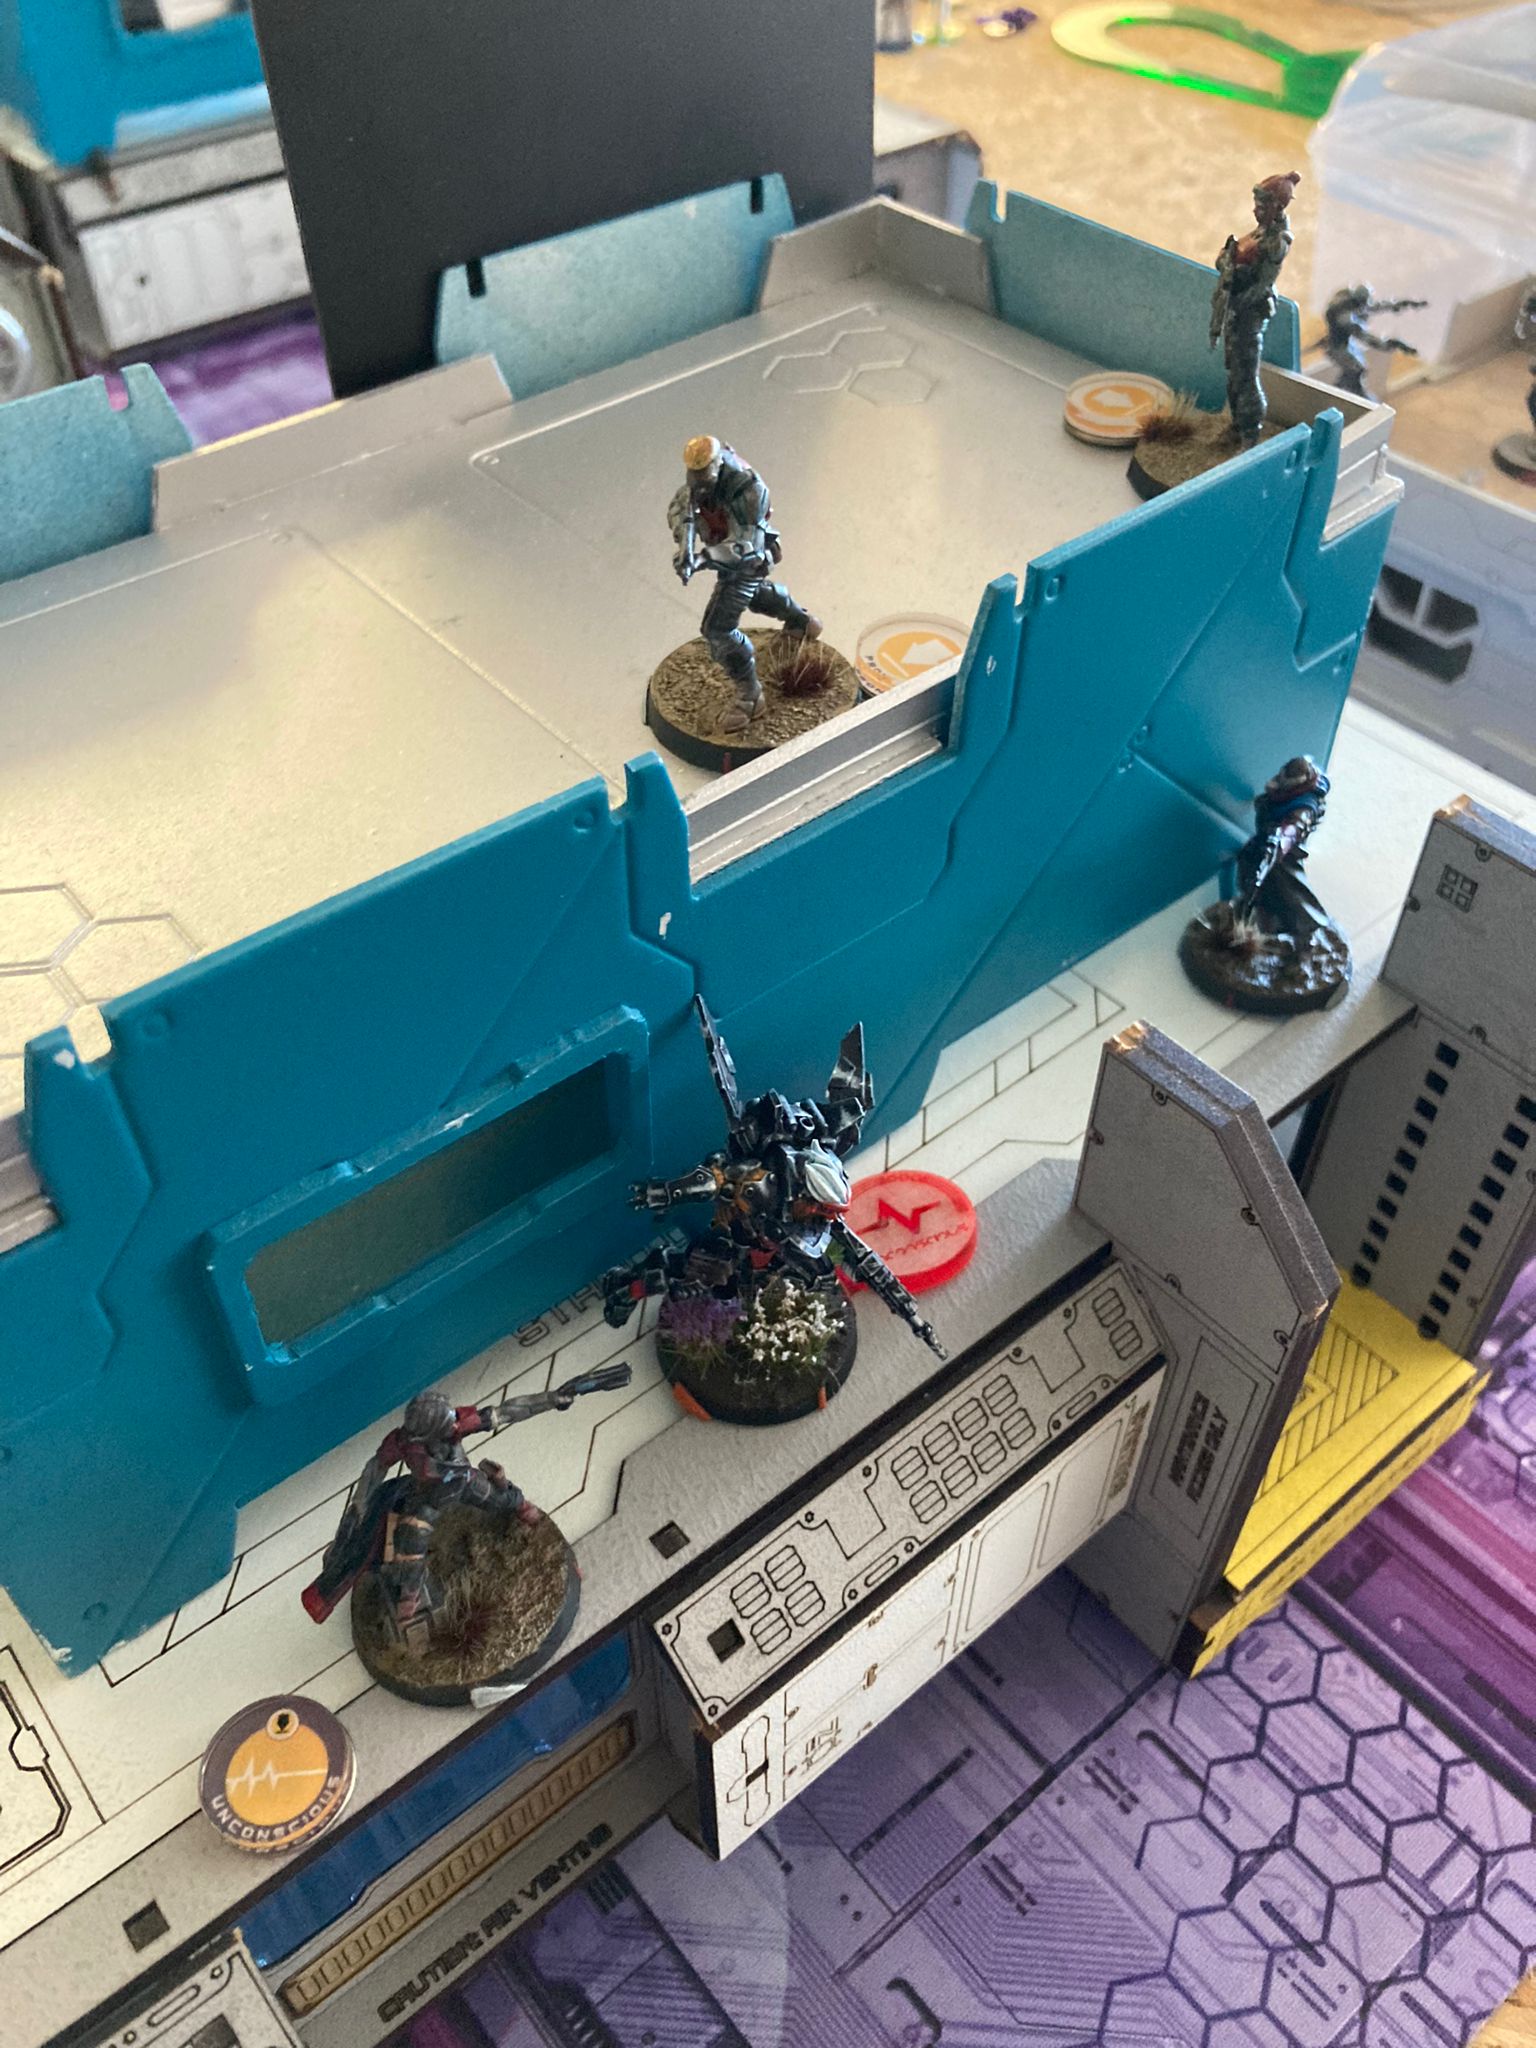 While our secondary objectives are being succsessfully performed we are lacking in our main objective. Hence our Taryot needs to act! He shoots the enemy target he was sent to the battlefield to eliminate and manages to take him out eating a bullet from the clockmaker in return.
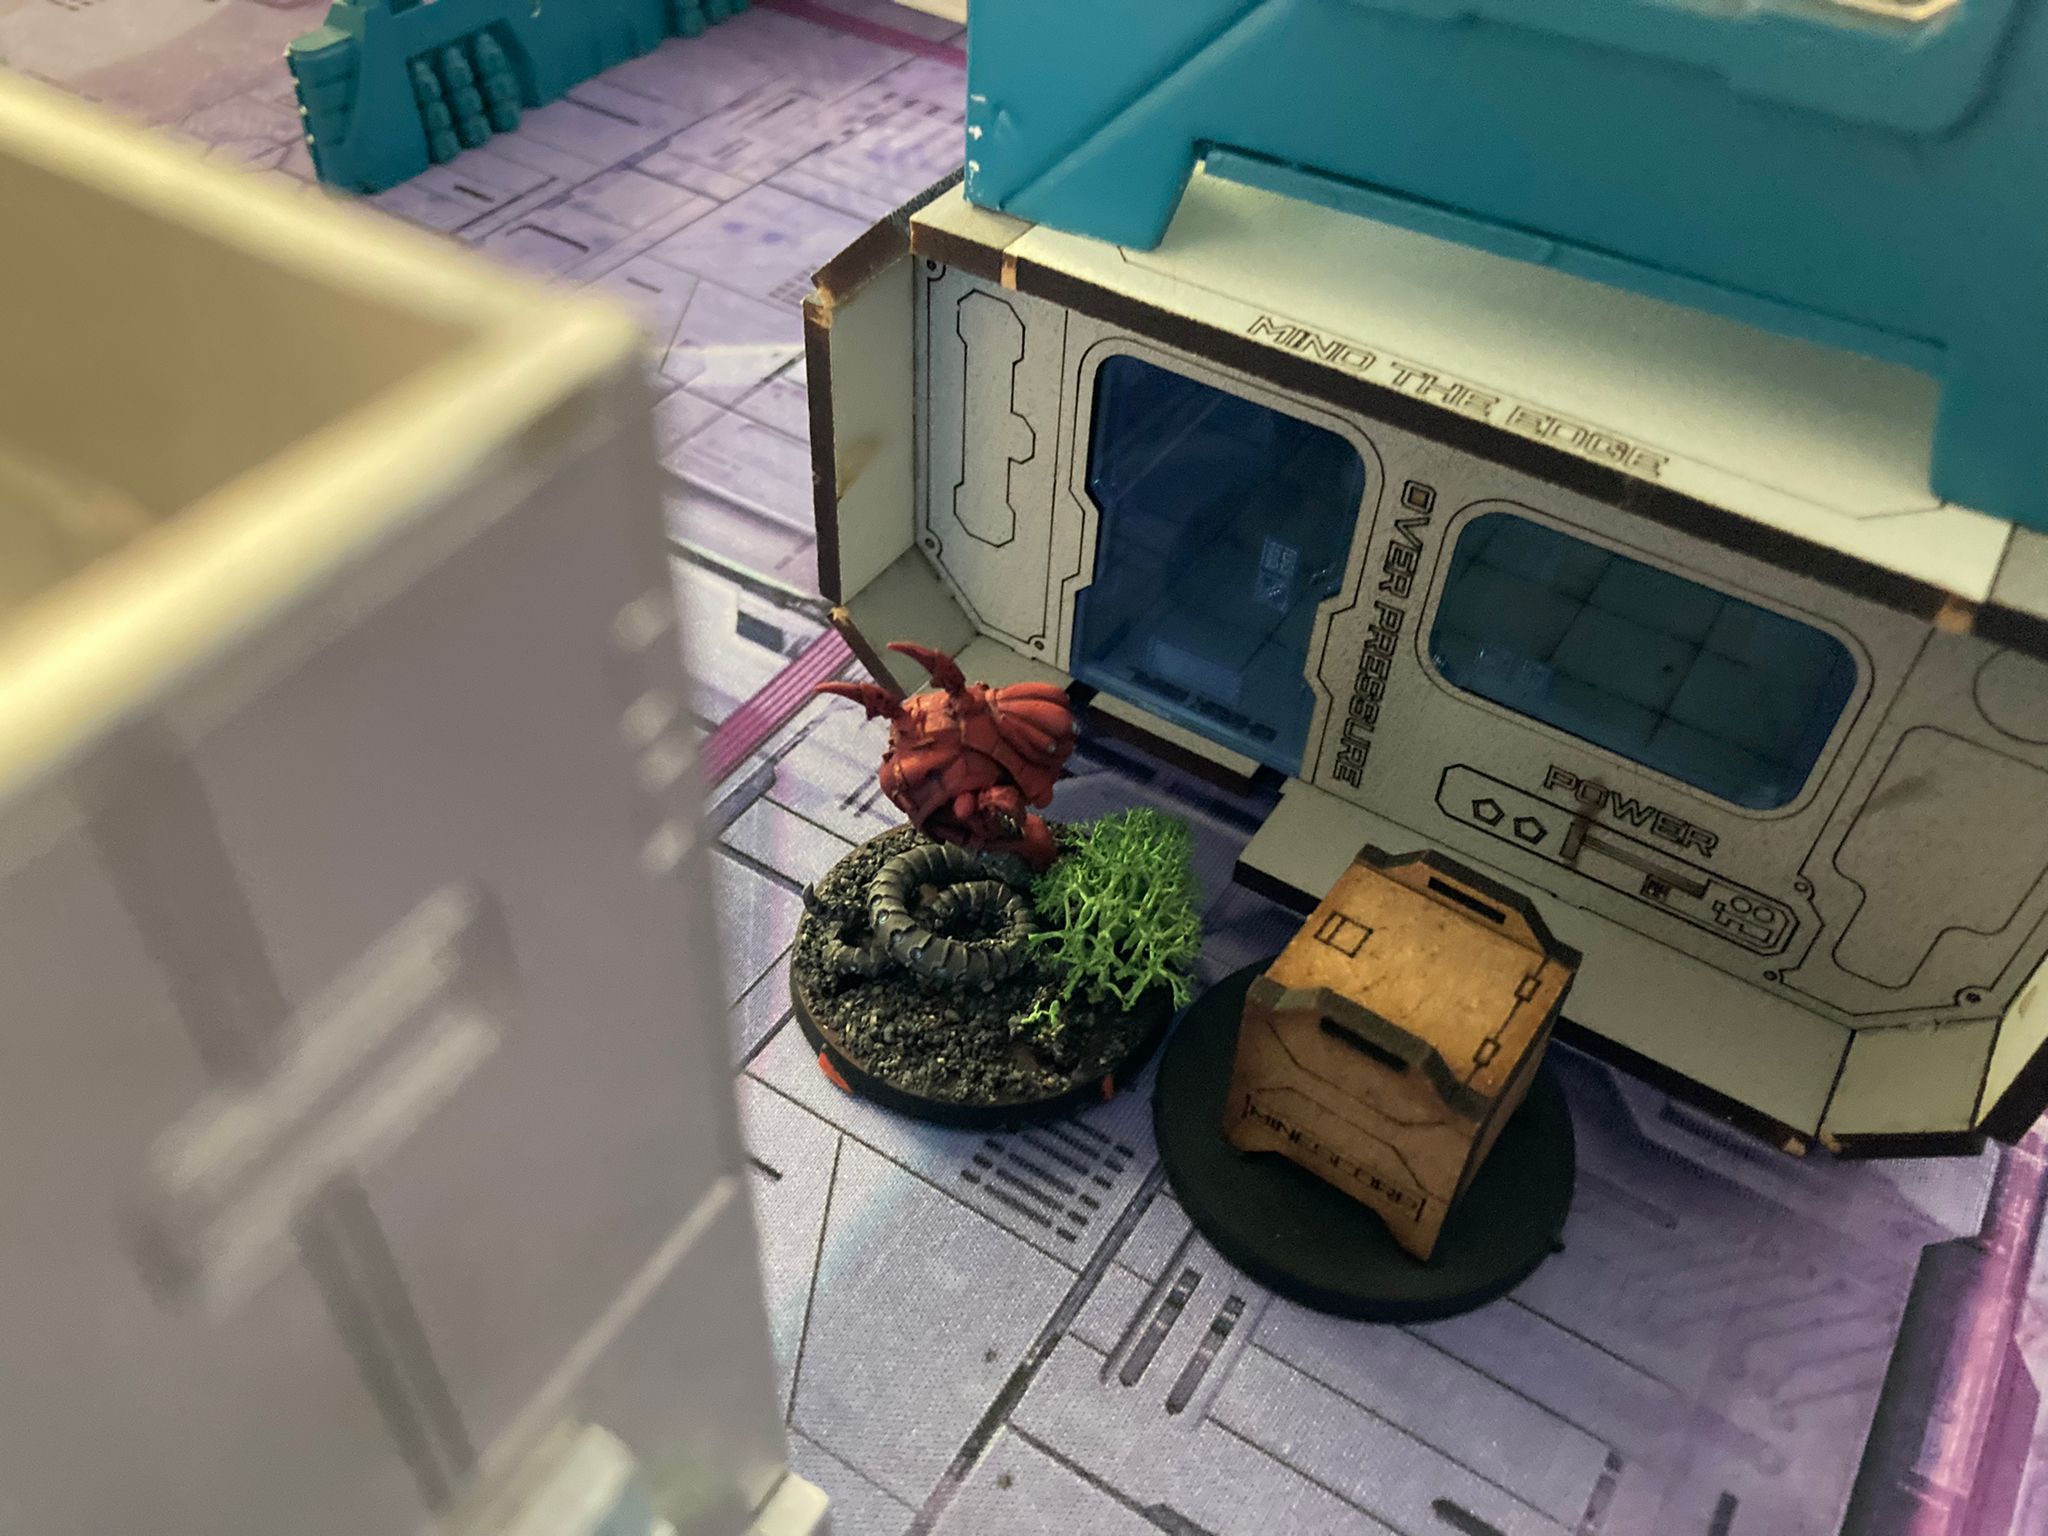 What is this THNIG doing now?! Just after we secured a strong foodhold in enemy terretory the Worm starts to run towards one of the PanOplys disrupting our order flow giving the enemy the chance to strike back!
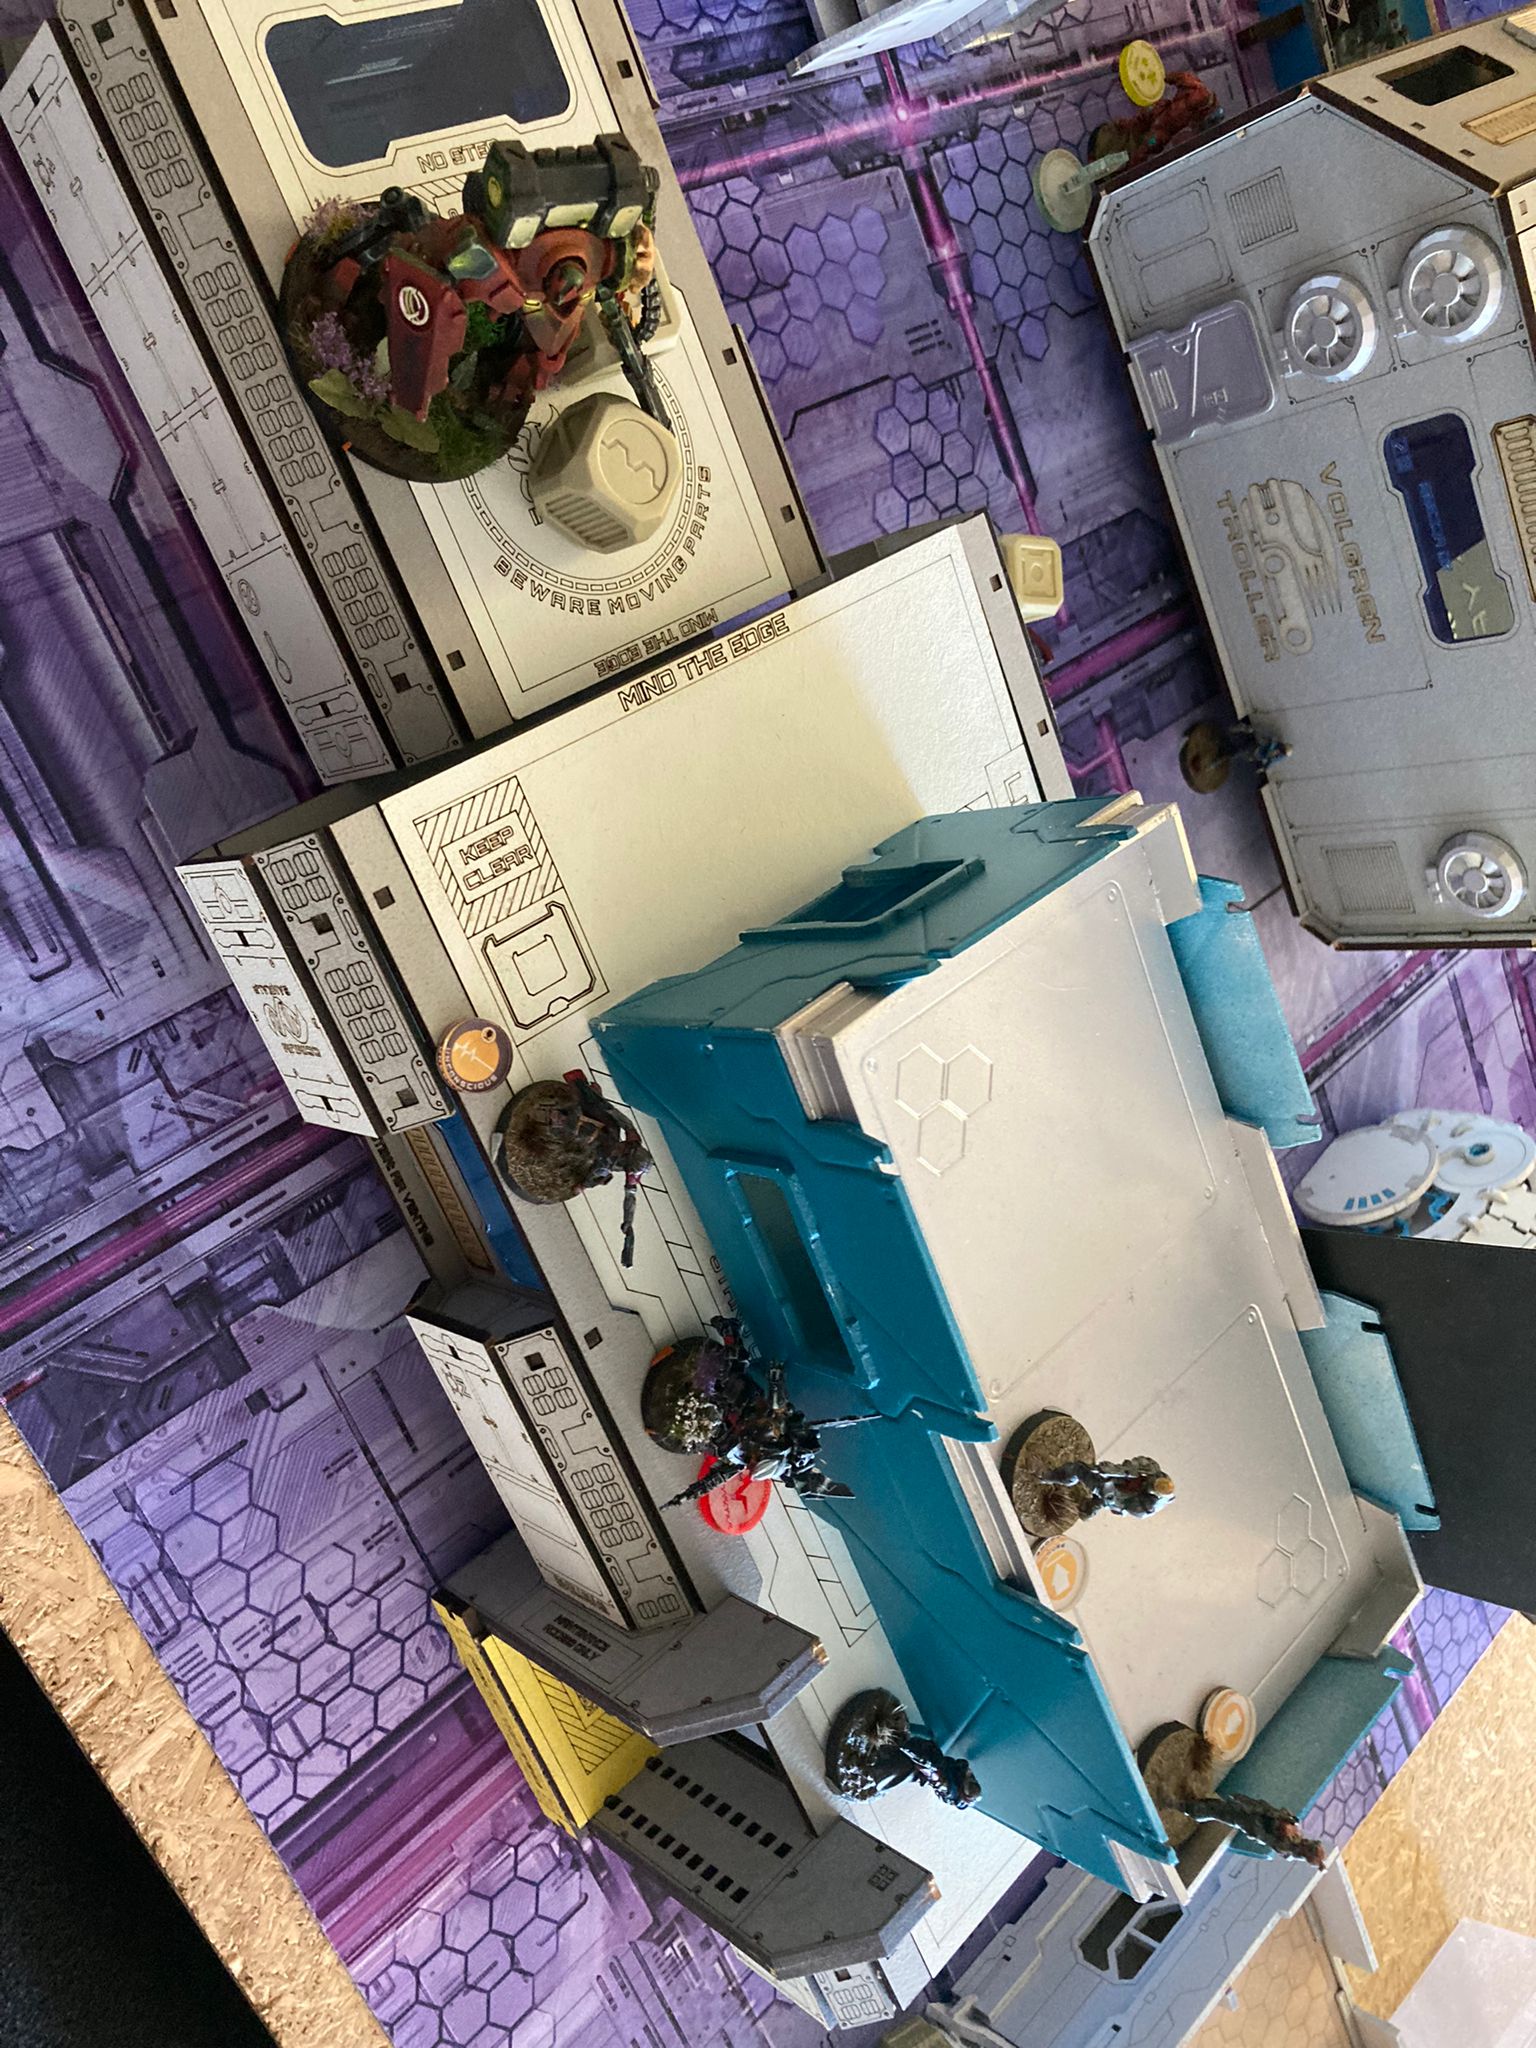 Those humans seem like their command structure is in shambles! One of their paramedics tries to heal the tiny woman the Taryot downed. Unsuccessful!
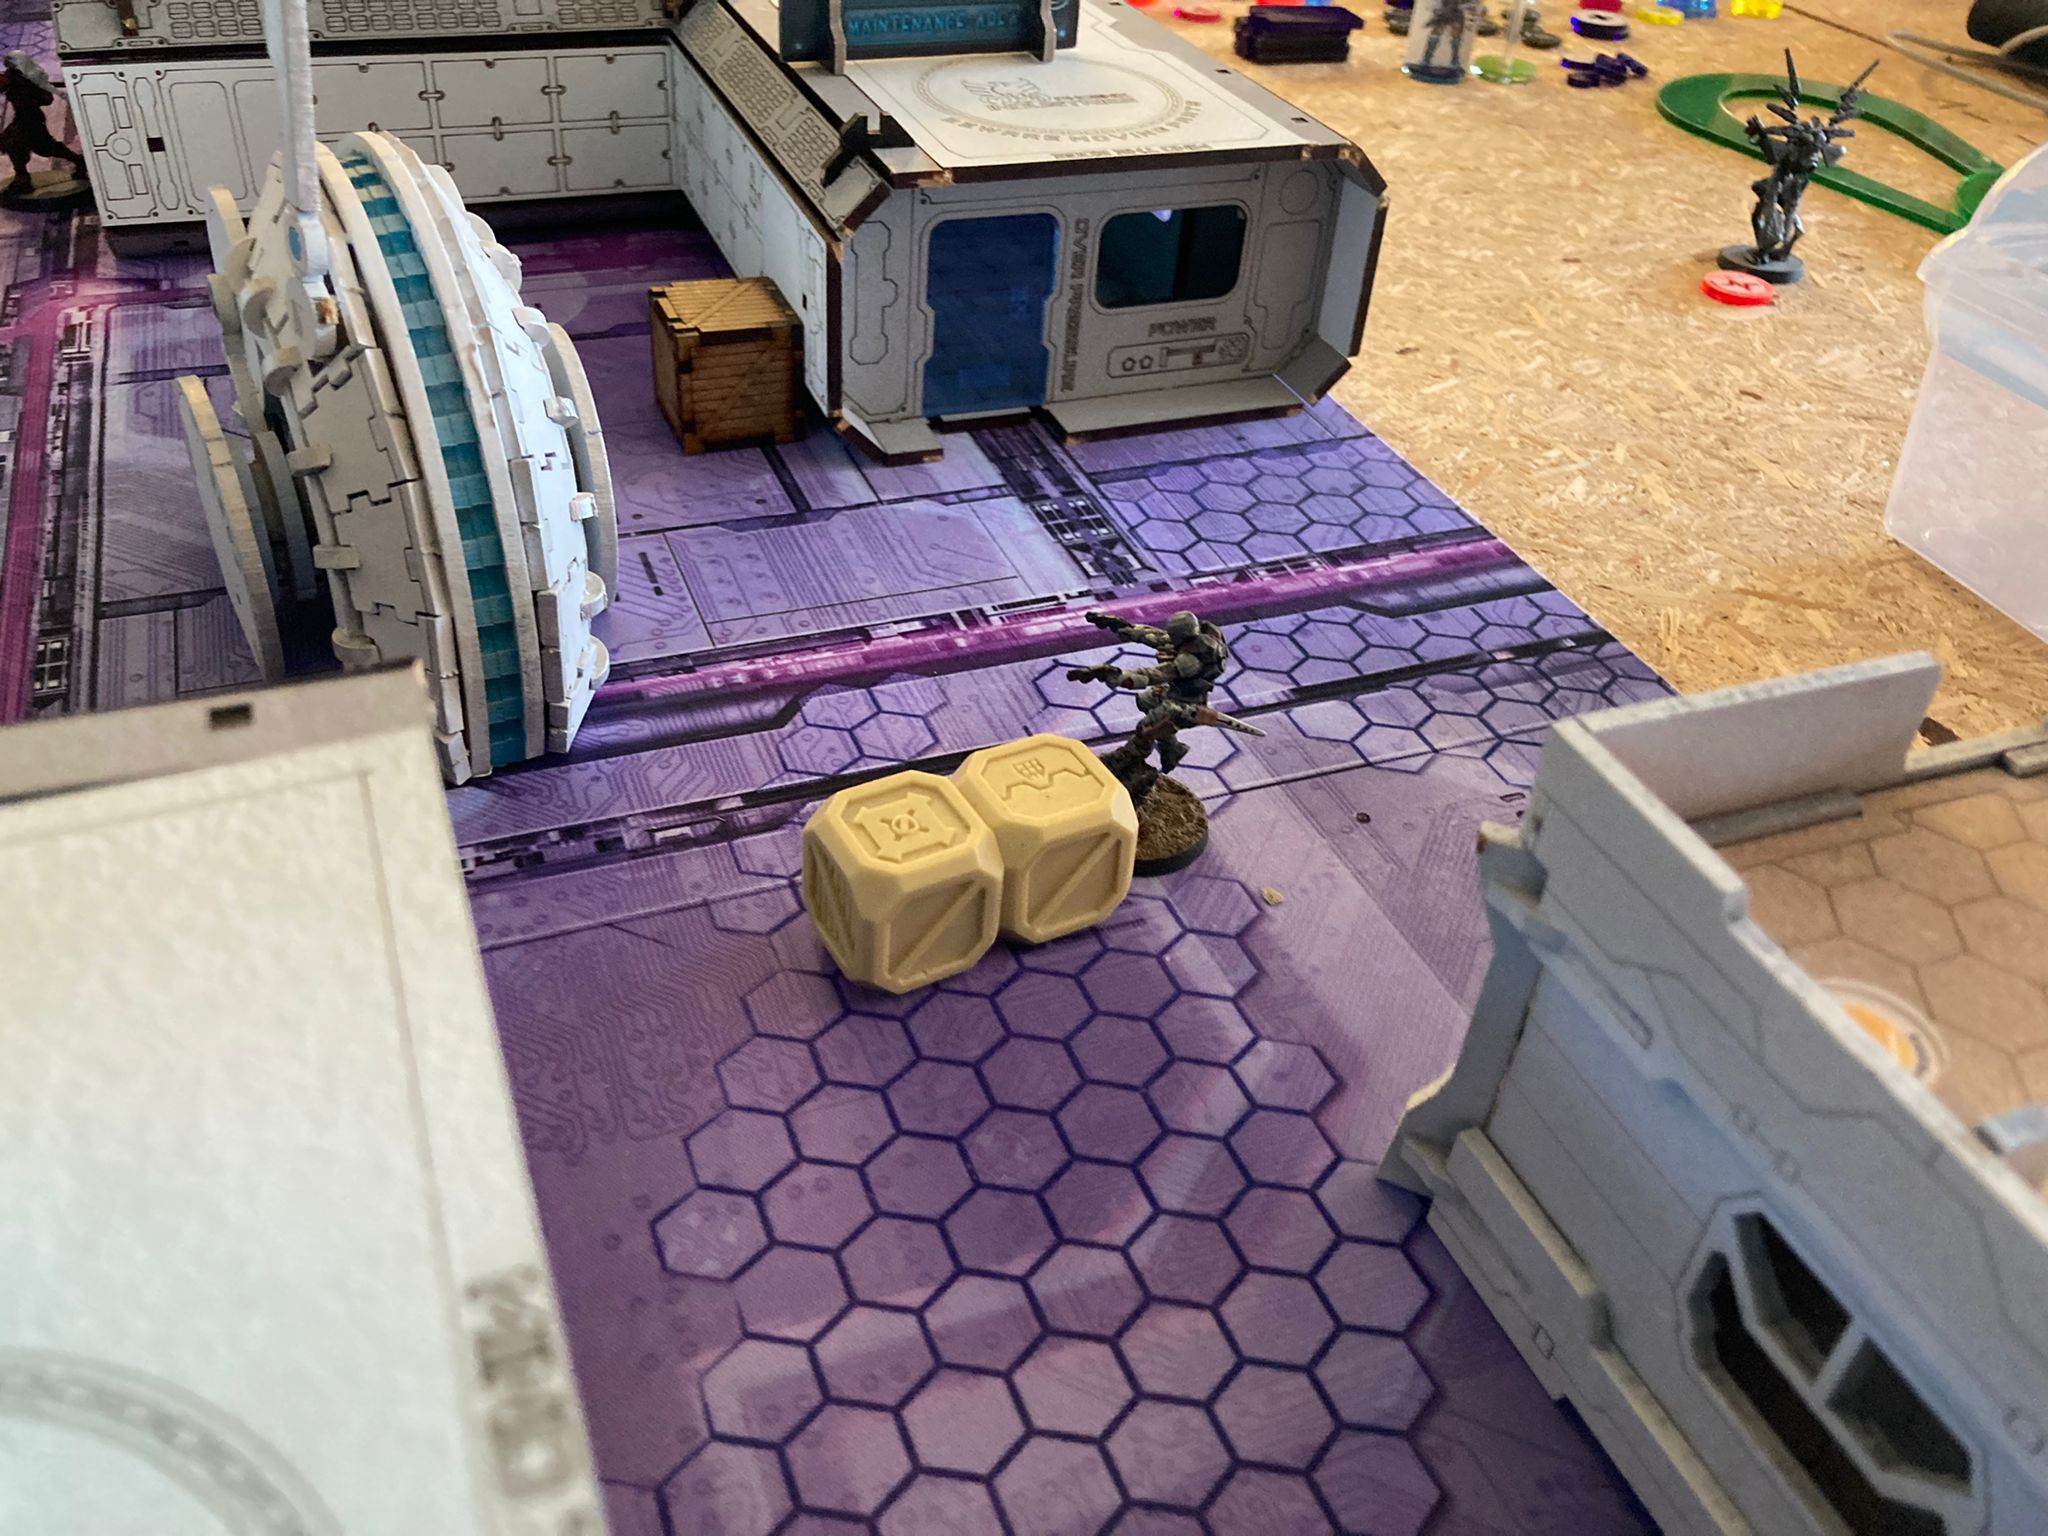
 They should not have angered our remaining Daturazi. He is angry. So angry that he is going Berserk against Perseus and both parish on a fountain of gore.
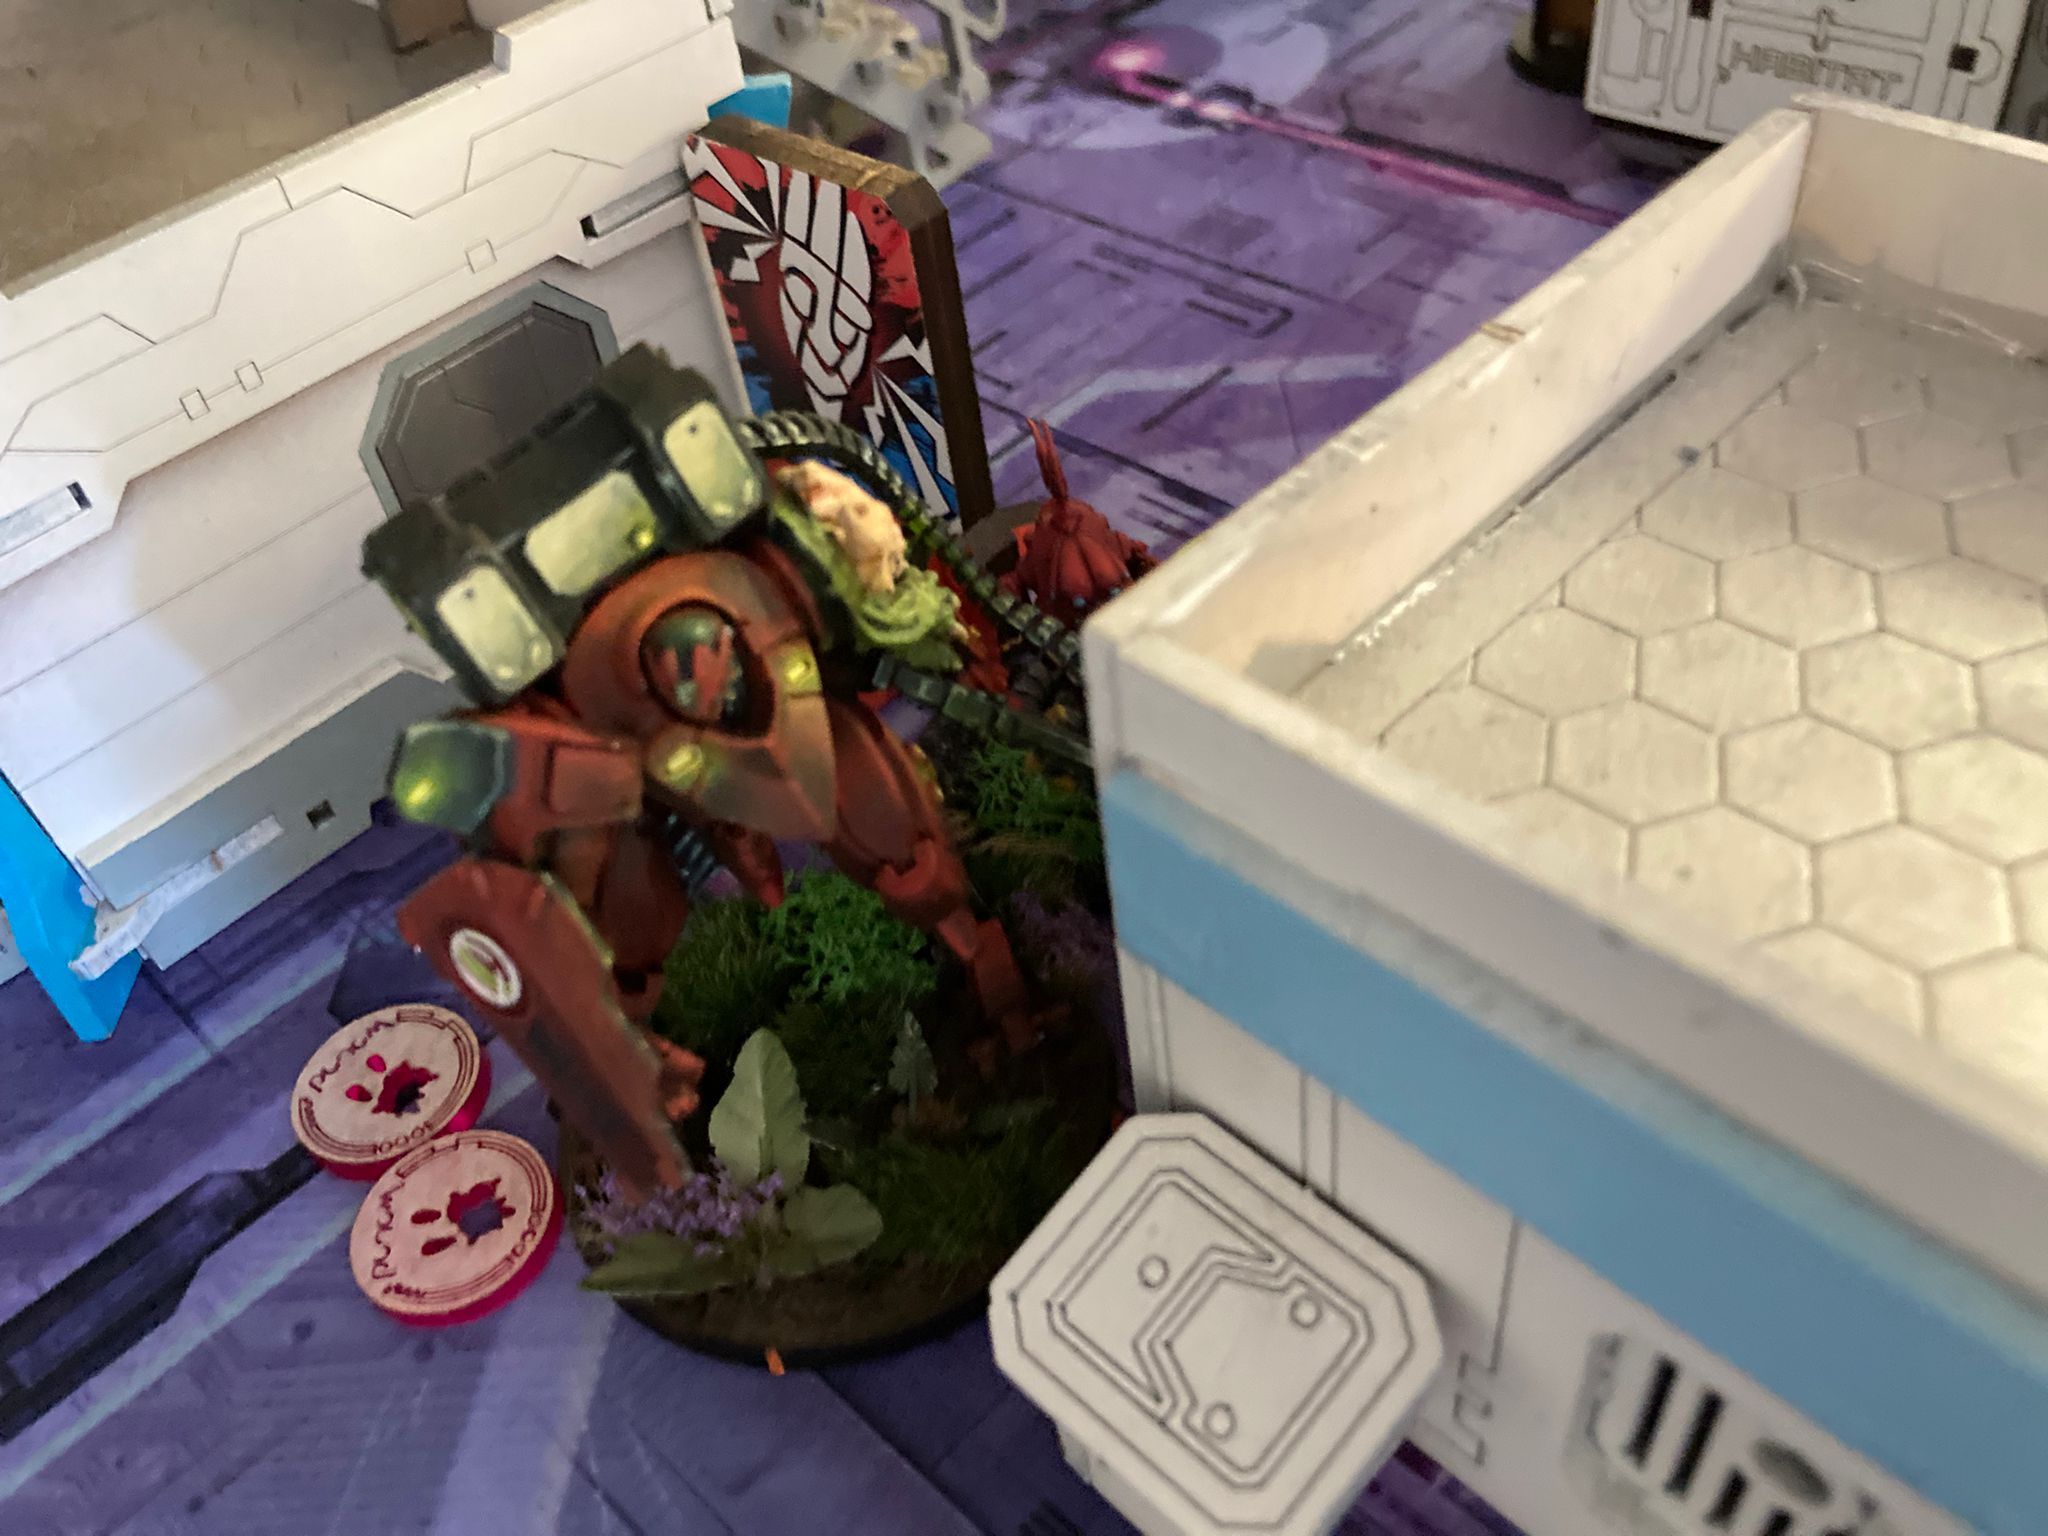 With the situation under control the Raicho is retreating just a little bit while the Worm is getting closer to it! I hope that is not about this Kusit Test Run Command wanted us to perform... But what is this! The Worm damaged the Raicho almost beyond repair! So much for testing! Only afert some more time the Worm was able to repair the damage it had just done and the Raicho advancing again.
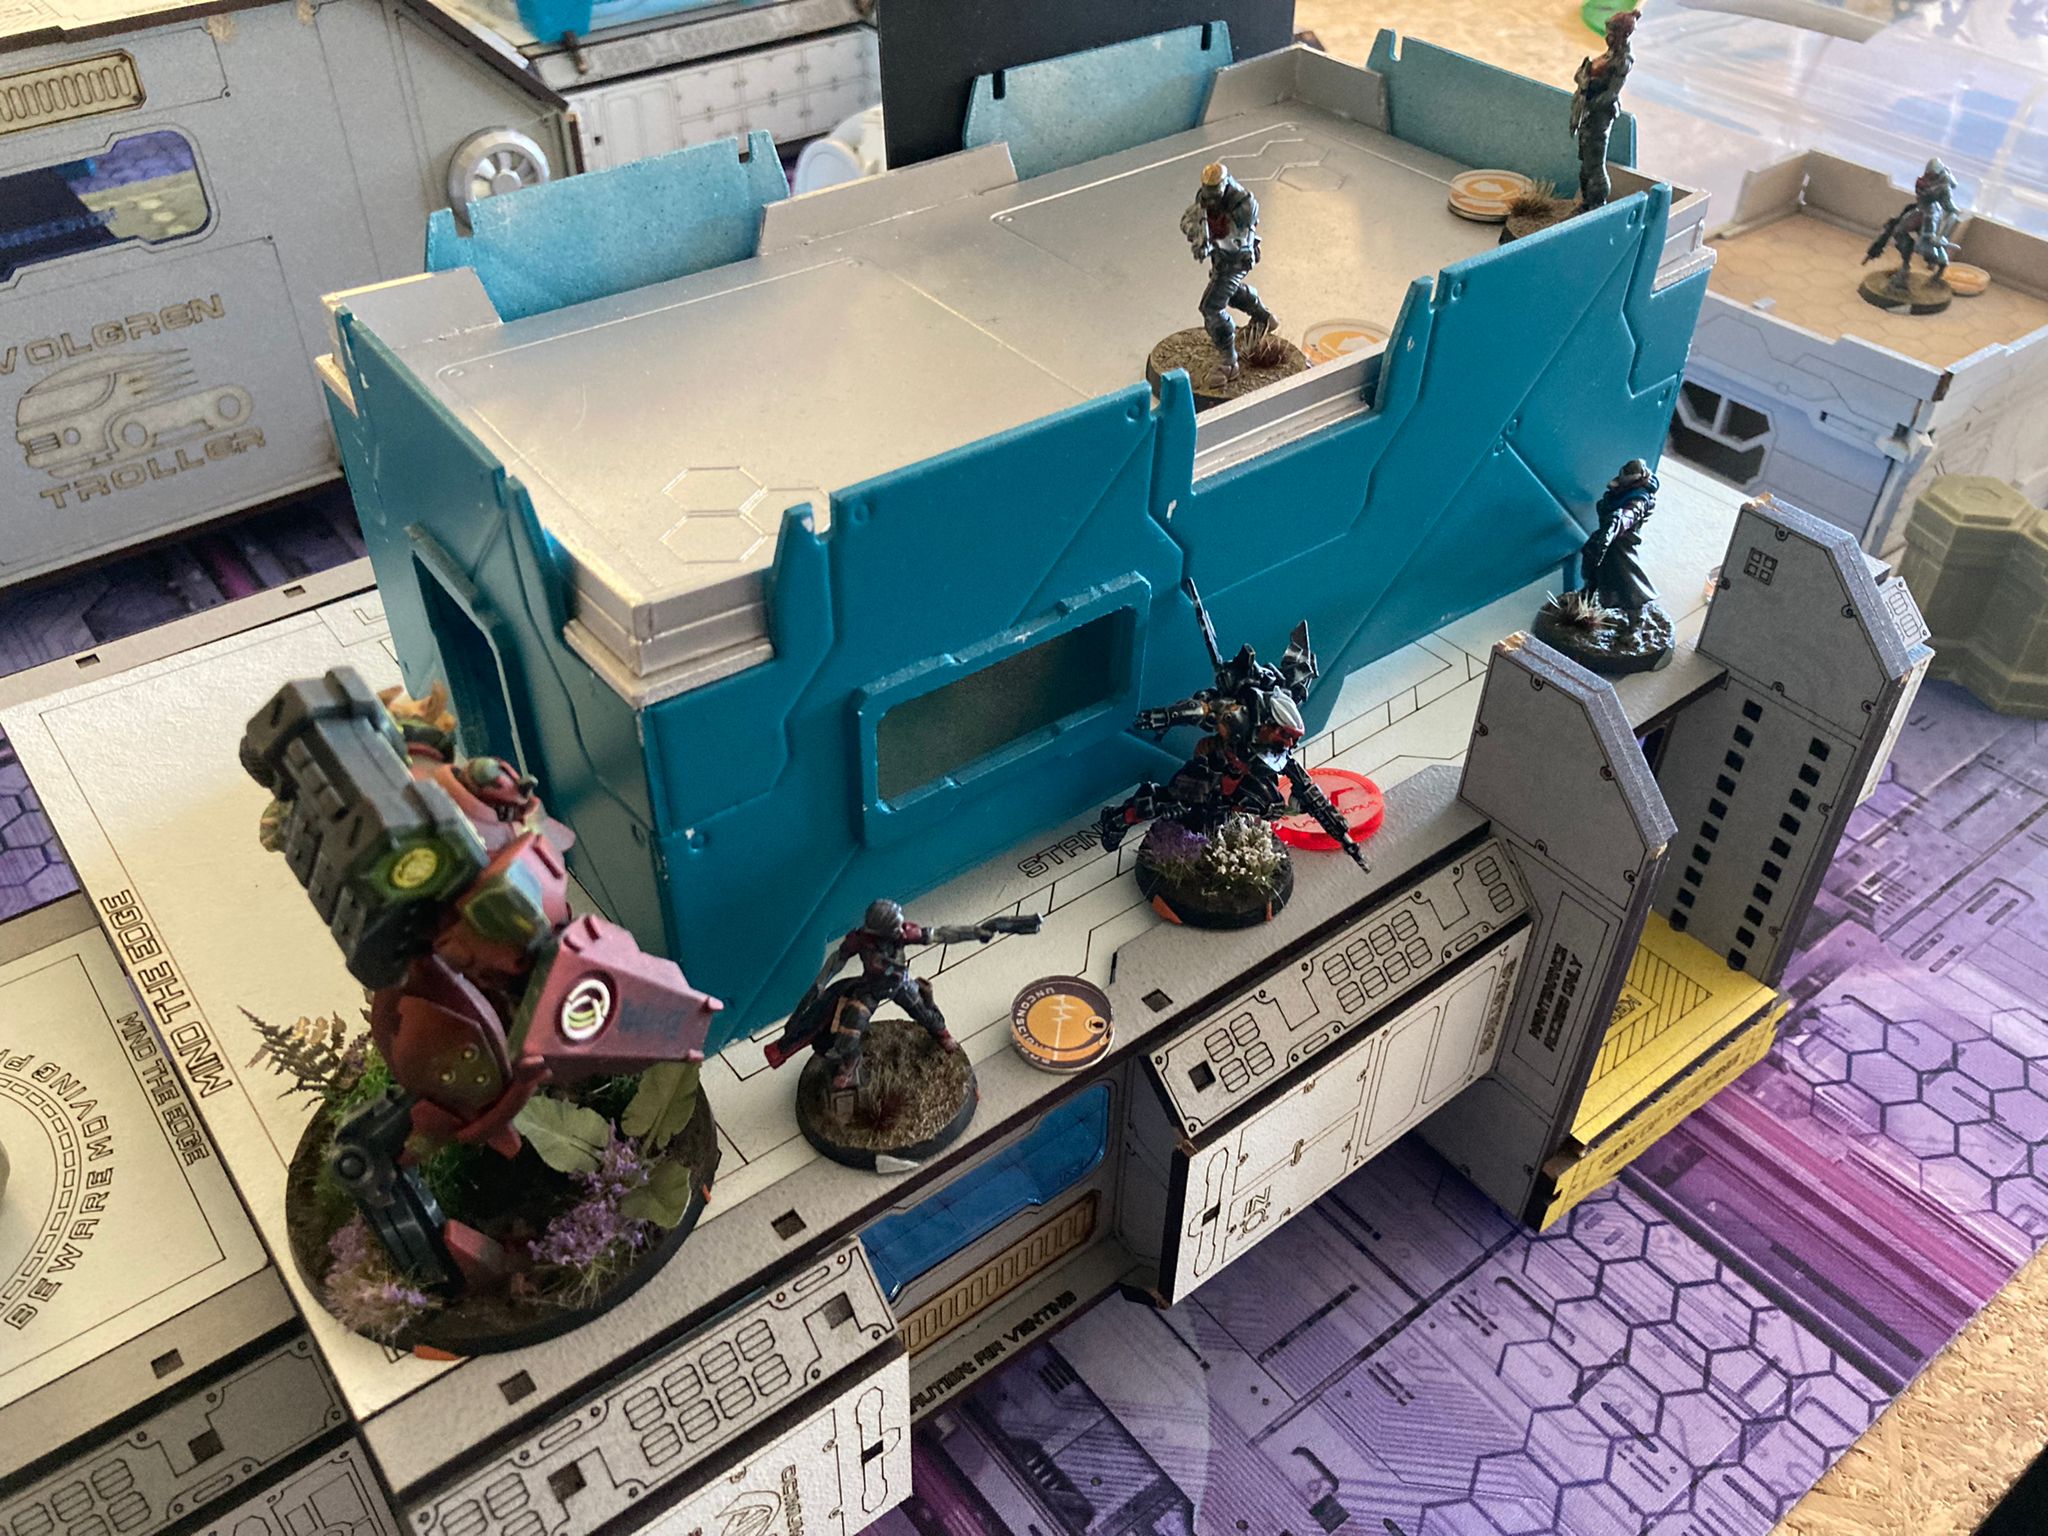
Battle Report Author

Army Lists Used In This Battle
Recommend Commander For Commendation
Share this battle with friends
AmishInvaderWins

congratulations, Morat scum!
; )