Fought At Alfutna Terraforming Studies: Hangar Area
640 days 18 hours 24 minutes ago
No supplies for Caledonia
200 POINTSArmy:
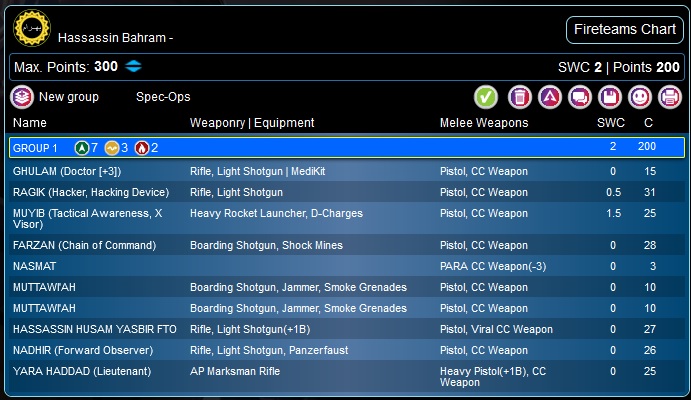
Hassassin Bayram:
gZIQaGFzc2Fzc2luLWJhaHJhbQEggSwBAQoAgS0BCAAAgTMBBAAAgUcBBgAAgUwBAQAAgU0BAQAAgVQBBQAAgVQBBQAAgVUBAQAAhgkBAgAAhgwBAwA%3D
We decided to play a smaller game due to playing within the week to keep the playing time shorter, so just 200 pts. After our last match I wanted to try something different, so I restricted only to profiles I didn't use last game. But somehow while tinkering I got closer and closer to my last list.
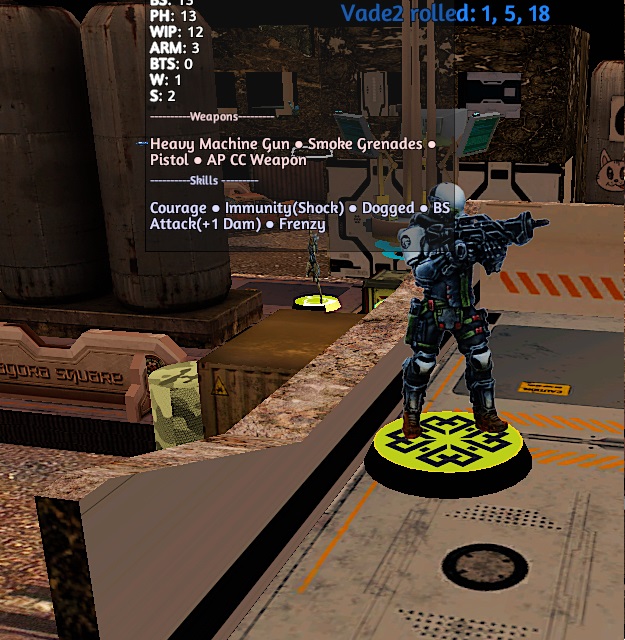
I decided to take a Farzan CoC as midfield specialist. Hence, I could run a more aggressive Lt. As I used the Asawira Spitfire before I decided to take Yara as Lt. To support her with smoke and mainly a defensive tools I wanted to bring the smoke+jammer Ghazi which yield quite a nice toolbox for the points value.
At first I picked a Shujae as second midfield specialist, but dropped it in favor of the Nadhir. He feels much safer as he stays in HD. Additionally he can be fierce as ARO which is something I could not fit into the list otherwise. As an assassin to get boxes back and maybe do classifieds I decided to bring a Ragik Hacker. I feel they can do a lot, but hardly ever see them in use.
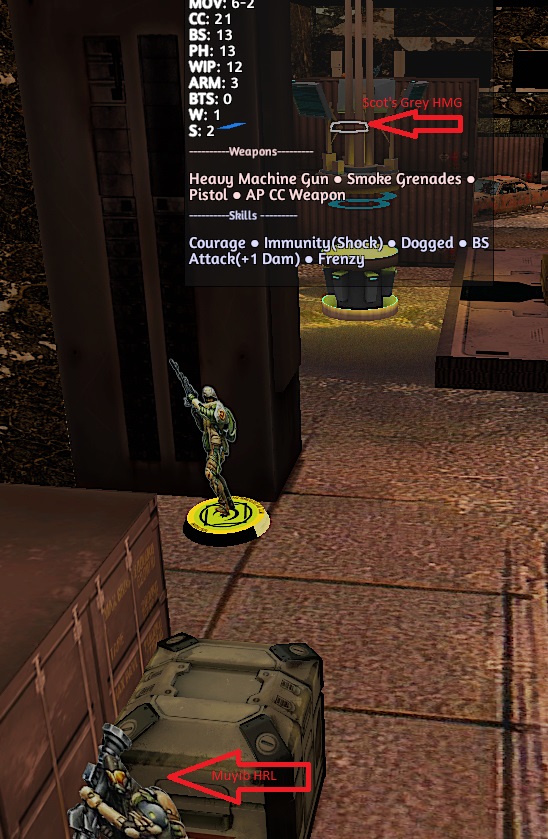
With the remaining points I got Yara a solid haris team adding an HRL Muyib and Husam SpecOp Yasbir. The later one as a suprise CC specialist as I was expecting Ariadna which most of the time have fierce CC fighters. The remaining points added a ghulam doc as specialist to the list.
Caledonia:
gS4aY2FsZWRvbmlhbi1oaWdobGFuZGVyLWFybXkRU3VwcGxpZXMgMjAwIHBrdC6AyAEBCQCA7QEEAACA7QEEAACA%2BgEDAACA%2BgEDAACA%2FgEBAACBAwECAACA7wECAACA7wECAACA%2BwEBAA%3D%3D
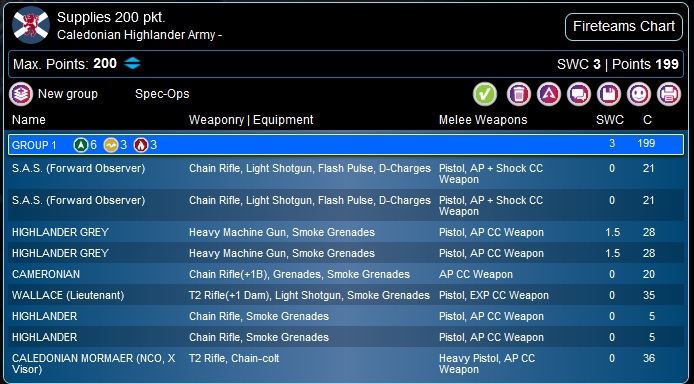
My opponent brought a simple Caledonian list featuring a pair of SAS, a heavy link of mormaer and two Scot Grey HMGs, another link with William Wallace and two cheap Galwegian and finally a Cameronian. All together pretty light on specialists. The main issue was that the list was a lot about smoke and brute force apart from the precious specialists which yielded issues in the game.
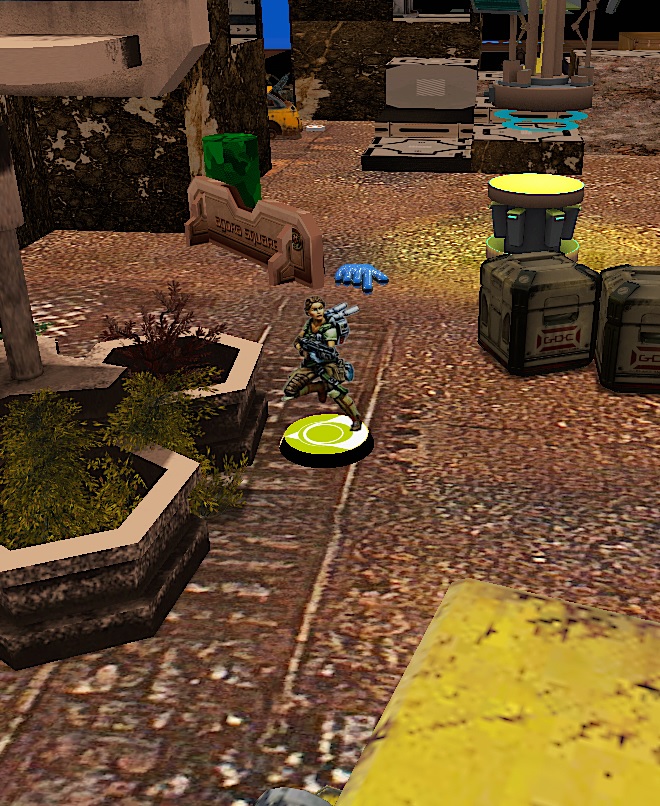
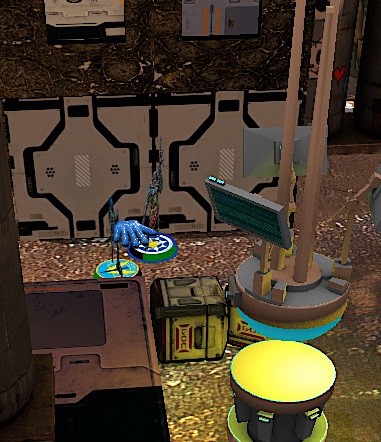
Deployment
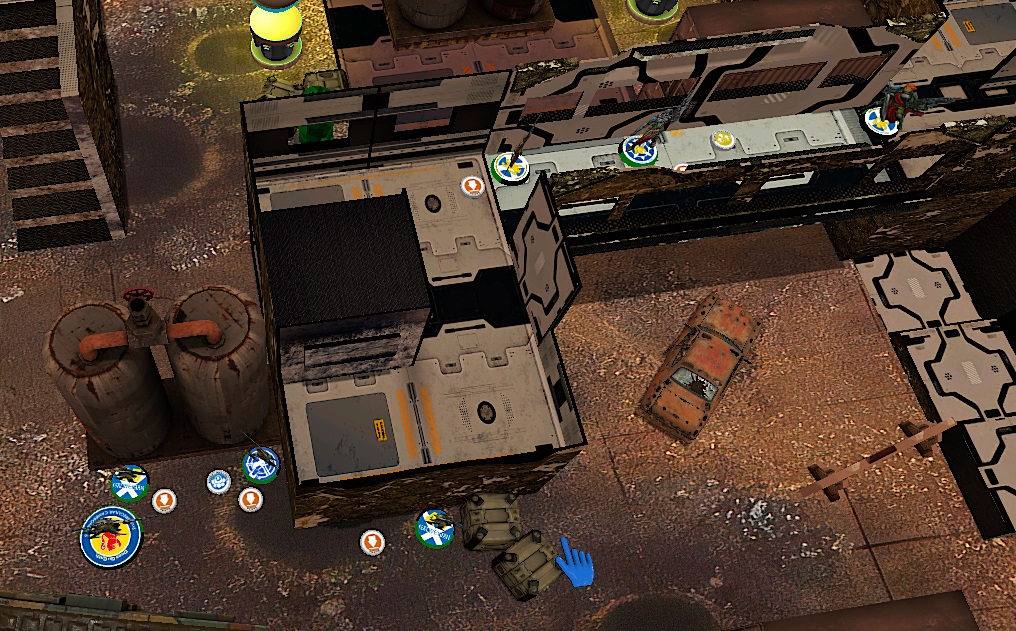
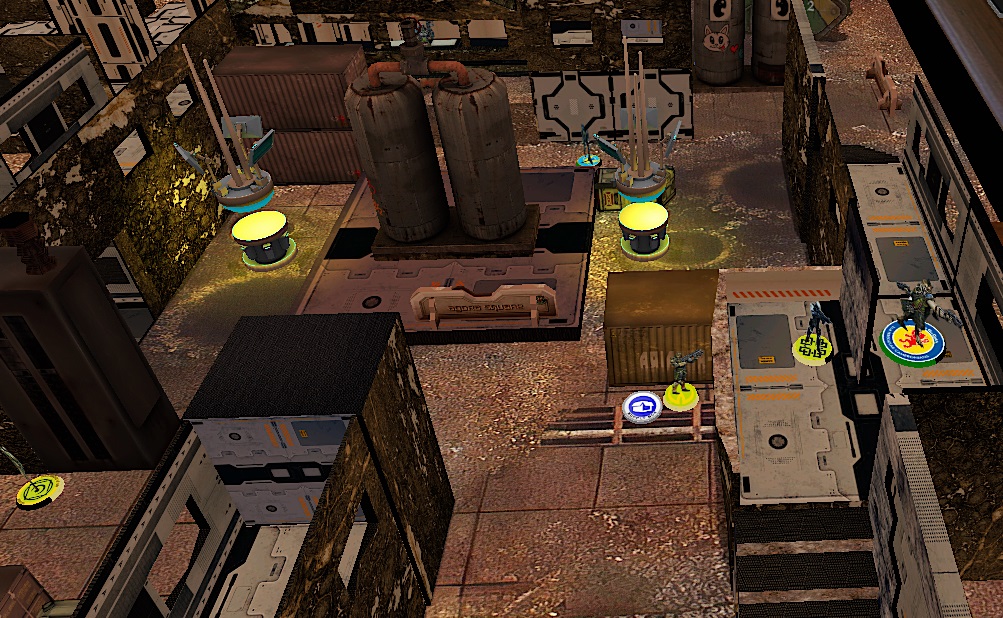
Deployment:
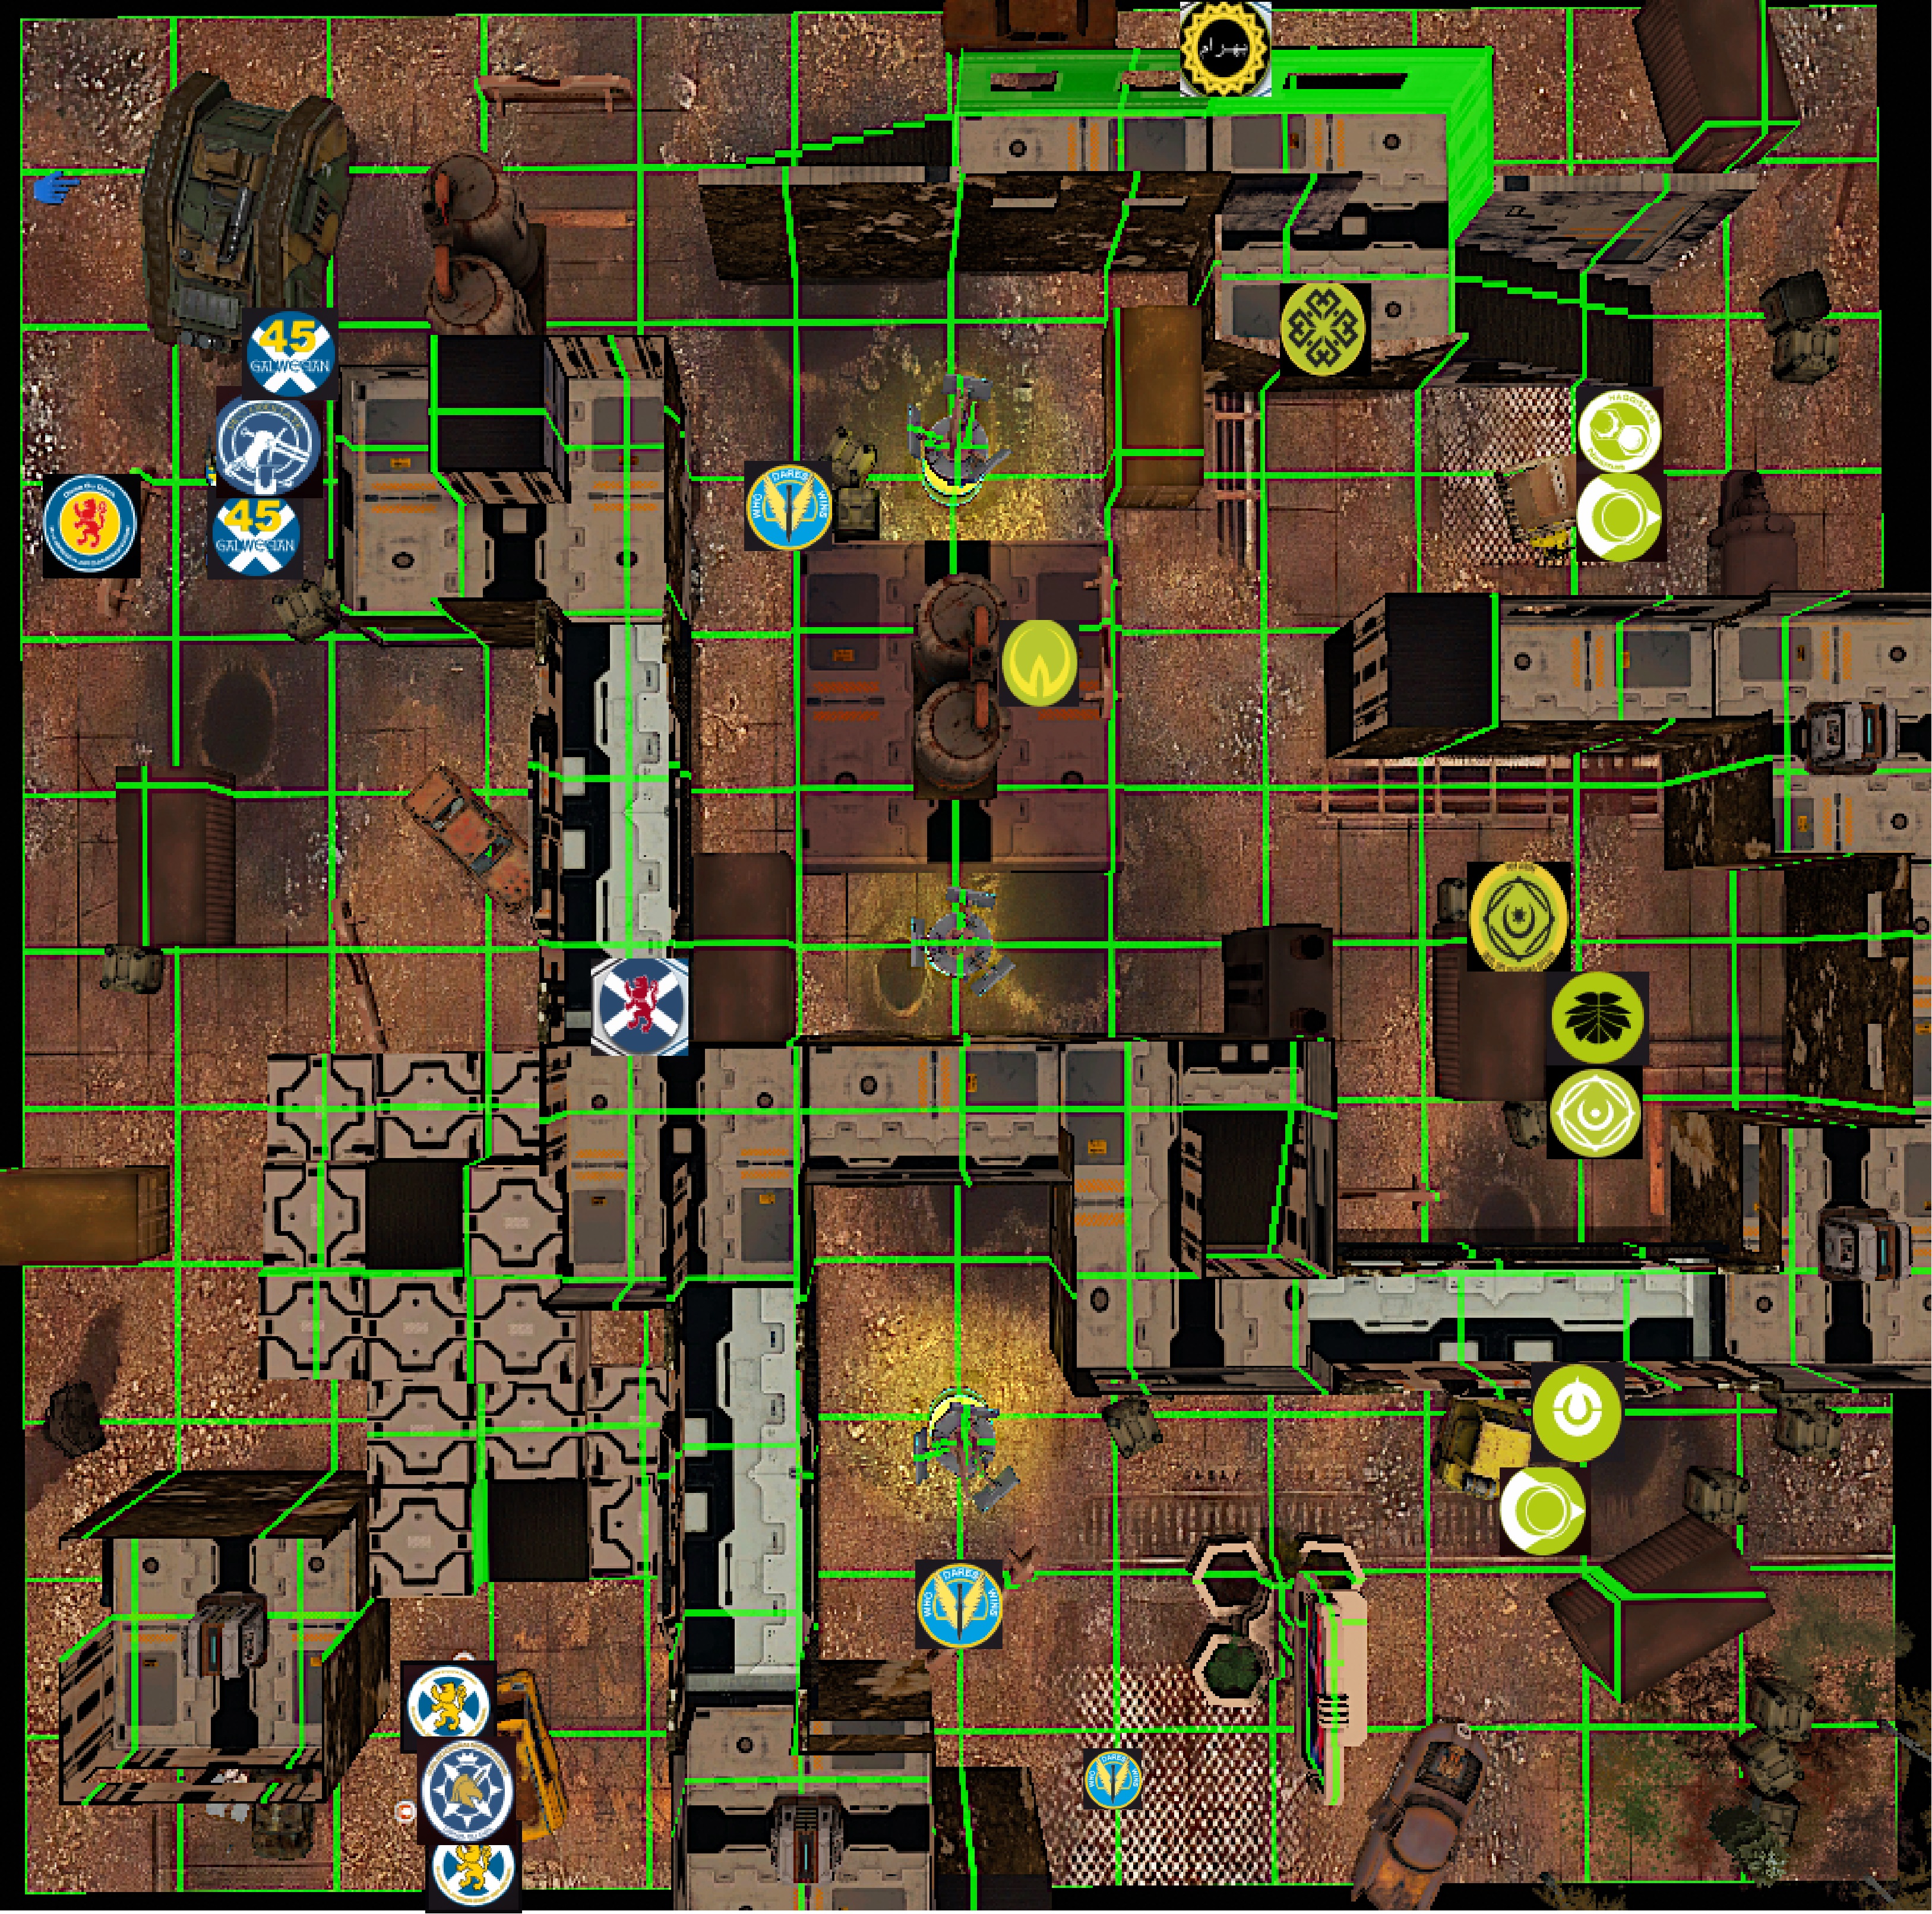
Caledonia won Initiative and decided to take second turn - as he did not want to decide on a side. I'm not sure whether his deployment changed the way I deployed in any regard.
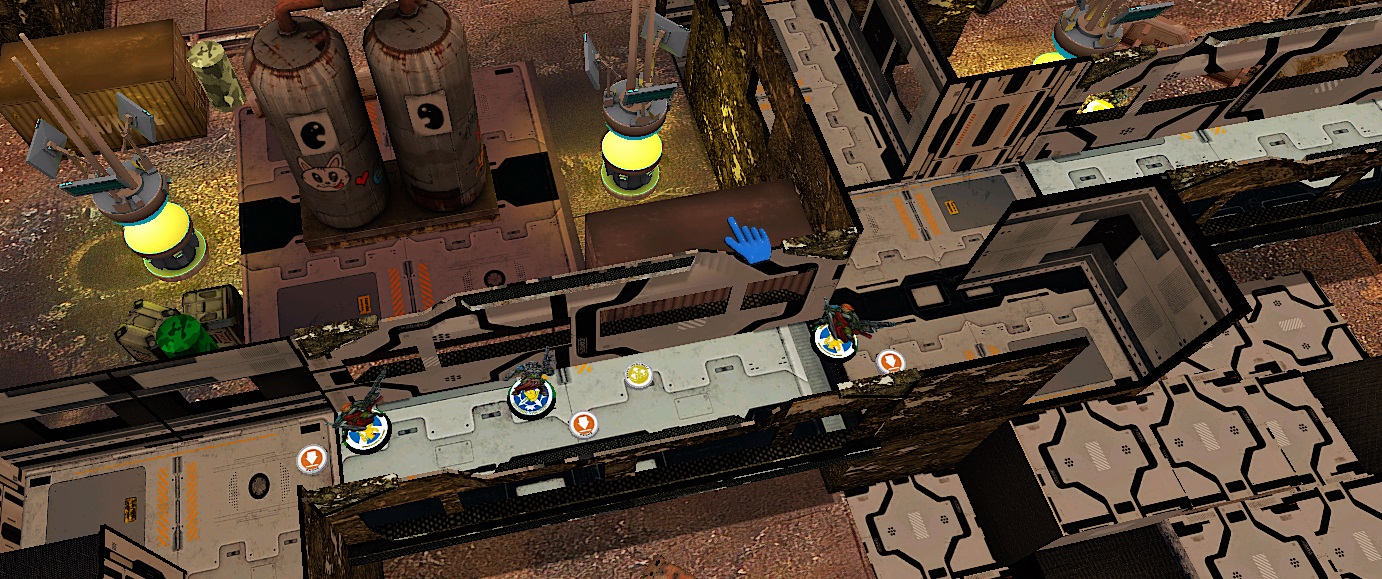
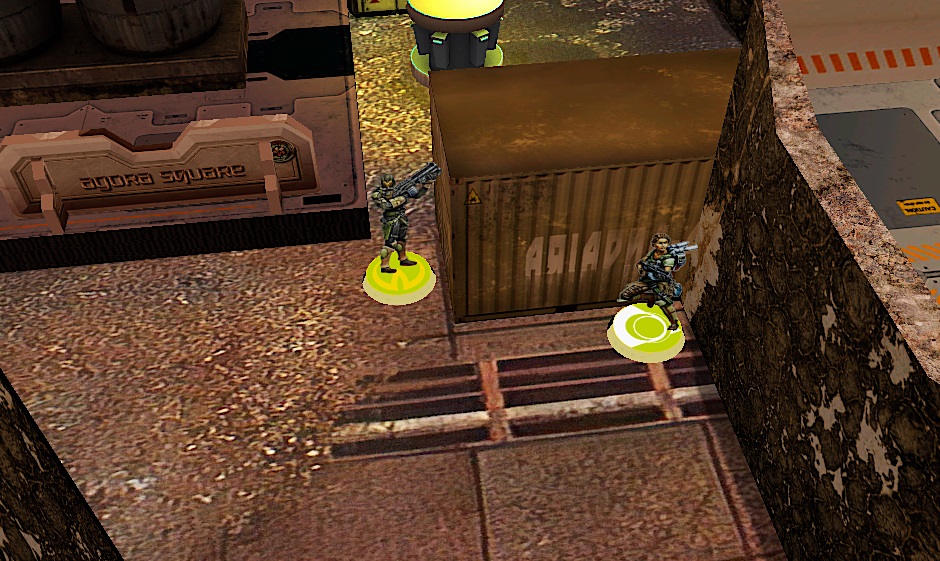
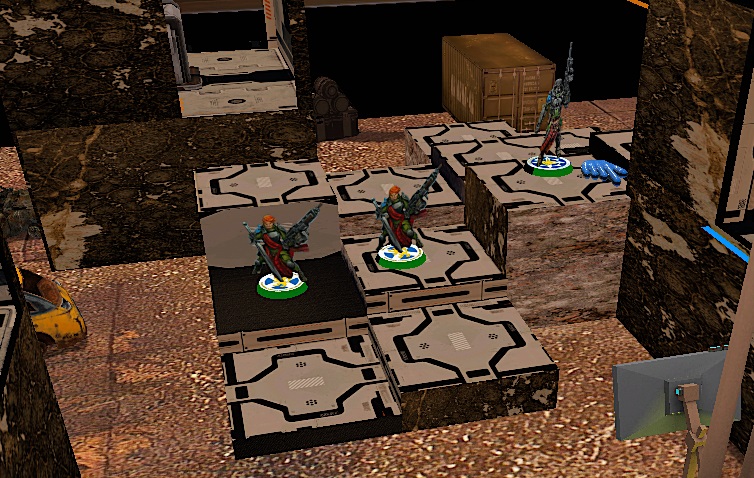
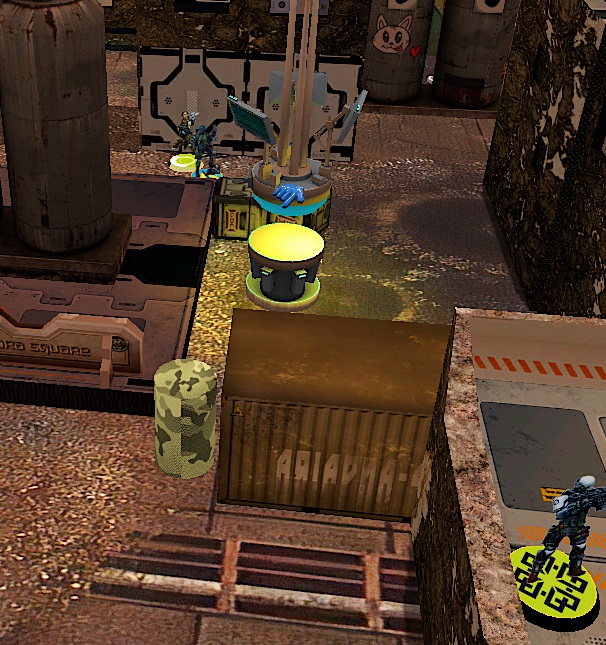
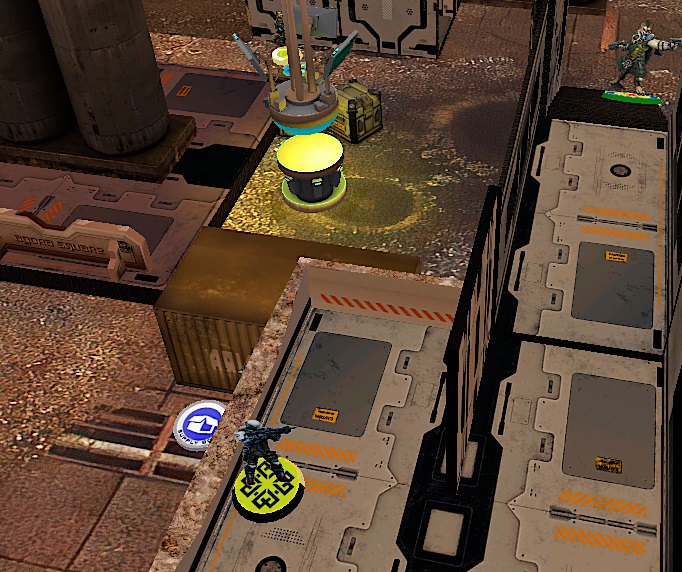
The map was devided in two halfs by a large building. Vade2 split his forces accordingly: Scot Grey link + one SAS left and the others to the right (holding the Camerions in reserve). I focused more to the half with two supply boxes, placing my link pretty central and one Ghazi and the doc to my left side (opposing the Scots Grey link) and the other stuff to the right.
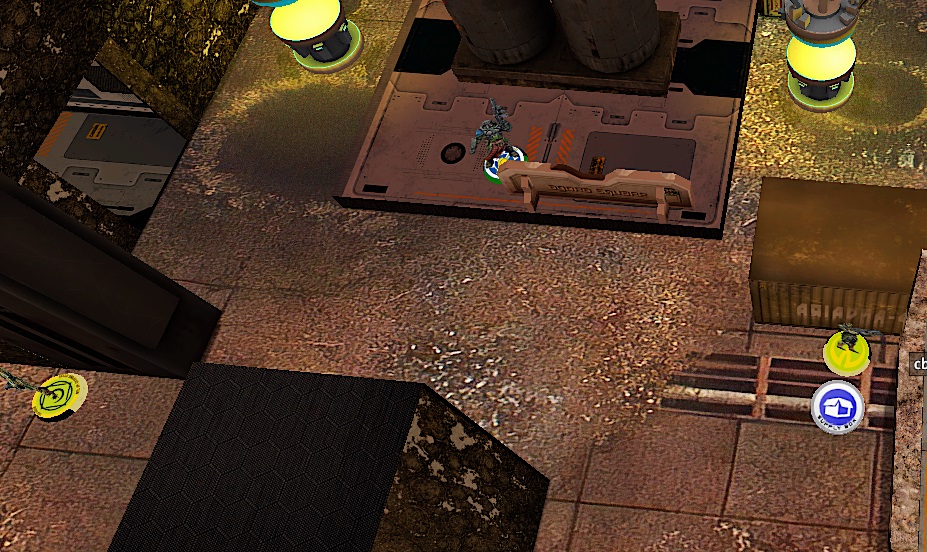
Game
Top of 1:
We played this game within the week on an evening, so we tried to make it a fast on.
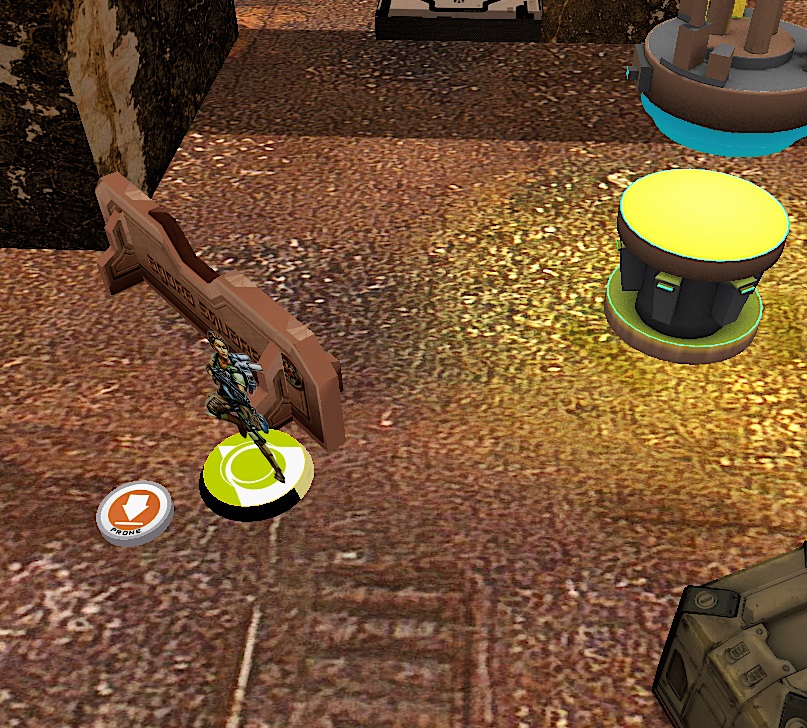
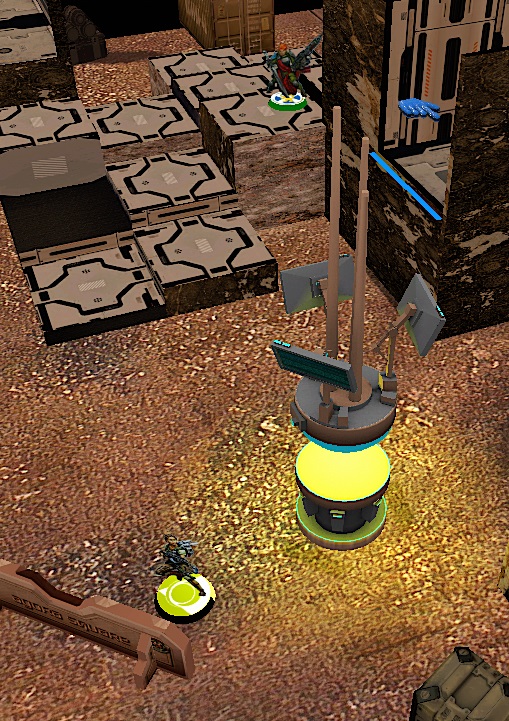
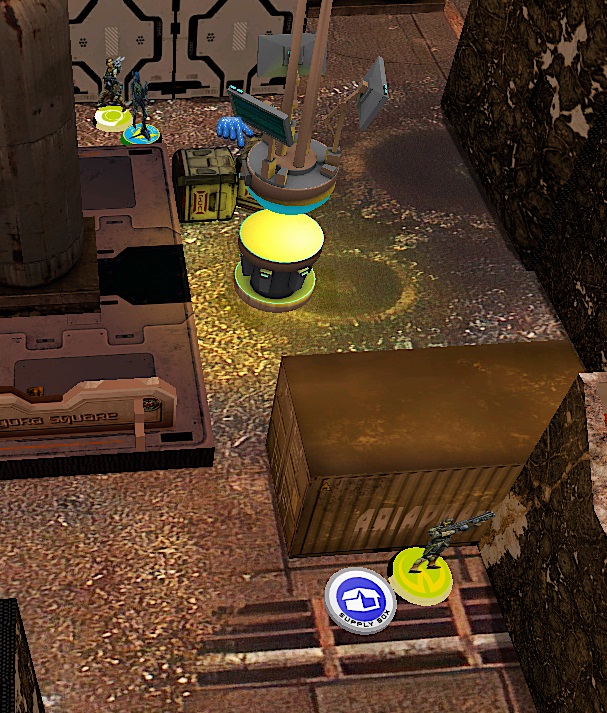
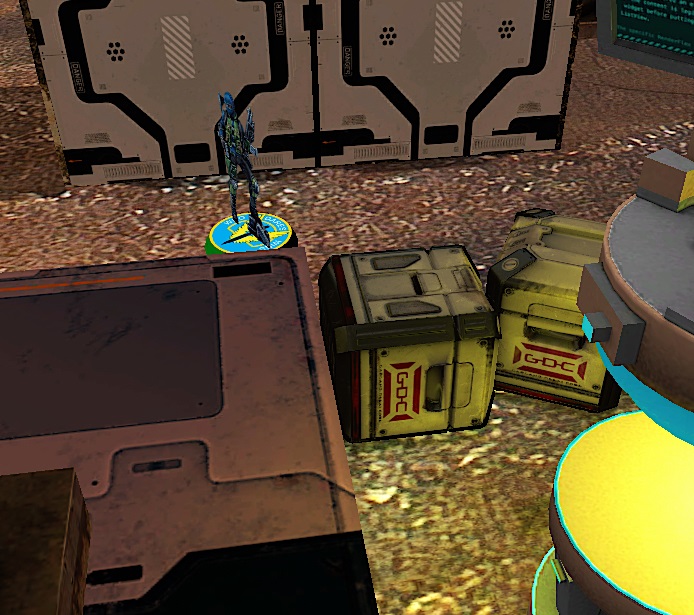
As I was null-deployed I started by running the Ghazis forward. Then, I tried to pick up the box to my right side with the Farzan to pick it up before the SAS could take it but failed.
I took a moment to decide on a plan and figured that I had to take an alpha strike. As things where deployed the most interesting targets for me - the only two specialists - turned out to be the easiest accessible.
So I started on my left side where I had less troops, especially no Nadhir watch the boxes. My Ghazi discovered the SAS and shot him with her BSG off the table and could hide behind a wall prone. On the other side I decided to re-camo my Farzan as I was running out of orders - 2 orders off the table hurt pretty much in a small game - and wanted to save him.
With the Tactical Awareness of the Muyib I was able to reposition the link such that Yara as well as the Muyib could watch the two boxes on my right side, making it hard for the remaining SAS to pick one up and run.
Bottom of 1:
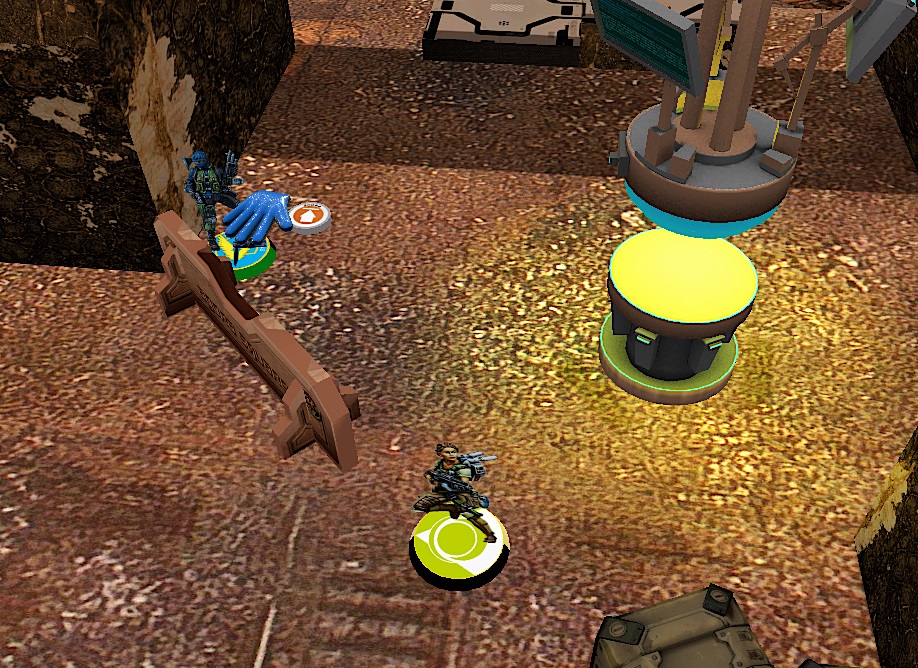
Vade2 decided to pick up on my ARO troops with his expensive Scots Grey link. While advancing he got a narrow LoF to my advanced Ghazi who had killed the SAS and the Mormaer wanted to take revenge. But the humble Ghazi dodged critically. I decided to advance the Ghazi towards the link to try to get into ZOC for the Jammer. As Vade2 further advanced his link he tried to take a second shot, but he Ghazi dodged critically again. So the Ghazi had already stripped an order (2 short skills shooting) which was very lucky for me.
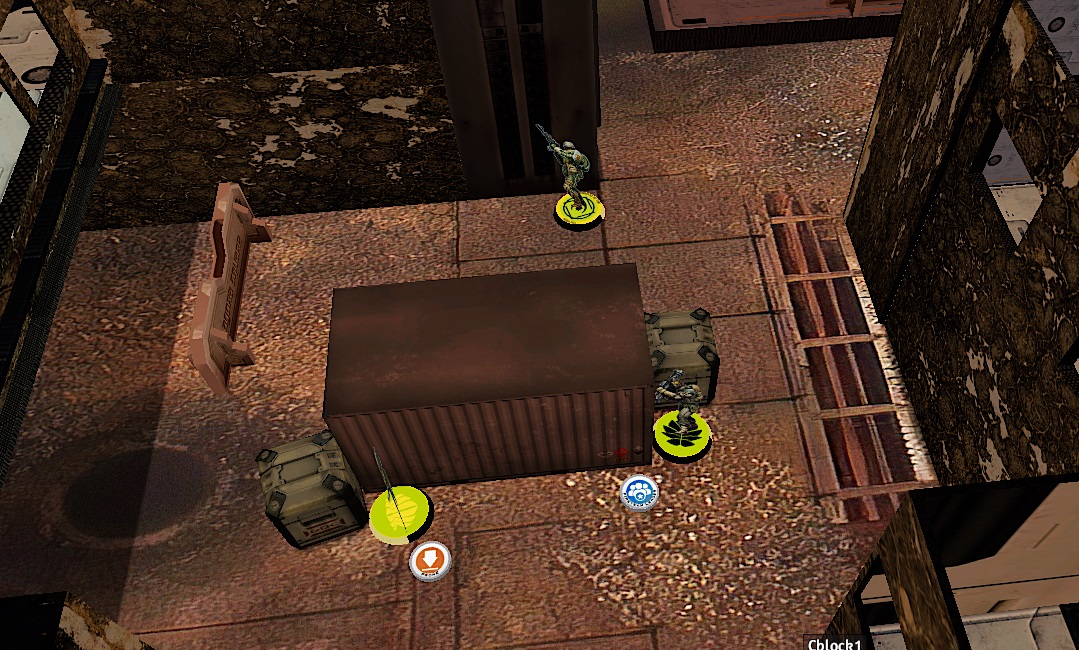
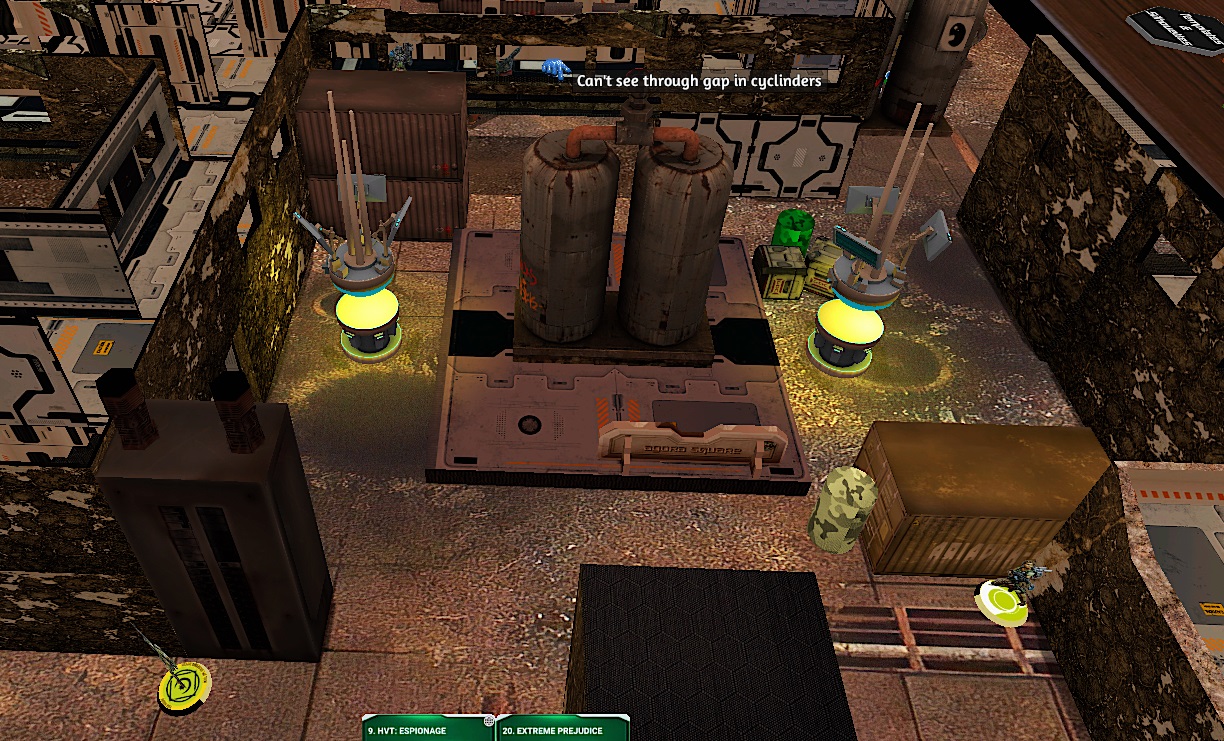
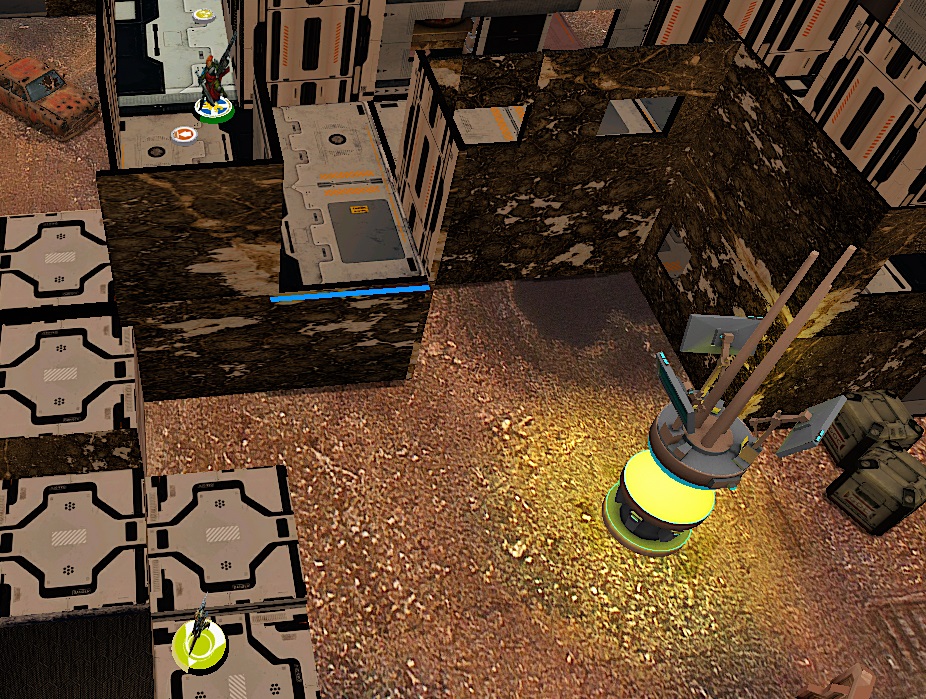
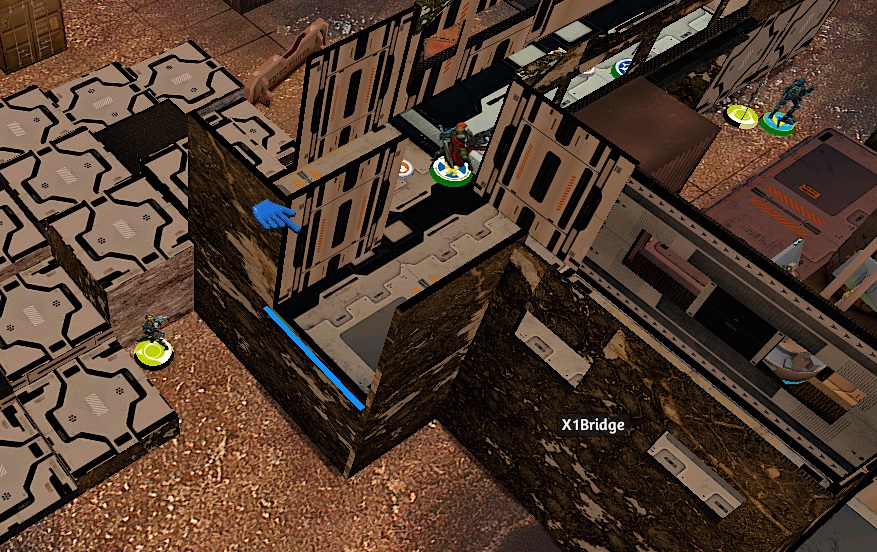
Then, he had entered the building and didn't want to sacrifice more orders on the Ghazi. He was able to enter the bridge with one of the Scots Grey HMGs and got into LoF of the Muyib only. I had not considered the brigde when placing the Nadhier was the oil tanks in the middle of the place blocked the Nadhir's vision to the bridge largely.
Lucky me again, it took three orders to take down the Muyib. Finally the Scot's Grey tried to shoot Yara as well, but she managed to resist the shot and fail her Guts check to take total cover. The Scot's Grey link repositioned going prone on the bridge.
Top of 2:
As I was in pretty much the same situation as in turn 1 I followed the same plan. My Ghazi advanced, the left one trying to jammer one of the Greys, the right one discovering the SAS. With a second order I moved the Ghazi lazy a little towards the bridge not figuring that the SAS might dodge into CC - What happened of course. Additionally one of the Grey's dodged to stand up.
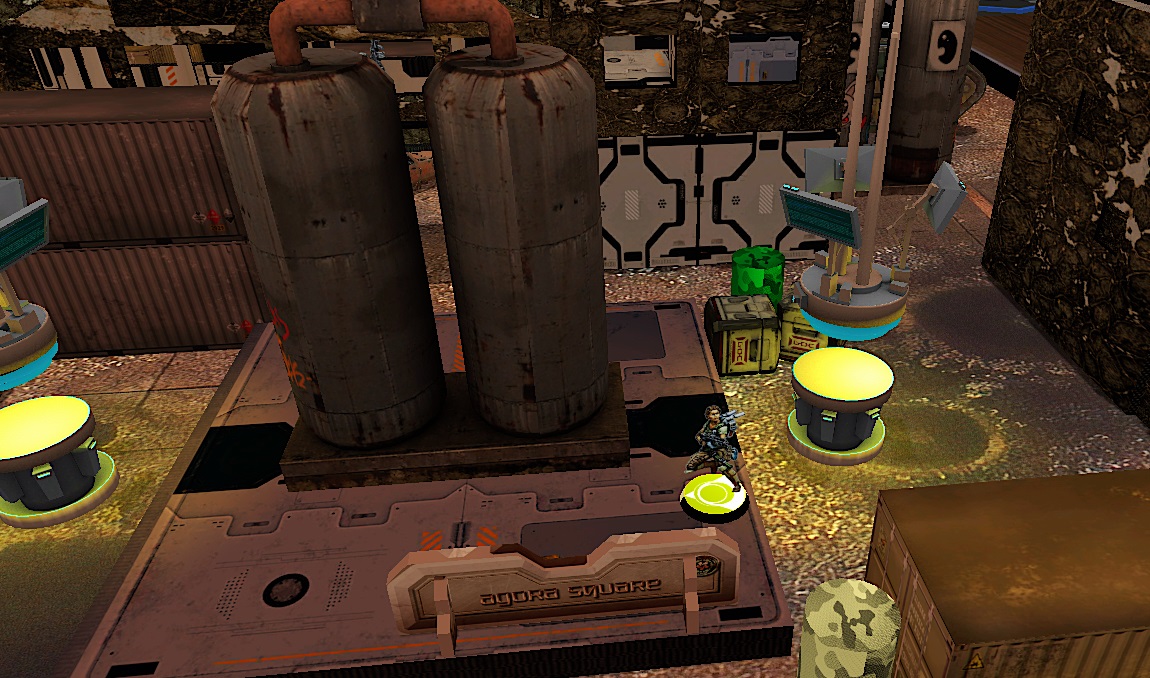
Now, my Nadhir had vision and put his Panzerfaust to work applying a nasty mod to the Grey shooting him off the table. Now, the question remained how to handle the SAS. I considered shooting him with the Farzan, but instead decided to re-try picking up the supply box. This time I succeeded and brought the Farzan into a safe spot close to my DZ.
Bottom of 2:
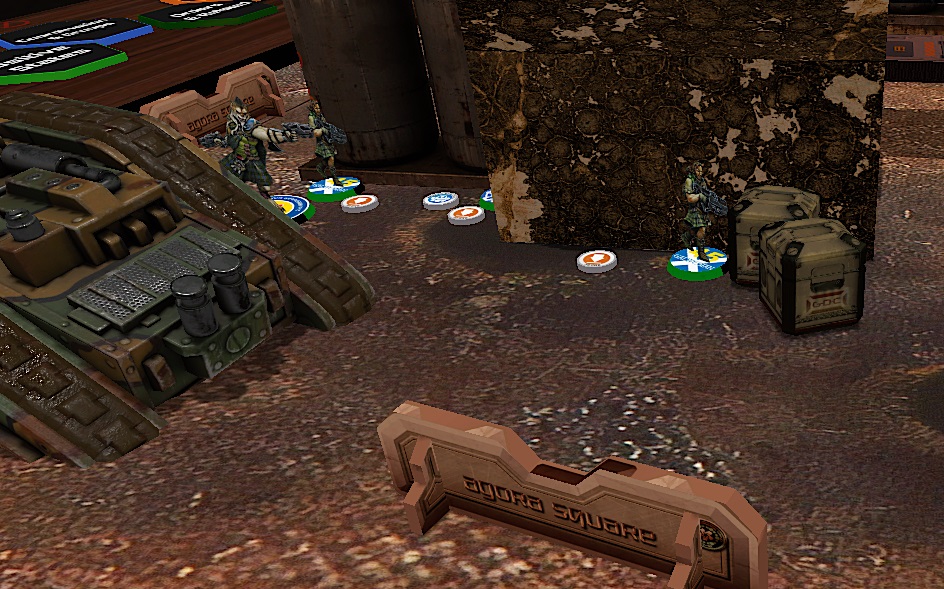
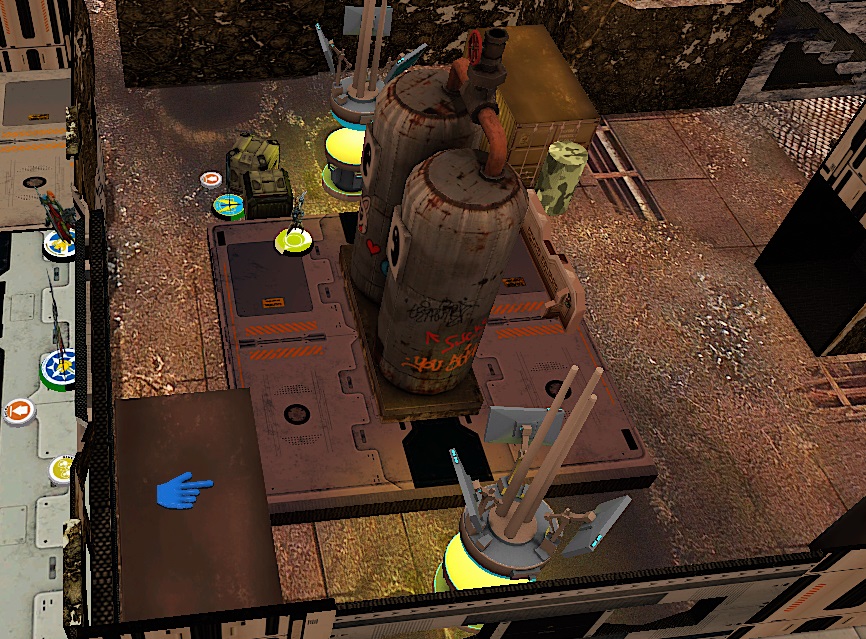
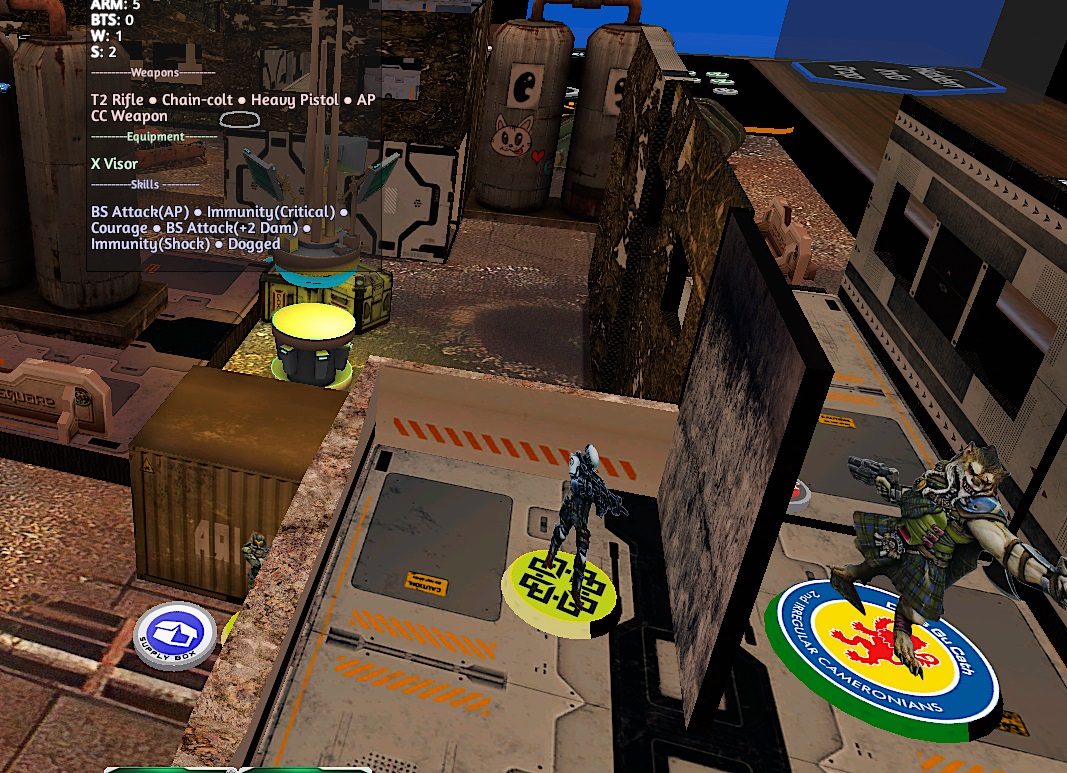
My opponent now saw a way to missile up his Cameronian to hunt the Nadhir. But Yara was able to get sight on the walkway. So she was able to take shots on the Cameronian while the Nadhir could dodge. Luckily, she took two shots inflicting two wounds while the Nadhir dodged Chain Rifles and Grenades.
Next, the SAS showed my Ghazi how to Kung Fu with explosives, criting and taking her out.
Then, the Mormaer tested his luck against the Nadhir - who I had moved while dodging the Cameronian such that he didn't have cover any more - and took him out. He had left his link to pretend the Ghazi from another try jamming.
He then jumped down the bridge and ran for the Farzan who won a first shoot-out rendering the Mormaer dogged. With his last order the Mormaer tried to shoot Yara as well as the Farzan - failing both F2F. After being so unlucky with his dice rolls and as it was getting late and we both had to work the next day he decided to surrender.
Resulting in a
Hassassin Bayram 4 - 0 Caledonia
Victory!

After Action Analysis:
Maybe let's start with a what if we had played the third round. Yara would have been able to get vision on the SAS easily as he didn't move after pasting the Ghazi. With him gone only I would have been able to take boxes. I think I would have tried to pick up a second box with the Ghulam doc and maybe would have been able to also coup de grace the Cameronian with his Nazmat. The Ragik could have landed to make Vade2's life harder.
I think with only few orders left it wouldn't have been possible for him to change the course of the game, so the result is fair in this regard.
For me the game didn't feel as one sided as it probably was - especially due to dice. Vade2's active turns were sabotaged by bad rolls a lot. Still, if the mormaer would have succeeded of Yara and the Farzan right before the end that would have changed the game entirely as I would have lost both Lt and CoC in one go.
About the lists there might have been some mis-communication as I did intent to make it a rather casual game by playing casual not bringing a rather meme list - what one might call Vade2's list. Still I enjoyed the game a lot, but I believe it was no fun for my opponent.
I was very happy with my command. Of course leaving Muyib and Yara in ARO was risky, but I wanted the game to have more action - and expected the Nadhir to be able to help. The actions of the Ghazi impressed me. Those 10 pts yield a great toolbox especially if null deployed. Template, Dogged, Jammer and smoke if needed can be very handy.
Sadly, the Ragik didn't see table time as well. I could have landed it turn 1 close to the Scots Grey link and just tried to template the whole link. But I did not want to punish my opponent T1 too heavily with a potentially lucky action like that. Maybe next time he'll have the opportunity to see the table.
Altogether I enjoyed the game. And I very much enjoyed being part of Haqqislam command!
Battle Report Author
Army Lists Used In This Battle
Recommend Commander For Commendation
Share this battle with friends
YaelindarraWins

Very detailed and well documented, comrade! Good work!
Very good report! 300pt games are not mandatory and the campaign supports all of ITS’ tiers.