Fought At Zebu Research Center: Symbioresearch Labs
635 days 36 minutes ago
The Hunt for Blue Numiria
View Linked Report - CLICK HERE 200 POINTS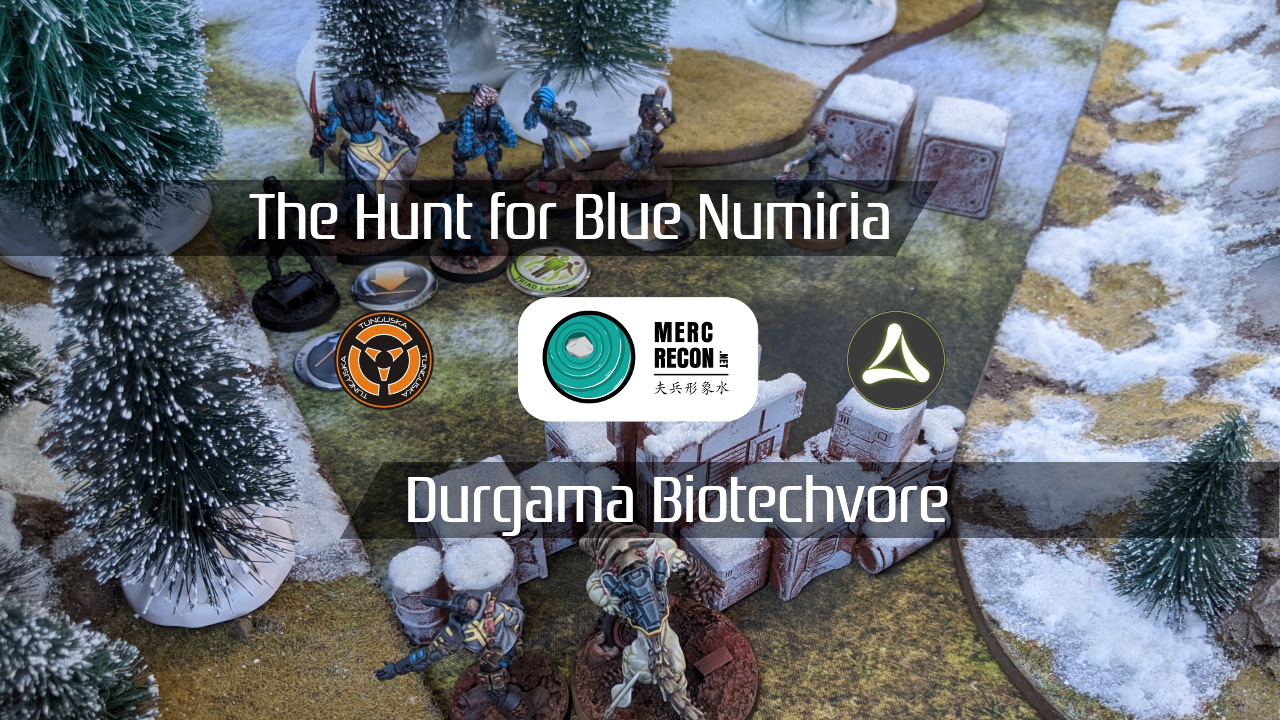
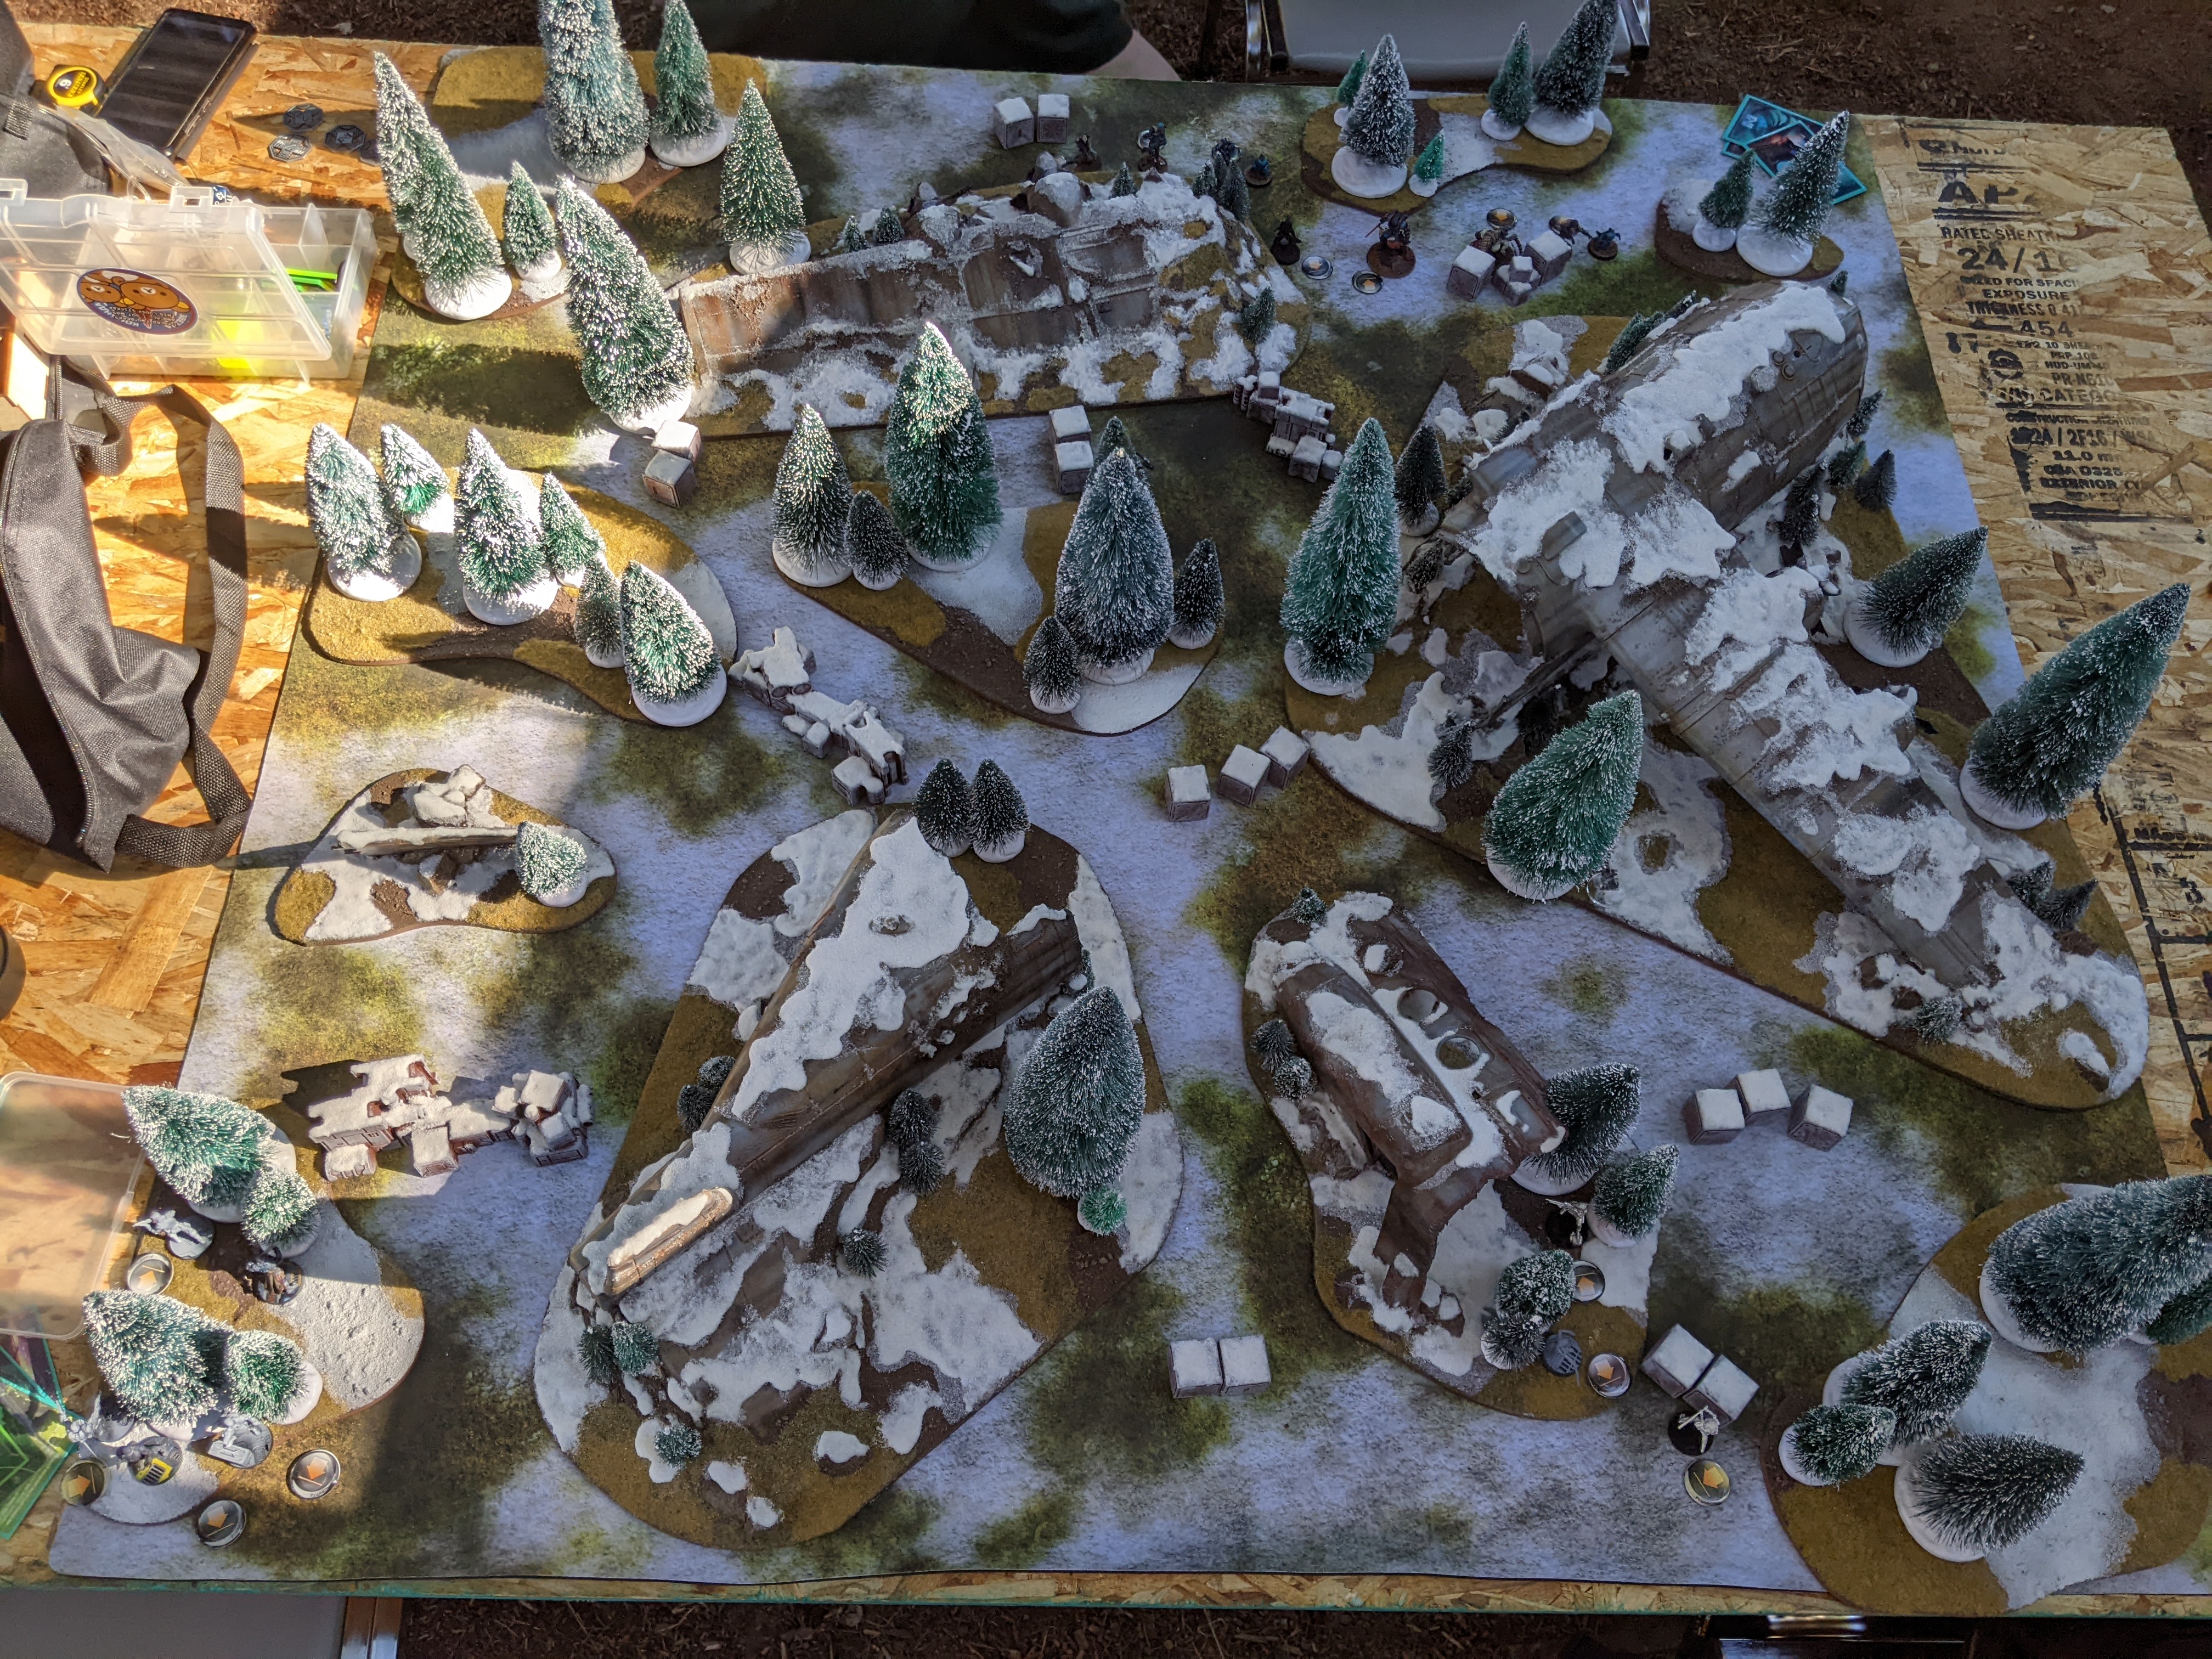
After a long day of moving stuff and driving people around for Rose City Raid 2022 setup, Obadiah (neheimah) and I managed to get a quick 200 point game in for the Durgama Takeover campaign. Tohaa needed a game in the Zebu region, which meant we were playing Biotechvore. Of course, we added on top of that some pretty punishing terrain. All the MDF templates the plane parts and trees are on are difficult terrain, low visibility zones, and saturation zones.
Lady Numiria had some real life stuff come up (don't we all) which prevented her from getting more games in, so O-12 high command released this meme:

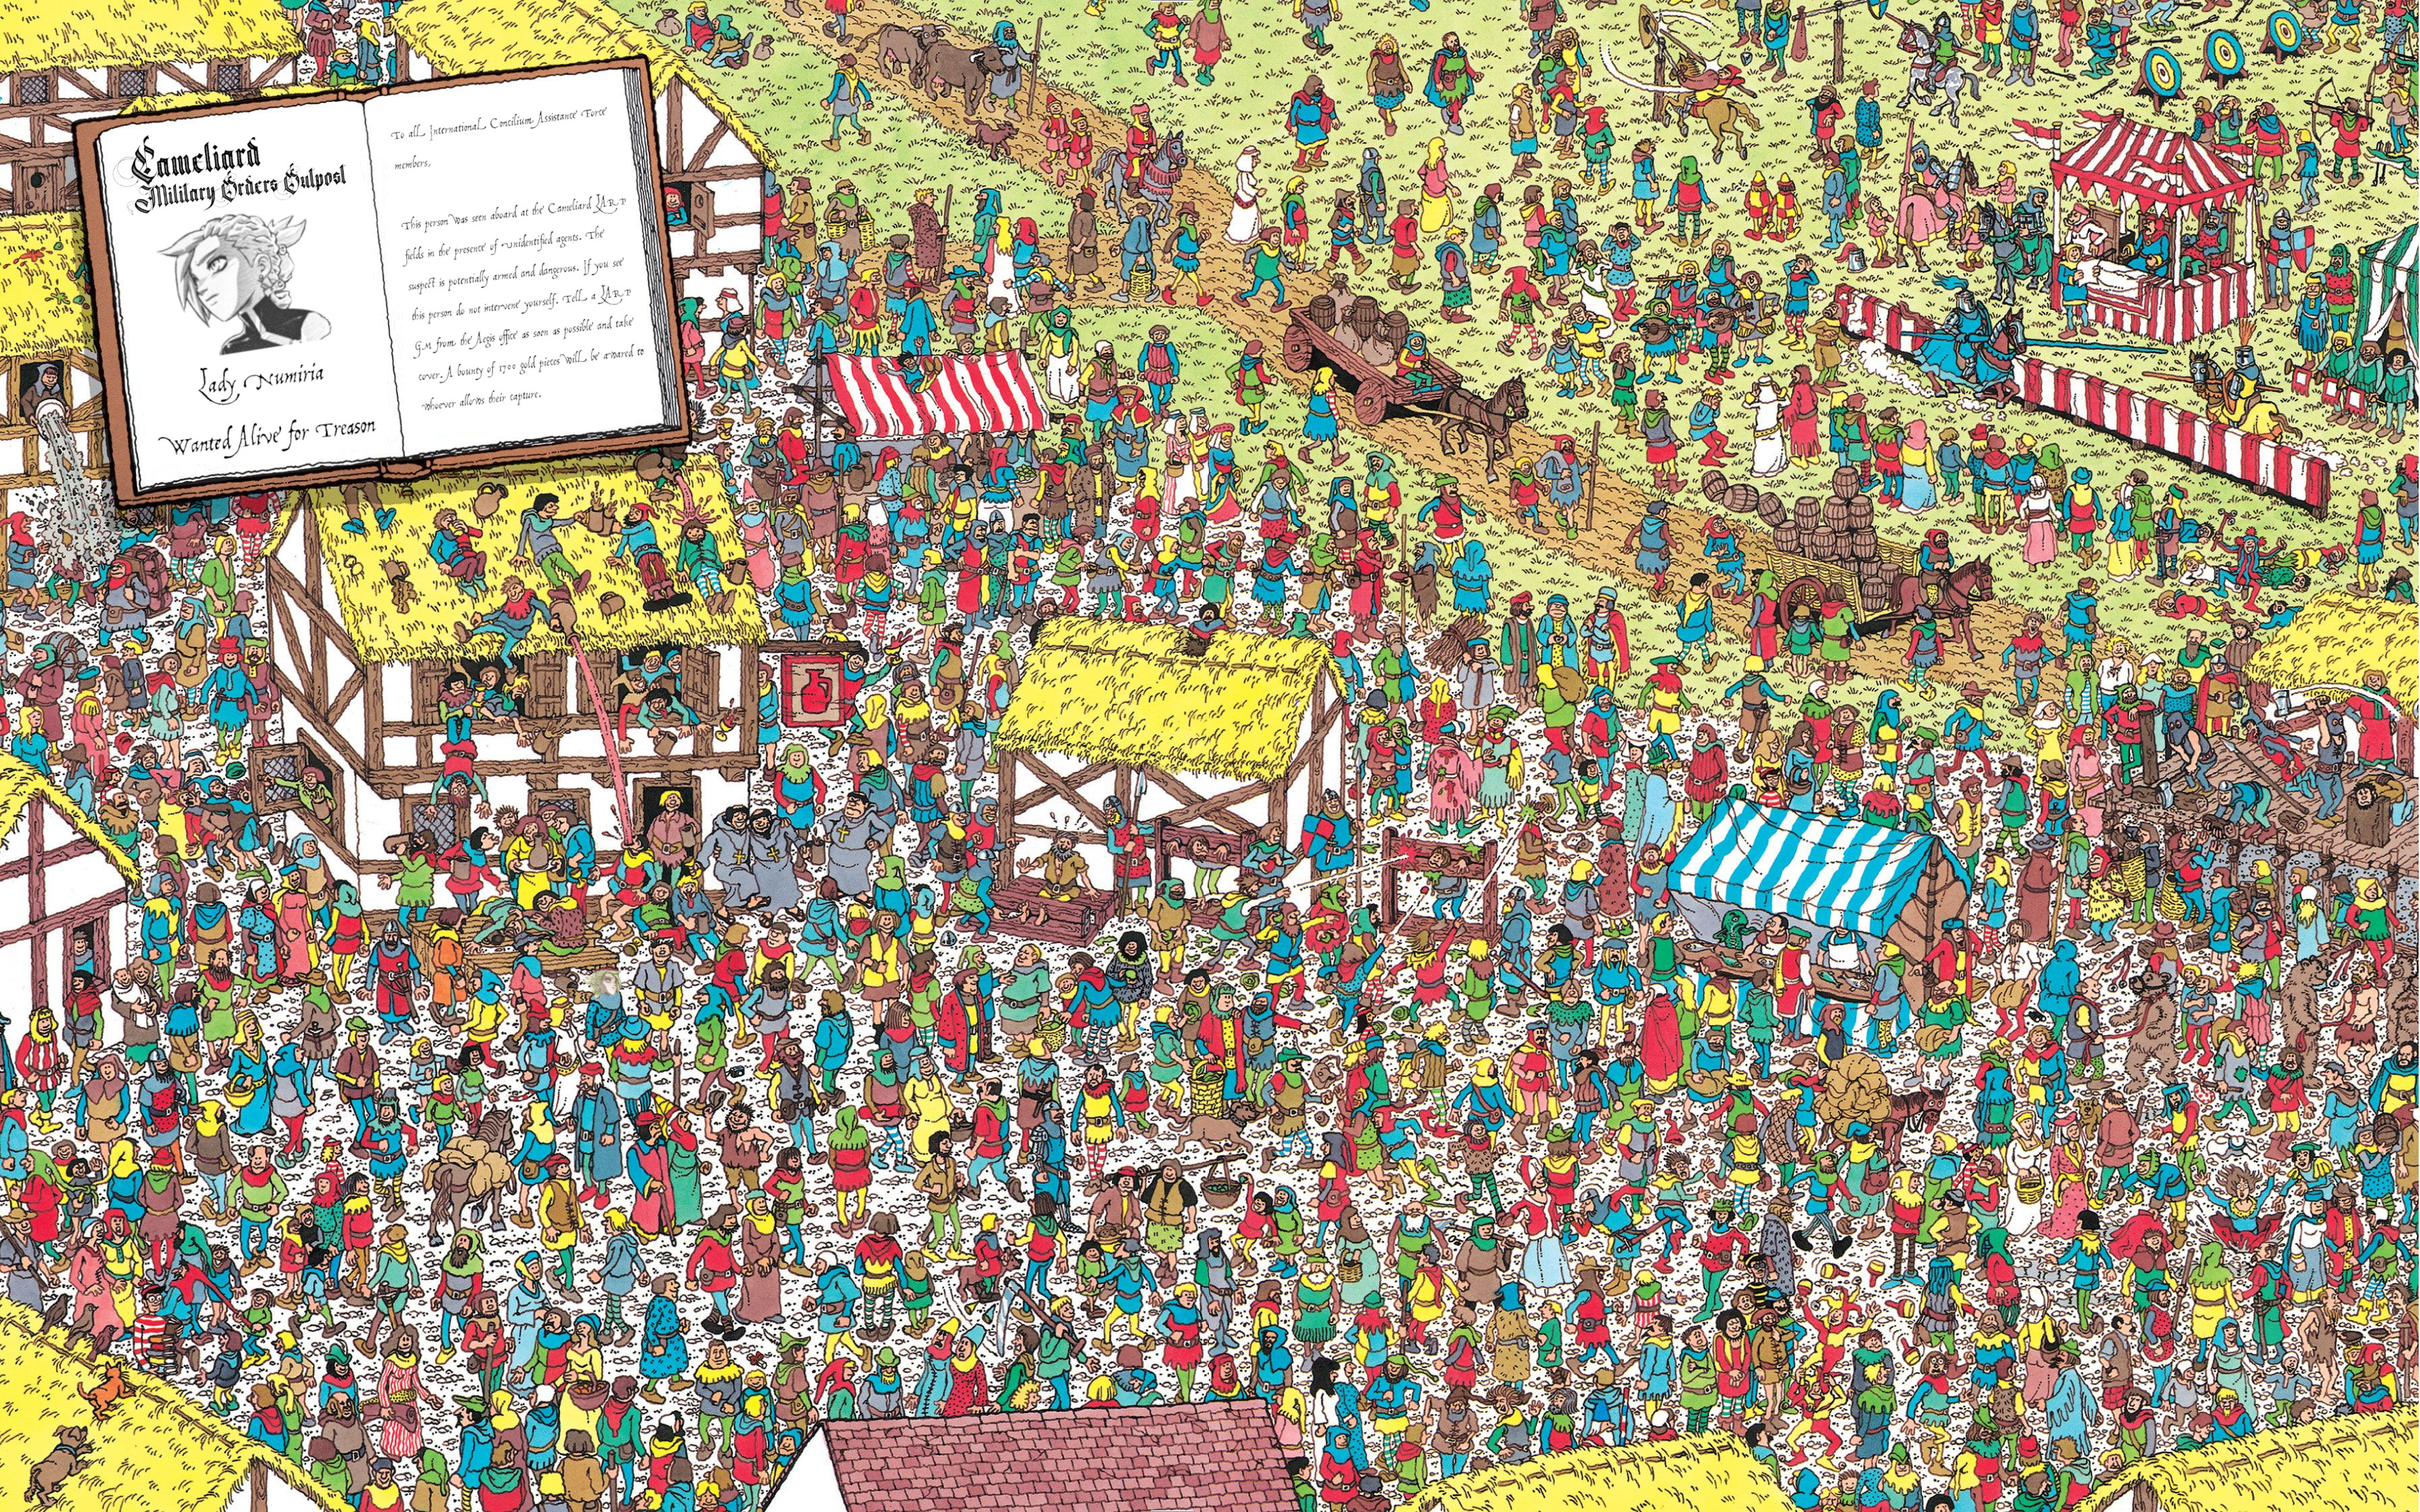
In response to which I released this meme, the Cameliard edition of "Where's Lady Numiria?" She's actually in there, so you can go try to find her!
Overview
- Mission: Biotechvore (Durgama)
- Forces: Jurisdictional Command of Tunguska versus Tohaa (200)
- Deploy First: Tohaa
- First Turn: Tohaa
Not much to say about this list--it's just about cramming as many tools and orders into 200 points as I possibly could. Perseus and the Interventor (sounds like a good band name) give me Smoke and White Noise to get up the table, depending on the visor situation, and the Paramedic is there for hopefully just classifieds.
Crash Landing
INTERVENTOR (Lieutenant, Hacker, Hacking Device Plus) Combi Rifle ( | FastPanda) / Pistol, CC Weapon. (0.5 | 26)
GRENZER (Forward Observer, Sensor, NCO) Combi Rifle, Light Flamethrower(+1B), Flash Pulse / Pistol, Breaker Pistol, CC Weapon. (0 | 29)
SECURITATE (Paramedic) Combi Rifle ( | MediKit) / Pistol, CC Weapon. (0 | 15)
PERSEUS FTO Breaker Combi Rifle(+1 Dam), Nanopulser, Smoke Grenades / Heavy Pistol(+1B), DA CC Weapon. (0 | 32)
CHEERKILLER (Multispectral Visor L2) Shock Marksman Rifle, Nanopulser ( ) / Pistol, Shock CC Weapon. (0 | 25)
MIRANDA ASHCROFT Combi Rifle, E/Mitter(+1B), Nanopulser / Pistol, Monofilament CC Weapon. (0 | 25)
8 | 2 SWC | 200 Points | Open in Infinity Army
Miranda Ashcroft is there to be another character and shoot things with her E/Mitter, and the Cheerkillers are cheap and fun. I could have probably got more orders in here, but would have had to sacrifice on the tools a bit.
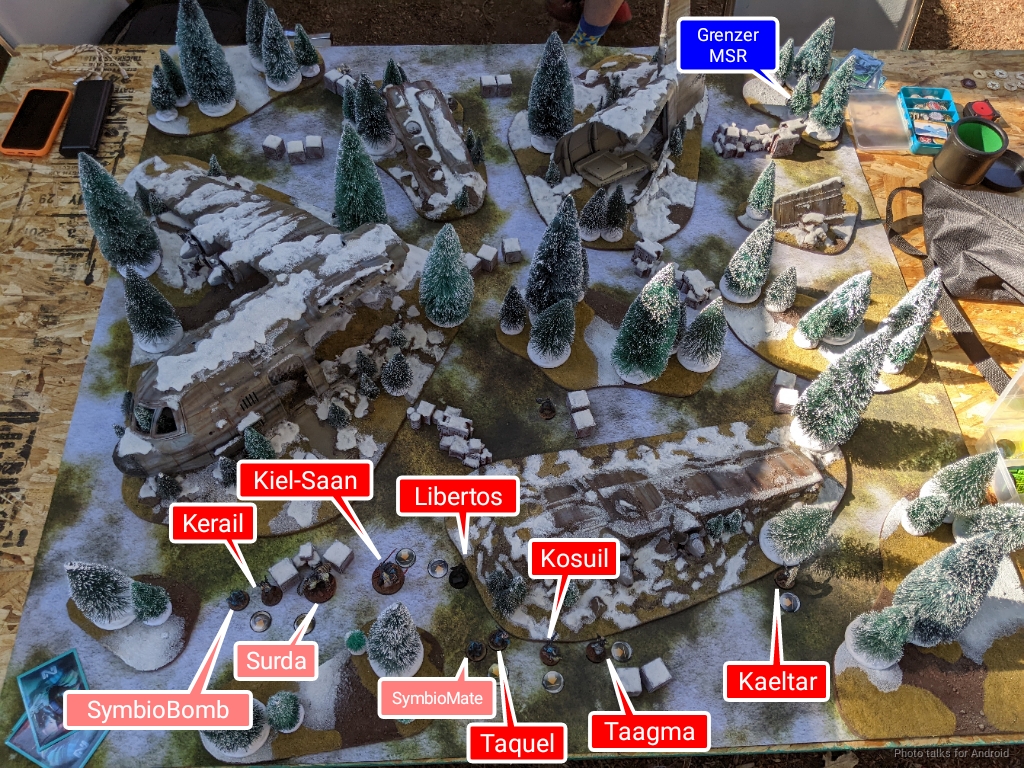
Obi went all in on tools and skimped on orders. He also was obligated to bring Jager Nadim, his Cube Jager character from the campaign. The Taquel is pretty key here for mirrorball.
Zebulander
CUBE JÄGER (Paramedic) Submachine Gun, E/Mitter / Pistol, Monofilament CC Weapon. (0.5 | 19)
LIBERTO (Minelayer) Light Shotgun, Shock Mines / Pistol, CC Weapon. (1 | 8)
KIEL-SAAN Mk12, Panzerfaust / Heavy Pistol, DA CC Weapon. (0 | 46)
KAELTAR (Chain of Command) Light Shotgun, Flash Pulse, SymbioBomb ( | SymbioMate) / Pistol, PARA CC Weapon(-3). (0.5 | 21)
TAAGMA Breaker Combi Rifle, Nanopulser / Pistol, CC Weapon. (0 | 16)
KOSUIL (Engineer) Boarding Shotgun, D-Charges, Panzerfaust ( | GizmoKit) / Pistol, CC Weapon. (0 | 25)
TAQEUL (Lieutenant [+1 Order]) Spitfire, Nanopulser, Pheroware Tactics: Endgame, Pheroware Tactics: Mirrorball / Pistol, CC Weapon. (1.5 | 41)
KERAIL PRECEPTOR Submachine Gun, Smoke Grenades / Pistol, PARA CC Weapon(-3). (0 | 24)

2 | 3.5 SWC | 200 Points | Open in Infinity Army
Deployment
I couldn't have asked for a better package of classifieds for the narrative--Lady Numiria is clearly Obi's HVT (and he used the female briefcase CSU, which is very thematic):
- HVT: Espionage
- HVT: Inoculation
- HVT: Kidnapping
I won the rolloff and chose side, so Obi deployed first, deciding to advance up the lane between the main plane fuselage and the wing. That meant he'd be pulled into the center of the table, which suited me just fine. The Kiel-Saan rolled Climbing+, which is not terribly relevant on this table--I suppose it could have climbed one of the bigger trees.
I got a little blood thirsty and decided to push up the center myself with the Cheerkillers, figuring that their Dodge buff and Miranda's Mimetism would get them there to deliver a Pulzar. The Grenzer/Securitate link was deployed on the flank, figuring I could start taking shots across the center into the midfield.
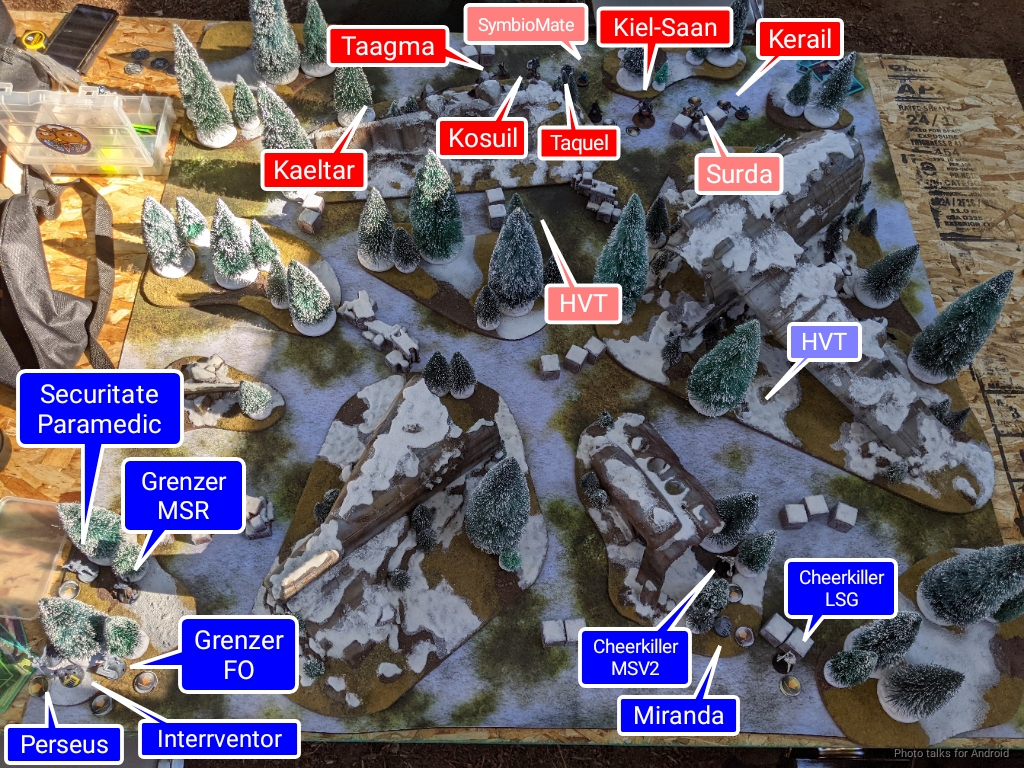
Of note is that I left the Grenzer out to ARO the gap through which all the Tohaa units would have to pass.
Turn 1
Zero Cool's comlog roused him from sleep in his bunk aboard the Crypto Winter. He rubbed the sleep from his eyes, even though his retinal implant was already scrolling the decrypted missive from WiseKensai directly into his optic nerve.
'Cool - Lady Numiria likely smuggled out of Cameliard by Yu Jing forces, but her plane was shot down near Zebu station. All indications point to her survival, but we need to get her or at least her cube out of there.
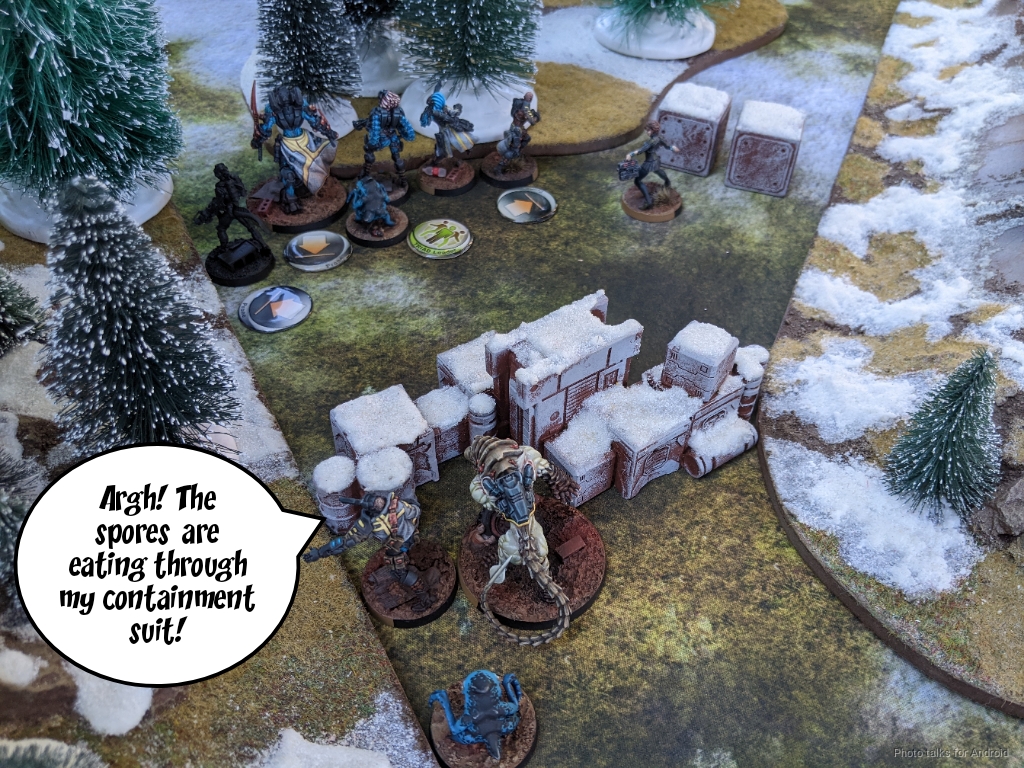
I'm sending you in to do an extraction. There are Tohaa forces in the area doing decontamination procedures. Some sort of SymbioSpore thing. Nasty stuff. See the attached Praxis analysis on it. Get going. 'Kensai out.
Zero Cool groaned and rolled into a sitting position and referenced his comlog's time function. It has only been a few hours since he racked out from the last fight with Combined, but when Nomad Theater Command pings you, you echo back.
Top of 1 - Tohaa
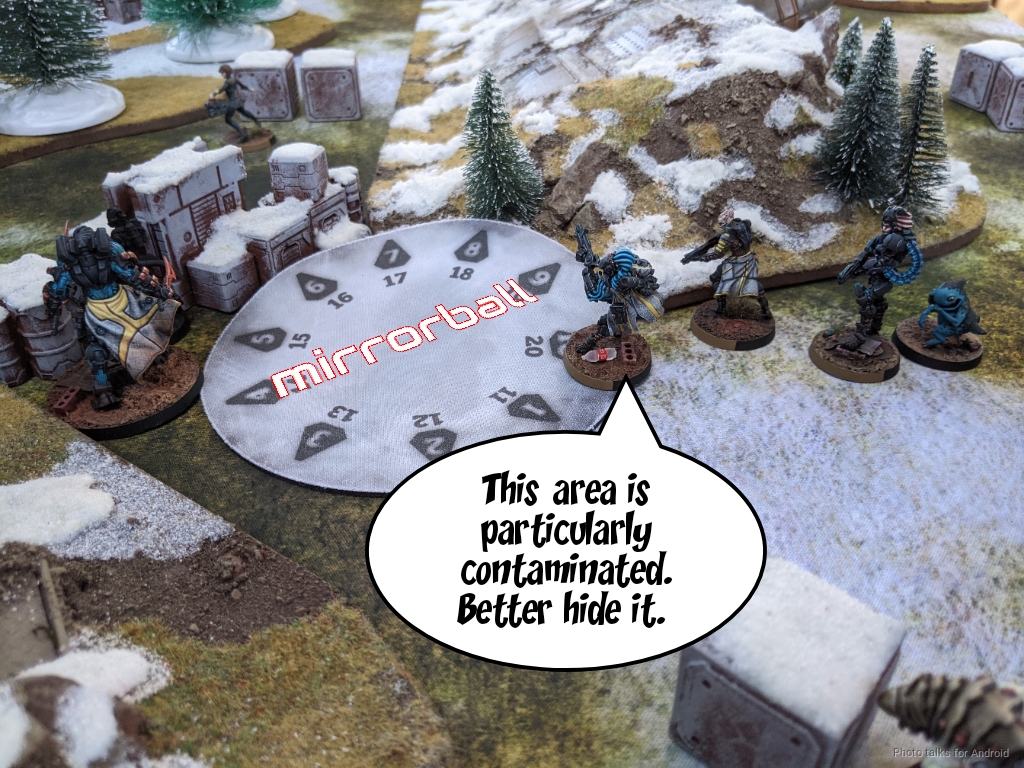
Obi smartly dropped Mirrorball to prevent the Grenzer from taking shots, and then got as much as he could up the table.
He managed to get most of his stuff up by actually breaking the Triad with coordinated orders and using the lieutenant orders on the Taquel.
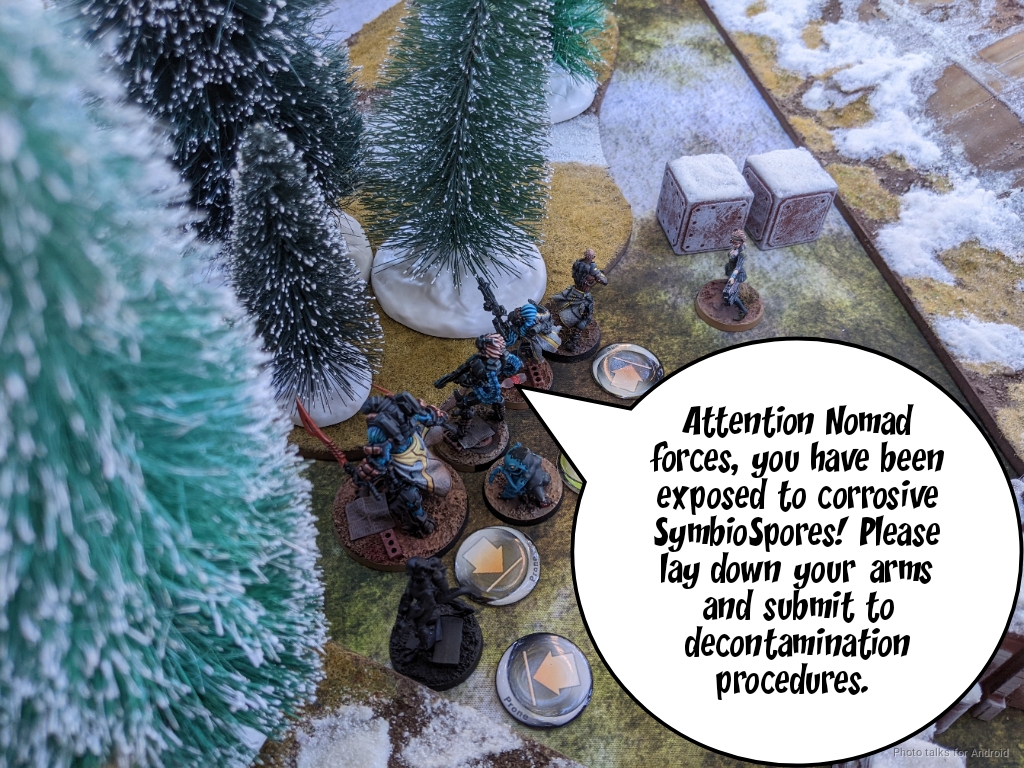
The unlucky models were the Kerail and the Surda. The Surda went down to the biotechvore zone, but the Kerail itself passed the save.
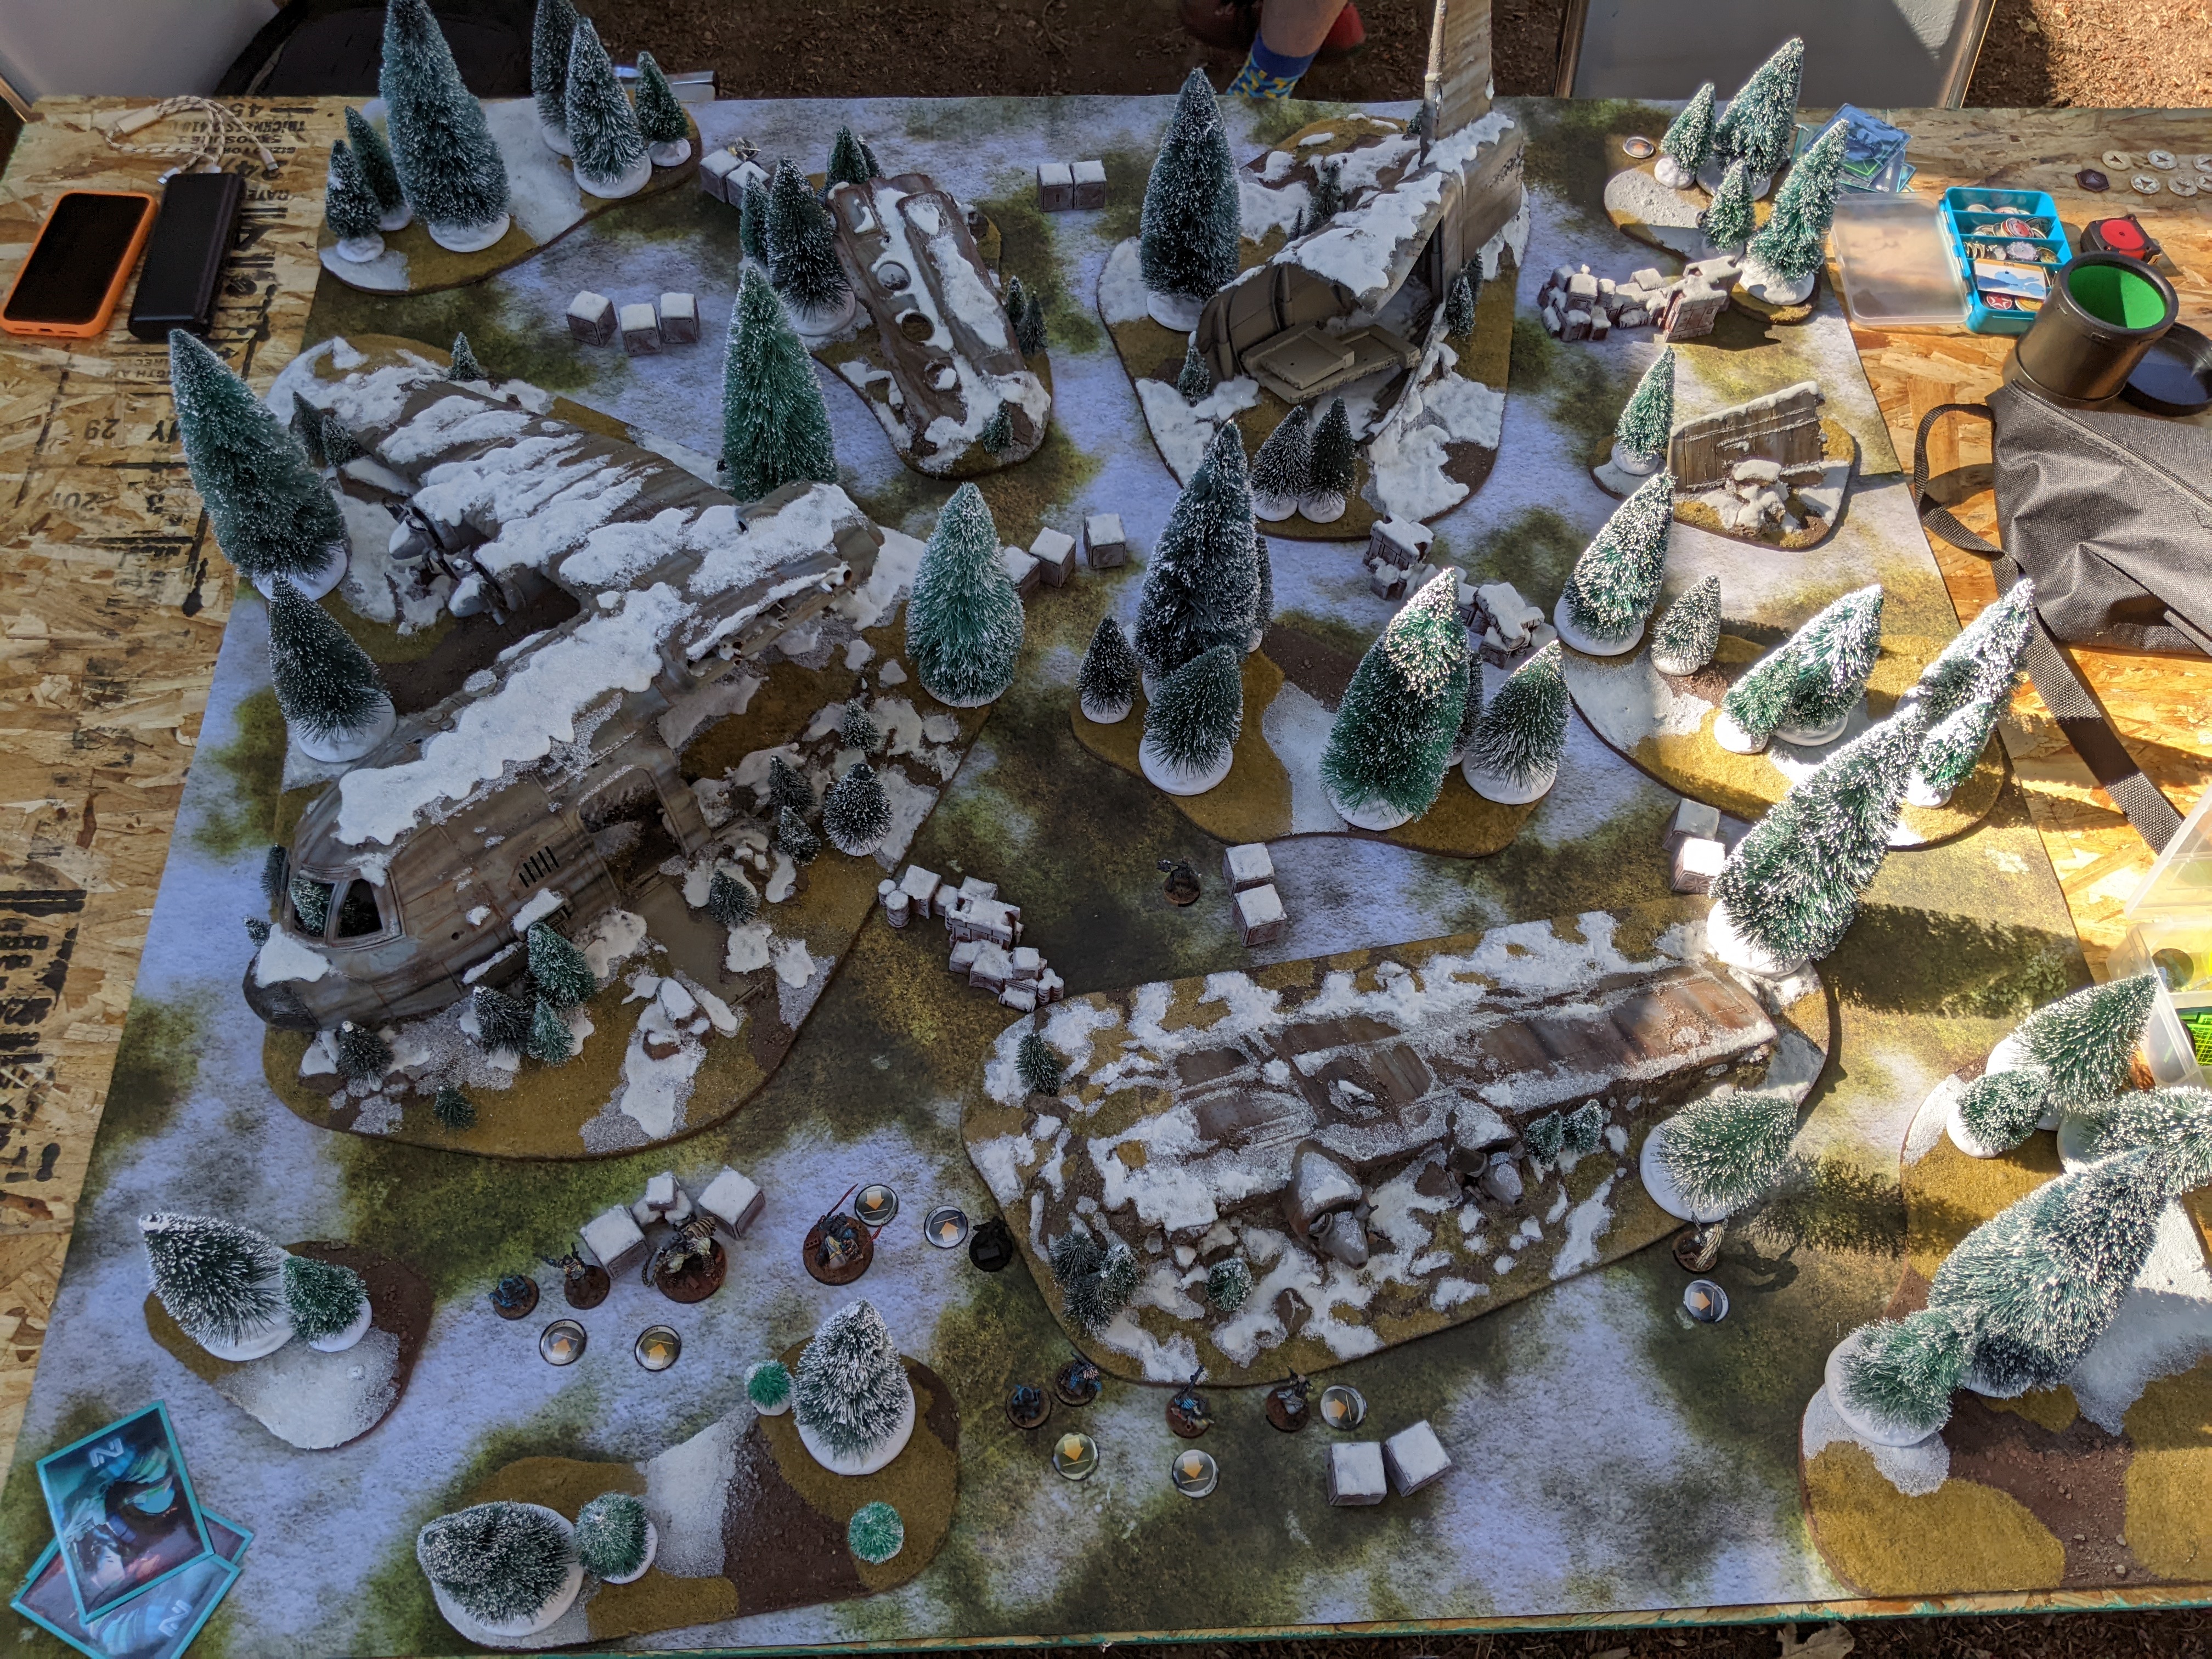
Bottom of 1 - Tunguska
I pushed my Securitate link all the way up on the left, dancing around the Kaeltar's shotgun template range with Perseus.
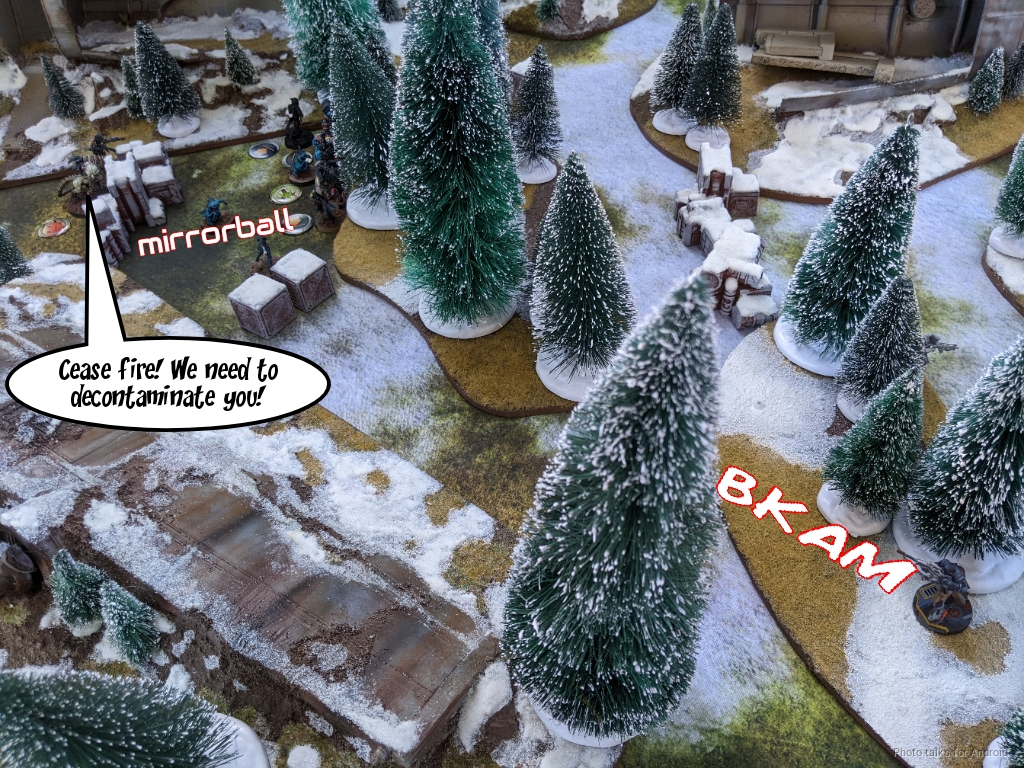
This let me push the Grenzer MSR out to a spot where I could the Kerail, and I took it out without much trouble against its Mirrorball attempt.
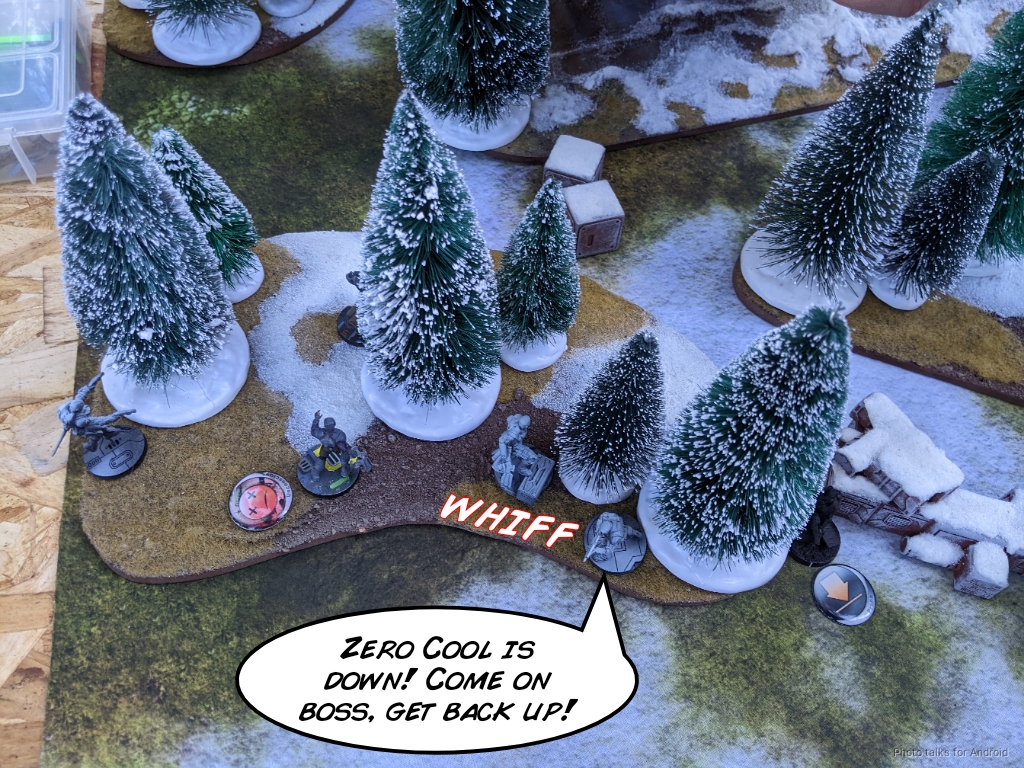
Here's where I made my second mistake--my first was in deployment, where I thought I could get the Cheerkillers to the middle safely. In actuality, I had to fight Obi's entire army, essentially. The Kosuil, Taquel, and Kiel-Saan were all watching my approach. I decided to rely on Miranda's vis-mods and also the low-vis zones of the table and split burst three ways the aforementioned AROs. The Kiel-Saan attempted to dodge instead of shooting, which seemed reasonable given the ammo type I was firing.
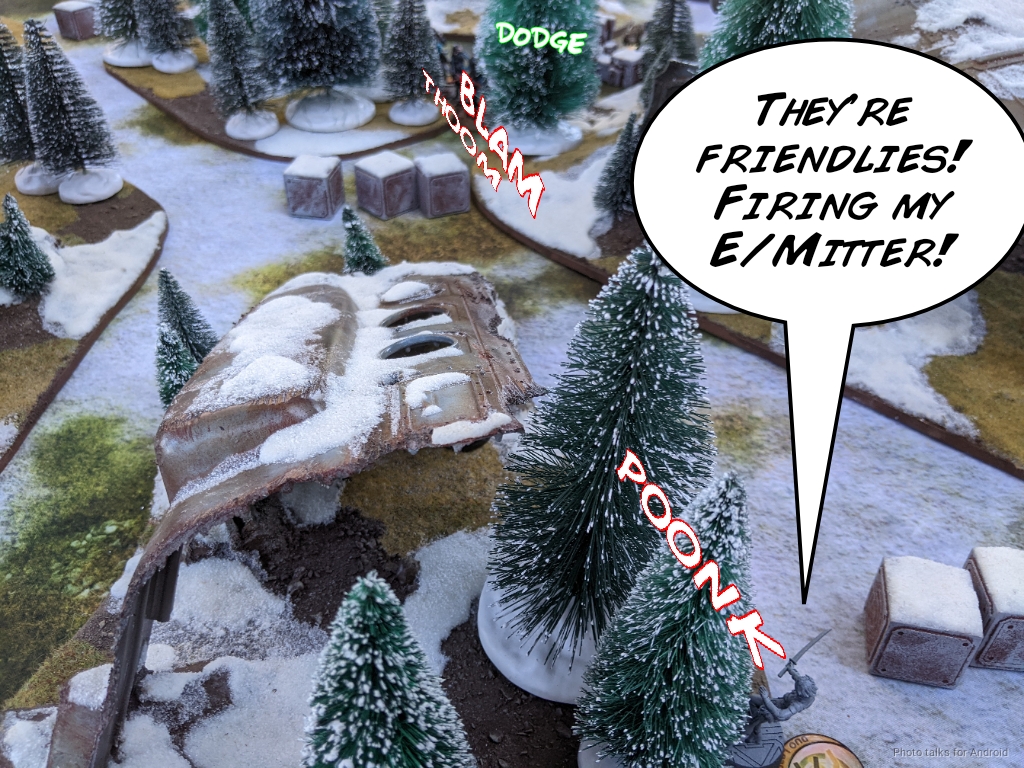
Eventually Miranda gets hit with a Panzerfaust and goes down, and I run out of orders to really get the other two ladies to safety, even with their great dodge stat. I end up losing the 13 point Cheerkiller to the zone, but the MSV2 one survives.

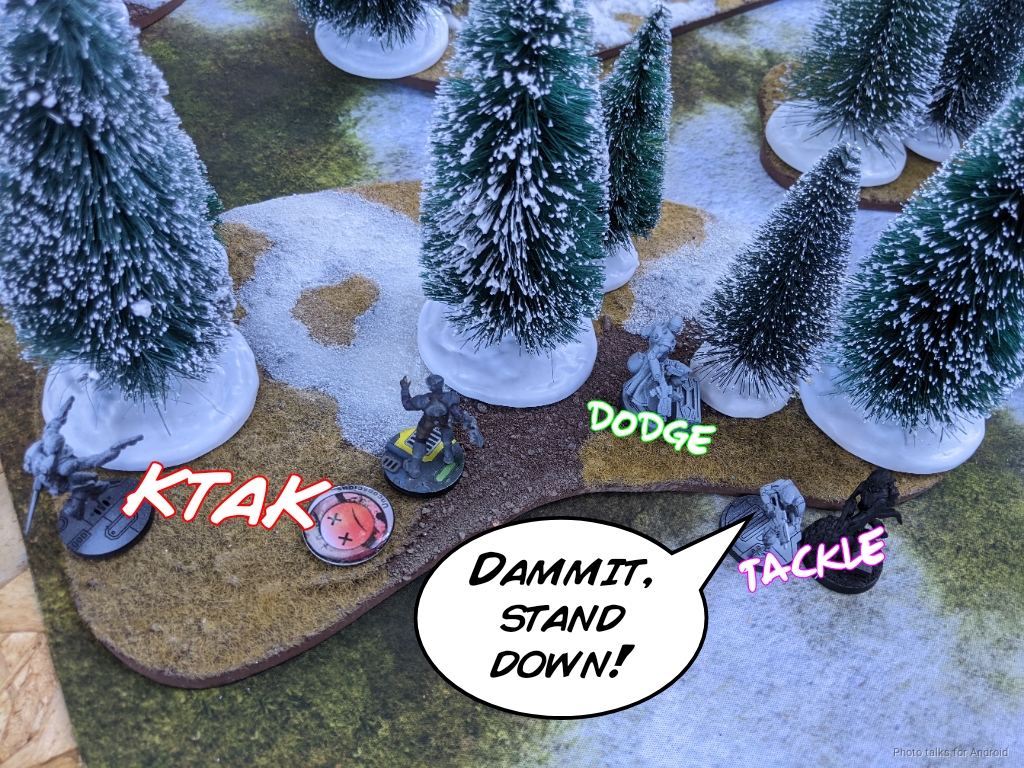
Then Obi sent in the Libertos, and everything fell apart. It dropped shotgun templates on most of my link, taking out my Interventor. The Grenzer failed his dodge but he managed to pass ARM, and thankfully the Securitate passed. Perseus took a shot and hit, but the Libertos passed armor. This was not looking good.
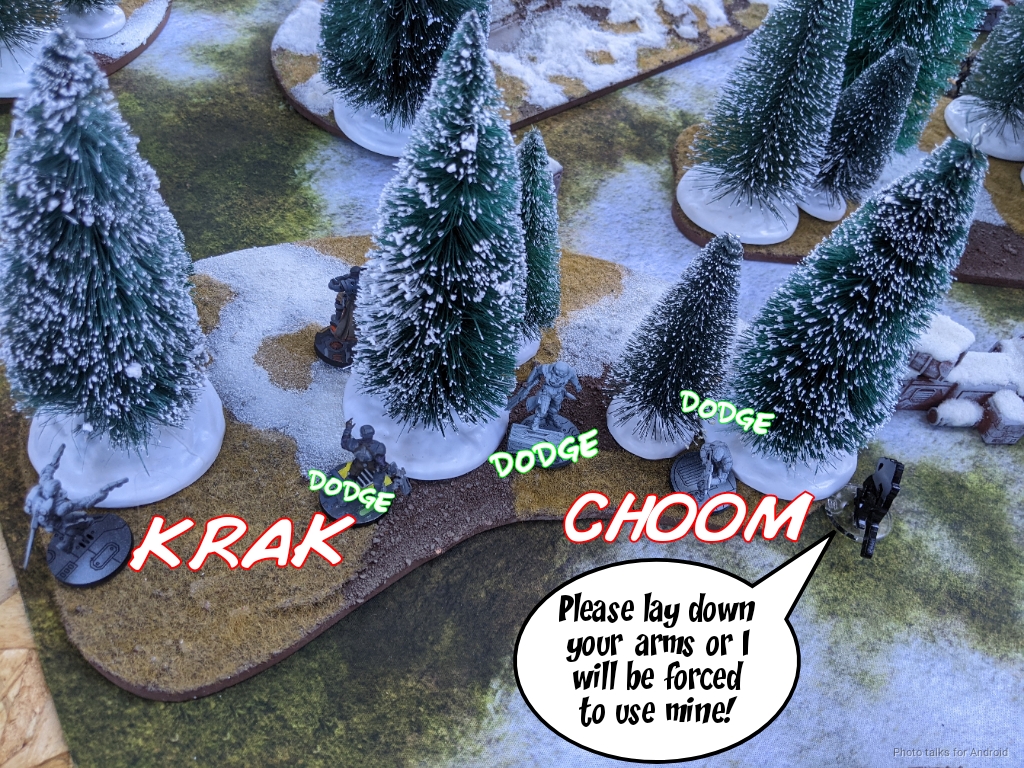
The Liberto kept coming, so I just chucked smoke with Perseus in a desperate attempt to stop the bleeding. I succeeded, but that just gave the Libertos an opportunity to drop a mine and scurry away.
Bottom of 2 - Tunguska
I'm in loss of lieutenant now, so I just have to play it as it lies. Perseus takes care of the mine with a quick discover-shoot. Thankfully he passed the Discover roll, and the mine gets taken out.
I try to pick my Interventor back up with the Securitate and whiff the Medikit shot. I can't do it in base to base because of the difficult terrain!
I try to take out the Liberto with the Grenzer MSR, hit with a pistol shot against the shotgun template in return, but Obi passes ARM and I don't.

The other Grenzer tries to push on the Liberto but it just dodges away.
Turn 3
Top of 3 - Tohaa
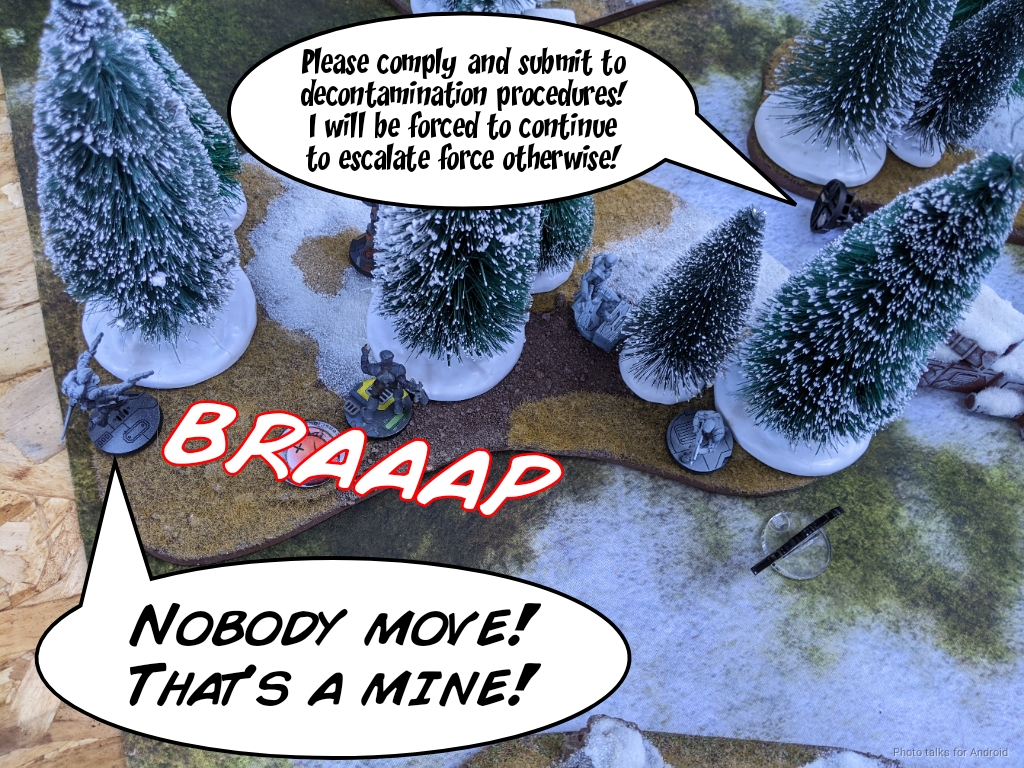
The LIberto is still alive, so it continues to attack. I lose the second Grenzer to a shotgun template, and the Securitate Paramedic dodges into close combat while Perseus takes a shot and puts the Liberto dogged.
The Liberto is still alive, so it just drops another mine and Obi passes turn.
Bottom of 3 - Tunguska
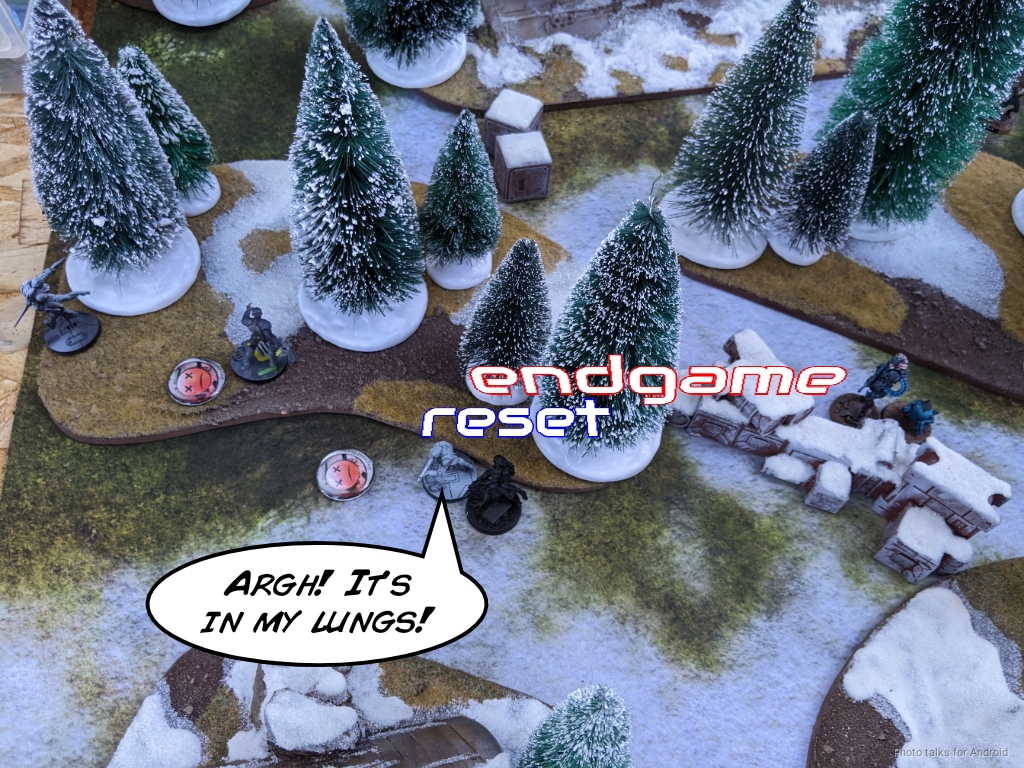
I have an opportunity to perhaps deny Secure HVT, but it requires move-moving with Perseus and he fails his ARM save against the mine, closing out the game with me tabled.
7-0 Tohaa Victory!
Post Game Analysis
I've written before about the need to figure out where you're going for Biotechvore at the end of turn 1. What you also need to consider is where your opponent is likely to end up. This feels very much like that whole overused Sun Tzu quote, which I'm going to use here, which is the thing about how if you know your enemy and you know yourself, you'll win 100% of your battles. If you only know yourself, you'll win 50% or whatever the quote is.
In this case it's actually pretty applicable though--I knew where I wanted to go, but I wasn't really considering how strong of an ARO presence Obi would have. I had a few choices in response, given that I had already mucked things up by not deploying the Cheerkillers more safely, i.e. all the way on the right.
- Continue Grenzering - I could have just thrown Miranda and the Cheerkillers under the bus, let them make their BTS saves in the zone, and pushed with like 4 orders on the Grenzer MSR and shot a bunch of stuff in the back. That probably was the best choice.
- Suicide the Cheerkiller LSG - I could have bunched the ladies up and rushed them into Pulzar/LSG range and forced dodges, hoping to get out of the zone just with brute force.
- Dodge like Crazy - I could've attempted to dodge the Cheerkillers out of the zone.
I'm not really sure which one was the best one, probably #2? What I did definitely wasn't the best one though. I just like E/Mitters too much and I was challenging the Tohaa models outside of 16" for some of it, which made my shots not very good. In any case, it was a fun game, and even though I made some pretty punishing mistakes it did get Obi his win at Zebu for Tohaa, so that worked out!
Here's the mission from the Tohaa perspective, if you're interested:
A reminder about the Durgama Defense Coalition patch giveaway! Click the image below to learn more about how to get some patches!
If you want some stuff to watch, have a look at the Nomad News Network videos below:
Battle Report Author

Army Lists Used In This Battle
Recommend Commander For Commendation
Share this battle with friends
Jager NadimWins

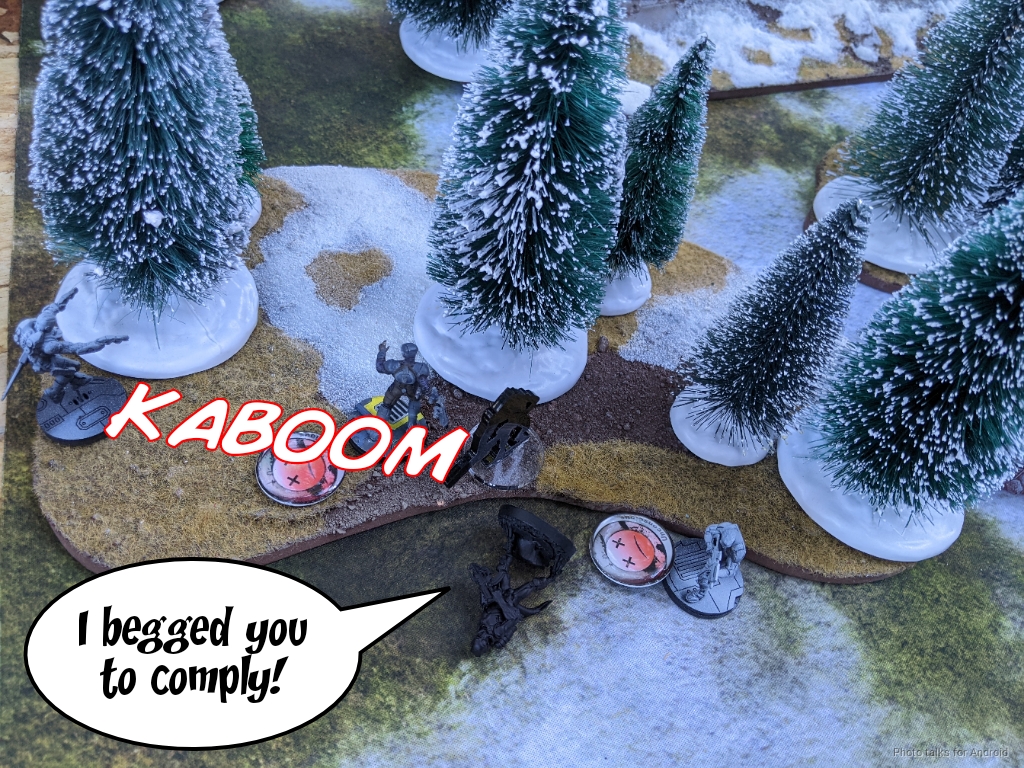
We regret that a Panzerfaust was used in the decontamination process, but sometimes a deep cleanse is required.
Quality is your recepy.
Great battrep very fun to go through.
Fantastic report the best i have seen so far !!
hahahaha bring her to justice xD
Knowing how busy you are this weekend, I’m super impressed with the detail. Well done!
That is how it’s done
Yet another fantastic report! Damn, all so good!