Fought At Cameliard: Guard Post
641 days 10 hours 9 minutes ago
The Hunt for a Guilty Ambassador
200 POINTSEnough is enough. Yu Jing has been bombarding our defenses on Cameliard without remorse. We’re on the brink of a Combined Army invasion and these Yu Jing cowards turn their backs to the true enemy and face their own allies in Humanity.
The Hexahedron managed to intercept a distress message from a Yu Jing ambassador that was stranded on Concilium. Since Yu Jing forces were busy assaulting our bases, the ambassador called in a few favors he had with Aleph, sending them right to our doorstep. Aleph deployed some decoy Designated Targets in an attempt to confuse our approach in our plot for revenge.
Military Orders wins the roll off and I choose to go first. My troops are familiar with this jungle terrain and I need to deal a decisive blow to the enemy before they can rally. The Aleph forces choose deployment and I set up first.
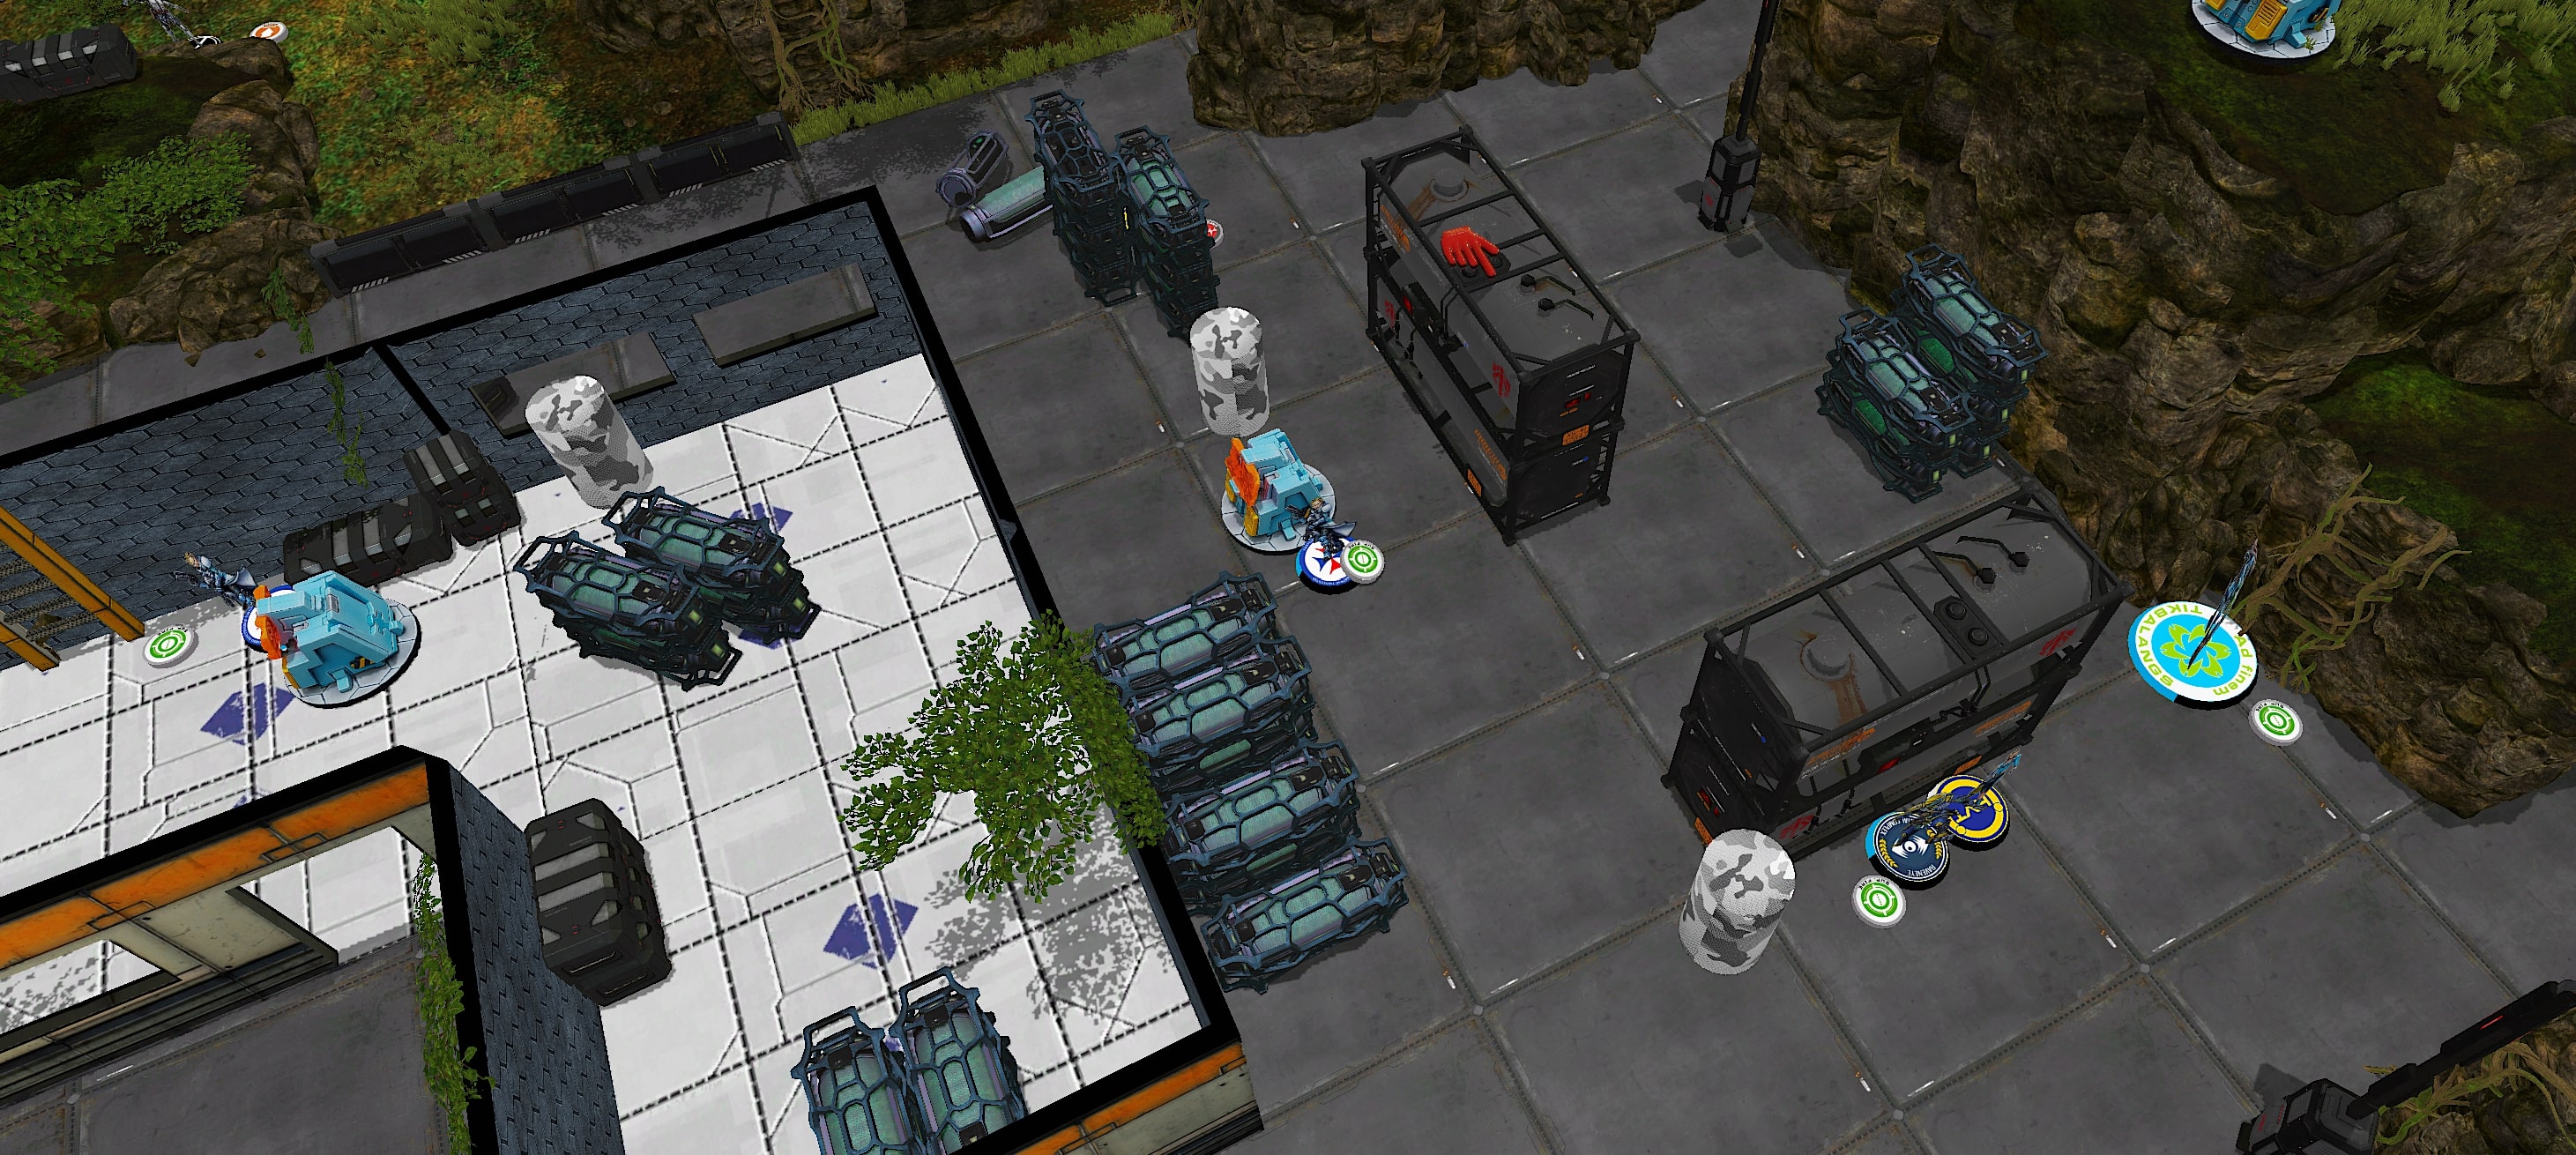
MO Deployment:
My MO Fireteam sets up on the left flank, with the MSV2 Spitfire Crosier taking ARO position on a very small diagonal firelane. My Teuton Lt waits in the back, praying for the safety of our strike force. In the center, a Warcor sets up, ready to take photos of the engagement. To the right, my Raveneye deploys prone, with his E/M mine protecting an approach to one of my Decoy Designated Target. Nearby, a Curator Engineer waits prone, ready to potentially move up and deploy mines to protect the other targets (including the true Target). Finally, I set up two Trinitarians in Camouflage, both ready to make a mad dash for the consoles in the center of the table.
Steel Phalanx Deployment:
Steel Phalanx shows up with a very meager amount of forces. Led by Machaon in the center, there are two Flash Bots on the back line. Two Thorakitai FOs deploy, one on each side of the table. An enemy Warcor sets up on the right flank, taking cover behind a tree. He is watching over the true Target. There is a suspicious lack of points here, so I’m fearing either AD or Achilles.
MO Reserve:
Stomping through the surrounding Jungle, the Tikbalang of Montesa arrives on my right flank. Depending on what we see in Reserve, the Tik has a great opportunity to climb up some rocks on the right flank and take out at least 3 units. We shall see.
Steel Phalanx Reserve:
It’s Achilles. The gleam of his white armor is unmistakable through the thick jungle surrounding Cameliard. He deploys to counter my Tikbalang, threatening to take it out should I get too aggressive on my first turn.
Military Orders:
My Trinitarians, my Raveneye, and my Tikbalang blitz forward, Coordinating twice. On their second advance, each Trinitarian and the Raveneye all place mines. The Raveneye is now next to one of my Decoys, and both Trinitarians are set up near their designated Consoles.
First attempt, the Trinitarian on my left successfully activates the console. Even though I’m fairly certain the center HVT is not our true Designated Target, it’s one I can reliably kill this turn, so we designate it for removal. Next, the center Trinitarian attempts to activate her console, but fails. Bad news, because I’m running out of orders.
Despite this, the Tikbalang has moved up to a relatively advantageous position thanks to the earlier Coordinated orders. He climbs the side of the mountain and fires upon the discovered Decoy Target as well as a distant Thorakitai. Frustratingly, the Tik misses the Thorakitai, and the Decoy Target successfully dodges. This means I won’t have enough orders to get my Tikbalang completely back to safety. Regardless, we need to take out the Decoy so that we can focus on the other targets in the future. As the Tik moves back to take cover, he fires upon the Decoy, successfully knocking it unconscious.
Final order, I suppress with both Trinitarians, the Raveneye, and the Tikbalang.
[Quick Note: I realized too late that my first screenshots weren’t saving, so I apologize I don’t have many images for this first turn.]
Steel Phalanx:
To my surprise, my opponent spends a command token to form a Fireteam Duo with Achilles and a Thorakitai. Even more concerning is that the Thorakitai is moving much faster than one would normally move. The Duo moves forward, around the right flank. Patroclus reveals himself and fires his HMG at a Suppressing Trinitarian, who deals a wound to him thanks to her AP rounds. Backing up, he then opts to toss smoke to cover his advance.
Achilles and Patroclus move through the smoke, getting dangerously close to my Tikbalang. The E/M mine from my Raveneye slows them slightly as they perform a risky dodge. Patroclus successfully dodges the mine, moving away from Achilles back towards his DZ. Achilles dodges forward out into the open. He’s now within striking distance of the Tikbalang.
Luckily, the E/M Mine dodge forced them to forgo their stealth, giving my center Trinitarian and more importantly, my Raveneye an opportunity to dodge while out of LoF. Now, the Raveneye has LoS to Achilles. I have a Raveneye, the Tik in Suppression, and my Crosier MSV2 Spitfire downrange that can all see Achilles.
In a nail-biting move, Achilles runs into contact with my Tikbalang. The Tik Suppresses, the Raveneye fires his E/Marat, and the Crosier fires two Spitfire shots. Achilles, fearing the E/M weaponry, opts to dodge.
INCREDIBLY, Achilles fails his dodge on an 18. He tanks all of the armor saves, BUT fails to shrug the E/M weaponry, isolating him and immobilizing him. The Tikbalang pilot back home breathes a sigh of relief.
Now, Patroclus is in trouble. He’s currently in the open, but in smoke that will go away at the end of the turn. To preserve his HMG, Patroclus moves back towards the DZ. On the way, he engages my Trinitarian who is no longer Suppressing and fires two Pulsars at her, killing her outright. As she slumped to the ground, she fired a parting shot with her SMG that sent Patroclus unconscious.
Using the final orders, Machaon activated his Yudbot and moved up to Patroclus. The remaining Trinitarian suppressed the Yudbot, knocking it unconscious, but not before it could reach Patroclus one time. First roll: 18. Command Token. Second Roll: 17. Final Command Token. 19. Patroclus dies.

Military Orders:
We have officially seized the advantage, but we’re not in the clear yet. Isolated and Immobilized is a set of states that our WIP 12 units would be stuck in for good, but Achilles still has a chance to Reset out. We also need to continue our hunt for the Yu Jing Ambassador.
The Tikbalang wants to get away from Achilles regardless, so it once again climbs the mountain, firing upon Achilles as it climbs. Achilles takes one wound. Next, the Tik crests the top of the mountain, gaining LoS to a Flash bot as well as Achilles. Splitting burst, Achilles tanks his armor saves, and a Flash Pulse sneaks through. The Tik is now stunned. Extremely bad news.
Now, it’s all up to the Curator. I could move out with the Raveneye, which would take fewer orders, but I need the Raveneye to keep an eye on our Immobilized Greek warrior just in case he gets free. The Curator marches forward, taking multiple shots at Achilles. After many attempts, the Combi successfully knocks Achilles unconscious. The Curator shoots his unconscious body to remove him for good measure. Next, we need to activate the center console.
The Curator succeeded in killing Achilles, but he unfortunately FAILS to activate the console multiple times. Finally, he is able to reveal the leftmost target. Another decoy.
With the final orders, the Curator attempts to kill the decoy, but it passes its armor saves.
Steel Phalanx:
With both Achilles and Patroclus dead, it’s all up to Machaon. The Tik has shaken its Stunned state, and there are still a suppressing Trinitarian and a Curator in the way. Machaon takes on the Curator in cover and successfully knocks him unconscious.
Throwing Eclipse smoke, Machaon carefully moves forward to the center objective, taking a round of Suppression from the Trinitarian on the way. He suffers a wound.
Failing Guts, he ducks behind the console and activates it. My opponent reveals the leftmost target, which is not the correct one. With his last order, he performs a risky operation on himself and successfully heals the wound he took this turn.

Military Orders:
It’s go-time now. The Tikbalang needs to complete the mission.. The Crabbot dismounts from the TAG and successfully activates the console, revealing our true Designated Target at last. Mounting the Tik once more, the Tikbalang engages the Flash bot that stunned it in the previous turn. Thankfully, this time we can apply our entire burst. The Flash bot is destroyed.
Next, the Tikbalang leans over the crest of the mountain, firing upon the offending Yu Jing ambassador. He attempts to dodge, but is torn to pieces by the Tikbalang’s HMG, scoring a Crit in the process. Justice.
Next, we round the corner of the mountain and take shots at the final Decoy, successfully killing them as well.
With our final two orders, the Tikbalang managed to get one last shot on Machaon from behind, but he tanked the hits.
Steel Phalanx:
With the Ambassador they were supposed to protect dead, Machaon completely abandoned the mission and opted to go for revenge against the Tikbalang. Tossing smoke, he made his way to the Tik’s perch. On the way, he got into a shootout with the Raveneye, avenging Achilles. In the final order of the game, Machaon manages to get into CC with the Tikbalang! They both swing, and the TIK WINS the F2F! Machaon survived, but it was over. The Aleph forces retreated into the jungle from whence they came.


Battle Report Author

Army Lists Used In This Battle
Recommend Commander For Commendation
Share this battle with friends
Thanan RolliceWins

Nice report
Nicely done boss
I like how despite the smaller size of the game it was still a good back and forth. may the Hyperpower last 10,000 years.