Fought At Raveneye Port Battery: Port Fire Control Module
645 days 13 hours 16 minutes ago
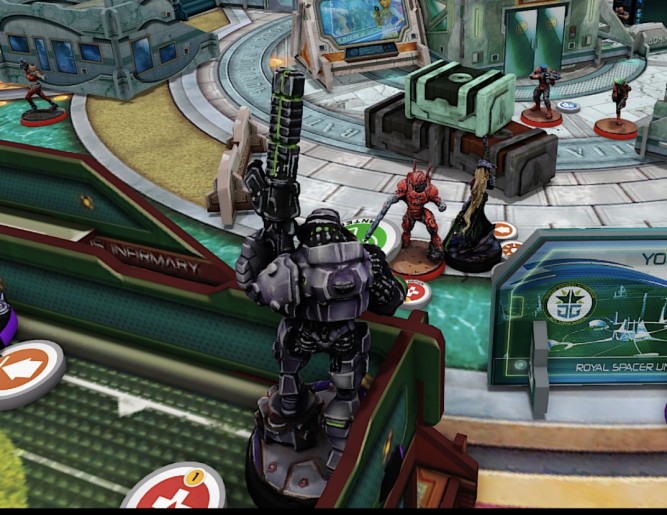
Feeding the Hungries
View Linked Report - CLICK HERE 150 POINTS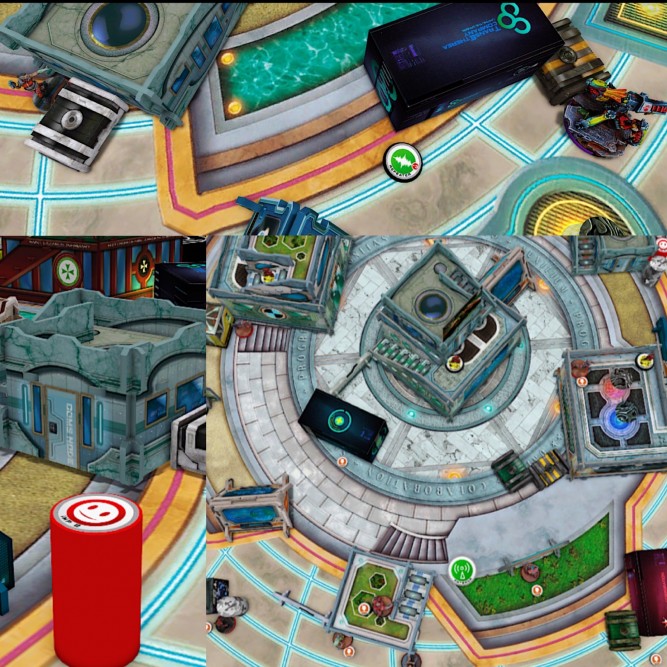
Top of Turn 1: CJC
Jazz sneaks by Morat opposition, impersonating as an Oznat. She lands a repeater and Immobilizes the R-Drone with Carbonite.
After maneuvering into position, the Nomads coordinate the placement of koalas and mines to disrupt the Morat advance
Bottom of Turn 1: Morats
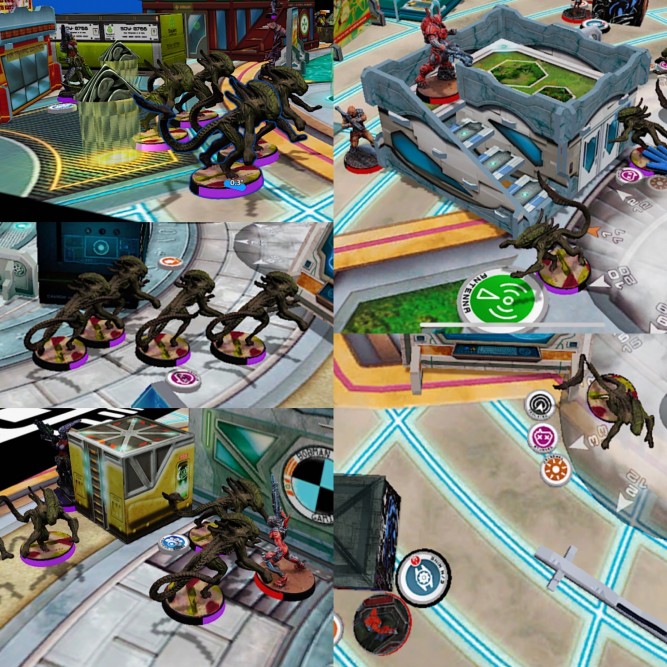
The Morats move forward with a Hungrie core to kill a Moran while dodging multiple Koalas and somehow also avoiding being targeted by Jazz.
Continuing forward, the Oznat spends several order to launch smoke to cover their advance. While she is laying cover a Preta & Gaki are stunned by a flash pulse and the stunned preta is used to trigger and E/M Mine and becomes Isolated. 2 Hungries are also spotlighted throughout the maneuver.
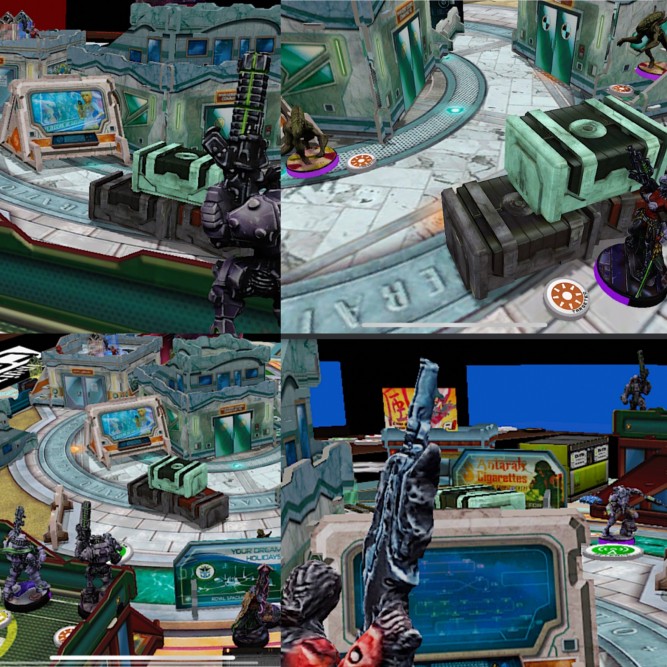
Under the cover of smoke the Hungries get in contact with the Daktari as well as the antenna. As the Gaki gets out with the antenna, he and the Preta get targeted by Spotlights, and the Oznat is stunned by a flash pulse. After the Hungries get into cover, the Raktorak uses two LT orders to reposition the link.

Top of Turn 2: CJC
The Daktari, just outside explosion range, rolls three crits and a hit against a targeted Gaki and annihilates it.
After spewing hot metal over the transductor and biting off Billie’s Head, the mobile Brigada ends the Preta’s bloodthirsty rampage with his MULTI Rifle.
To round out the turn, the link and the second Moran reposition while Jazz fails three WIP rolls in an attempt to complete CJC’s classified.
Bottom of Turn 2: Morats
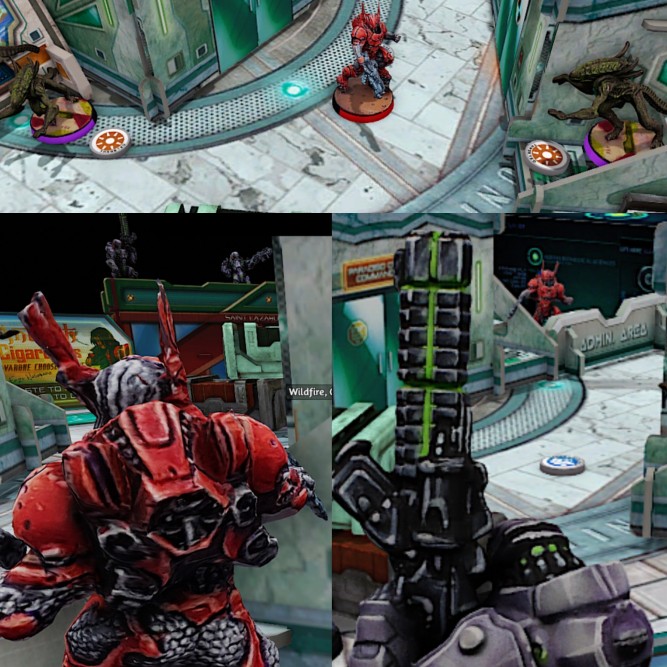
The Suryat HMG attempts to take out the second Moran in several salves, who flash pulses back. After the dust settles, the Suryat HMG has been targeted and both remain standing.
The Hungrie team withdraws to pass the antenna to the Rindak. The oznat is targeted by the FO Moran while the haris repositions to defend the central path to their beacon.
The Suryat team repositions to better defend their beacon. Doing so results in the Moran targeting the Rindak who now carries the beacon. A final HMG salvo from the Suryat sends the Moran to his death and the Suryat successfully resets to remove his Targeted state while he prepares to defend their spoils.

Top of Turn 3: CJC
The turn starts with the Suryat and MB Lieutenants facing off. After putting a wound on the Suryat LT, the Brigada LT rushes forward to slaughter the remaining Hungries. He then wades through vulcan shotgun fire to kill the Preta and Raktorak on his way to secure the Beacon.
The Brigada picks up the Beacon, but becomes engaged with the Oznat. Jazz heroically attempts to extricate the MB from engagement but kills both the Oznat and the Brigada.
Bottom of Turn 3: MAF
Already ensured of victory, the Suryat Lieutenant wants to send a message to the foolish humans who dare resist their advance. Standing up to face his enemies, the HMG knocks a Daktari and Jazz unconscious while missiles from an Alguacile zoom overhead, narrowly missing him. Unfortunately a stray combi bullet lodges in his chest and he goes unconscious from the FO Alguacile.
The nearby Rindak paramedic brings the Suryat back up who then kills the FO who dared fire at him but then goes back unconscious from a direct missile hit. The Rindak successfully revives the Suryat AGAIN, whose blooslust knows no bounds and he finally kills the missile launcher. A flashbot in the backline is all that remains to return the battle footage to Nomad Command.
Battle Report Author

Army Lists Used In This Battle
Recommend Commander For Commendation
Share this battle with friends
MetalWins

great pics and summary
We will resist to the very end.
Supremacy!
nomads will get their revenge