Fought At Xiāndăo Neosteelworks: Main Furnace
635 days 2 hours 29 minutes ago
The Shootout and The Ninja
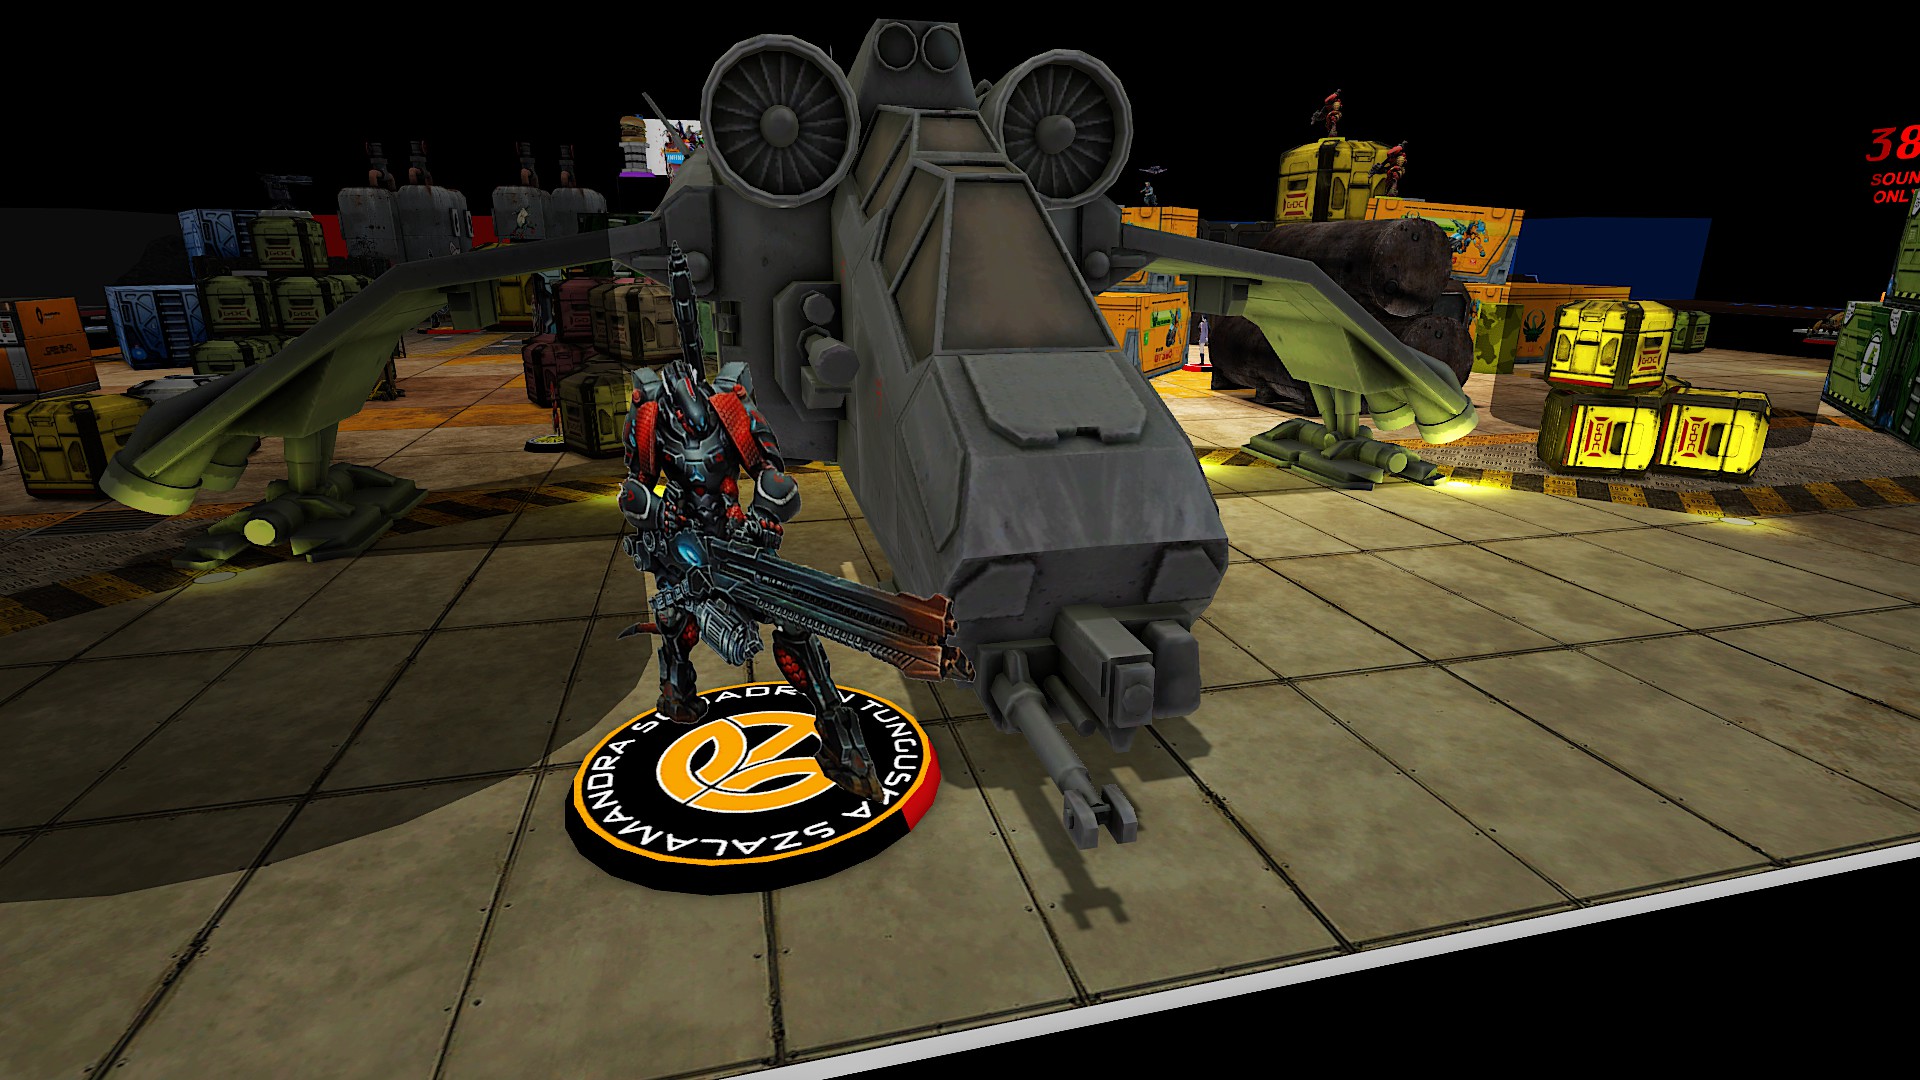
300 POINTS"While infiltrating the furnace complex, we found a group of Nomads looting a supply dock. Our hopes of eliminating the dangerous durian shipment collapsed when the enemy opened fire. Luckily we had made preparations...." Tayori Takahira, TAG Pilot of the Japanese Secessionist Army 384th
Note: I realized while uploading lists that my opponent's had an issue. Neither of us caught this until much later and it likely would not have changed much.
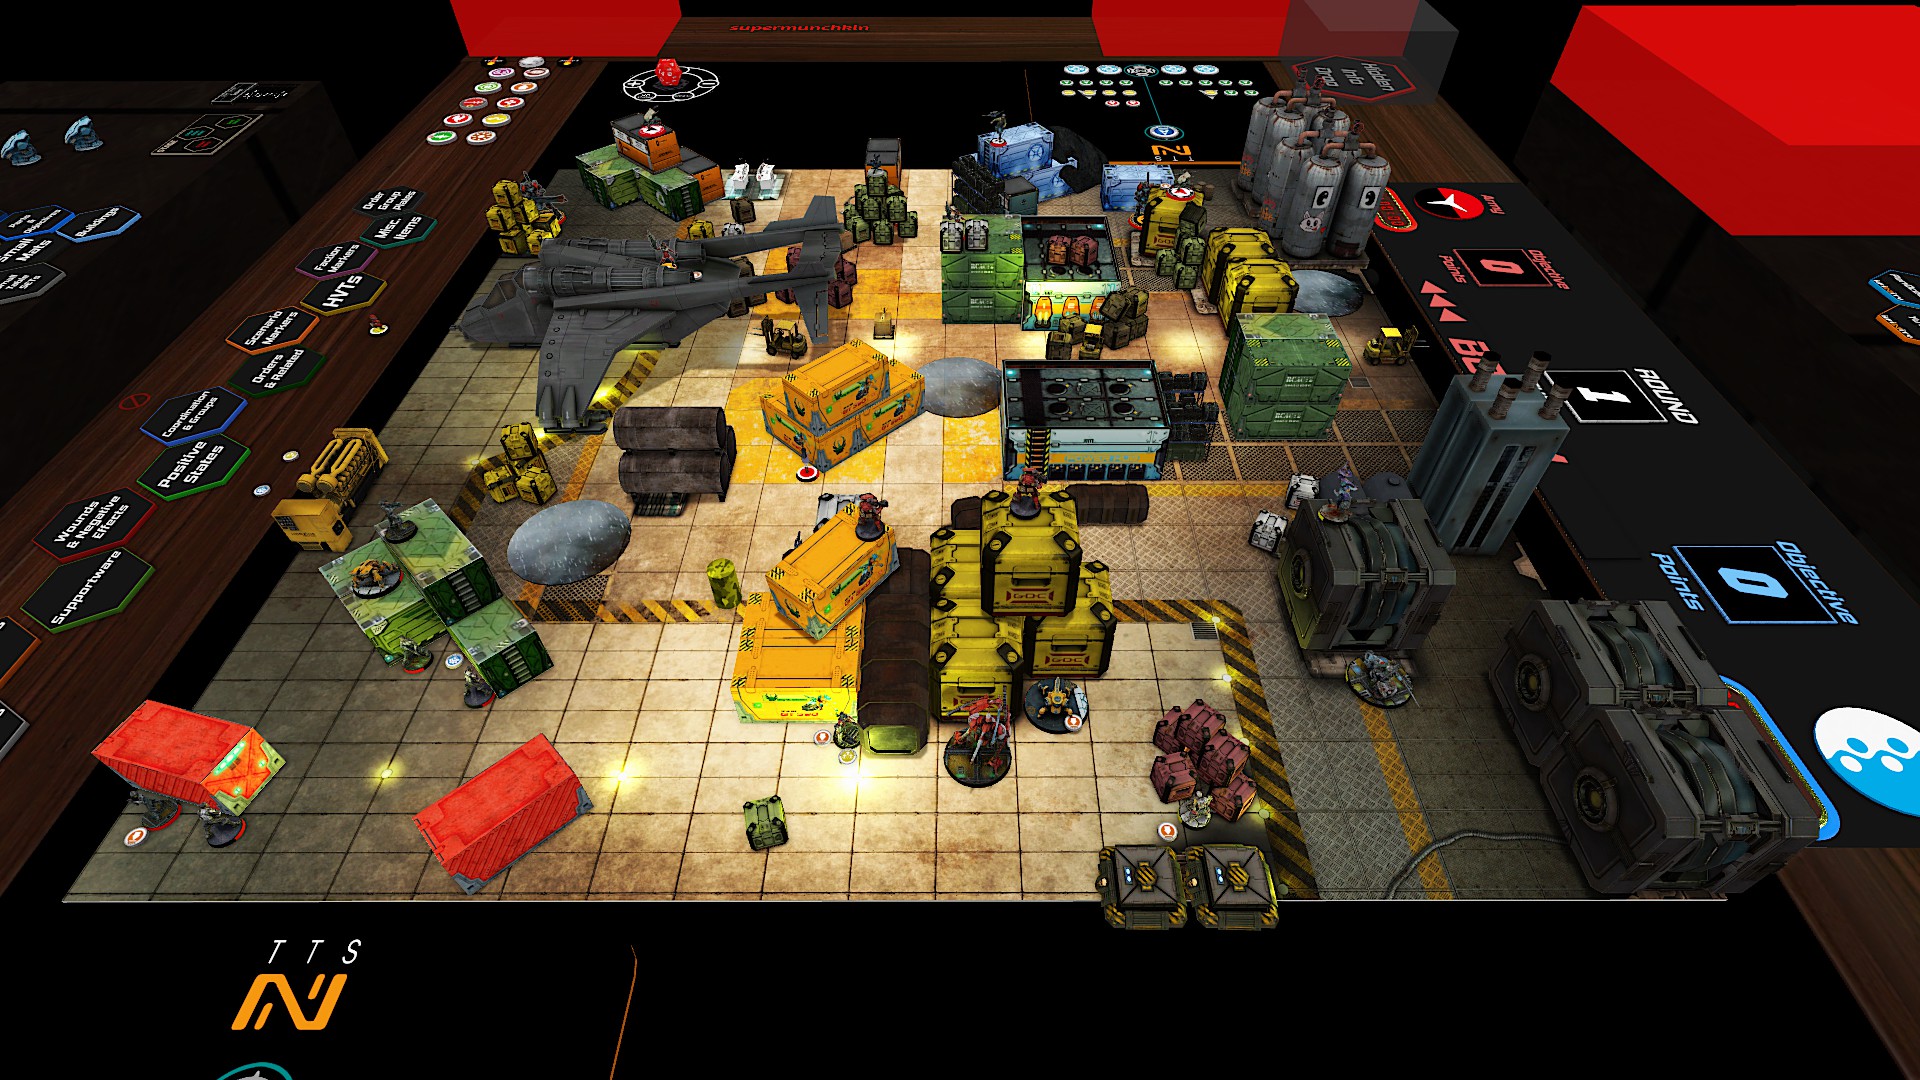
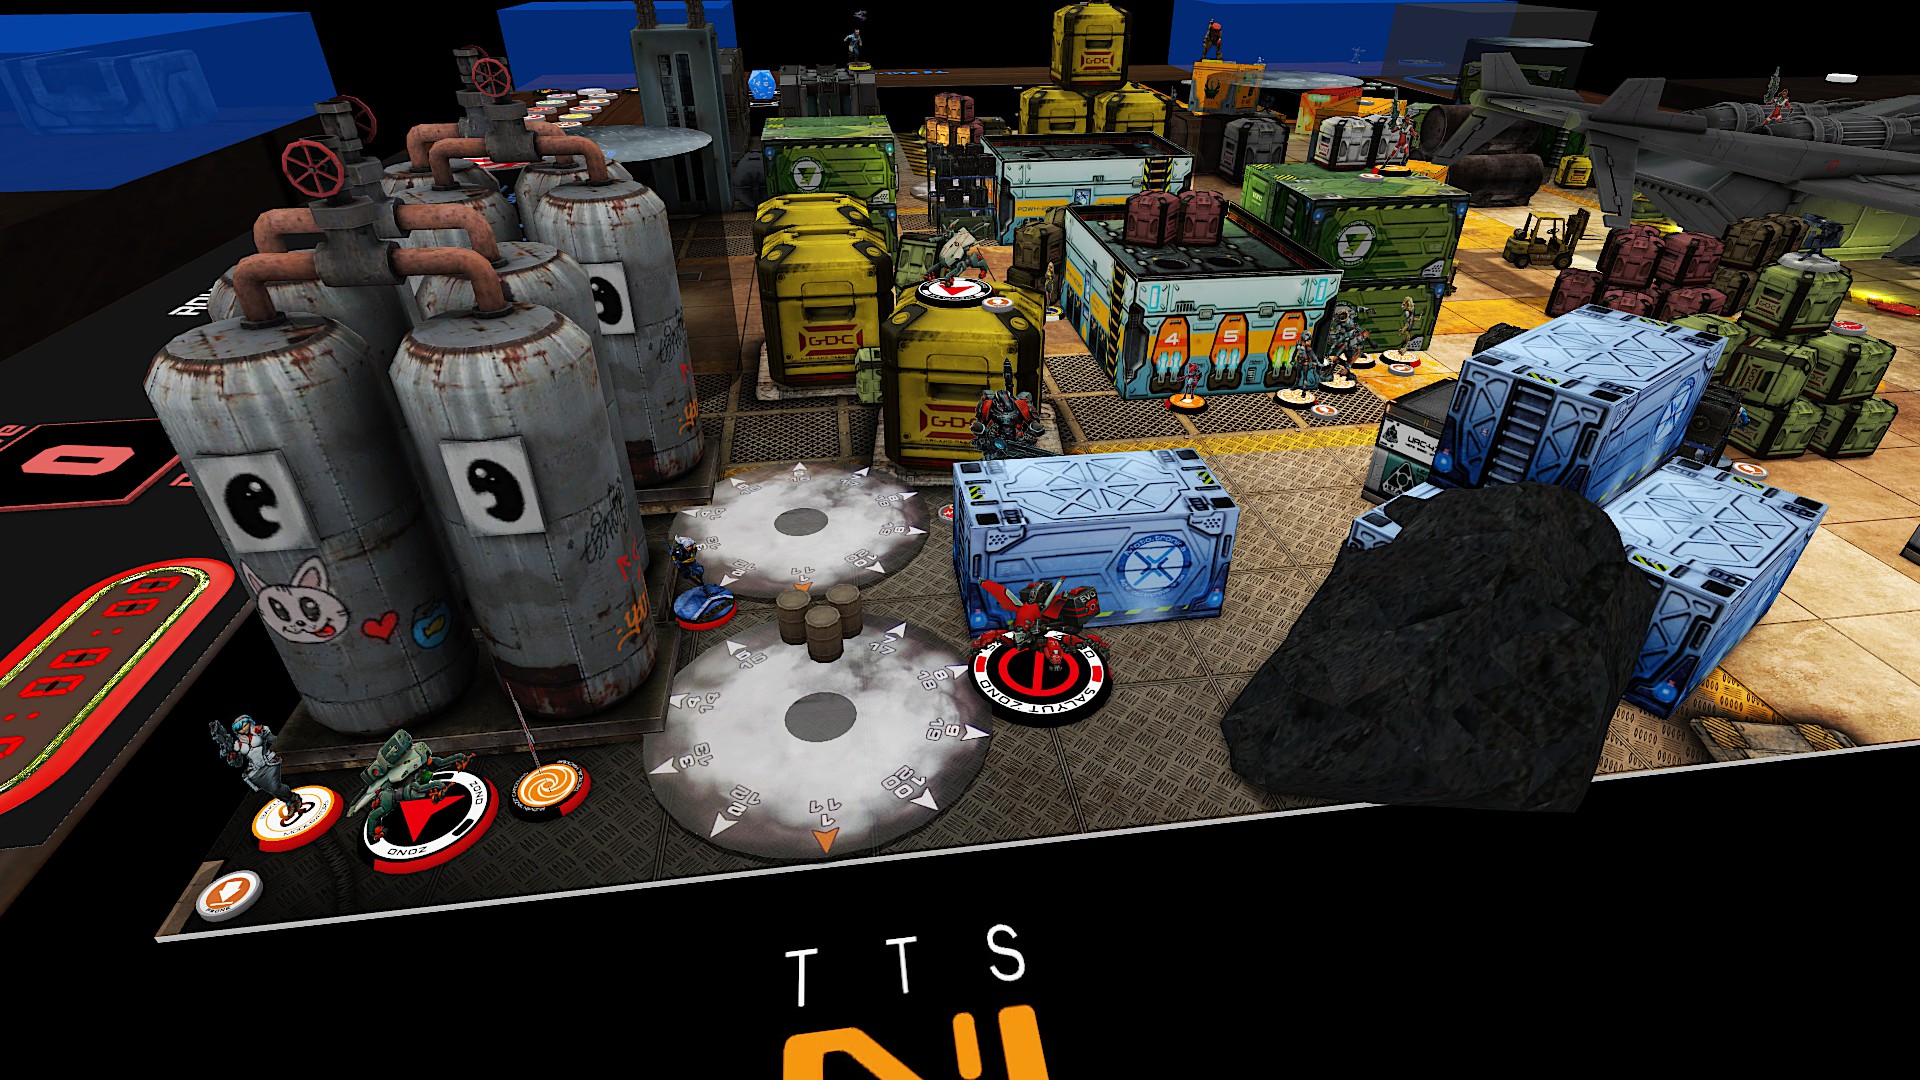
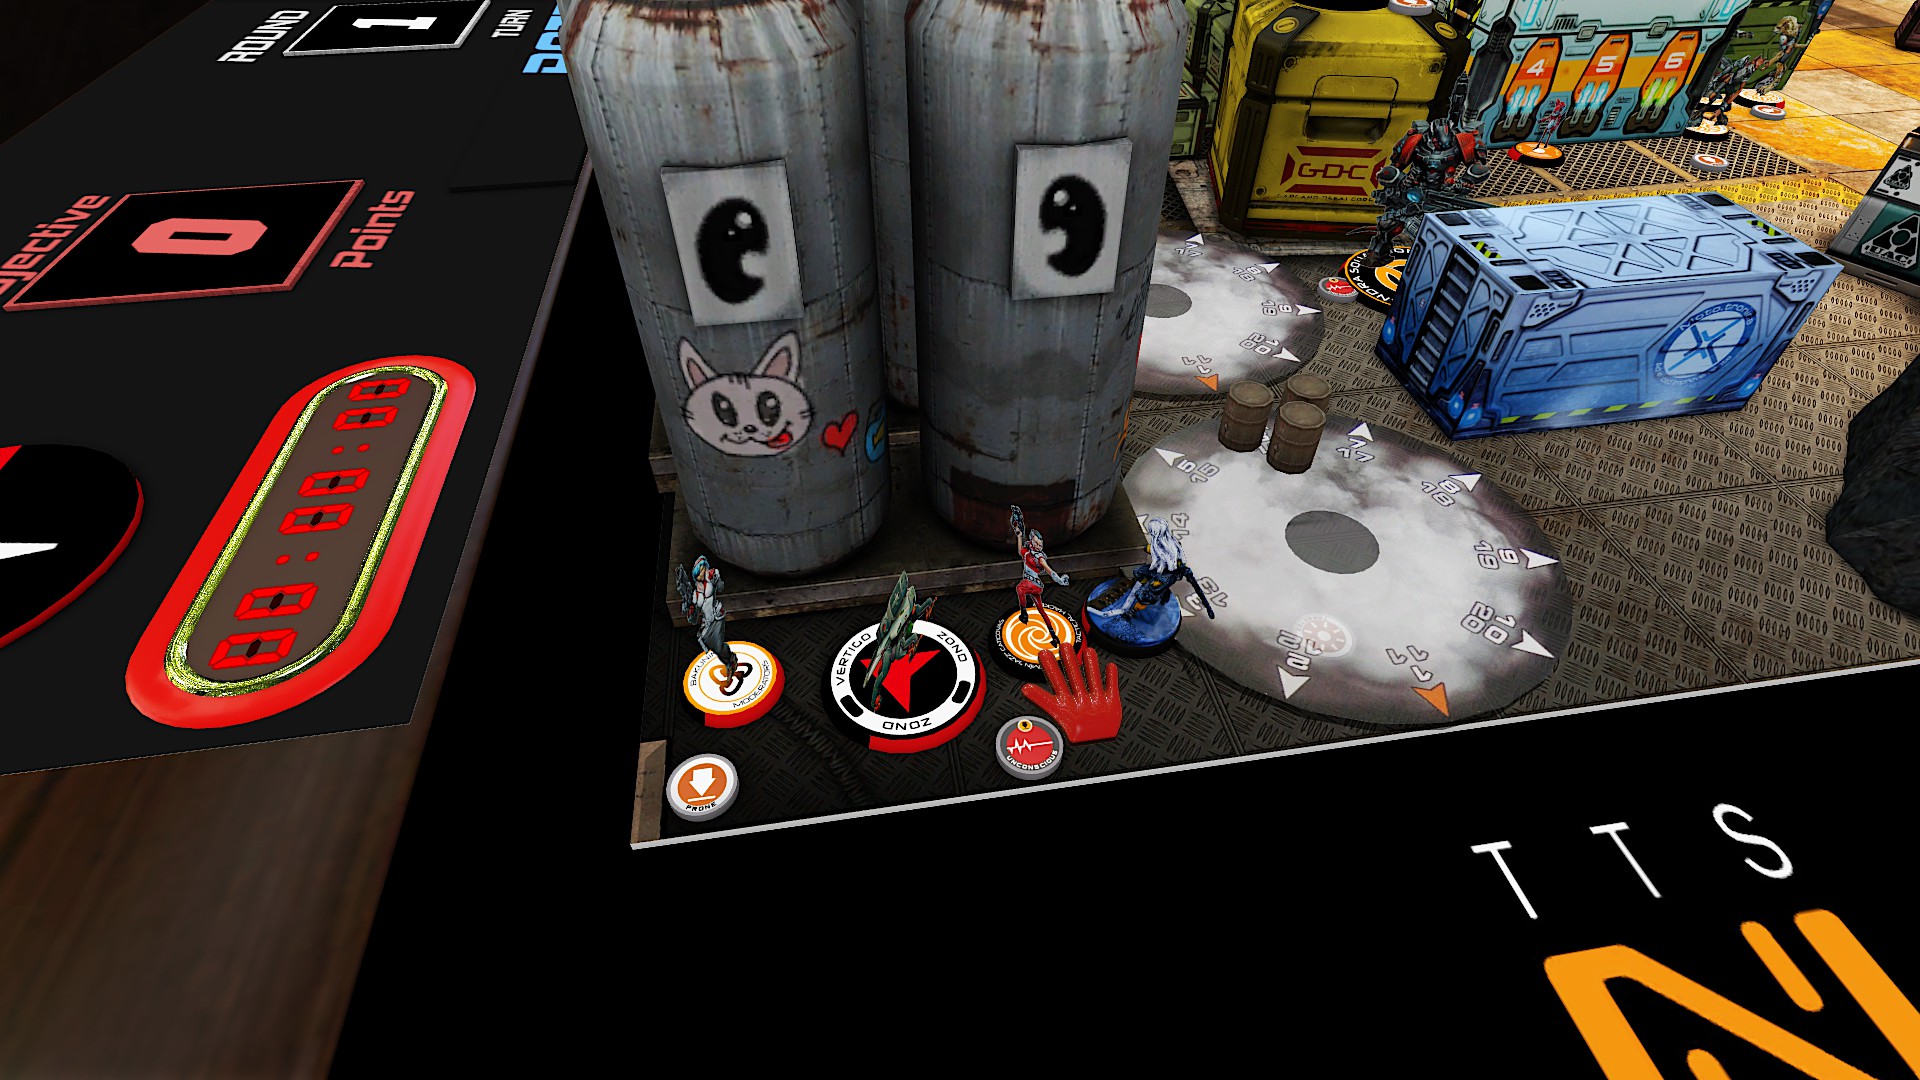
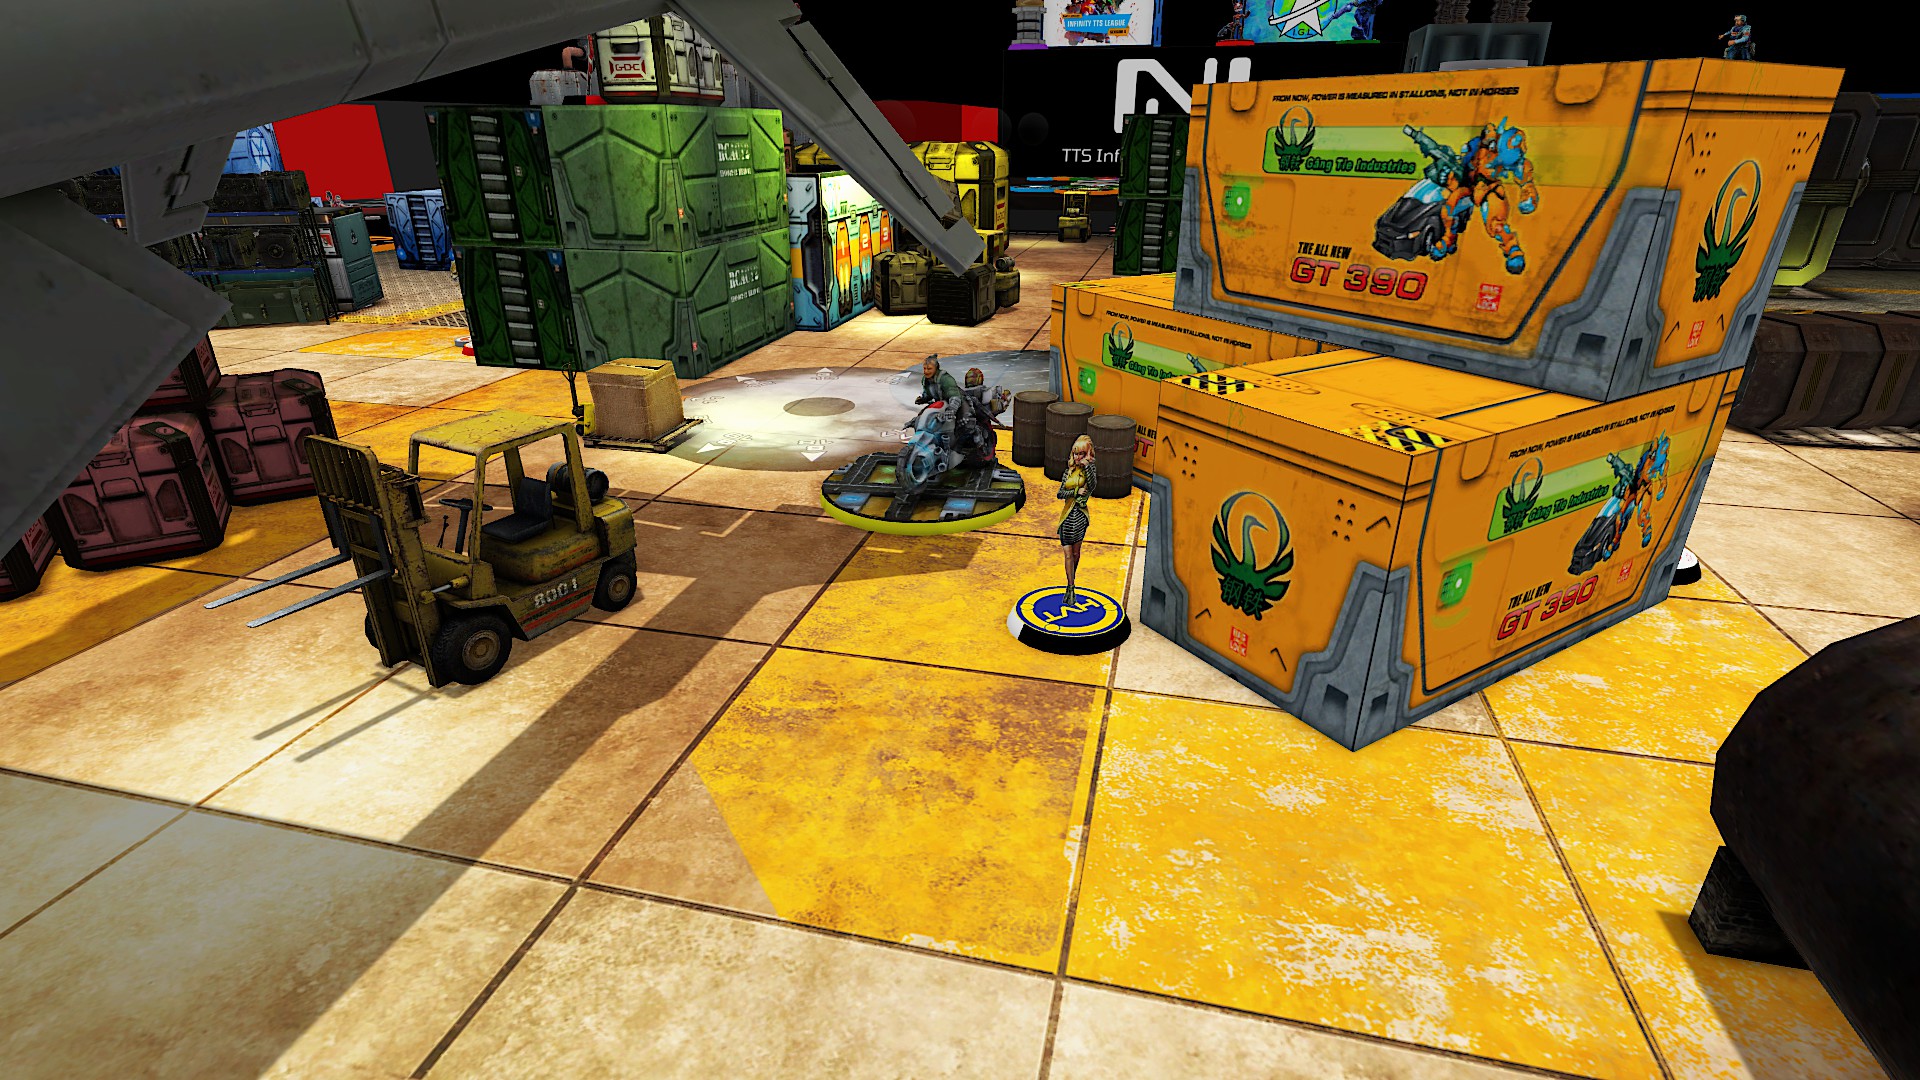
Nomads won the LT roll and chose first turn. The Moderator LT, Vertigo Zond, and Jazz took cover in the back corner. Two Szalamandras deployed on opposite sides peeking out from cover. The Uberfallkommando team took cover in the center of the deployment. Morans set up out of line of site near the midfield.
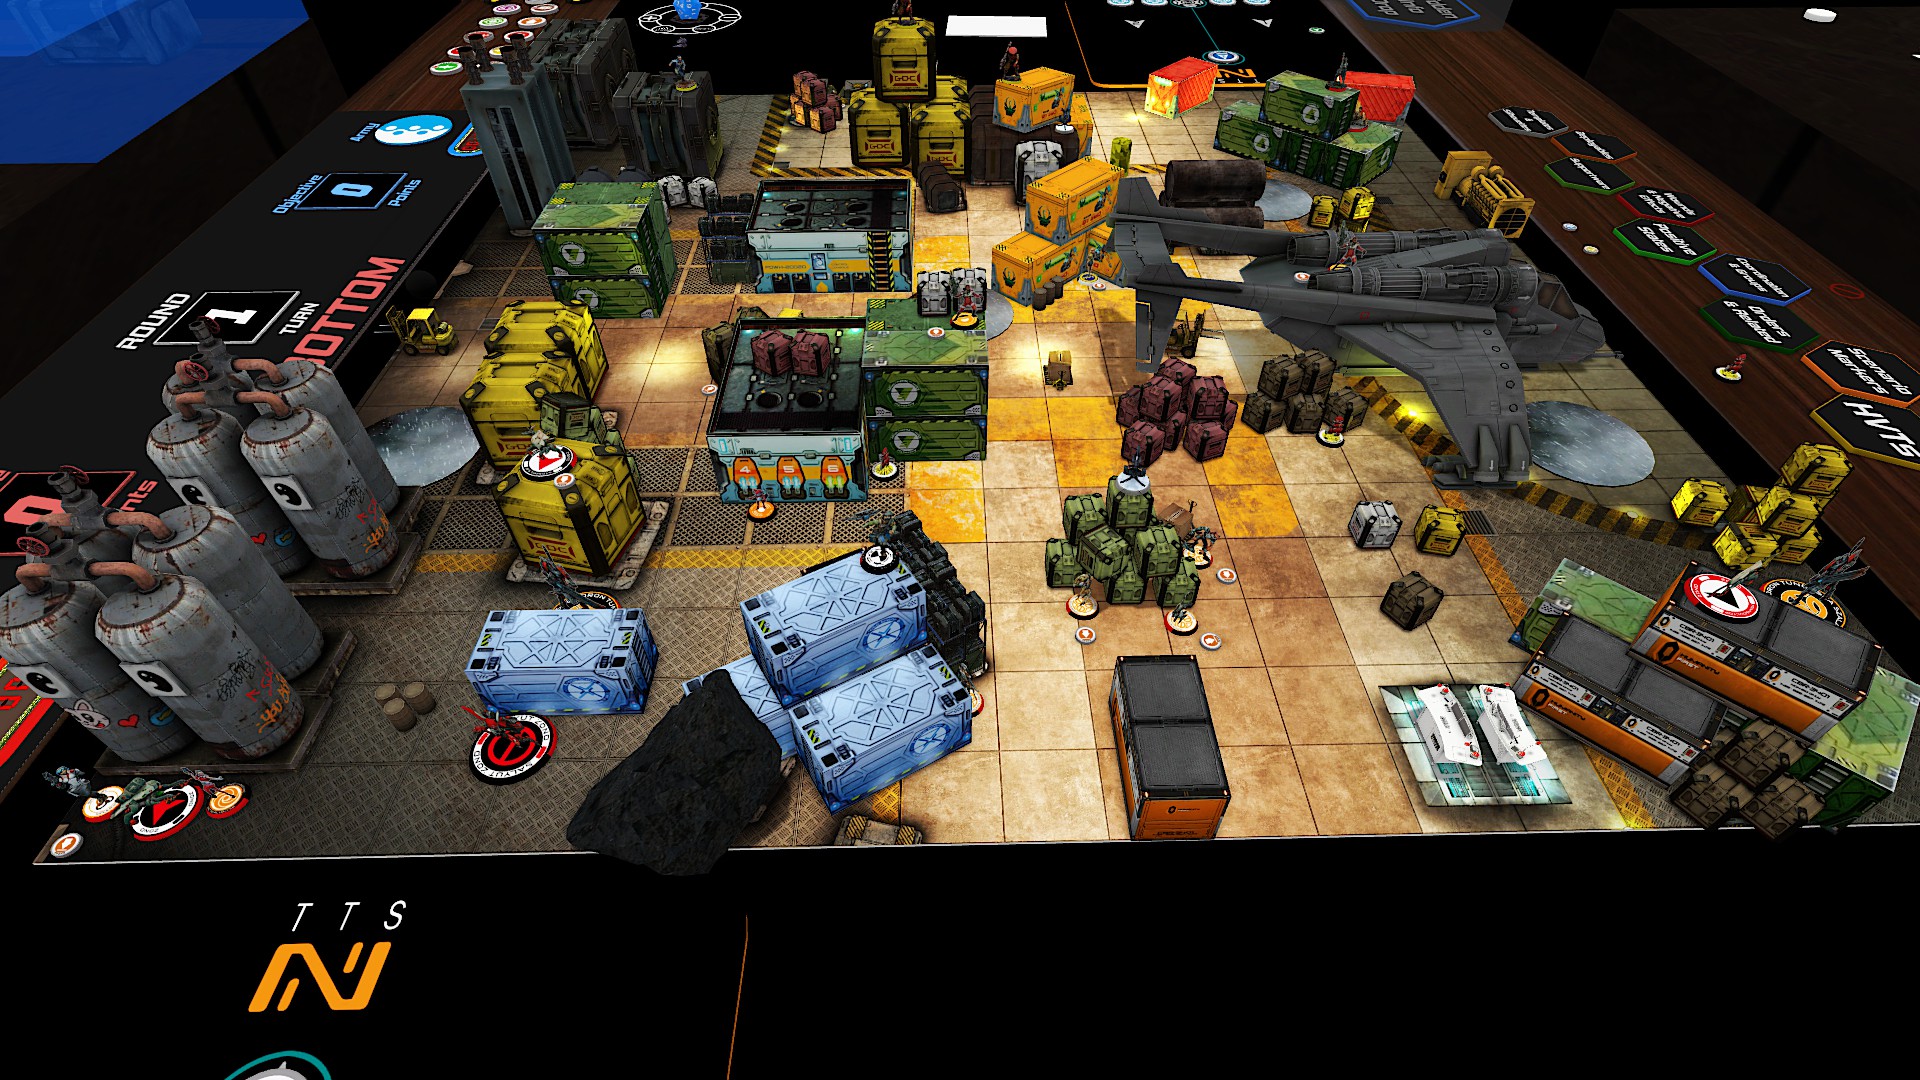
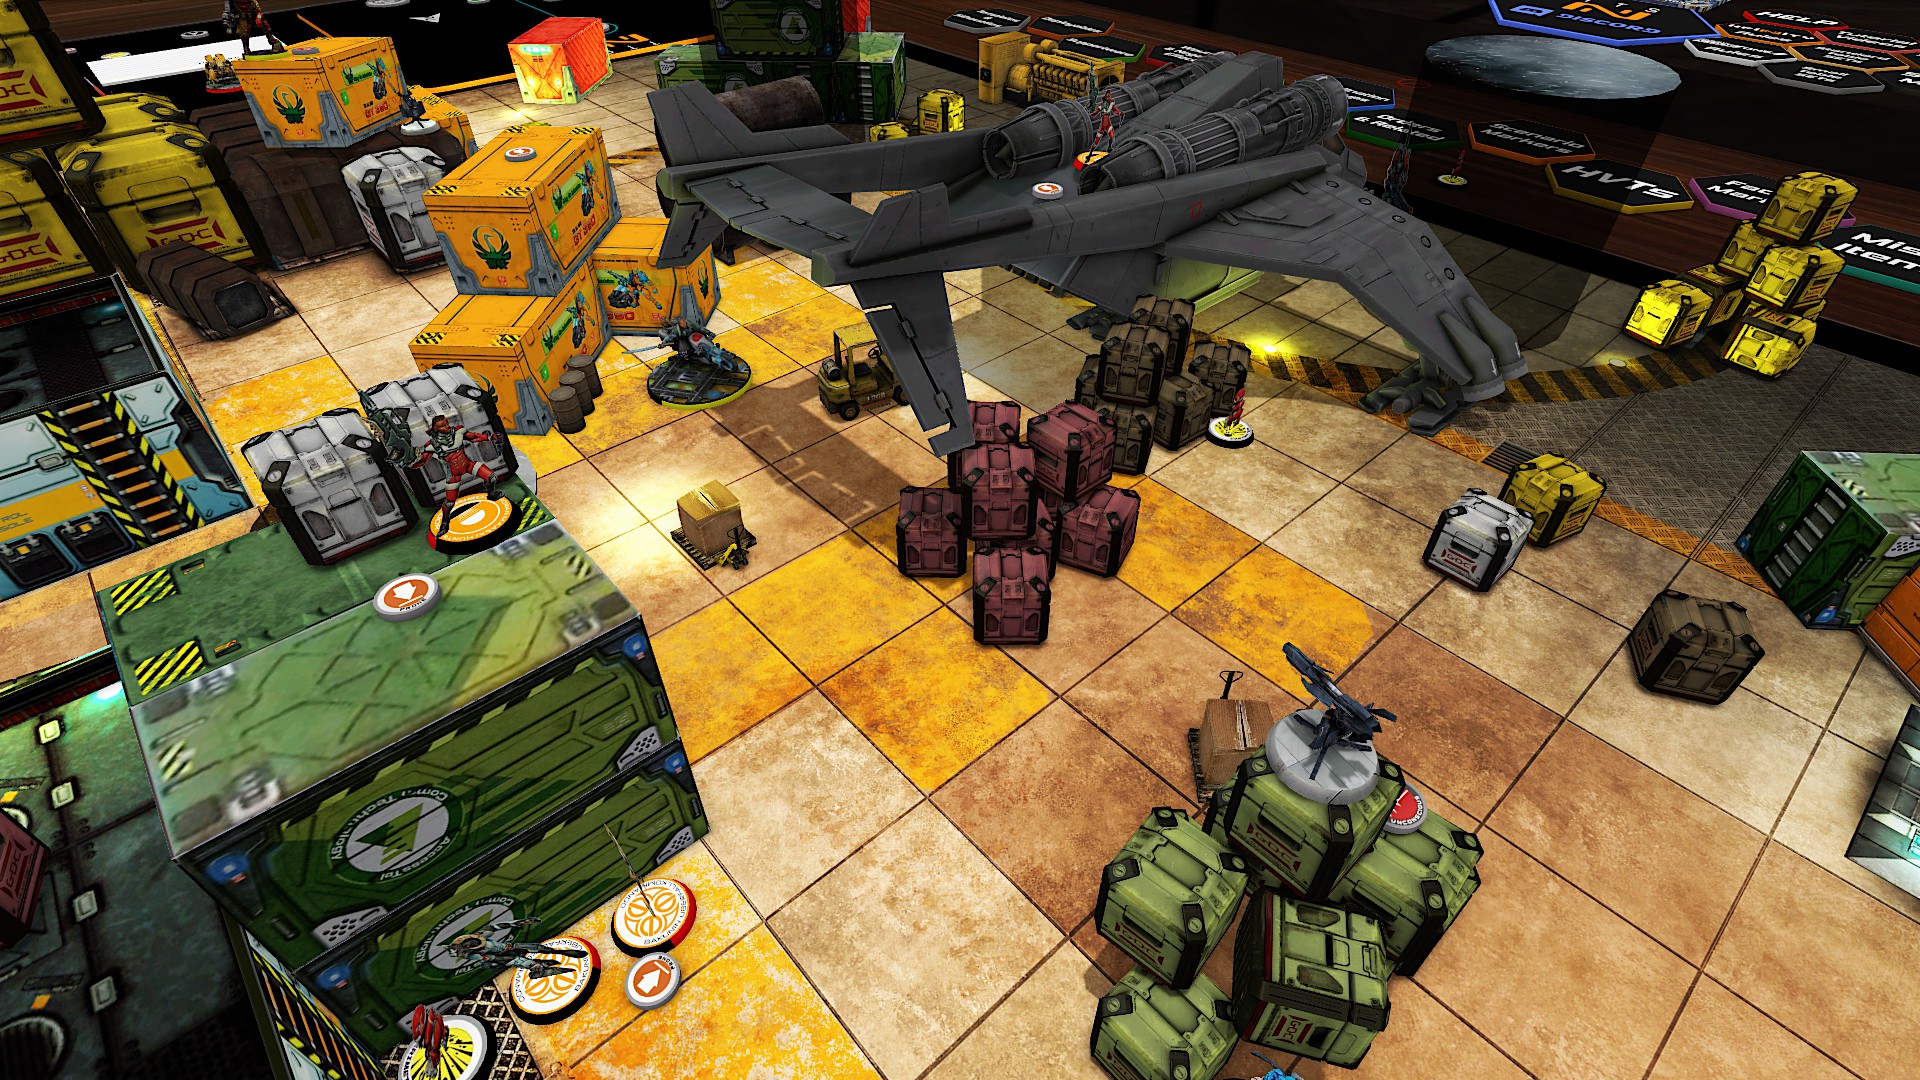
The Tanko haris took the highest possible positions to see the enemy TAGs. The Keisotsu link set up to cover the left TAG and a long firelane to the right. This left both Szalamandra’s with two missile launchers looking at them. Yojimbo took cover on the right and Shinobu infiltrated near the right TAG.
The HRMCs and Missile Launchers let loose massive volleys. When the smoke cleared after many orders, both Tankos were unconscious and the Keisotsu was a fine mist. For their sacrifice, they put one TAG unconscious and two wounds on the other. The Uberfallkommando moved up to take cover behind the central building. Jazz tried unsuccessfully to land a pitcher up the field.

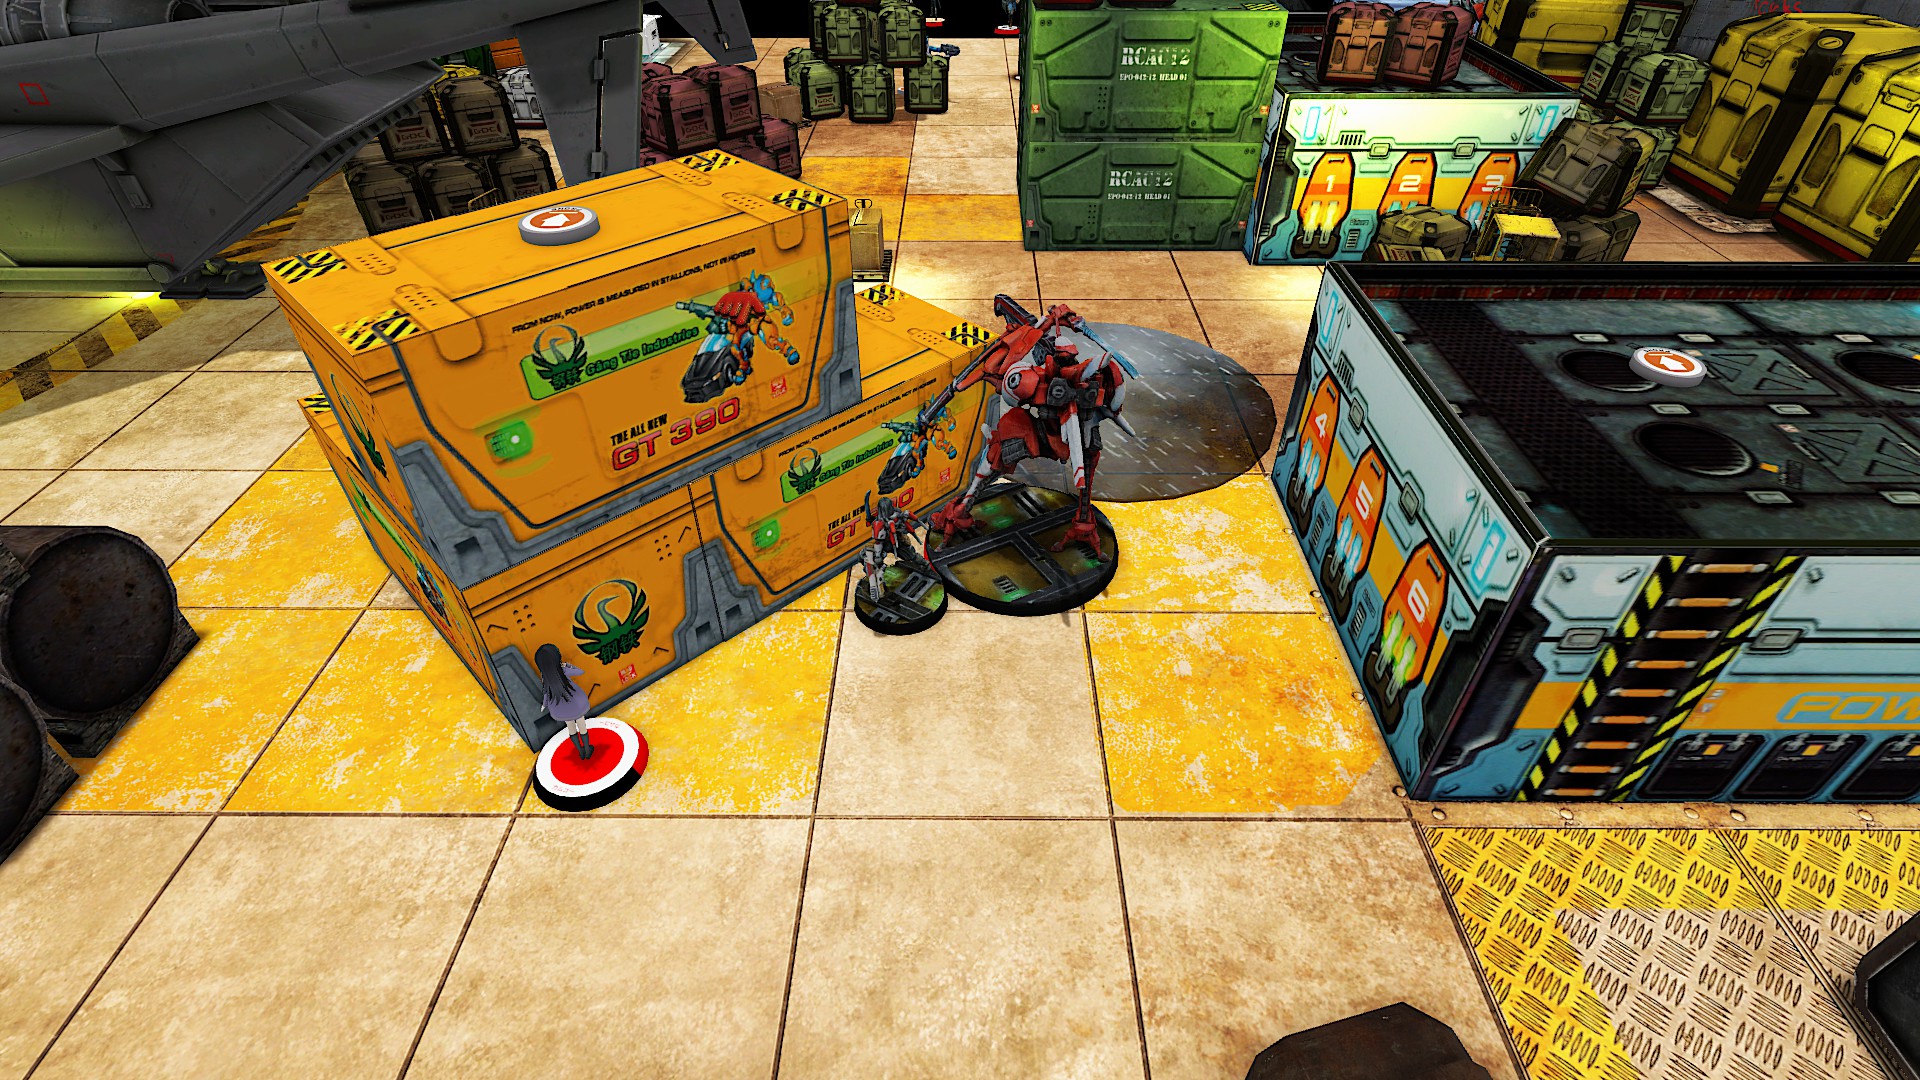
The O-Yoroi peaked out of cover on each side to kill the Turret and Warcor. Yojimbo pushed forward along the right side and succeeded in throwing smoke to prevent a long range flash pulse from the Transductor. He pushed on and failed to kill the nearby designated target at range. With the last orders in his group, Yojimbo launched smoke near the unconscious Szalamandra and hid as best he could. Shinobu appeared and moved forward through the smoke. The nearby Stempler failed its discover roll. After exiting through the side of the smoke, Shinobu landed her own smoke grenade to touch the Salyut which failed to dodge. Jazz managed to Spotlight while the others dodged to turn.
The EVO hacker was killed in CC. With the remote out of the way, Shinobu was able to slide along the box and kill the Chimera with her Combi from over 8 inches. With three orders left, she moved back into the smoke, intuitive attacked to put the missile bot unconscious, and moved in to kill Jazz in close combat.
The Moderator lieutenant fired at Shinobu rolled high and went unconscious to the return shots. The Stempler turned and had better luck, dropping Shinobu on the second try. The unconscious TAG pilot ejected to save and took cover near Billy. The other TAG moved forward killing a Chaiyi and Warcor before firing on a Designated Target. The Target took one hit after dodging and passed the armor save to fail guts around the corner. The Morans deployed additional Crazykoalas.
Everyone but Yuriko moved to group one. The O-Yoroi moved over in cover and fired at the Szalamandra twice. Only one shot got through but it was enough to put the enemy TAG unconscious. As he moved back into total cover, the O-Yoroi was able to remove the Stempler. Yojimbo moved up killed the nearest Designated Target in CC before placing a Crazykoala and retreating slightly. He took a wide arc toward the second Target to avoid hacking and enemy koalas. Smoke was thrown to cover the approach. Yojimbo killed his target in CC but ended stunned near the midfield on his last order.
My opponent started the turn low on orders and guns. The central Moran killed Yojimbo. The second pilot ejected from her downed TAG and moved into the blizzard while trying to force difficult angles if she was targeted. Unable to get to the JSA LT, models prepared to defend the pilots in hopes of saving points.
Yuriko moved into the main group. The O-Yoroi charged forward hoping to take out the left pilot. The TAG was stunned and wounded by AROs as it moved into the blizzard. Yuriko moved forward and was able to clear the stun. The killed the flashbot and Moran it could see before stepping out over cover to see the pilot. This put him into repeater range from the central Moran. My opponent and I discussed the options as I would have one more order after this to try for the kill. He decided to ARO with both pilots knowing that it could set off Yojimbo’s Crazykoala I hopes of only needing to get lucky once. The left pilot lost the face to face vs the TAG’s APHMG and went unconscious. The second pilot failed her hacking attempt and was killed by the koala.
This game was brutal. My opponent had a very unlucky first turn as it took far more orders than expected to clear my ARO pieces and he took a lot of damage in the process. Shinobu’s run mostly closed things out. The Chimera and friends would have been a big threat to the TAG with the speed increases but they never got the chance to really advance. My opponents list is was modified from another he likes to run. We discussed after and both felt that the double TAG approach probably wasnt worth what he had to give up even with the special SWC costs. I did not realize until my opponent sent me his list after the game that Szally was AVA 1. I think it was an honest mistake on both parts.
Battle Report Author

Army Lists Used In This Battle
Recommend Commander For Commendation
Share this battle with friends
MADman384Wins
