Fought At Gekidan Research Park: Yukimura Center
647 days 10 hours 18 minutes ago
Holding the Line
300 POINTSAleph has continued unprovoked attacks into the Research Park. While the Combined Army has made only light efforts, the true enemy seems to be the allegedly friendly AI who claims to provide security. After a recent run in with Yu Jing scouts, more elite forces were deployed to the front just in time to detect a fresh wave of "assistance".
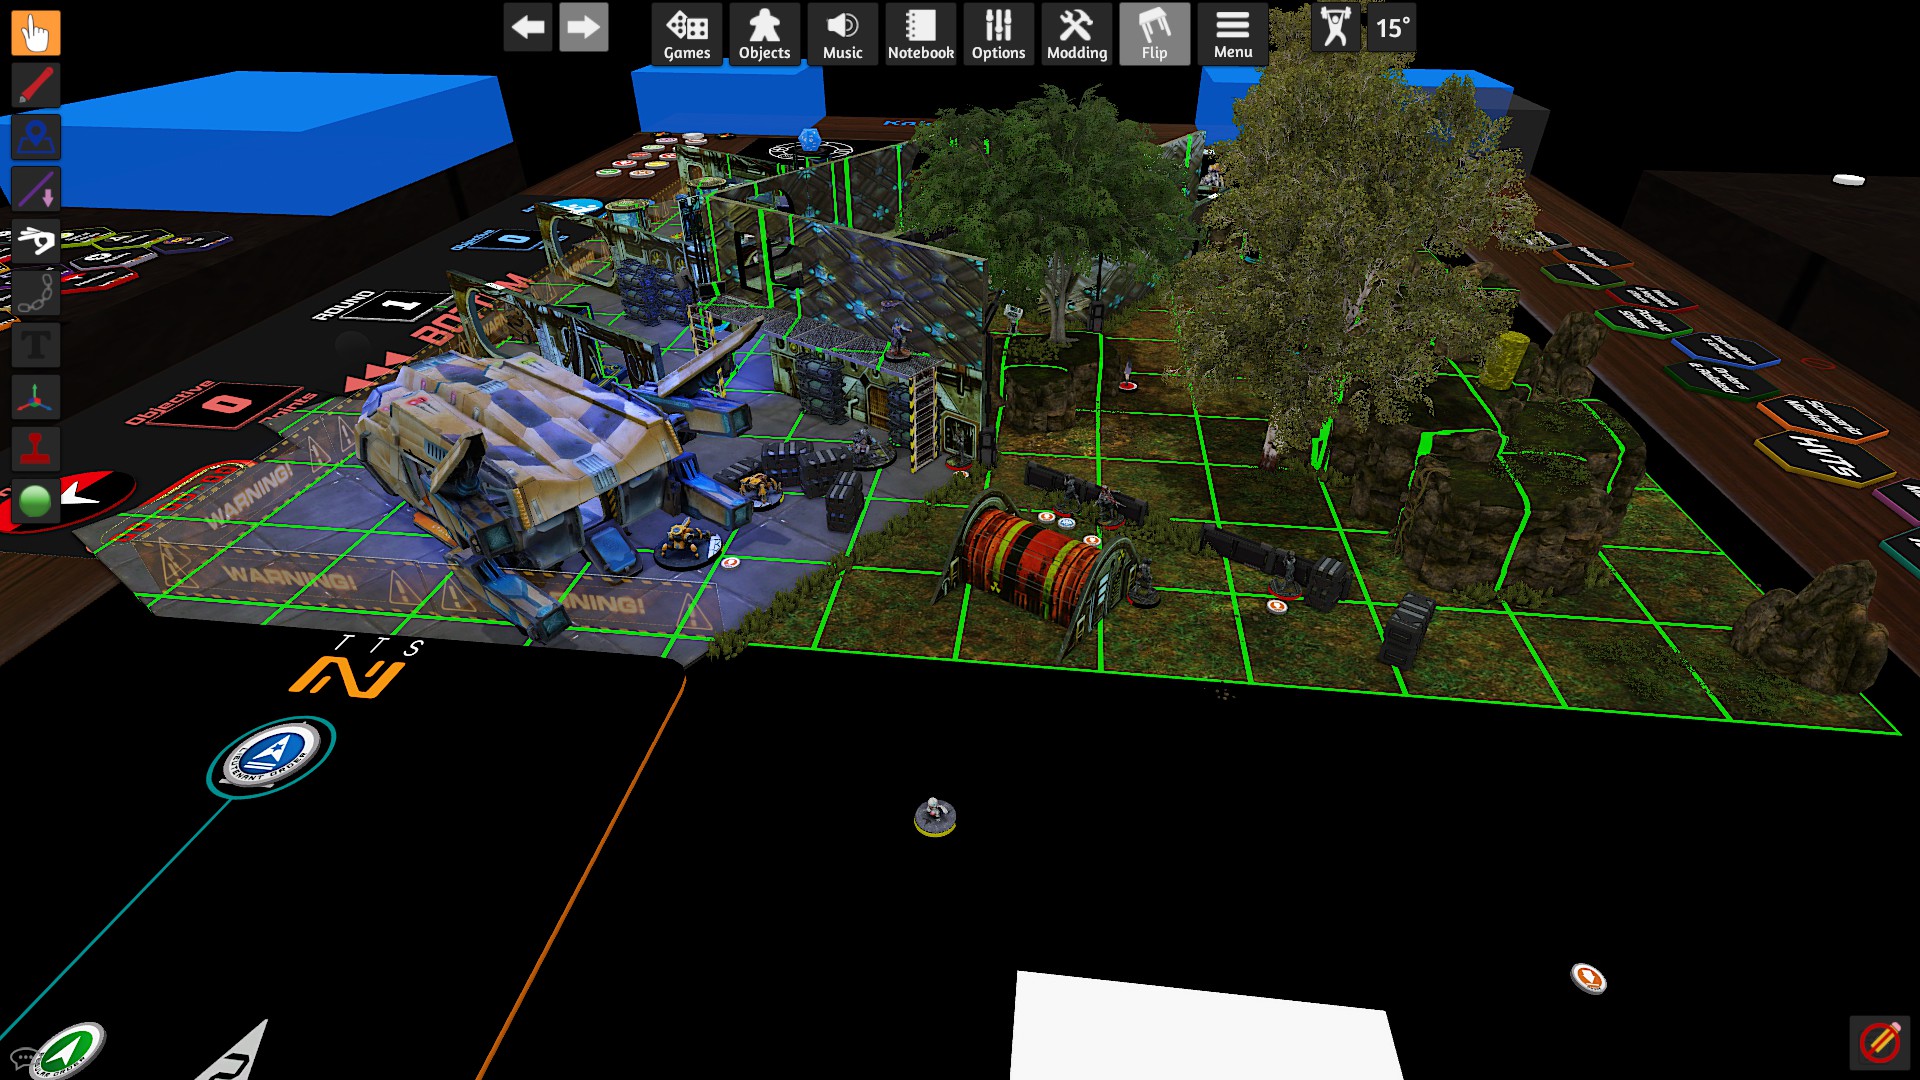
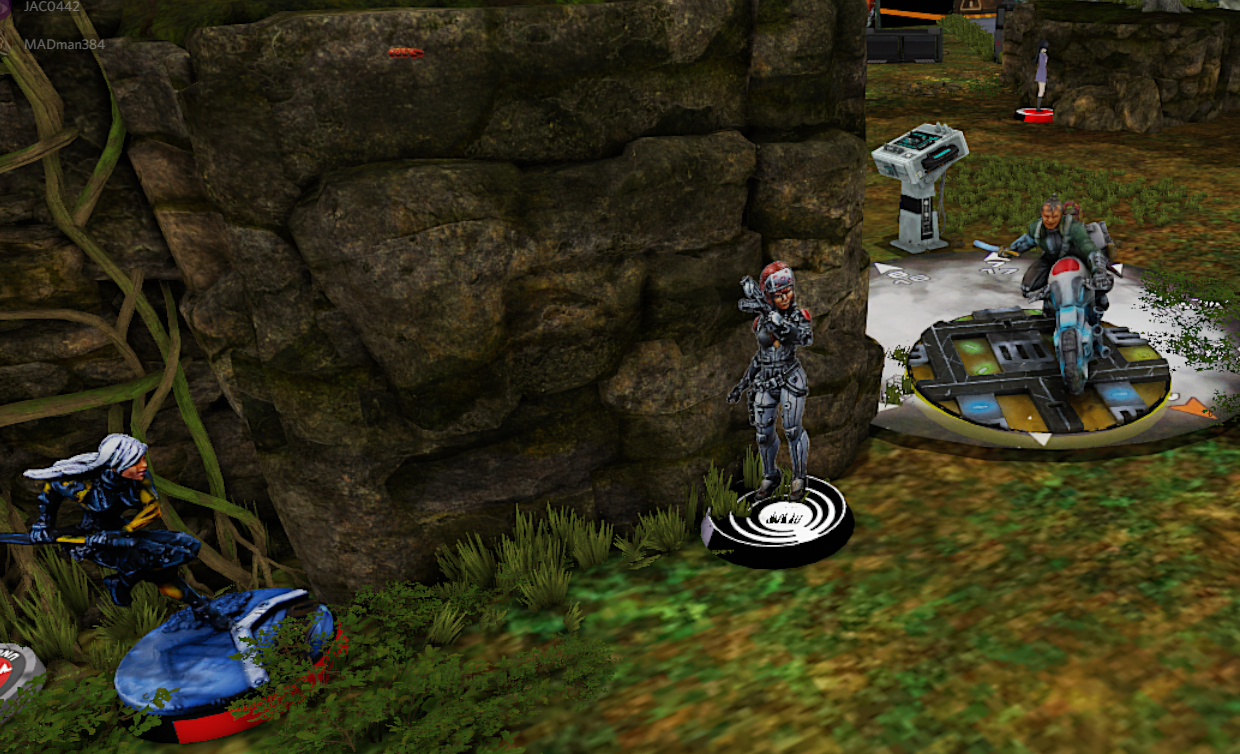
JSA won the LT roll and chose to take first turn. A haris of Karakuri Mk12, Yuriko Oda, and Oyama deployed along the left side terrain. Yojimbo setup in the middle of the table near a baggage bot. A Keisotsu ML in a full link covered long fire lanes on the right side. A Ryuken HRL setup to cover the approach lanes to our true Designated Target. Two models were held back. An Oniwaban and Shinobu would both successfully infiltrate to hidden deploy next to Aleph's left flank.
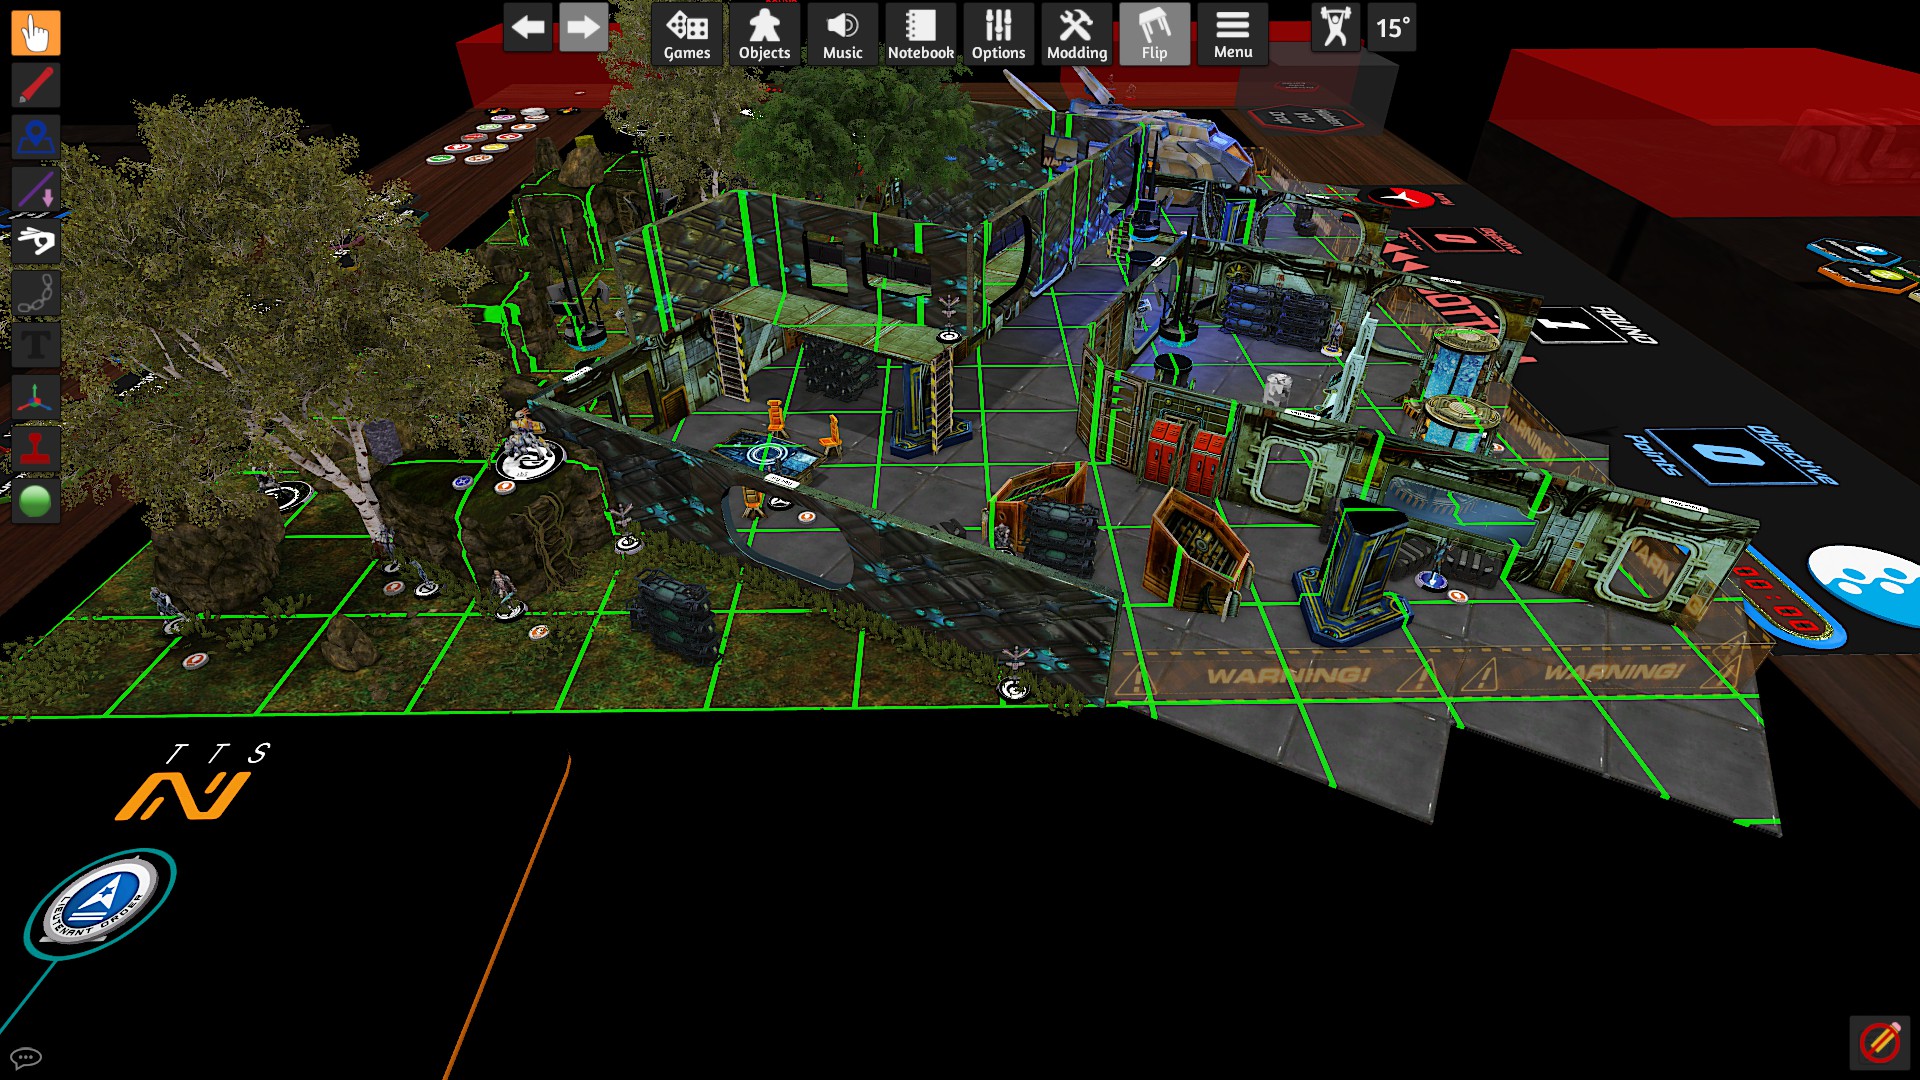
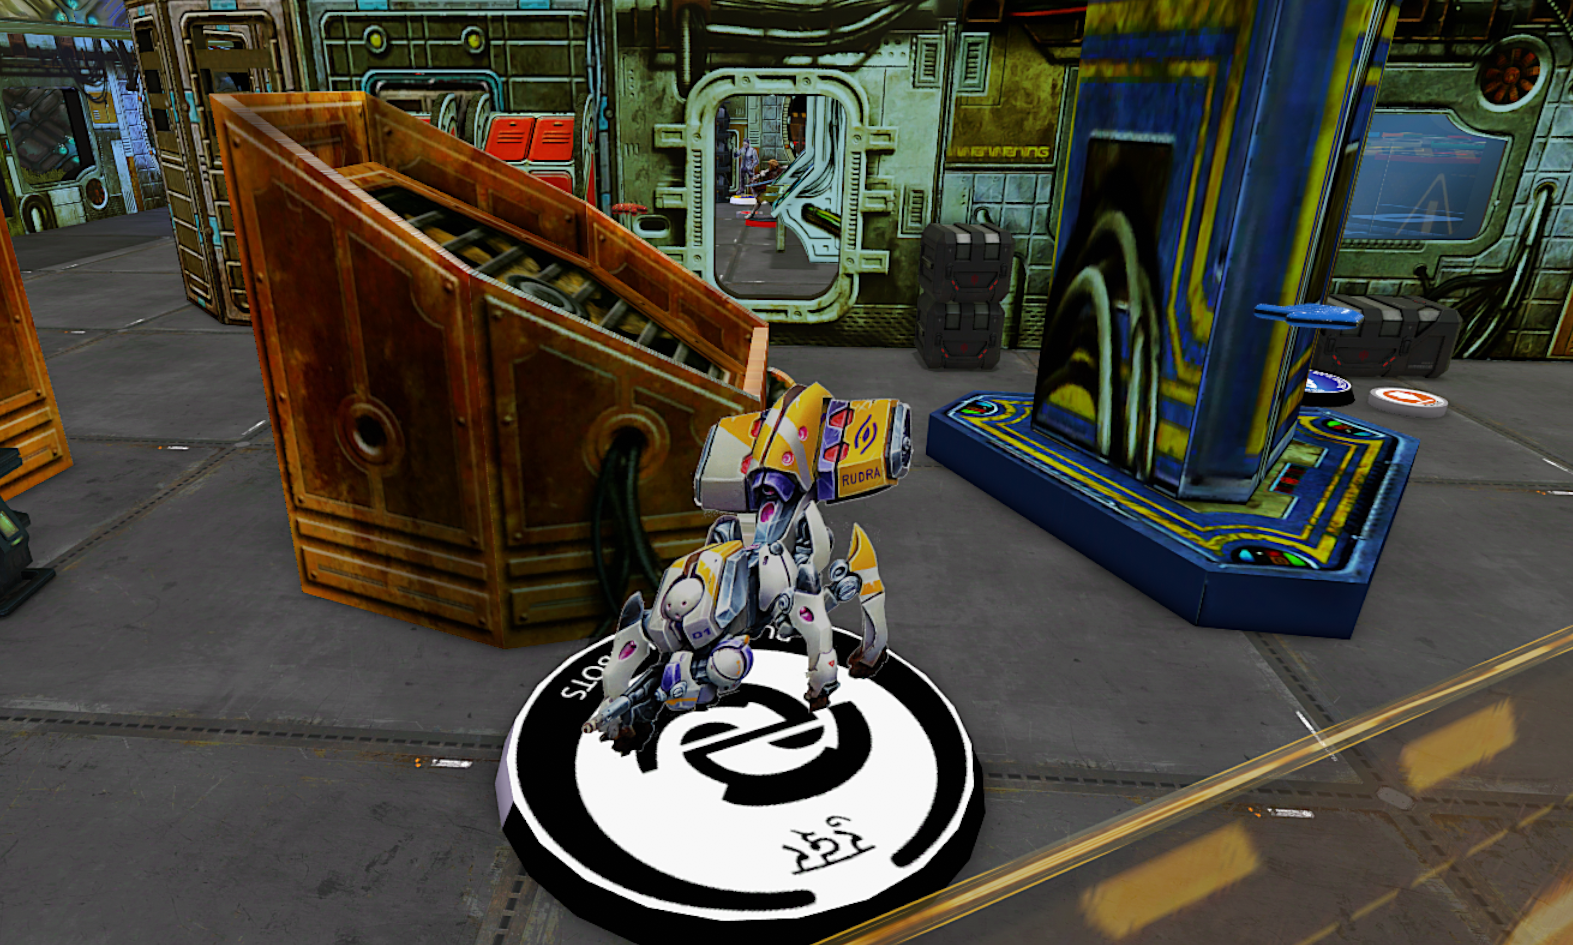
Aleph deployed heavily on his left side under cover from a Bounty Hunter sniper. A Shukra, Danavas, and Eudoros hugged cover safely out of view with a -6 mim camouflage marker slightly ahead. A Proxy Mk.5 and camouflaged Liberto guarded his right side. A Rudra K1 was held back and deployed on the hill prone behind the sniper.
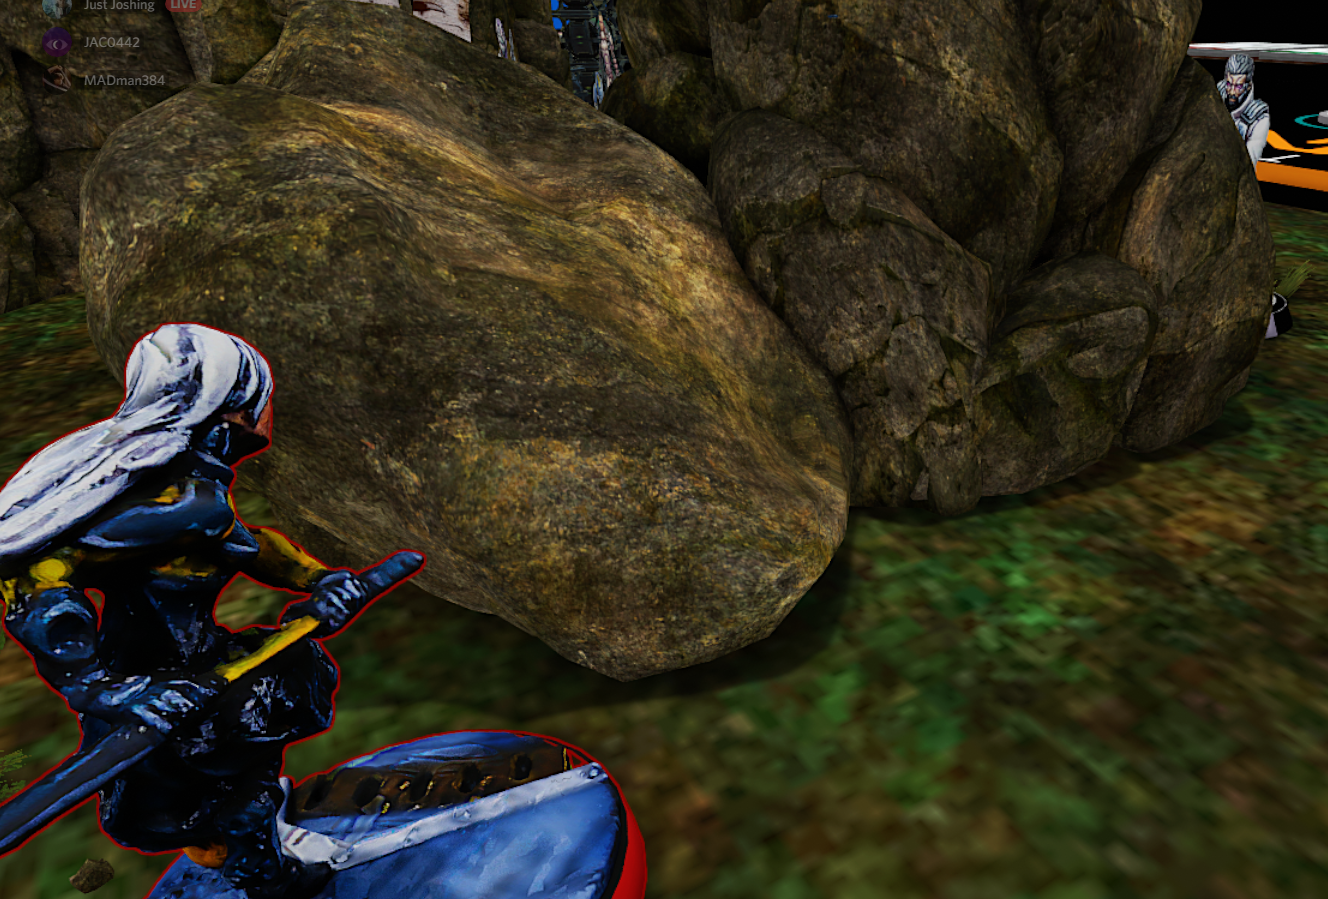
A -6 camouflage marker appeared just in front of the sniper and vaulted the nearby rock to move into her back arc. Several models successfully discovered while the marker moved prone to end out of all line of site in the Rudra’s back arc. The Oniwaban then proceeded to knock the remote unconscious and killed the bounty hunter in close combat.

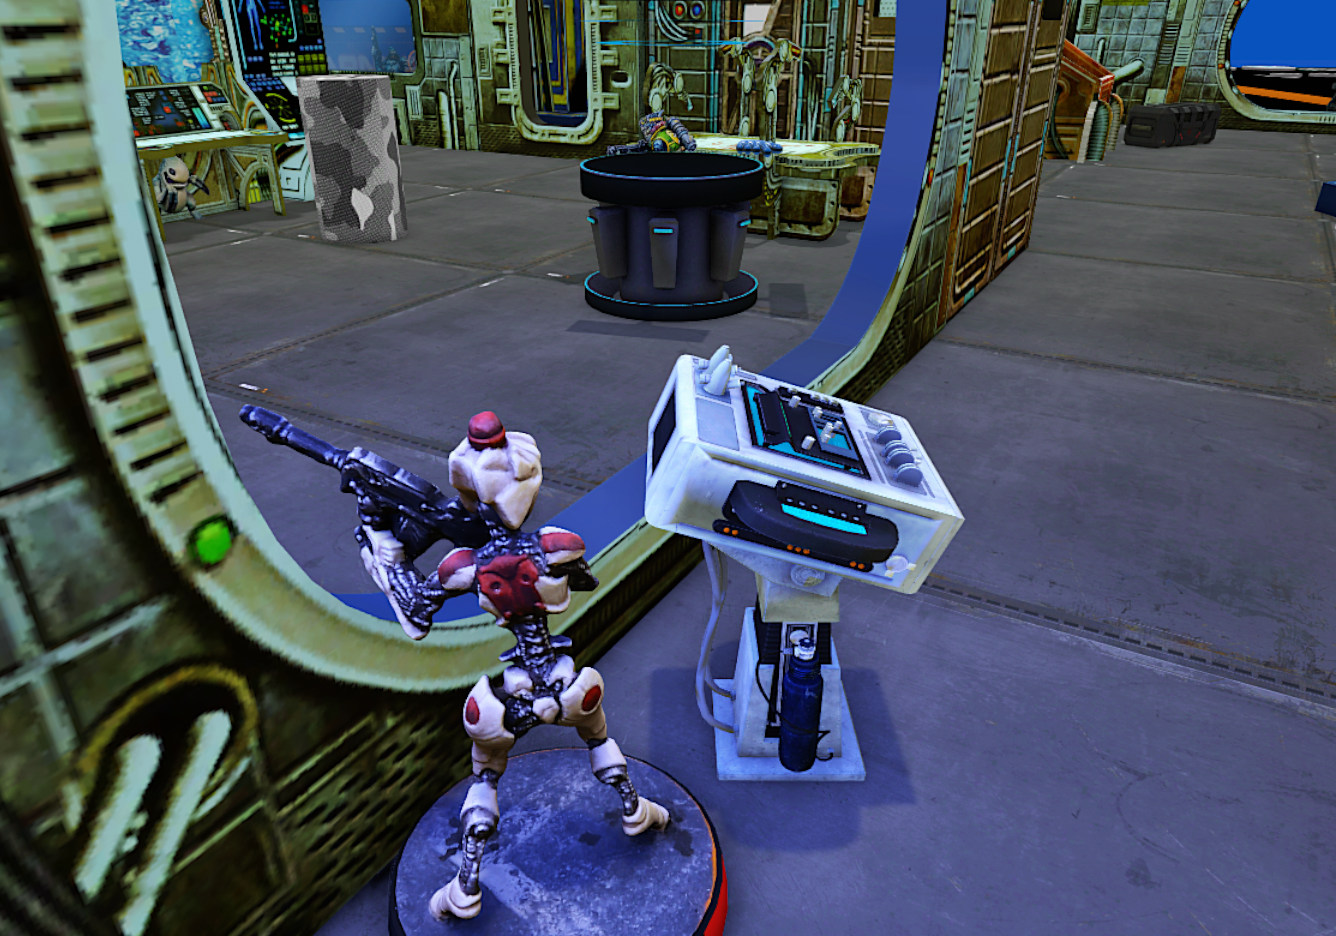
Yojimbo moved forward and made a loop back to his starting position while dropping his Crazykoalas into the Proxy's room. Shinobu revealed near the forward Probot and moved prone into melee. The bot fell to a double crit but exposed her to the Danavas when it died. Shinobu moved forward prone into cover and managed to kill the hacker with her Combi. The Shukra was able to dodge to peak around the corner. Shinobu moved in and successfully removed the chain of command model while tanking a shotgun template. Both infiltrators would reactivate camo in a coordinated order. With few orders remaining, the haris moved forward slightly and the Karakuri setup for ARO duty.
Eudoros moved and threw smoke to block the Keisotsu’s view of the -6 camo marker. The camo marker moved forward to end next to an Aleph HVT. The Liberto survived removing both Crazykoalas. The Thorakite Engineer moved his Yudbot into base with the Rudra. The Oniwaban broke camo to dodge into base when the Rudra was revived. Eudoros moved back and climbed the hill to get into melee with the Oniwaban. The Oniwaban was killed but Eudoros fell to a two hits from the Keisotsu ML on his way in.

The haris advanced and Karakuri took an unsuccessful shot at the Myrmidon. She moved forward again and successfully identified the Designated Target before failing to kill the Liberto.
With the Target revealed nearest to Shinobu, she moved forward to engage the target in close combat. Shinobu killed the Designated Target but fell to a template from the revealed Proxy Mk.2.

Yojimbo dedicated all of his orders to cross the board and kill the Proxy Mk.2 in close combat under cover of smoke.
The haris continued forward with the Karakuri eventually killing the Liberto and Oyama removing the Proxy Mk.5 in close combat.
My opponent was in loss of lieutenant . The Engineer cleared the isolated condition on the Rudra through his Yudbot. The Rudra took shots of Yojimbo while moving back off the hill but only inflicted one wound. The remote moved around behind the room now occupied by the Karakuri and Oyama. The Karakuri only took one wound but Oyama was knocked unconscious in the following firefight.
The Karakuri ran to the remaining two consoles with just enough orders to flip both. Yuriko carefully moved into the room to avoid the Rudra and was able to kill the nearby fake target. Yojimbo chained smoke to the last fake target to kill him in close combat. With his last order he bravely charged the Rudra while firing his contender but was unable to wound the remote.

Battle Report Author

Army Lists Used In This Battle
Recommend Commander For Commendation
Share this battle with friends
MADman384Wins

Had the pleasure of watching this in person. Well fought the both of you.
Excellent report! Sounds like a pretty brutal game if your opponent didnt get a last turn.
Very nice victory!
Ooof, Aleph got destroyed!
Great writeup and a nice TTS setup
Good job on the win MAD