Fought At Gekidan Research Park: Itokawa Site
637 days 4 hours 59 minutes ago
A Kiel-Saan and Yojimbo walk into a bar
View Linked Report - CLICK HERE 300 POINTS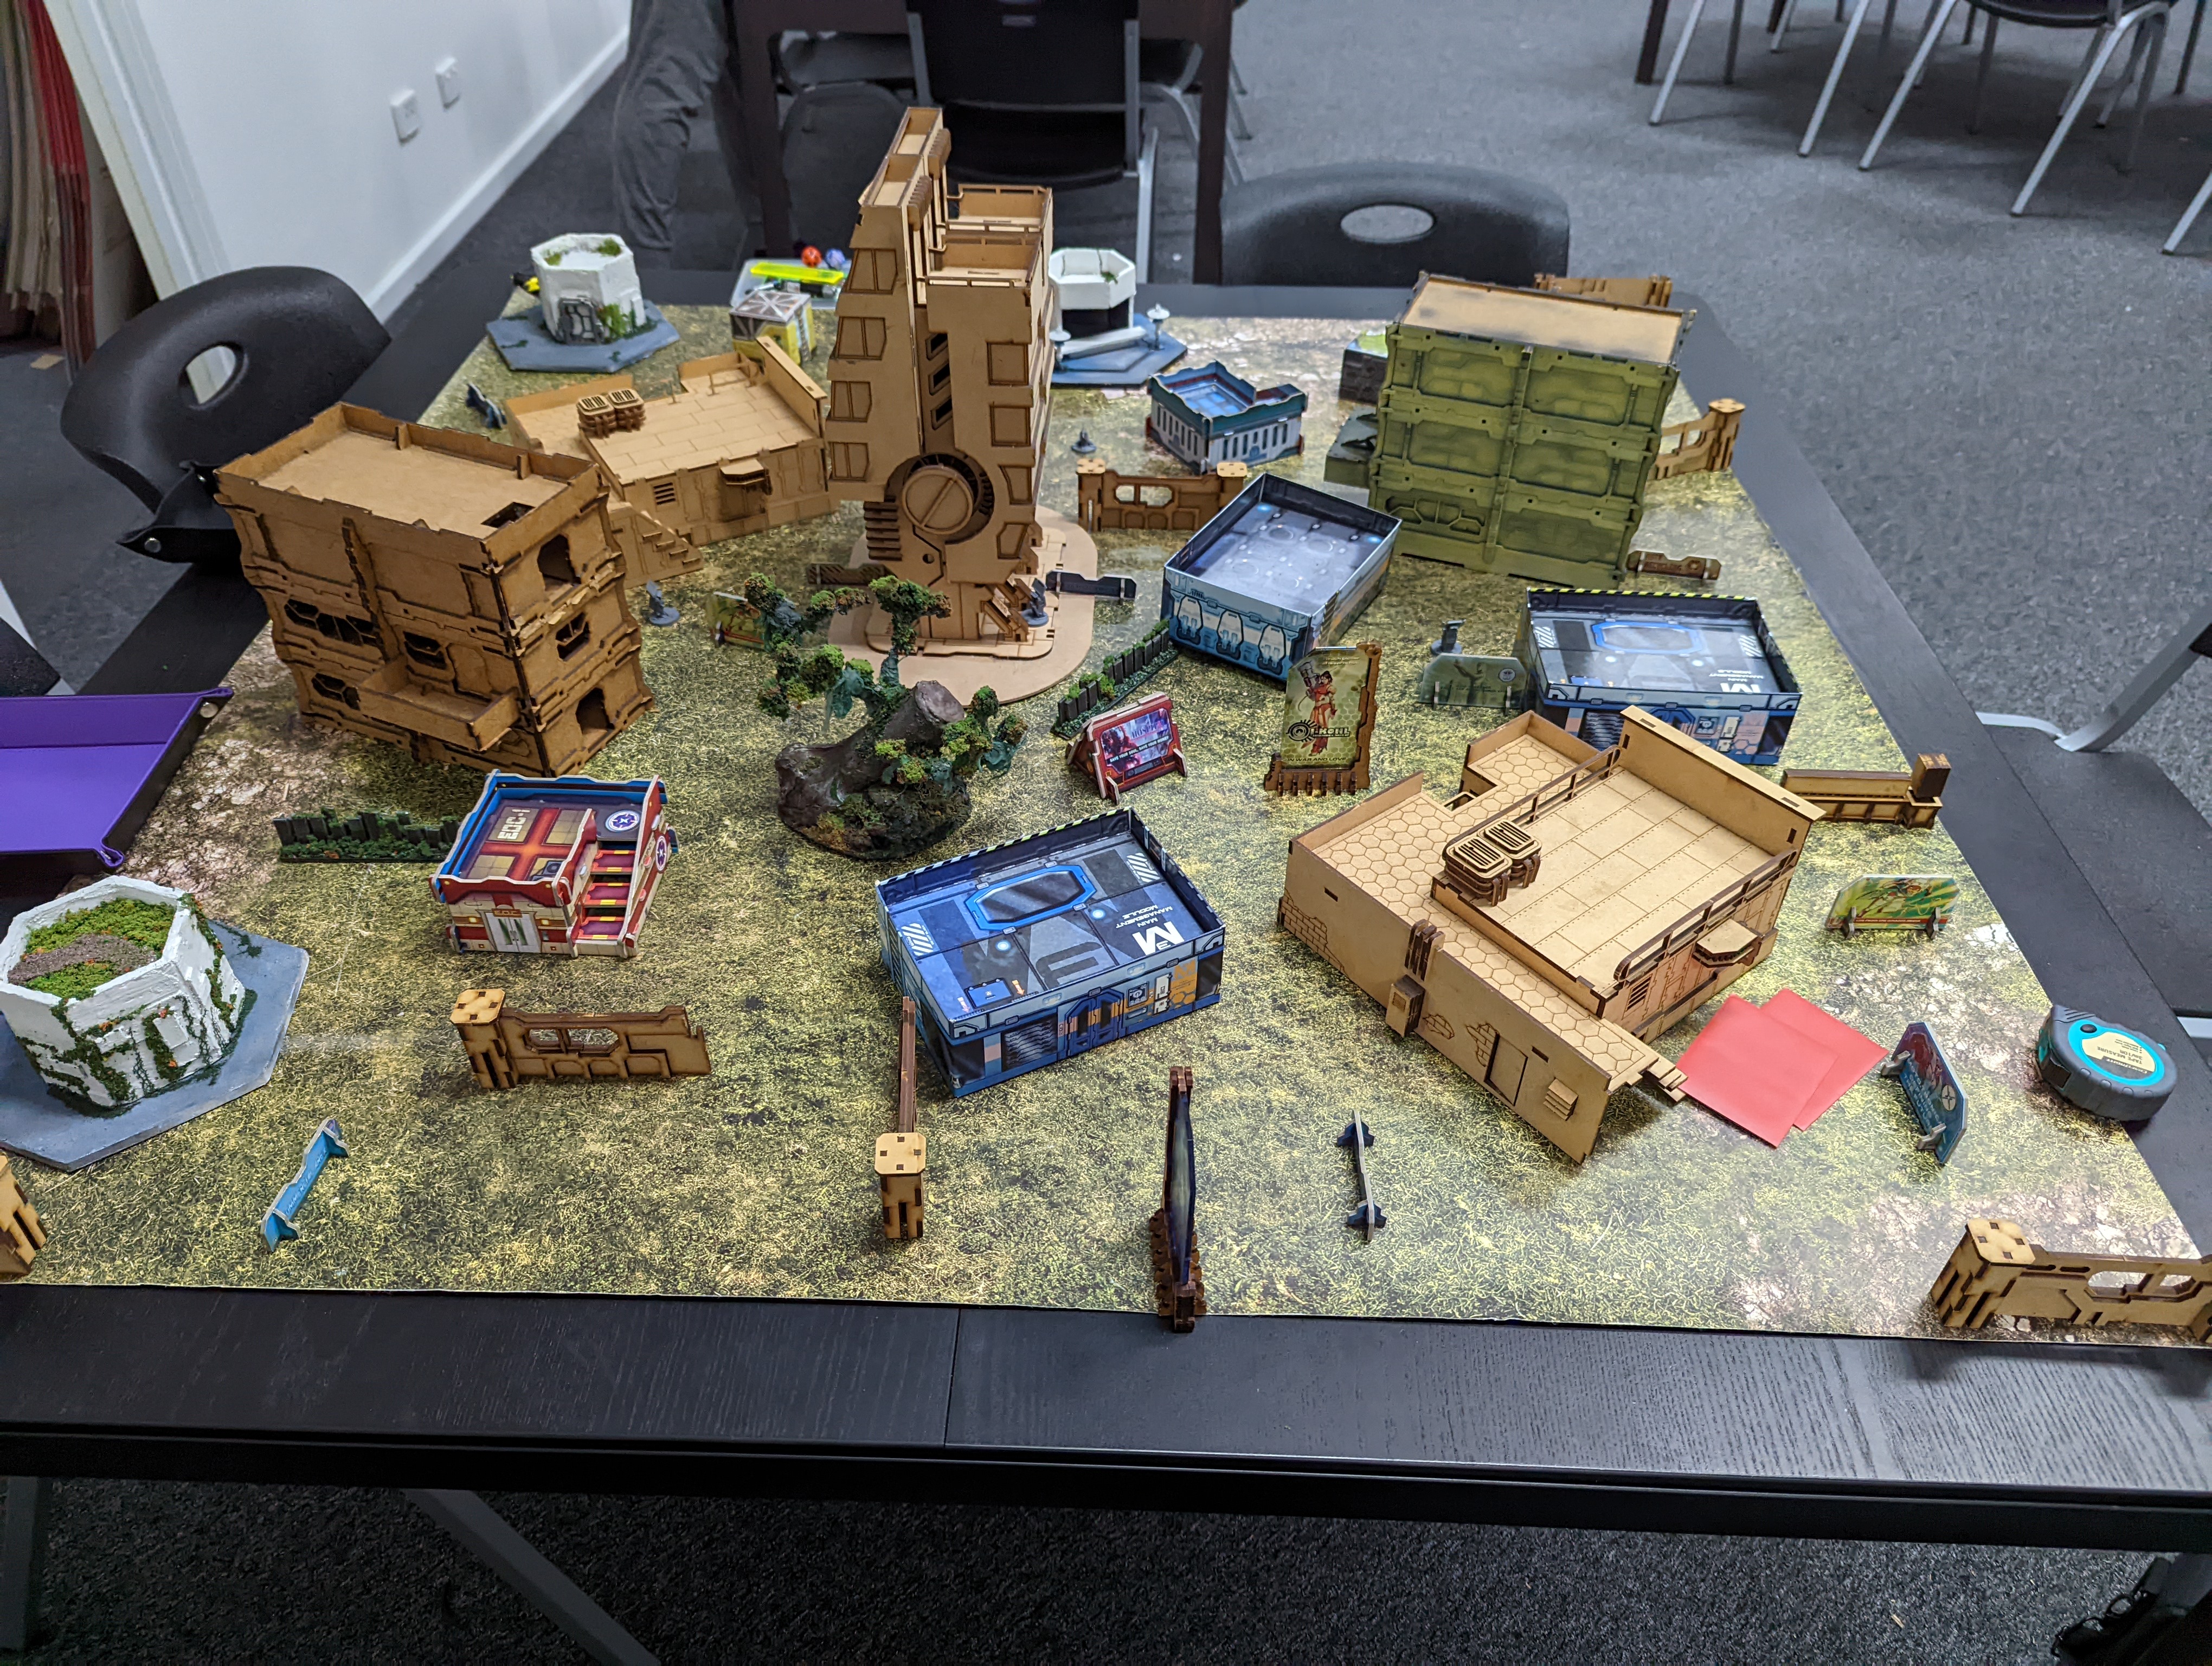
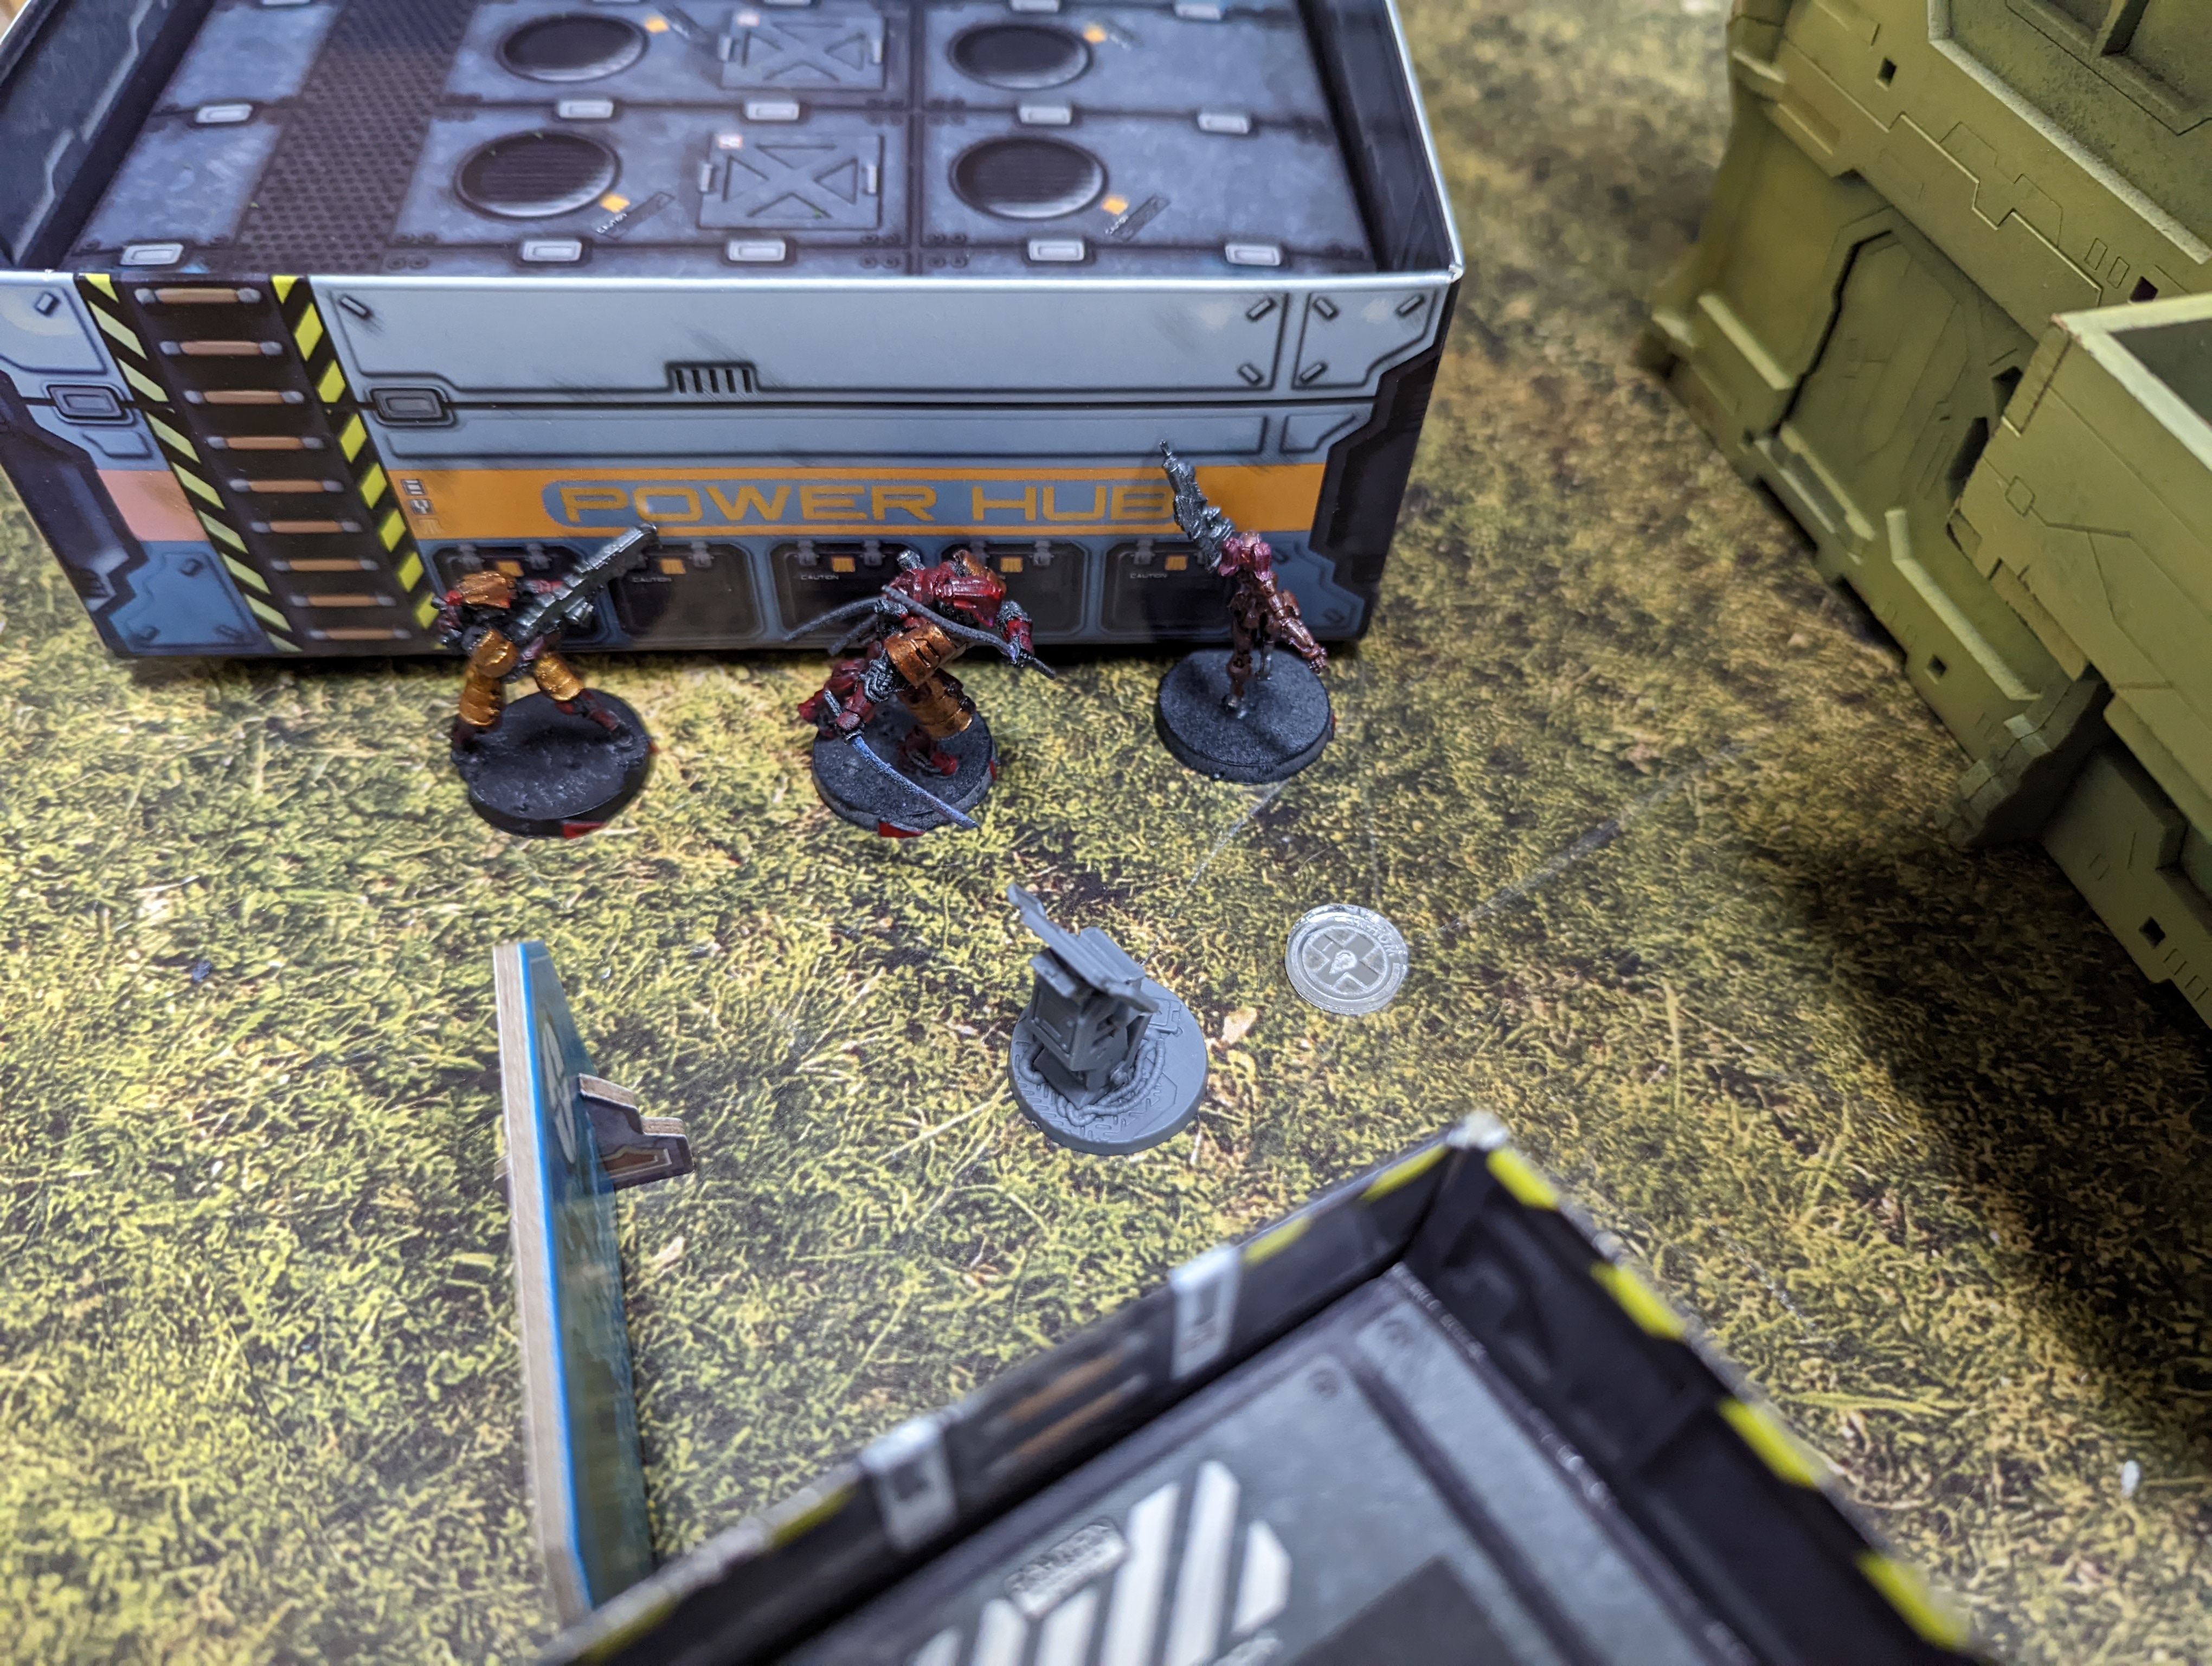
Fresh off their leave, and riding the high of a battle well fought against the EI, the Japanese militia in charge of the defence of the Gekidan Research Park caught the whiff of something on the air. Something primal, something - *sniff* - Phero. The Tohaa had breached the outer defences of the site and made their way further into the park. The Tohaa dug in and waited the perfect moment to strike back at the home team.

Turn 1 - JSA
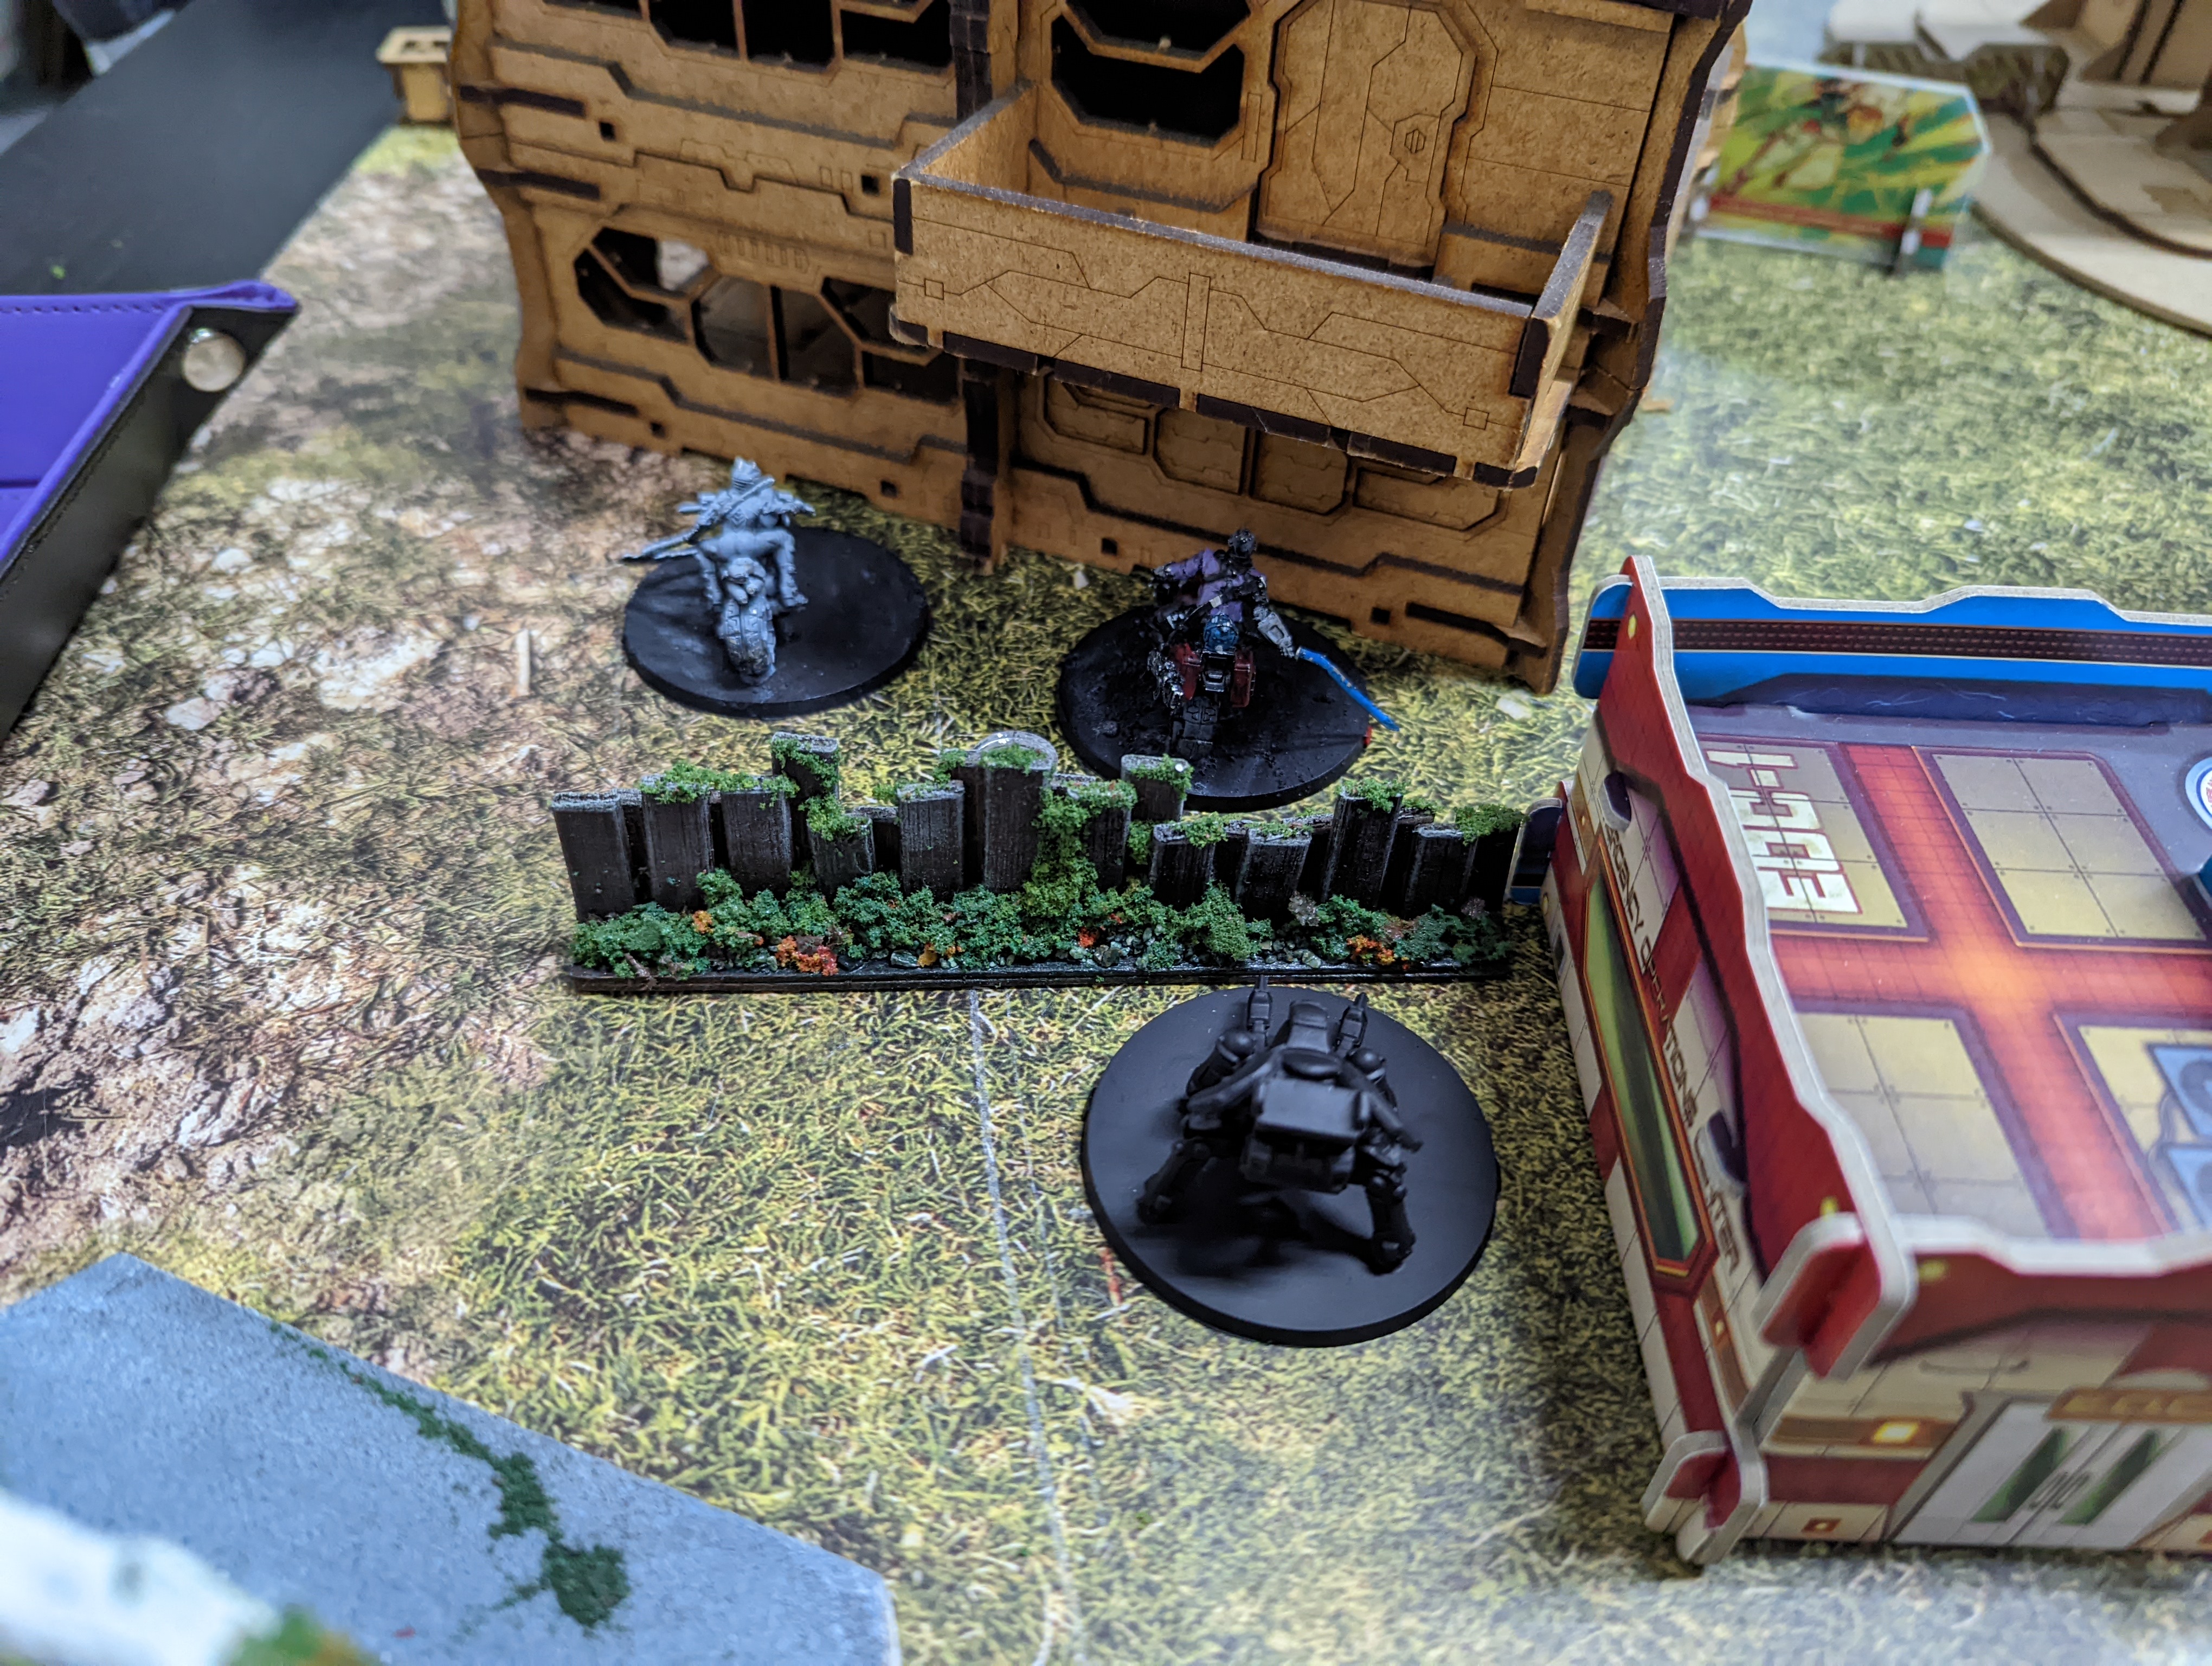
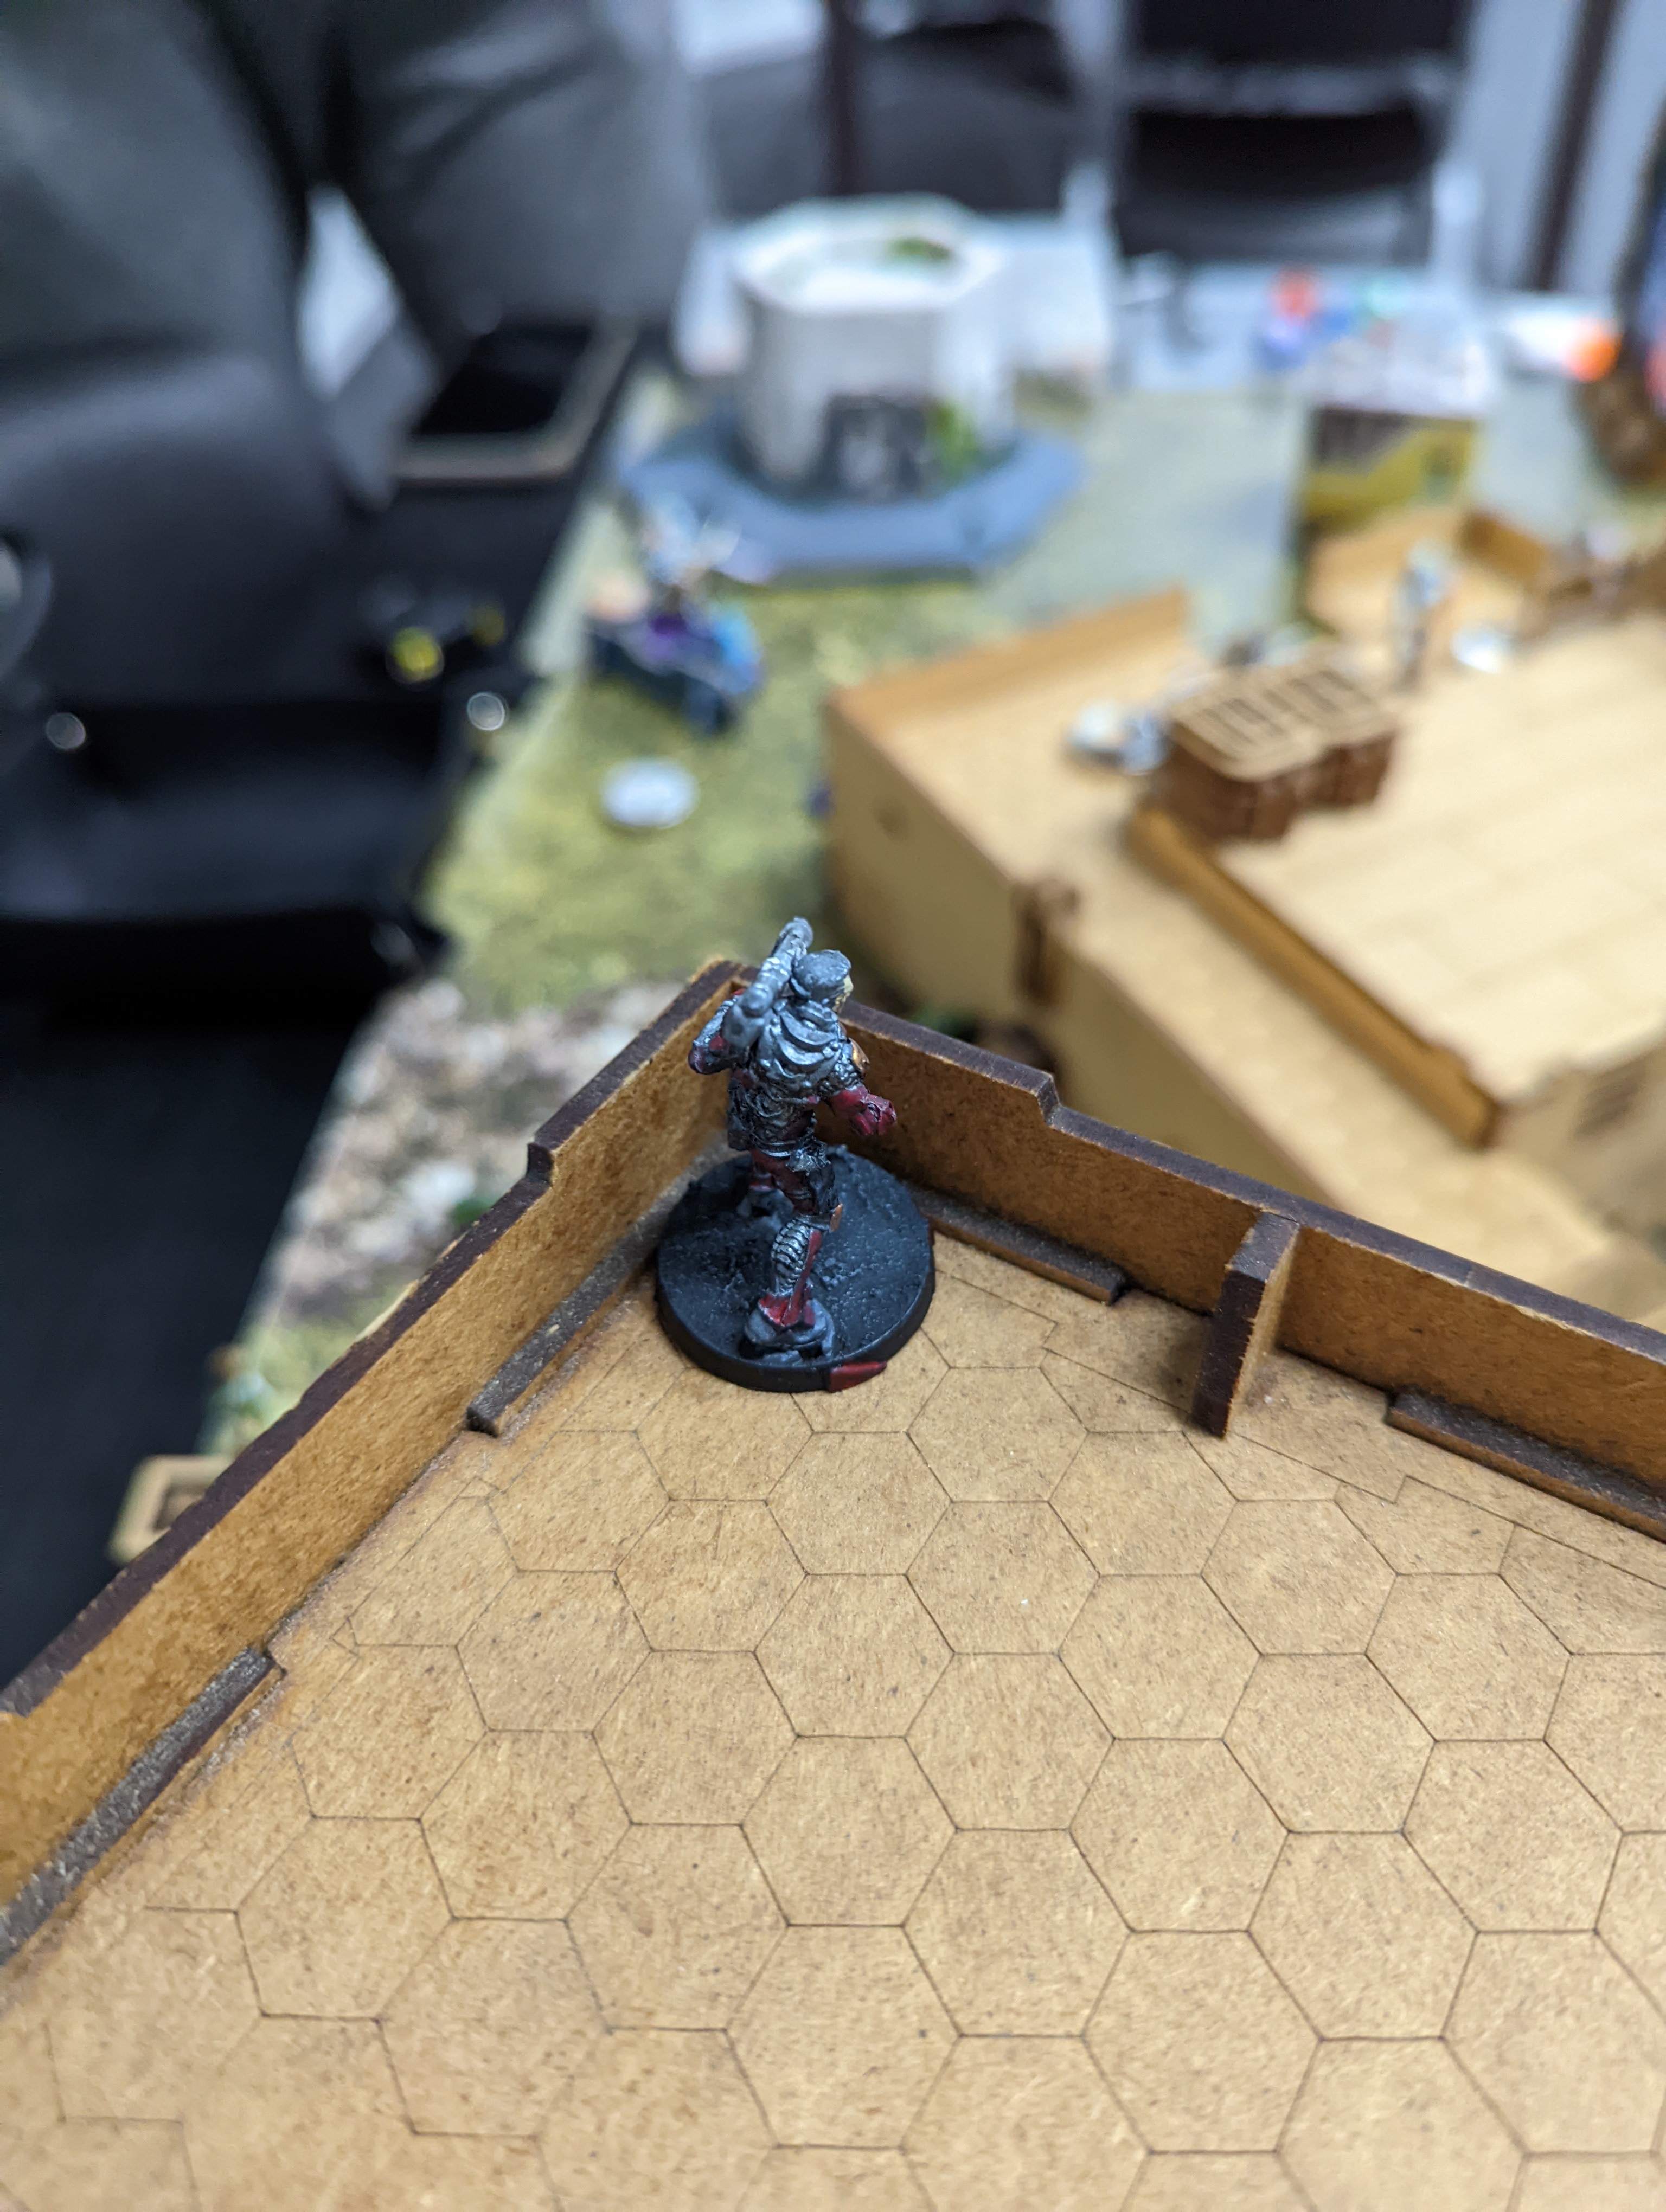
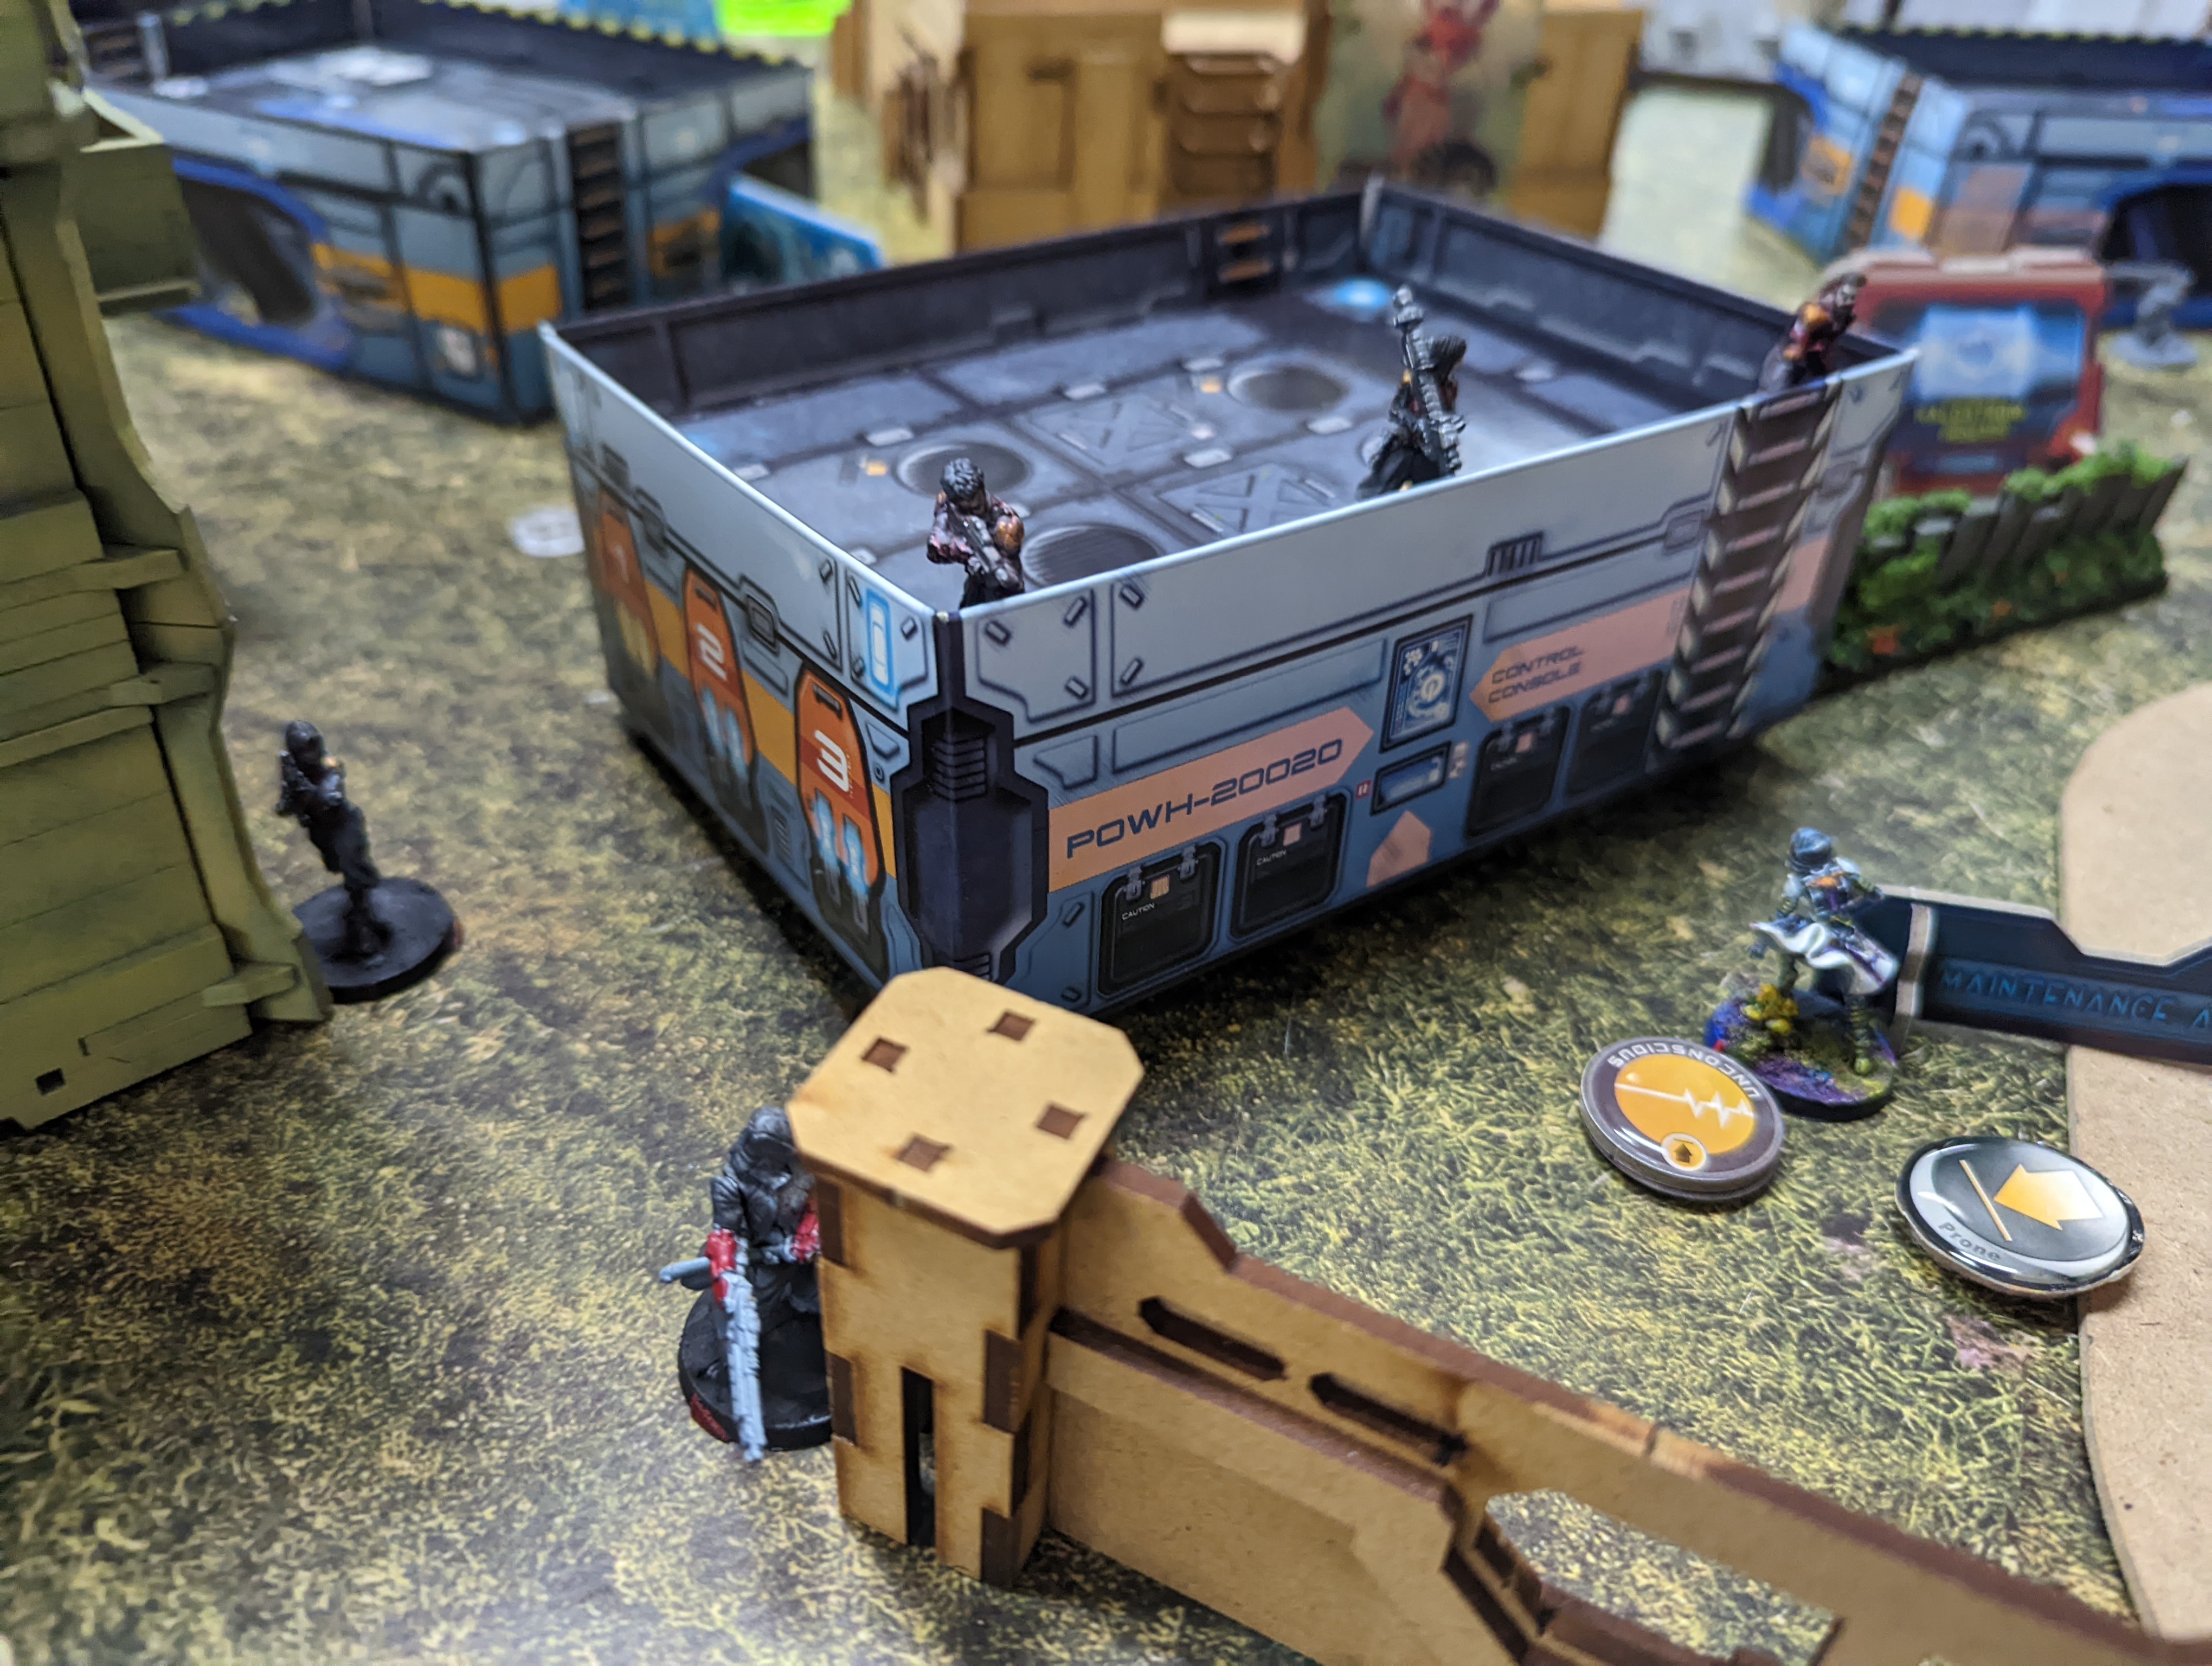
Kuroshi rounds the corner, targeting the enemy HVT and moving to activate the first antenna, attempting to prevent . The Ryuken spends some time shooting at the Tohaa forces, providing little in the way of hits but achieving the main goal, forcing the Tohaa to spend their symbiomates. He eventually settles in a position covering most of the Tohaa deployment. The Rui Shi moves forward and settles into suppressive fire, aiming to halt the Tohaa Advance. Yojimbo threatens a Triad by placing a crazykoala and settles behind a corner, providing an overwatching smoke grenade if required.
Turn 1 - Tohaa
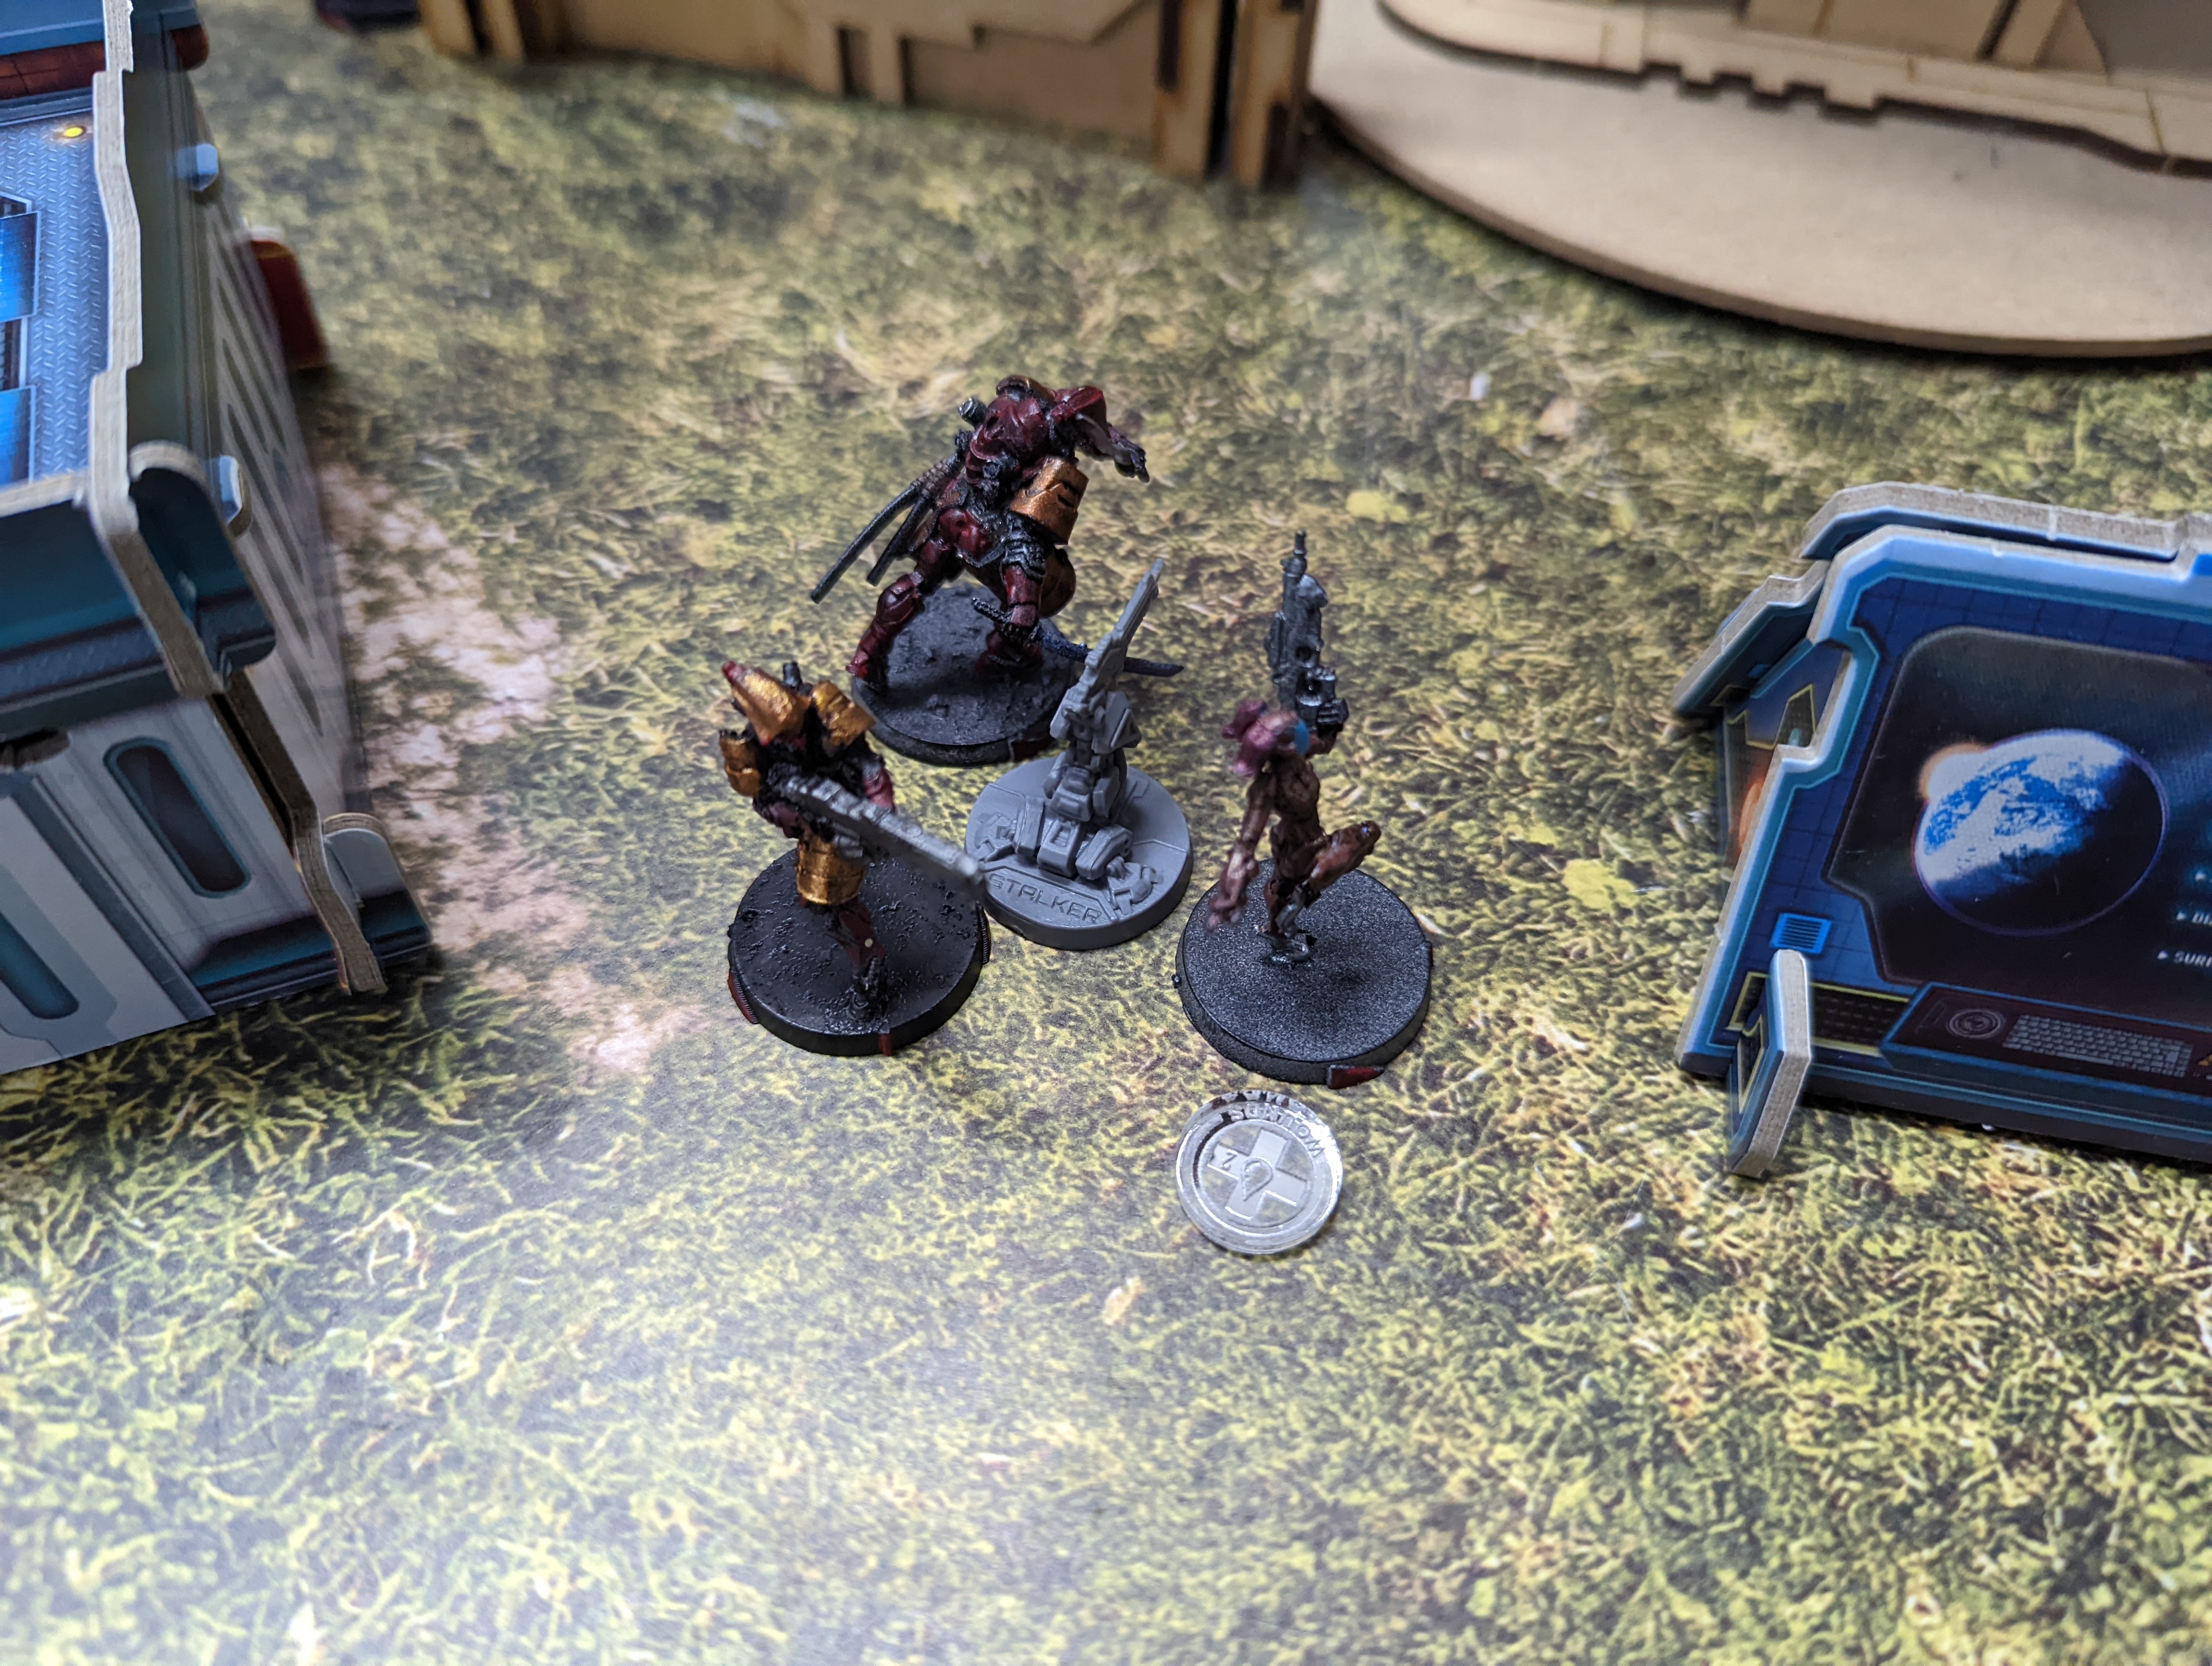
The puzzle of the Ryuken and Yojimbo proved very difficult to solve. The Kiel-Saan stood, Yomjimbo pops a smoke and rolls it out in front of himself, but the Ryuken manages to critically wound the Kiel Saan, forcing to fall back prone to lick it's wounds. A triad activates, causing the crazykoala to detonate, and Yojimbo reacts by placing another. The Tohaa forces did manage to gain some ground on the other side of the park under cover of some buildings.
Turn 2 - JSA
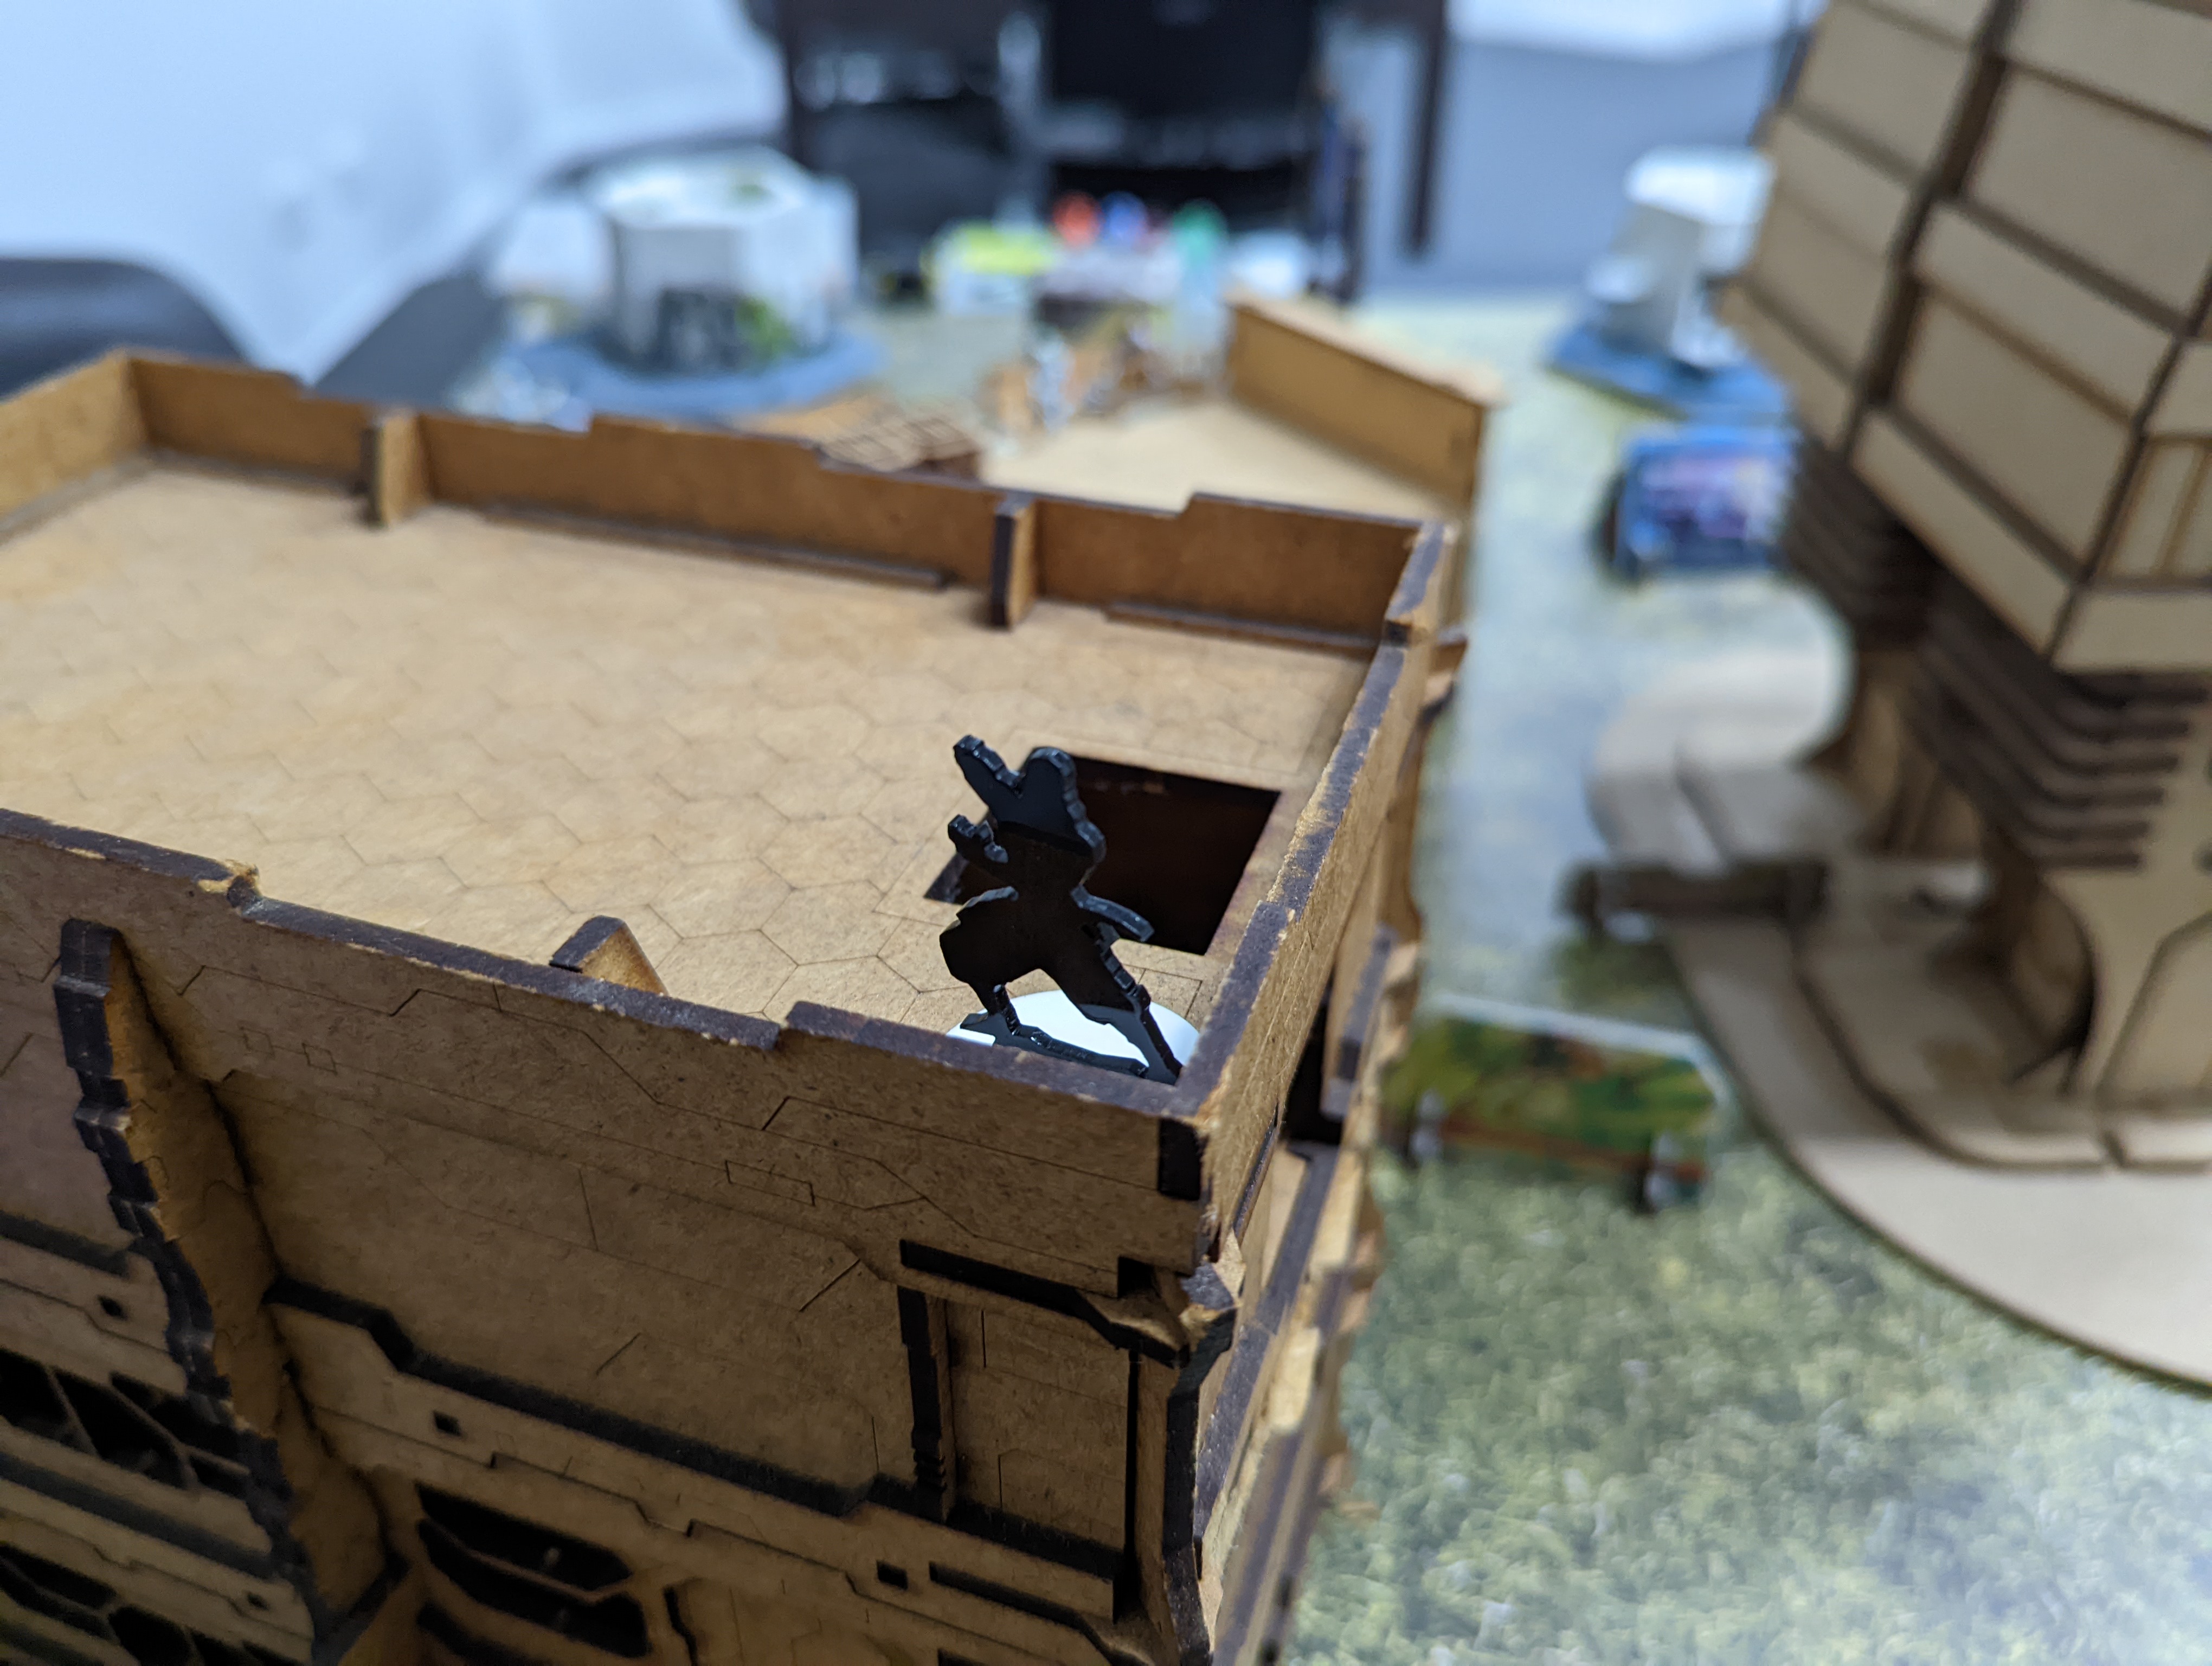
First, the missile launcher activates, picking off few units that have left out in the open. This provides the karakuri with some cover to move forward and pick off a diplomatic delegate. Then kuroshi activates swinging round to move towards the next antenna and smoke it out. She then moves into contact with the antenna, and secures it away from the prying hands of the Tohaas forces. A liberto dodges into engagement with kuroshi, ending any plans for her to move forward. The EVO hacker places a supportware on the Rui Shi, allowing it to move forward shoot the Kiel Saan with maximum effectiveness. The Kiel Saan is forced to shed his Symbioarmour and falls prone, avoiding any more shots.
Turn 2 - Tohaa
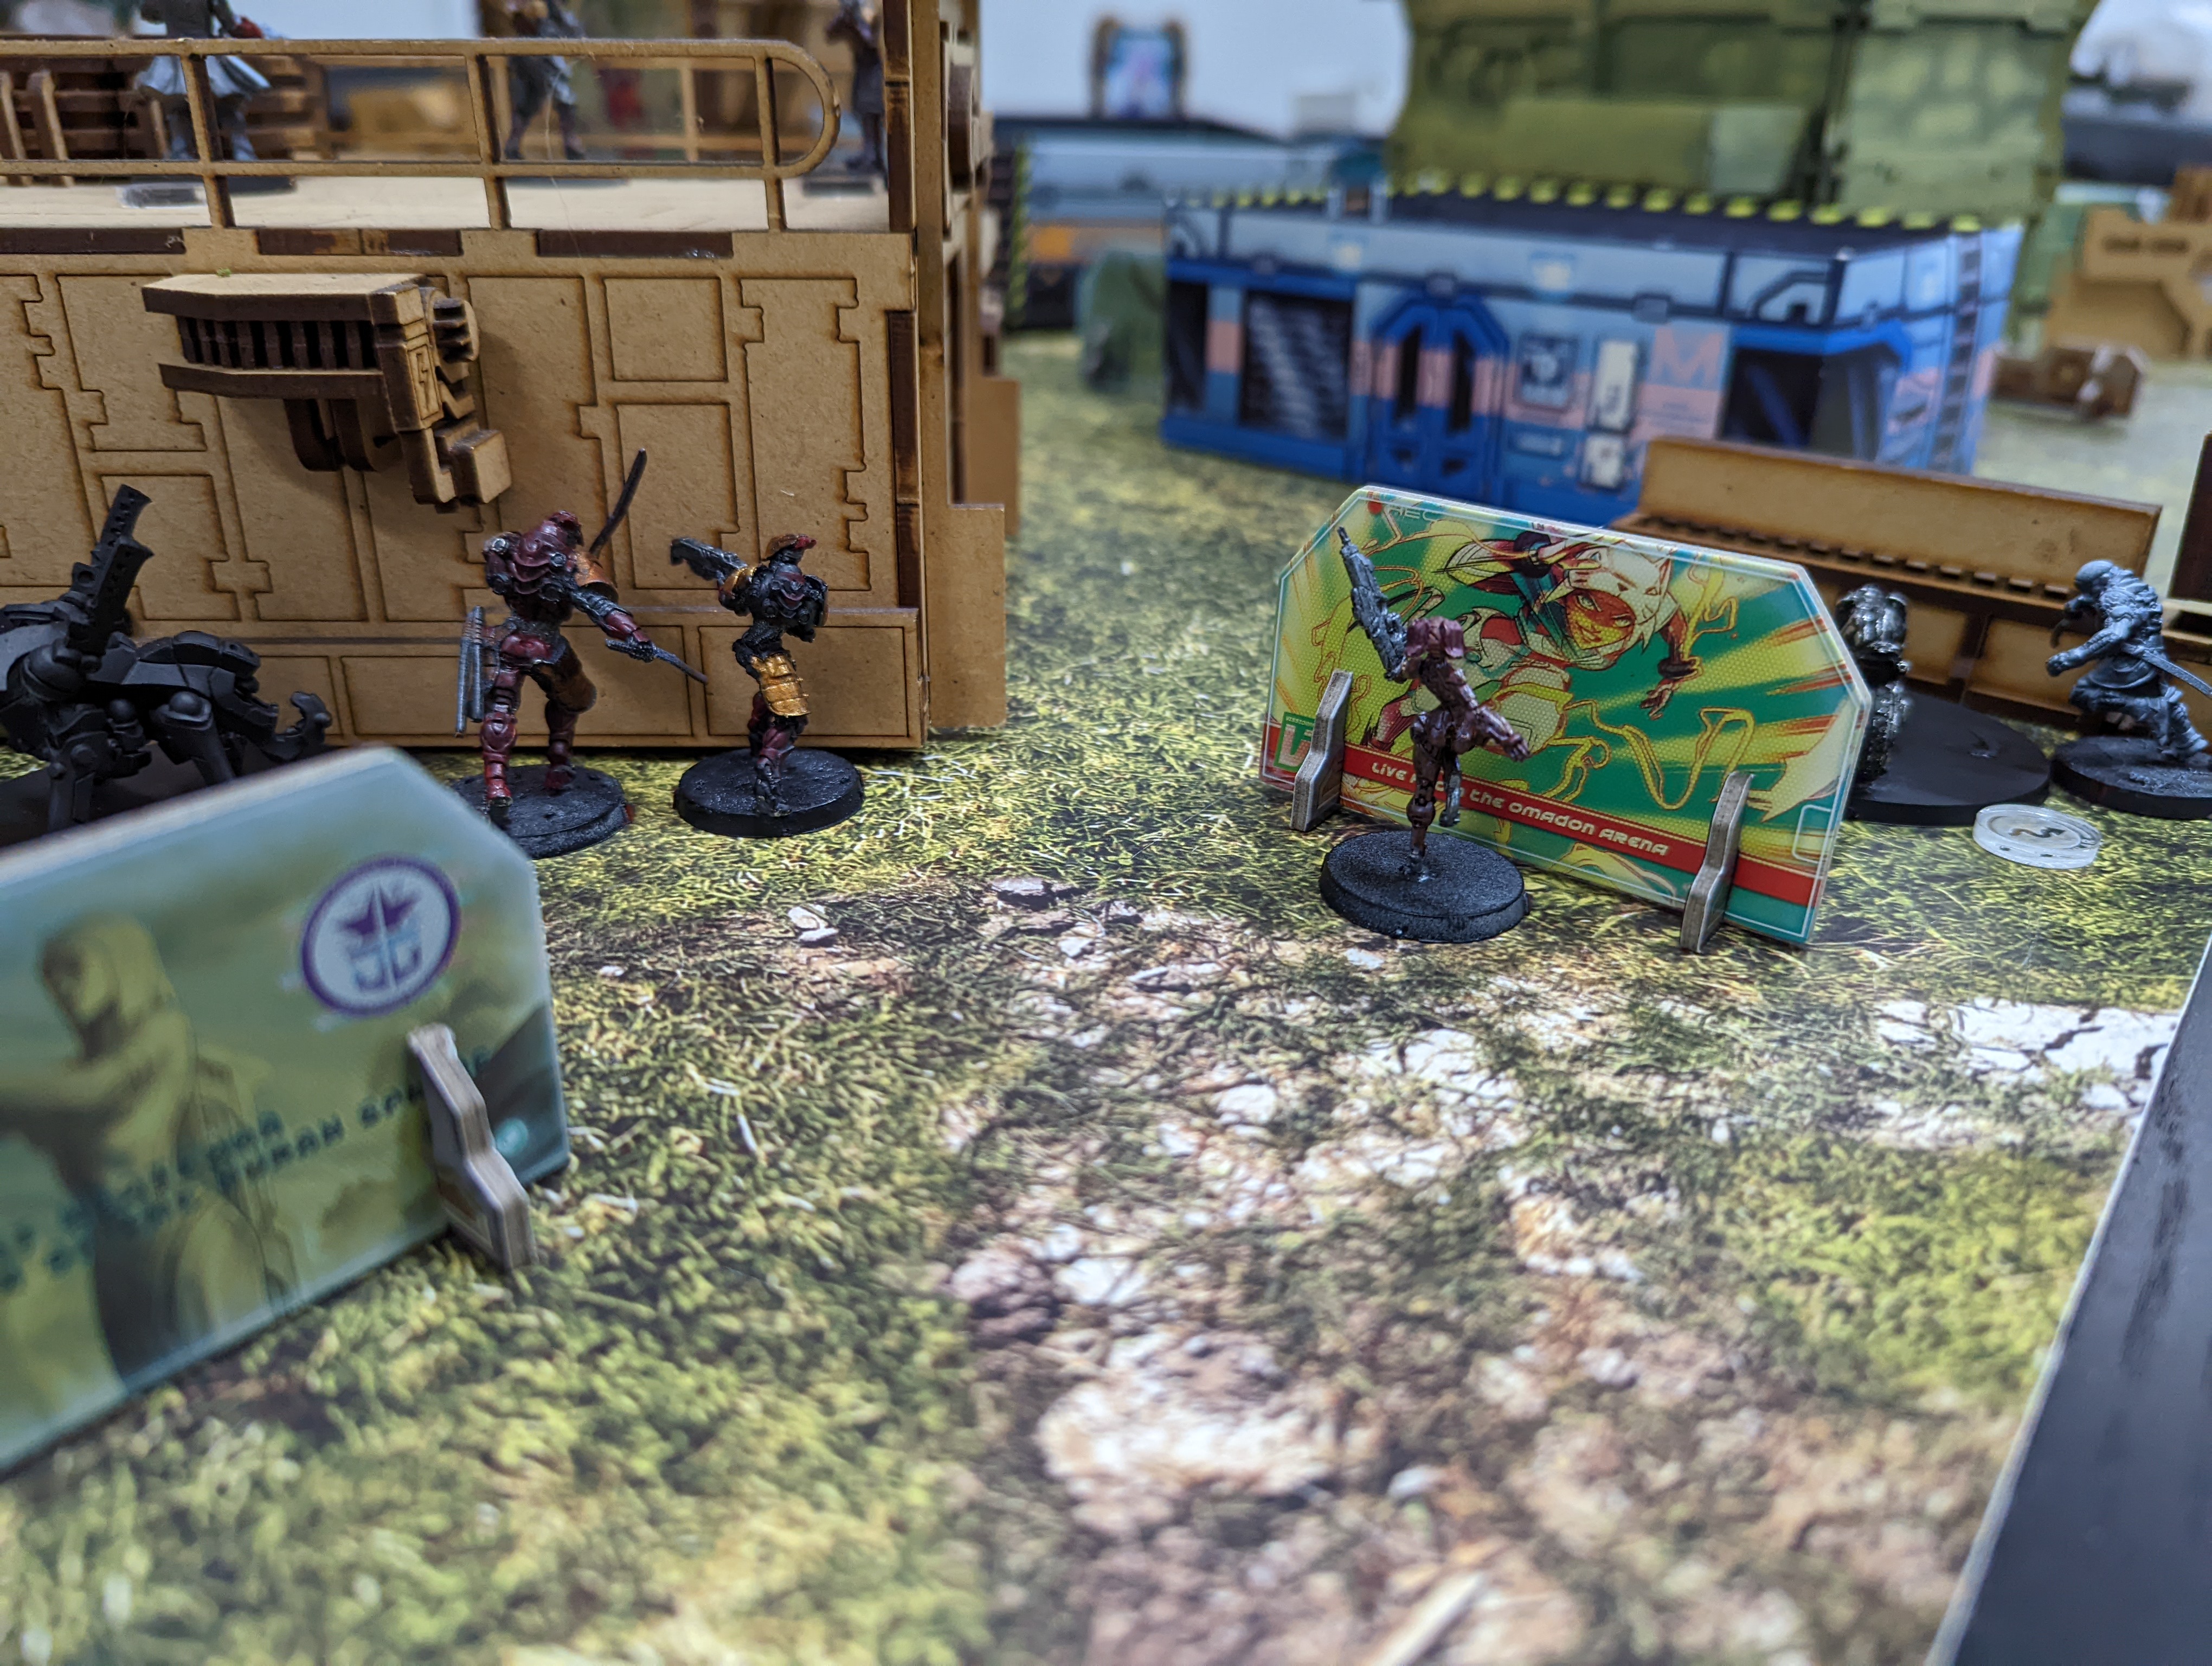
The Liberto activates in the hope to curb the ever pushing Kuroshi. She mortally wounds the freedom fighter, forcing the Tohaa commander to reveal his ace in the hole, a dug in Clipsos infiltrator. The Clipsos carefully places a mine and moves to attack the biker from another position. The ever indignant Kuroshi lays into the Clipsos with a shotgun, heedless of the shots she is going to take, dying but taking the Clipsos with her. The makaul activates, laying smoke for the Kiel-Saan to approach Yojimbo and the Ryuken. Upon realising that he could not kill the Ryuken without first taking fire from the Keisotsu missile launcher, the Kiel-Saan ran in to engage Yojimbo. Despite the Kiel-Saan overwhelming Yojimbo's training with sheer ferocity, a luck strike produced a fatal wound on the offending Tohaa, who died valiantly at the hands of the Ronin.
Turn 3 - JSA
Heedless of the death of Kuroshi, the Japanese force marches to stamp out the Tohaa insurgents. The Karakuri pushes forward, systematically taking out a Sakiel Paramedic and Kaauri Sentinel. Dodgeing an E/M mine, the fireteam surges ahead to secure the console placed by the Tohaa to steal information on Gekidan. The Keisotsu fireteam carefully picks their way forward, placing themselves on overwatch above the Karakuri and Domaru.
Turn 3 - Tohaa
With the Tohaa chances for victory thoroughly dashed, the Makaul used smoke to approach the Karakuri Fireteam and attempted to use a flamethrower to smoke them off the point, while dying in a hail of bullets from the keisotsu fireteam. The Karakuri and Domaru all managed to dodge or make their save, and thus the rest of the Tohaa insurgents turned tail and ran to evade capture.
As always, Geilt was a pleasure to play against. We laughed at chatted the whole way through this game. Unfortunately, due to the problems presented by the Ryuken, his Tohaa never really got off the ground like they normally do. It was a great game, and I was really happy to manage to take a win off him finally, as we had only ever drawn before. Thank you for the great game!
Battle Report Author


Army Lists Used In This Battle
Recommend Commander For Commendation
Share this battle with friends
JustJoshingWins

Congrats to your victory! And I see some similar approaches in our armies.
Another good report we are thankfull for all you have done
Great repoert and nice table!
Great report! Also good to see Ryuuken9 doing their thaaang, slowing up our opponents. Always a great ARO piece to have around!