Fought At Raveneye Port Battery: Port Rail Cannon
641 days 19 hours 46 minutes ago
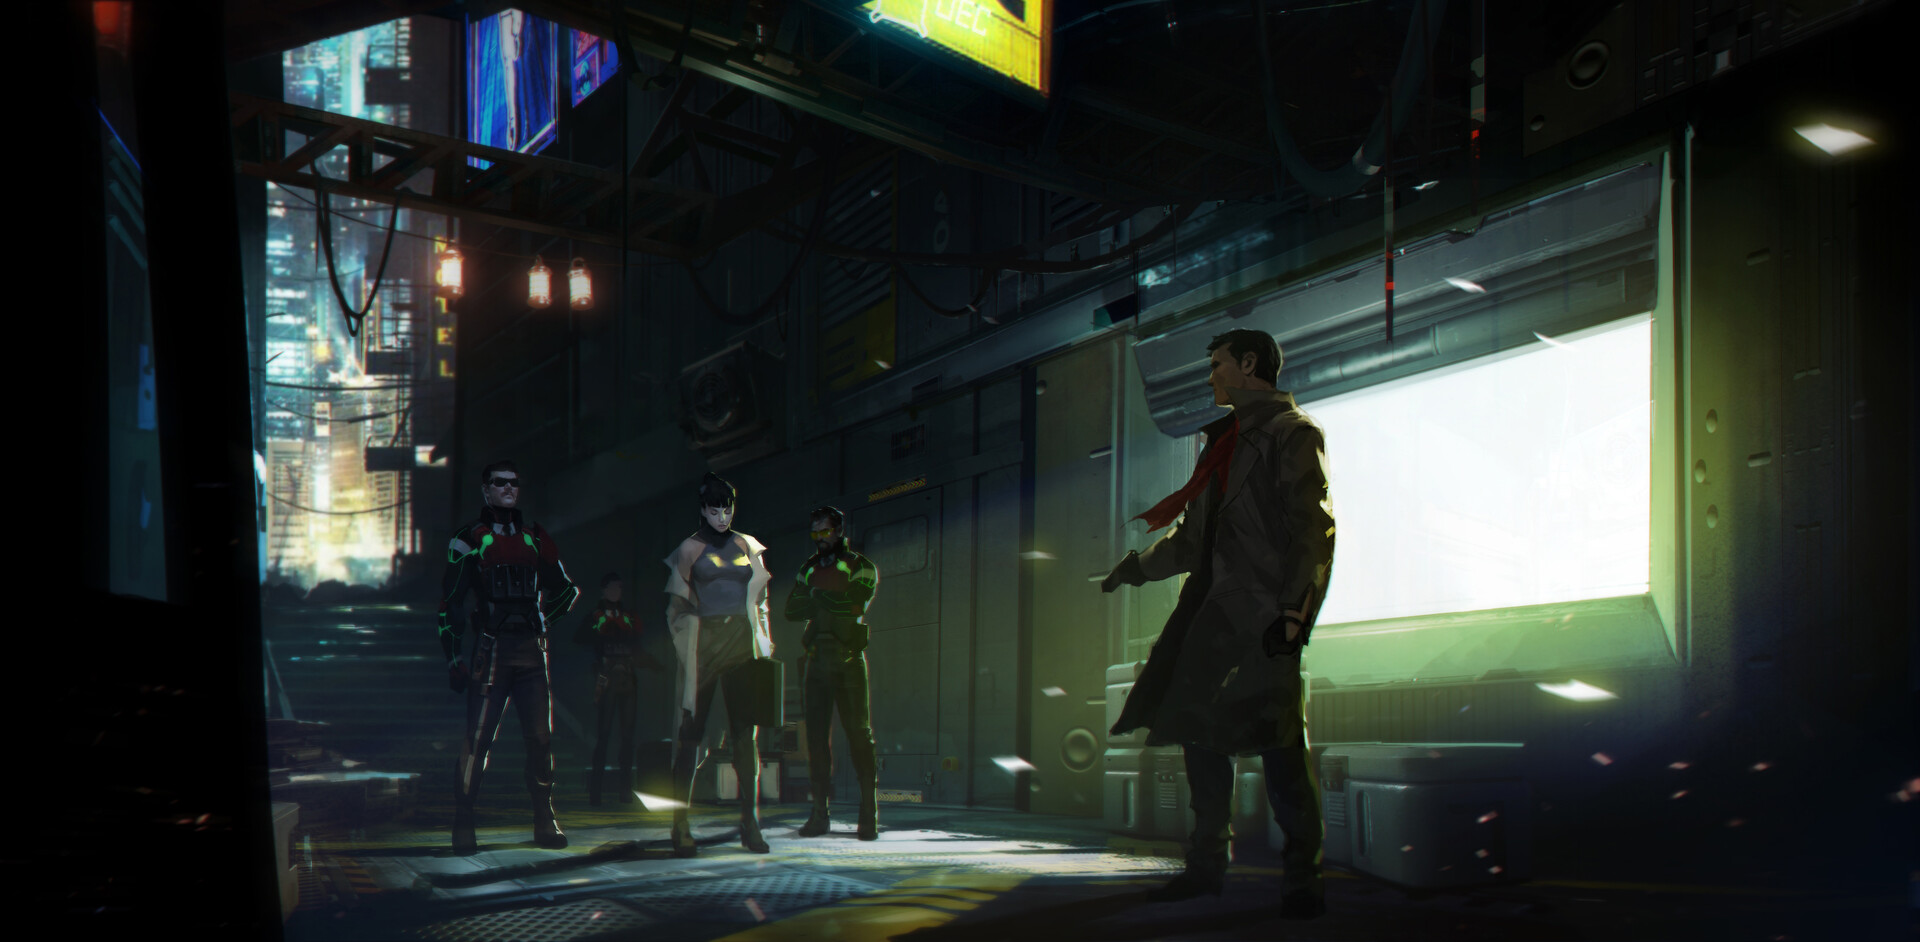
Blood Battle for the Port Rail Cannon
150 POINTS>> “Aren’t you like, a Major with the NMF or something?” Lieutenant Rebane wondered as they walked a patrol on the Port Rail Gun Module.
>> Boris smarted after the question. He was a ranked officer, but after a disaster in the Reliquary followed by a failed raid on the Bow Section Comms Room, Nakamura had reassigned him from active command to rear guard patrols, where he could do less damage. All he was allowed to take from the One Armed Scissor was one of the remaining Hollow Men shells, synced with Bax’s brainstem, somewhere in Limbo.
>> He looked over at the armored chassis with the spitfire slung over its shoulder. It did not acknowledge him or any of the team around it. Always aloof. Always seeking a high score now that Bax was stuck in the game without end.
>> Besides that, Nakamura had only authorized three Securitate, a couple of remotes, a Heckler who had pissed off the wrong people, and the bounty hunter Zuharra, who was on her third or fourth lhost since deployment. Her bike was looking worse for wear after the firefight in the Comms Room, where the Morats had been none too gentle with it. But the Clockmakers had ensured it returned to working order, if just barely.
>> “No one’s too proud to mount a defense of the Nomad nation,” Boris said, eventually answering the question. If this assignment was meant to humble him, then he would be humble.
>> Rebane was not satisfied with the answer. “I just thought they’d probably give an officer like you a more substantial assignment.”
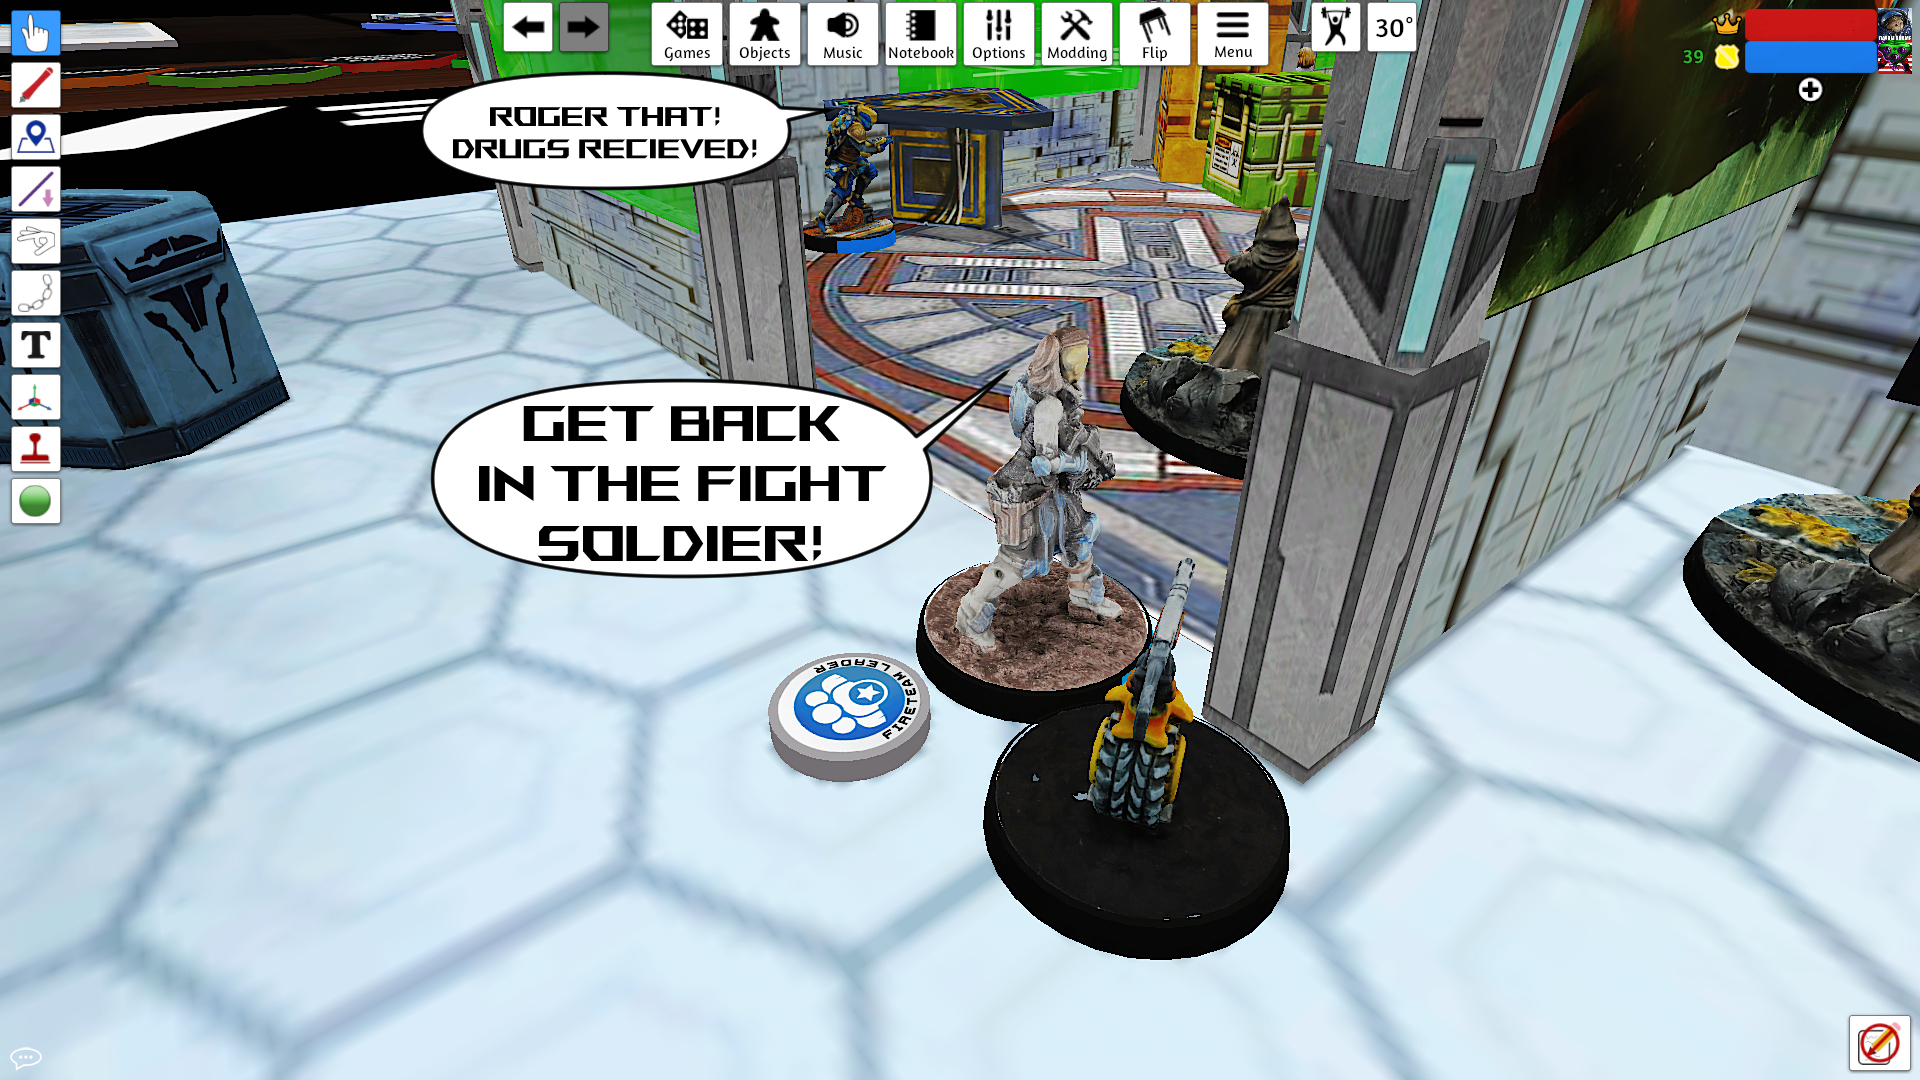
>> Boris was about to respond when an urgent communique came across the Arachnesphere. “To all commanders in the vicinity, we have detected an PanOceanian incursion into the railgun salvage. Please intercept and hold position until reinforcements arrive.”
>> “Copy, this is Greymenace with the Third Patrol of the Tunguskan Defense Volunteers. We are responding and will secure the position until reinforcements arrive.”
>> Without word the soldiers began to prep their suits for vaccuum exposure and zero-g terrain. The time for questions and regrets was over. The time for shooting had begun.
Mission: Quadrant Control
Forces: Jurisdictional Command of Tunguska versus Military Orders (150)
Deploy First: Tunguska
First Turn: Tunguska
So my buddy Cowzar is learning the game and I decided to throw him in the deep end with a Durgama mission. We actually weren't supposed to play but he ended up with some free time this weekend and we made it work. Since he's very new and I'm pretty new, we decided to do a low point game which would go relatively quick and wouldn't have too much cognitive overload for someone picking up the rules.
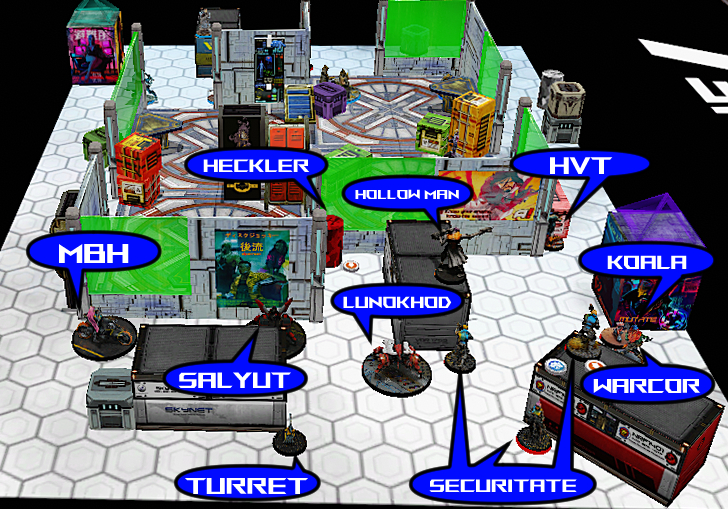
As such, I don't know that the lists are particularly optimized for the exercise. Part of me just wanted to flood the zone with Puppets and a Kriza 360 visor and force him to try to dislodge me, but that seemed not so fun. I tweaked my side to build around a Hollow Man spitfire supported by a 3 man core of Securitate, a Heckler KHD, a Lunokhod, and Motorized Bounty Hunter witha Salyut and Warcor to round out points.
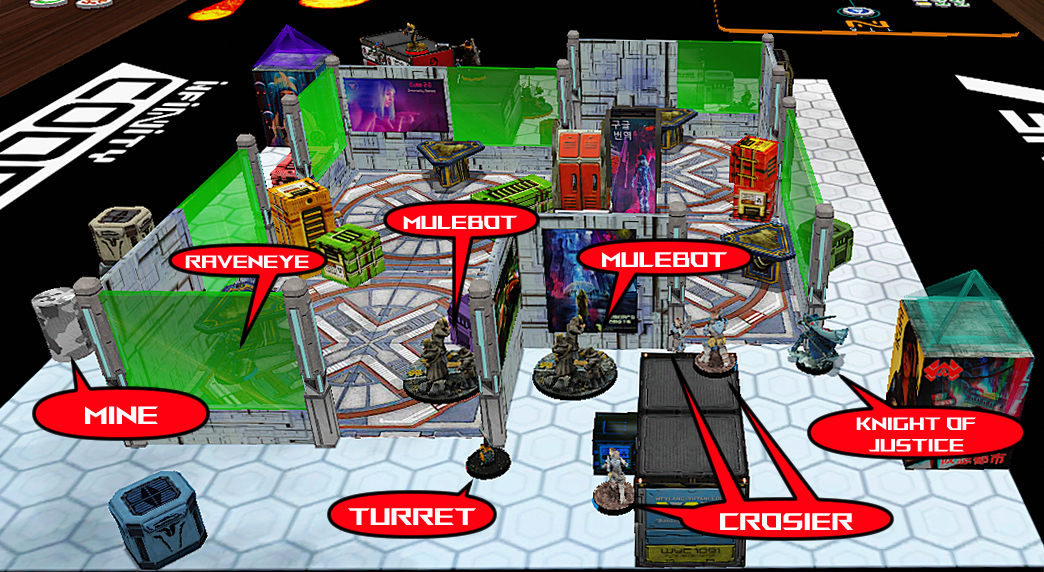
On the other side Cowzar is leading with a Knight of Justice spitfire, backed up by a Crosier three man team led by a spitfire, a Raveneye with E/M mines, a Trinitarian FO with SMG, and a couple of Mulebots, one of which is TR with a combi rifle. The KoJ is the biggest threat on the list, one of the most durable units with good weapons and worth a lot of points in whatever zone it ends up in.
The mission itself is pretty straight forward. In terms of Durgama specials, I think only my Lunokhod can avail itself of the extra movement, and I definitely forget all about that. My plan is to move the Hollow Man forward, shoot stuff, and fill the quadrants as full of koalas as possible and hope that they pull something off the KoJ. With the baggage bot, it only costs an order to refill, right?
Cowzar wants to see how I deploy and counter deploy me, so he has me deploy first. While going second allows you to have the last word, I'm not super confident about deploying second and going second with the KoJ moving 6-2 and weilding a spitfire against a list that's a lot of remotes and zero engineers. So I opt for the alpha strike and try to place in a way that supports it.
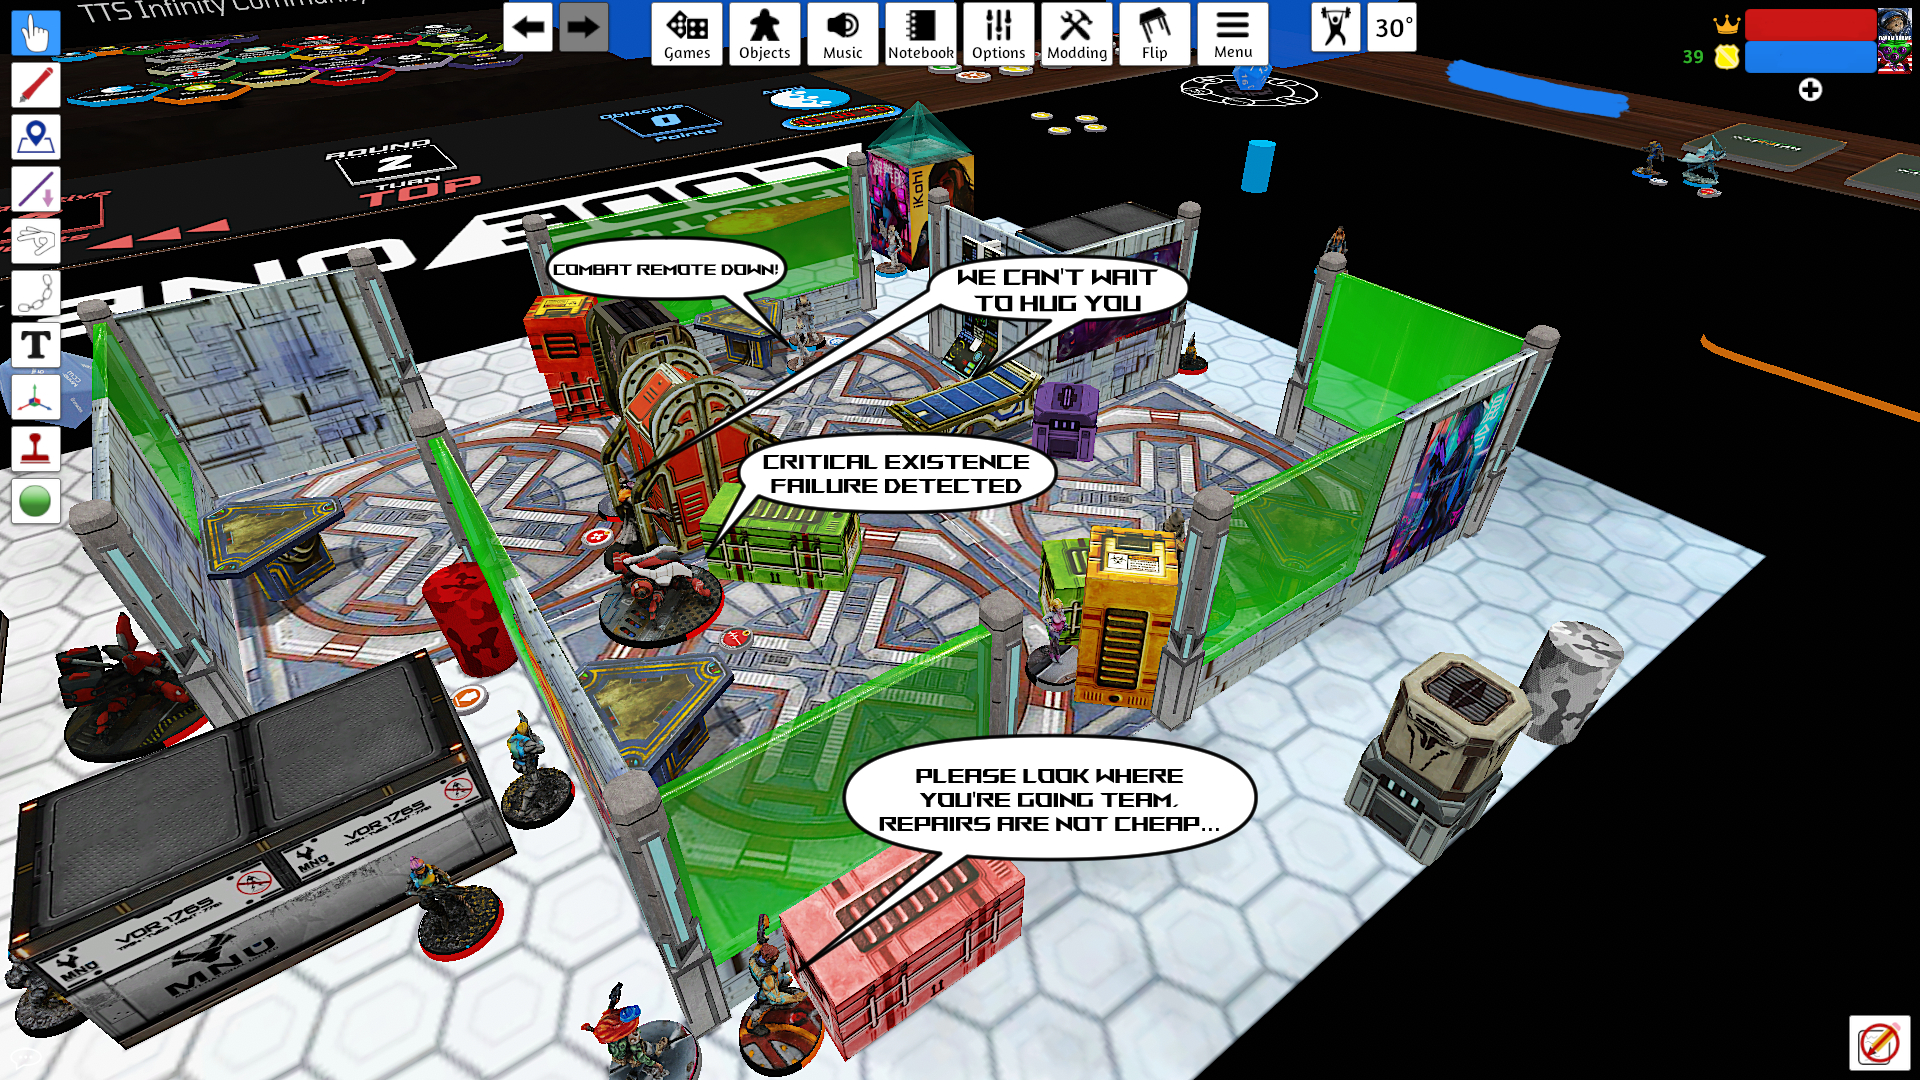
The MBH deploys on the left, with the Salyut, turret, Lunokhod, the fire team with the feuerback on the crate and paramedic tucked behind the crate, the Warcor on the other big firelane, and the Crazy Koala from the Lunokhod's minelayer. The Heckler deployed in camo into one of the zones, putting me a bit ahead of the game. I held back the Hollow Man in reserve.
Cowzar counter deployed me with the Crosier team watching the left side and the Mulebot TR and Raveneye watching the right. The E/M mine goes down on the far right firelane. The remaining Mulebot and turret go down where they can fit. The KoJ is the reserve.
I put the Hollow Man on a crate and the KoJ goes down to watch the left hand firelane. The MBH rolls up an adhesive launcher +1B. I'm tempted to reroll but a B2 adhl could be a pretty good knight deterrent until I can find a better disposal tool.
As for the map, we just picked a random one of the 150pt starters. We play the walls as infinitely high. The center has some good scenery, but the DZ to DZ lanes on the side are kind of rough. Next time, I think we'll build our own next time that's maybe a little less punishing on the sides.
Per usual I make some mistakes in deployment. Having the Hecker in the near center of the zones means that the Hollow Man can't get cover as it tries to take on the TR bot. While the 360 LoF marker is helpful in the center of the zone, it is kinda in the way all around. Also, putting the Hollow Man on top of the crate is also pretty useless since I'm moving it first. Finally, the Warcor is in the way of the Securitate Feuerbach if it wants to move.
>> Sister Agata Łaska moved in with her team. She was on the trail of Dr. Archimedes Barbossa, the monster of Anesidora. He had escaped the clutches of her team once before and through dogged persistence she had tracked him to Raveneye Station just before the Morats struck. Despite the setback, a Data Banker from the Curia had indicated with 87.3% probability that an incursion into the Port Rail Gun would draw out Barbossa's contacts. According to her geist, the Black Hand agent that was intercepting her squad was the last contact before Barbossa was captured by the Combined Army. If there was a chance to ensure that his research was destroyed, or that she could pick up the trail of this mad scientist, it would require capturing the Nomad agent and eliminating his team.
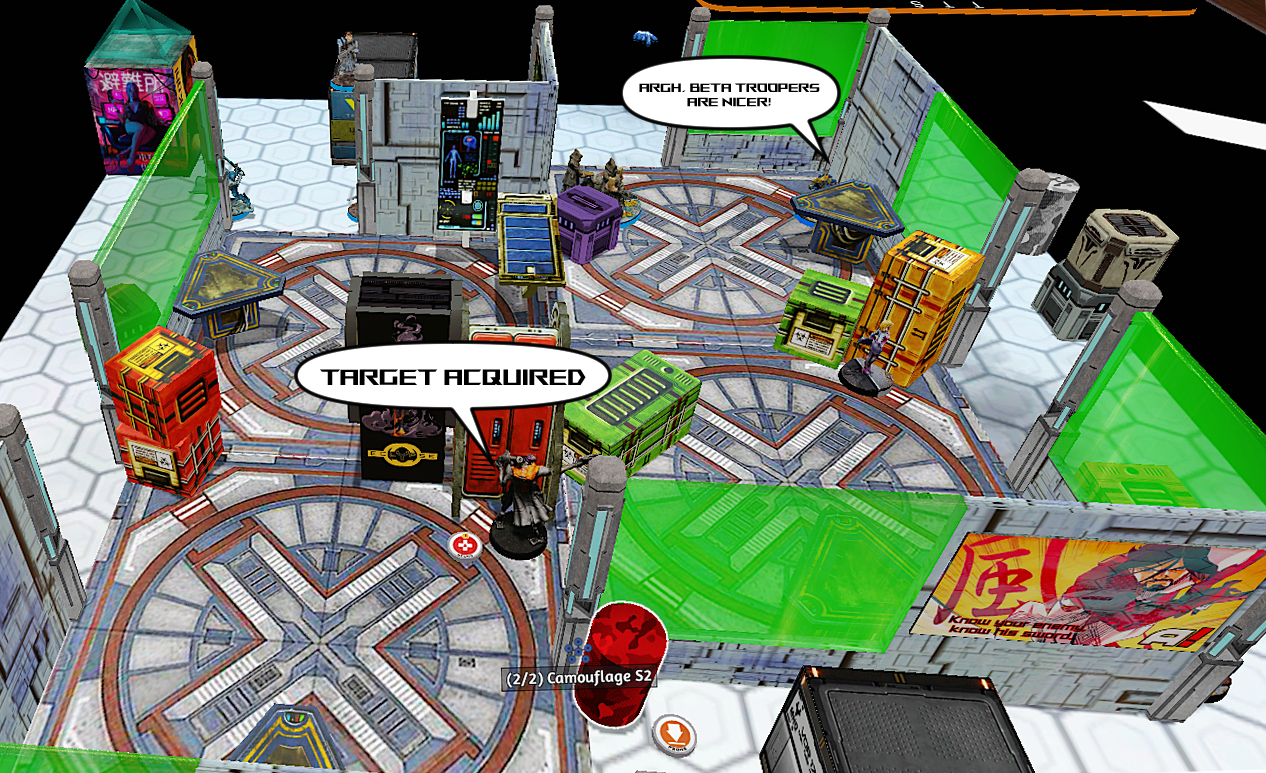
Cowzar docks me two orders which means there's not enough to do what I want to do. So plan A is the Hollow Man so I start with plan A. He jumps down and tries to get into the room, but can't get an angle on the Raveneye without facing the TR Mulebot. It's a spitfire, though, right? But failure to respect a combi rifle at full burst is foolish. The Mulebot pulls off a wound and a pass the WIP test to go prone. I scoot up with the Hollow Man and get the line of sight on the Raveneye that I want and down him to unconscious. But with a TR bot on one side, overlapping spitfires on the other, and only one wound to speak of, holding the zone might be the best for him.
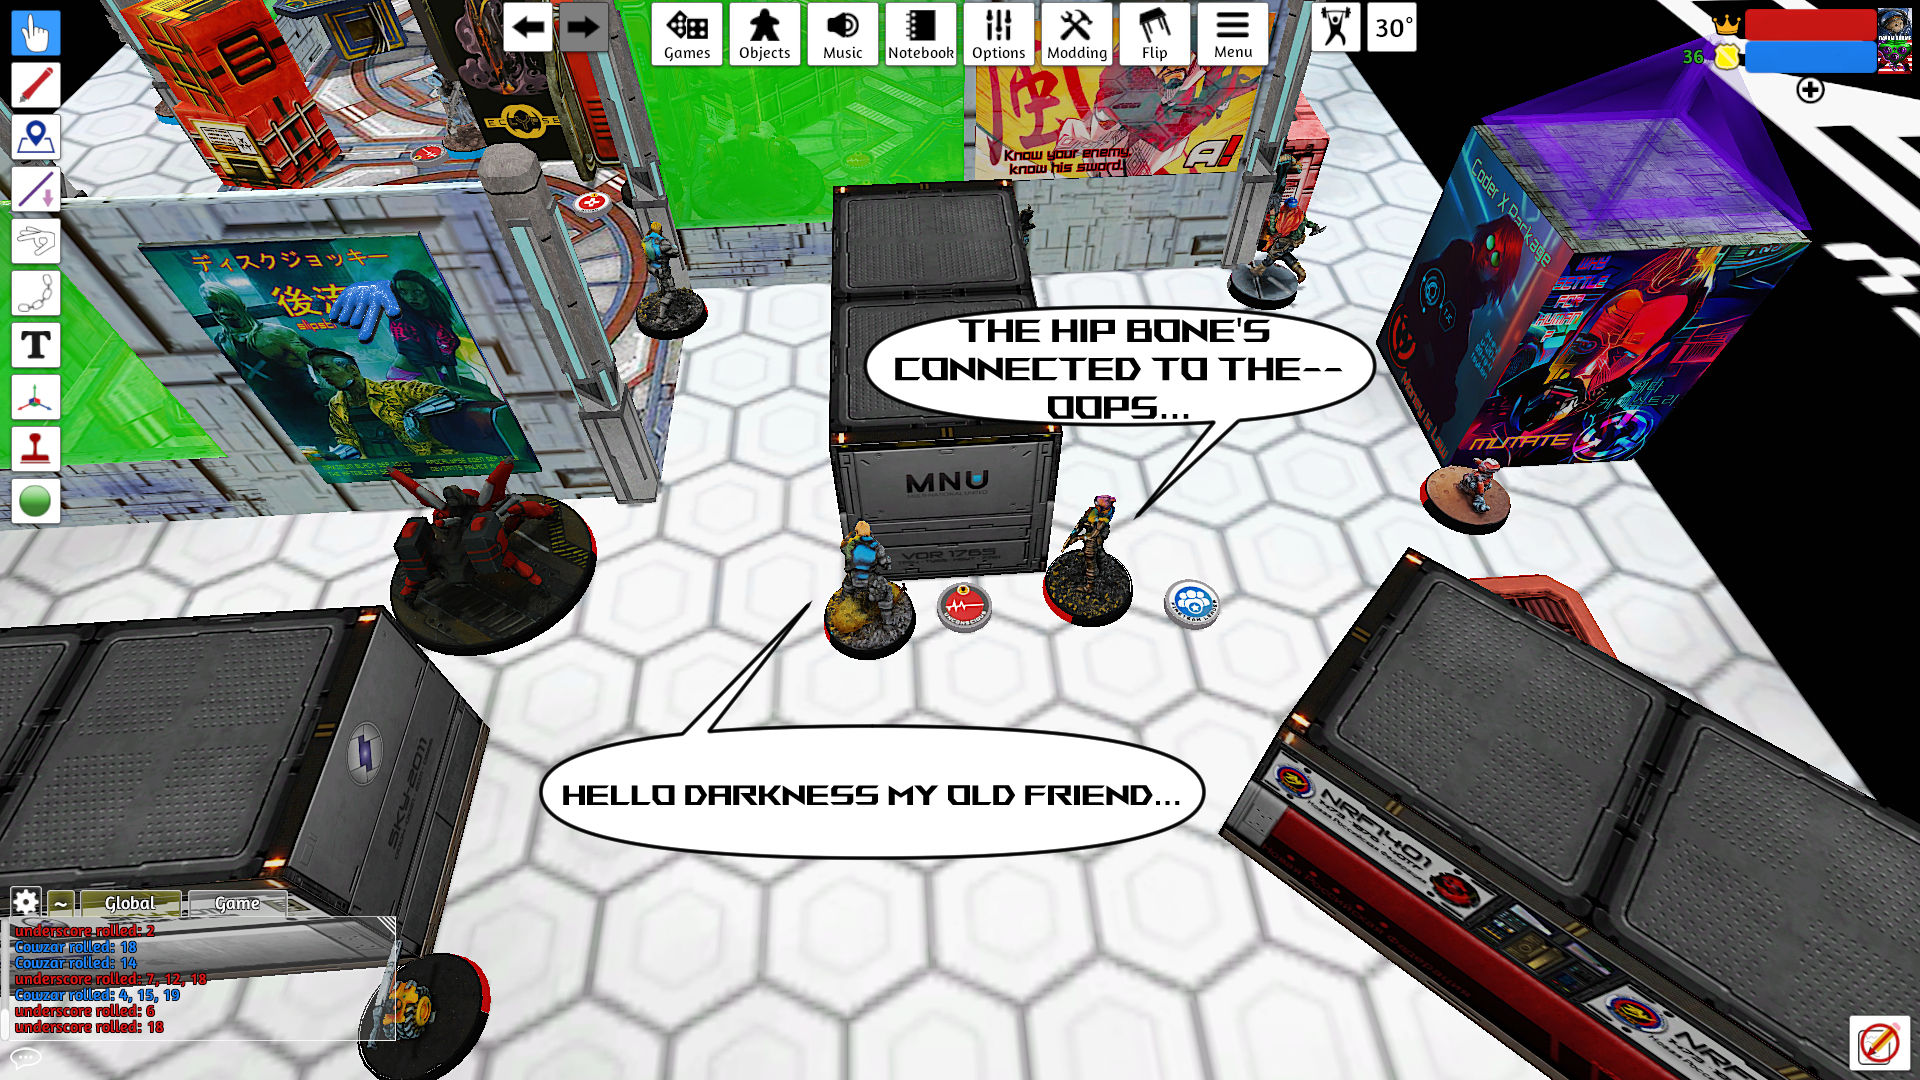
So I move over to the left I decide to try my luck with the ADHL. The KoJ shoots back first and we both miss. I get cold feet and move the Lunokhod next to the Salyut and deploy a second koala to back up the Hollow Man. Then I decide, hey, it's only 8 pts, right? I spend a command token to convert the Warcor's order to regular and move up into good range with the ADHL and the Knight of Justice dodges but doesn't dodge good enough. It fails the PH roll and goes right to IMM-A. With the knight stalled and my orders out, it was time to pass the turn.
>> Zuharra Vidal flexed her right hand. New Lhosts were always ill fitting the first couple of weeks, and the low grade ones being passed out for casualties on Durgama were an even worse cut. She found herself compulsively cracking her knuckles and neck, stretching her arms and back, as if she were making room for her sheut to fill this new and probably temporary vessel. So far the cube recoverers had been quick, and good. But maybe next time, she wouldn't mind being dead a little longer if it meant that she could skip having to change bodies so quickly.
>> When the call came in to repel the PanOceanians, she had started to scrounge around for extra gear. The Port Side of the station had been the scene of dozens of battles, and each casualty leaves behind a little something that's not quite used up. A couple of adhesive launchers with mostly full magazines and the black arrow on an orange field of the Hell Cats were stashed in an emergency use box. The whole conflict seemed urgent enough that the Corregidoran 'cat crews shouldn't mind them being put to use.
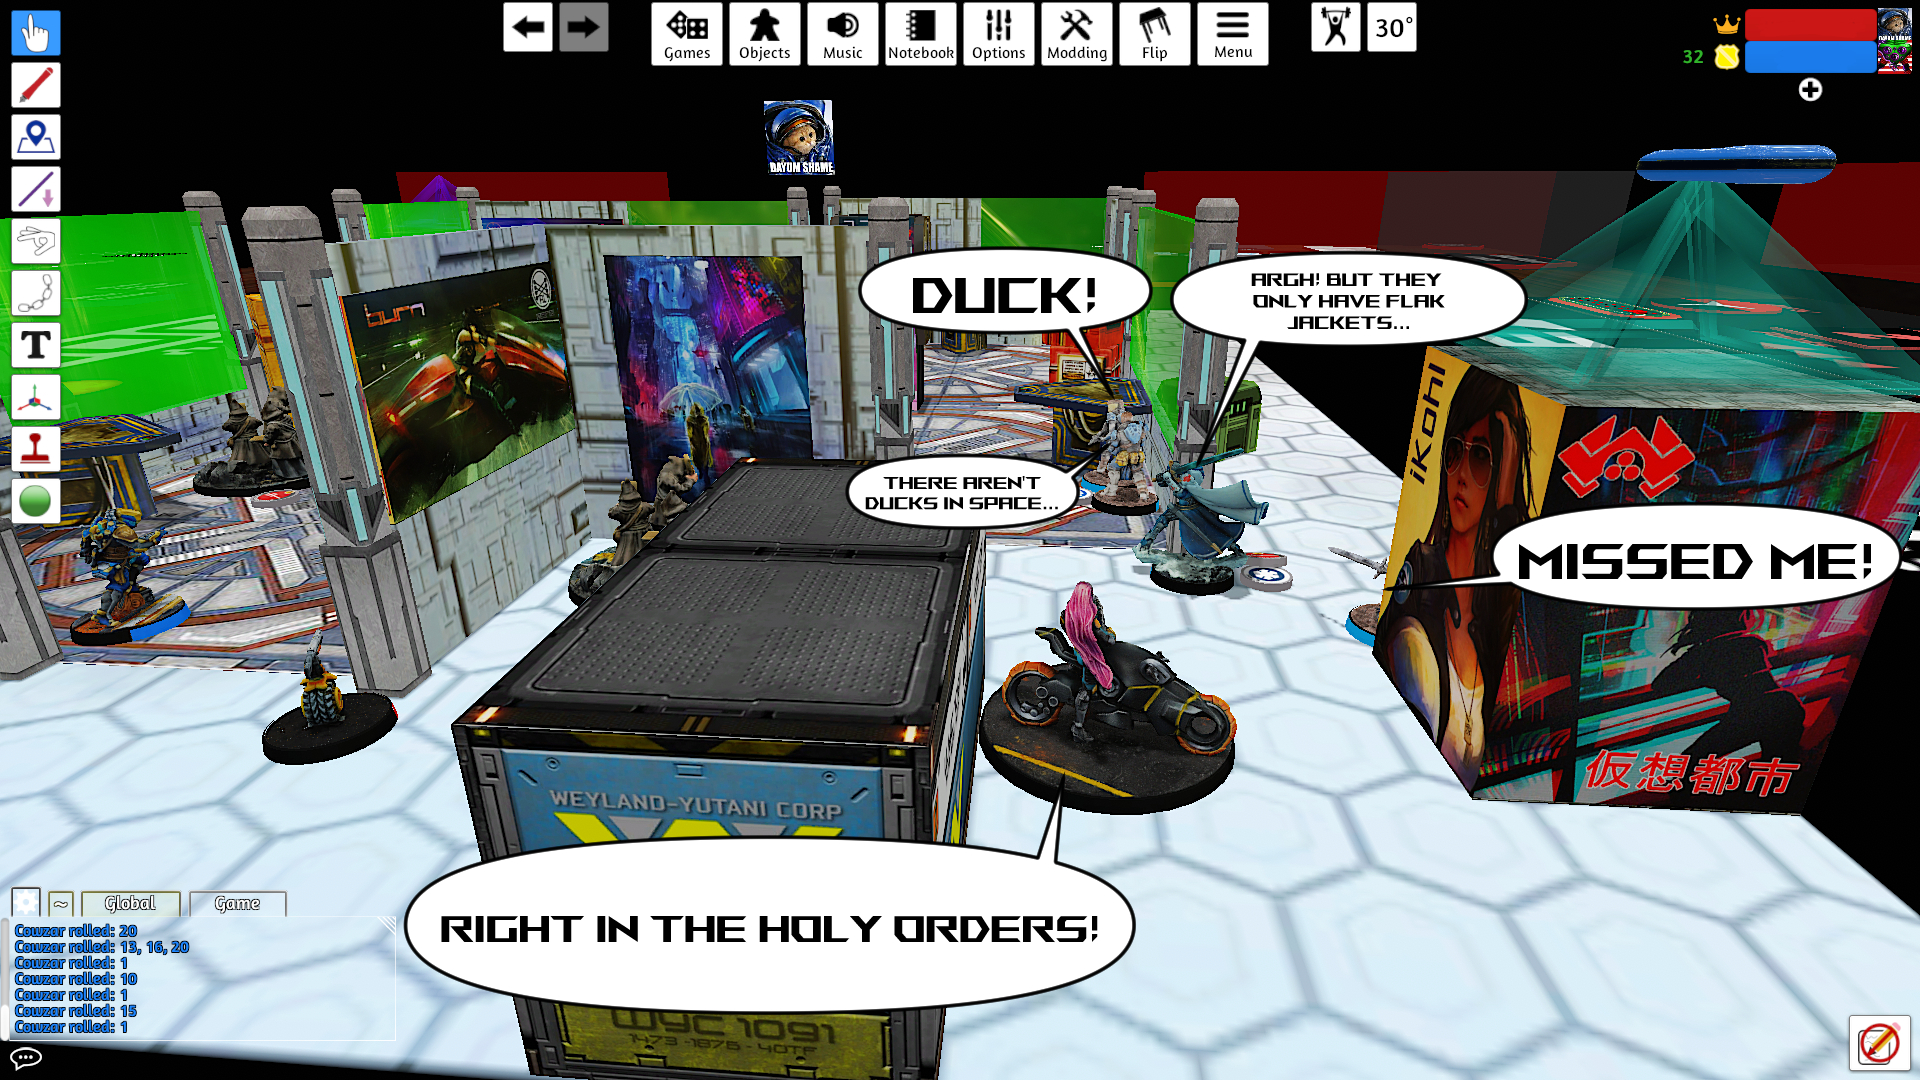
>> With the launchers affixed to her bike, she kicked into gear. The first shot of the adhesive went wide as she ducked the spitfire response of the knight in front of her. Zuharra had already tasted spitfire once on this station and it hadn't been pleasant. But waiting for them to come at her was worse than making sure it couldn't be used. Vidal ducked down and pushed a little closer, hitting the knight with a wad of webbing that would make Spider Man blush. Powered armor servos and ablative plating fused beneath a sticky green film meant to quickly repair hull breaches and put down riots. It wasn't enough to put the knight down, but she would be out of action.
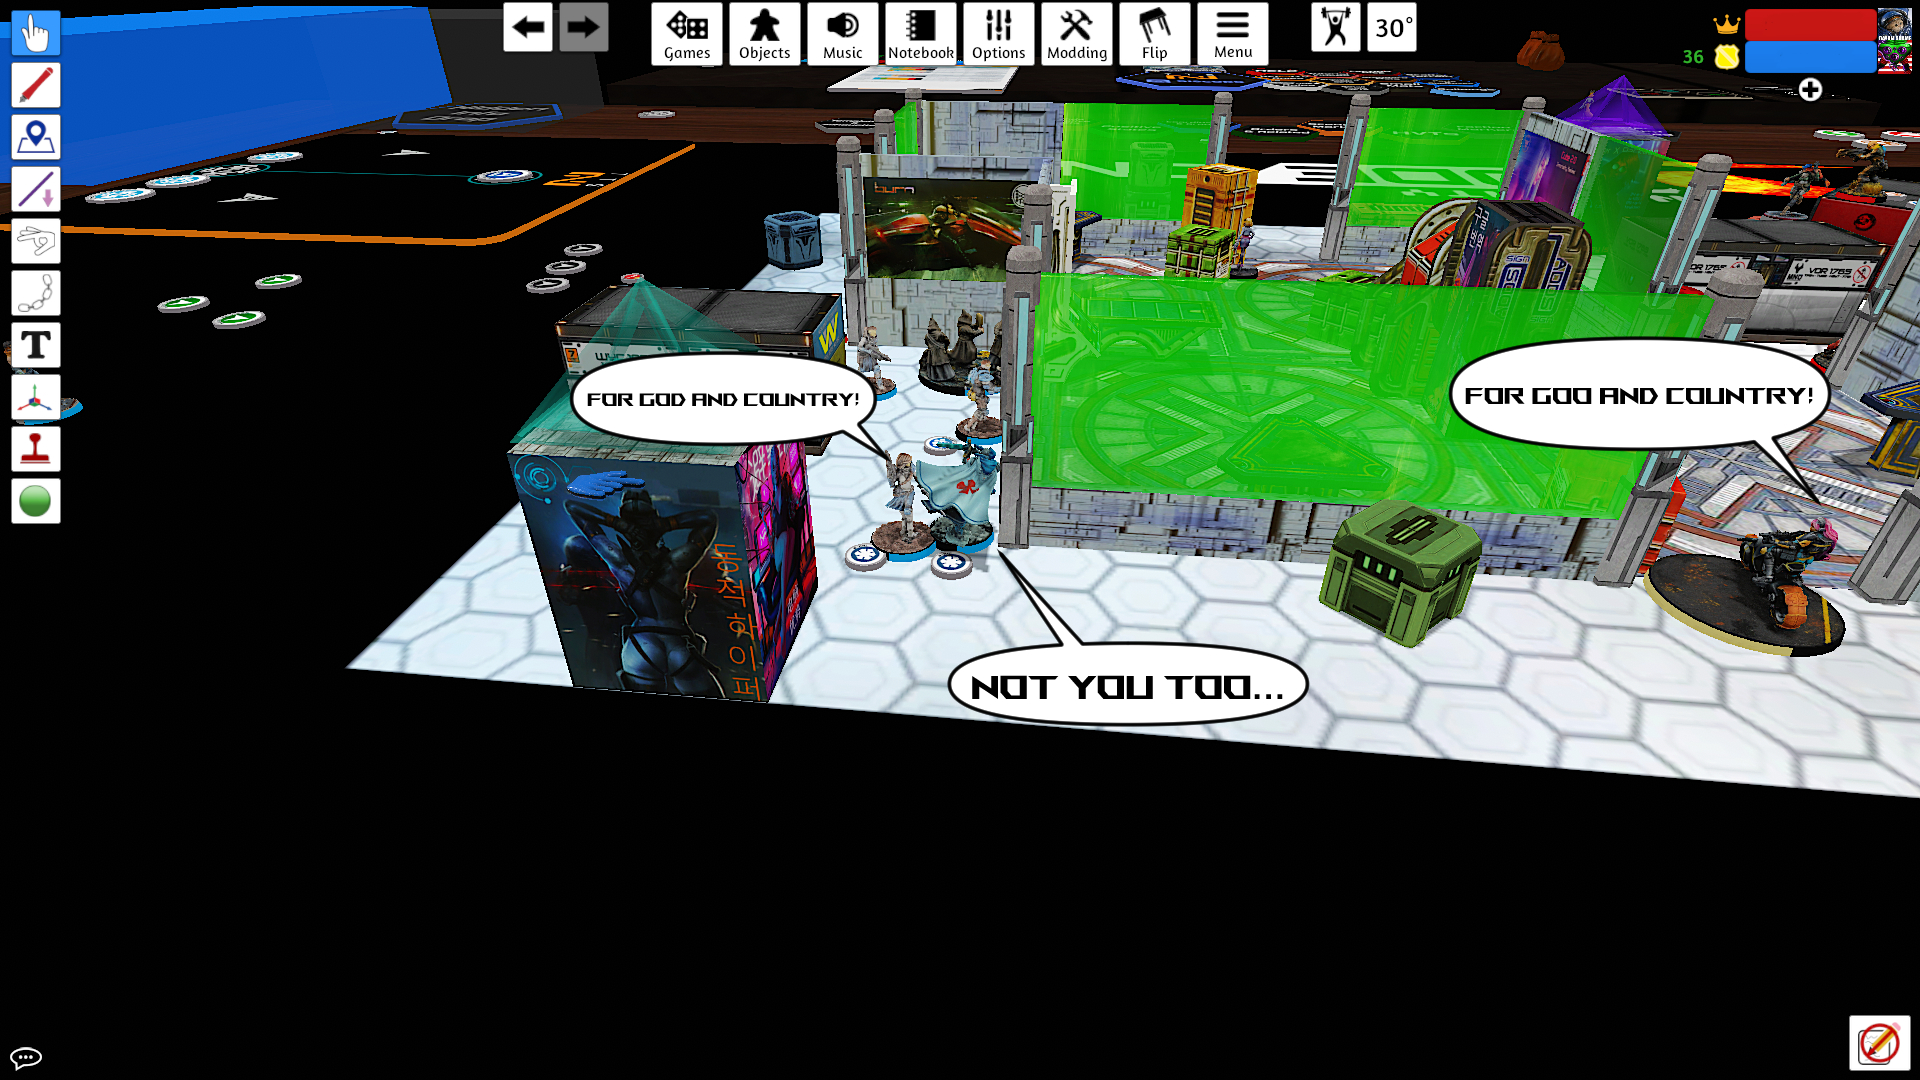
>> Though the mercenary had impeded her progress, the tricks of these sinful Nomads could not dim Sister Łaska's spirit. Managing the battle over her command and control unit, she directed the Crosiers to revive their O-12 support and secure the battlefield. If they held out long enough, there would eventually be proof of Nomad perfidy justifying a response either by the PMC or the CCC high commands.
With his knight indisposed, Cowzar decides to activate the link team. He moves up the paramedic to revive the Raveneye. In a feat of competence completely non-PanOceanian, the O-12 officer stands up. He then shifts the team around so that the spitfire can push into his near zone on my left with the paramedic in support and the combi rifle Crosier can challenge my Bounty Hunter on four burst at good range. Predictably, she gets goo'd too, since she's out of cover behind the knight, and now there are two improvised statues on the battlefield at the Neovatican's expense.
Rather than invest more from the fireteam to try and take down the bounty hunter, Cowzar tries to push the TR bot up to take the second zone adjacent to his DZ, which puts it in line of sight of the Hollow Man. This time, I have cover so I decide to shoot back on one burst. The first volley fails on both ends but on the second I score a hit and the mulebot fails it save.
End of round that means I have two zones to Cowzar's one, scoring 2 points for Tunguska.
I start turn two with a full set of orders and a little spoiled for choice. The knight is still my main problem, so I activate the Motorized Bounty Hunter to push up where she can still only be seen by the immobilized knight and Crosier. Cowzar dodges with everything that can, hoping to break the goo but they all fail. Rather than lay templates, which is really tempting with +1B chain colts, I decide to use the SMG and it's AP to focus on the Knight of Justice, pulling a wound off her. I spend a second order to move up and do the same, this time taking her to unconscious.
Now that the tin can is down, I feel more confidence about using template weapons. I spend a third order on the bounty hunter to move into Cowzar's DZ and lay one chain colt on the immobilized Crosier and the other on the two Crosiers who are not facing me. The turret takes some free shots and misses. The immobilized Crosier successfully dodges on a 1 and the paramedic also dodges, while the spitfire tanks the save. Only the Knight of Justice fails and dies. Another regular order and two templates later and somehow my MBH is unconscious and the fire team has made all saves and dodges. Talk about an armor of faith!
With the MBH down, it's over to my Hollow Man who puts down the Raveneye unceremoniously. From there, my Lunokhod reloads its koalas and moves up, but I misjudge the line of sight and the Crosiers down it. Rather than try my luck with the heavy shotgun template (maybe a mistake) I put out another koala. Last up the Warcor moves so that I can get my link team into relevancy. My Lt plants himself where he gets LoS over the prone Heckler, the paramedic is between him and feuerbach who has a slight LoS into the room. Not the positioning I wanted but the best I could afford. With that I pass the turn.
>> With her tires squealing Zuharra flew into the scrum of knights and holy soldiers, a chain colt in each hand as their bullets flew by and the ineffectually tried to free themselves from her adhesive launchers. The spray of hot metal over the stacked up fireteam should have ended the PanOceanian offensive before it began, but one of the soldiers, standing defiant as her tabard floated in the low gravity, raised a combi rifle at Vidal. She'd somehow freed herself of the adhesive. Zuharra fired a chain colt at her, reckless. There were always more bodies and clones for someone useful to the Black Hand. As the dampness pooled beneath her ribs and the coldness crept into her limbs, she could only marvel at the warrior who could stand in the face of molten lead without flinching.
>> Rodina do Valle Peixoto had followed Sister Łaska to edge of the Human Sphere in her crusade against Archimedes Barbossa, only to see her fall in a scouting action against a Tunguskan patrol. A righteous fury filled her as she took command of the squad. These so-called Nomads would pay for their perfidy.
It's a tough turn two for Cowzar being in loss of lieutenant. He converts his Crosiers' orders into regular using his remaining command tokens and moves the mulebot into one zone and pushes the fire team up into the next. My koalas go off and the dodges fail but everyone tanks the damage 15 hits. They do what they need to do and bleed second skills, though. He doesn't really have the orders to put any damage on my troops but he gets teh spitfire into a tough position and his paramedic has an angle overwatching his HVT while the remaining Crosier watches the long firelane on my left flank.
We check the zones and he uses his intelcom card on the spitfire who's got a toe in my zone, but it's not enough to outscore the Hollow Man. Tied on zones, we each get a point for 3-1 Tunguska at the end of Turn 2.
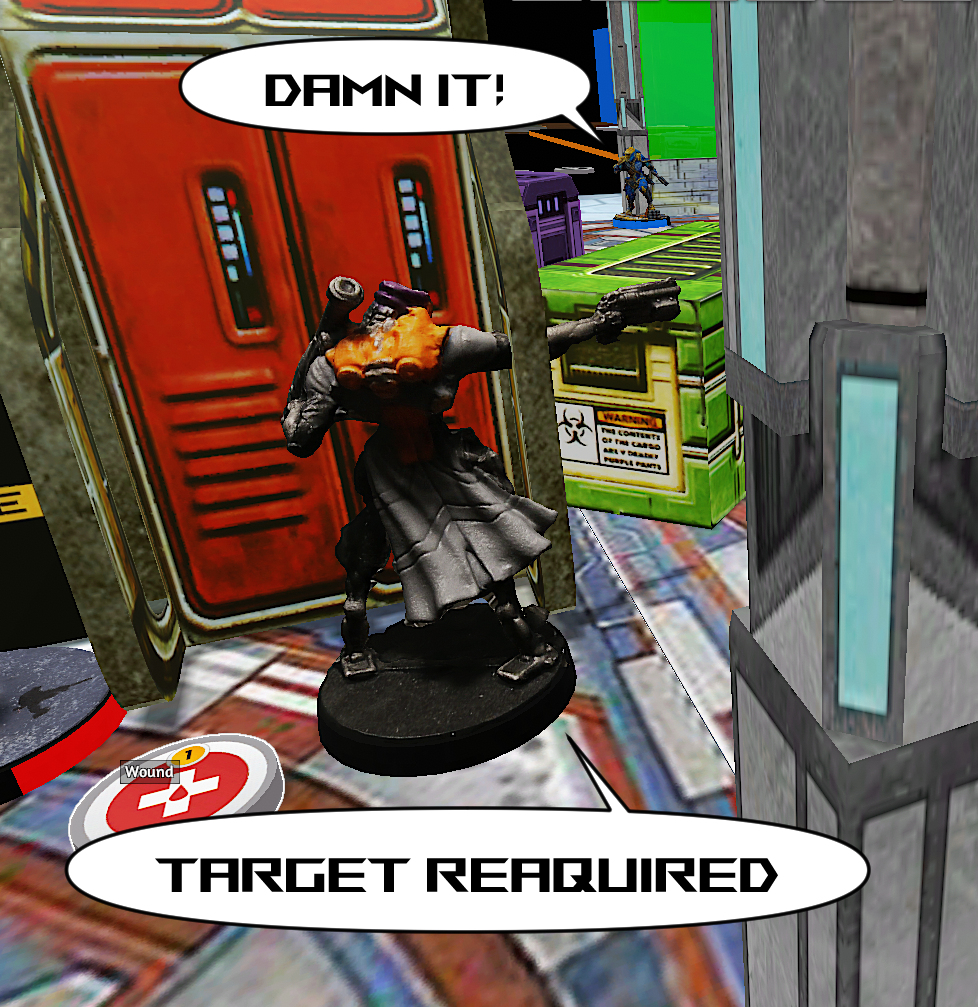
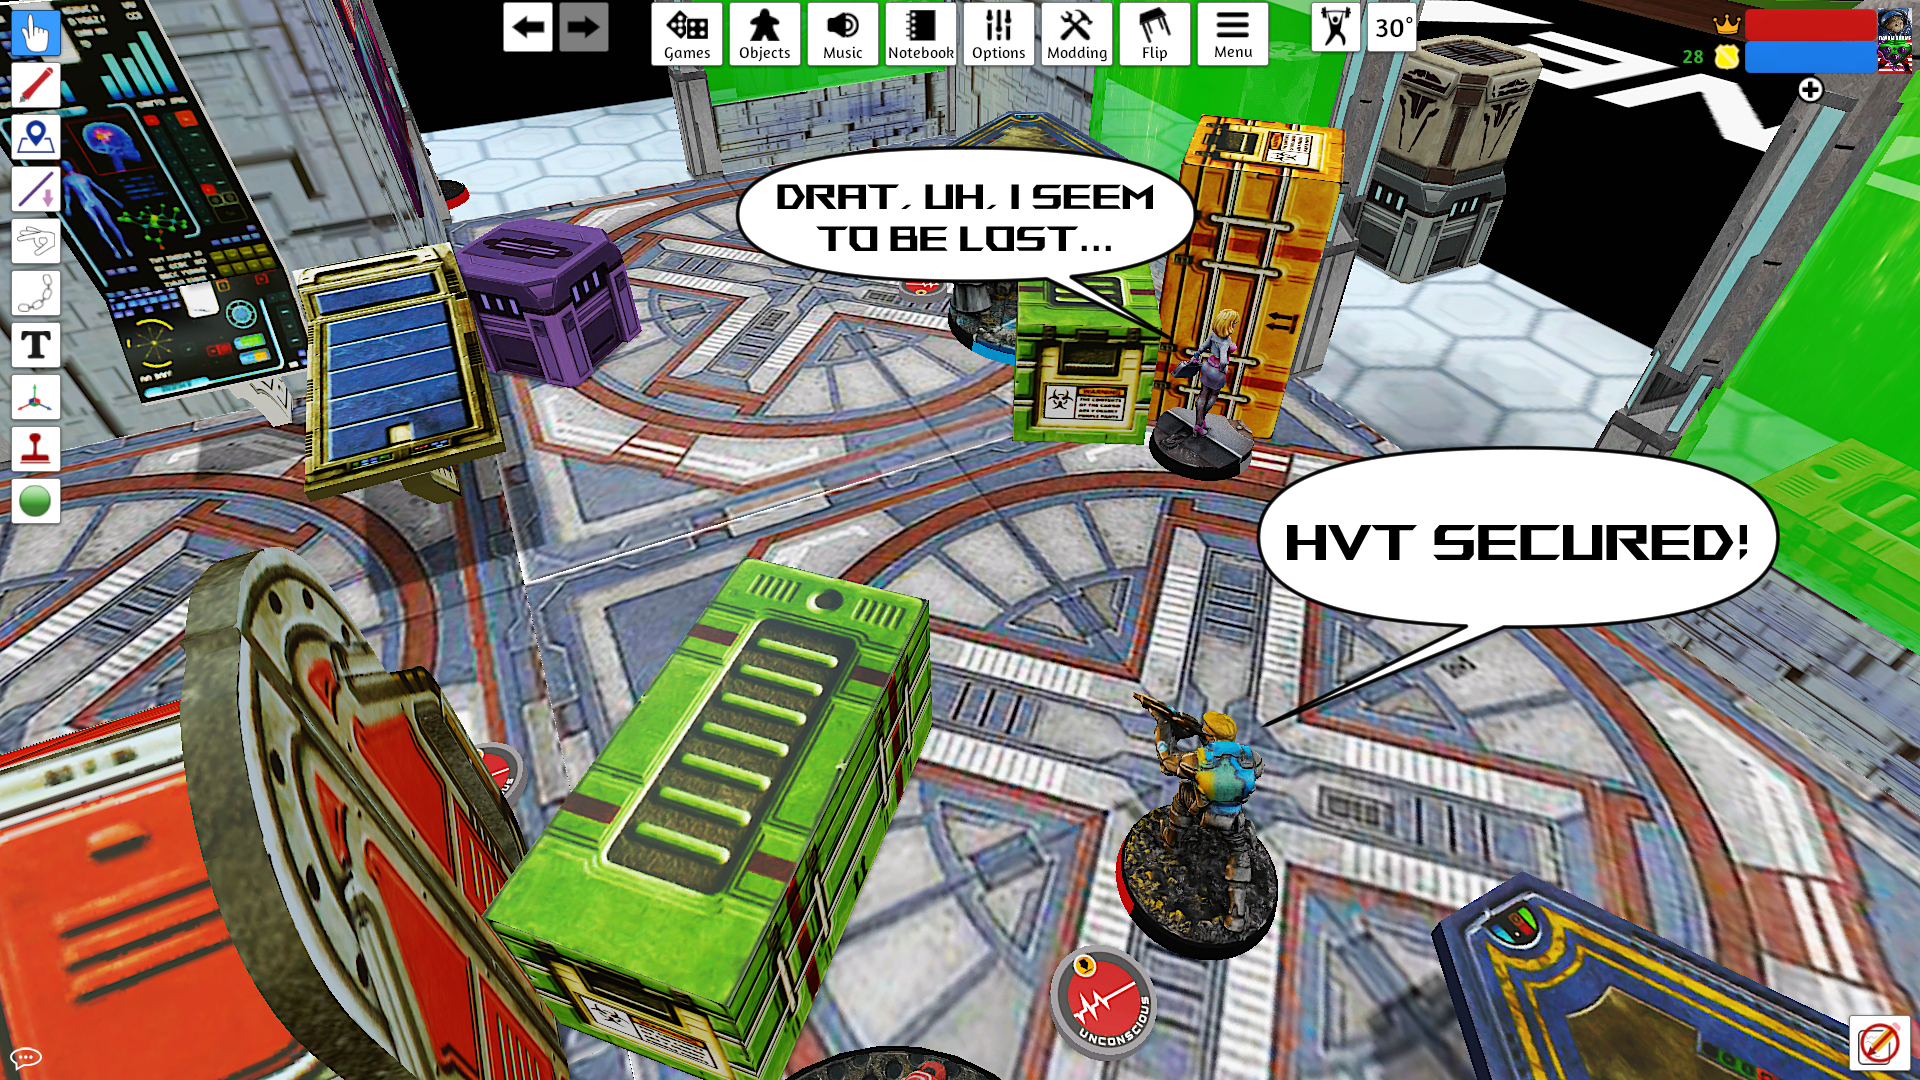
So this is my chance to clear the board and claim victory. First thing I do is kill the mulebot with the Hollow Man. Cowzar decides to reveal his Trinitarian to get the dodge and her regular order in the pool for next turn. The Crosier spitfire has me in an awkward place so I try to kill it with my feuerbach who predictably goes unconscious. Annoying, but not a big deal until I realize that my Lt is in the way of my Heckler, so I spend a command token to reform the team, move them out of the way, and use the second half of the order to make sure the Securitate is really dead with the help of my paramedic.
The Heckler then moves back with a thought to secure HVT and far zone. Cowzar opts to discover which is puts him in an unfavorable spot as I shoot him three times with a combi rifle and kill him. I then waste an order on Cybermask, not realizing that Hollow Man is positioned to do some serious damage. So I spend an order to move the Hollow Man around and drop a chain colt on the Crosier Paramedic and Trinitarian, who are watching the wrong way. Predictably, the Trinitarian dies and the Crosier survives. With one converted irregular order left, I tuck in behind cover and use a spitfire to gun her down. I use my lieutenant order to break the fireteam and send the Securitate to secure HVT, because I'm not sure my Warcor is close enough to do it.
With one model left, Cowzar is in retreat. However, religious means that he has one irregular order to do something. We game out a couple of possibilities. One is to move in and shoot the Securitate from behind and try to prevent me from securing HVT. This will deny me a point potentially, but I'll still hold two zones including one of the zones next to Cowzar's DZ. The other option is to yolo it and face the Hollow Man in cover at just one BS better than the TR Mulebot who died doing the same thing. This would deny me two points at least. Cowzar chooses death or glory and the Hollow Man misses and fails its save.
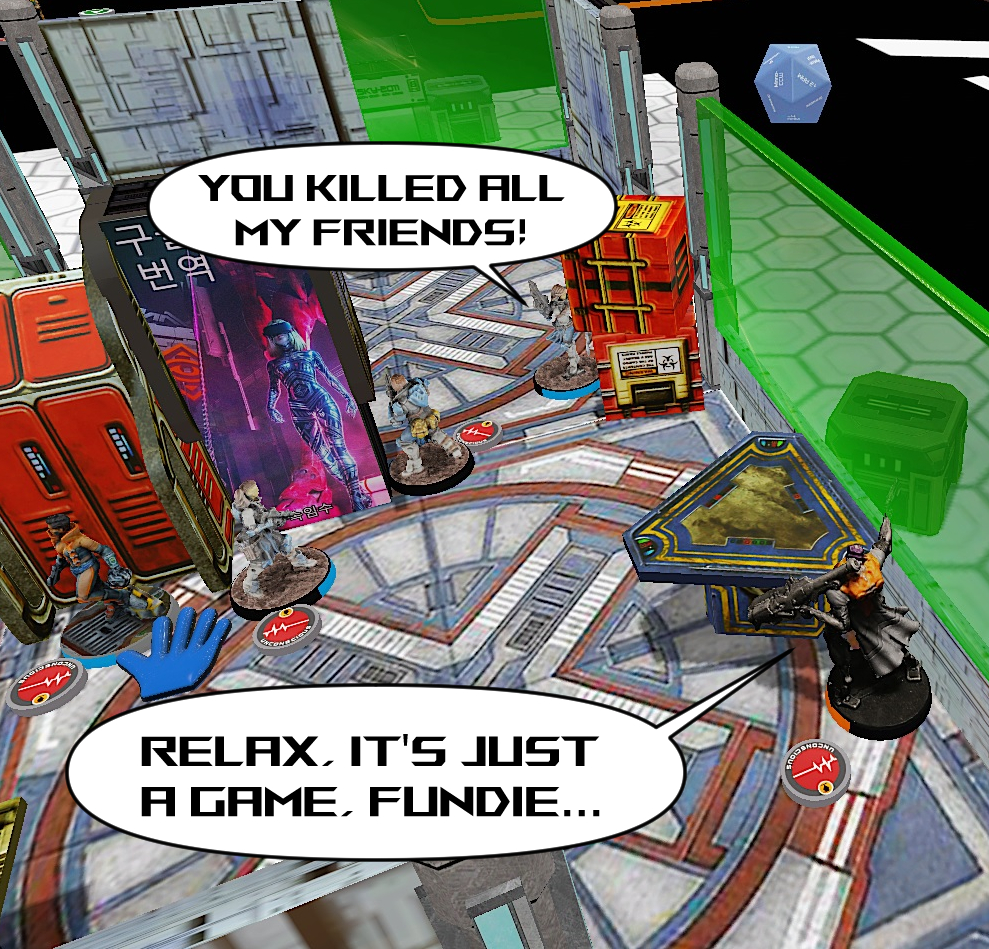
>> Coadjutant Crosier do Valle Peixoto watched in horror as the rest of her team was wiped out by hidden units and the monstrous, soulless vessel that shot the Trinitarian and Medic Patel from behind. That's all these Nomads were, cowards who shot from the shadows, backstabbers who struck only when your back was turned. They lacked honor. They lacked faith. They lacked the grace of God to face their enemies eyeball to eyeball in the dim corridors of the damaged station.
>> She would be their paragon. Become wrath and scour the station of their ilk. And with a terrible shout she stepped into the bulkhead and opened fire on the empty husk of a machine and put it down for good. Her vengeance would not bring back her team, bu it might buy time for someone to recover their cubes. The Curia's Data Banker was lost. The enemy Warcor had recorded everything and would invent a propaganda victory of their trespass. But Rodina would not forget what transpired here today, and when Sister Łaska was resurrected, they would smite the wicked together again.
With each of us controlling equal zones it's one point all, I control HVT for an additional point and Cowzar controls one of the zones next to my DZ for an additional point, making the final score 5-3 Tunguska.
What a weird game! The Crosiers were practically invincible while all the armored things died. Most of the damage was done by combi rifles and chain colts, which I think speaks to how damage 13 is pretty respectable even without AP or shock or other mods.
We both made some errors along the way. My deployment continues to haunt me in terms of positioning. I should have put the Heckler along the right side where he could have moved up in parallel to the MBH on the left. I didn't know the HVT would end up where it was, but that would have given me some options.
I also bungled a lot of firelanes heading into the map's main room. The Hollow Man and Lunokhod gave up some free shots that I shouldn't have. I should also have remembered how koalas were played and let them hit the fireteam in ARO. That would have made things stickier for Cowzar and maybe he would have eventually failed an armor save.
I also should have relied on the MBH's SMG to cancel hits more than I should have. Two templates is tempting, but a normal roll to dodge is easier than trying to face to face against 15s. I got to stop thinking of it as 8pts and instead consider how much it can deprive my opponent of. That said, acing the ADHL with the MBH won me the game. Can't complain about that.
On Cowzar's side, I think trying to take on the MBH with the combi was a freebie to me. Trying to do that in the turn he revived the Raveneye but wasn't able to get it to cover was also probably a mistake. Getting the Bounty Hunter into his back line was somewhat stressful, but not nearly as devastating as it could be. He could have just pushed the team into the zone and made me dig them out. Additionally, revealing his Trinitarian on the reactive turn didn't swing in his favor. Better to have revealed it in active and tried to get the surprise shot. Sacrificing it to take out my wounded Hollow Man probably would have deprived me of the tools to punish him in my third turn.
That said, it was an all around good game. Definitely closer than it felt it would be when that MBH was breathing down his neck. Cowzar also did a good job of trying to maximize impact and take the right kinds of risks that paid off in the end. Not sure he'll stick with MO, but he's playing them well so far.
Since this is probably the last report of Durgama, might as well say what a blast I had. The batrep system is not great and two weeks felt too short, but always good to have an excuse to go out and play Infinity rather than opining about it on forums and discord. Great games from my opponents and to my comrades all around. Can't wait to do it again next time.
>> "Moving in to secure HVT" Rebane called over his comlog. A team member was down and another dead and one of the remotes broken, as well as the Major's favorite Hollow Man. All told, it was a decisive victory at a cost, but that was the story in every theater and battle since the Combined Army arrived on Paradiso all those years ago. At least that was the story when humanity wasn't losing an inch or a mile to the alien scourge.
>> Boris walked over to where the broken remains of the Hollow Man lay. It wouldn't take much for a Clockmaker to repair, those his tab was going up with the Bakunian tinkerers. He never really grokked their Social Energy, but if there was time to be owed a favor in hippy fun crypto, it was now. Just in the distance, the Bounty Hunter was slumped against her motorcycle. Her eyes twitched as she watched him and flexed her hands open and closed. She looked a little worse for wear, but at least he wouldn't have to request another Lhost from Nakamura.
>> "Command, we have secured the sector. Send reinforcements and a repair team. We have one member down but in stable condition. Another for cube recovery. Requesting a Daktari trauma team on return to base." He looked over at where the knight had been. The last standing crusader had slung her body over her shoulder before retreating into the hallways. It had taken a feat to lift the fallen knight. A feat and a half when he thought about how she had stared down Bax's shell to do it. He wondered if he'd run into them again.
>> "We have several enemy combatants down. We'll begin cube recovery for debriefing by an interrogation team. We have also secured one of their Data Bankers. Preparing to transfer to command for interview. Greymenace out."
>> It was a closer victory than it should have been. Maybe Nakamura would hold that against him. Maybe it would get him back into the Malachite Dusk's good graces. In any event, he had Rebane form up the team with the Salyut as an improvised stretched while they waited to be relieved by reinforcements.
Battle Report Author
Army Lists Used In This Battle
Recommend Commander For Commendation
Share this battle with friends
borisgreymenaceWins

Well done, bromad!
Good report, some nice pictures there 🙂